Laser Harp
.jpg)


With our project, we try to make the use of musical instruments interactive. During the course, we deepen the computer and electronic themes (arduino and music shield), structural, musical and melodic.
What led us to start this project, is the desire to apply technology to areas such as music, to make this idea representative of our High School and inclusive because it is addressed to each of us.
Supplies
STRUCTURE
- plywood 0.5 mm
LASER CIRCUIT
- 10 laser
- 10 resistors 1kΩ (brown, blue, red)
- copper tape
- Battery 9V
- Switch
RESISTOR CIRCUIT
- 10 photoresistor
- 10 resistors 10kΩ (brown, black, orange, gold)
- Jumper (2 wires for each photoresistor, 1 for each leg)
LED CIRCUIT
- 10 colored LEDs (2 red, 2 green, 2 yellow, 2 white, 2 blue)
- Ribbon cable
- 10 resistors 220Ω
- Arduino MEGA
- Music Shield
- Breadboard/electronic board
- Speaker
PROCEDURE
PROCEDURE
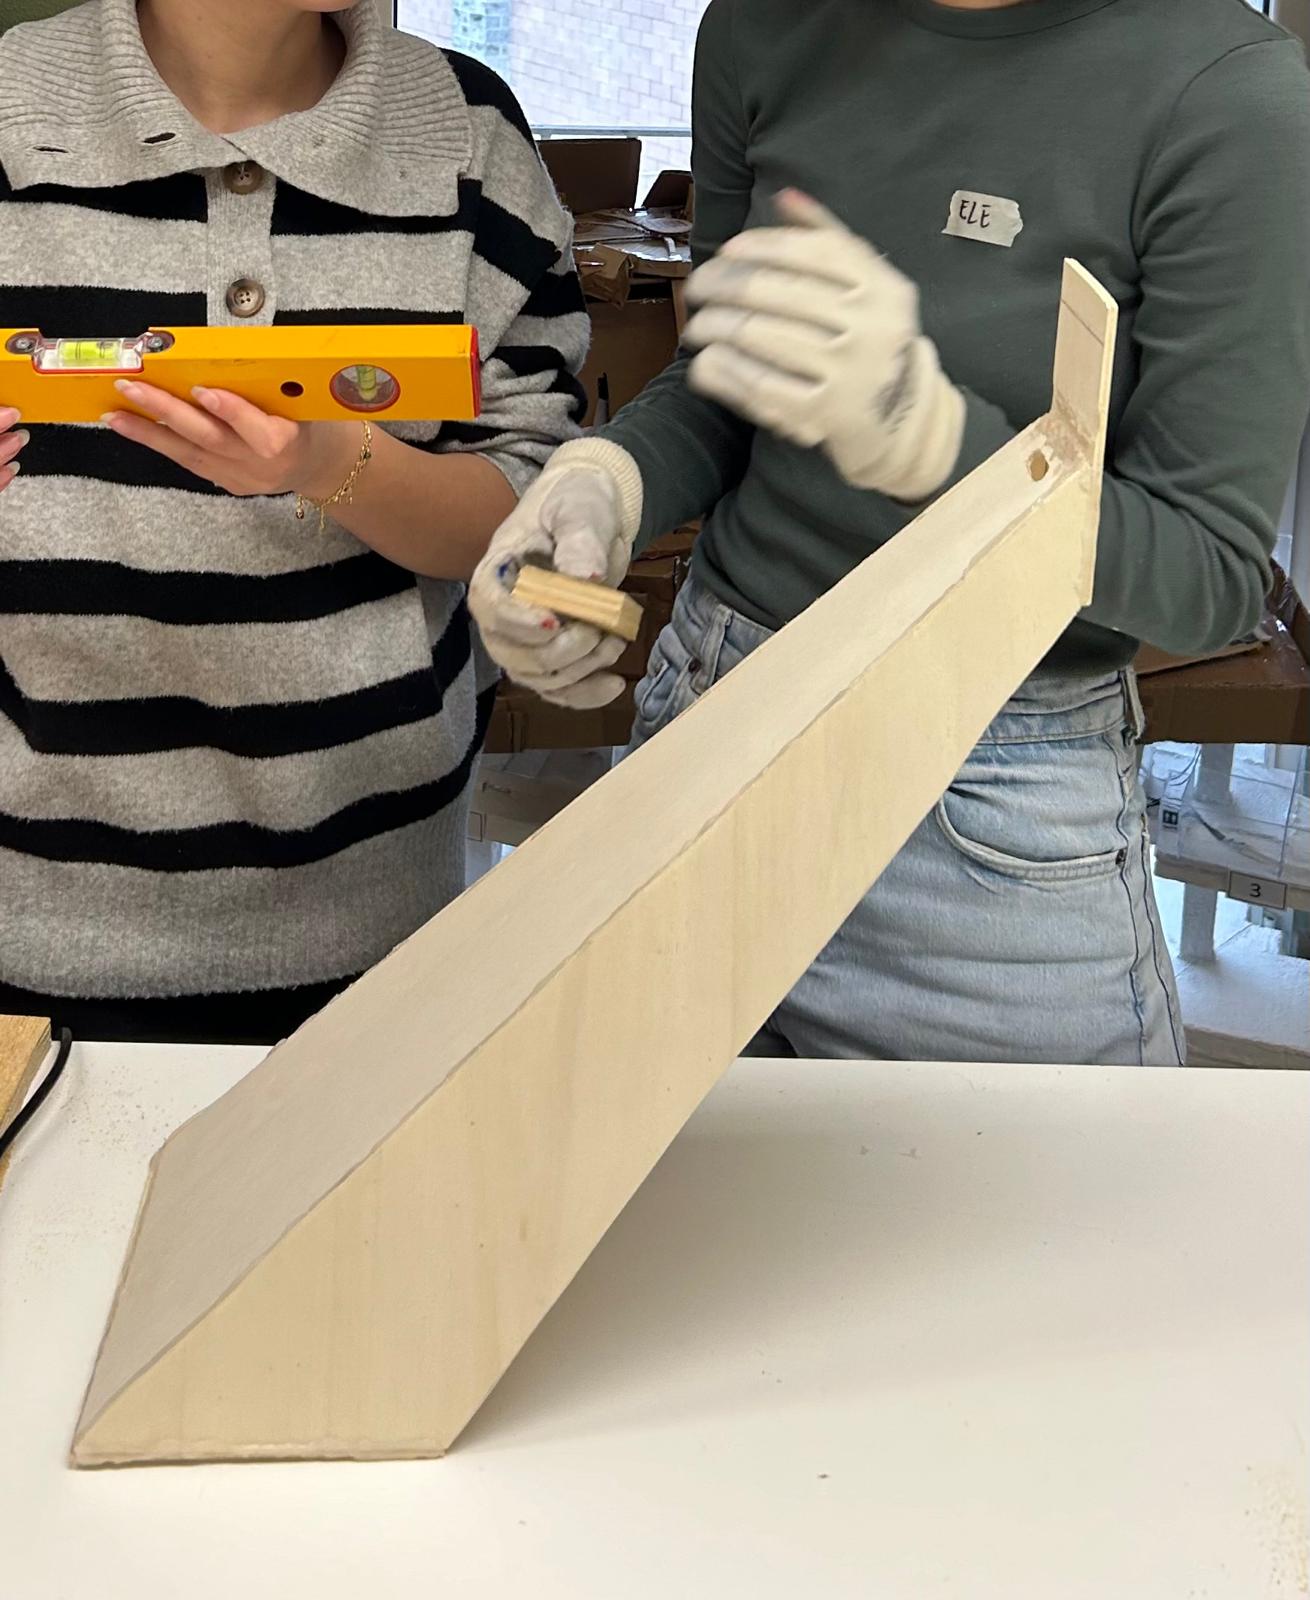
We started by making a model with cardboard to understand the dimensions and inclination of the wood since our intent was to create a harp that was as realistic as possible
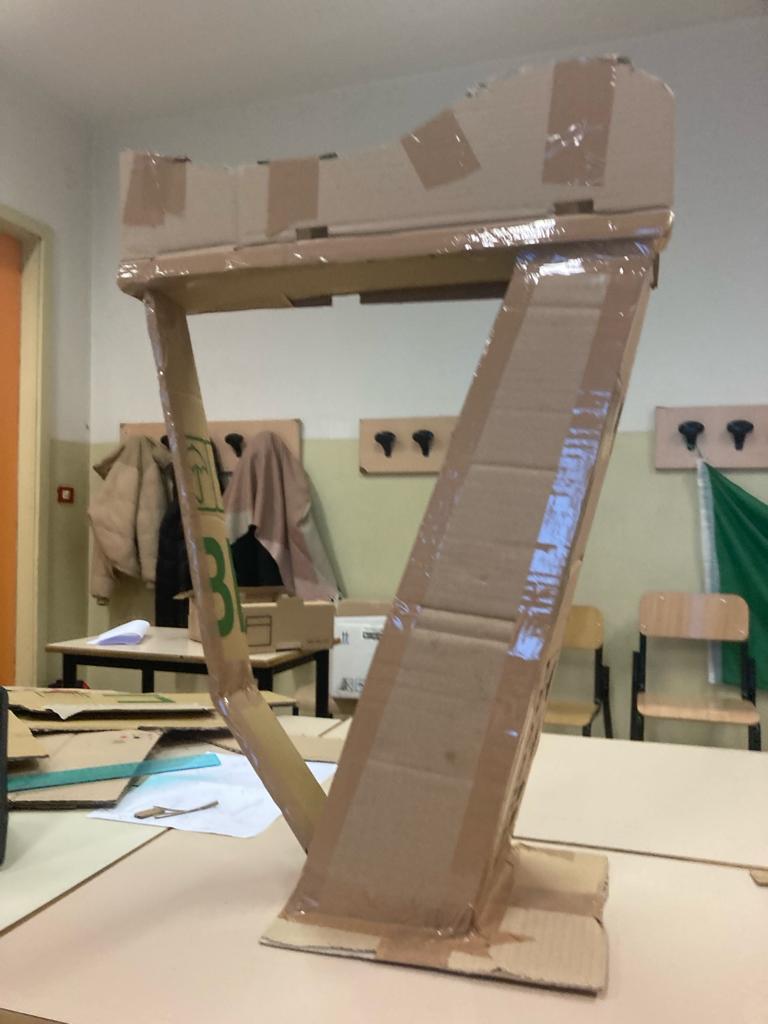
Then we made another one again in cardboard with the measurements that we would then also reproduce on wood.
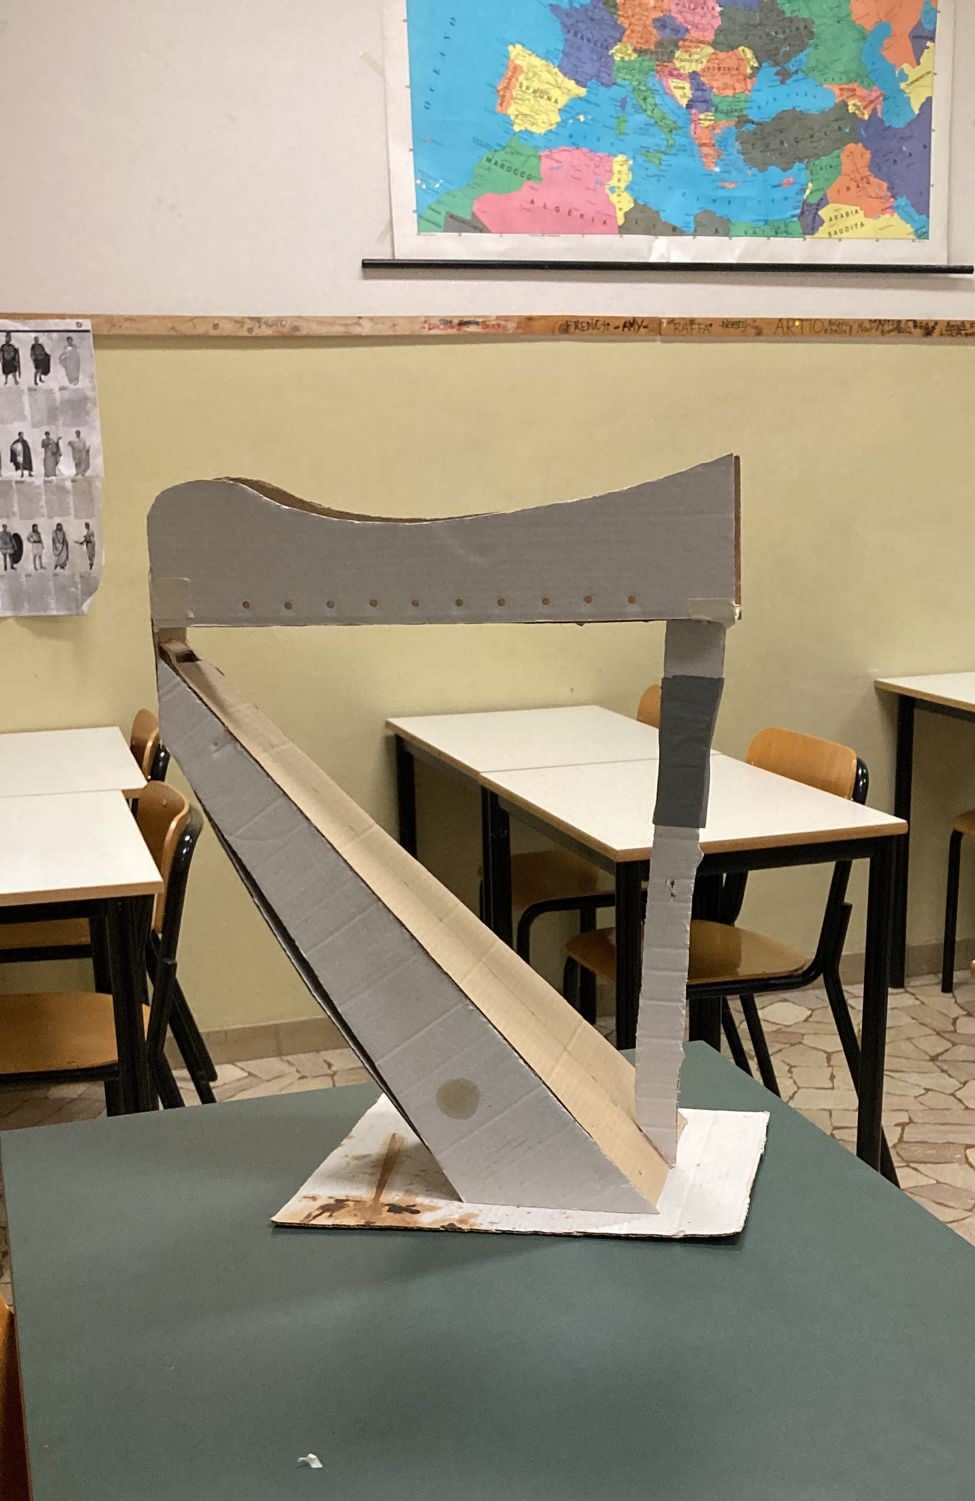
- We bought 2 sheets of plywood needed for the structure (see measurements in the "materials" section)
- we designed the pieces which we then cut with the electric jigsaw Copy of LASER HARP Misure.pdf
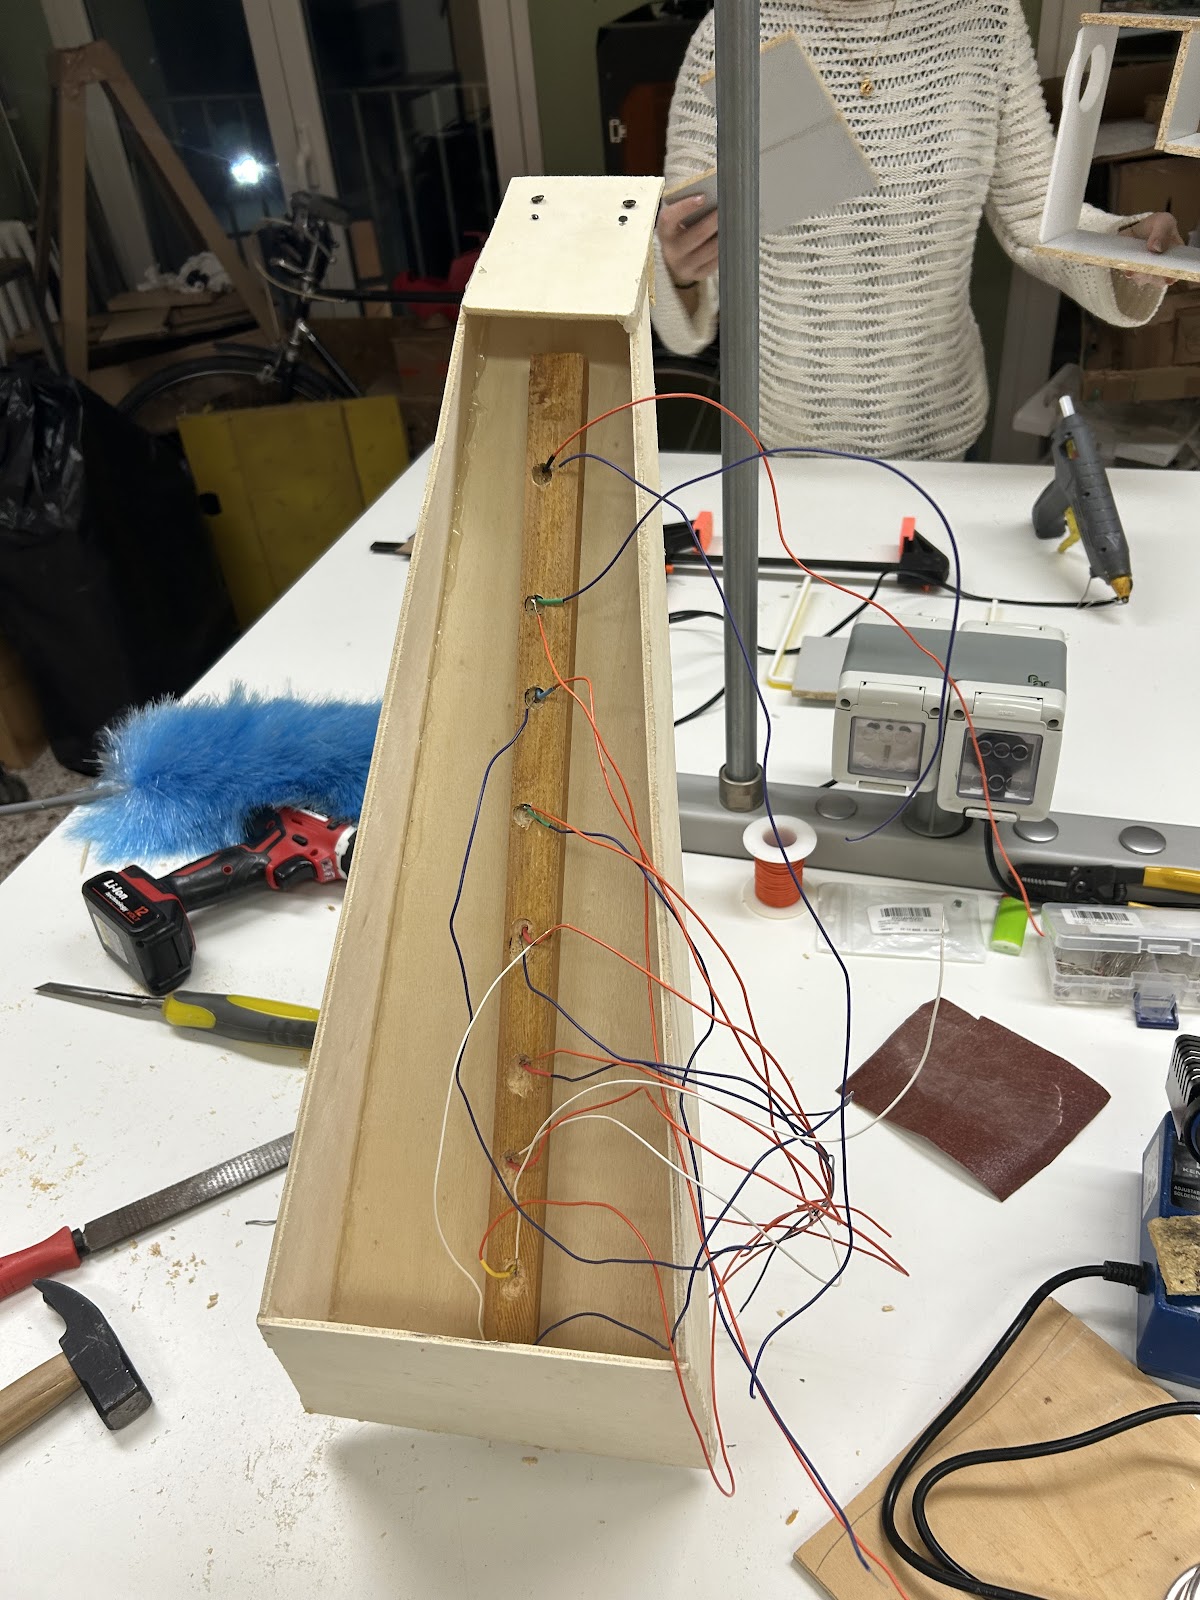
- we drilled the wood creating 10 holes for the lasers and 10 holes for the LED
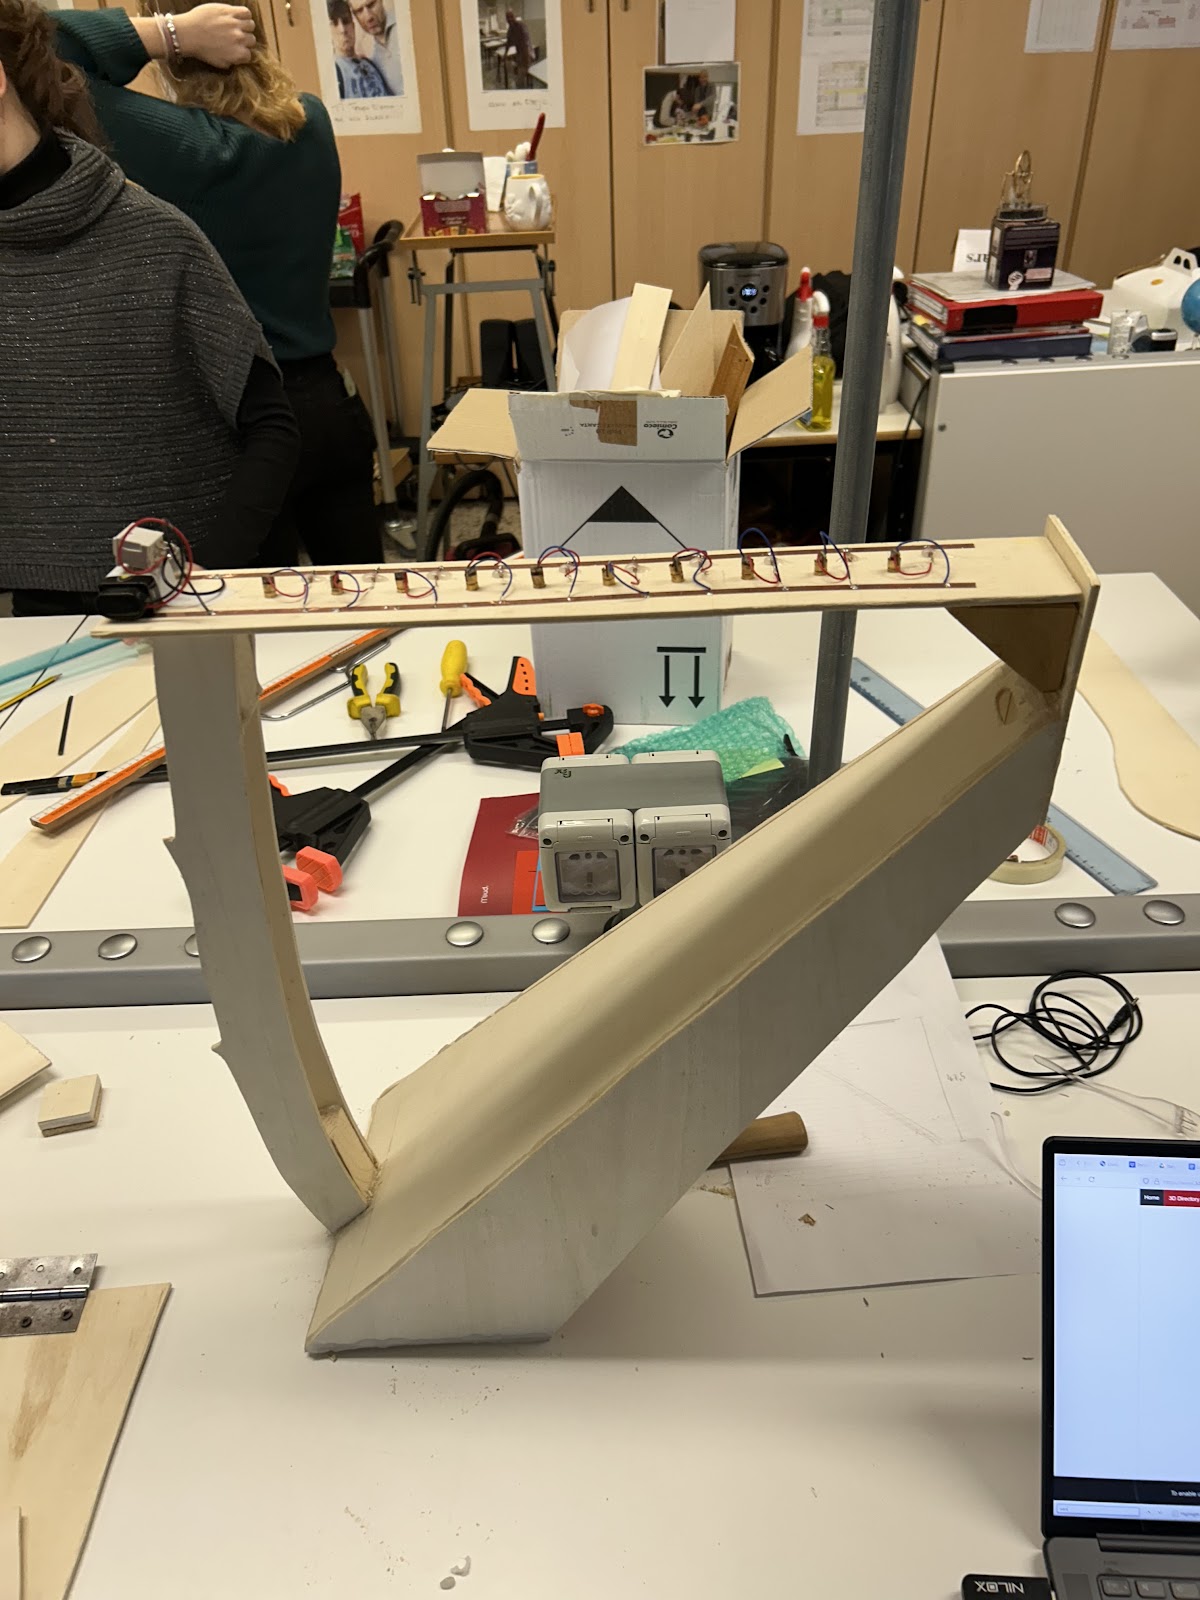
- we built the laser circuit to which we added a support structure, created on OnShape and printed in 3D, in order to keep the lasers aligned

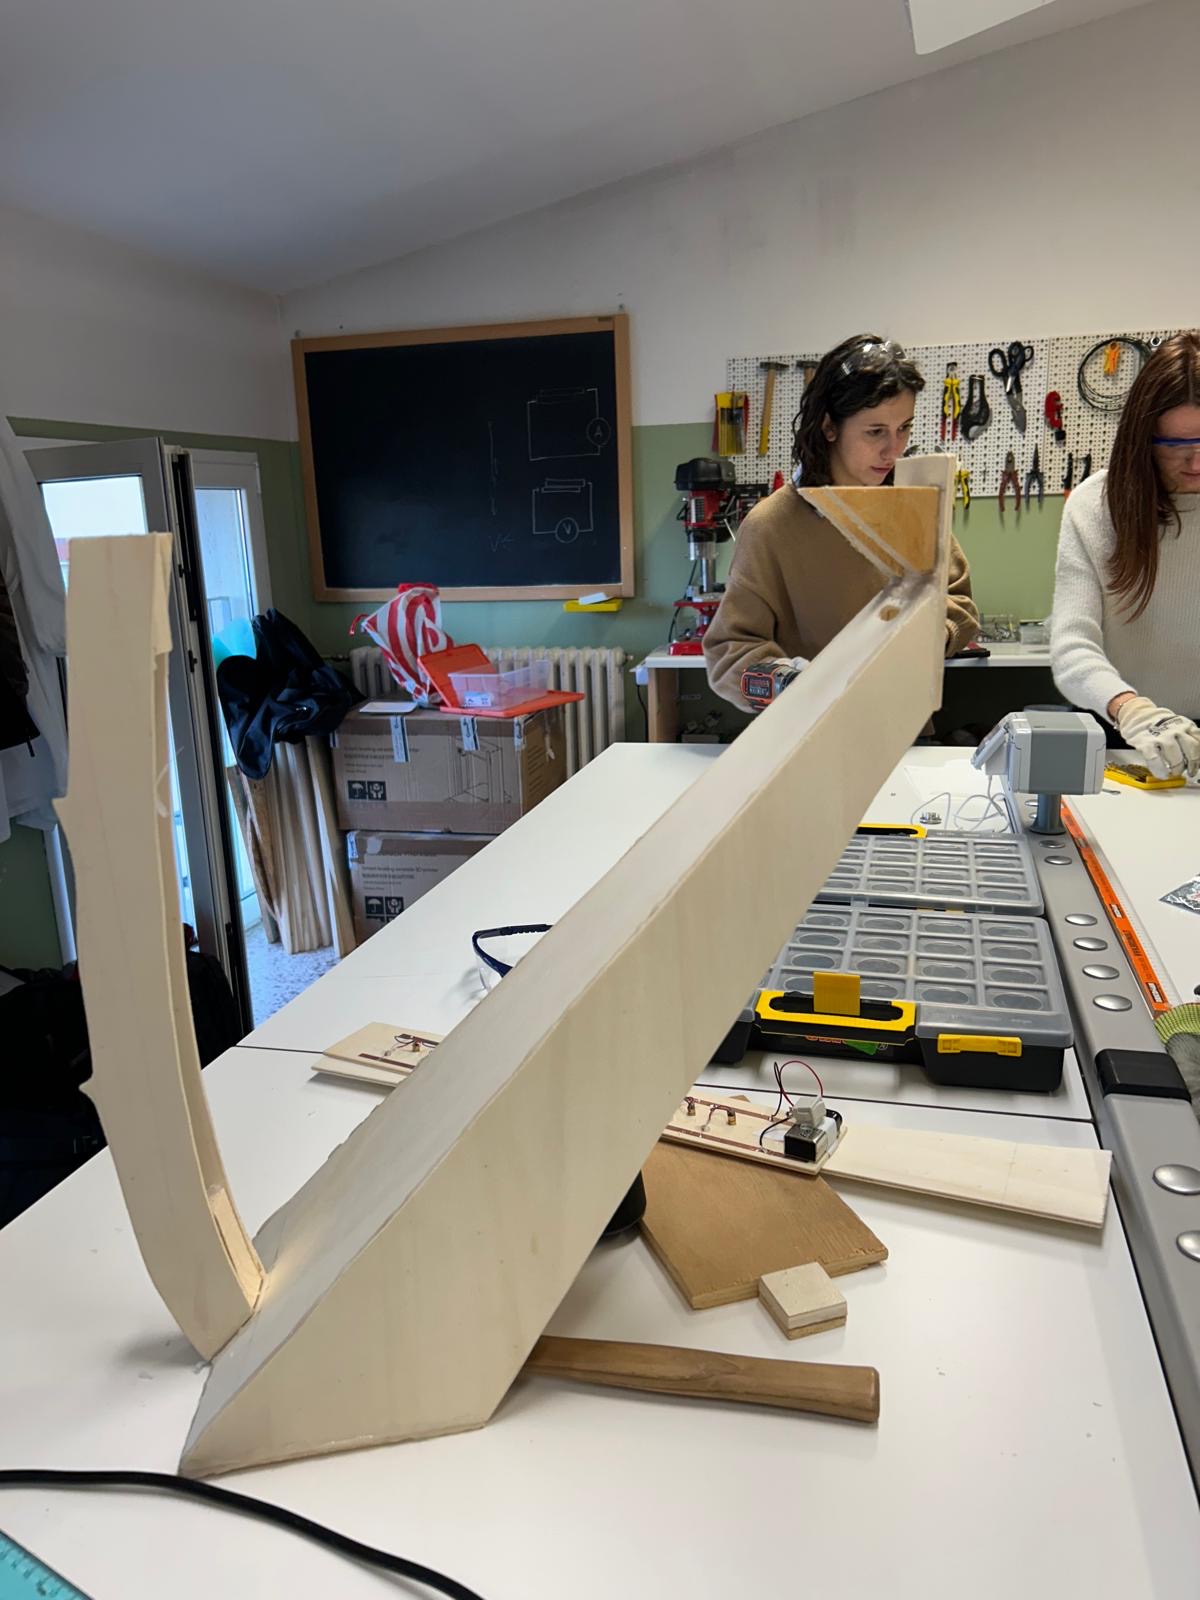
• we then glued the pieces of the structure together with hot glue
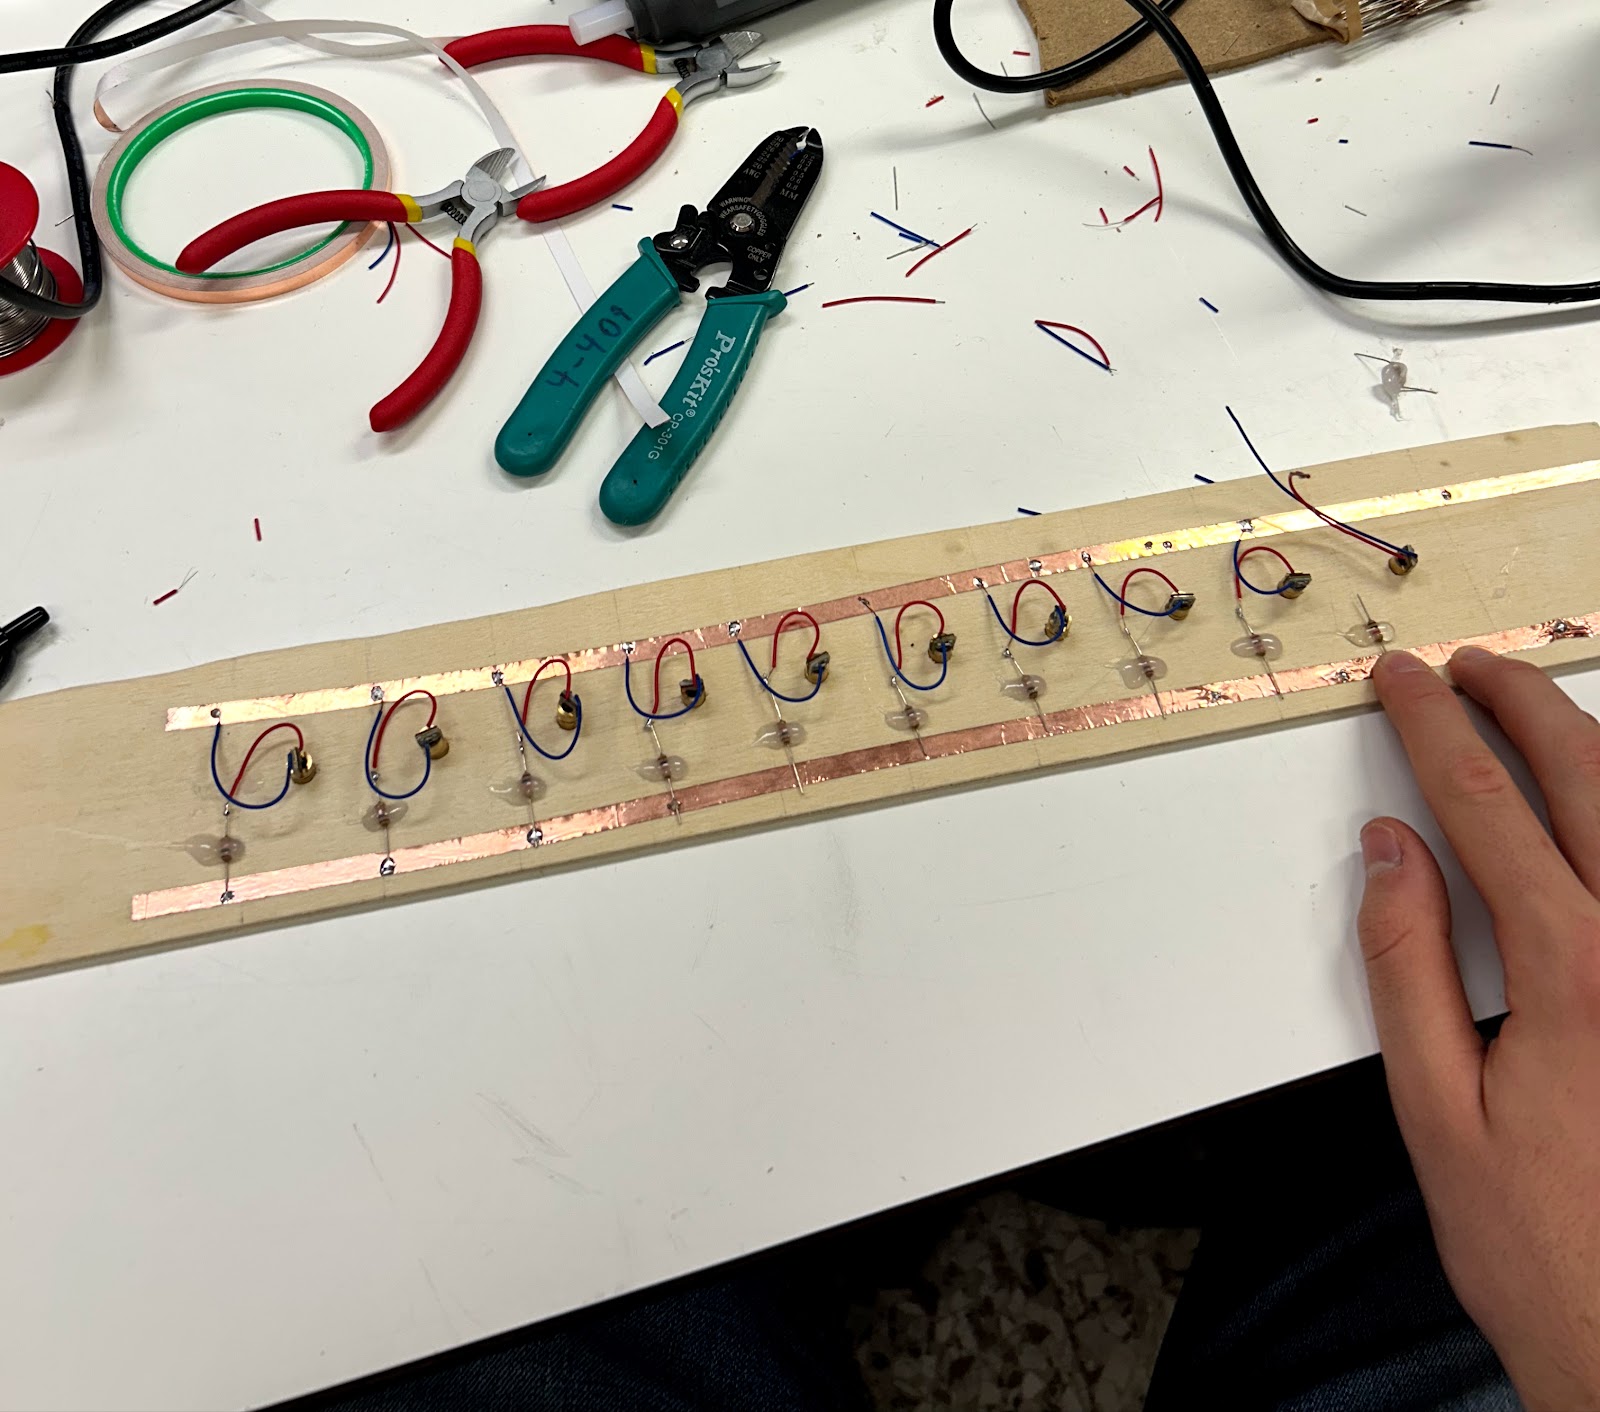
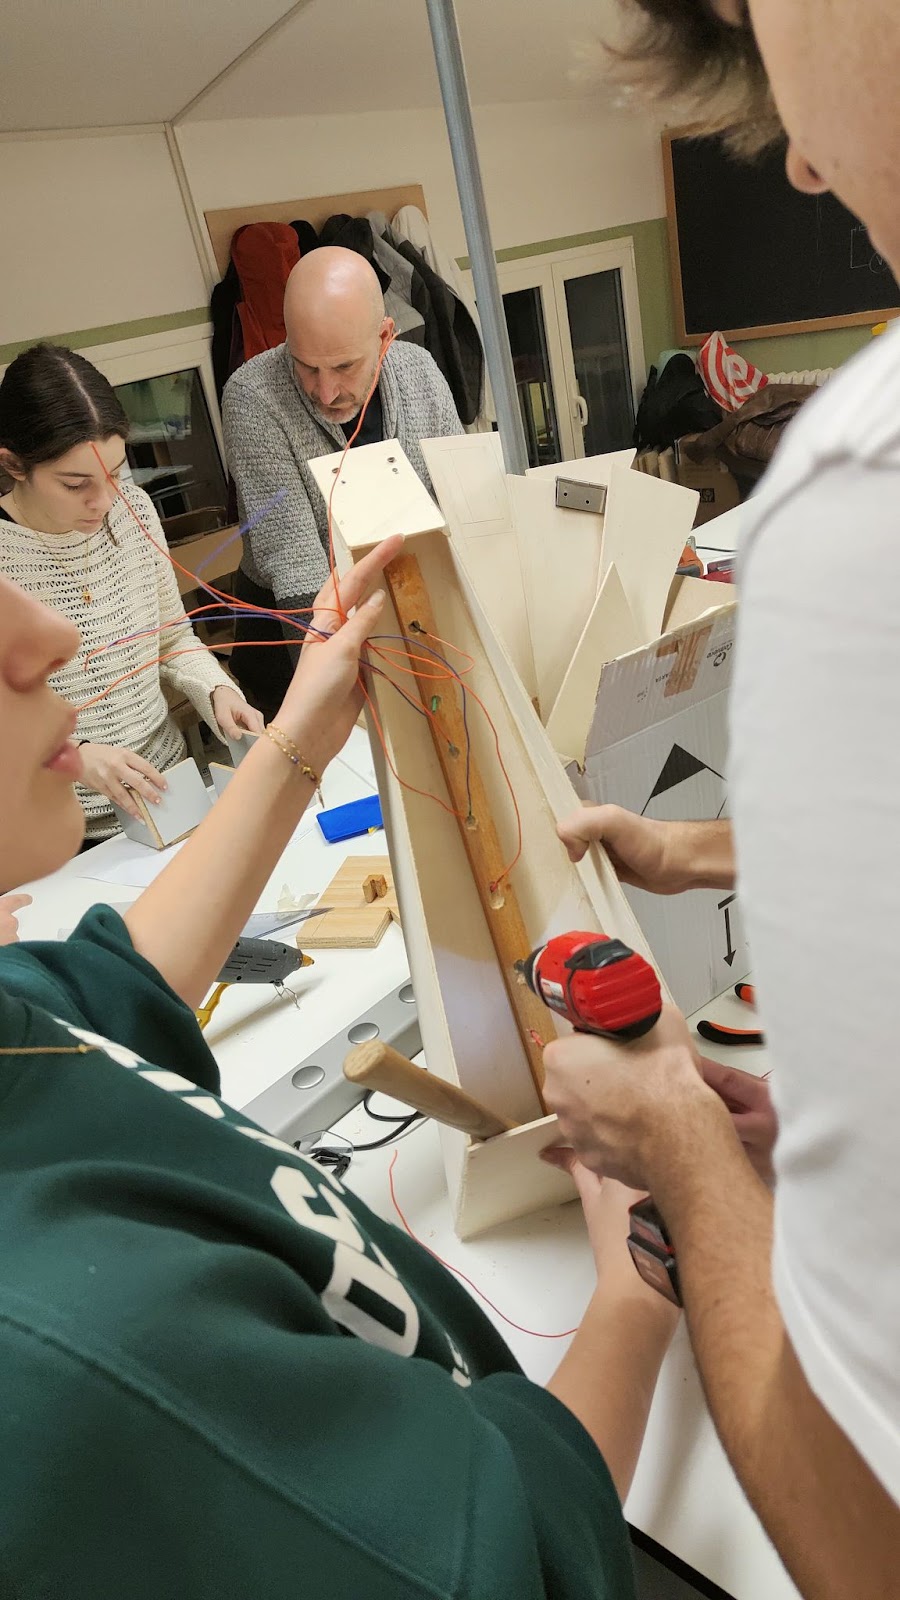
- by positioning the laser circuit above the structure we marked the points illuminated by the lasers and drilled the holes of the photoresistors (!! Attention!! it is important that the lasers and photoresistors are perfectly aligned)
- now we proceed by inserting the photoresistors which must be coated and lengthened by soldering them to jumpers (the legs of the photoresistorsthey must not be touchedotherwise they would short circuit).
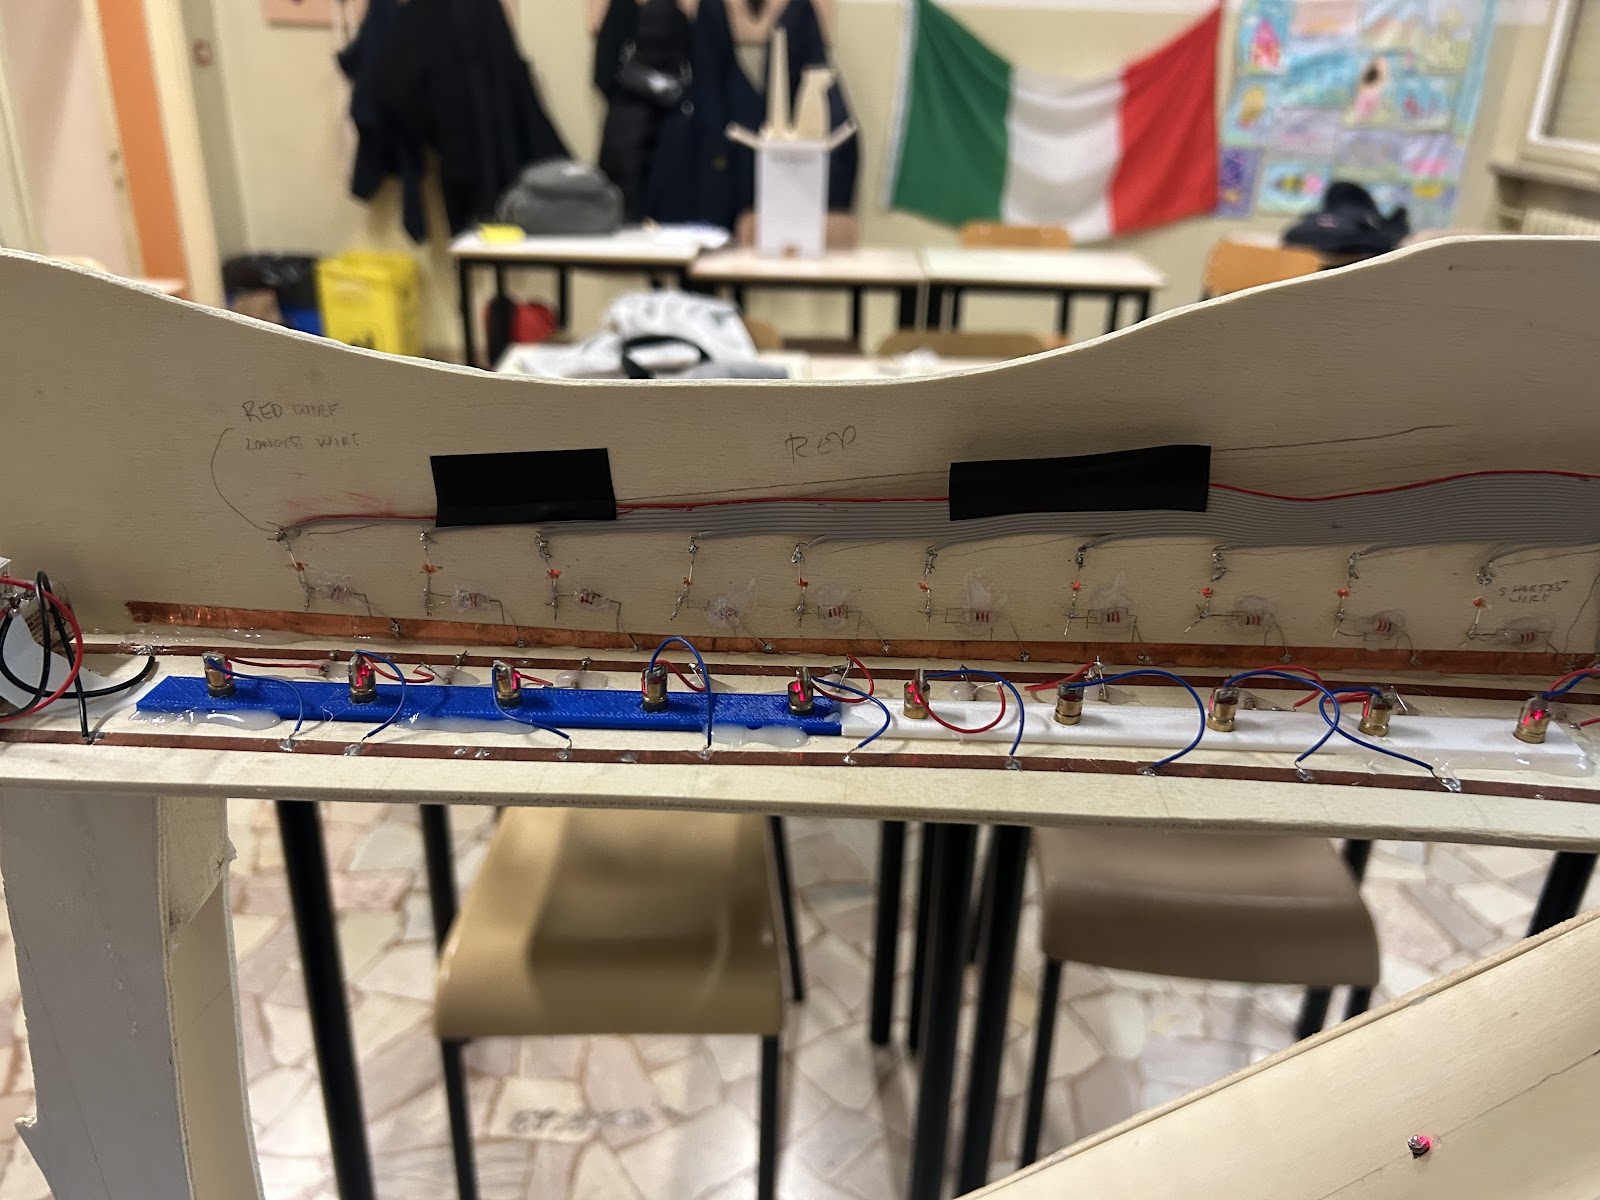
- Let's continue building the LED circuit which will be positioned next to the laser circuit and fixed with glue to heat.
- now that we have all the circuits ready, let's wire everything on a breadboard and upload our code to the Arduino implemented by a music shield.
- here is the code:laserharpled.ino

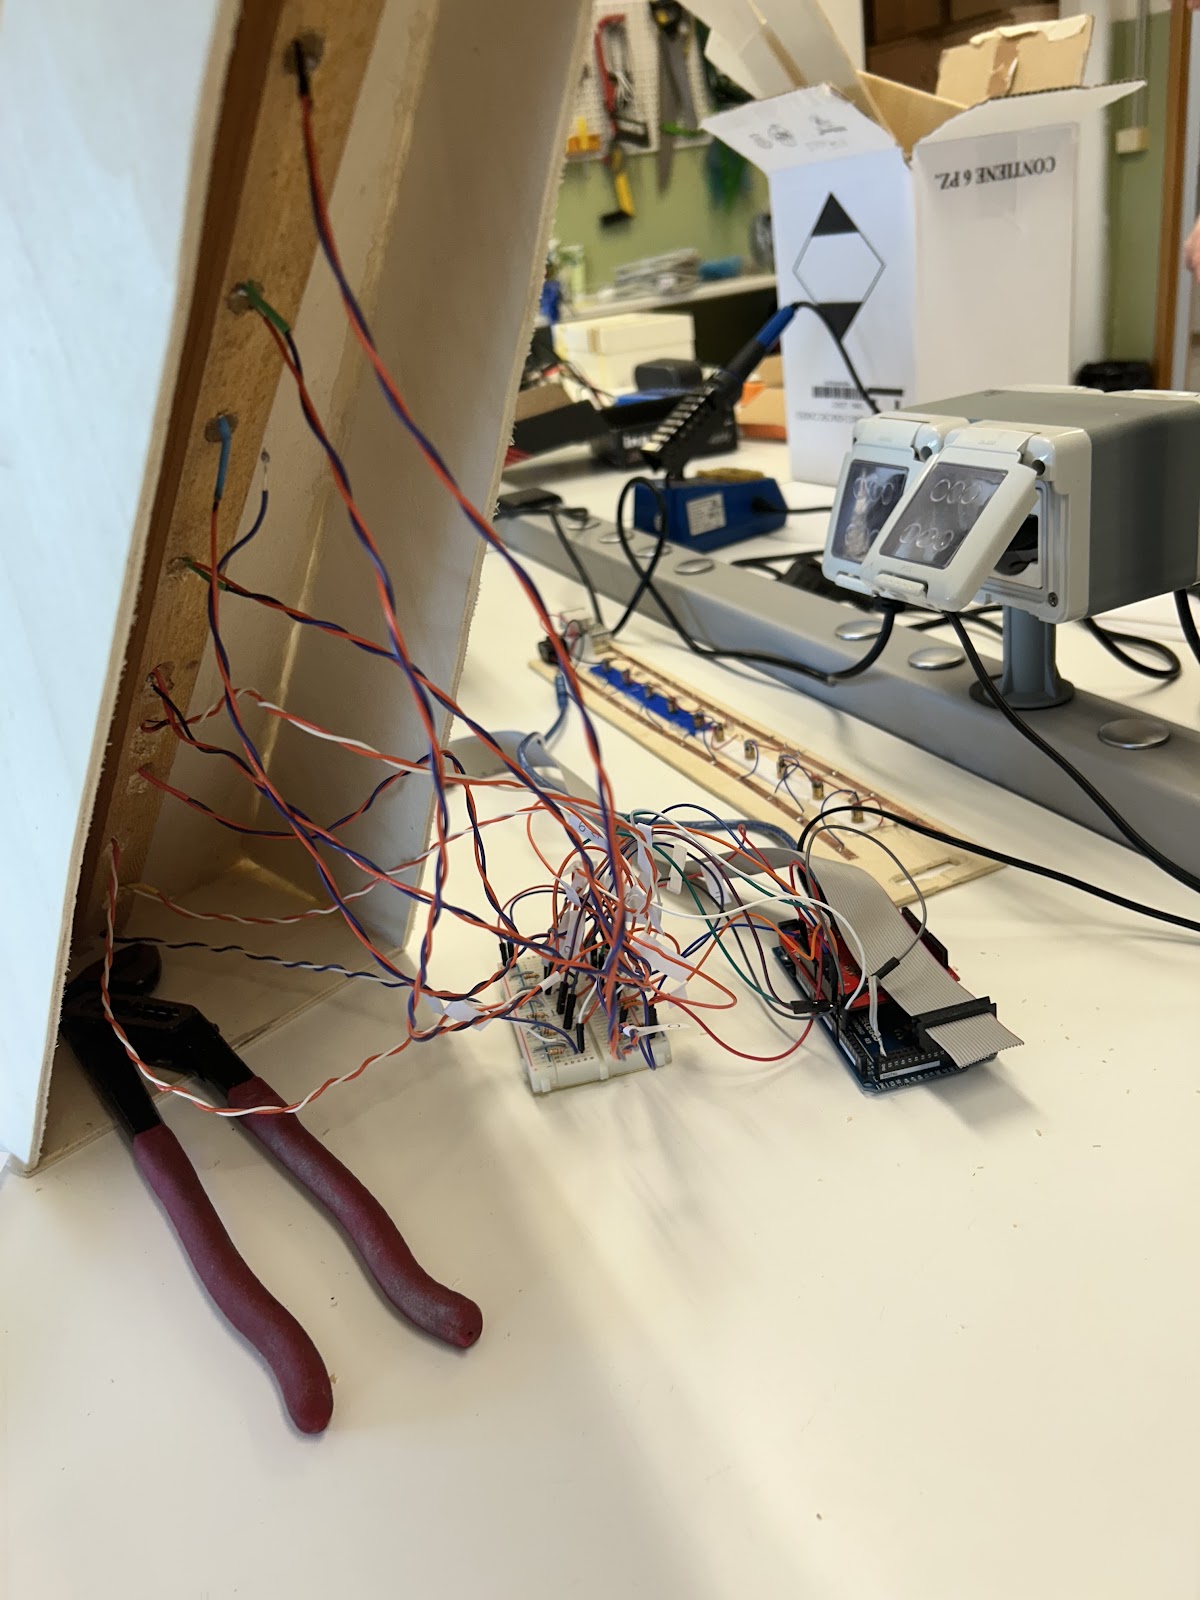
After testing all the circuits and checking all the connections we can solder on an electronic board.
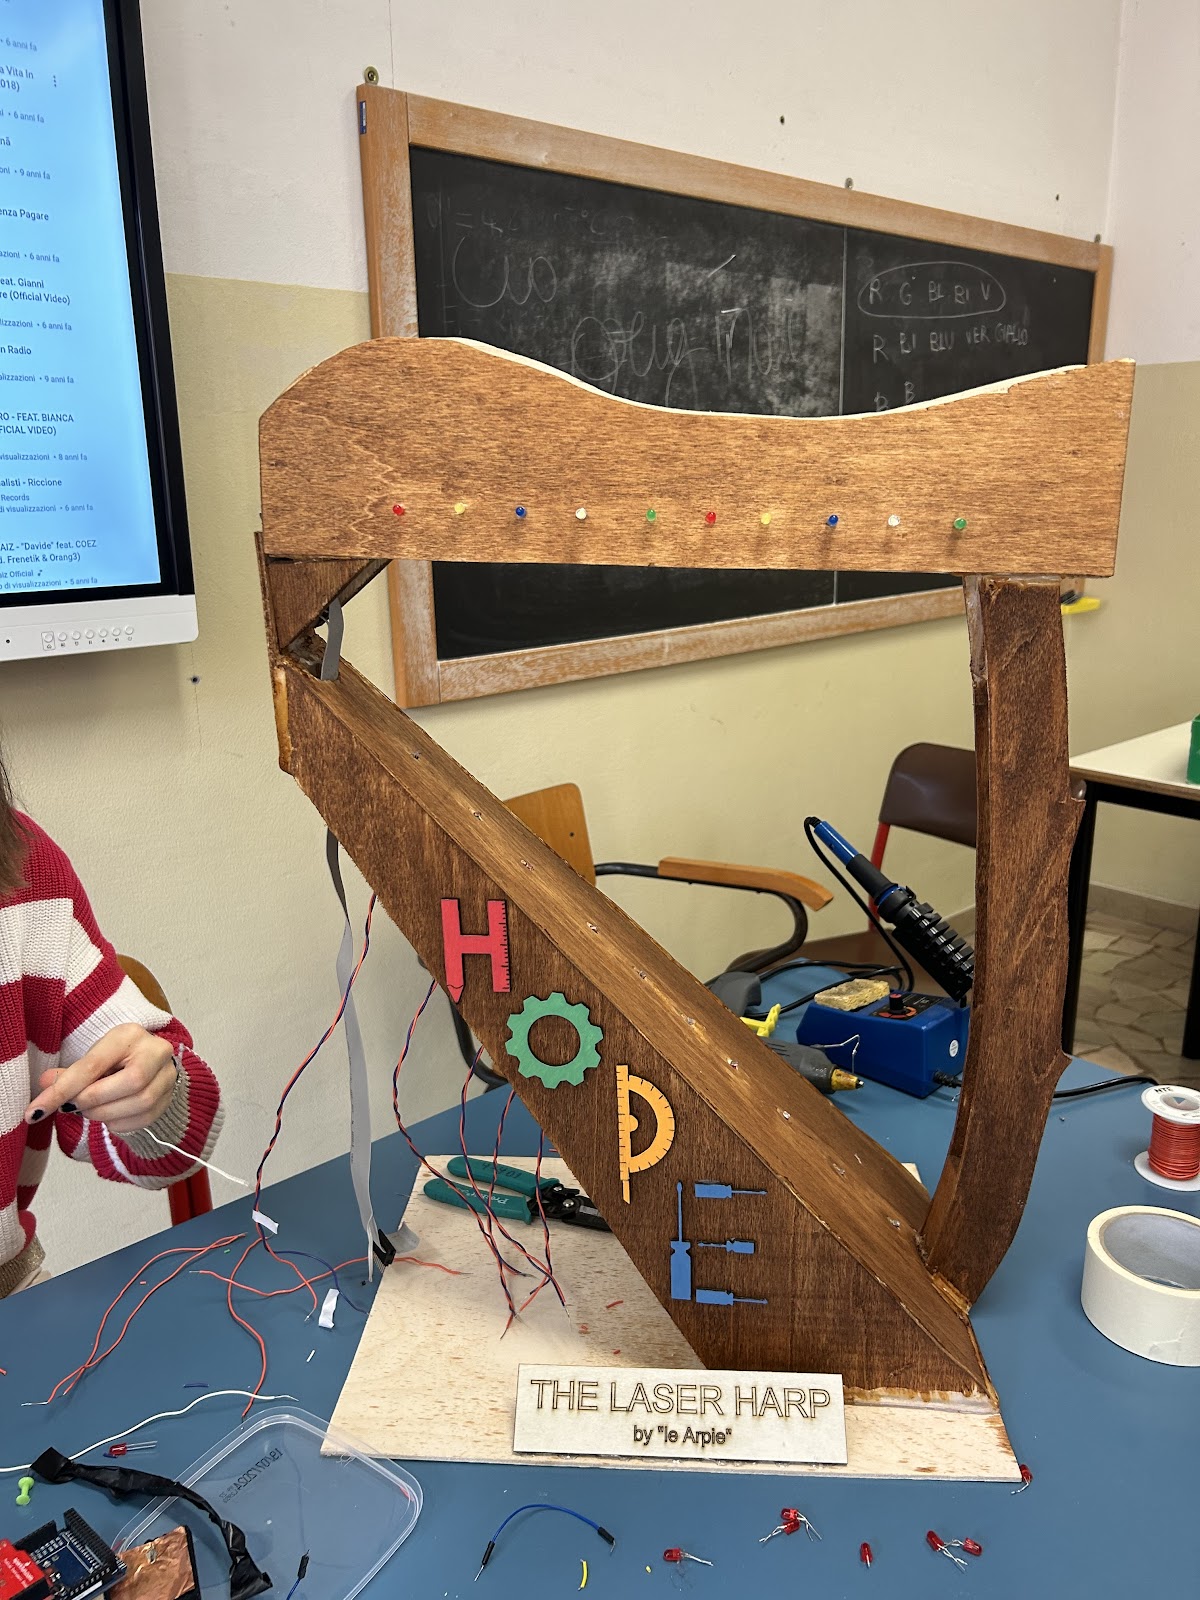
DECORATIONS
Let's move on to the decorations, we painted the entire laser harp, we carved the painted logo and finished the last details with a pyrograph.