Laser Etching on Film
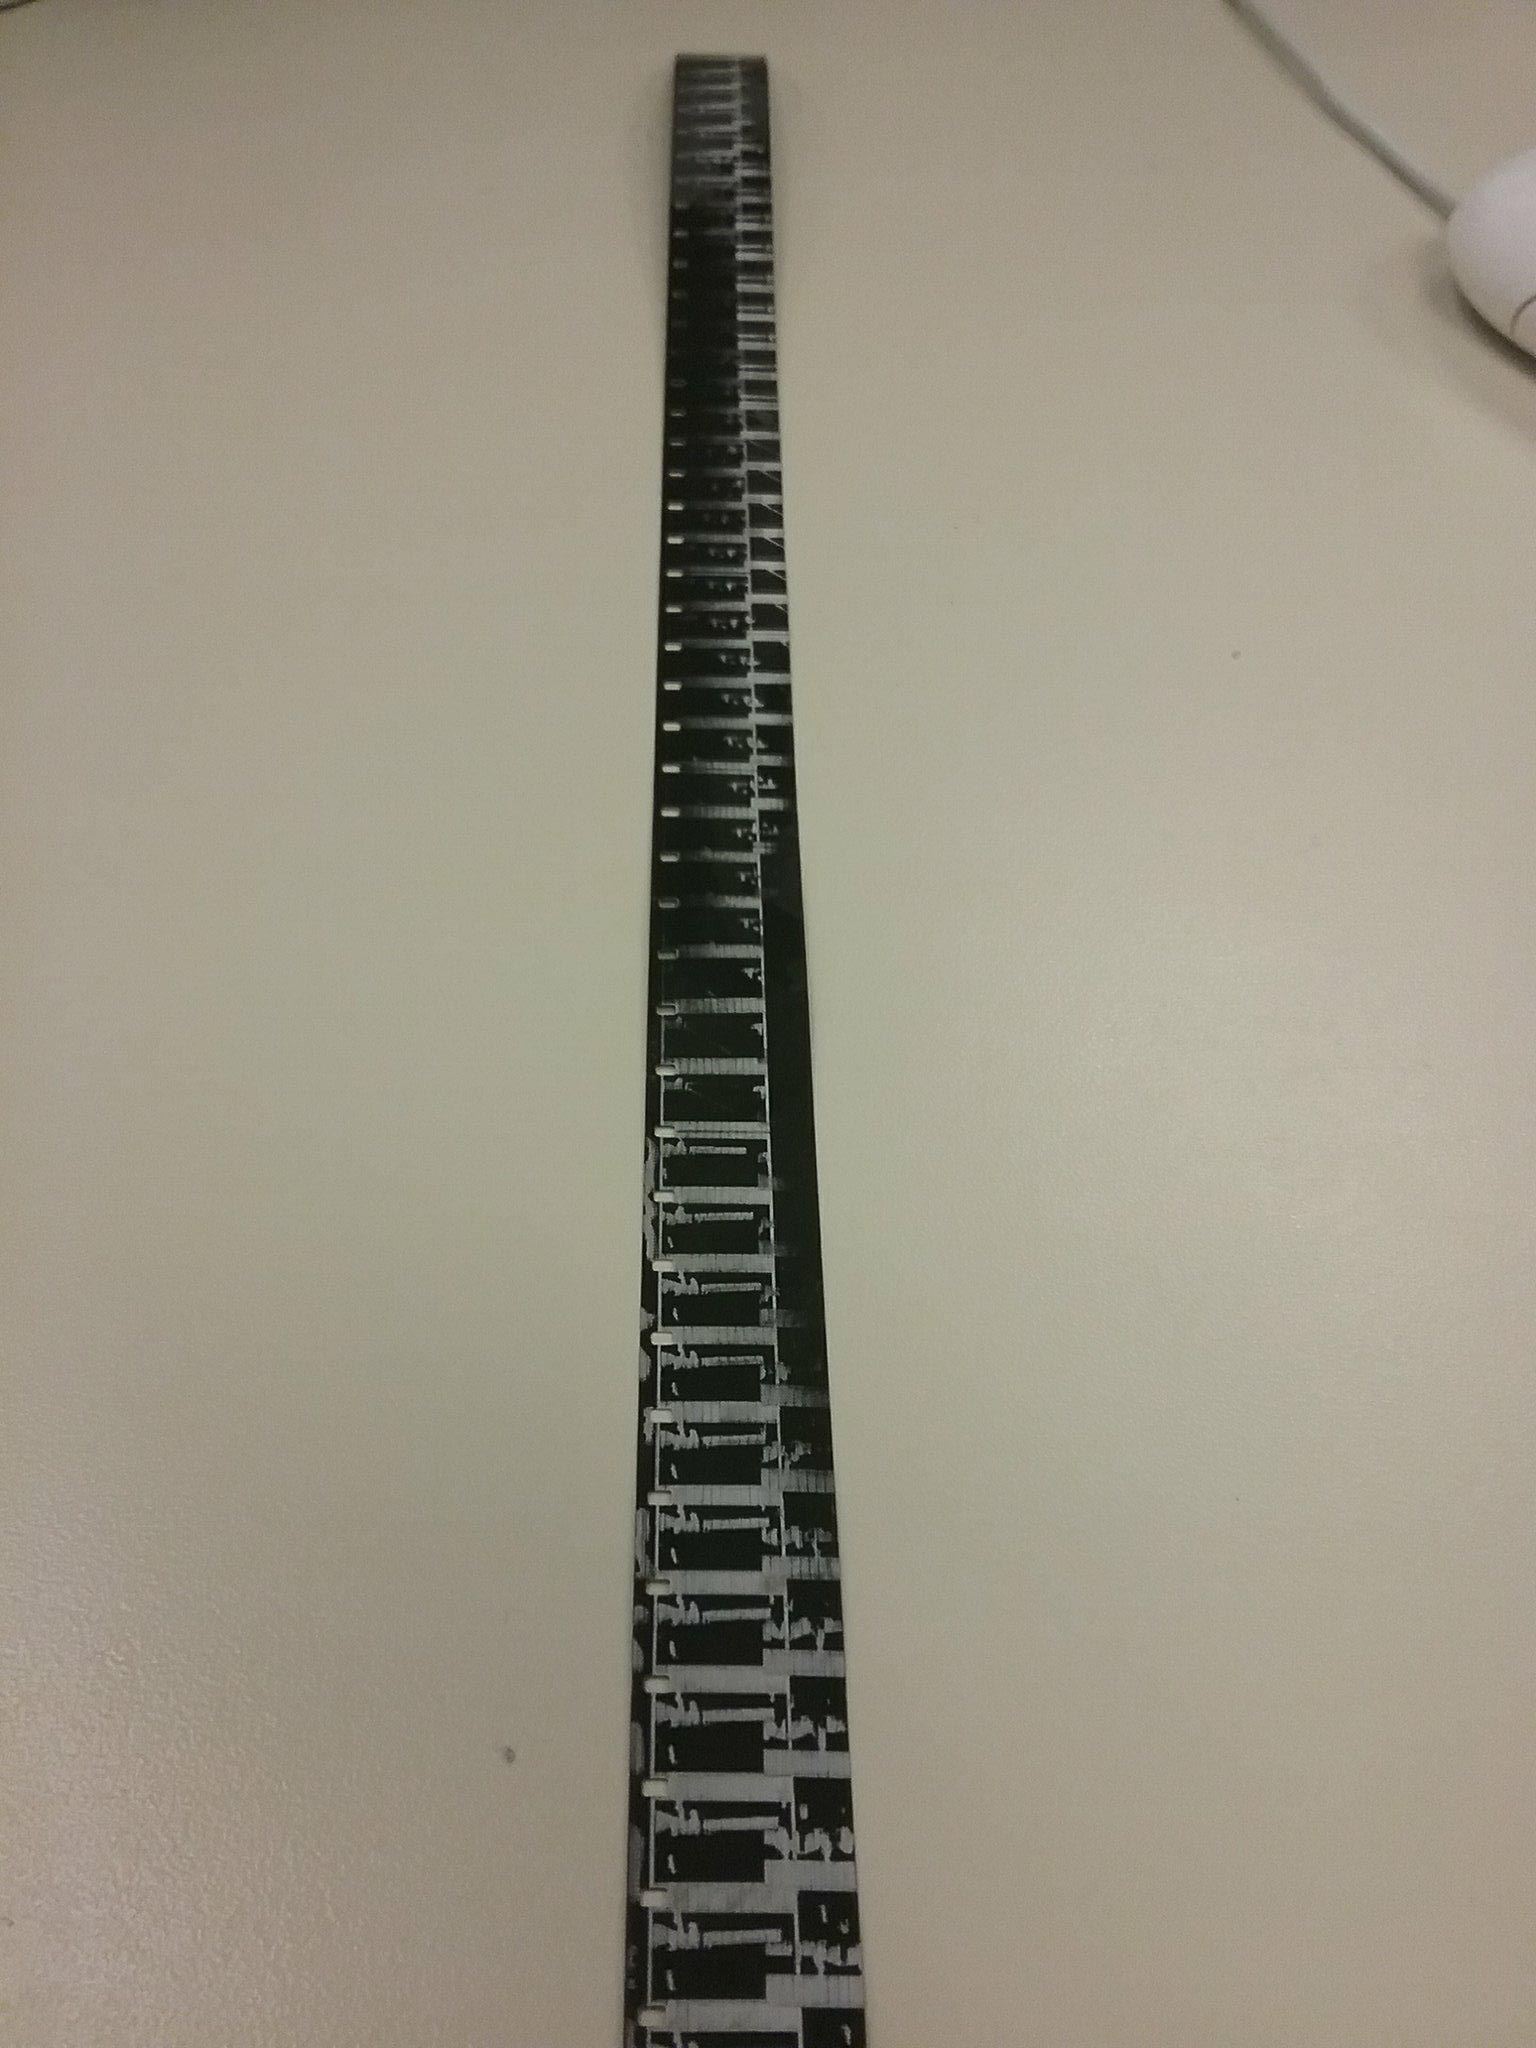
Here is a step by step instruction on how to laser cut on film!
This tutorial will assume you know how to work and have access to:
Laser Cutter
Adobe Illustrator CC
Adobe Photoshop CC
Film Strip
Step 1
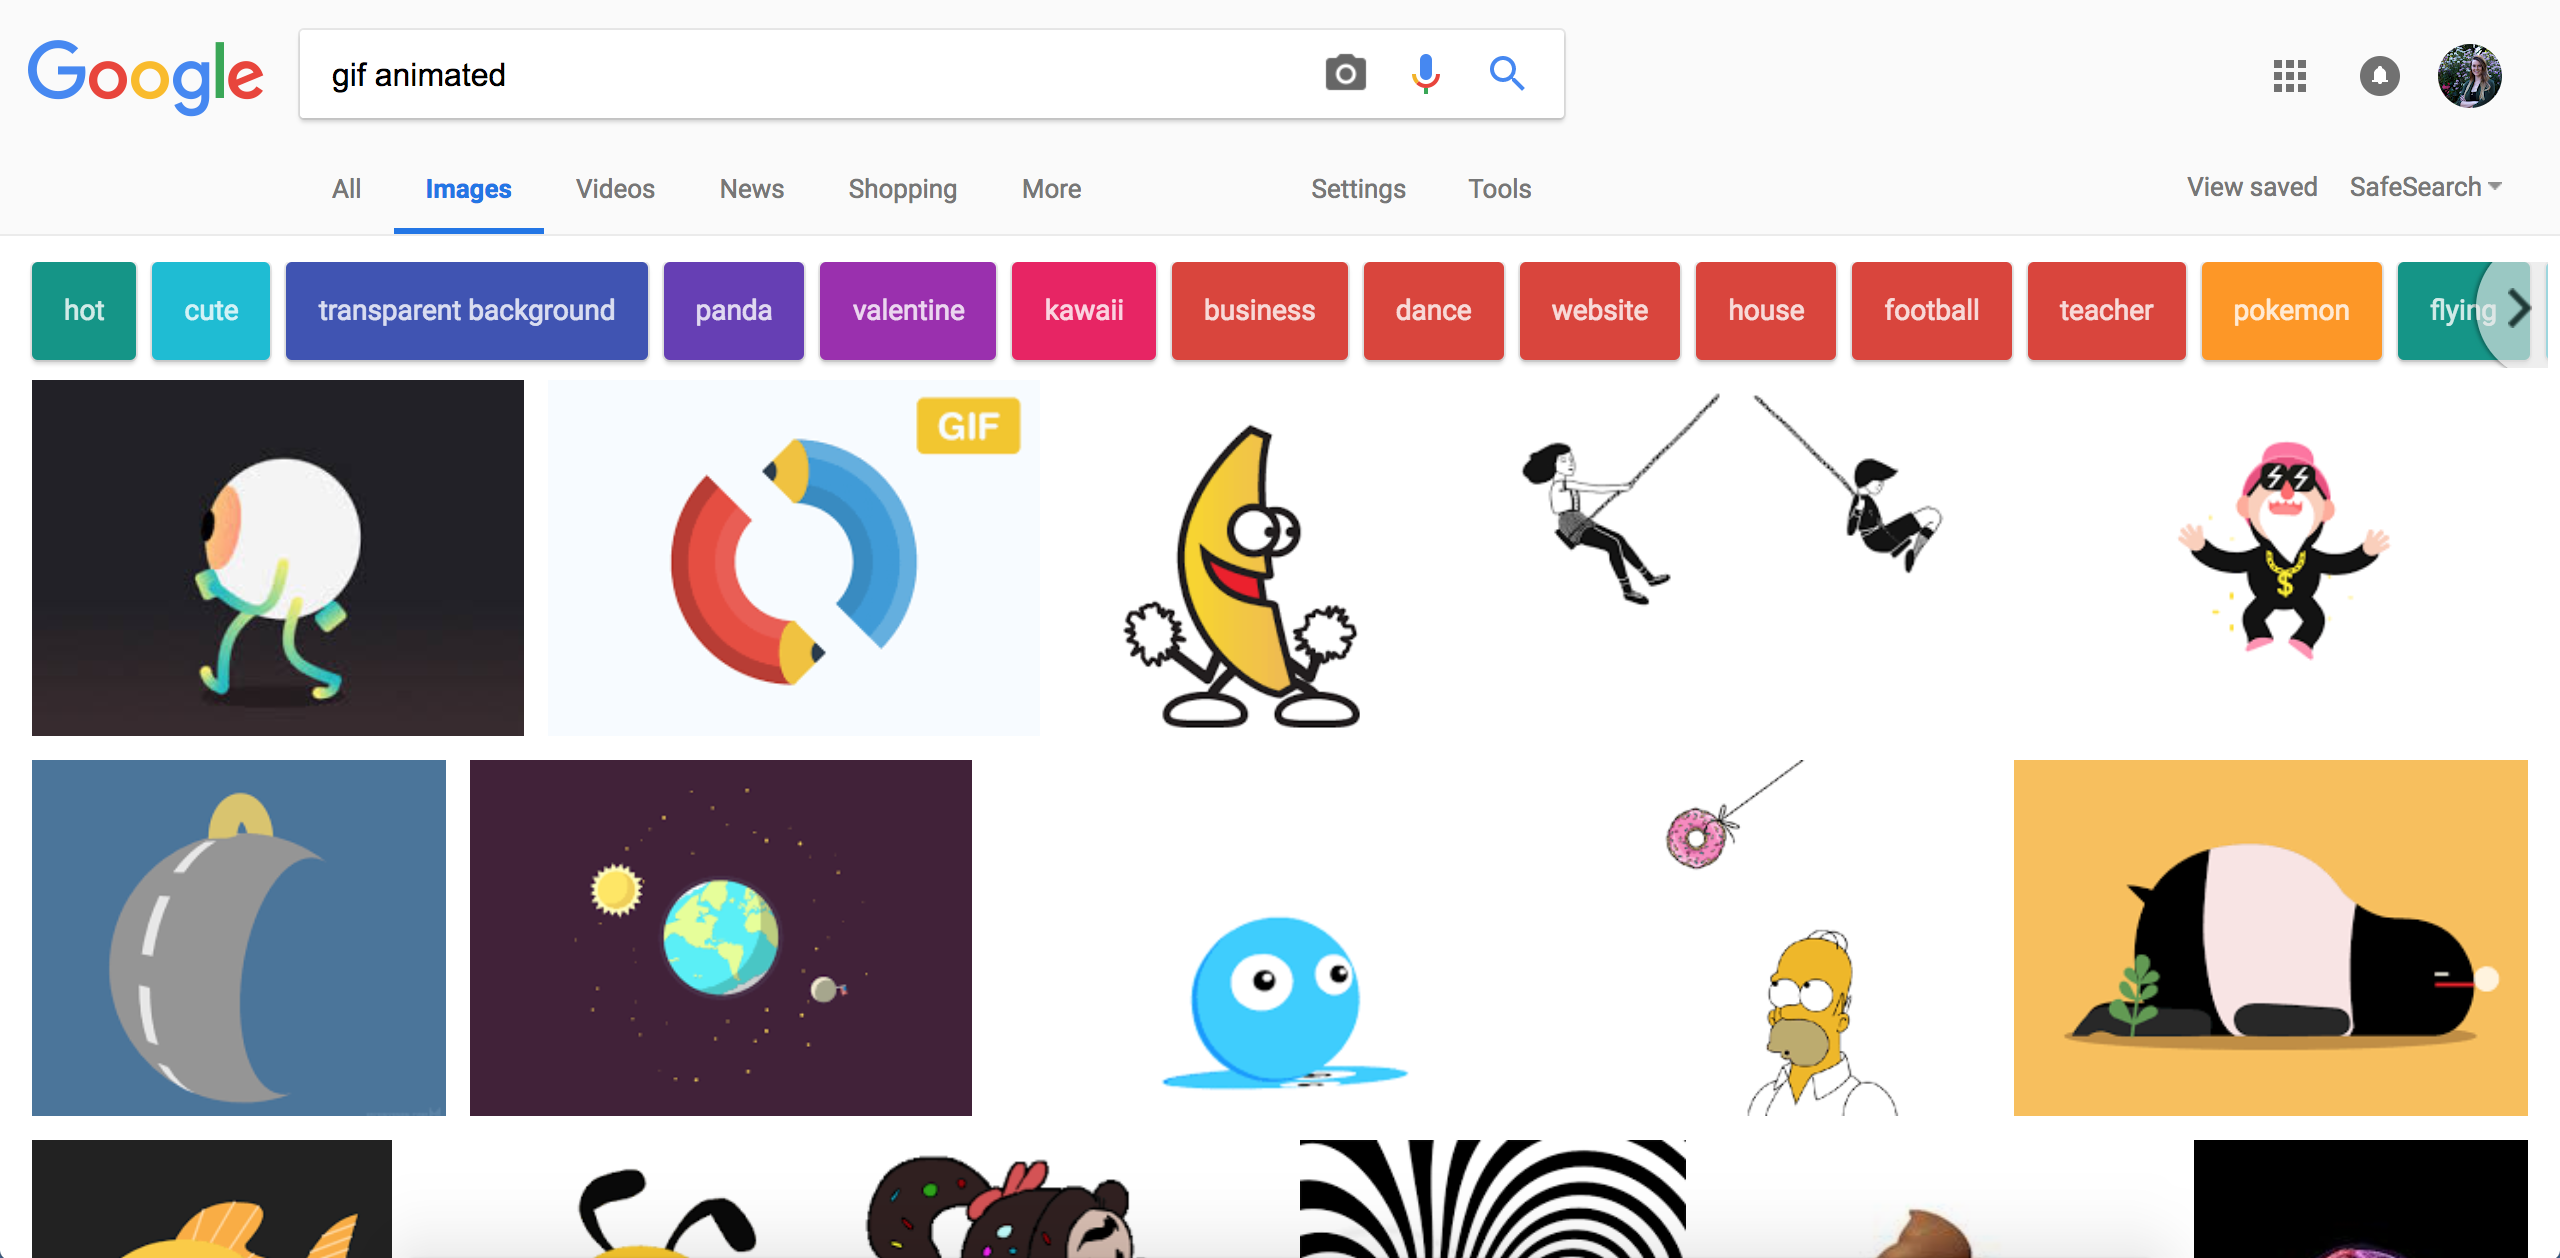
There are many ways to start! You can draw on Adobe Photoshop, Illustrator, or on a piece of paper. As long as you can get it online and turn it black and white in Illustrator and can print on your laser cutter.
What I did, was found an animated gif online and saved it. When you save a gif, it downloads each frame in a folder.
The whole idea is to make a stop motion image in your film strip to create a movie. As long as your gif, drawing, pictures, etc. is 48 images or more, you're good to go!
Step 2
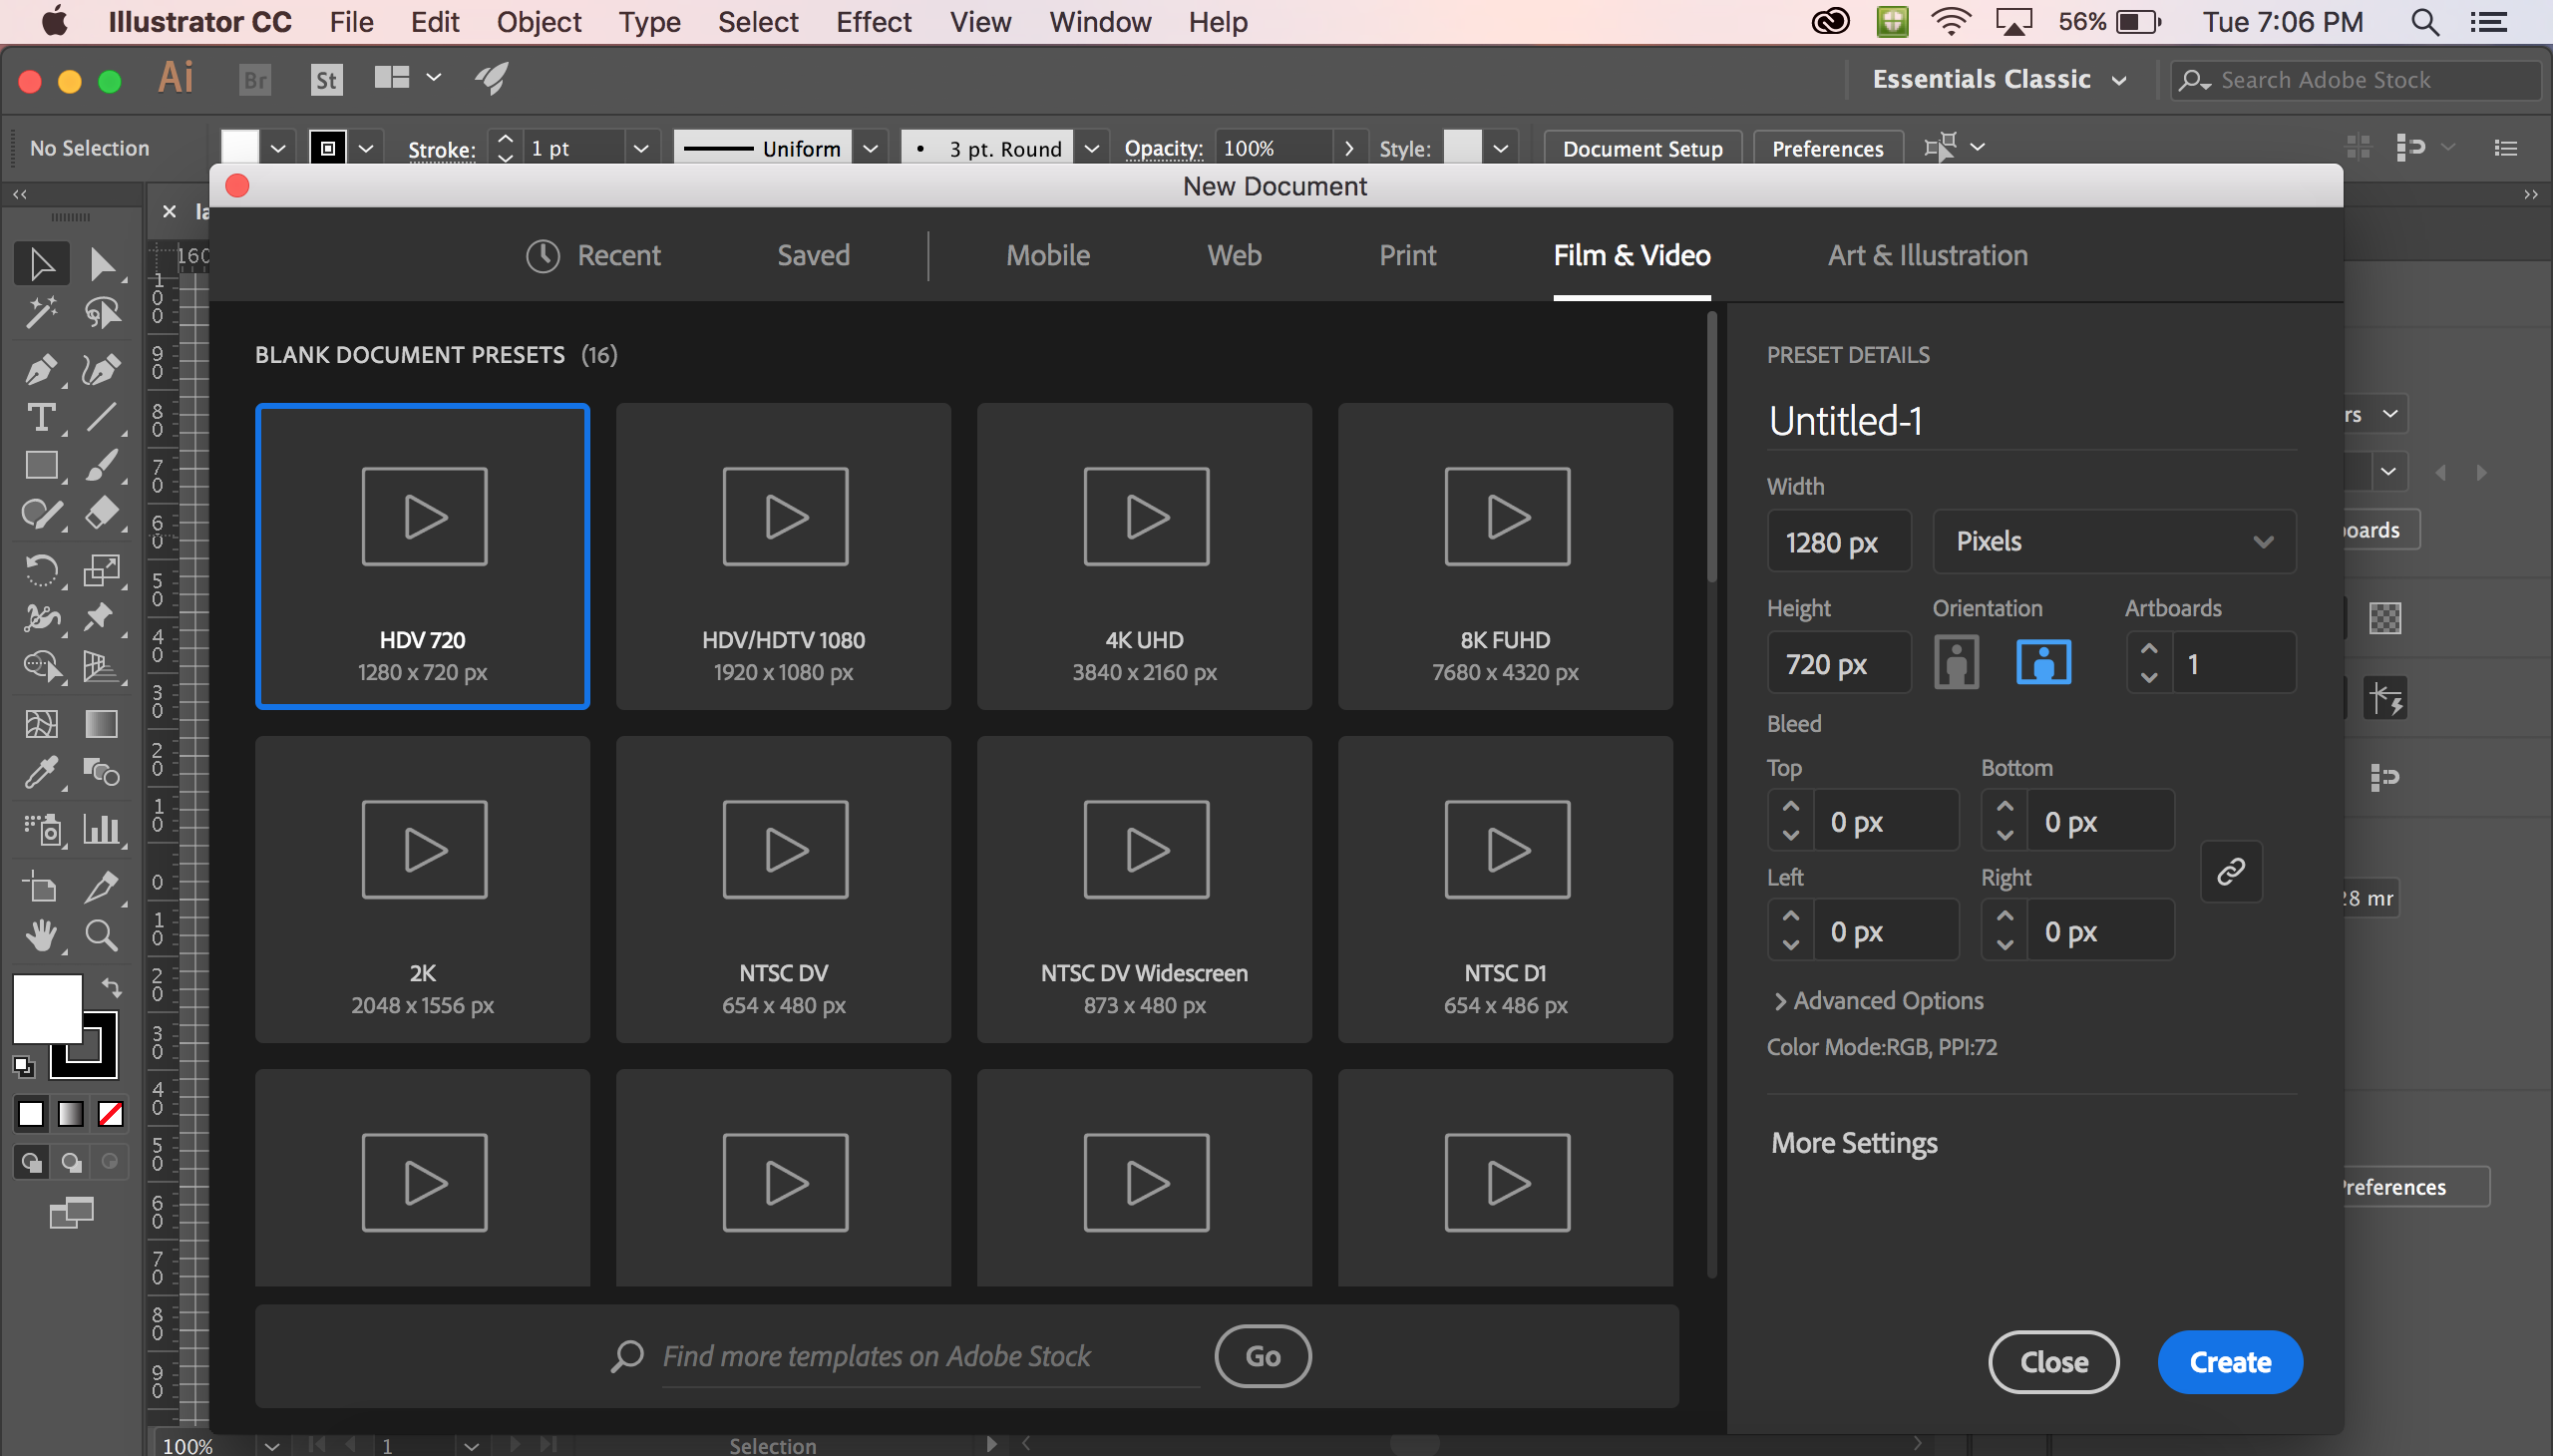
Now that you've picked your design, open up Illustrator.
Illustrator gives you several presets to choose from- go with NTSC DV Widescreen.
Step 3
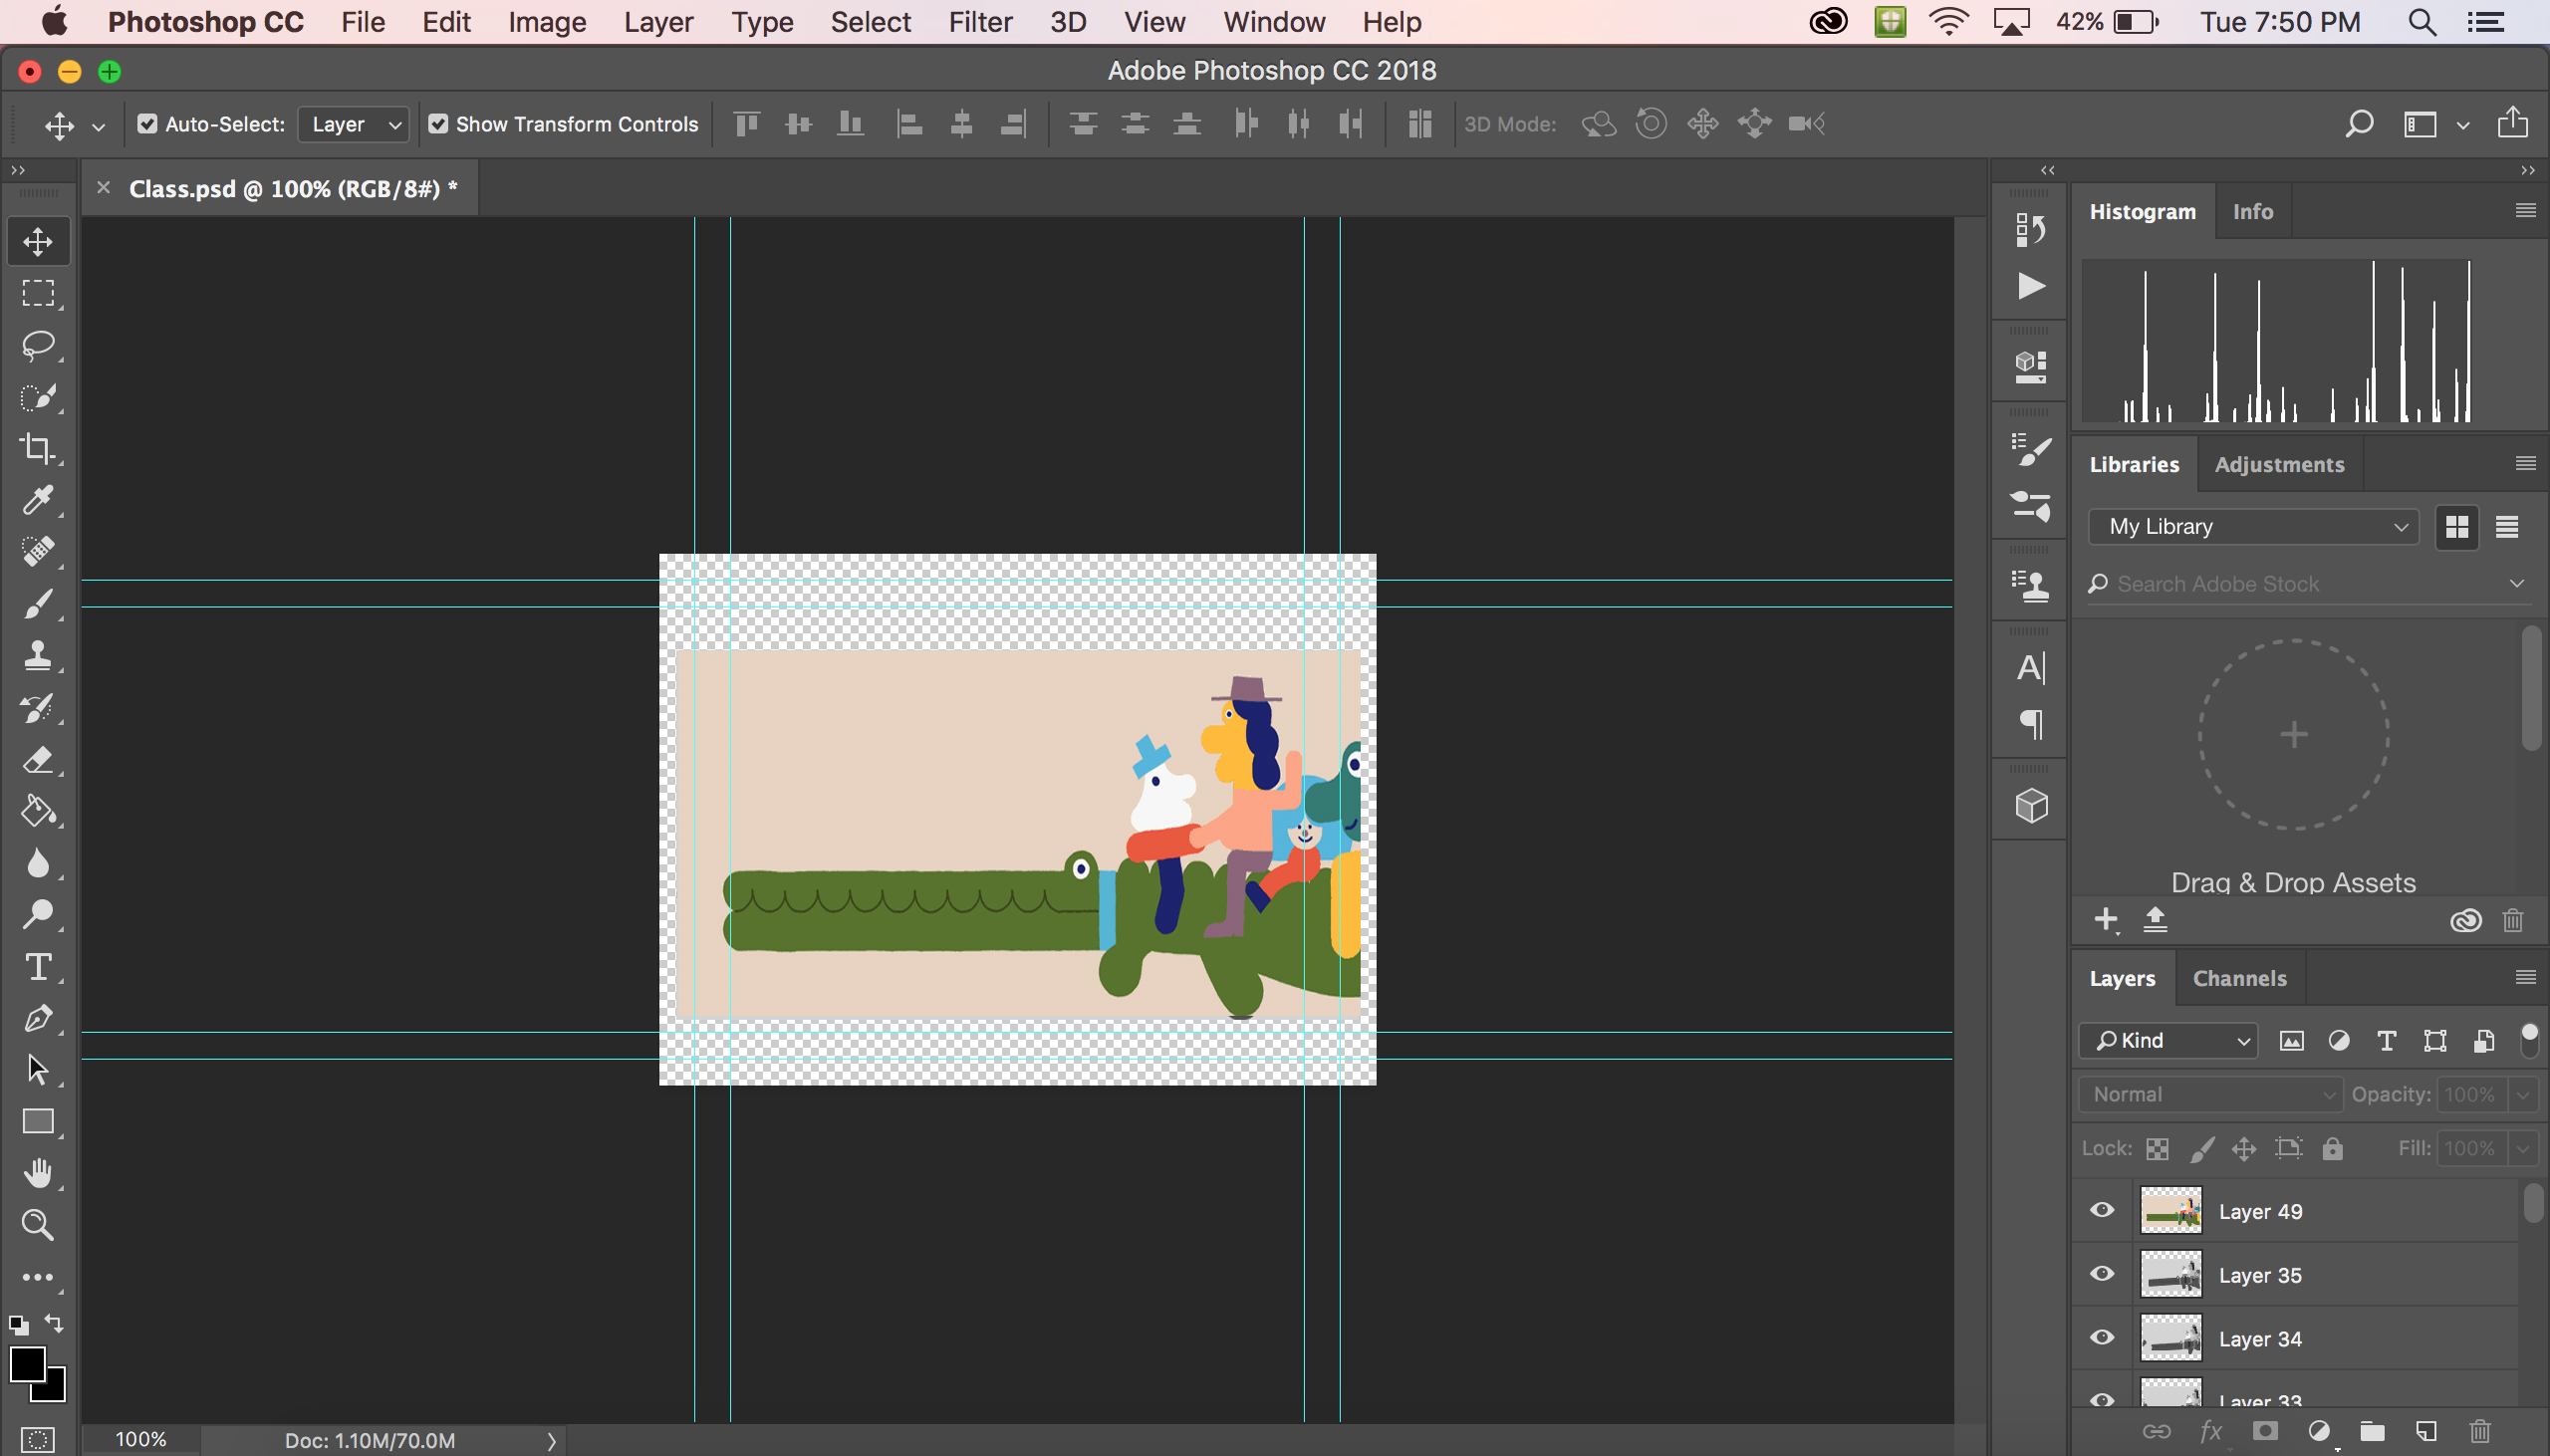
Now- place each image into illustrator. You will have 48 layers by the end of it. the 48th layer is the one you see presently in the example image. Make sure you put the images in order- it doesn't matter the name- but as long as the first image starts at the bottom of the layers and the last one is on the top!
Step 4
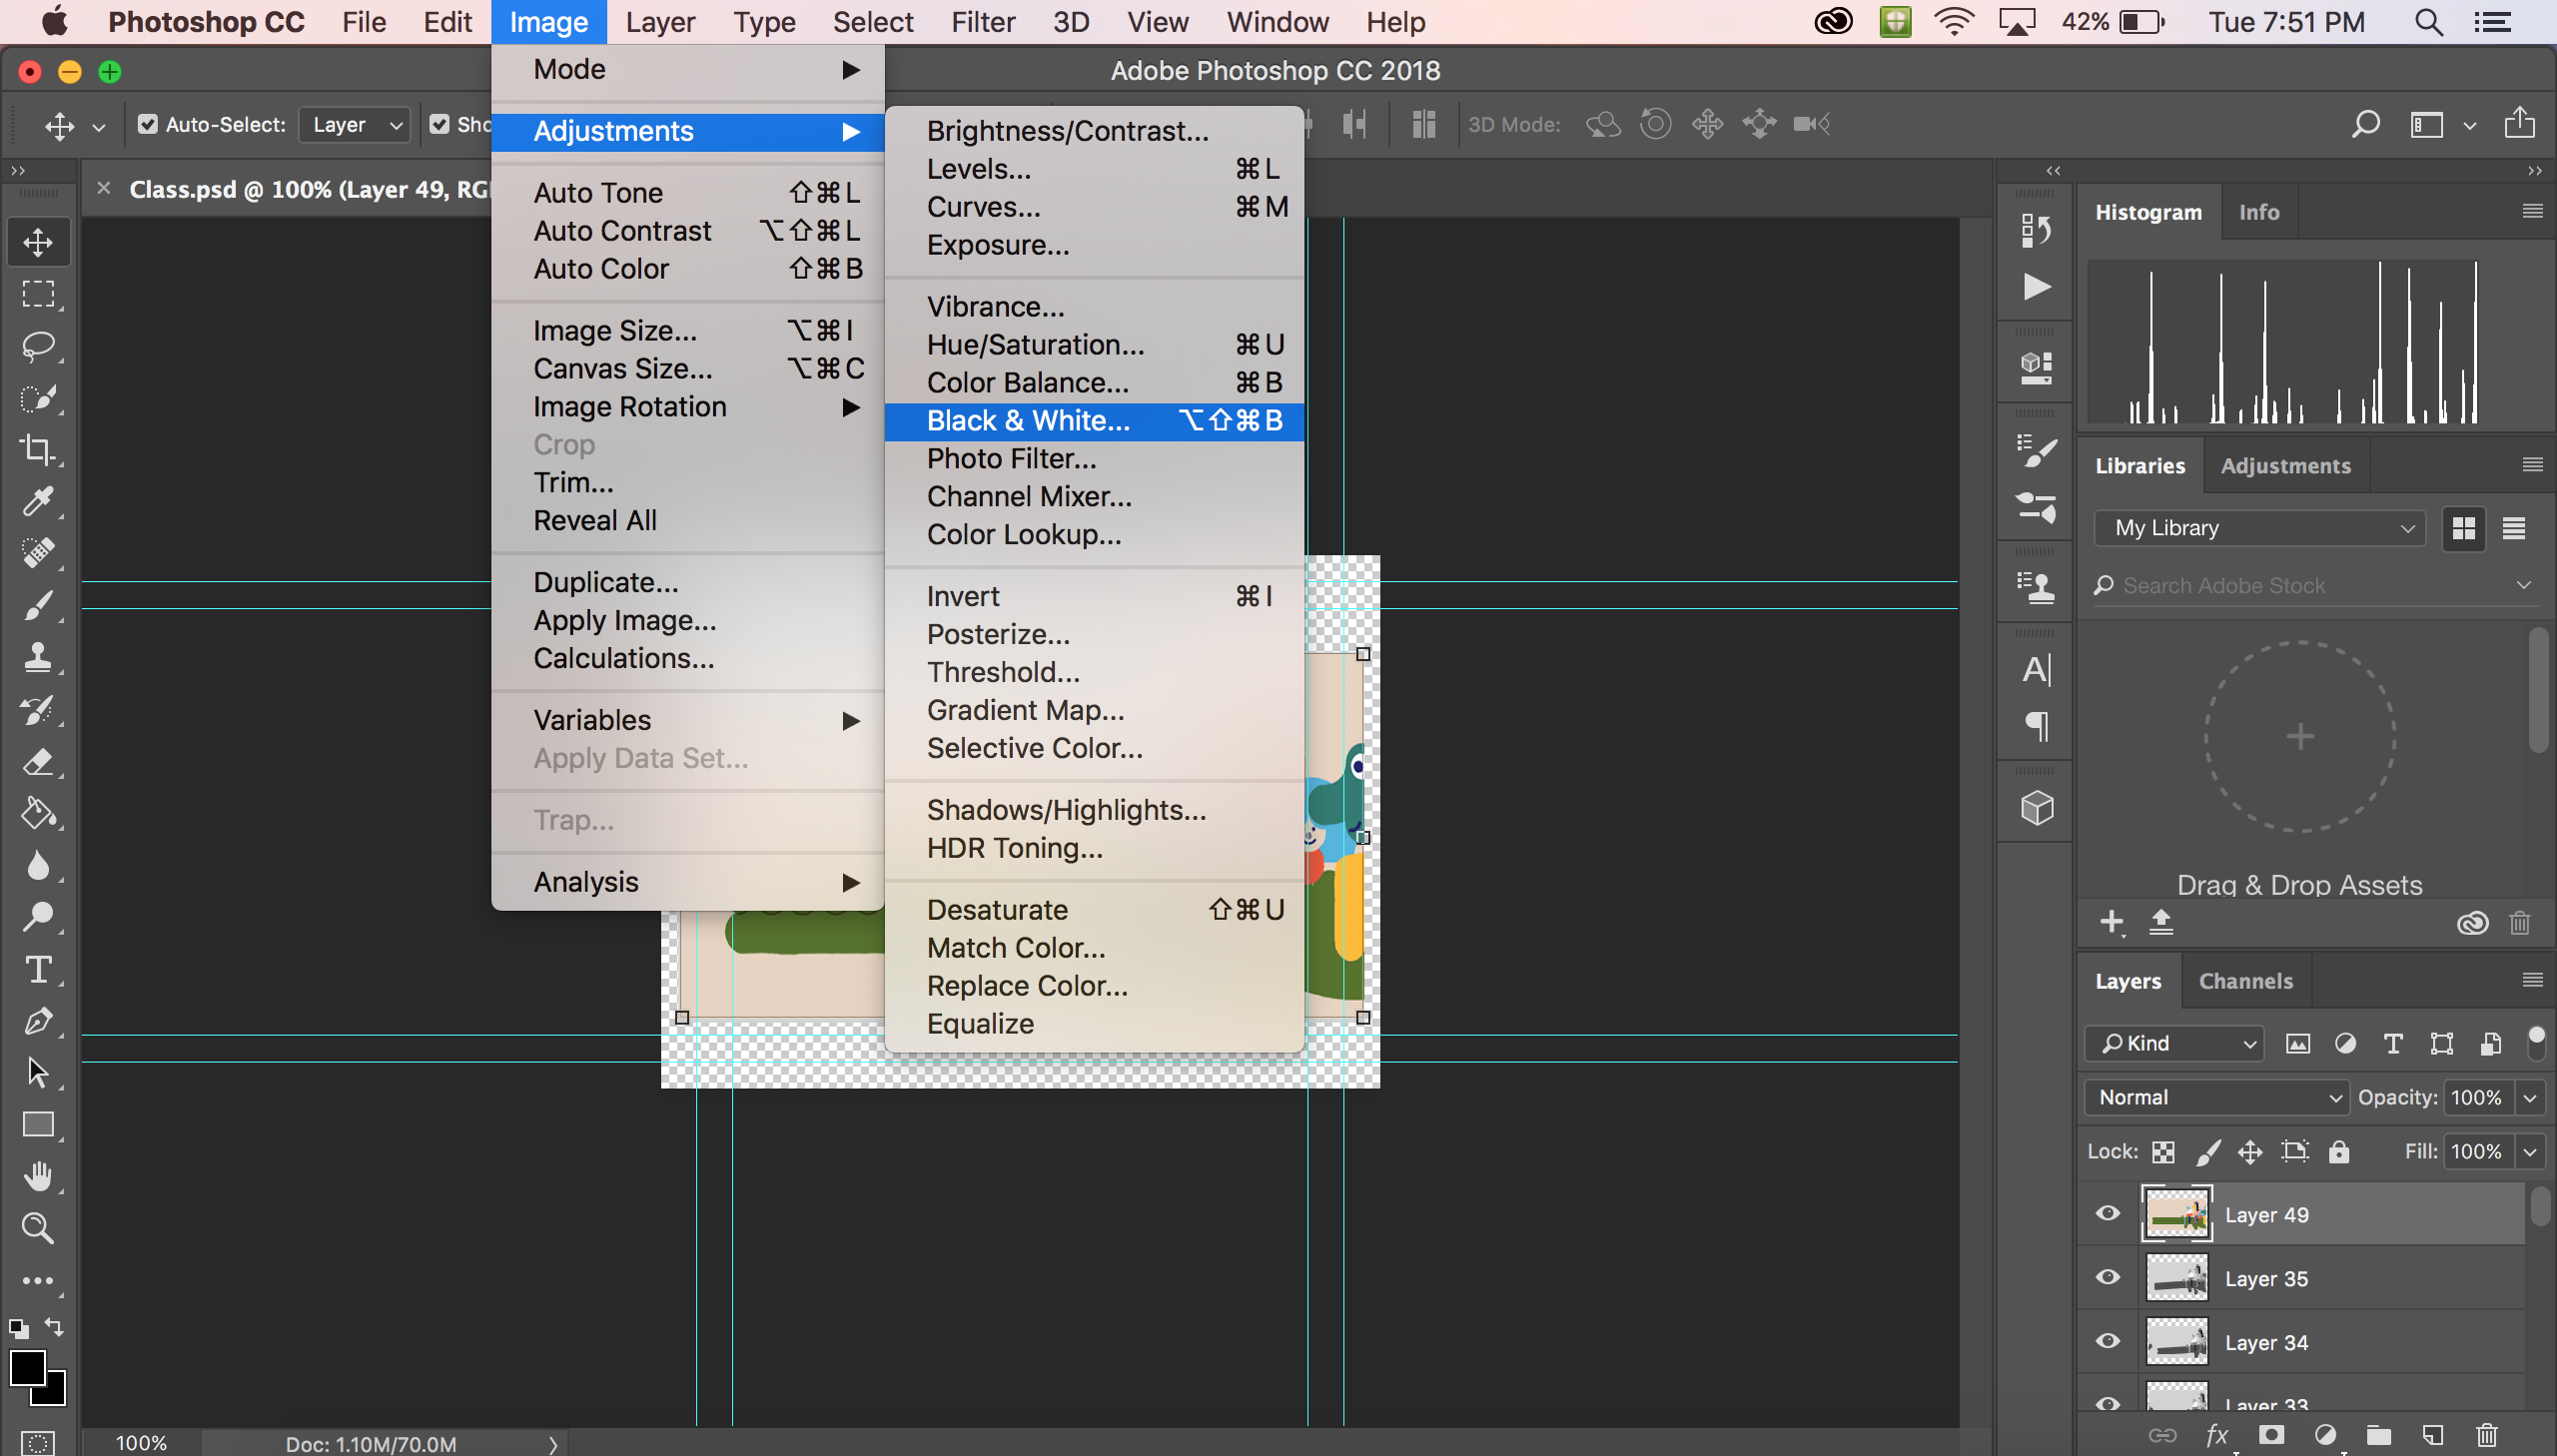
Now- make every layer black and white.
Go to:
Image > Adjustments > Black and white
Tip:
You have to select the layer you want to change- you can't select all of them or just have the "eye" toggle off. You must select the layer itself.
Step 5
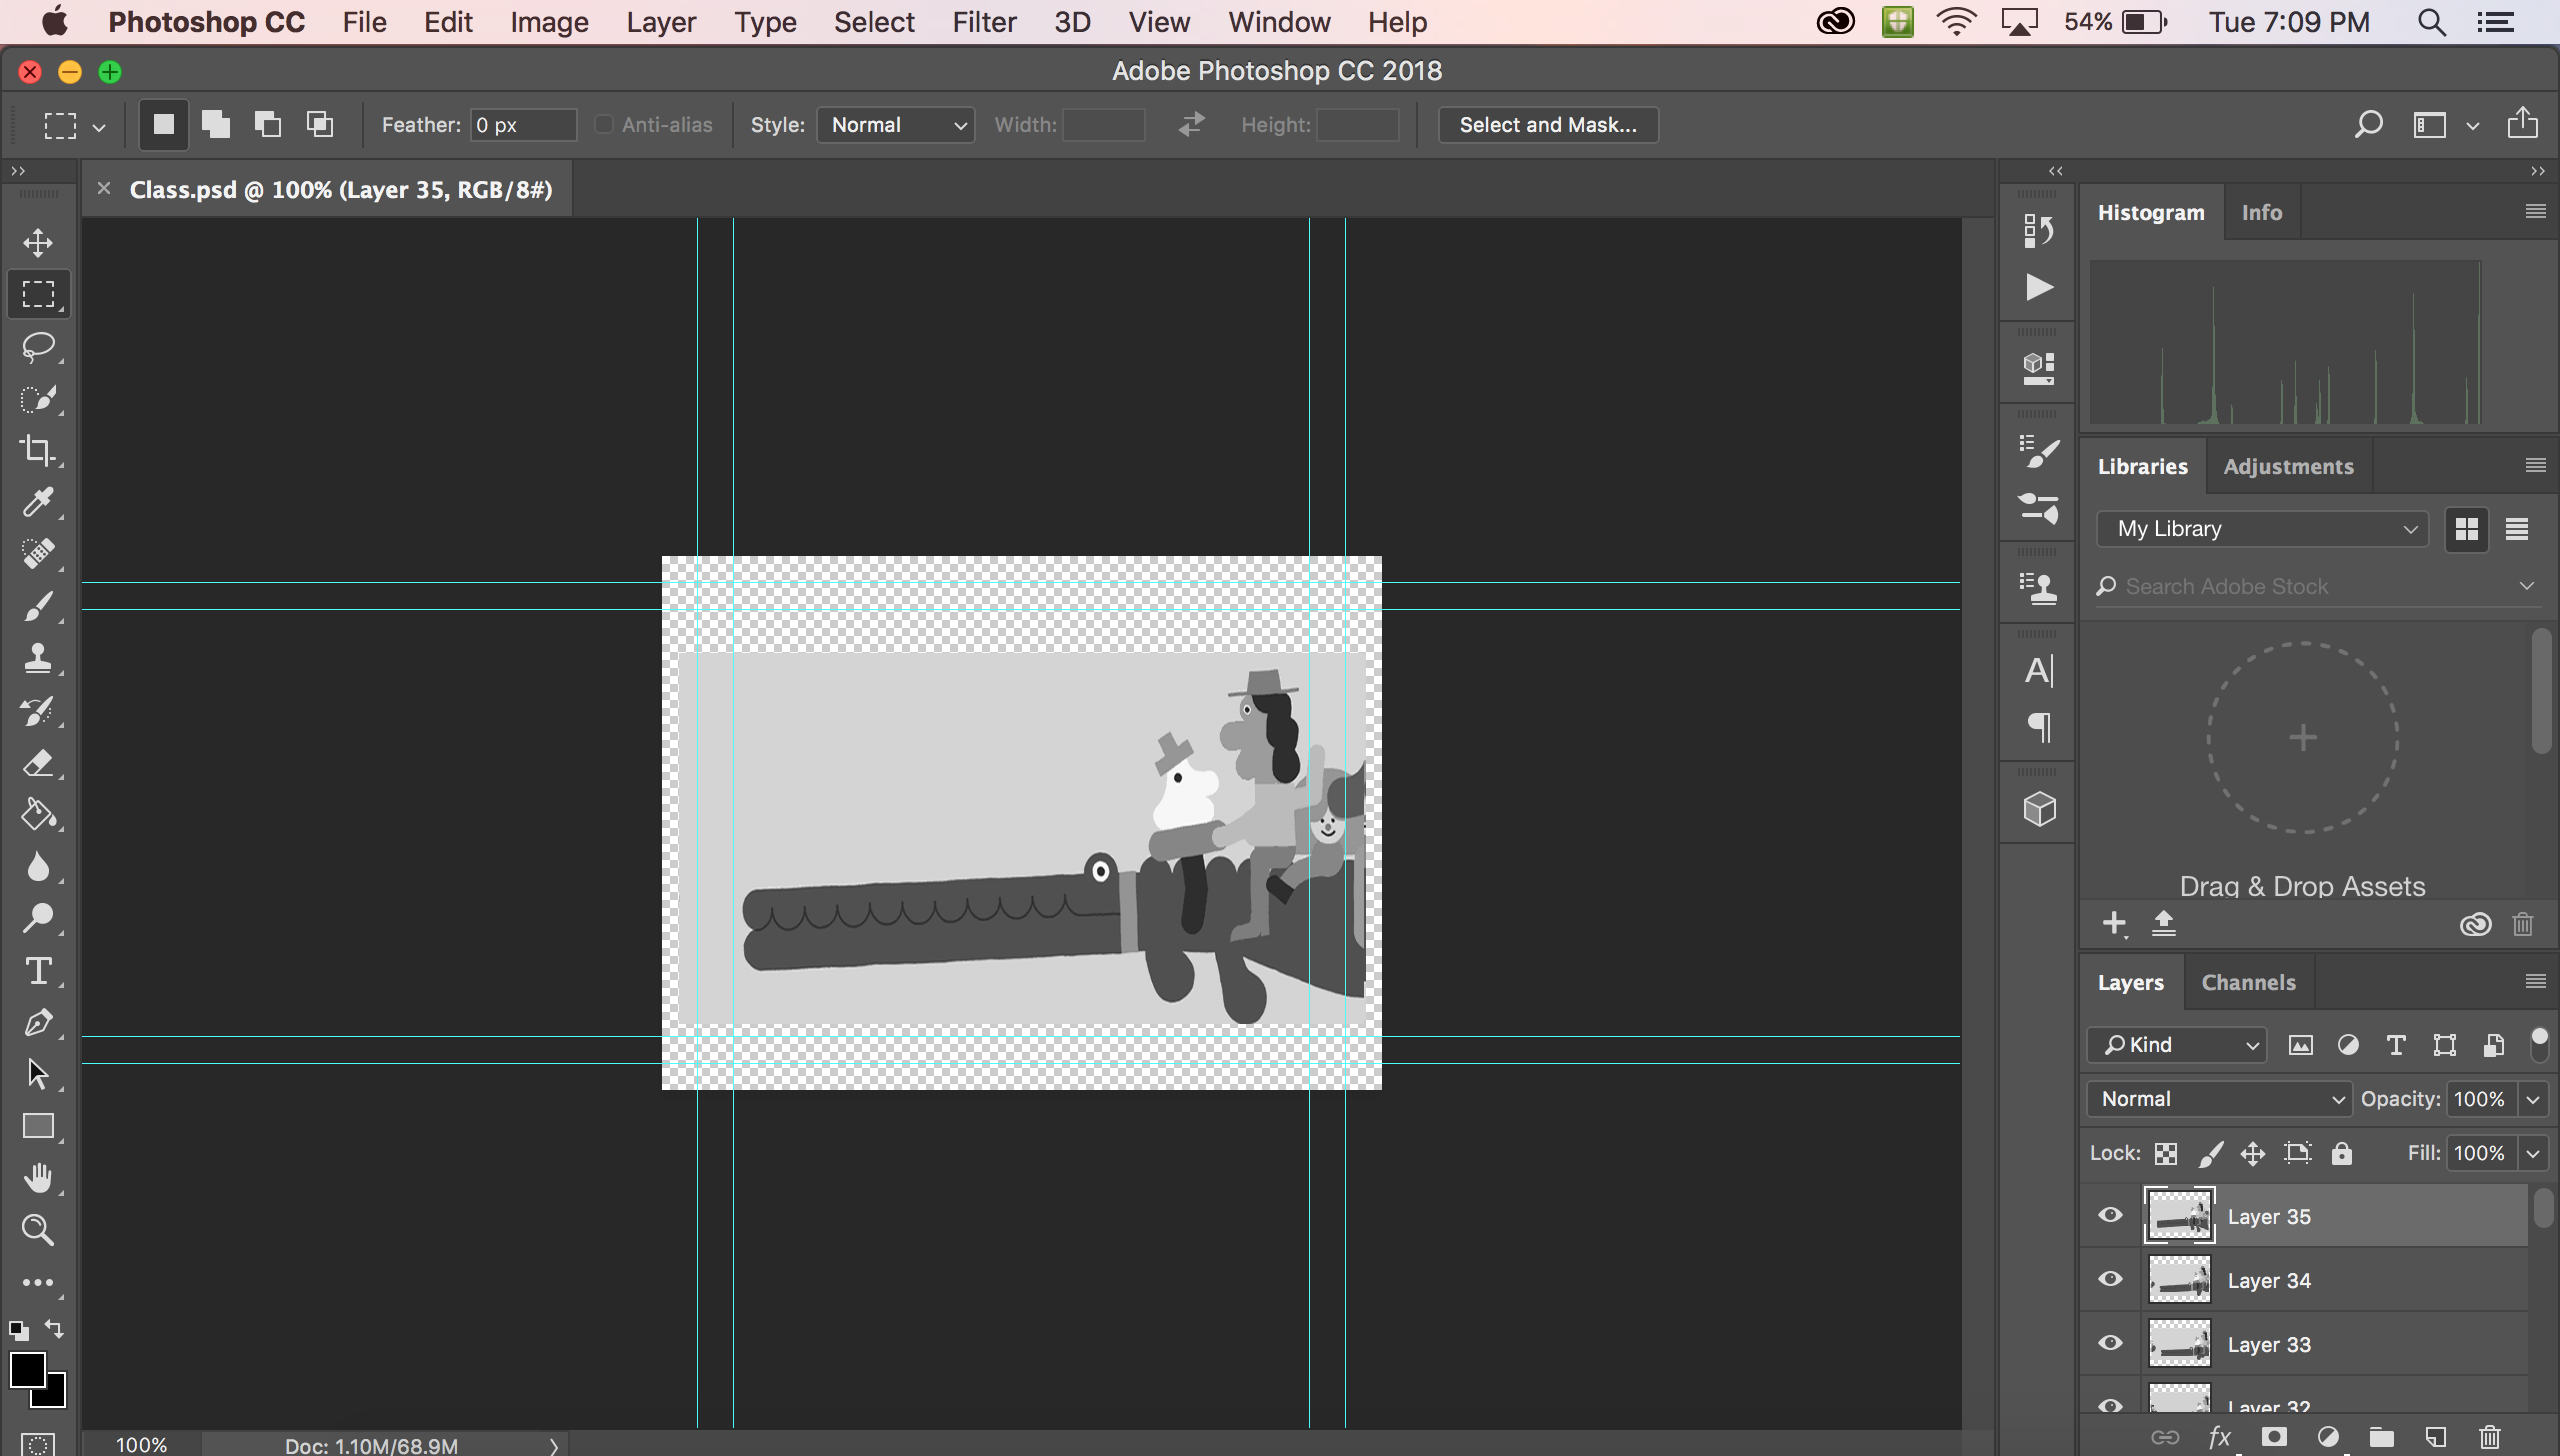
Now that you have every frame black and white (this is for the laser printer) then it's time to move into Photoshop!
Step 6
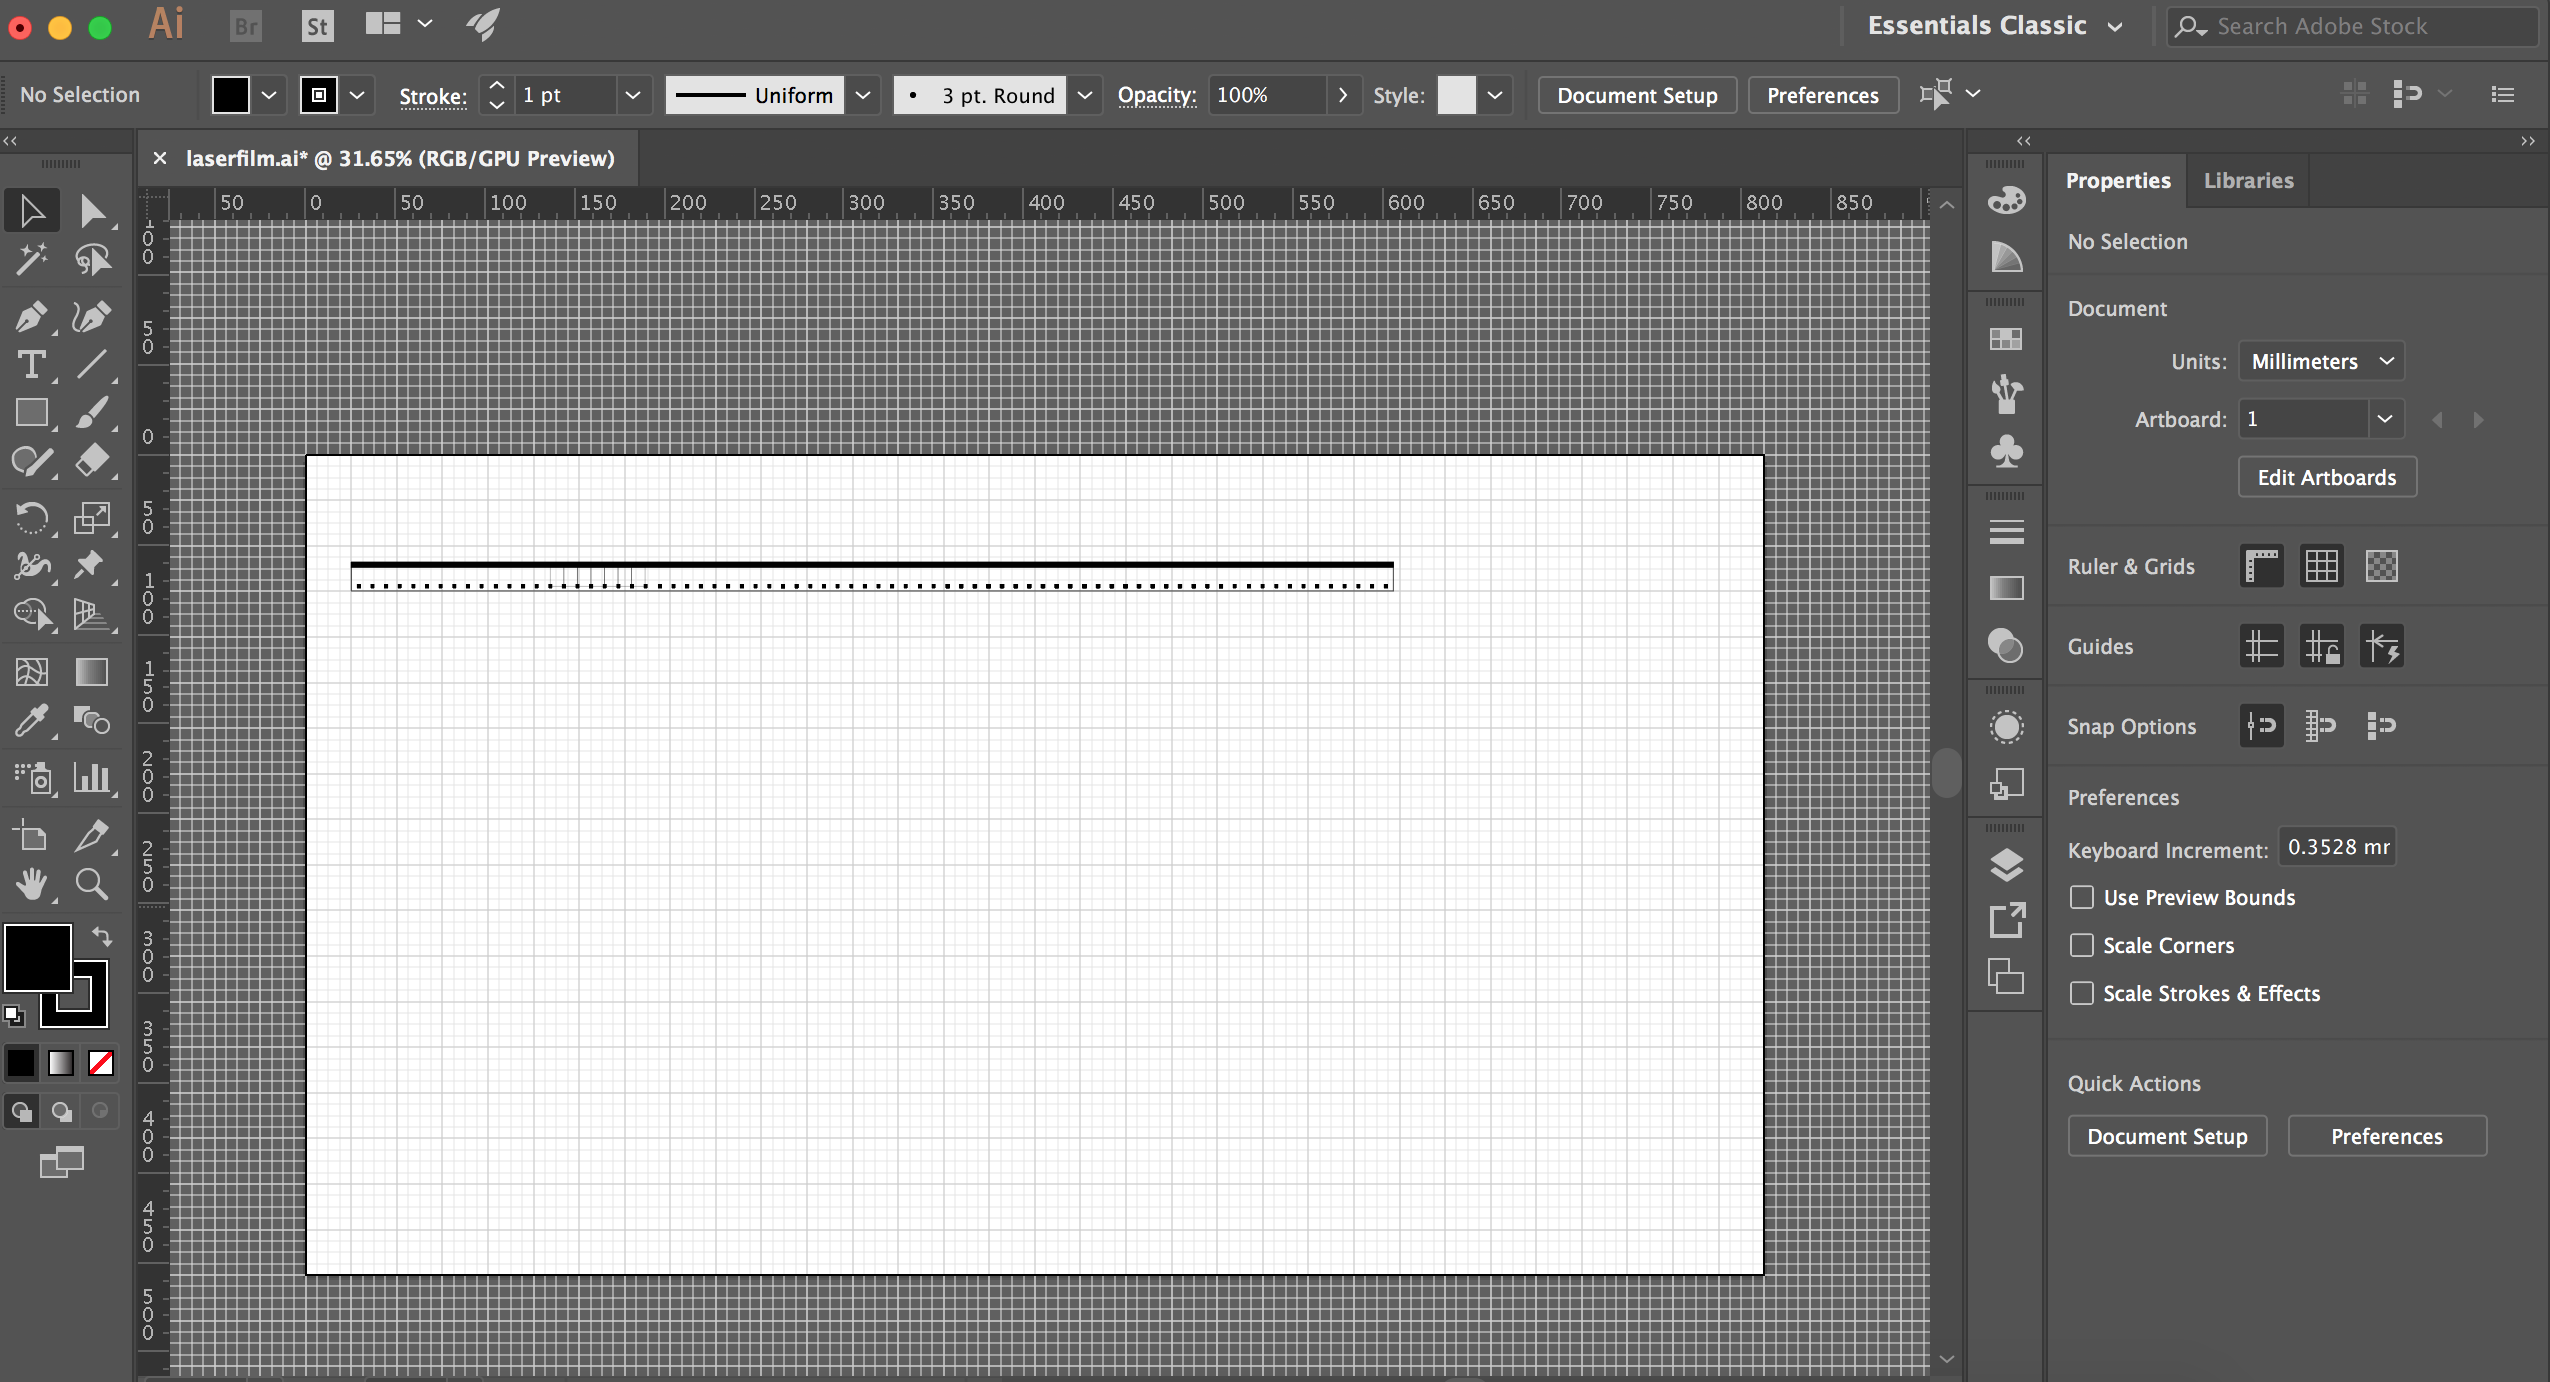
Create, or obtain, a film strip in photoshop.
Step 7
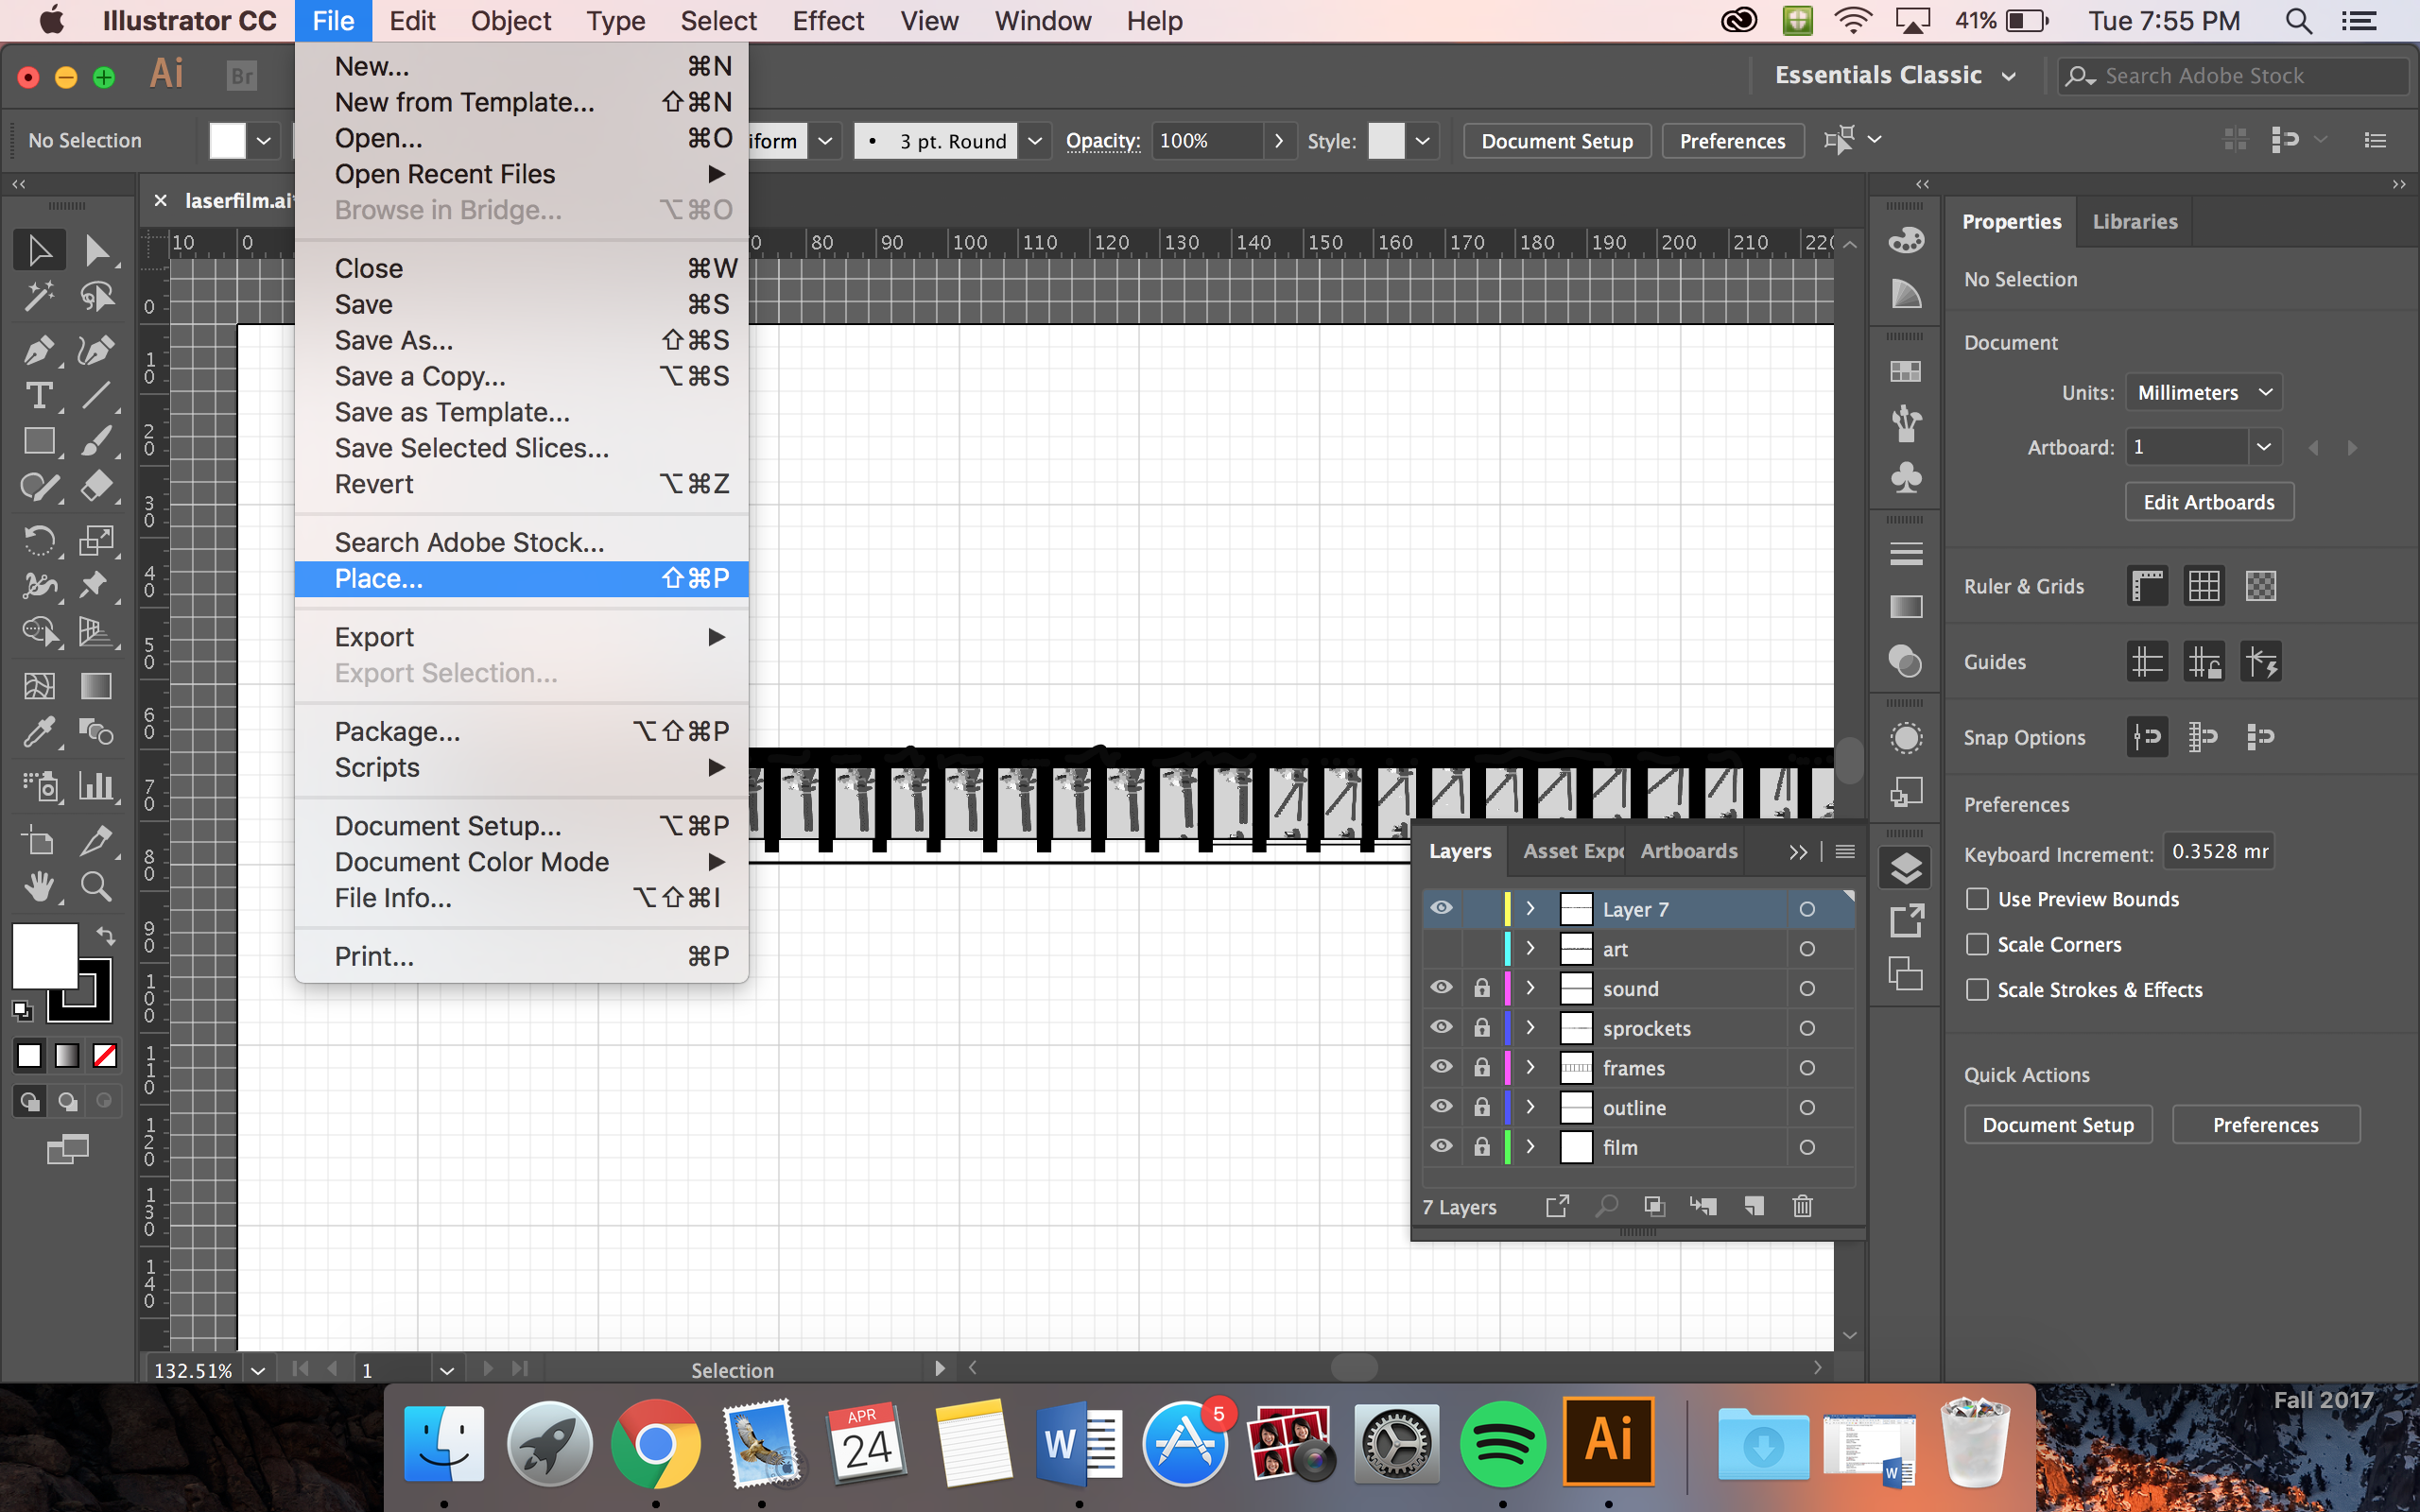
File > Place your photoshop design into illustrator.
Now you can turn off all of the different layers besides your image. You should not have the sound, sprockets, or anything else but your design. You can draw on illustrator where the sound strip would be and create sounds the projector can play!
Step 8
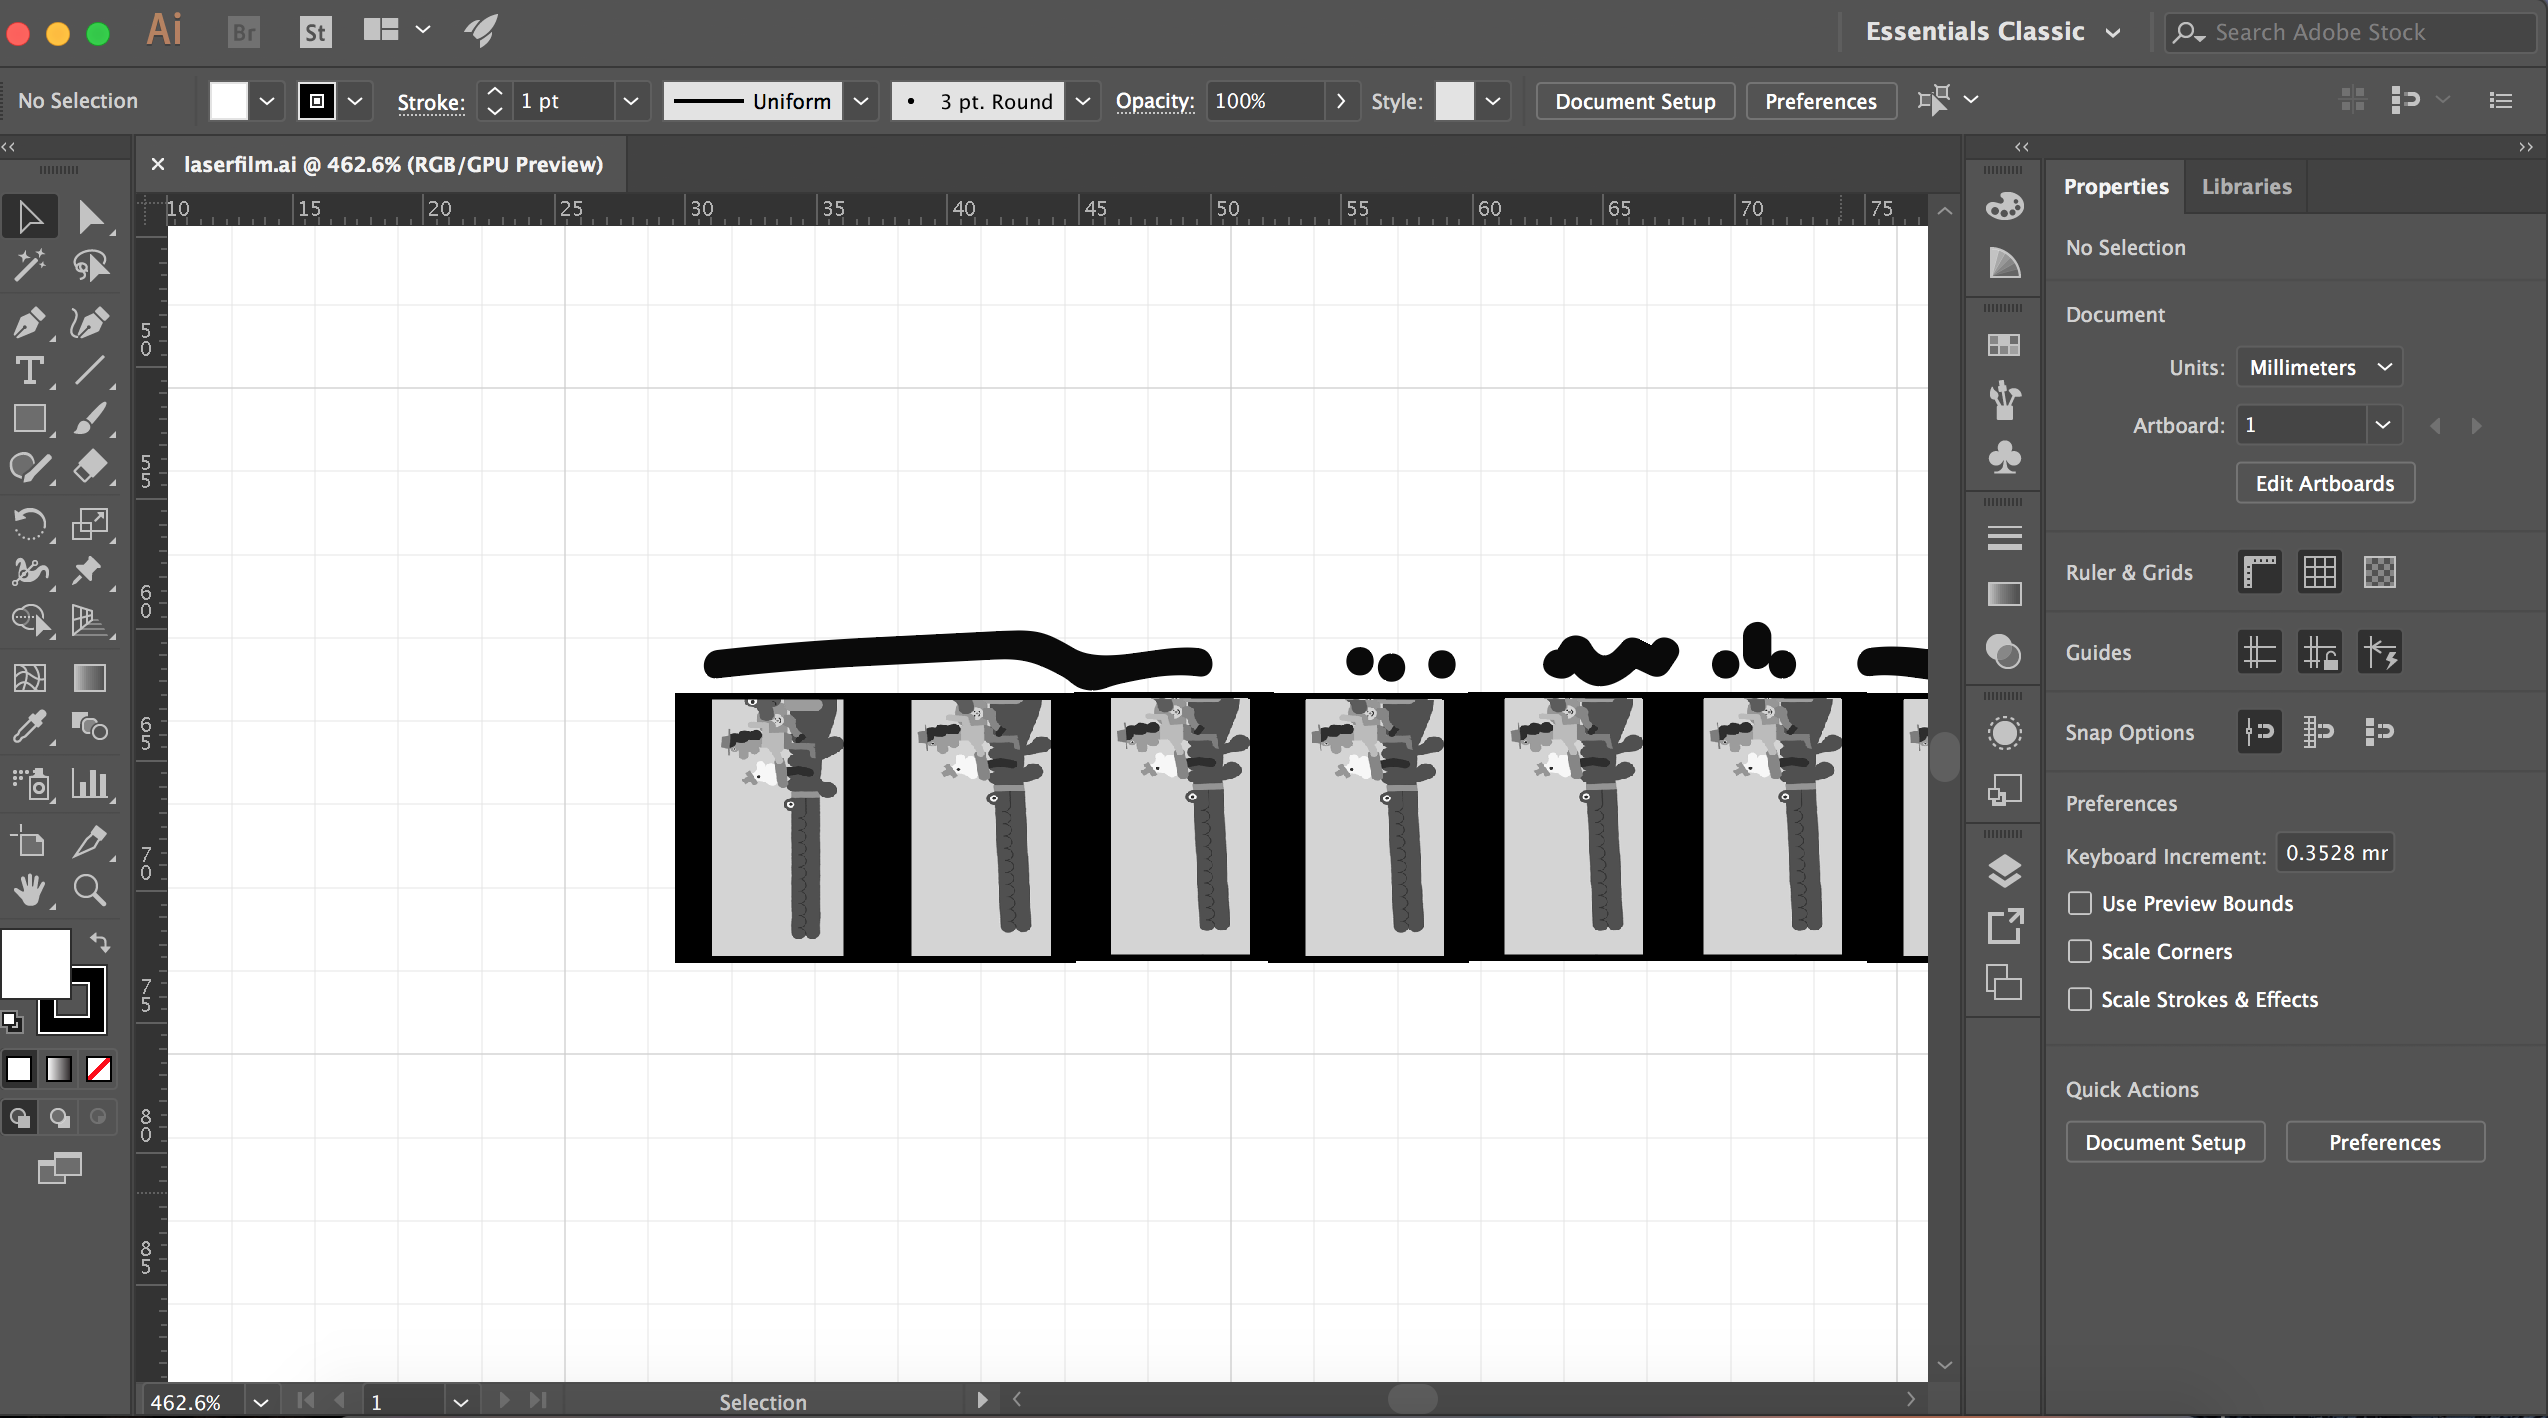
Try using a small paint brush and you can add dots, lines, and whatever else. It won't sound like music but the sounds will be very experimental.
Step 9
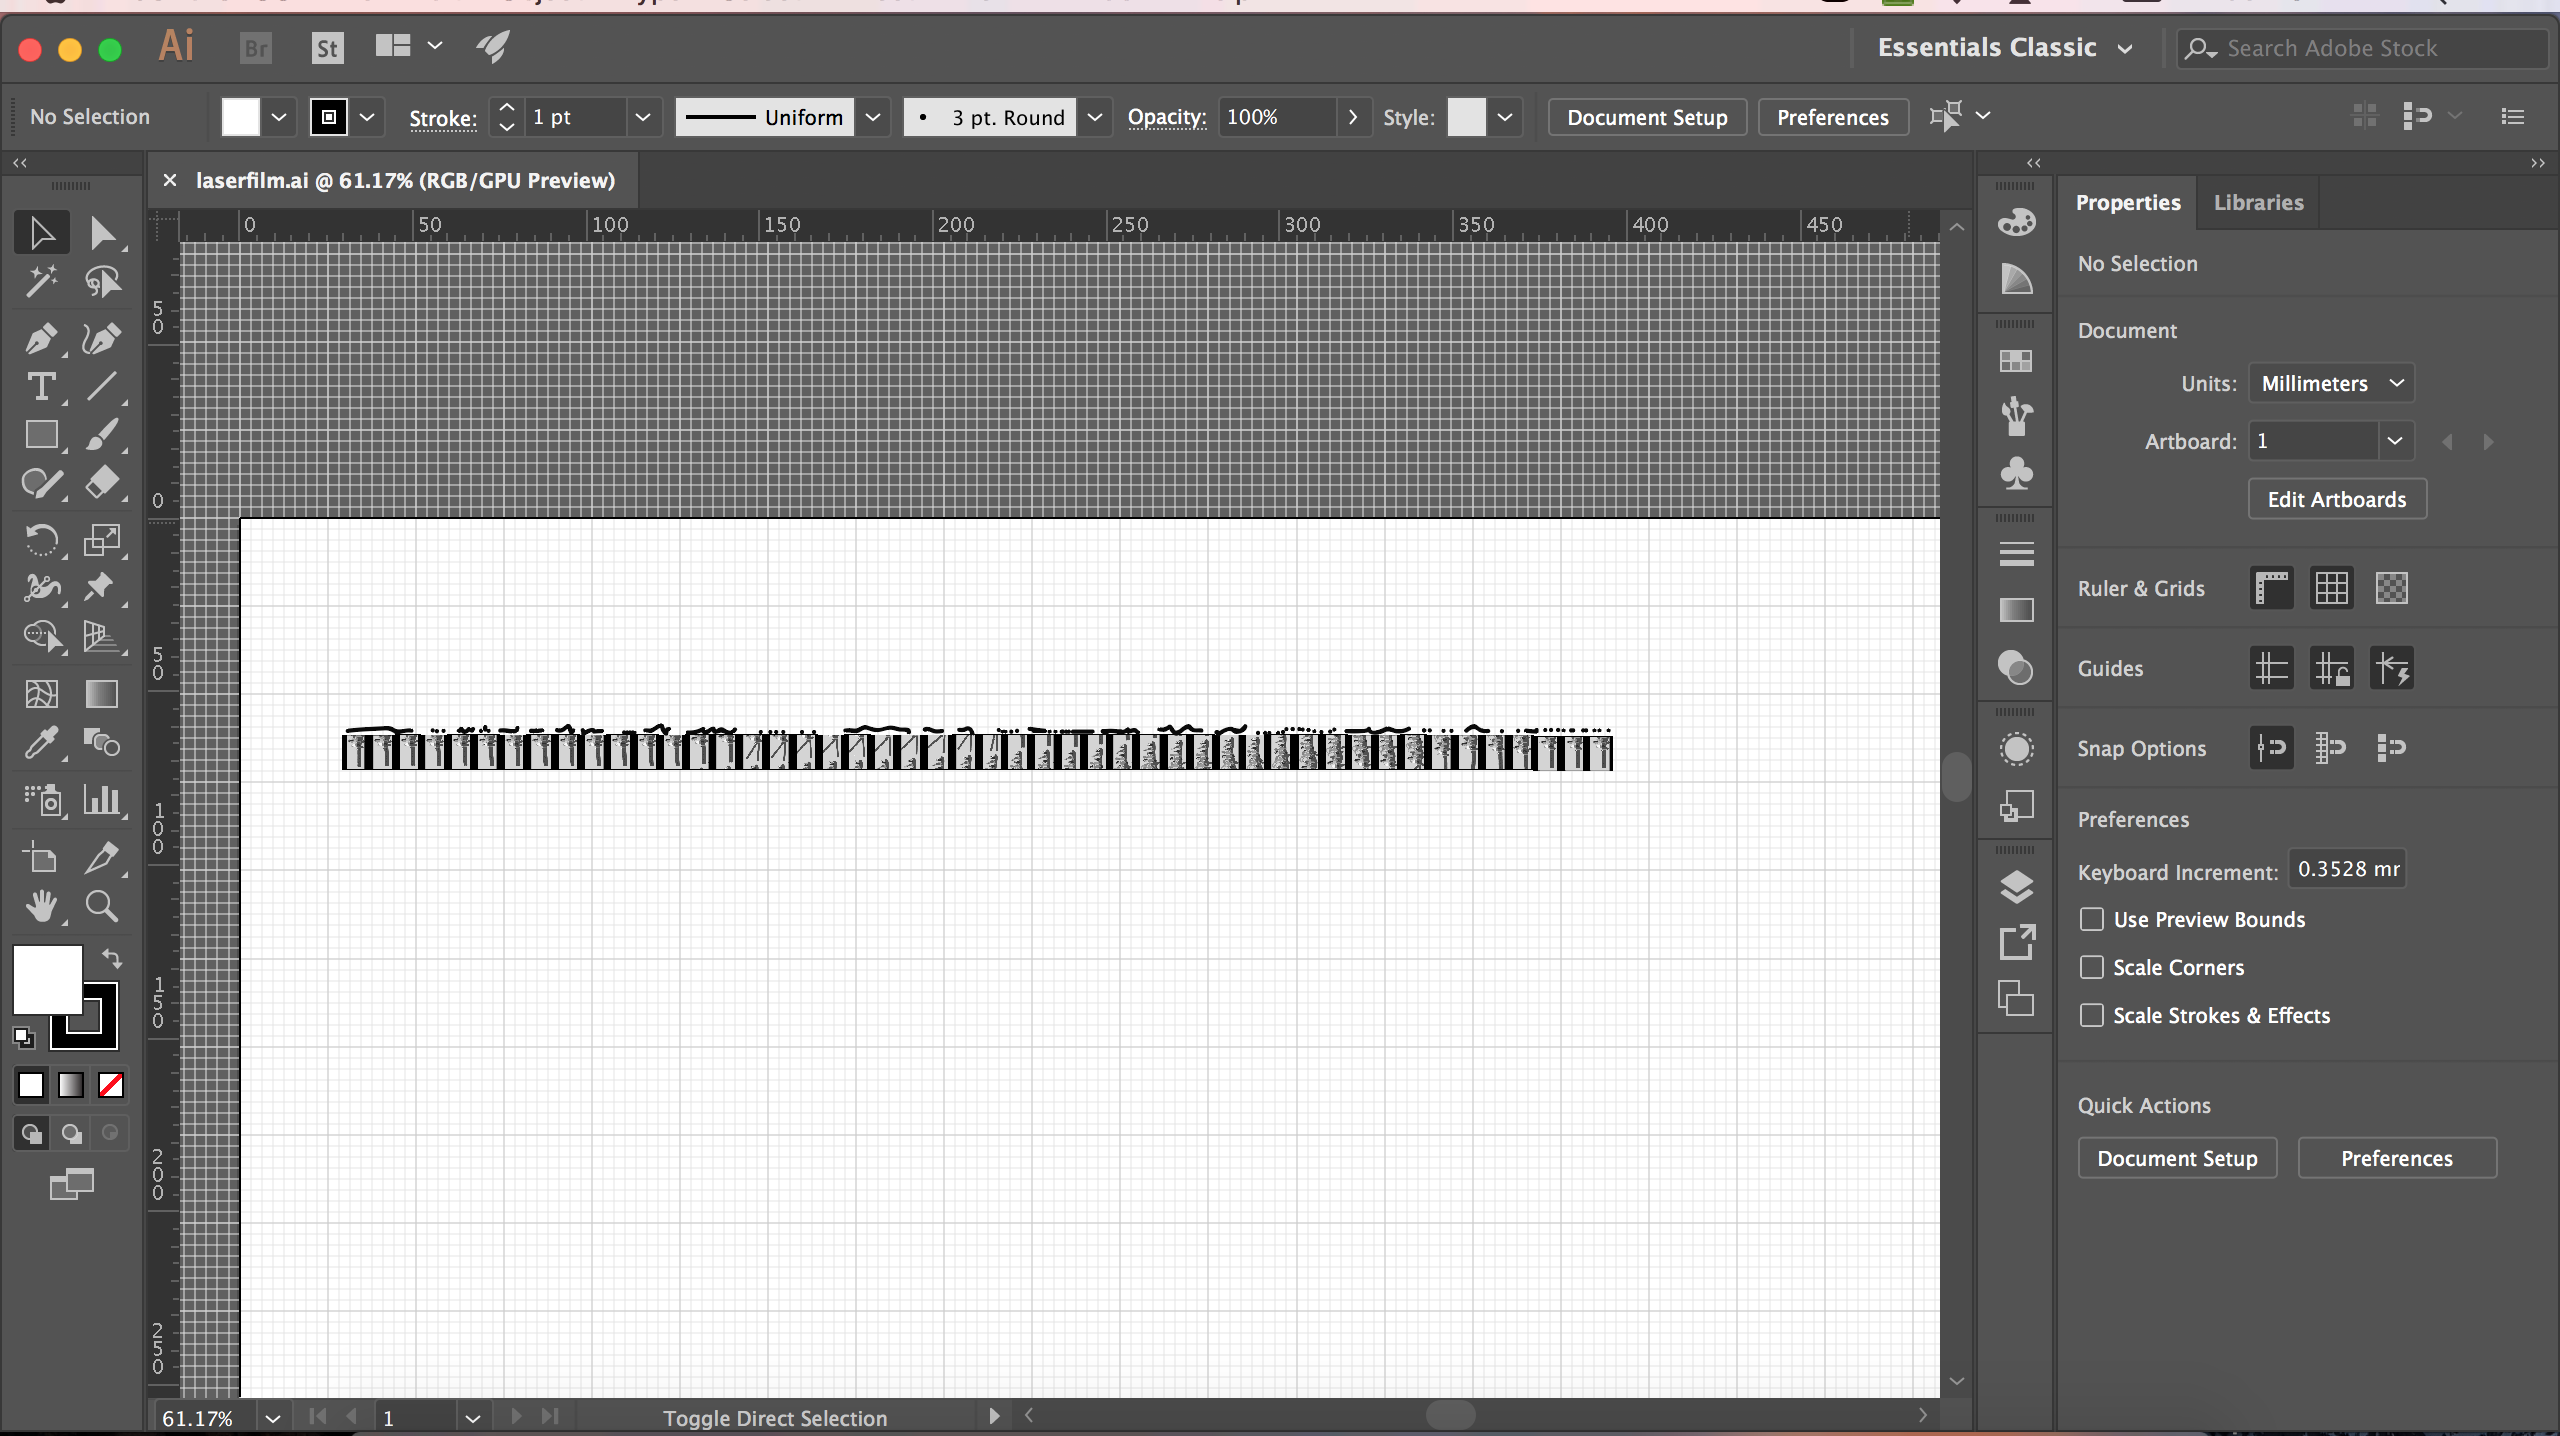
Once you have the strip complete, i did 48 frames, with music at the top, it's now time to print it using the laser cutter software!
Step 10
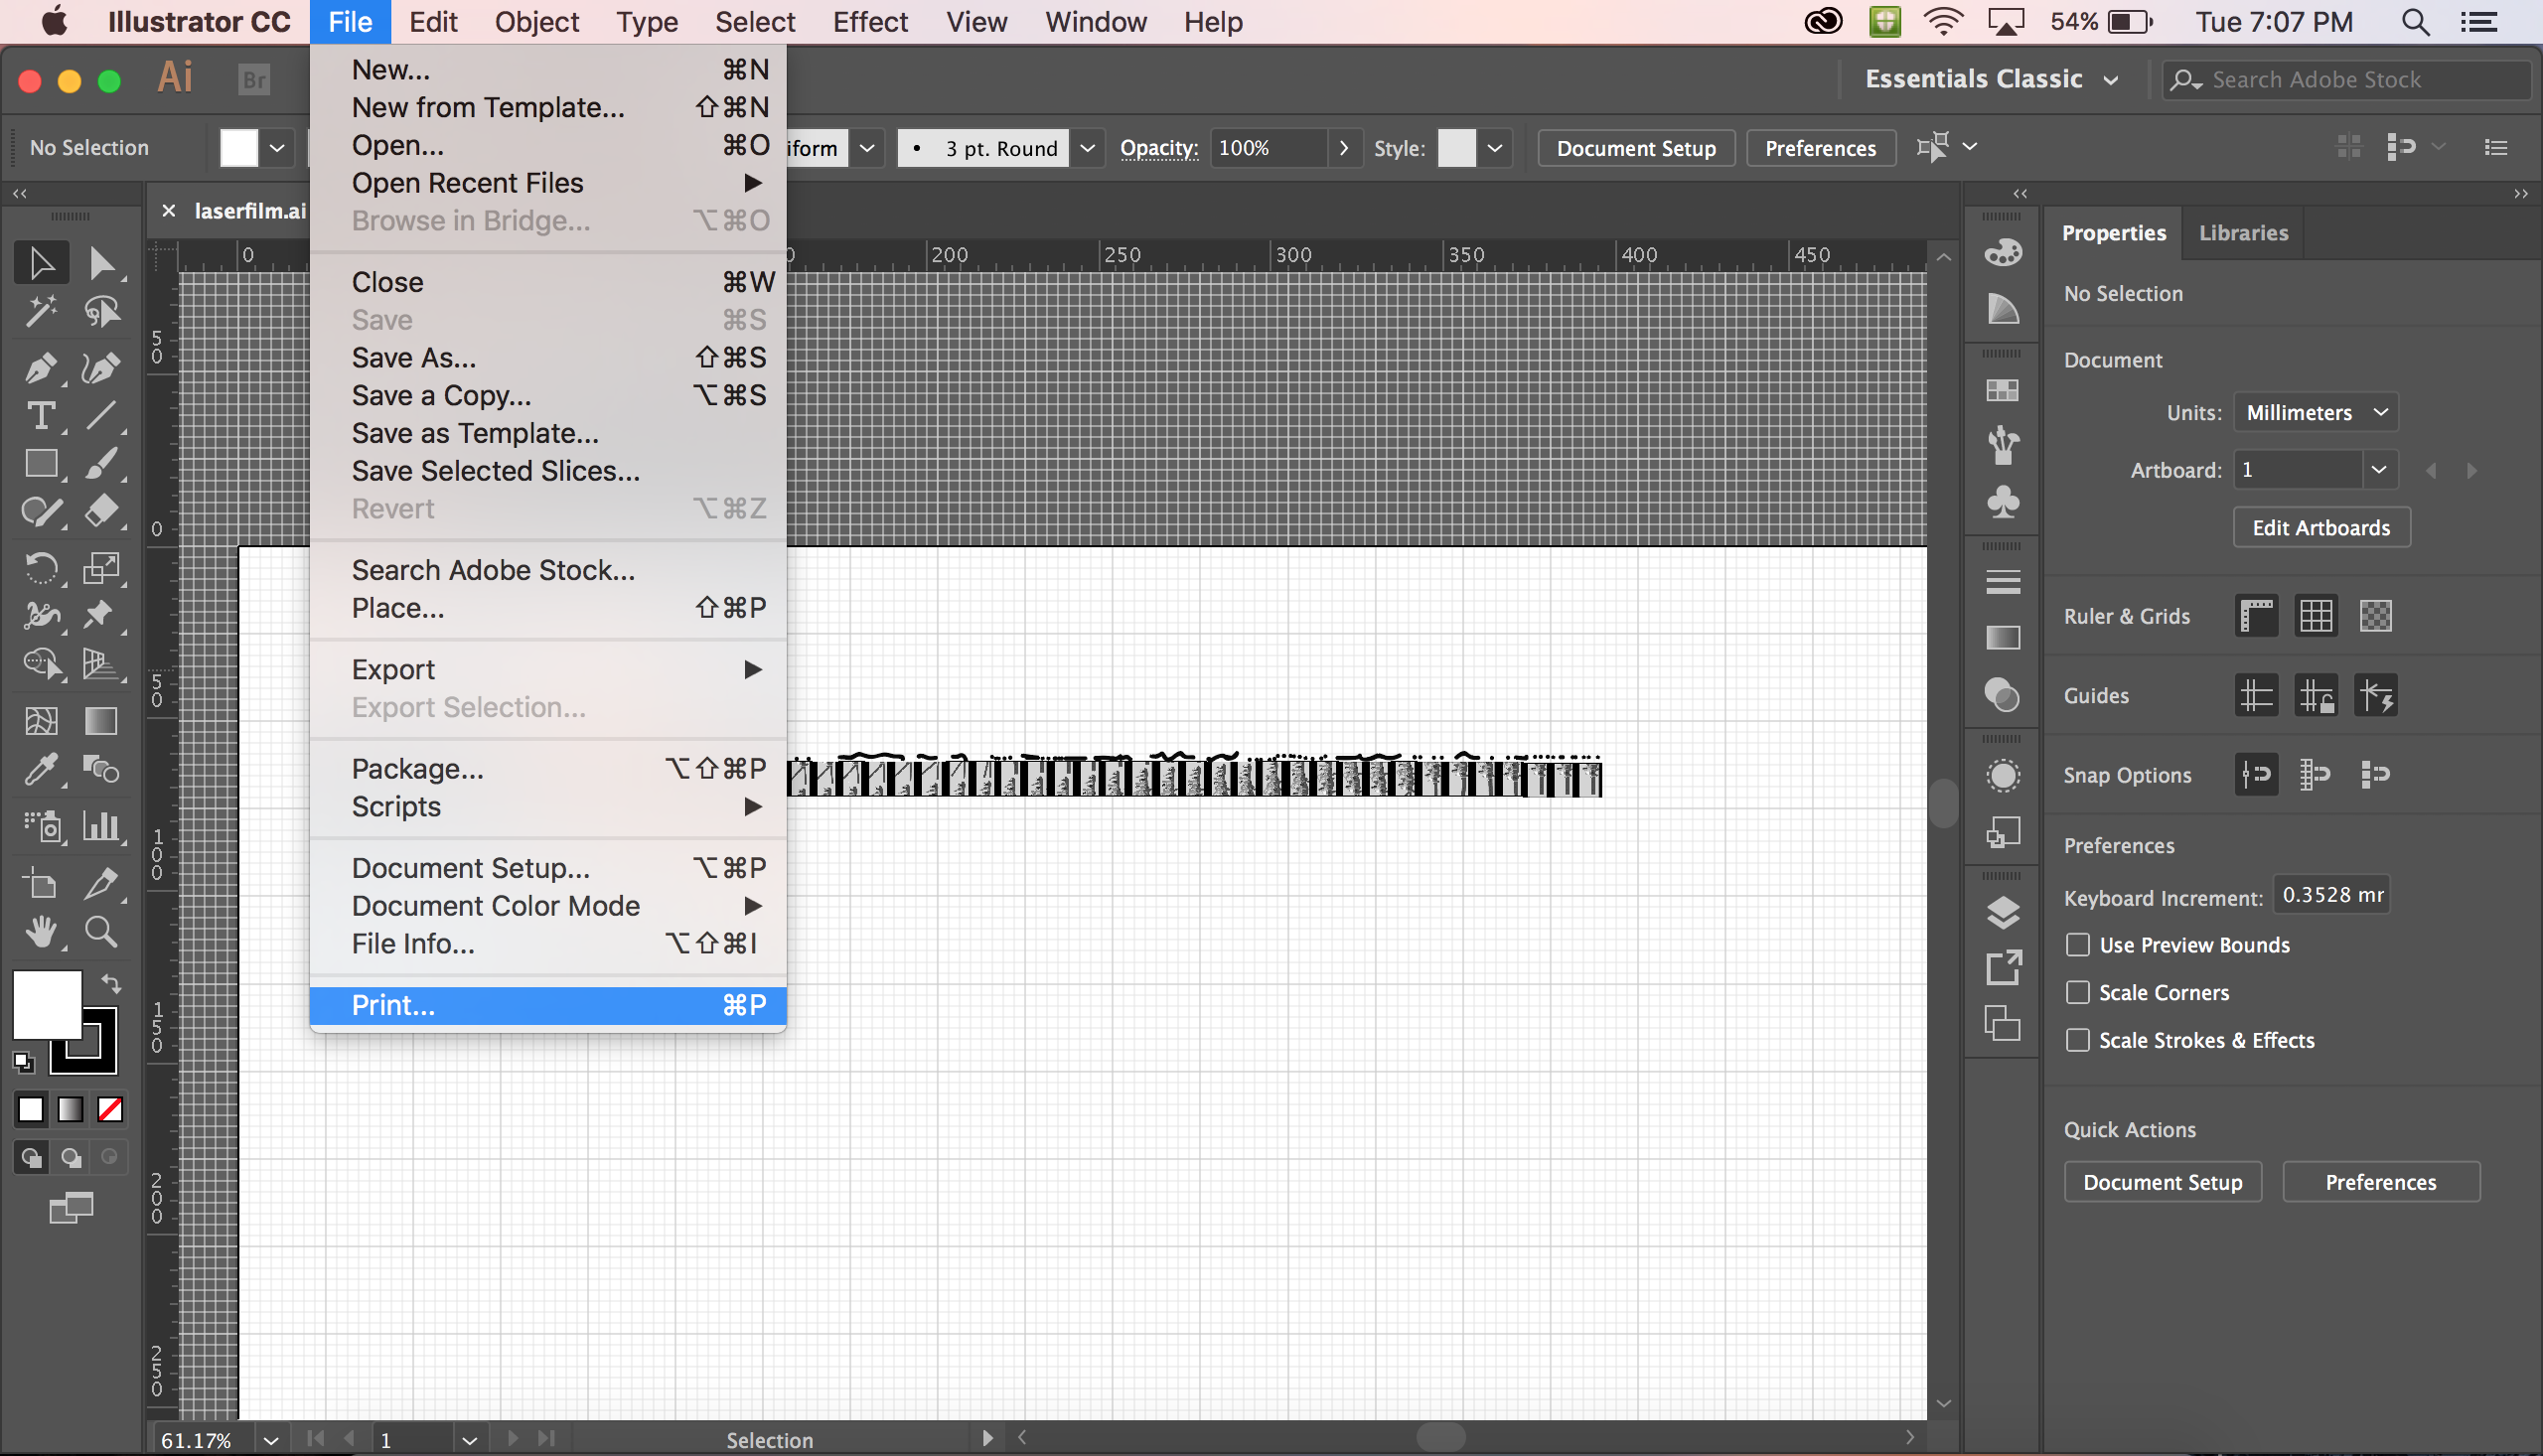
Hit File > Print
Chose the laser cutter print software and start preparing your real film strip on the laser cutter.
Step 11
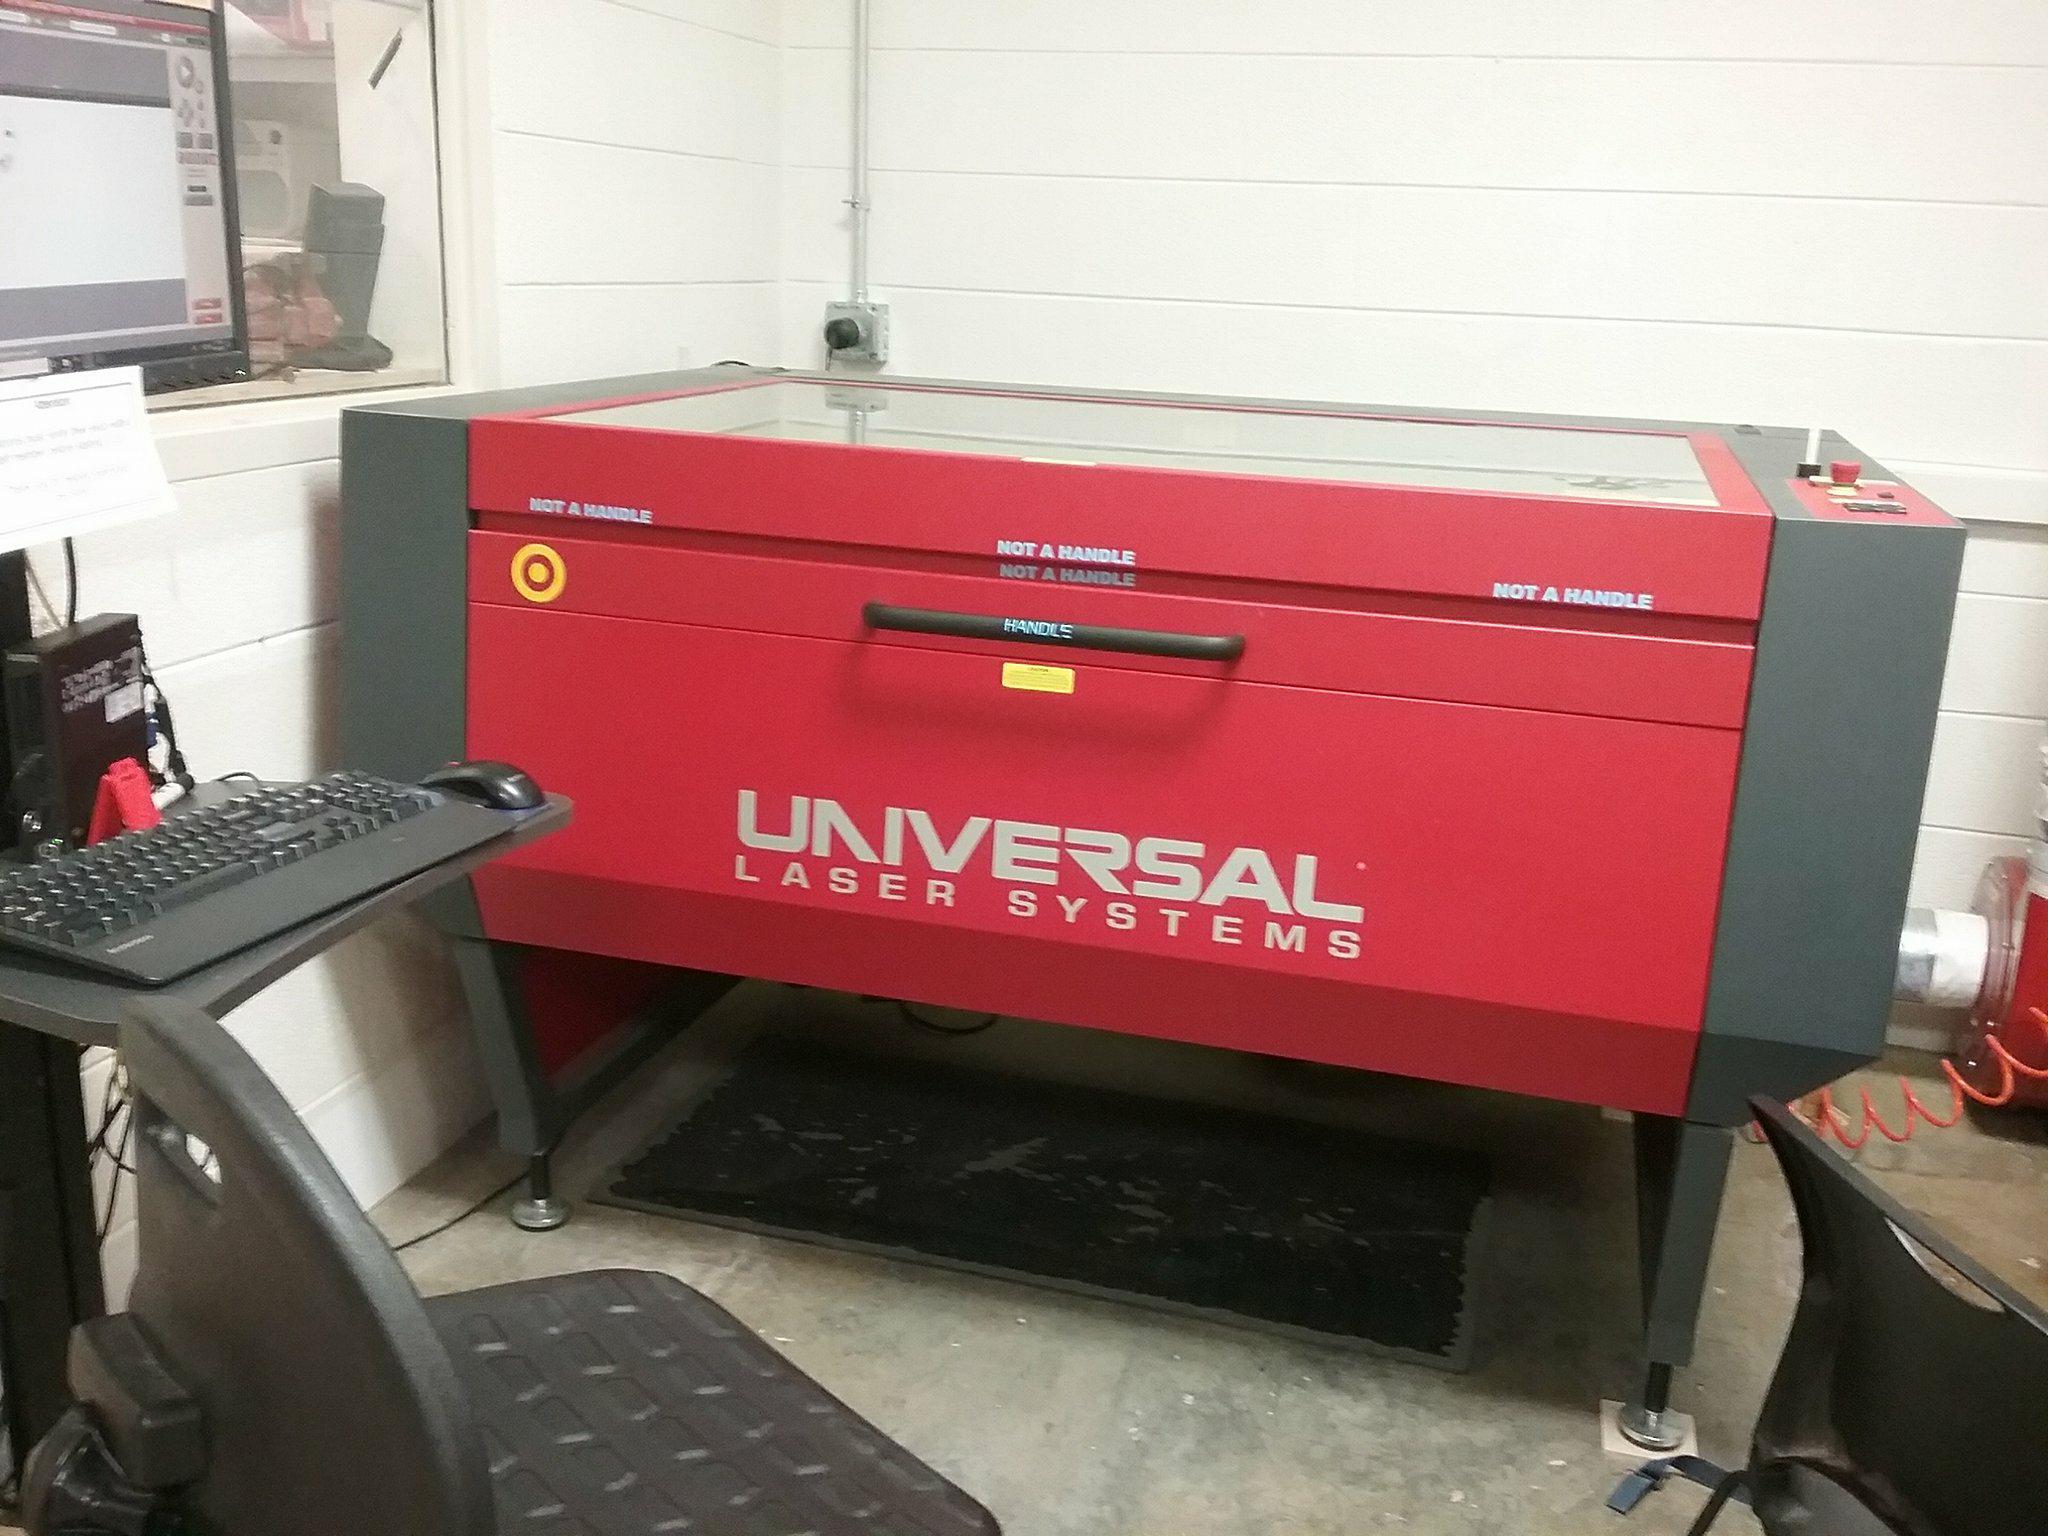
Make sure your laser cutter is on and ready for etching! The easiest way to etch on film is to take out the bed underneath the laser. If you don't have this- try and cut on the flattest surface possible.
Step 12
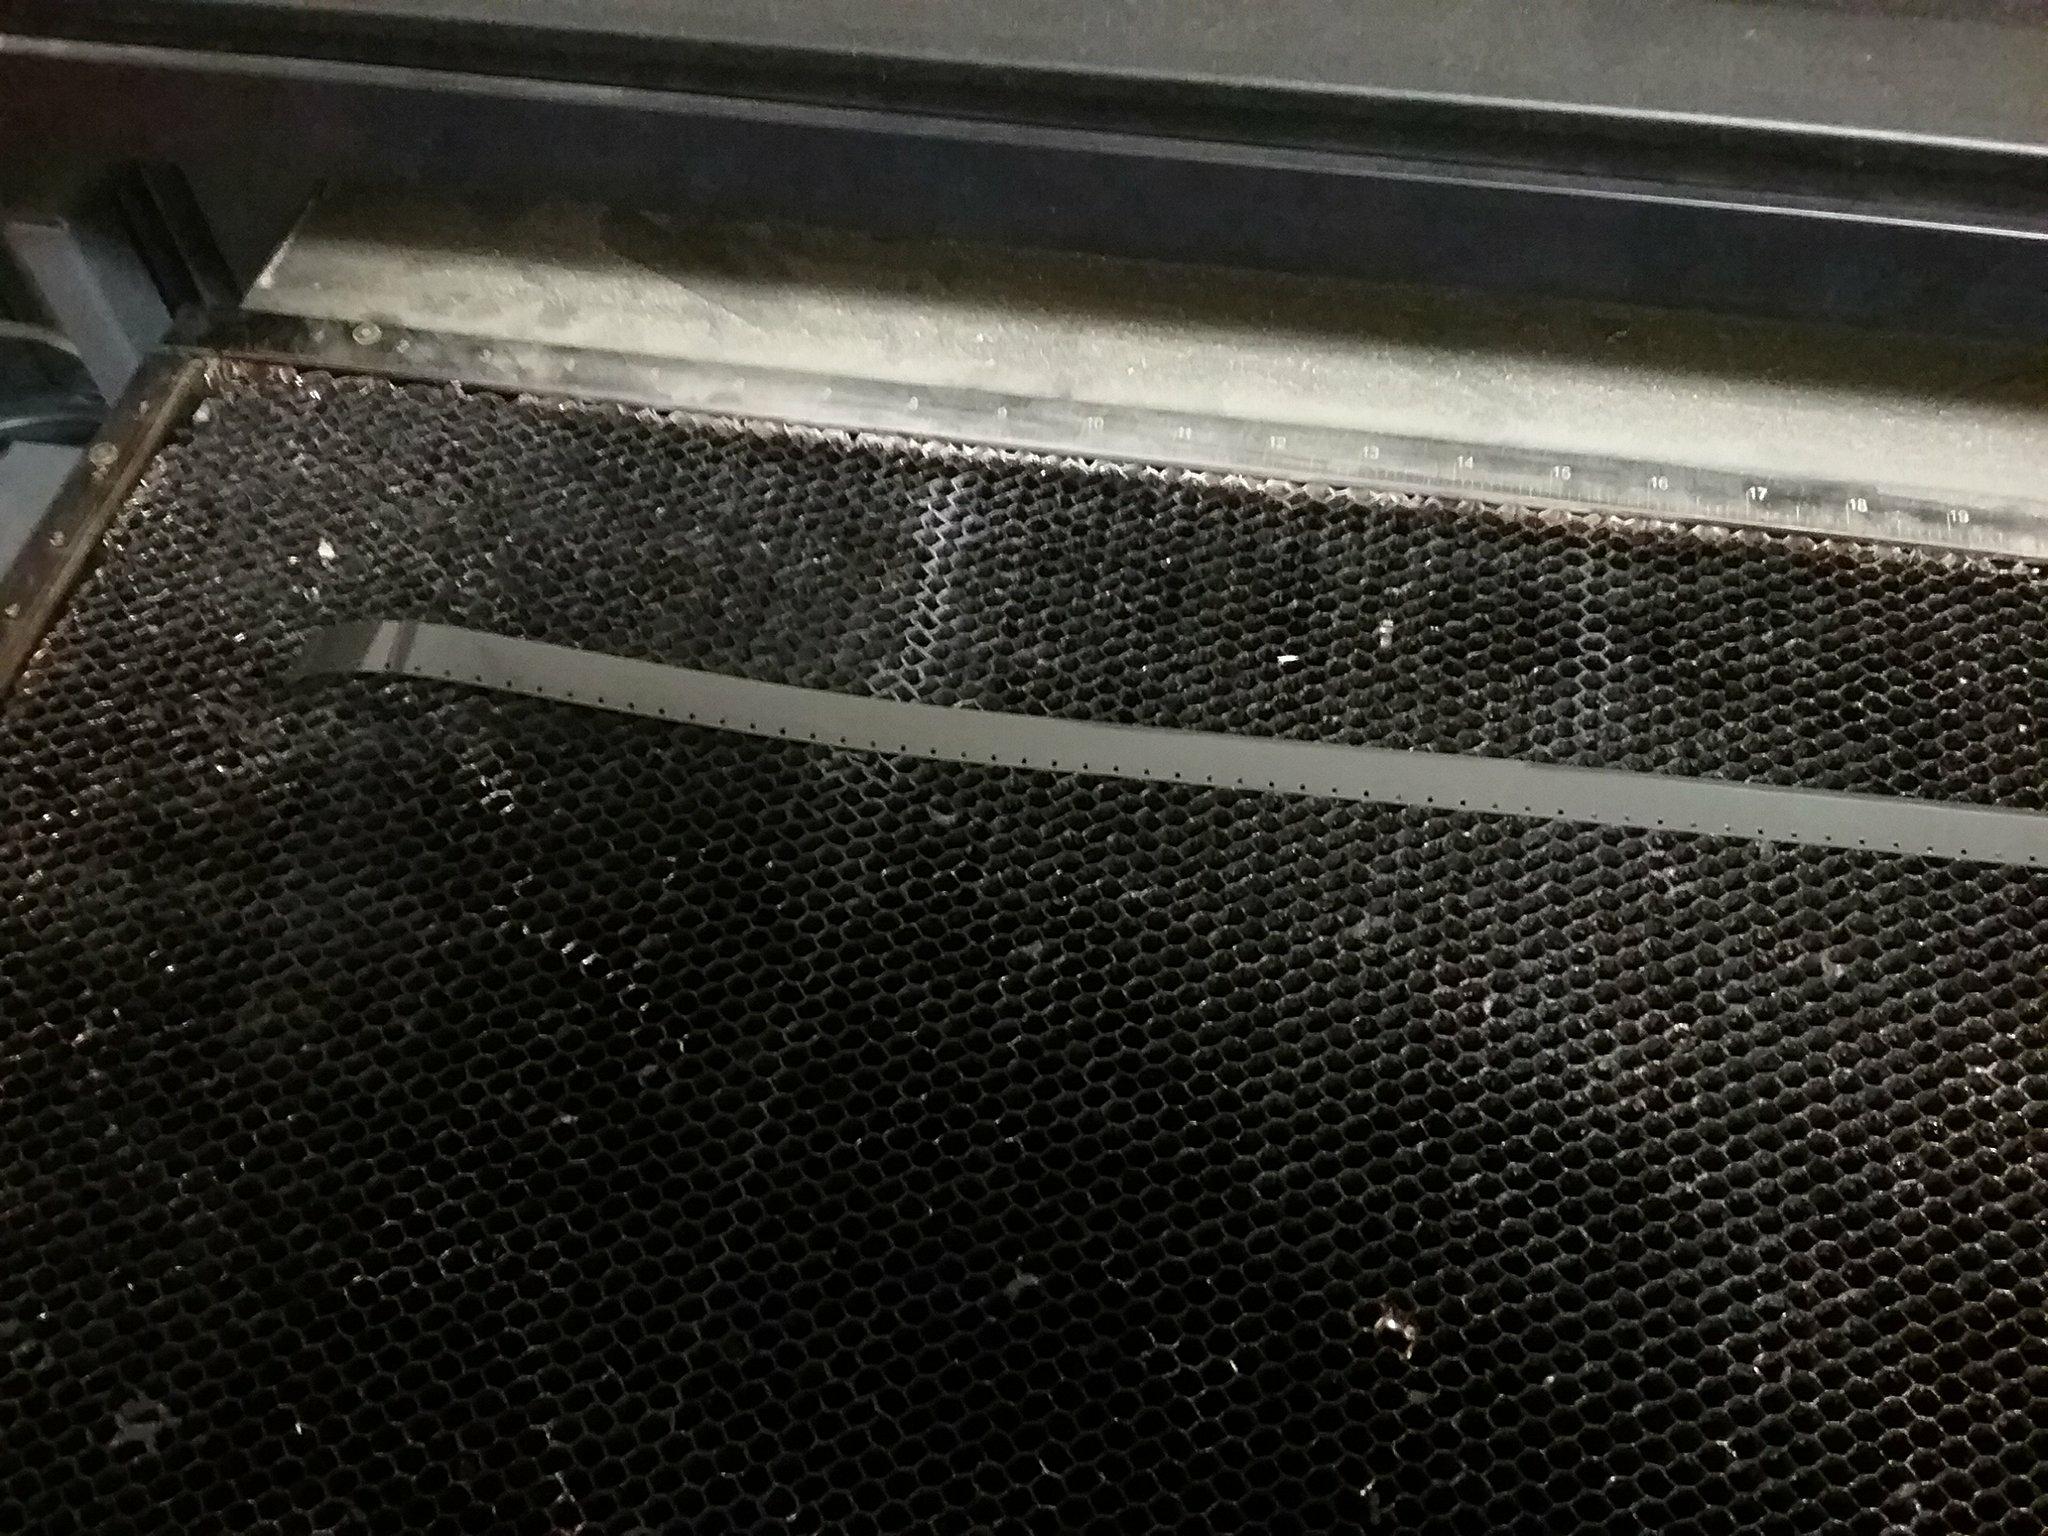
Align your film strip to be completely straight with a ruler, book, or anything else a few inches from the laser bed edges. Tape down the film strip so it's completely flat.
Step 13
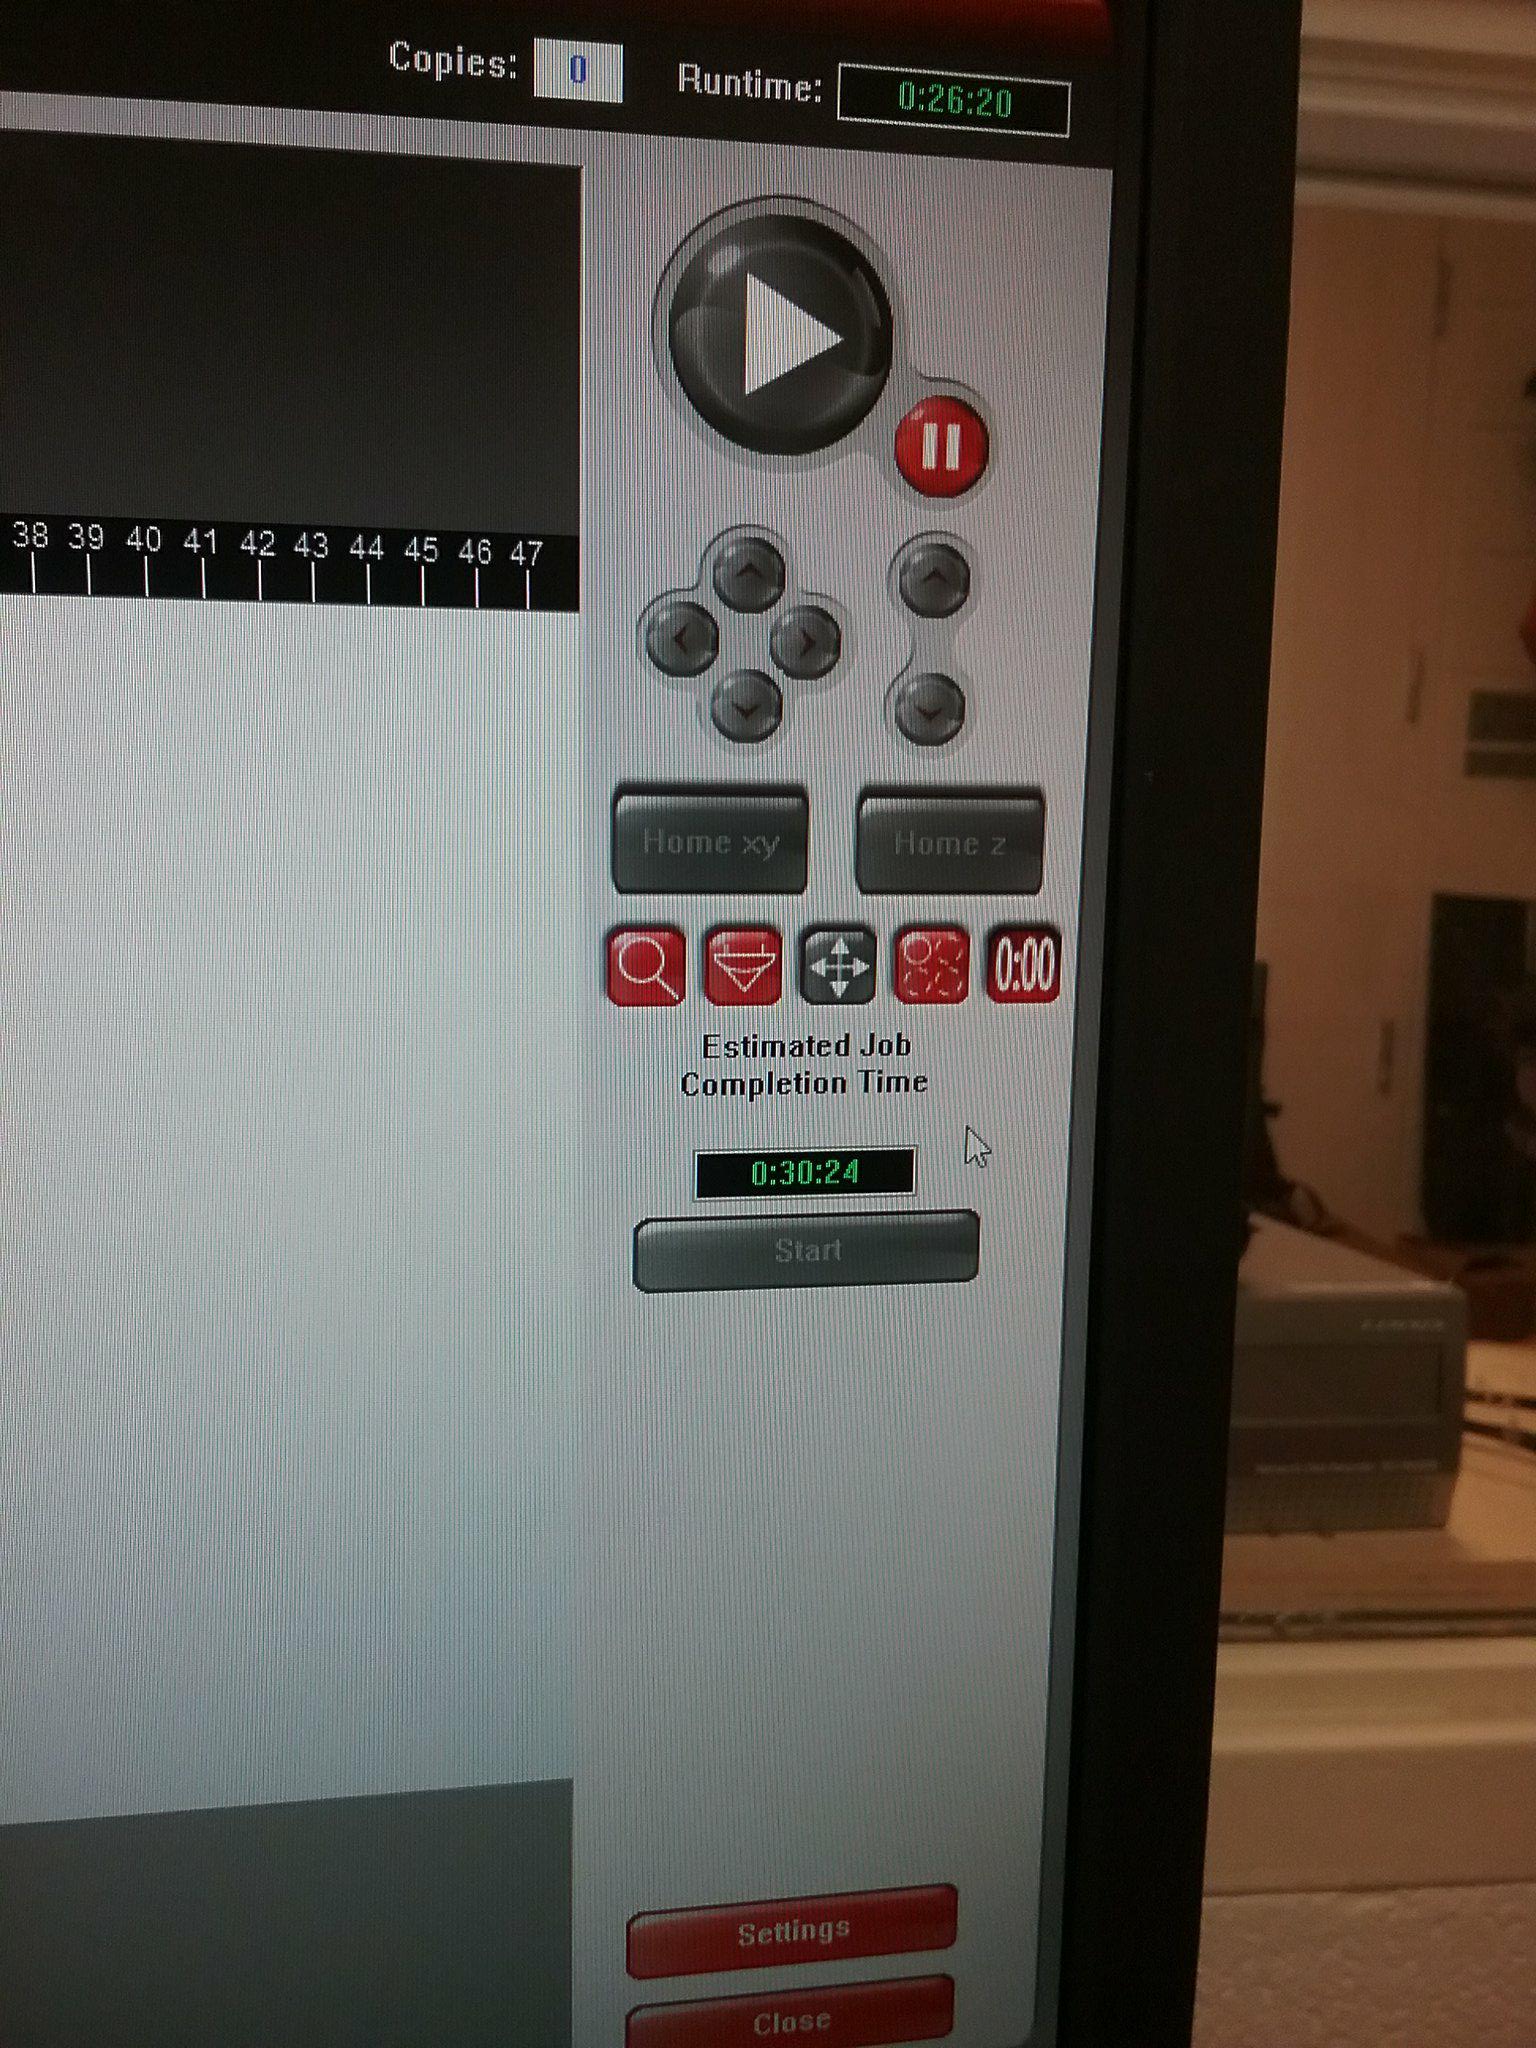
Now this part is tricky.
You're going to want to figure out the settings that will work with film. For our class, we already had pre-settings that put the laser cutter's power and speed to the right amount to etch correctly.
For students at UNC, use the Polyester Mylar pre-settings. Otherwise, try using test objects first before etching. It needs to be fast speed and lower power.
Step 14
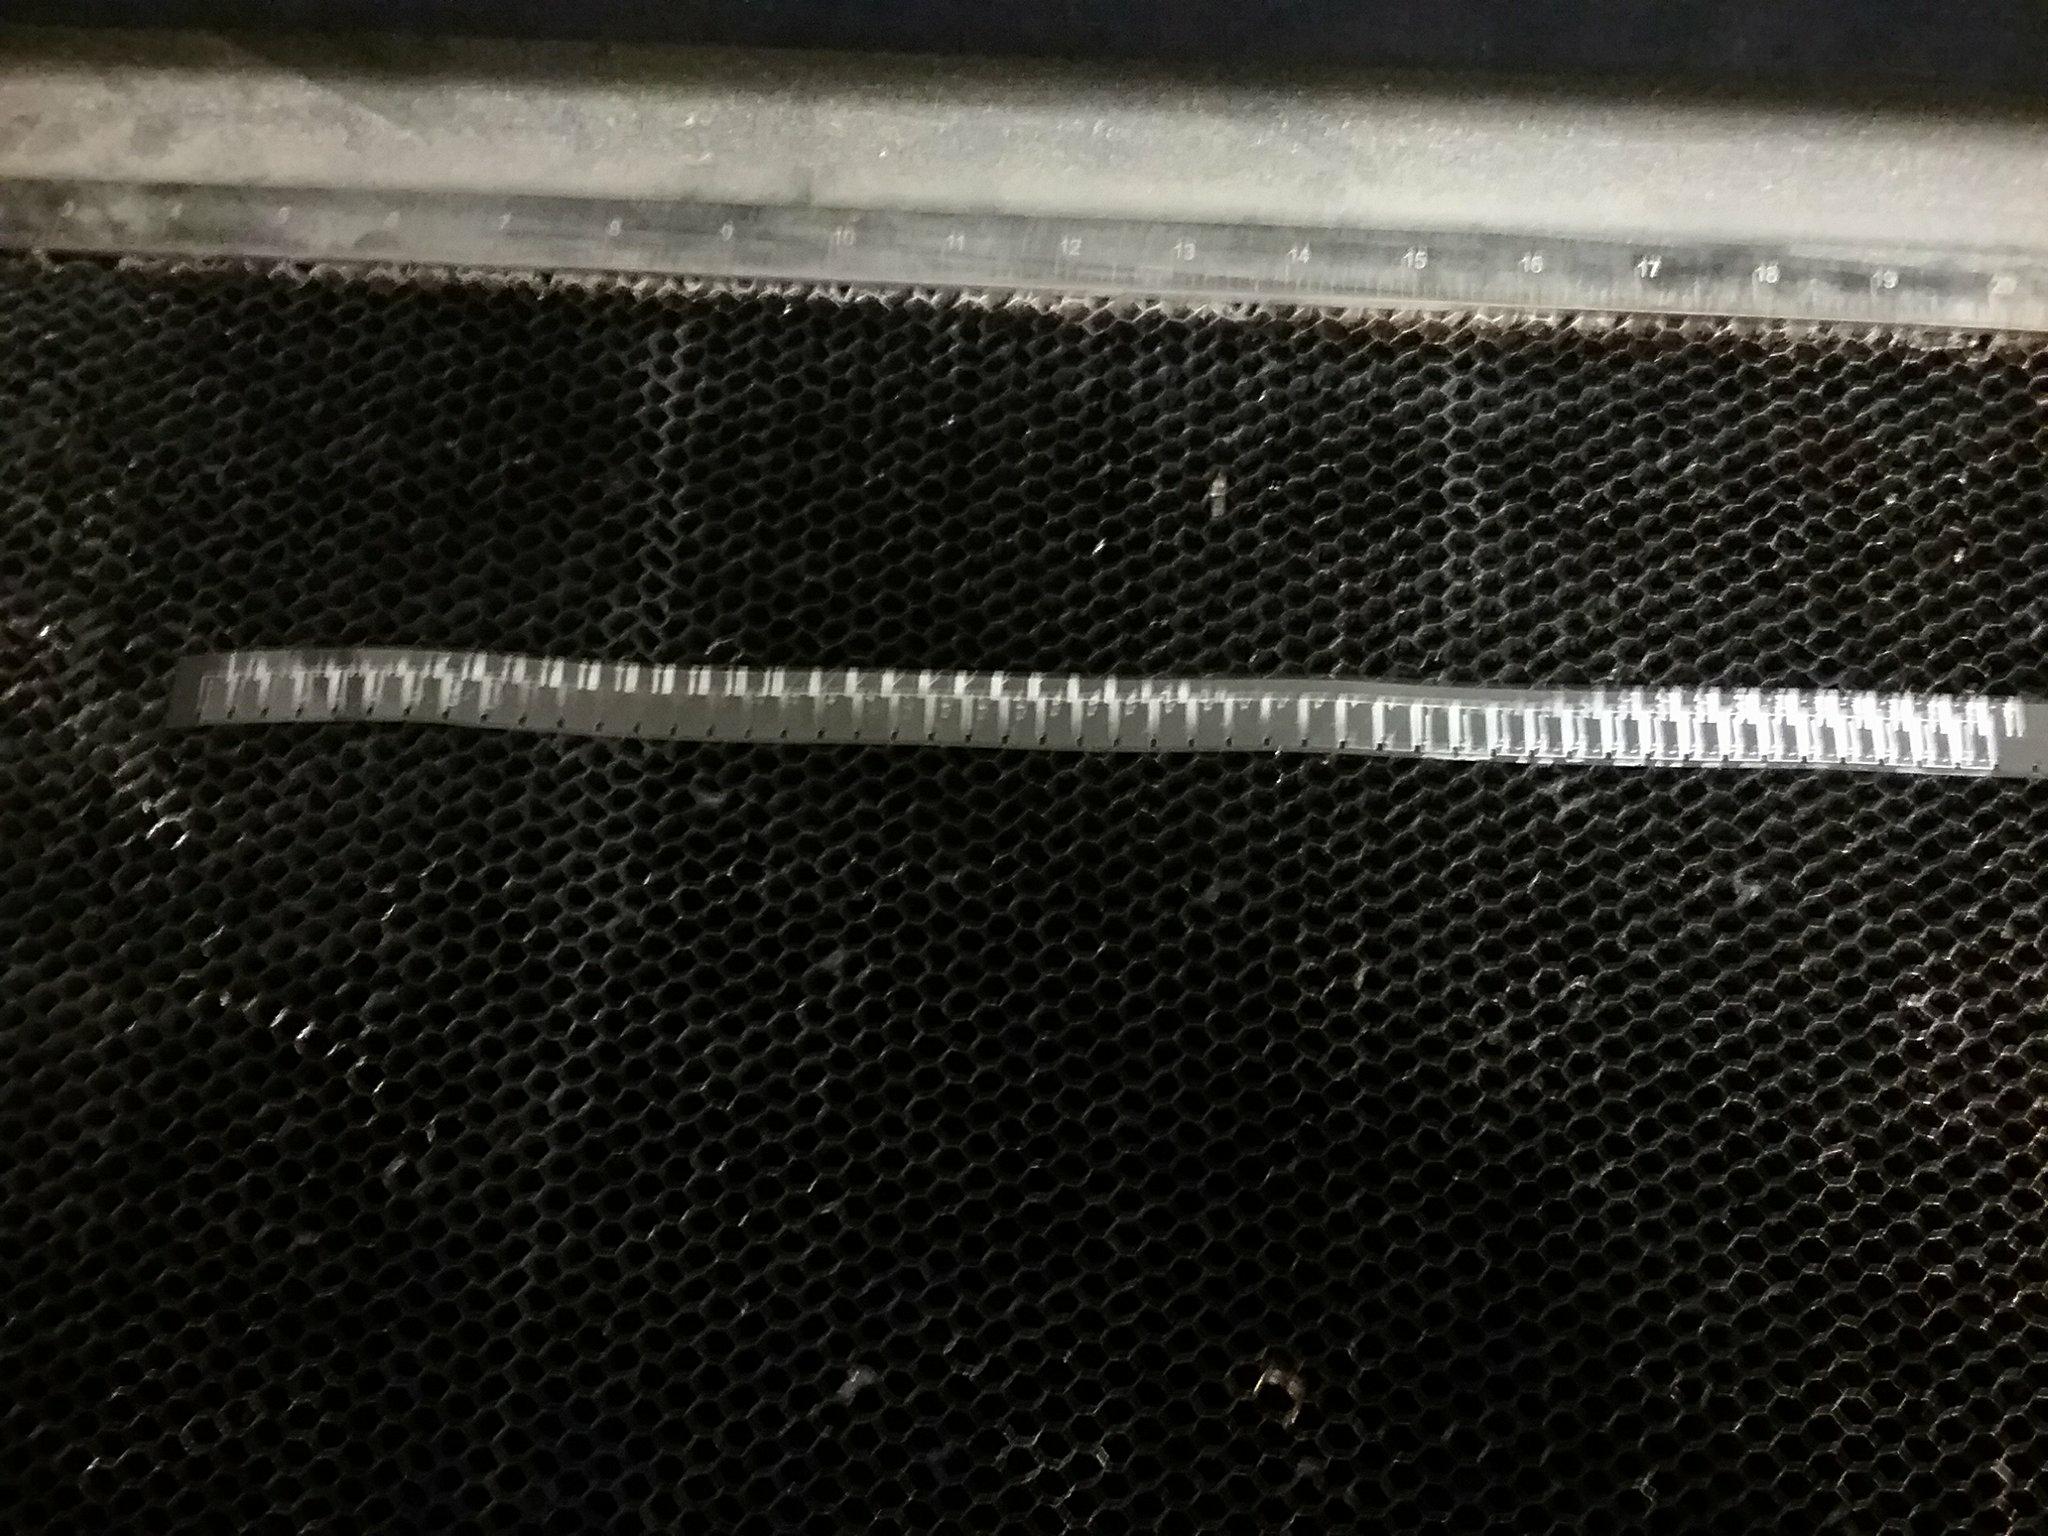
It should turn out something like this!
Now you can splice all of your film strips together and make a loop for the projector.
Step 15
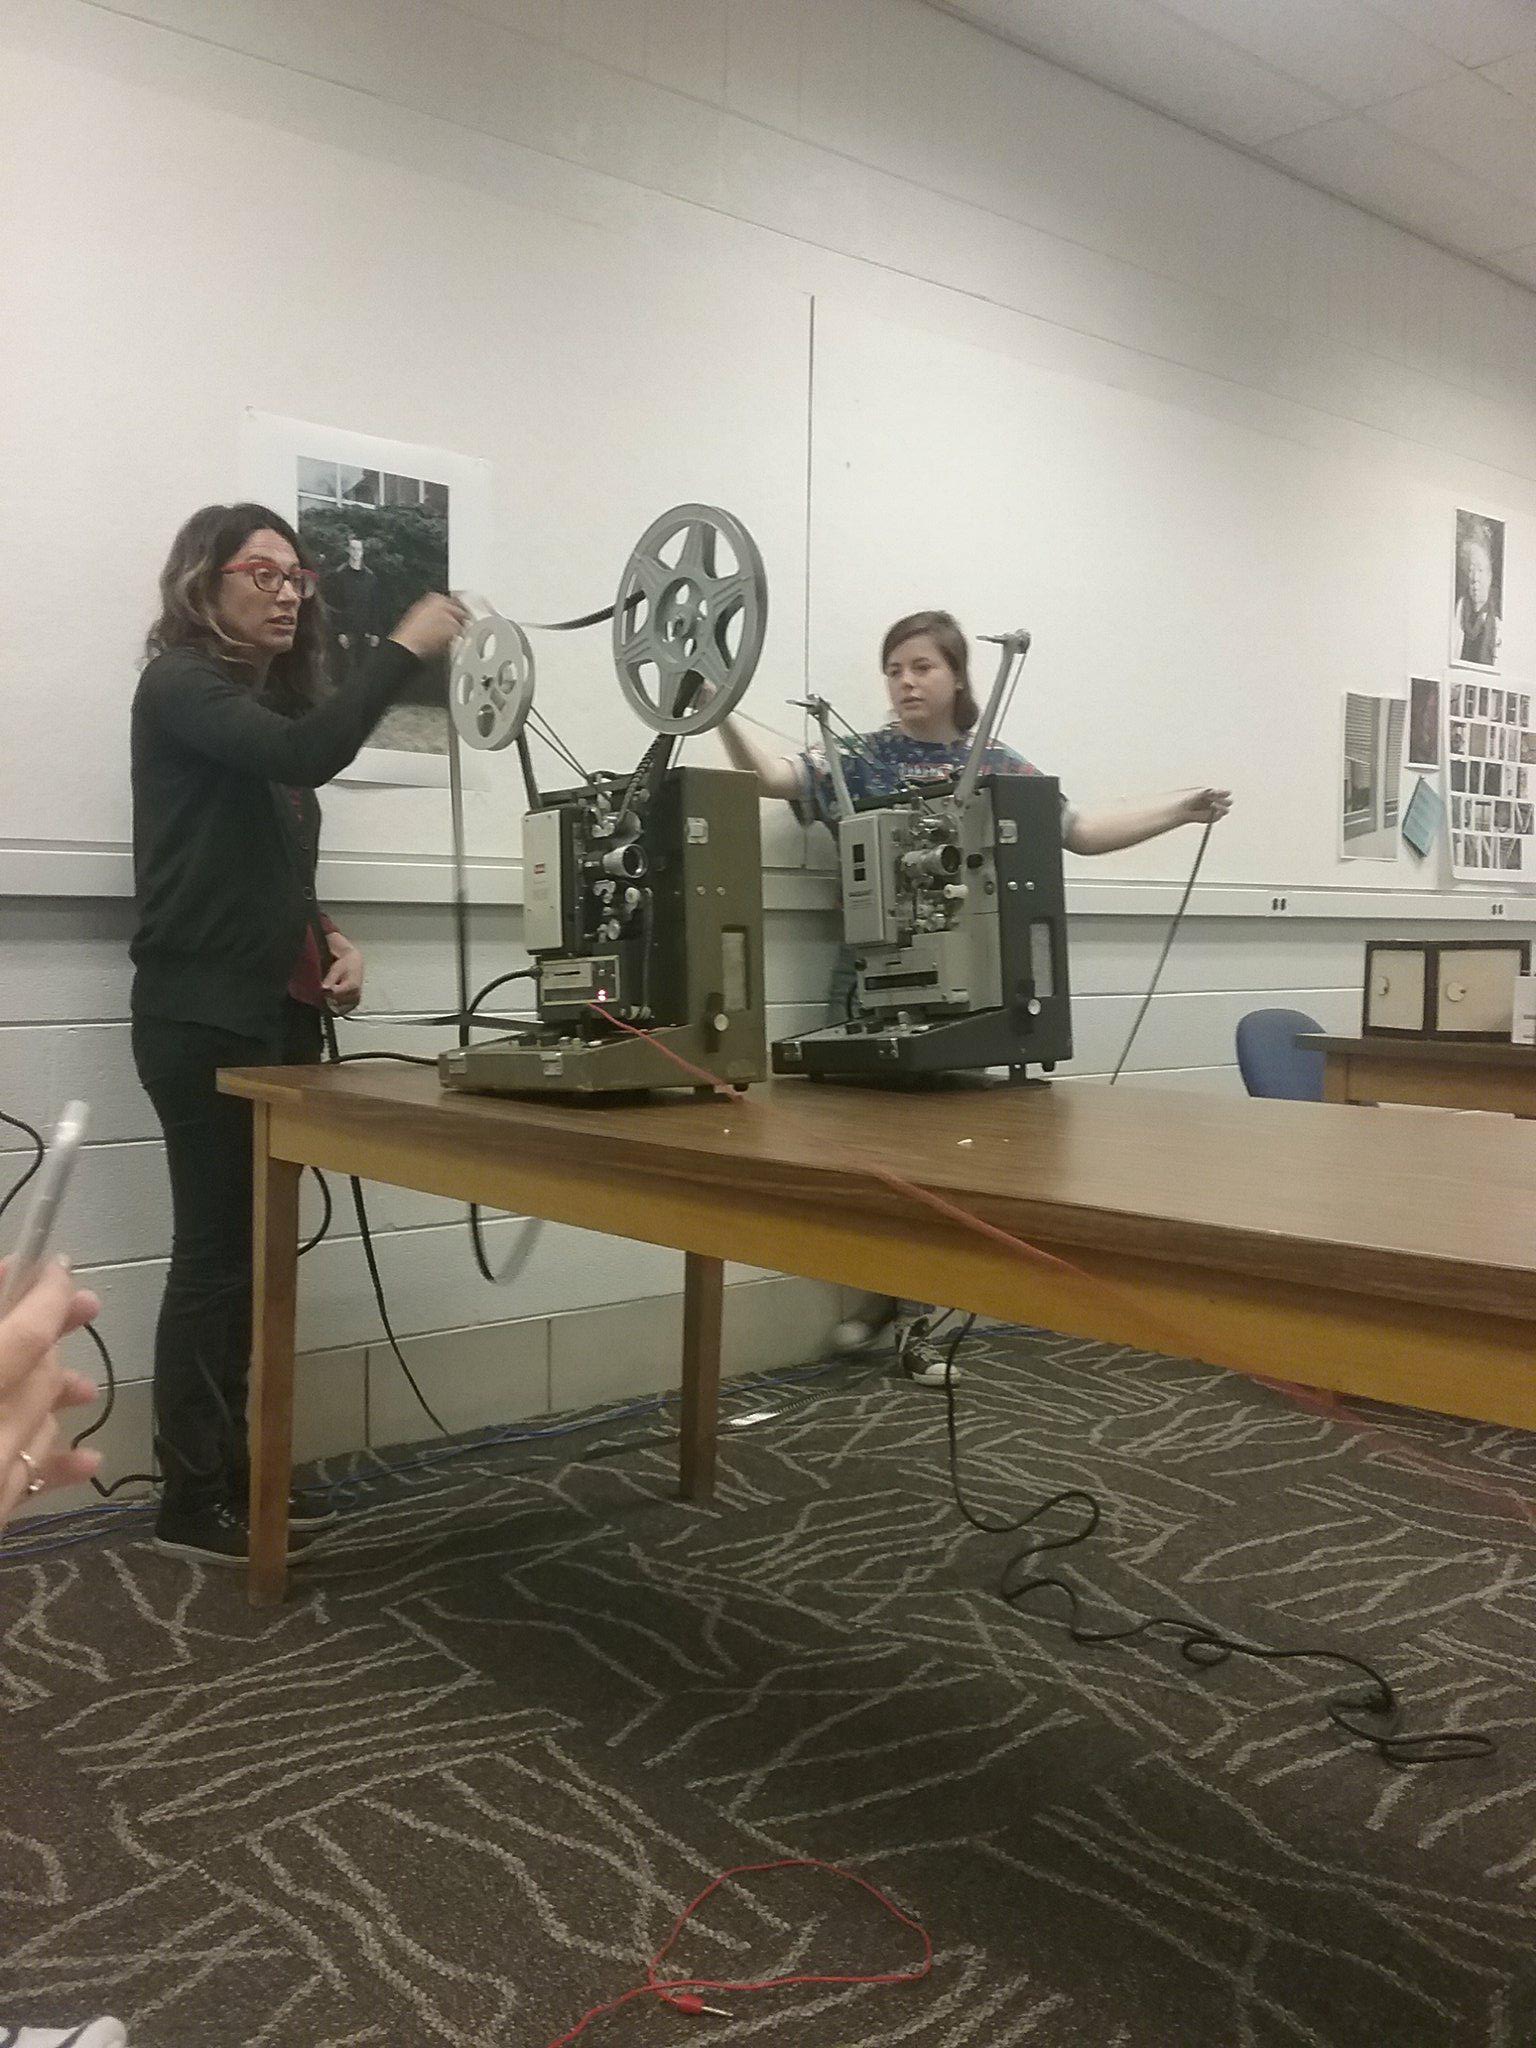
You have two ways to do it. You can have a person just hold onto the loop and help it feed into the projector...
Step 16
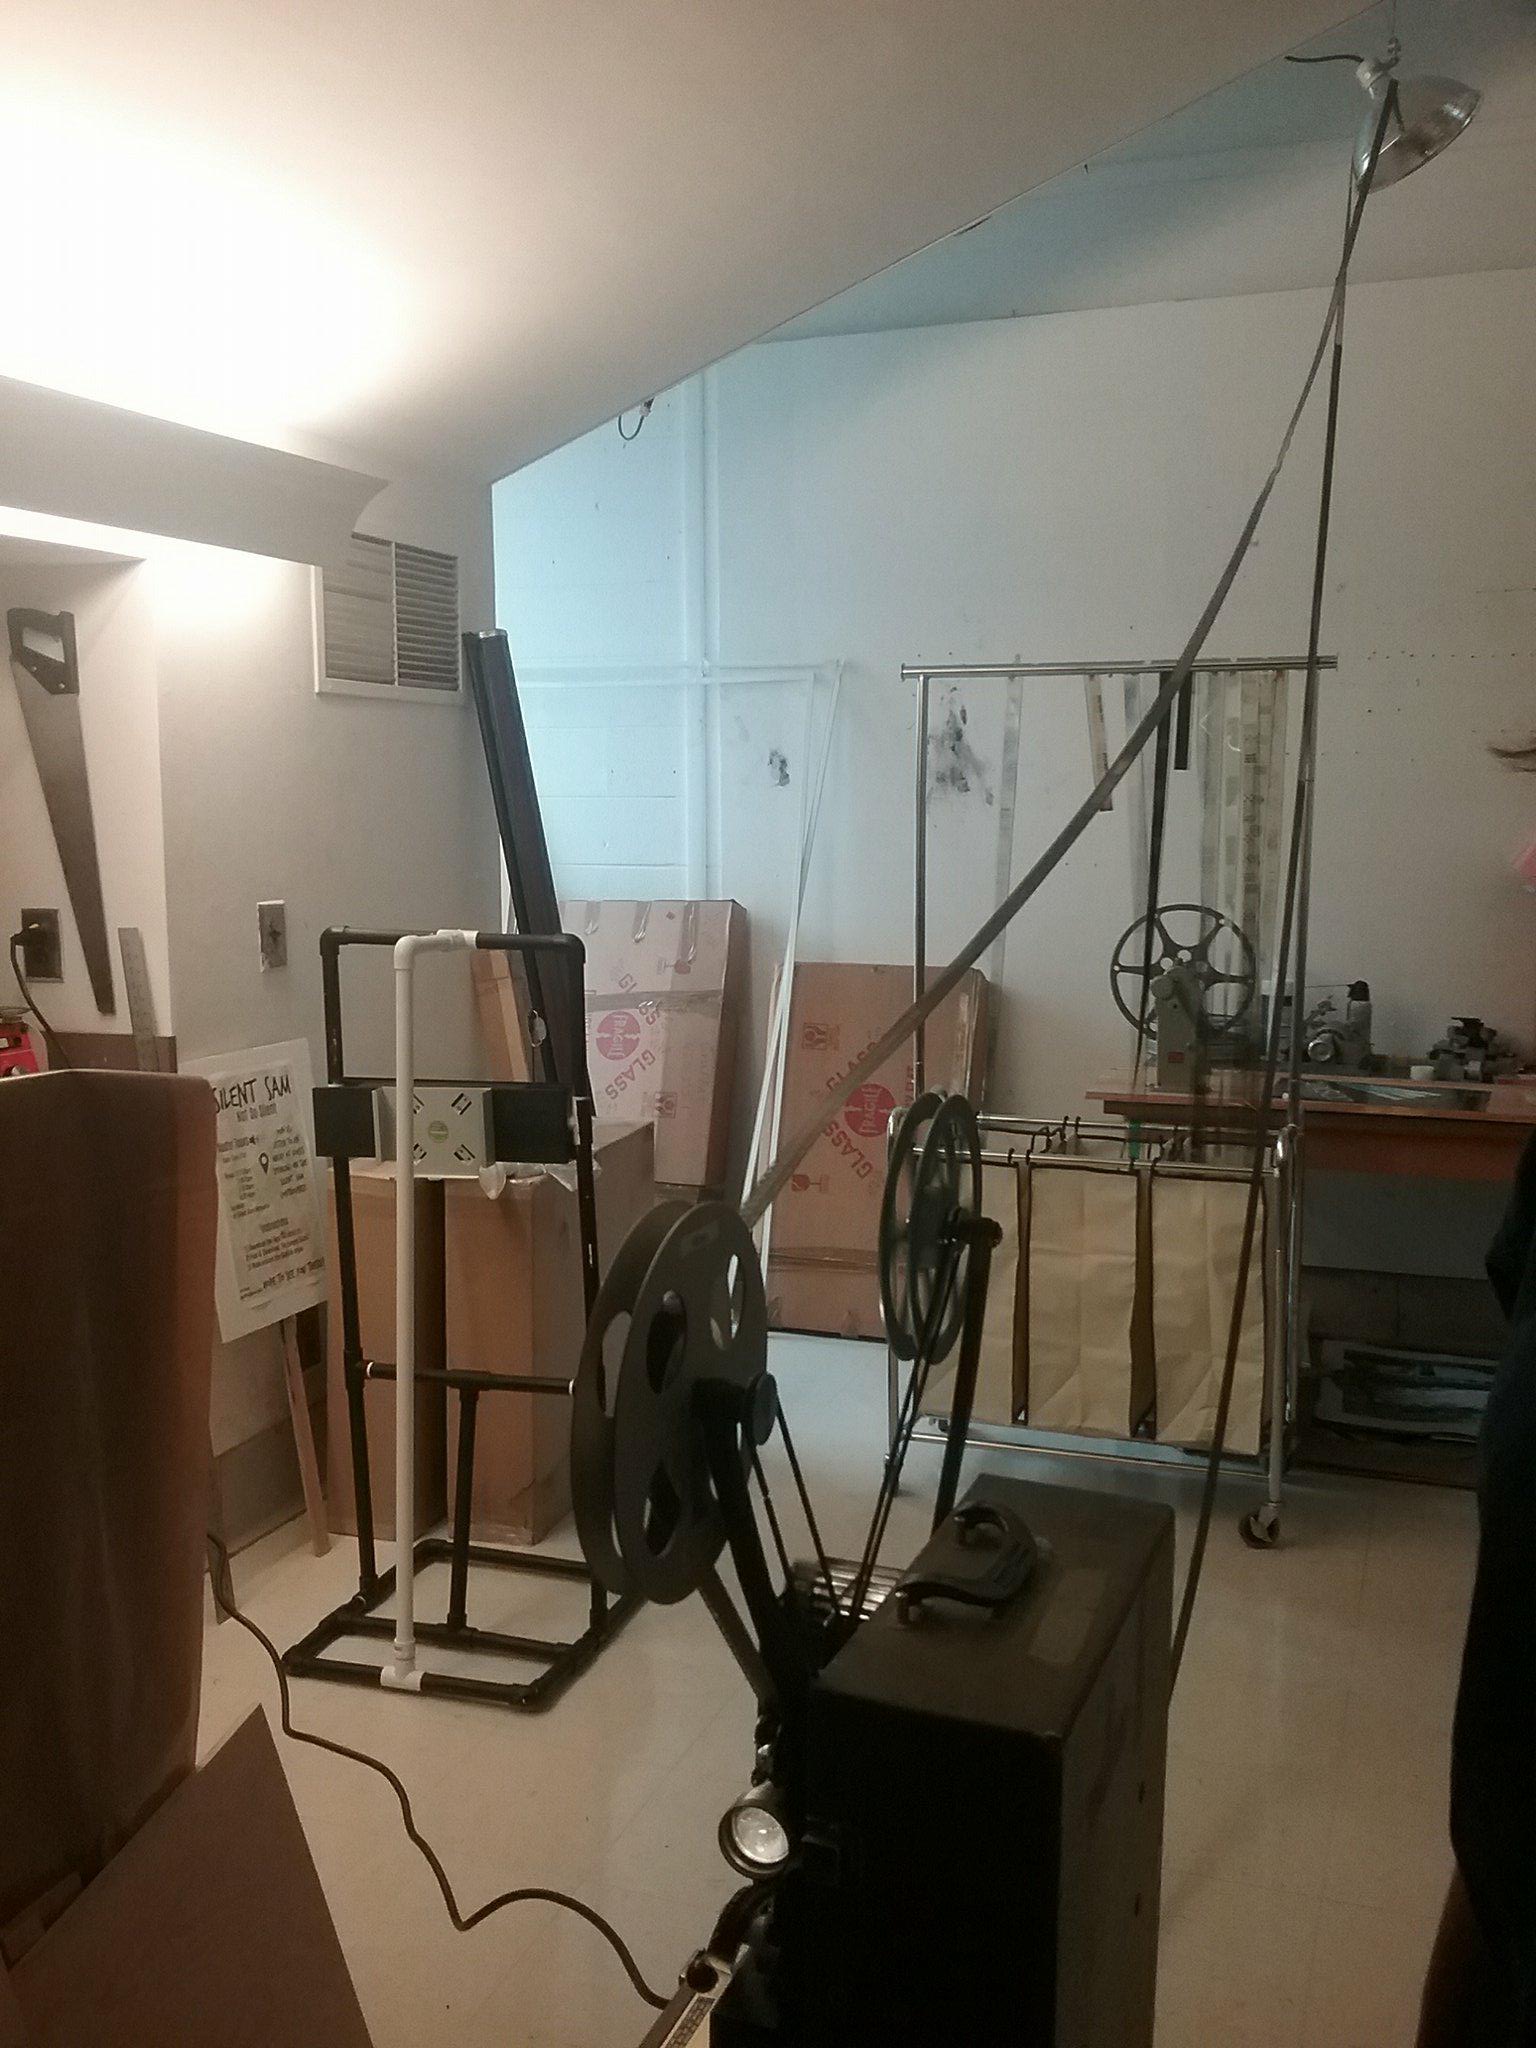
Or you can have a contraption that allows the loop to be hung on something.
This is probably the easiest way because human error of holding the film becomes eliminated.
Step 17
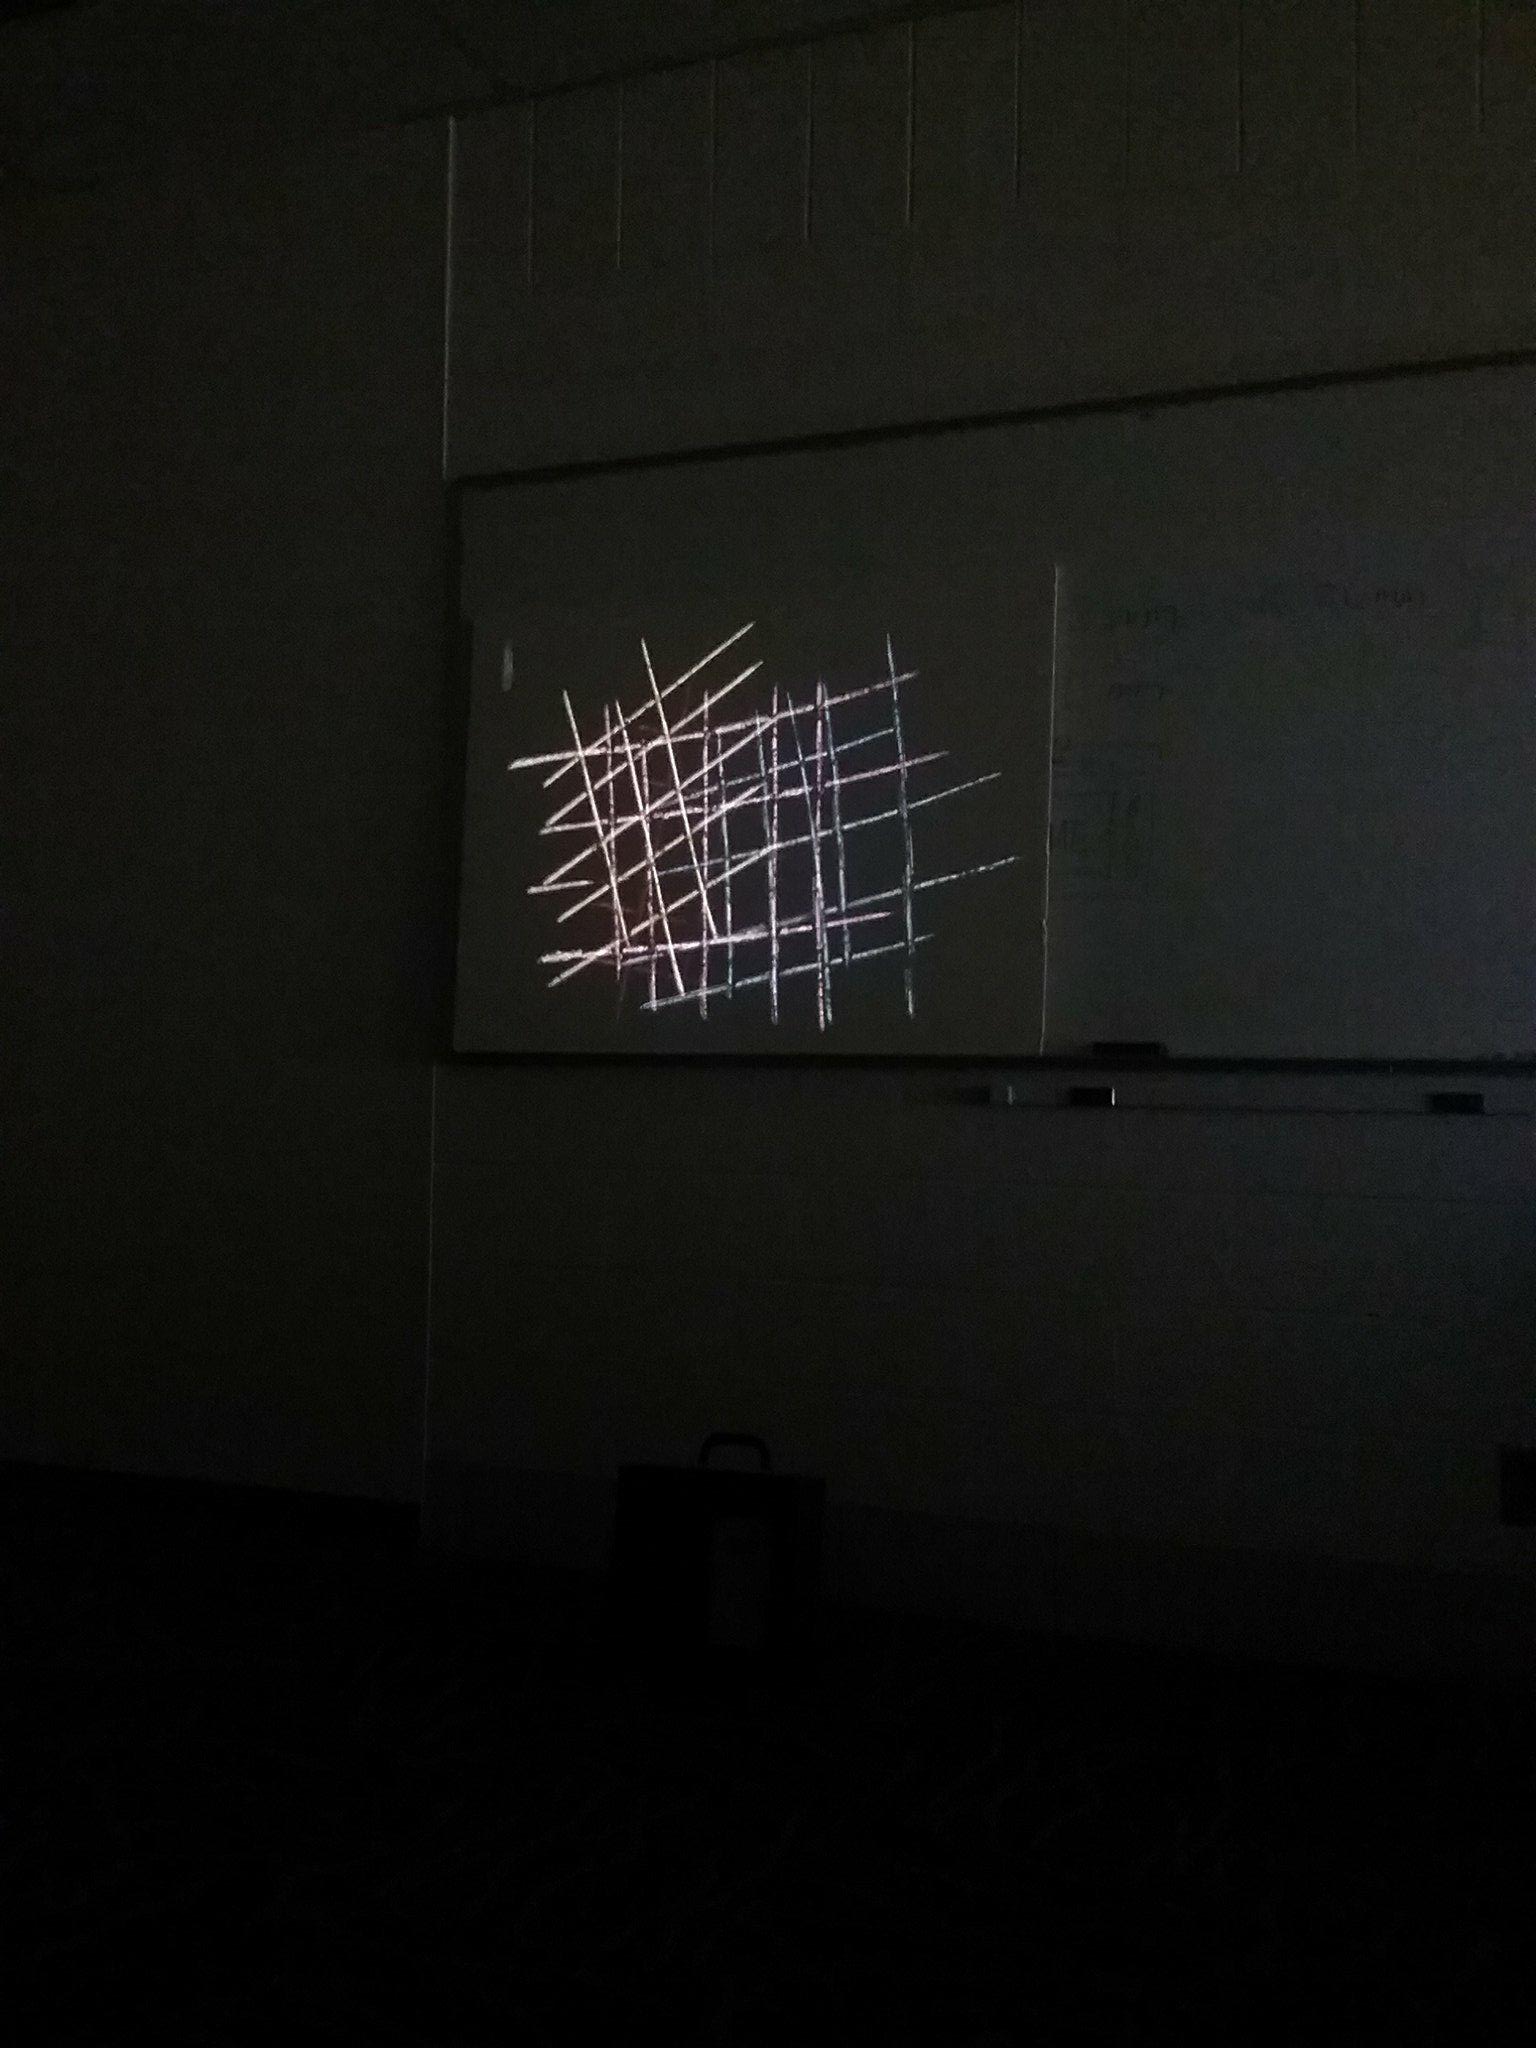
After this whole process you can project your film on something white and voilà!