Laser Engraving a Logo
by Umake Online Factory in Workshop > Laser Cutting
18666 Views, 16 Favorites, 0 Comments
Laser Engraving a Logo
How to prepare your file for engraving with laser technology.
When you want to engrave a logo or even an image with laser technology it is very important that your image be worked on with a vector base program. You can use a BMP file but resolution and quality as much as editing capabilities are easier when using a vector based image.
Illustrator and Corel Draw are easy programs to use when creating your file. Follow these steps to create your file.
Start Your Design
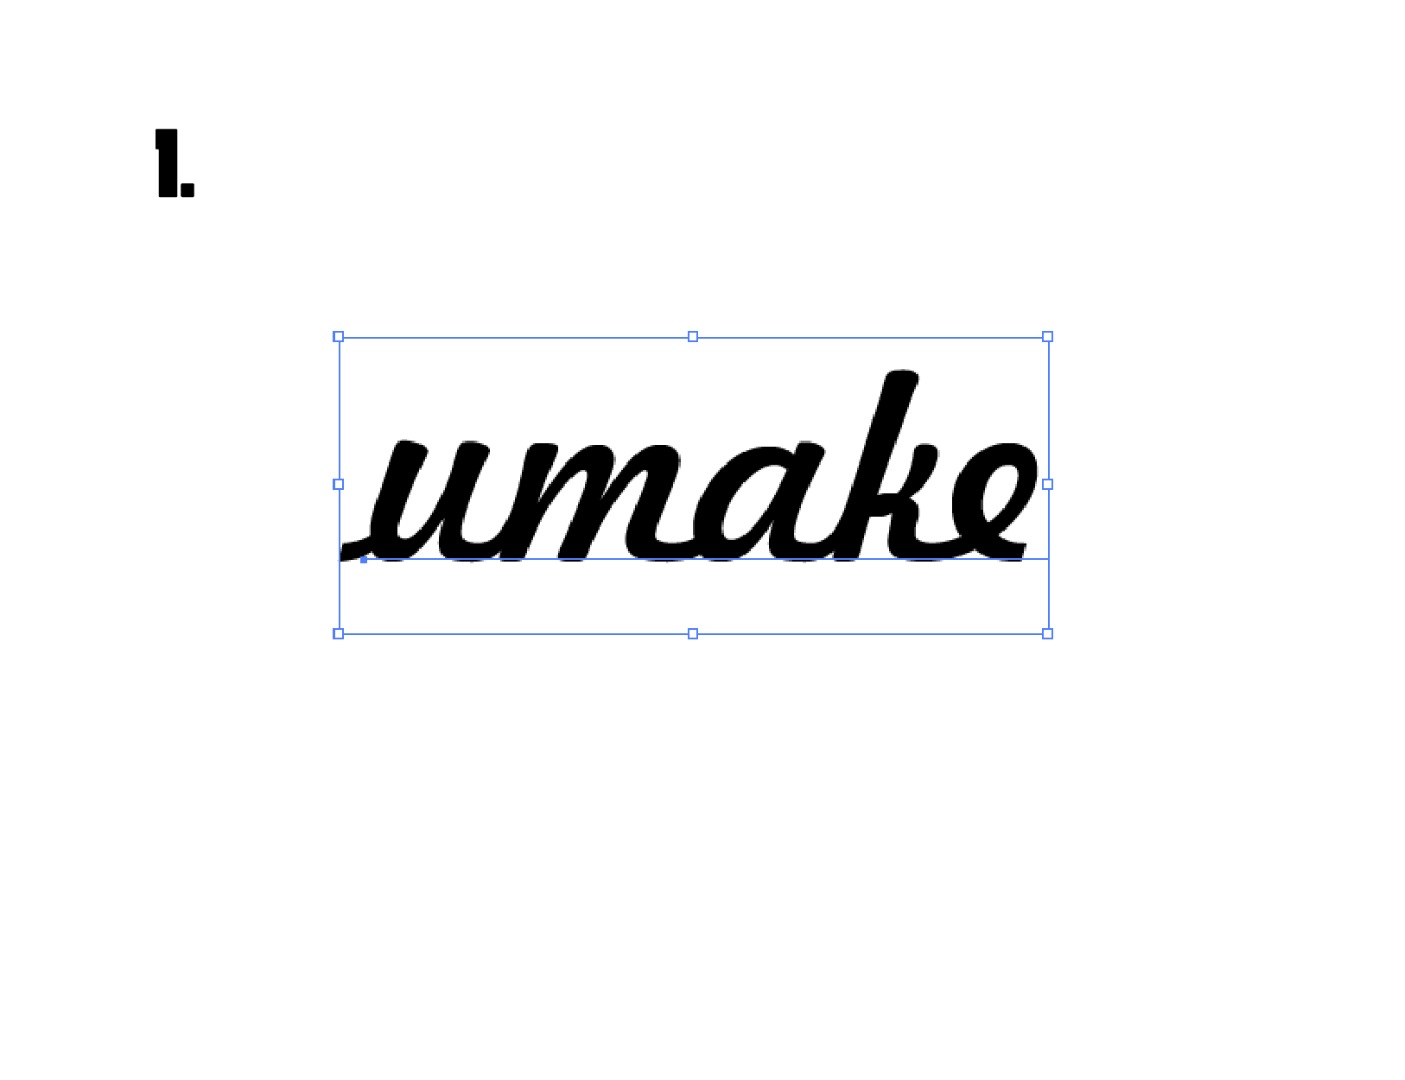
Open your program and create new file (OPEN-NEW FILE), use the TEXT tool and write the word you want to engrave.
Image 1. Shows a word written with a chosen font.
This font can be edited, your can still change the font easily, it is not yet an object.
We now want to transform this word into an object.
Transform Letters Into Objects
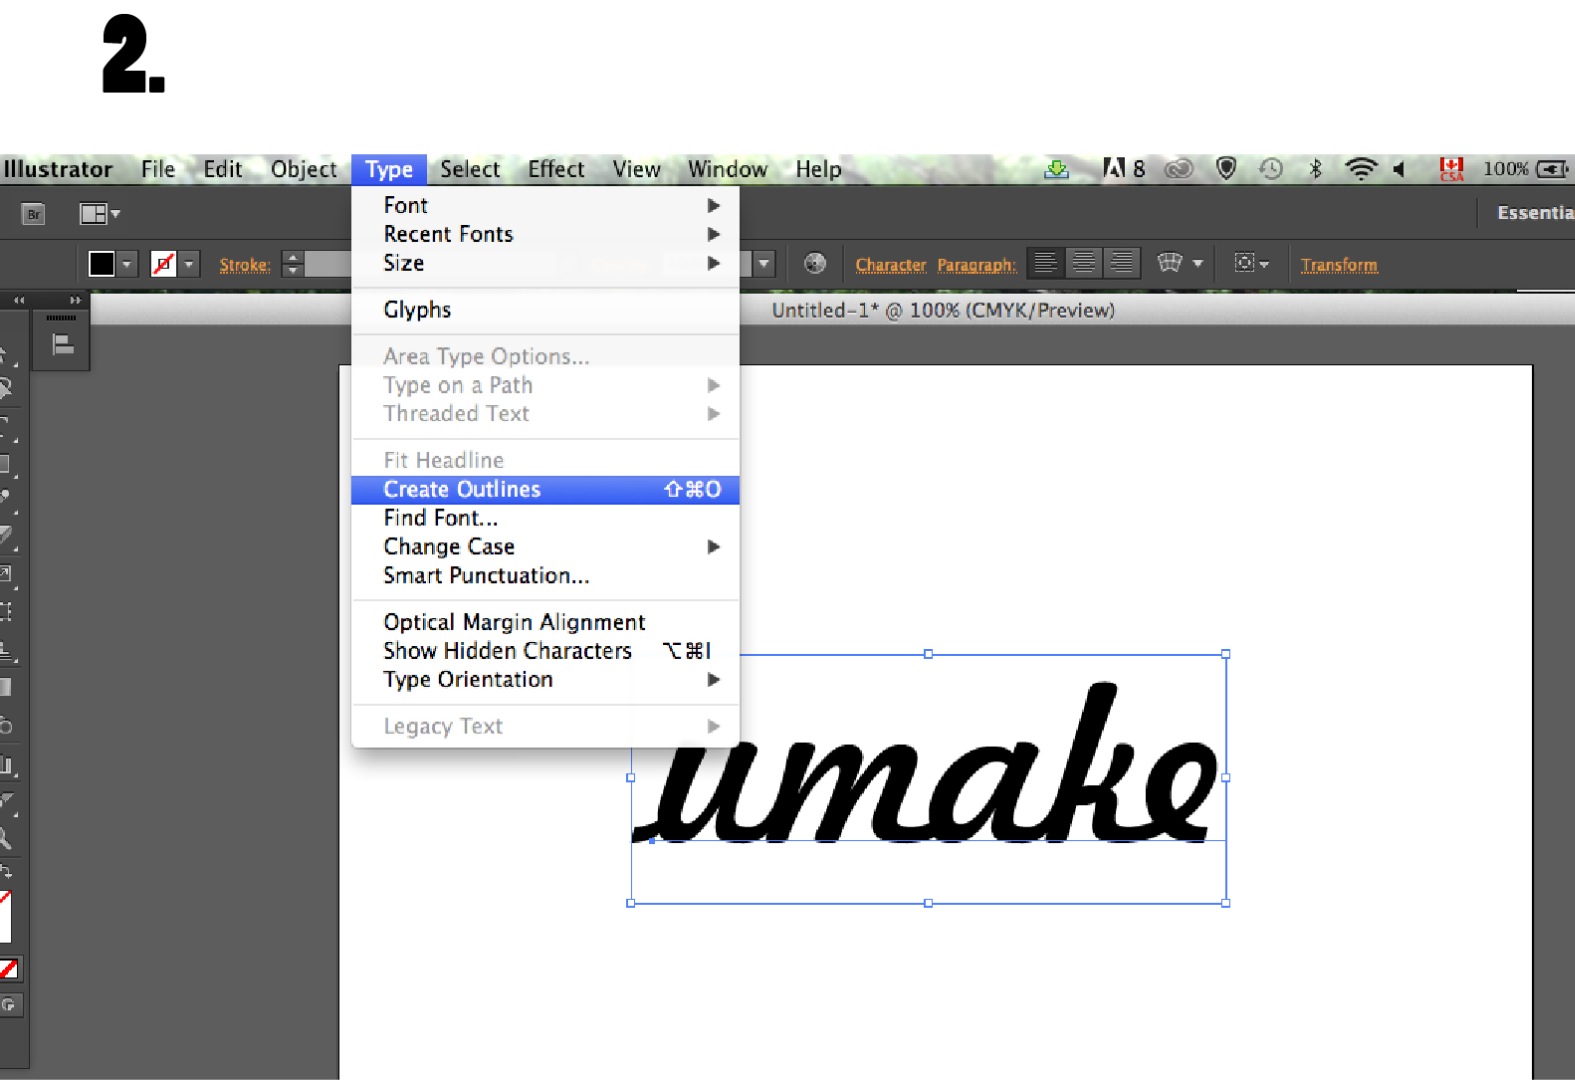
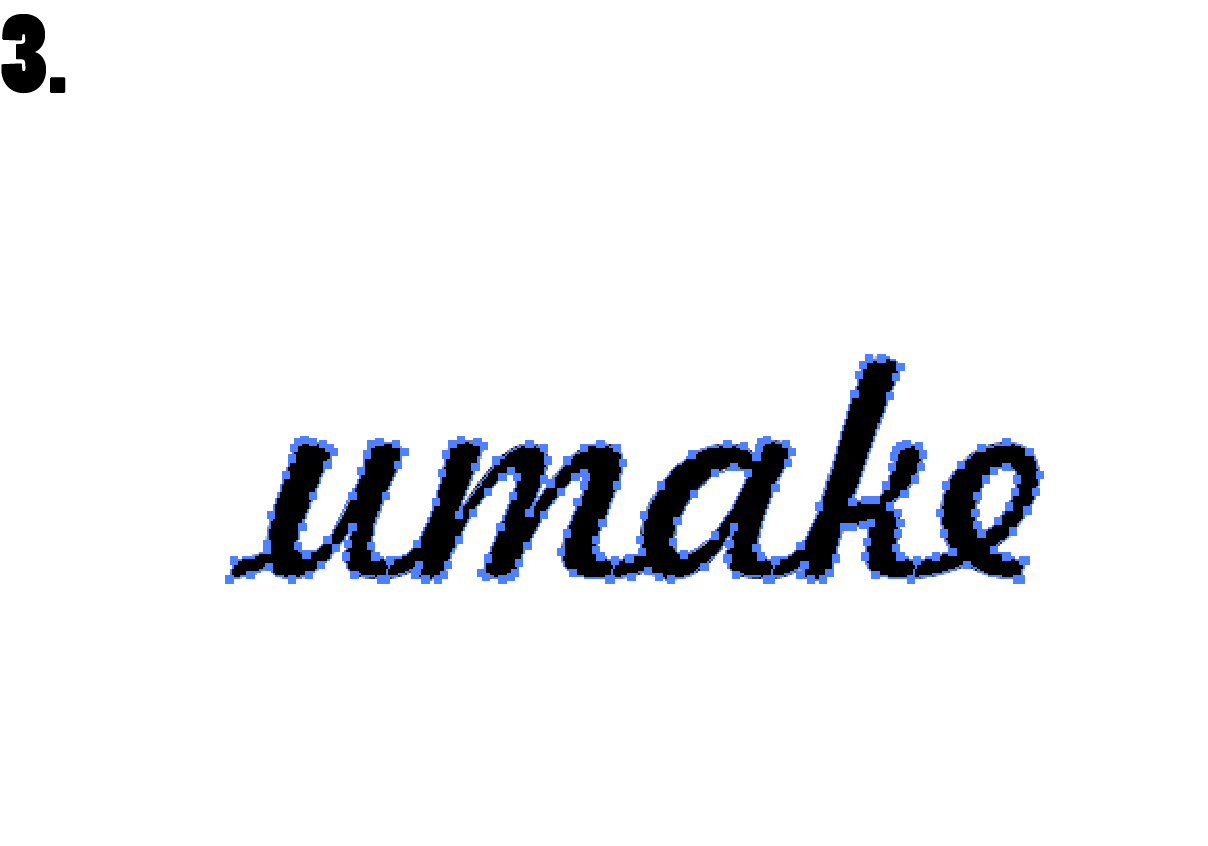
Image 2. Shows how to transform this word into an objects, each letter will become an individual shape.
In Illustrator, select the word, click on the 'TYPE' button on your top menu, then click 'CREATE OUTLINES'.
This easy step will automatically turn your letters into individual objects.
On image 3., you will see the contour of the word is now selected instead of the base shown on image 2.
Your font is now a group of objects.
You're Almost Done!
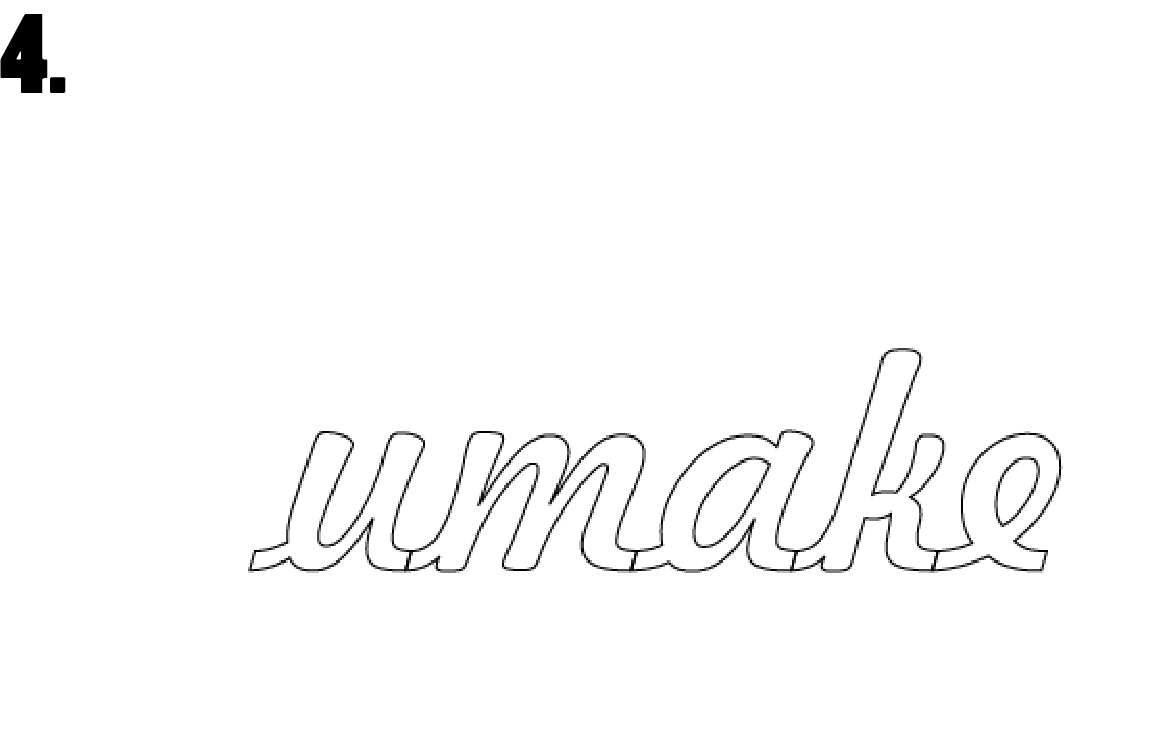
When using the laser technology, you have to make sure the file is one whole object, not a group of objects.
Select the object you created and get rid of the filling. You will then see the outline only, as shown on image 4.
Now, that's what happens, even if you can't see them, the laser will see the lines that separate all letters and these lines will be engraved if we don't correct it.
Any masks, forgotten and hidden lines or anchors will be seen by the laser. Make sure you clean your paths.
Transform Your Objects Into 1 Object
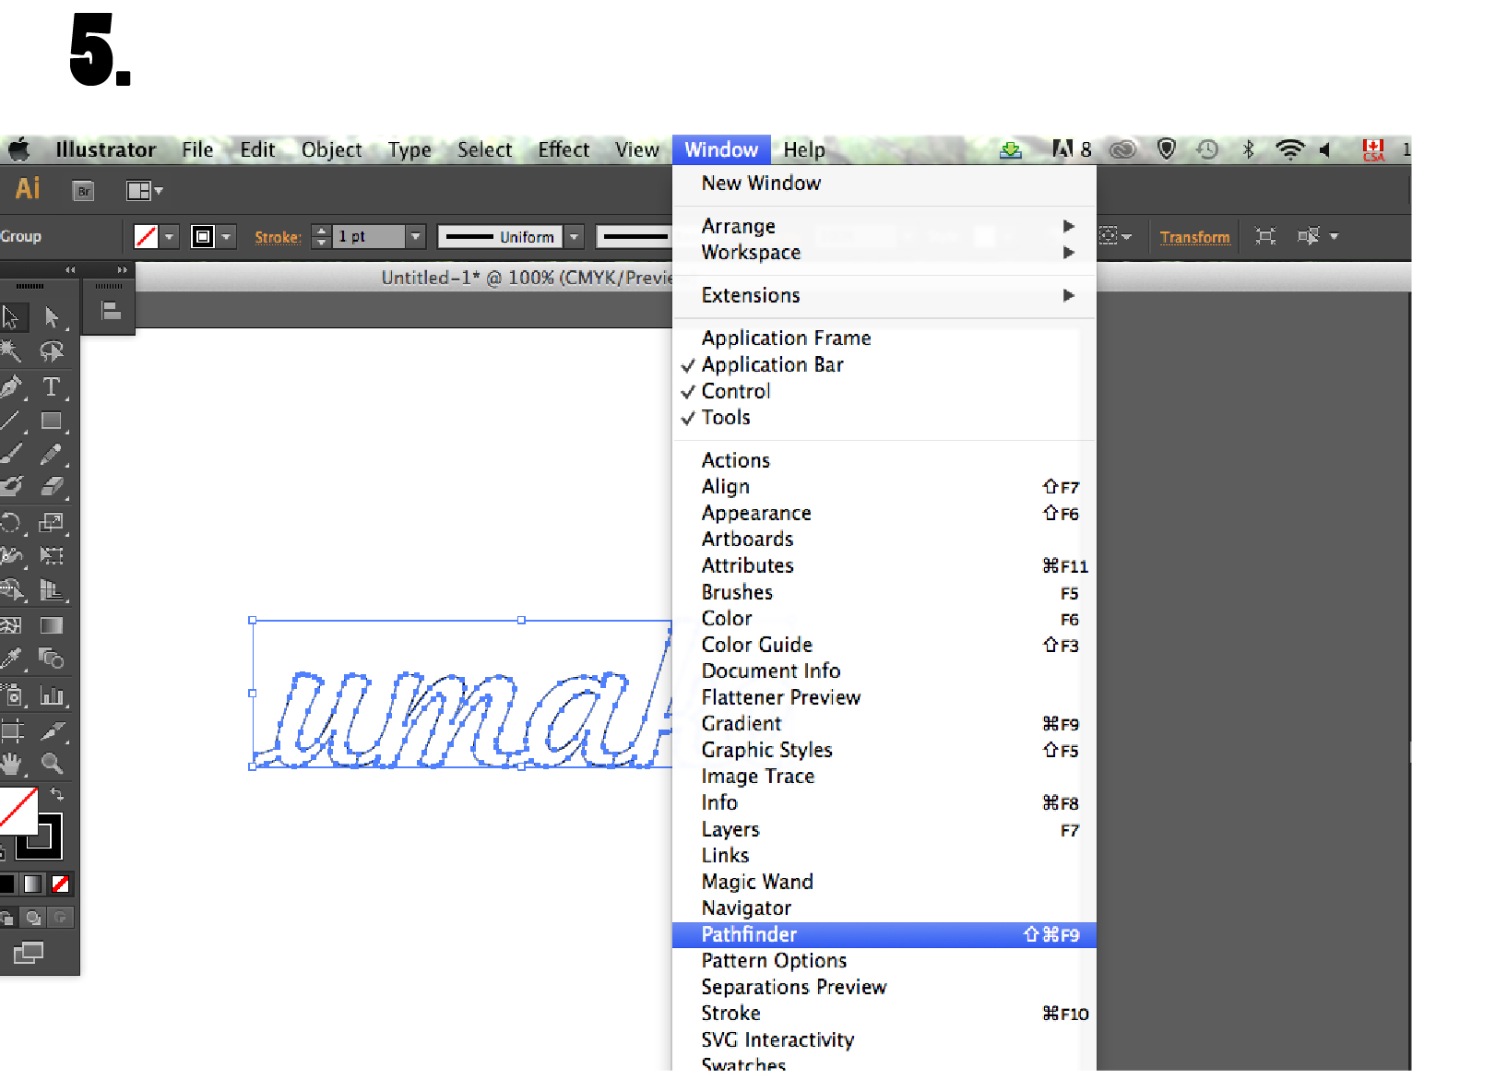
Select the objects, click the button 'WINDOW' in the top menu and select 'PATHFINDER' in the scroll down menu as shown on image 5.
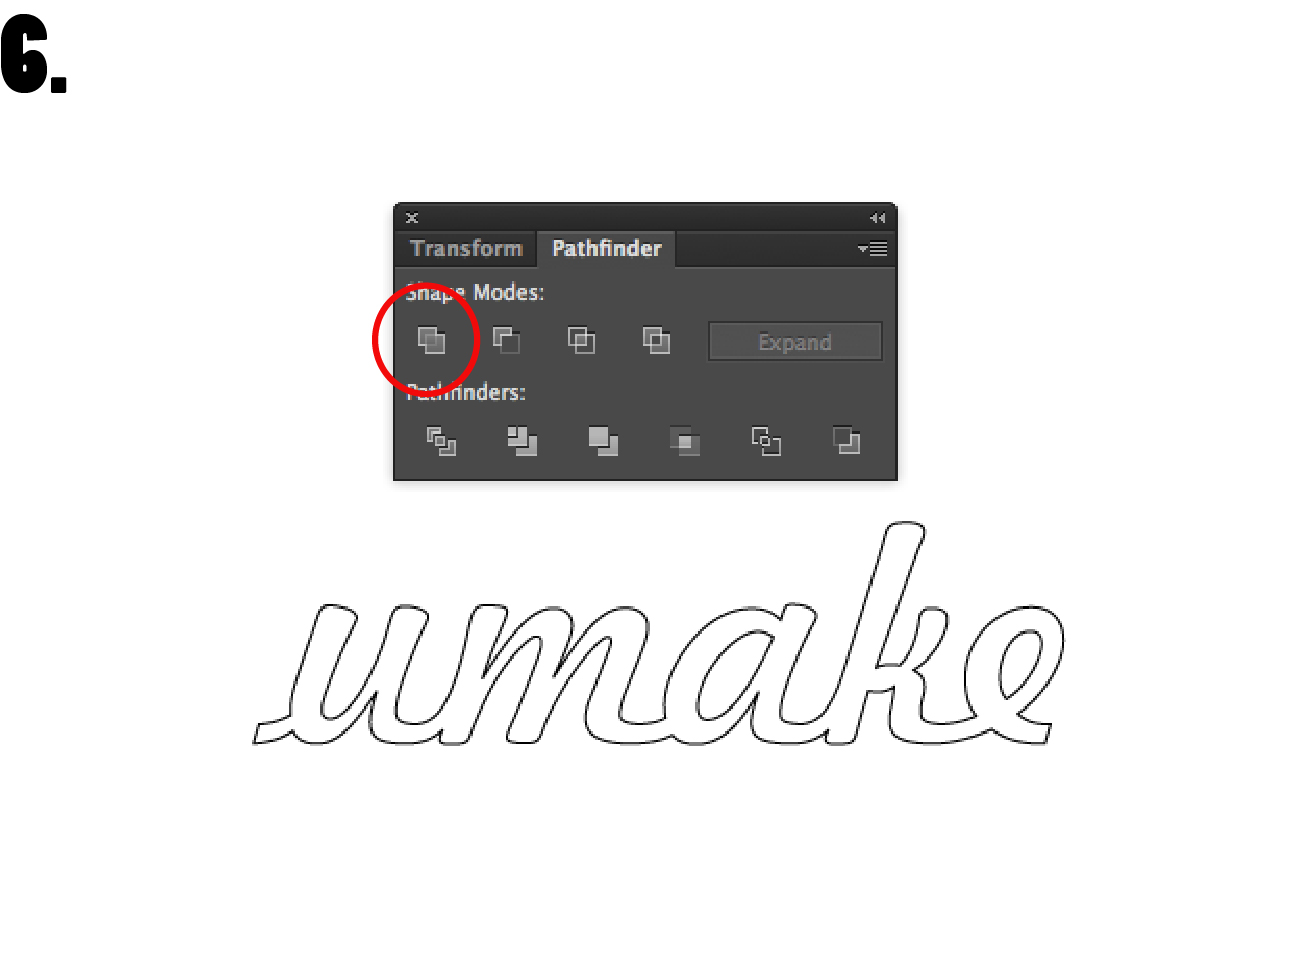
The PATHFINDER window will open and many features will be available for you to use
(This will soon become your best friend)
Click on the top right corner button shown in image 6., in the red circle.
Your objects will become a 1 object.
Your File Is Ready to Go!
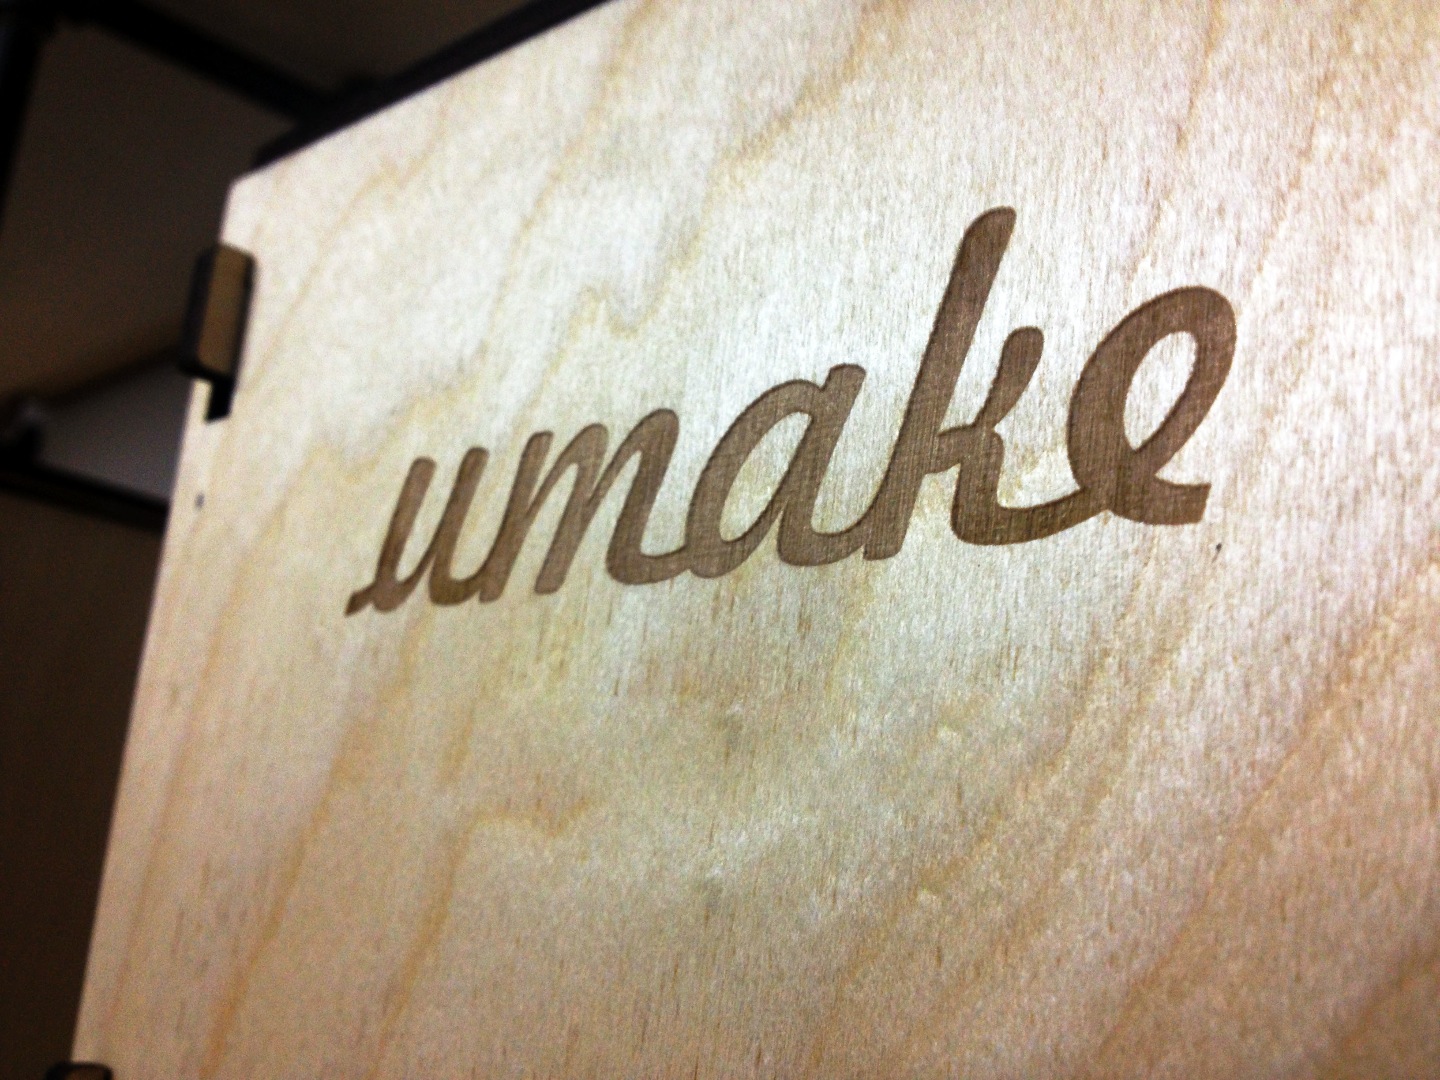
Export your file in .DXF and send it to us - your file is ready for engraving!
If you have 2-3 or more words, all words can be individual objects same with non cursive fonts, all letters will be treated as 1 object.
*Now, with this file, we can engrave or cut your logo or anything, leather, wood, plastic, metal, cardboard, ceramic, cork, ...anything!
See examples made at umake