Laser Engraved Leather Scout Woggle
by jashcroft in Craft > Leather
3271 Views, 20 Favorites, 0 Comments
Laser Engraved Leather Scout Woggle
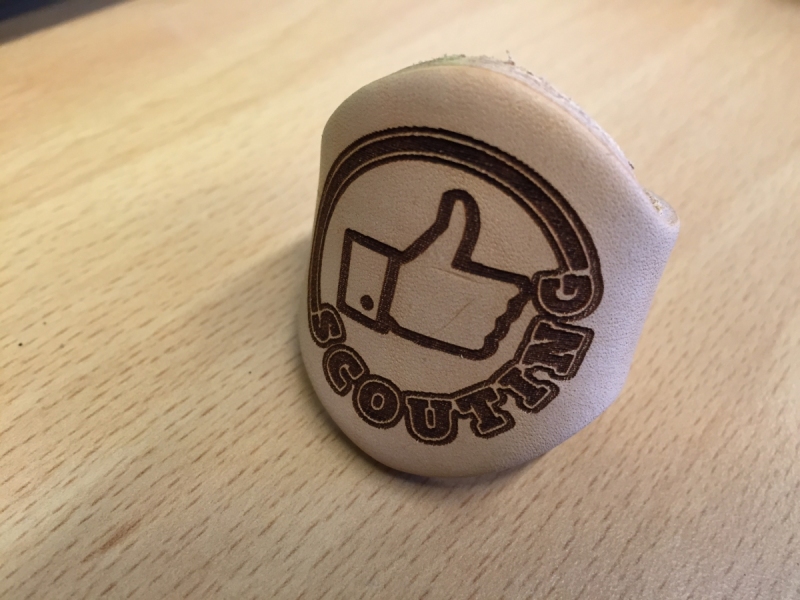
In some of my spare time I make Scout Woggles out of leather with laser engraved designs.
Step 1: What You Need
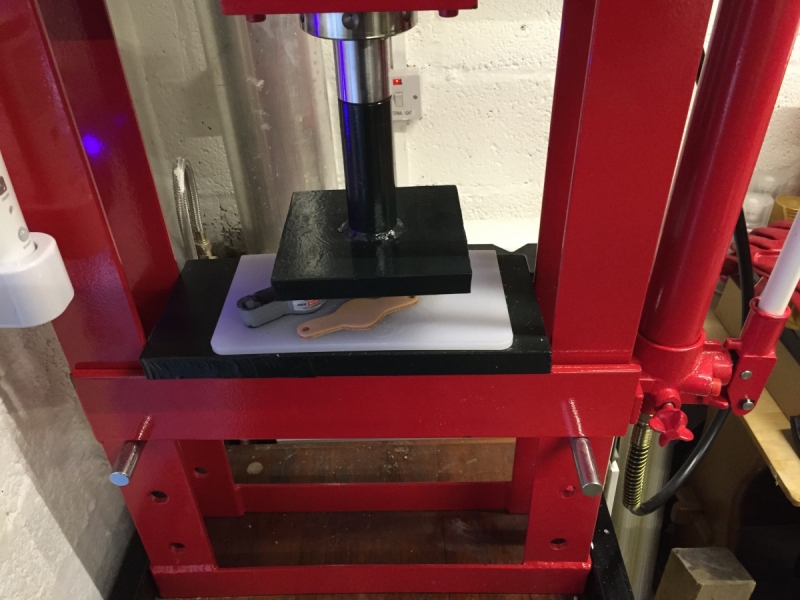
This is what you need. To cut the leather I use a metal forme and ten tonne press. If you don't have these in your workshop a good pair of scissors or shears may work.
- Leather. I usually use 3.5mm natural tan leather.
- Some way of cutting the Leather.
- Computer with design software.
- Laser Engraver.
- Pop Rivets and Rivet Gun.
Step 2: Design
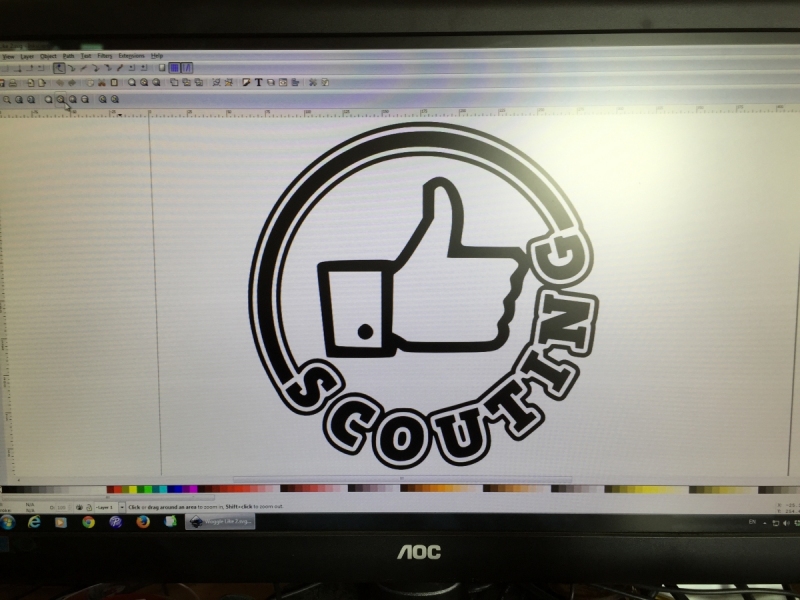
Each woggles design is done on a computer, I use a variety of software packages, such as Paint Shop Pro, Silhouette SD and Inkscape, each has its own capabilities so I often use all three packages to produce a single design. Once complete the design is saved as a DXF file which is then imported into LaserWorks and some further tweaking and resizing takes place. LaserWorks is used to tell the laser engraving machine what to do, so you also have to set things like the power of the laser and how fast it travels, as that will determine the burn into the leather.
Step 3: Cutting the Leather
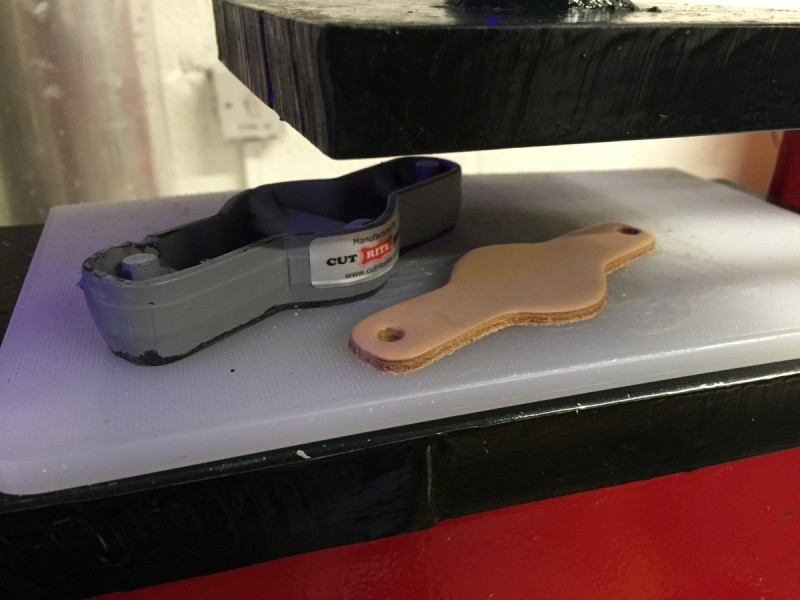
The leather I am mostly using is around 3.5mm in thickness and is vegetable tanned, which means no nasty chemicals are used. The leather itself is light in colour which results in the laser burn showing up as a good contrast. As the leather ages it takes on an attractive honey colour.
To cut the leather into the woggle shape I use a cutting die, which I had specially made and sent over from the USA. The leather is placed in the adapted 10 ton hydraulic bench press with the cutting die on top, with a few pulls of the presses handle the cutter goes cleanly through the leather, it also cuts out the two rivet holes.
You could always use the laser to cut the leather, but it does leave a charred edge. Alternatively, use a strong pair of scissors or shears.
Step 4: Engraving the Leather
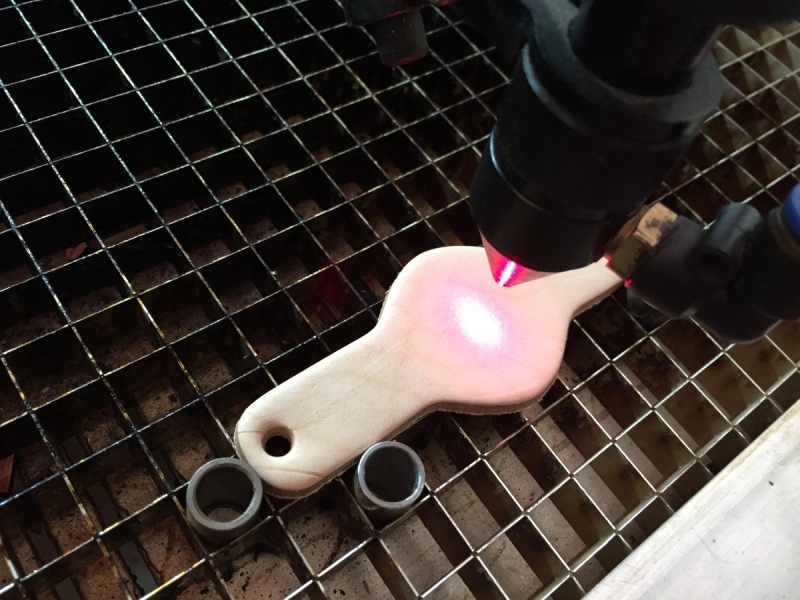
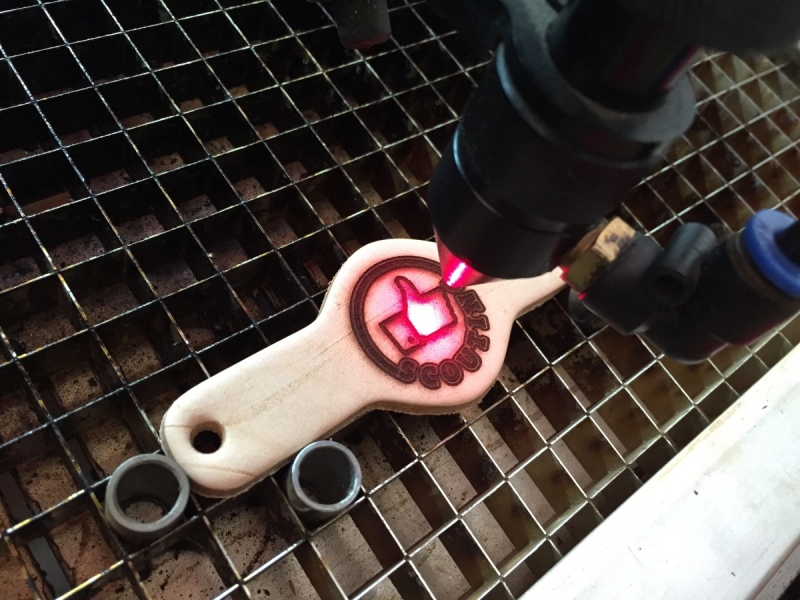
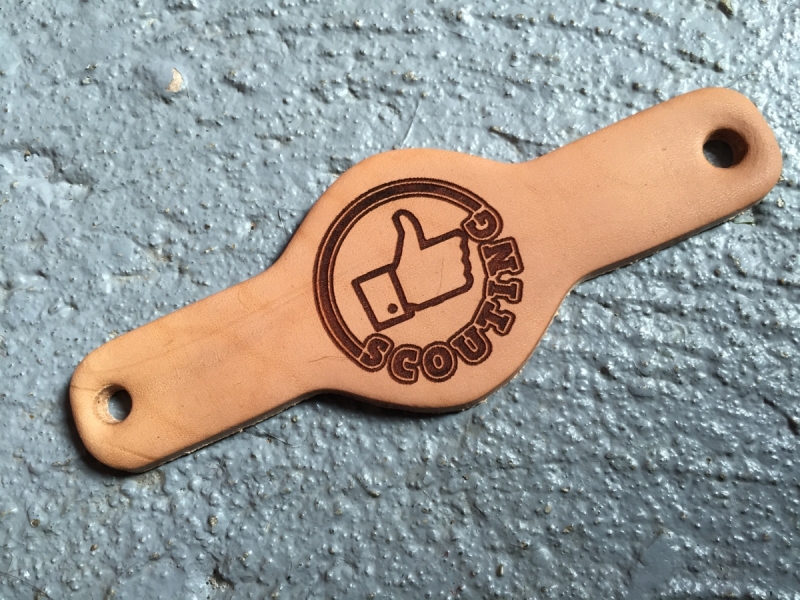
The woggle is placed in the laser engraving machine and the laser head positioned above the centre of the woggle. I use steel poisoning dowels to help locate the woggle, which means if I’m engraving several, it is very easy getting each woggle into the right position just by pushing it up against the dowels.
The design on the computer is downloaded into the laser engraving machine and the correct file is selected. I usually do a ‘framing’ run first to make sure everything is aligned as it should be. Once everything is ready to go, the air pump is turned on which sends a flow of air into the laser head helping to stop any smoke build up on the laser’s lens. The lid is closed and the laser set to run. A typical woggle design takes between 50 and 60 seconds to engrave.
For my 60w laser I find a speed of 200mms and 35% power works well.
Step 5: Finishing
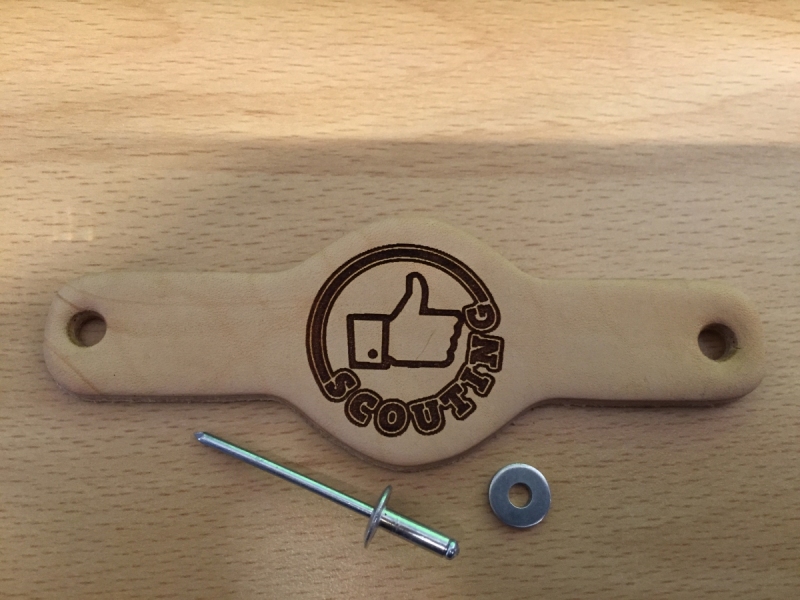
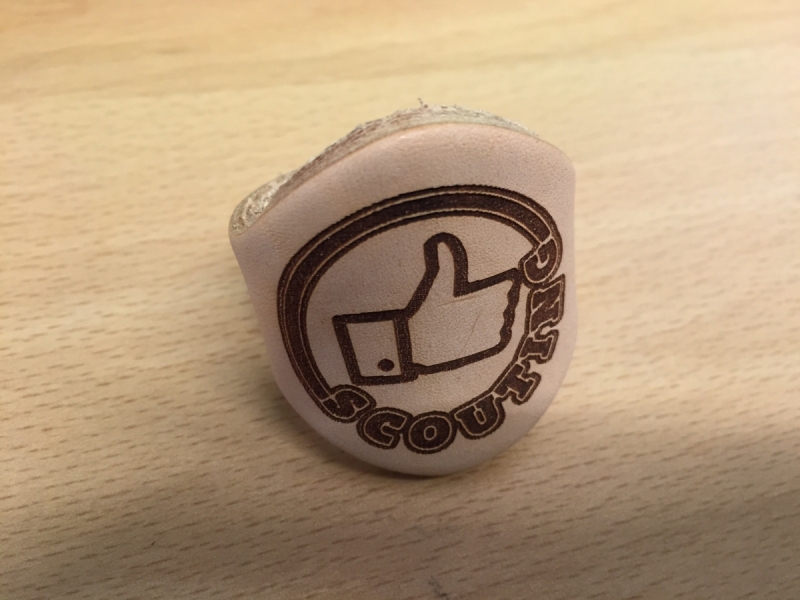
When it’s finished the woggle is covered in a layer of burnt leather particles, these are wiped of with a damp sponge revealing the design underneath. The woggle is then left to dry for a short while.
To fasten the woggle ends together, I have to use aluminium rivets. With the leather being so thick and not much room to get a riveting tool inside the woggle, I can’t use the more traditional hollow rivets. To stop the rivet being pulled through the leather I also use a special rivet washer. This is a totally over the top fastening and extremely strong so hopefully it should never pull apart.
That’s about it, one woggle completed.