Laser Engraved Glassware
by SLOMakerSpace in Workshop > Laser Cutting
3189 Views, 10 Favorites, 0 Comments
Laser Engraved Glassware
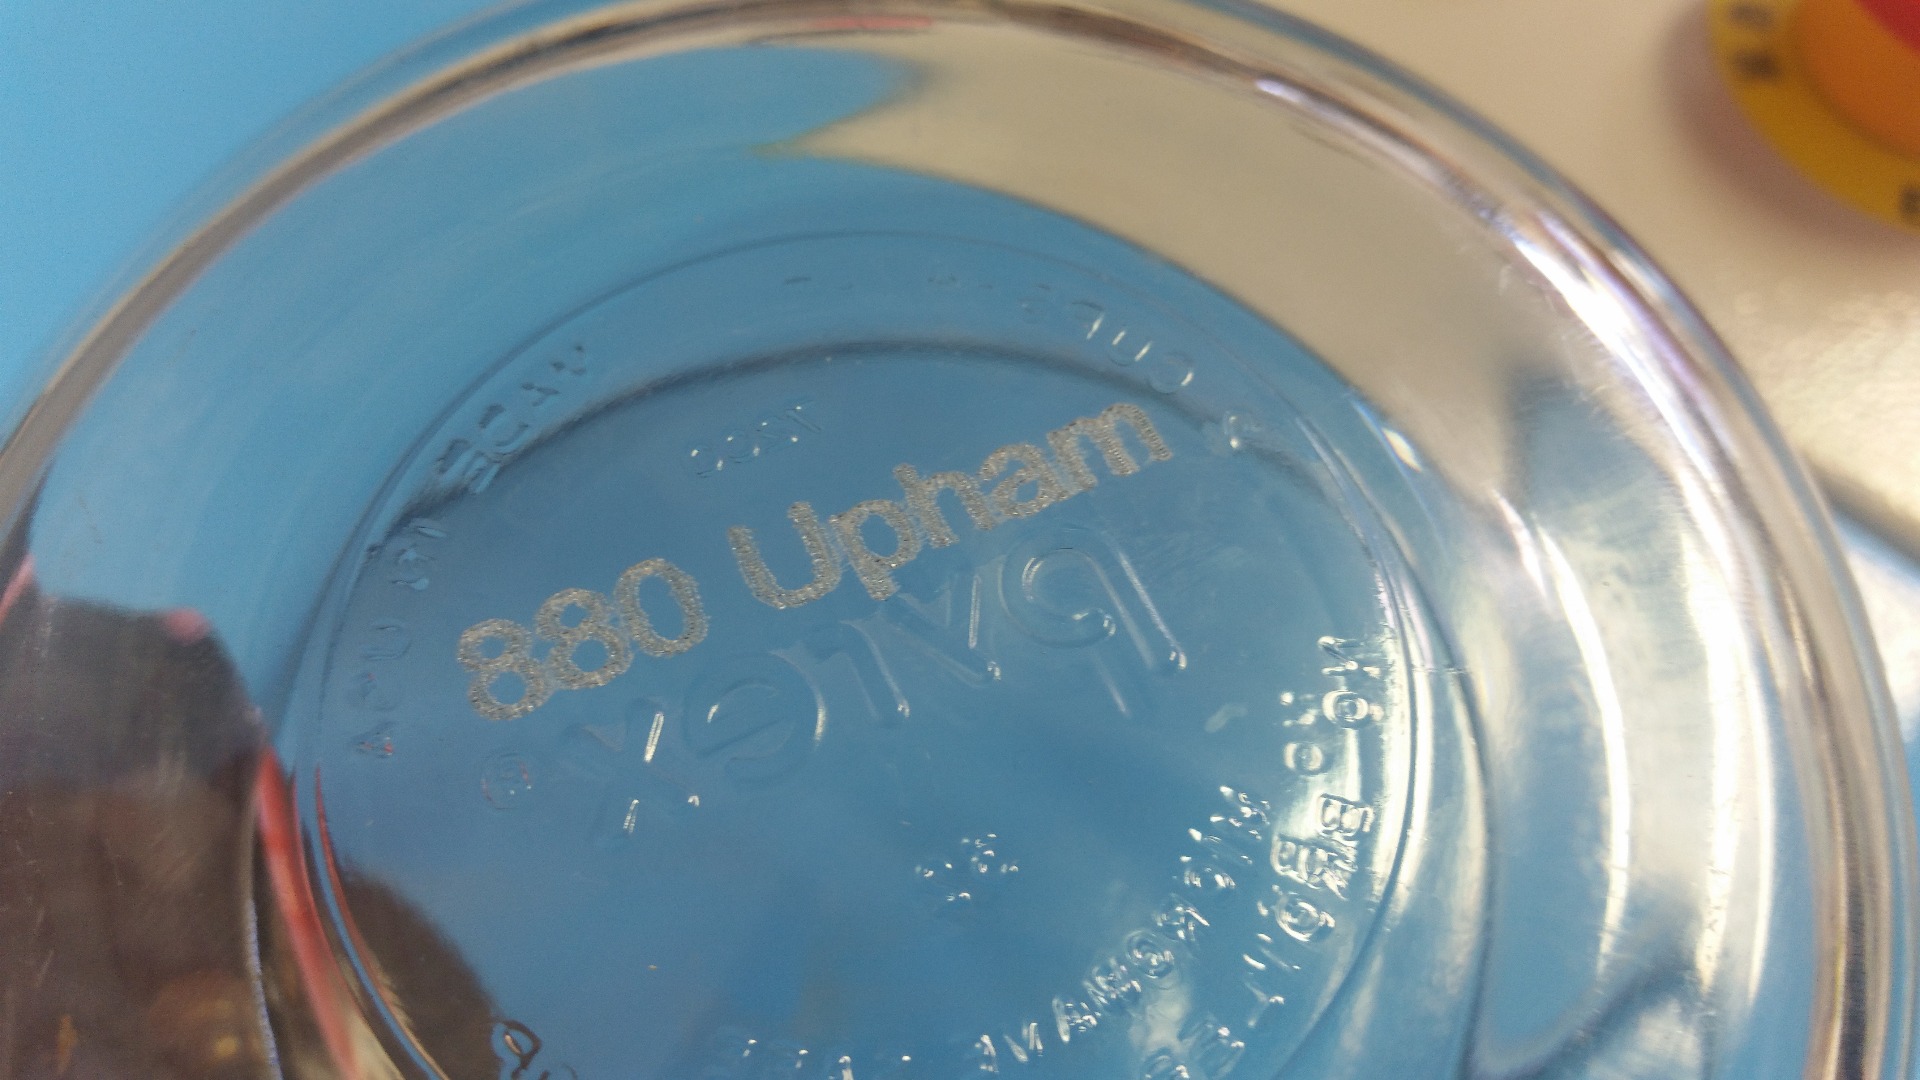
How often do you or your roommates take some food to go or to a potluck and forget to bring back the Pyrex container? Then your container gets lost in a sea of dishes at your friend's house, indistinguishable from all the other containers. Its forever lost.
But... What if, you had a way of identifying your Pyrex so it could be returned it to its home?
In this Instructable, I'll teach you how to laser engrave your Pyrex and other glassware (mason jars, pint glasses, wine glasses, etc) with a custom logo or text so that you can maintain a healthy stock of containers and give them all some custom flair.
This method can be used to make great gifts as well for birthday parties, Father's/Mother's day, etc.
Setup Your File
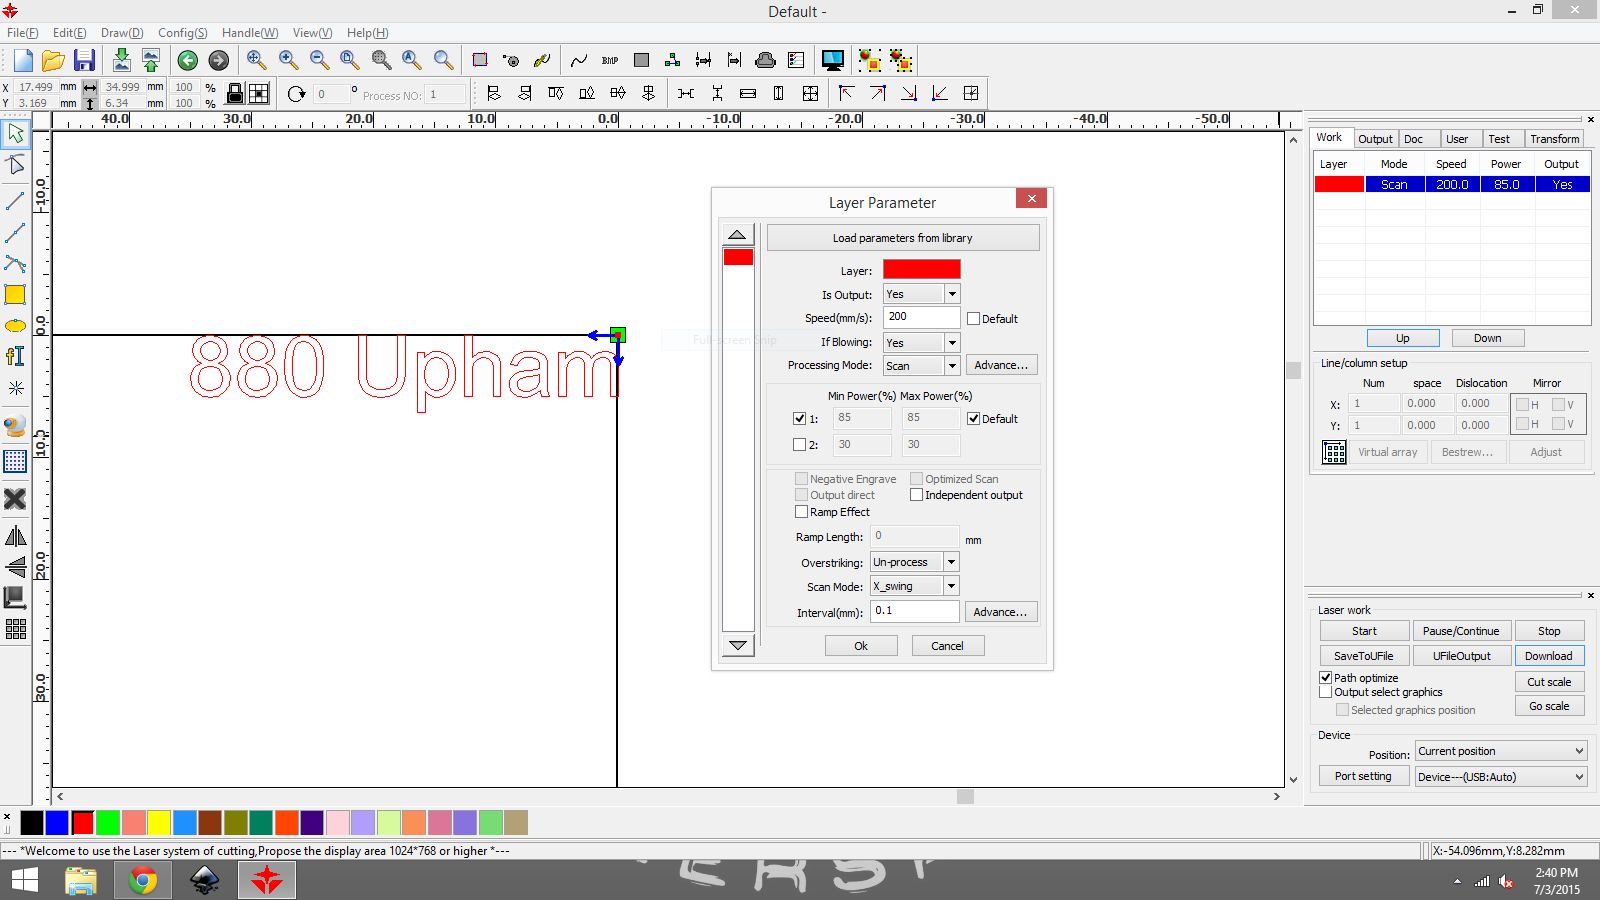
- Open up RDcam on the laser computer (red icon in the taskbar)
- Draw some vector shapes, add some text, or import an image - whatever it is you want to engrave onto your glassware
- Position your vectors in the top right of the workspace, and make sure no vectors will be engraving off of your material!
- You'll probably need to do some trial and error to get your power and speed settings just right for the type of glass you are working with and what effect you are going for. Because of this: DON'T engrave your most prized piece of glassware without adequate testing on other pieces first. Once you engrave, you can't undo it or even go over it to cover it up. A good place to start for a SCANNING processing mode (raster engraving) is a speed of 20 and the max power of 85. This produced nice results on clear Pyrex. Again, for your material and desired effect, you'll need to dial in the settings. Also note: if the layer is set to a processing mode of CUTTING then the power will probably need to be lower and the effect will be different.
Setup the Machine and Engrave!
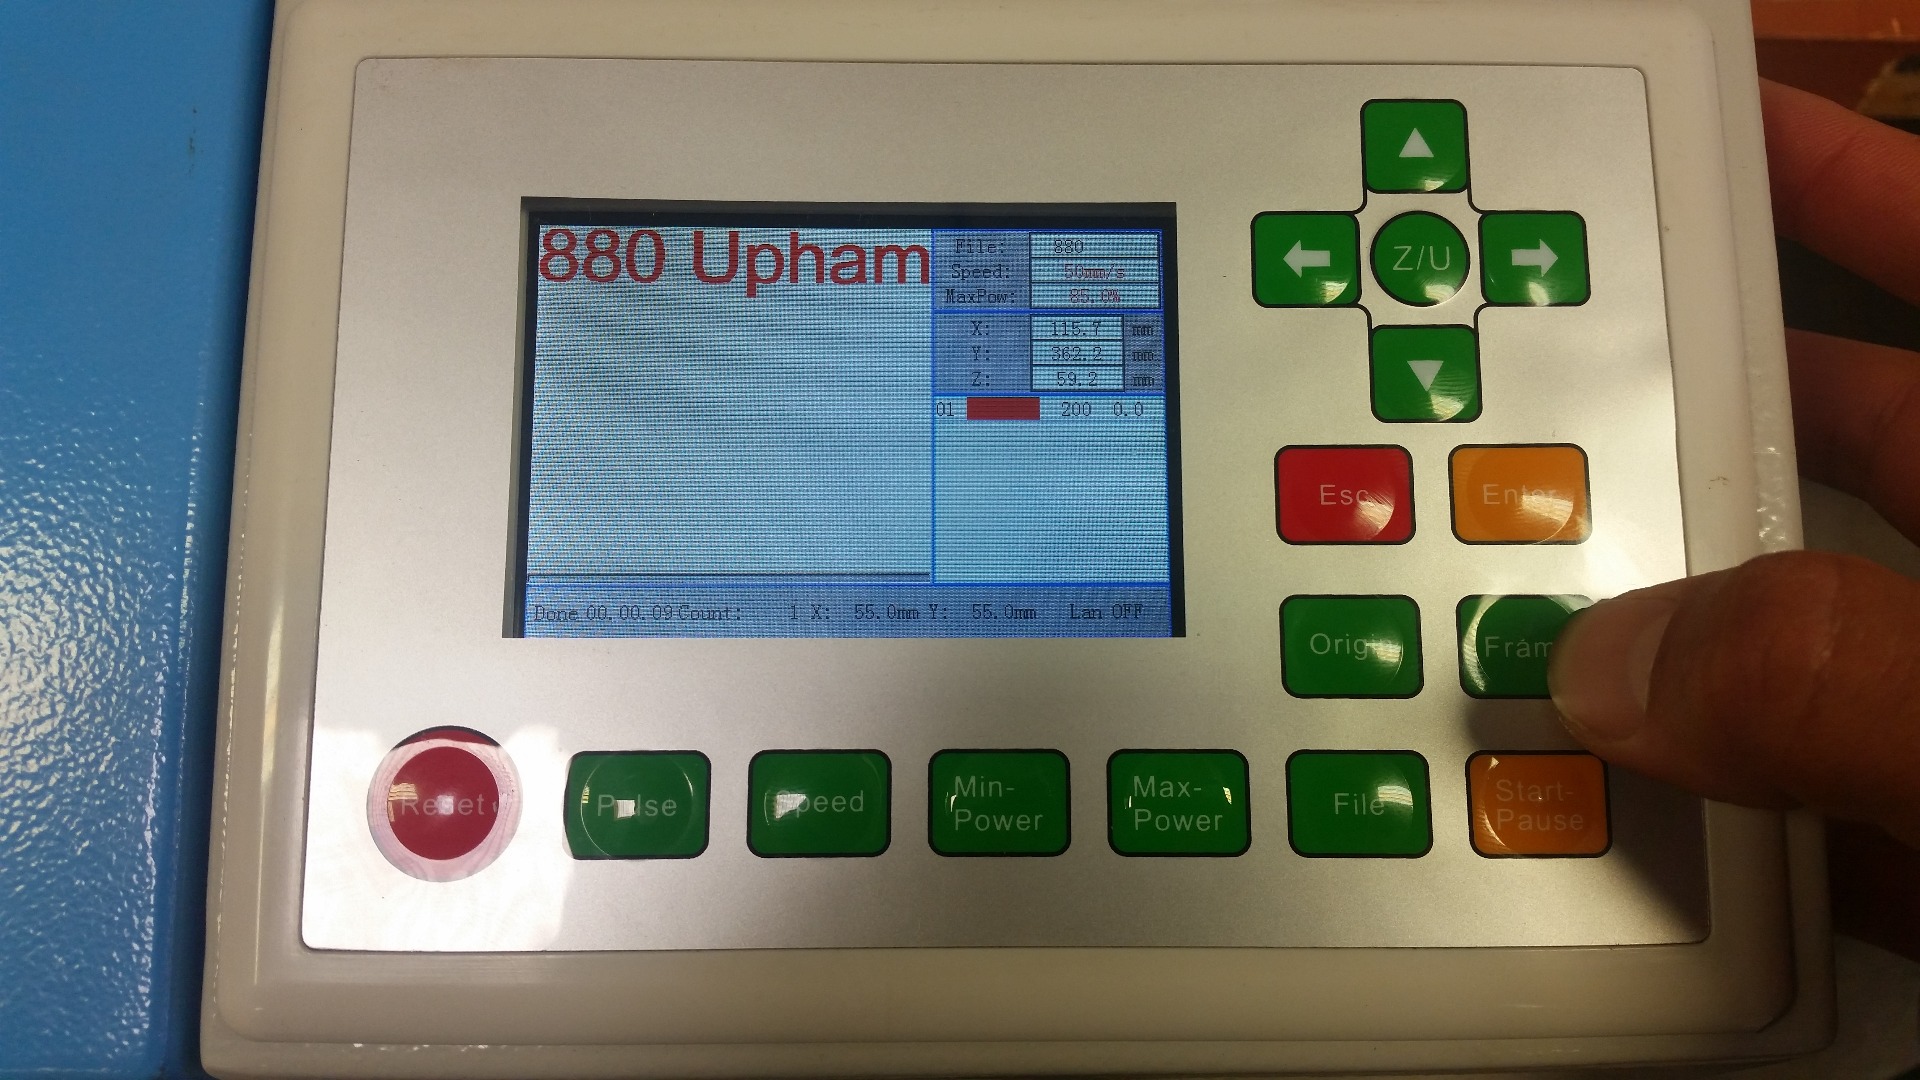
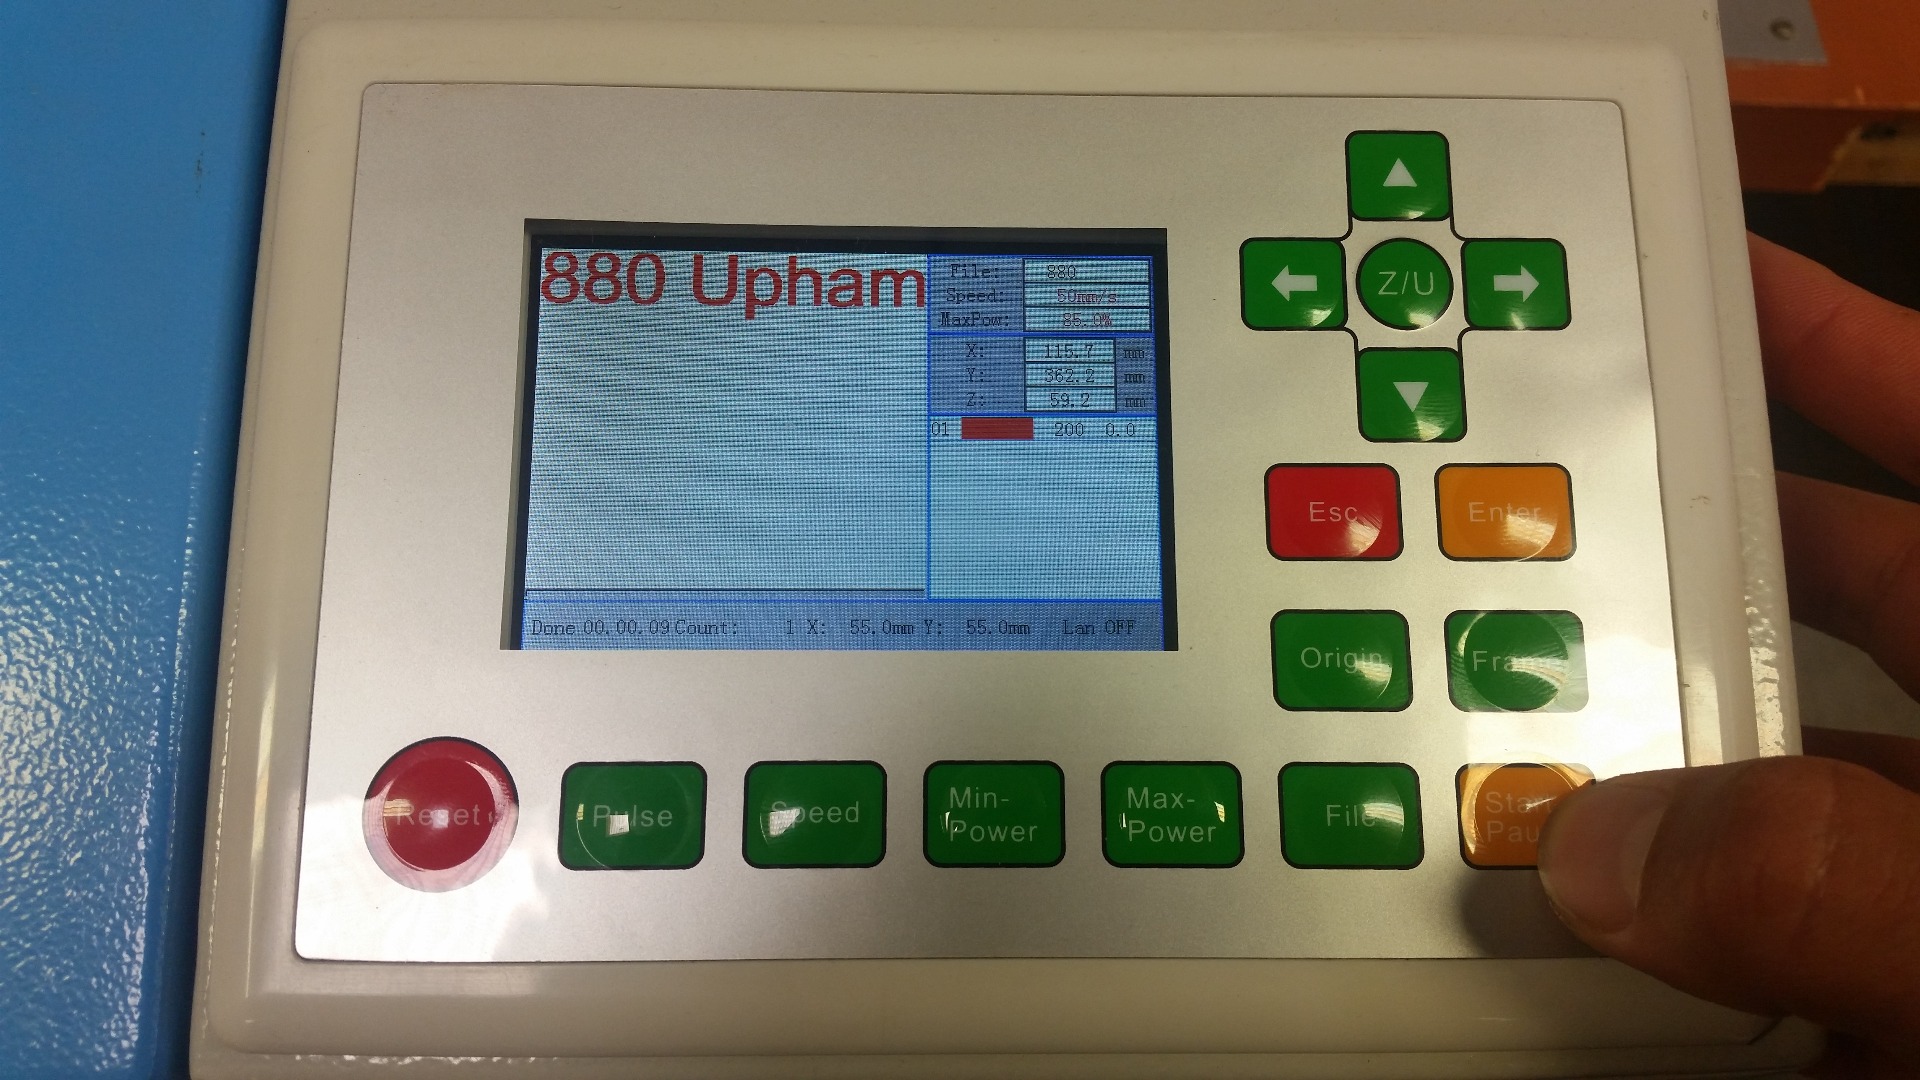
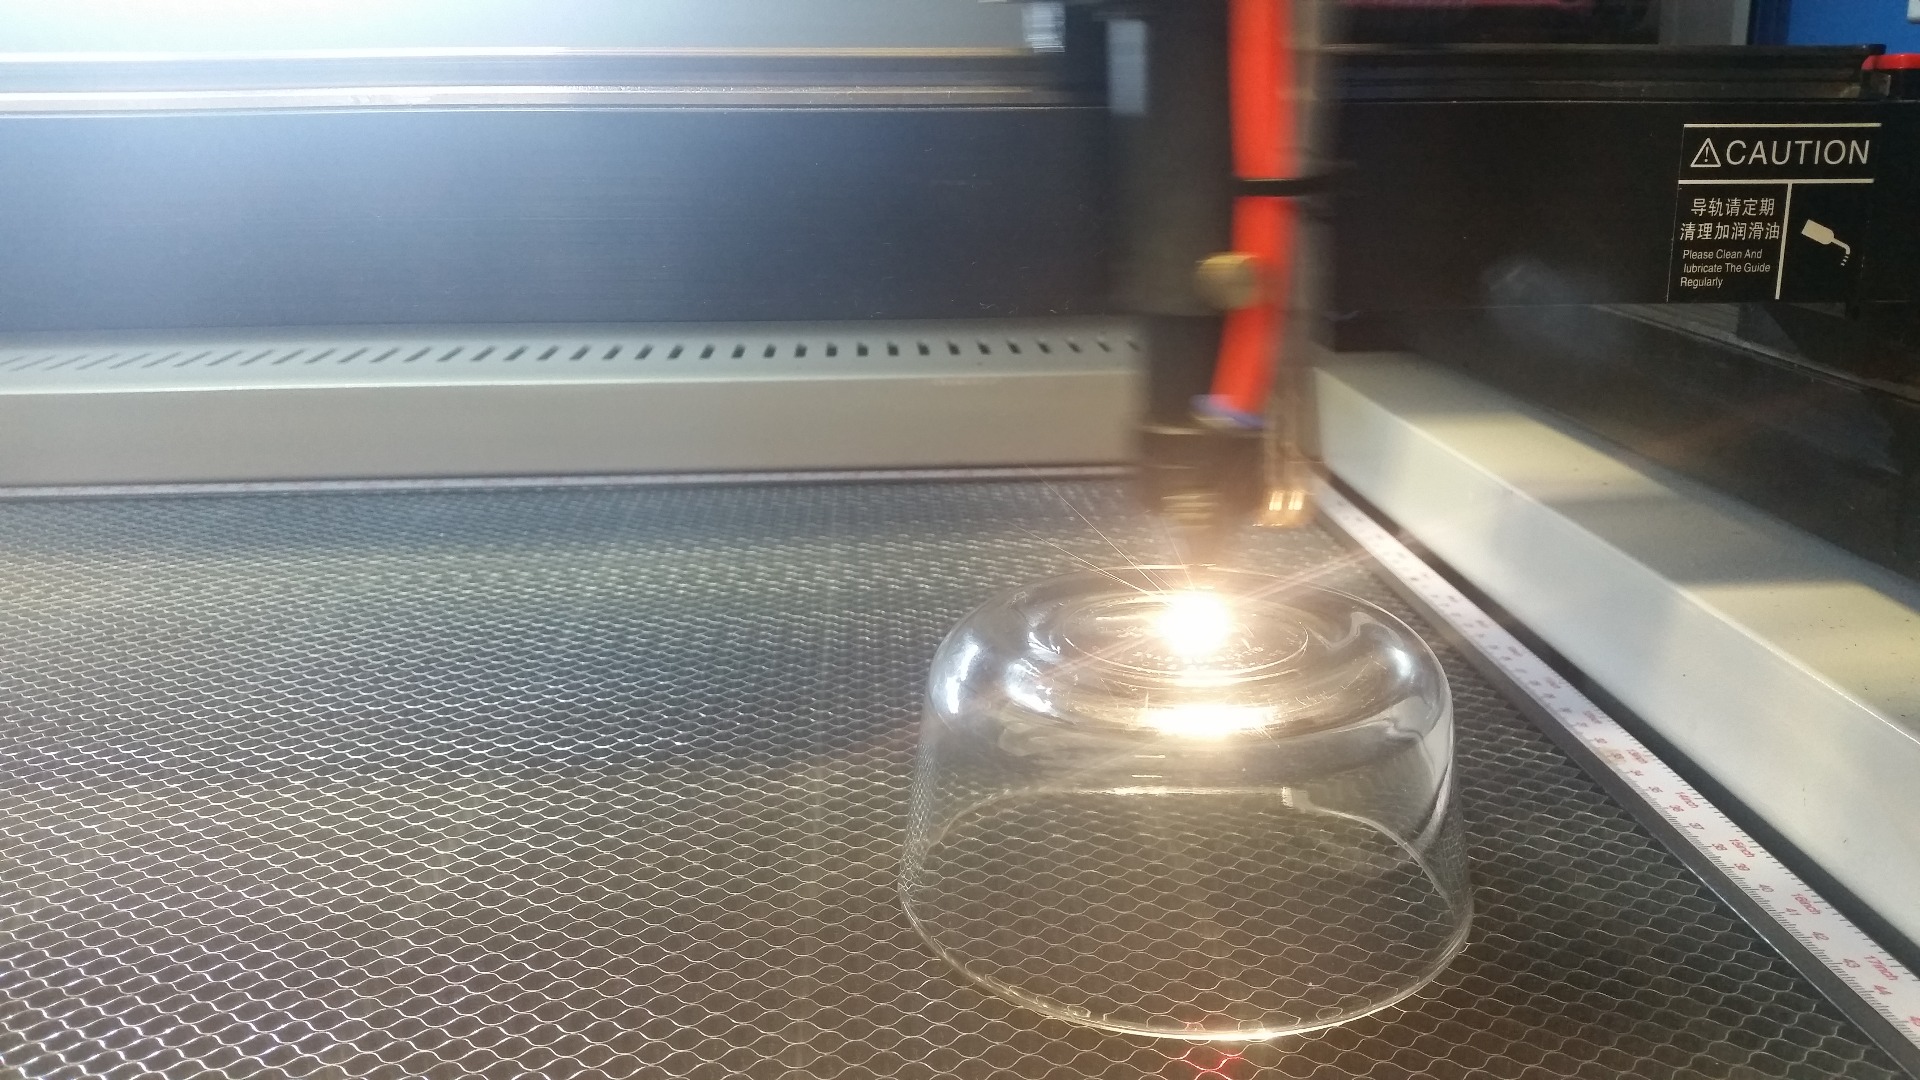
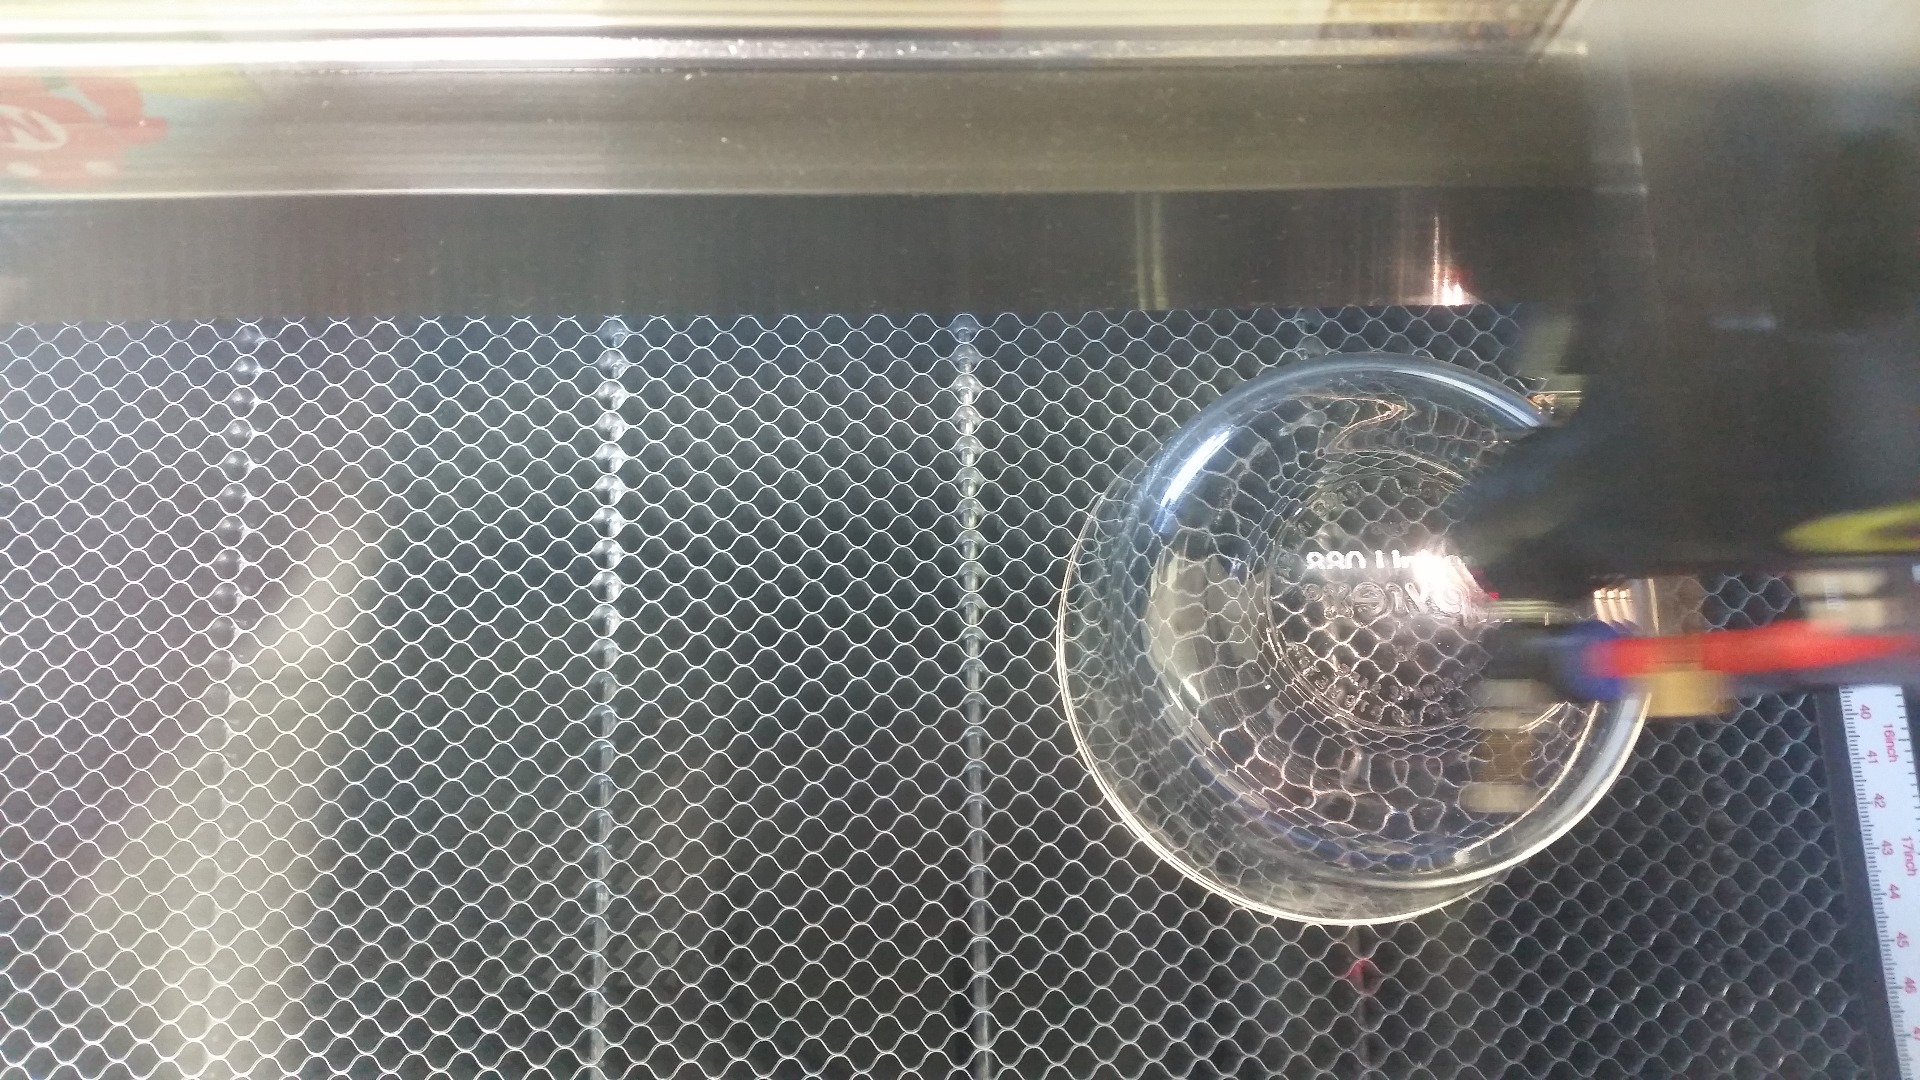
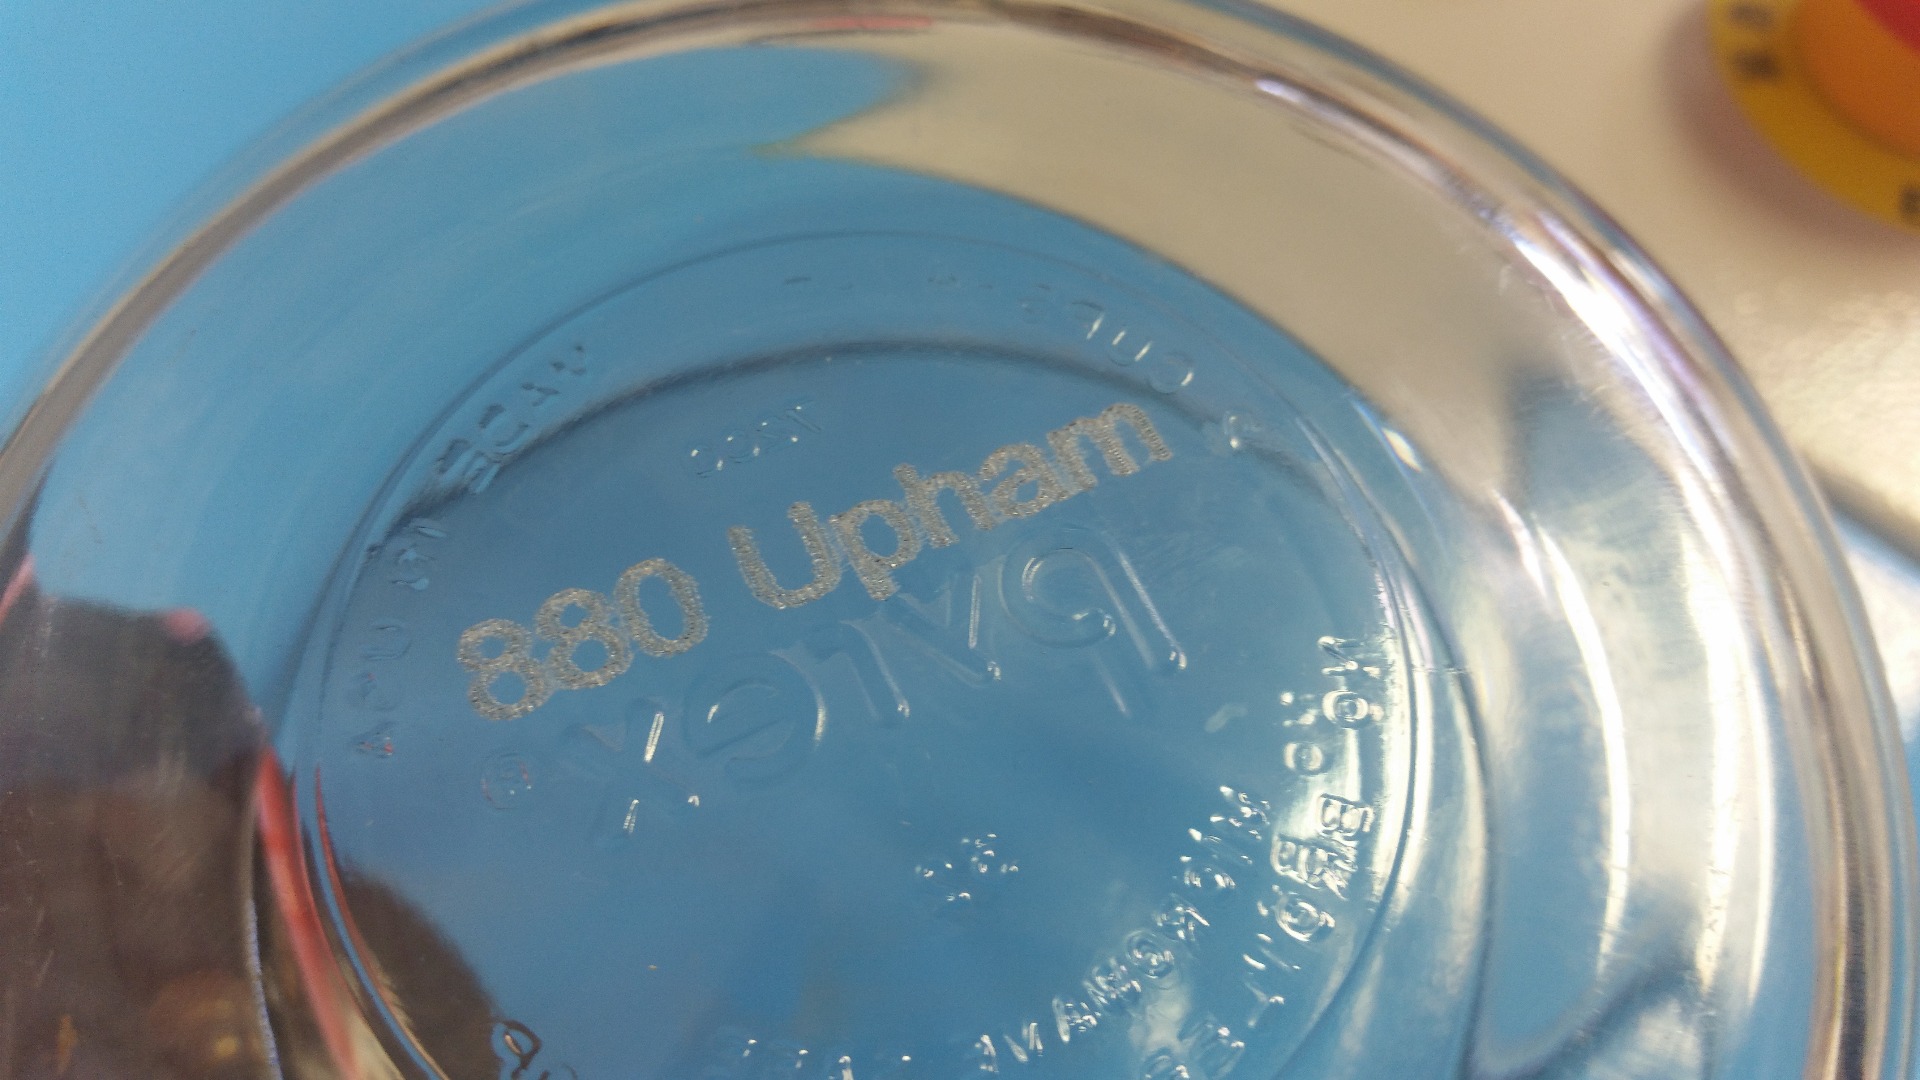
- Download your file to the laser machine
- Using the laser's control panel, set your Z height. This is done by first pressing 'Z/U', then using the left and right arrow keys to move the bed up and down. Use the focus key to position the surface of your material the right distance from the laser nozzle. Press 'ESC' when you are done setting the Z height.
- Use the arrow keys to position the nozzle where you want the origin to be (where the program will run from). Press the 'Origin' button to set the origin.
- Press 'File', use the arrow keys to select your file, and then press 'Enter' to load it up.
- Now press 'Frame' to make sure that your file is going to engrave in the right areas on your material. If anything looks weird, you can change your origin or adjust your file and start over.
- When you're ready, close the laser's lid and press 'Start/Pause' and revel in the awesomeness!