Laser Cutting With Rayjet 300 & Adobe Illustrator
by mhinterarts in Workshop > Laser Cutting
3291 Views, 5 Favorites, 0 Comments
Laser Cutting With Rayjet 300 & Adobe Illustrator
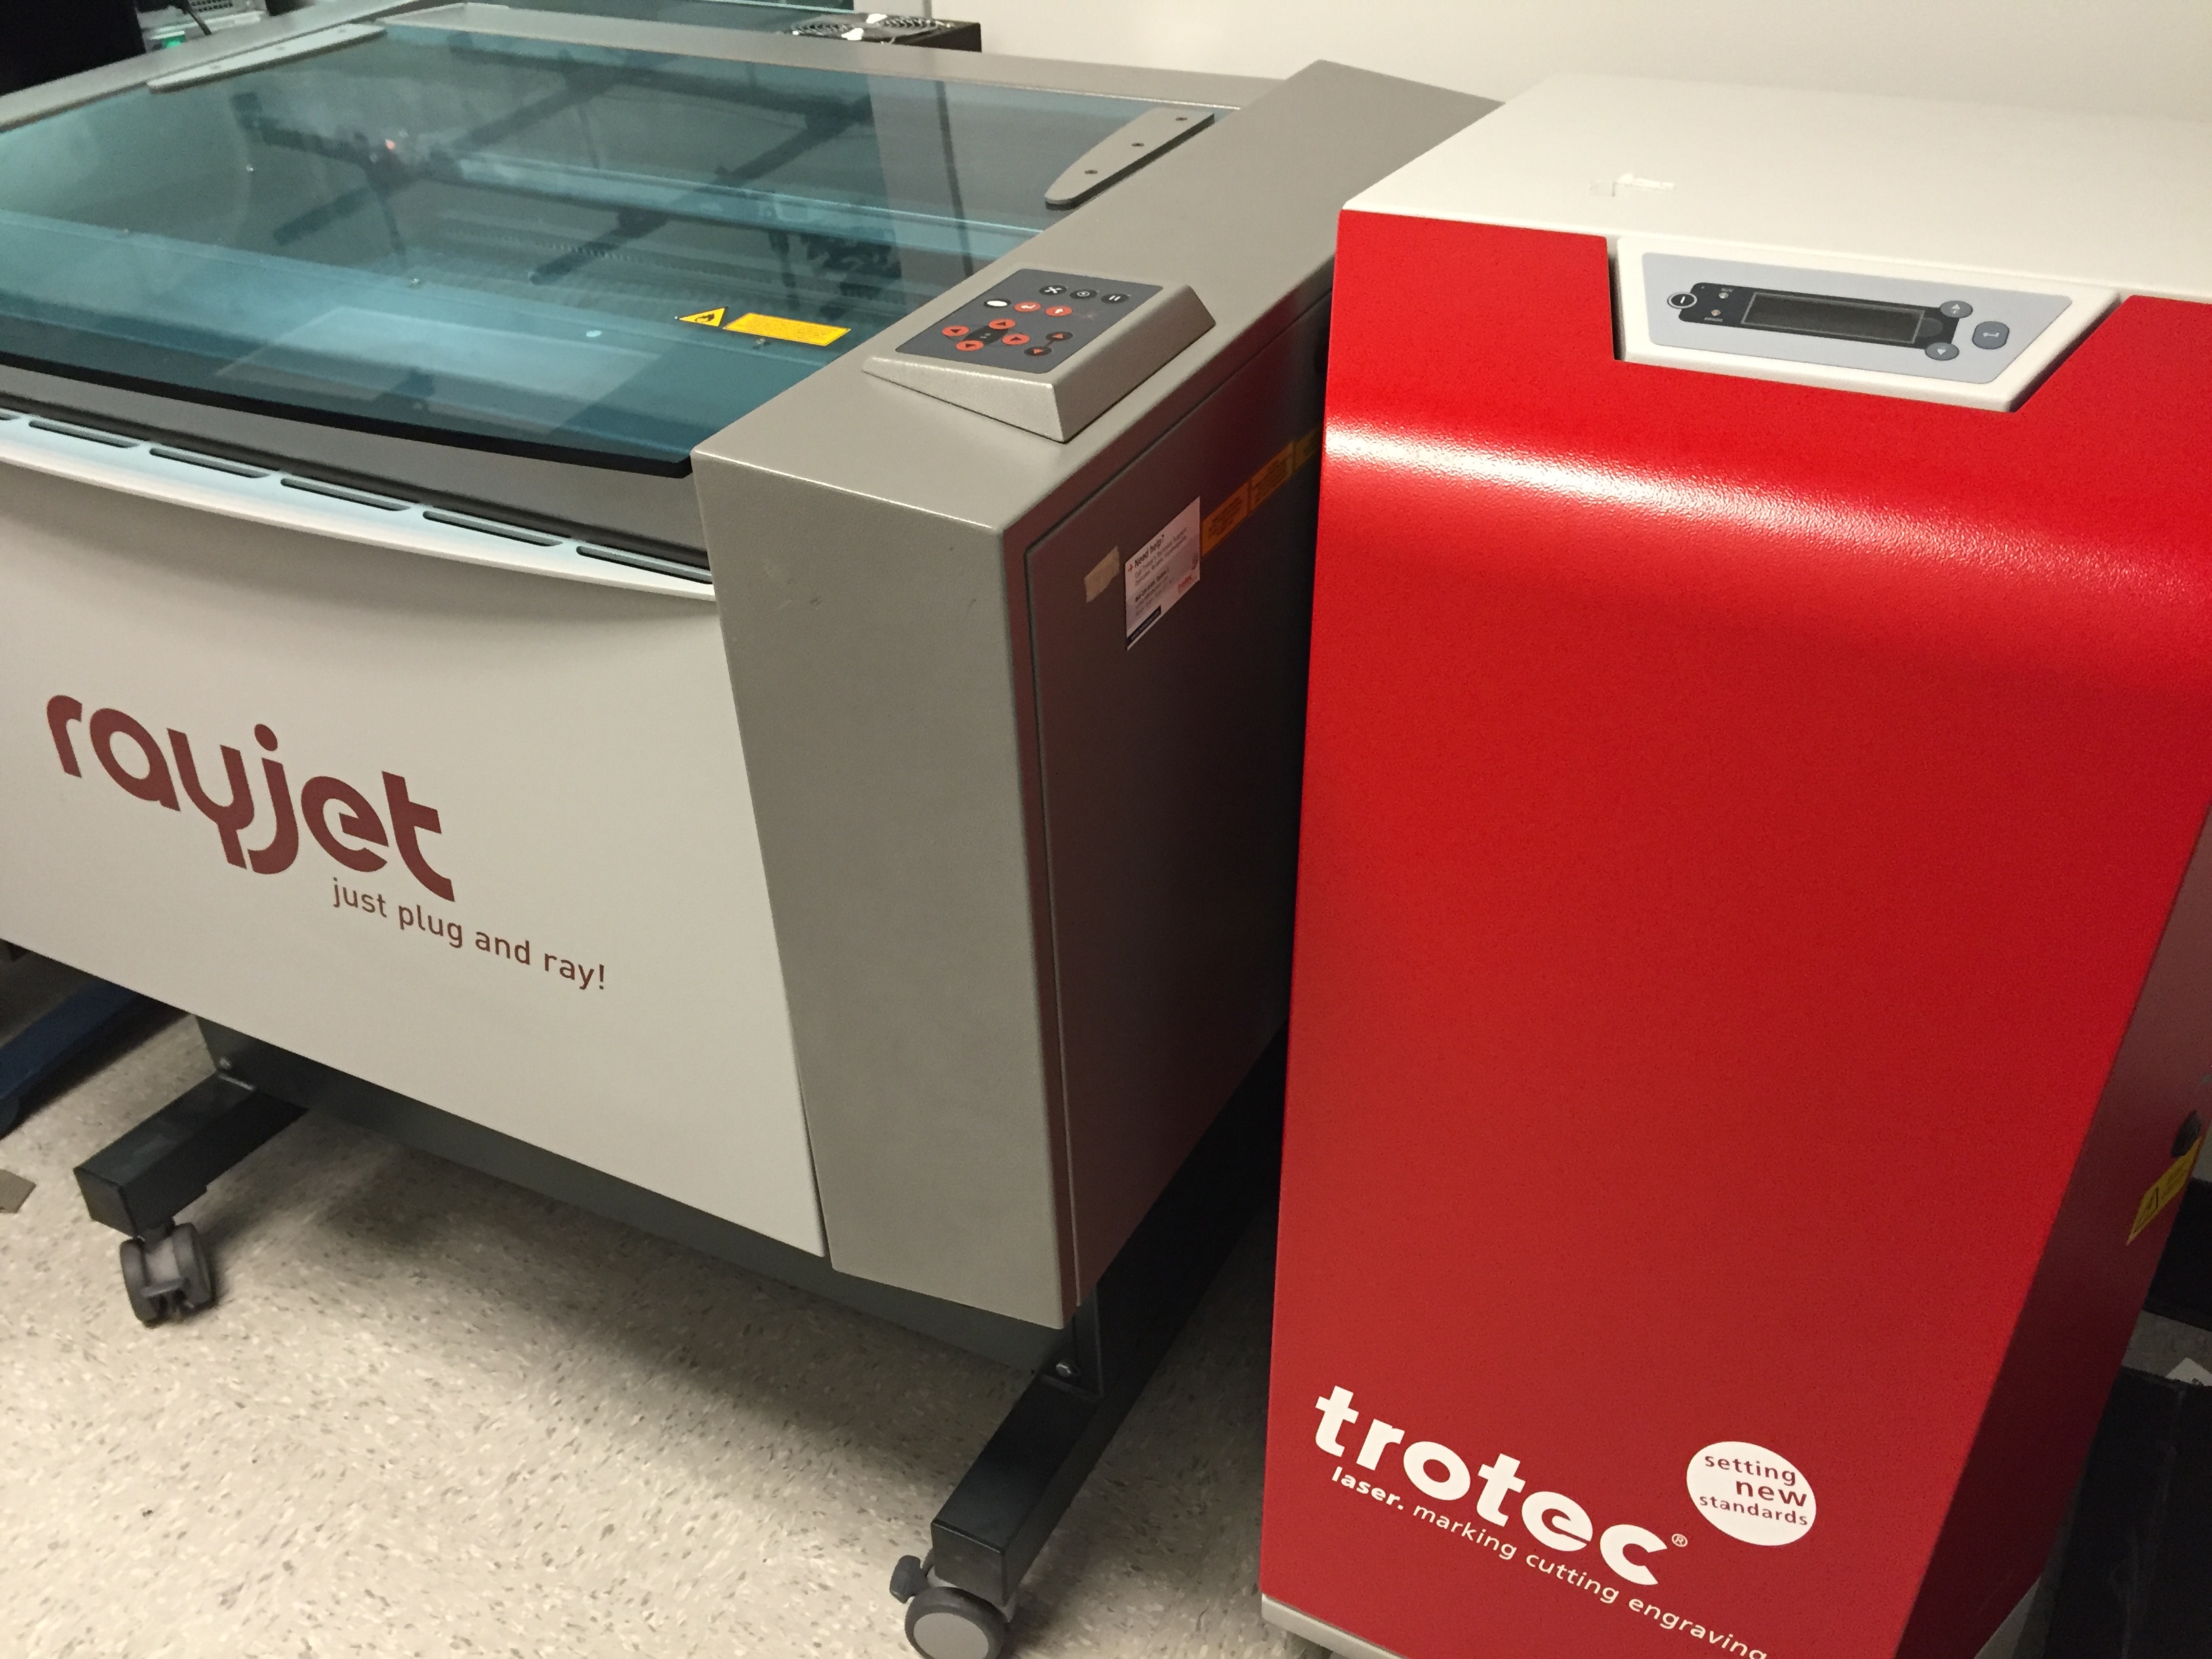
A method for cutting/engraving designs using Adobe Illustrator and the RayJet 300.
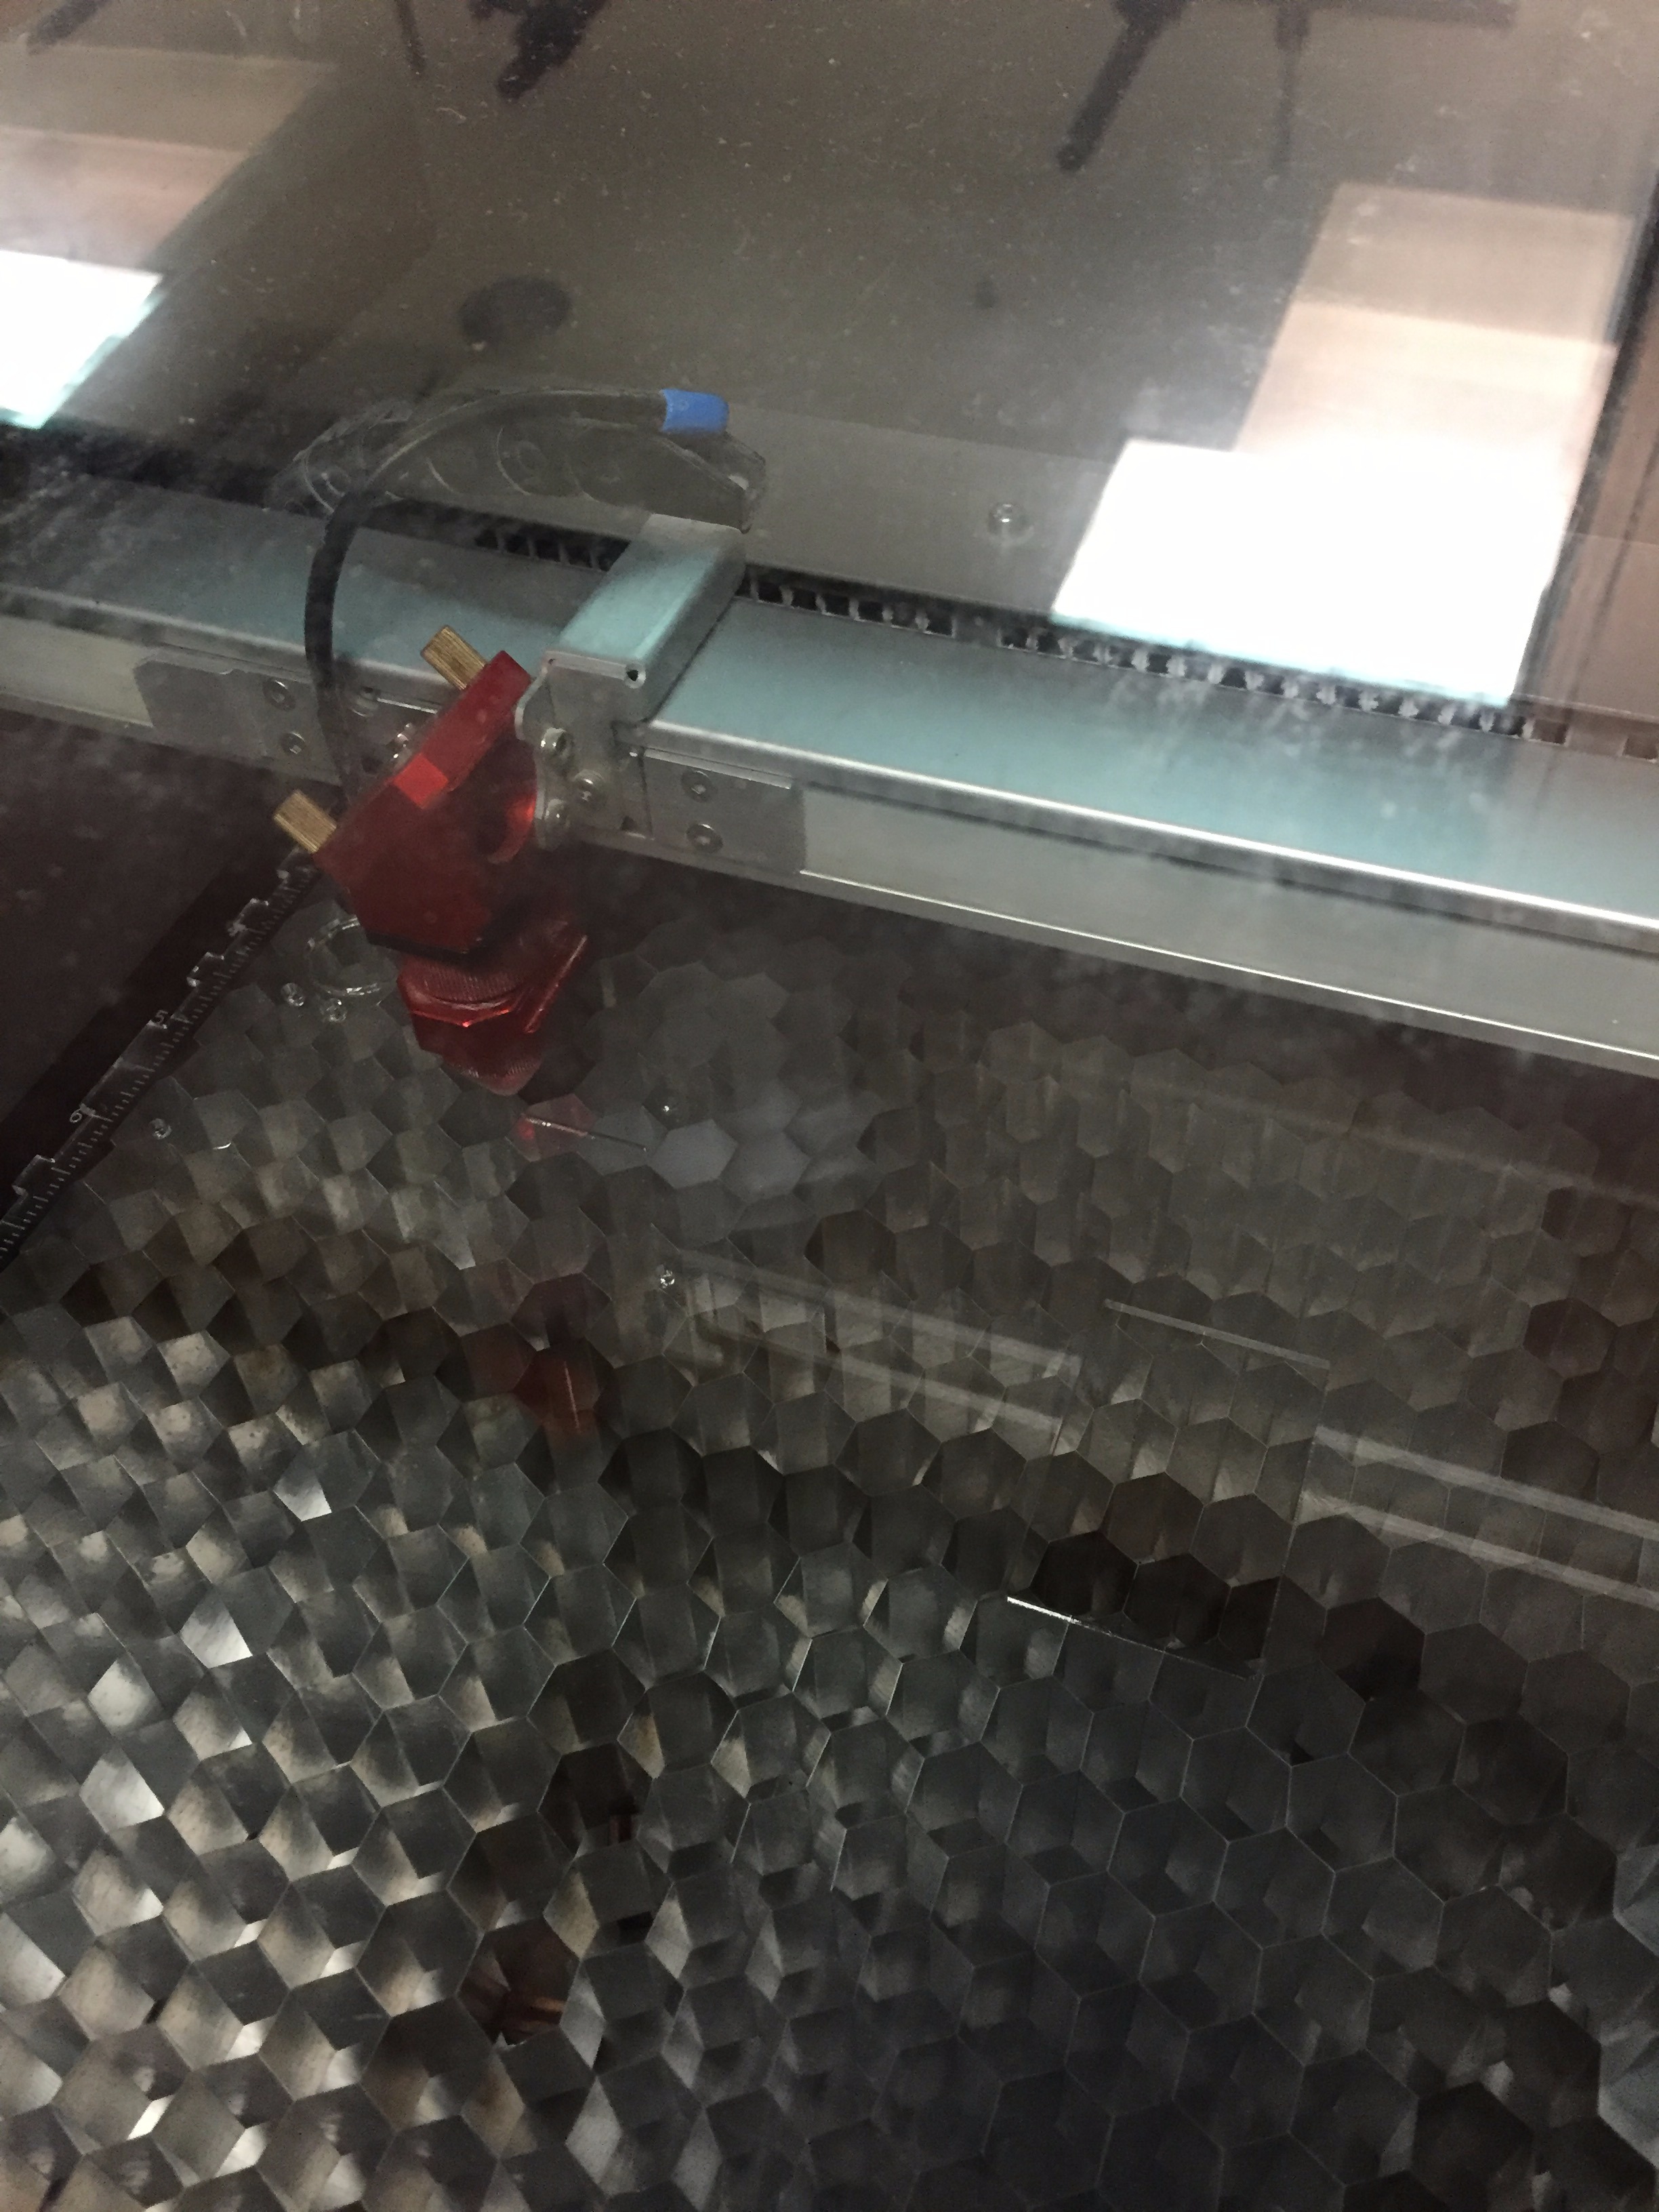
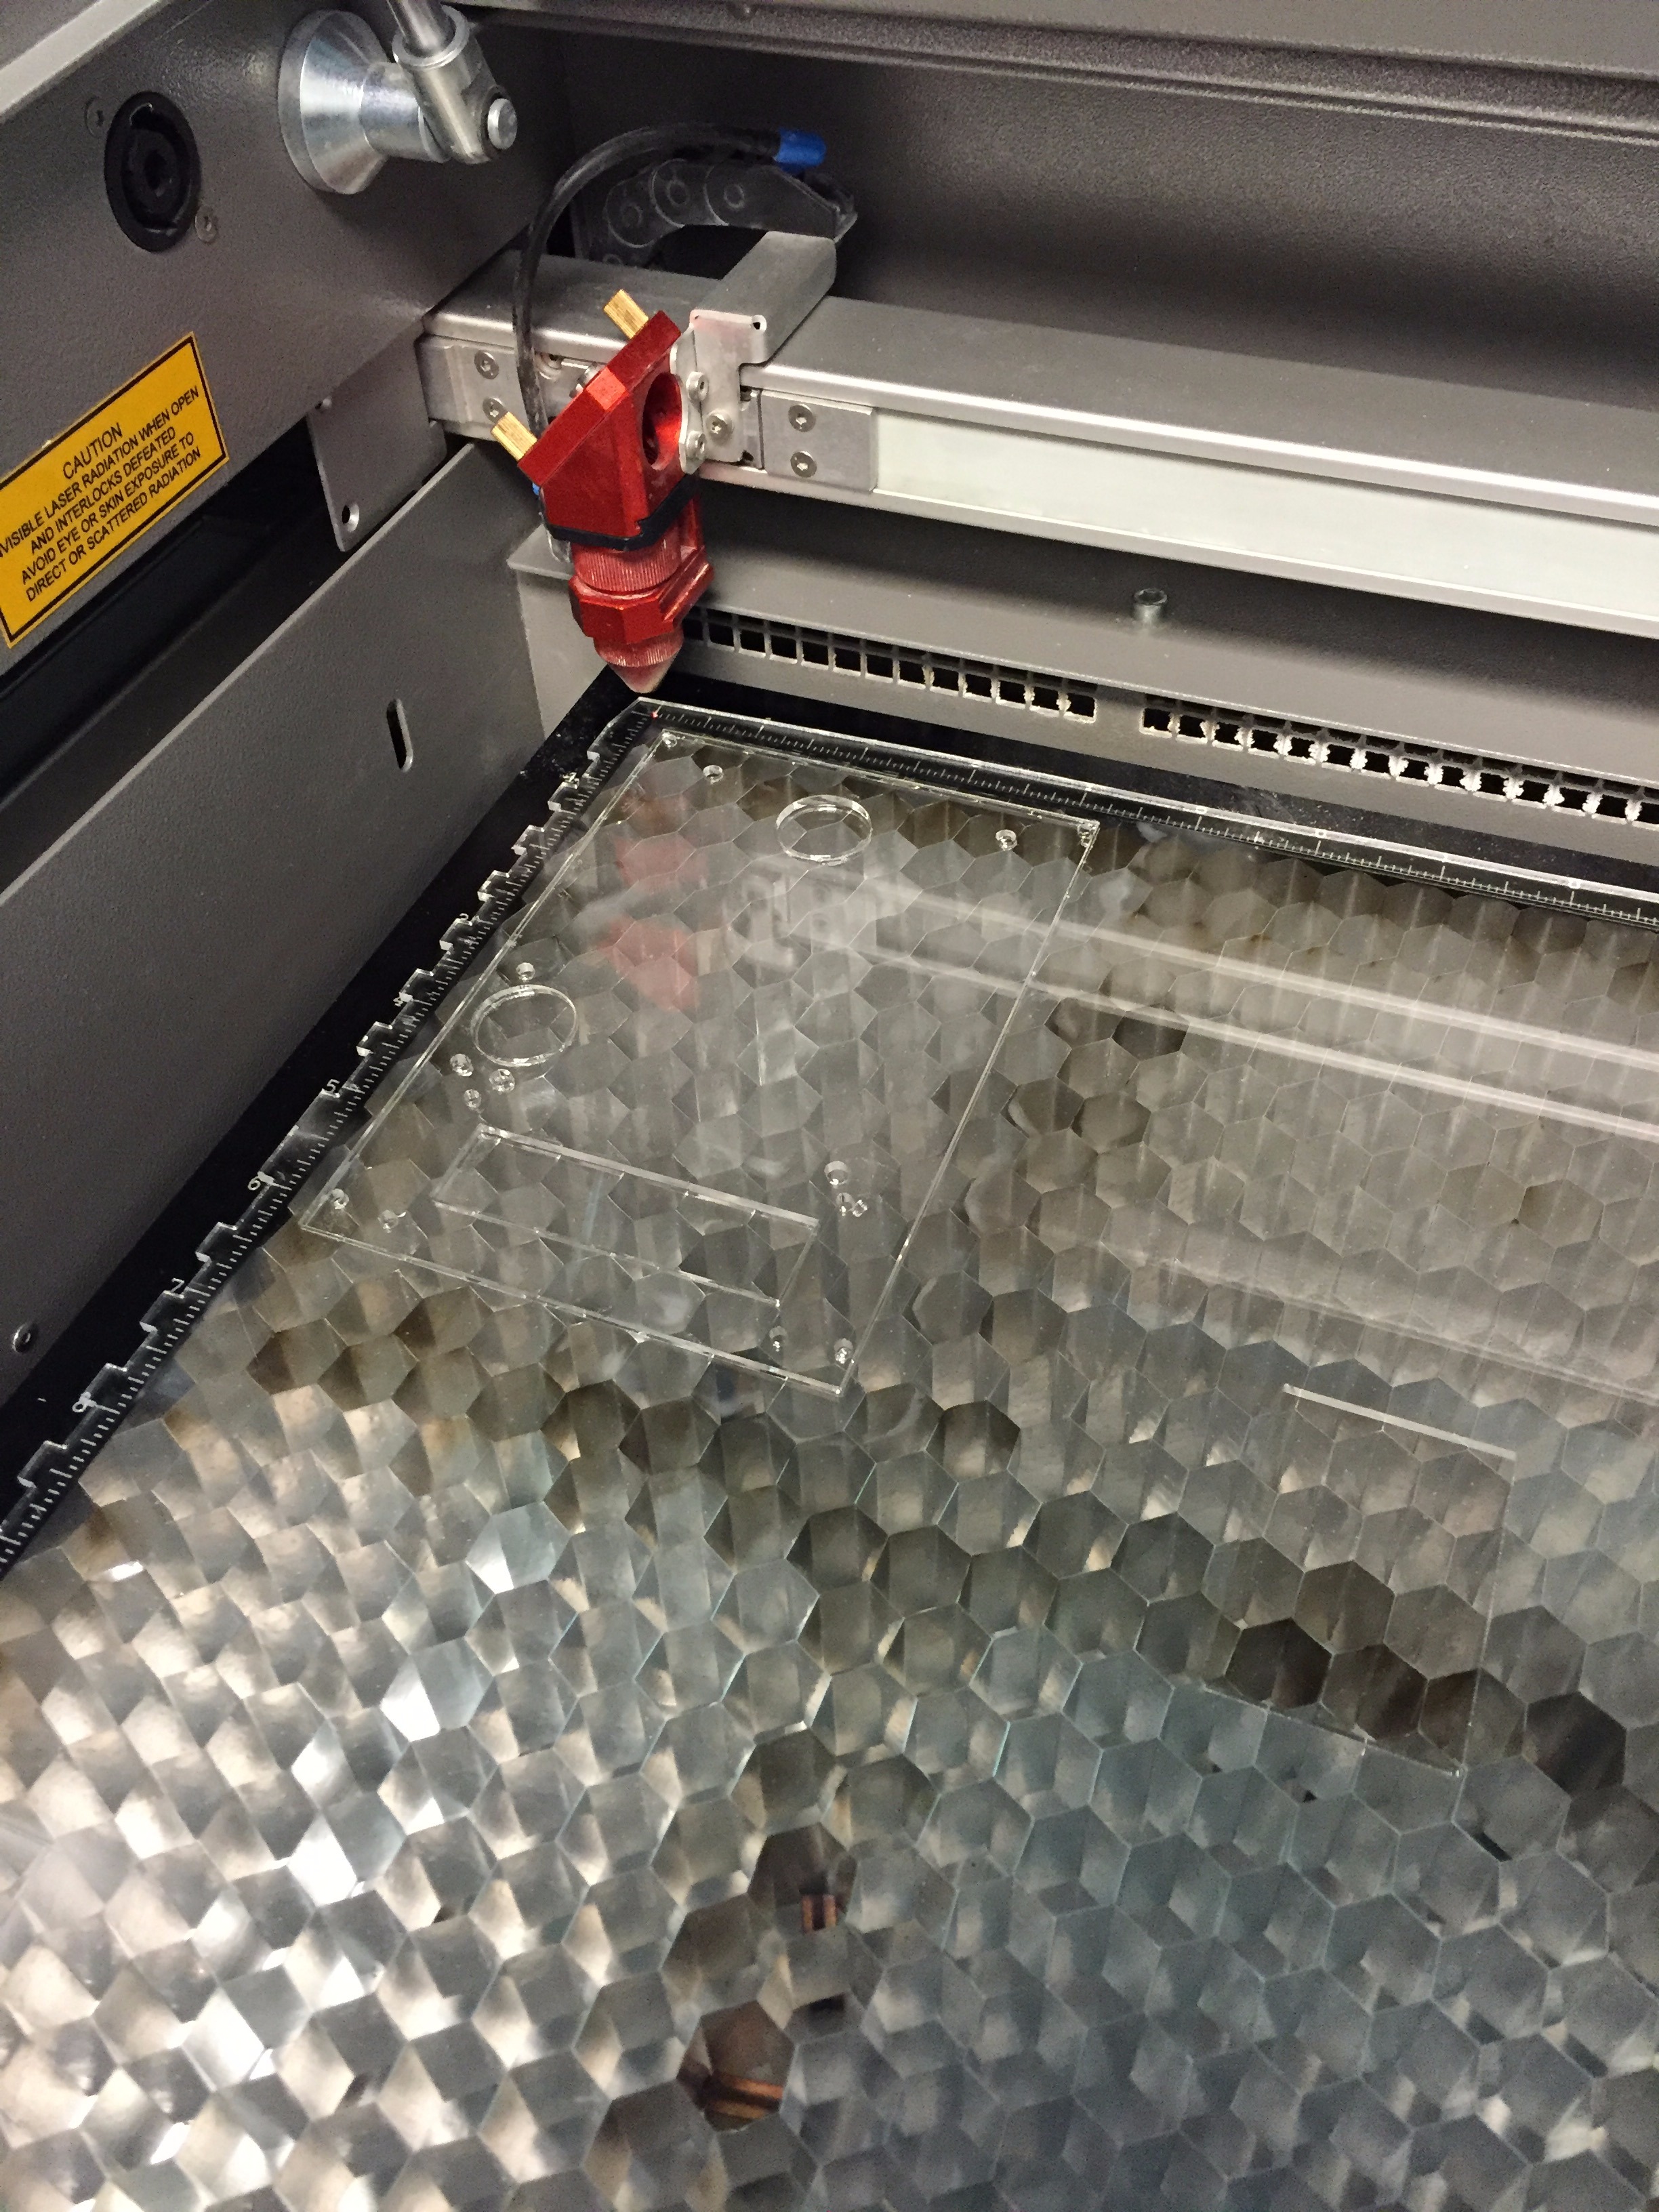
Fire It Up!
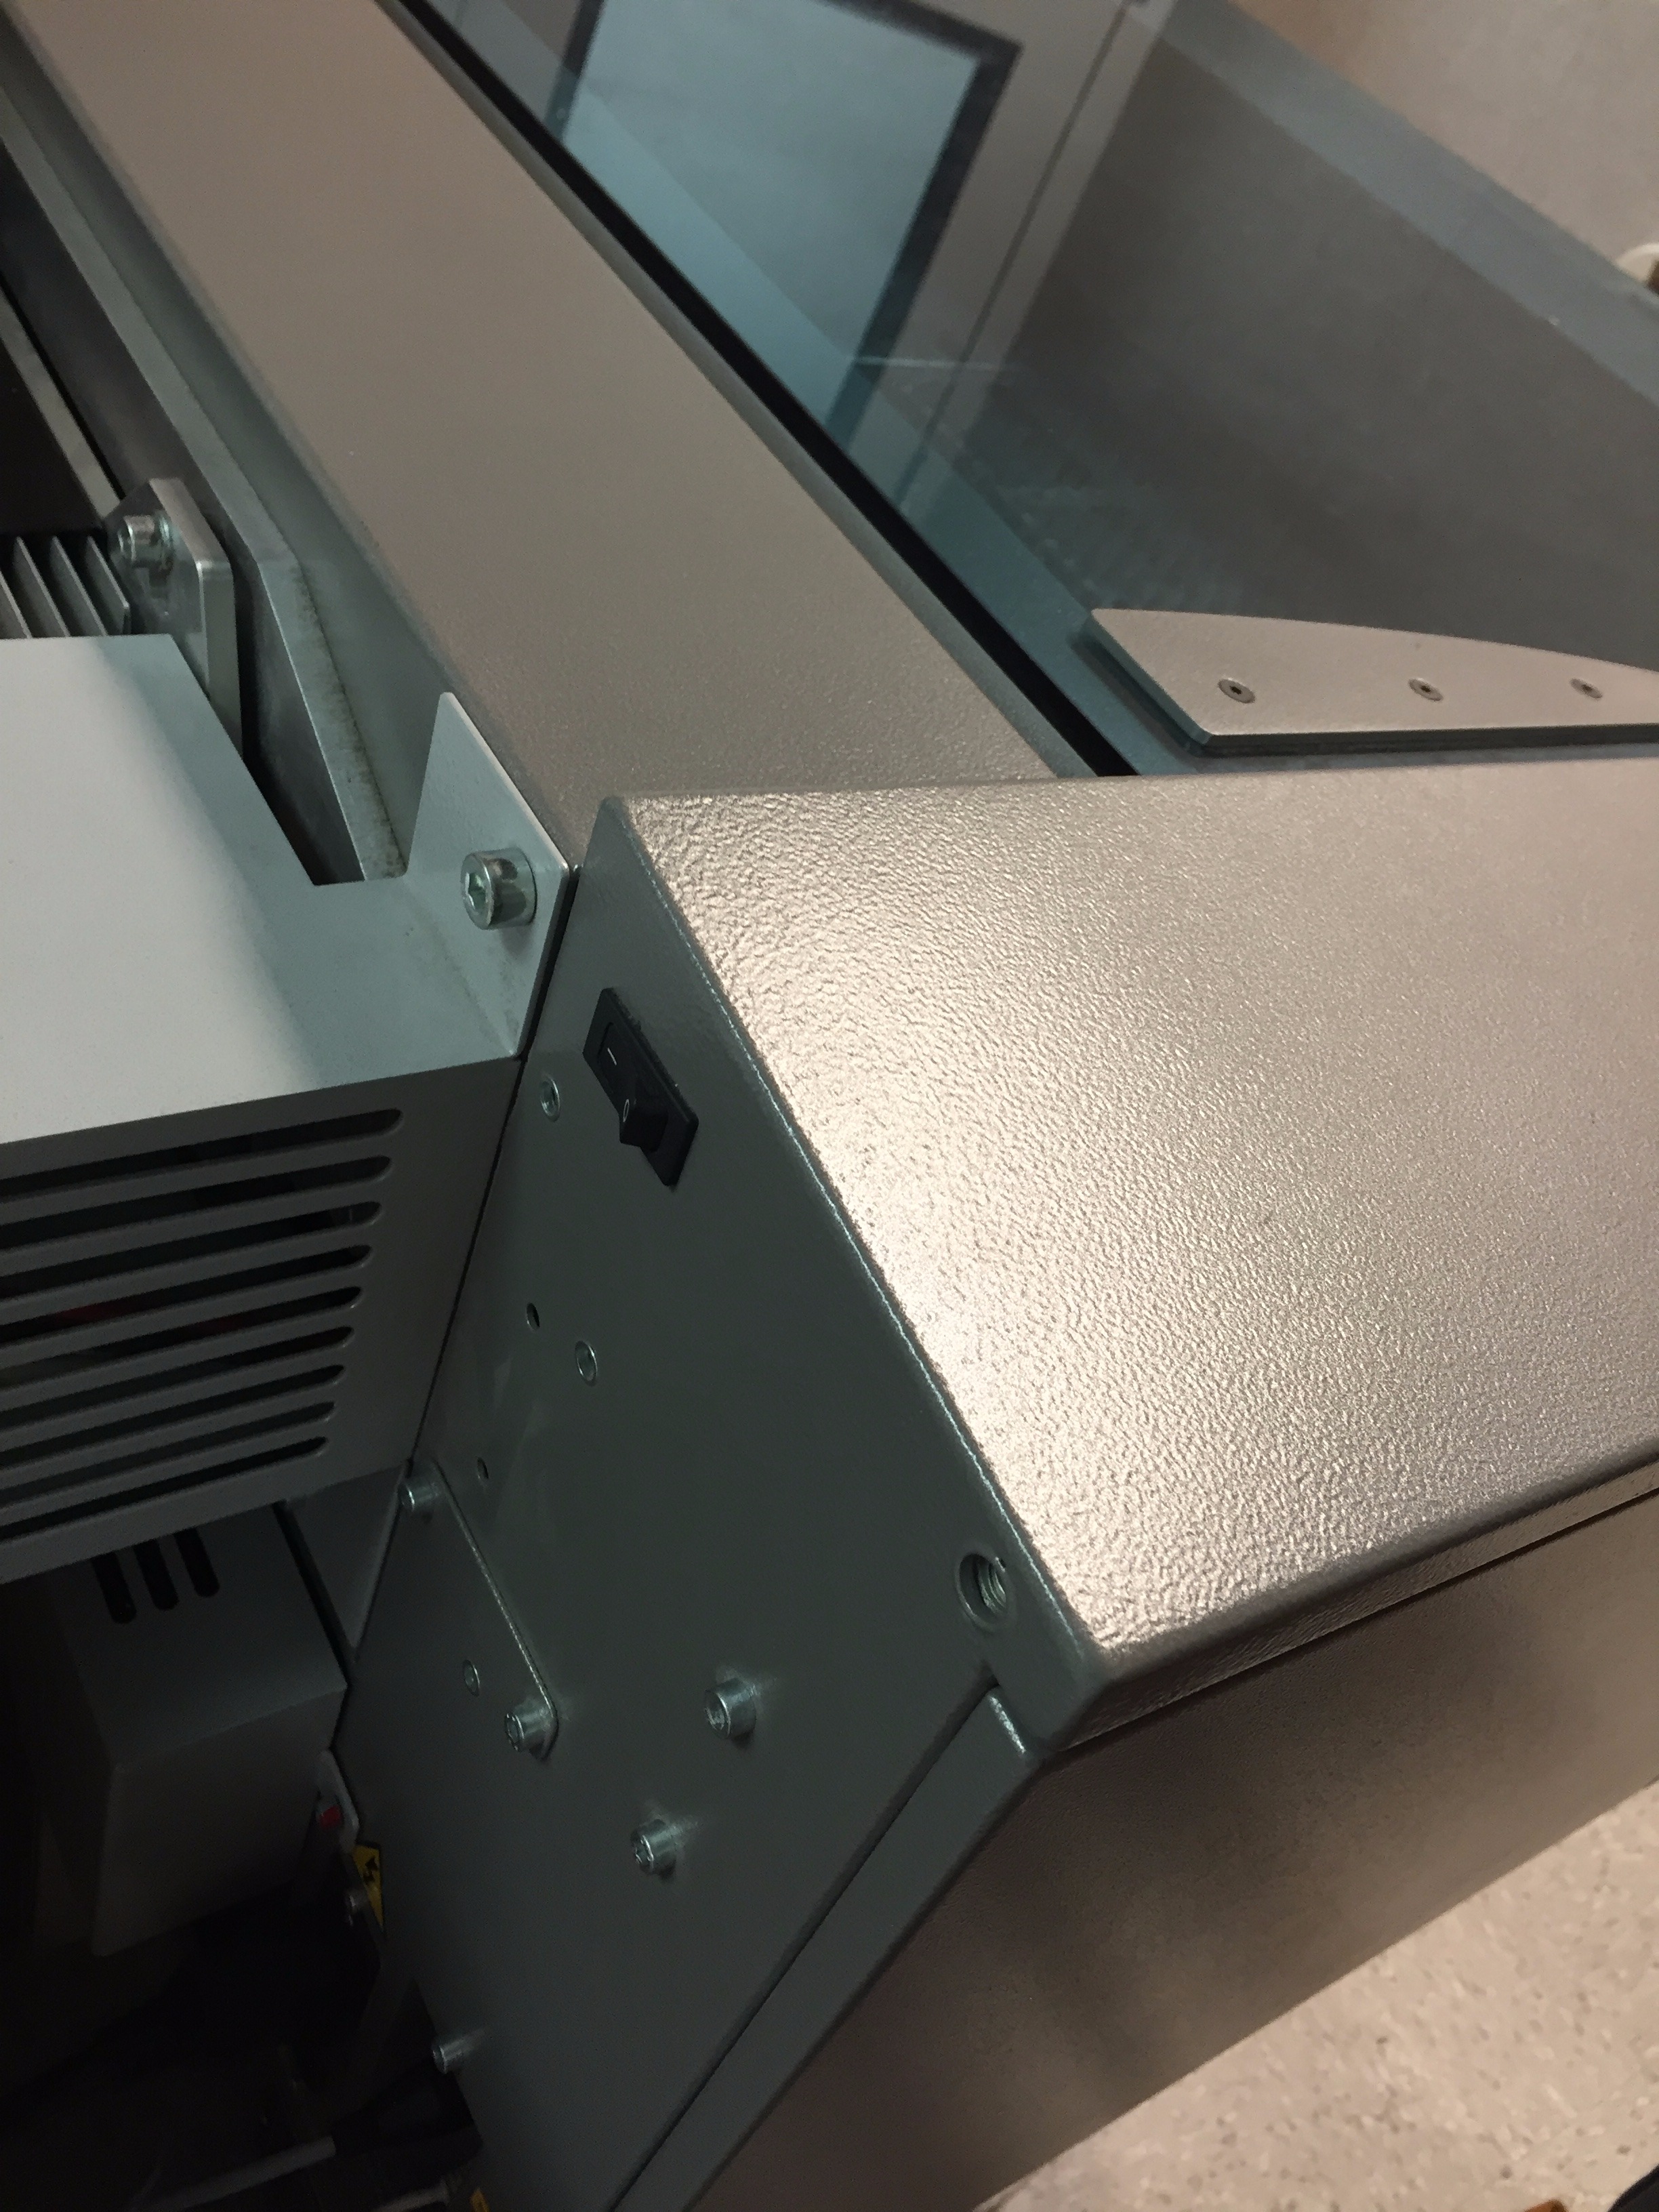
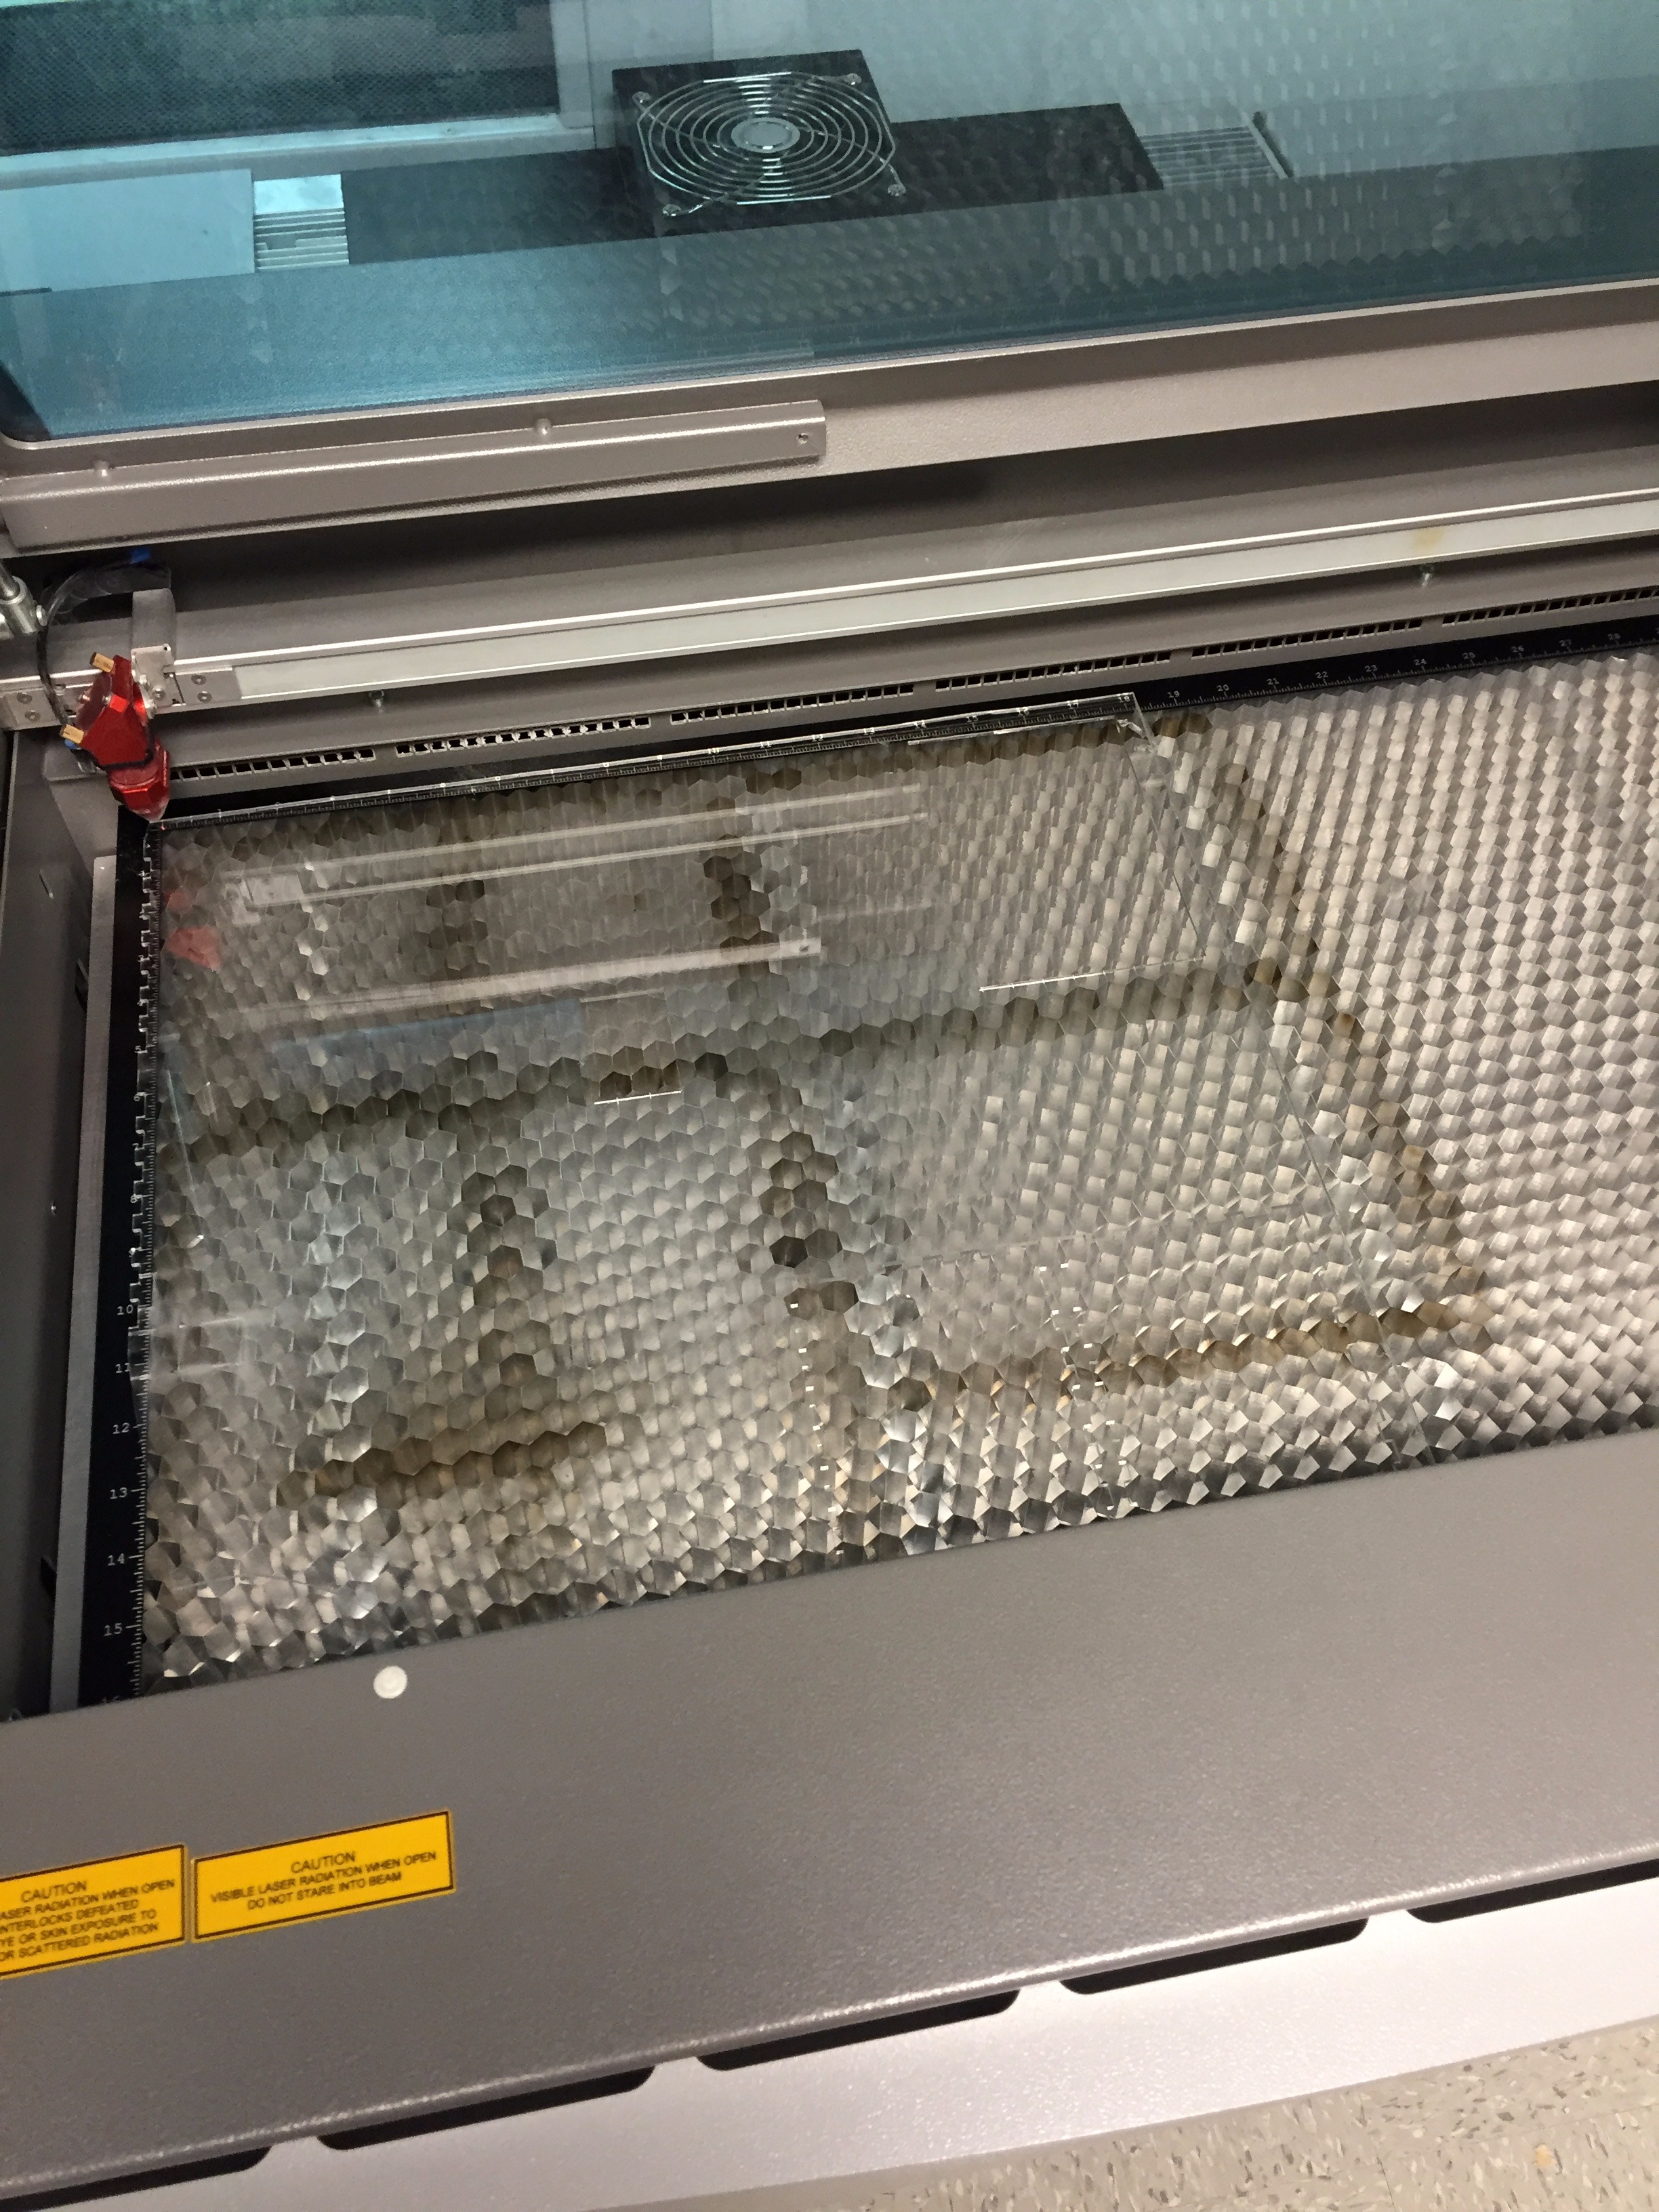
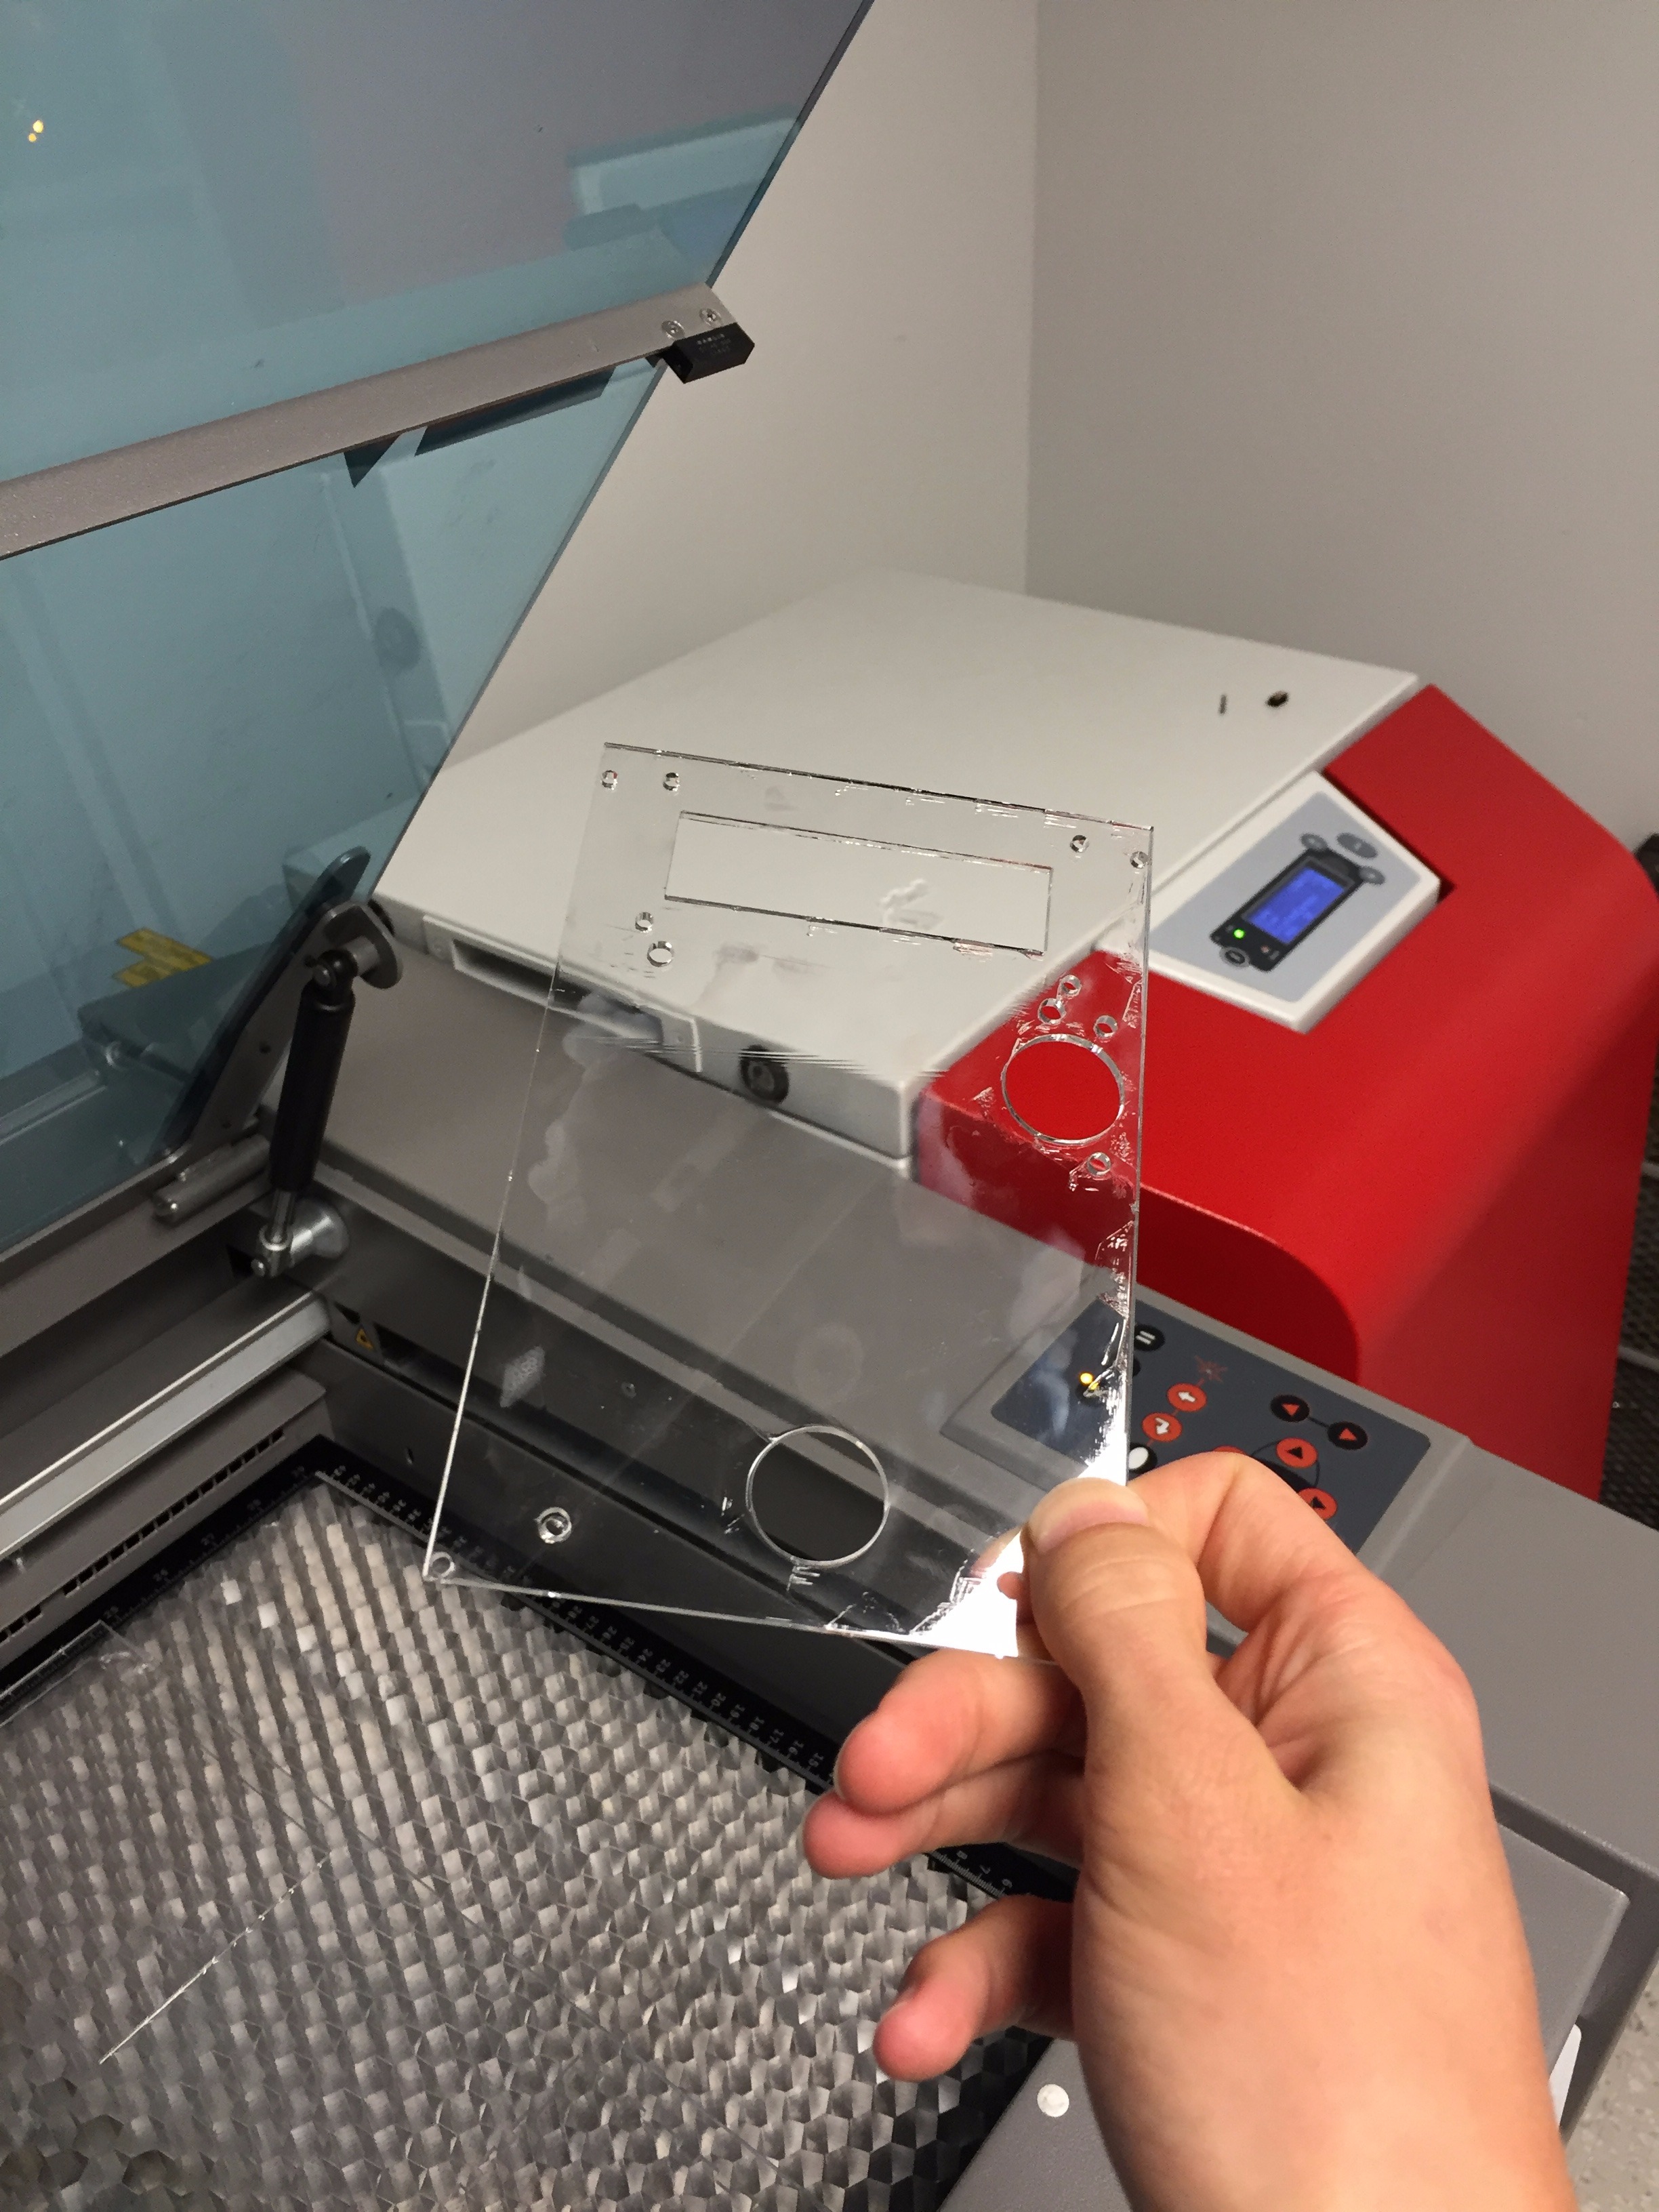
Turn on the laser (switch is on the back of the machine) and place your stock material on the cutting table
Import or Create a Design
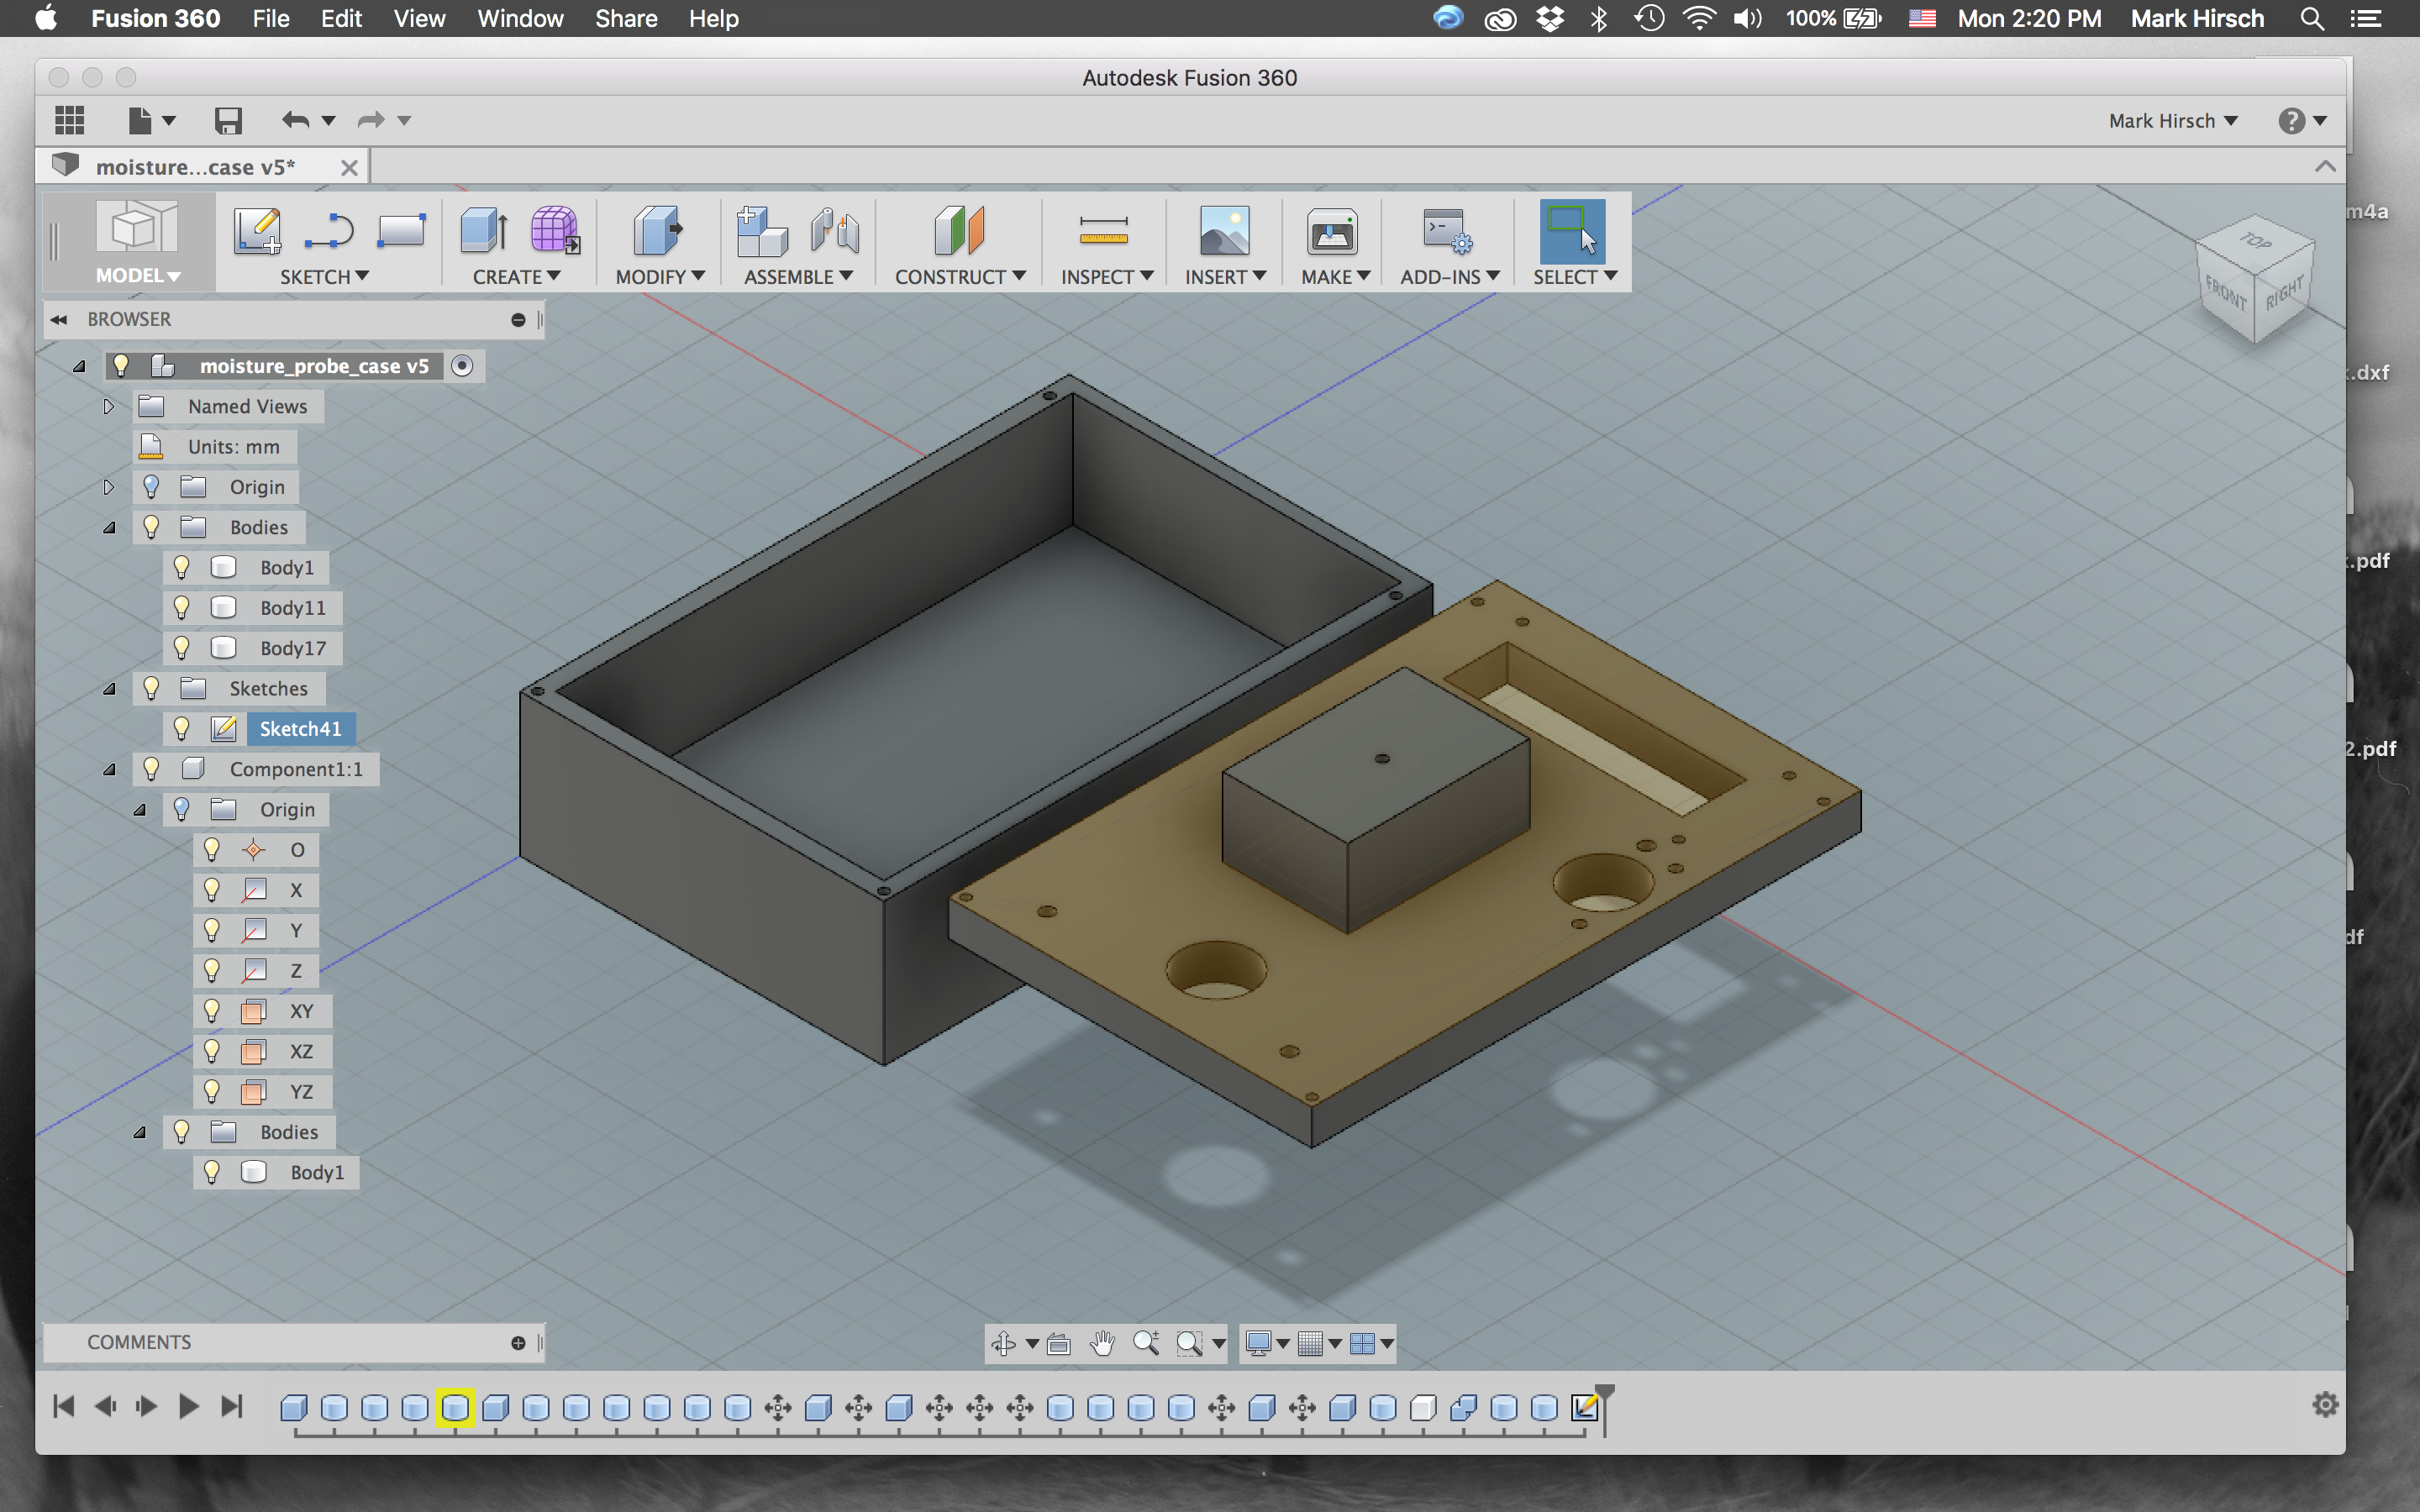
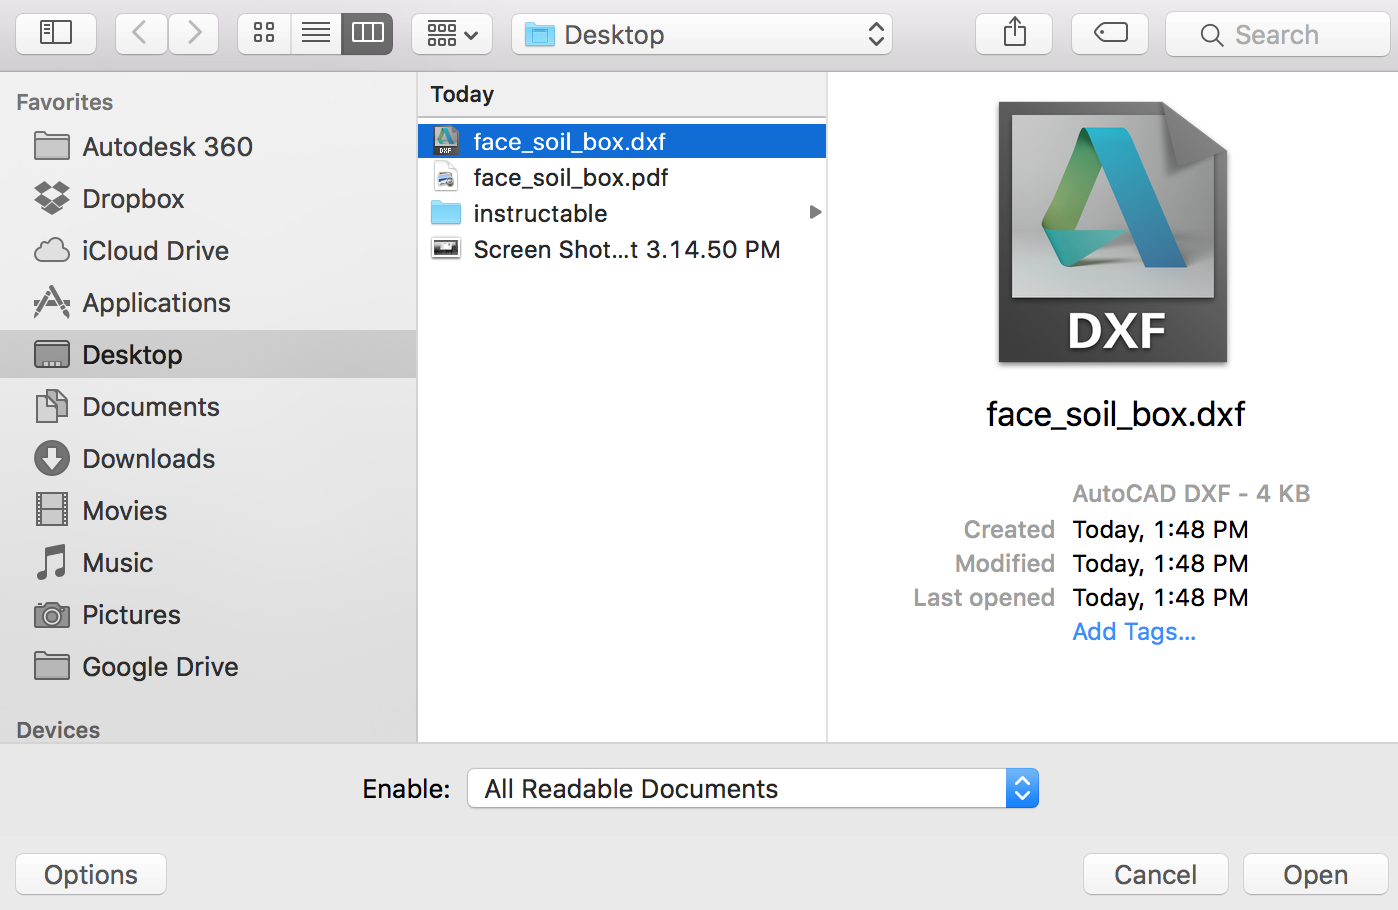
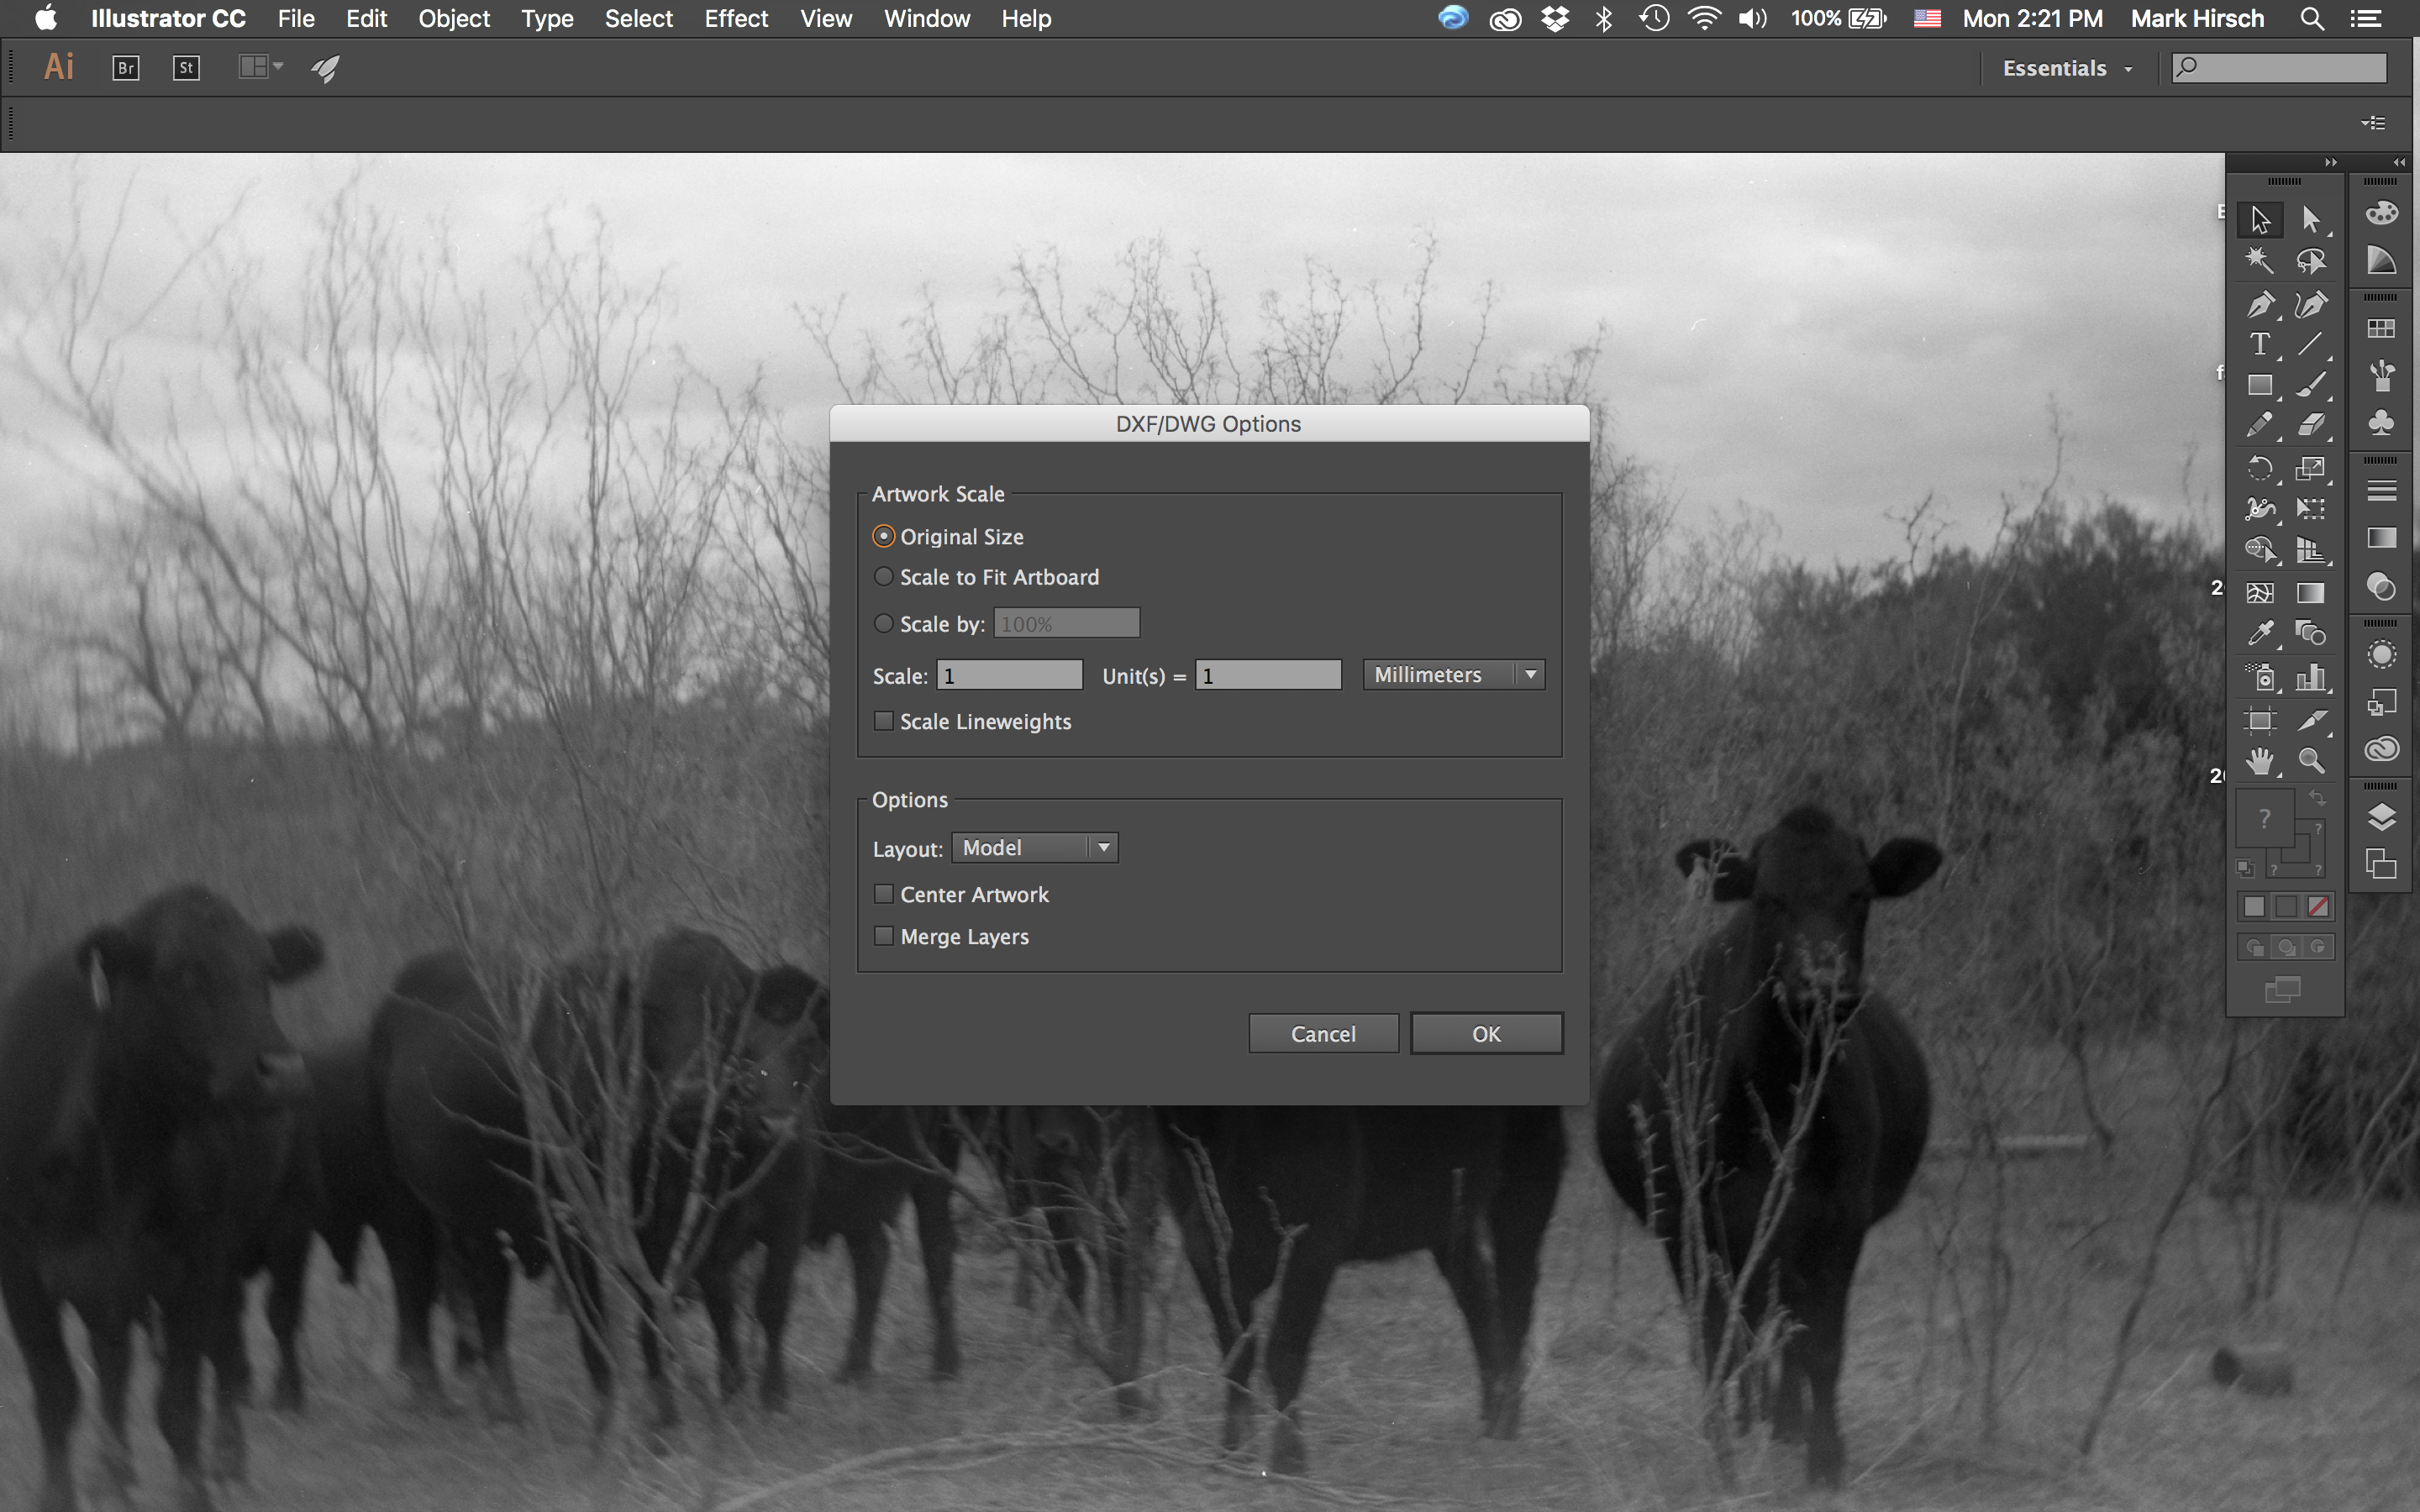
While you can certainly create a design to laser within Illustrator, I decided to export a face from a part I was designing in Fusion 360 as a .dxf file. (Laser cutting your parts is WAY faster than 3D printing and can be WAY more accurate).
If you load in a design, make sure the scaling is "1:1" and the units match up. I tend to not center my imported parts because I often have to move them around anyway.
Prepare Your Design
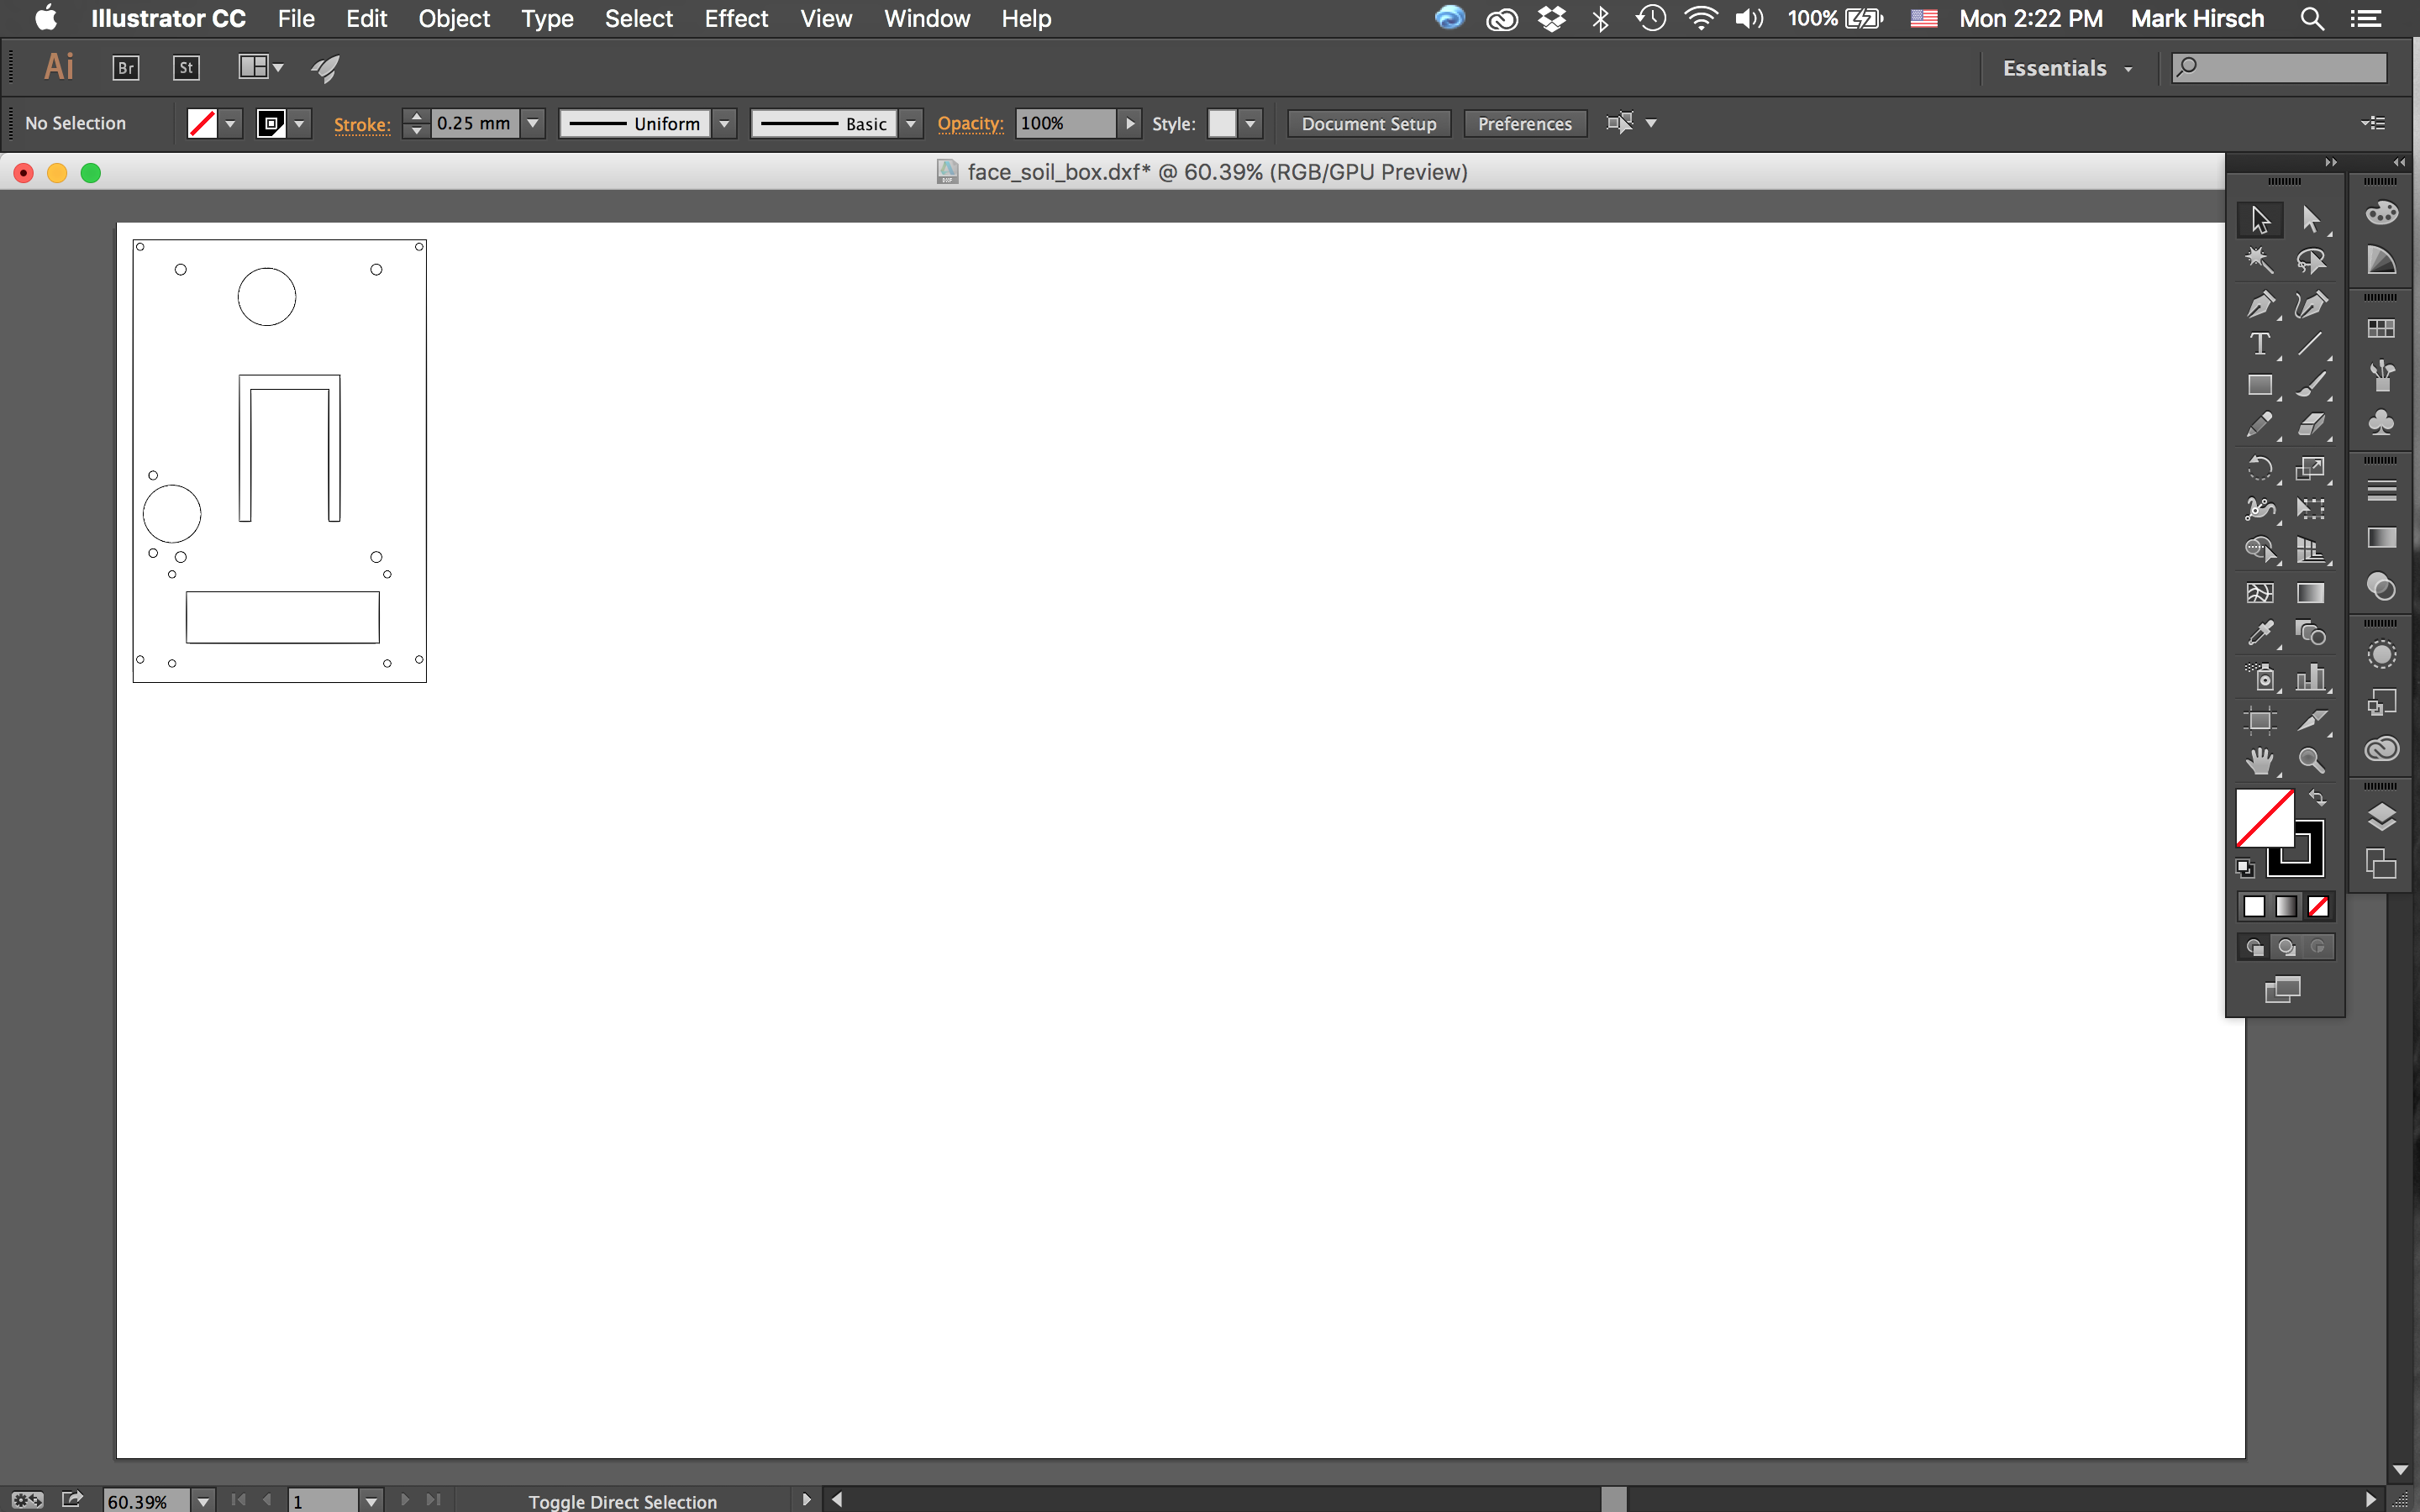
We need to adjust a few things on the design so that the laser behaves the way we want. Specifically, we need to make sure that the line color and stroke size are set in such a way that the laser's control software knows to cut along these lines--as opposed to engraving.
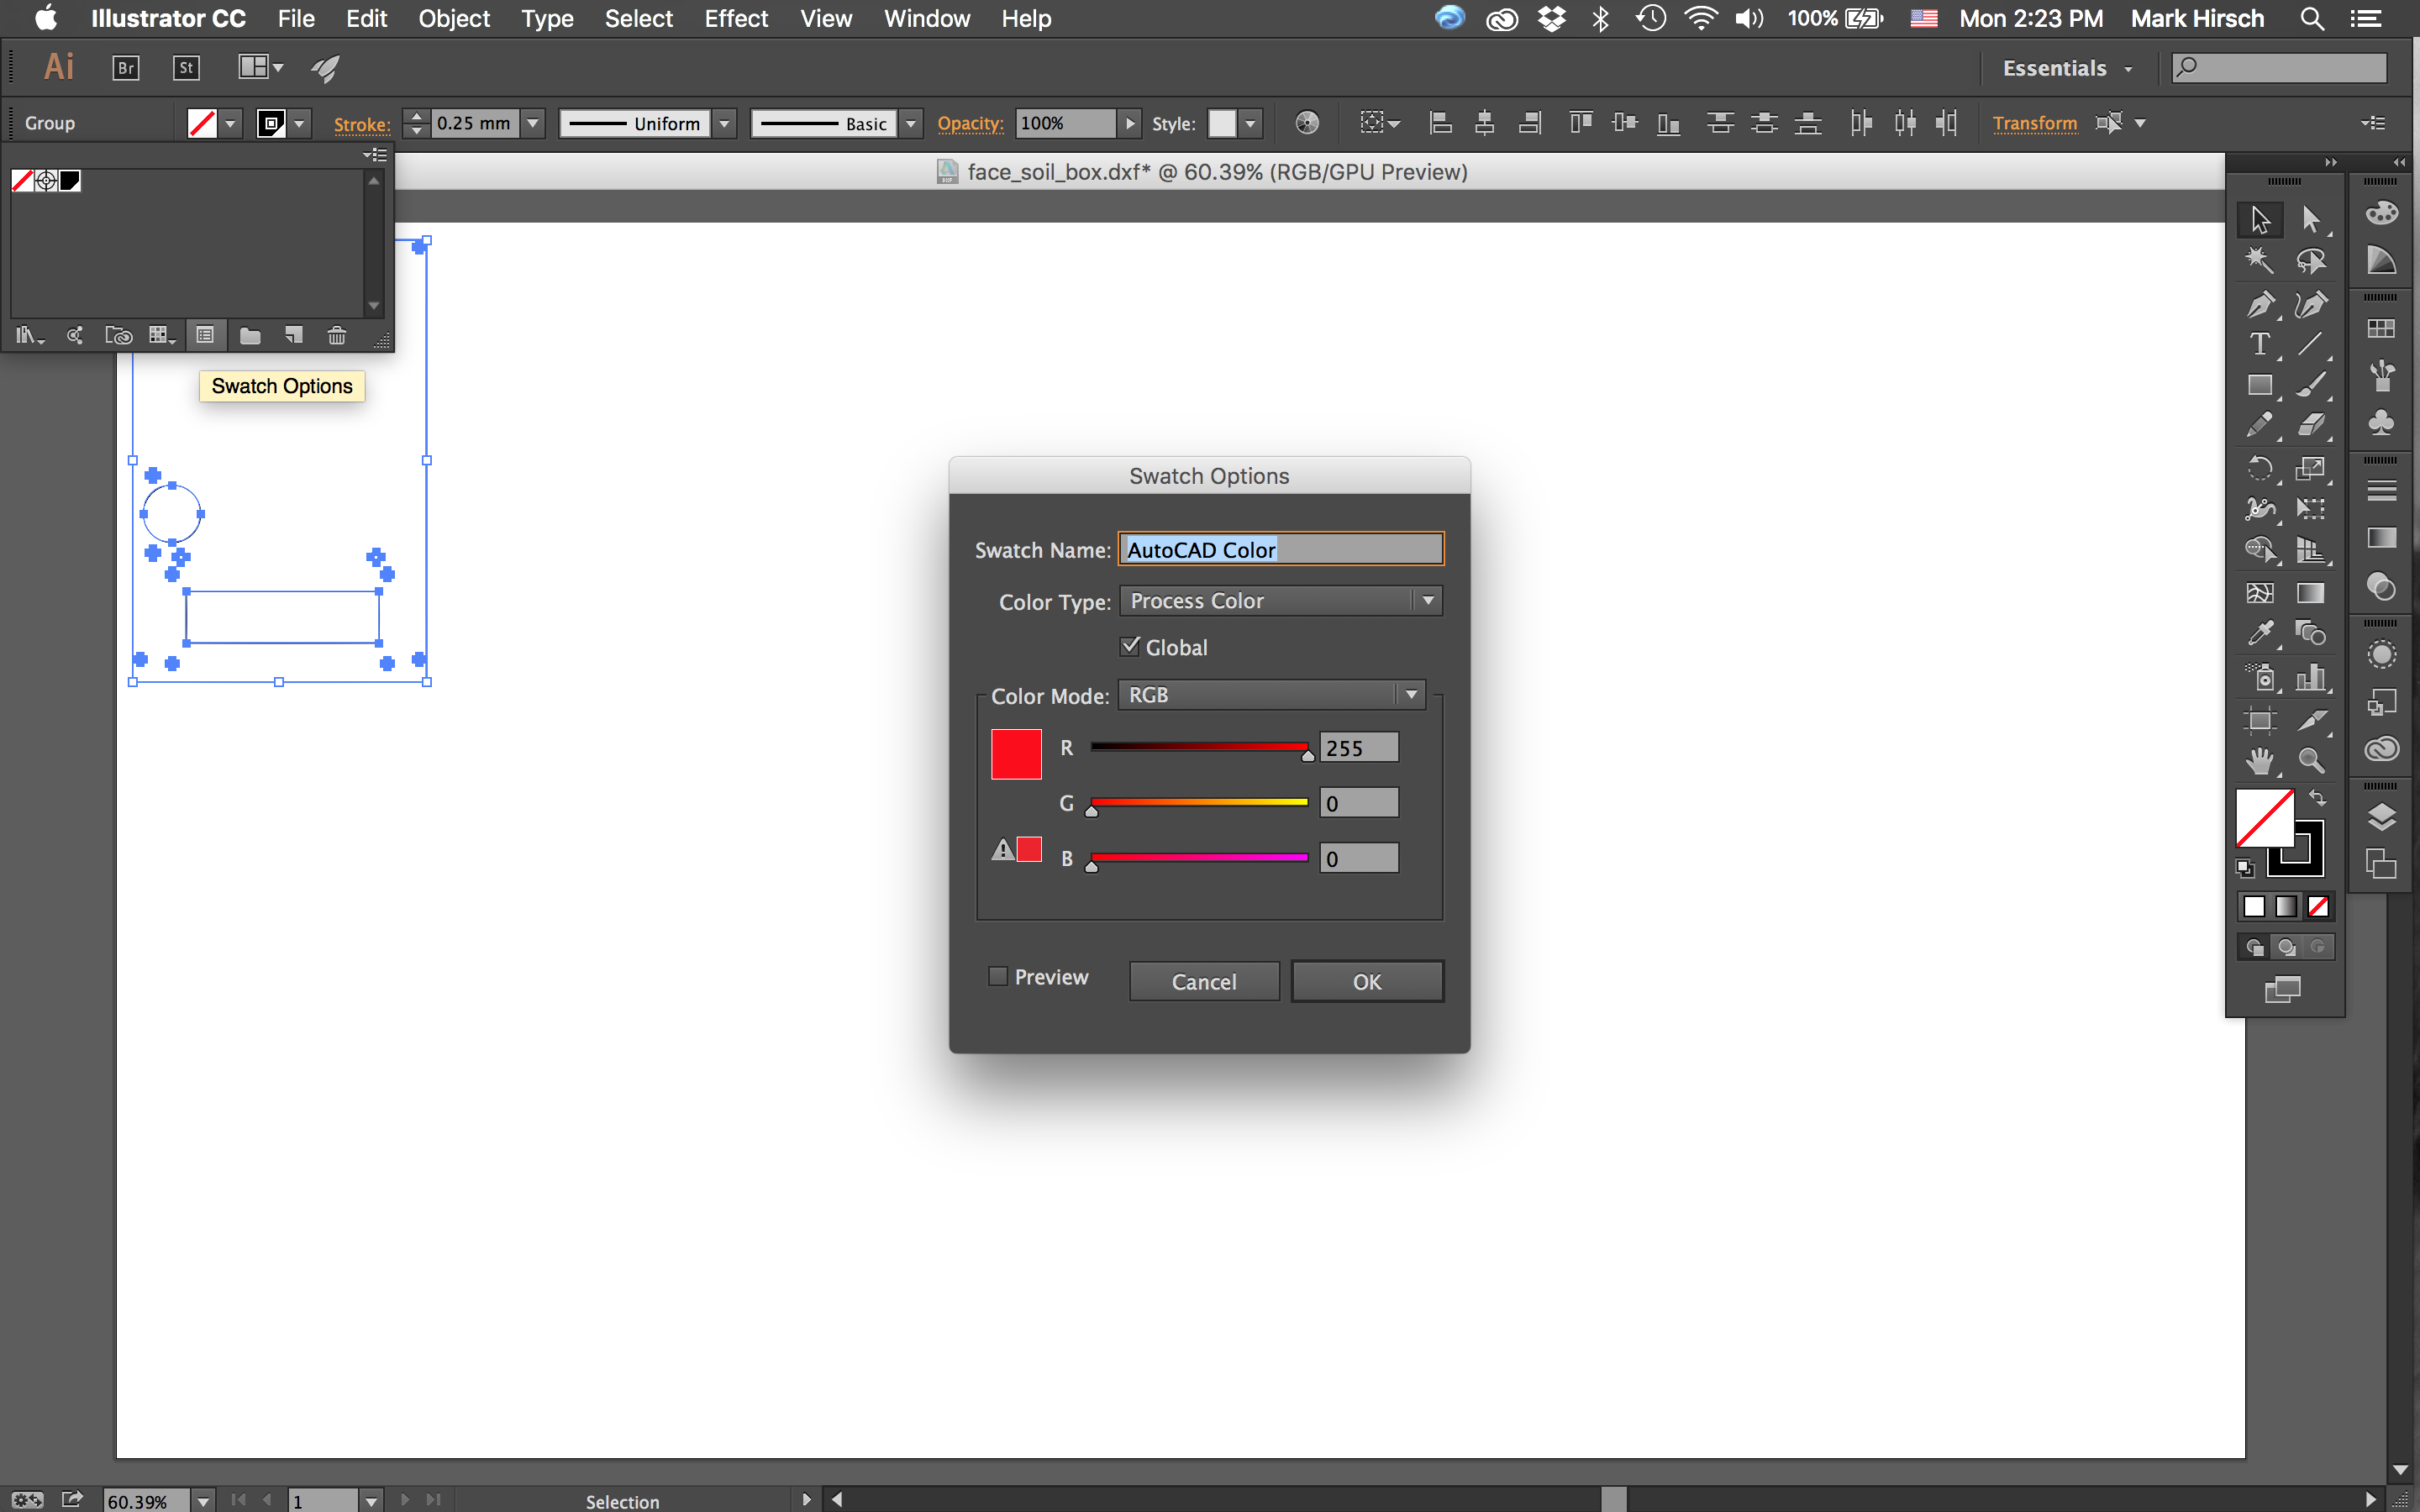
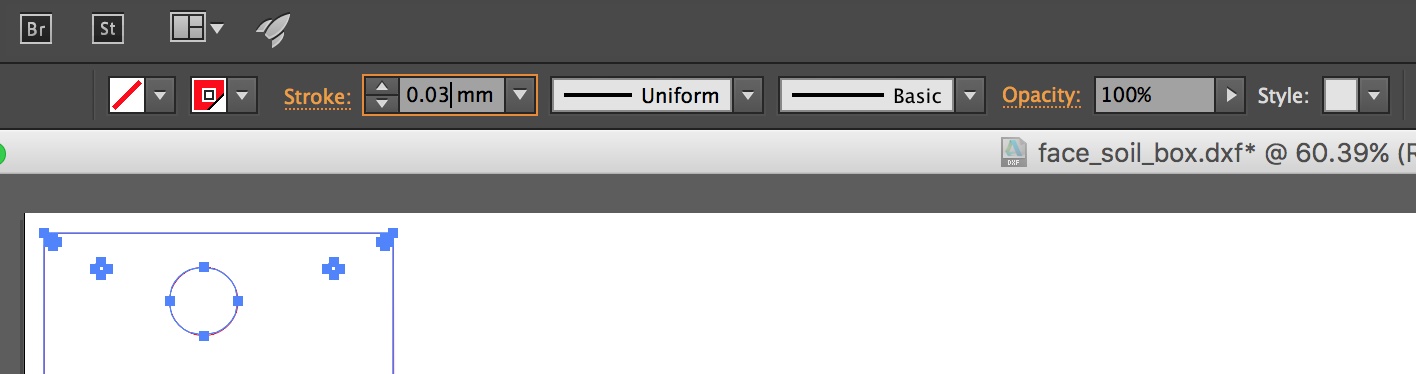
As pictured above, set your stroke color to Red and your stroke size to 0.03mm --the RayJet will only cut along "hairlines" such as 0.03mm
**Note, if you were both cutting and engraving within the same design, you would set any engraving line's stroke color to Black
Export Your Design
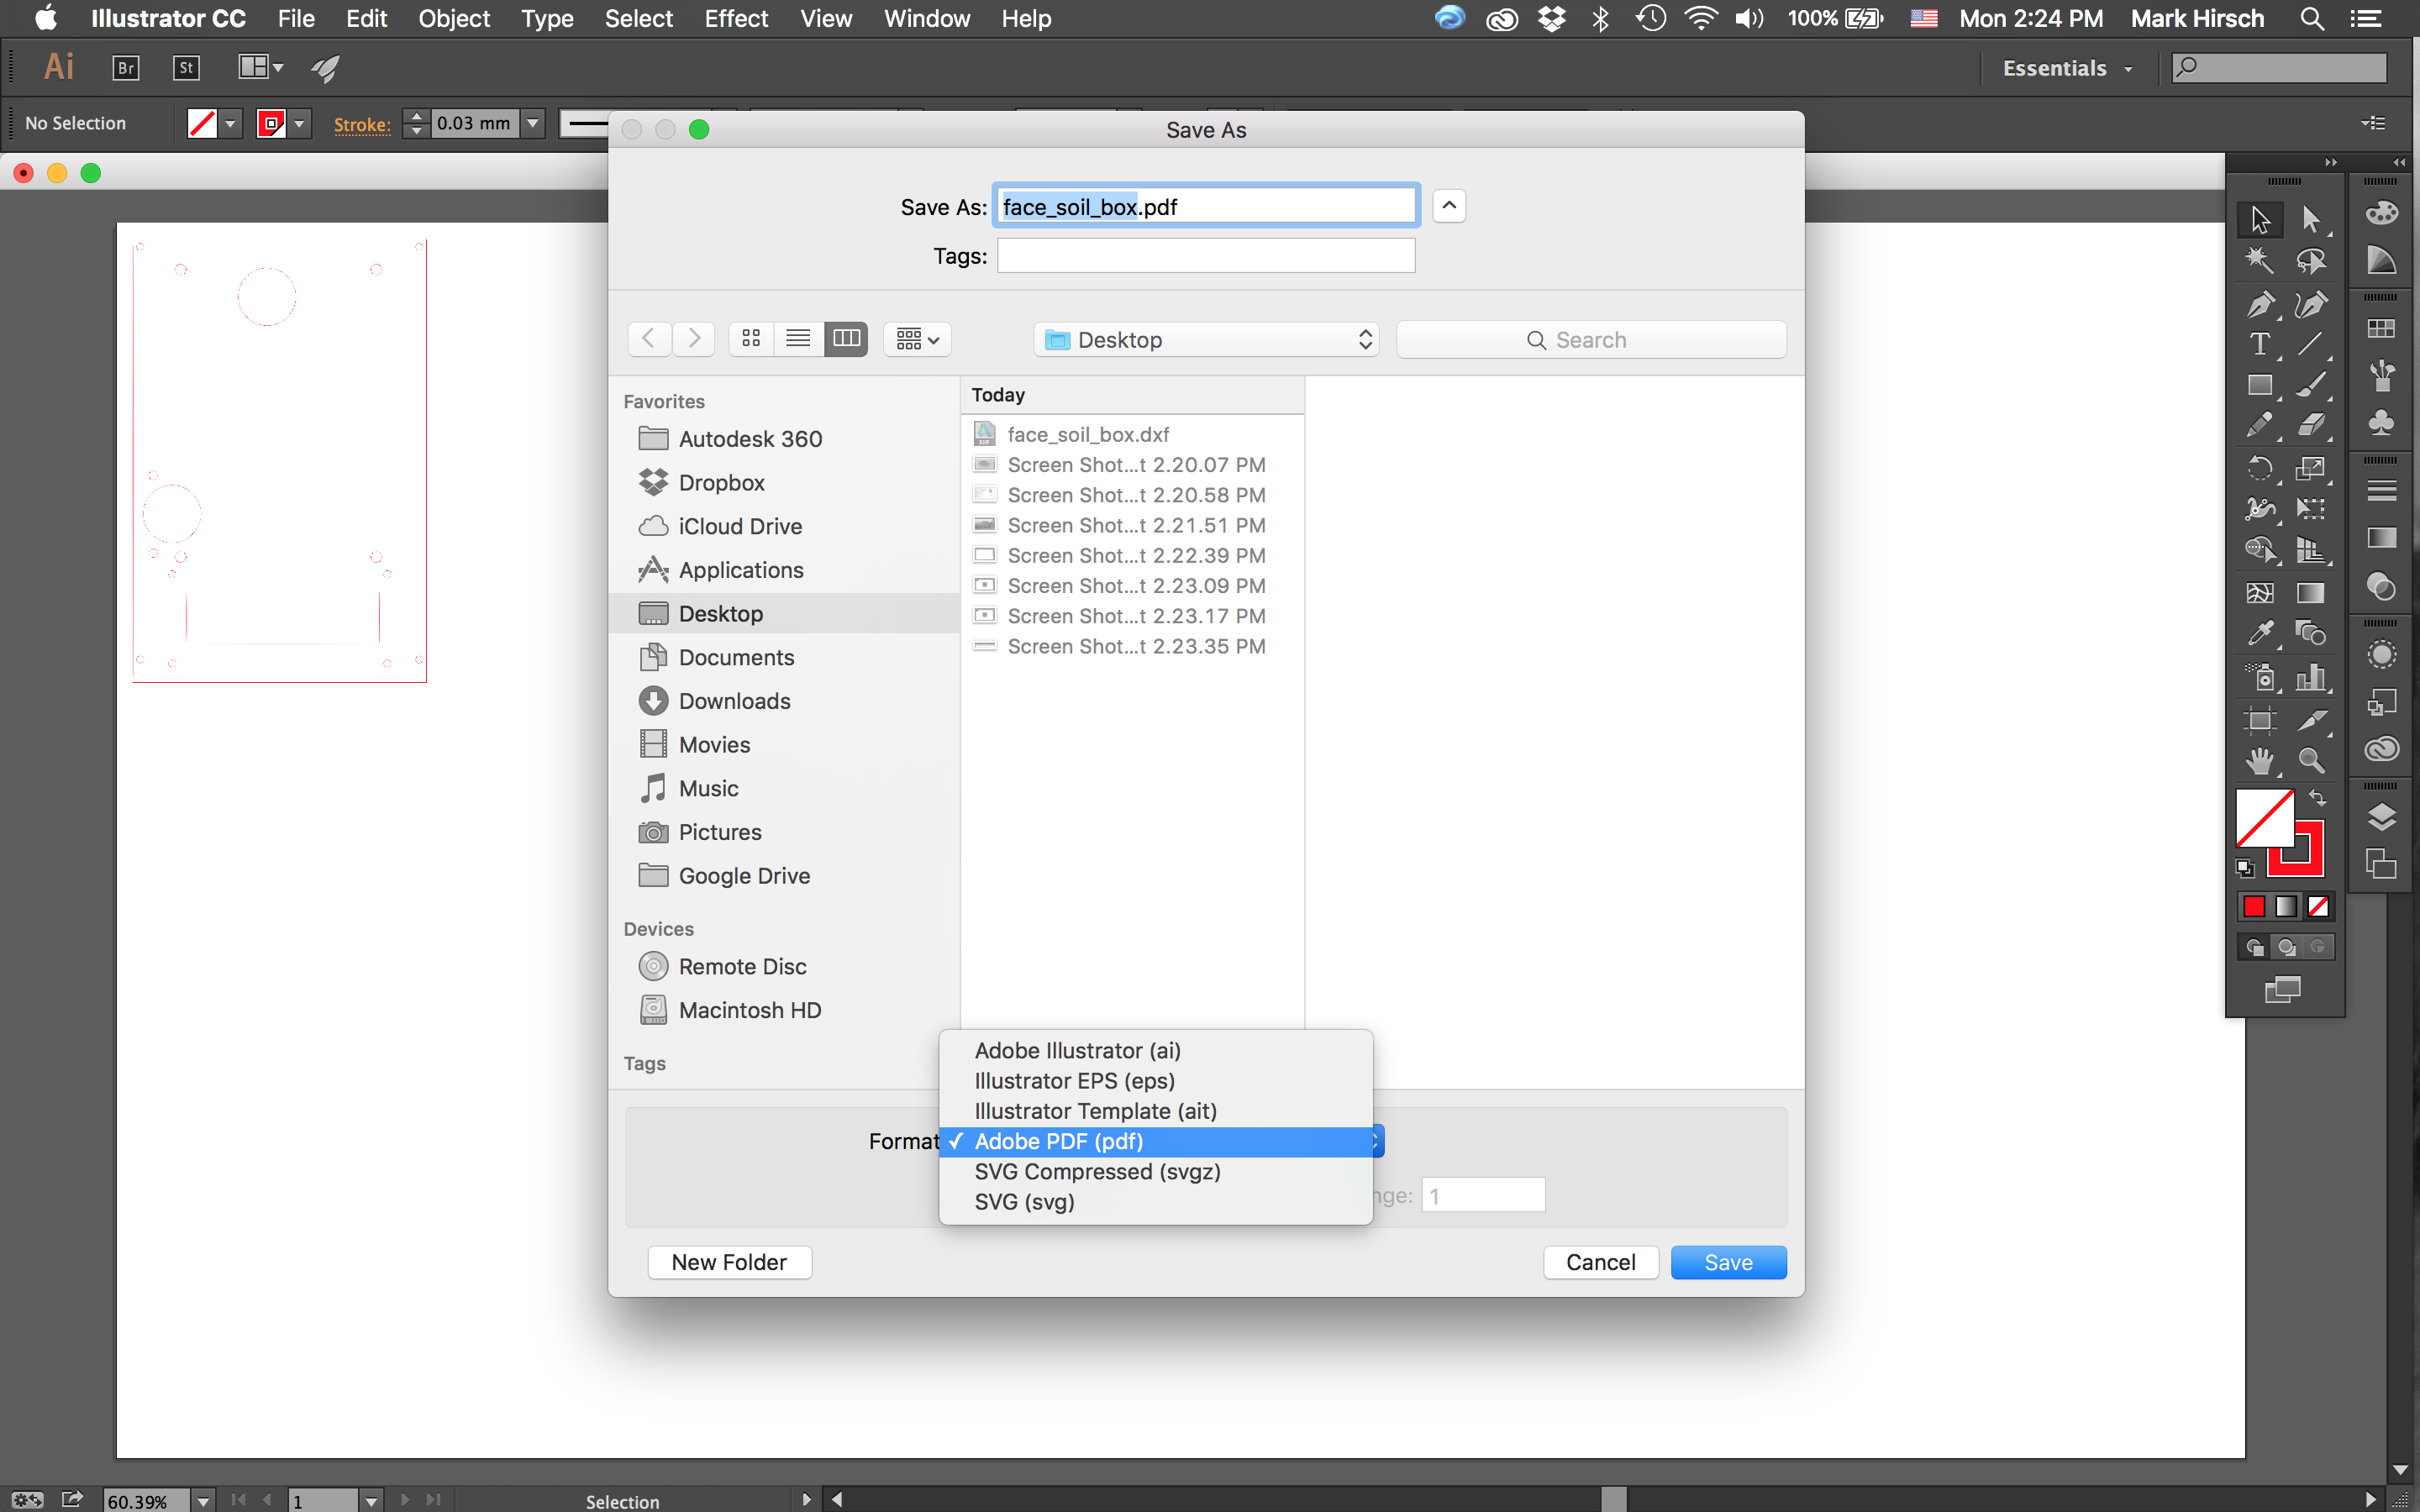
Save your design as a PDF file and put it on a USB drive so that you can load it onto the computer acting as a control for the laser. (skip this step if you are designing and controlling the laser from the same machine)
Send Design to Laser
.png)
.png)
.png)
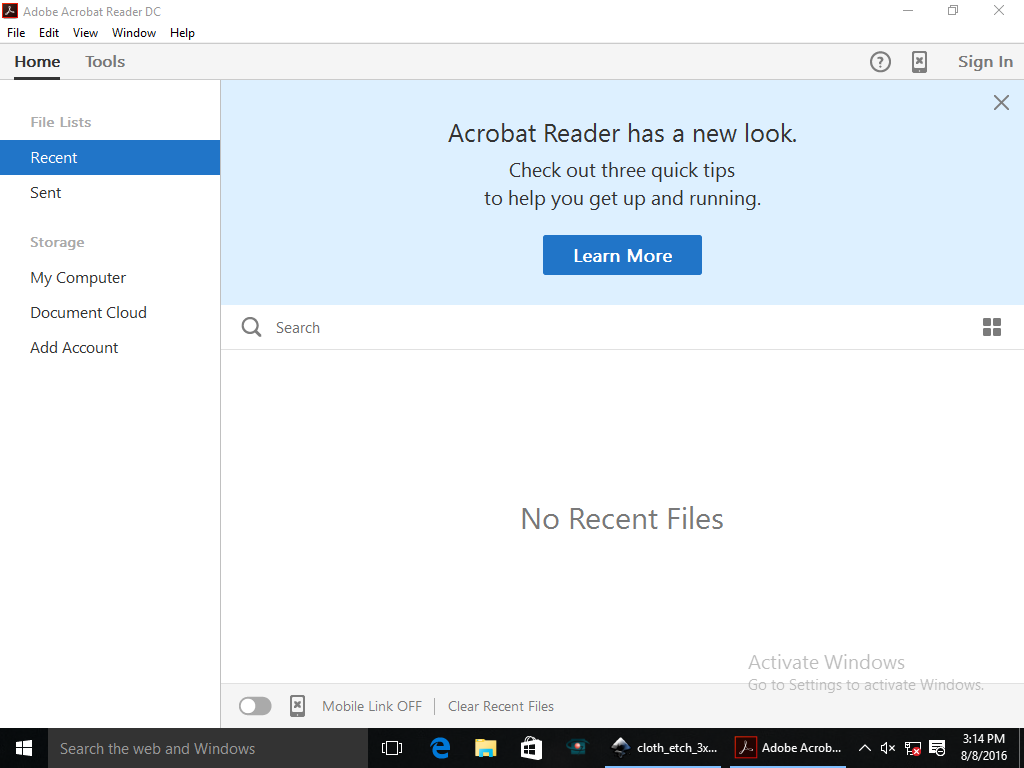
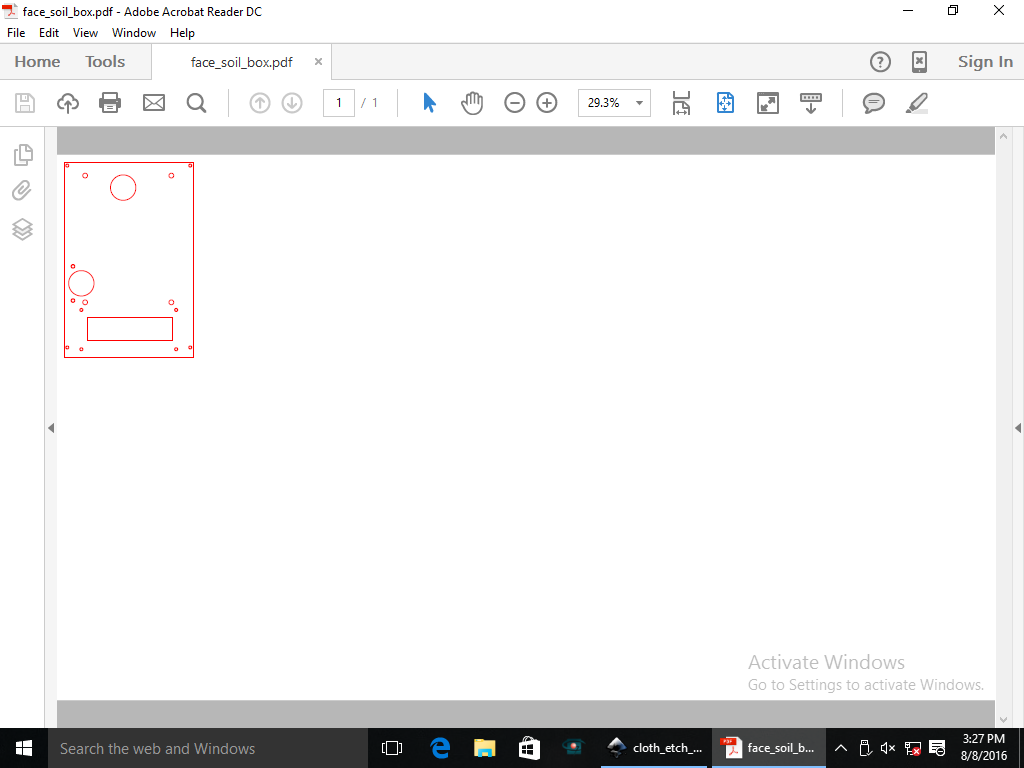
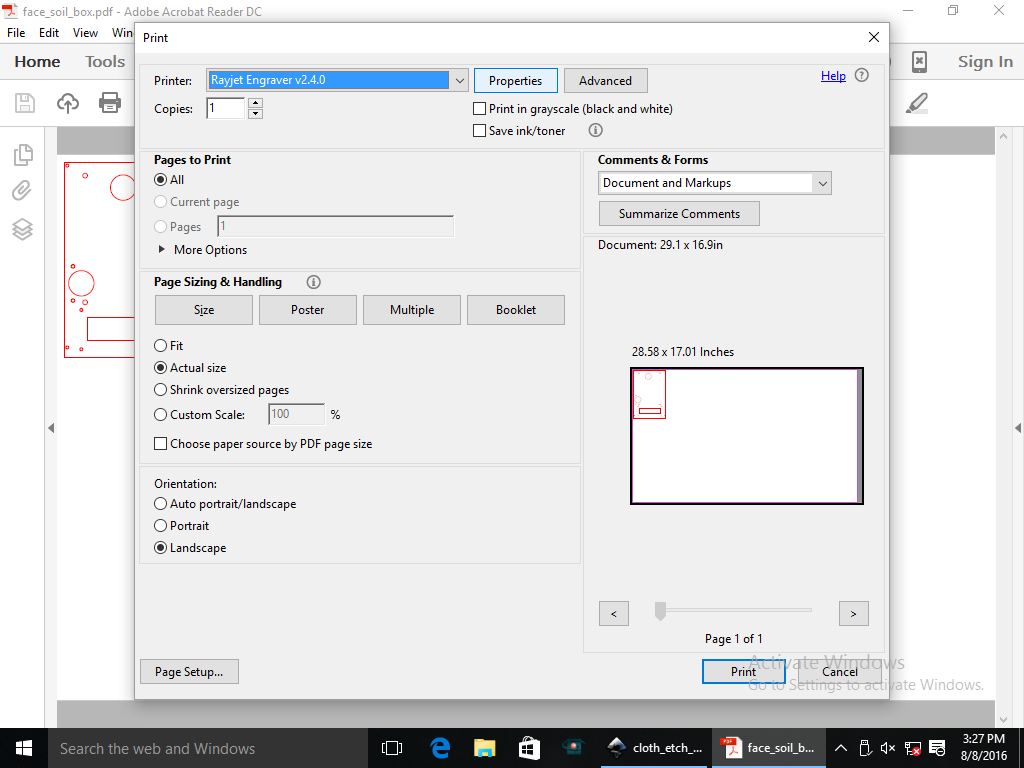
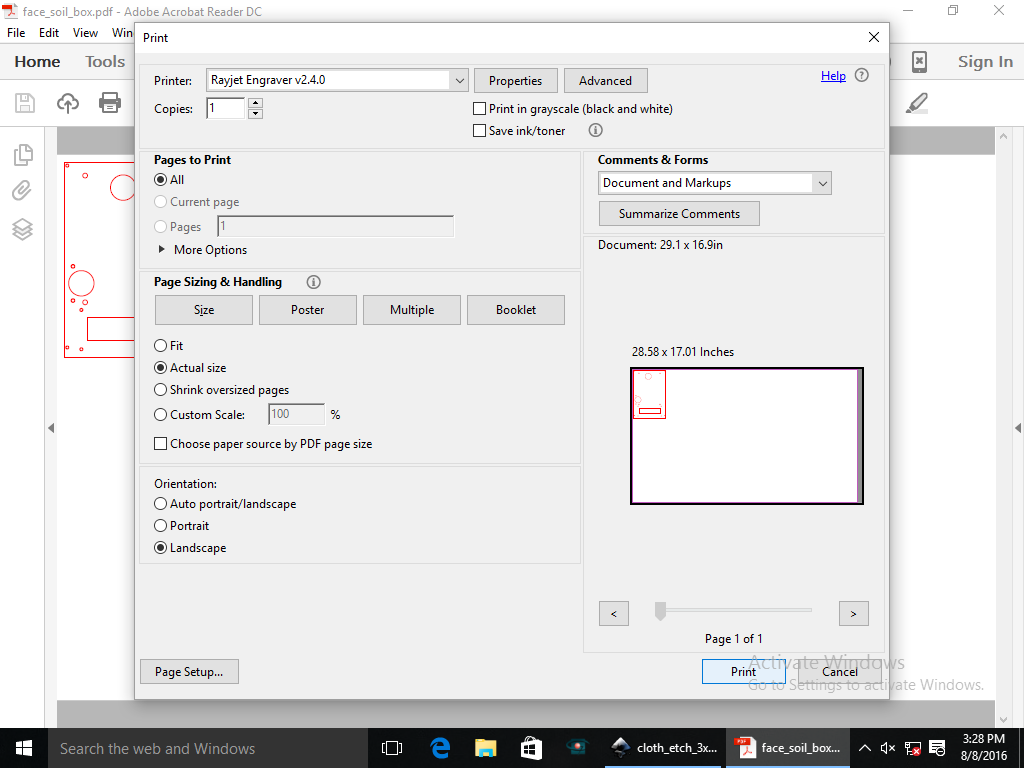
Open you PDF file in Acrobat Reader. Click on "Print" and select the "Properties" button.
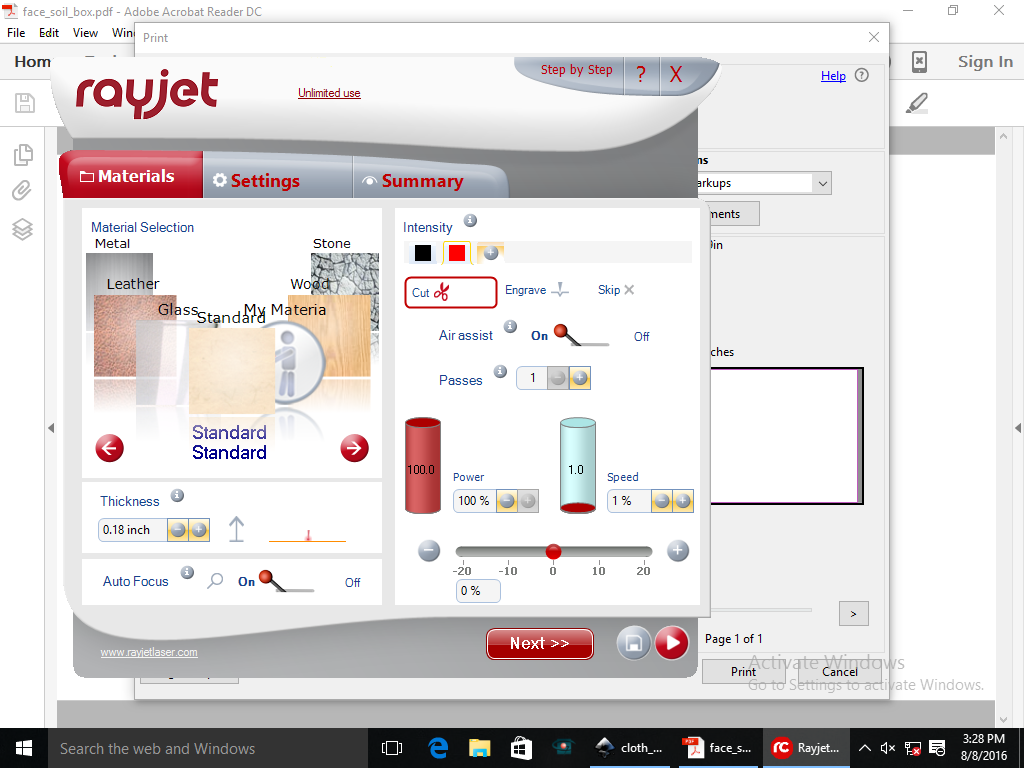
Laser Properties
.png)
When you click on "Properties" a menu with many options appears. Make sure that the following are set:
-Material Thickness
Under the "Red" tab (you may add more tabs):
-Power 100%
-Speed 1% ...for engraving this can be faster, but cutting needs to be very slow.
If you were using multiple colors for different types of cut/engraving, you would adjust each accordingly. For example, if you needed to engrave Black lines you would switch the settings under it's tab to "engrave" "power: 90%", and "speed: 10%"
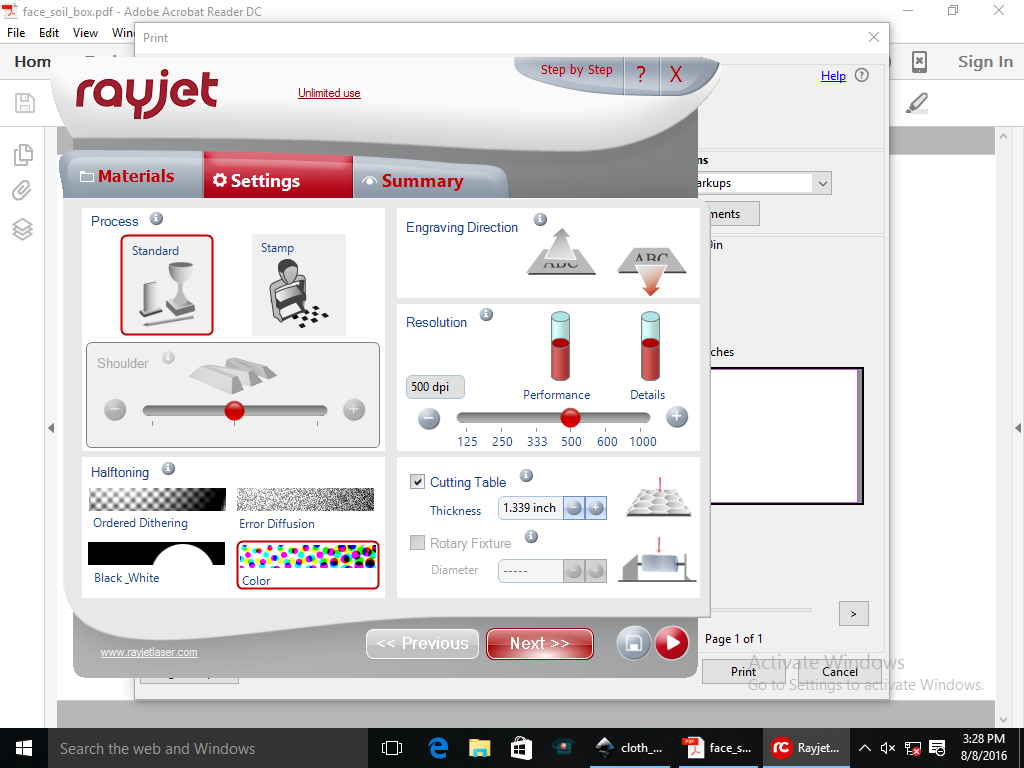
Finalize Settings
.png)
.png)
.png)
In the next menu screen, the default settings tend to work well. Just make sure check the box for "Cutting Table" if you have one in.
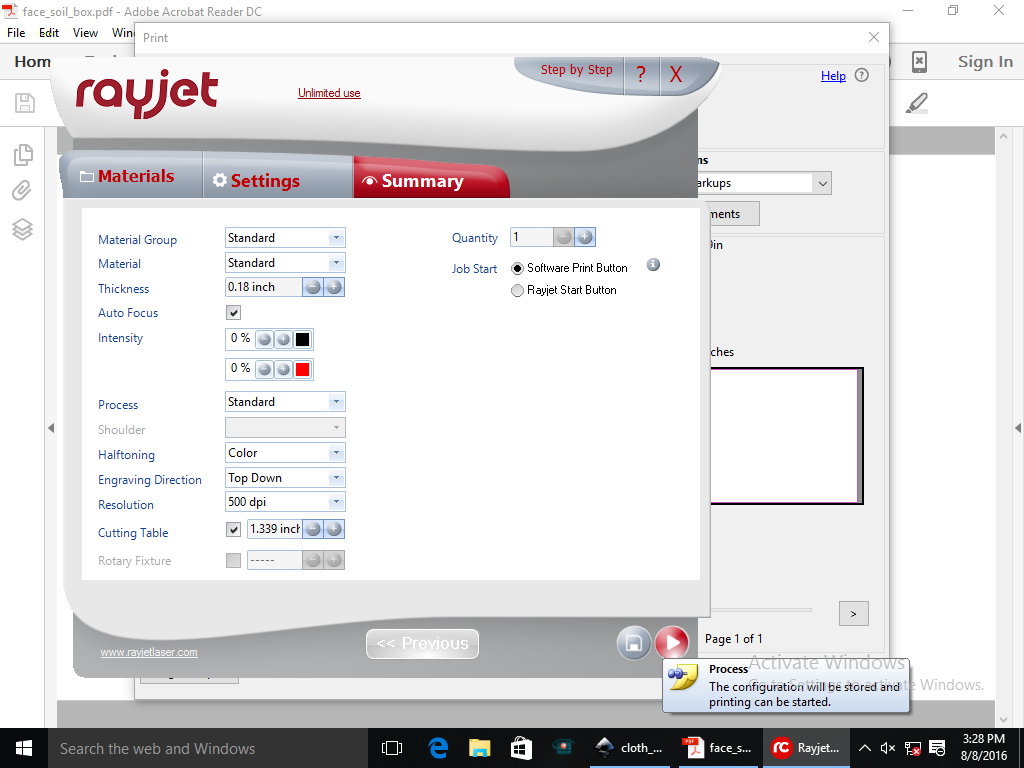
Finally, look over the settings in the last menu screen and hit "Process" in the bottom right-hand corner to apply the setting to the job.
Lastly, hit "Print" back in Acrobat Reader and you're good to go!
Enjoy the Magic of LASERS!