How to Customize an Acrylic Flower Vase With a Laser Machine
by thunderlaser-nolan in Workshop > Laser Cutting
51 Views, 0 Favorites, 0 Comments
How to Customize an Acrylic Flower Vase With a Laser Machine

With the precision and power of our Thunder Bolt laser machine, creating your own acrylic vase is easier—and more fun—than you think. This tutorial walks you through each step, from laser-cutting perfectly polished pieces to assembling them into a flawless, crystal-clear structure. Whether for home décor, gifting, or simply exploring new design ideas, this tutorial is the perfect place to start.
Supplies
Machine Used
Thunder Bolt 30W
Material Needed
3mm Acrylic
Settings
Laser Cutting
Speed:10mm/s
Max Power:70%
Frequency:20kHz
Passes:1
Downloads
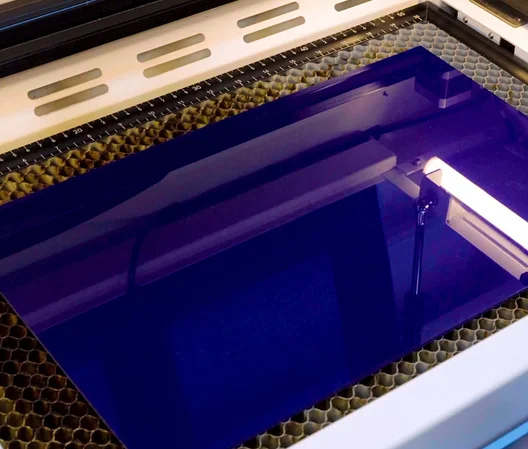
Place the Acrylic Sheet
Peel off the protective film from the acrylic surface to avoid burn marks during cutting. Then, put the acrylic sheet flat on the work bed and make sure it’s secured in place. You can use pins or magnets to hold it steady.
Tips:
There are three common types of pins: T-shaped, L-shaped, and F-shaped. A special use for F-shaped pins is clamping up the plywood to prevent burn marks. When using pins or magnets, pay attention to their height. If they’re too tall, the machine’s sensor or laser head could collide with them and cause damage.
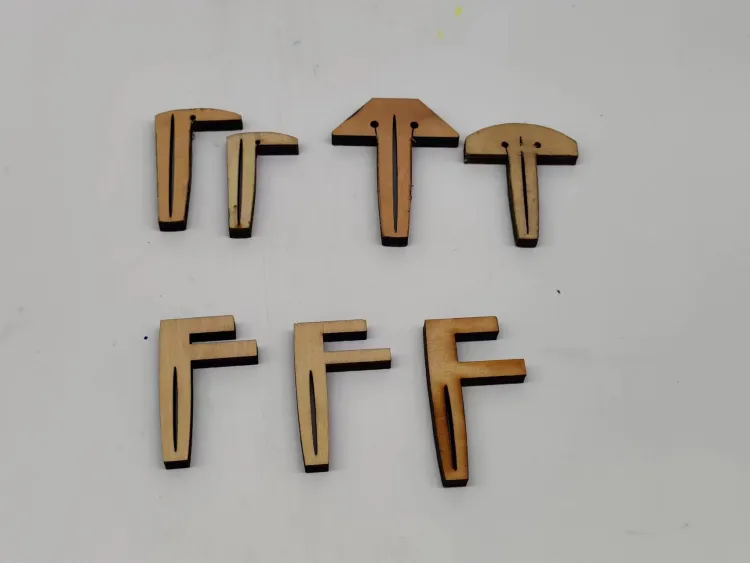
3 common types of pins
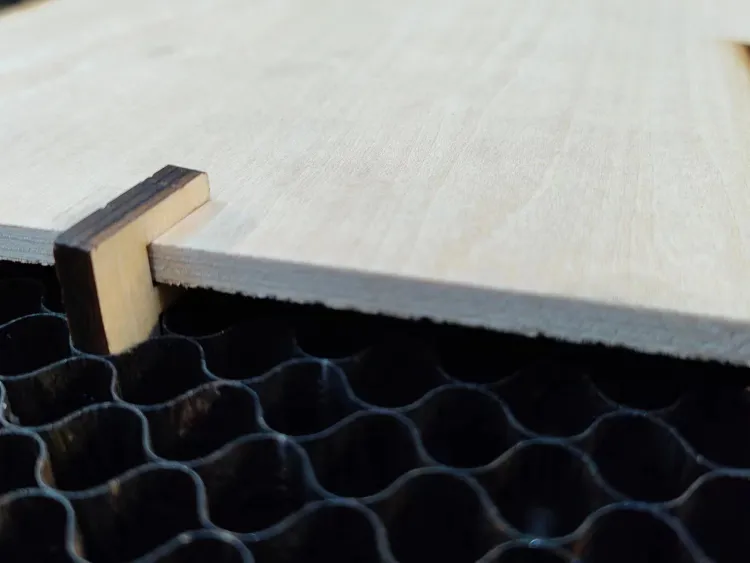
F-shaped pin usage
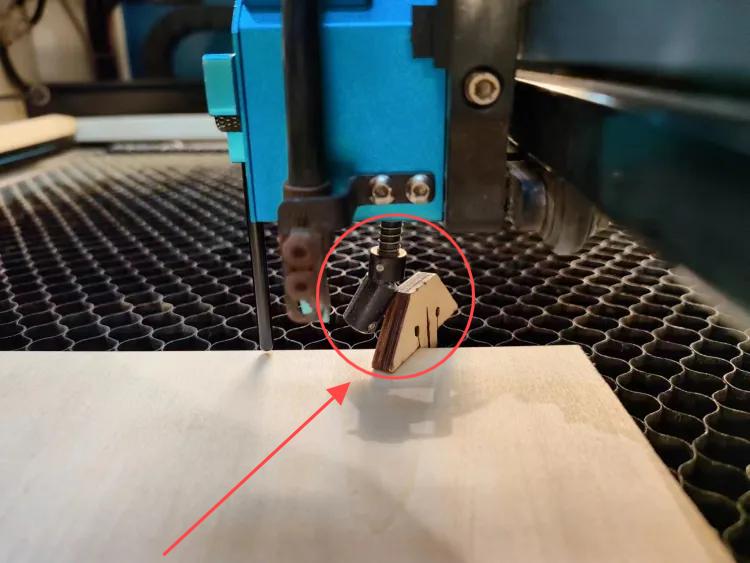
Sensor hits a too high pin
Import the Acrylic Flower Vase File and Check the Settings
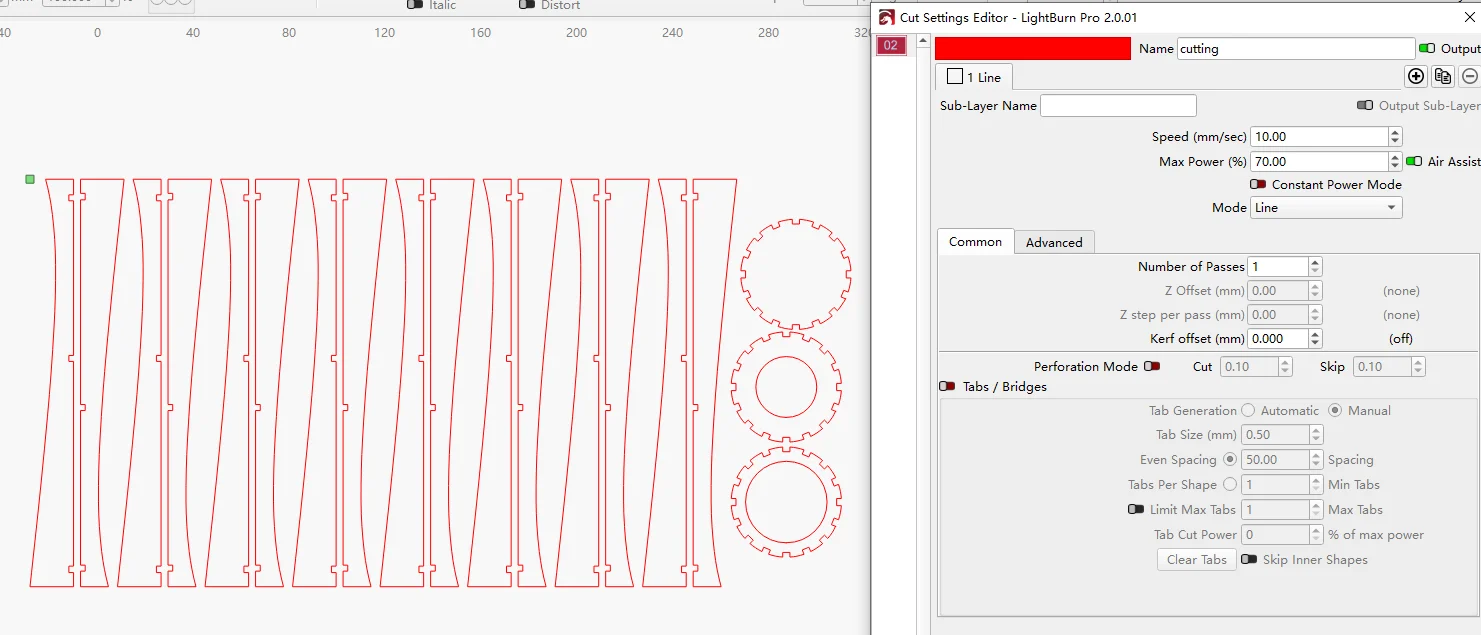
Import your acrylic flower vase file into the laser software (e.g., LaserMaker or LightBurn) and adjust the size and position to match your acrylic sheet. Double-check everything, and decide if you want to add or subtract elements according to your preferences. Ensure that the parameters are set correctly to achieve the ideal laser cutting results.
For the laser cutting layers, pay extra attention to the minimum power setting. If the min power is too low, it will cause the cutting corners will not cut through; if the min power is too high, the laser cutting will be bad at the corners.
Focus Your Laser Machine
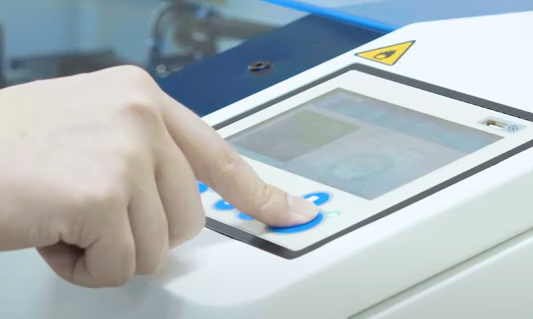
Accurate focusing is critical for achieving smooth, clean cuts on acrylic. The Thunder Bolt offers two focusing methods:
Auto Focus: With one click, the laser head automatically adjusts to the optimal focal distance. This is fast and convenient for flat materials like acrylic sheets.
Manual Focus: For more control or when working with uneven materials, use the focus stick. Lower or raise the laser head until the focus stick stands perfectly vertical against the acrylic surface—this indicates the correct distance.
Tips: If your material is slightly warped or not perfectly flat, manual focus is recommended for more precise results.
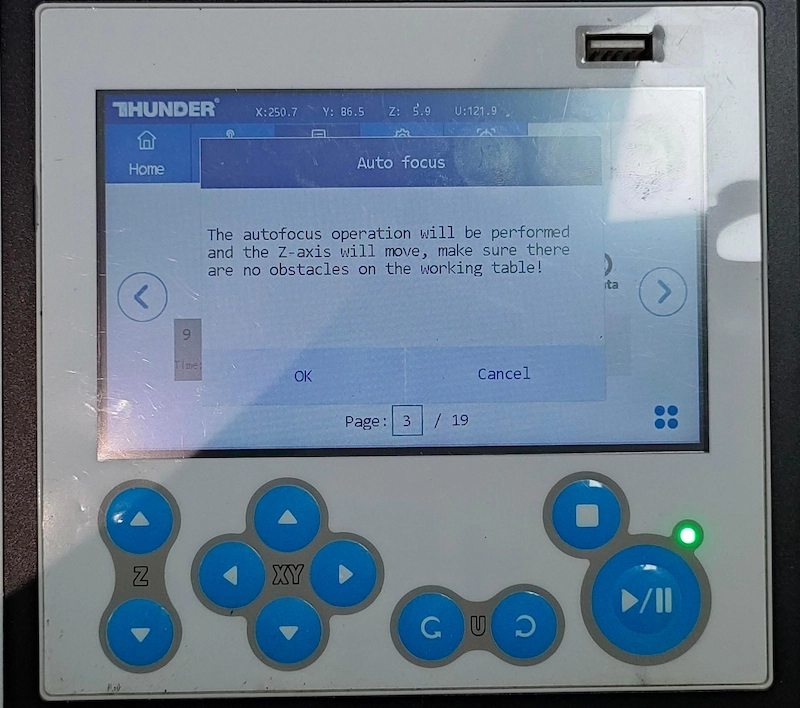
Auto focus
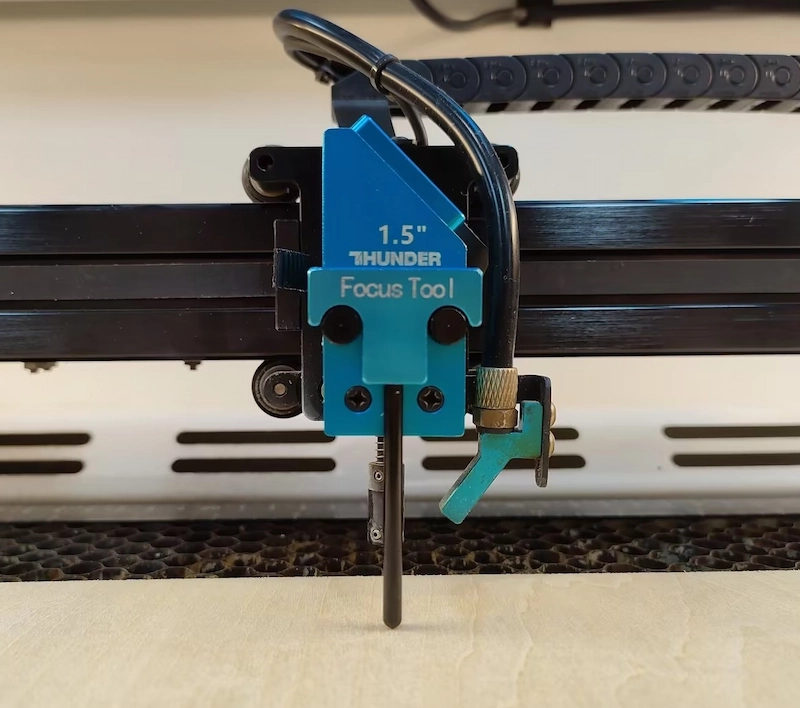
Manual focus
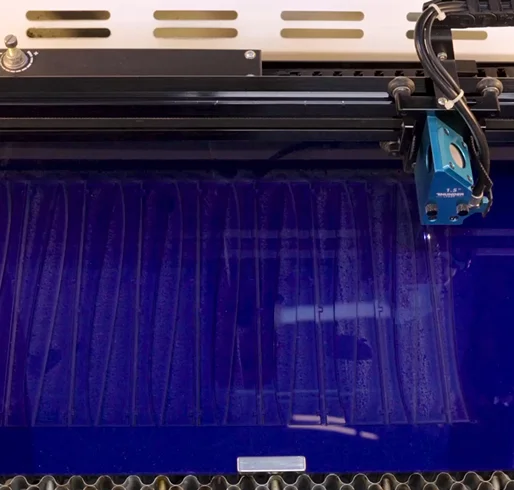
Frame the Design and Start Laser Cutting
When we click the “Frame” , we can see red light show the outline of cutting area. It’s safe, and the frame will be on the surface of the acrylic. Once it isn’t, move your acrylic or design until they are at a proper position.
Once everything is adjusted, simply hit ‘Start’ to begin laser cutting the acrylic with the Thunder Bolt.
Monitor the Laser Cutting Process
Keeping an eye on the laser machine allows you to spot unusual conditions—such as error alarms, smoke build-up, or unexpected pauses—before they become problems. While observing, remember that the laser beam is extremely powerful. Even with the protective lid closed, avoid staring directly at the marking spot for too long.
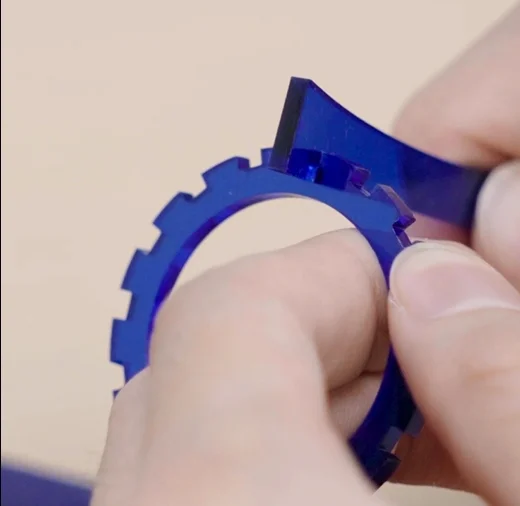
Align and Join the Laser Cut Acrylic Parts to Complete the Structure
Carefully align all the laser-cut acrylic pieces according to the design, ensuring each part fits snugly into place. Apply acrylic glue or use connectors if needed, and hold the pieces firmly until they are secured. Take your time with this step—proper alignment is key to achieving a clean and professional-looking structure.
Complete the Laser Cutting
Now your project is ready to shine—place it on a shelf, put your beautiful flowers into it, or showcase it anywhere you like. Enjoy the satisfaction of seeing your laser-cut design come to life!
Why settle for ordinary decorations when you can create a one-of-a-kind acrylic pet outline décor? With the right laser machine, every cut is precise, every edge is clean, and every design feels truly yours.
Don’t just watch—make it! Prepare a sheet of acrylic, import your design, and see how quickly you can turn a simple idea into a sleek piece of art. Your next favorite home décor item is just one laser cut away.