Laser Cutter Tutorial

This is a tutorial on how to print something on the laser cutter. You will need to download 123D MAKE (its free online). Click next to get started.
Start a New Project
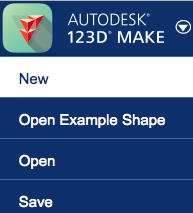
Open up the 123D MAKE app on you computer. Click on the arrow in the upper left corner and click on "new".
Search for Somthing
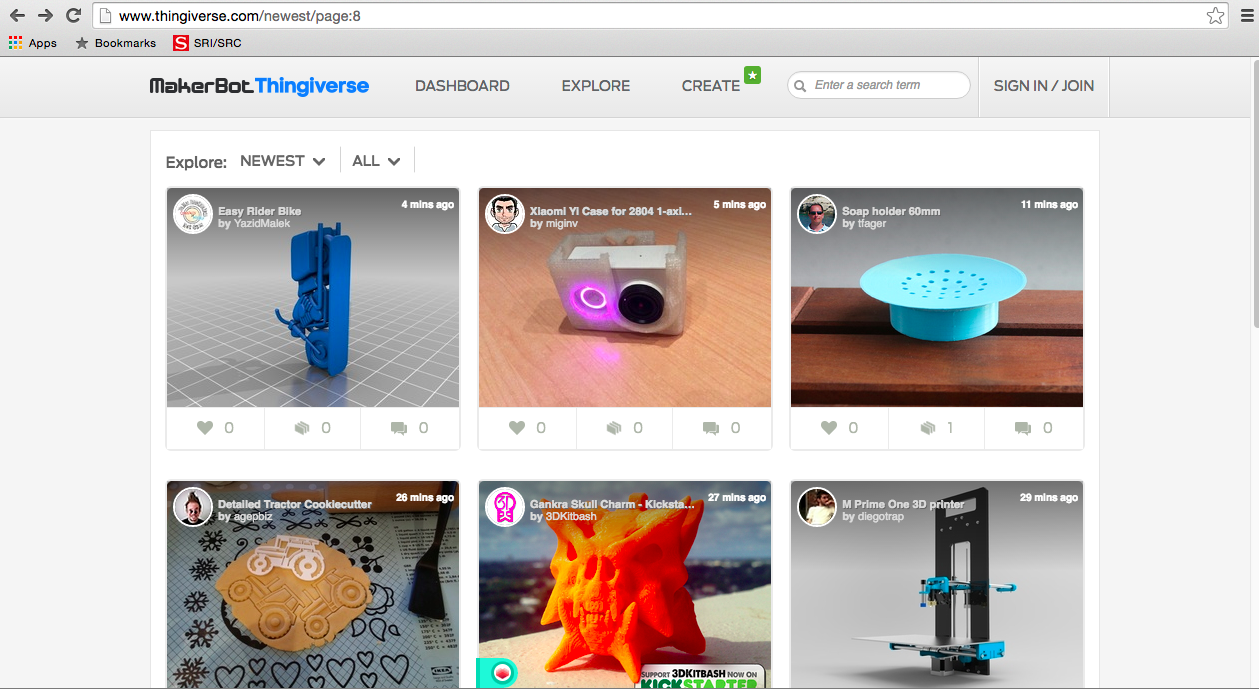
Go onto google chrome and search in the search bar "Thingiverse". This is a website where people post things that they've made, so you can download and print them if you want to. Search around for something you want to print. Keep in mind you are laser cutting this and not 3D printing, so look for something simple that could be done in layers.
Downloading
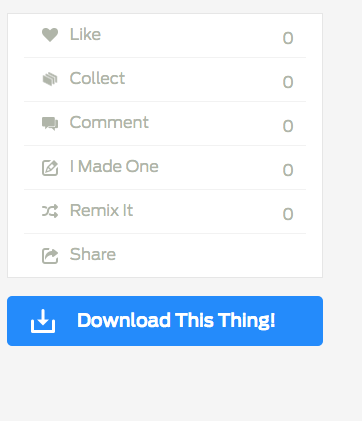
Click on the project you like. Click "Download this thing" on the right. It's a blue button. Scroll down and check if the files have "stl." at the end, and if they do click the other blue download button. Now the files are downloading from the sight onto your computer.
Uploading Onto 123D MAKE
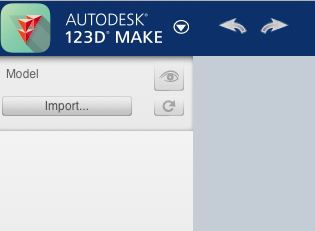
Click import from the upper right corner and find your project in the downloads. Click upload and wait for the files to load onto the app.
Converting to Laser Cut
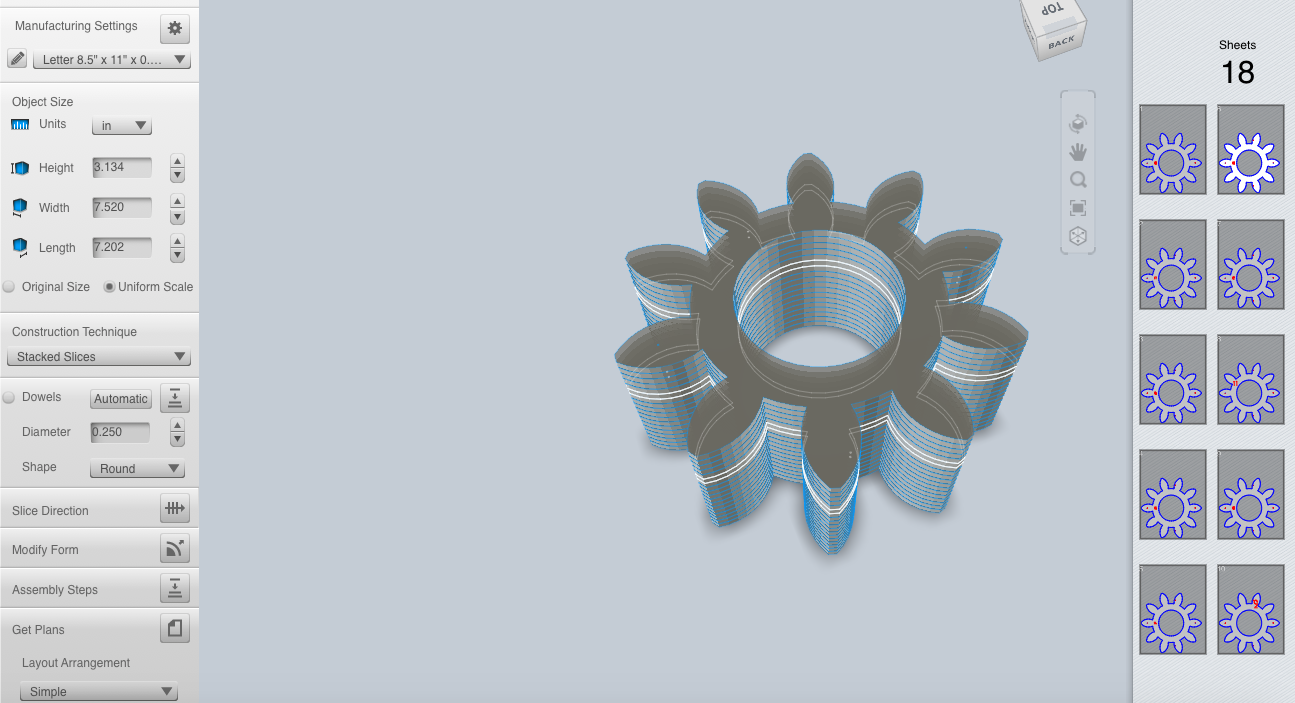
Once you have your thing in 123D MAKE, click the arrow under "construction technique", and click chose "stacked slices". This will print your design in stacks that you can glue together after they printed.
Printing
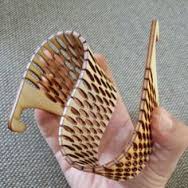
Send what you made by airdropping your saved project to the schools laser cutter. Let an expert take over the computer and print your project out. from there, glue what you have together and you are done.