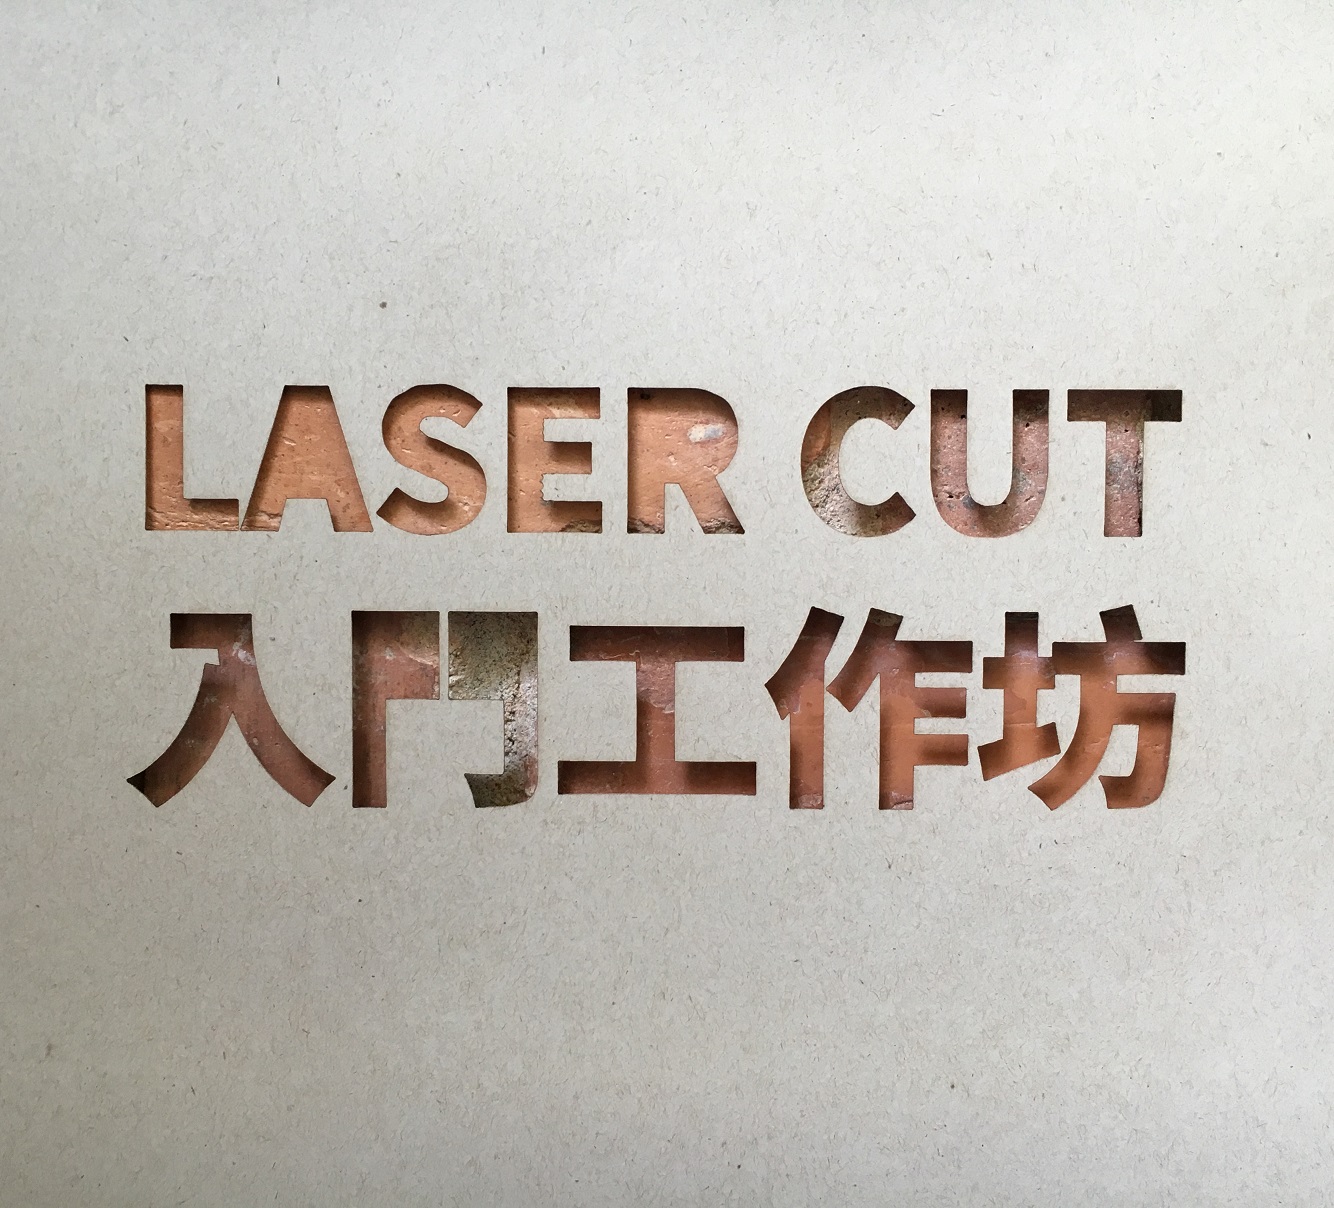
Laser Cut With LaserCAD Tutorial
by The Warehouse Maker Space in Workshop > Laser Cutting
1473 Views, 2 Favorites, 0 Comments
Laser Cut With LaserCAD Tutorial
This is a tutorial for using the laser cut machine with LaserCAD in the maker space.
以下教學將利用LaserCAD操作Maker Space的激光切割機
1. Basic Concept / 基本概念
2. File Preparation 檔案準備或轉檔須知
3. Machine Driver / Software 機械驅動軟件 : LaserCAD
4. Frequently Used Functions - Toolbar 常用功能 - 工具列
5. Frequently Used Functions - Layer Panel 常用功能 - 圖層面版
6. Control Panel & Operation Steps 控制台與操作程序
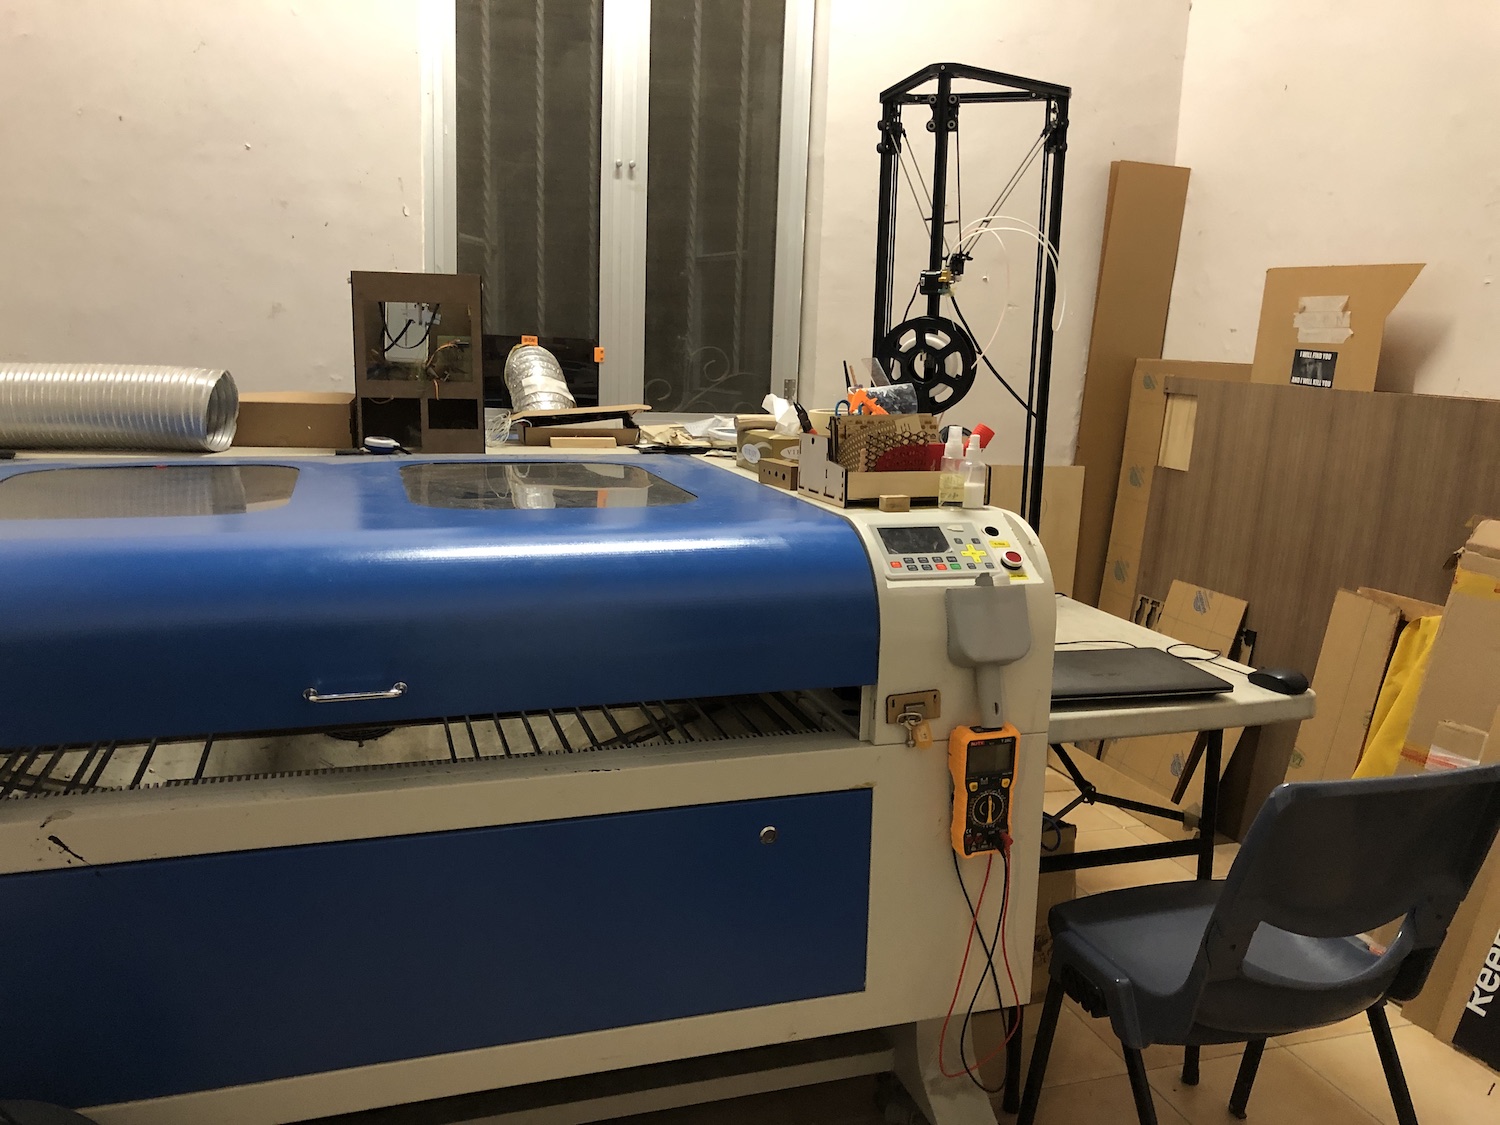
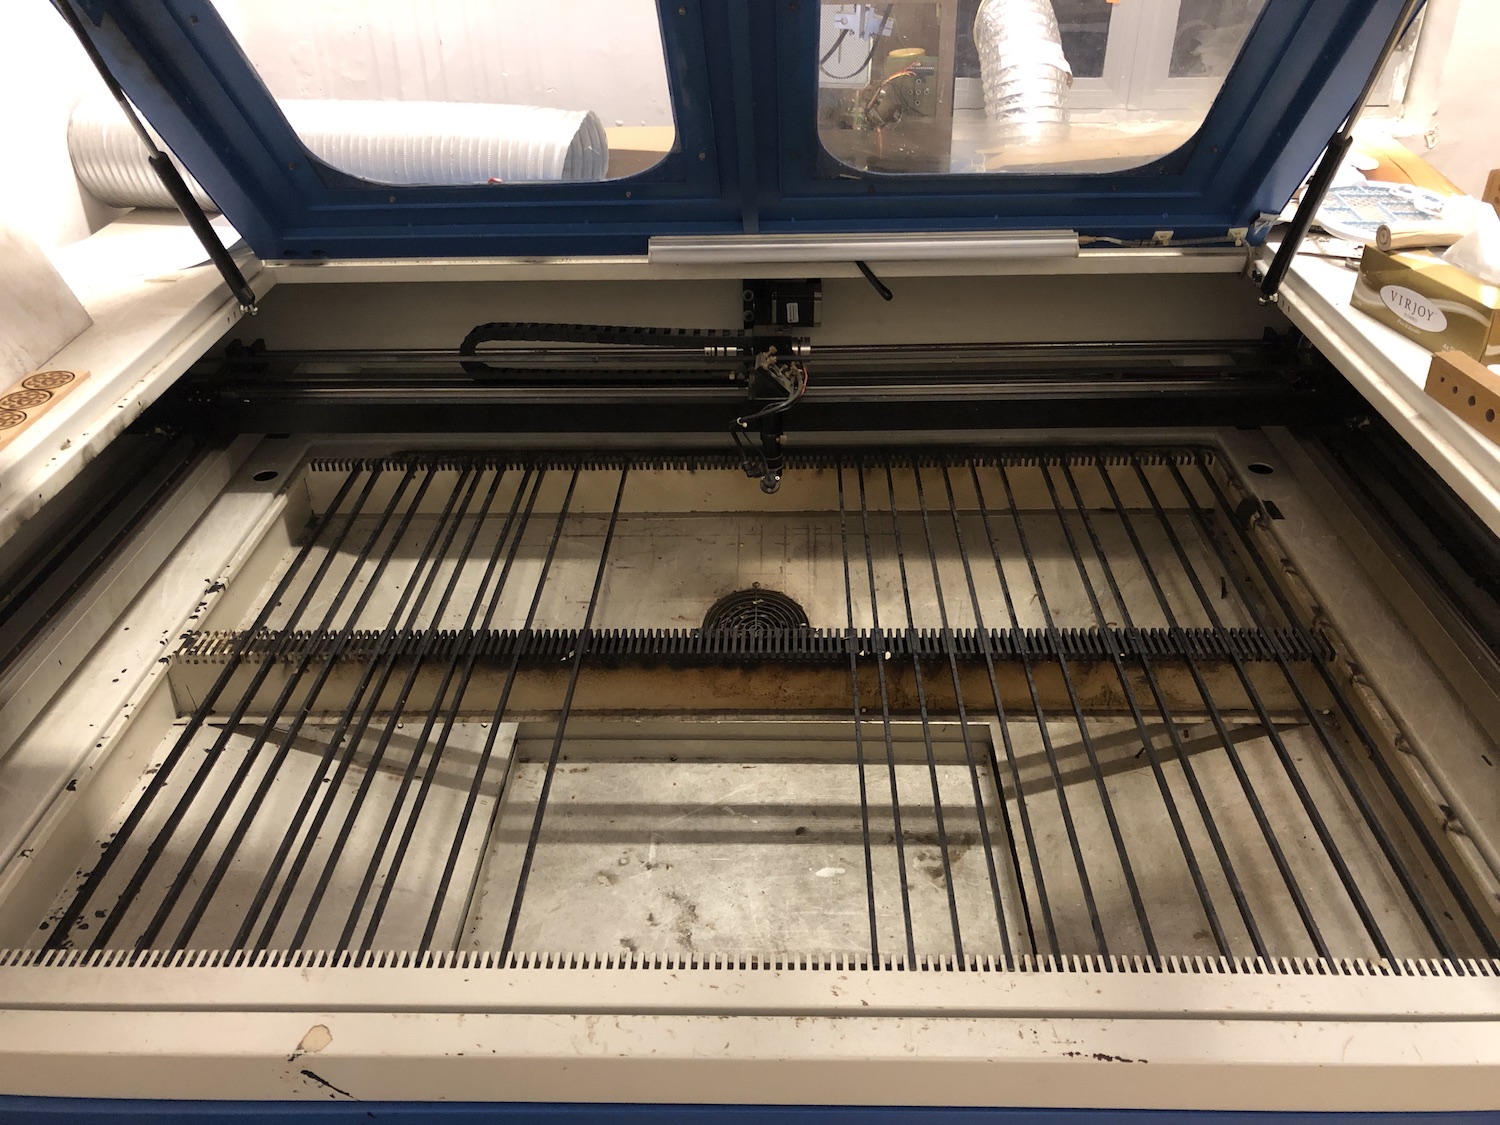
Basic Concept 基本概念
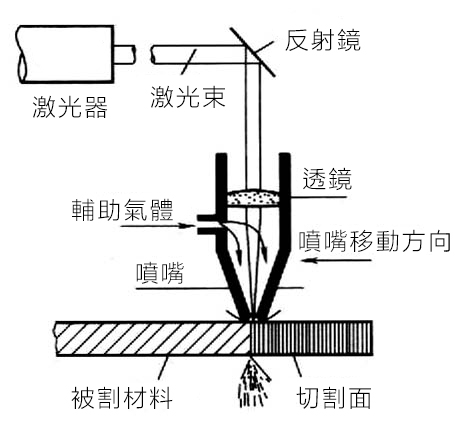
The machine consists of:
- Laser Tube
- X, Y Axis
- Control Panel
- Exhaust Fan
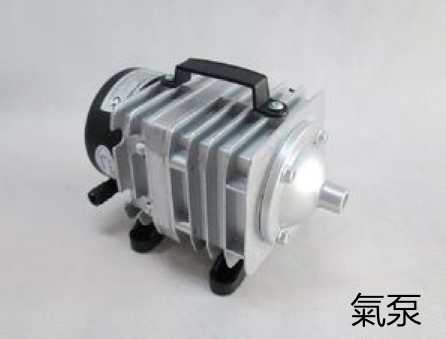
- Pump
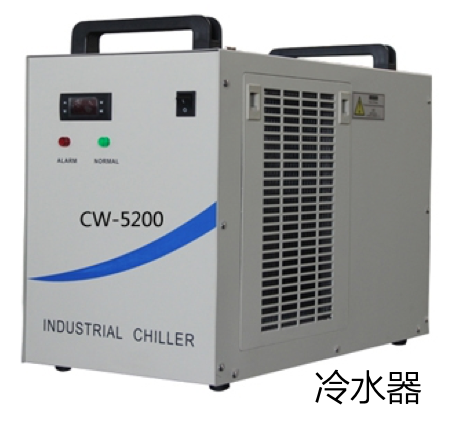
- Chiller
- Laser Tube
激光切割機是由不同的部份組成來運作:
- 激光管
- 機械部份 (X, Y軸)
- 控制台
- 抽風機
- 氣泵
- 冷水器
File Preparation 檔案準備或轉檔須知
File Format : .ai / .dxf / .plt / .eps
File for Cutting : Vector
Adobe Illustrator AI:suggested versions : CS3 - CS5
AutoCAD: Avoid line overlapping, try to keep line in single line
Color : strokes (0.001 in) in different colors for different settings (i.e. Cutting through / Engraving / Rastering)
Text : "Create Outline"
檔案格式: .ai / .dxf / .plt / .eps
切割檔案:向量圖檔 (Vector)
AI 版本要求 : CS3 - CS5
AutoCAD要求:盡量避免線條重覆
顏色:以不同顏色的Stroke筆畫 (0.001 in) 代表不同設定 (線條切穿/線條切割/雕刻) *不可填色
文字:必須Create Outline建立外框
Machine Driver / Software 機械驅動軟件 : LaserCAD
.png)
.png)
Interface
- System-Device
- Edit
- Align
- Layer
- Layer Setting
- Machine Control
基本介面
- 系統
- 編輯
- 對齊
- 圖層
- 圖層參數
- 設備控制
Frequently Used Functions - Toolbar 常用功能 - 工具列


ToolBar
Group / Ungroup Selected (Left Red Box)
Estimated Time / Simulation (Right Red Box)
工具列
組合已選對象 / 取消組合(左紅框)
預算加工時間 / 模擬加工輸出(右紅框)
Frequently Used Functions - Layer Panel 常用功能 - 圖層面版
.png)
.png)
.png)
Layer Panel
- Layer Configuration
- Cut / Engrave : Speed / Power
- Download Setting
- File Setting
圖層面版
- 圖層參數設定
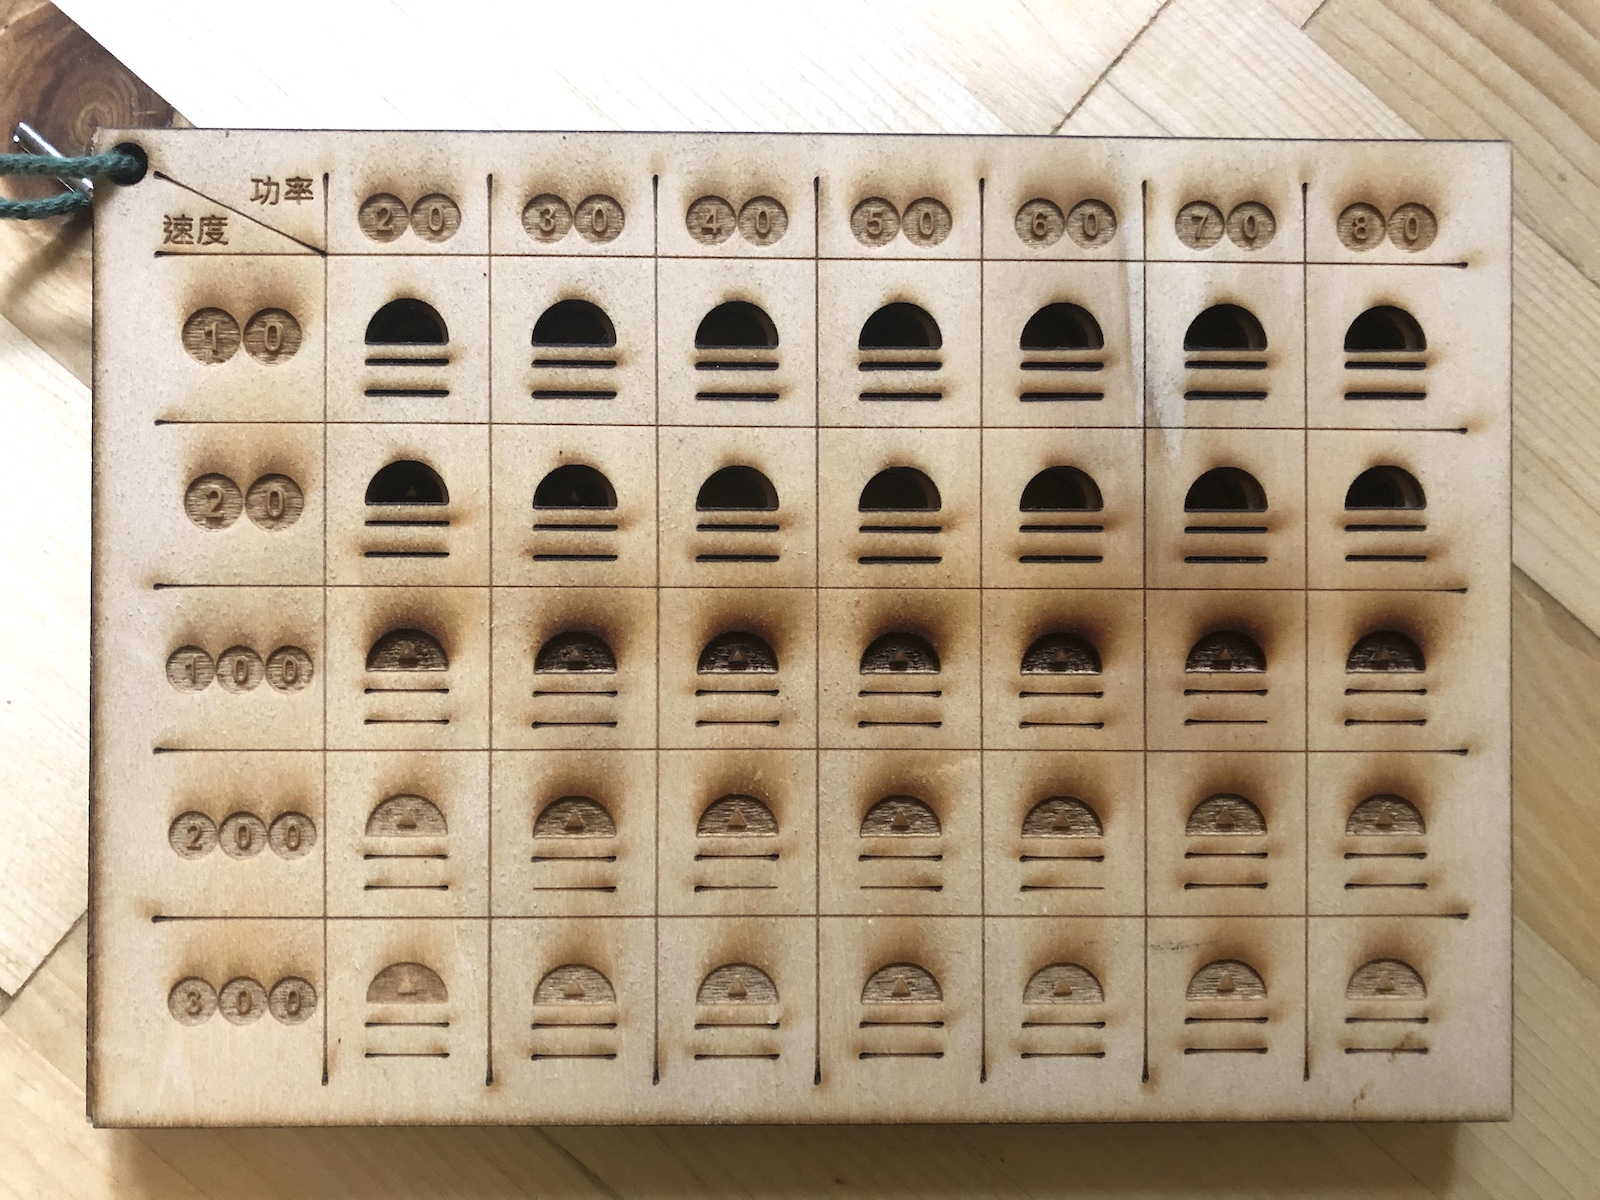
- 切割與雕刻的設定與分別 (火力速度效果參數表)
- 加載設定
- 檔案
- 雕刻步距 (一般設定為0.1mm, 可以視乎加工時間及圖案效果而更改)
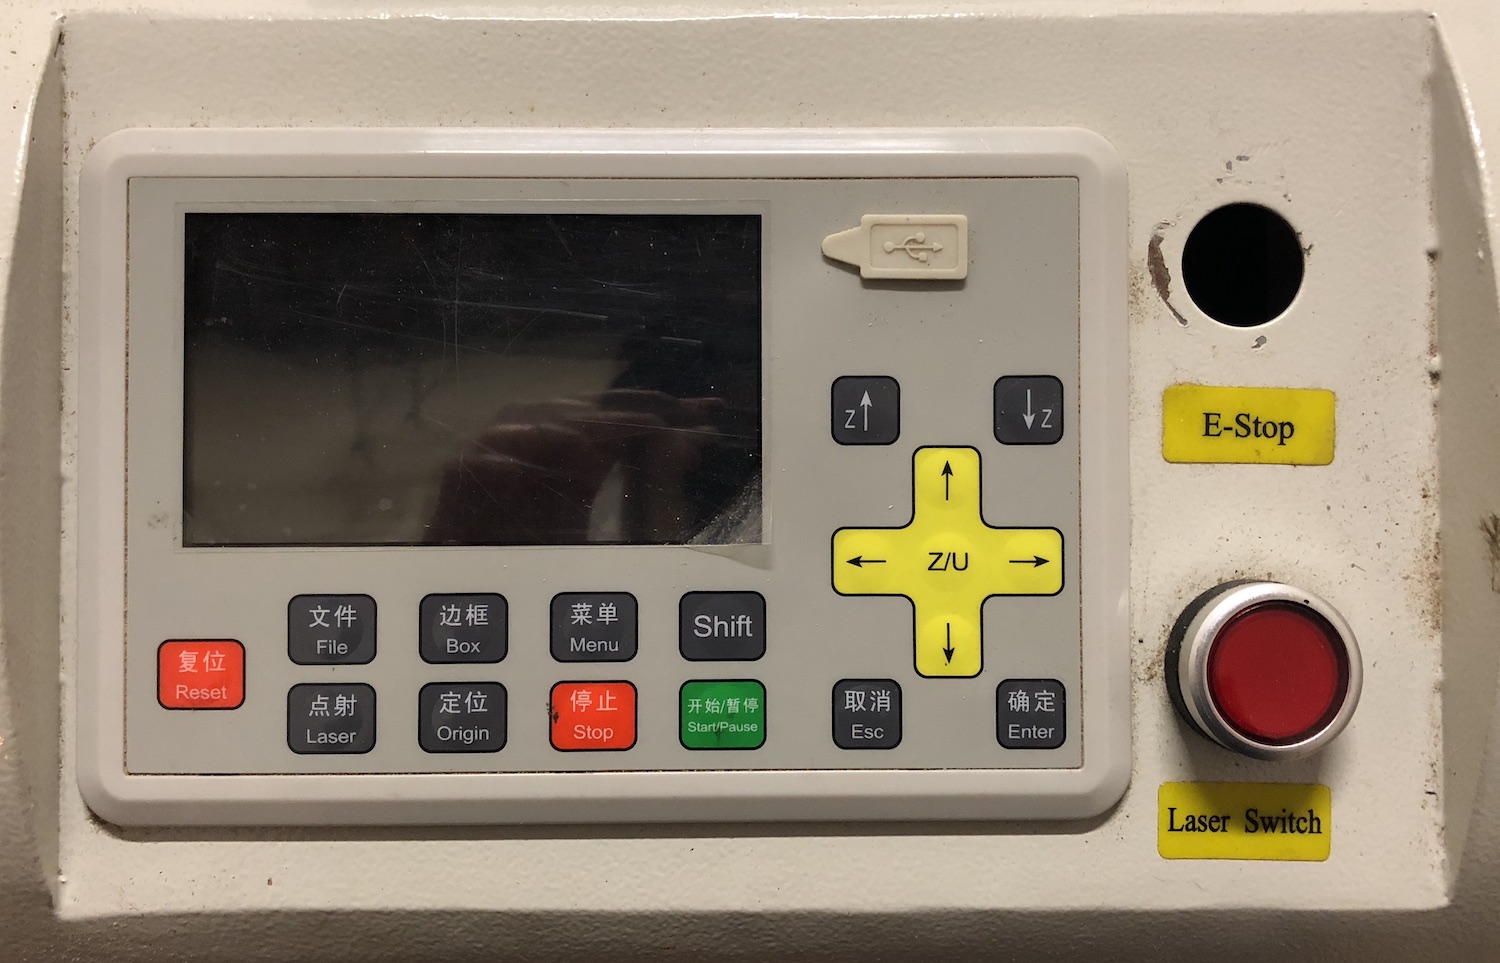
Control Panel & Operation Steps 控制台與操作程序
.png)
Cutting or Engraving Operation
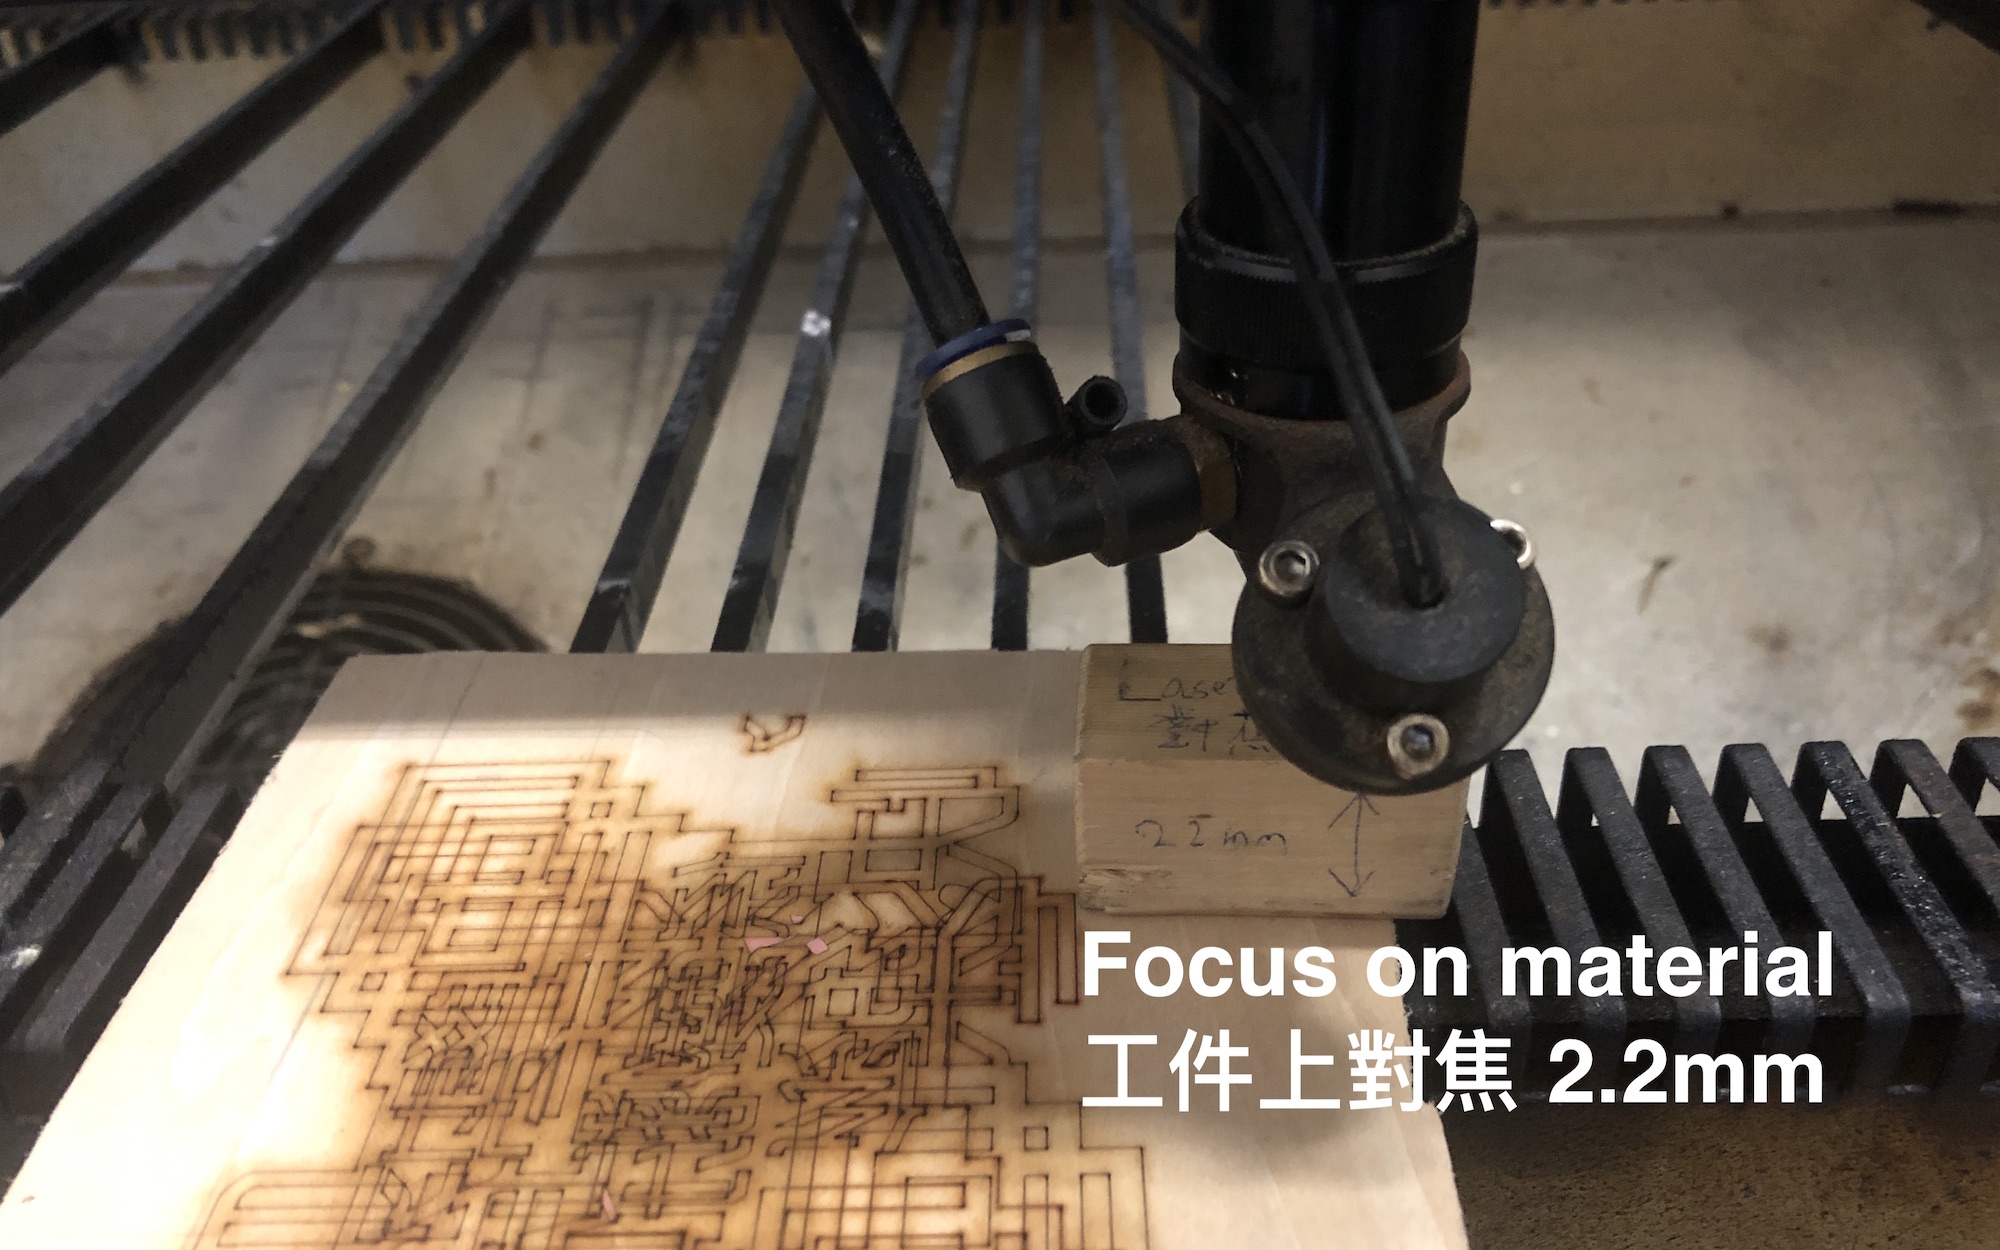
- Focus with 2.2mm cube
- "Download" → Settle Material →
- "Origin" (The laser will start at the point after you press the button)
- "Box" (To check with whether the laser go out of the material)
- Close Cover
- "Laser Switch" On
- "Start / Pause" & "Stop"
- Finish - Open Cover
- Clear wastes
切割或雕刻 實際運作
- 對焦 (2.2mm方塊)
- 「加載」 → 放置工件
- 「定位」 (確認激光噴嘴在你設定的位置,由圖的籃點開始移動)
- 「邊框」 (確認施工範圍會否超出工件範圍)
- 關上安全蓋
- 按下「激光掣」
- 「開始/暫停」、「停止」
- 完成 - 再按下 關掉「激光掣」
- 清理碎料盤
Keep the Space Clean After Working
Further Reference
10 Tips and Tricks for Laser Engraving and Cutting
https://www.instructables.com/id/10-Tips-and- Tricks-for-Laser-Engraving-and-Cutting/