Laser Cut Turtle
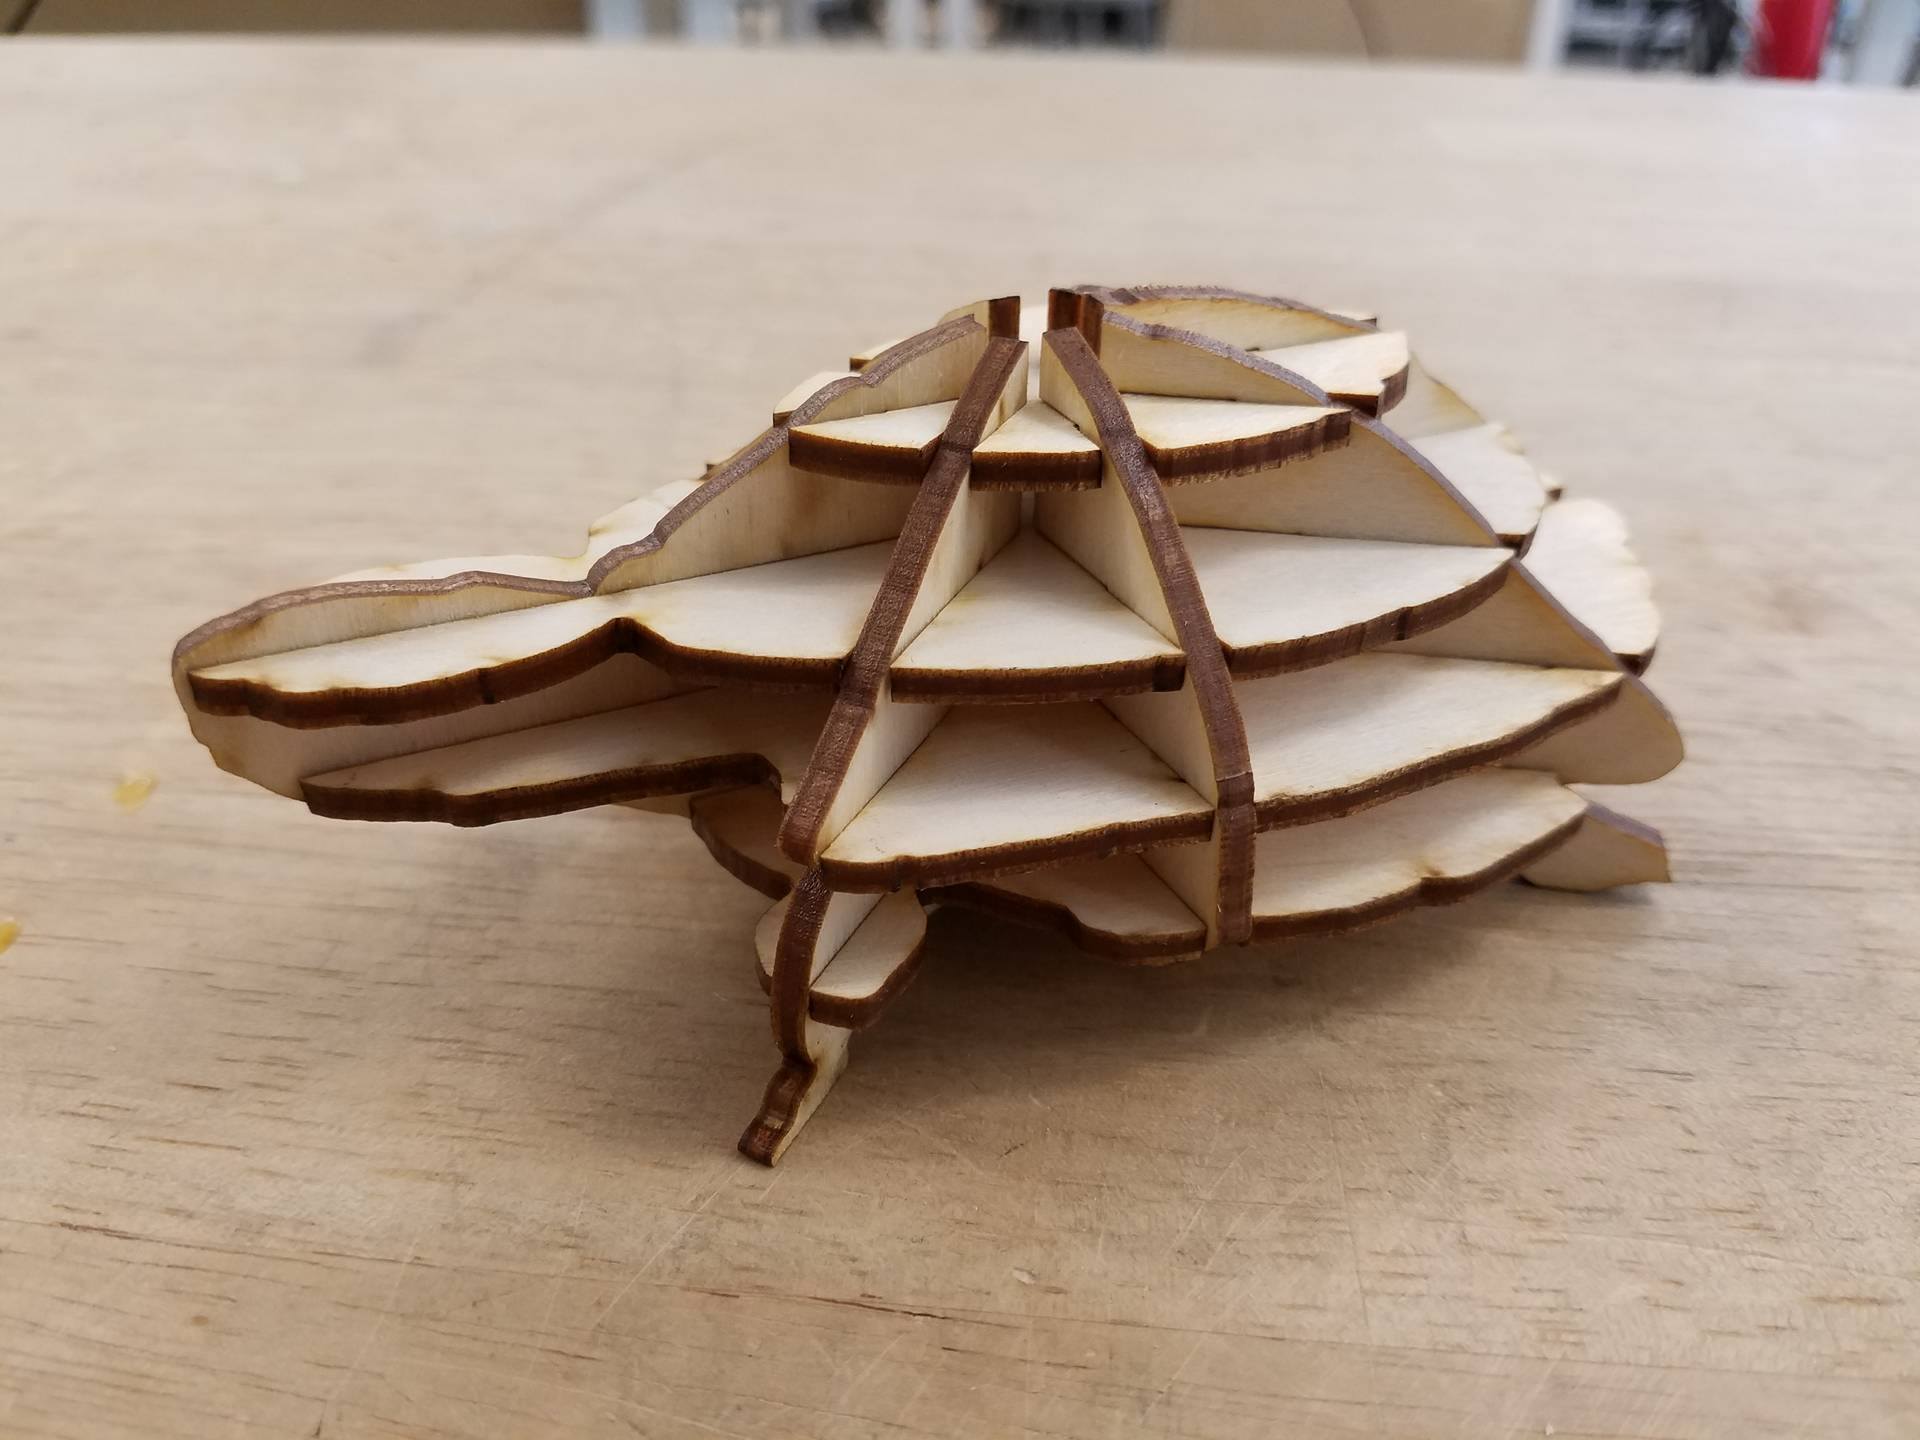
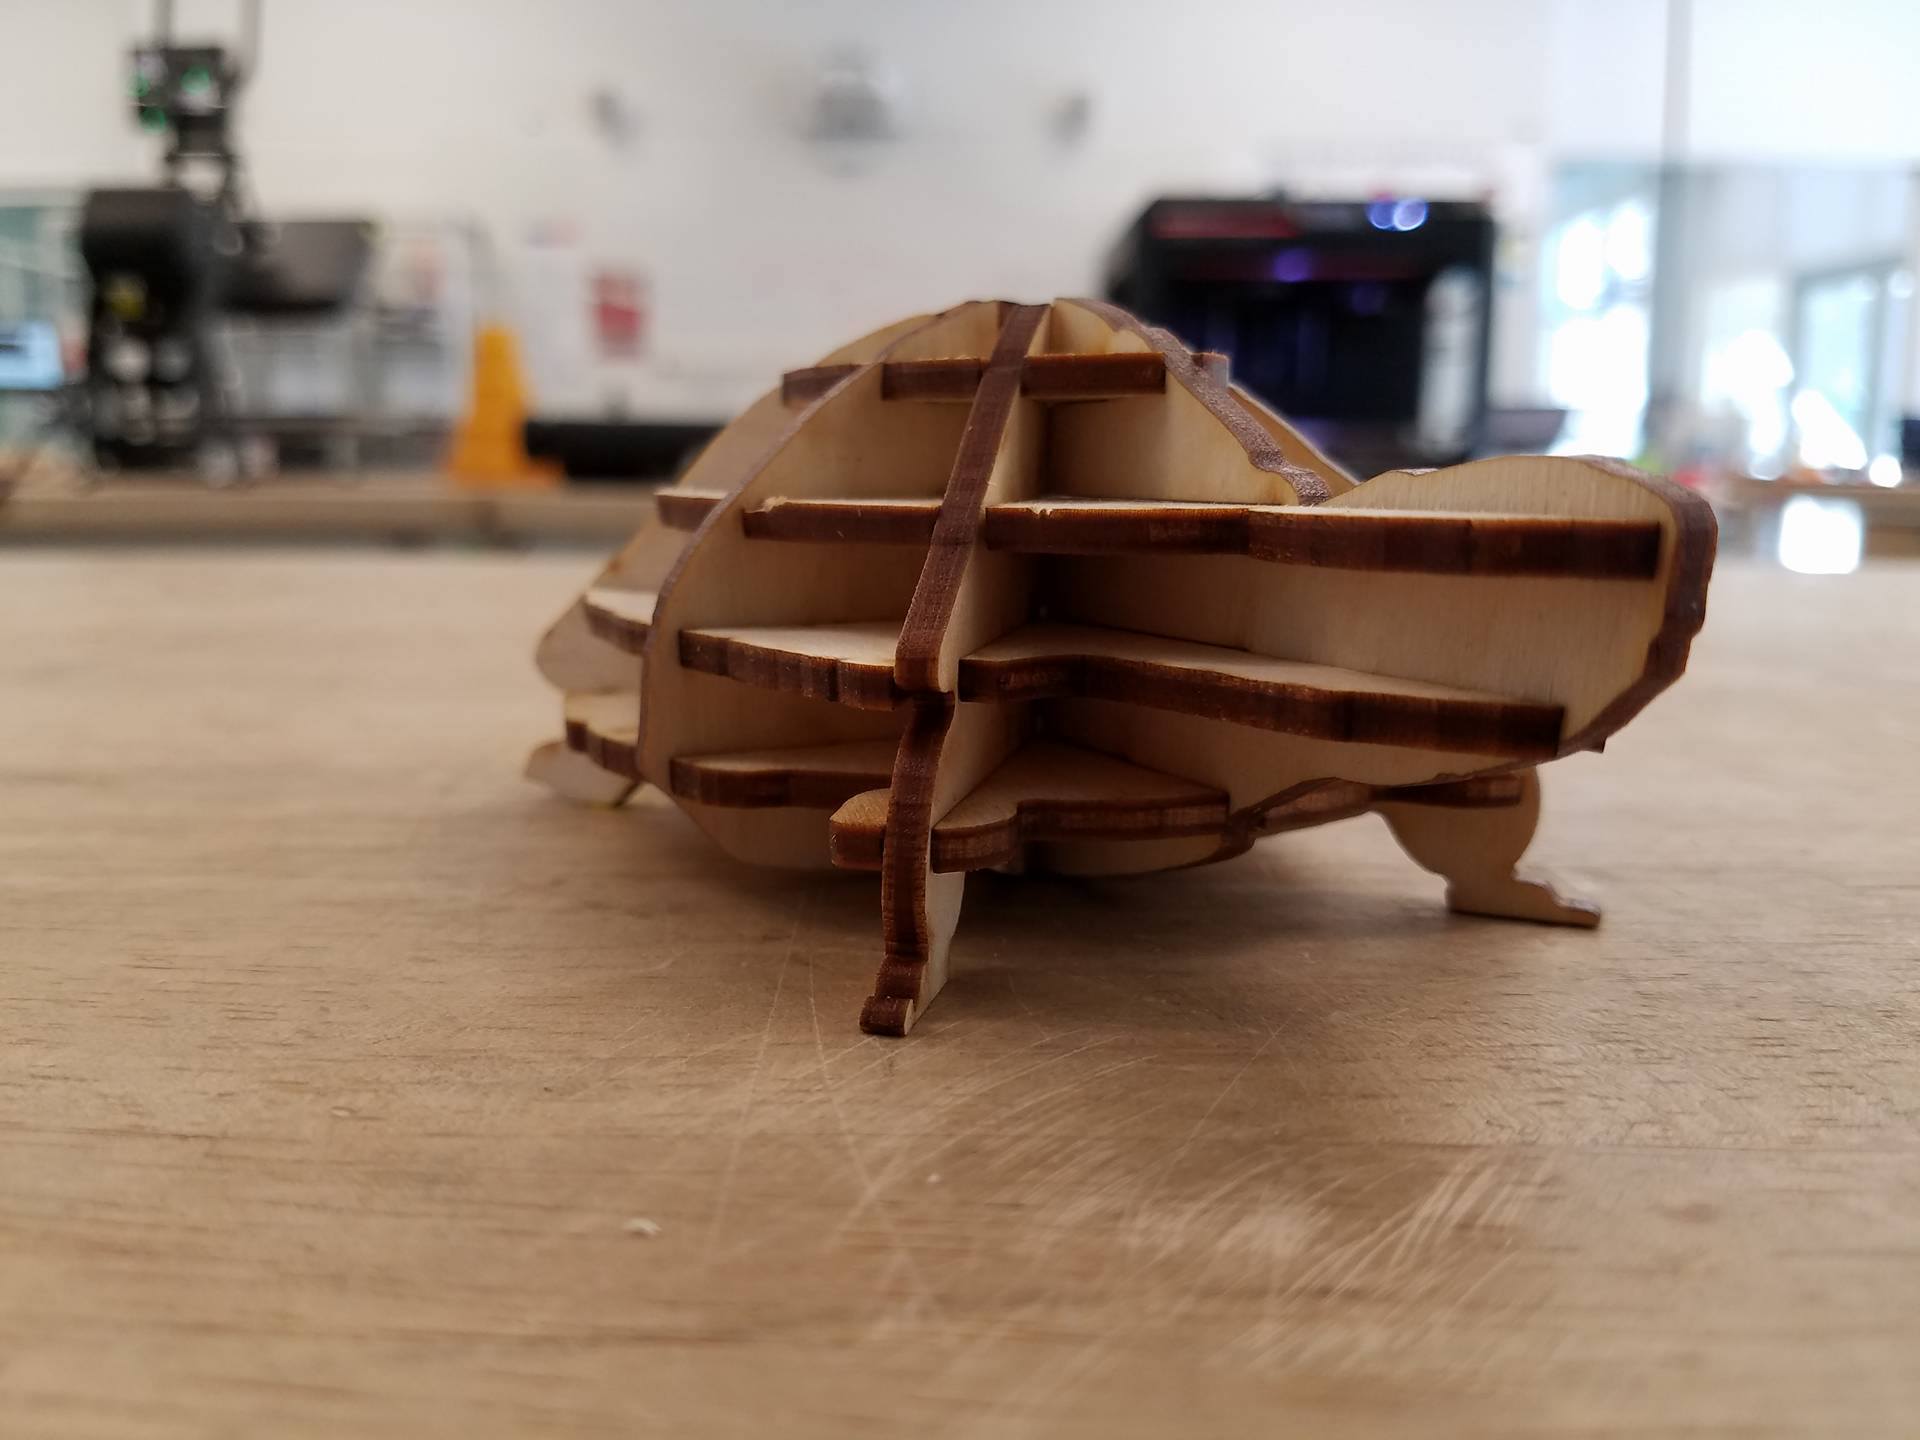
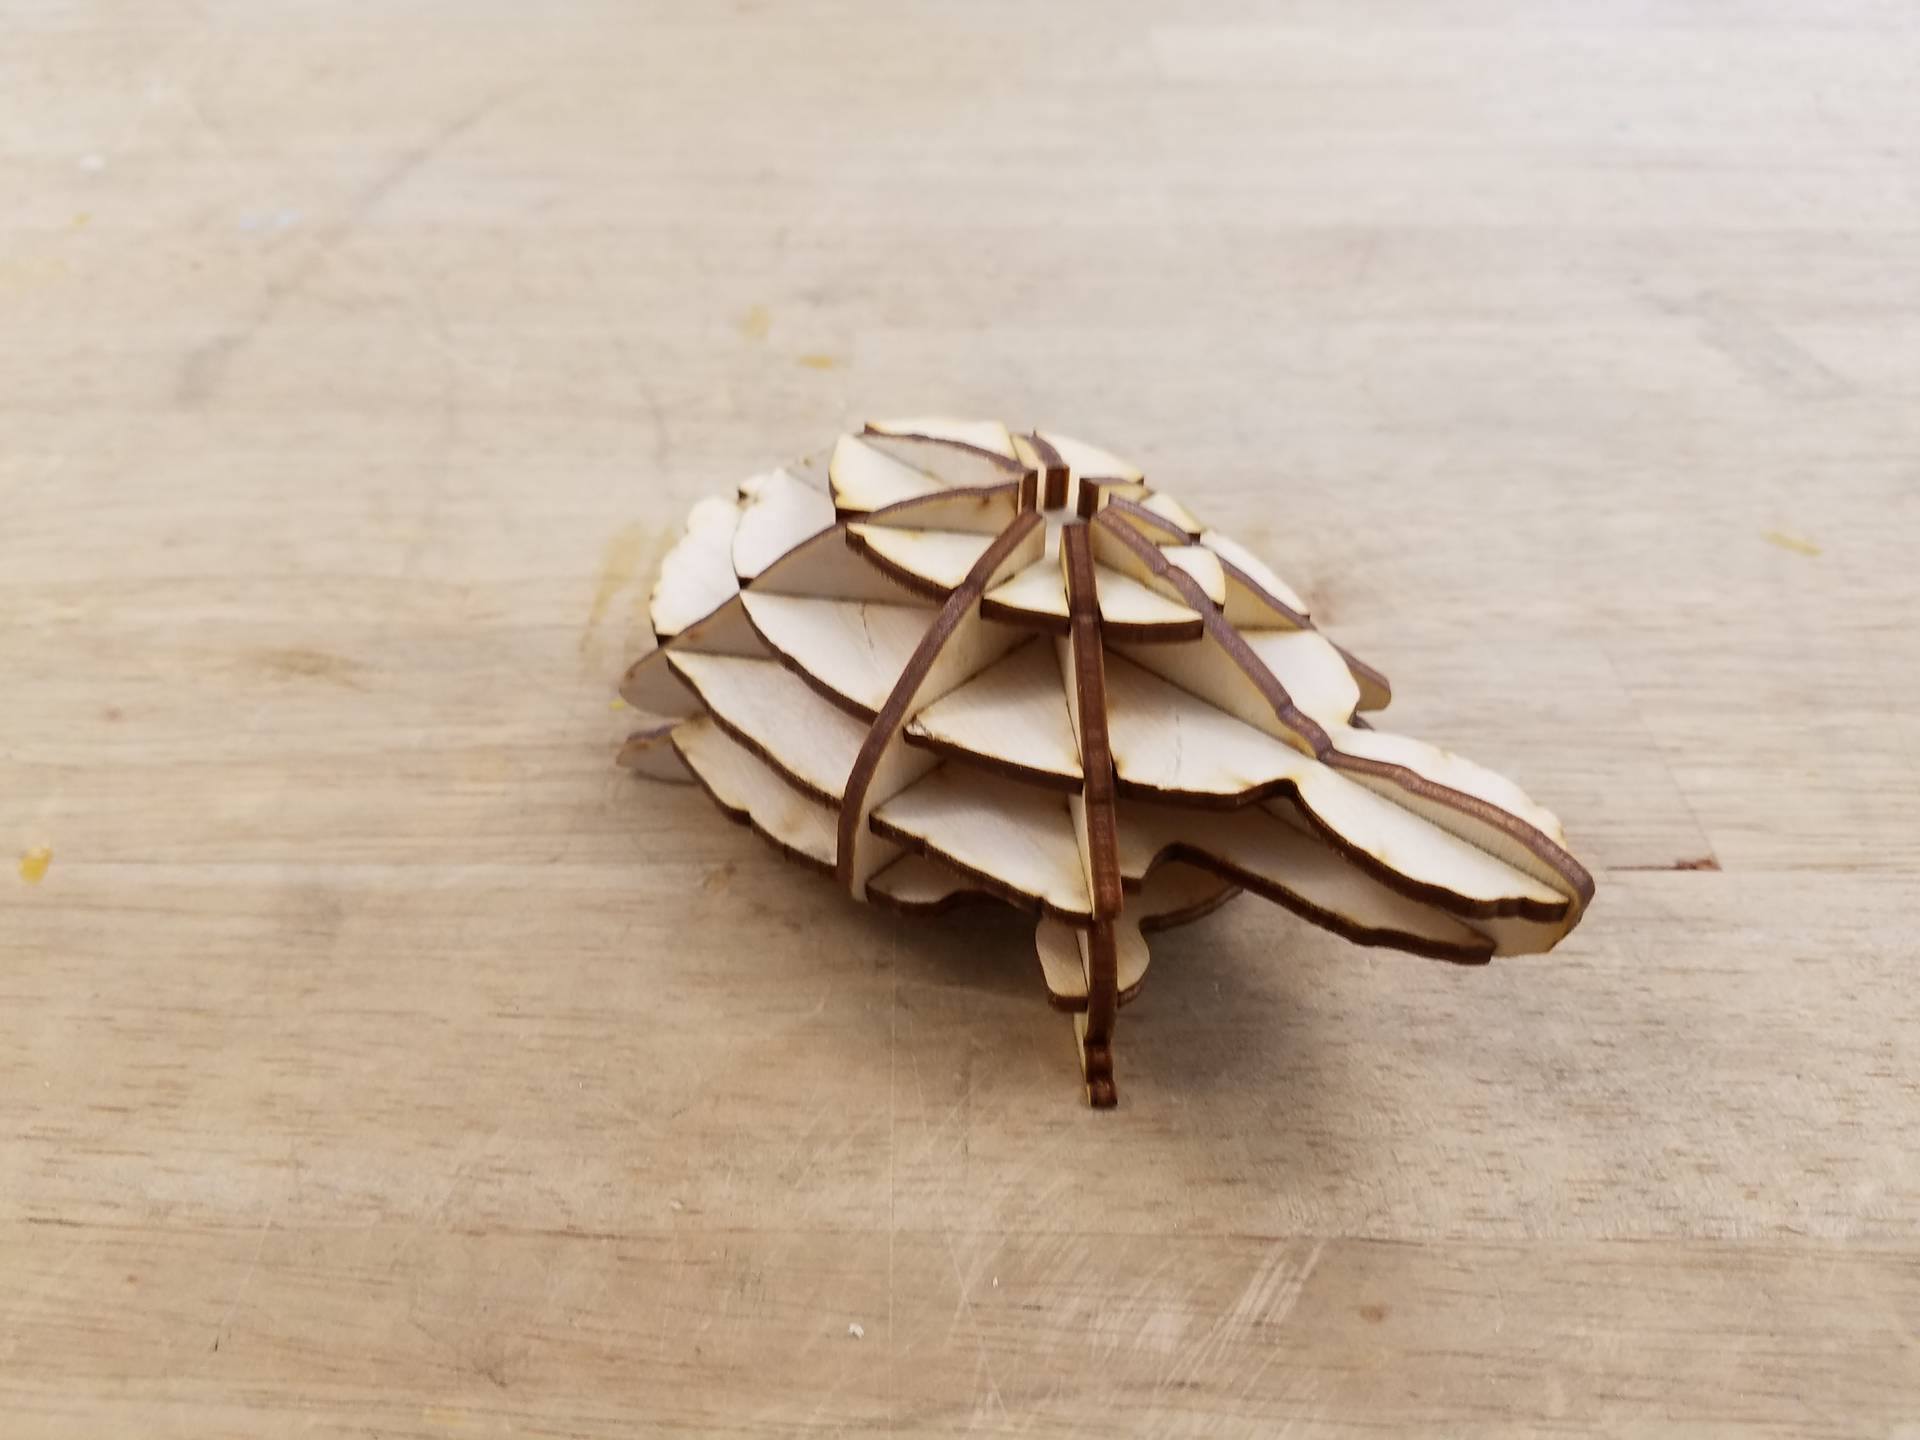
In this tutorial, we will be making a 3D turtle model out of 2D pieces. Please download the attached file 'turtle parts' (both the .ai and .pdf file work).
First, I would like to give credit to YahooJAPAN from thingiverse for the CAD model of the turtleI used to make the design. It can be found here: https://www.thingiverse.com/thing:182332
The CAD model of the turtle was 'waffle-ized' using a software called 123D Make, for those of you interested in making similar projects. It is a free software by Autodesk that can be downloaded here: http://autodesk-123d-make.en.lo4d.com/
I have a tutorial on how to use 123D Make on my profile, so check it our if you are interested in learning how to design your own interlocking models.
Required tools:
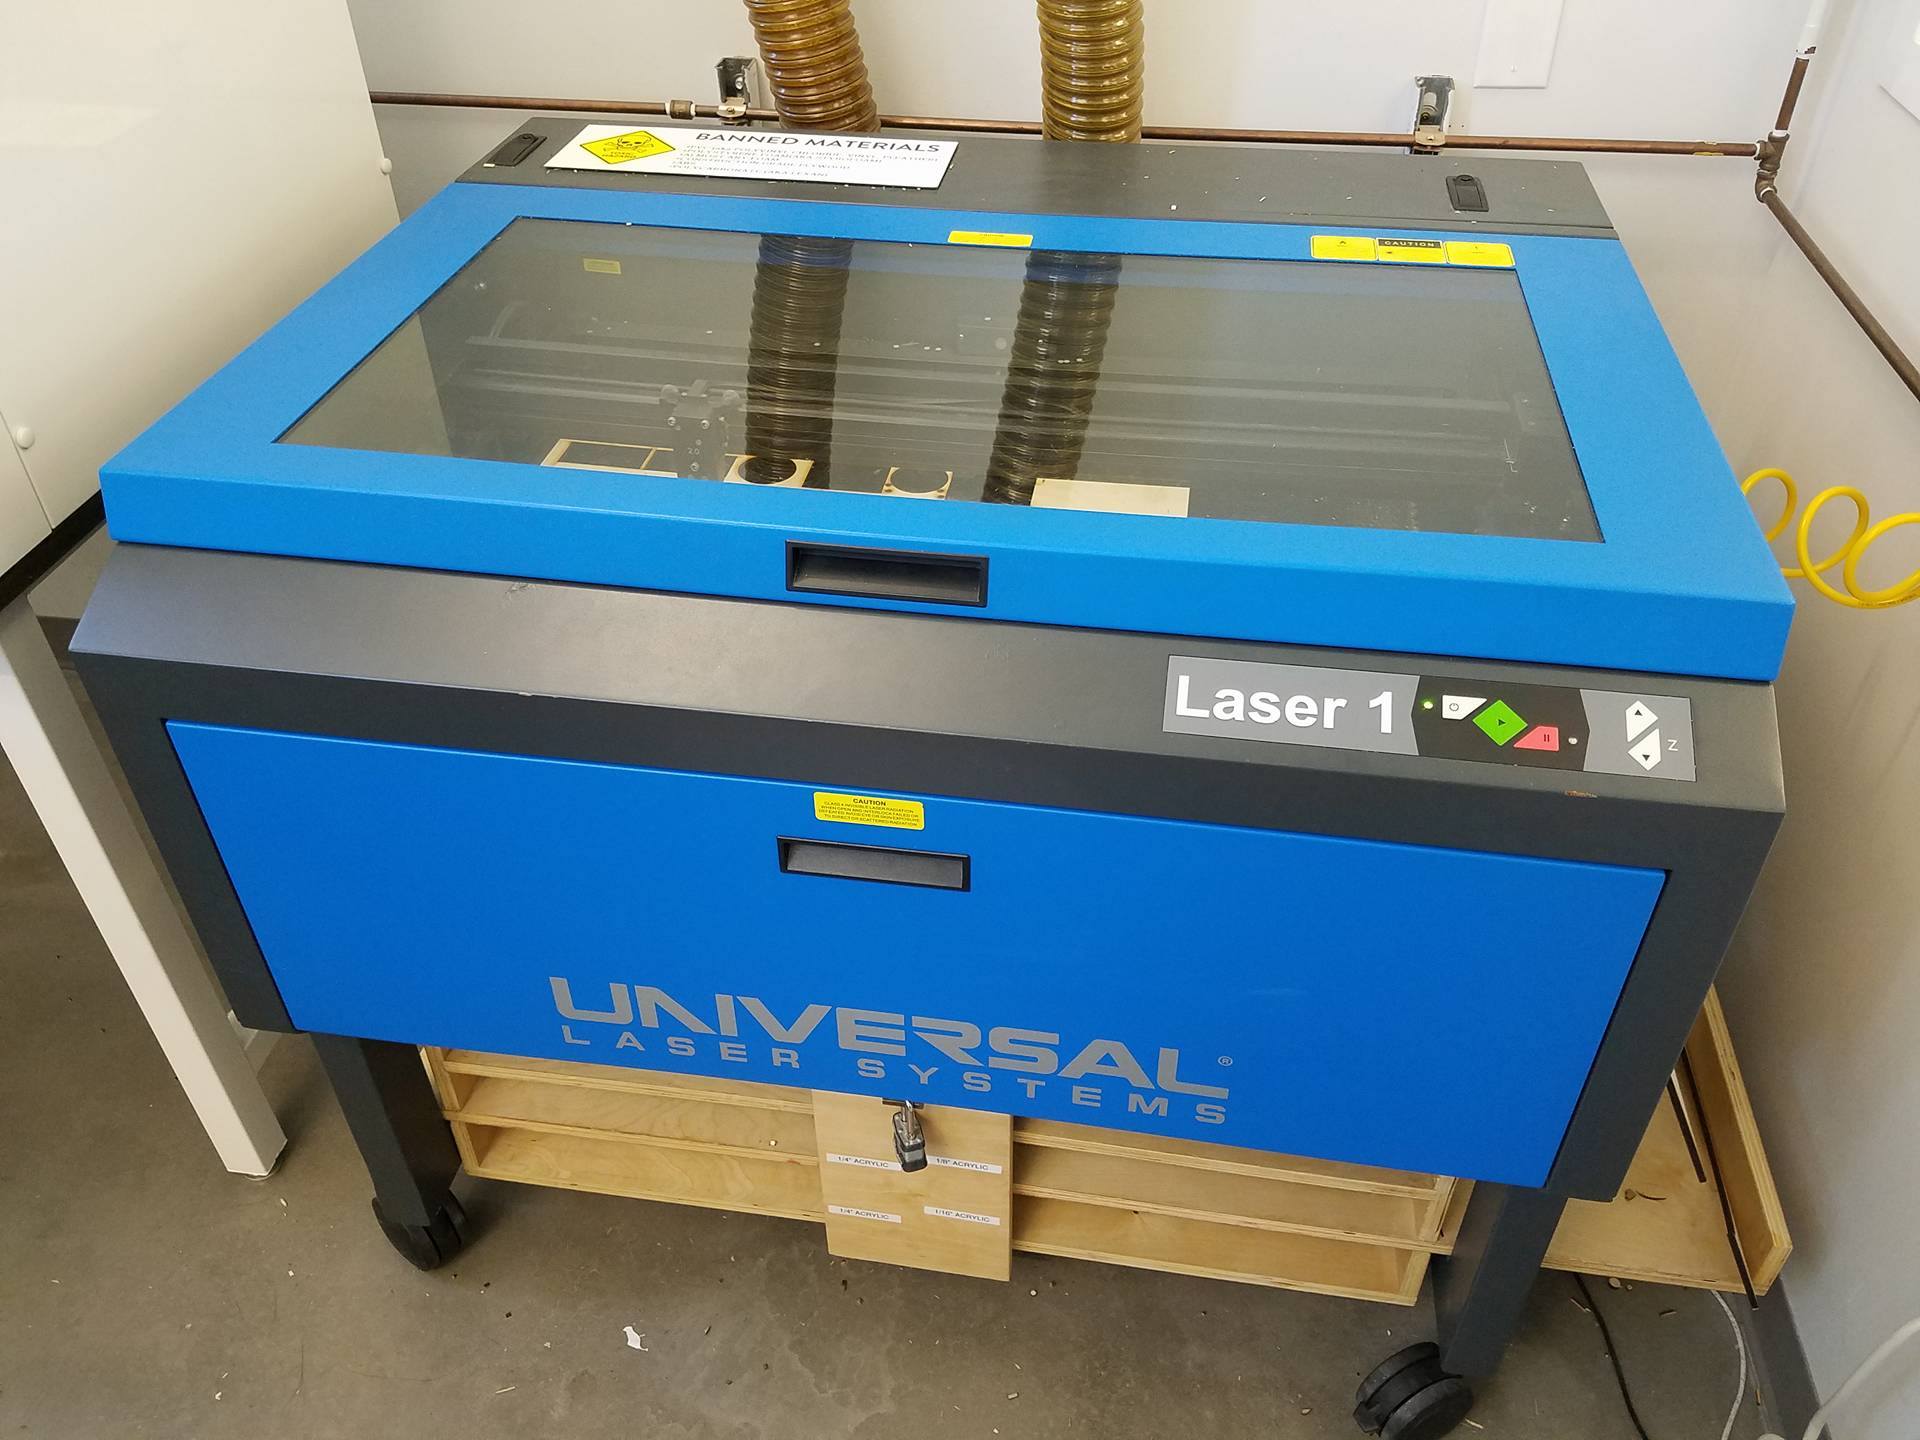
CNC Laser Cutter
Calipers
Required materials:
A piece of 1/8" plywood measuring about 6" x 12"
Files:
Laser Cutting the Parts
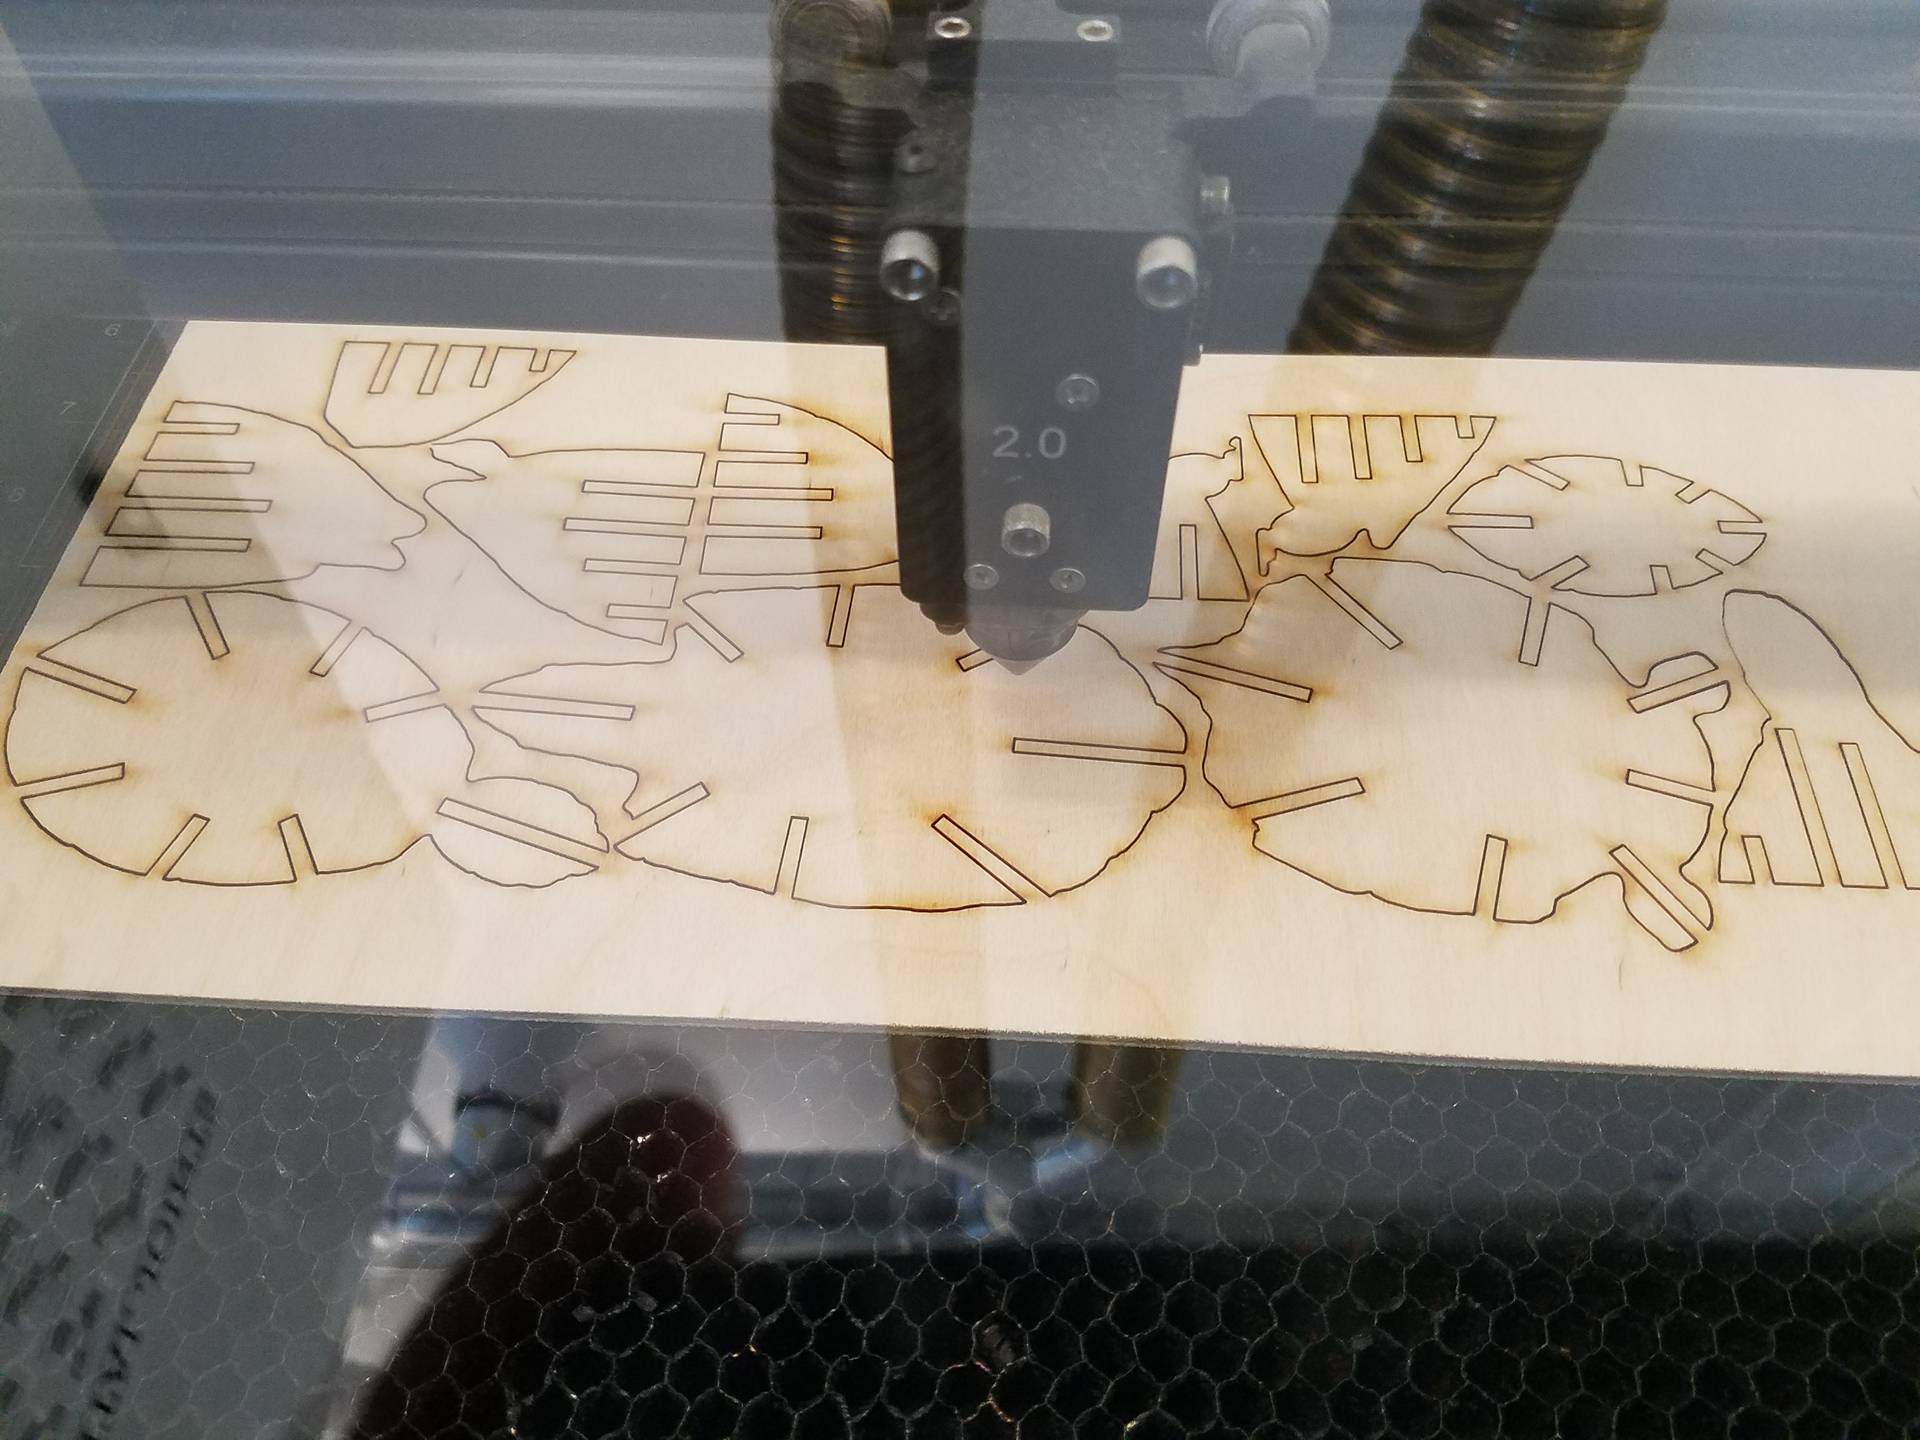
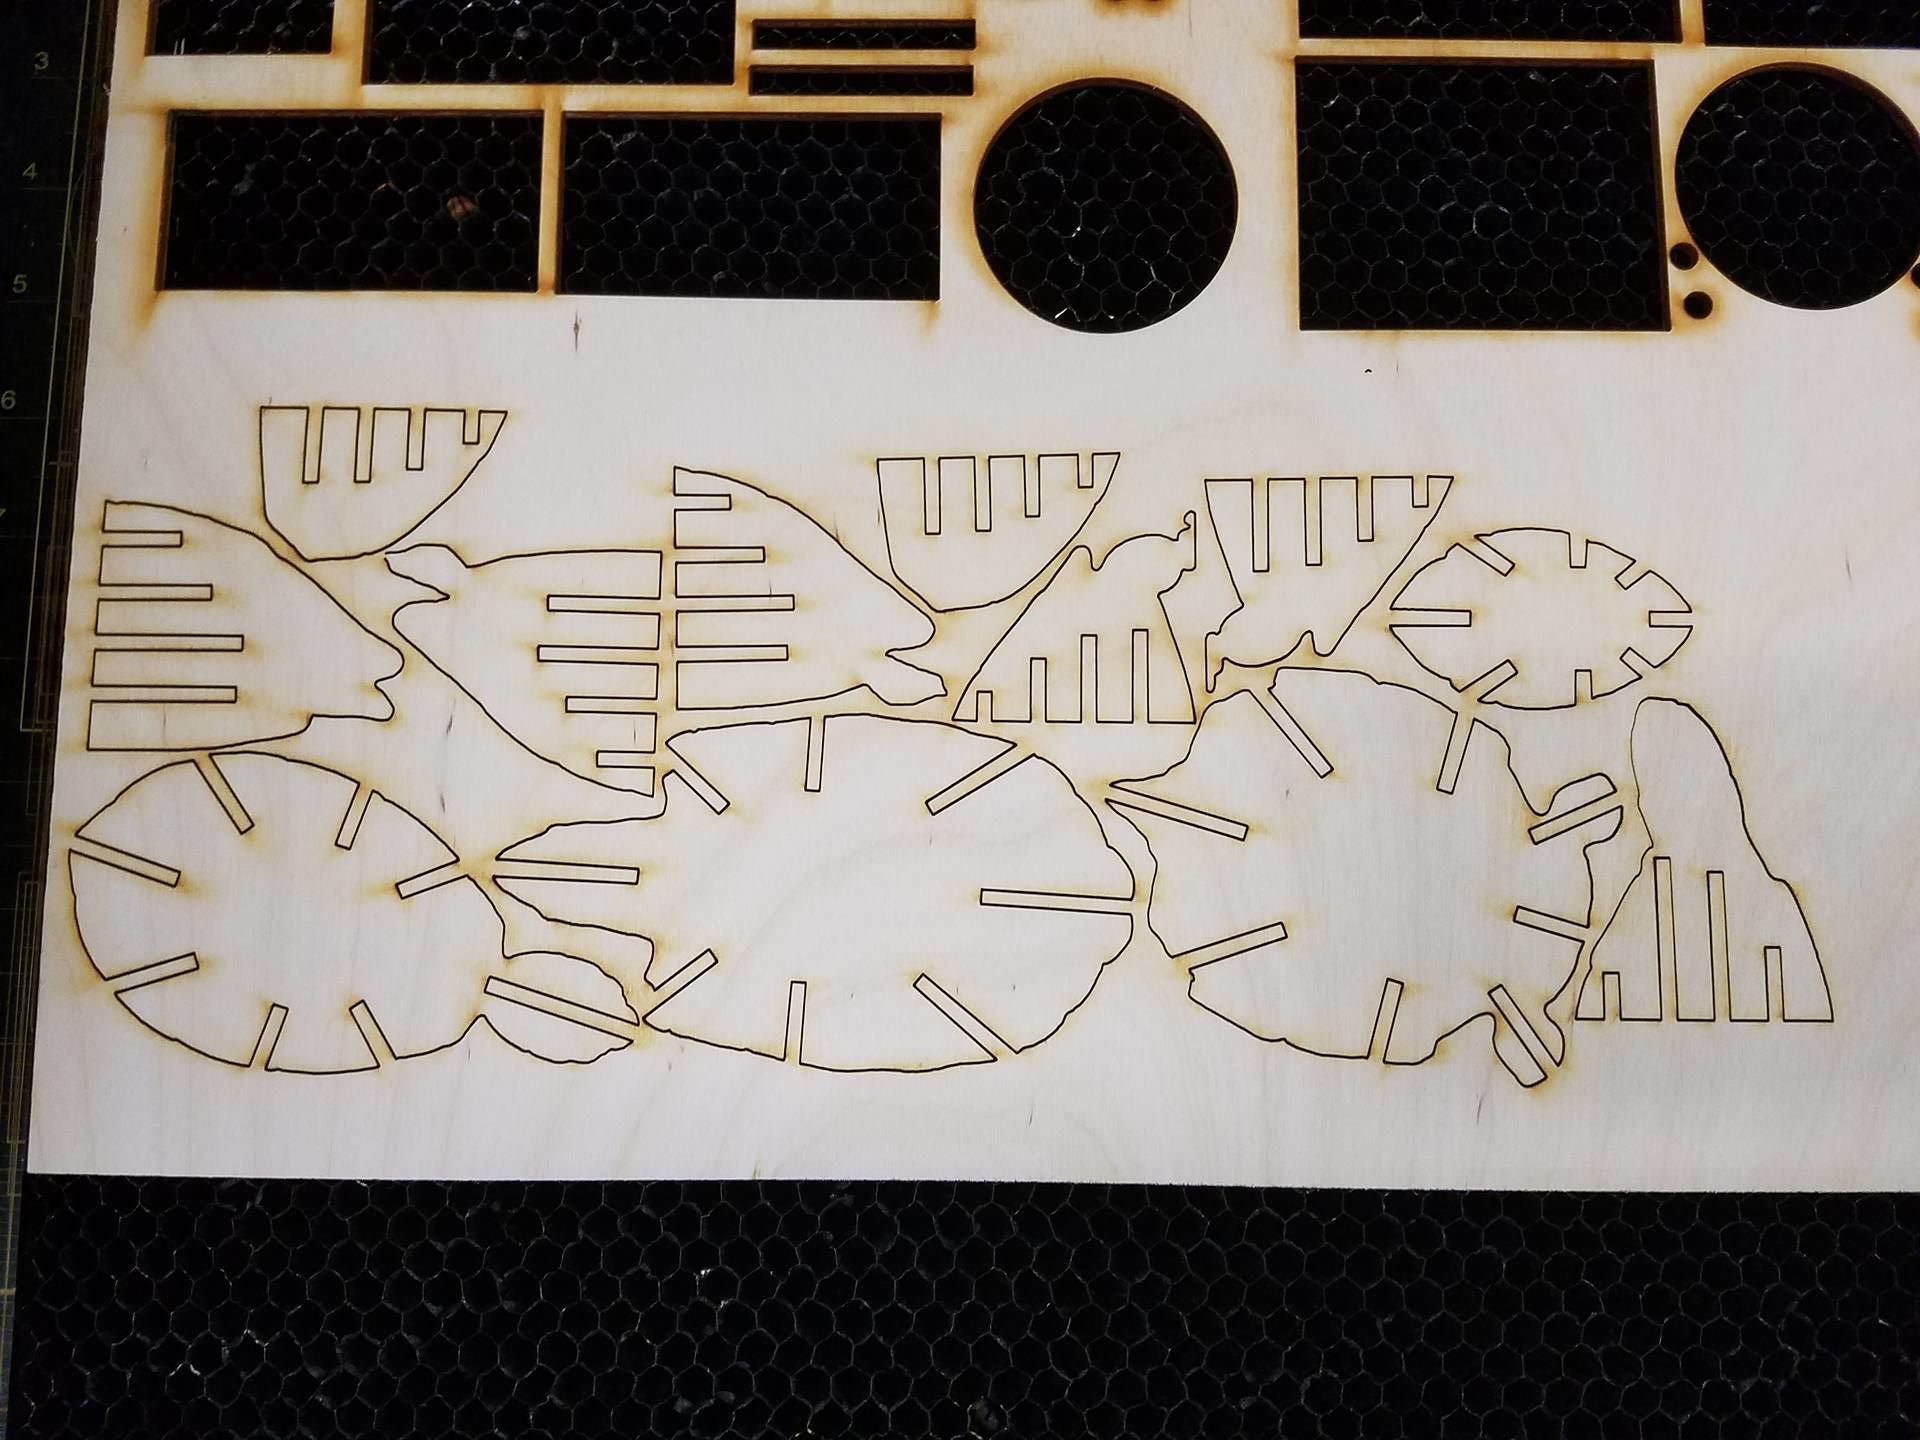
Use the calipers to measure the thickness of your plywood.
I chose to use a piece of scrap plywood that measured ~.135" thick. It's important to note that the thickness of your plywood will dictate the size of the turtle. If the thickness doesn't match up with the size, the slots will either be too small or too big for the pieces to fit together. The file I provided is meant for plywood that is .120" thick. I chose plywood that is .135" thick to demonstrate how to accomodate other sized wood. The entire design file will need to be scaled by: (x/.120) * 100, where x is your material thickness.
Since I am using wood that is .135" thick, my scale factor will be .135/.120 * 100 = 112.5 %. This is a critical step, otherwise your pieces will not fit together. The method for scaling will vary based on the software you are using. In illustrator, select everything and go to object-->transform-->scale. If you are using a different software with a different laser, I will assume you know how to operate the software and scale the file.
If you are using wood that is .120" thick, or very close to it, you may not need to scale the file at all.
Note: Each type of laser is different, and yours may use slightly different settings than mine, resulting in a different kerf. This could make the pieces not fit together appropriately. If the pieces are too loose, consider scaling down the file by about 5% and trying again. Likewise, if the pieces are too tight and don't slide together, scale the file up by about 5% and cut the pieces again.
Assembly, Step 1
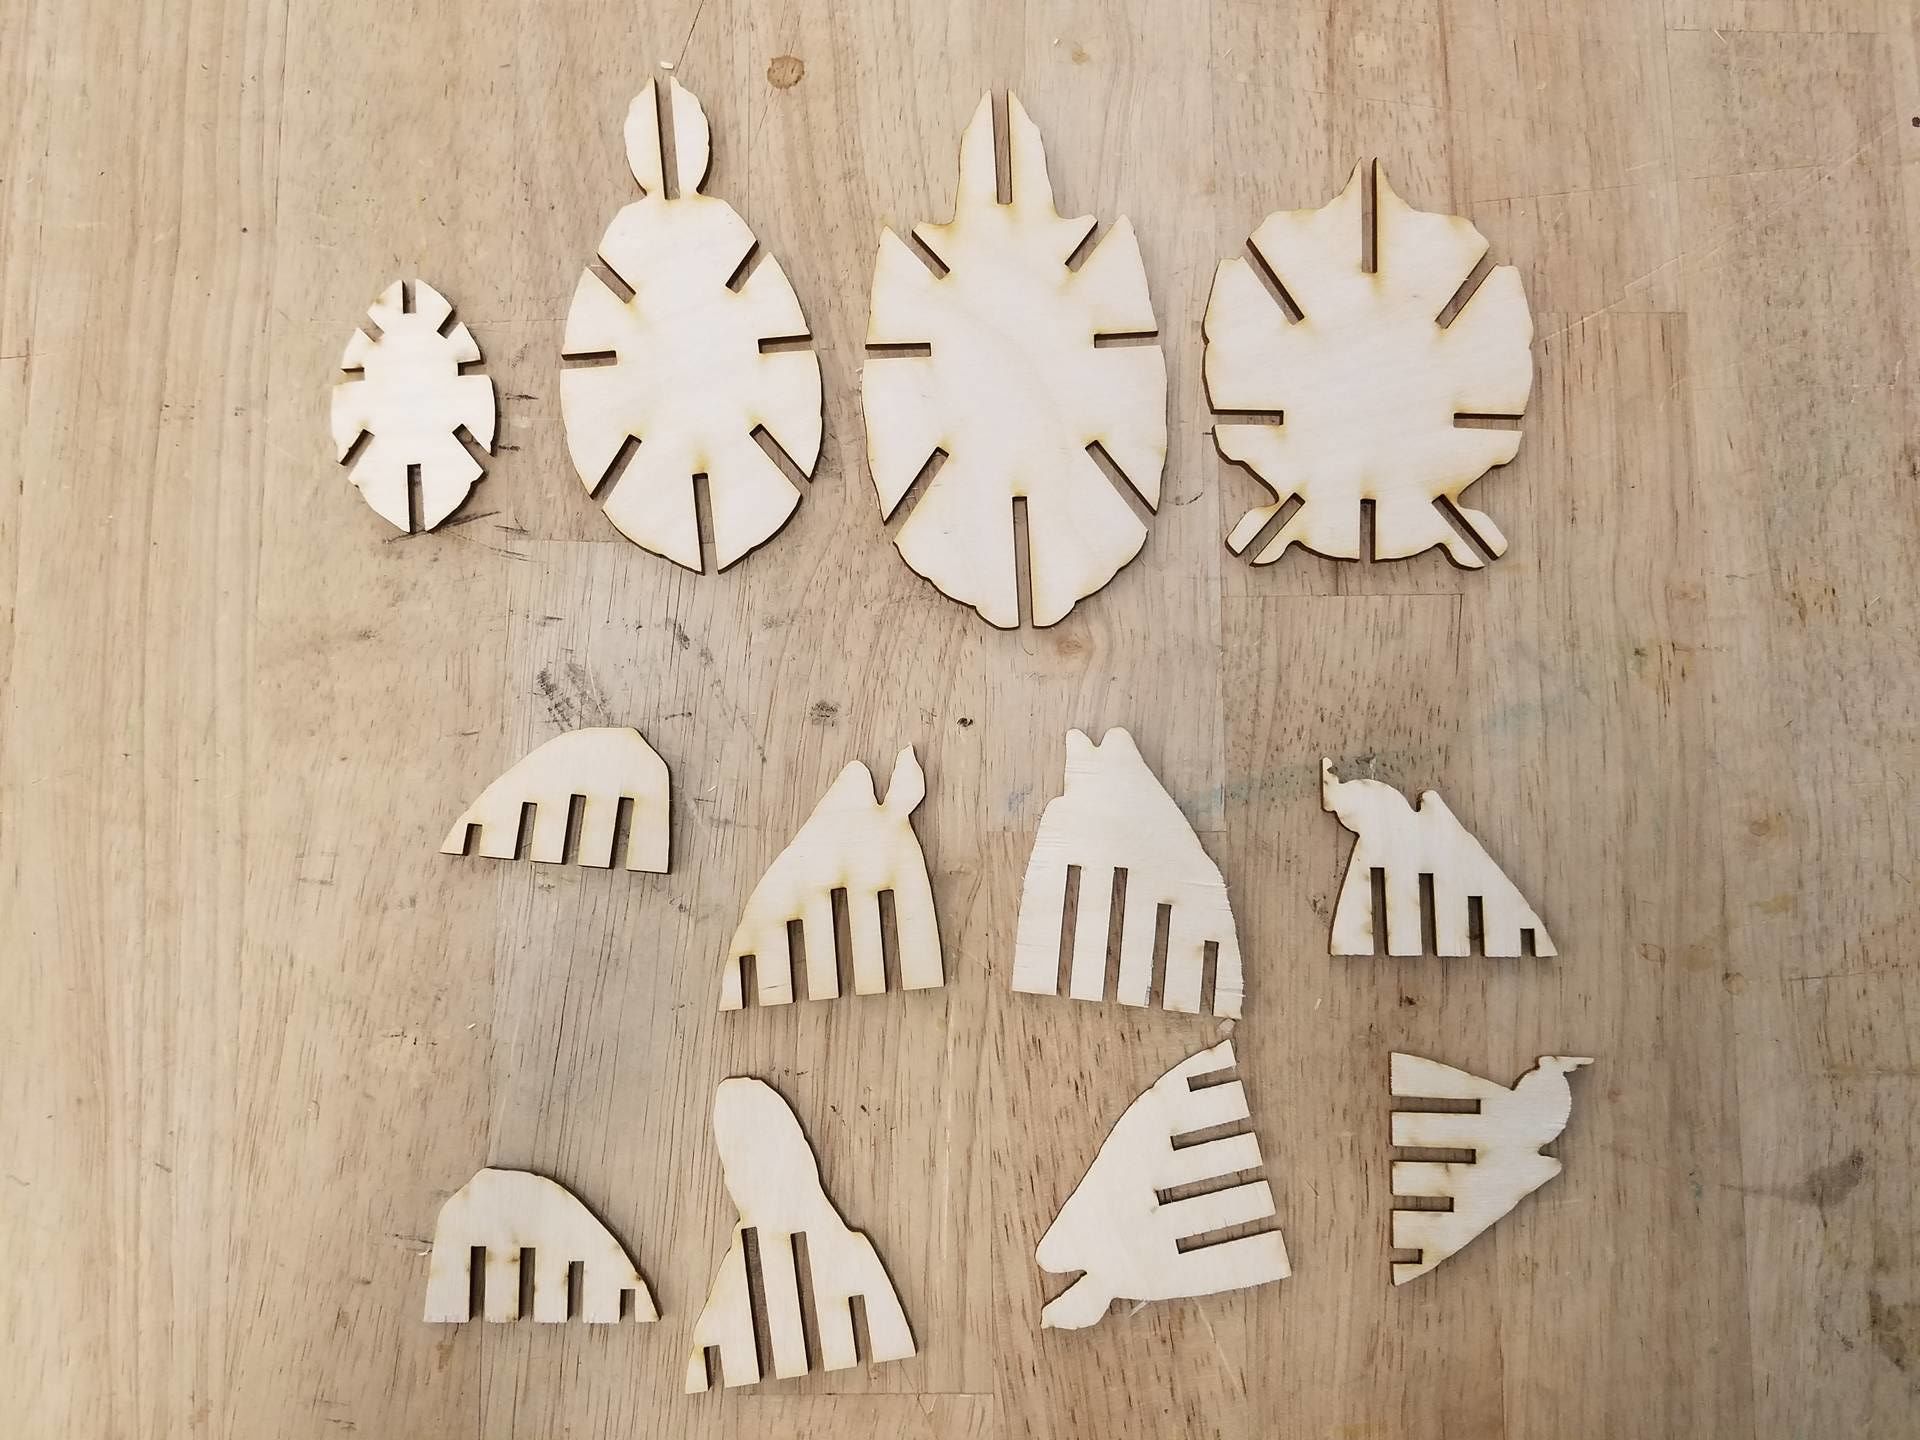
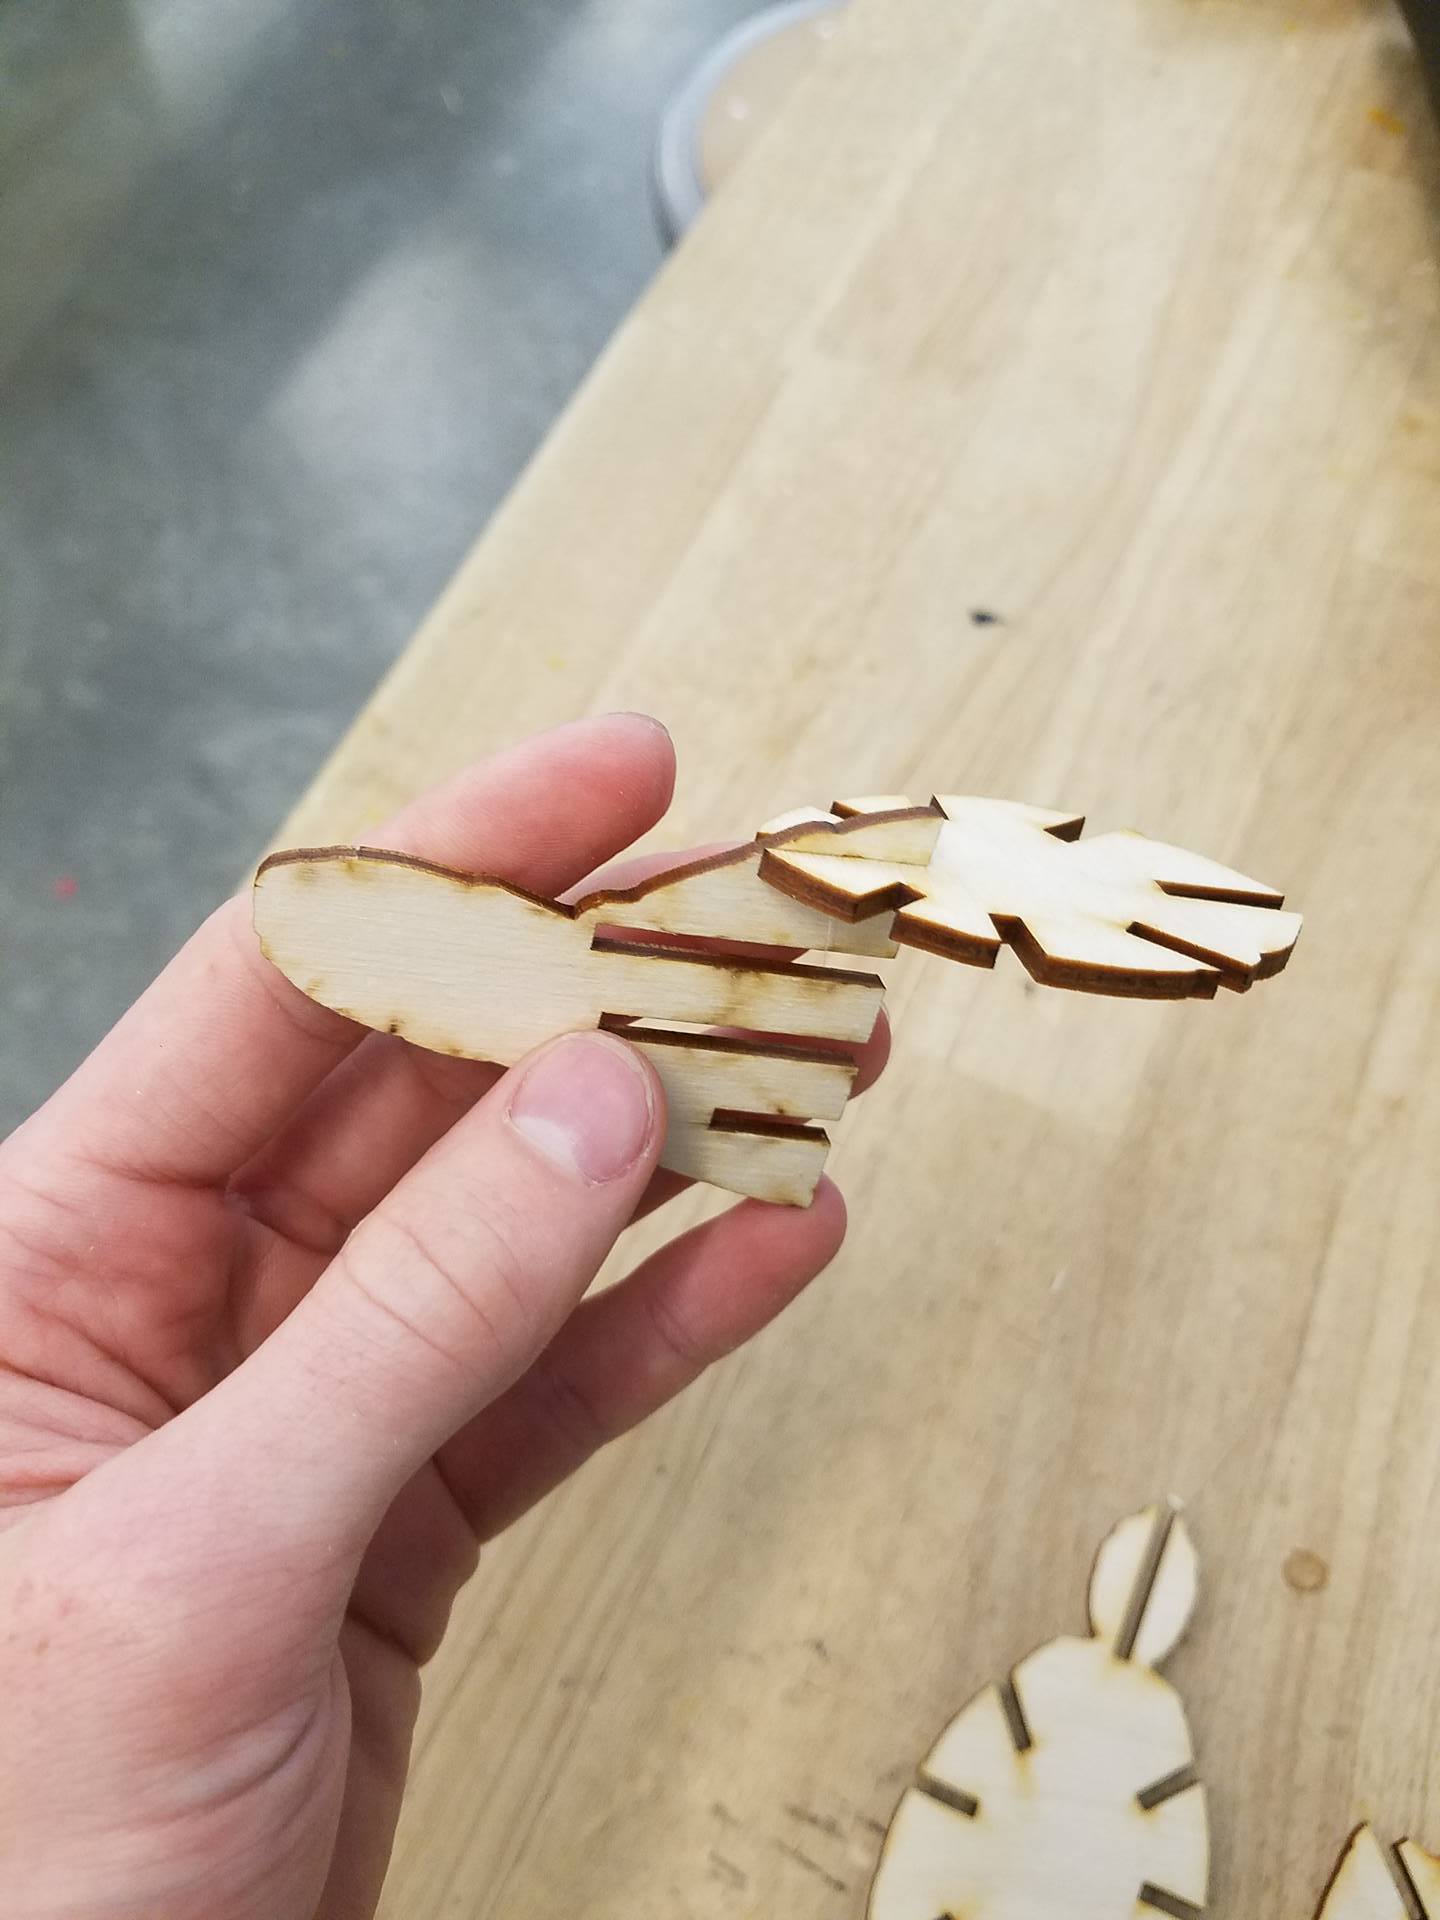
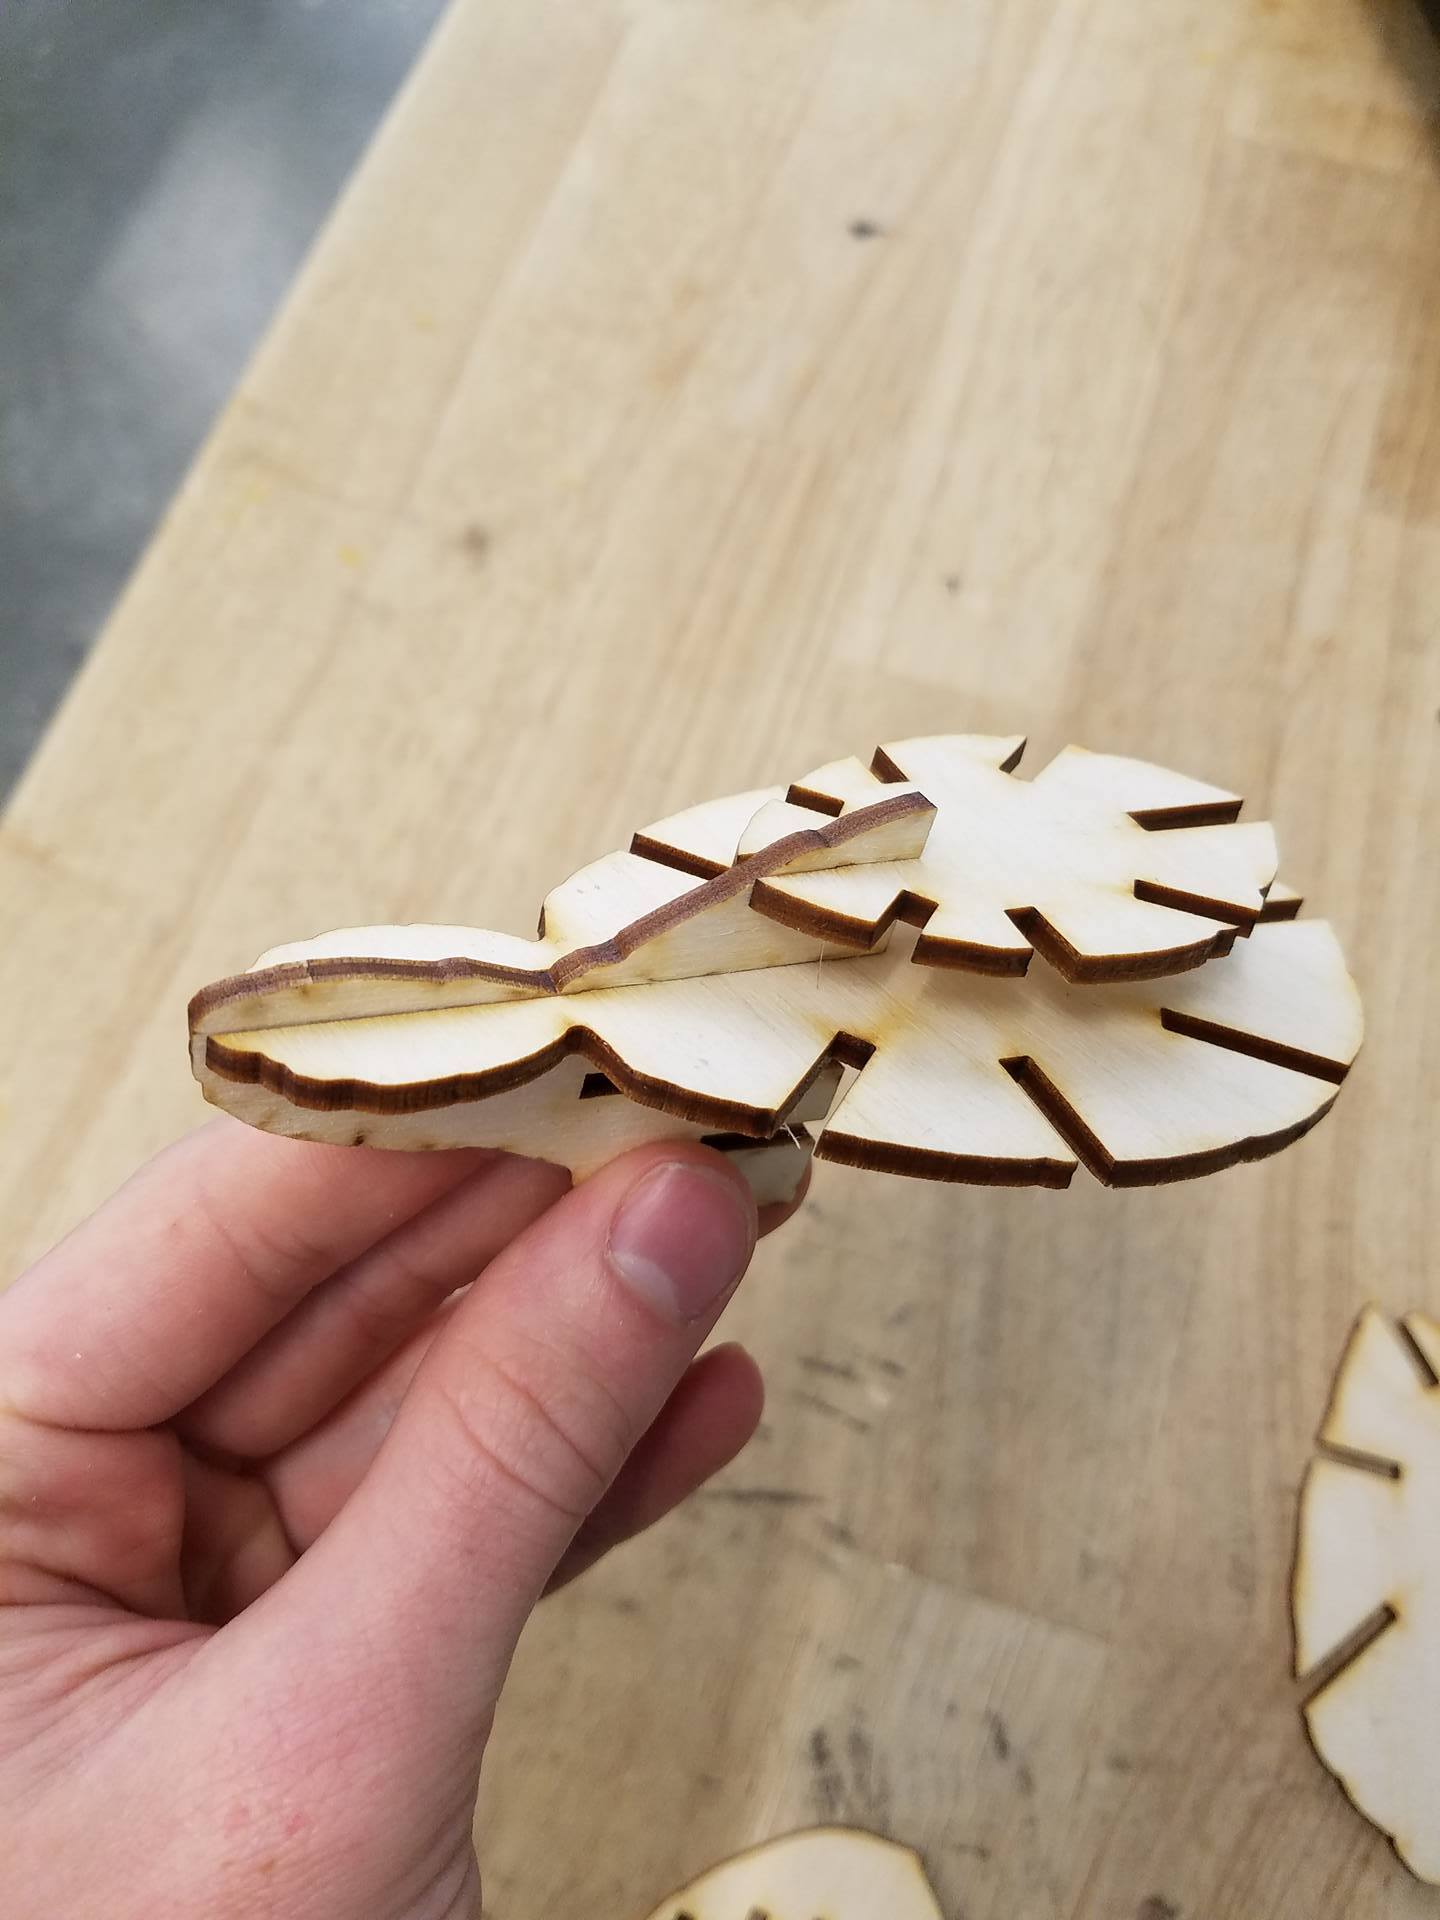
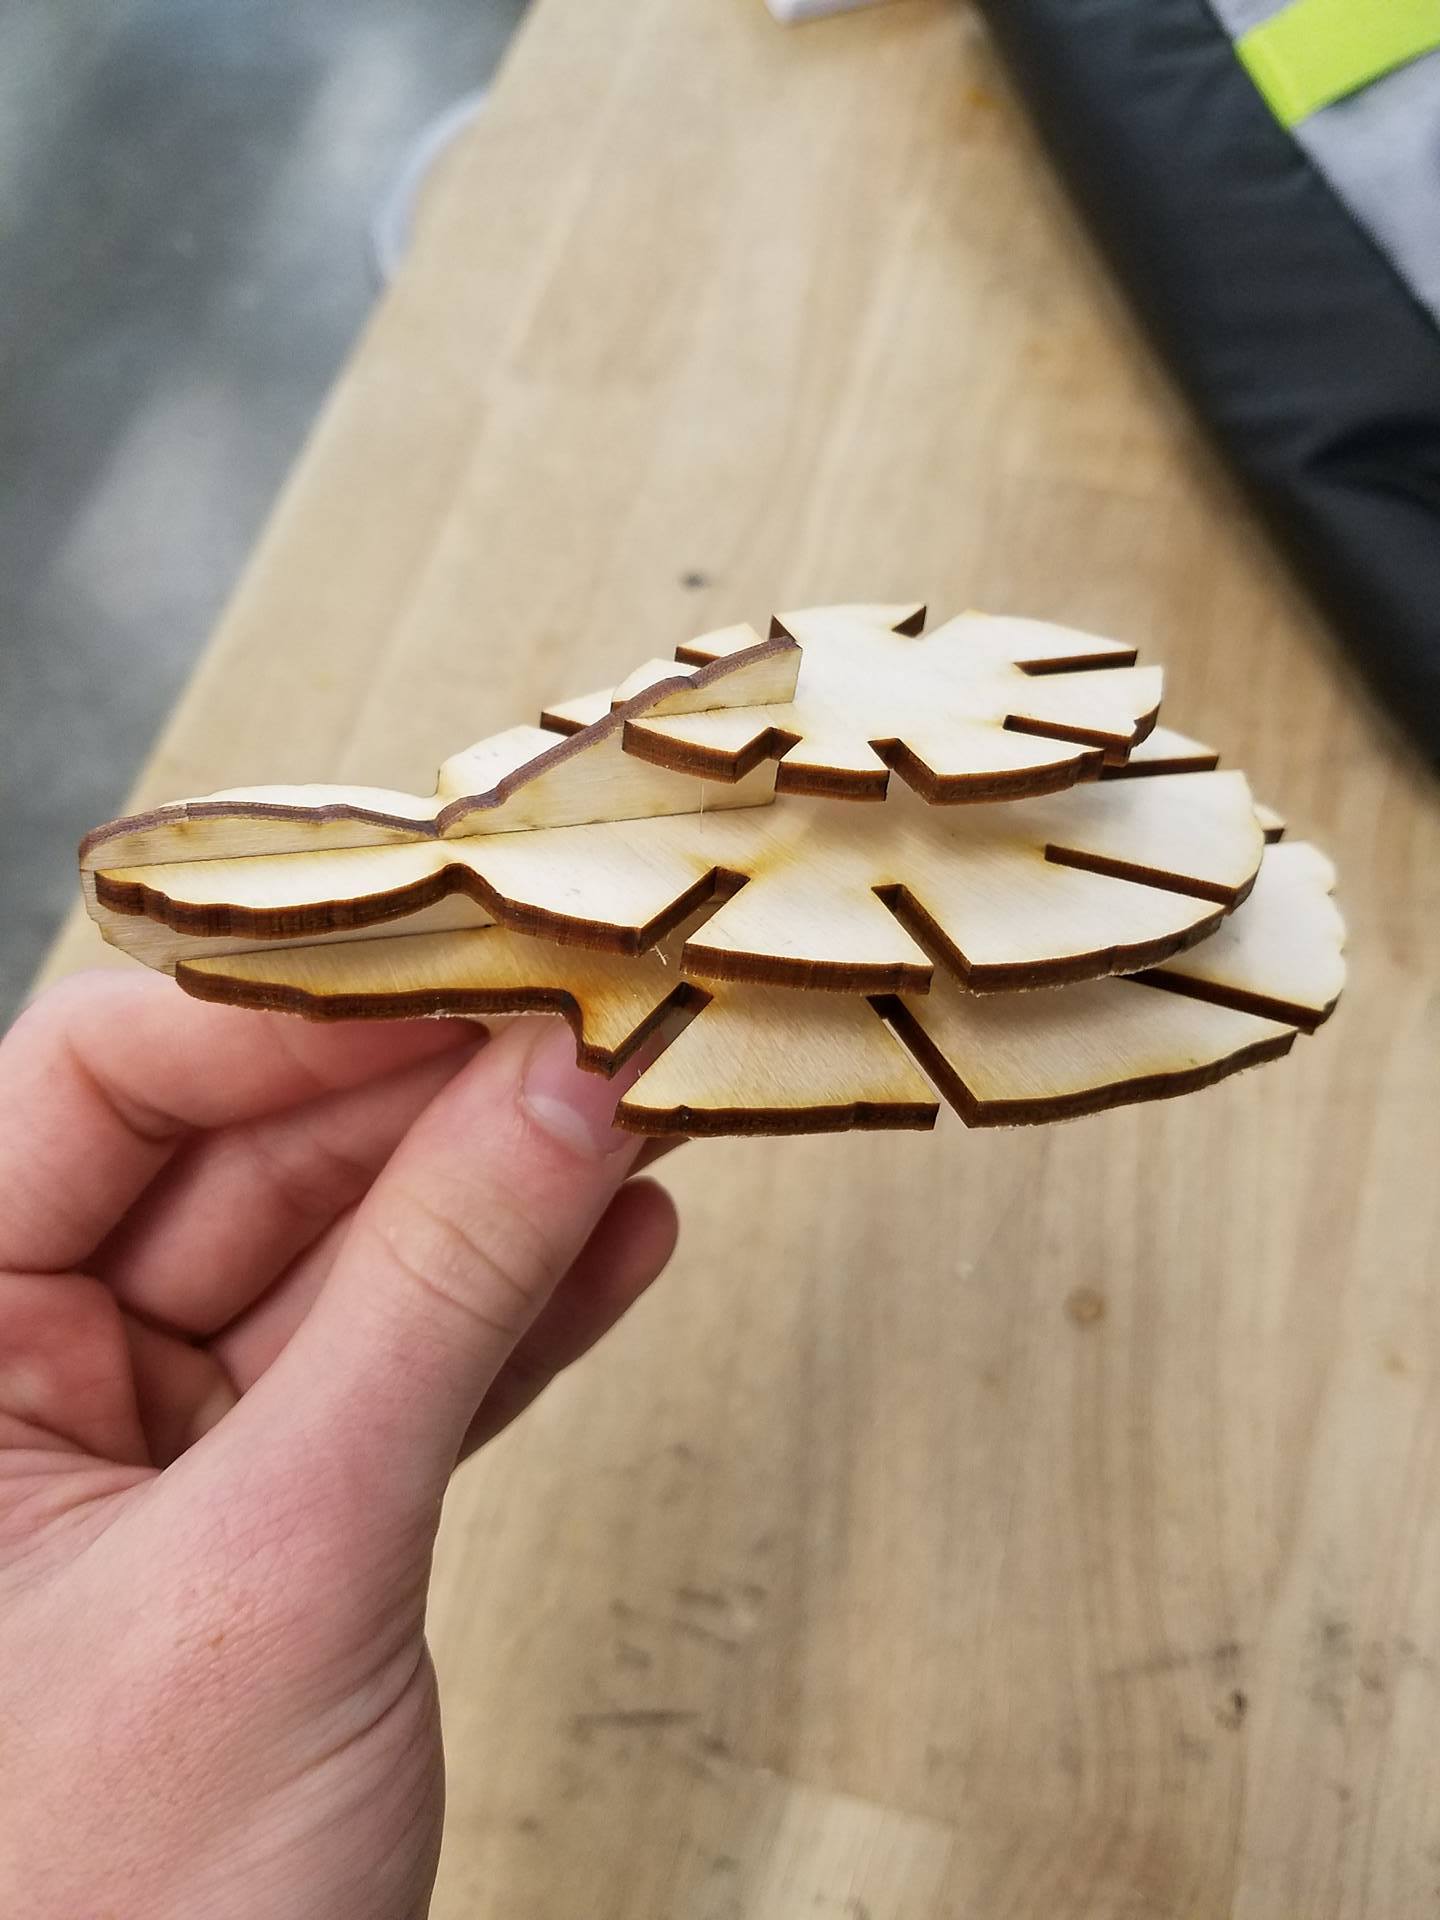
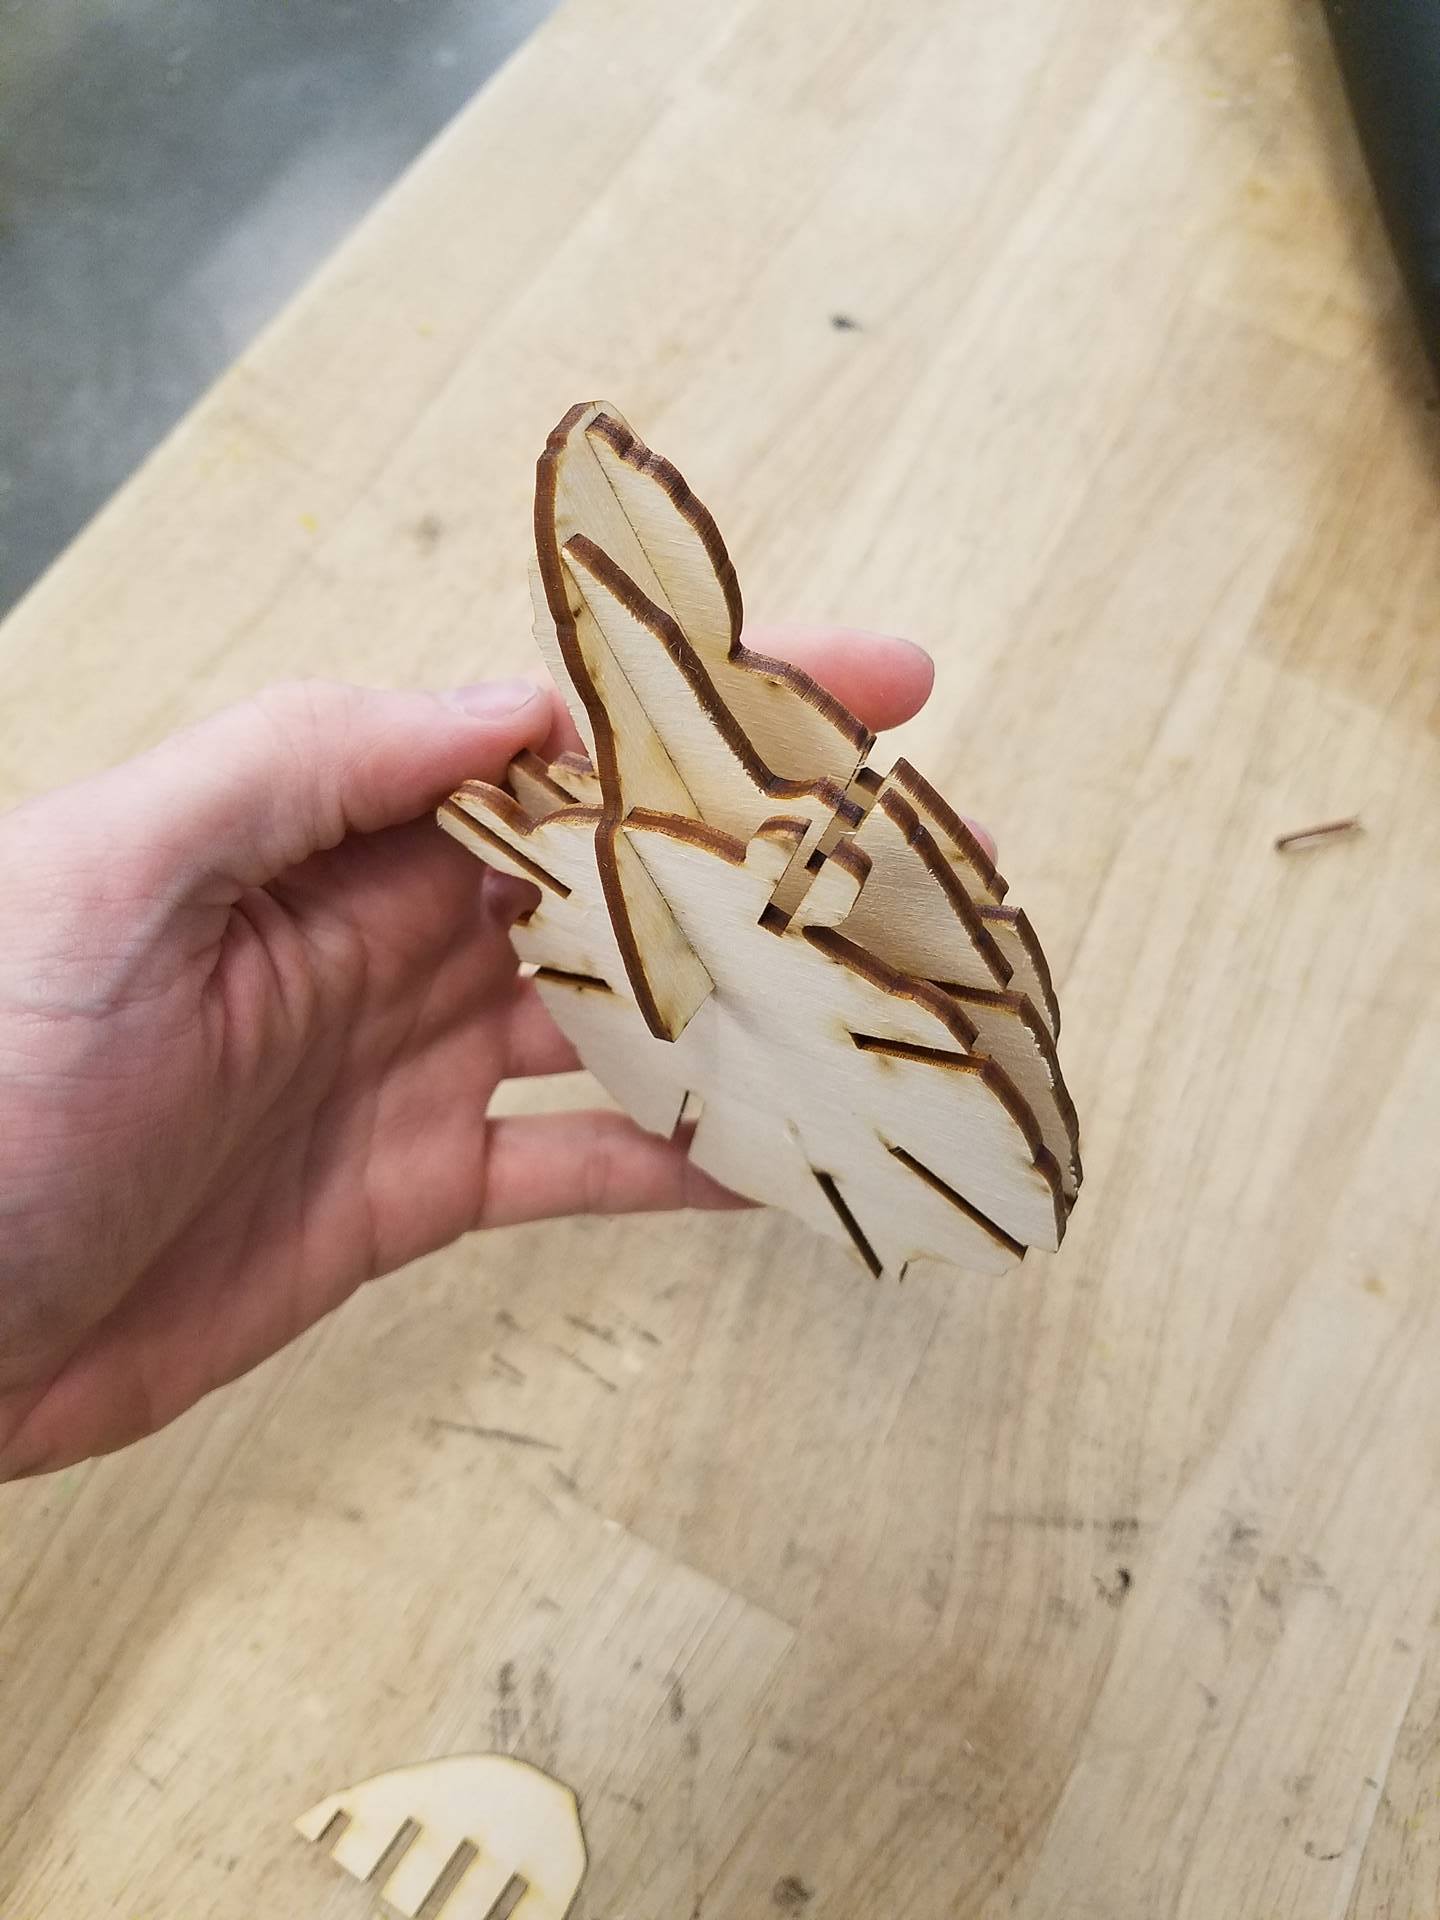
This is my first model done by using radial slices. Turns out it needs to be assembled in a particular way. You have to add all the horizontal slices first, and then add in all the radial slcies.
Start by laying out all your pieces. First, take the head piece, and insert the top horizontal piece. Continue down the slots in the back of the head piece, adding each horizontal piece as depicted in the photos. You should wind up with something like the last picture for this step.
Assembly, Step 2
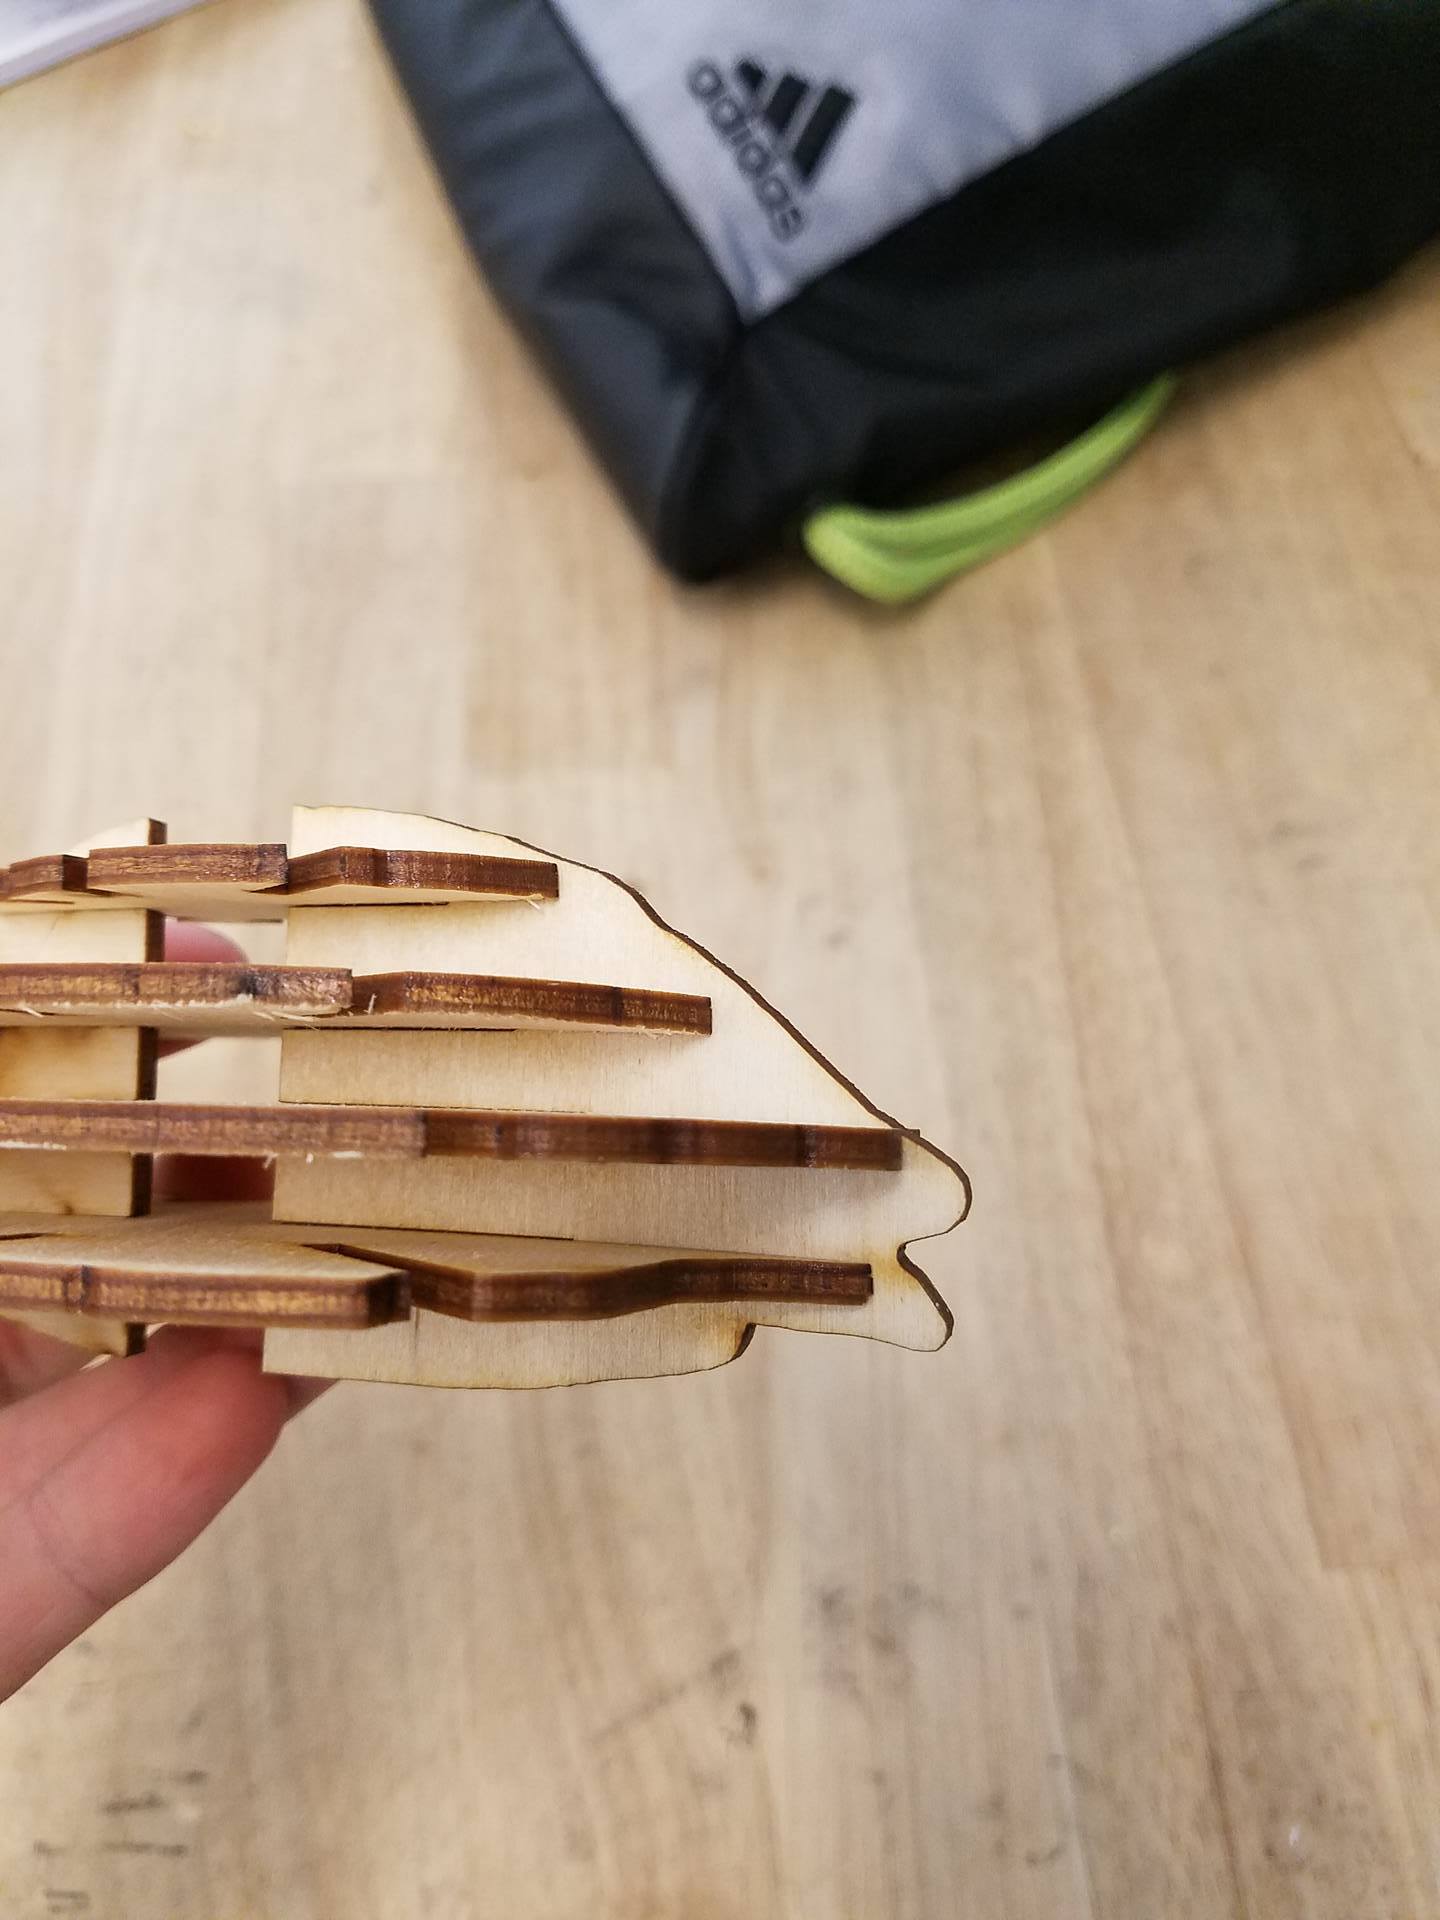
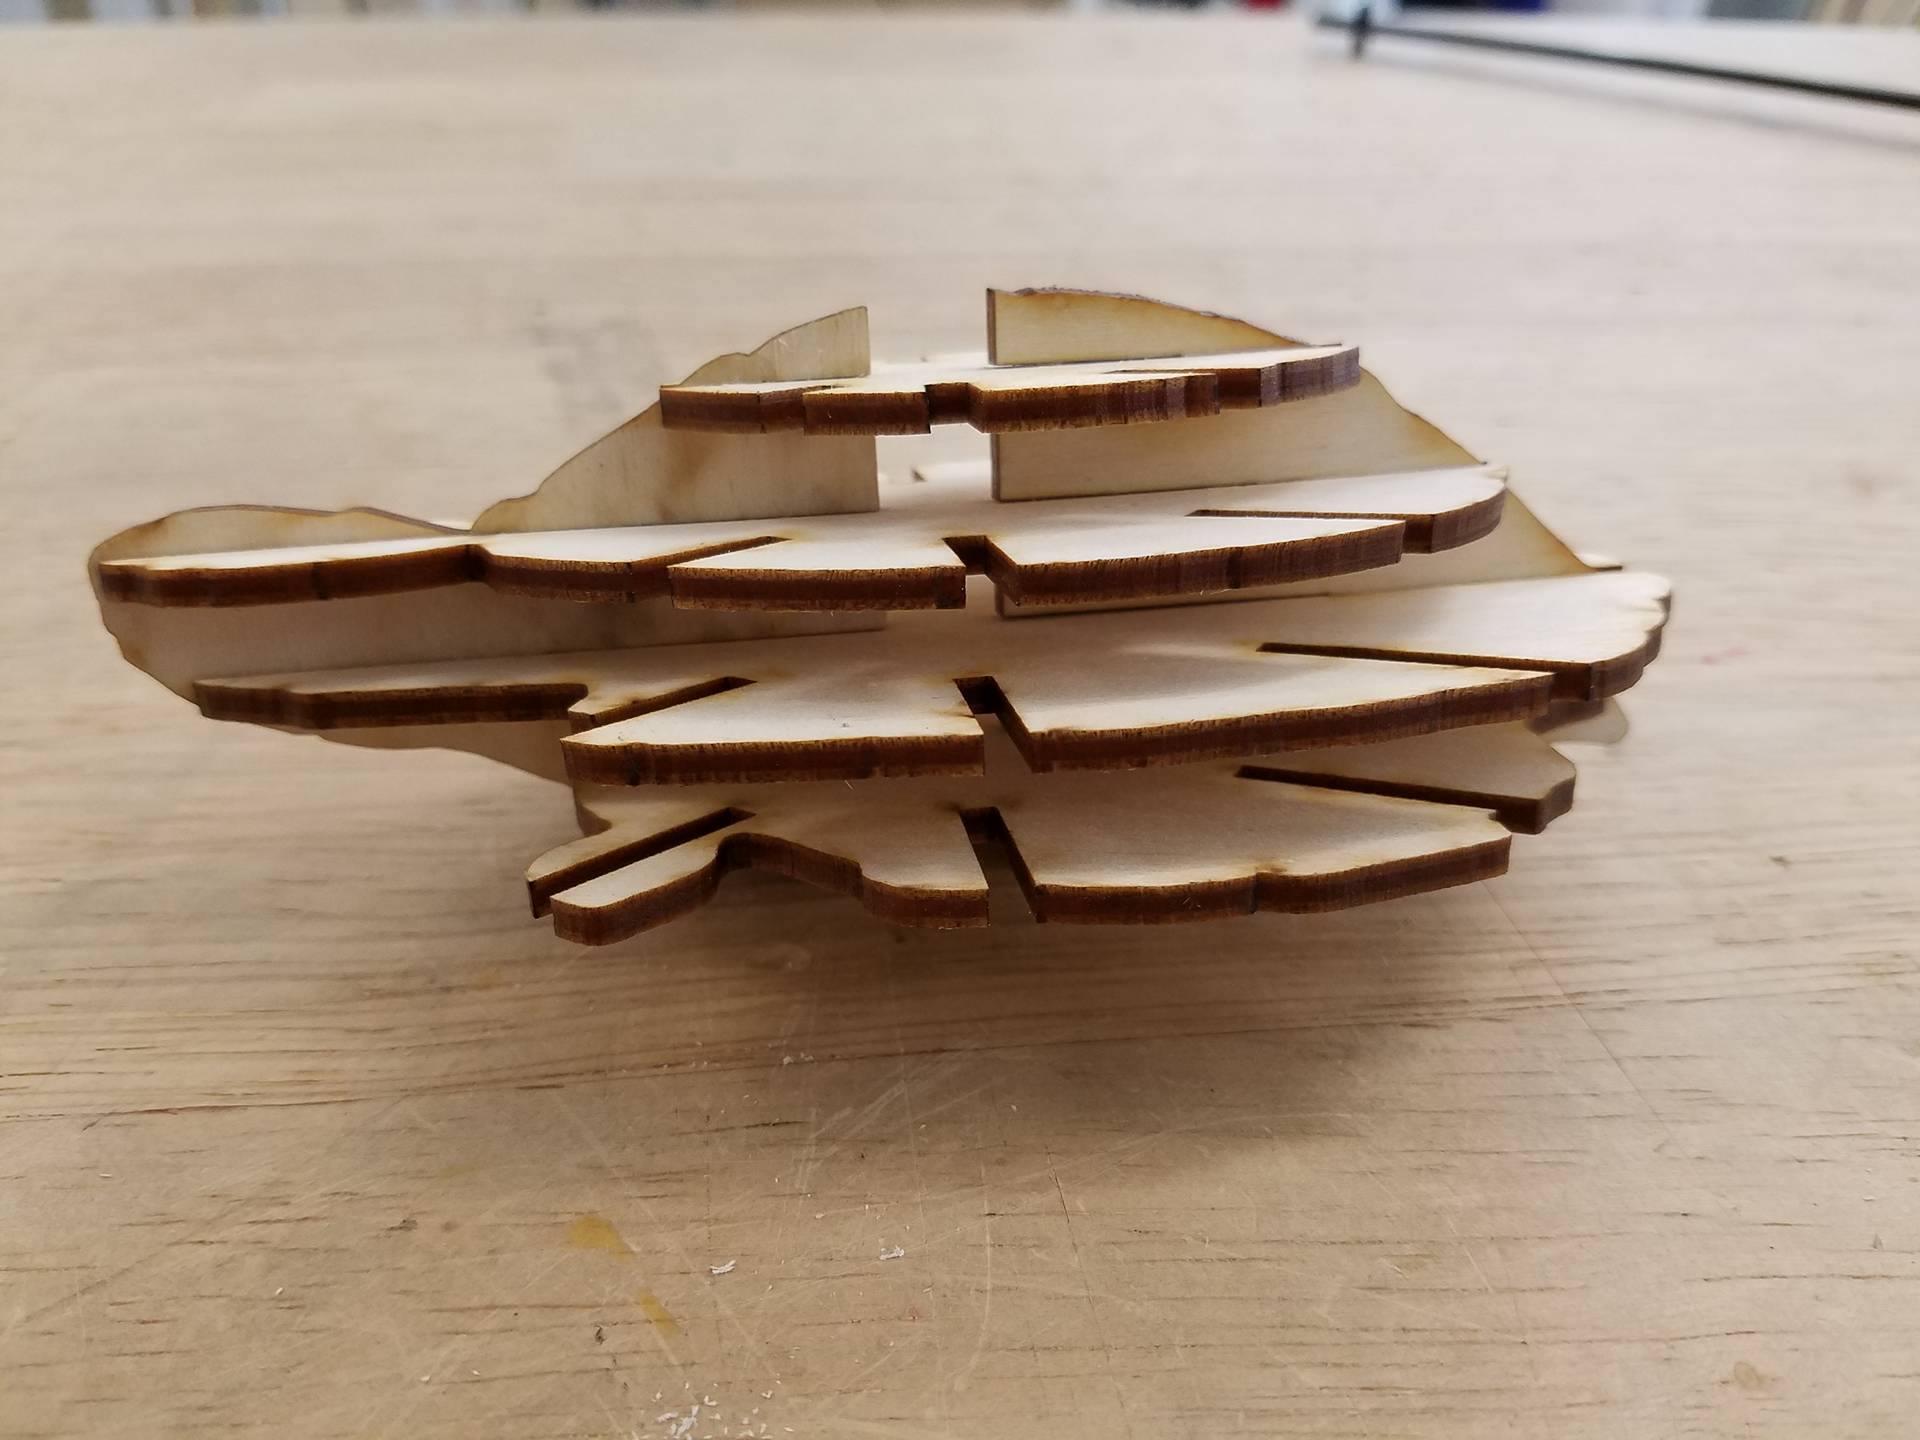
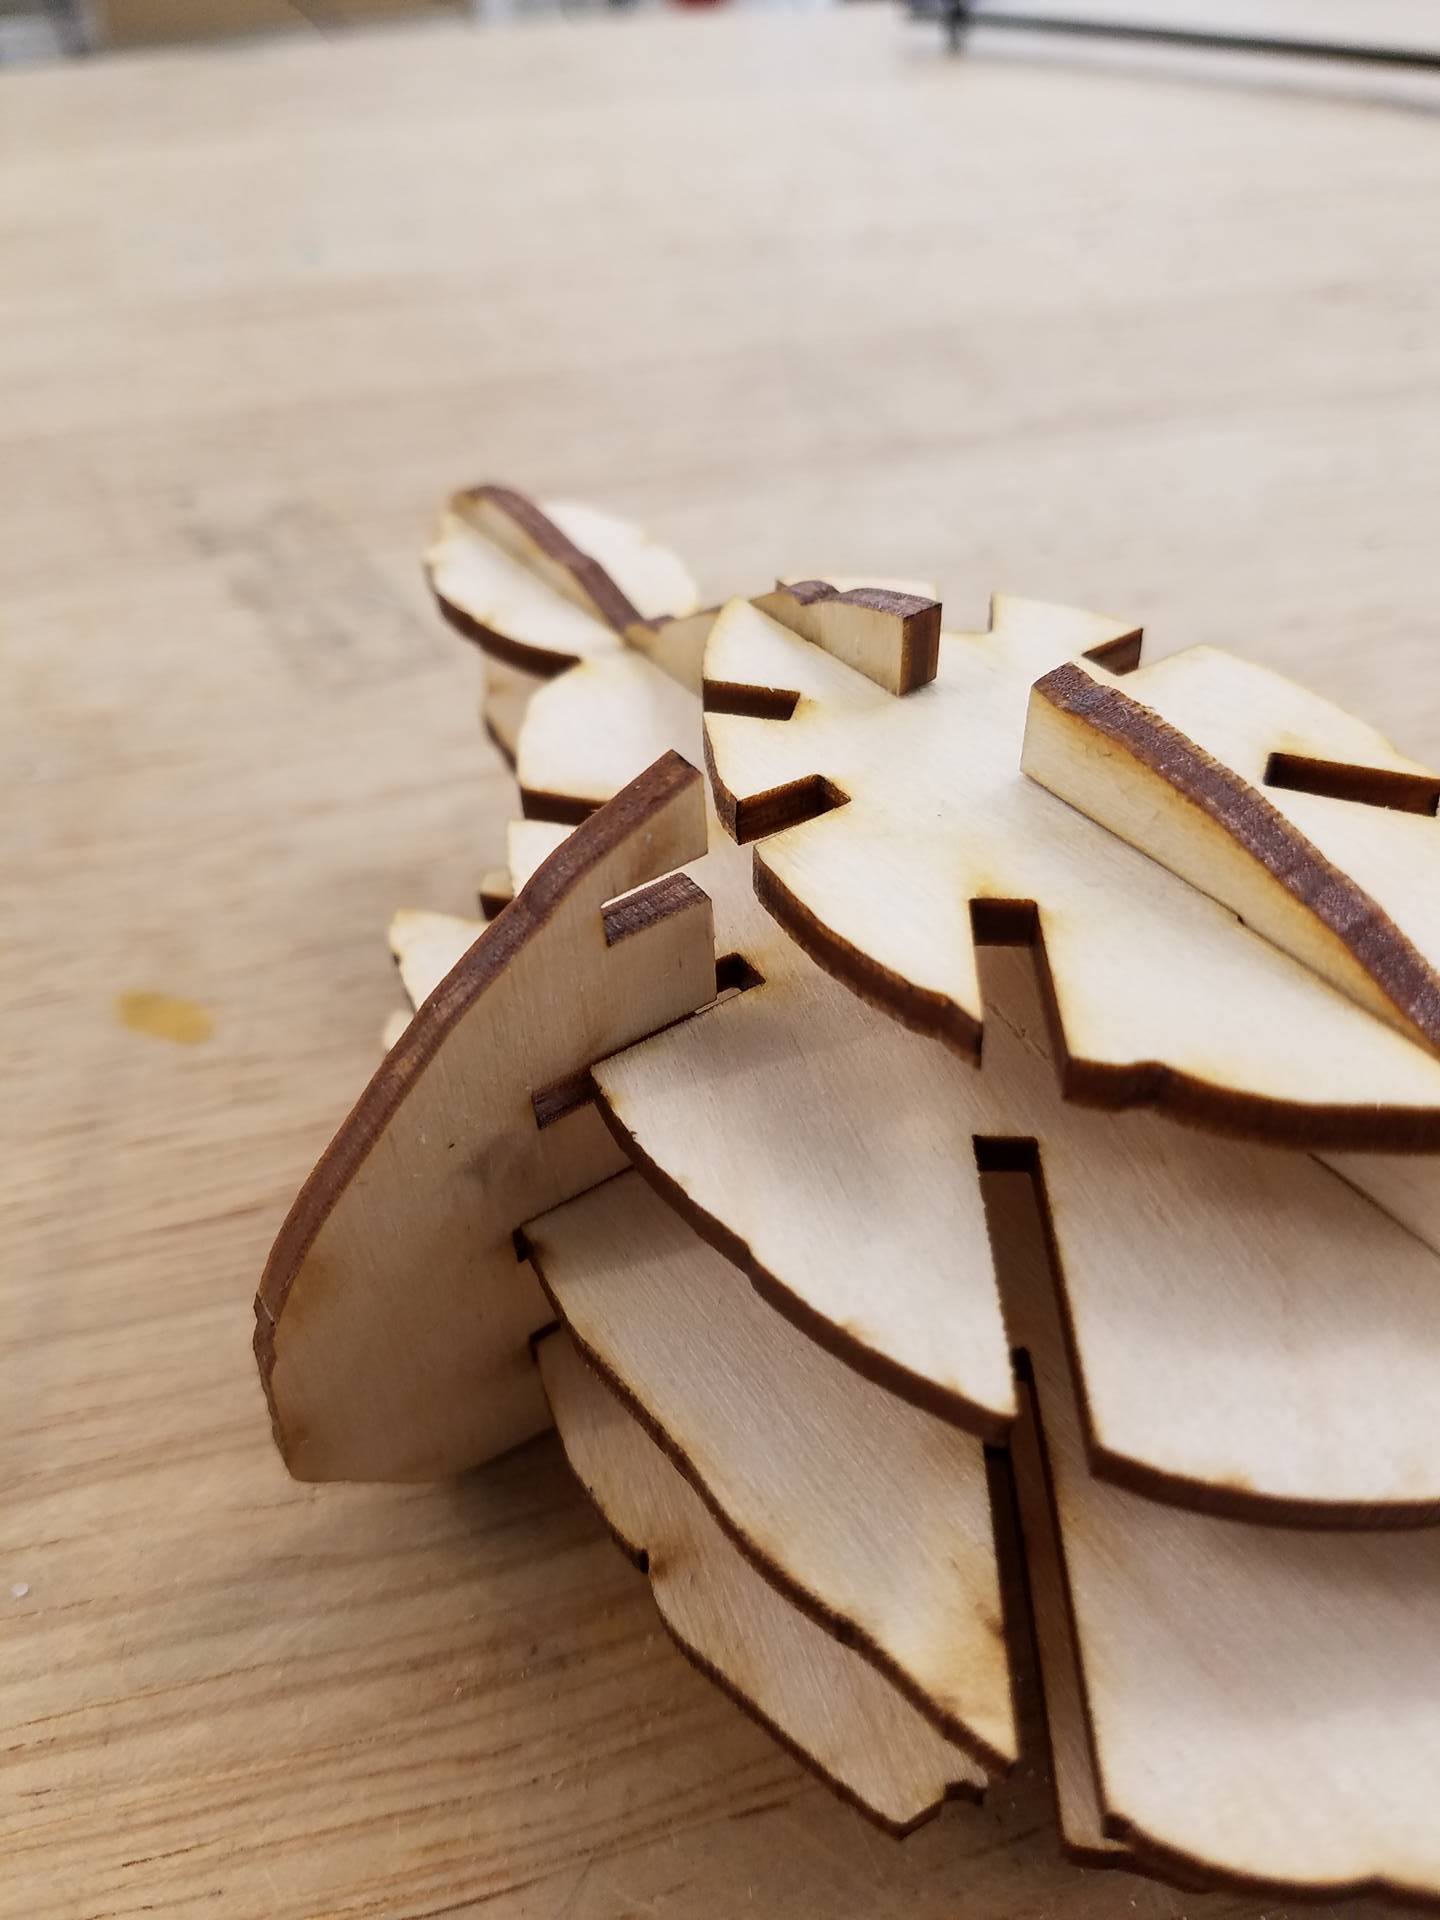
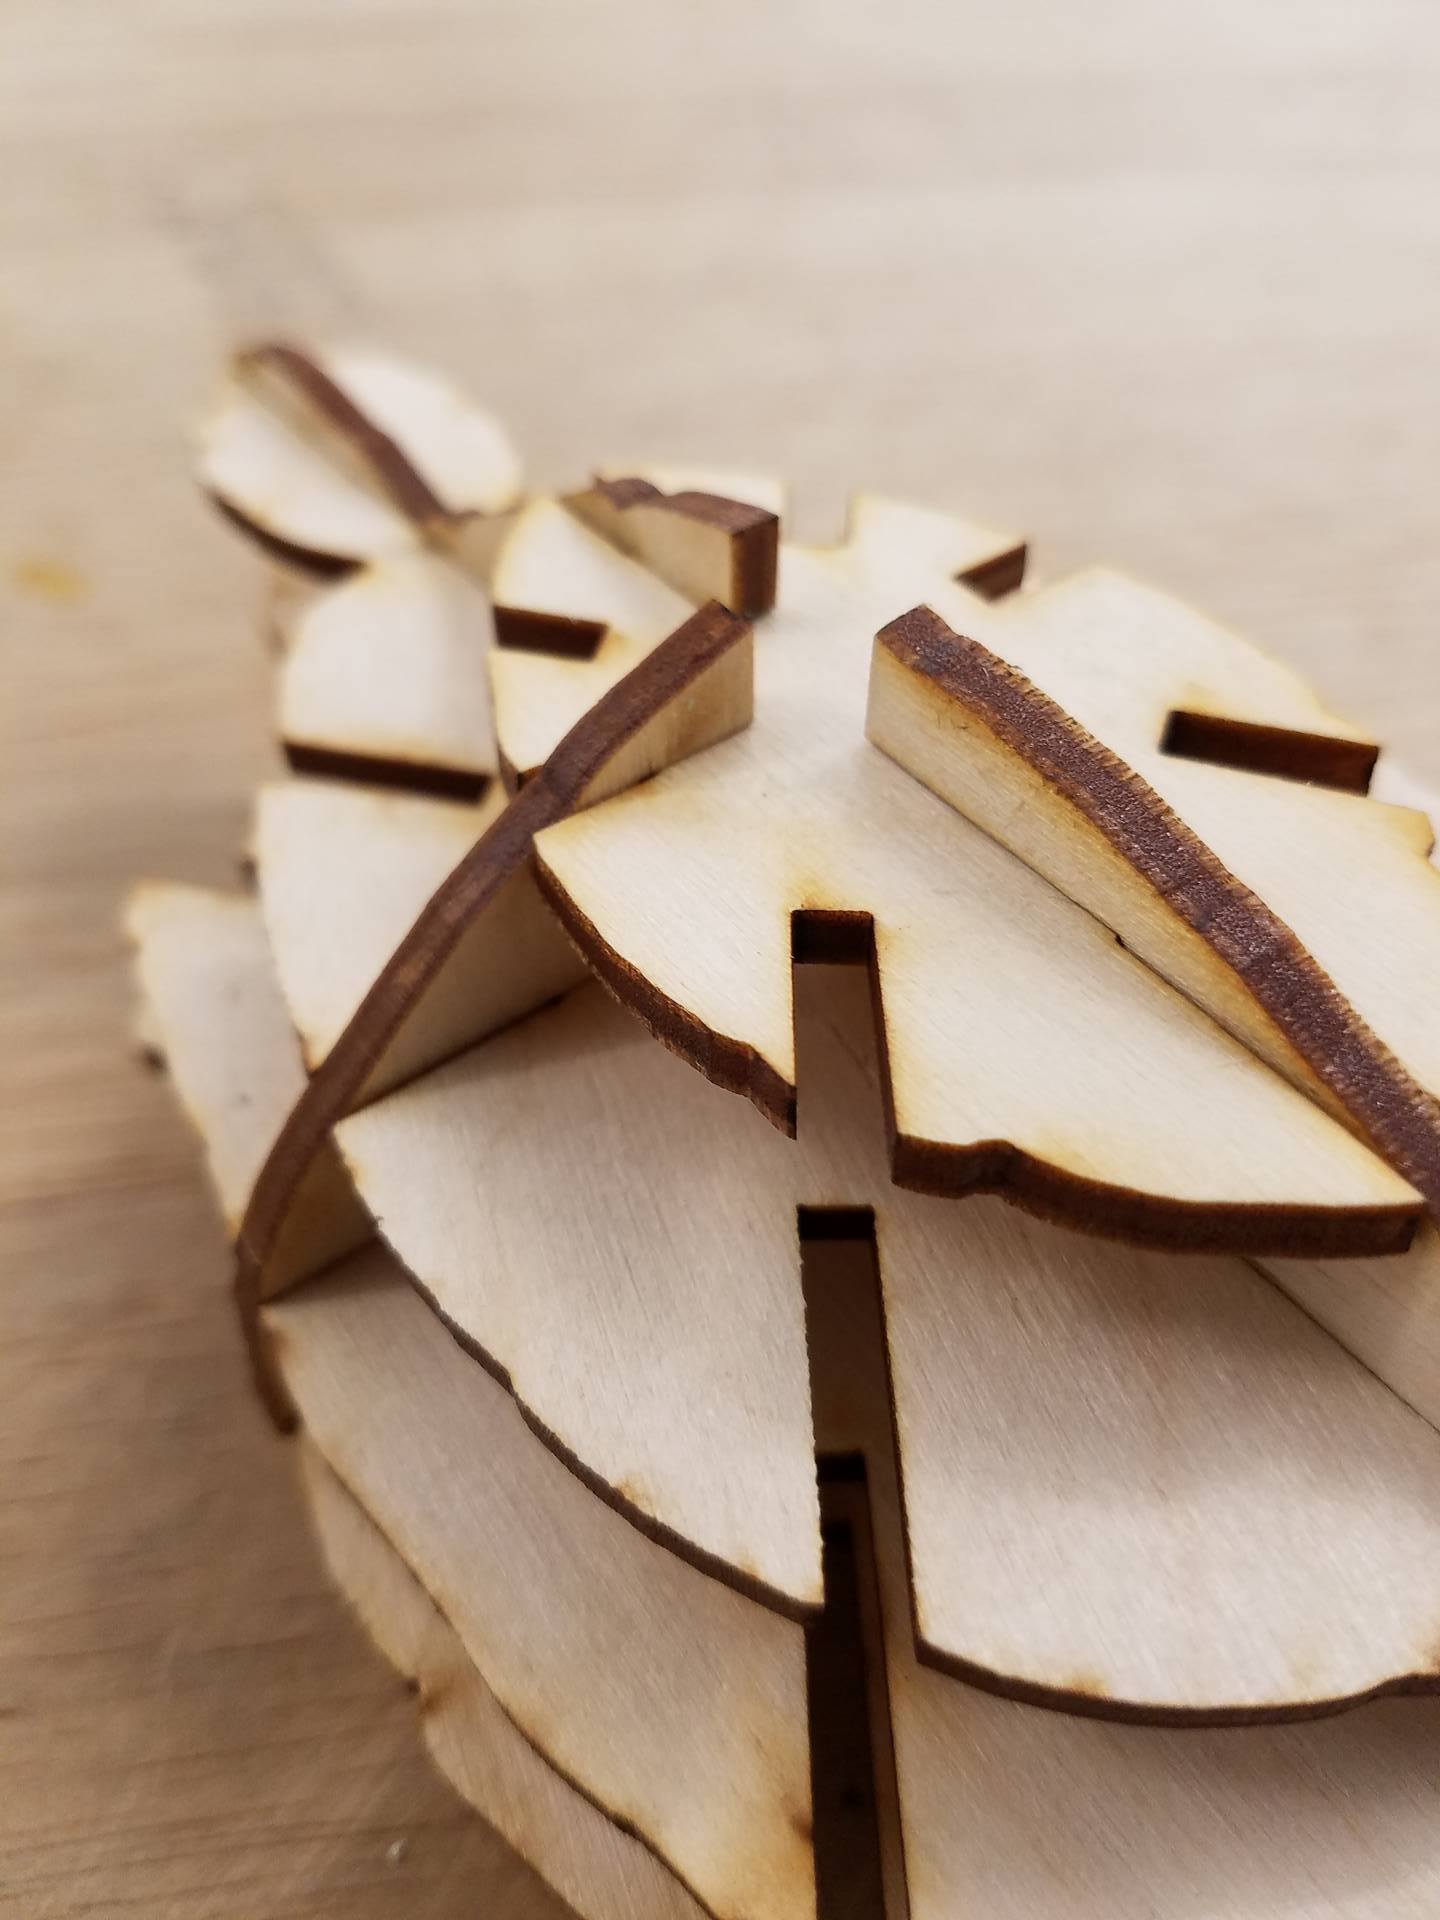
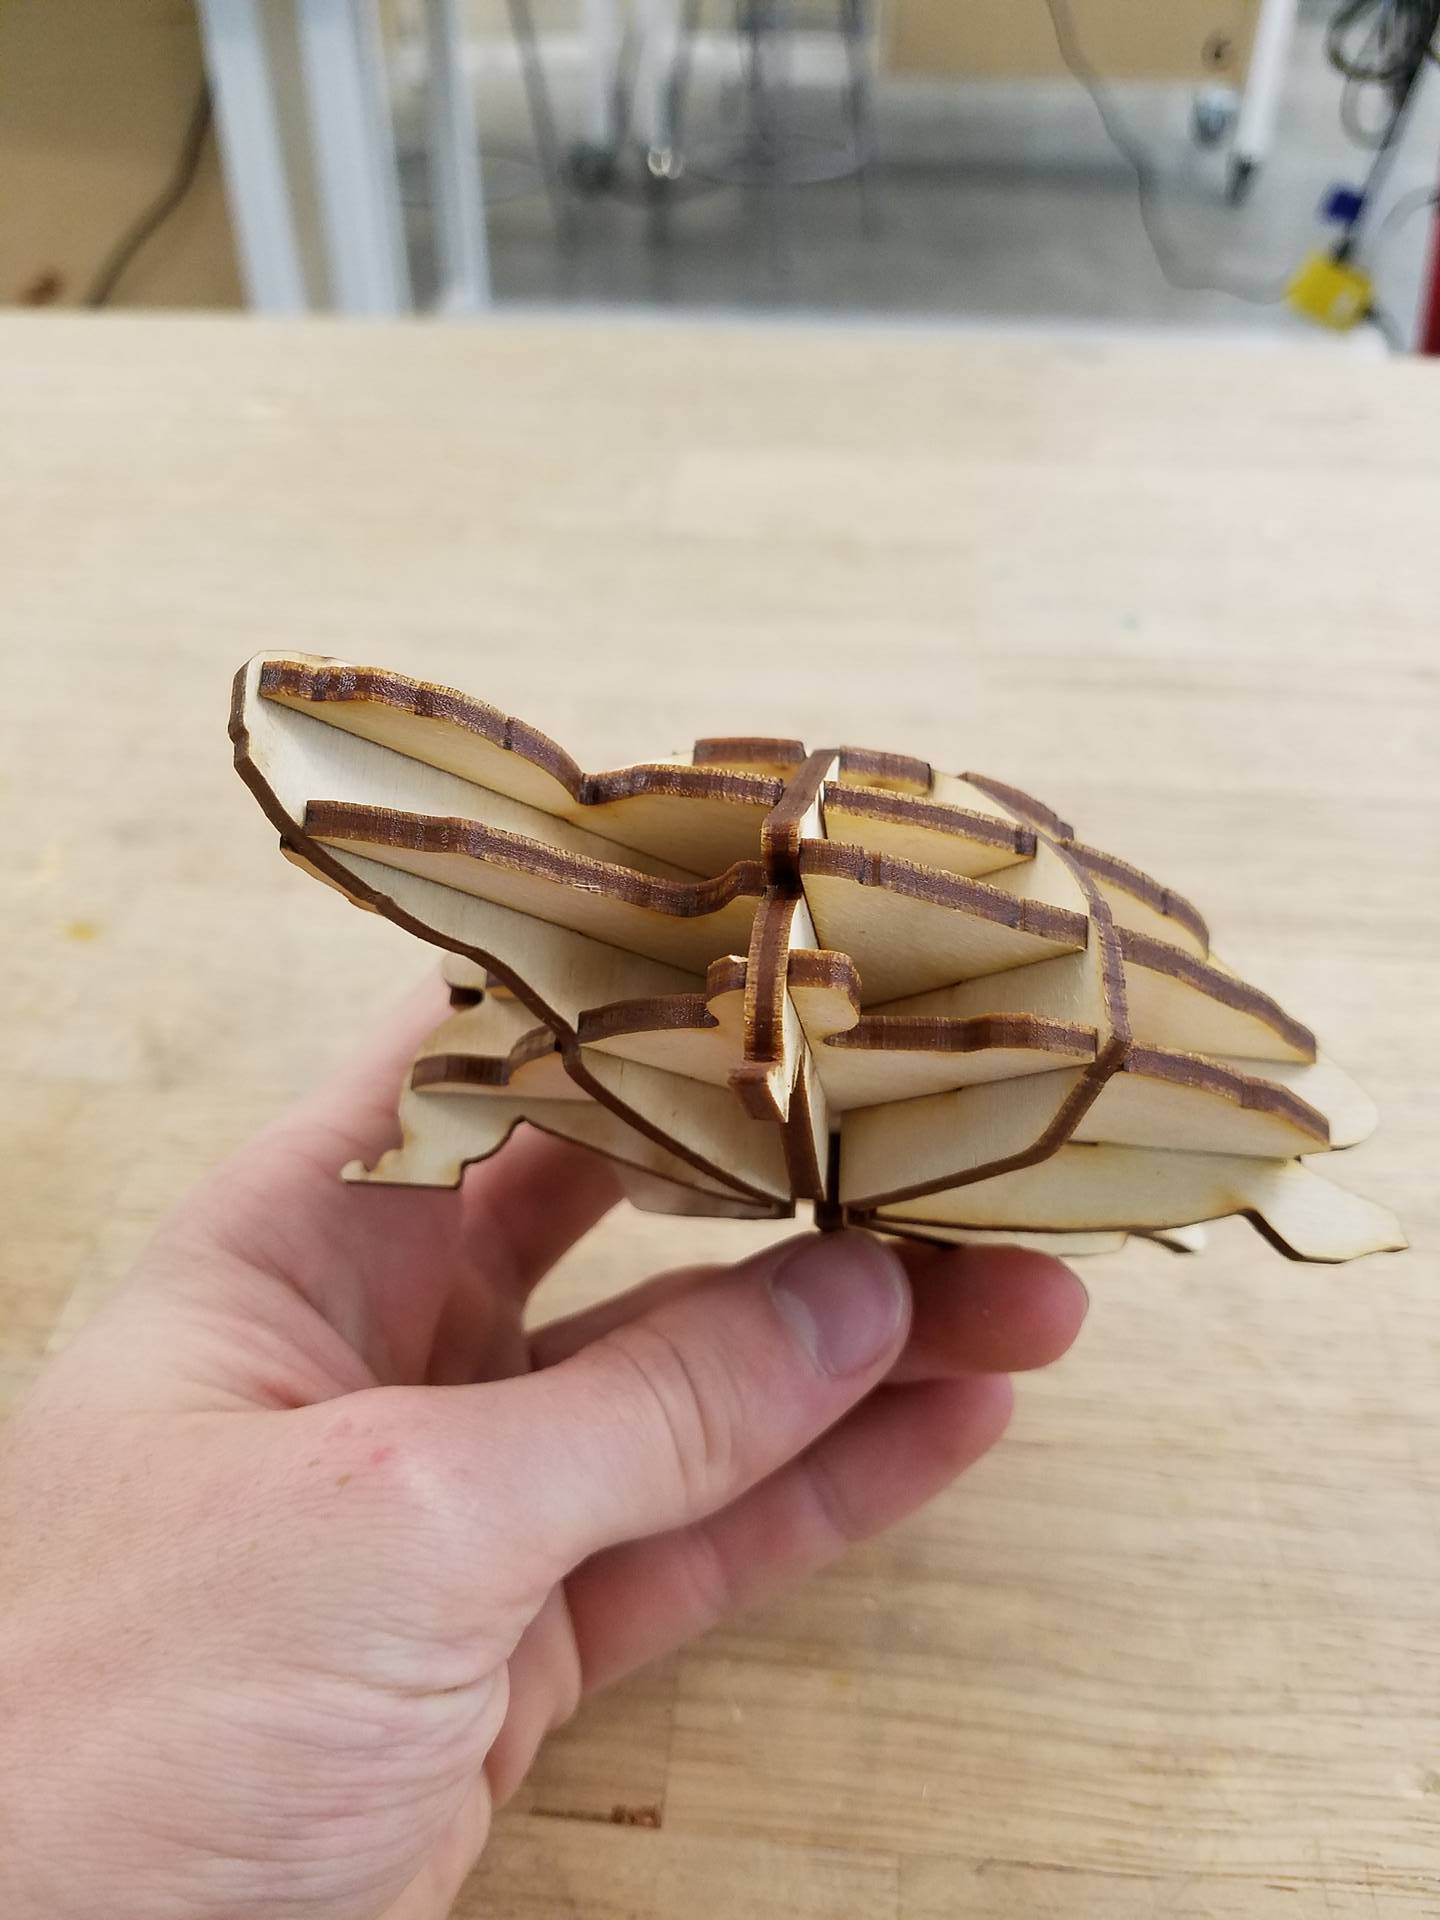
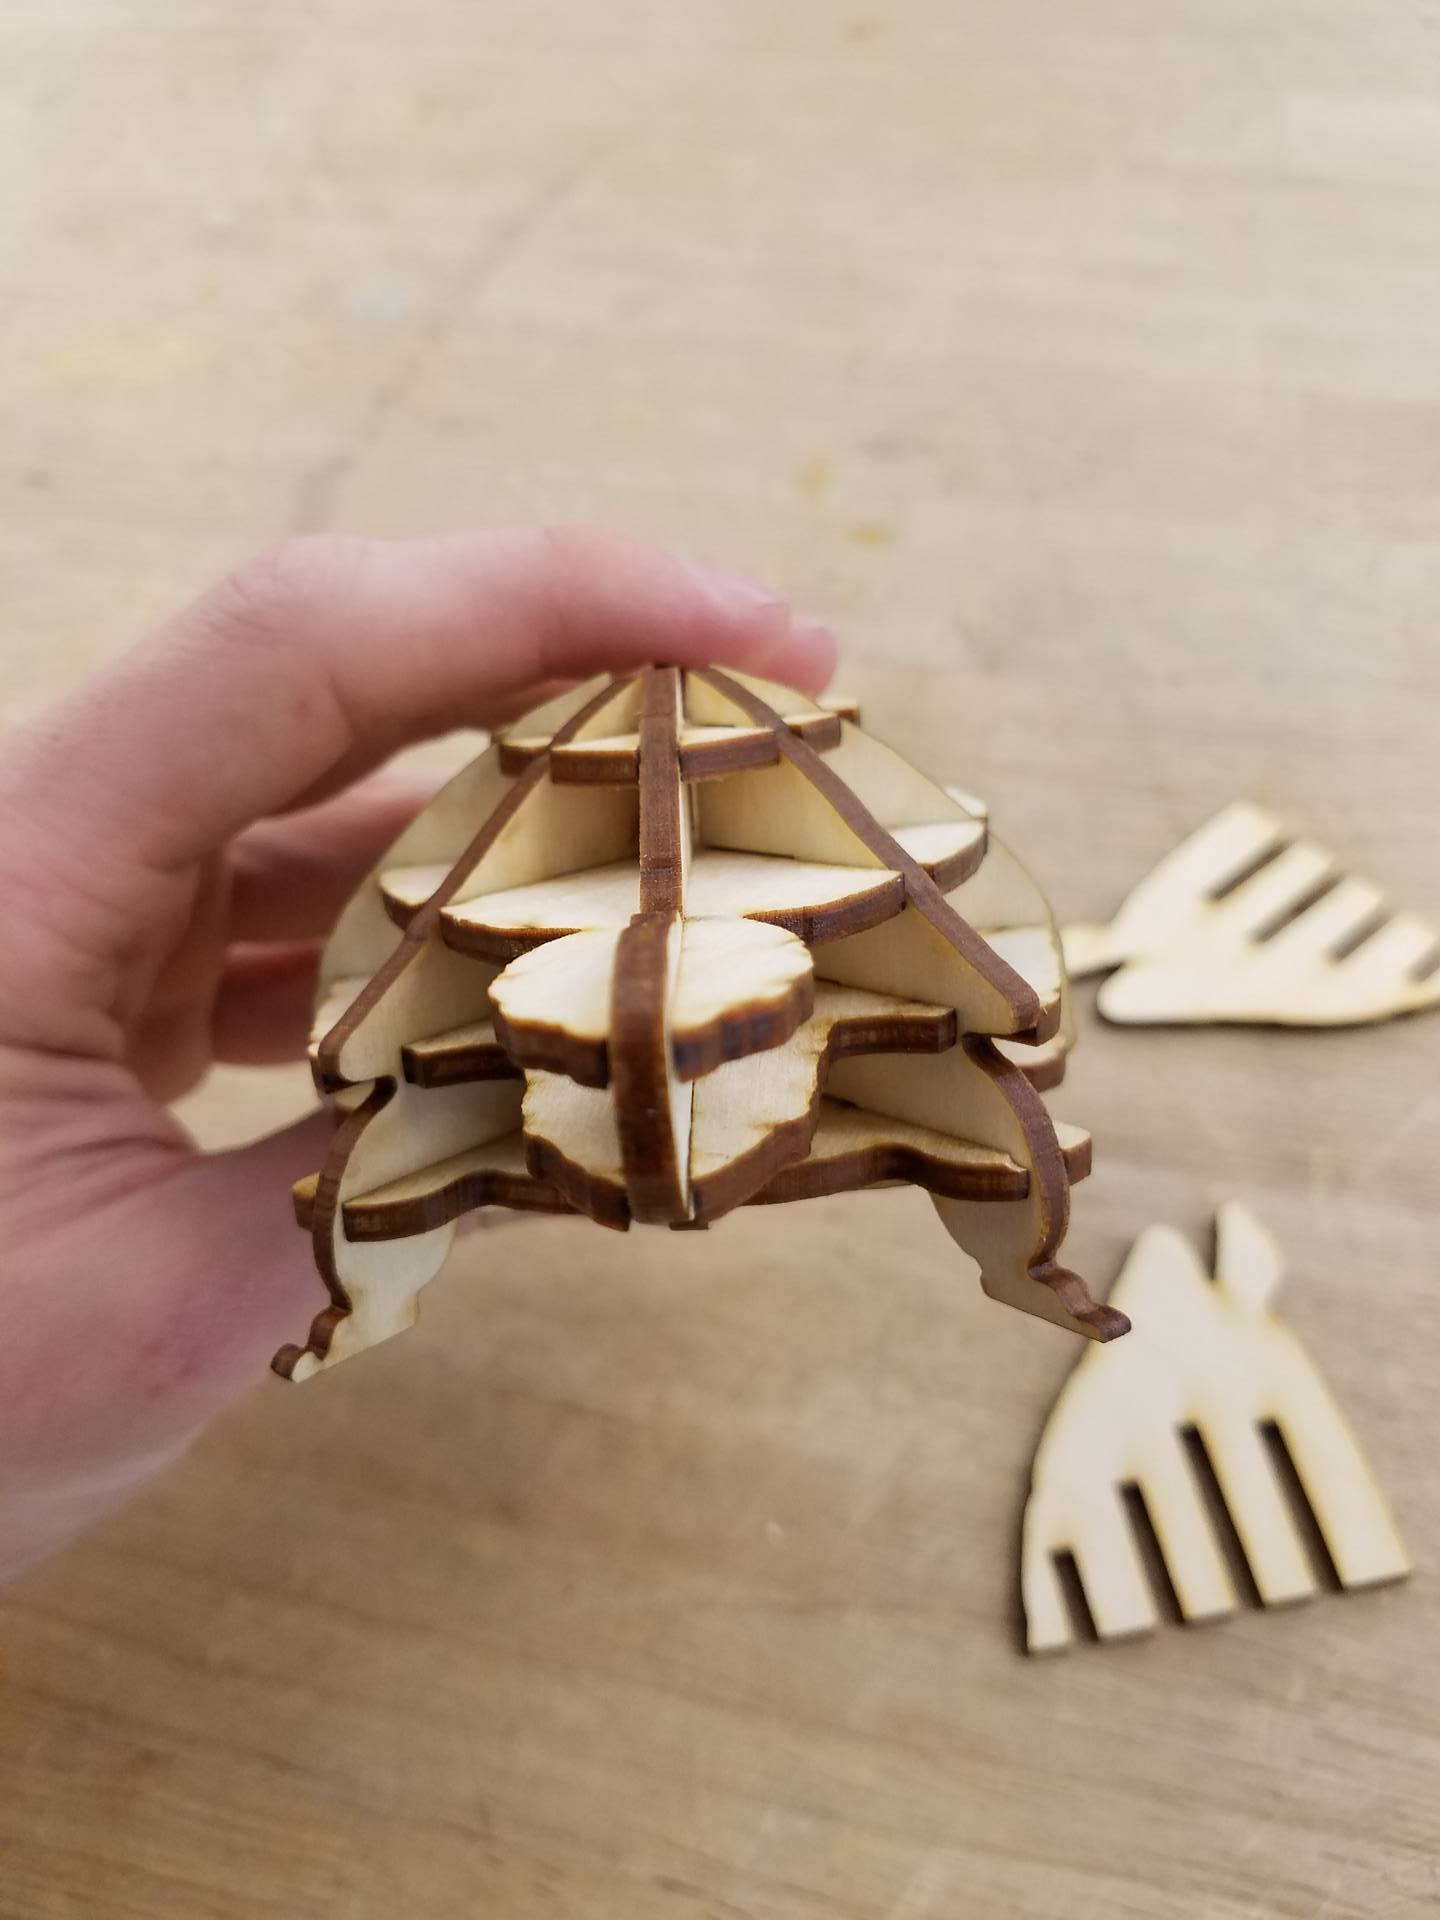
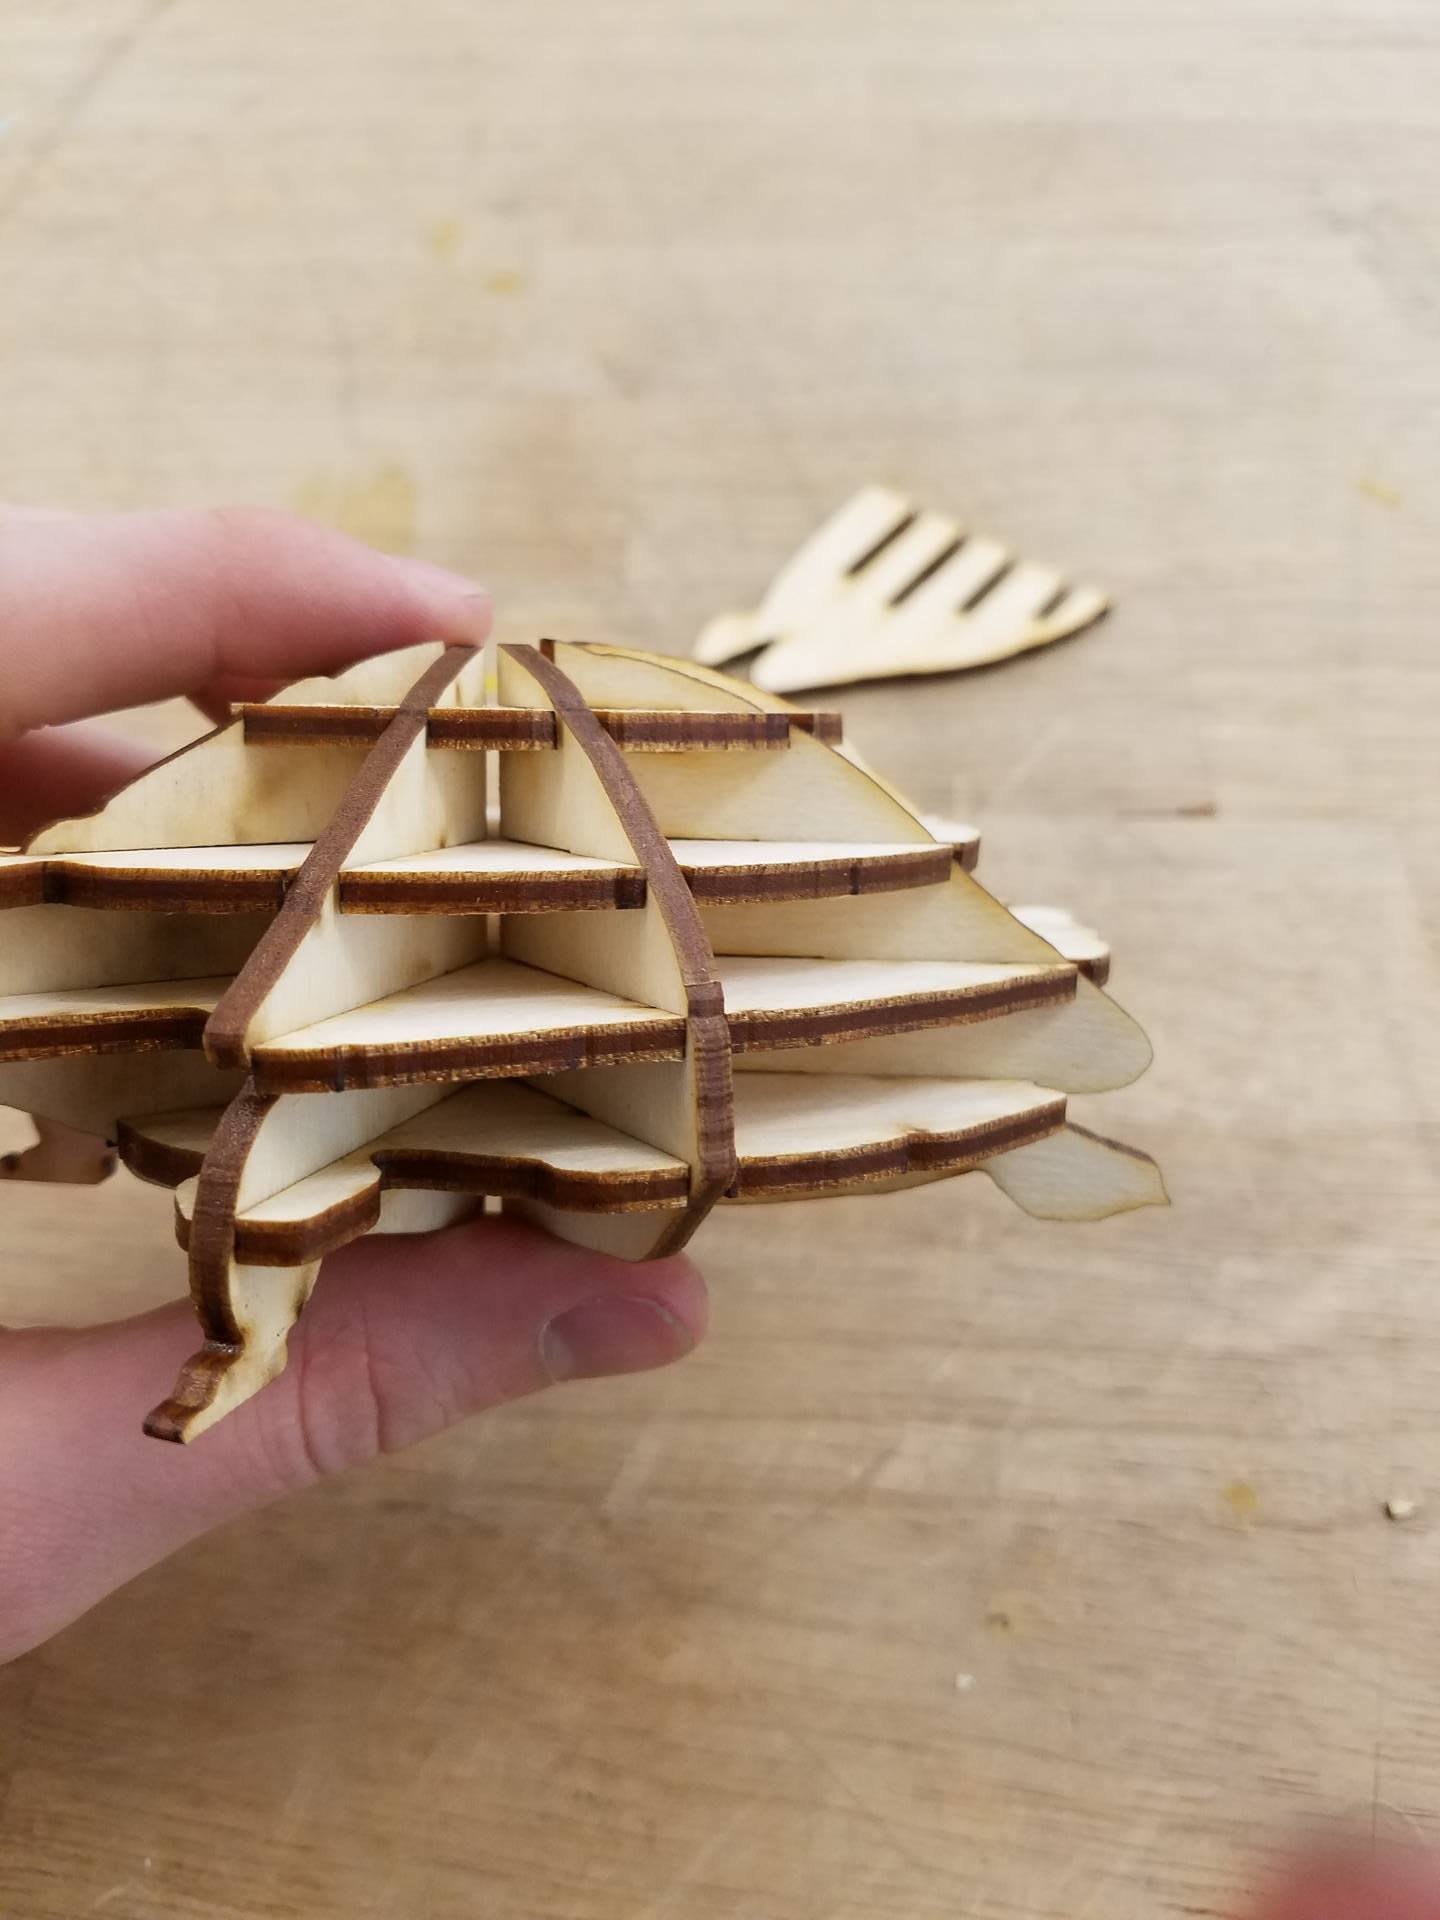
After all the horizontal pieces are attached to one of the radial slices, you can then insert all the remaining radial slices. I found it easiest to add the back radial slice next (the one opposite of the head). After that, I added the 2 side radial slices, and finished up by putting in the 4 leg slices. After 'assembly, step 1' though, you can pretty much add all the radial slices in any order you want.
Congrats, you made a laser cut turtle! Hope you enjoy the model and liked the tutorial. If you would like to see similar projects, feel free to check out my profile. If you have anything you would like me to make a model of, leave a comment and I will do my best to make it :)