Laser Cut Treasure Chest Money Box
by stormdevil in Workshop > Laser Cutting
9238 Views, 118 Favorites, 0 Comments
Laser Cut Treasure Chest Money Box
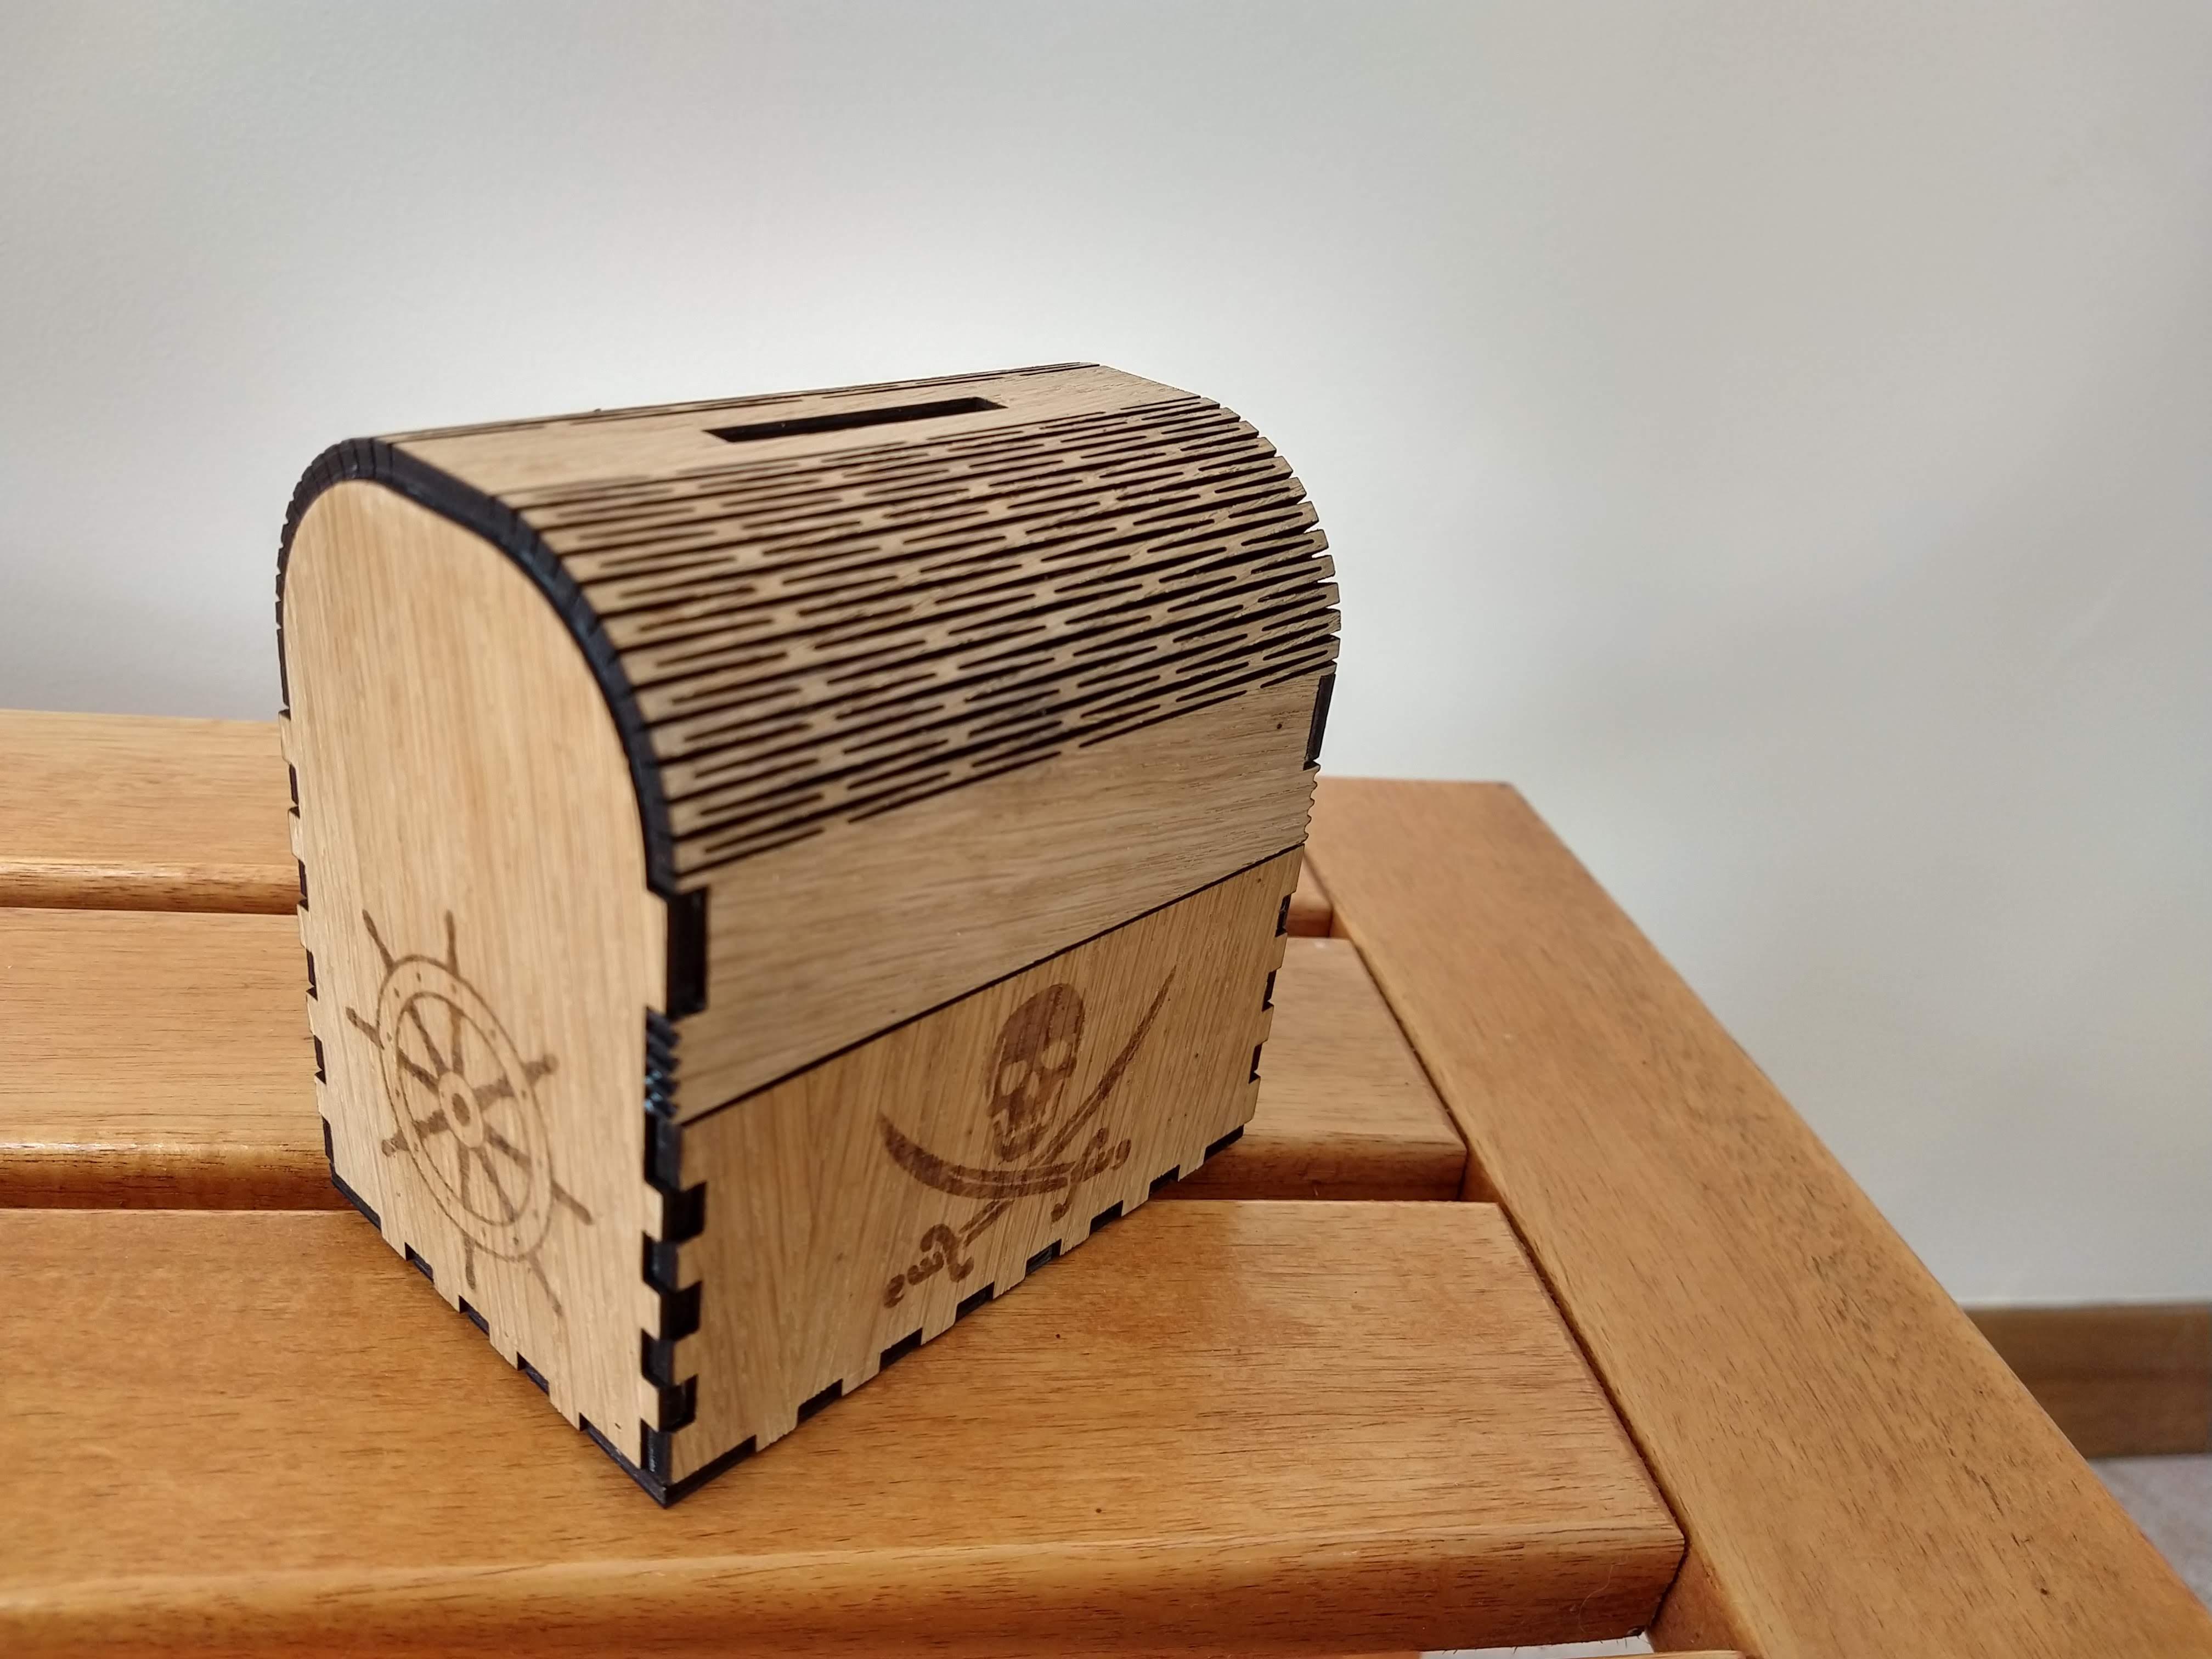
I really love the way you can get wood to bend when cut in a special way on the laser.
I've adapted the Flexbox2 pattern generated from https://www.festi.info/boxes.py/FlexBox2 to turn it into a pirate themed money box.
The box is 10cm x 7cm and is 10cm high, and can be made from 1 A4 sheet of plywood
What You Need
Laser cutter / engraver
The pattern - I have attached in ai and dxf formats
1 sheet of A4 birchwood ply
Wide masking tape (App tape)
Wood stain for inside (Optional)
Indoor wood varnish (Clear)
Paint Brush
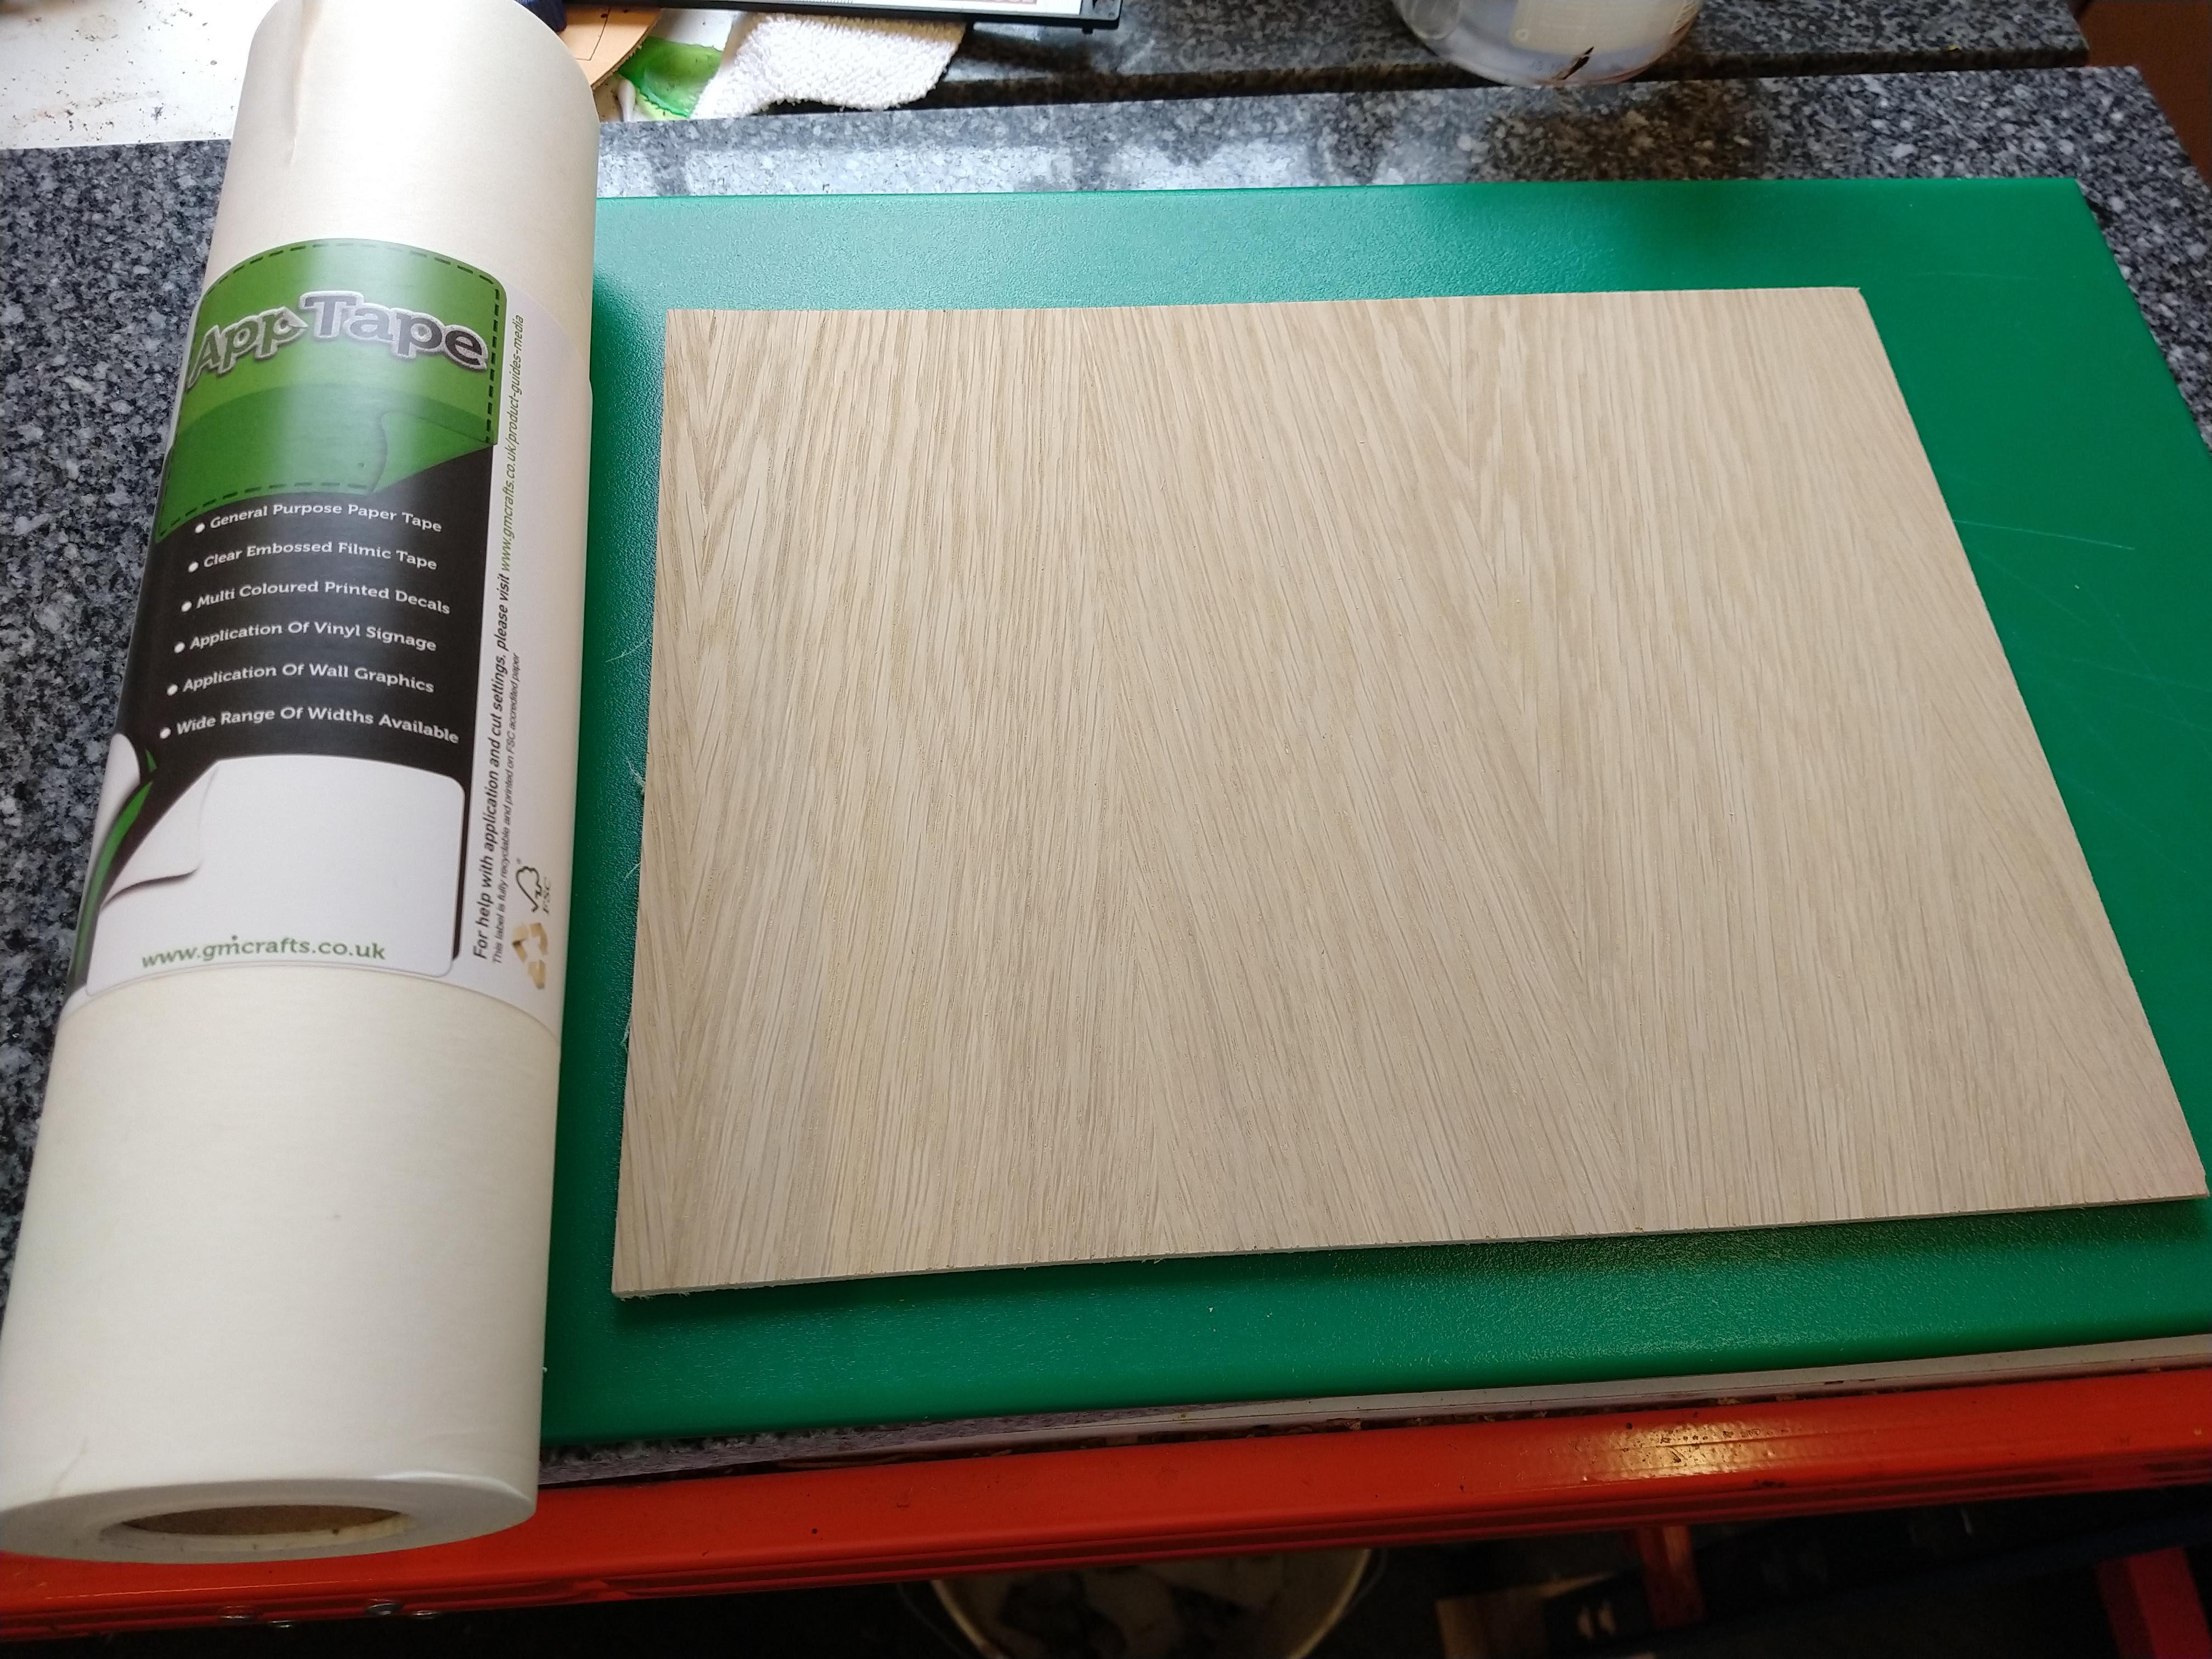
Mask Your Wood Sheet
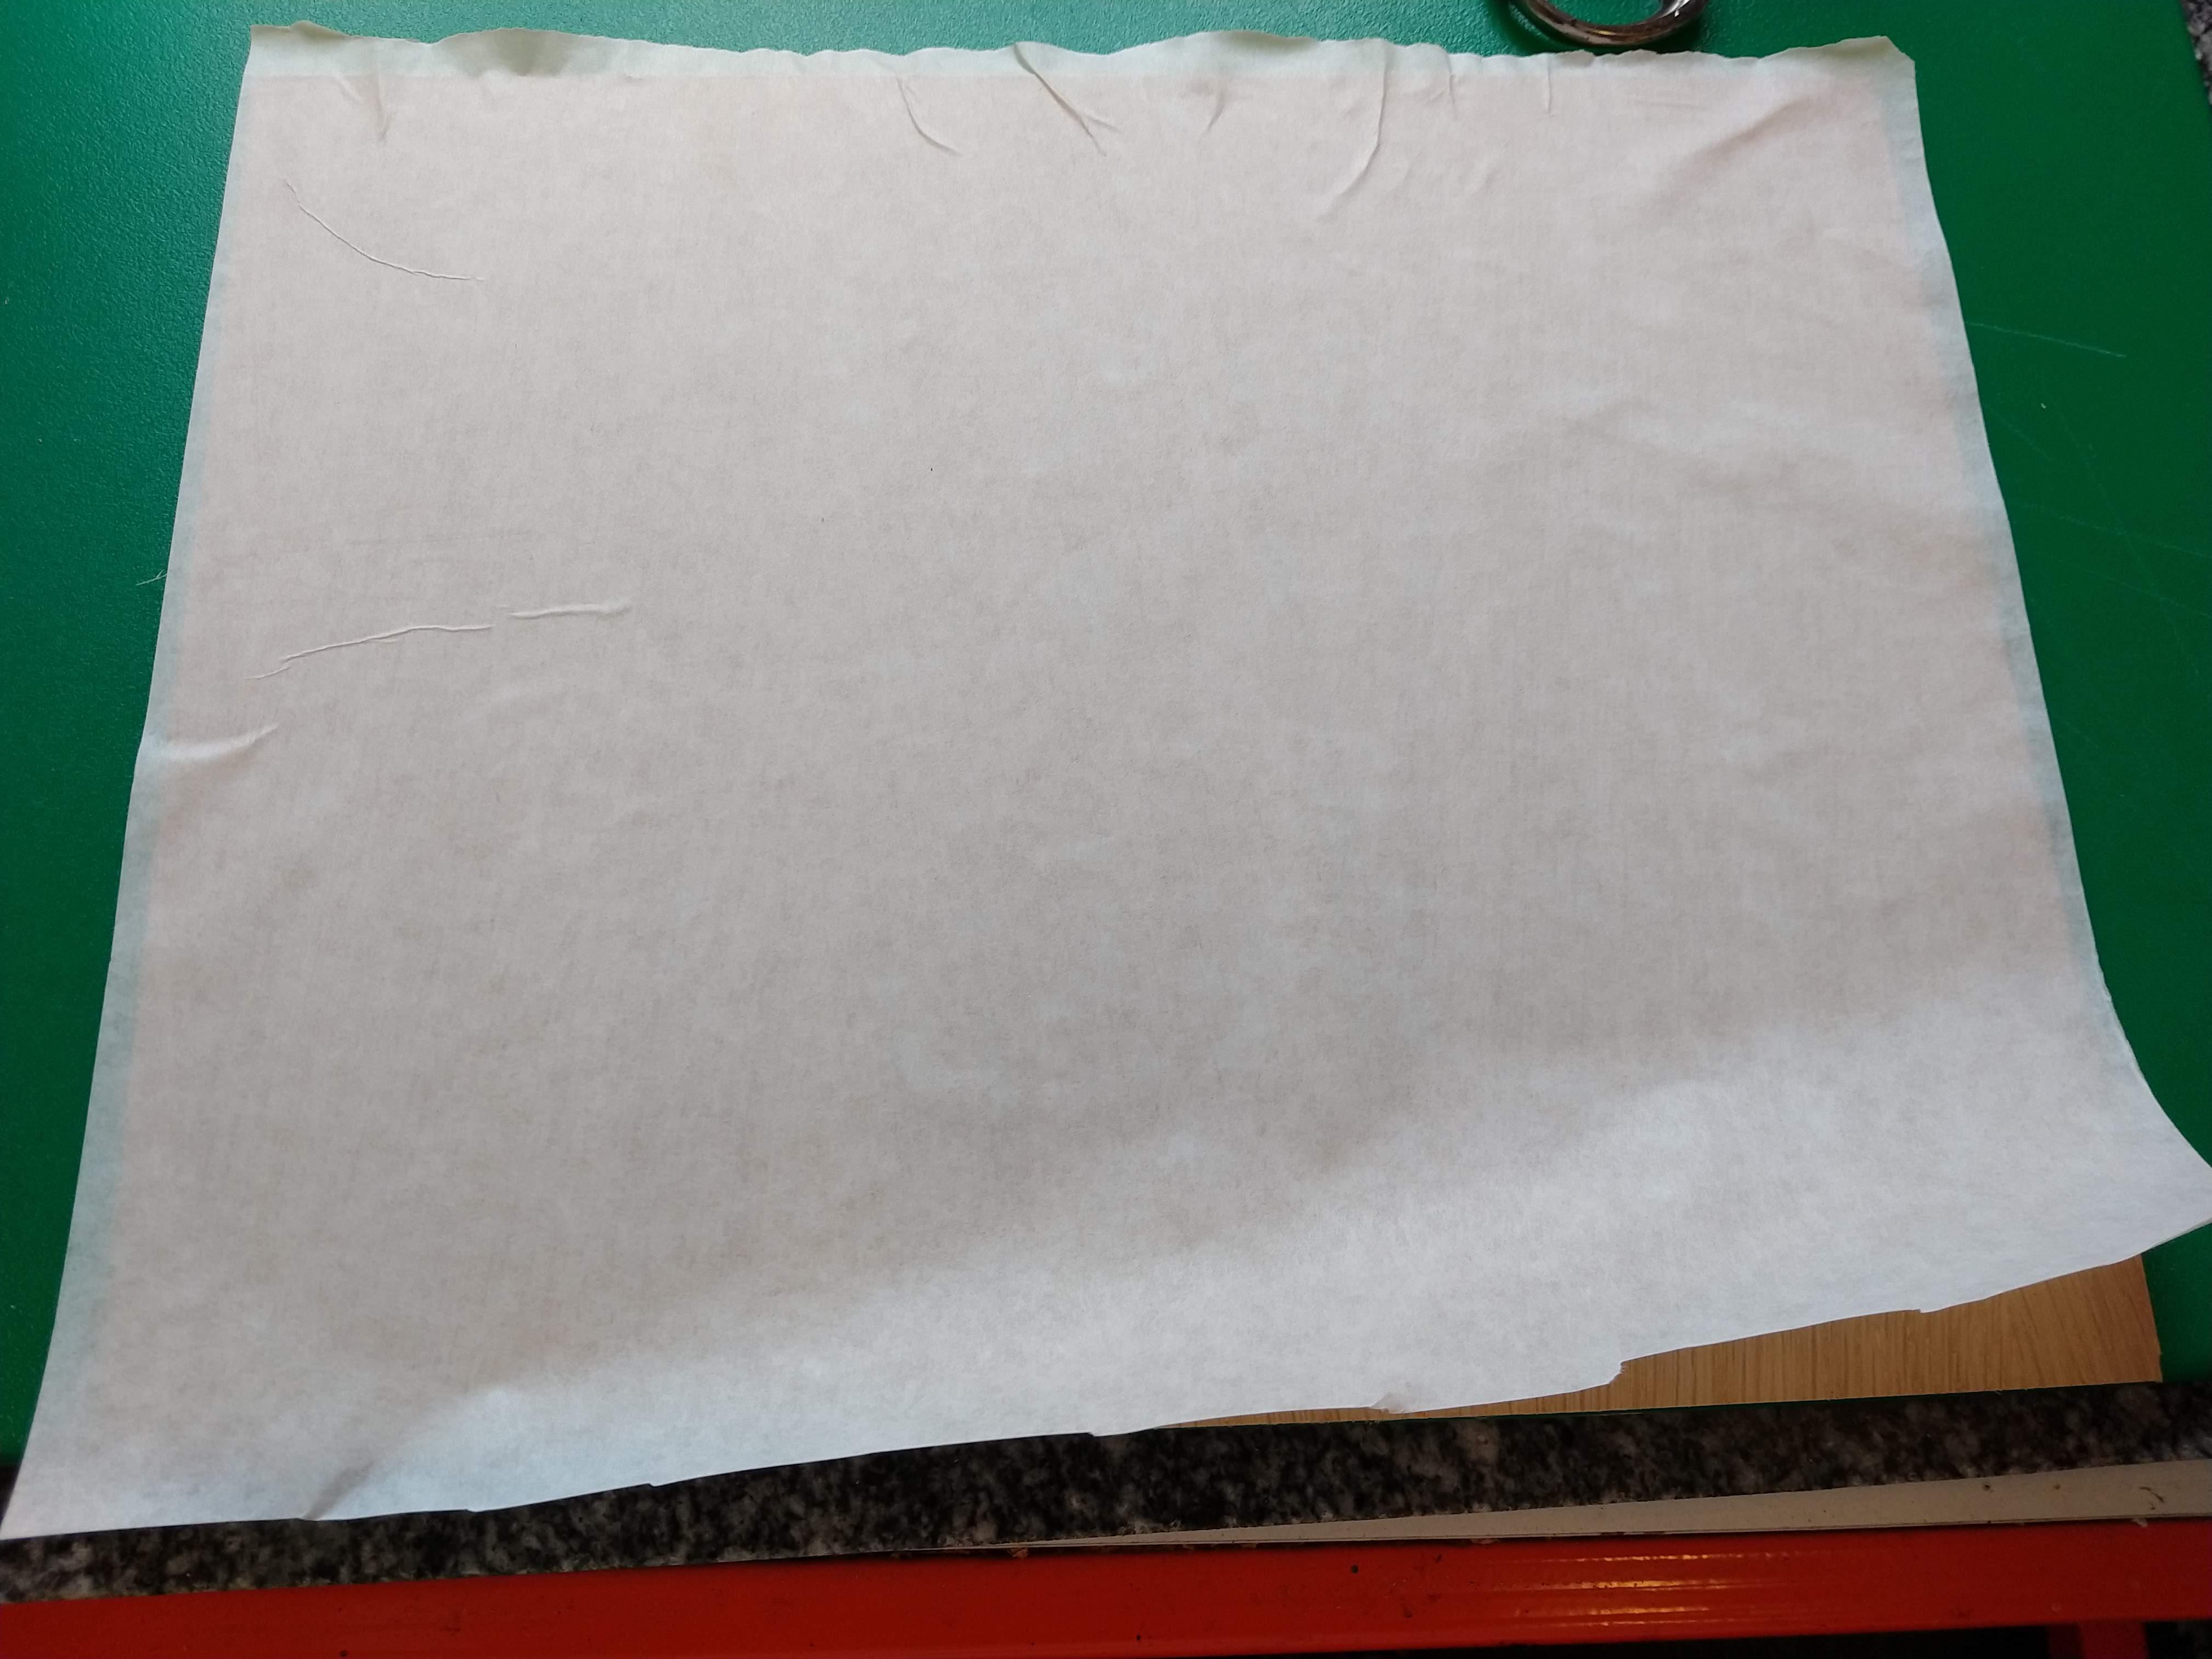
Get your A4 birchwood ply sheet and the App tape (Masking tape)
This tape is wide enough to mask the whole sheet, so stick some on and smooth it down.
This prevents smoke damage to the wood so you get a good finish.
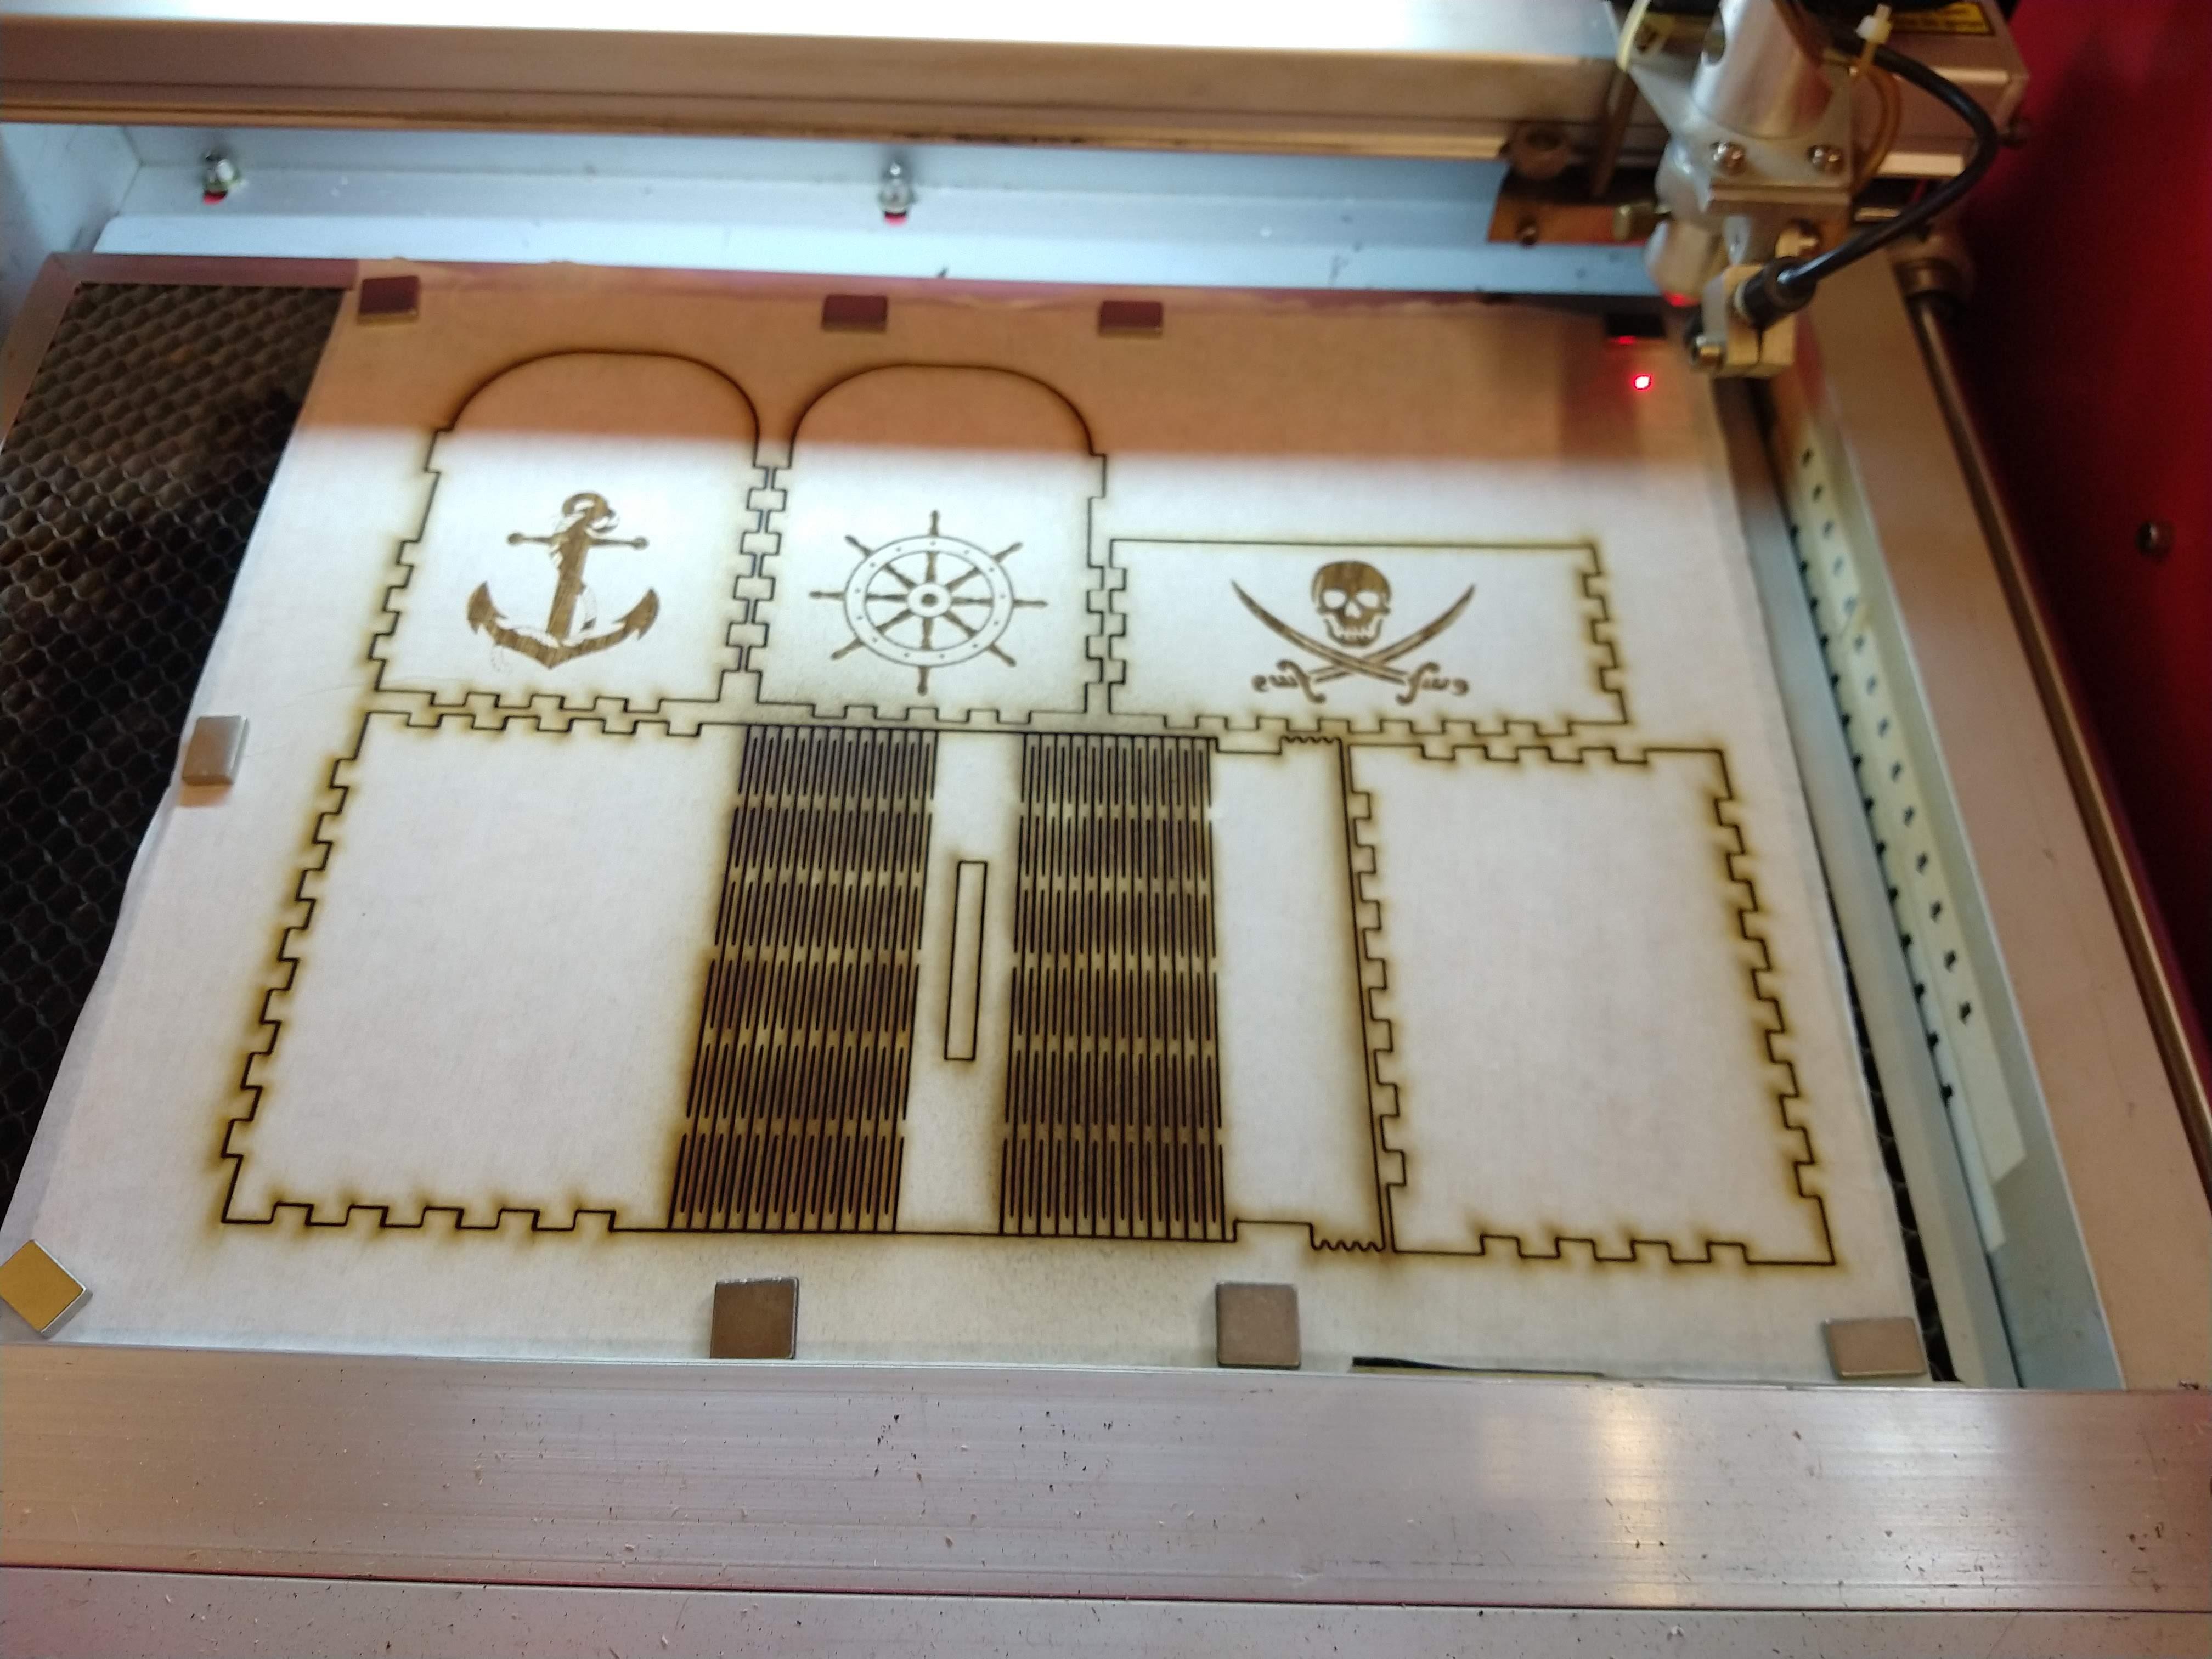
Import the Pattern Into Your Laser Program

Import the pattern into your laser program
Select the 3 areas for engraving (Skull, anchor and ships wheel) and set them up as engrave.
Select the lines for cutting and set them up for cutting.
Make sure you engrave first and then cut.
Settings will depend on the power of your laser.
For a 35W laser
Settings are Engrave: Speed 350, Power 15 Scan Gap 0.1
Cut: Speed 6 , Power 60
Upload to Laser and Go
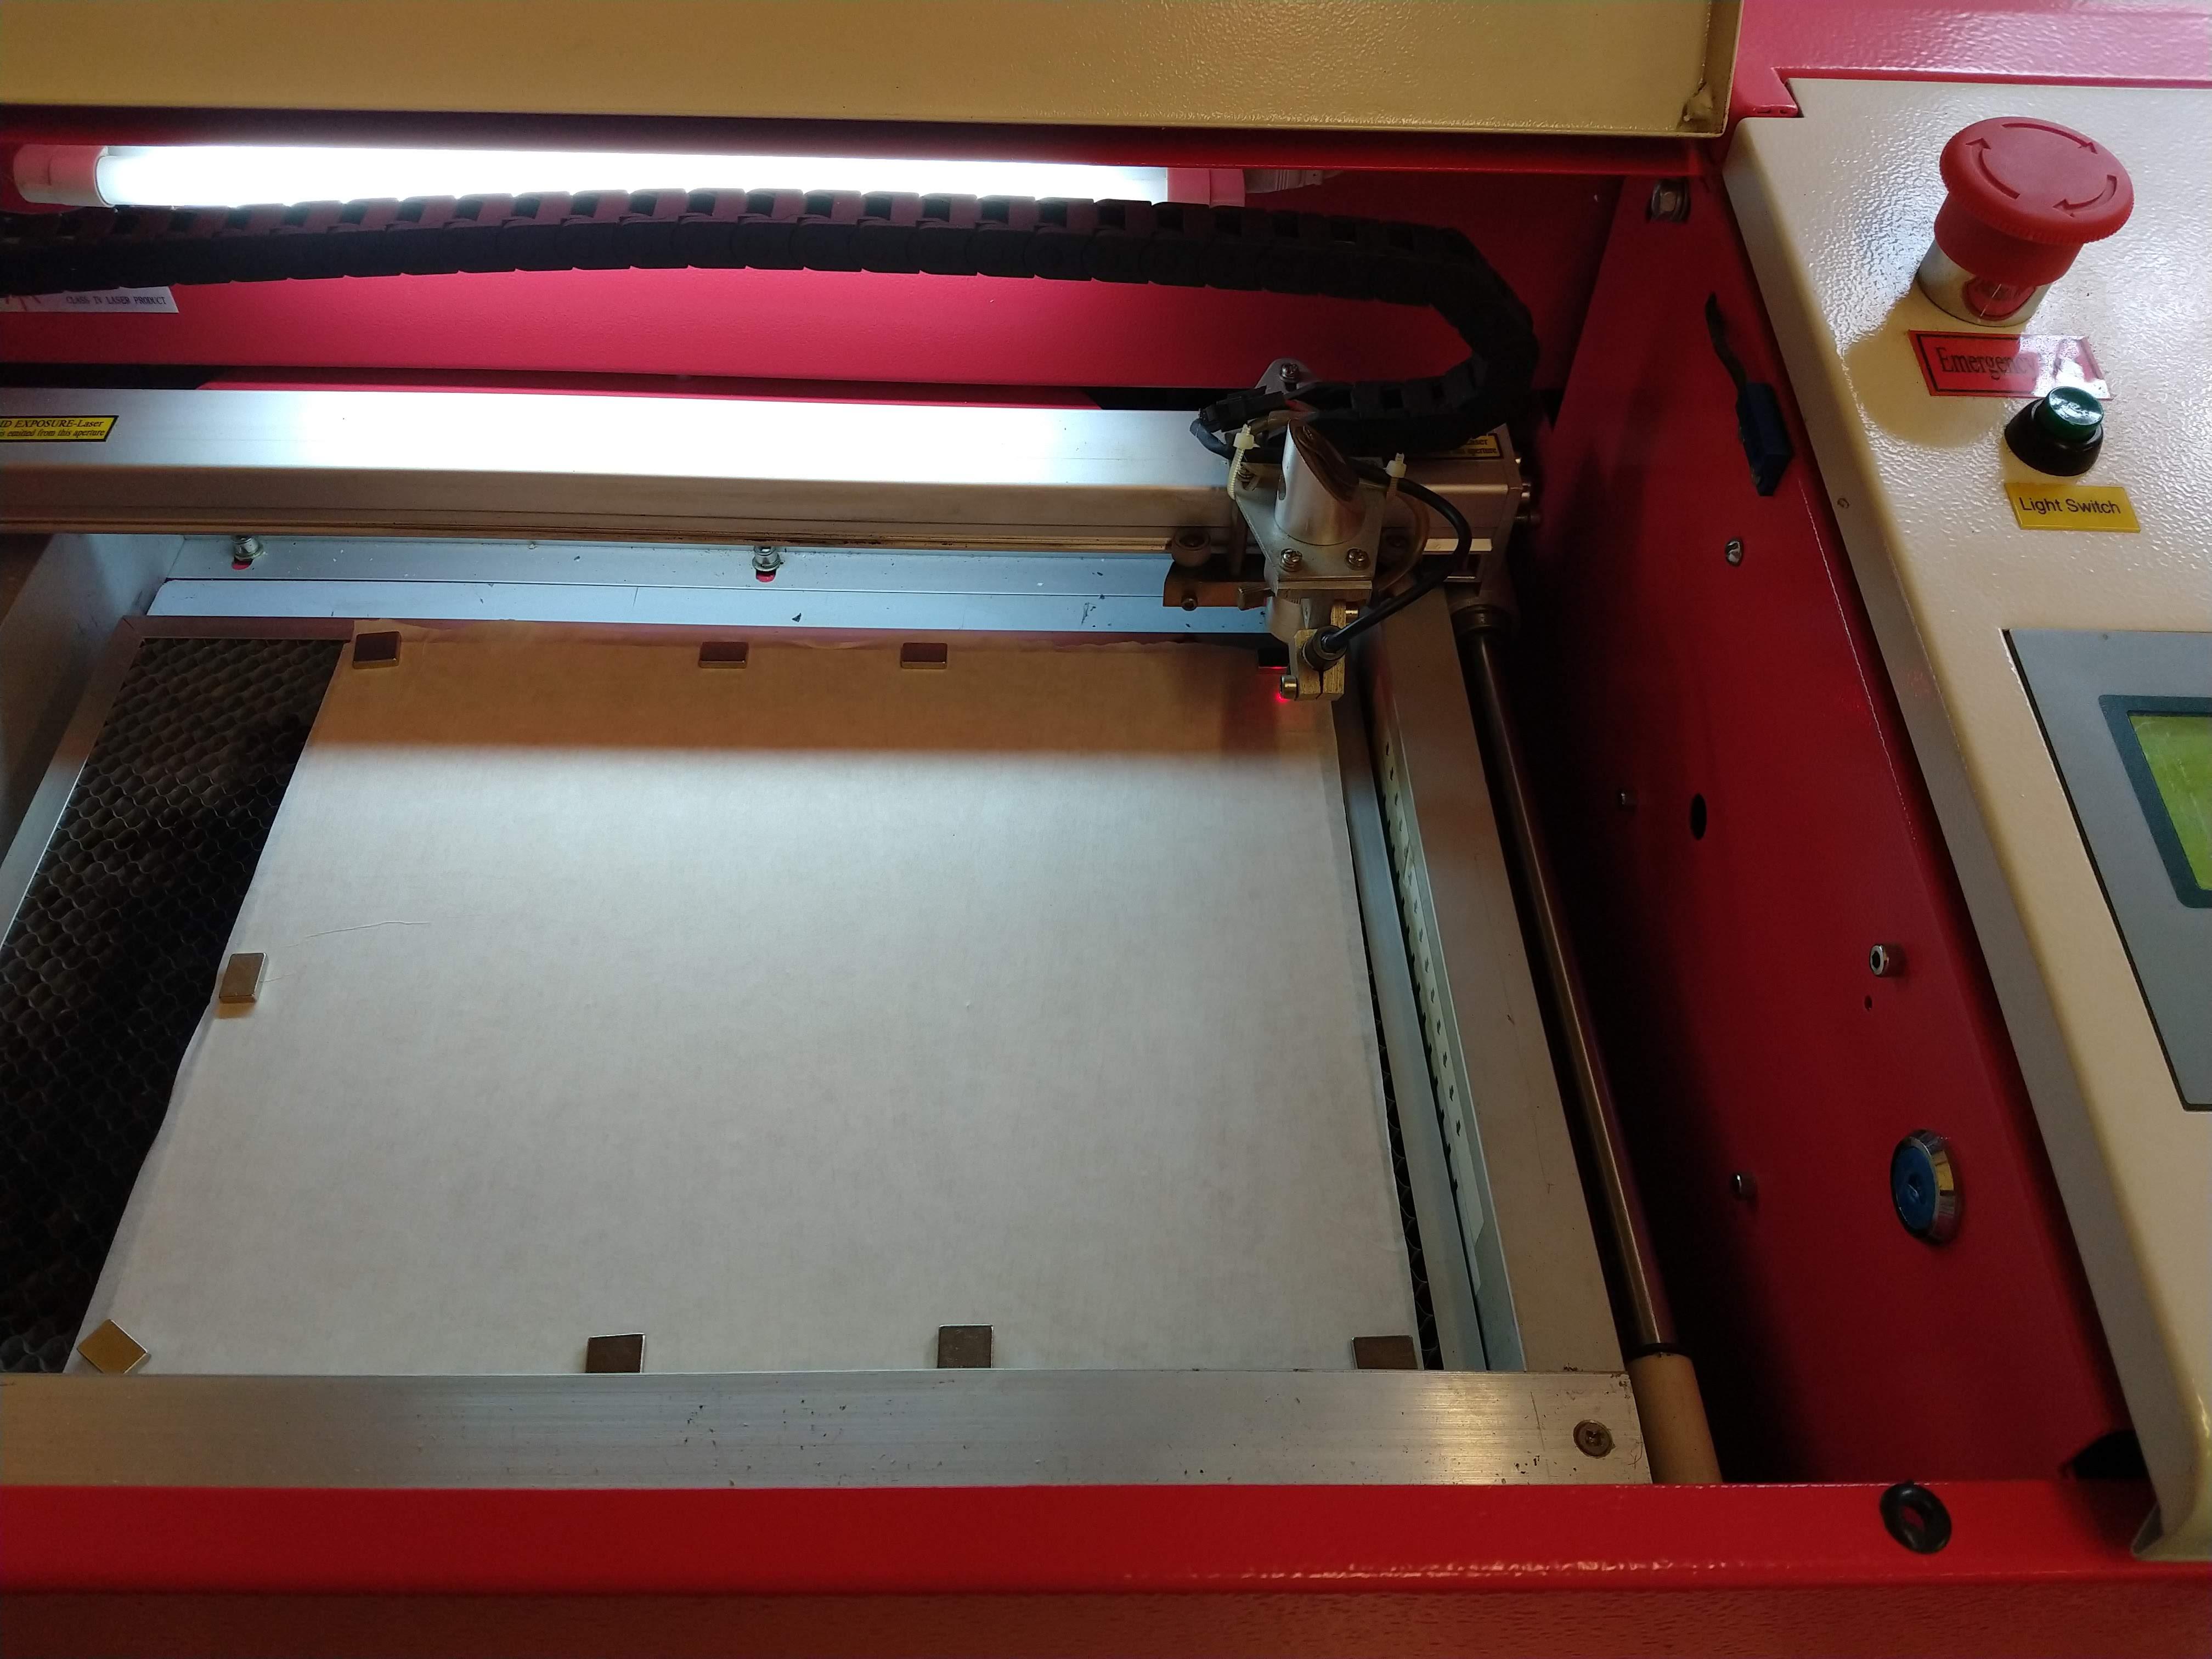
Upload your pattern to the laser.
Insert your masked wood sheet and pin it down with magnets, making sure the magnets are outside the lasering area.
Press the Go button on your laser and wait for it to finish.
Press Out and Peel Off Masking Tape
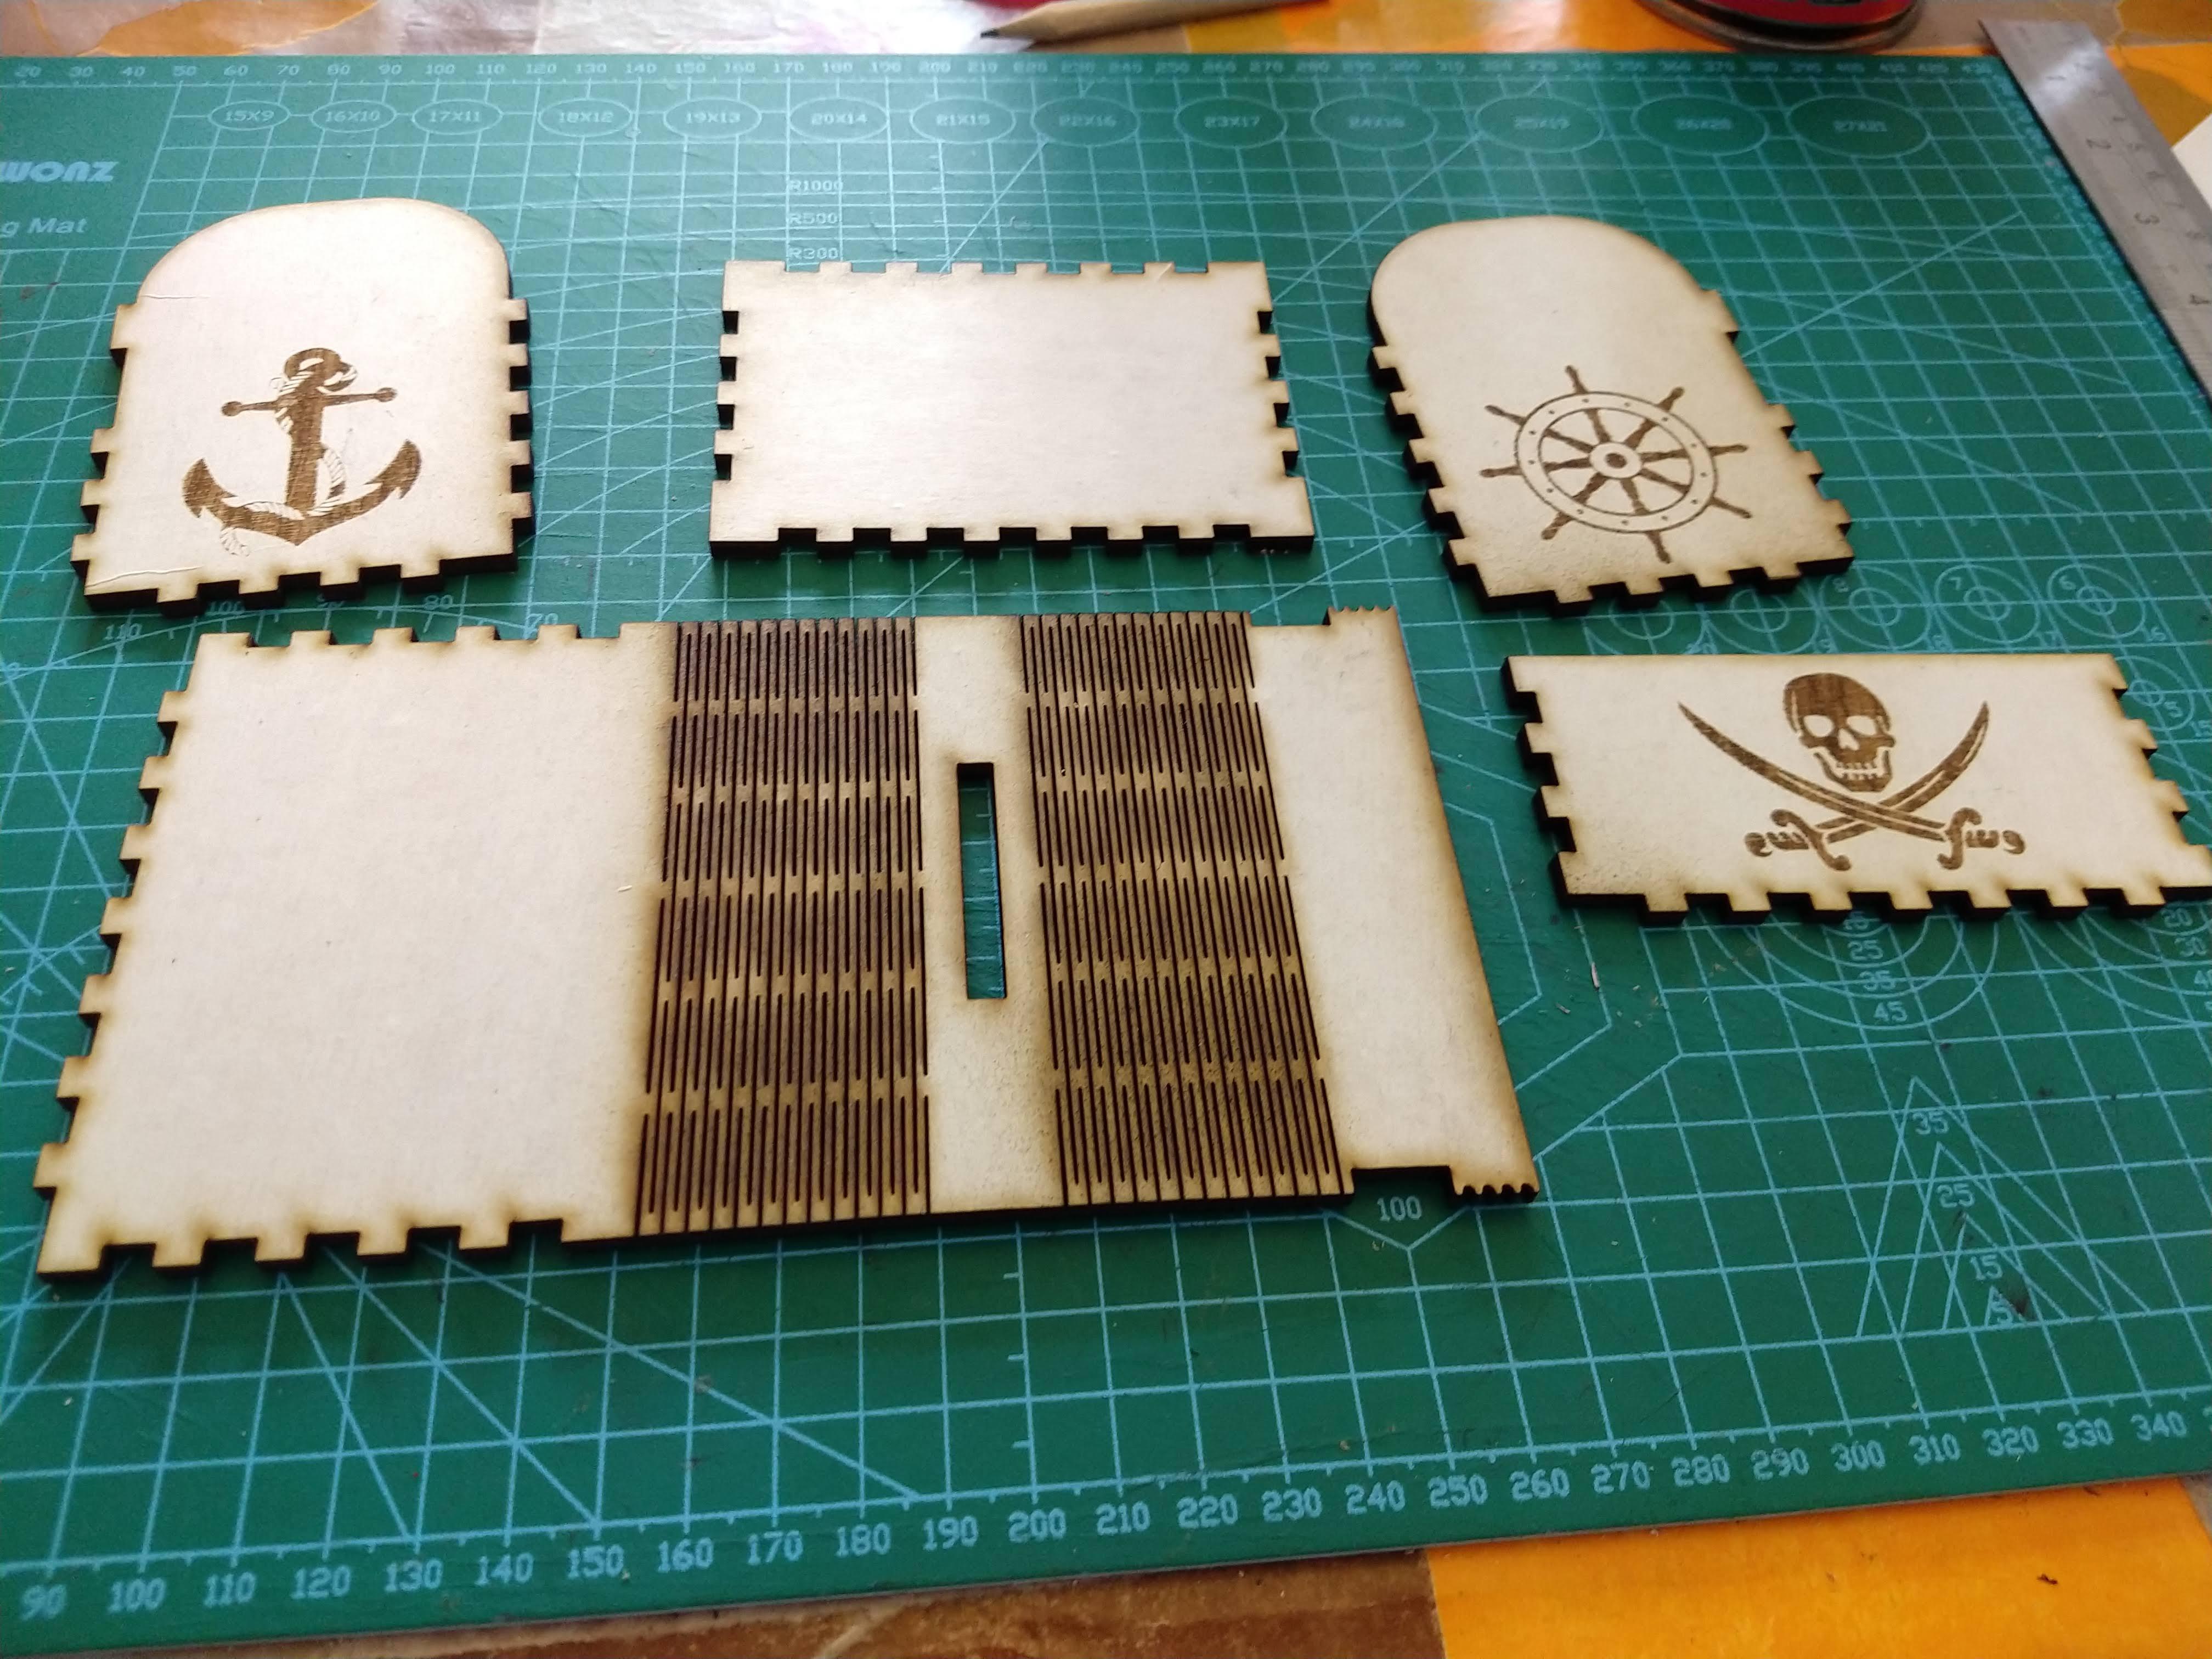
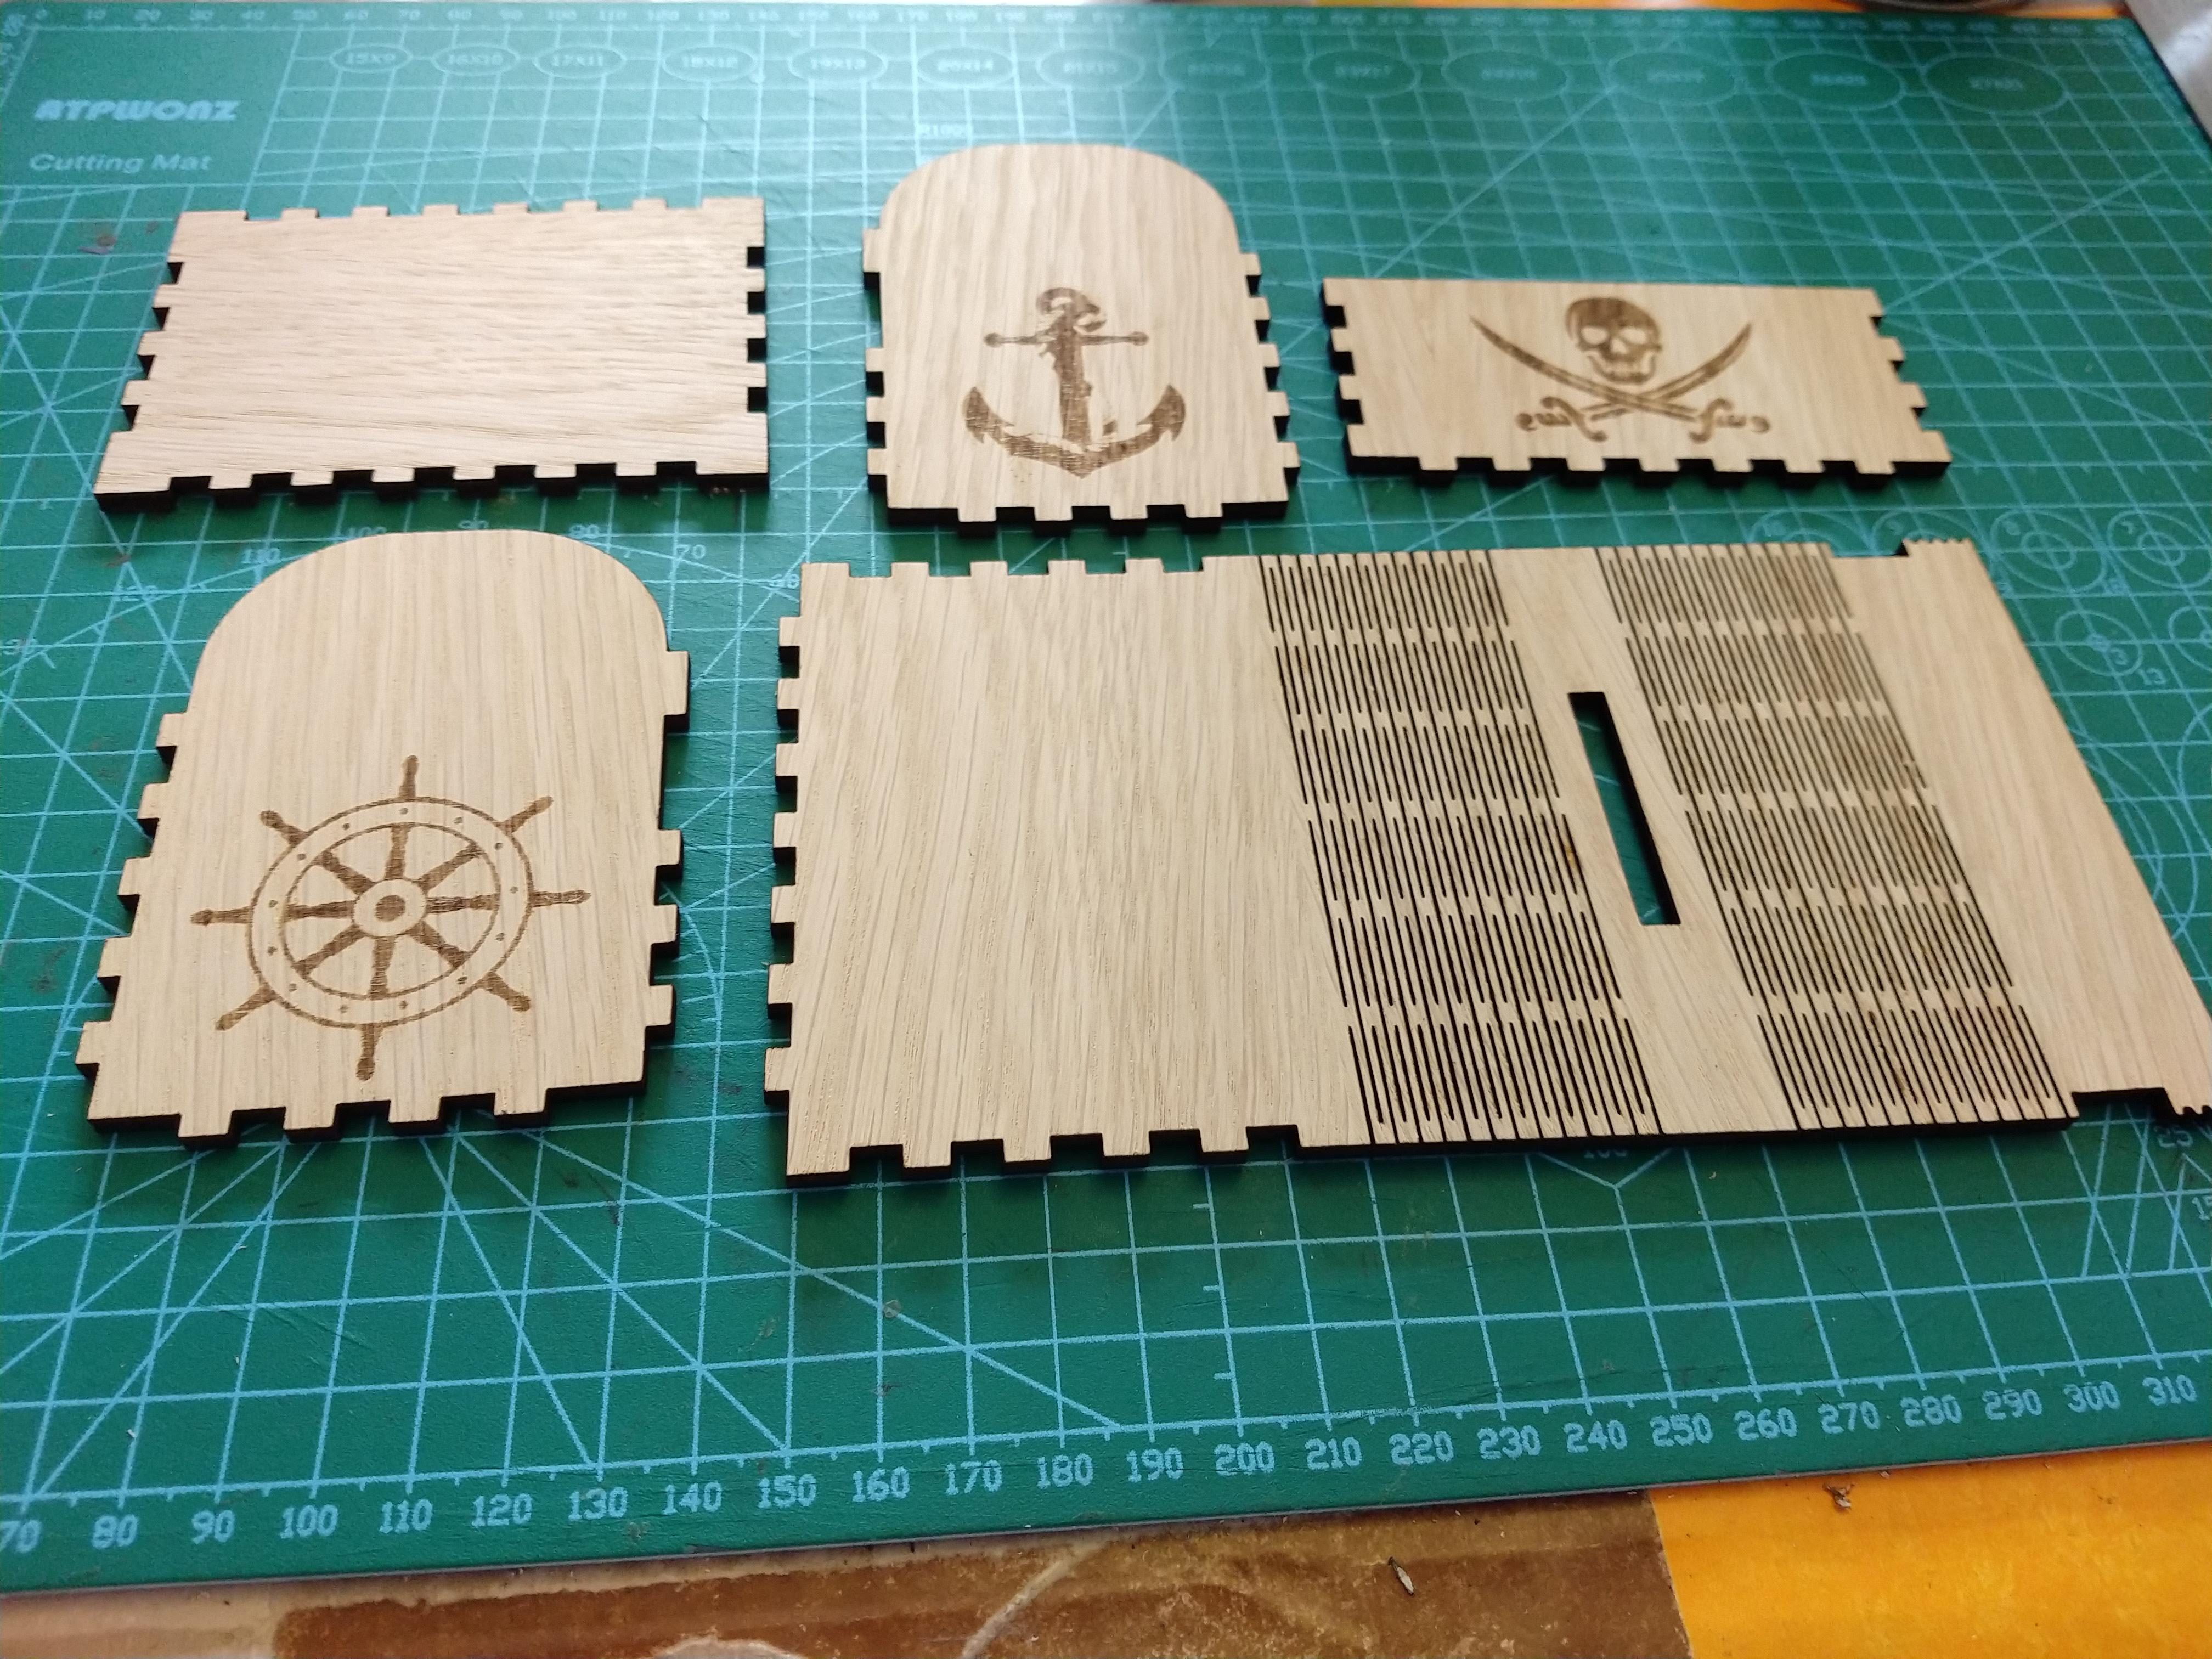
Press out the pieces from the sheet of wood (Most of them will fall out on their own)
Carefully peel off all the masking tape. Take your time - it will come off!
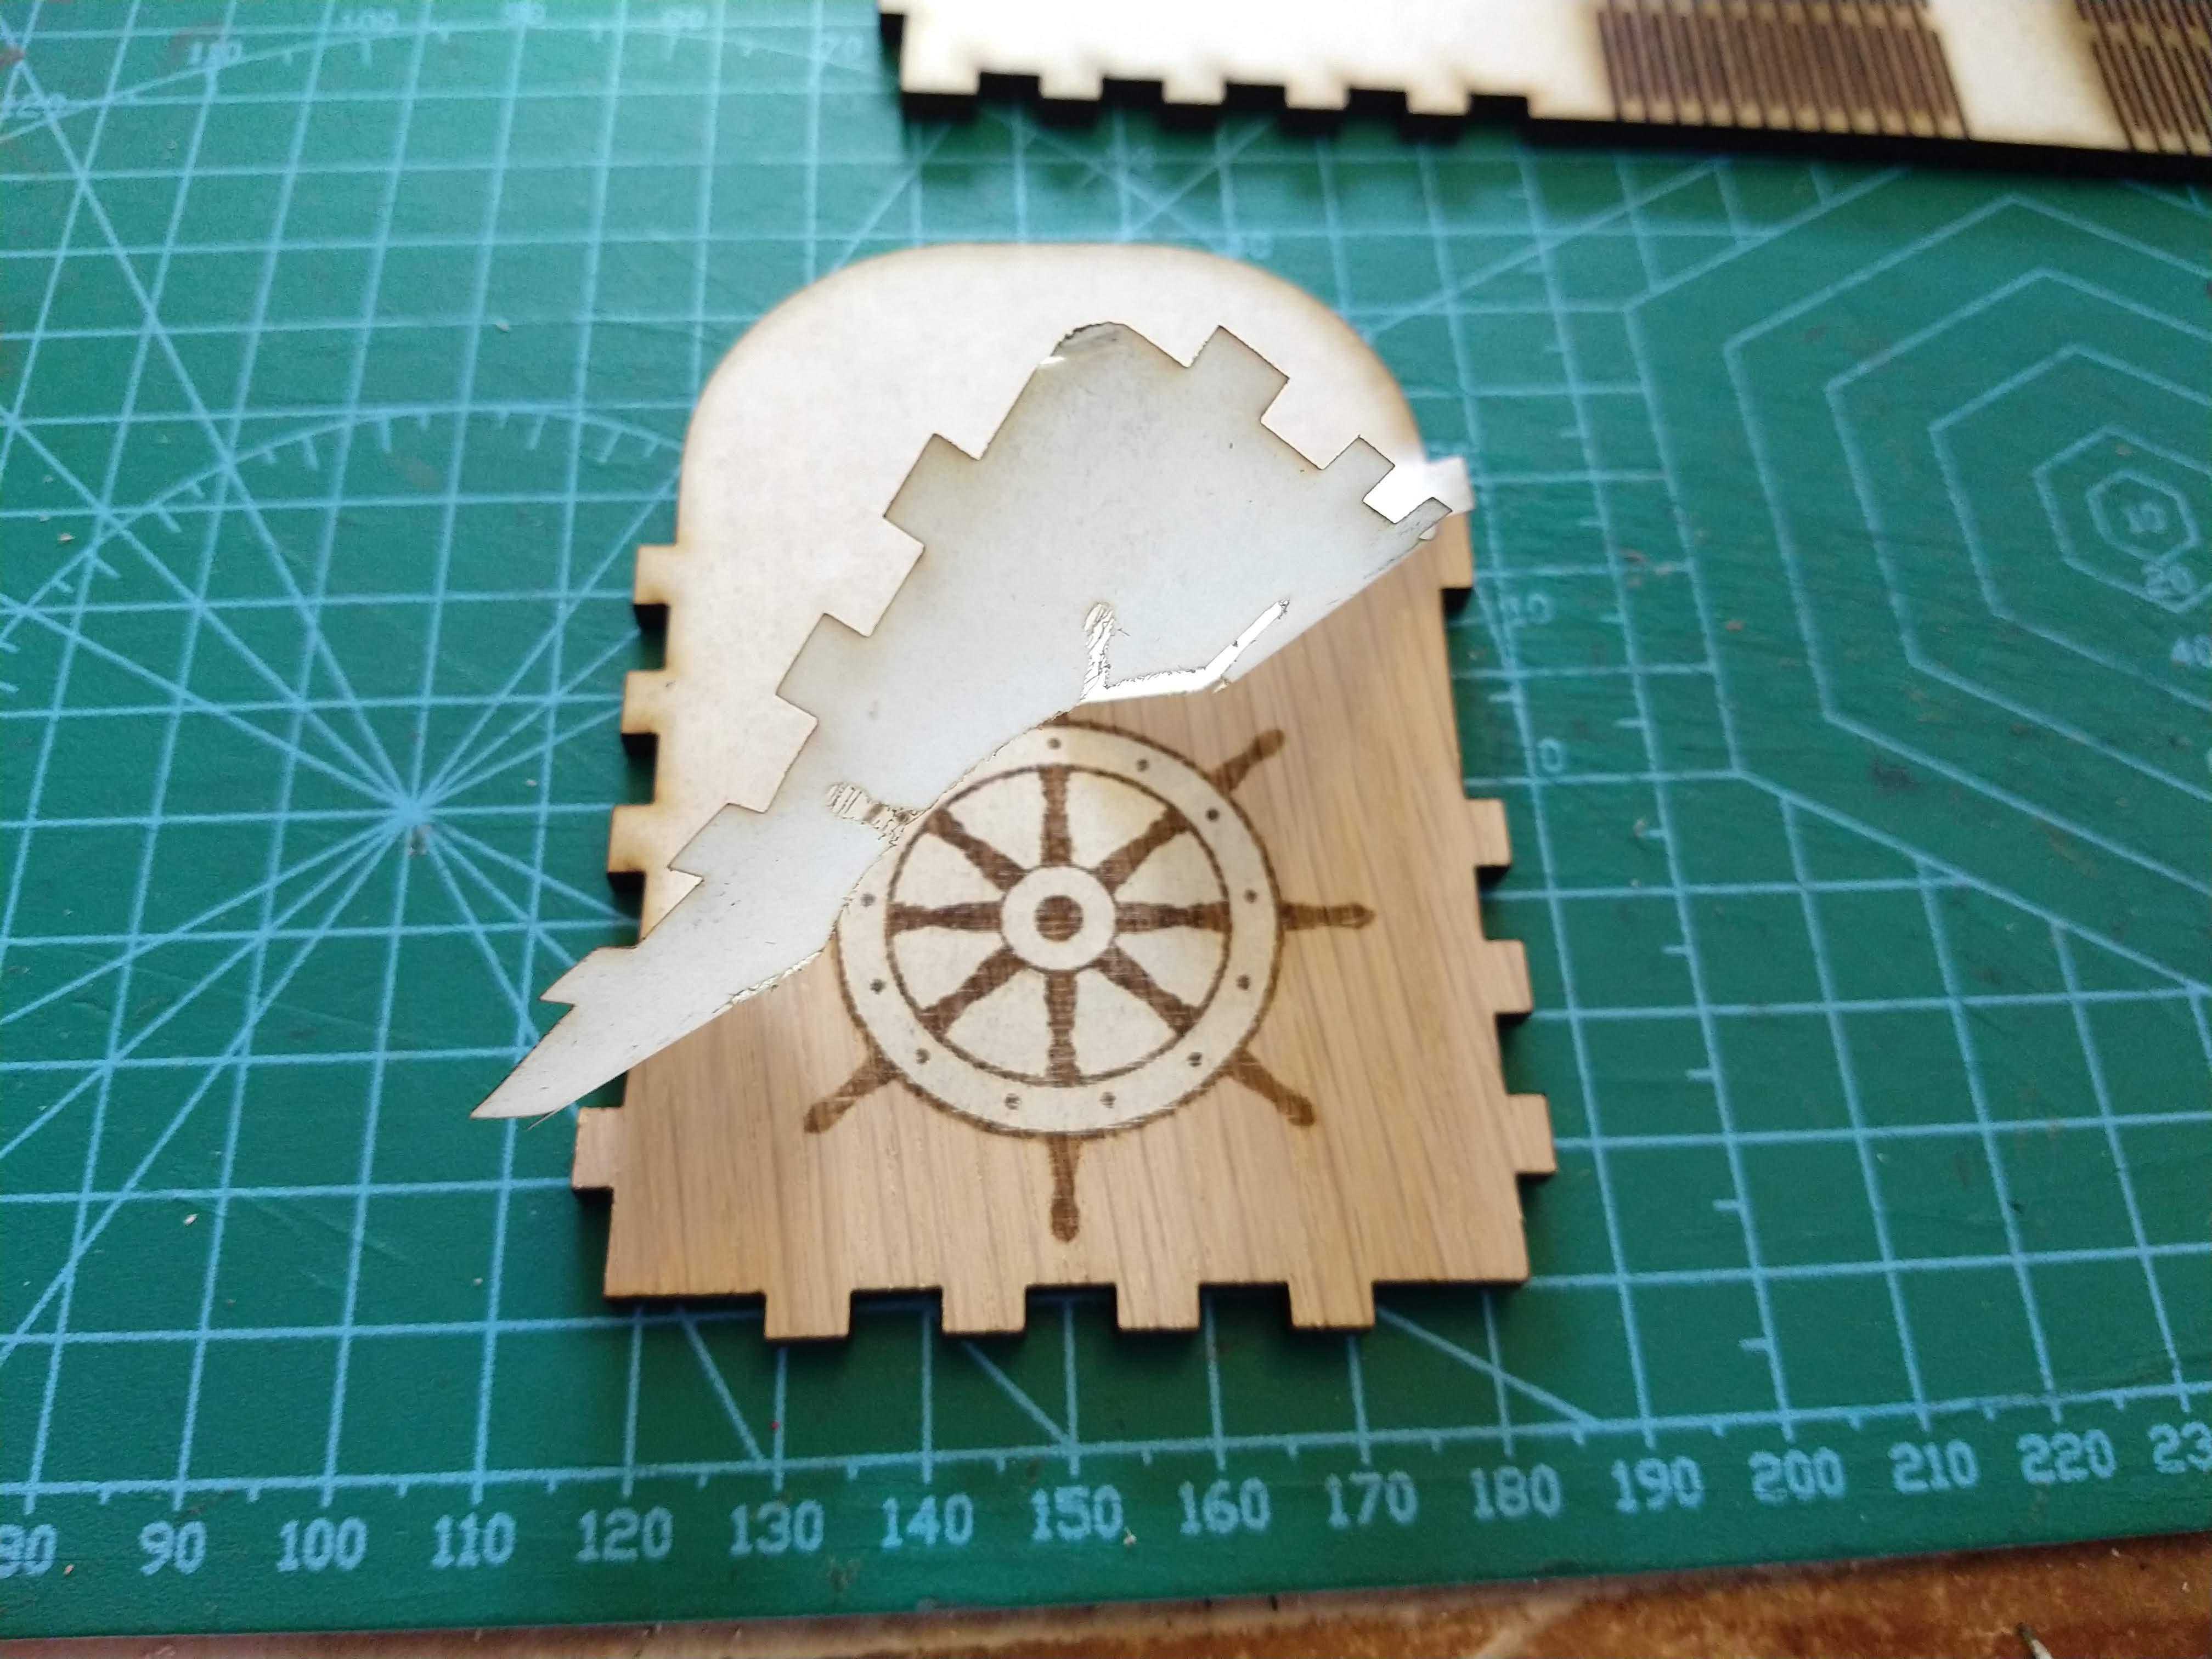
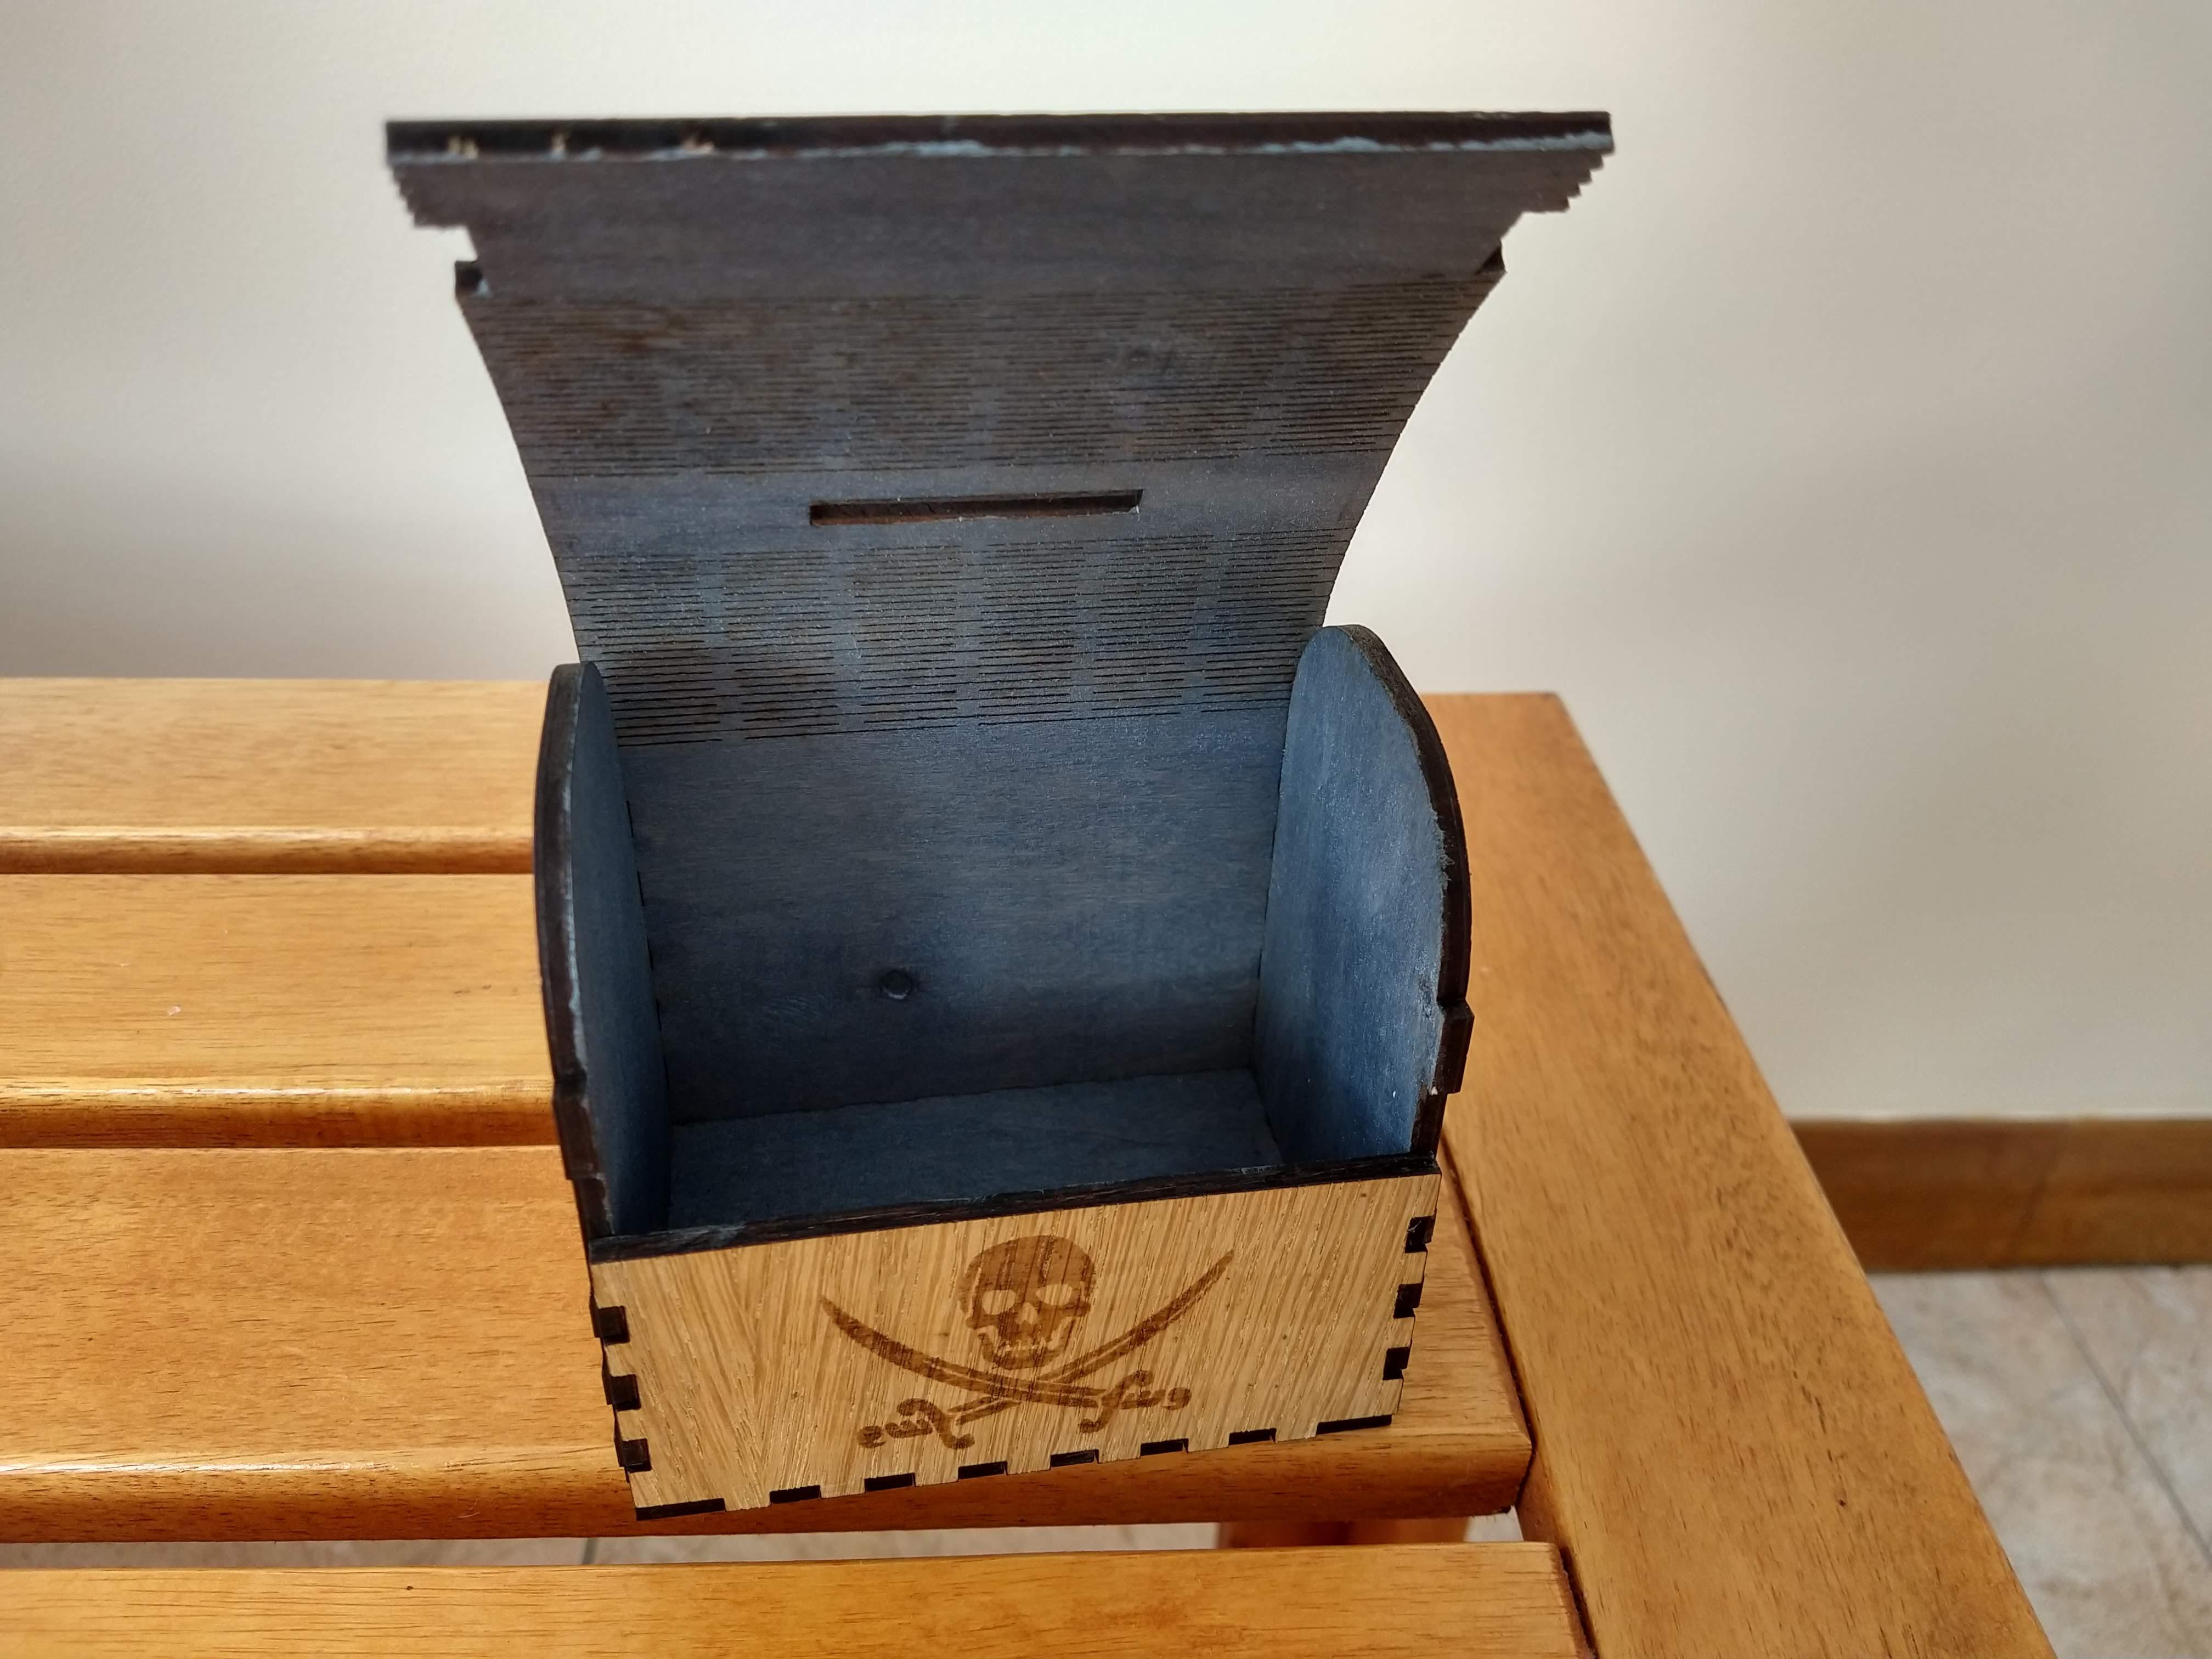
Stain the Reverse Side of the Wood (optional)
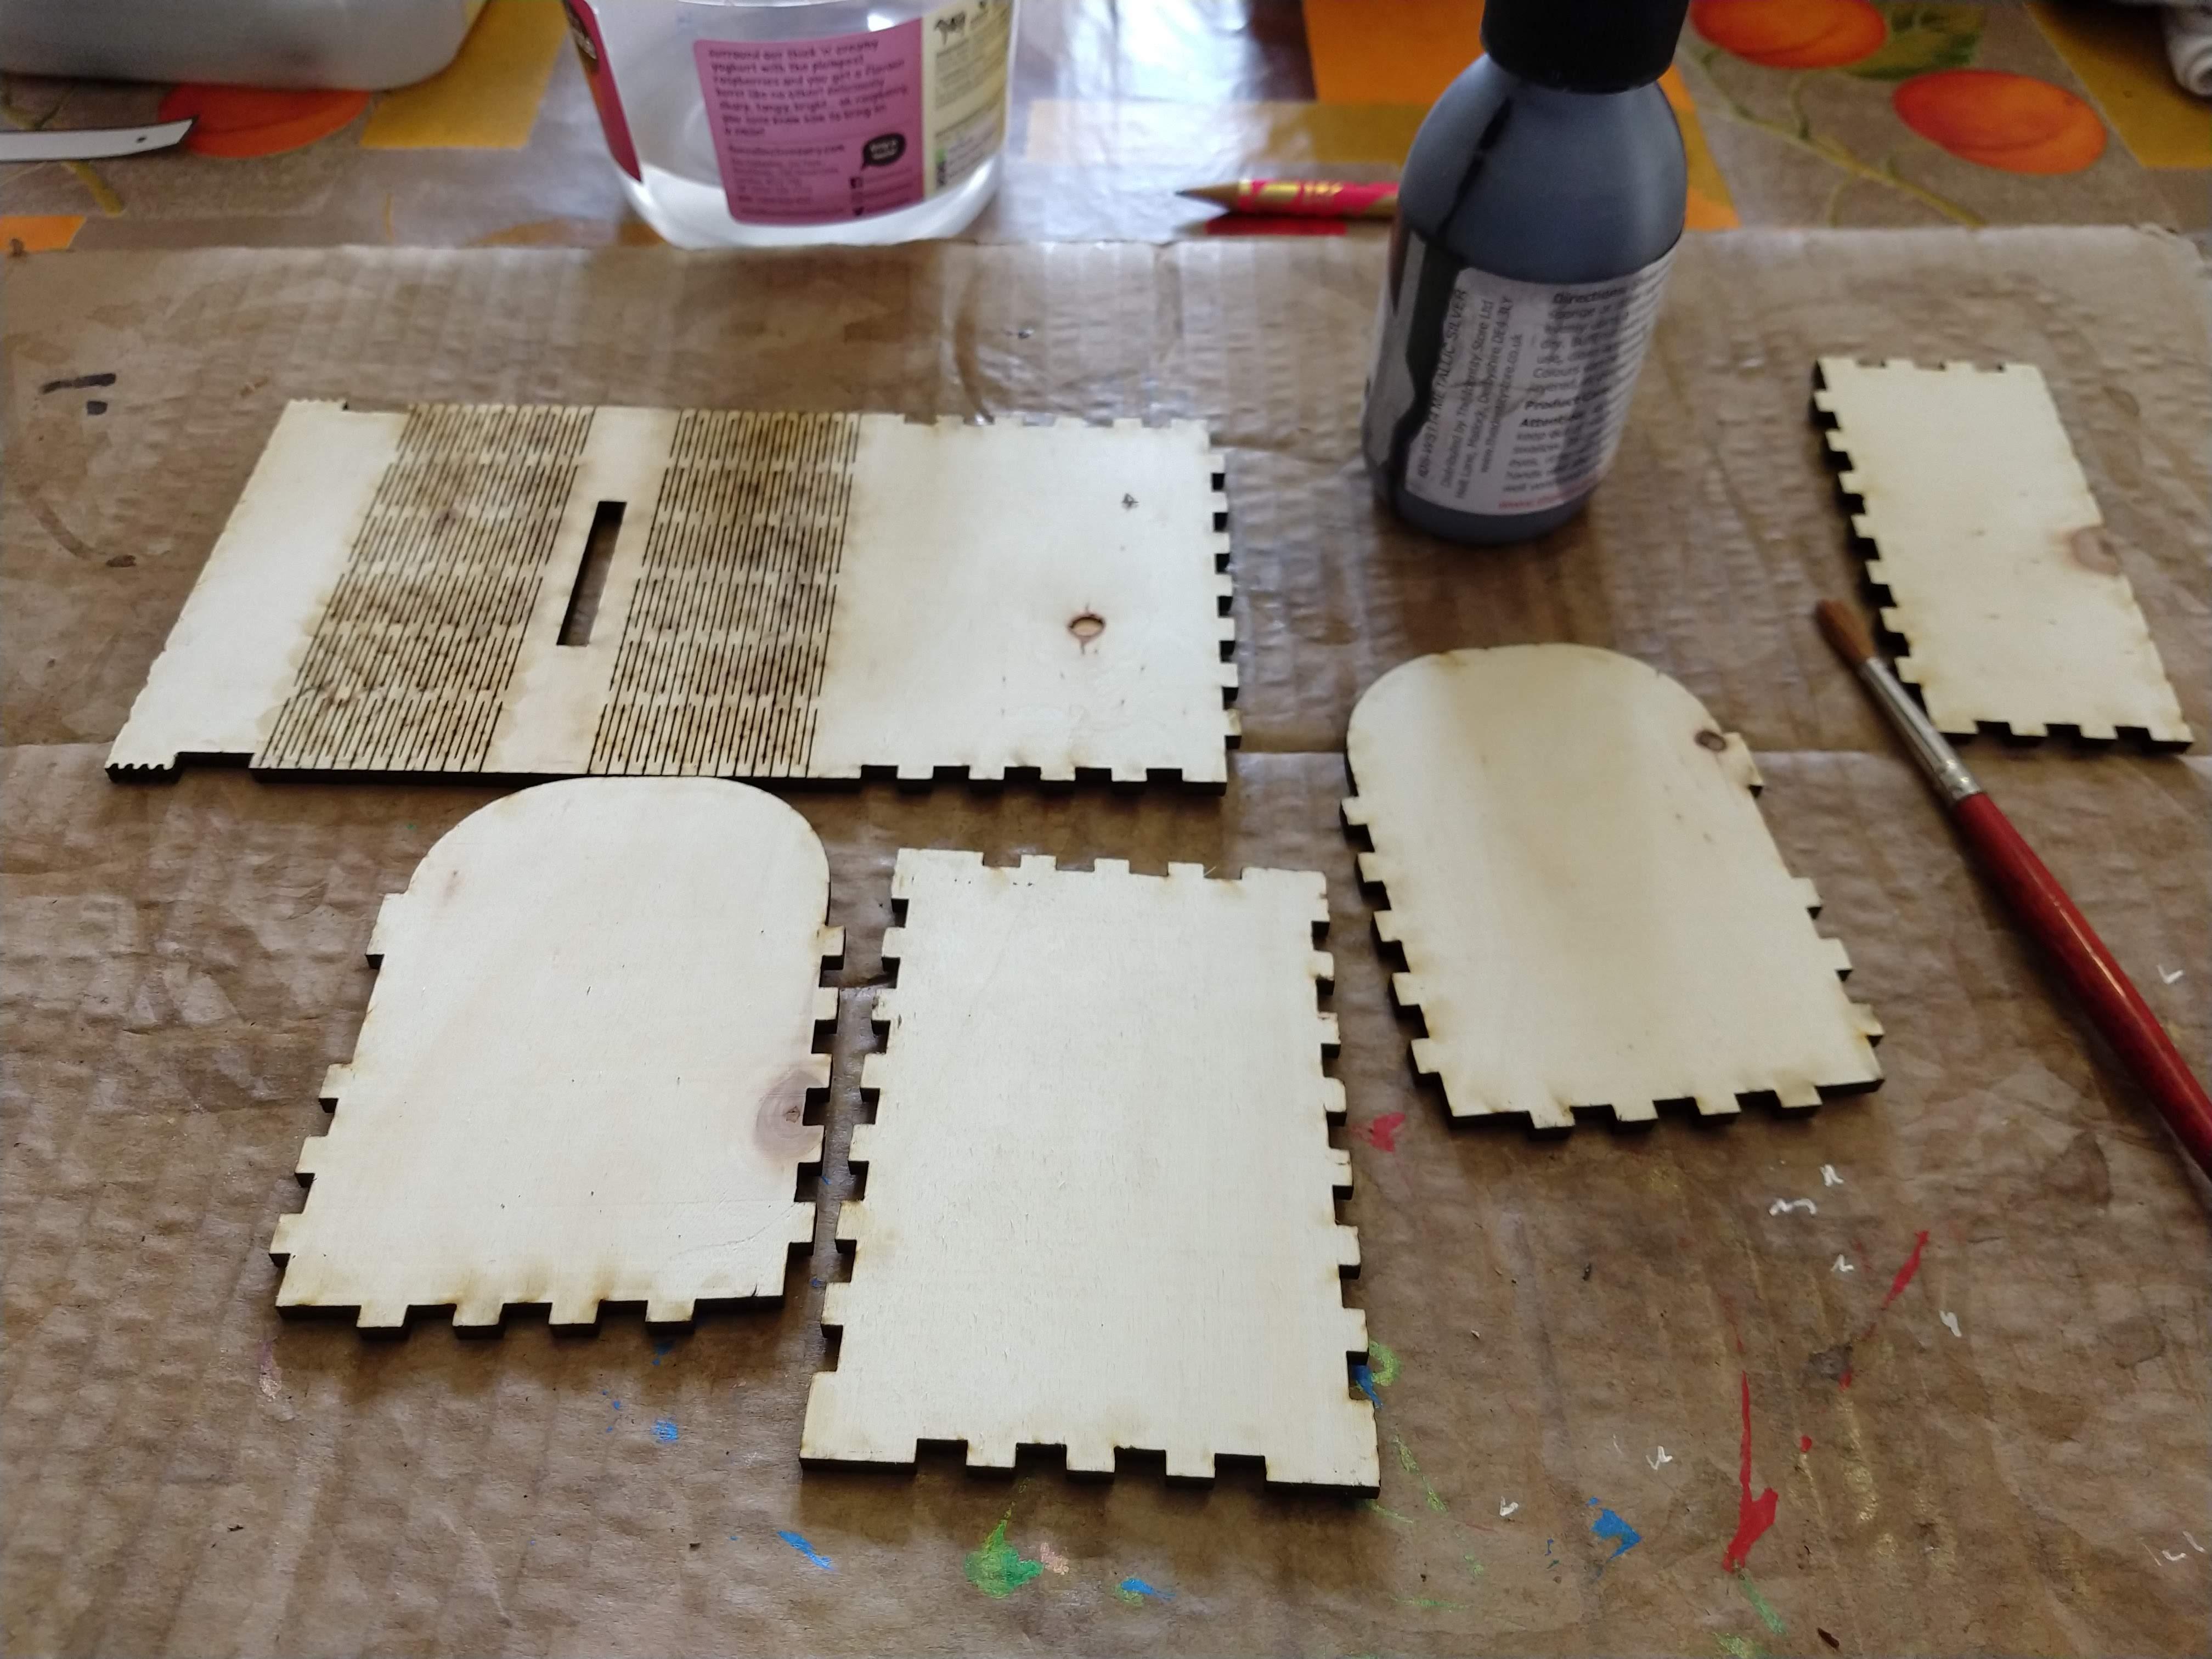

I don't like the reverse side of the wood so I stain it. I'm using a silver stain.
You can see the before and after pictures - so you can make up your mind whether you want to do this or not.
Varnish
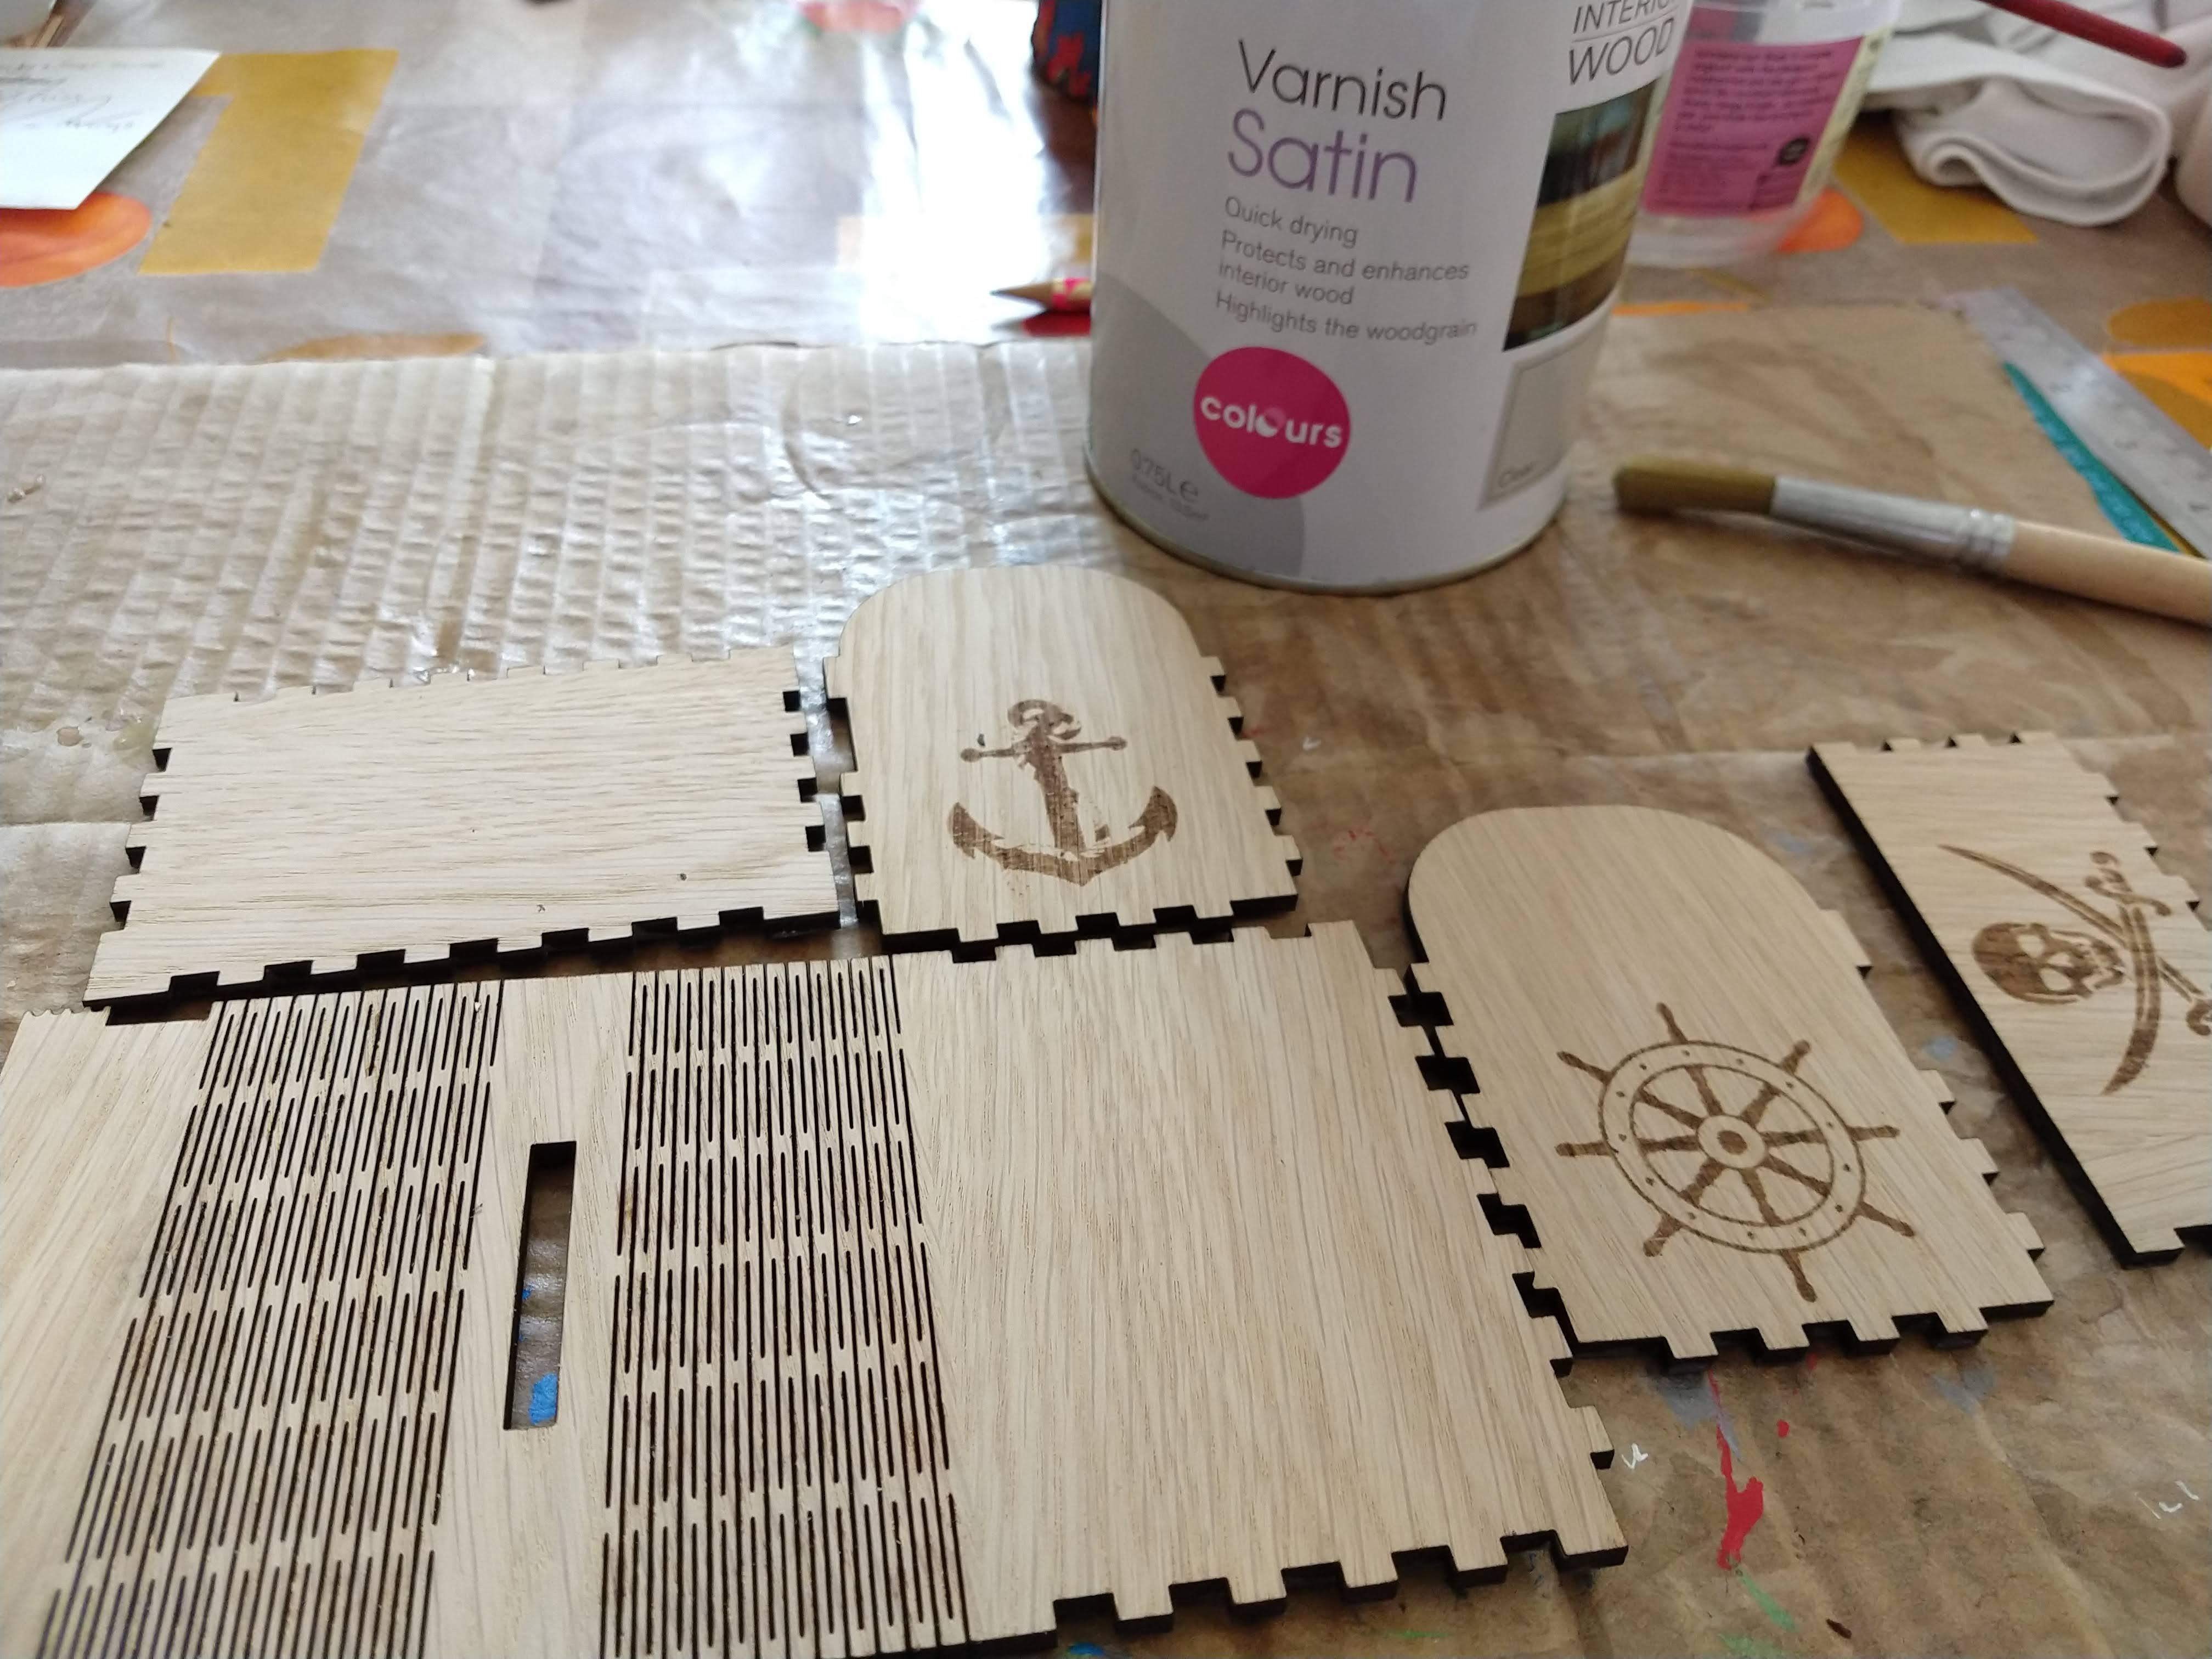

Varnish the outside of the box pieces with clear indoor wood varnish.
Assemble
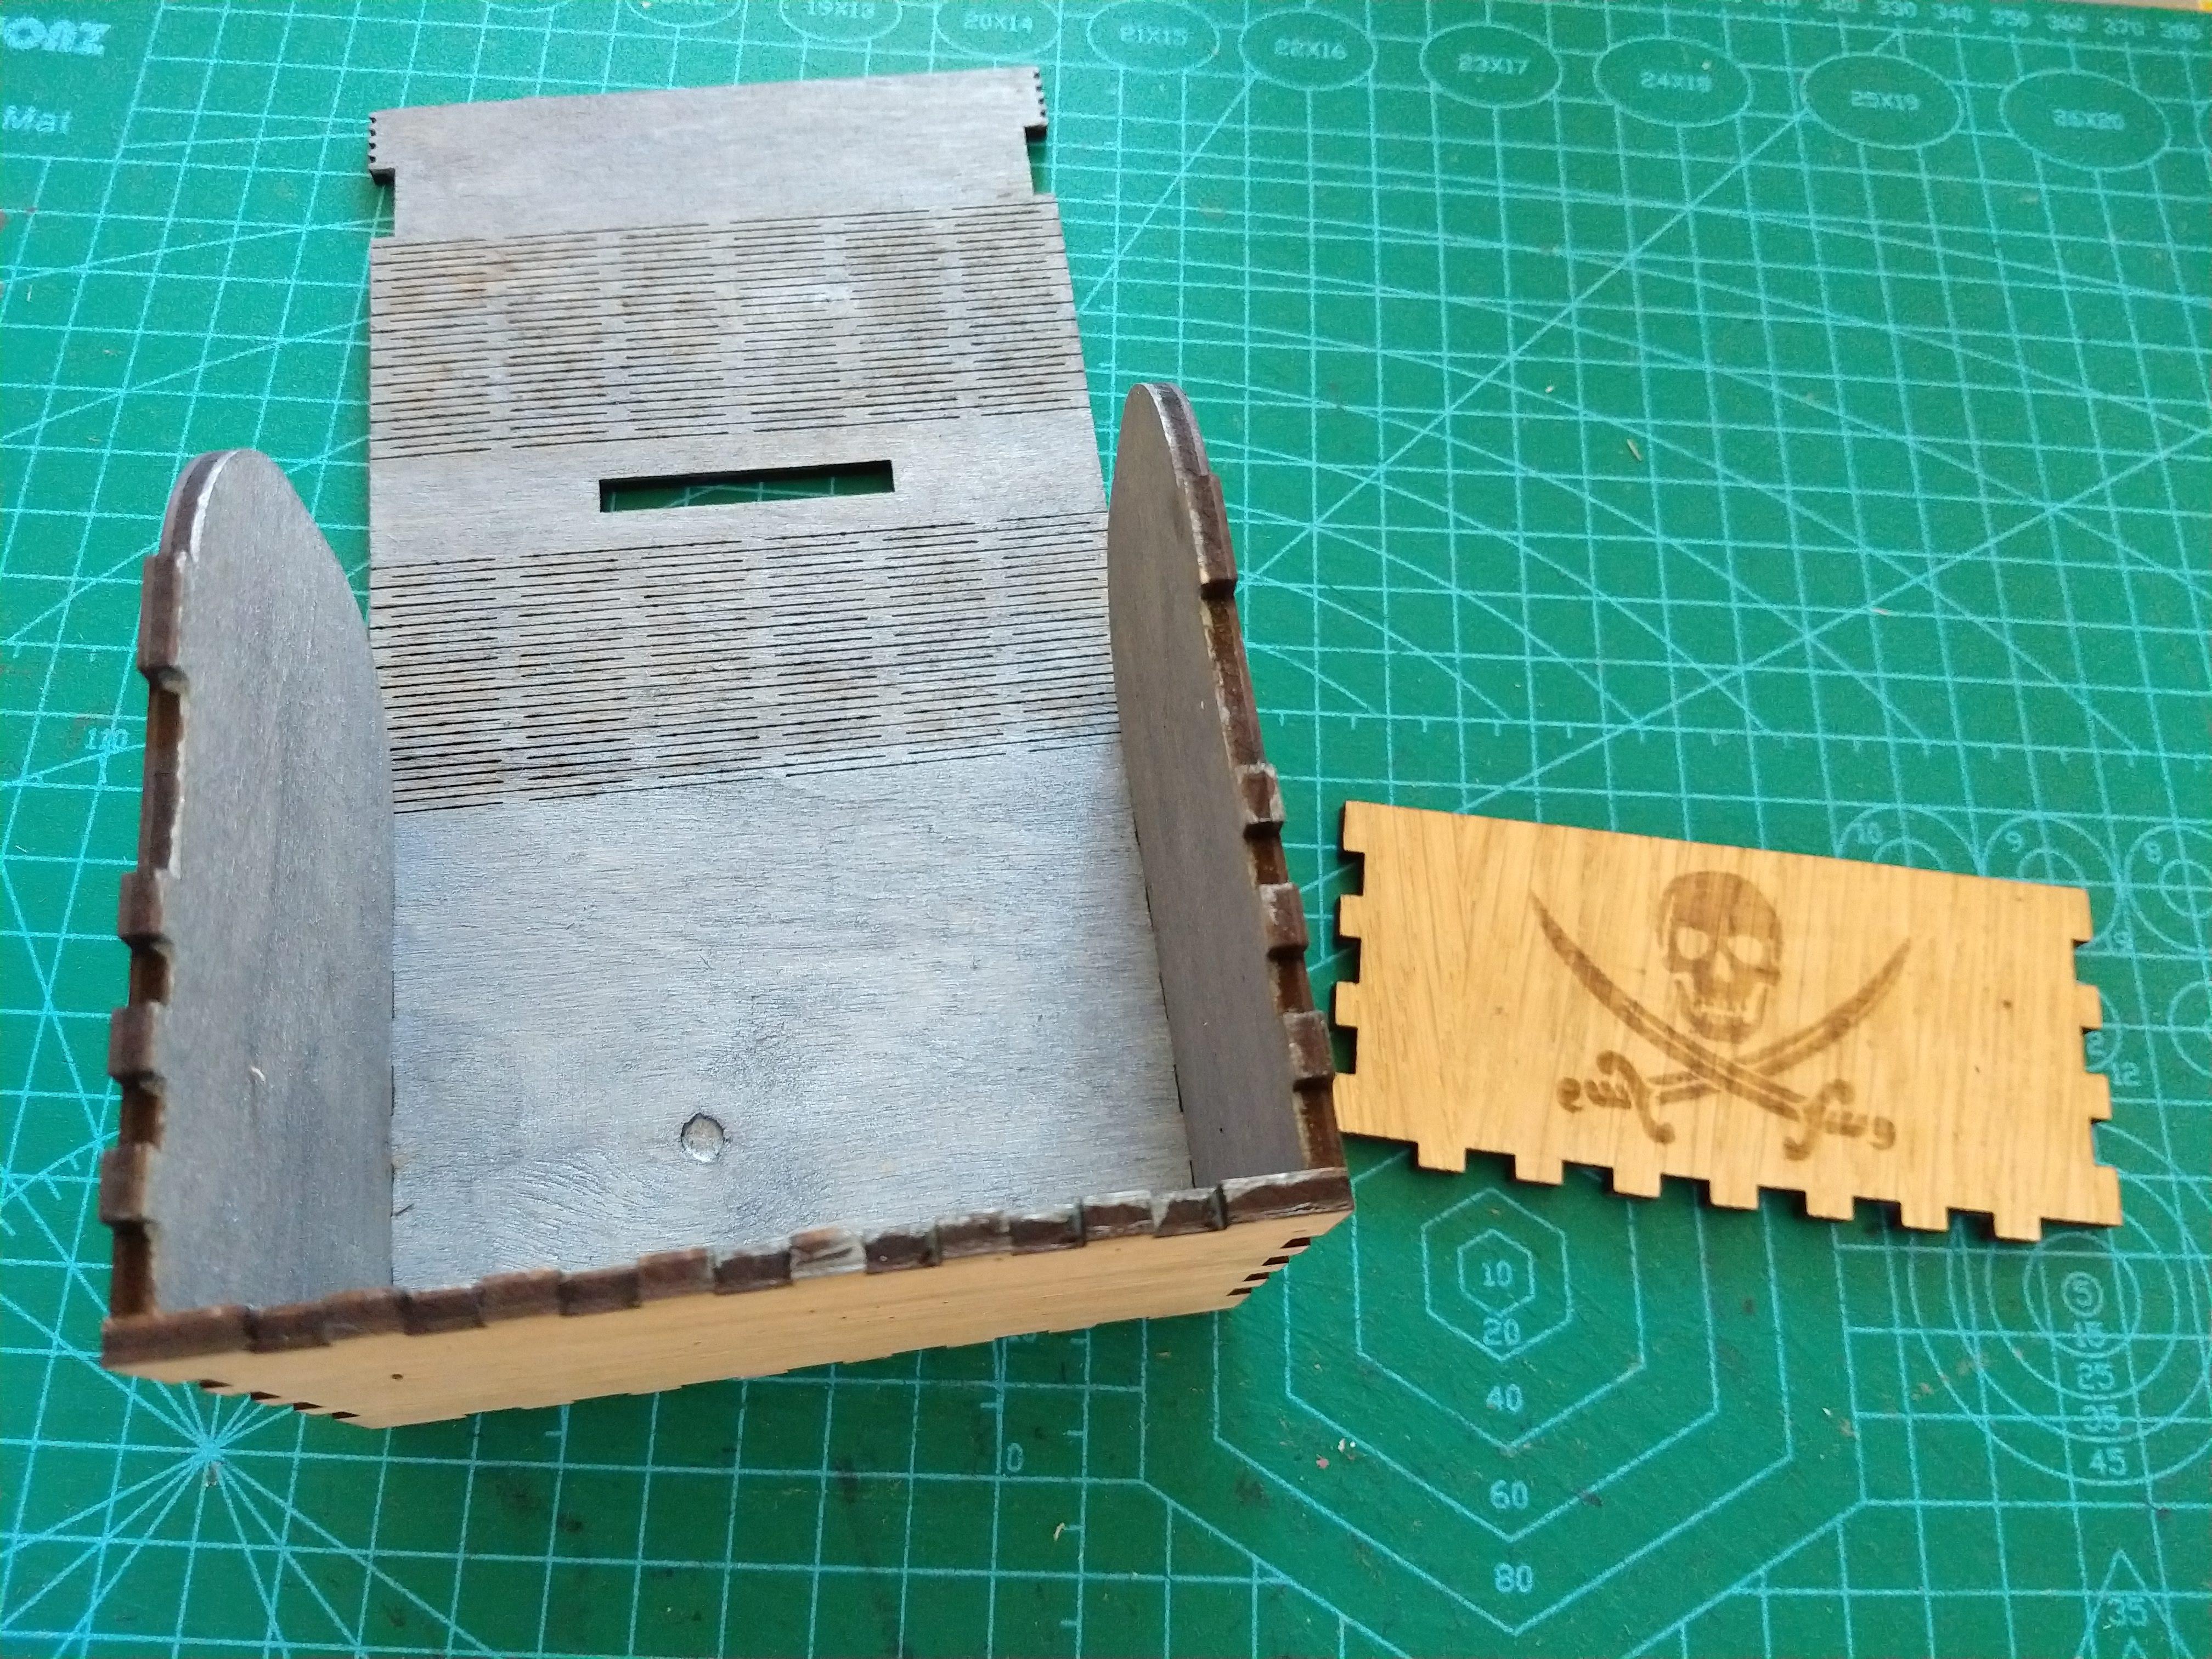
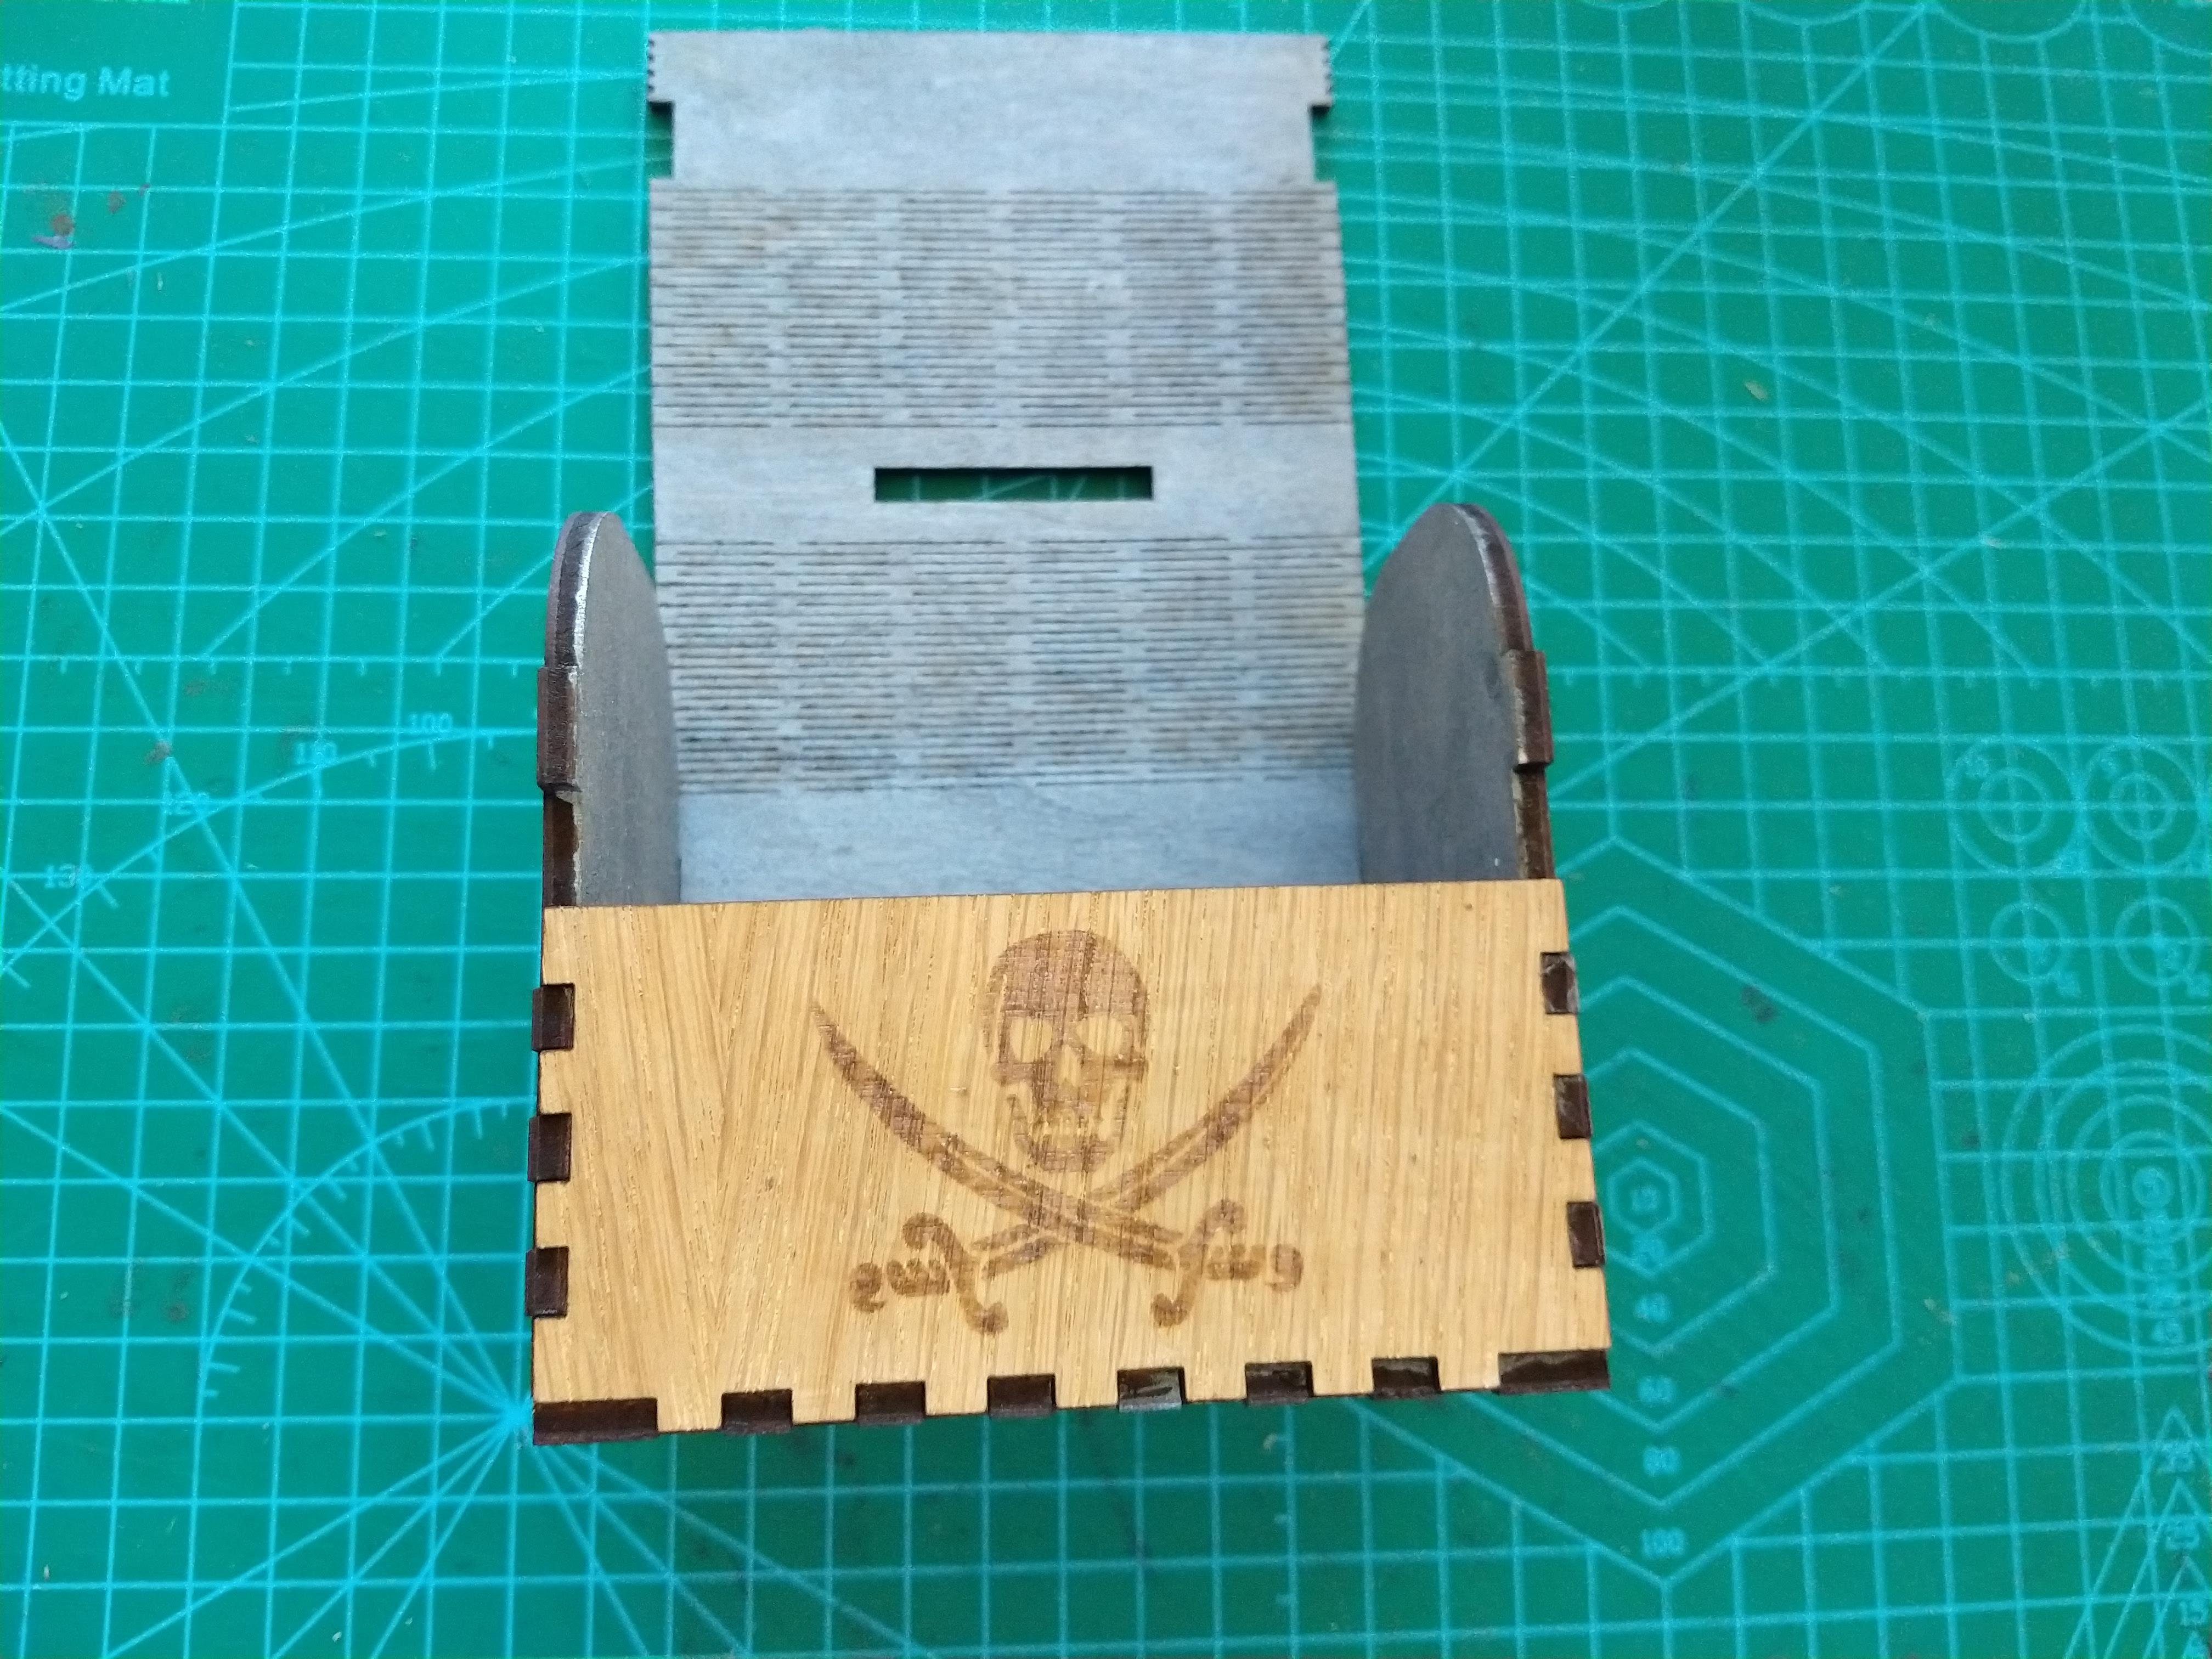
The box is easy to assemble - it just clips together. Start with the base, then attach the sides, the back and the front.
Admire and Use
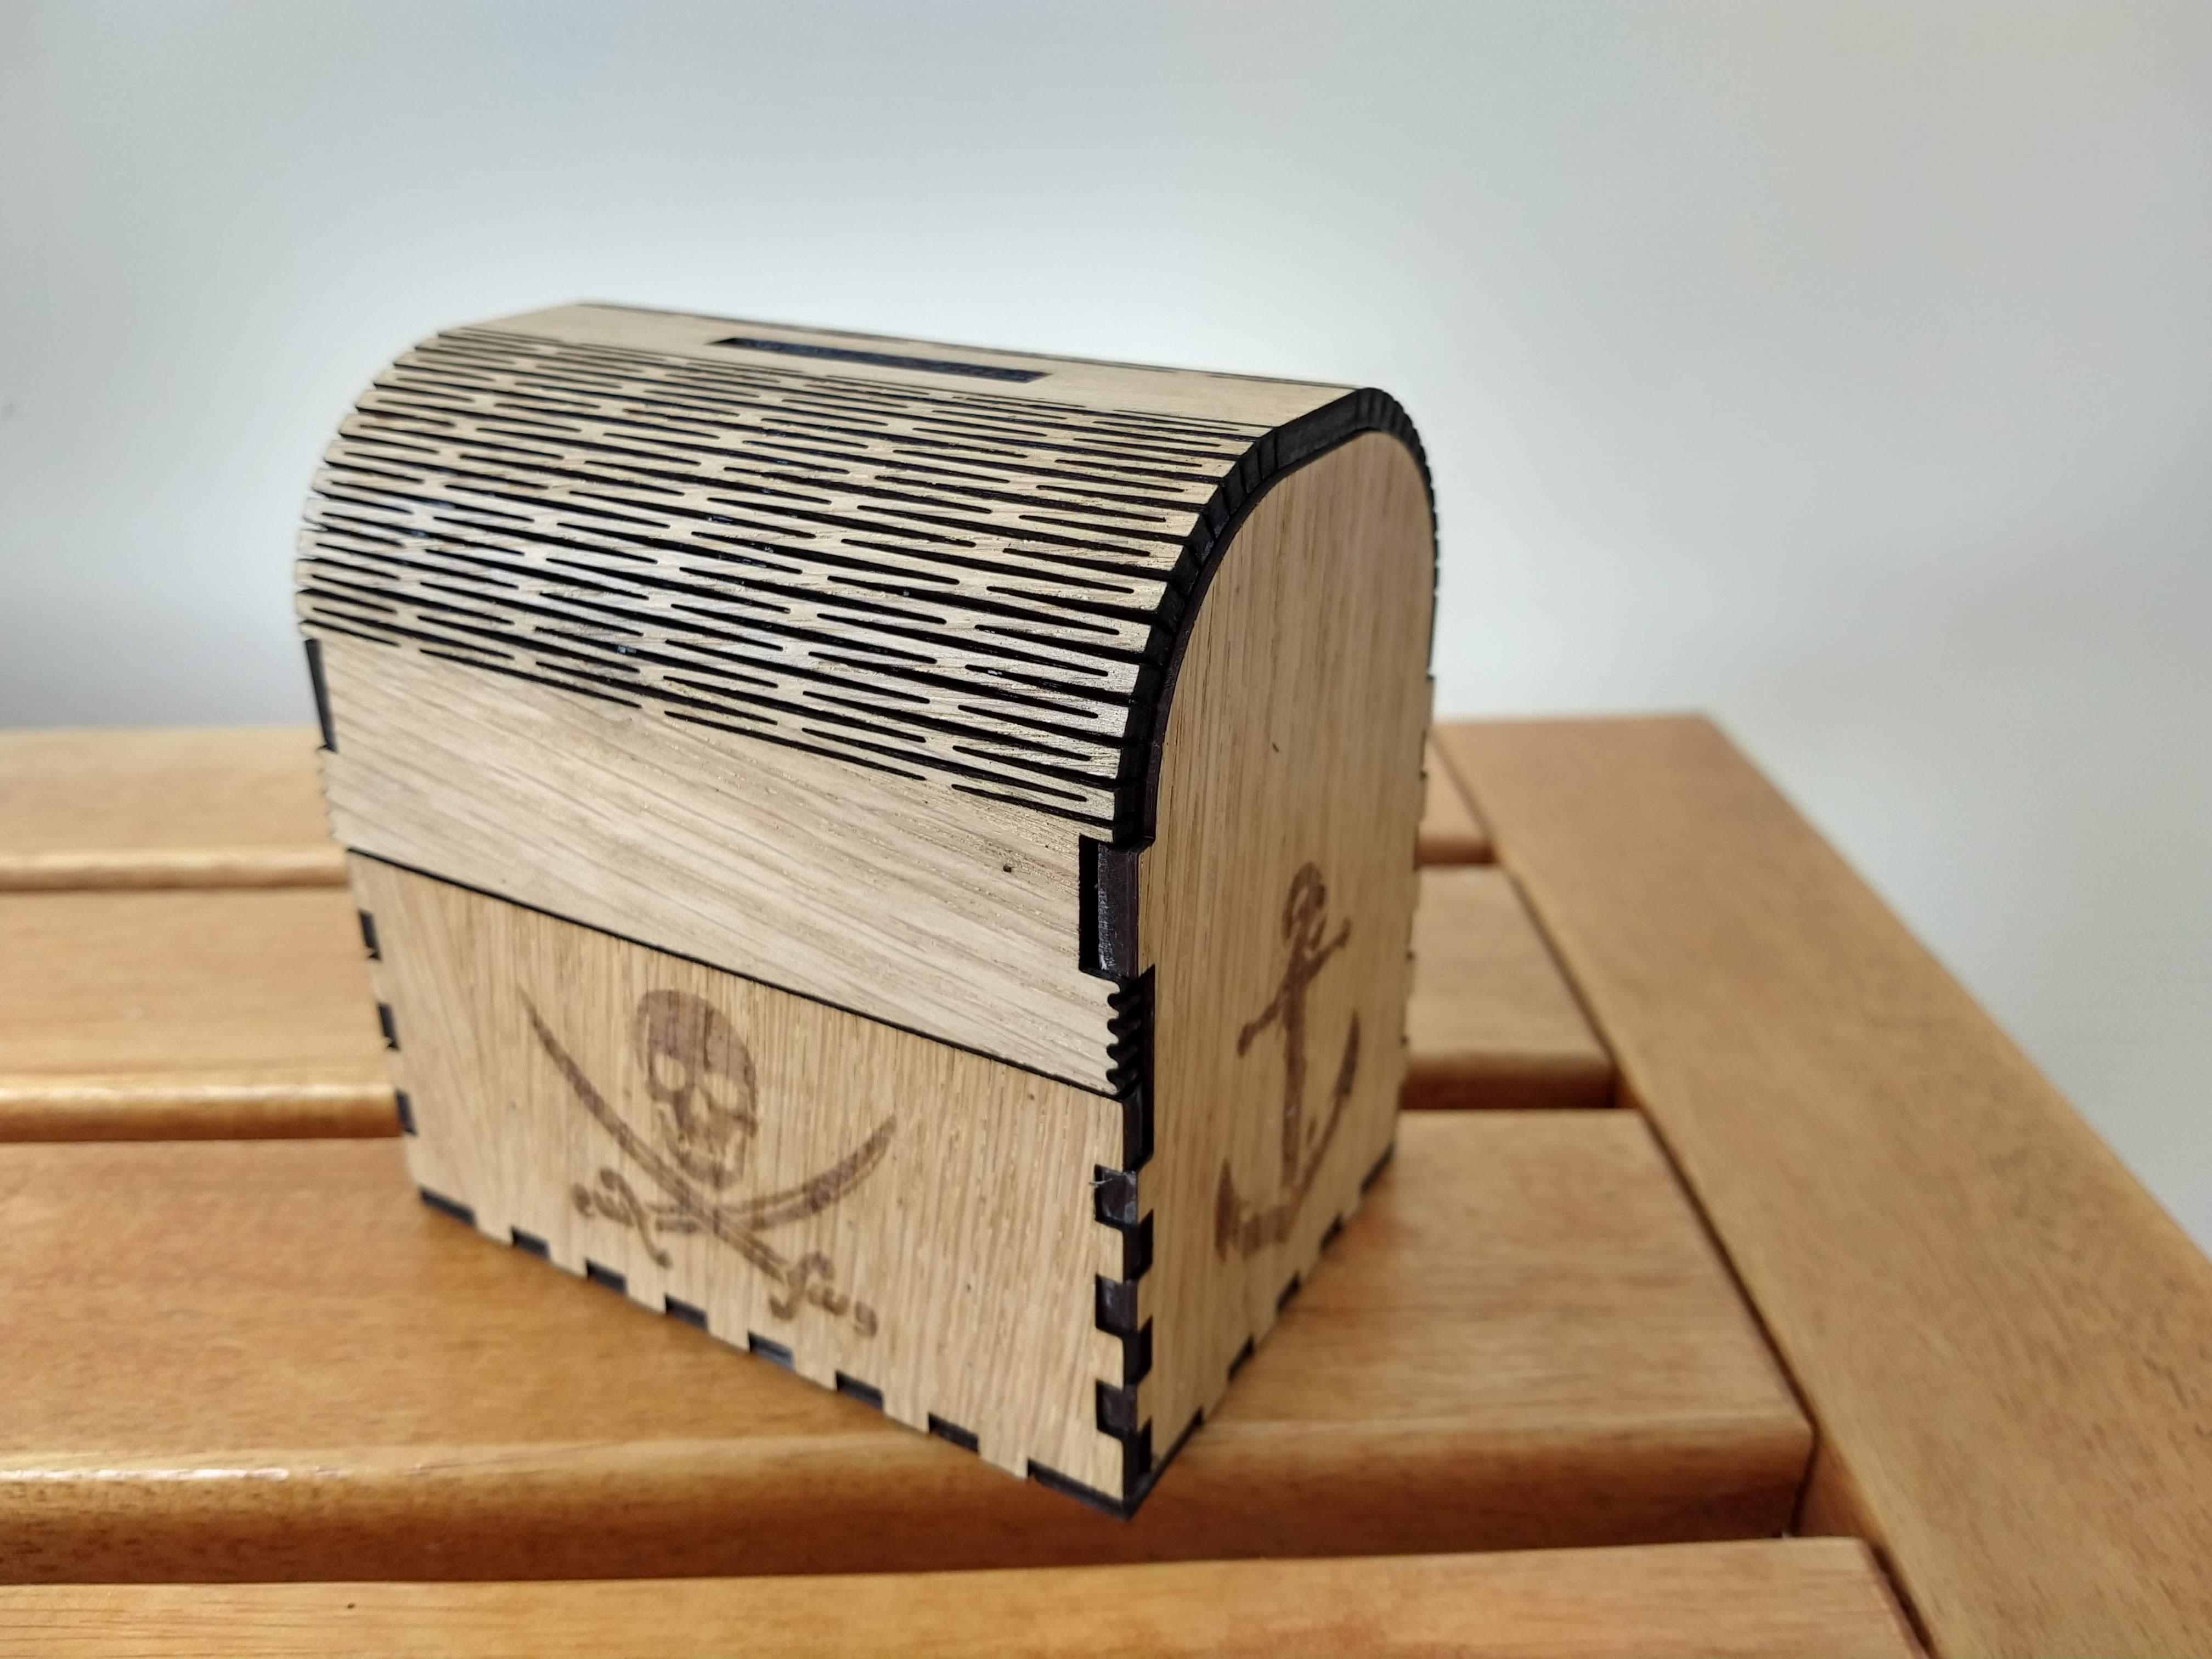
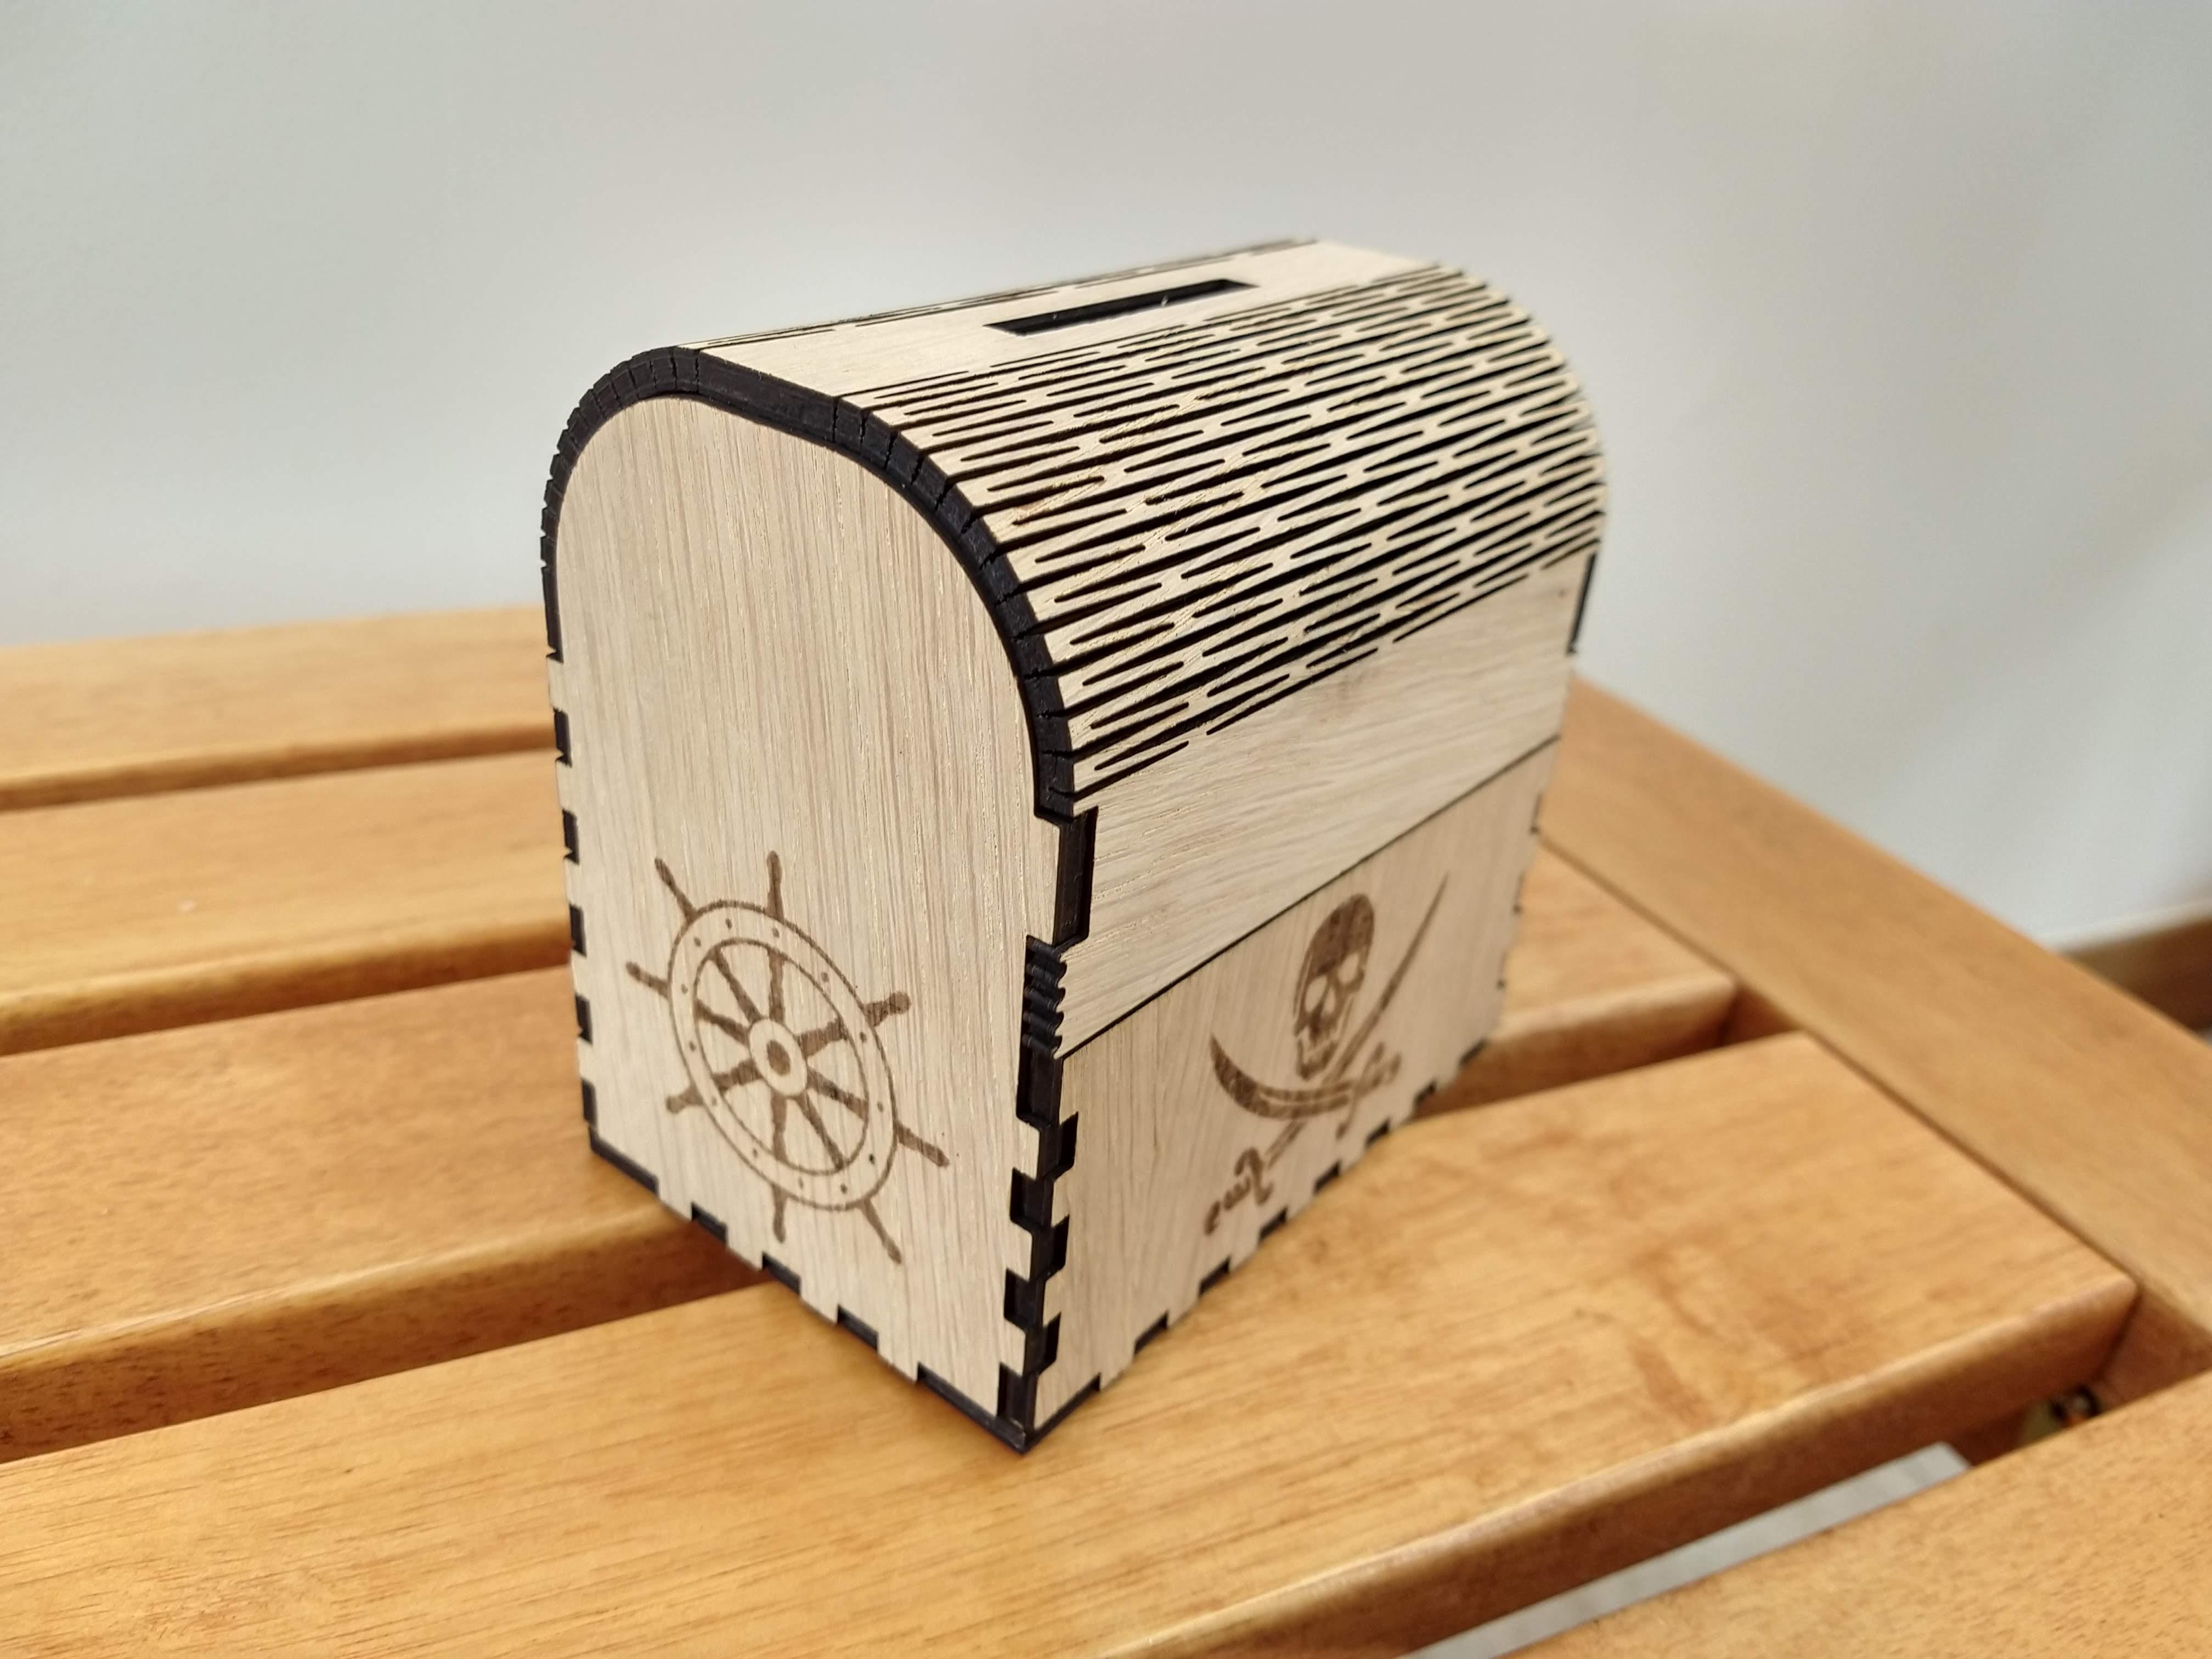
Admire your new pirates treasure chest money box and make sure you fill it with plenty of cash (dubloons and pieces of eight)