Laser Cut Solder Stencil
by harmonytek in Circuits > Electronics
5549 Views, 12 Favorites, 0 Comments
Laser Cut Solder Stencil
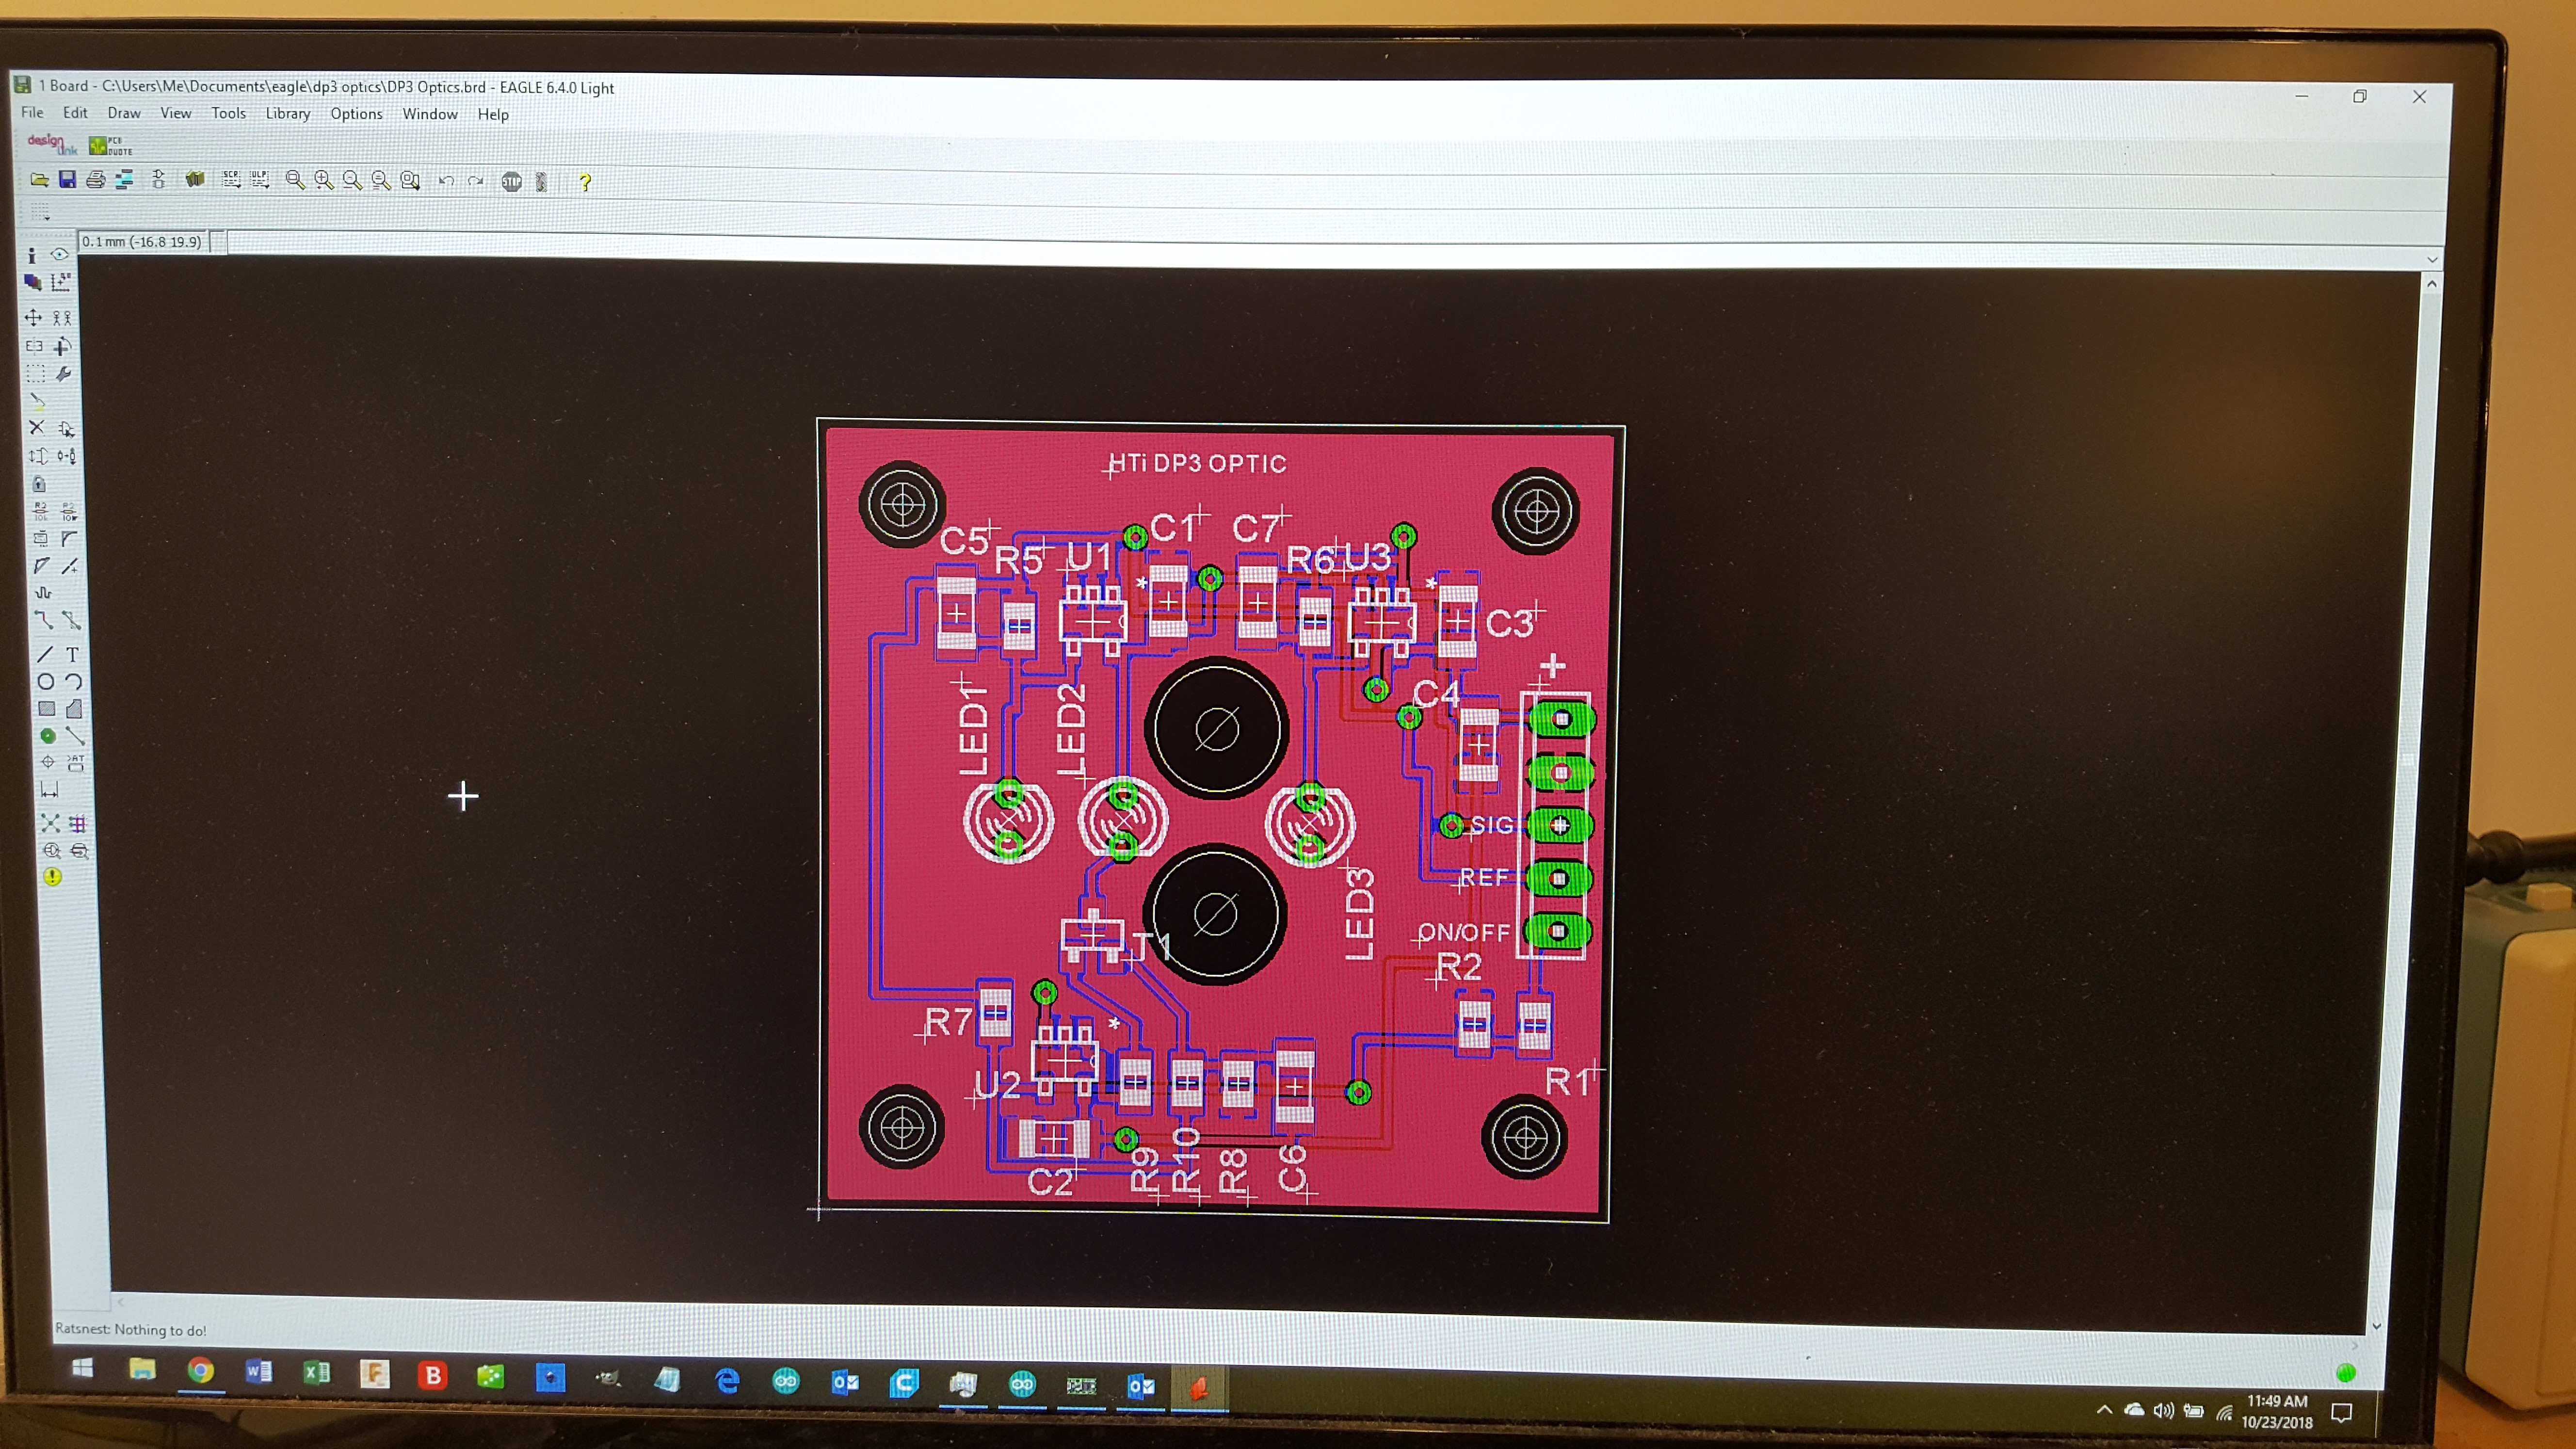
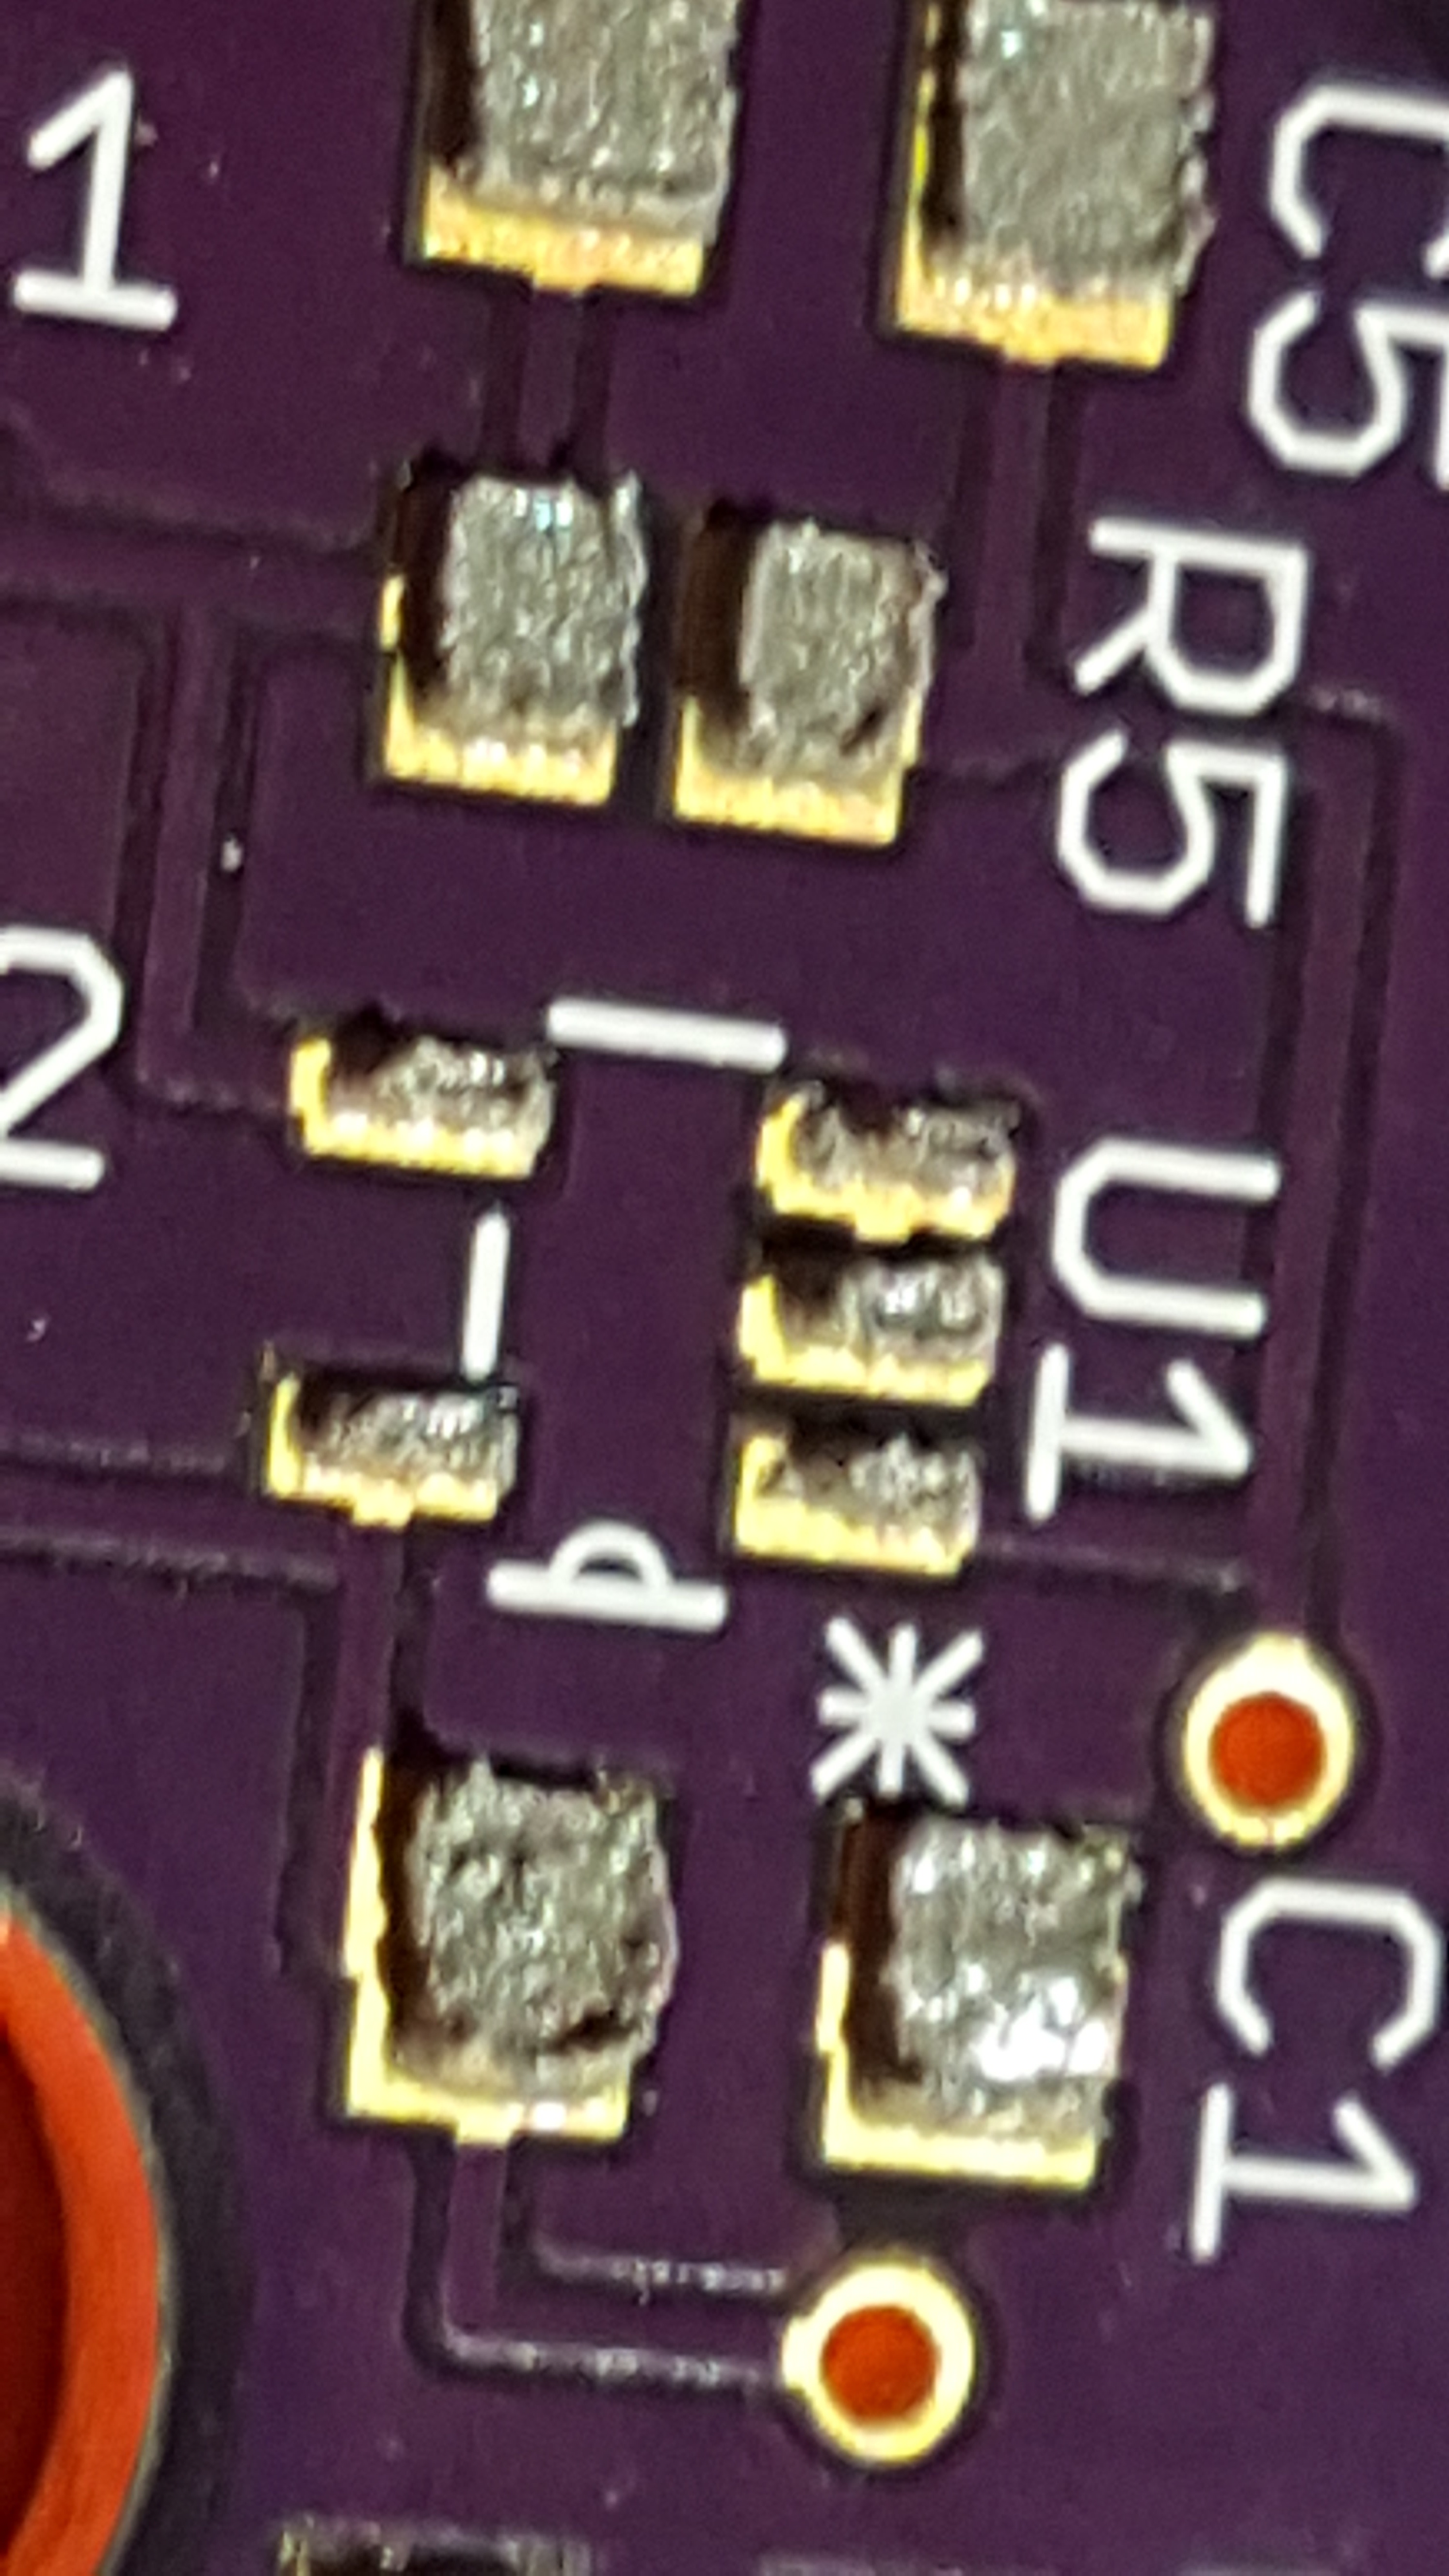
This instructable shows how to make solder paste stencils for low volume or prototype surface mount PCBs using a laser cutter. It has been tested with Epilog and CCL (cheap chinese laser engraver such as JSM 40) and should work on almost any other type of laser cutter that can handle raster format and has enough power to cut paper.
Spoiler alert: The secret sauce of this instructable is to cut living hinges into the stencil so the stencil self aligns with the PCB.
The first step is to have a PCB design. Actual PCB design is beyond the scope of this instructable. In the example photos the PCB has been designed in Eagle, a common software package.
Turn Off Layers
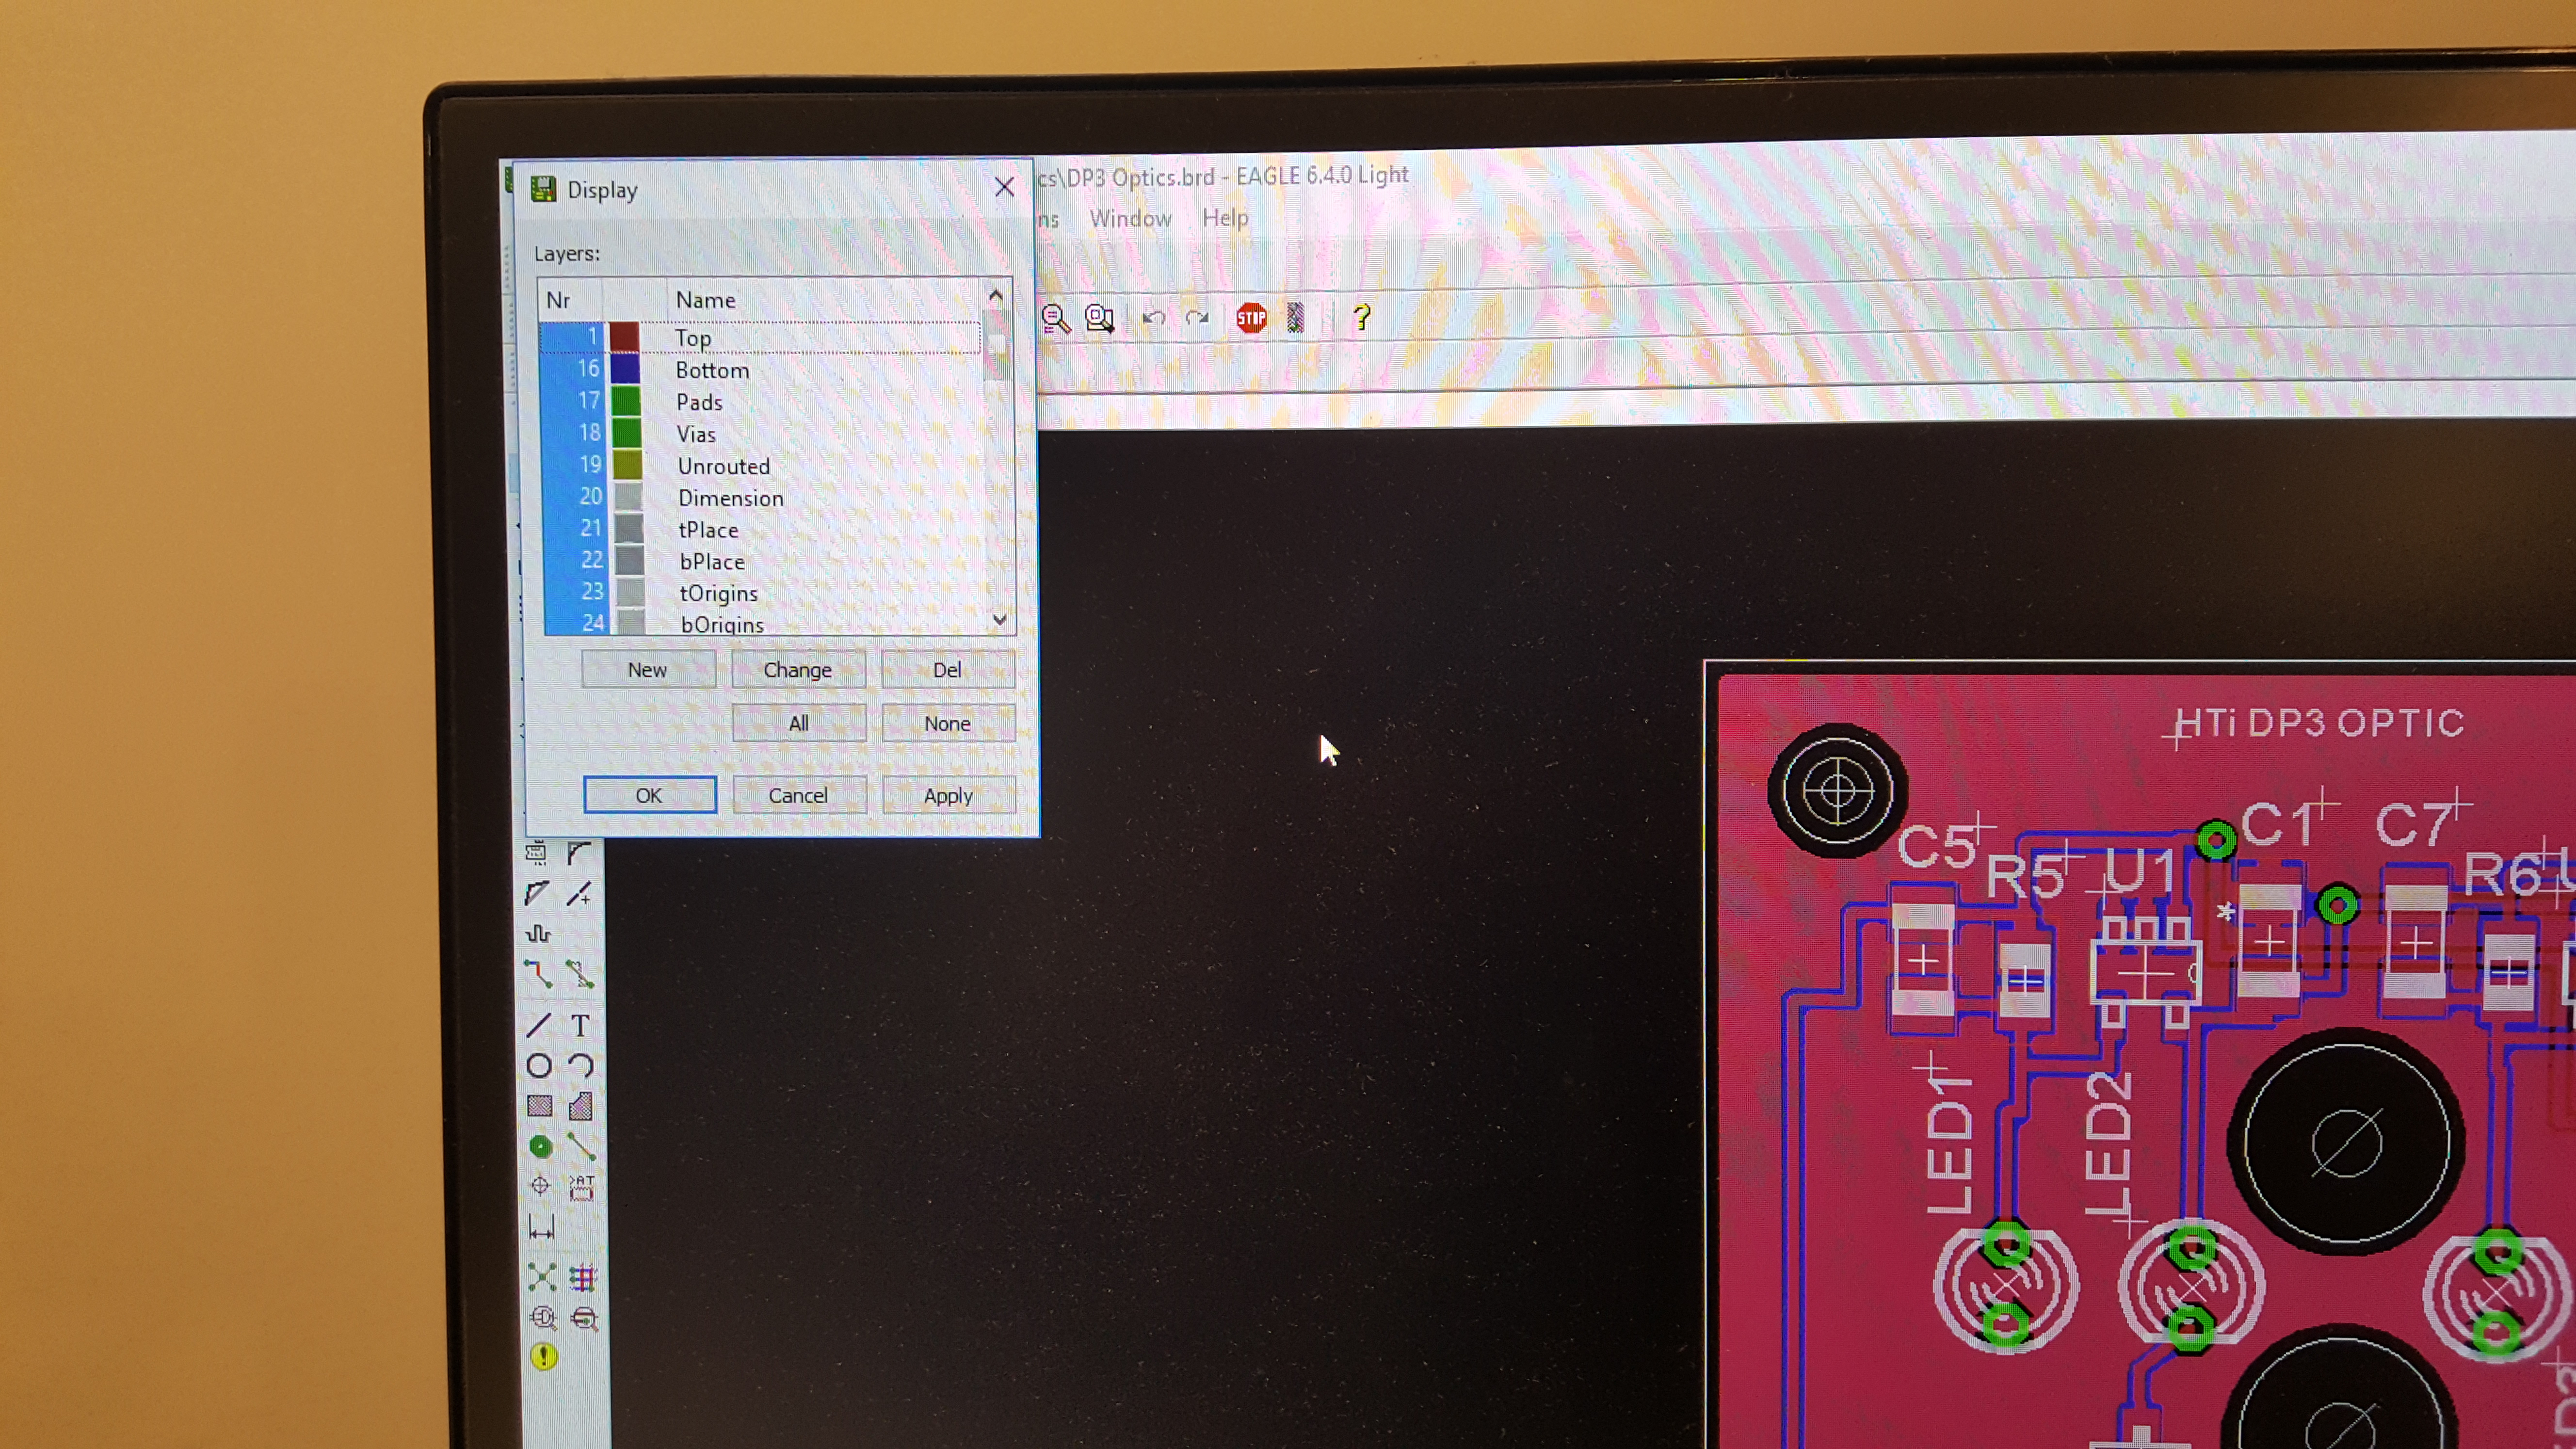
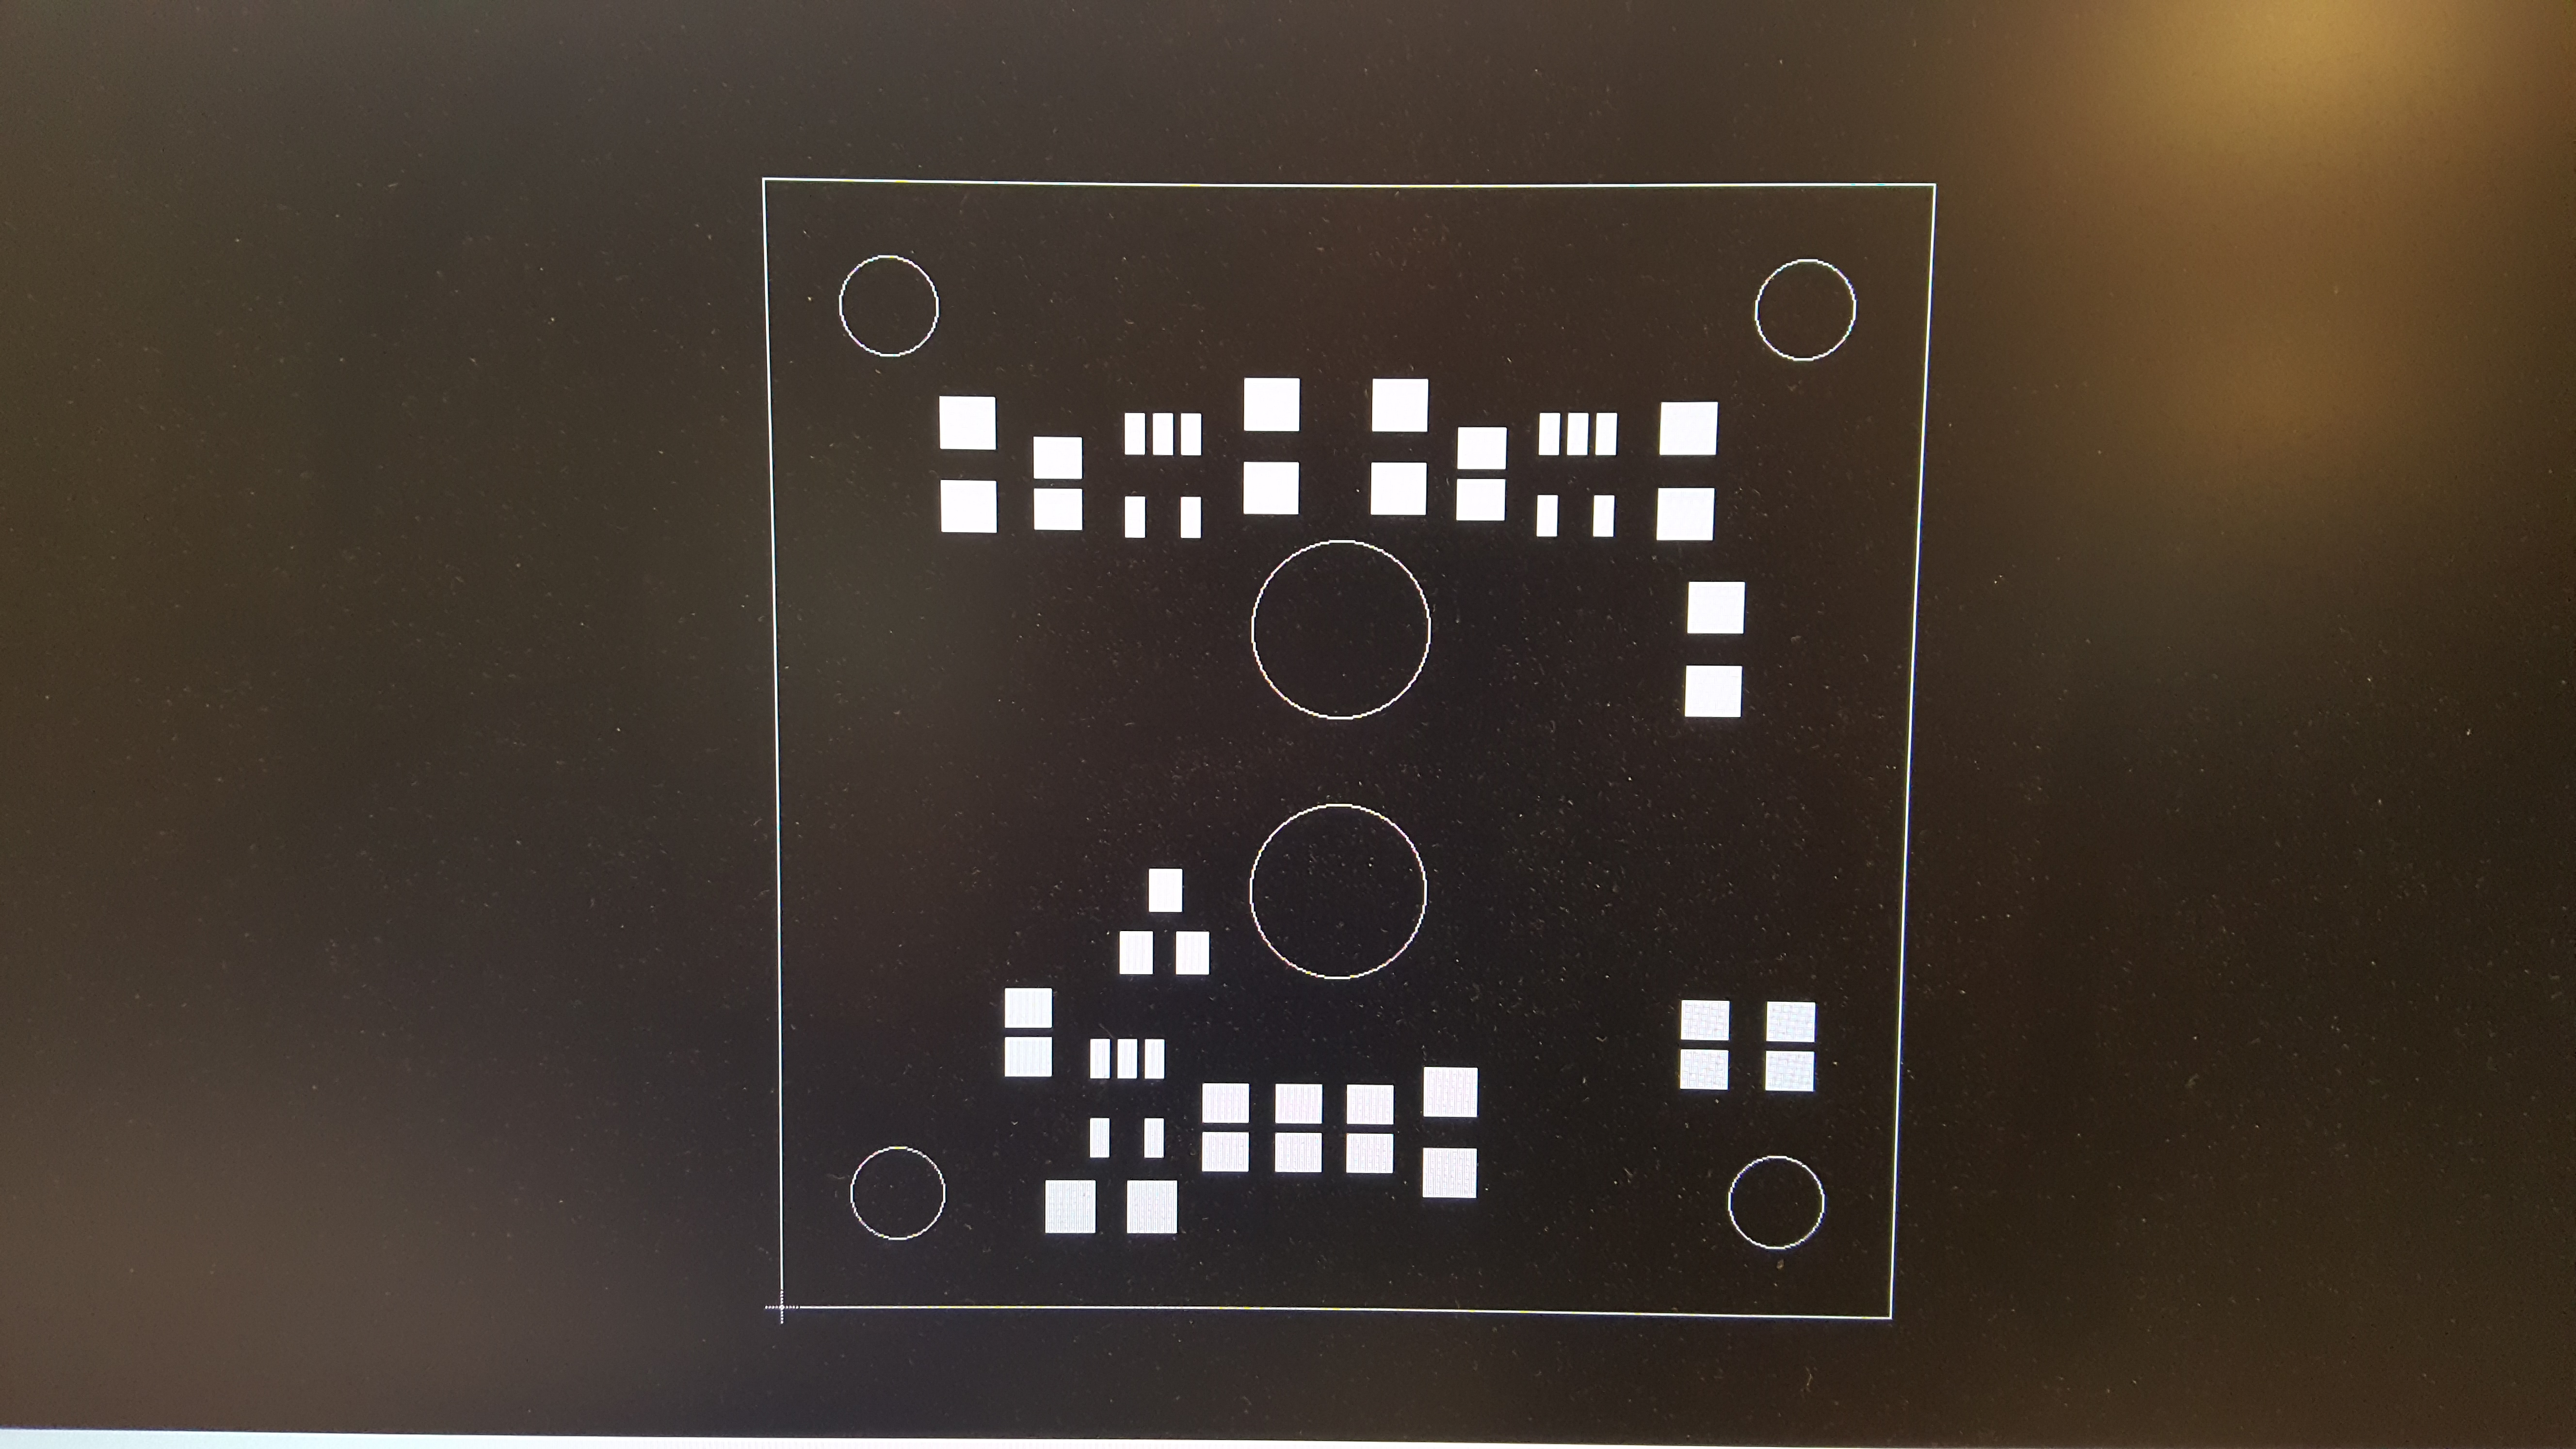
To generate a clean stencil image, turn off all layers except paste and dimension. Make sure that the dimension lines have some width (some PCB layout packages give dimension lines zero width; check "line", "properties"). If the lines have zero width, edit them.
Ensure that the visible layers are solid color, not cross hatched.
Paste is the area that you want to cover in solder paste.
Dimension is the outline of the PCB, which usually includes holes.
Export the result as an image file such as .png or .jpg for processing in an image processing program.
Process the Image
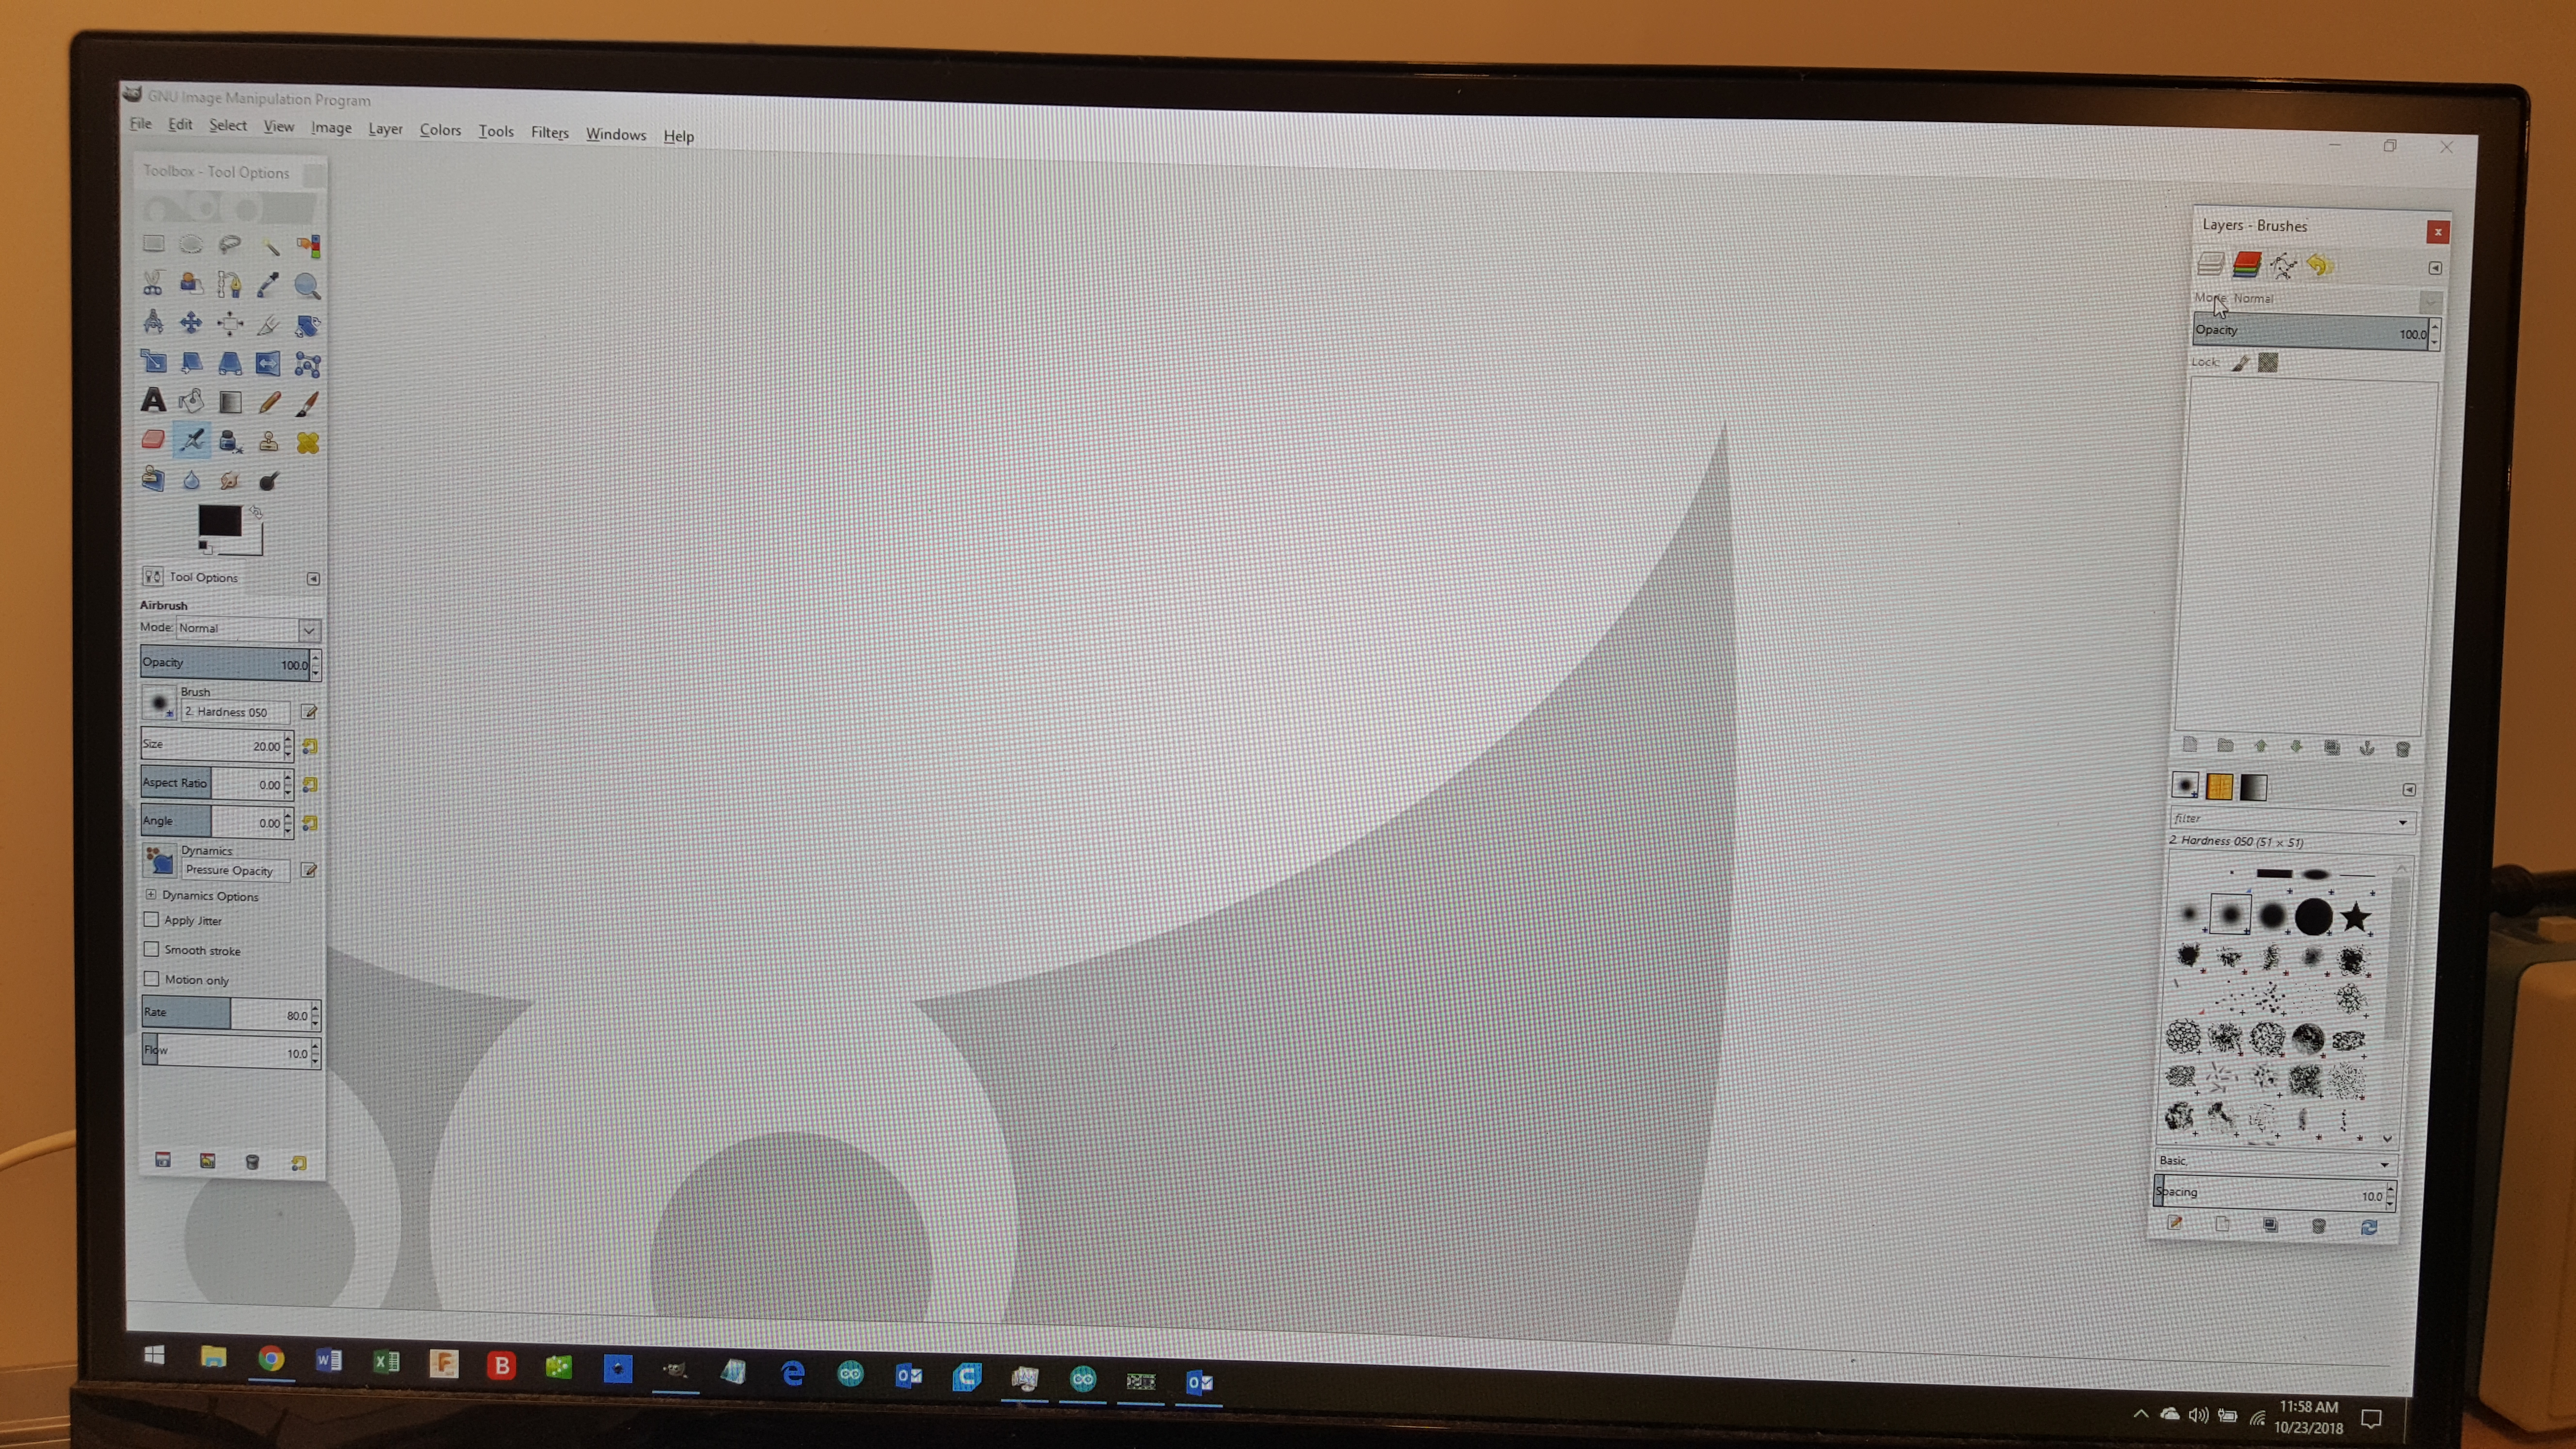
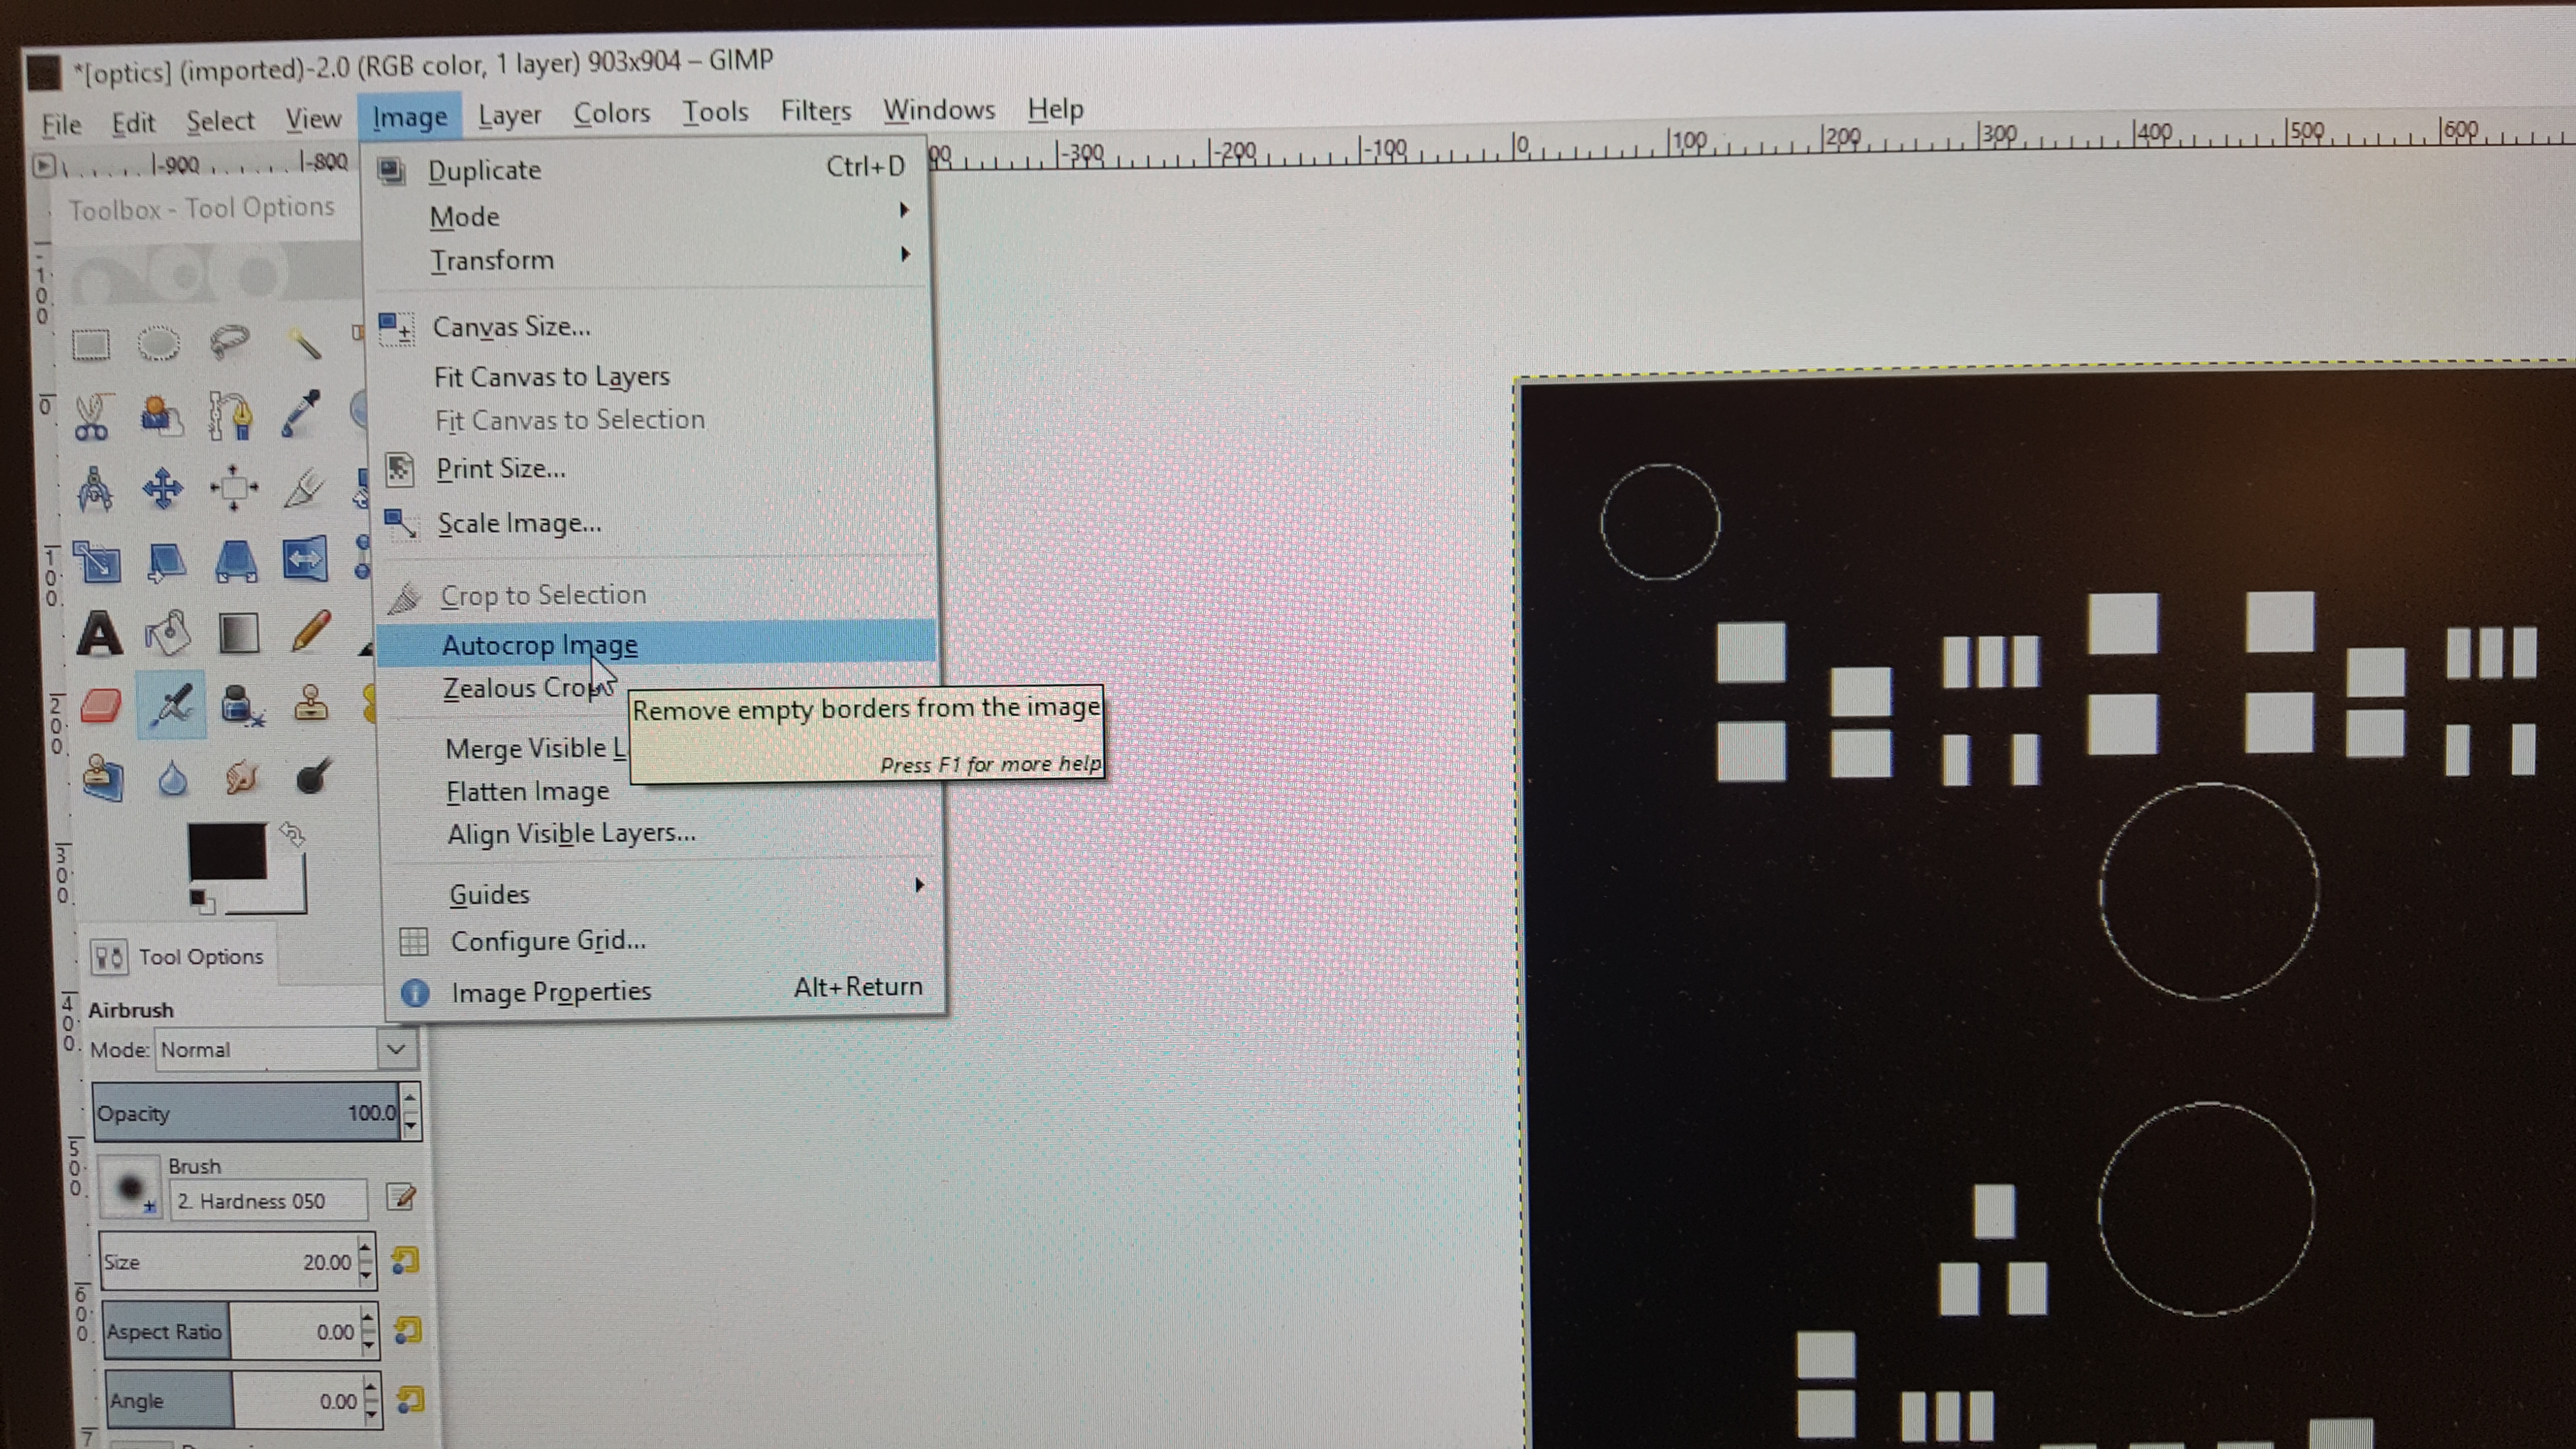
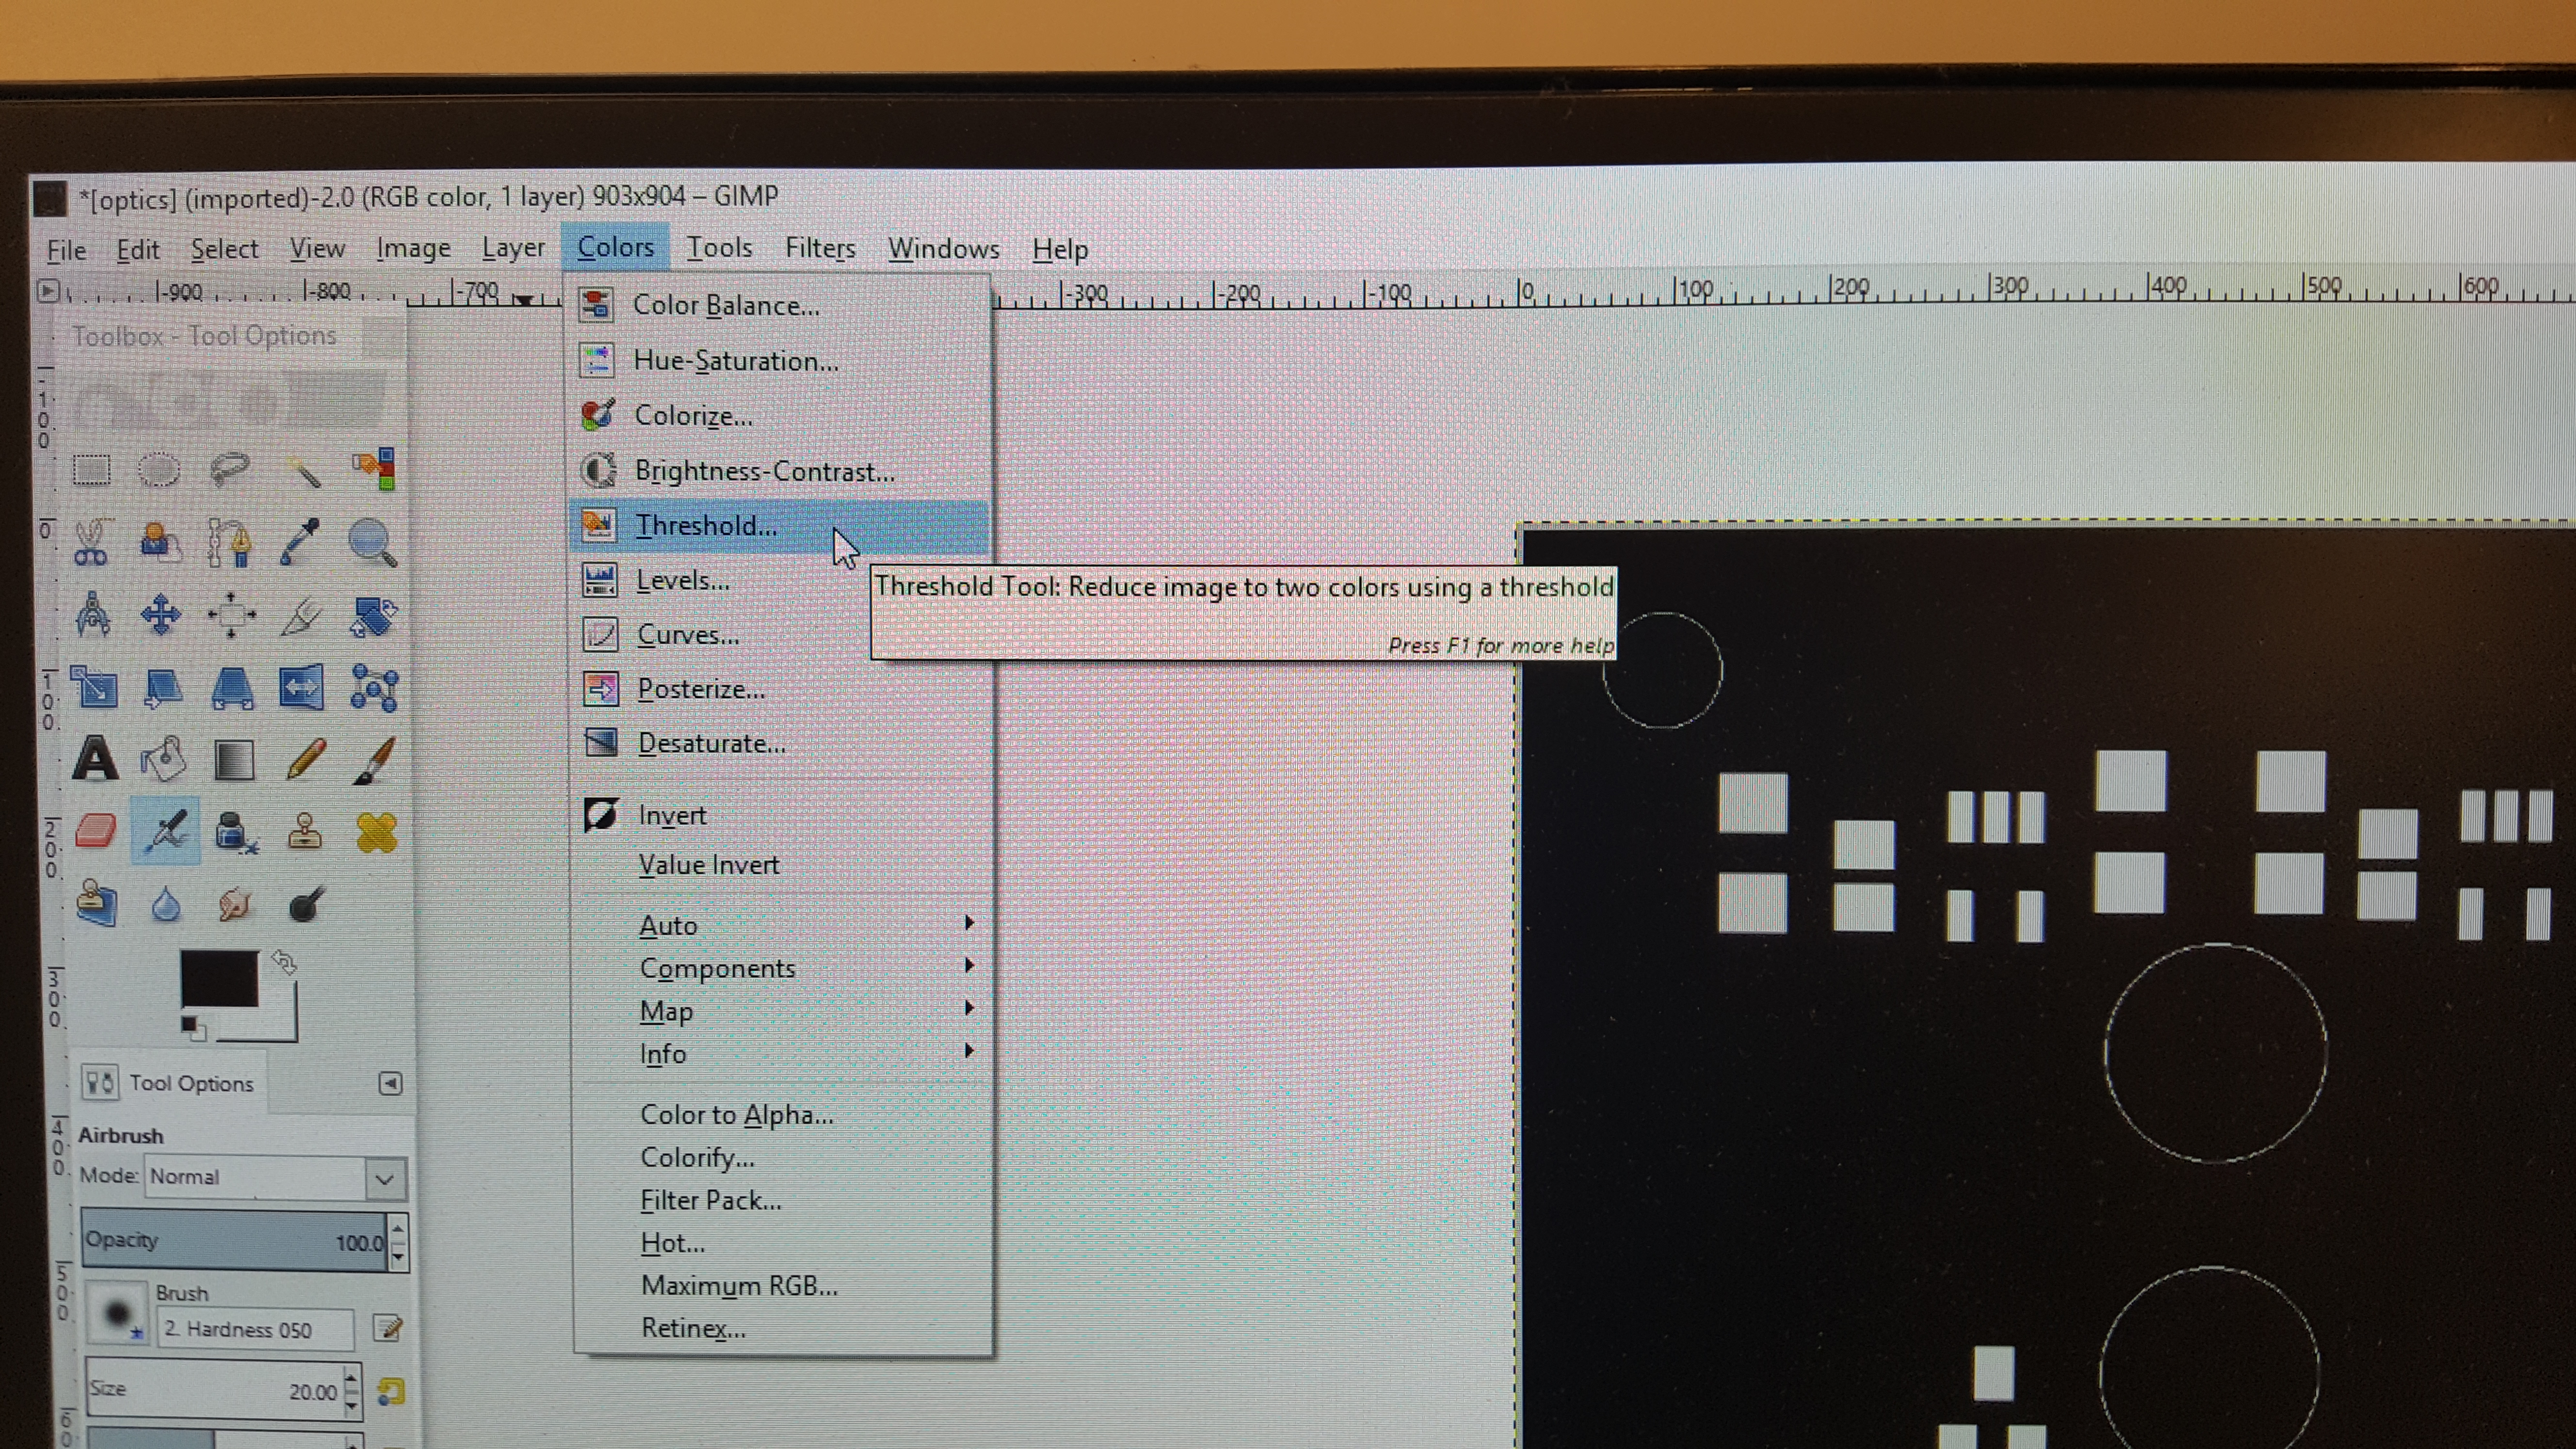
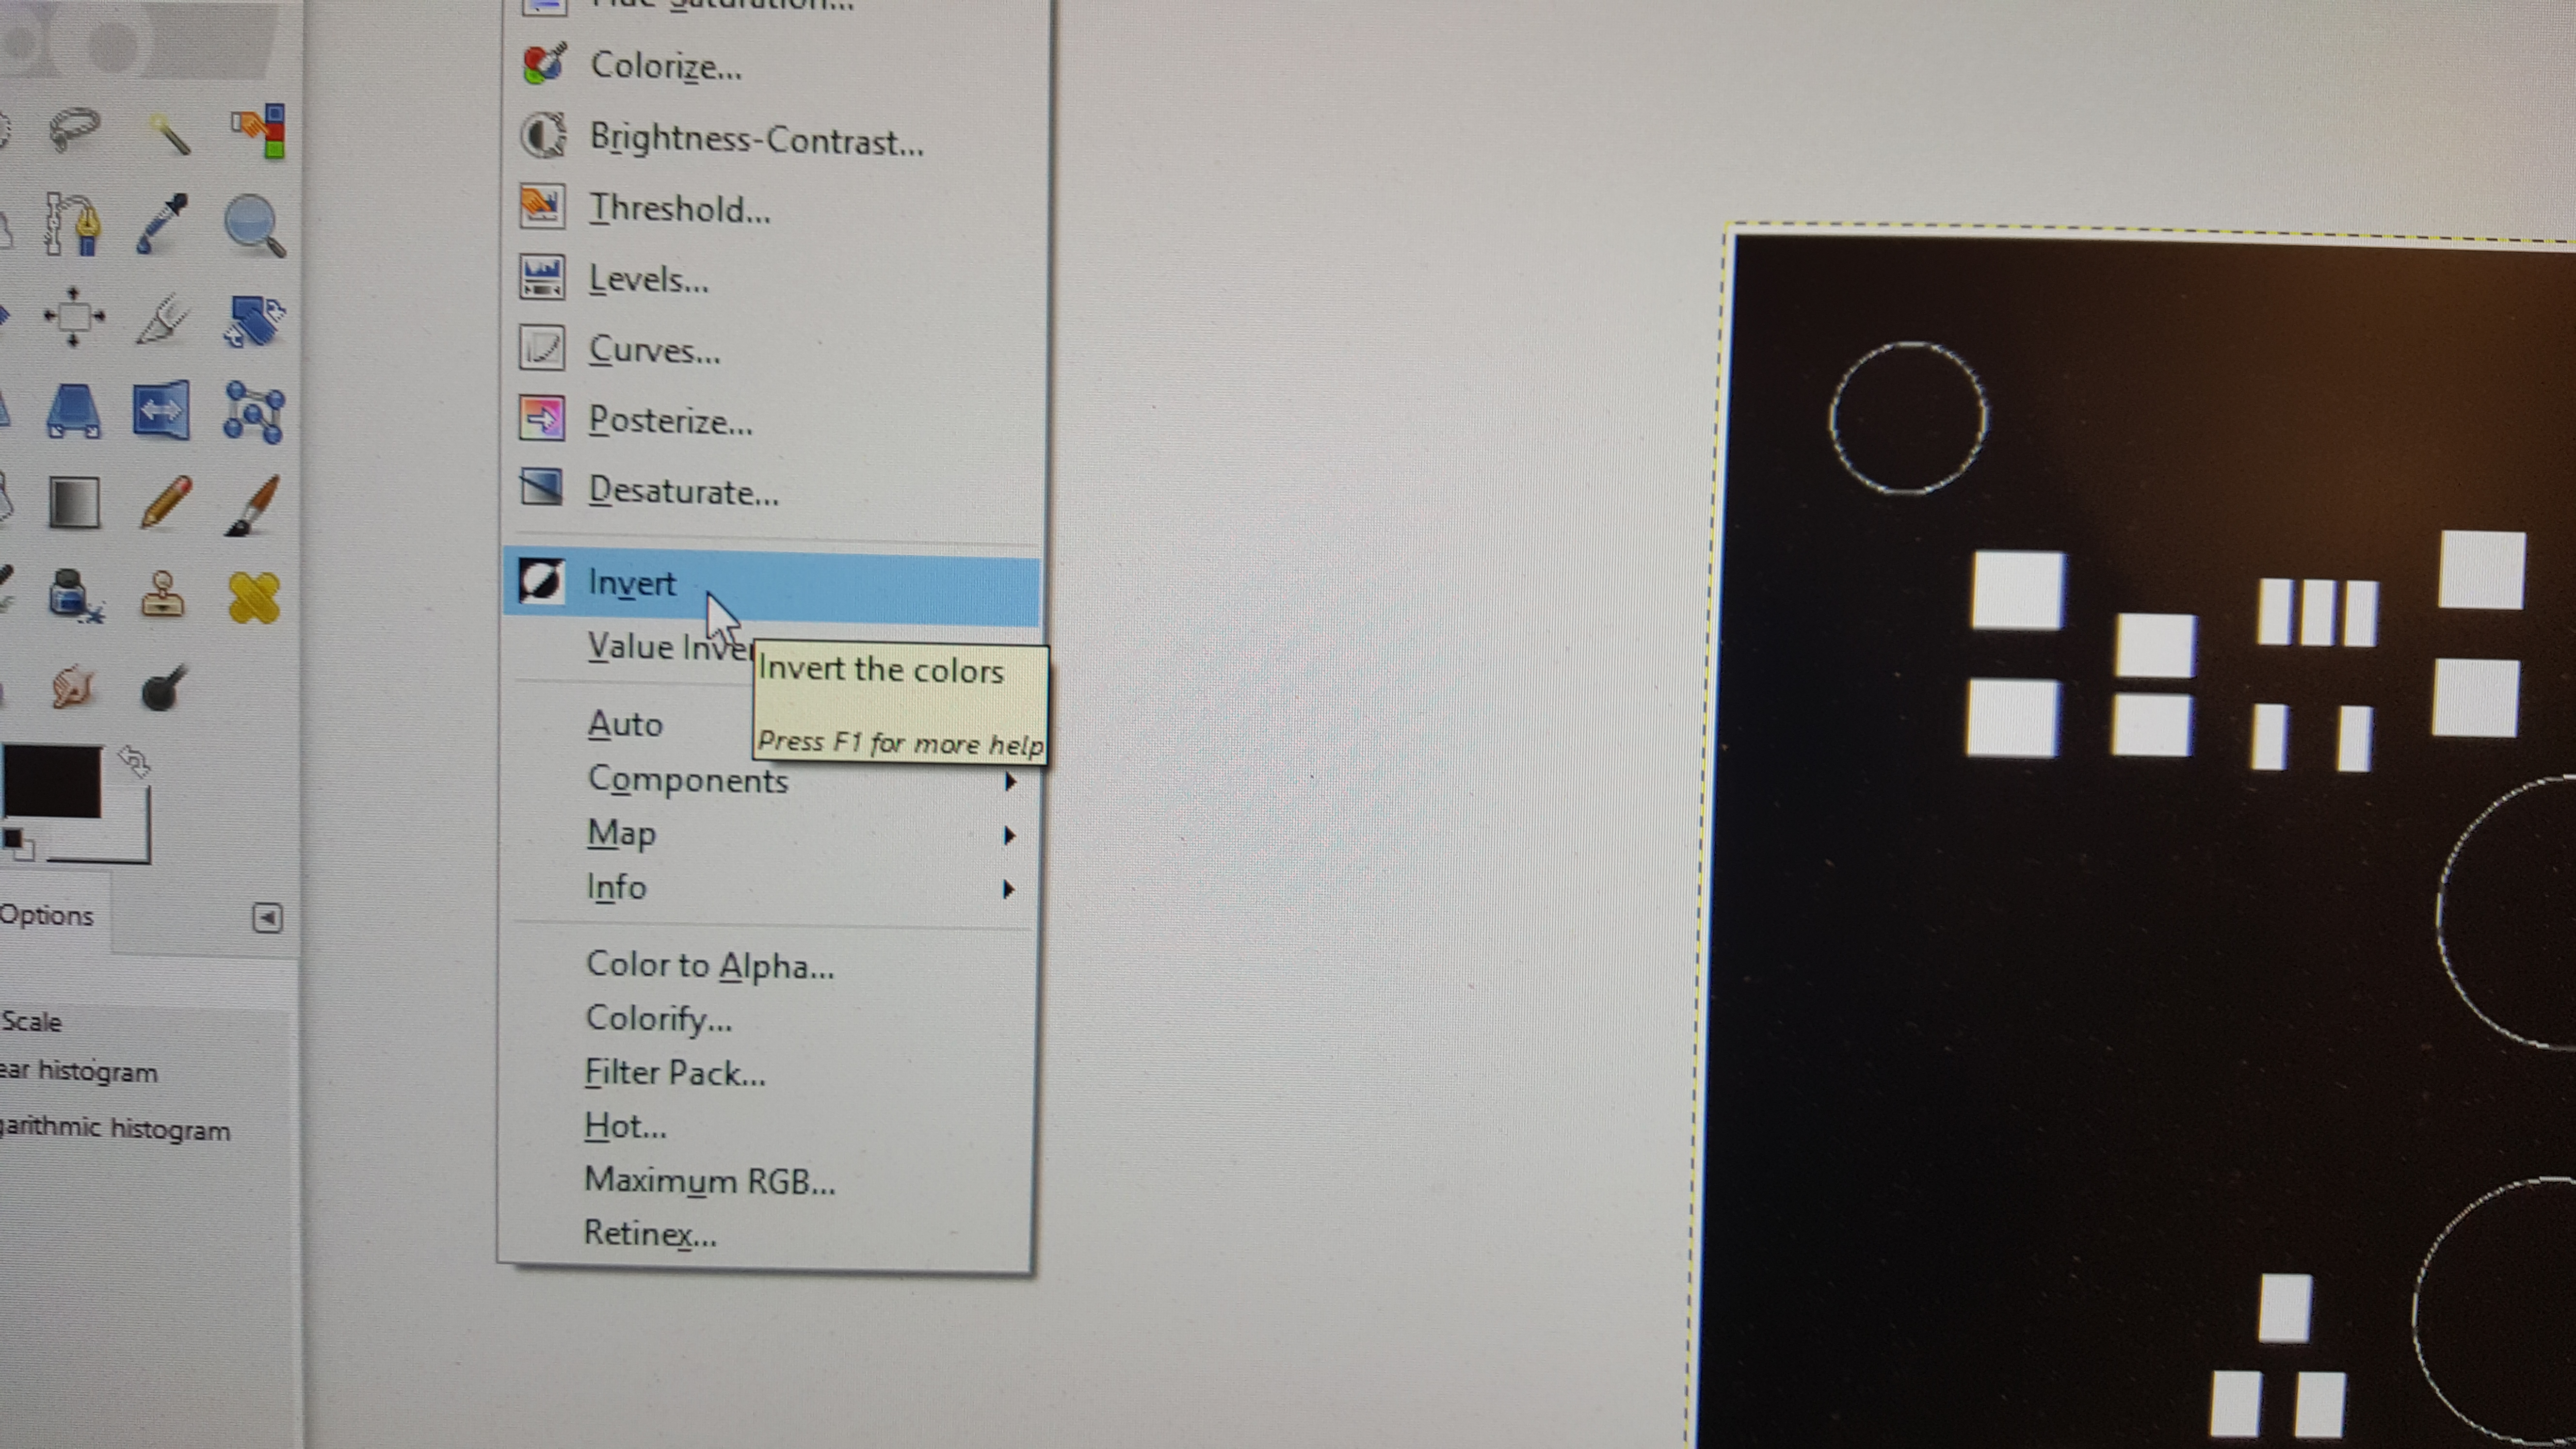
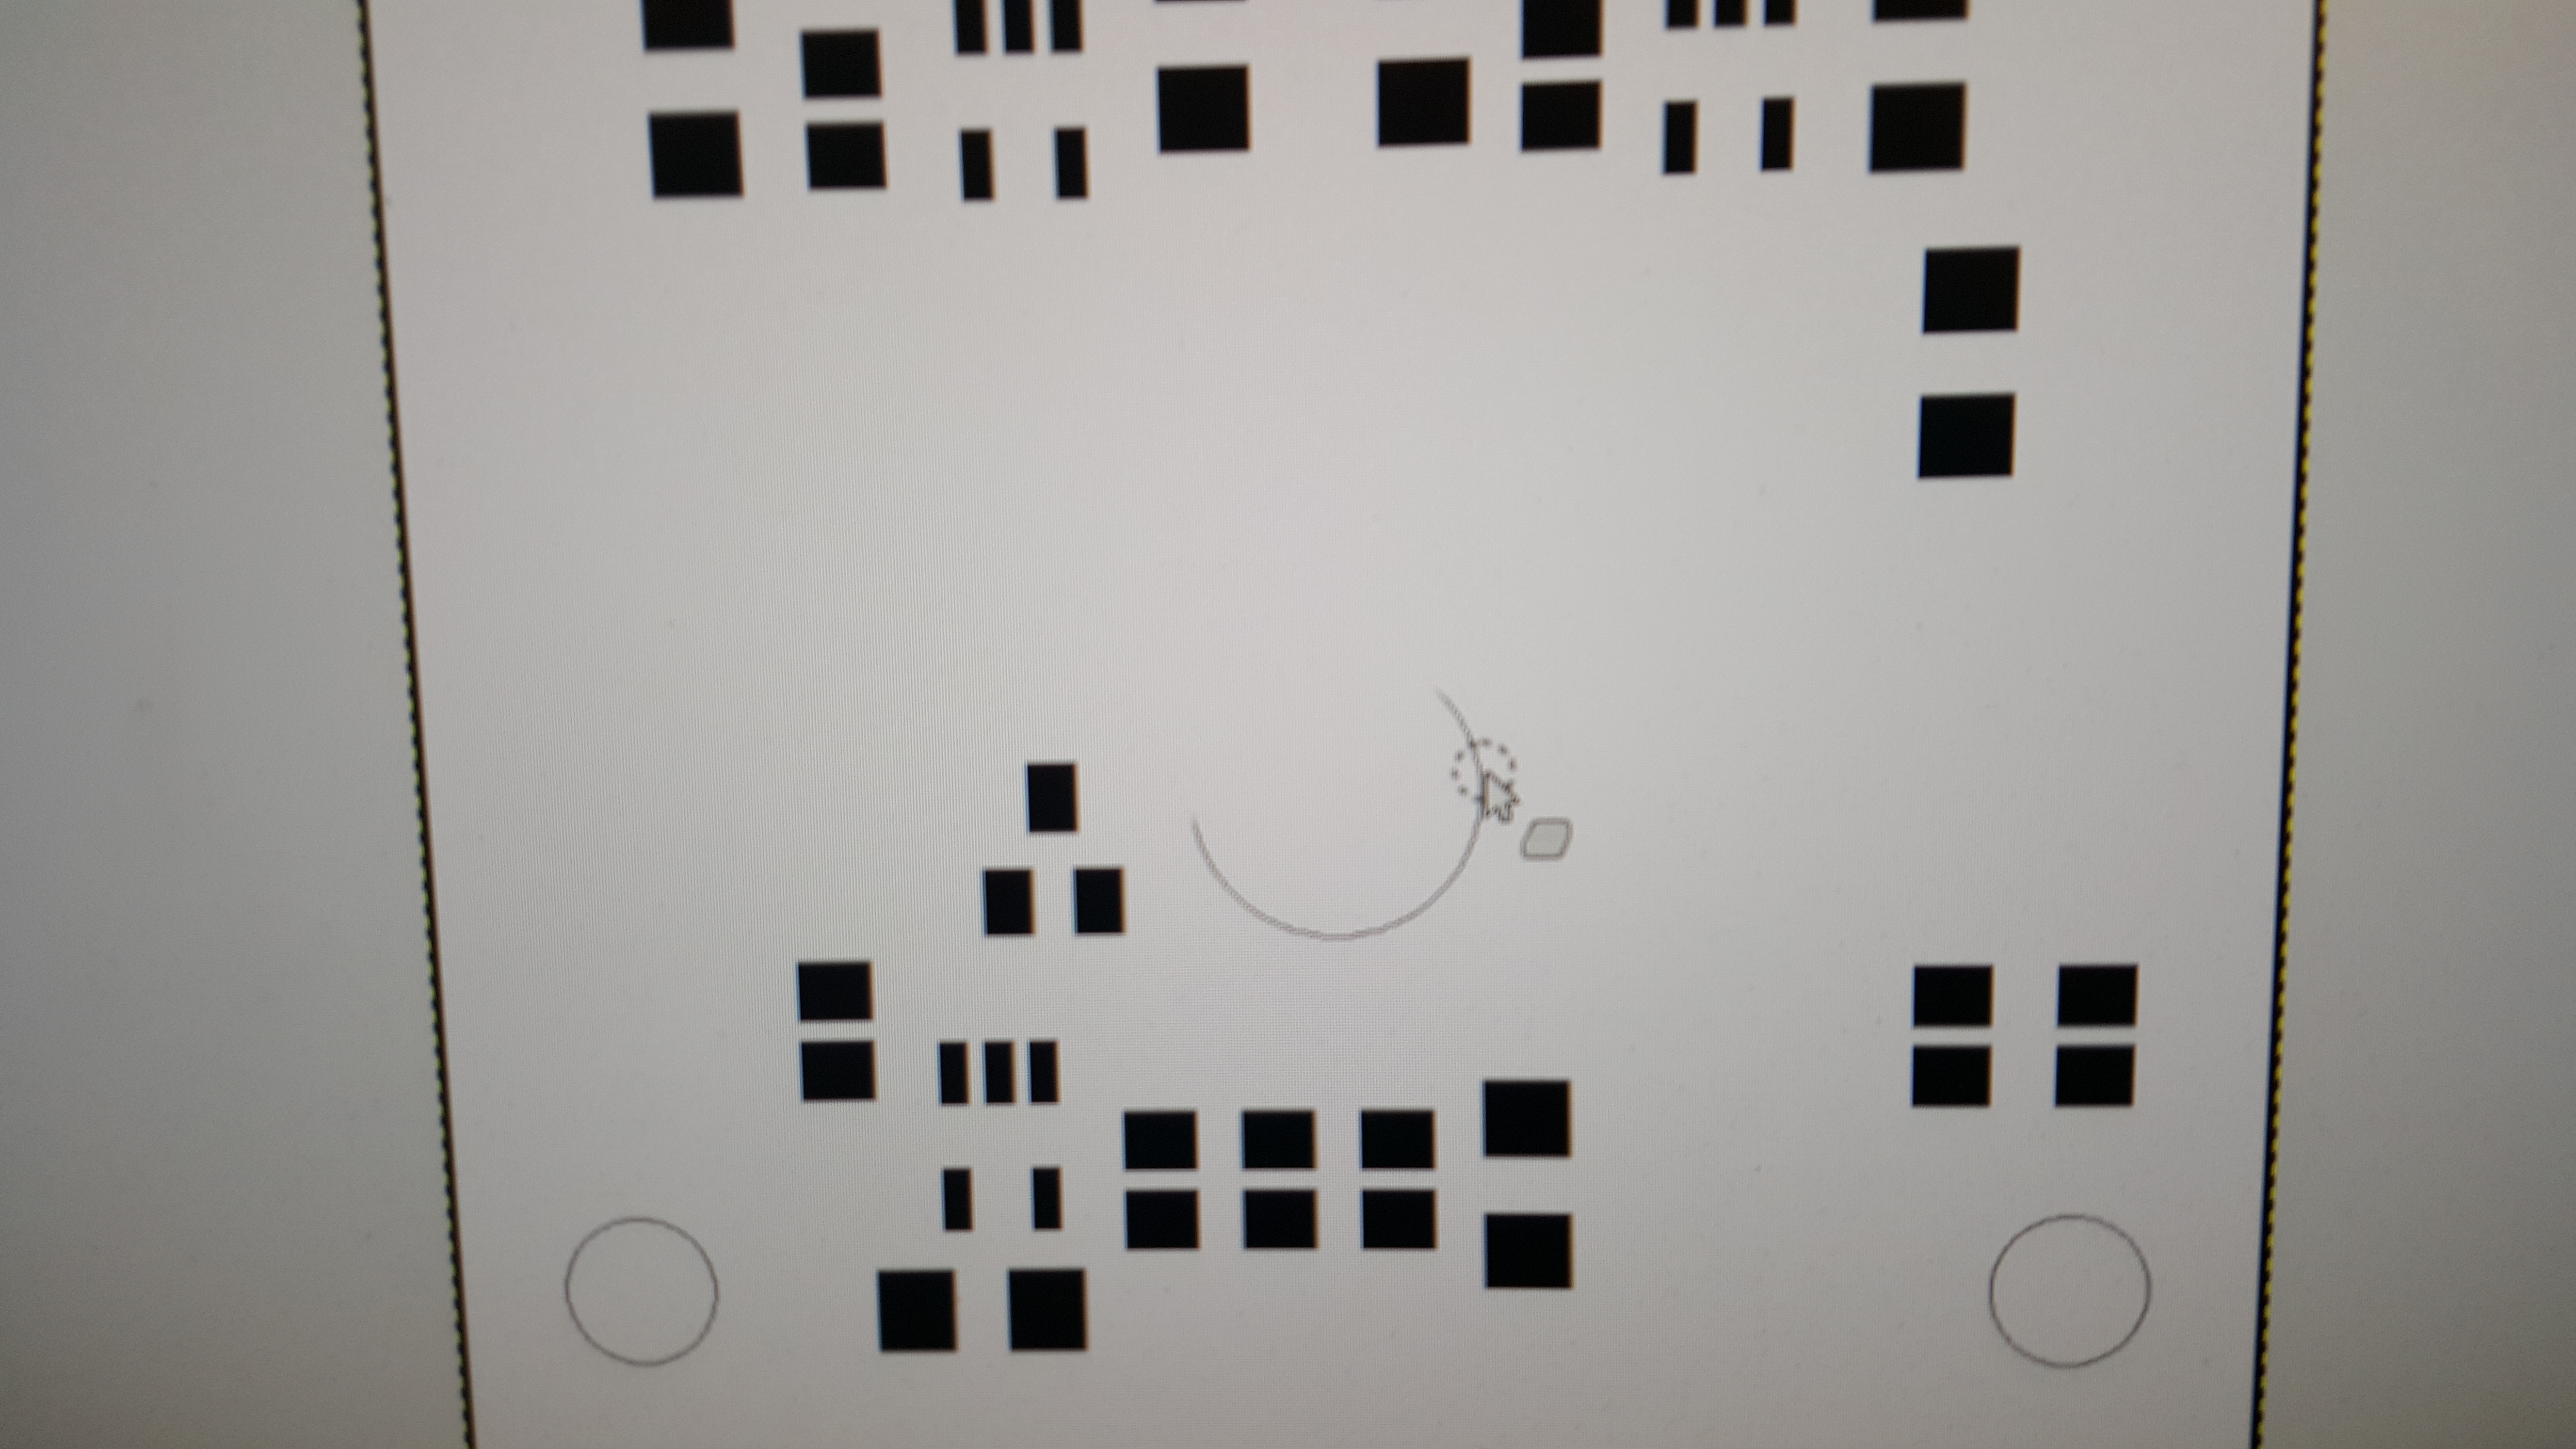
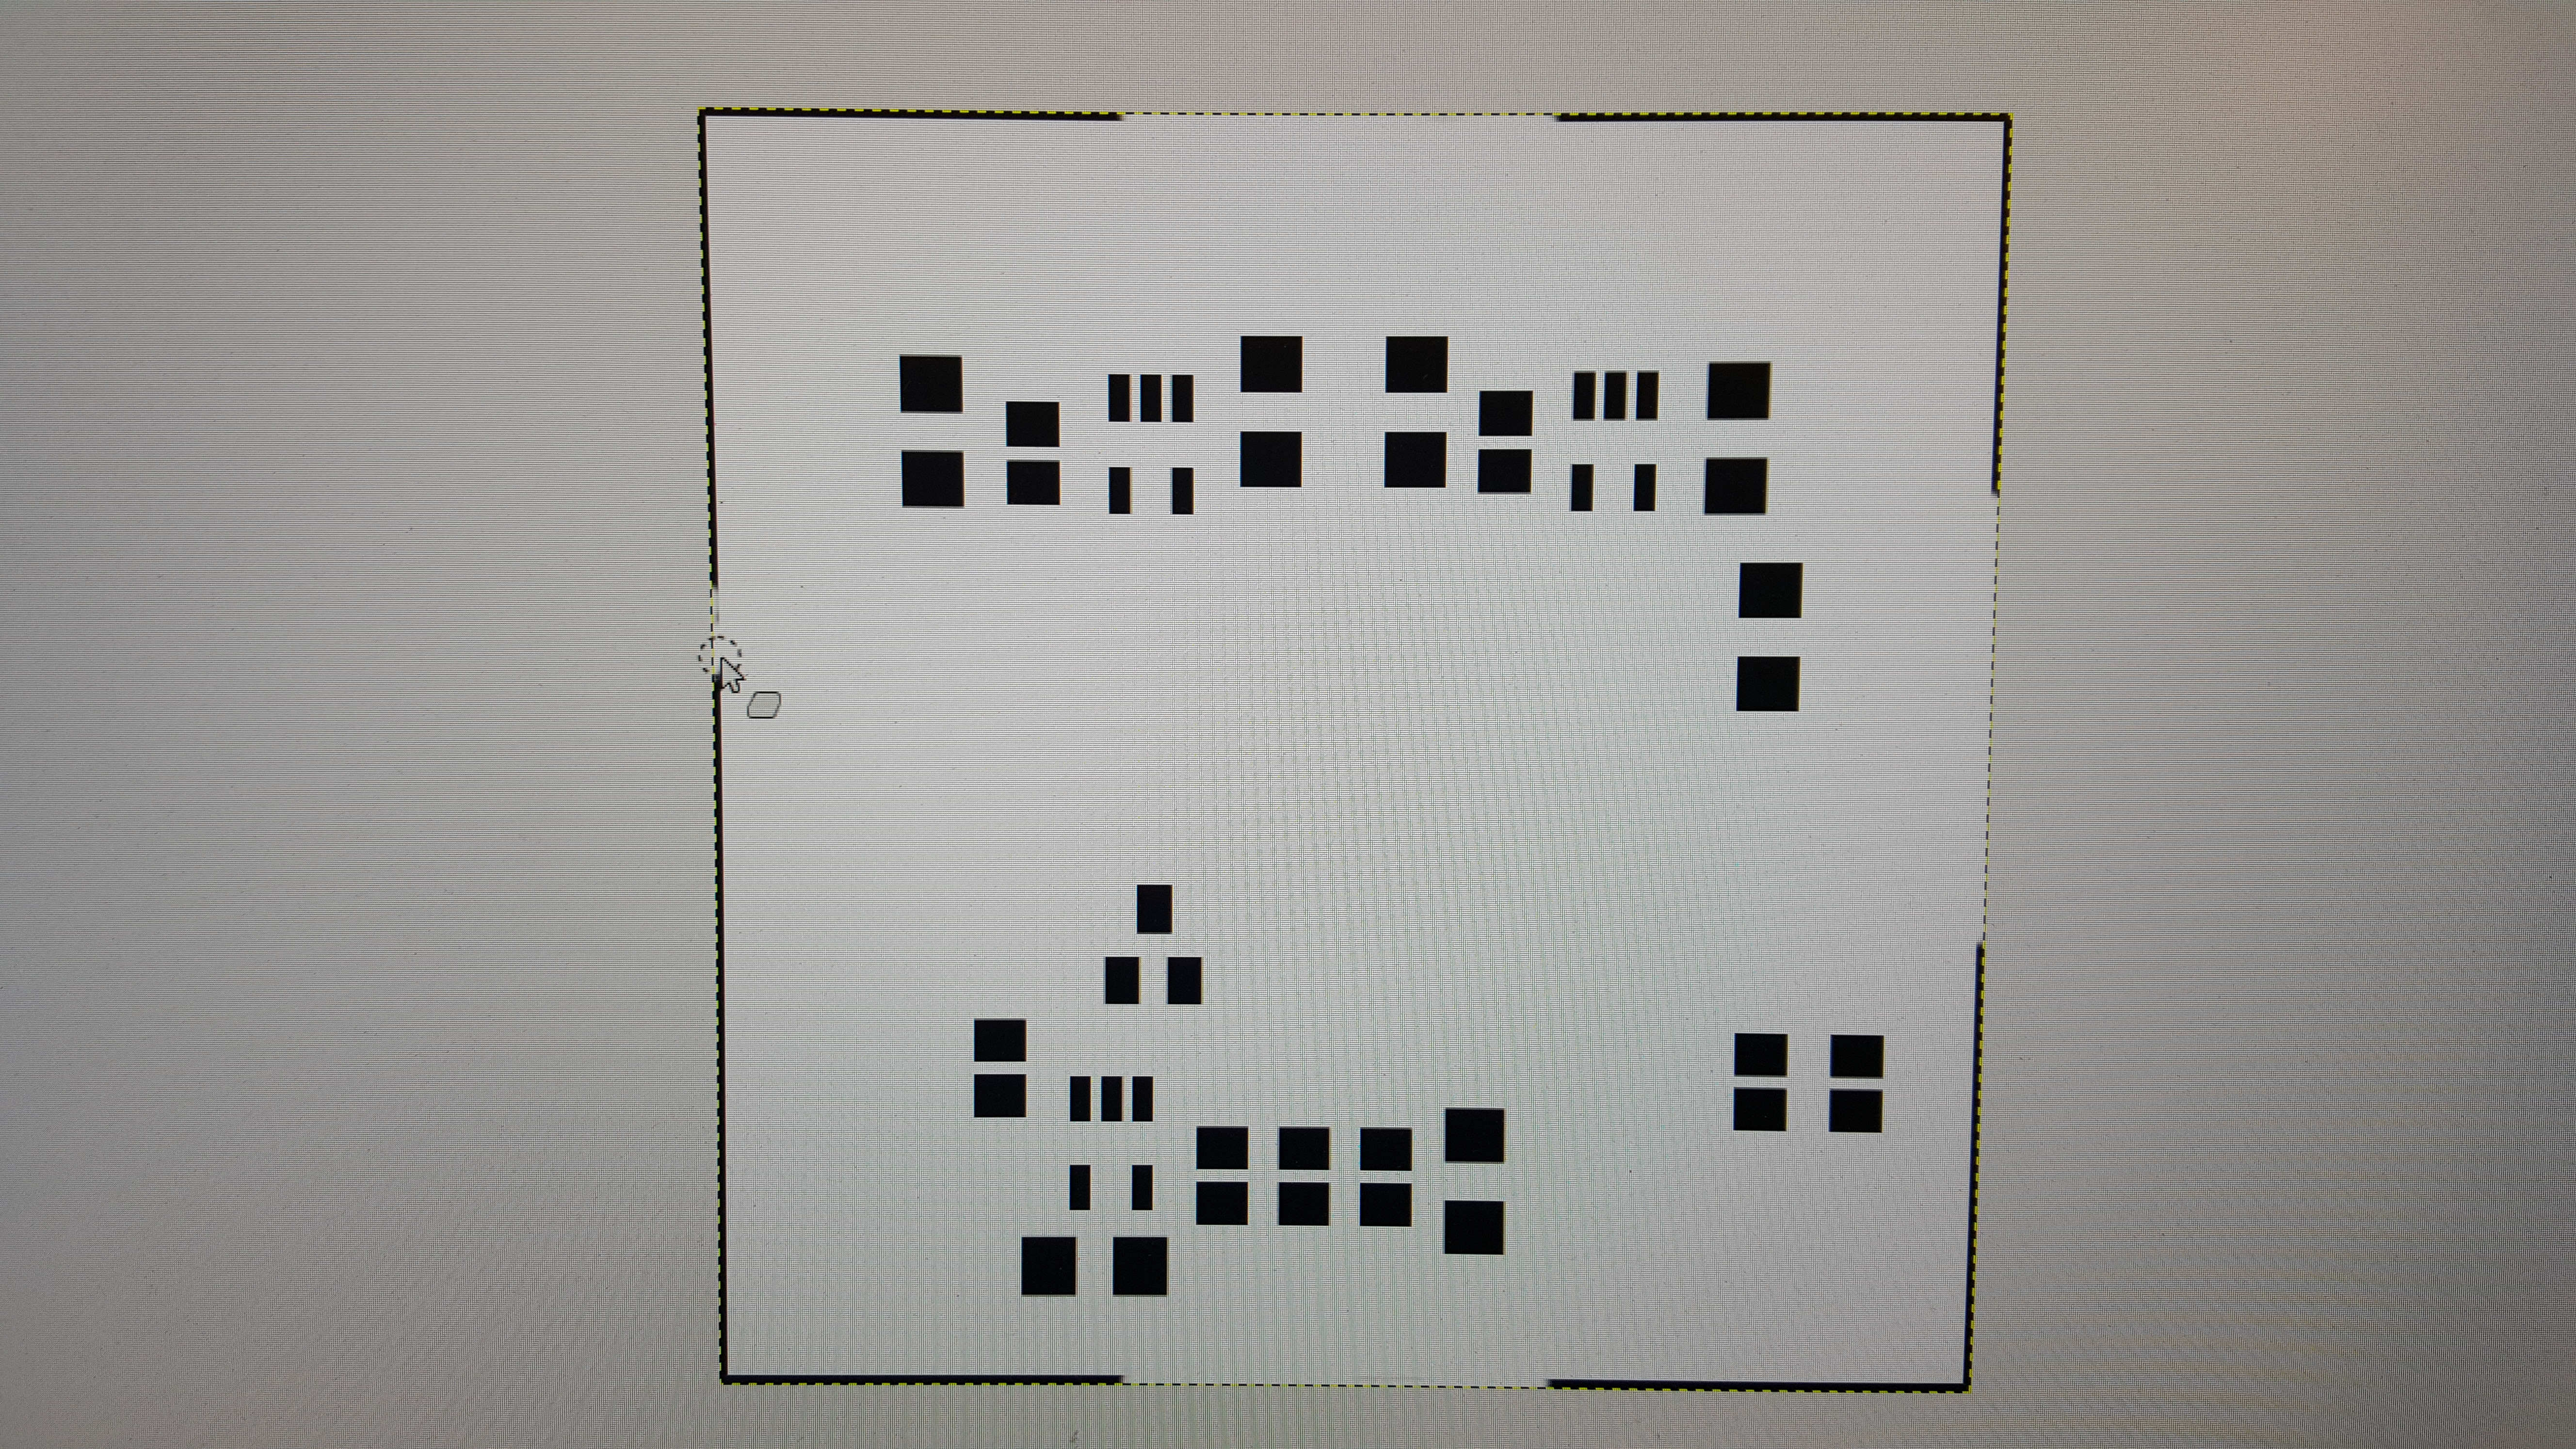
Open the image in an image processing program such as GIMP (free download), which is used in this example.
Autocrop the image to remove unwanted area, the final image should be the just the PCB with no overhang.
Set a threshold and reduce the image to black and white.
Invert the colors. (Most laser cutters could do this while cutting, but editing here is easier).
Erase the mounting holes. If the holes were left in place, they would become cut-outs in the stencil and fill with solder paste.
!!KEY STEP!! Erase the center portion of the PCB outline edges. Leave the corners. This step creates a built-in alignment guide to use when spreading the paste. When you tape down the stencil, the cut corners will cradle the corners of the PCB.
Laser cutter detail... the Epilog cut true to size, the donated JSM-40 cut 1% large... so... scale the image if required.
Save as .png or .jpg (or other raster file compatible with your laser cutter)
Laser Cutting
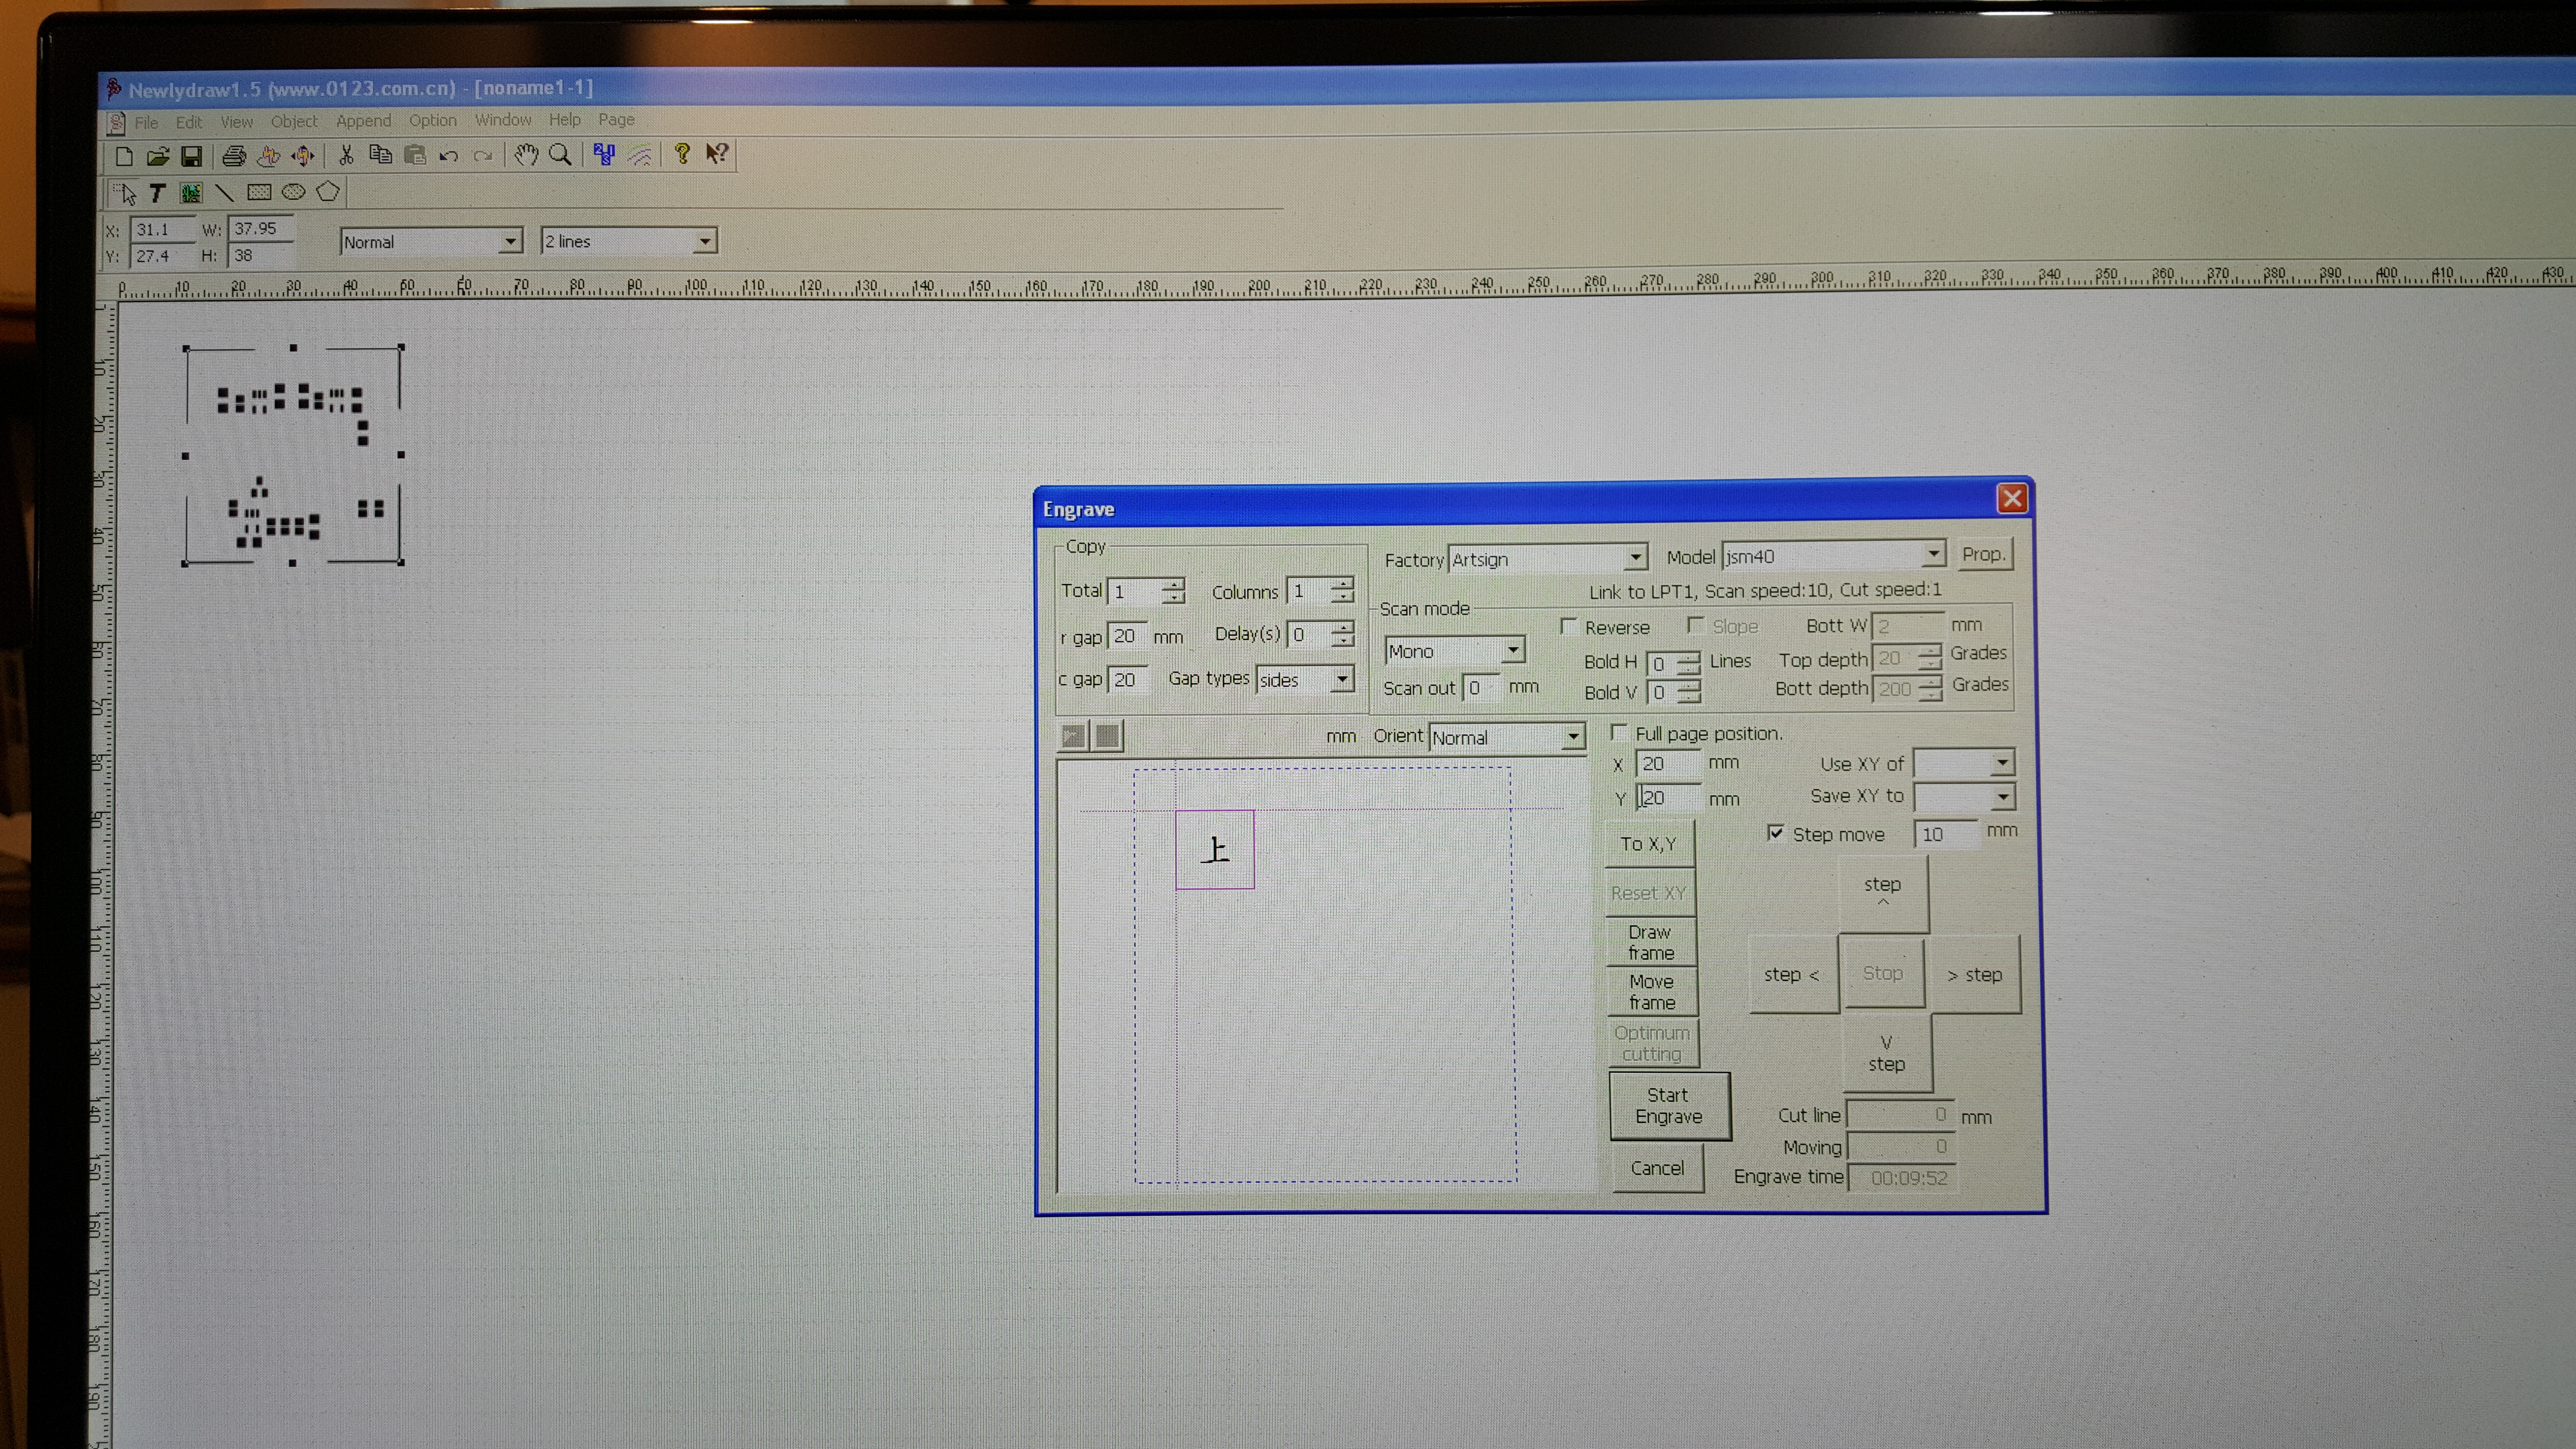
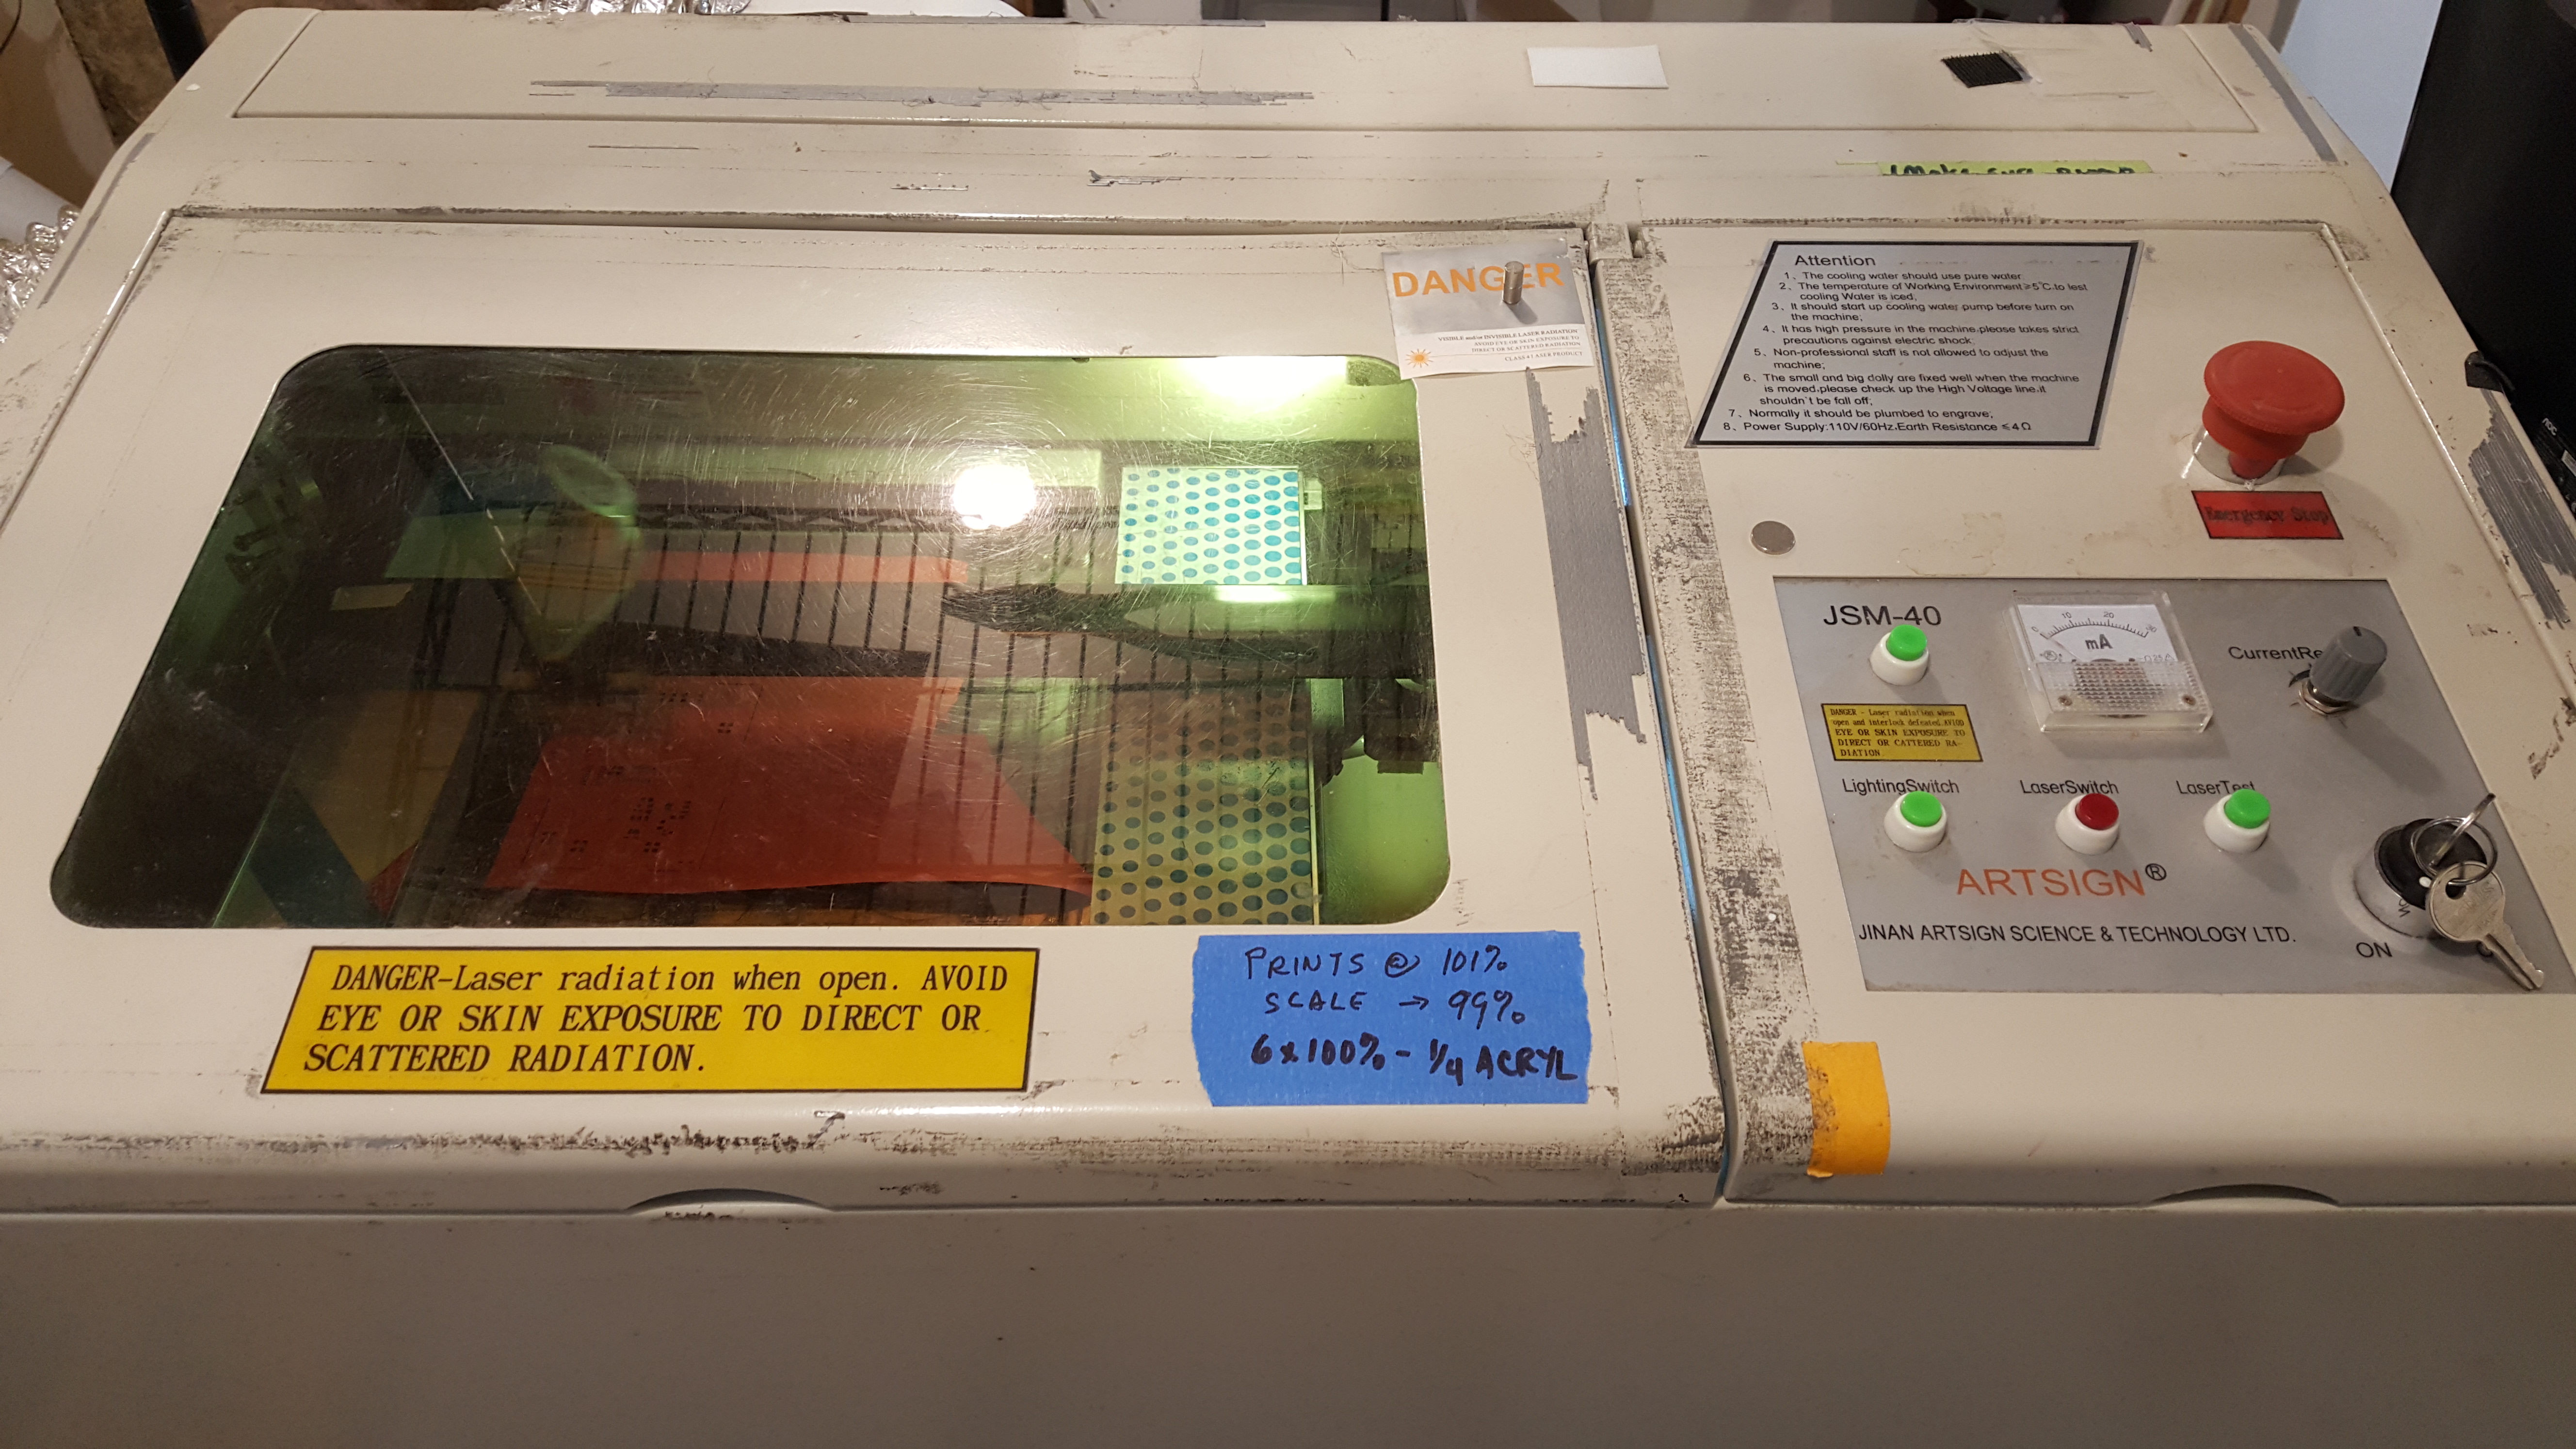
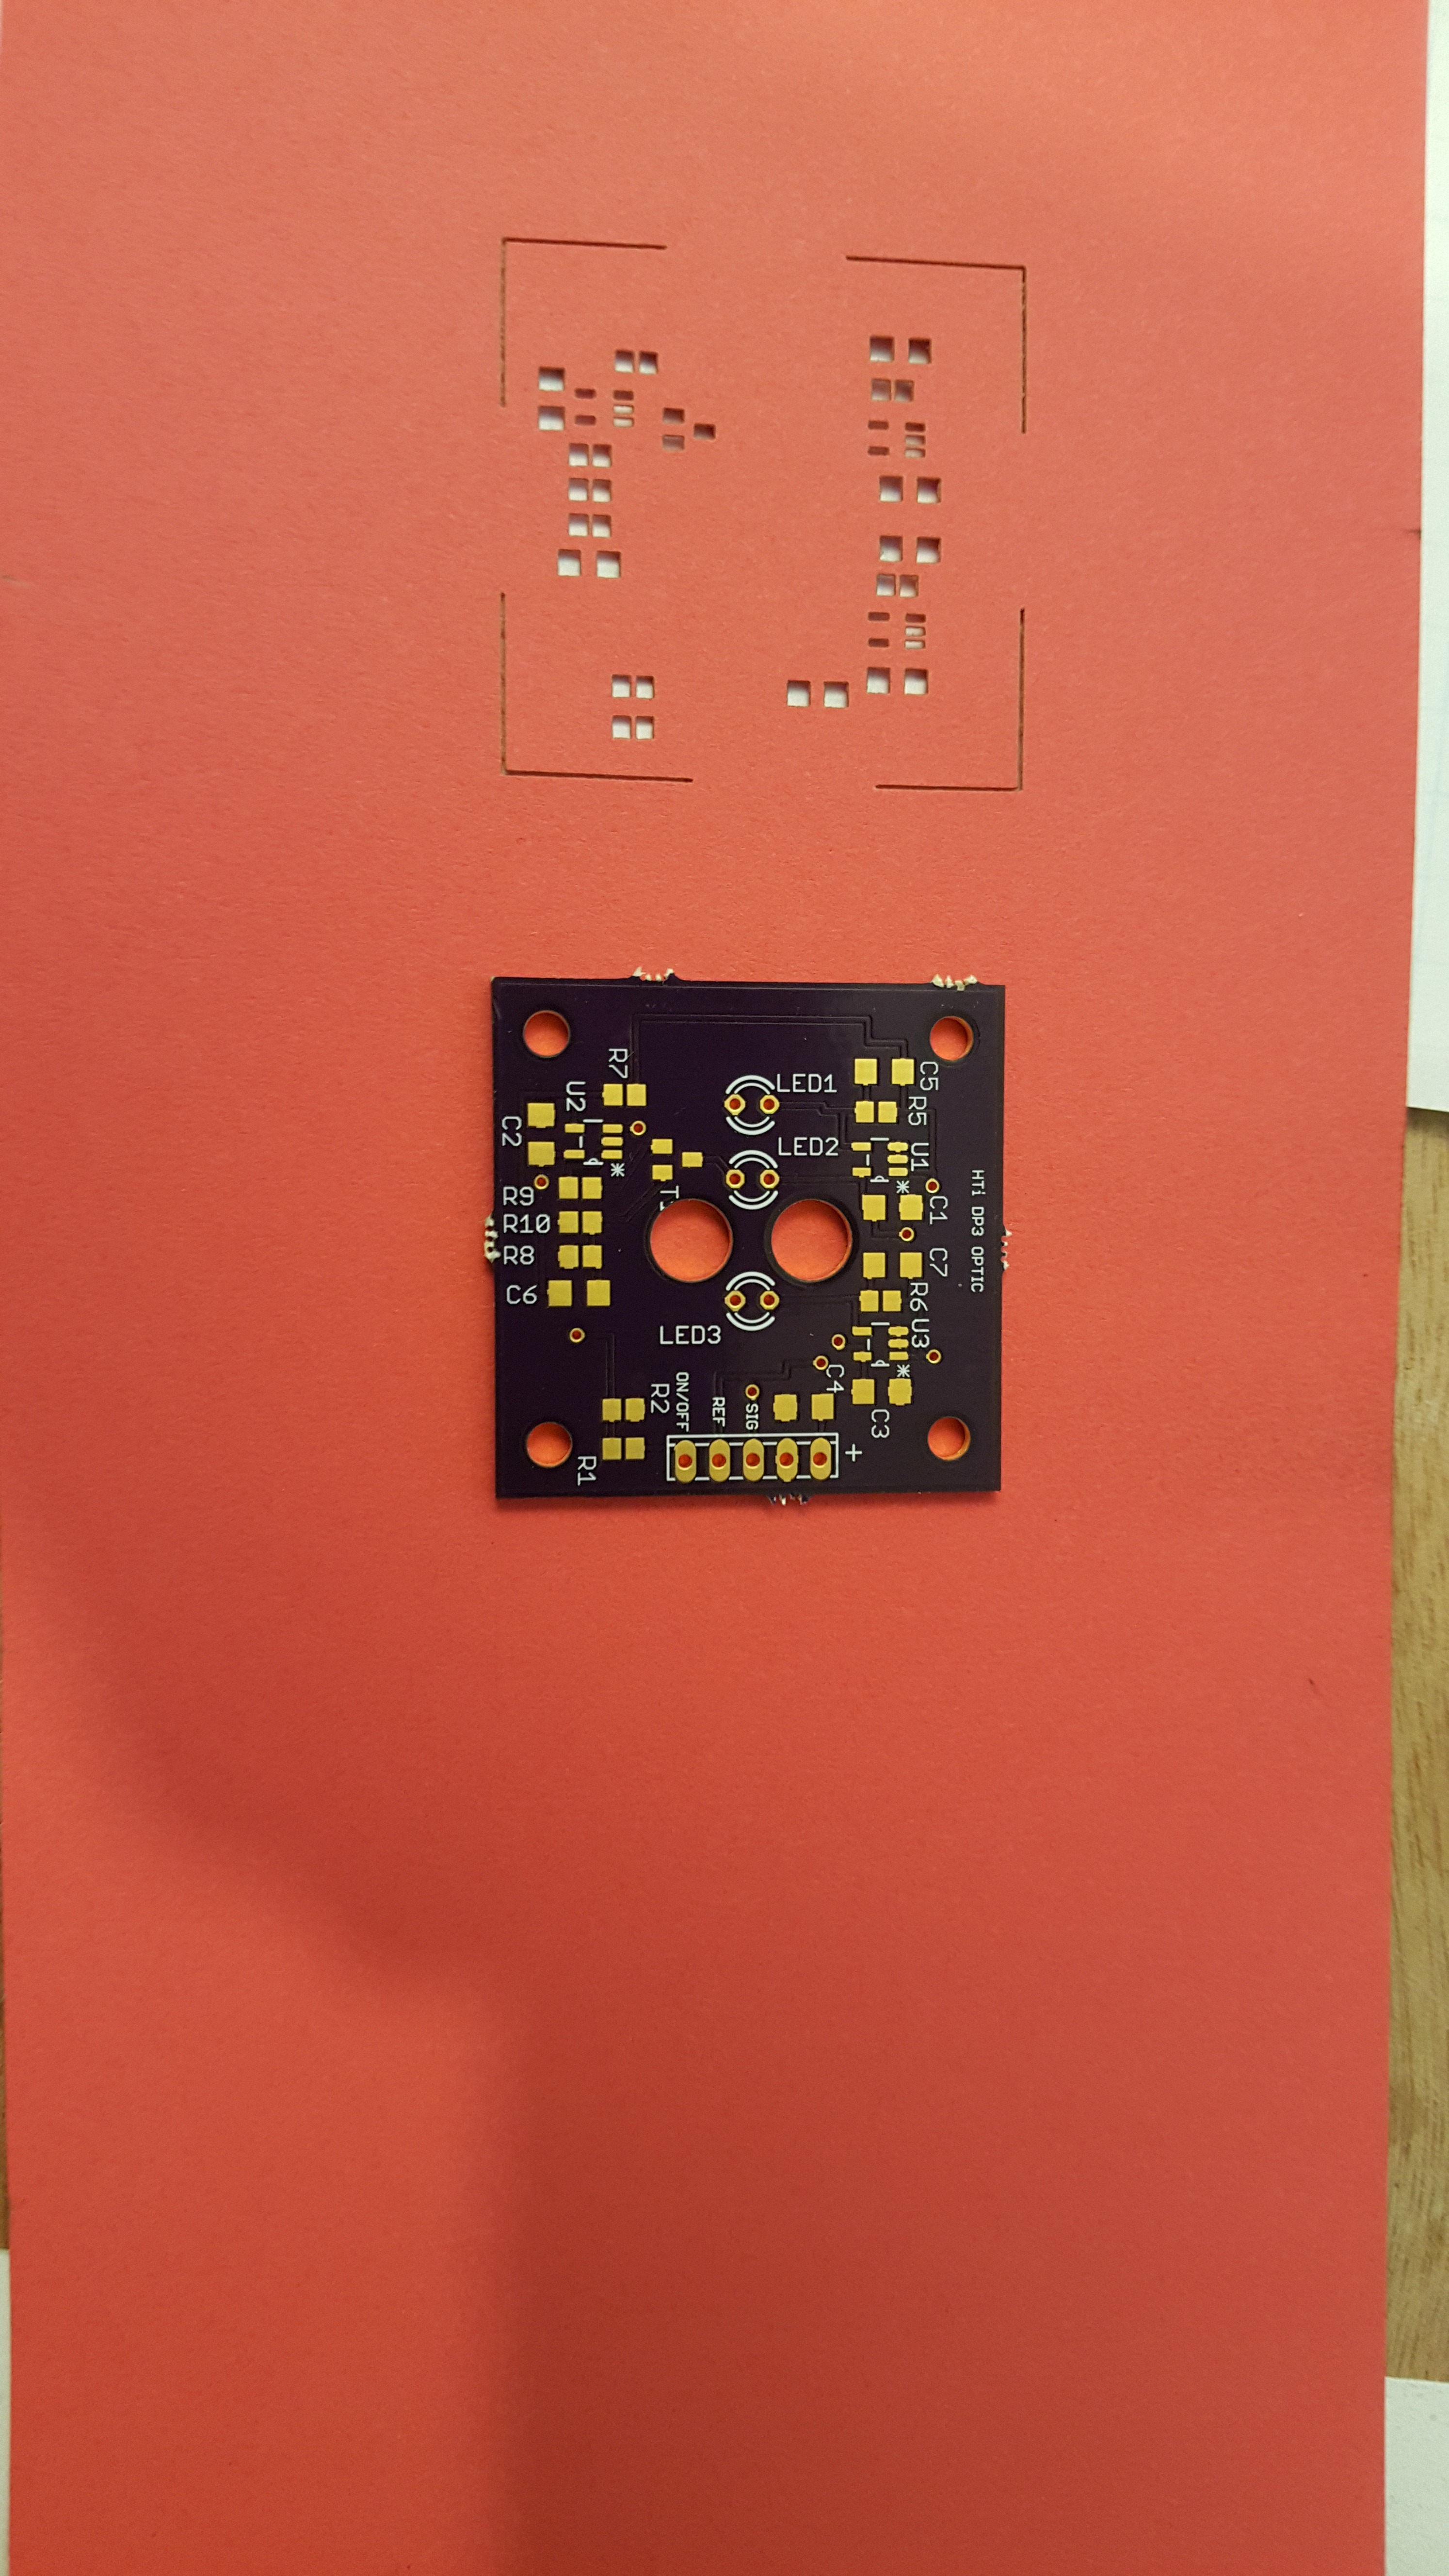
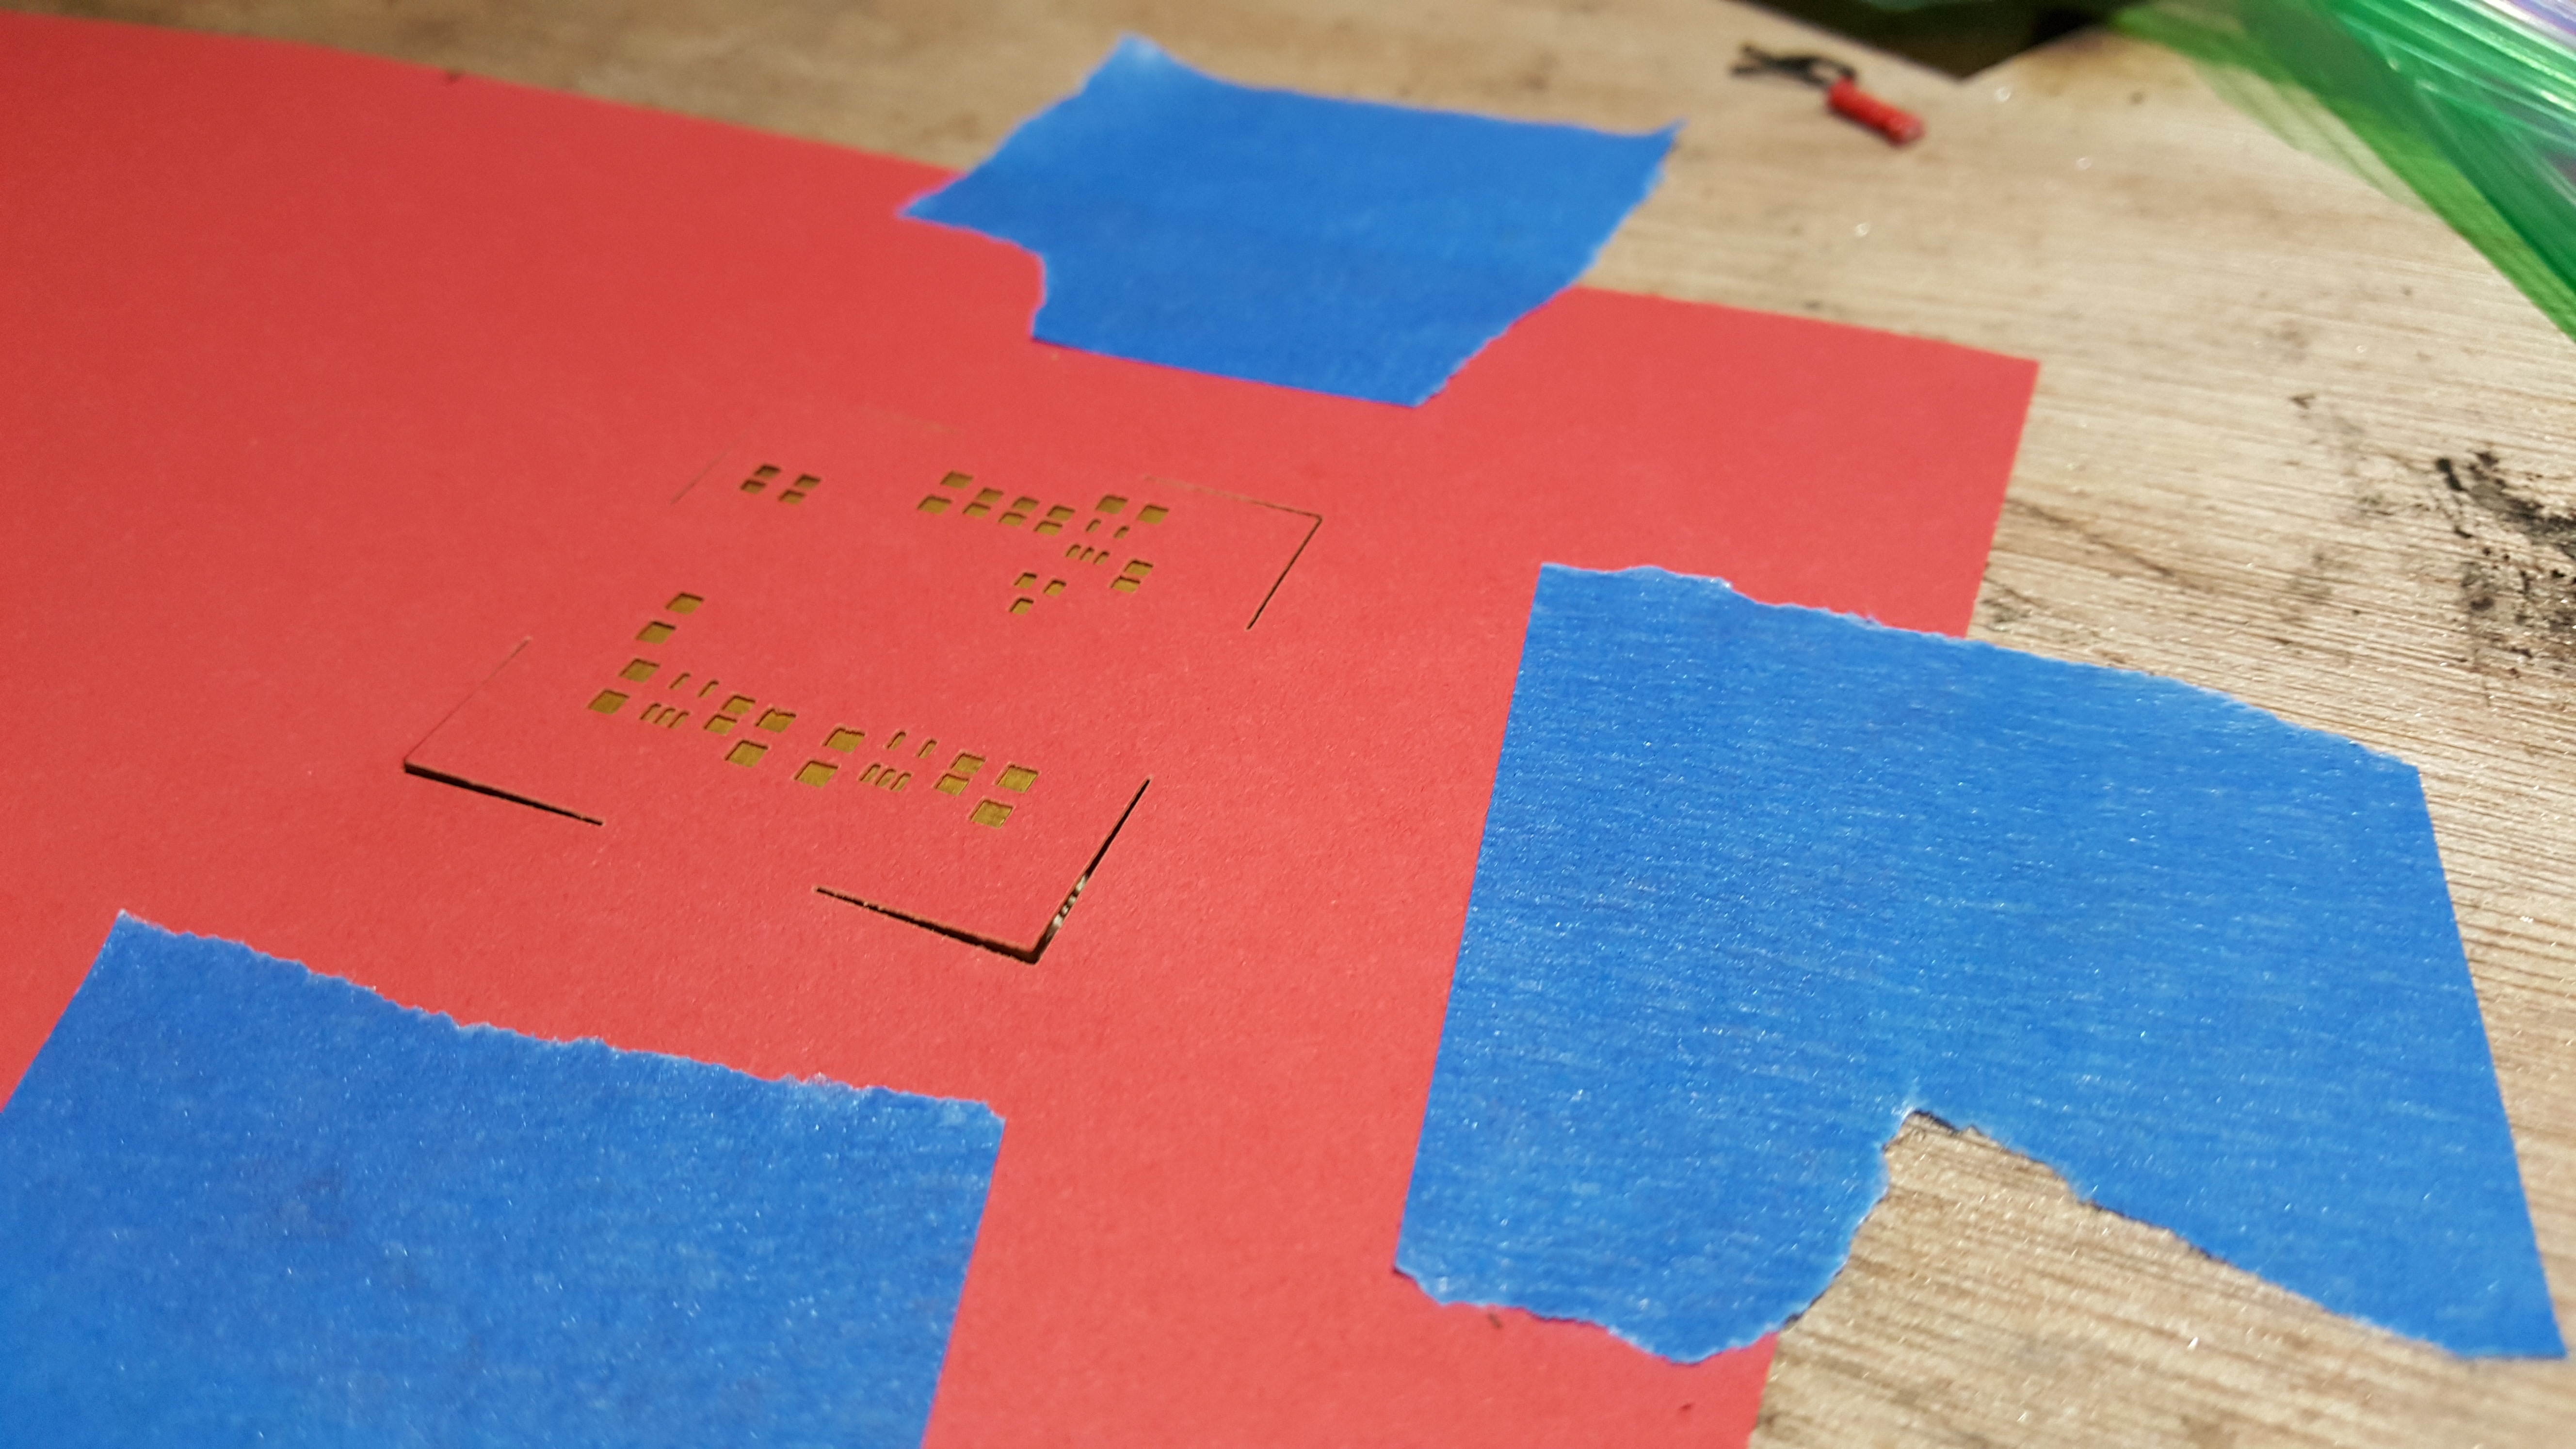
This example uses the JSM-40, a common laser cutter. Other laser cutters may require set-ups such as cut areas in RED.
Import the processed image into "Newly Draw" (or your laser cutter driver software), set the power lever sufficient to cut paper.
Engrave in raster mode.
Note: why raster and not vector? Using raster vaporizes the paper, vector cutting leaves behind small rectangles of paper which tend to catch fire (small fires) and spoil the stencil.
Check the stencil by overlaying the stencil and PCB, all of the pads should be cleanly visible through the stencil. If the pads and stencil do not line up, check the scale factor. For example my JSM-40 requires a scaling of 99% to align properly.
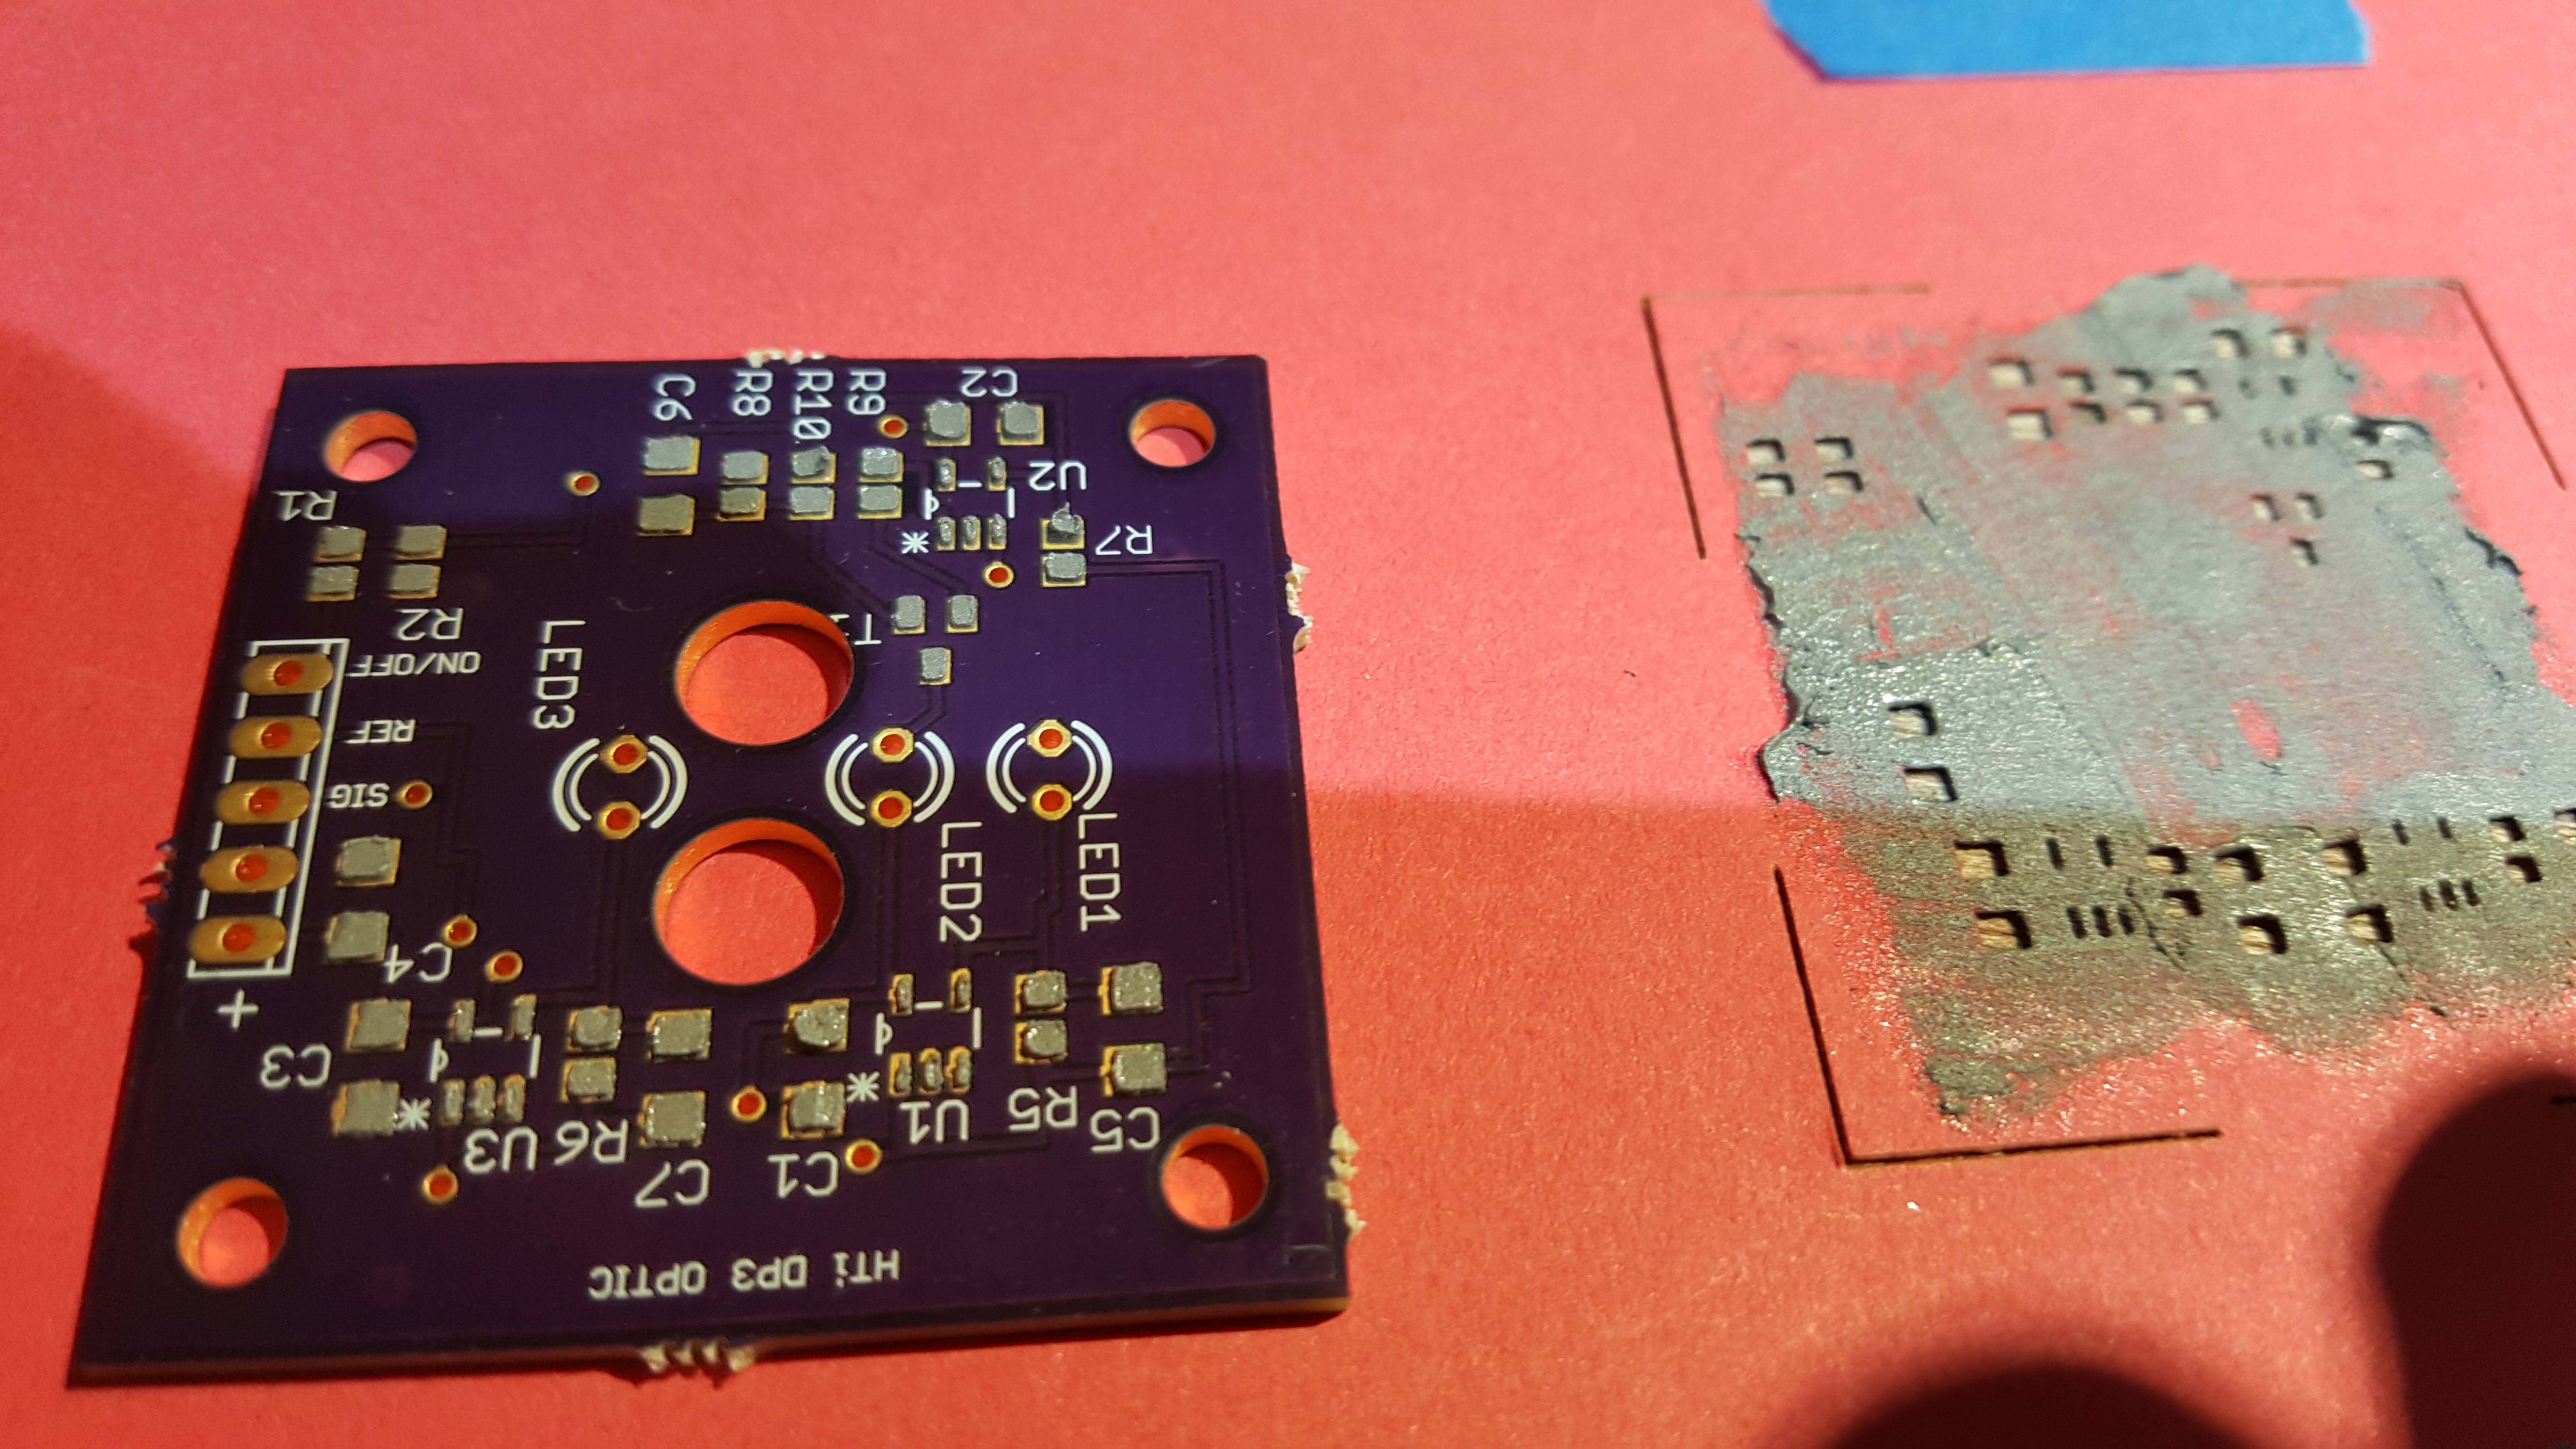
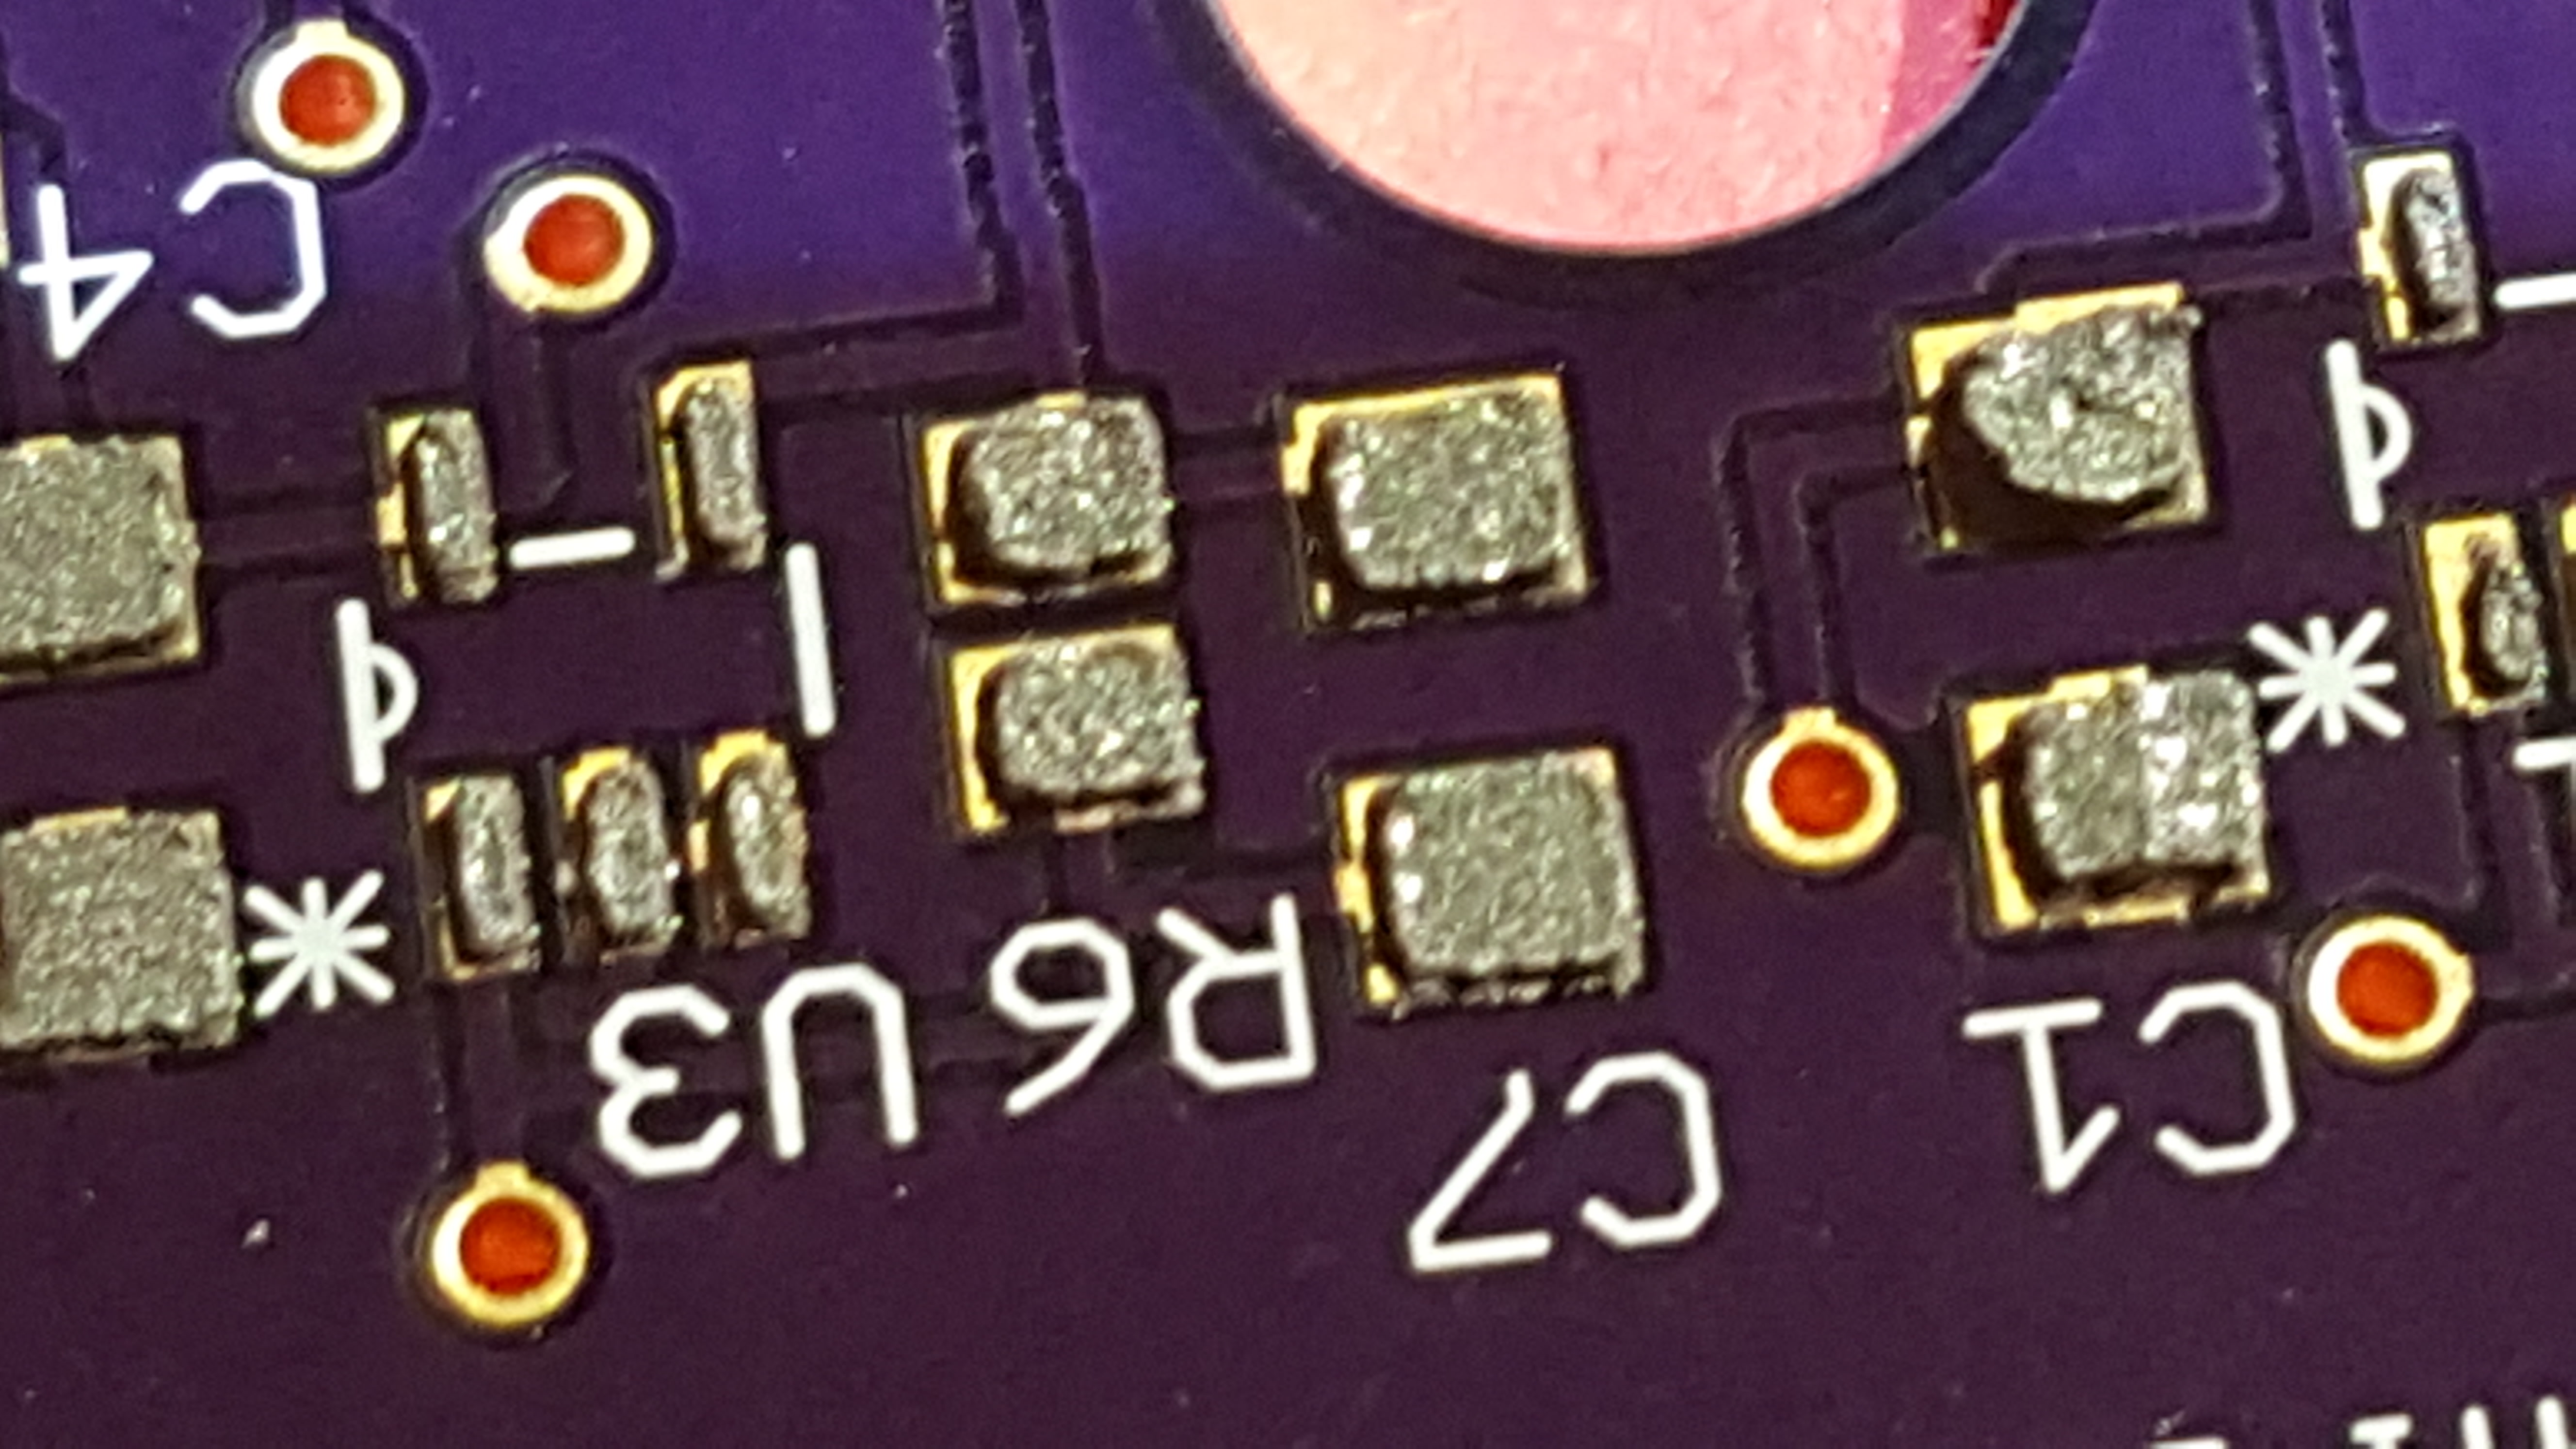
The thickness or "weight" of the paper determines the thickness of the solder paste after stenciling. 70# paper works well for 1mm pitch , 30# for .5mm, 20# for smaller. The last two photos show the stenciled result of 70# paper.