Laser Cut Shark
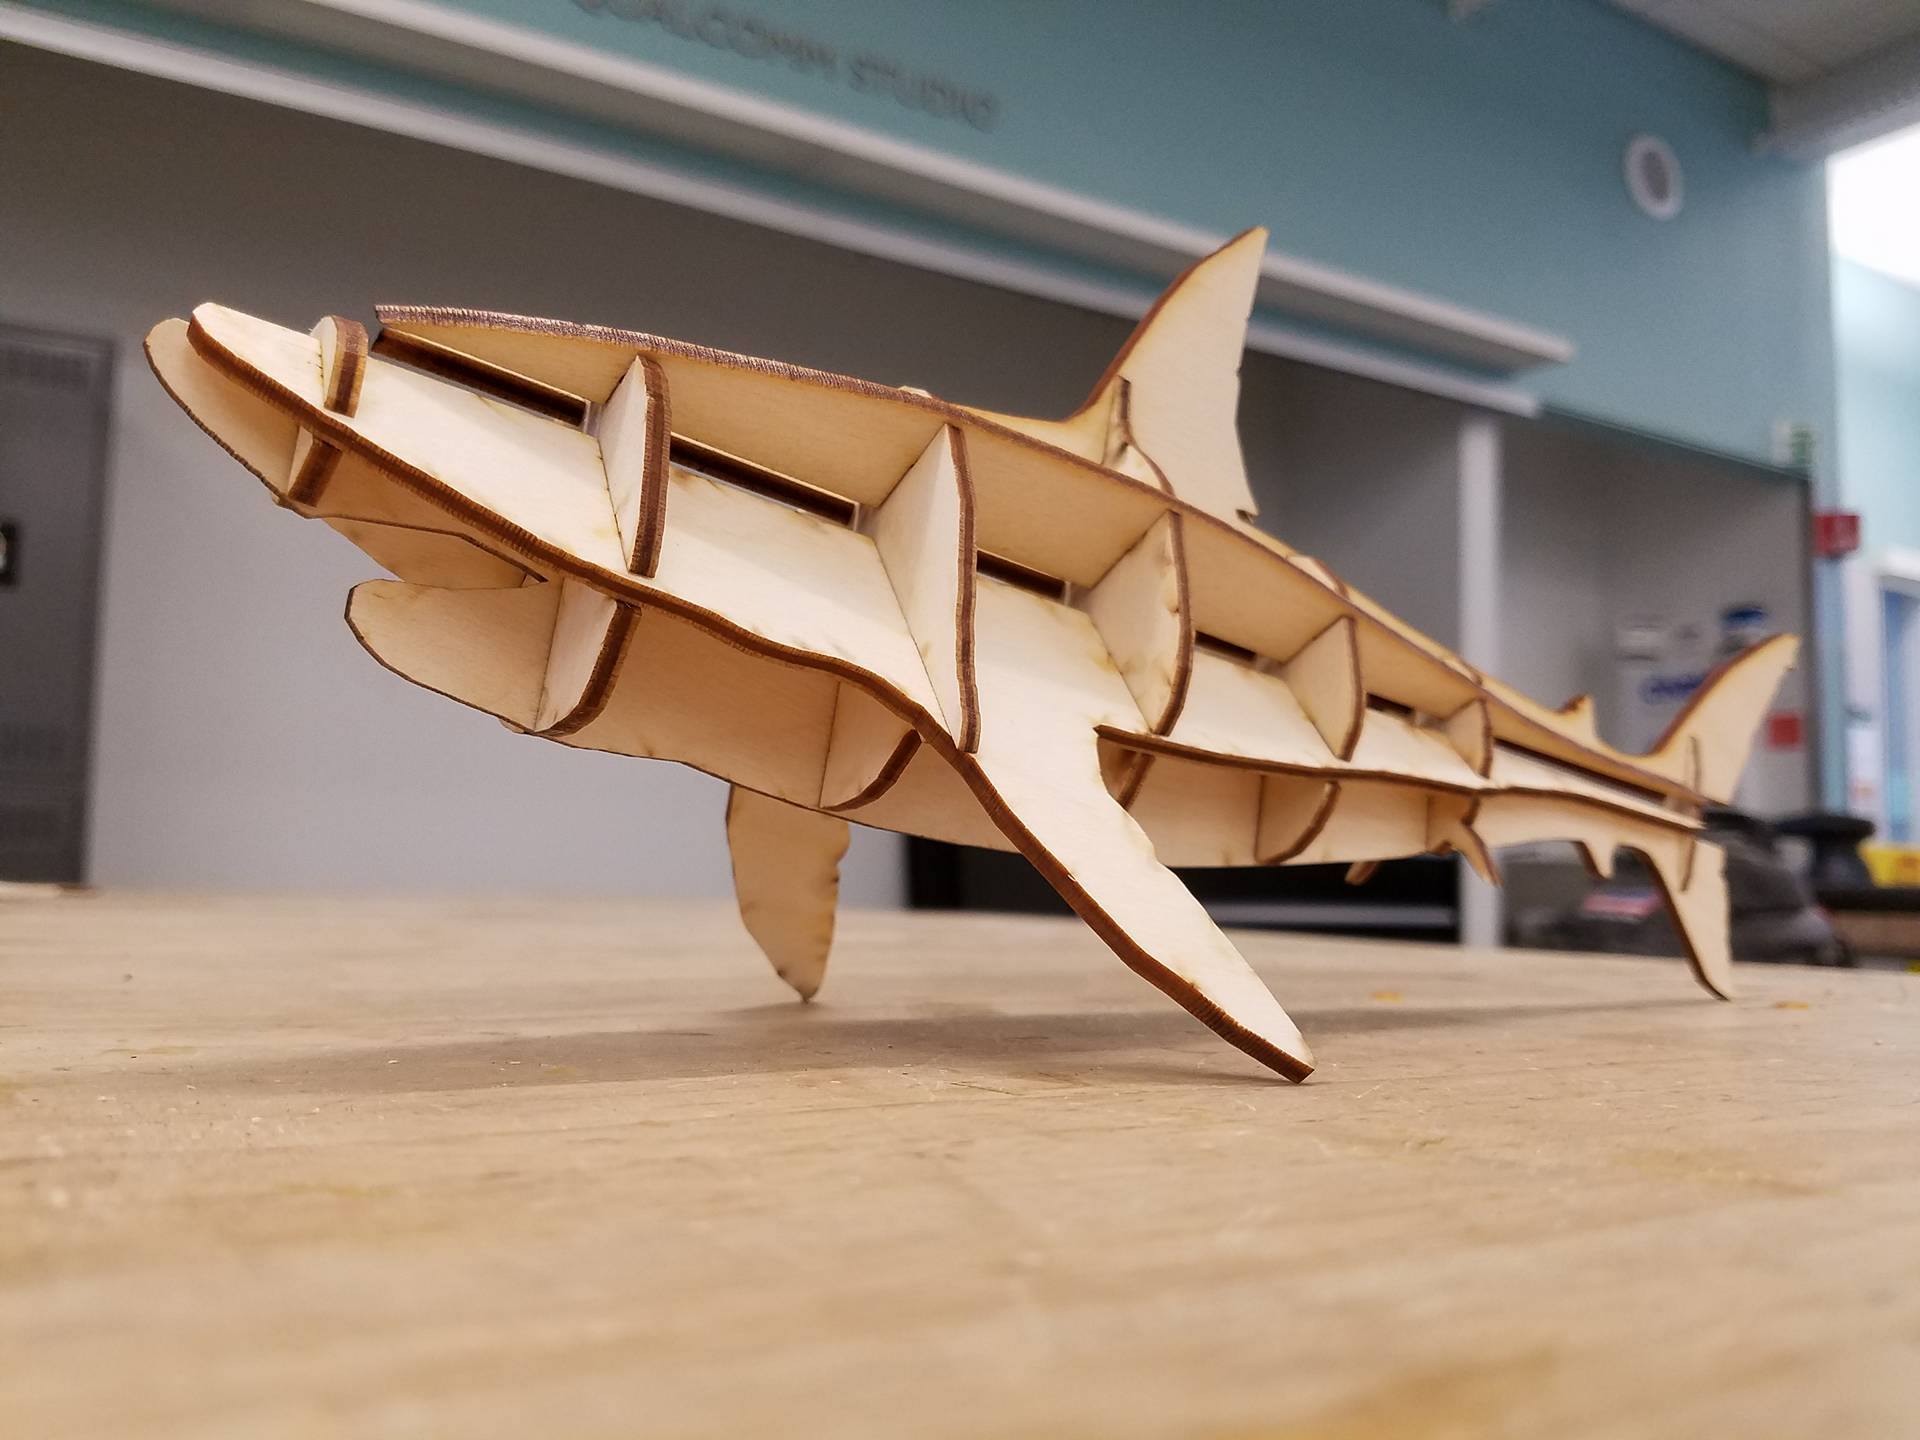
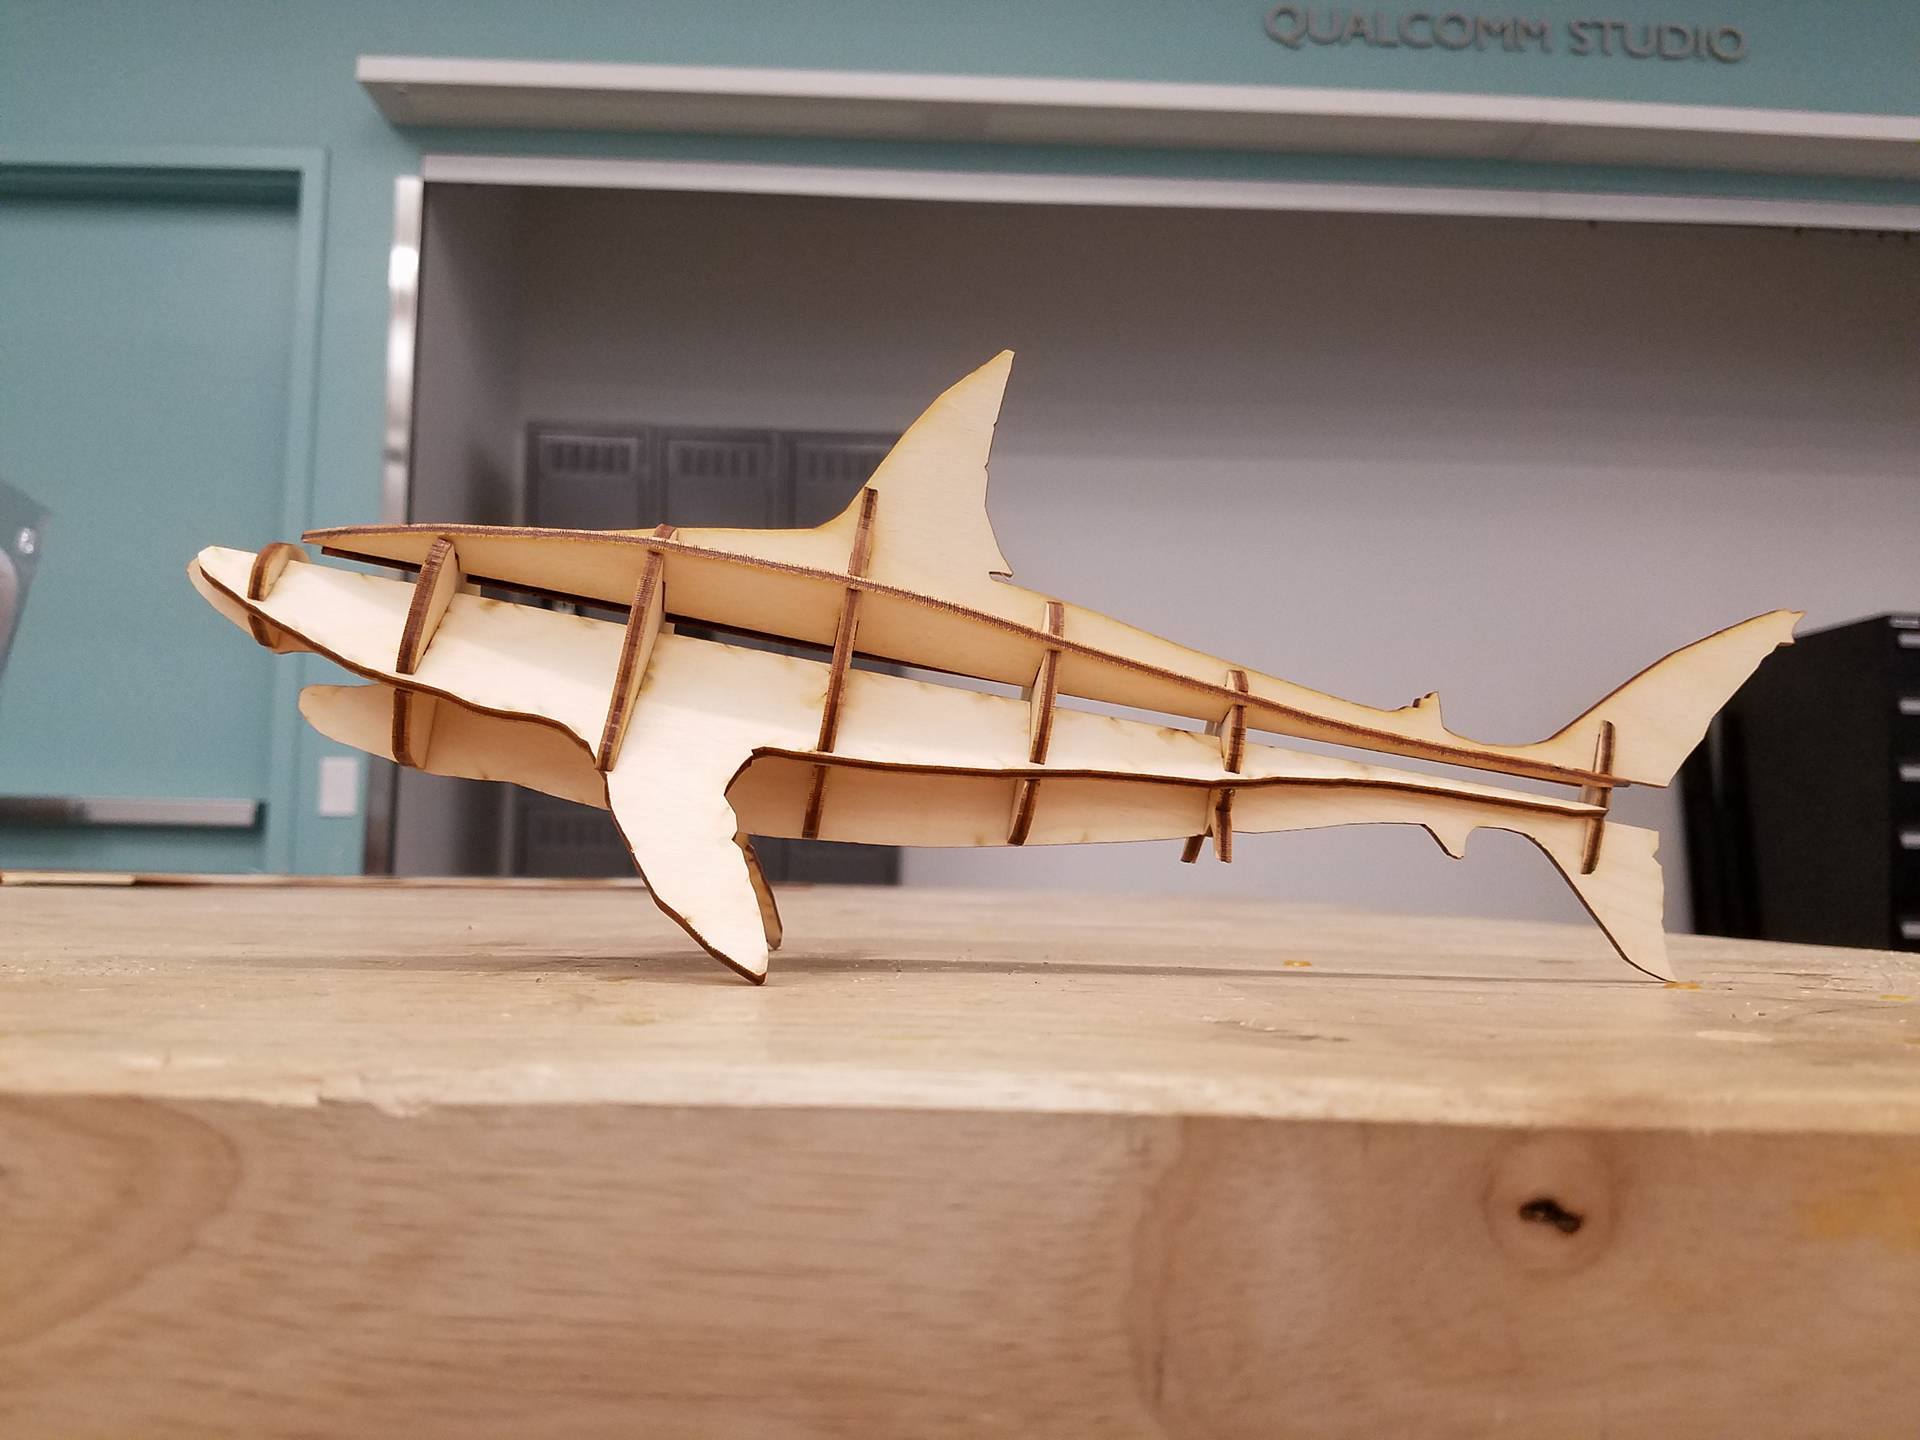
In this tutorial, we will be making a 3D shark model out of 2D pieces. Please download the attached file 'shark parts' (either the .ai and .pdf file work, depending on your software).
First, I would like to give credit to shraska1 from thingiverse for the CAD model of the shark I used to make the design. It can be found here: https://www.thingiverse.com/thing:425437
The CAD model of the shark was 'waffle-ized' using a software called 123D Make, for those of you interested in making similar projects. It is a free software by Autodesk that can be downloaded here: http://autodesk-123d-make.en.lo4d.com/
I have a tutorial on my profile on how to use 123D Make, so check it out if you are interested in making your own models like this one.
Required tools:
CNC Laser Cutter
Calipers
Required materials:
A piece of 1/8" plywood 12" x 14"
Files:
Preparing Your Cut
I chose to use a piece of scrap plywood that measured ~.120" thick. It's important to note that the thickness of your plywood will dictate the size of the shark. If the thickness doesn't match up with the size, the slots will either be too small or too big for the pieces to fit together.
Use the calipers to measure the thickness of your plywood. The file I provided is meant for plywood that is .120" thick. If you use wood of a different thickness, the entire design file will need to be scaled by: (x/.120) * 100, where x is your material thickness. For example, using wood that is .135" thick, my scale factor would be .135/.120 * 100 = 112.5 %. This is a critical step, otherwise your pieces will not fit together.
The method for scaling will vary based on the software you are using. In illustrator, select everything and go to object-->transform-->scale. If you are using a different software with a different laser, I will assume you know how to operate the software and scale the file.
Cutting the Pieces
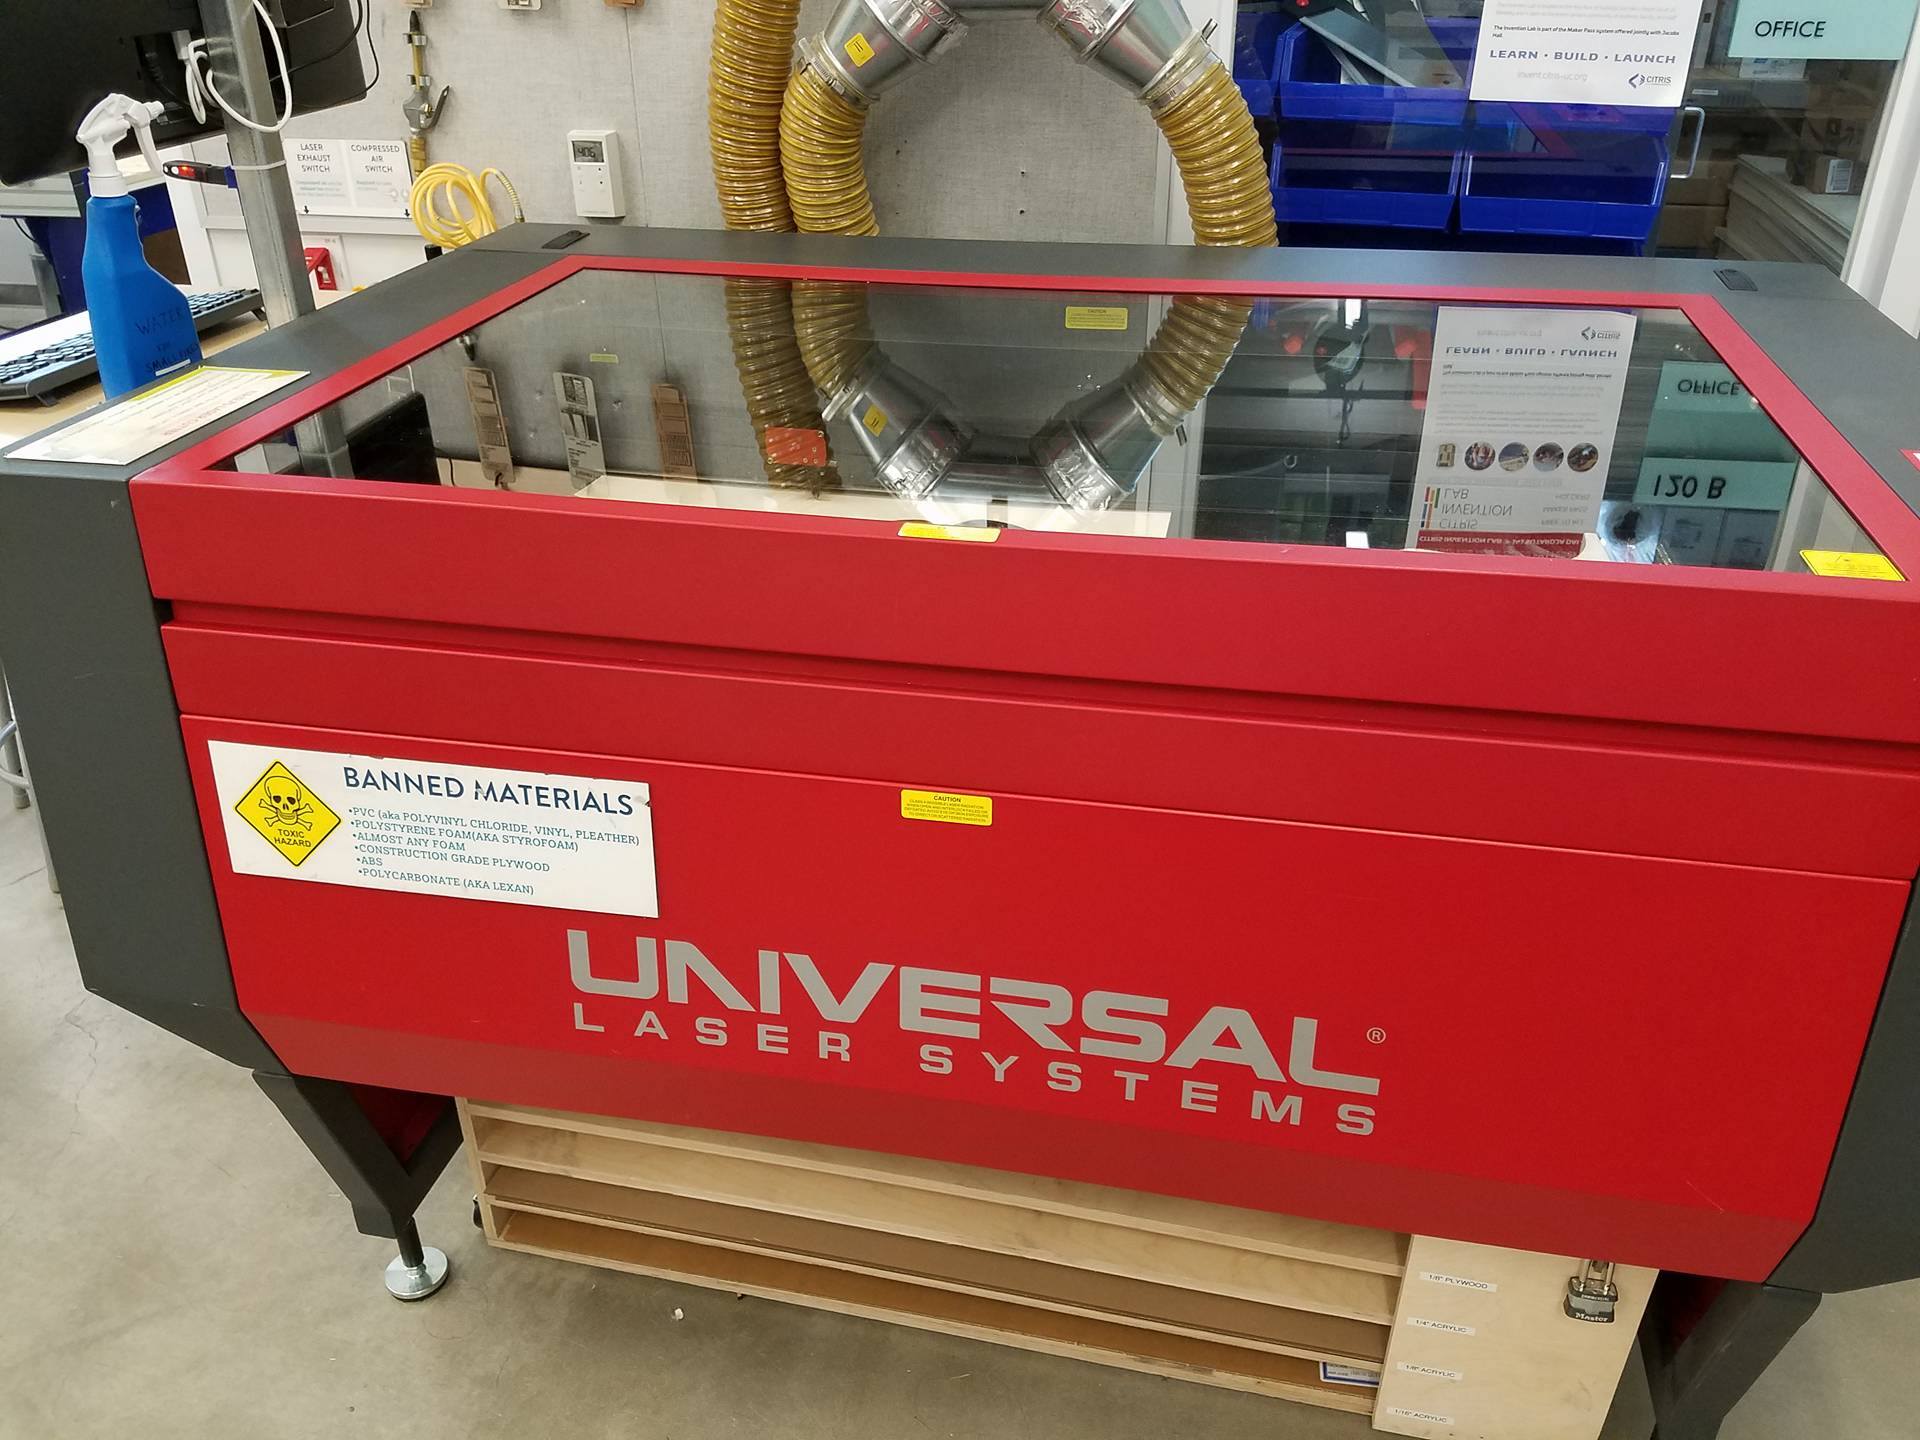
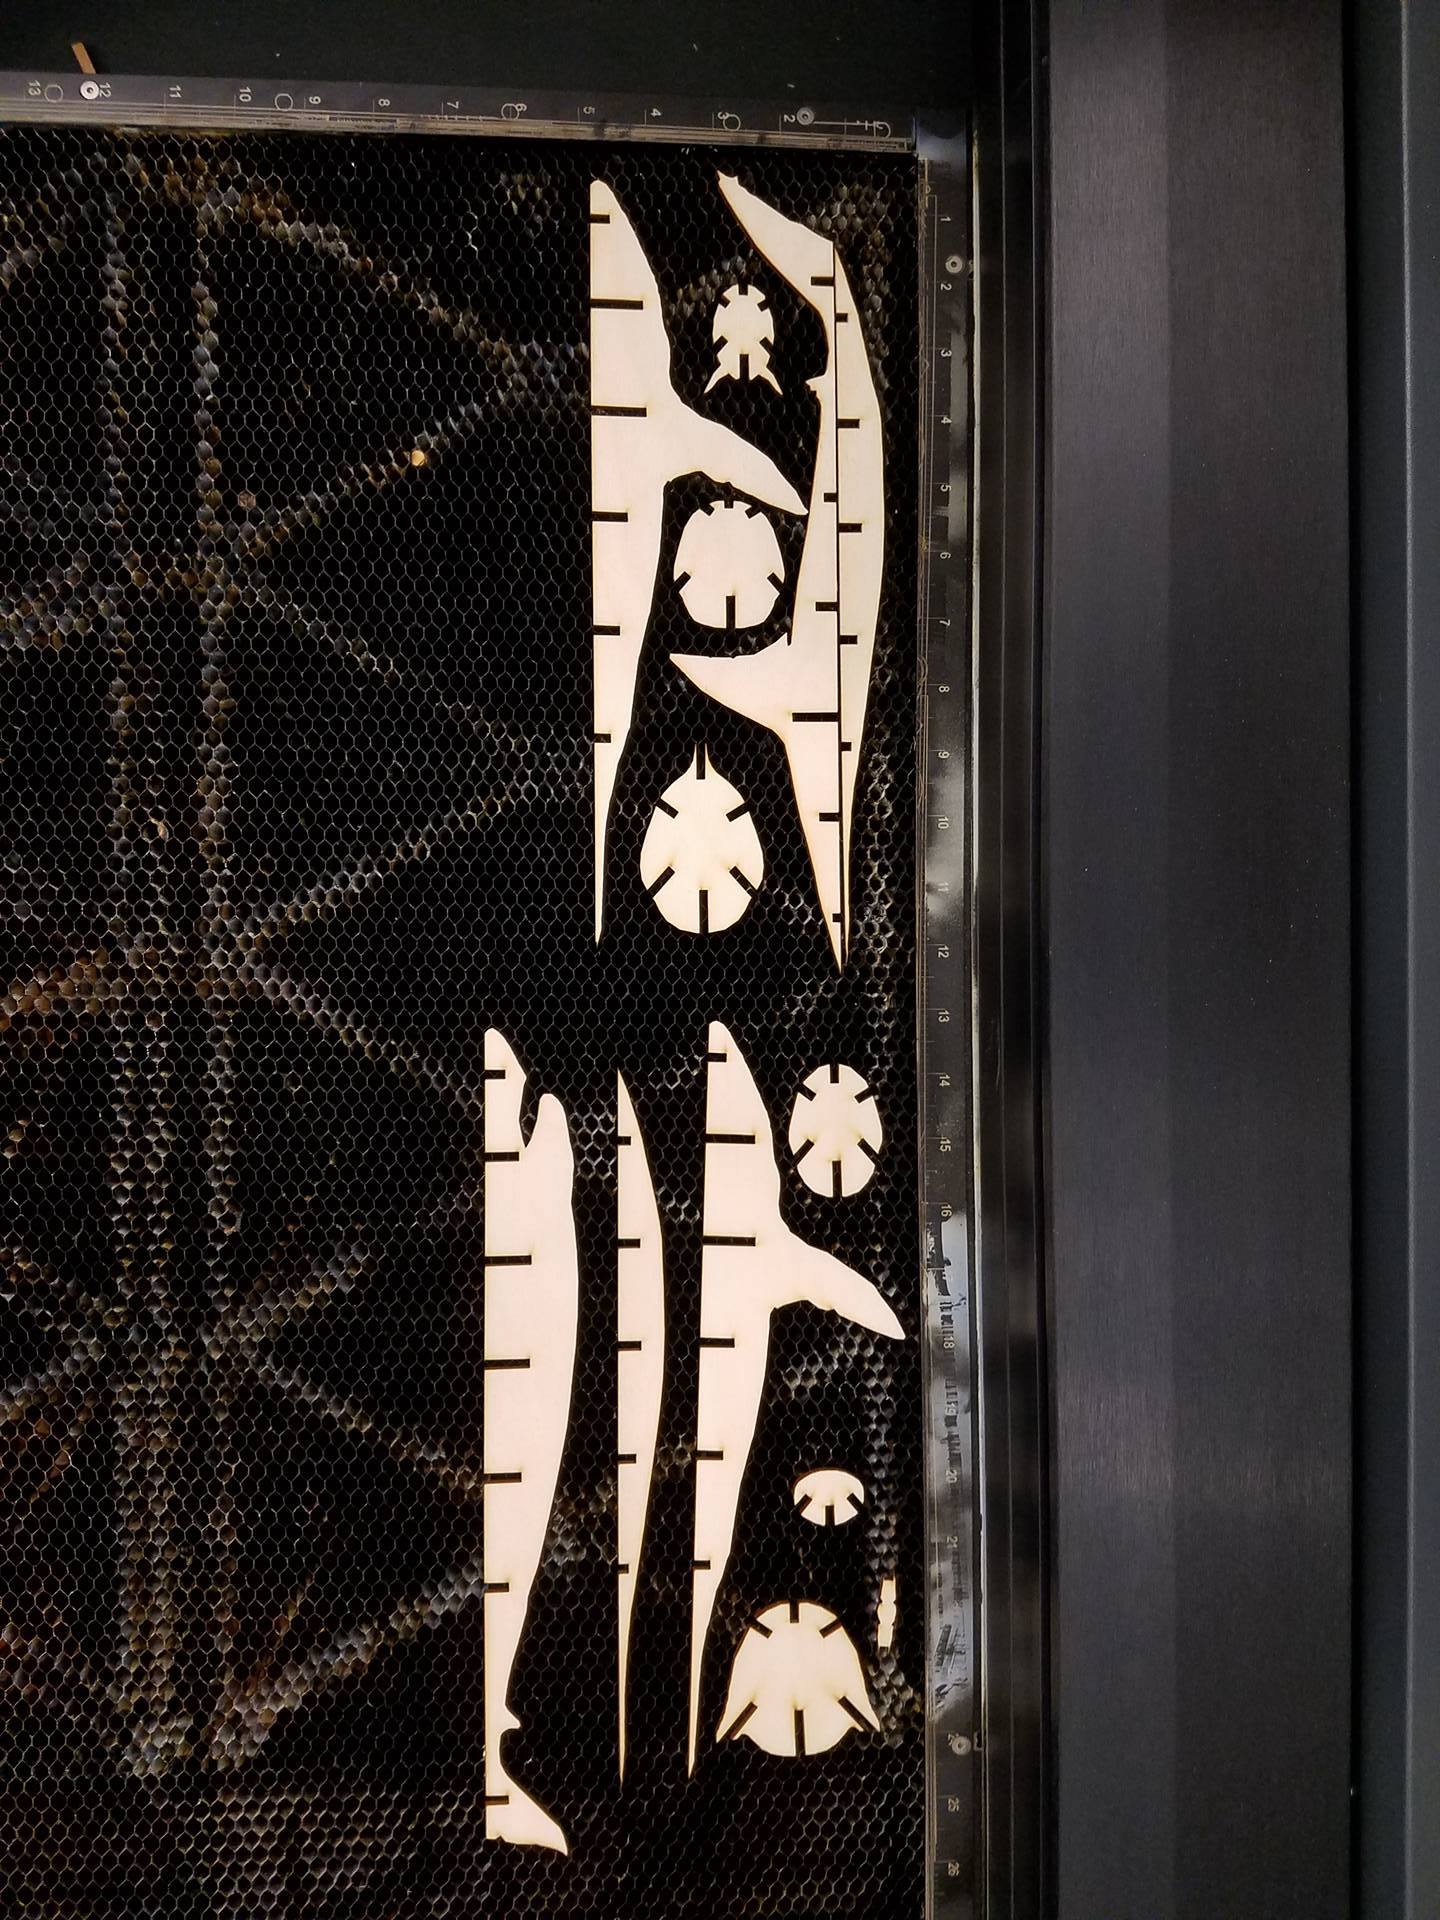
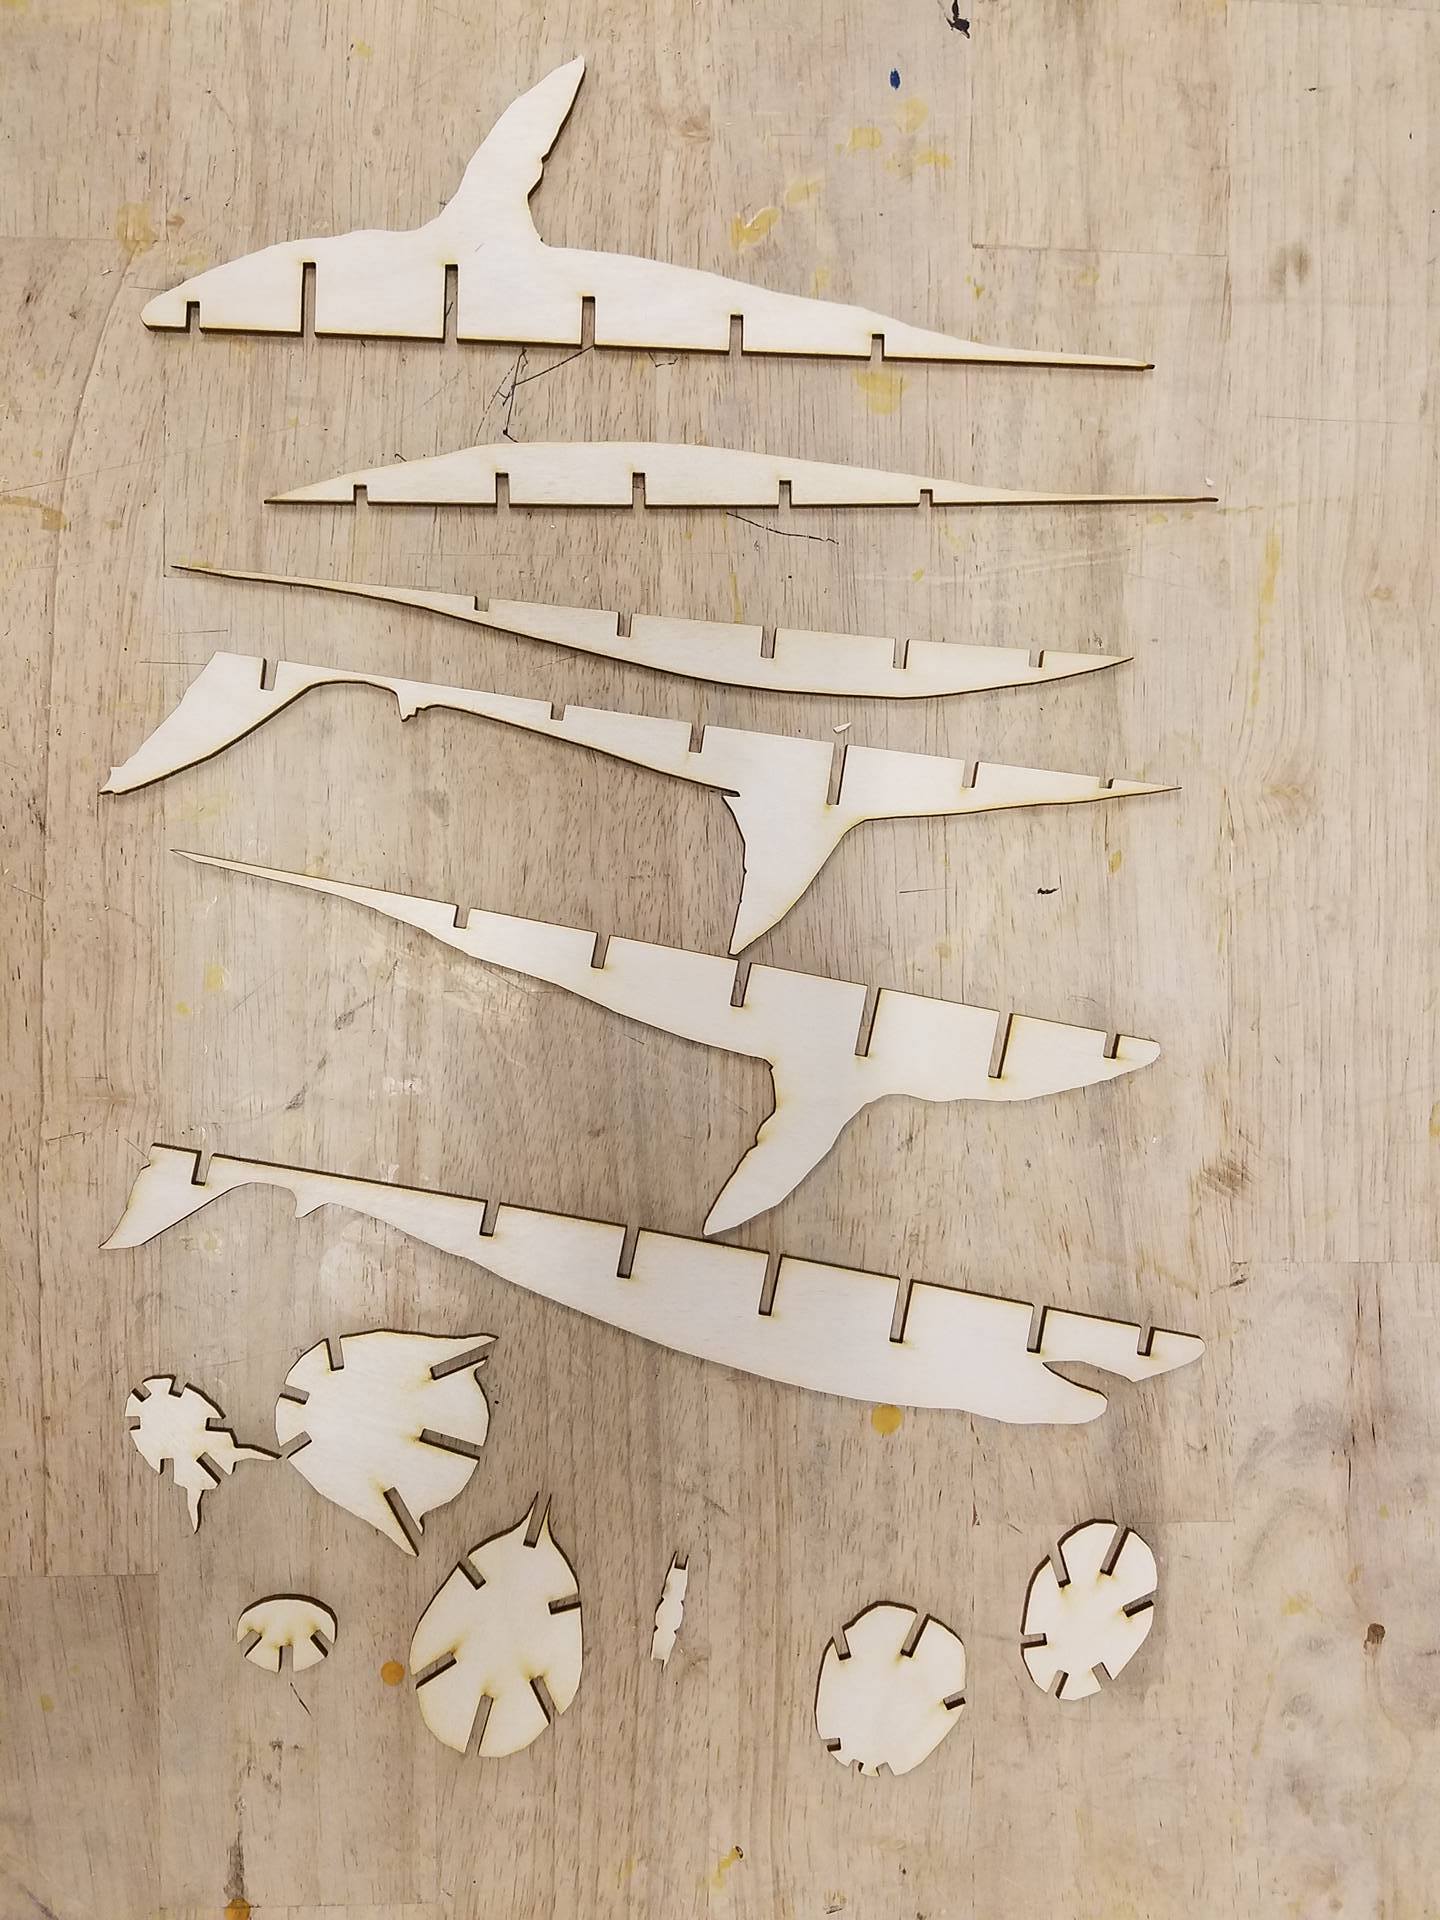
This tutorial assumes you have access to and operator's knowledge of a CNC lasercutter. As each machine's software and interface are drastically different, I'll have to assume that you know how to operate the laser cutter you will be using. The laser I used accepts illustrator files, which is why I uploaded the design as an .ai file. However, I also uploaded the .pdf for people who use a different software. Open the .pdf file in your laser's software, as pdf's are very standard file types and should be accepted by your laser's software.
Note: Each type of laser is different, and yours may use slightly different settings than mine, resulting in a different kerf. This could make the pieces not fit together appropriately. If the pieces are too loose, consider scaling down the file by about 5% and trying again. Likewise, if the pieces are too tight and don't slide together, scale the file up by about 5% and cut the pieces again.
Go ahead and cut out the parts using your laser, and head over to a work able where you can assemble them.
Assembly, Step 1
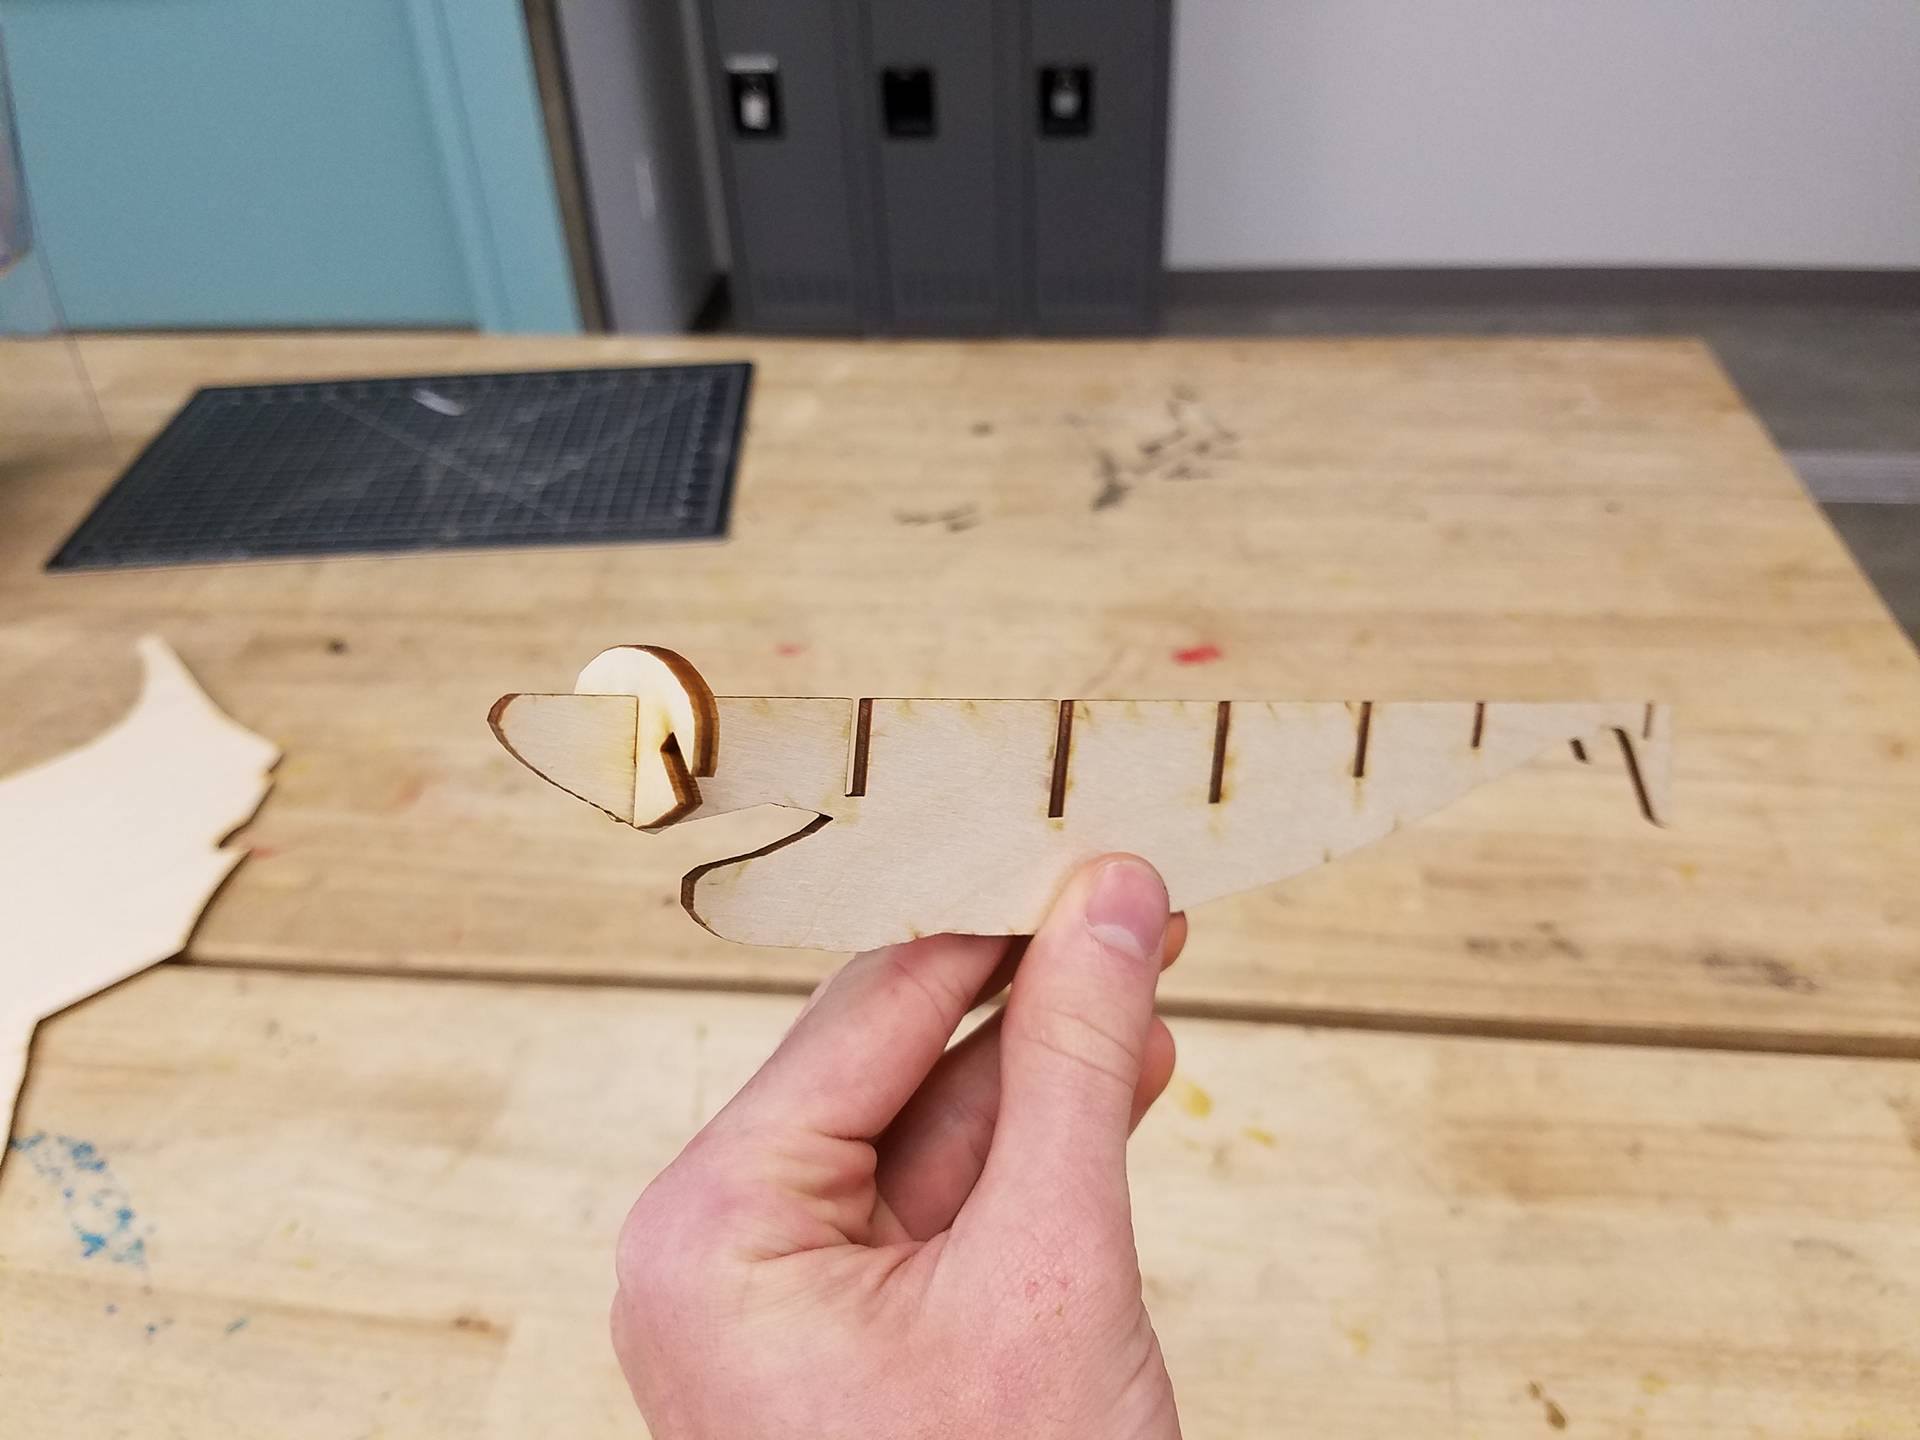
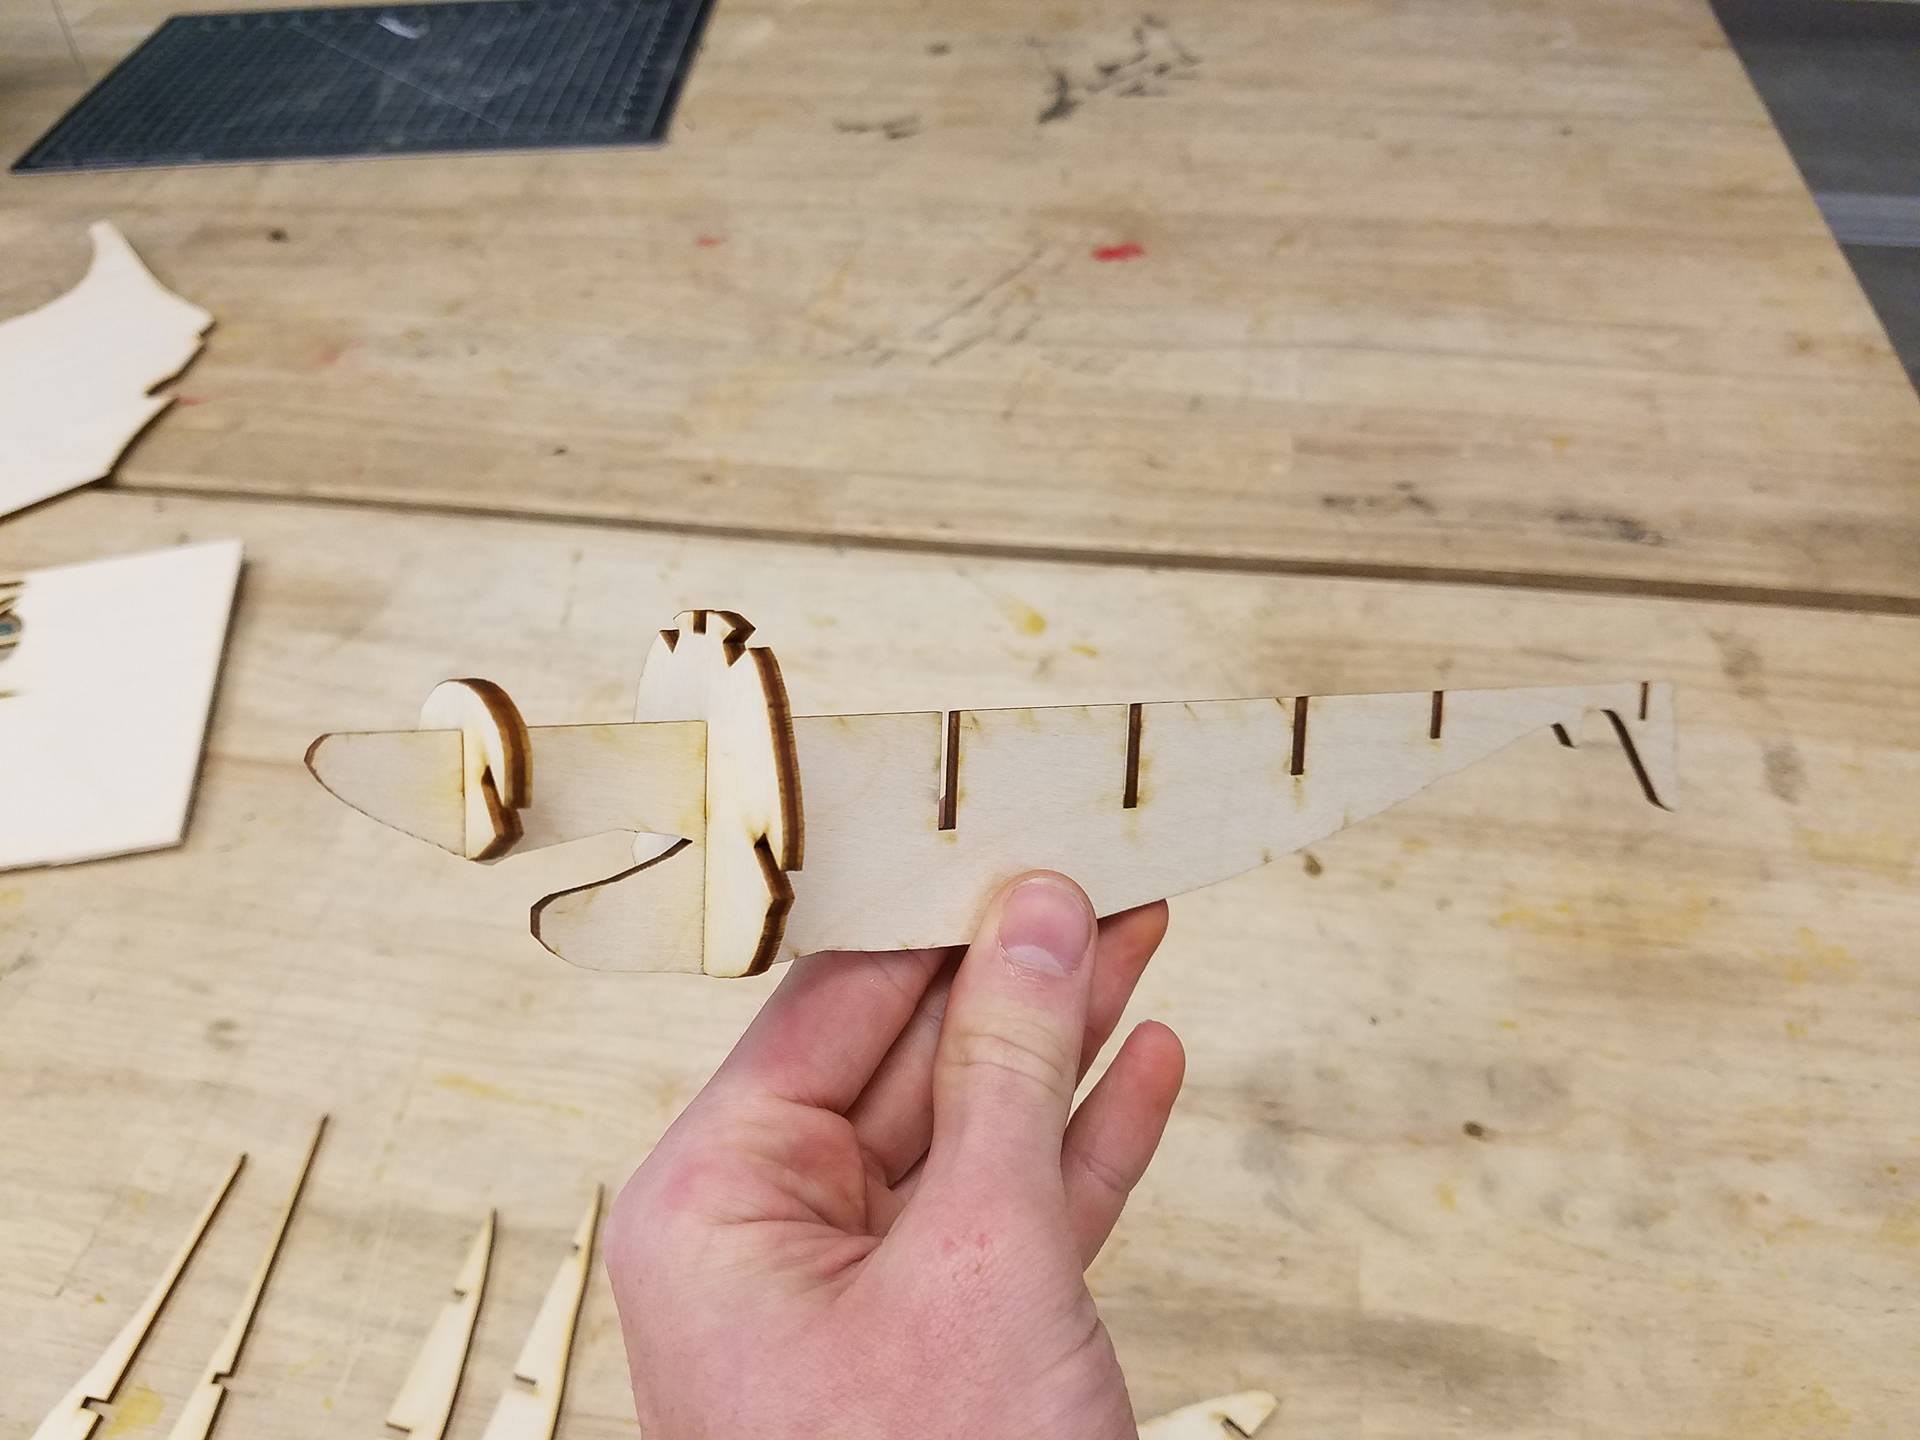
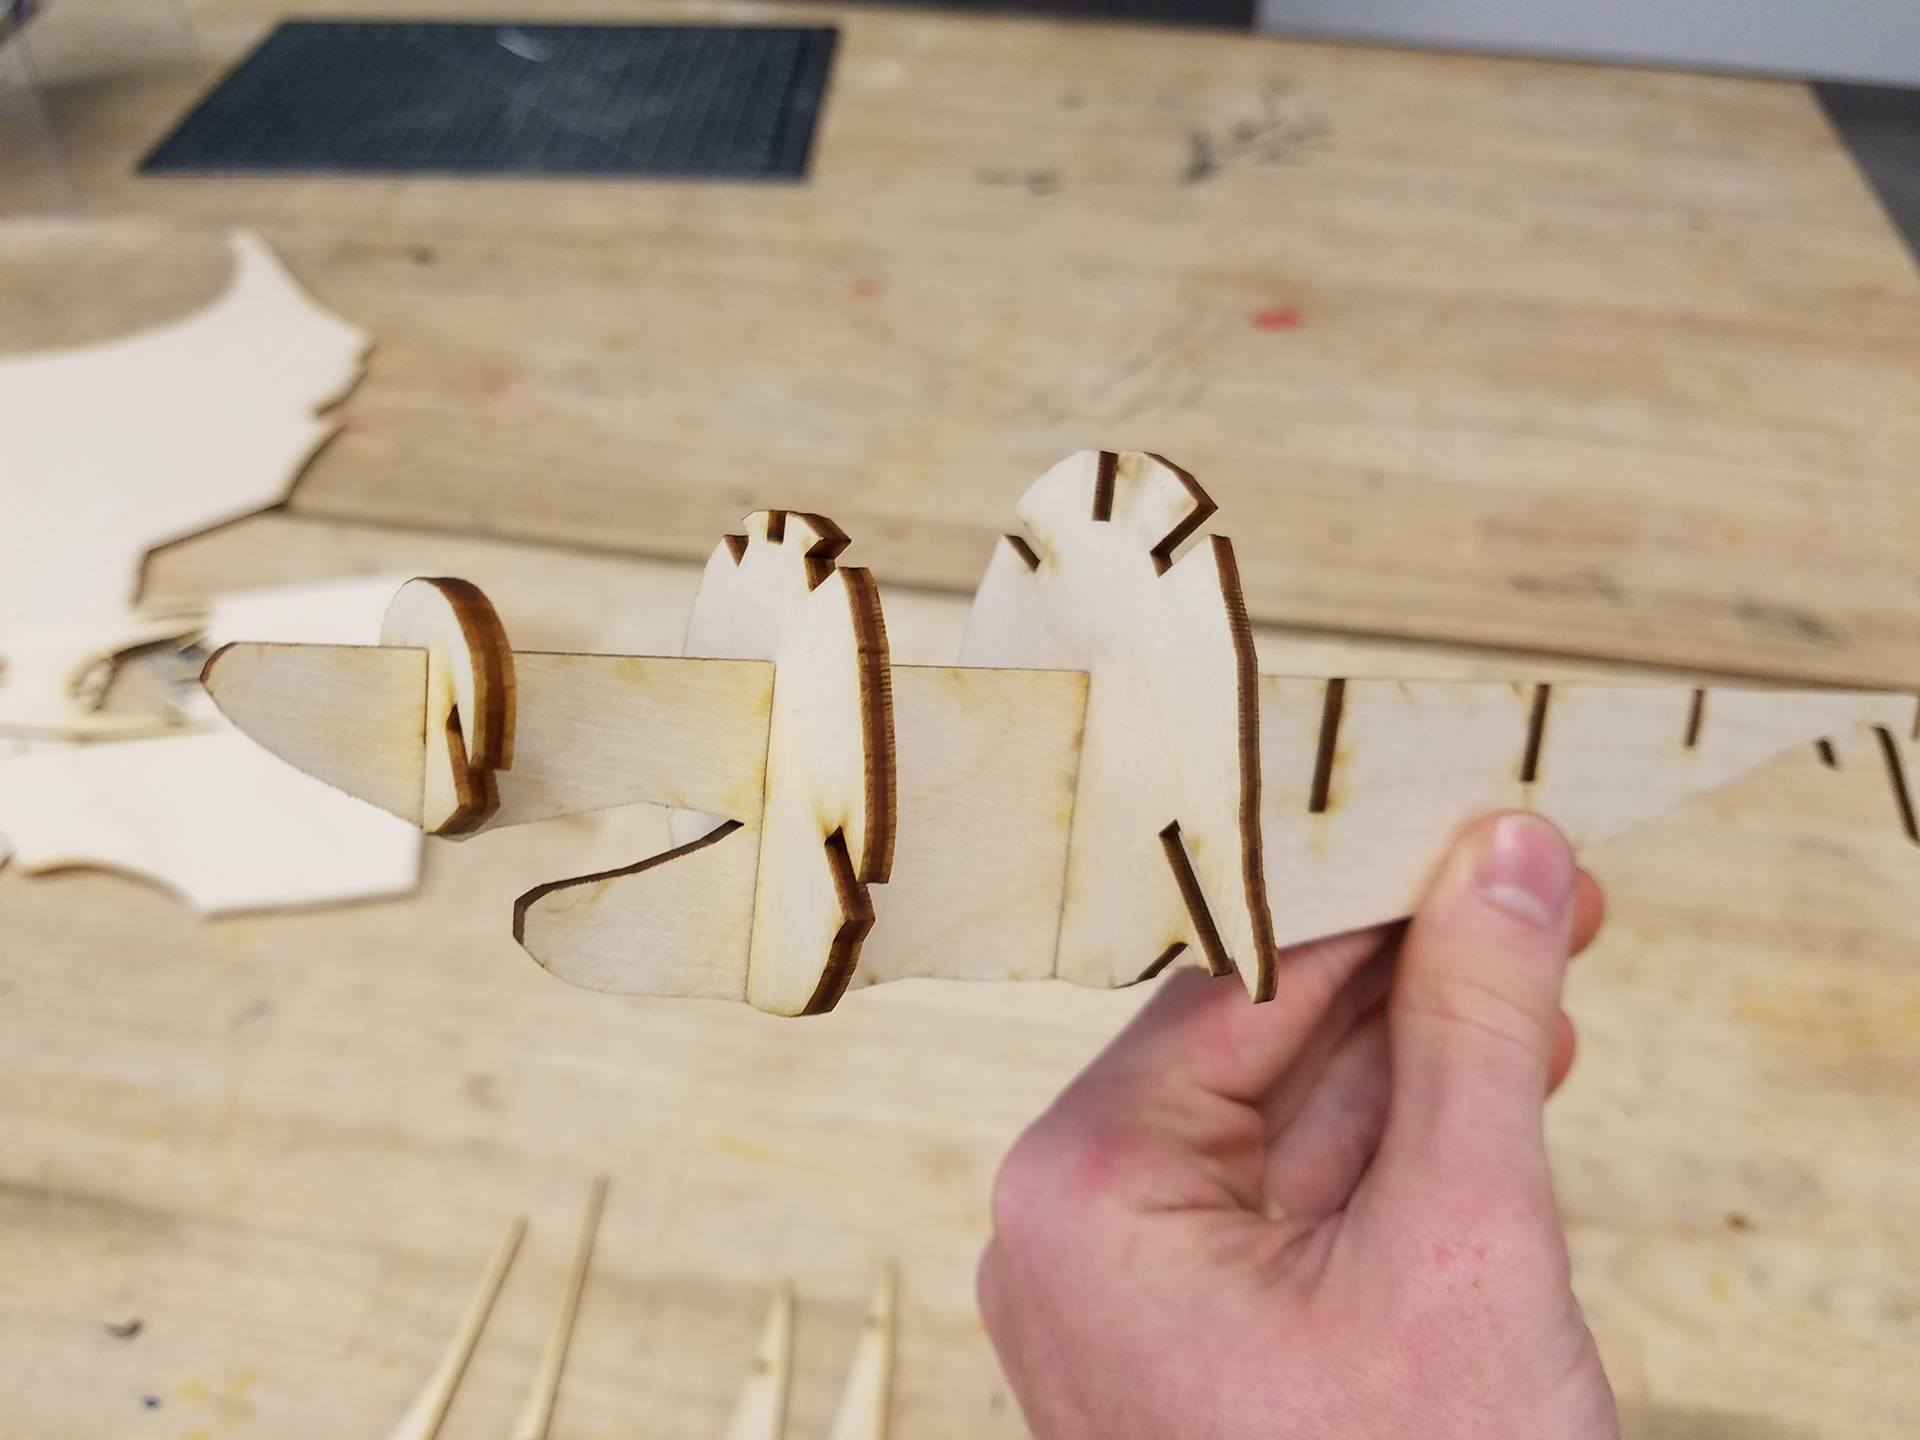
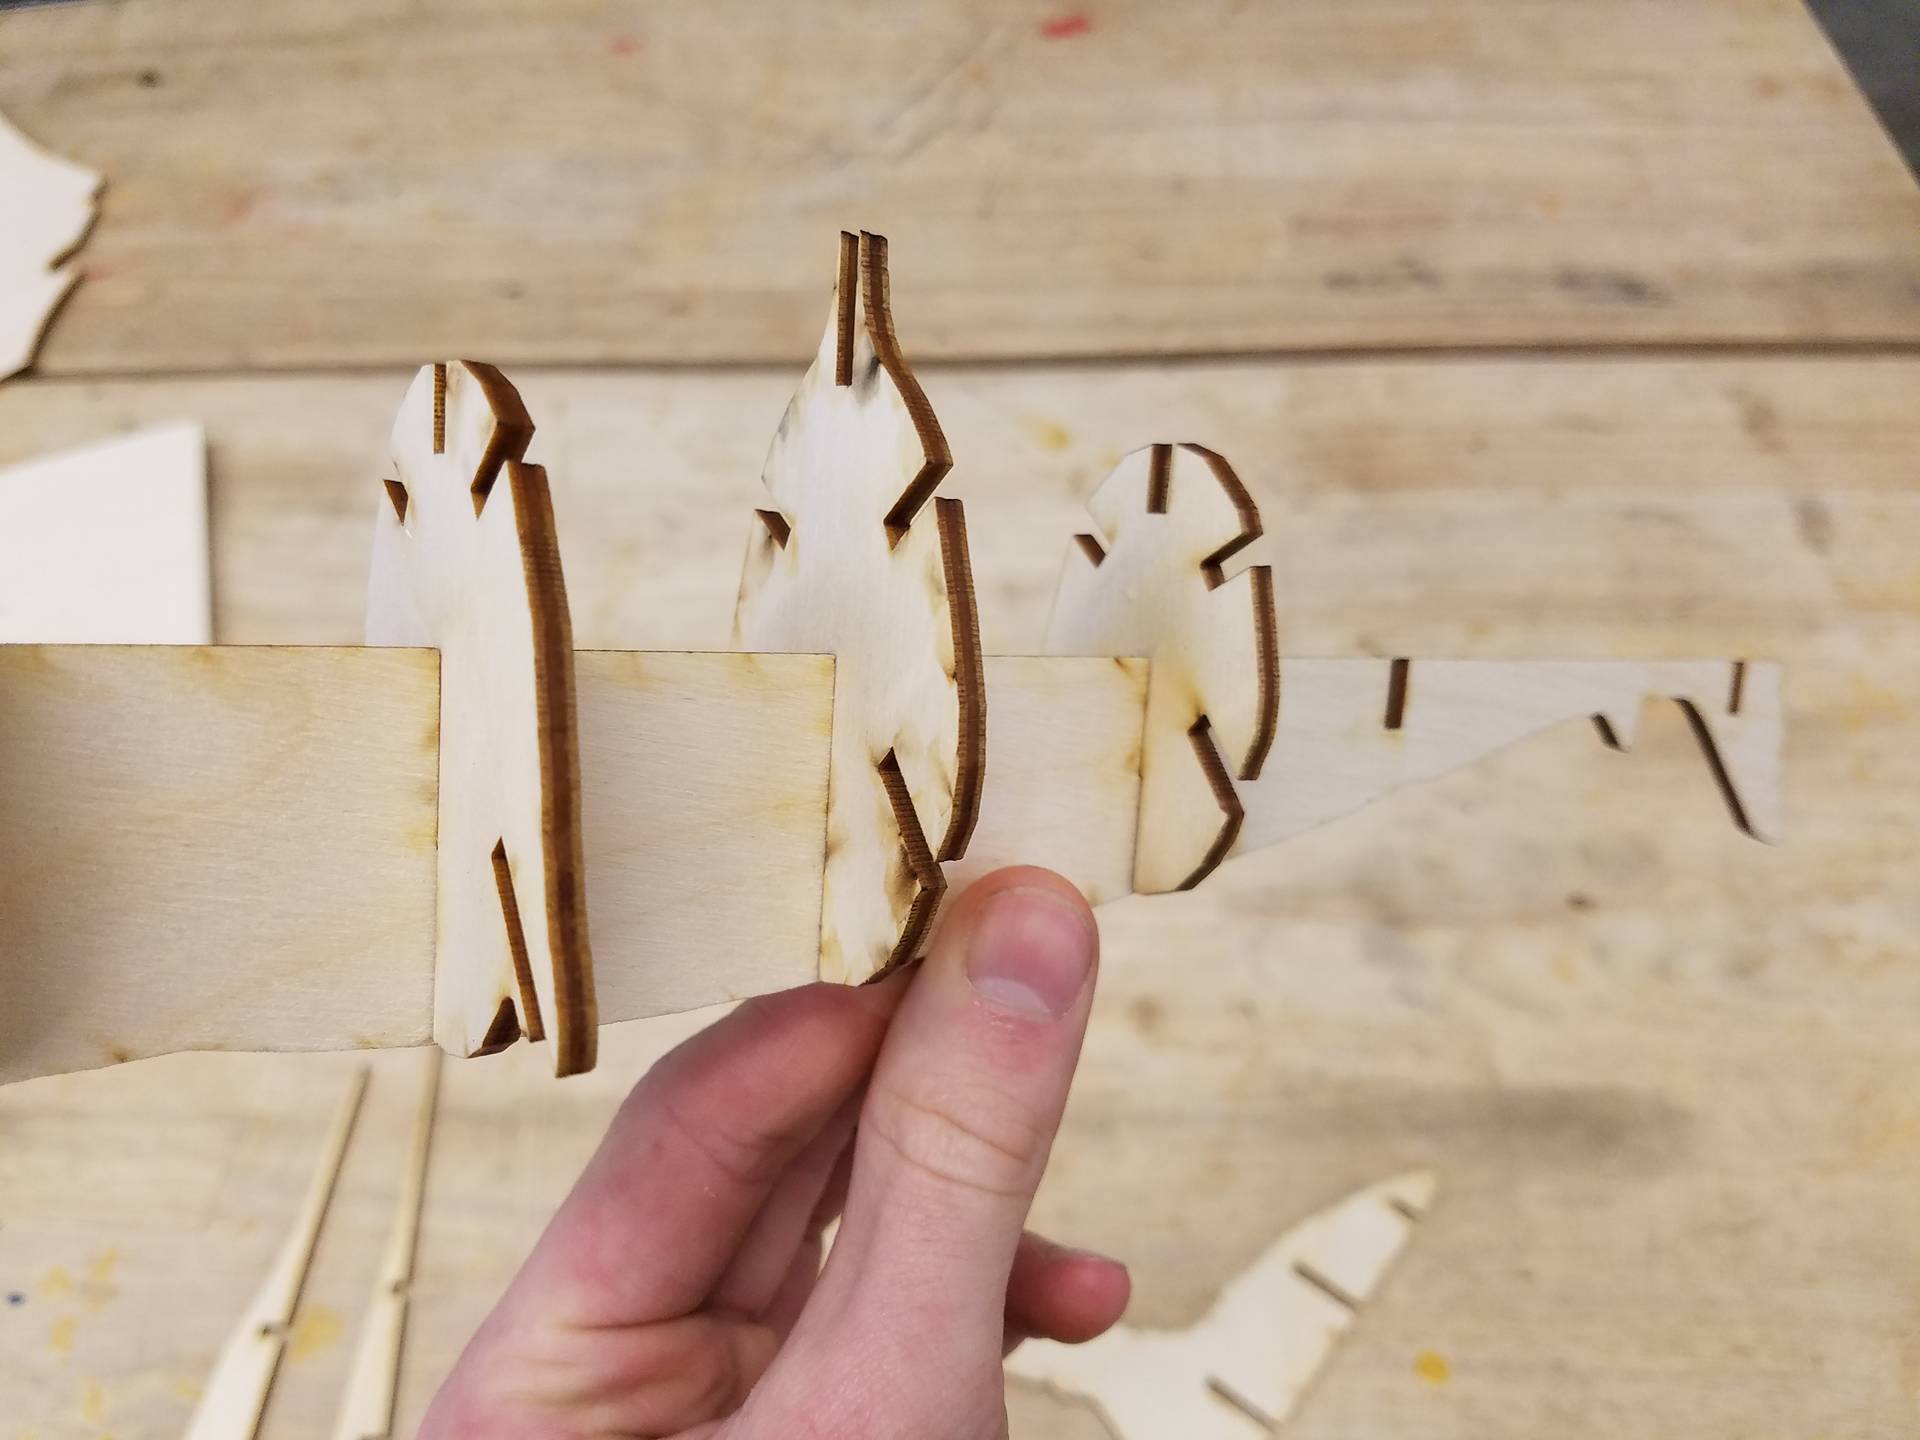
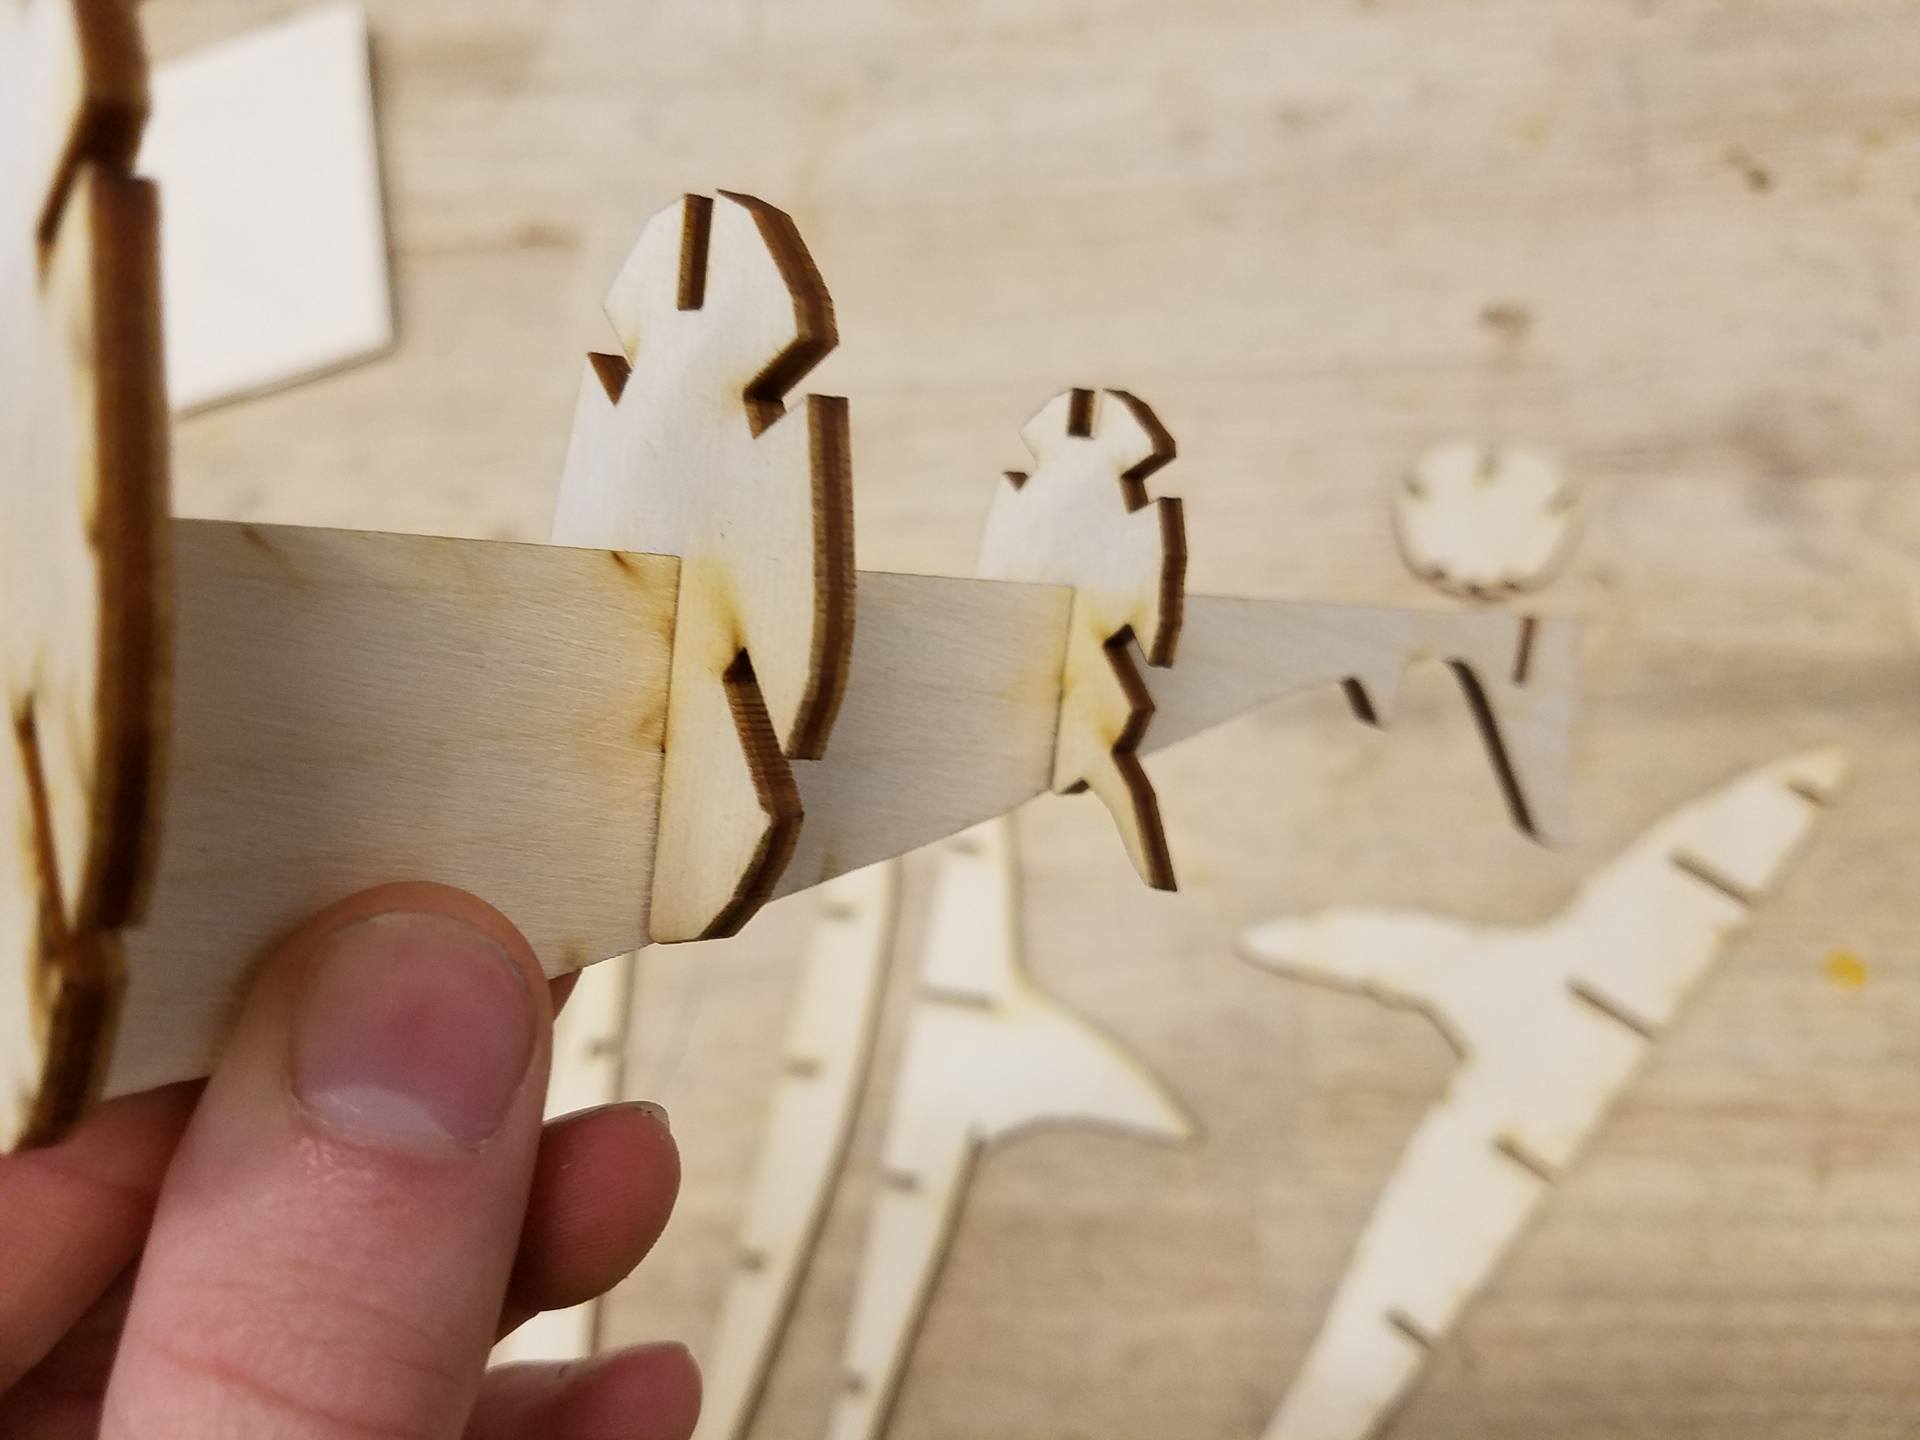
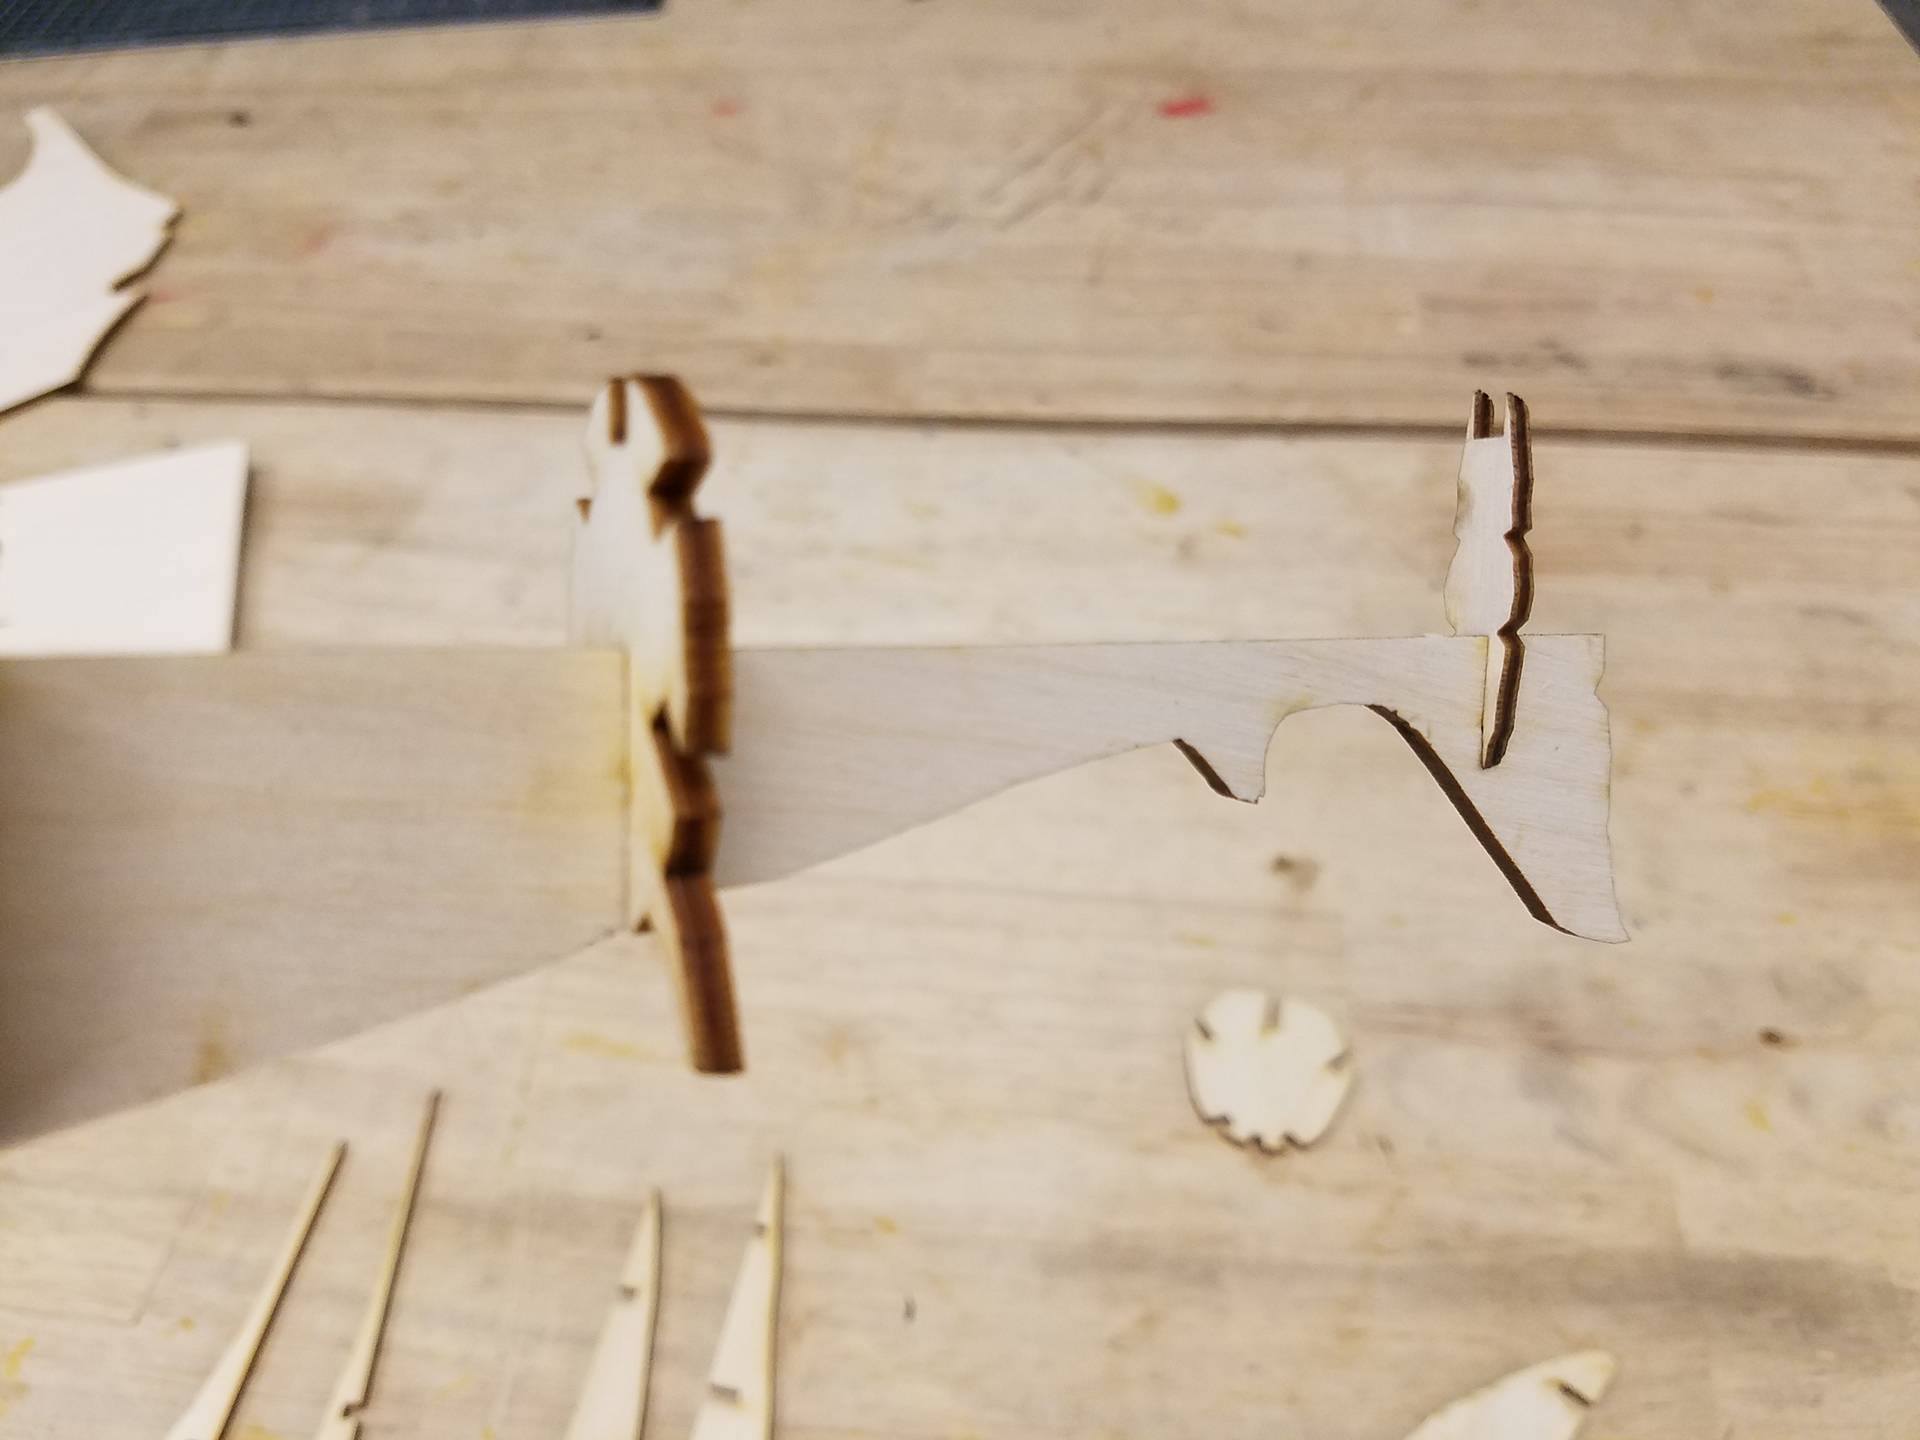
Note: In order to preserve the likeness of the shark, some of the pieces are fairly thin on this model. Take care not to break any.
First, we will start with the largest of the long body pieces, or the one with the mouth. Follow along with the images for visuals of which piece to add. Put the small snout piece in the front most slot. Follow this with the next rounded piece. Third will be the piece that has the two small spikes at the top. After that fin piece, slide in the next smallest round piece. Next is the small piece with 2 little fins on the bottom. Lastly is the small piece that looks like a vertical rectangle. Once you have this done, proceed to step 4.
Assembly, Step 2
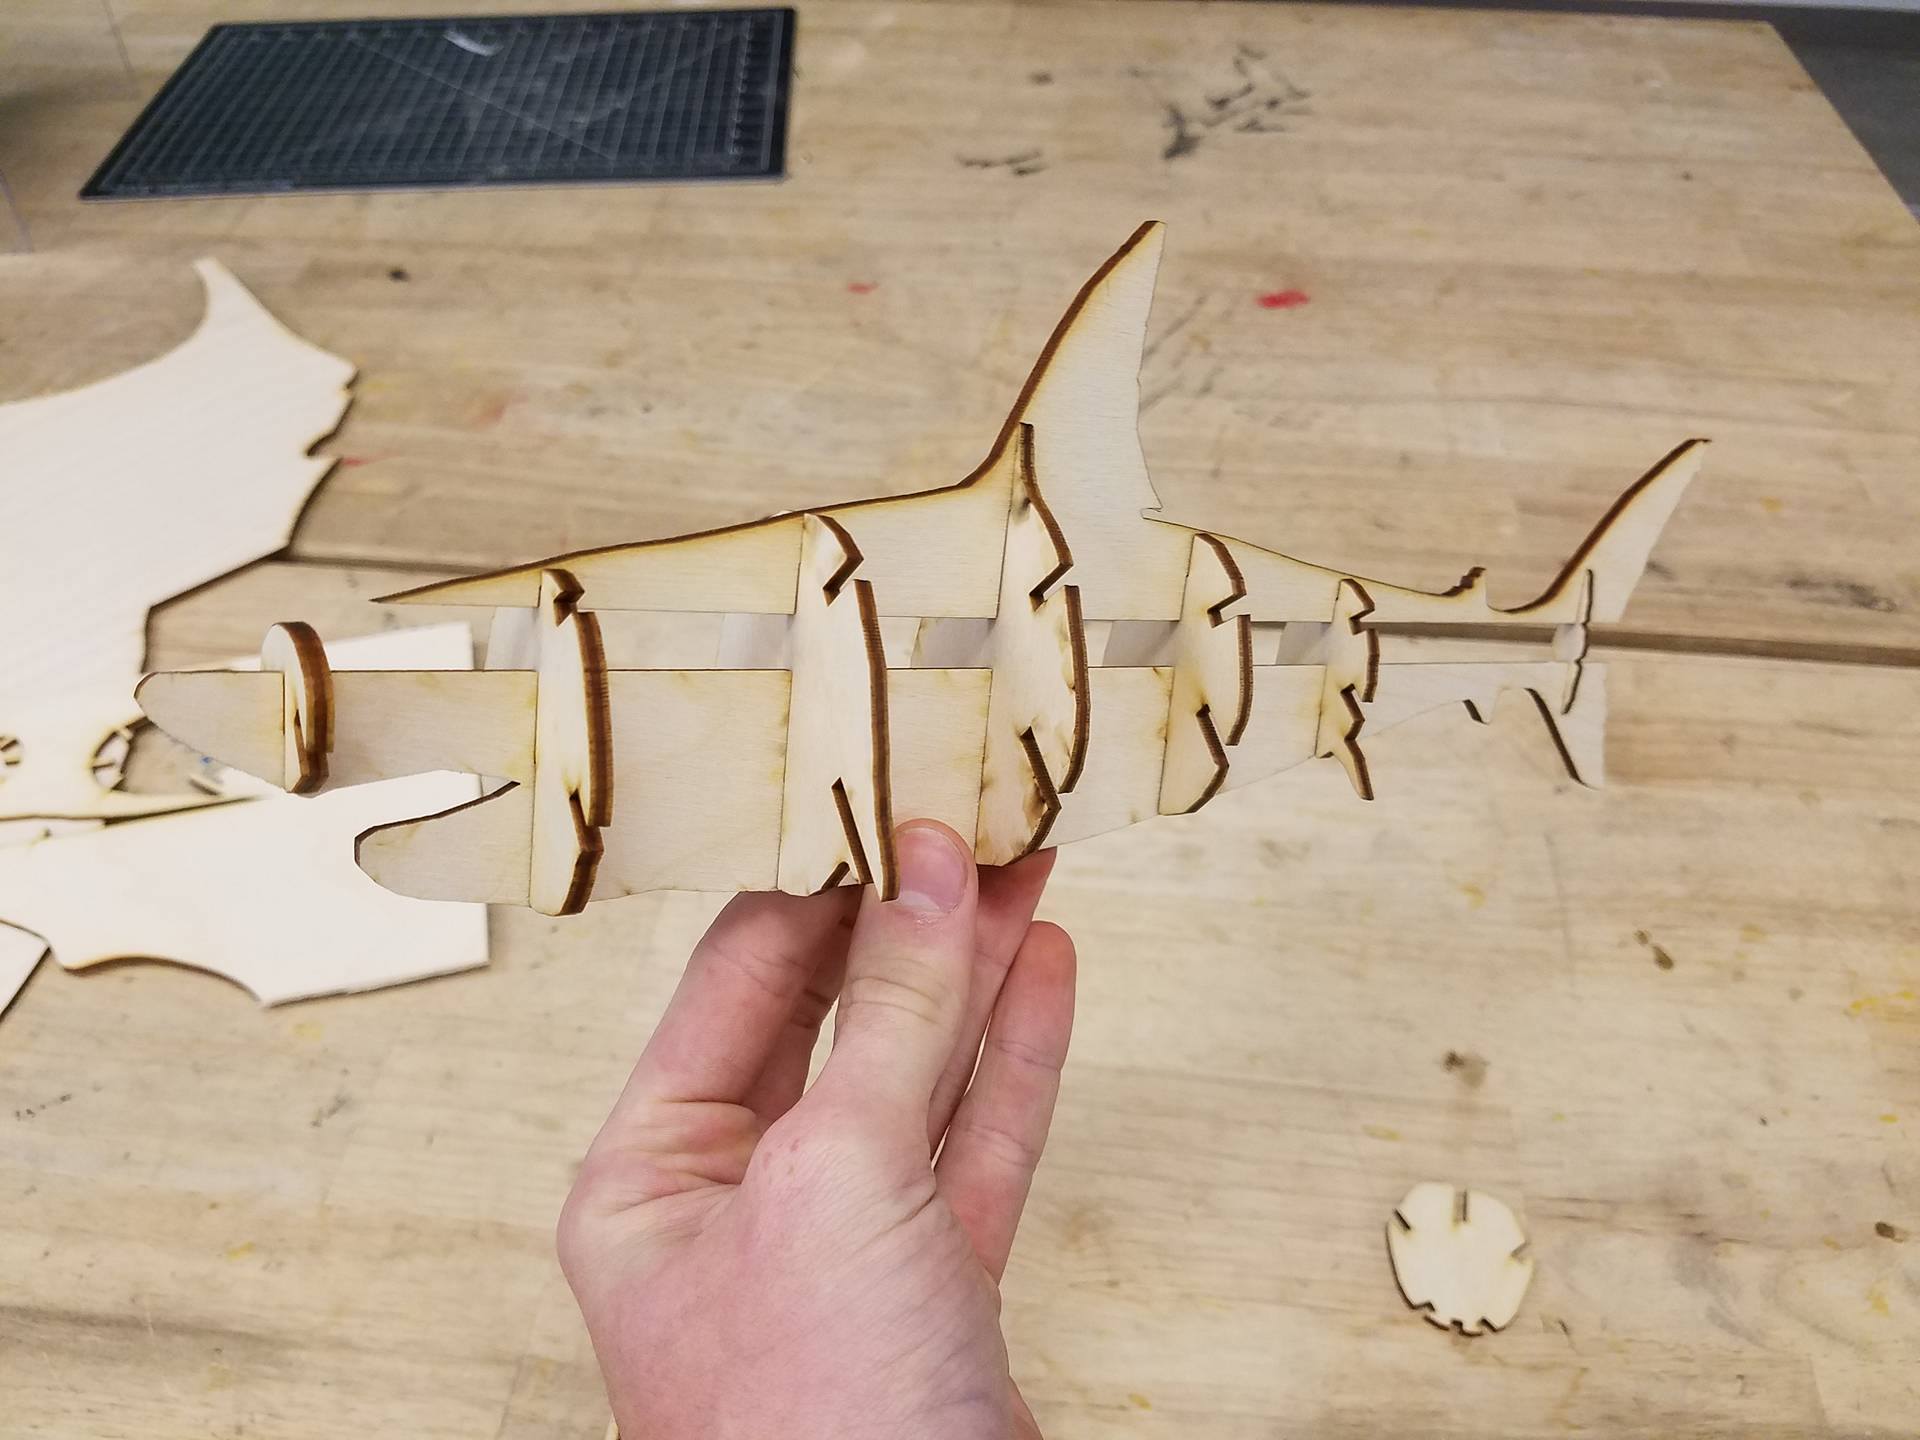
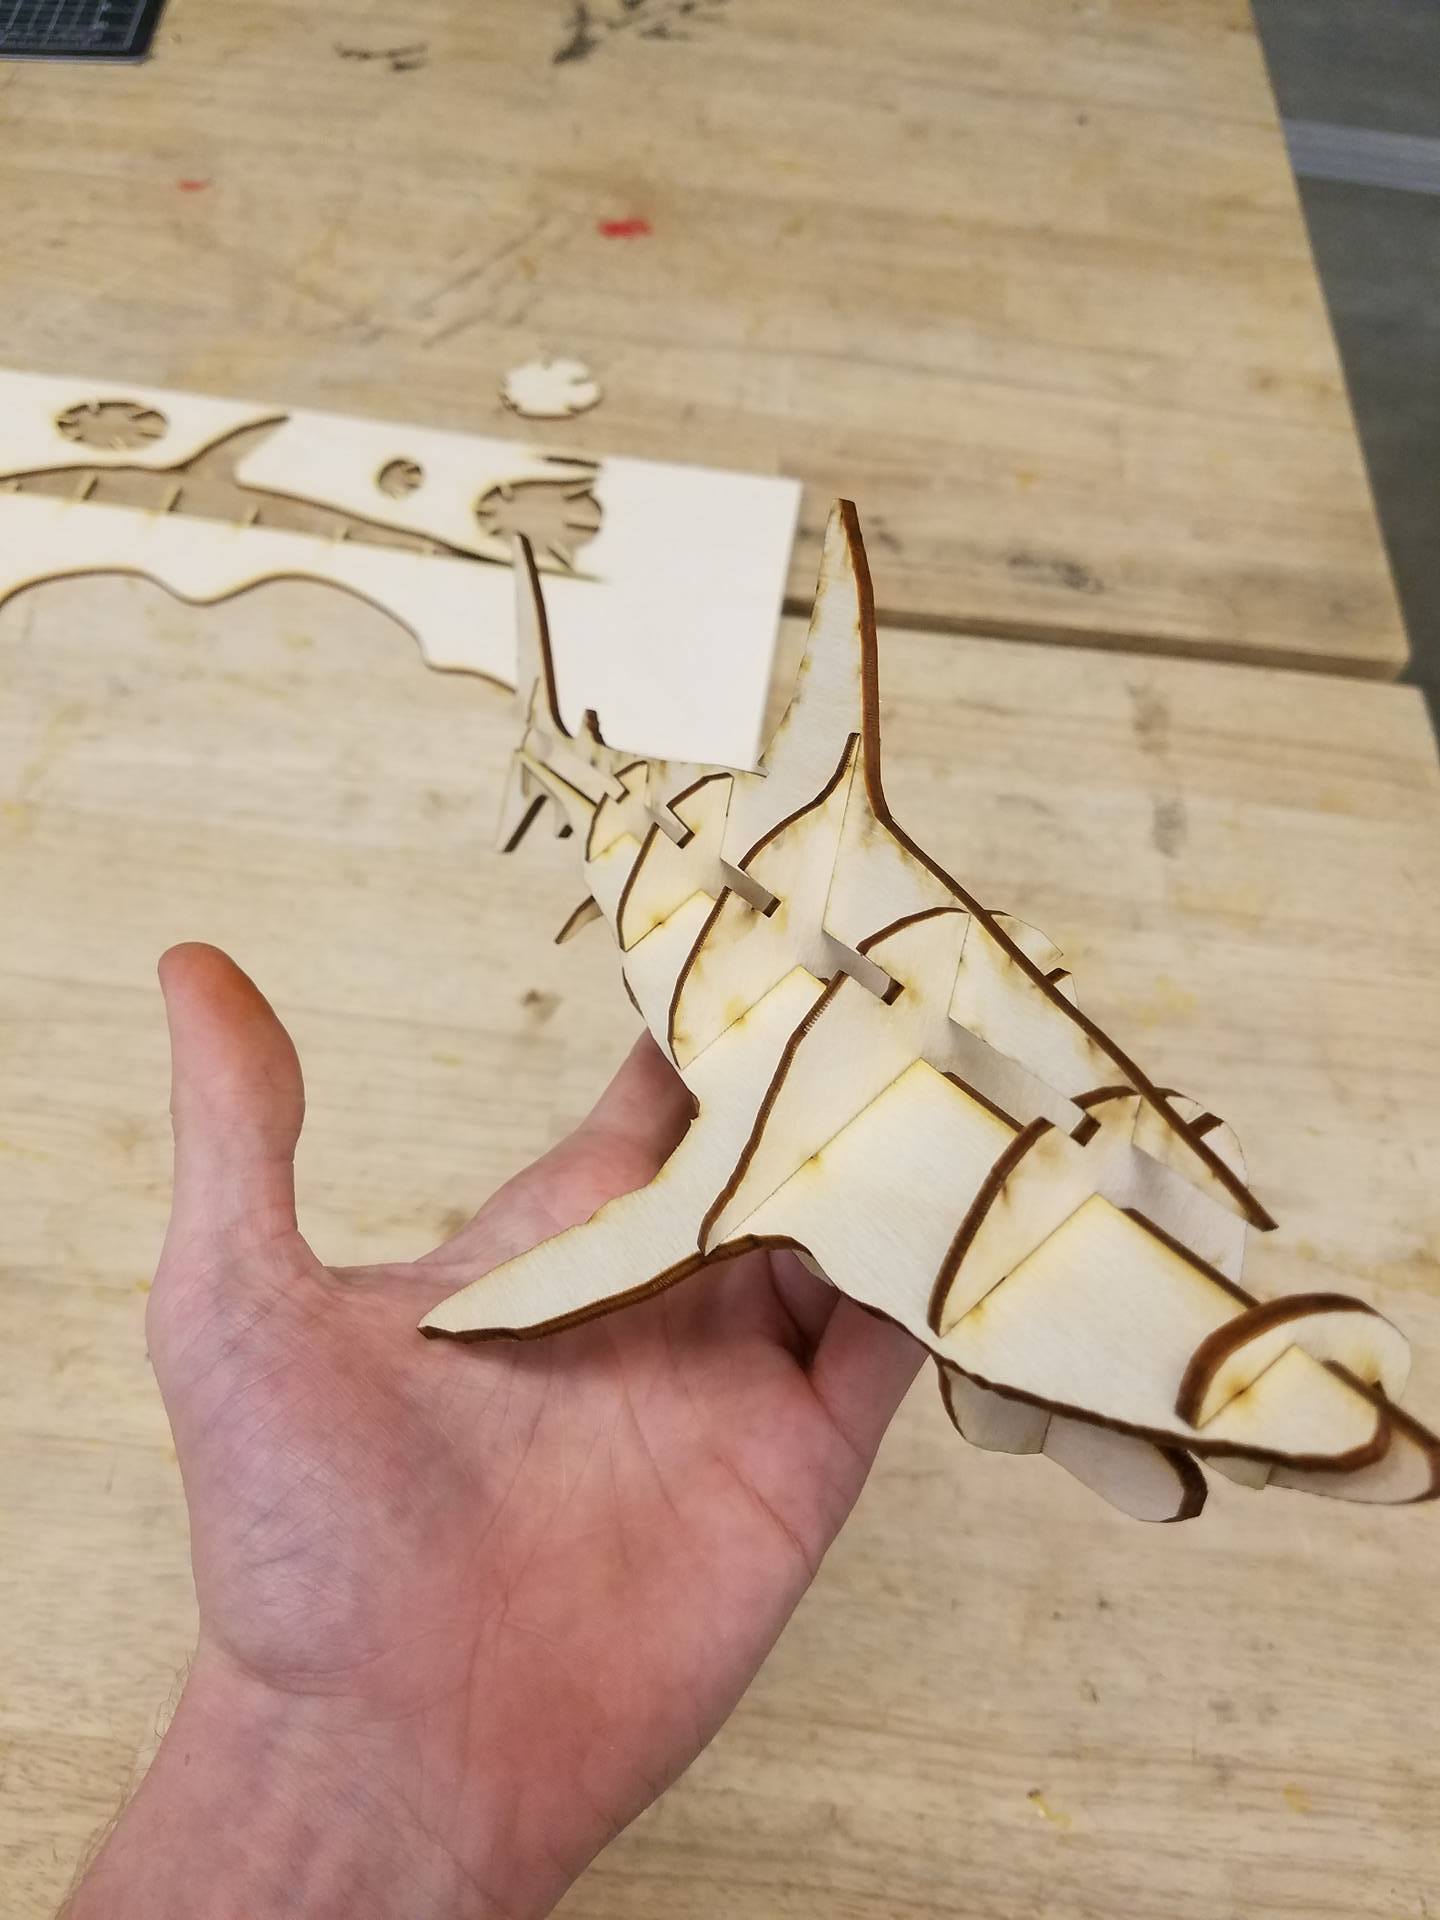
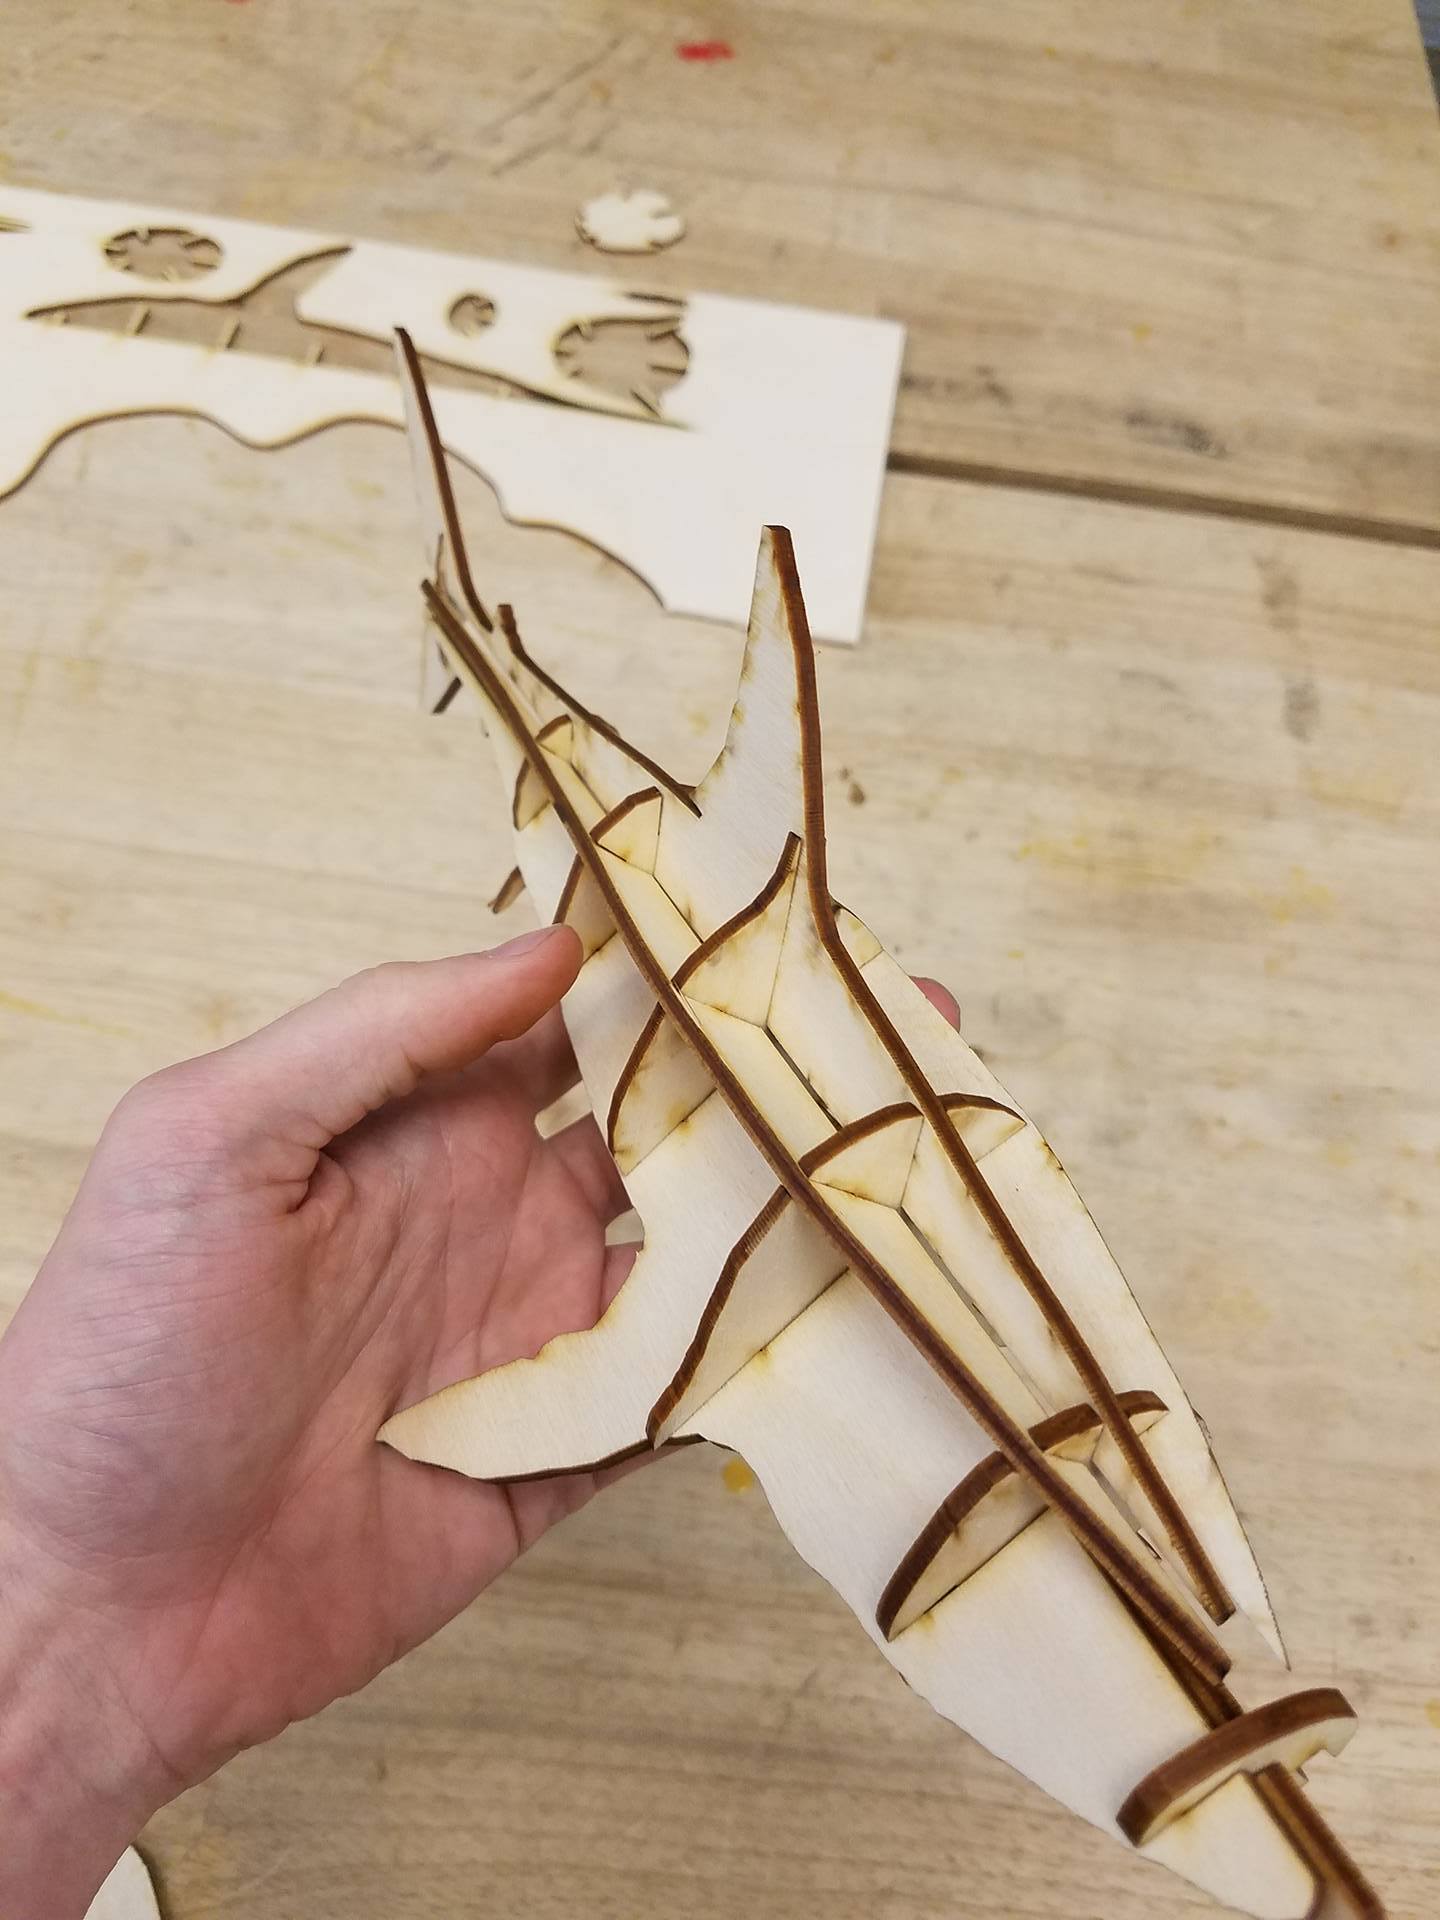
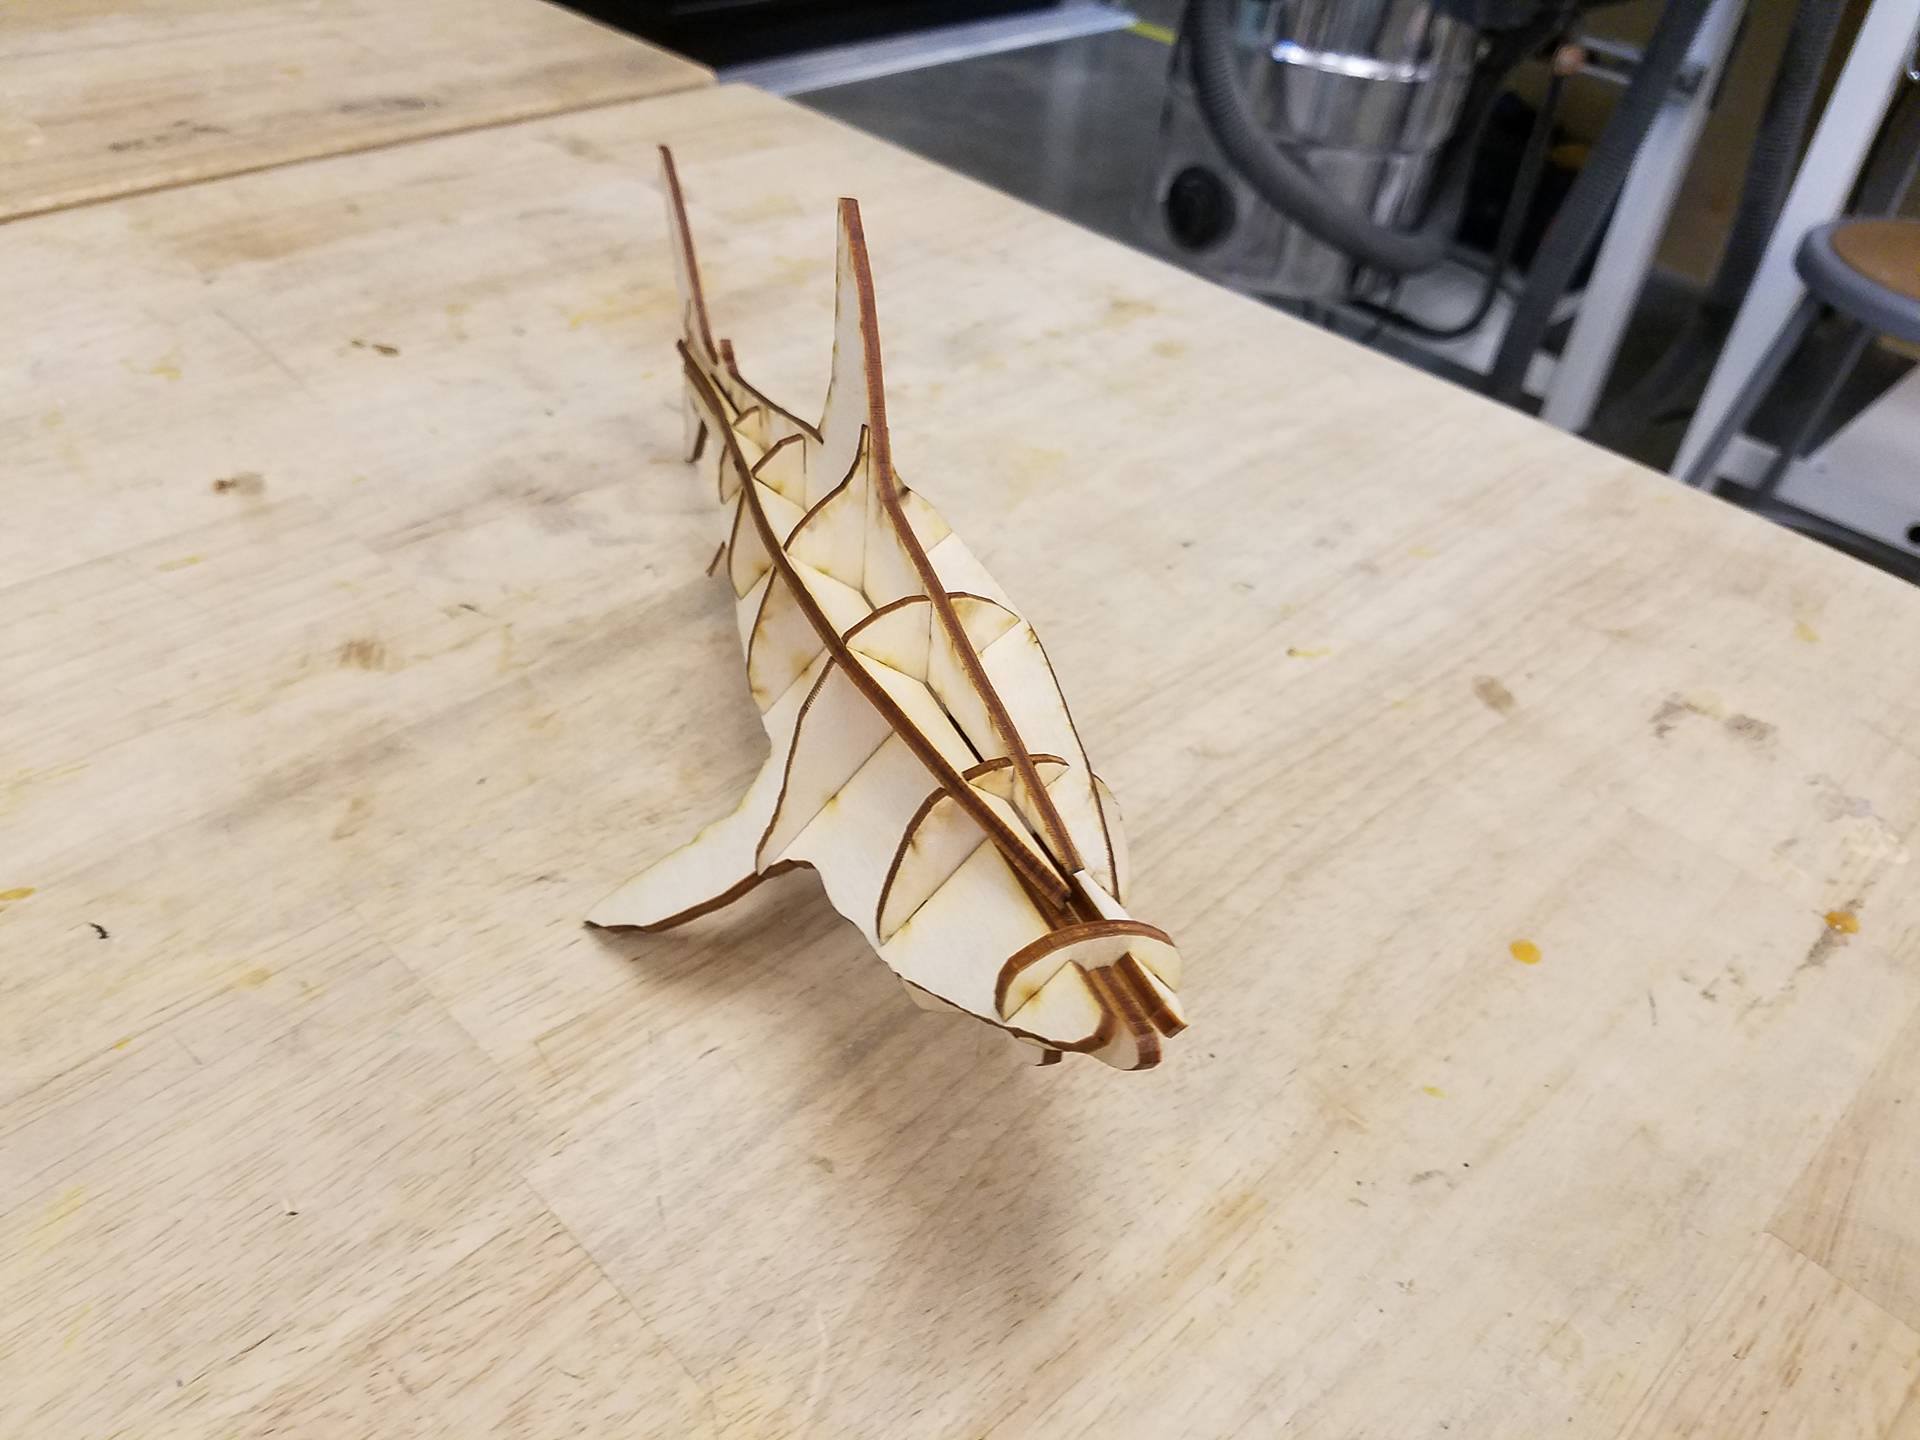
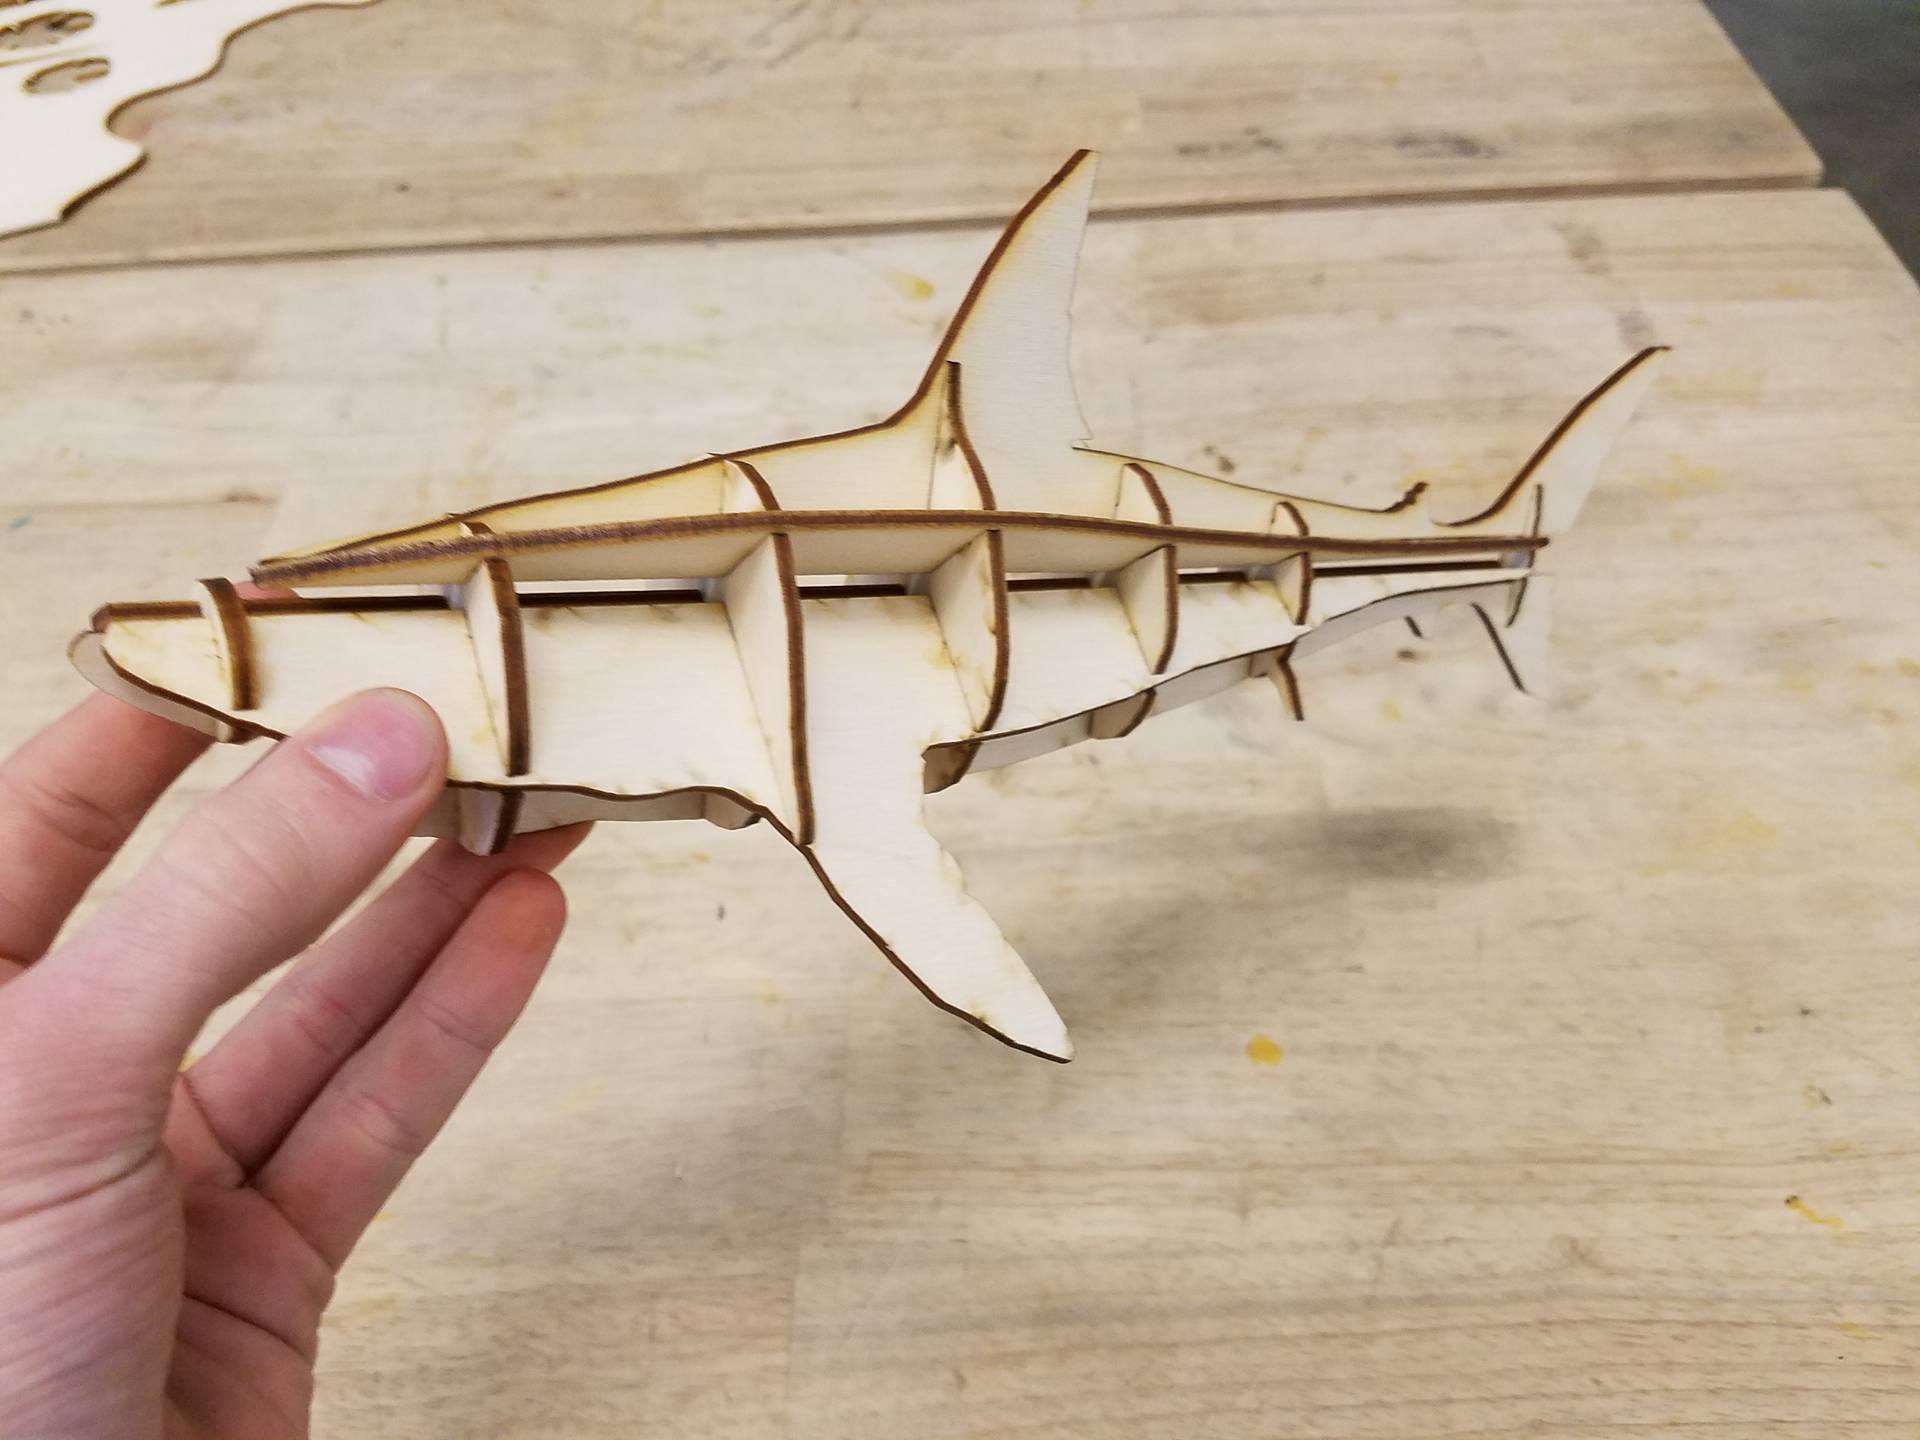
Next, we will carefully add the top body piece. Its the one with a tail and a fin. Its fairly easy to add, just be careful you don't crack it near the tail. After thats in place, add the body pieces with the big fins. Lastly, add the remaining body pieces between the side fins and top fin.
Congrats, and enjoy your shark model. Specifically, its a great white shark. If you like this type of model, check out my profile for similar instructables, and feel free to comment if you have a specific animal or object you'd like me to create a waffle model of.