Laser Cut Robot Stencil
We're having our Annual Pre Maker Faire Ice Cream Social tonight! If you're in the San Francisco area you should stop by and say hi, there will be liquid nitrogen ice cream and champagne popsicles!
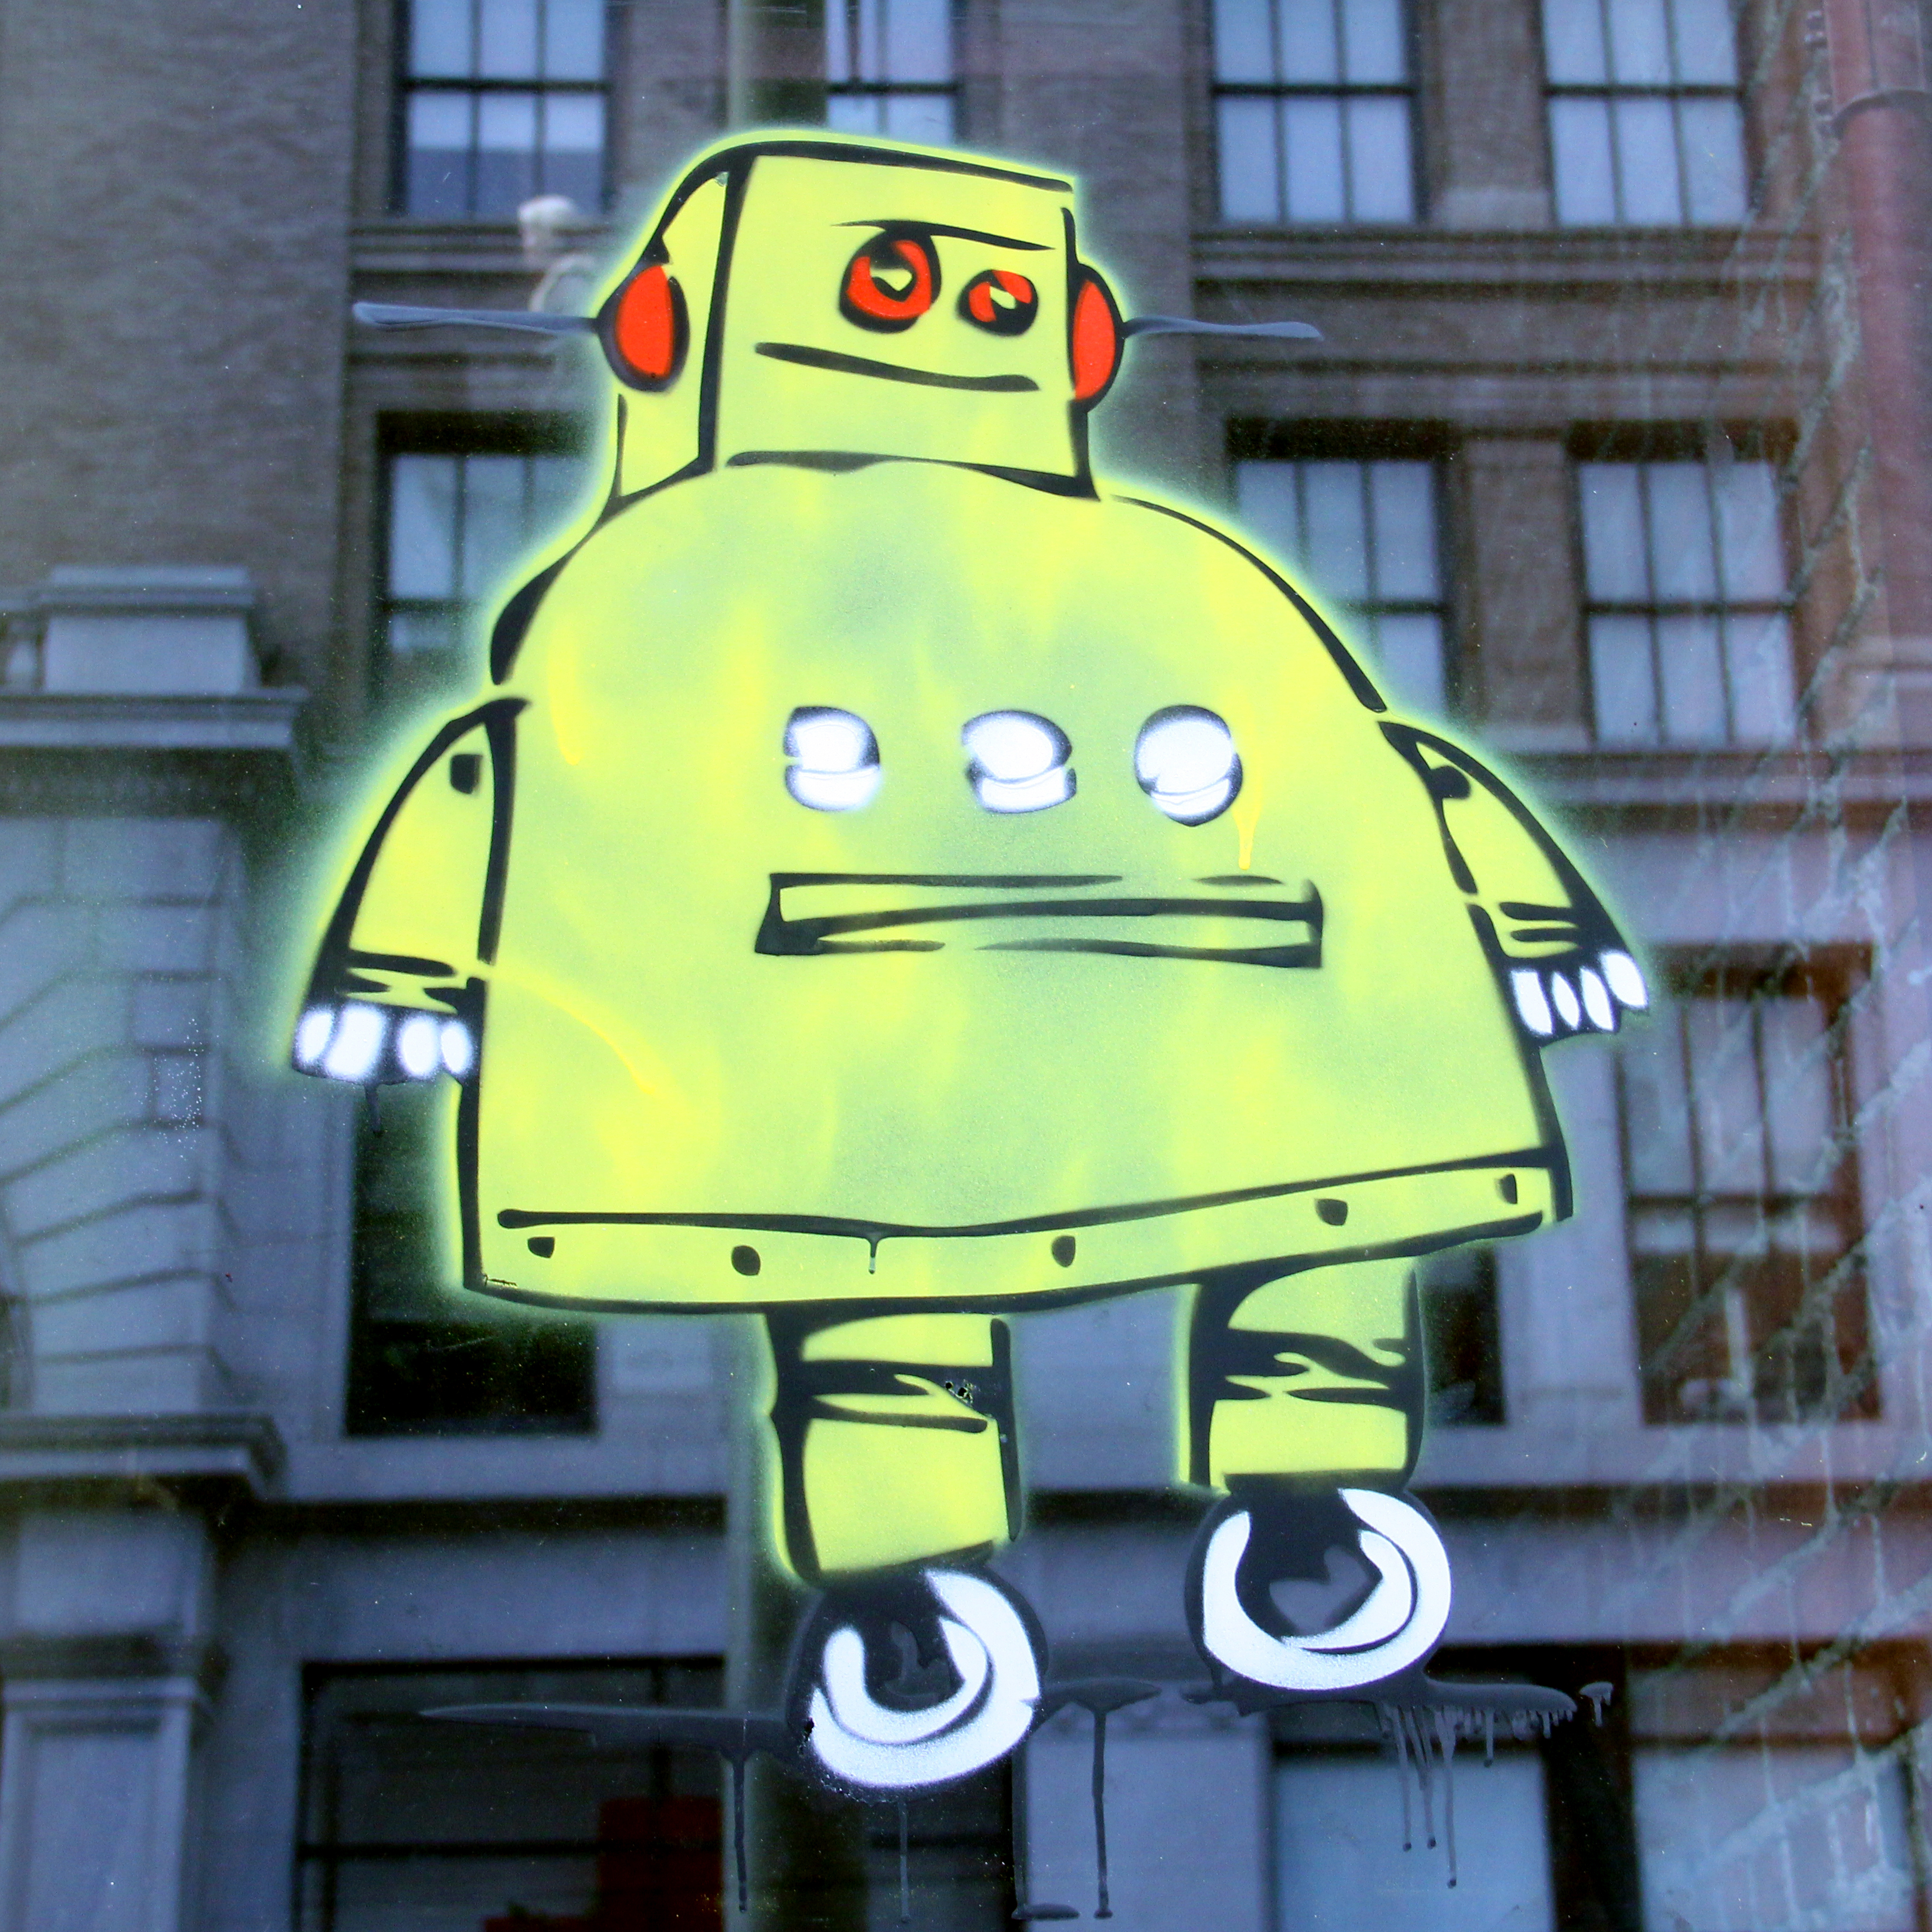
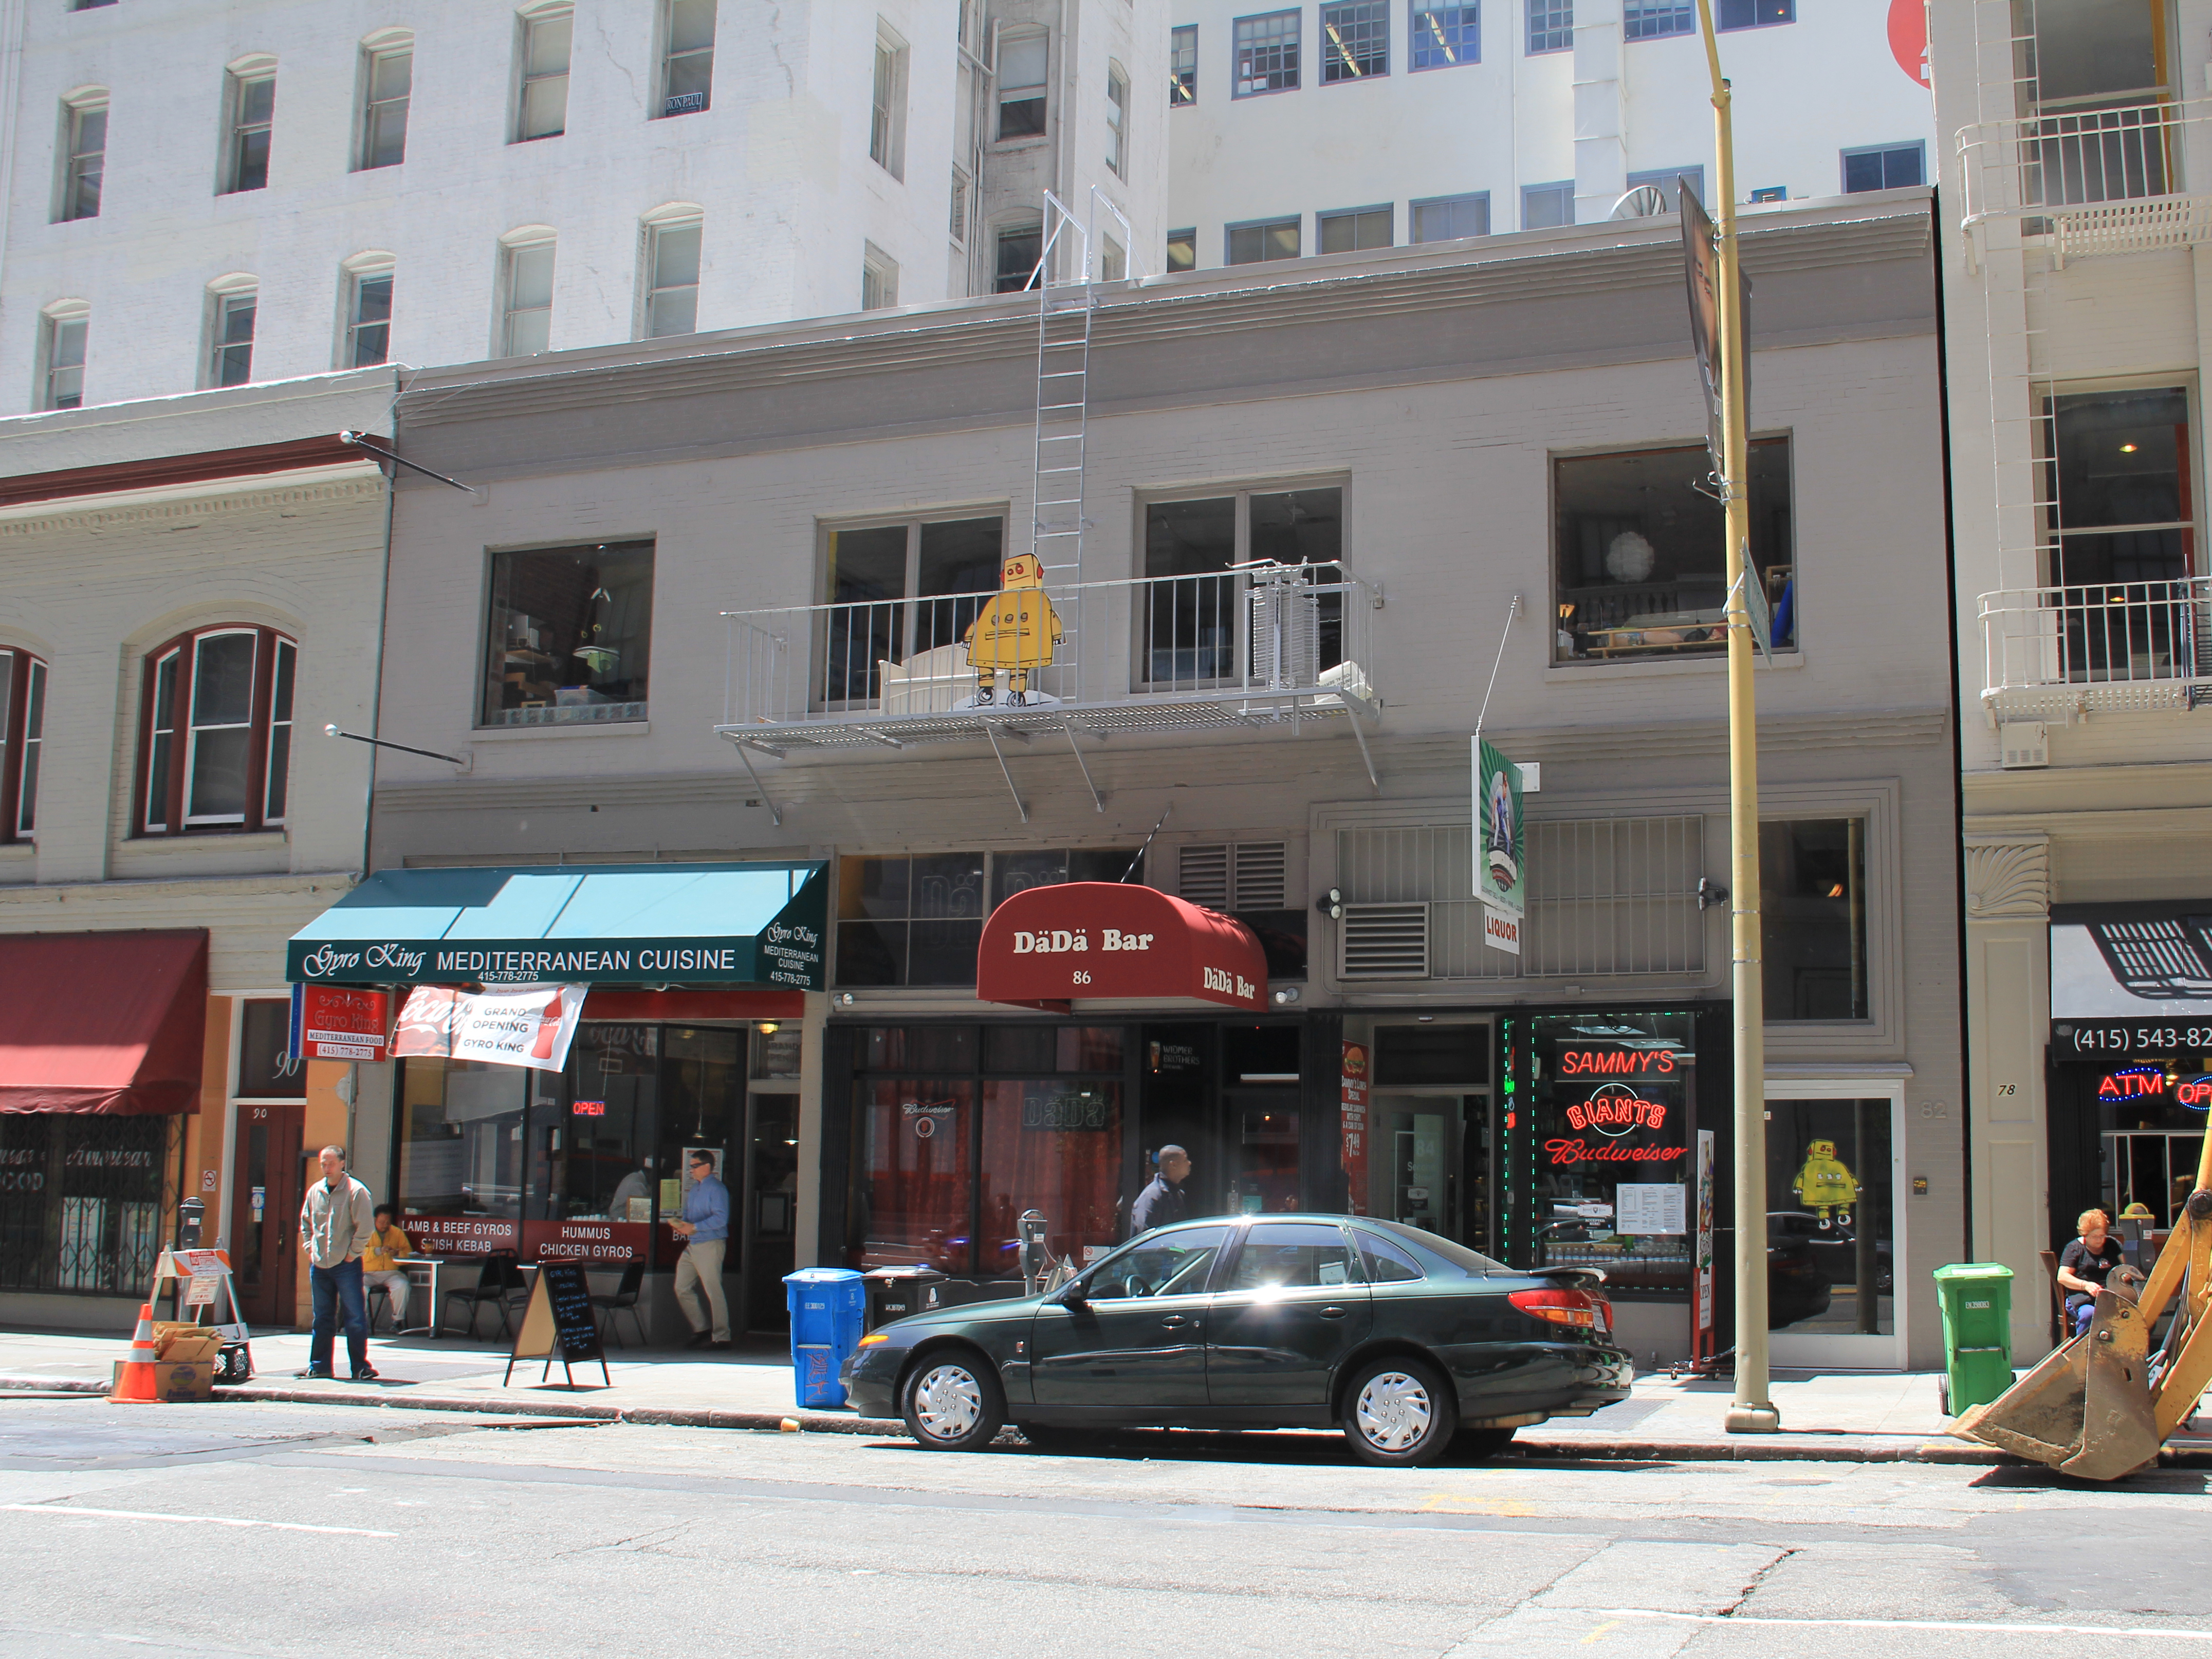
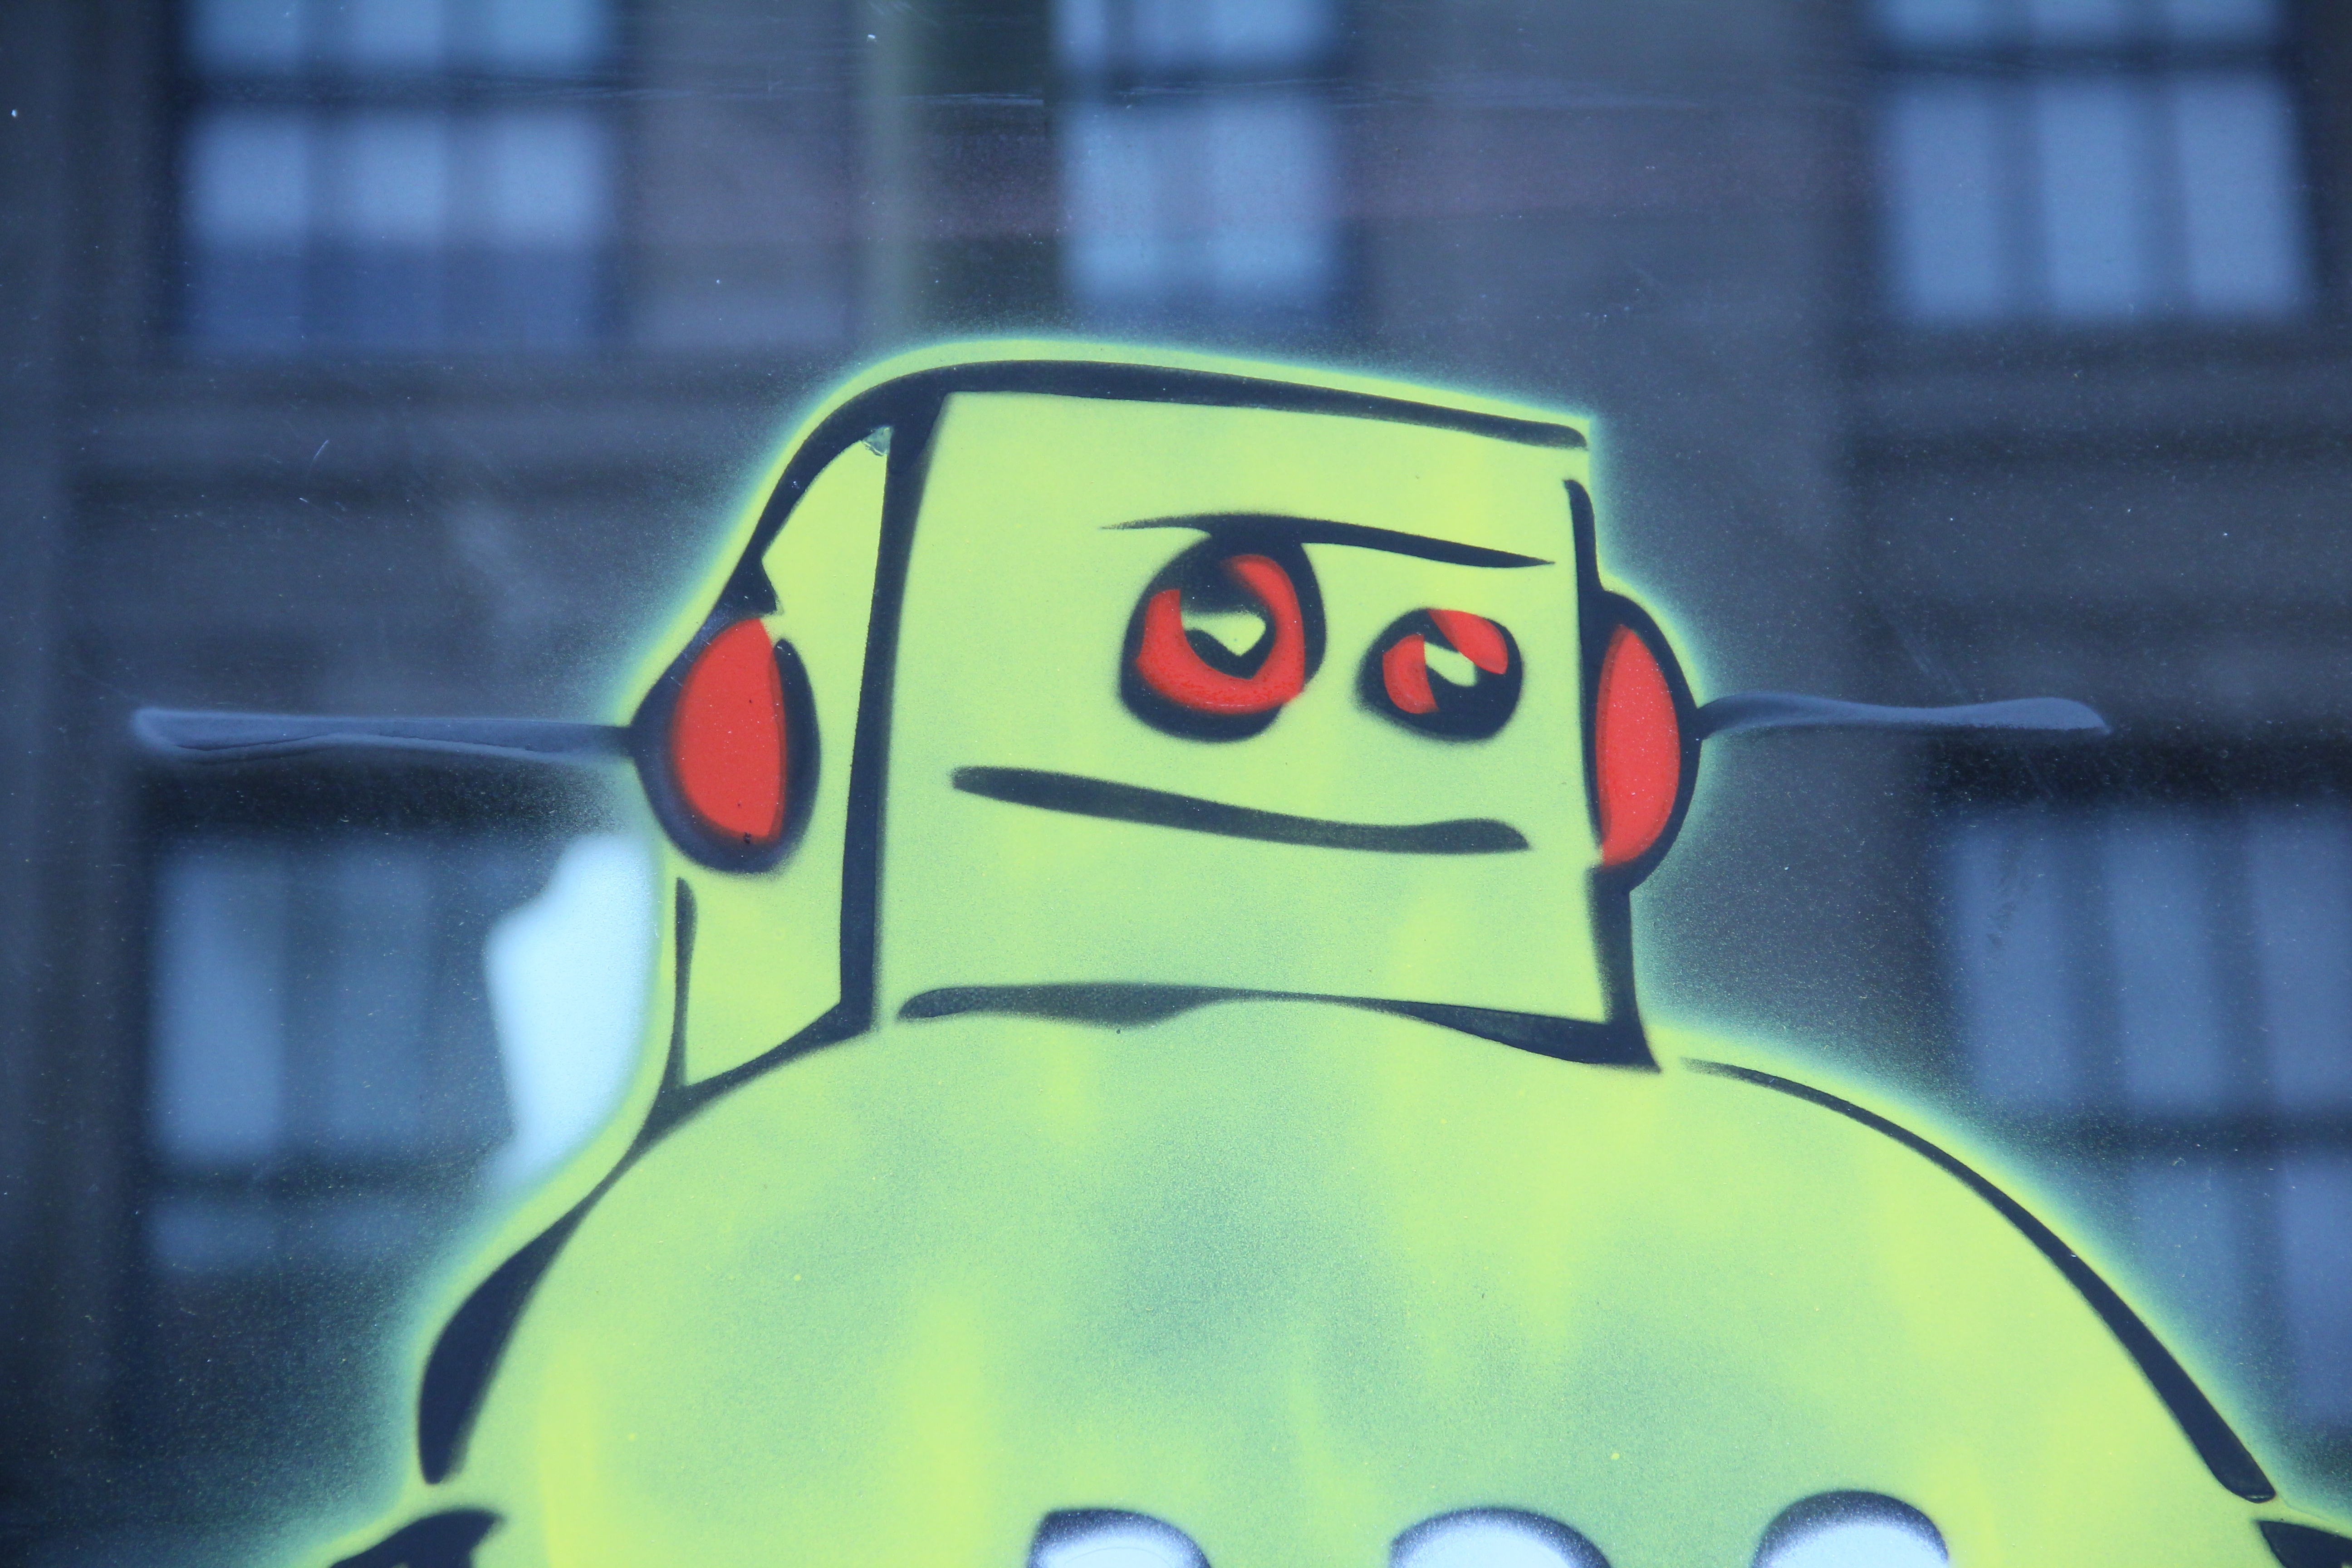
Sometimes people have a little trouble finding our office, so yesterday I went over to TechShop and laser cut a three layer robot stencil out of plywood. This morning we sprayed our front door with the robot and it looks awesome! Come by tonight and see it in person!
Sometimes people have a little trouble finding our office, so yesterday I went over to TechShop and laser cut a three layer robot stencil out of plywood. This morning we sprayed our front door with the robot and it looks awesome! Come by tonight and see it in person!
Prepare Layers: Part 1 Black
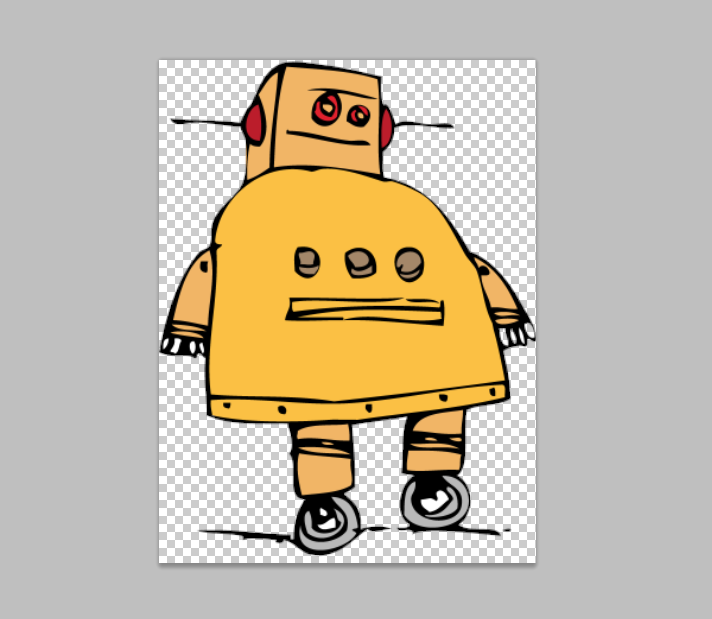
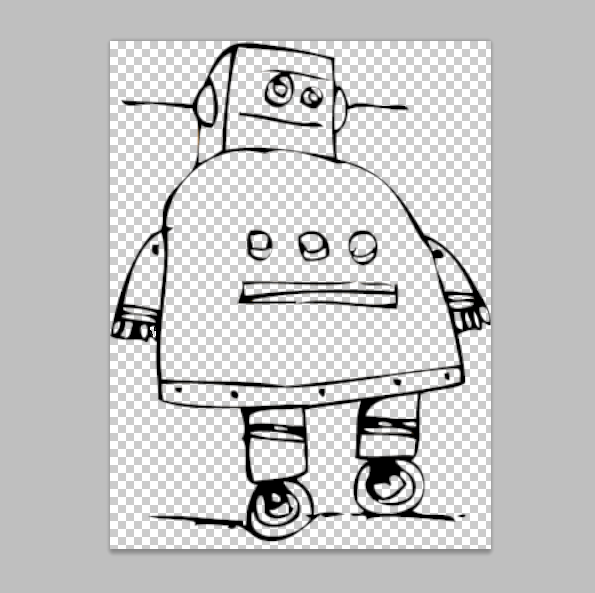
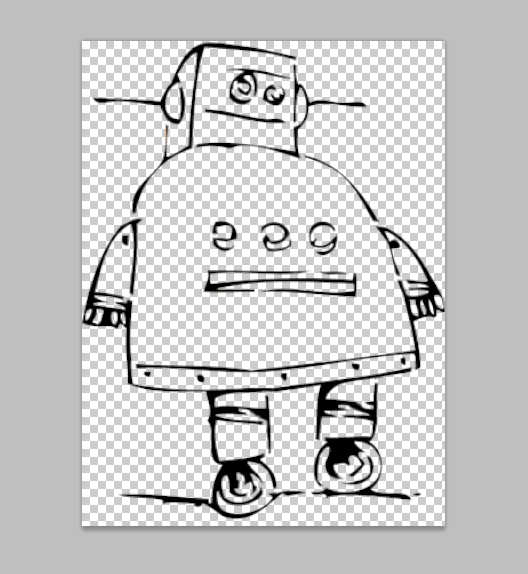
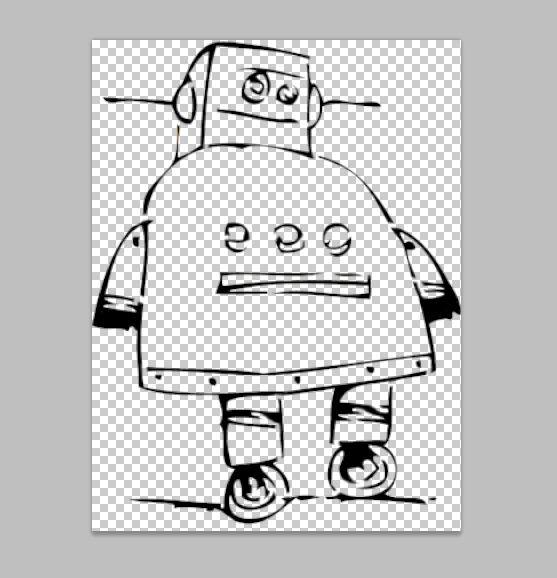
First I imported the robot image into Photoshop. Using the magic wand tool, I selected areas of color and deleted them from the layer. The remaining black areas are the pieces that will be cut out (fig 2). I made sure to connect all islands of material with small tabs so that they do not get cut away, I did this using the eraser tool (fig 3). I decided the fingers of the robot were too small to add tabs, so I just filled these areas with black for now (fig 4). I'll add color back in these spaces in a later step.
Prepare Layers: Part 1 Yellow
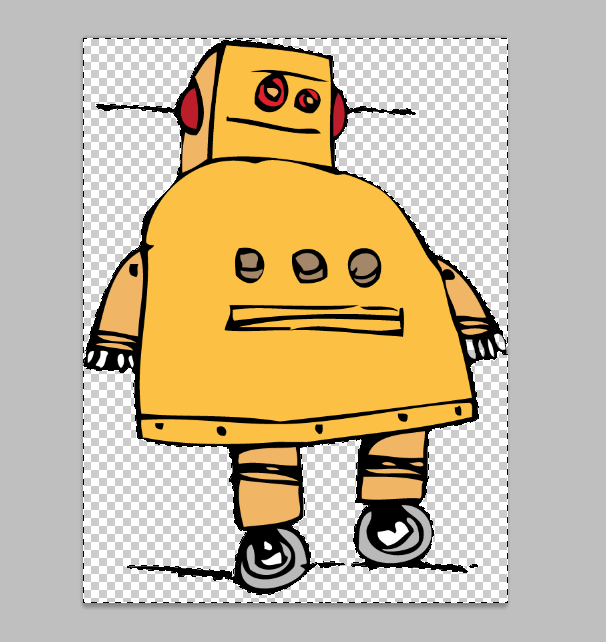
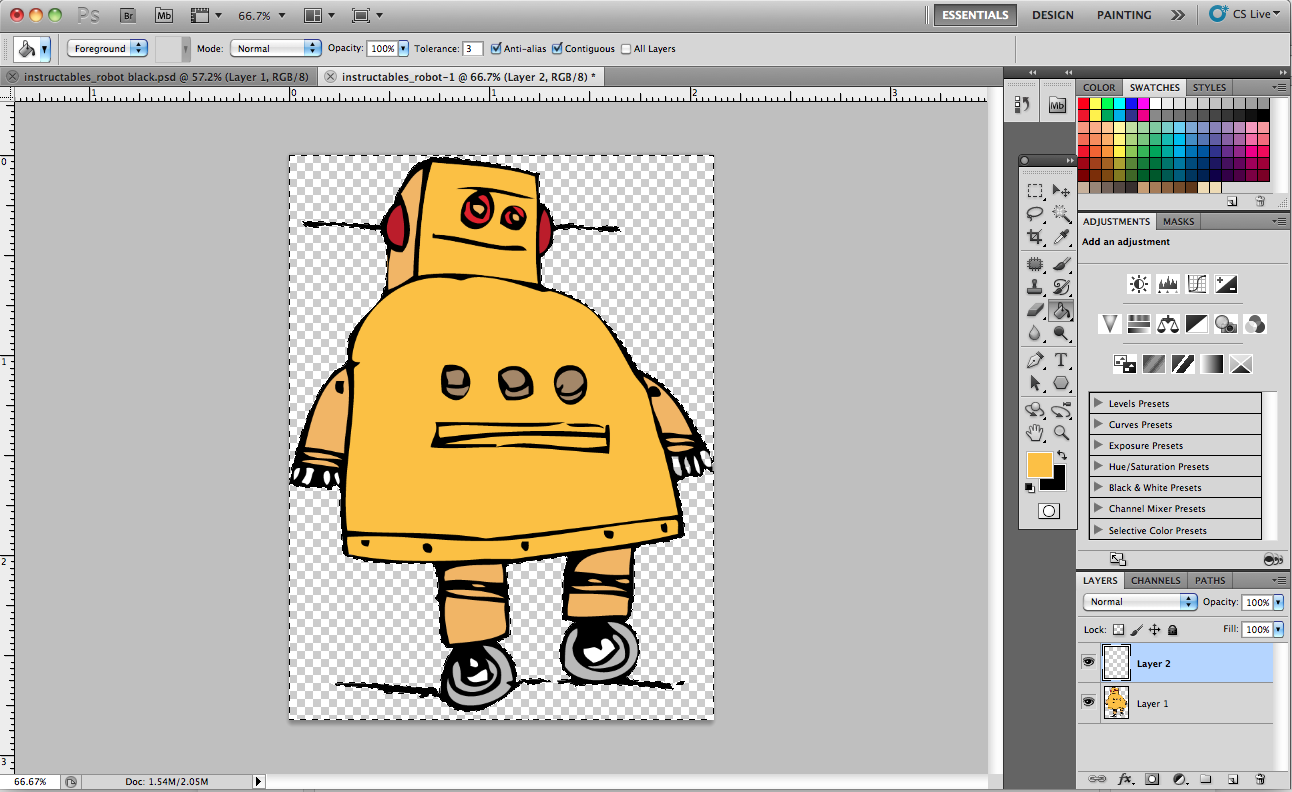
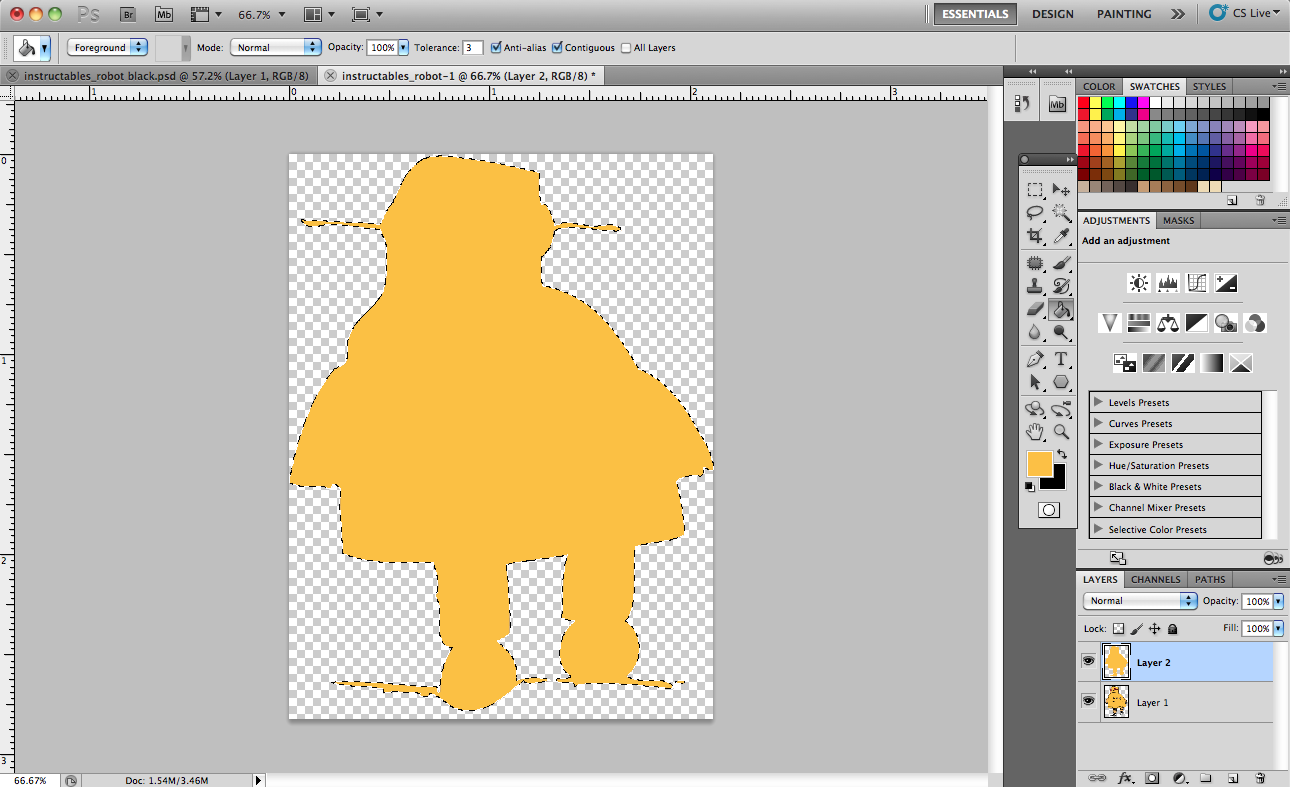
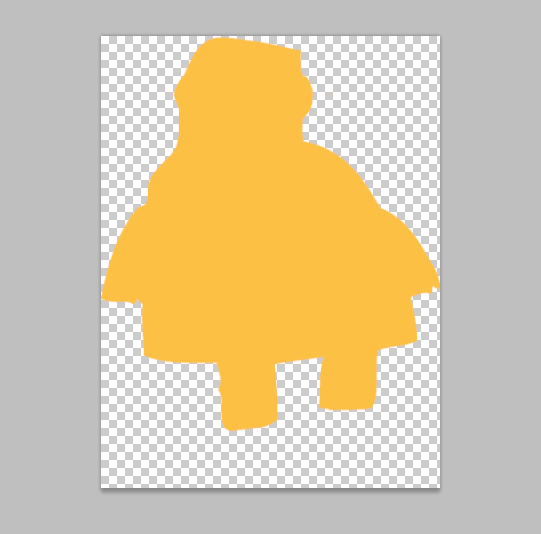
I selected the background of the image with the magic wand tool (fig 1). Ctrl+command+i to select the inverse. I selected the yellow color from the robot using the eyedropper tool. I created a new layer and filled the selected area with yellow (figs 2 and 3). Then I deleted the original image (background layer). I used the erase tool to remove unwanted pieces from the remaining yellow layer. I chose to remove the antenna and wheels from the yellow layer since there will not be any yellow on these parts in the final image (fig 4).
Prepare Layers: Part 3 Extras
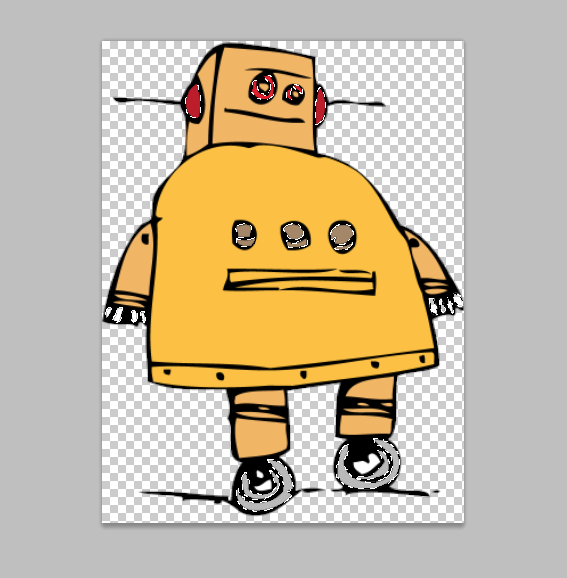
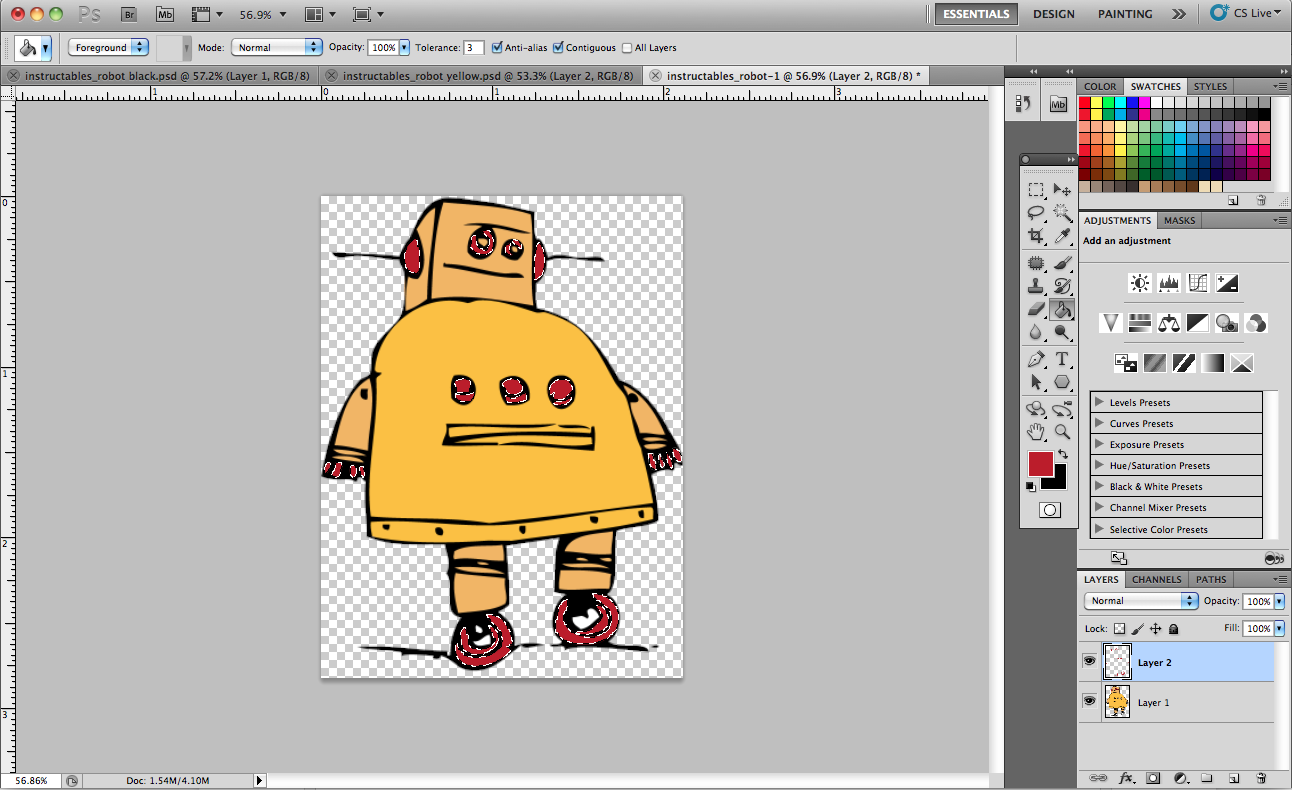
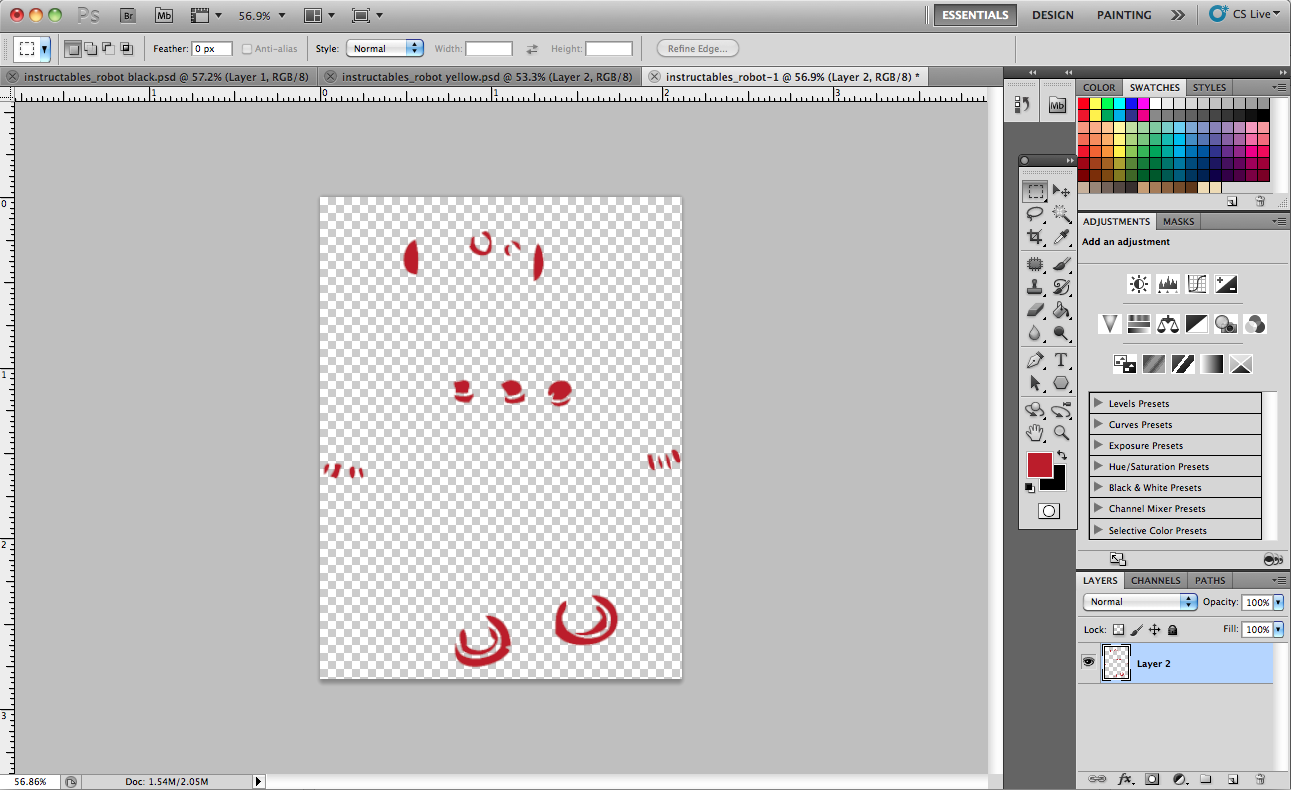
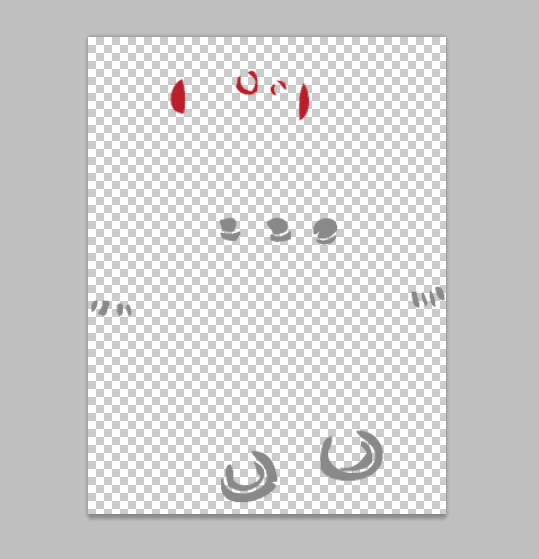
I selected the remaining small areas of color (red and grey) for the third layer of the stencil (fig 1). I created a new layer and filled the selected areas with a color (fig 2). I deleted the background image (fig 3) and changed the color of the buttons, fingers, and wheels back to grey (fig 4).
Prepare Layers: Part 4
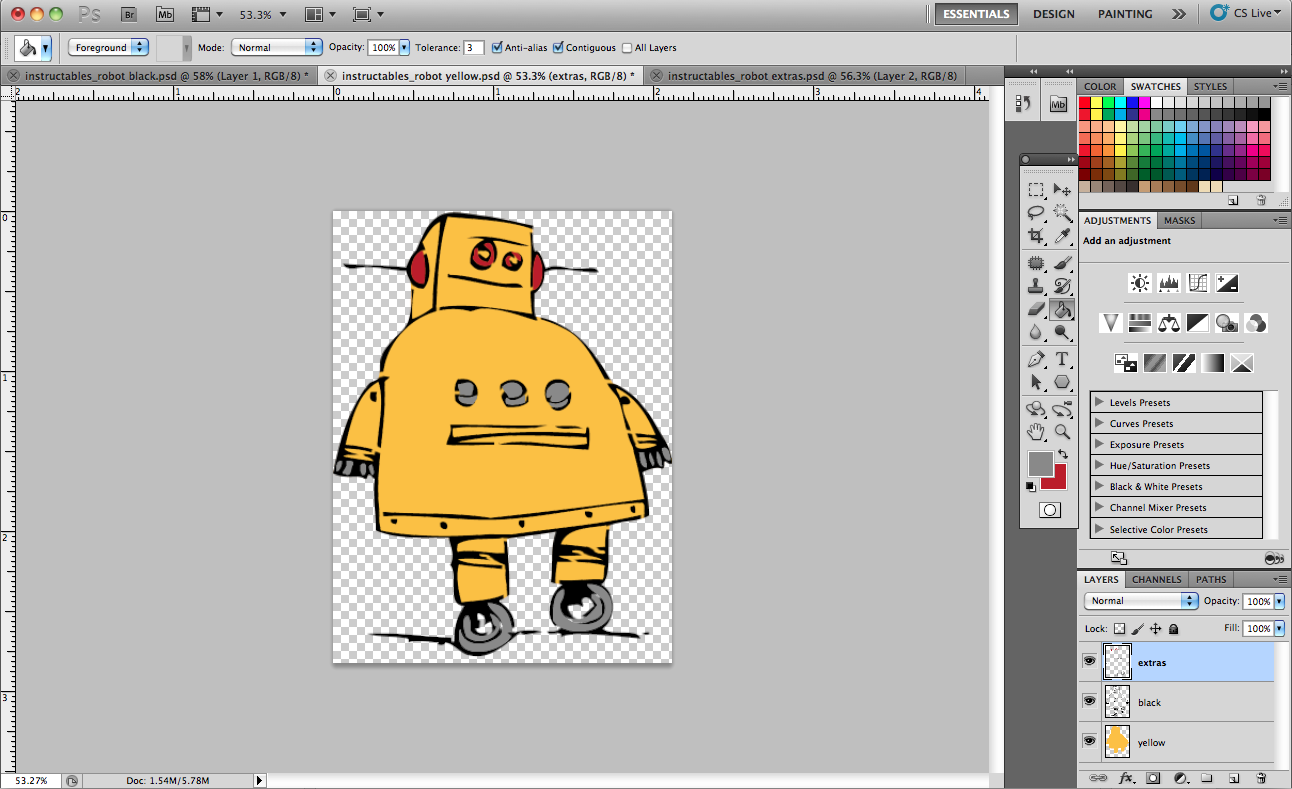
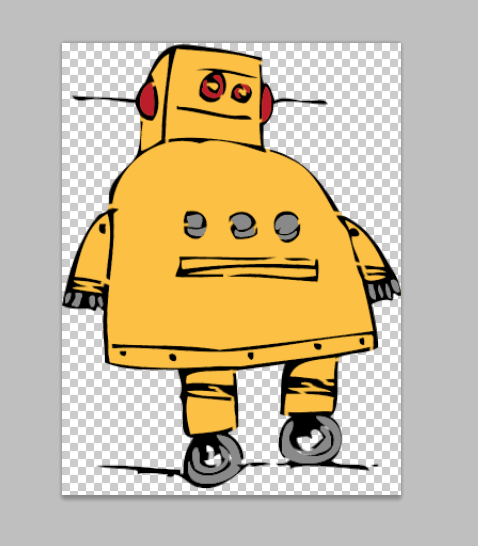
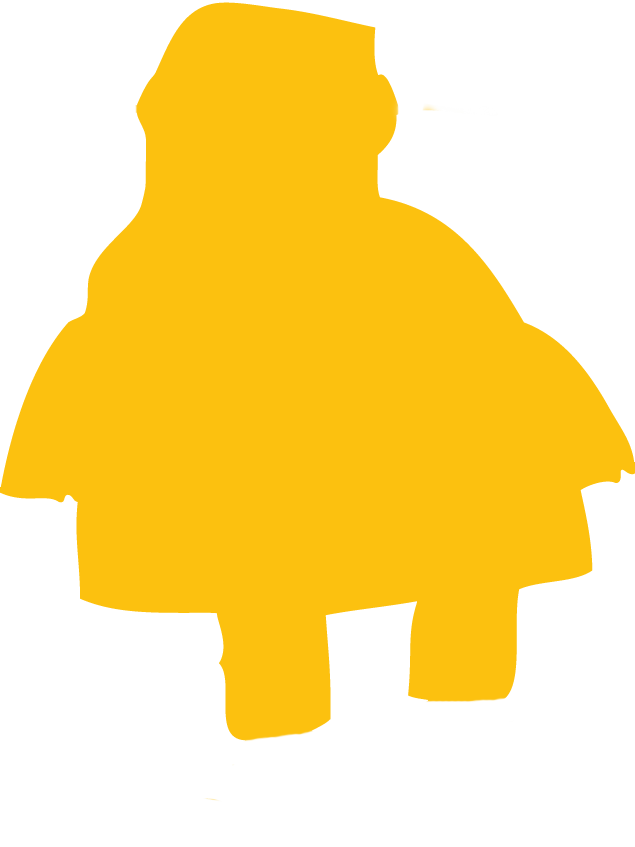
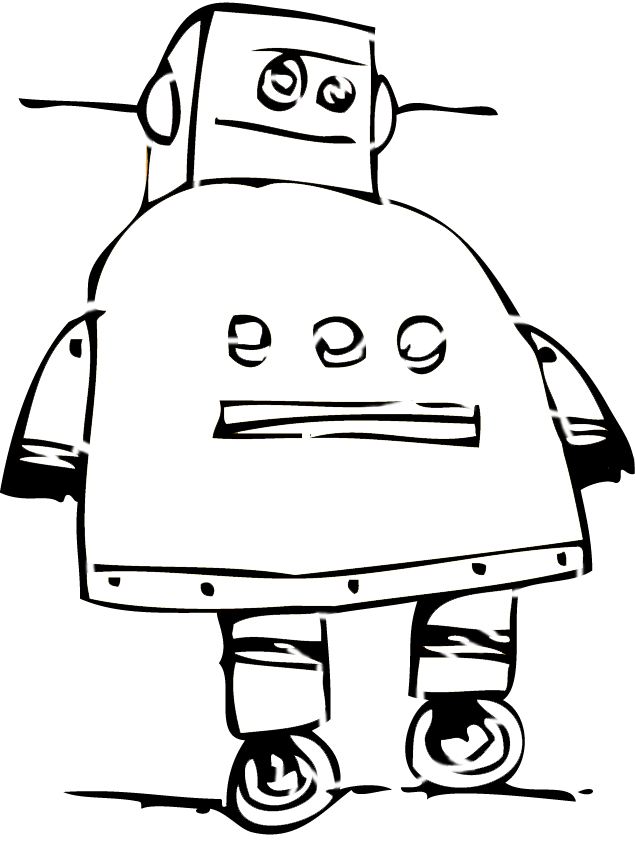
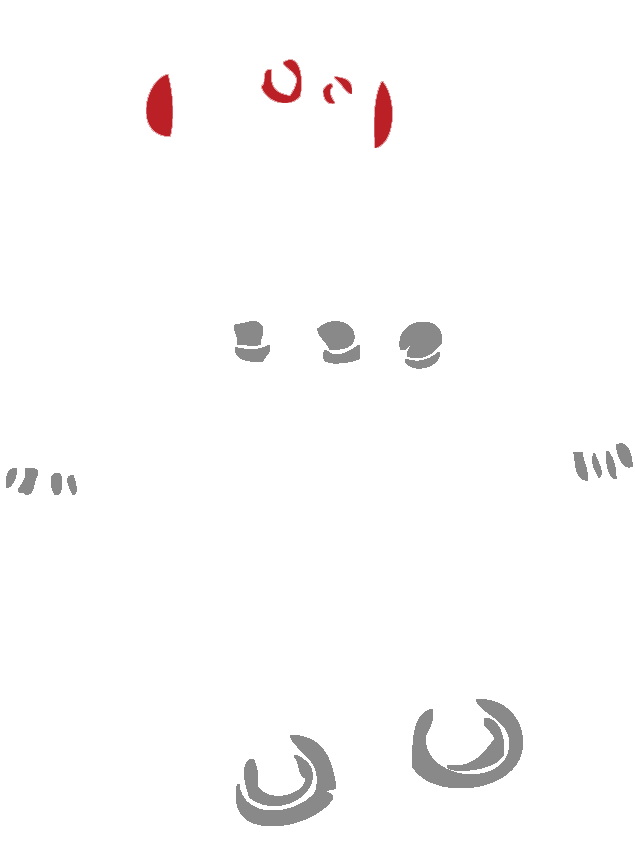
I put all three layers together to inspect my finished product. Make sure these layers are in the correct order, this is the order that you will spray them in order to make the stencil. For my stencil I put the yellow layer down first, then black, then the extra parts.
I've attached my final photoshop document below.
Save each of the three layers as a png (to preserve transparency). I've attached my pngs (fig 3, 4, and 5).
I've attached my final photoshop document below.
Save each of the three layers as a png (to preserve transparency). I've attached my pngs (fig 3, 4, and 5).
Downloads
Illustrator
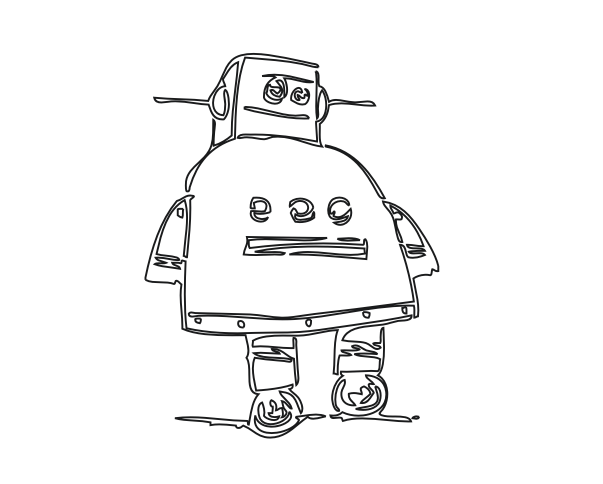
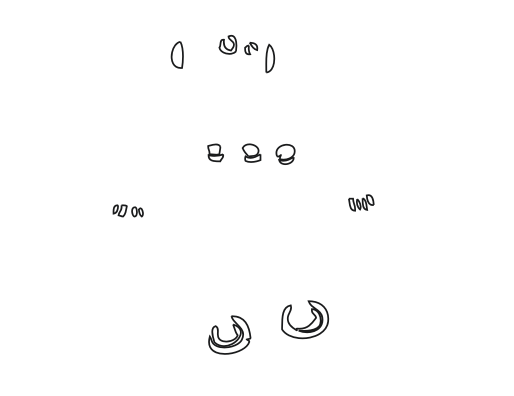
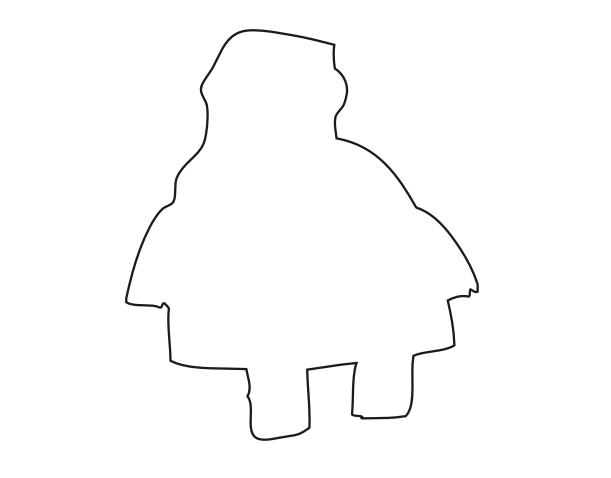
I imported the png files into Illustrator and used the live trace function to create vector files outlining each of the shapes. I exported these files as eps files, I've attached them below.
Laser Cut
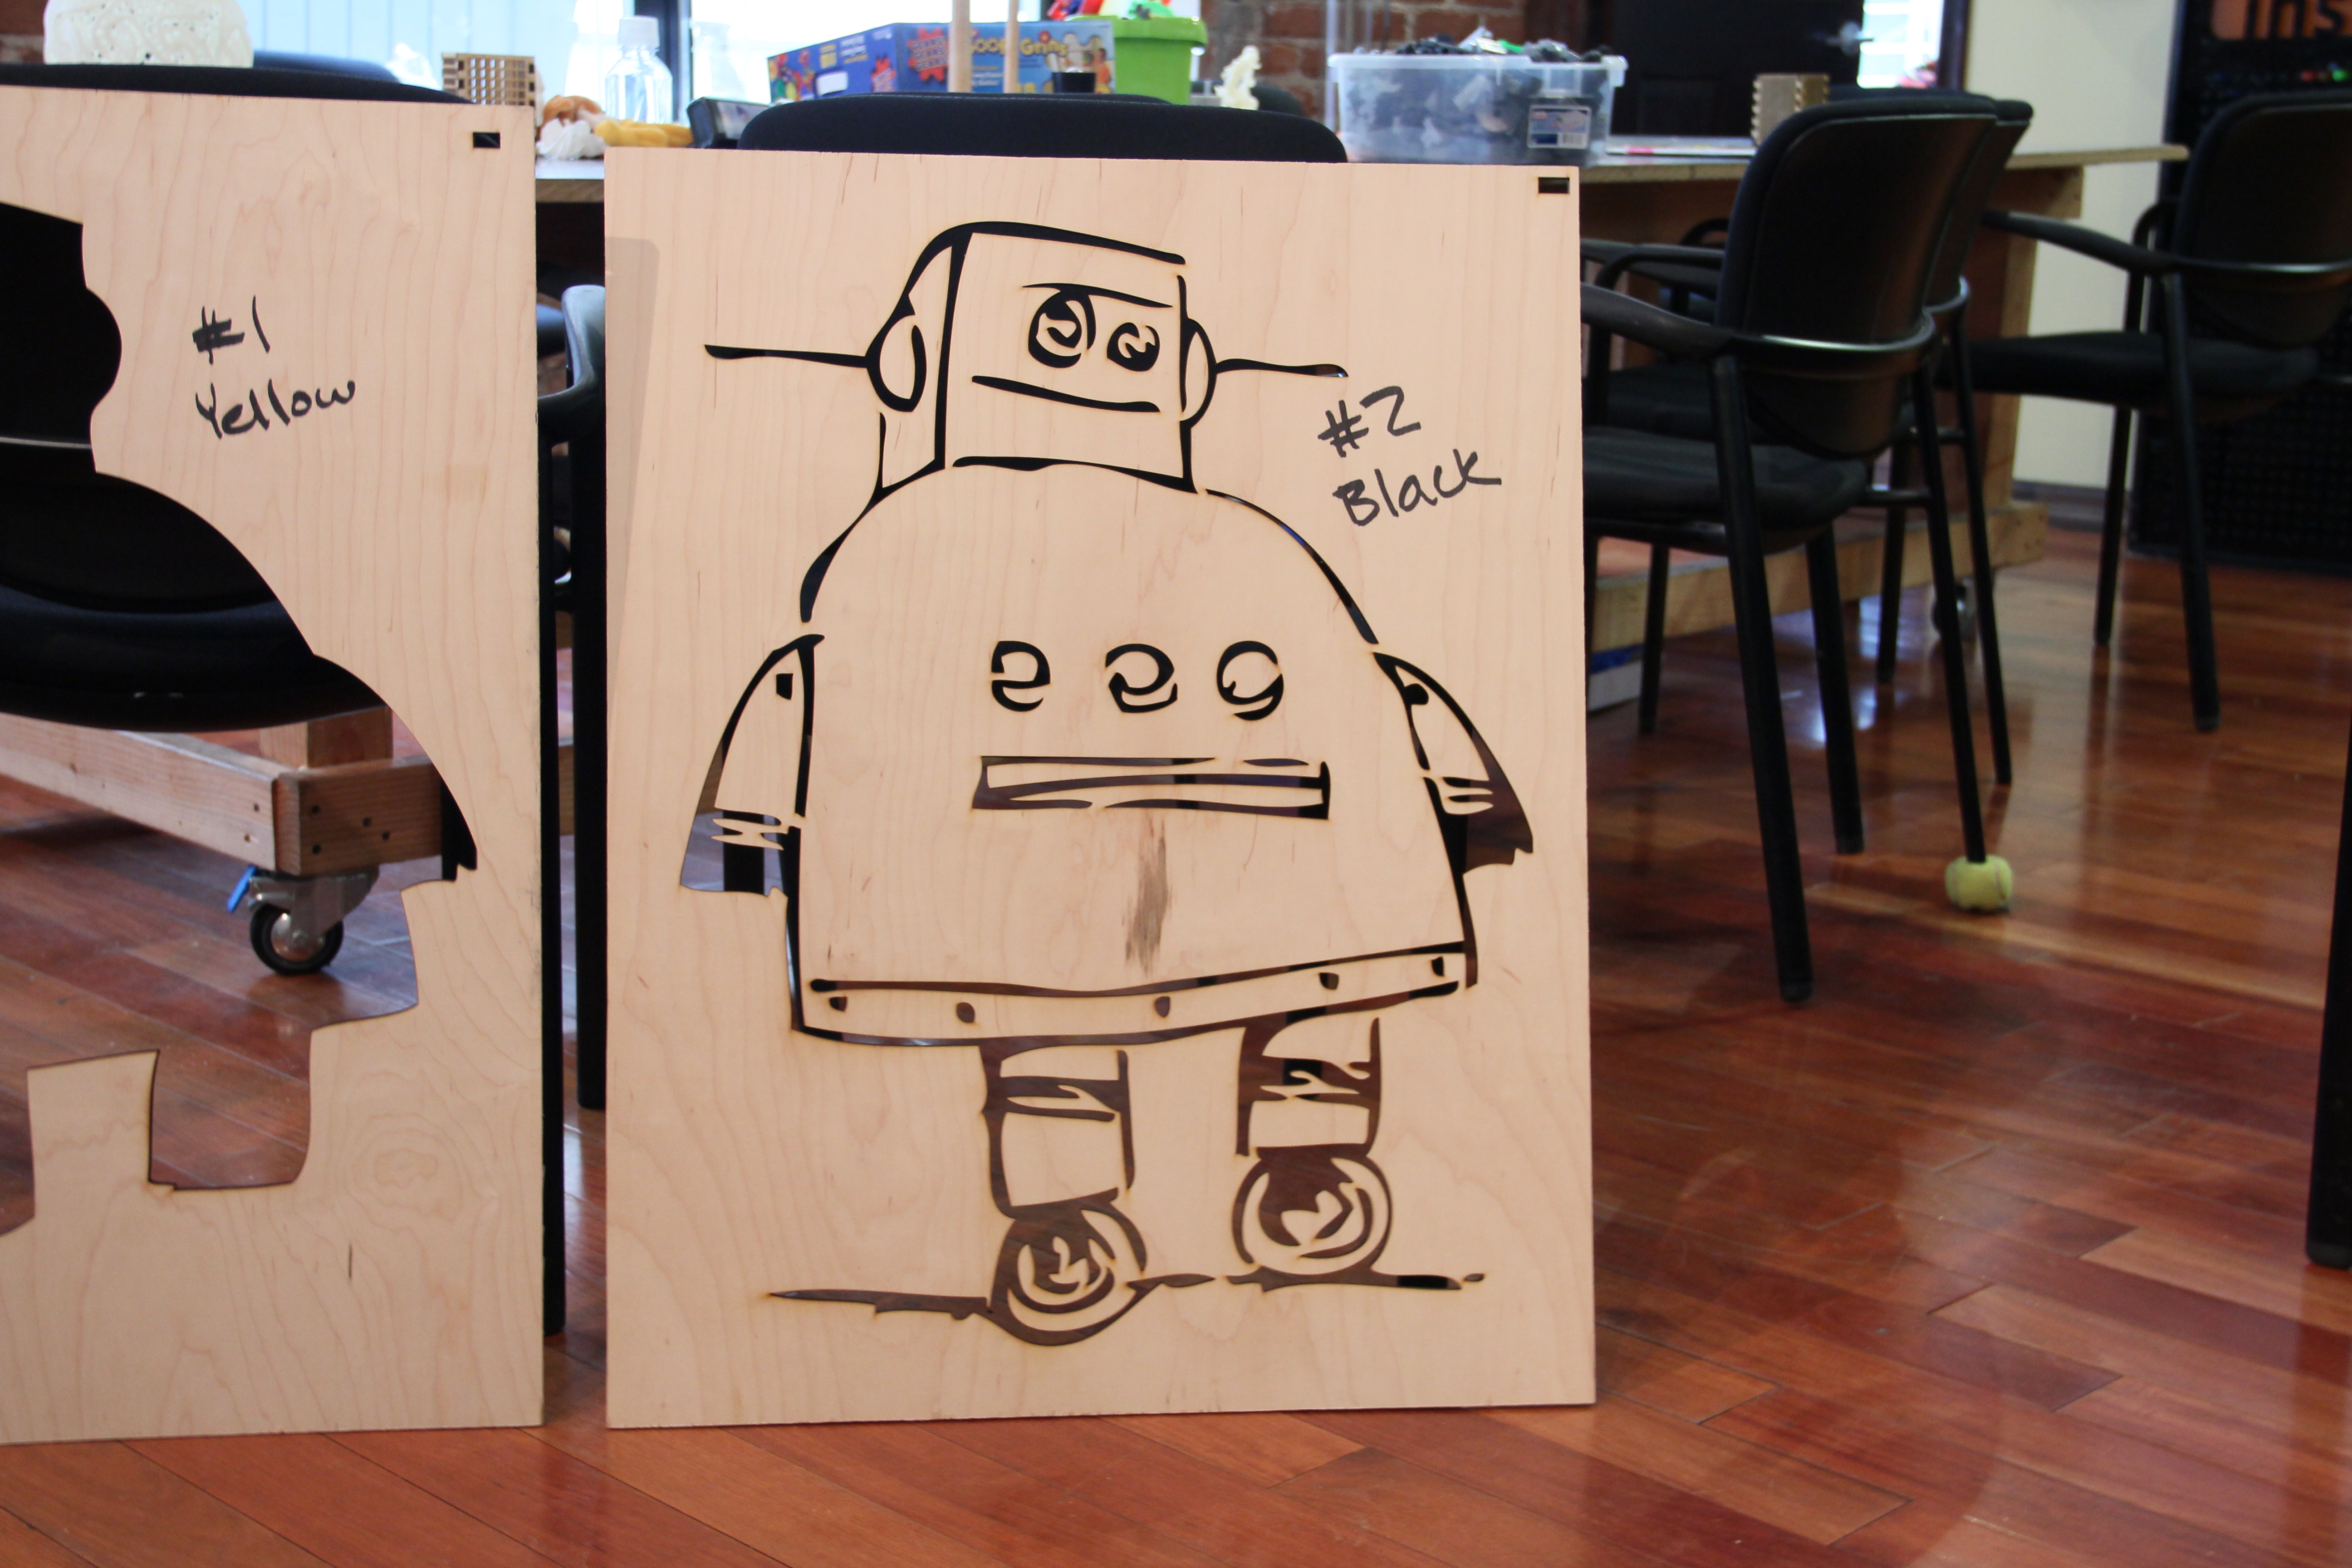
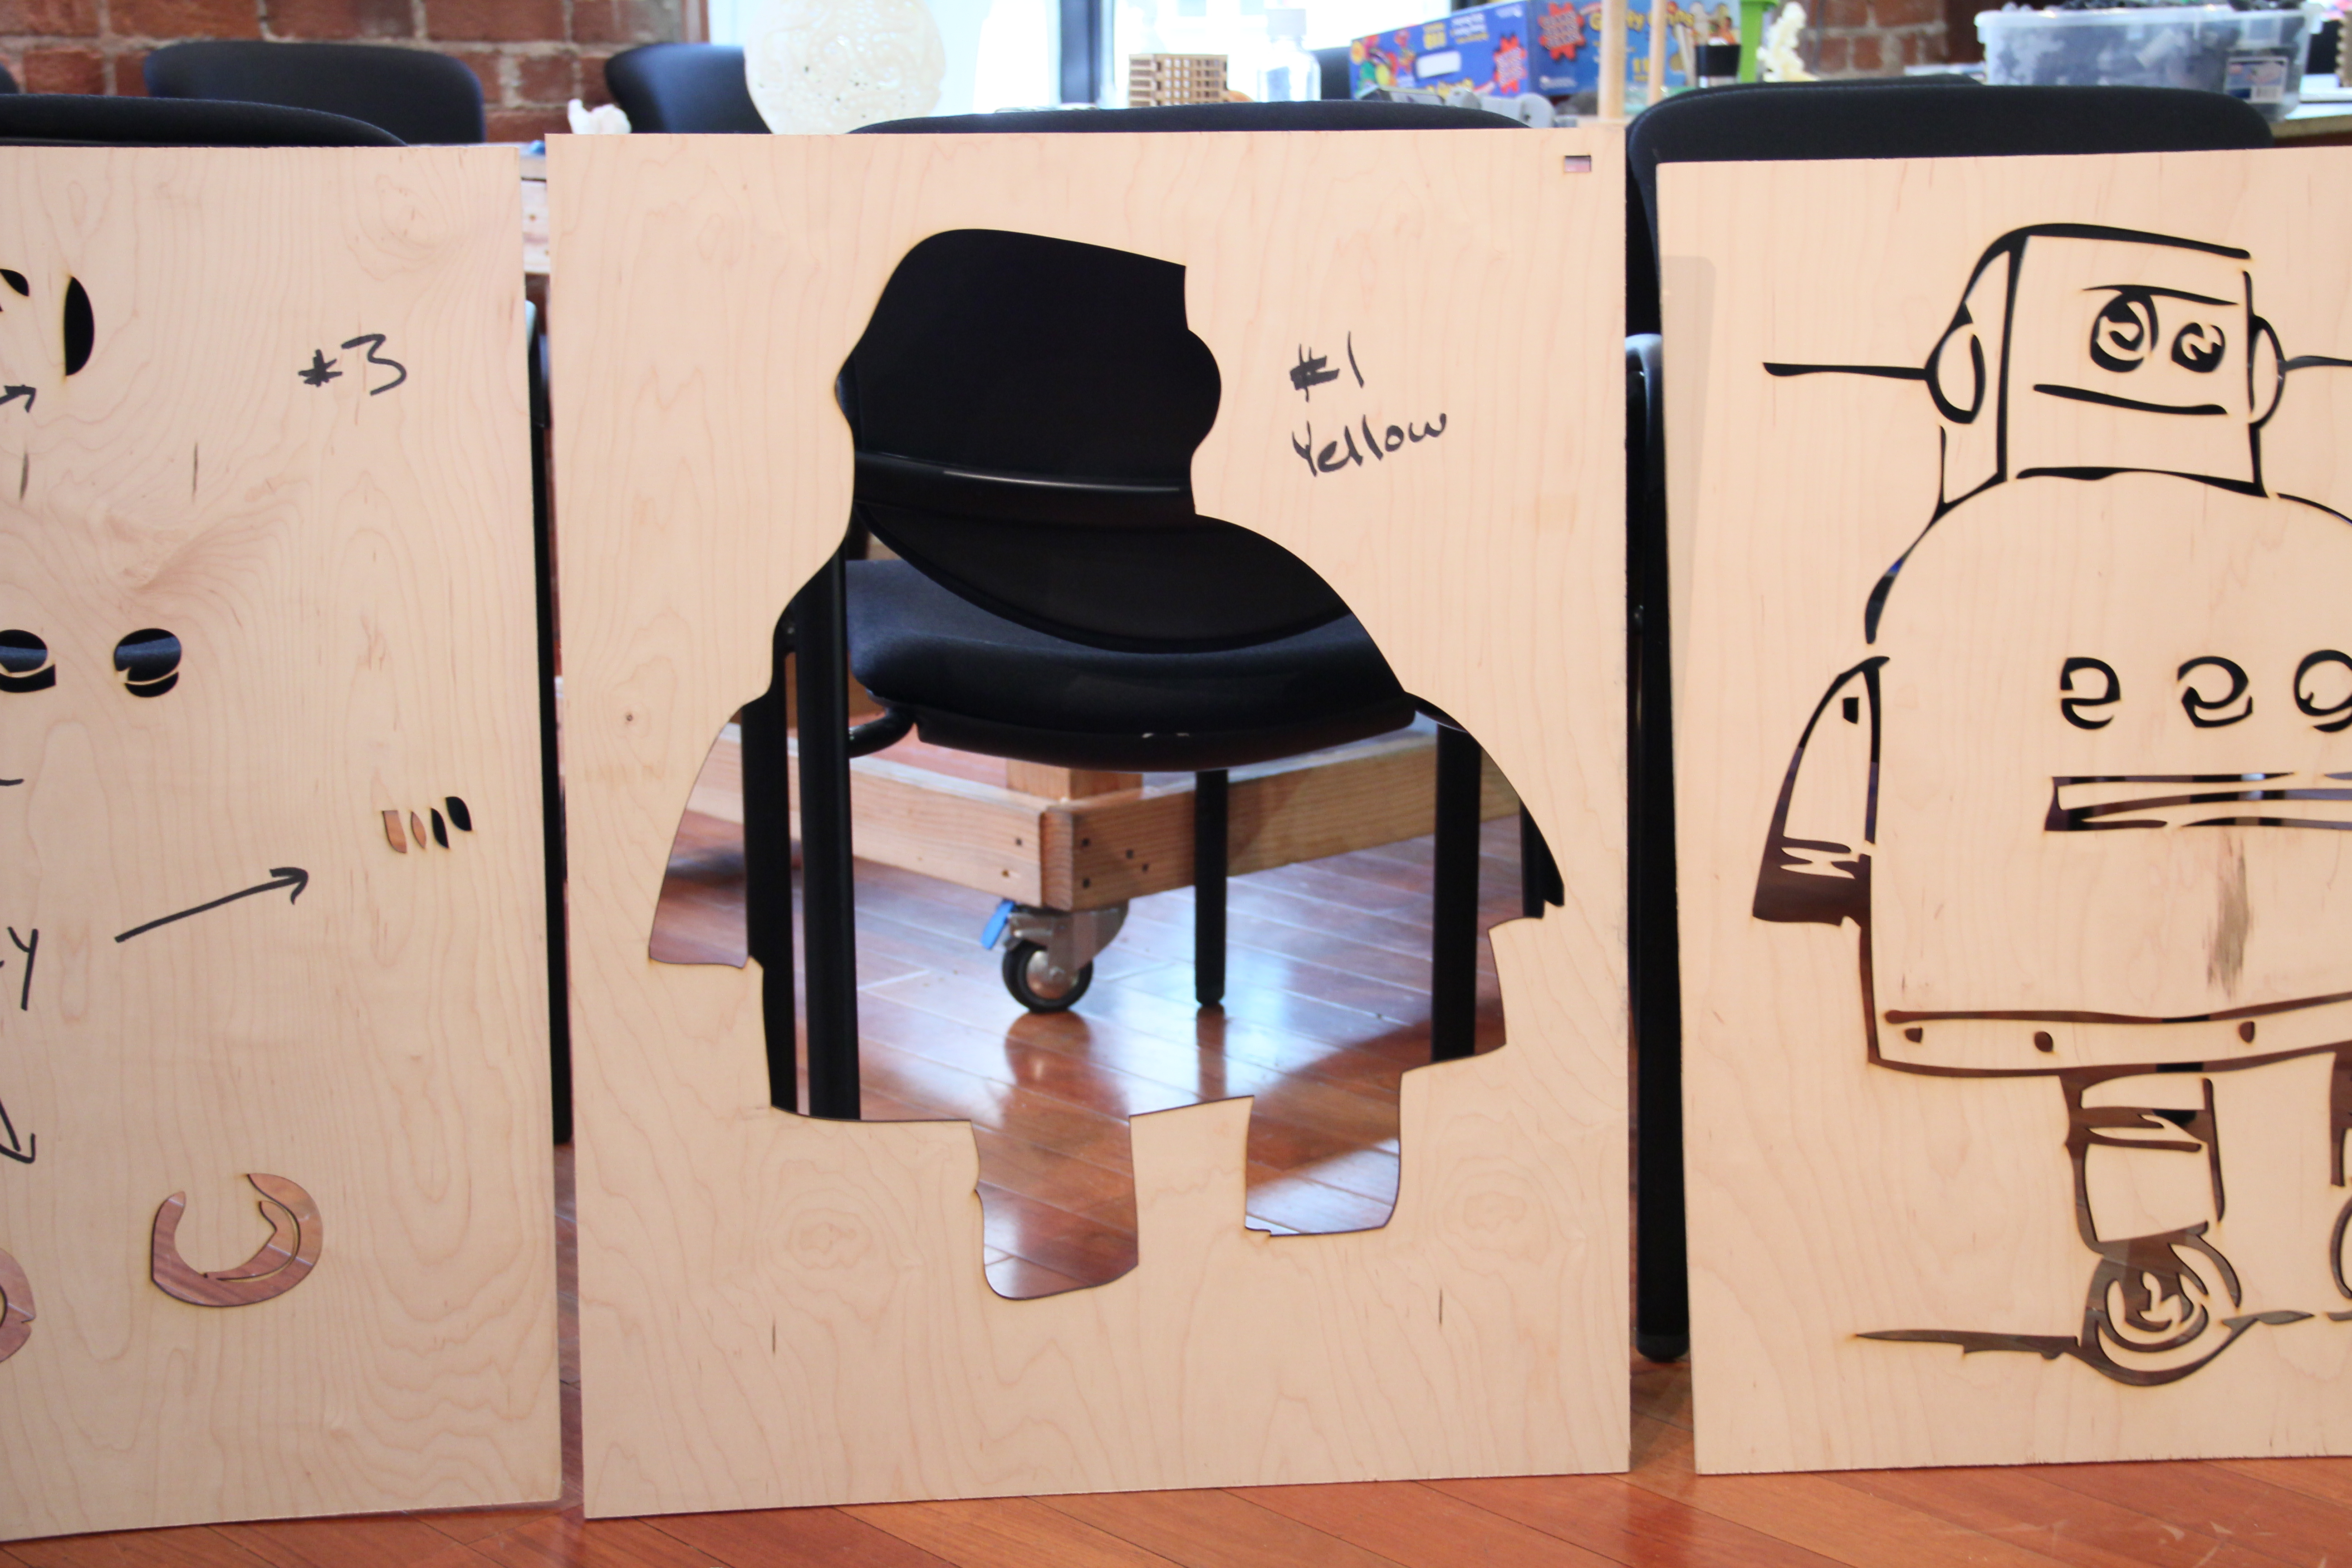
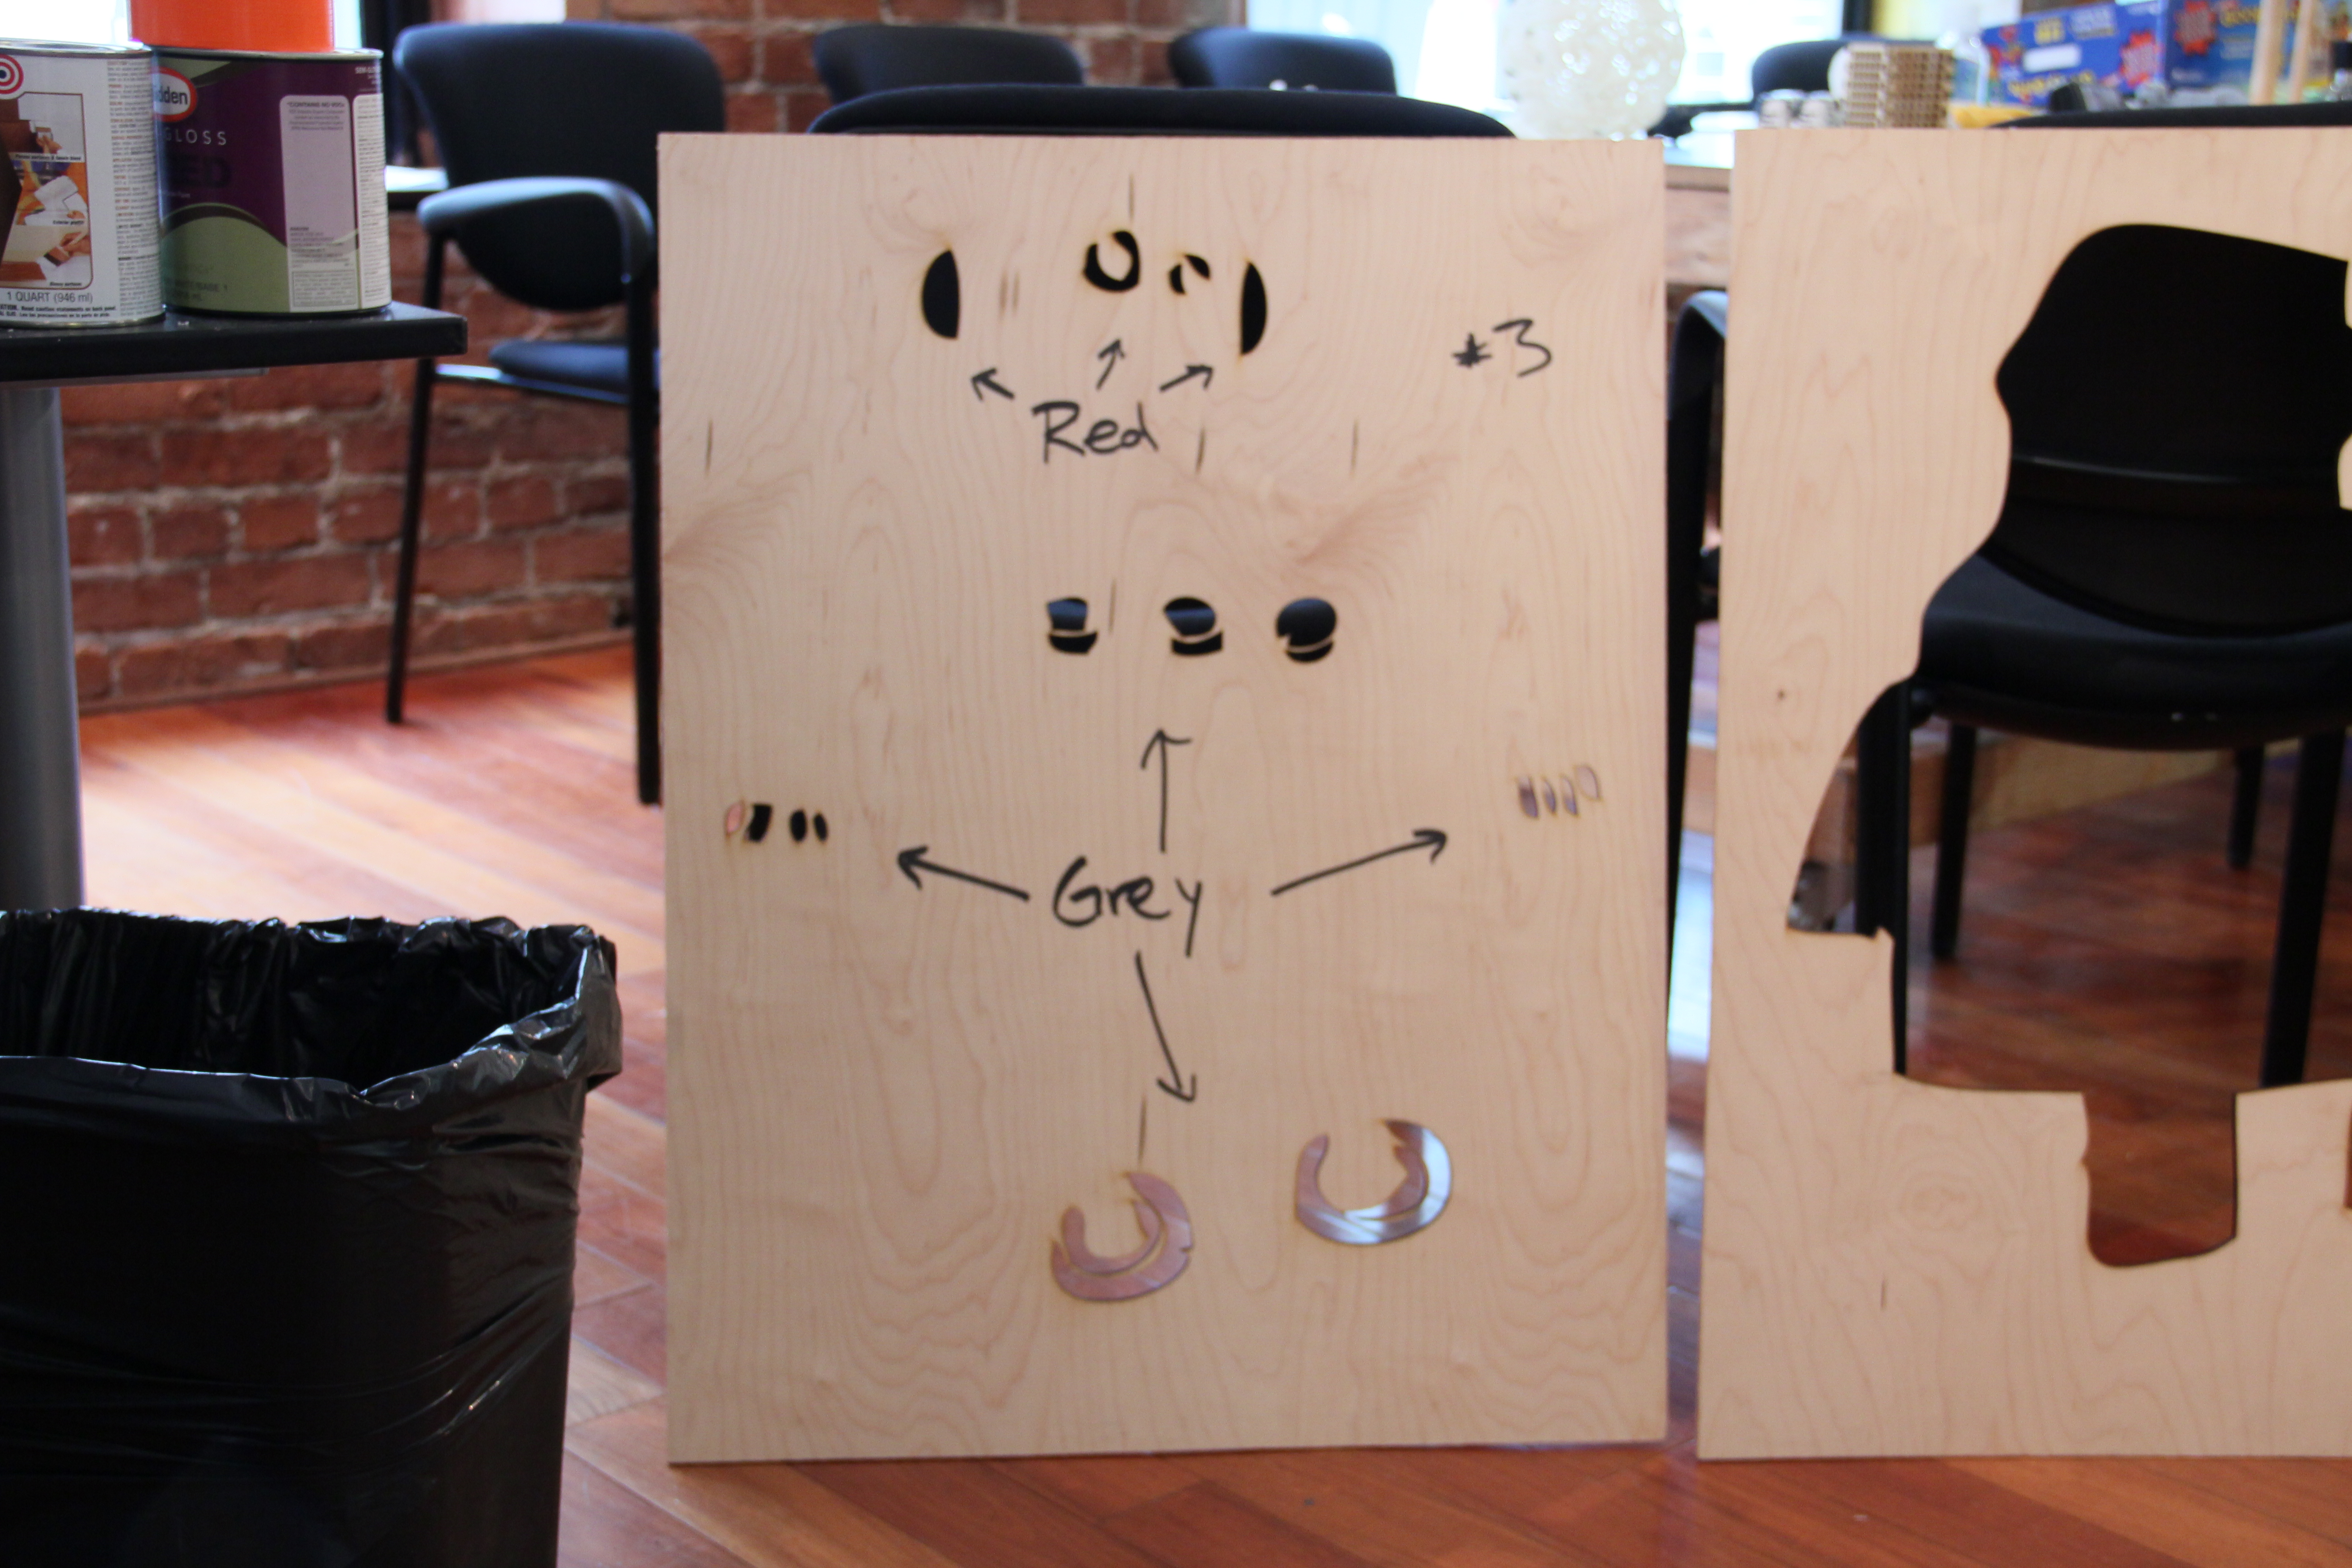
I cut this stencil out of three sheets of 1/4" plywood in an Epilog120 Laser Cutter at Techshop SF.
Spray Paint
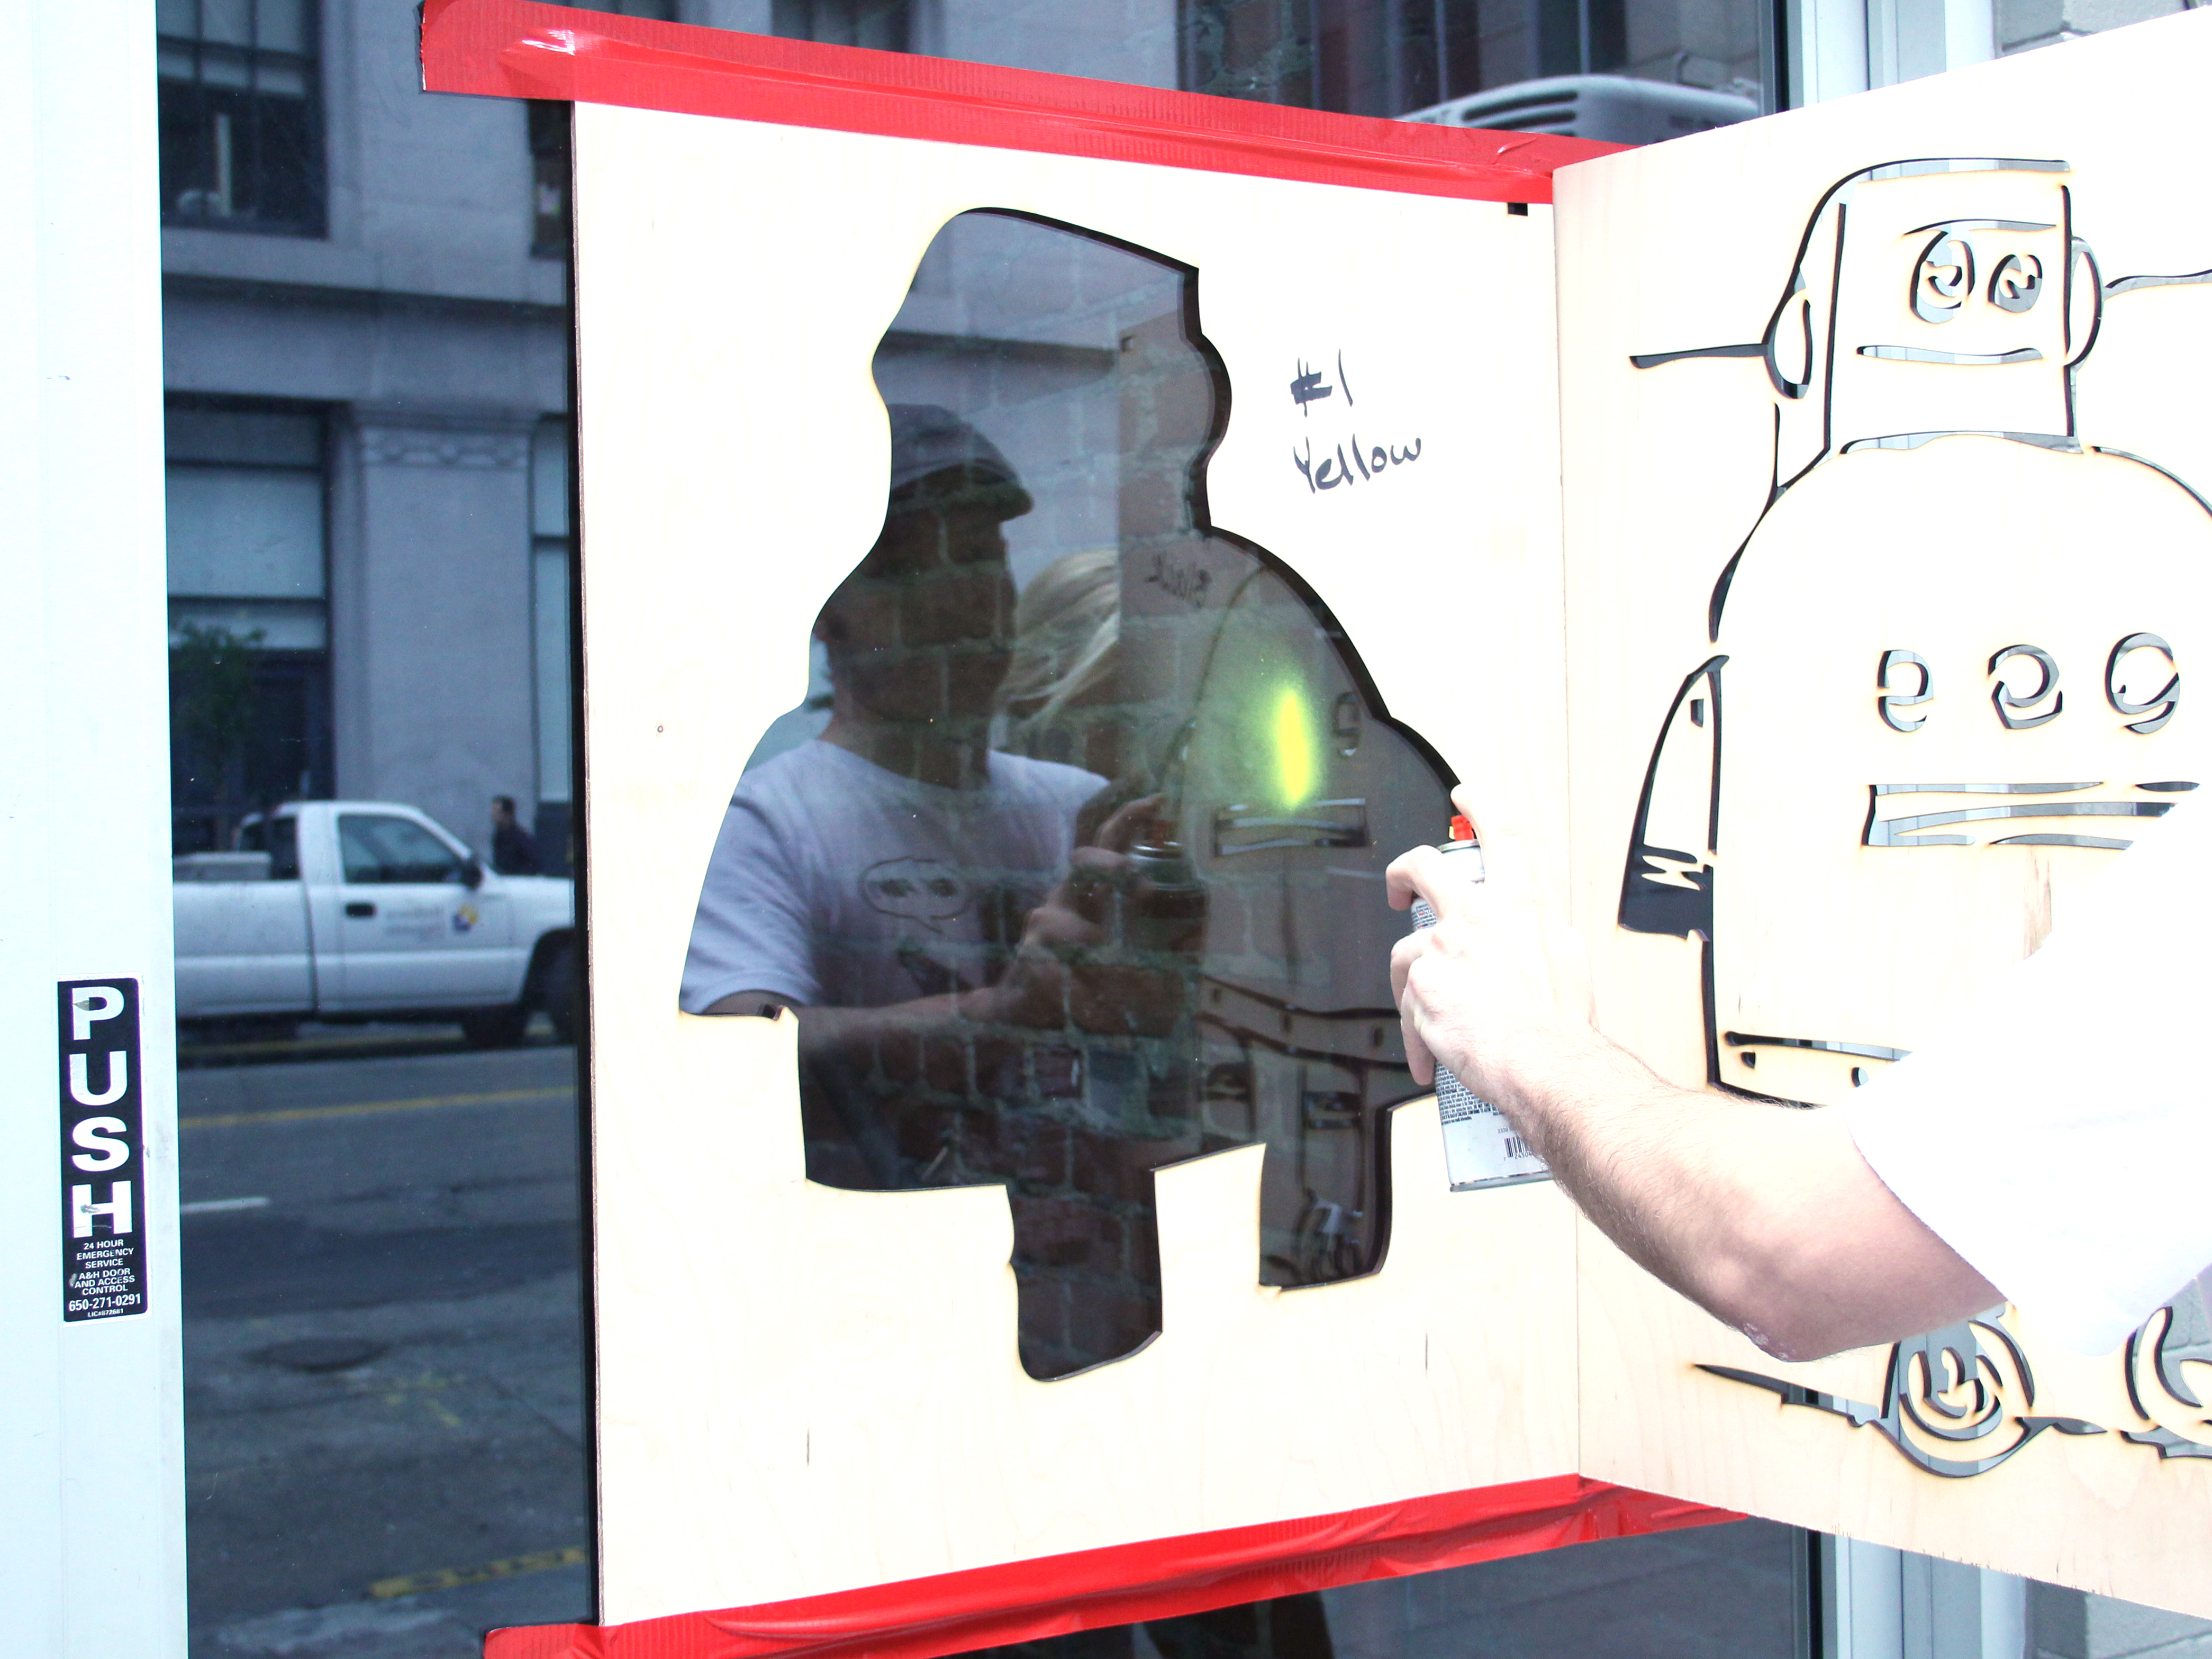
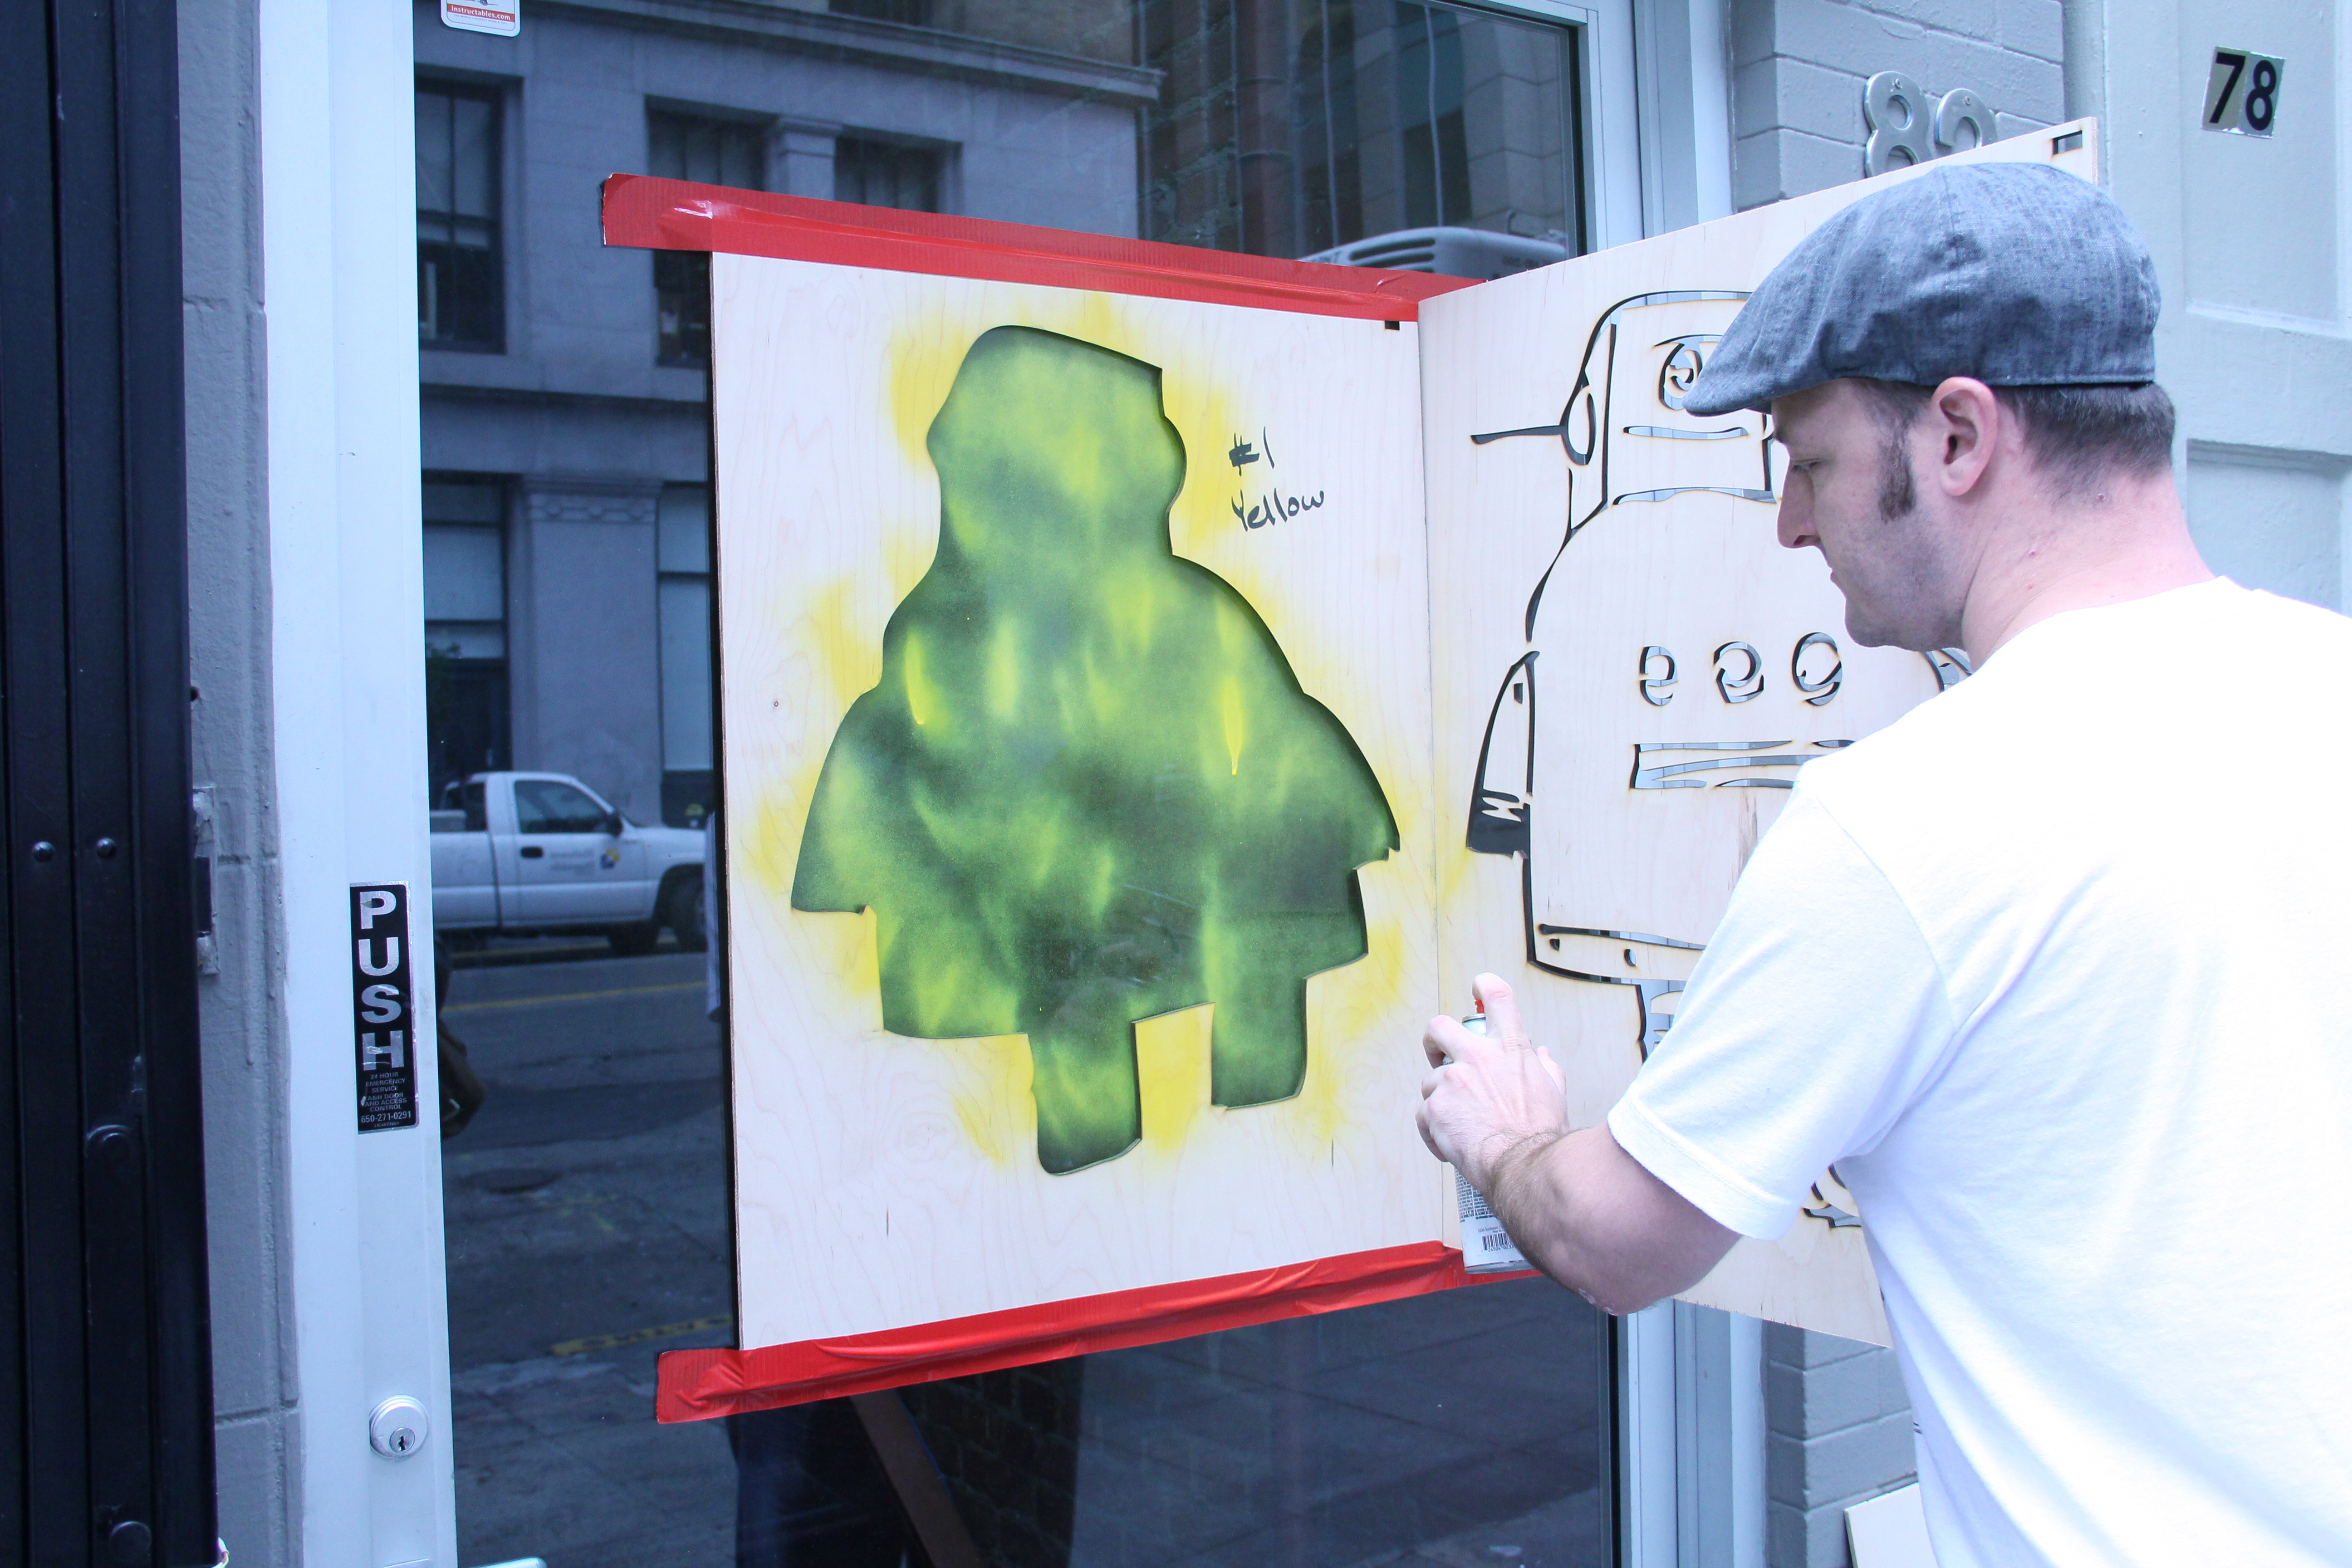
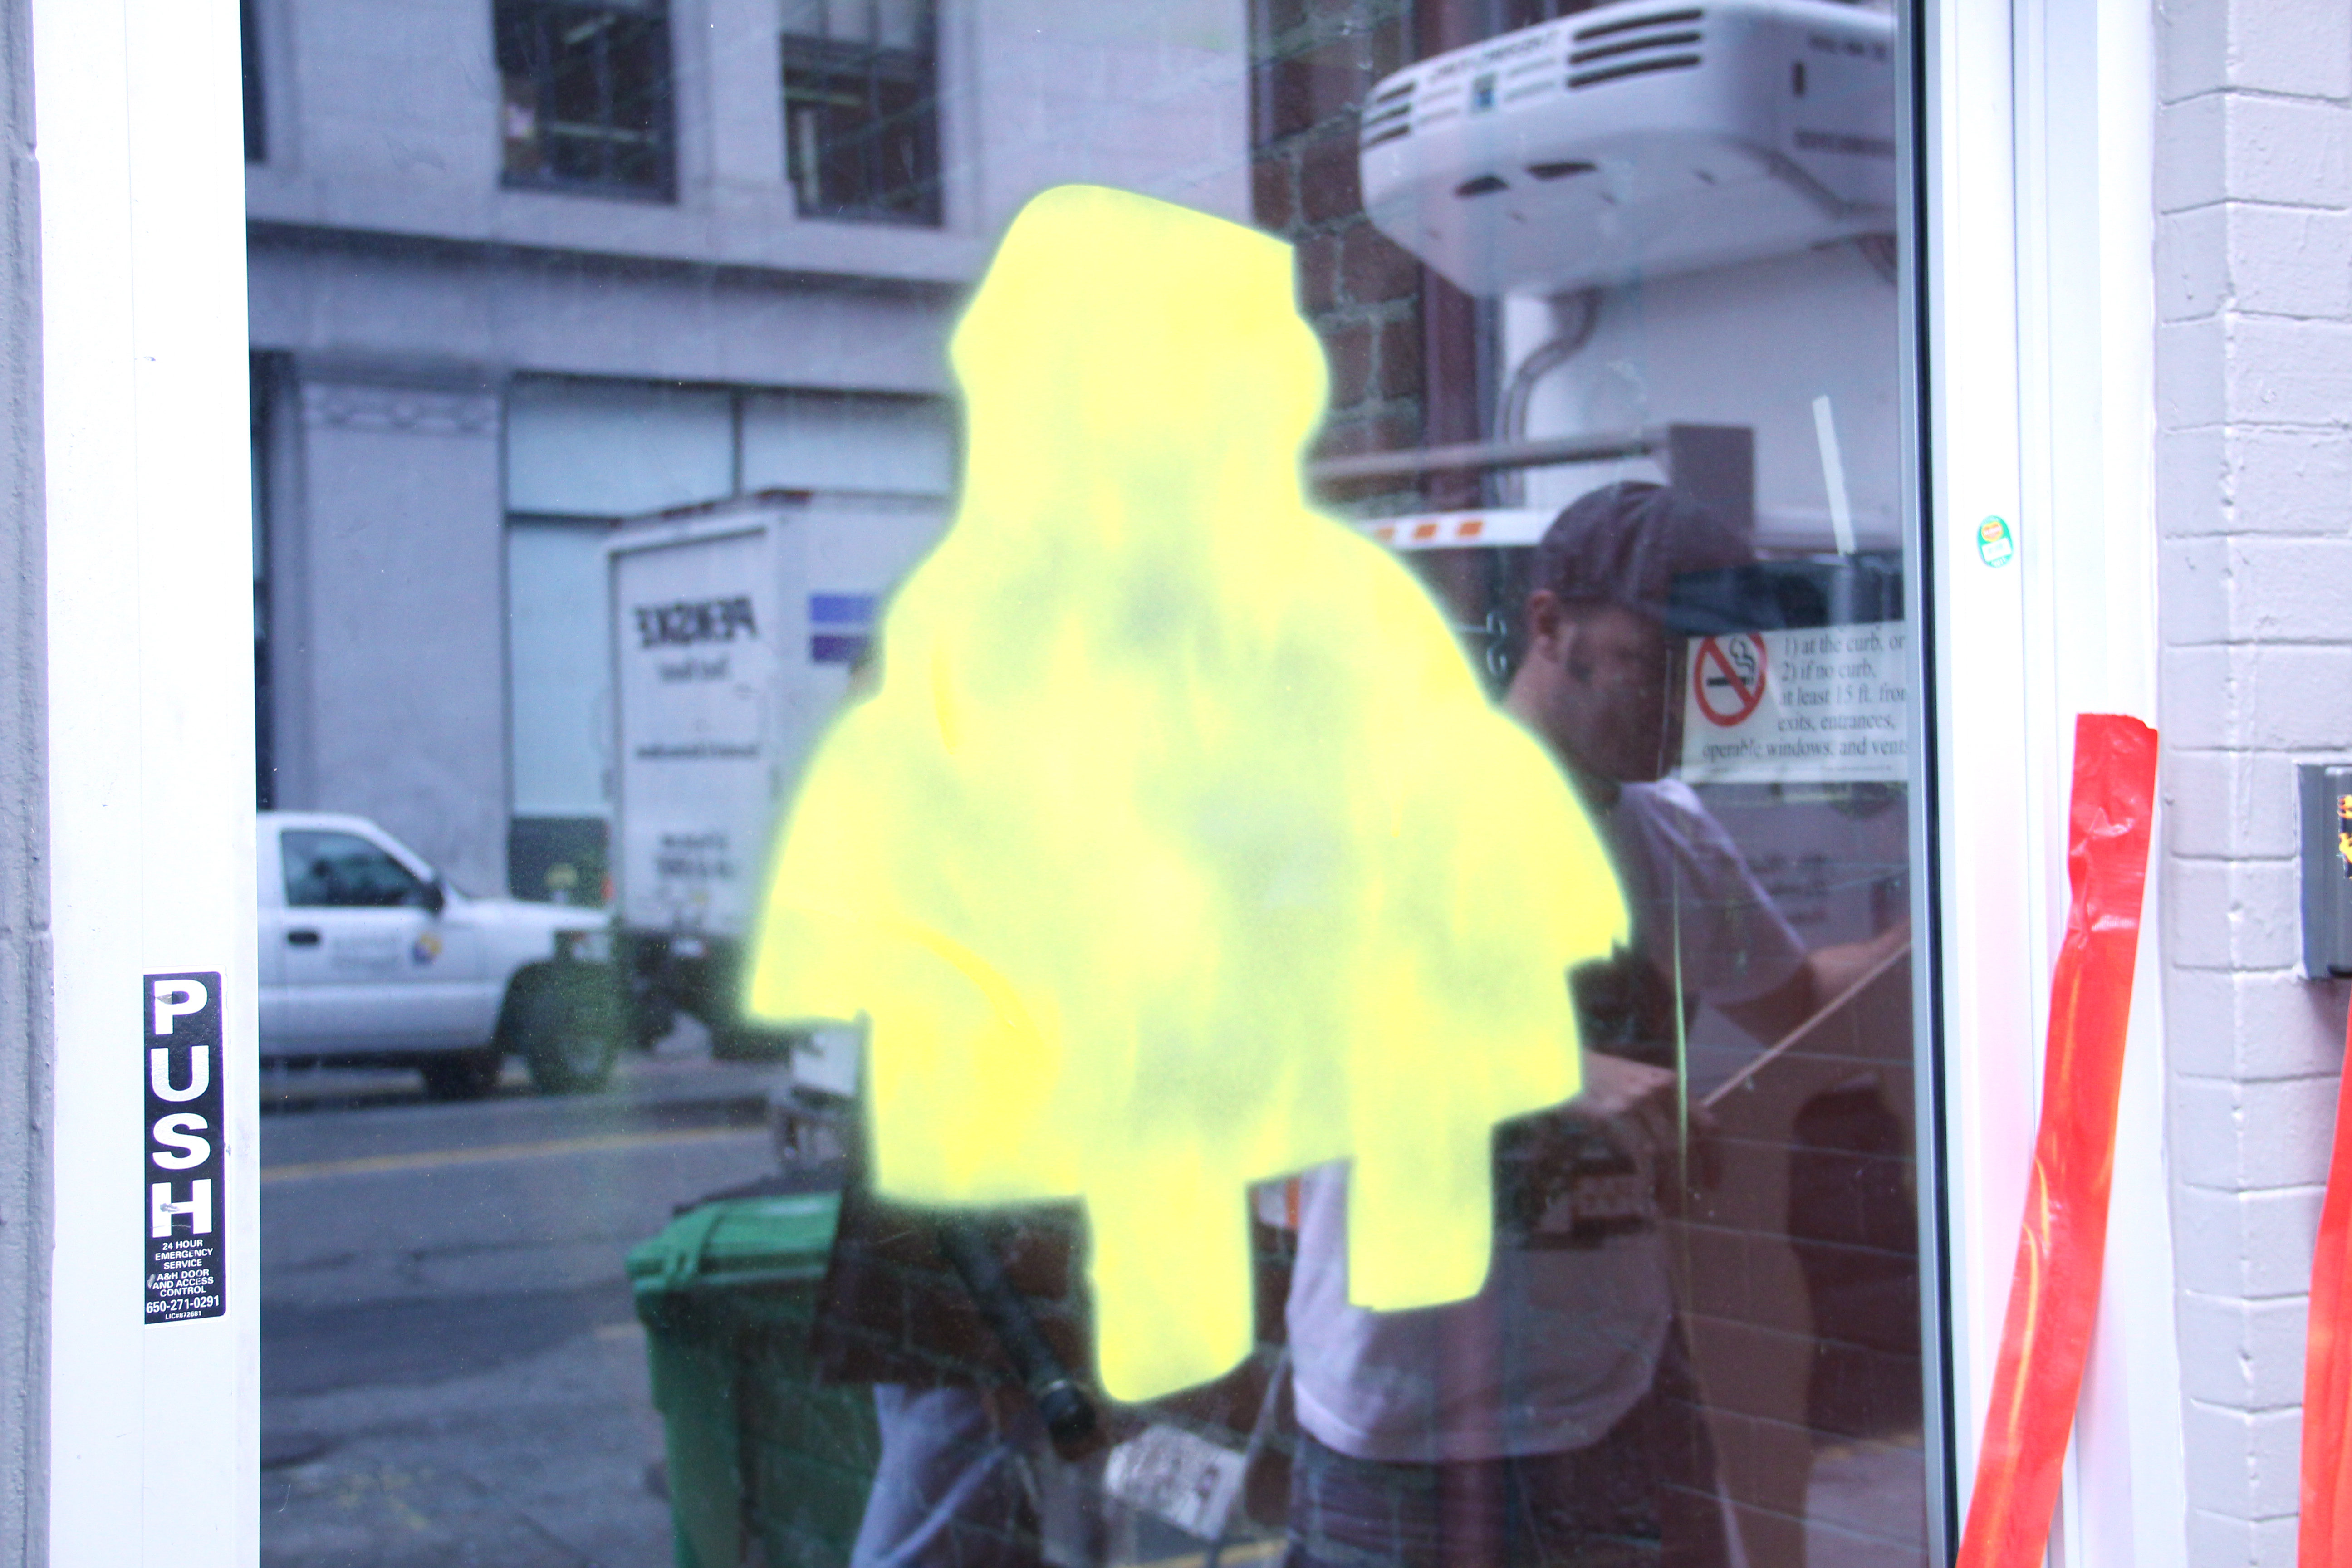
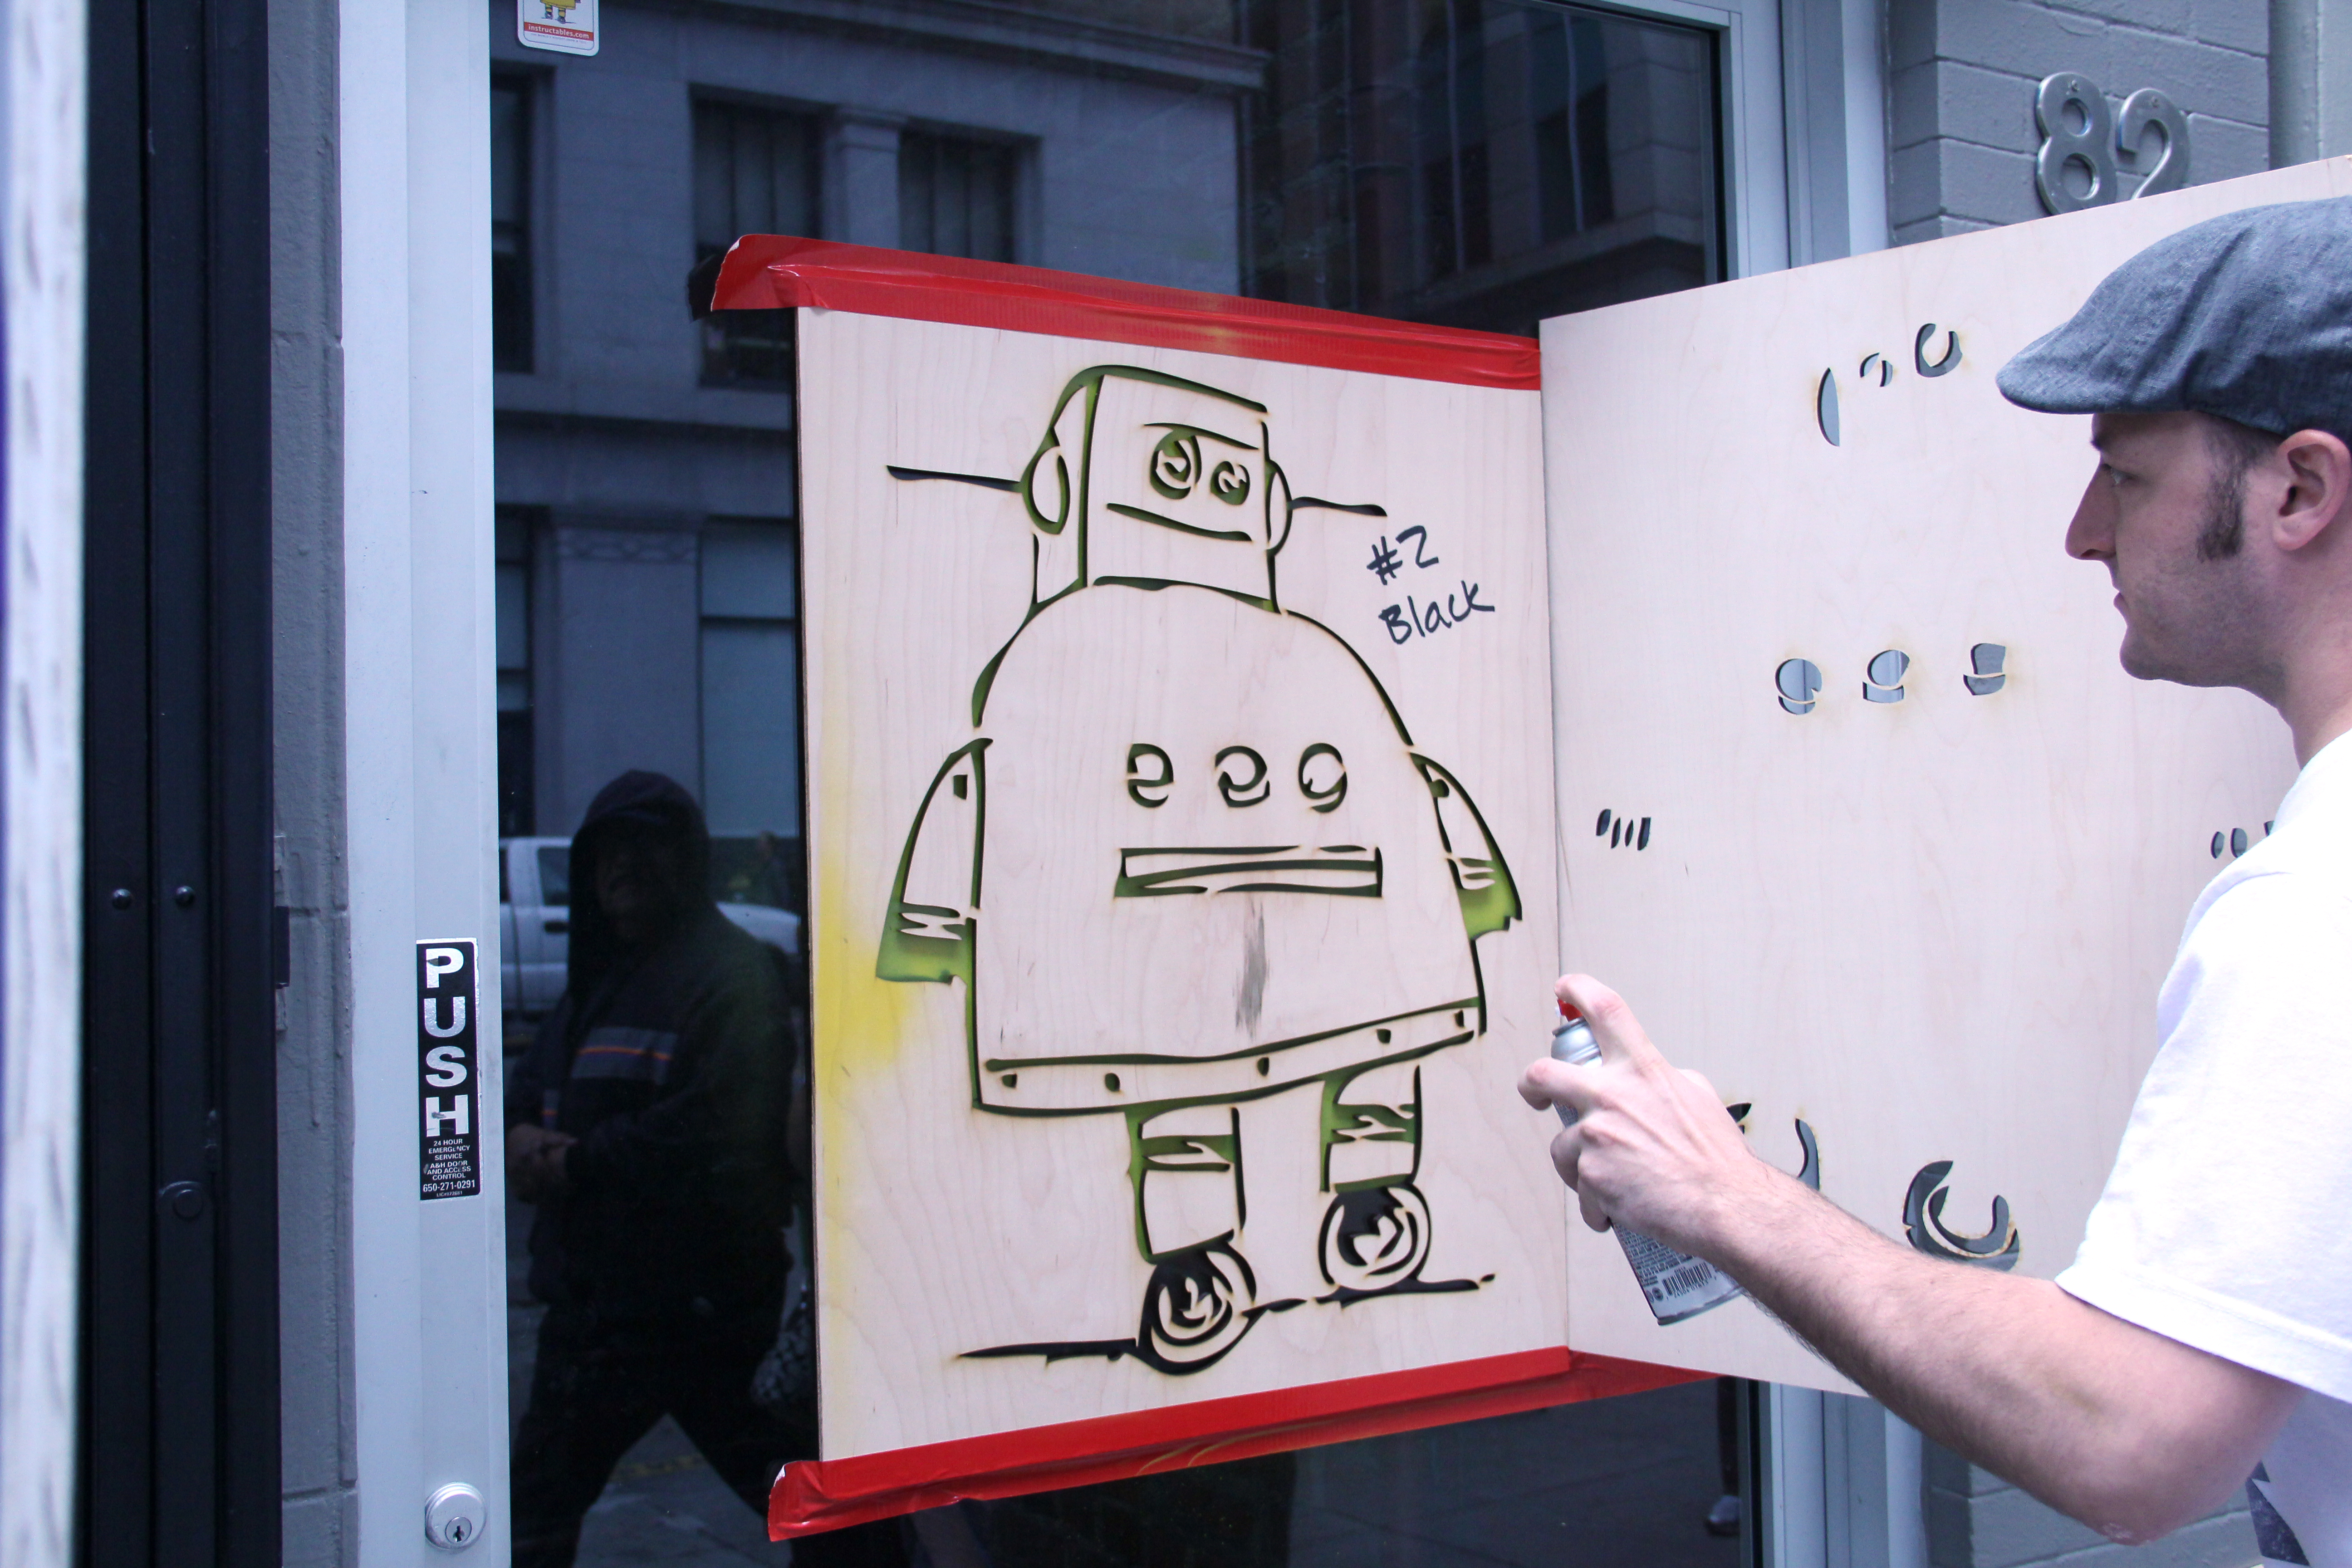
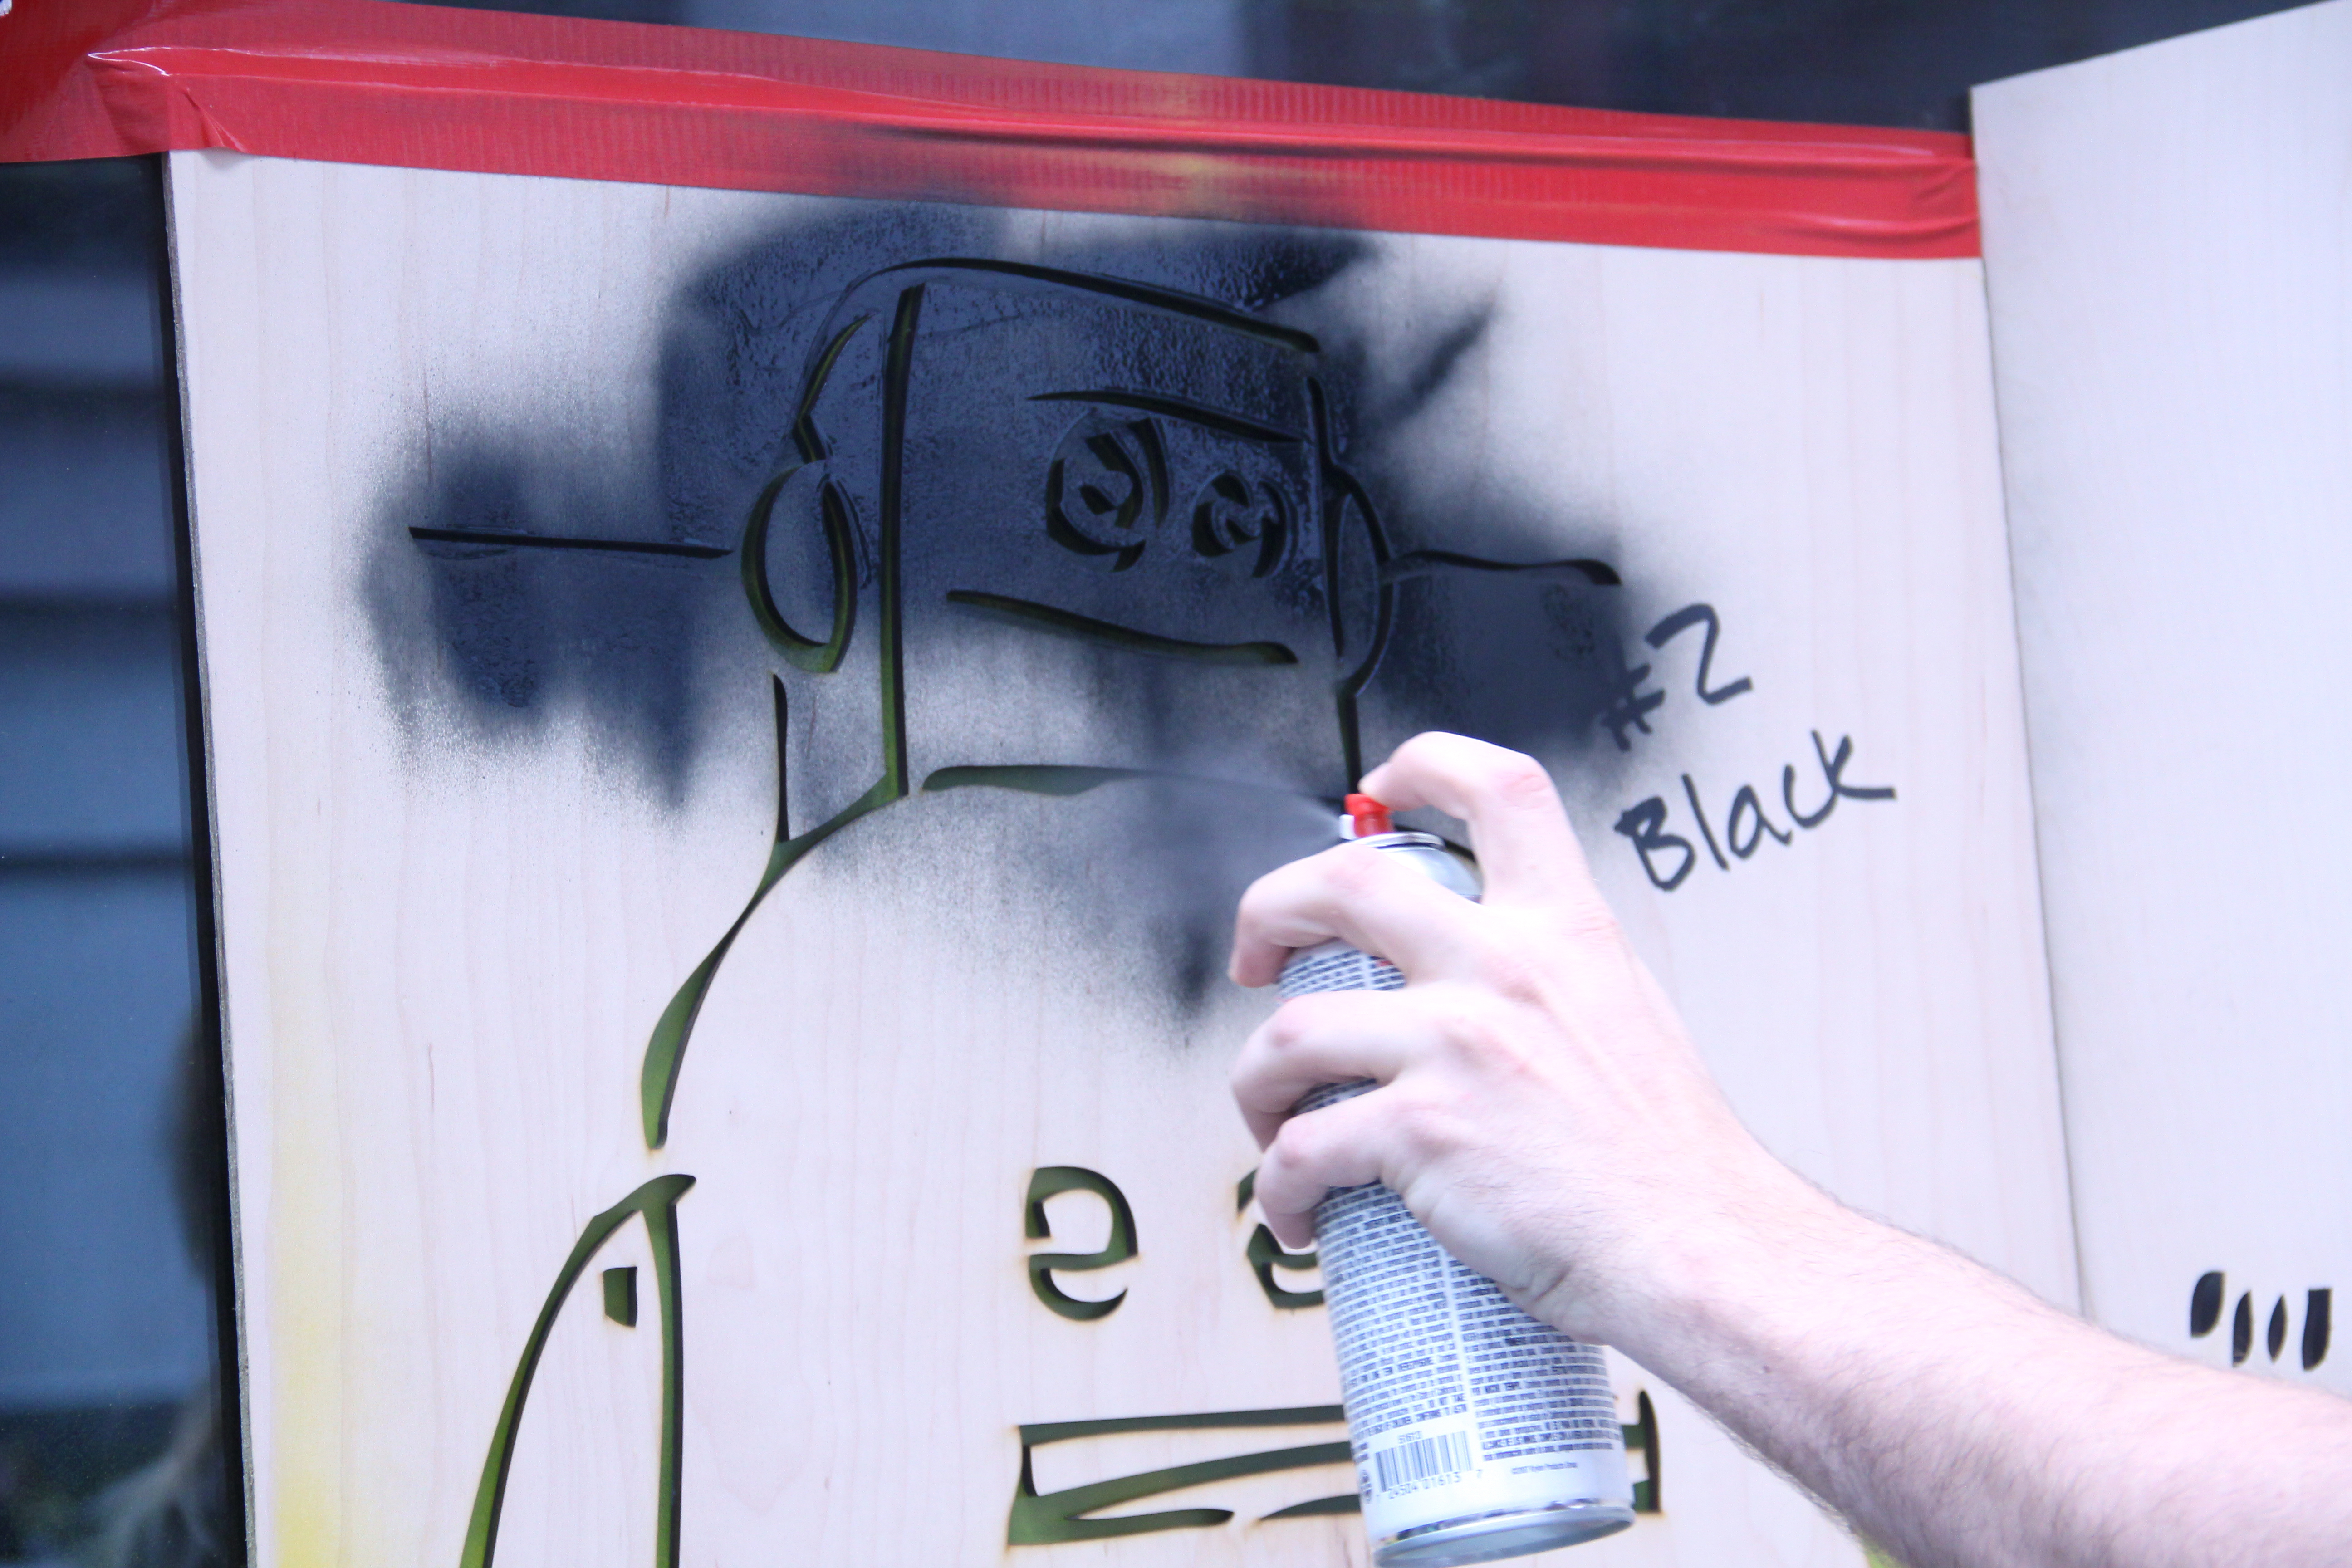
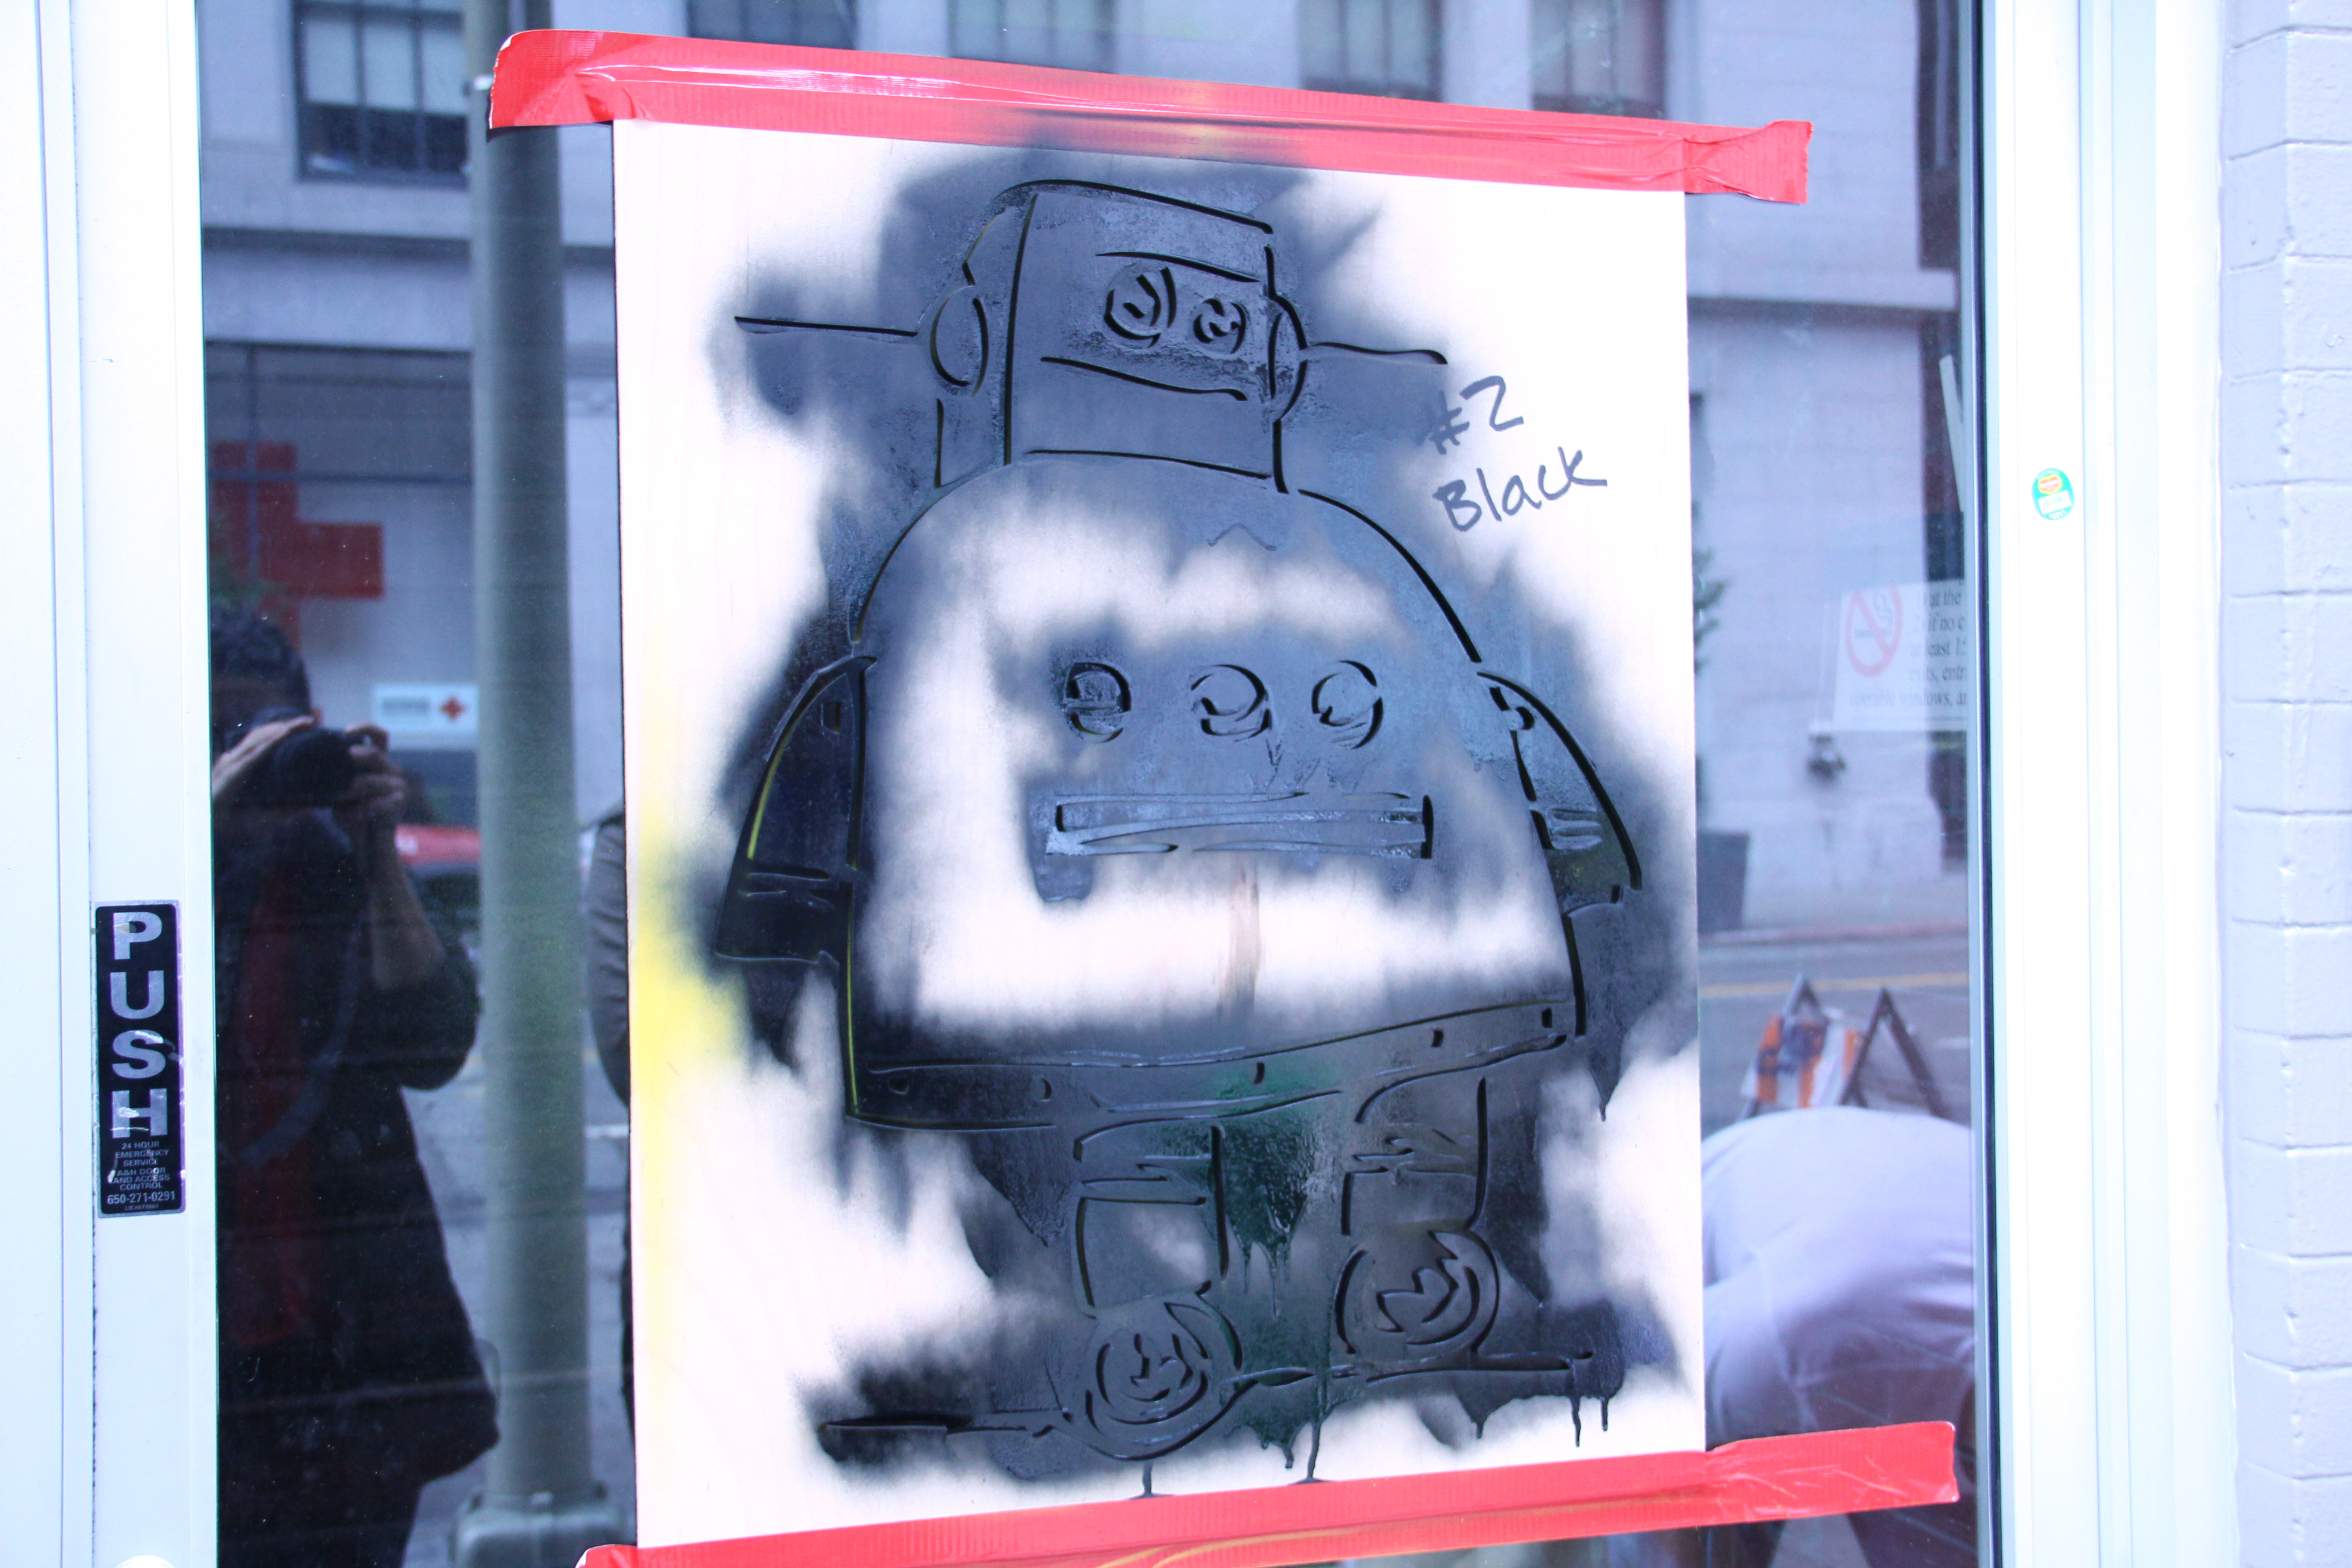
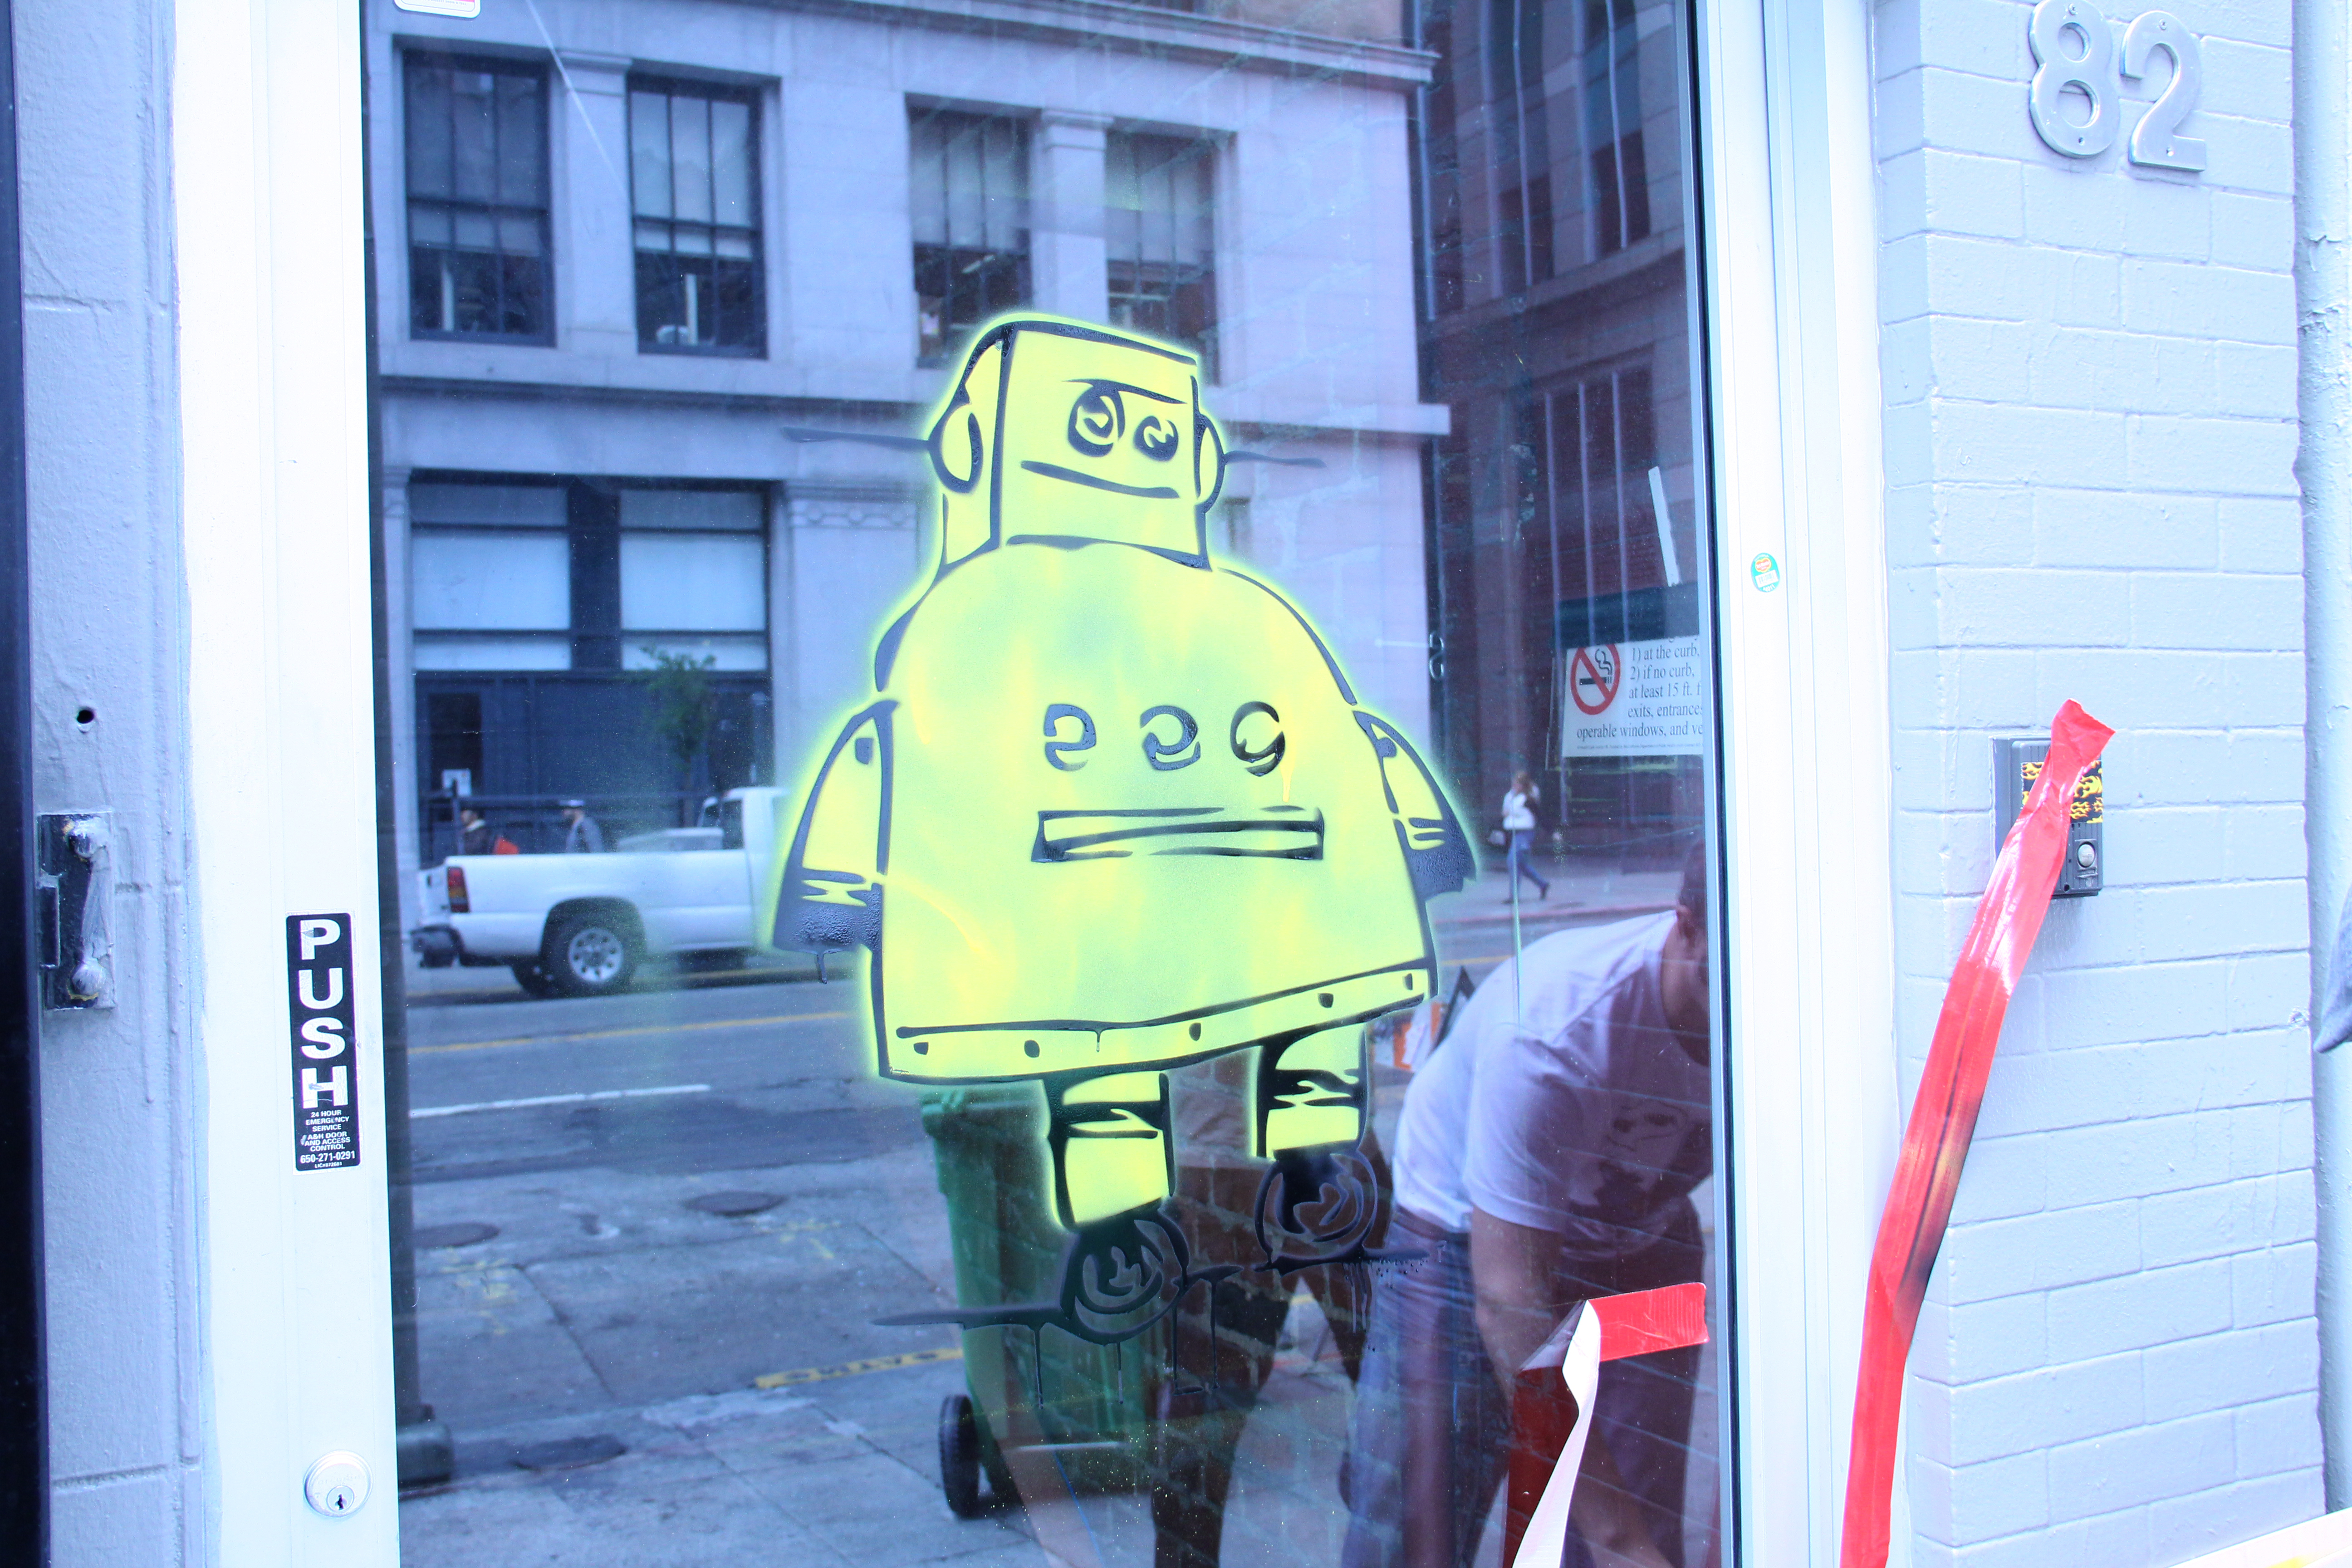
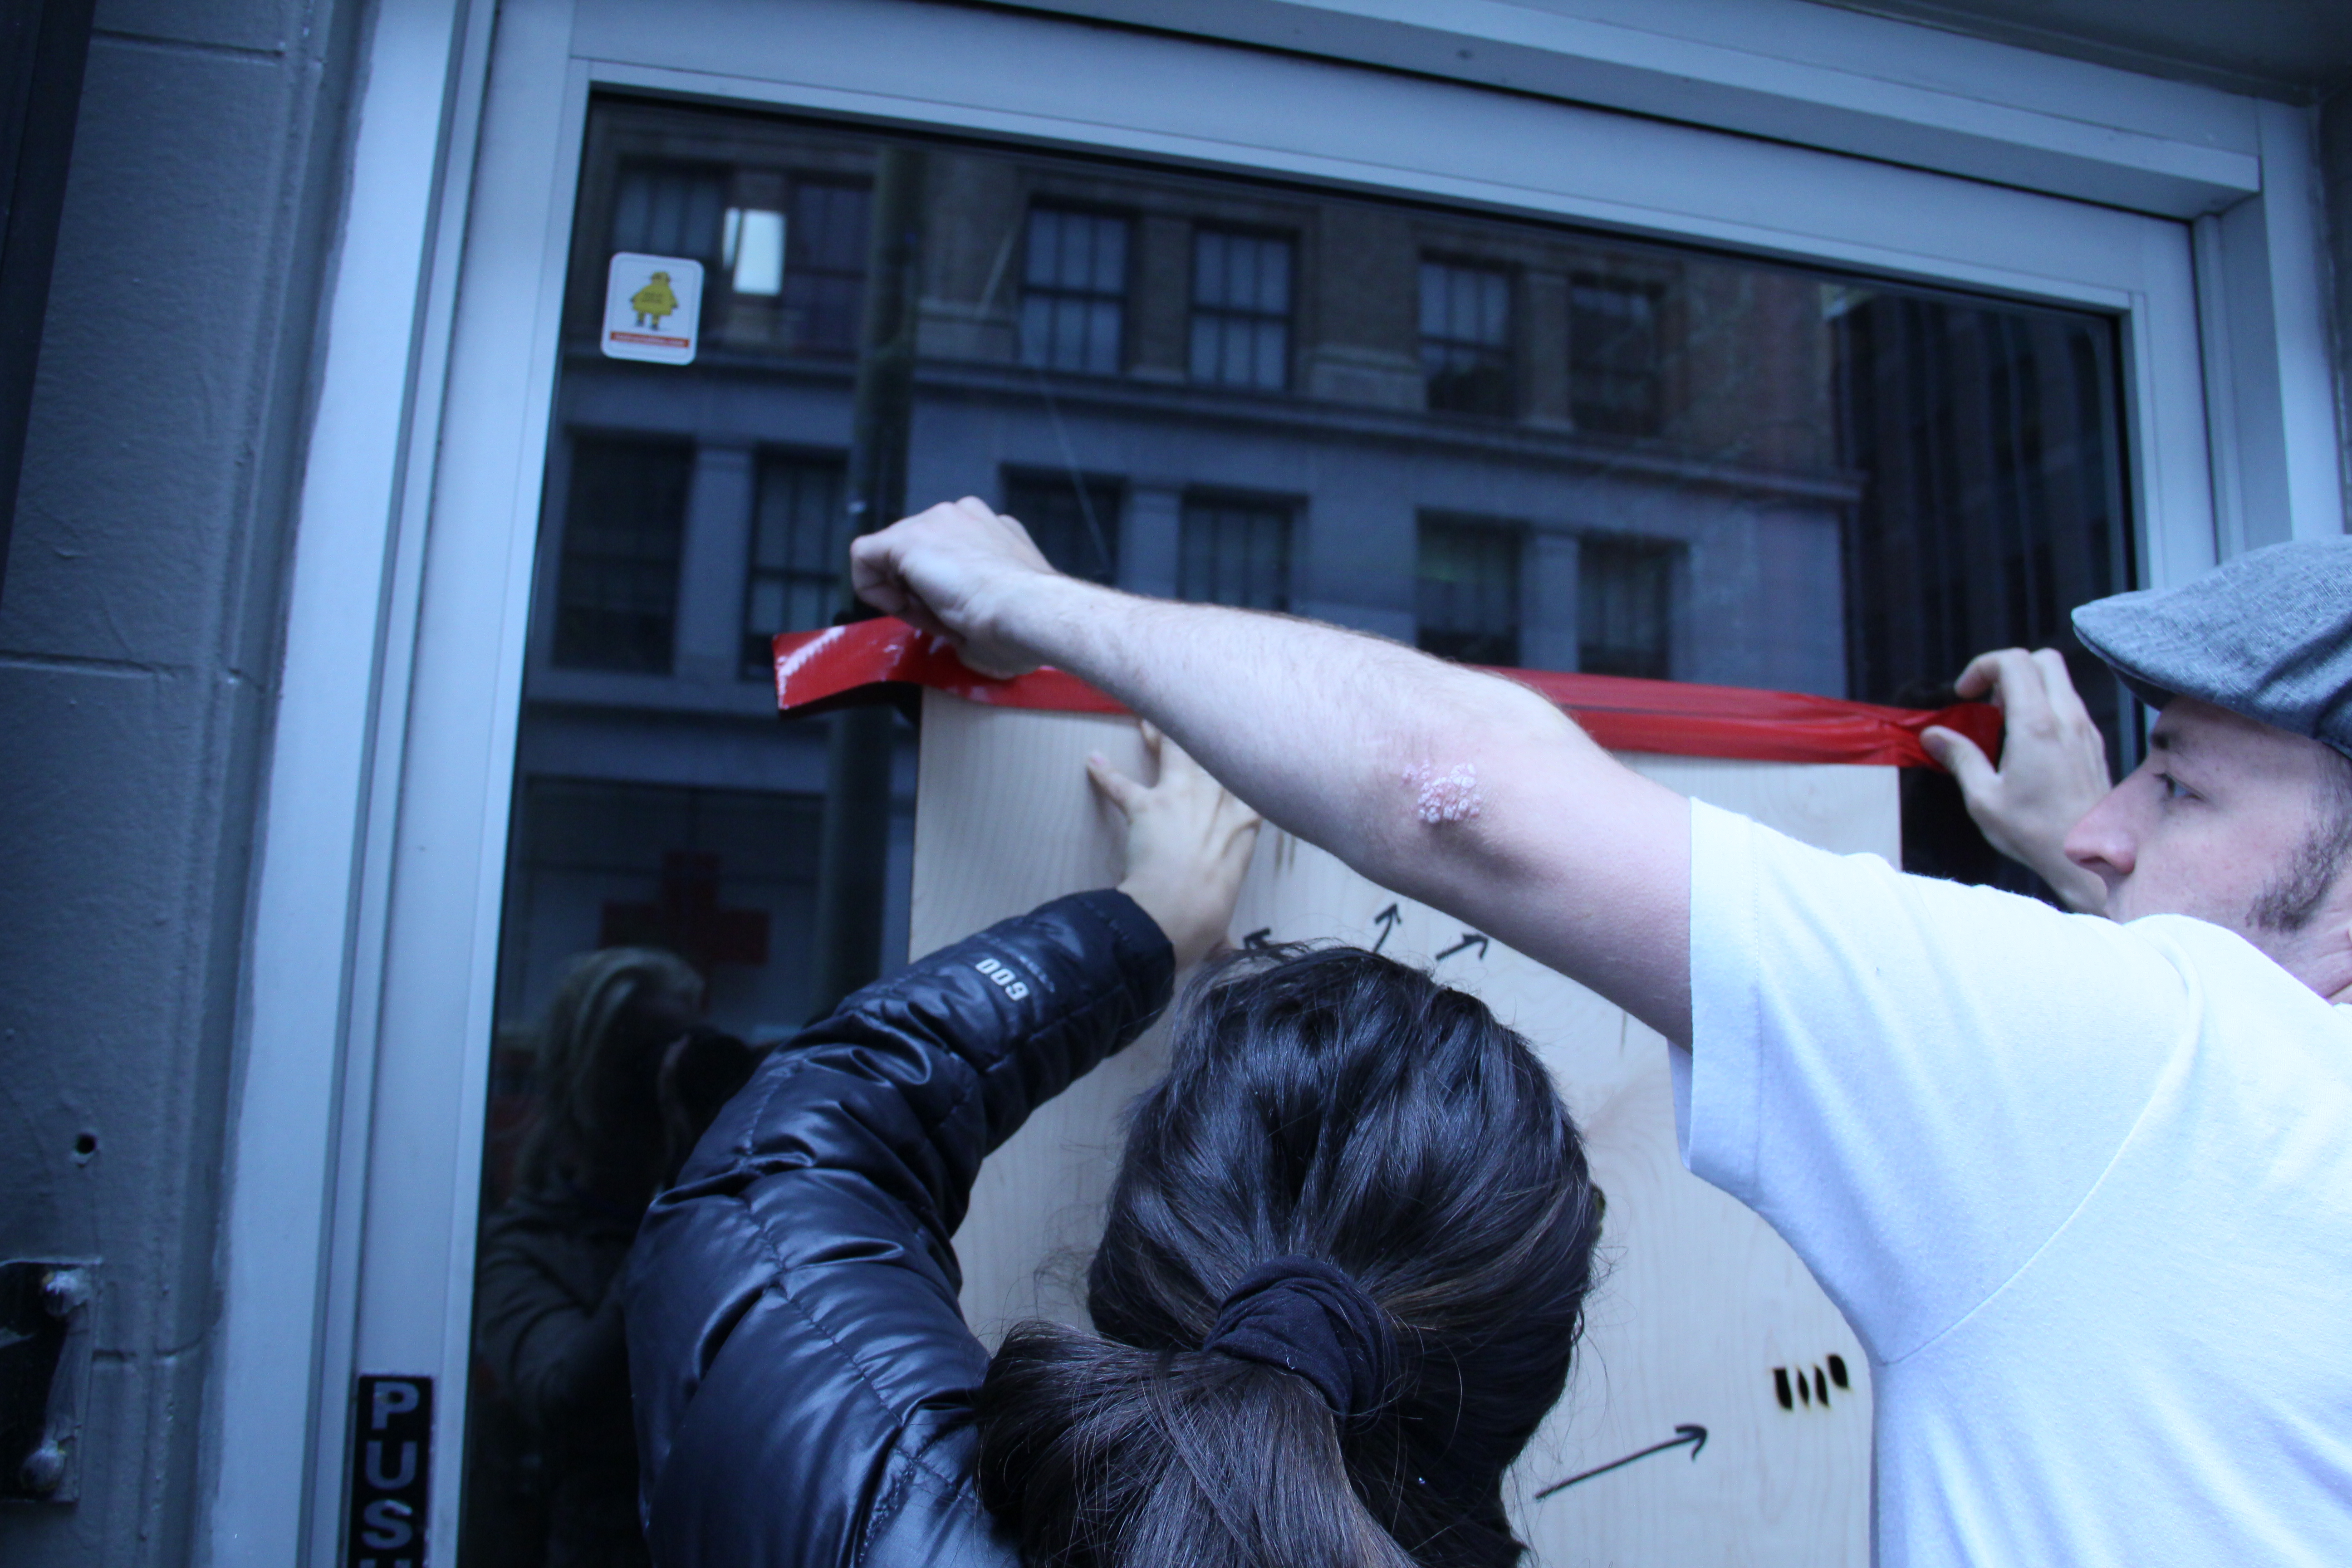
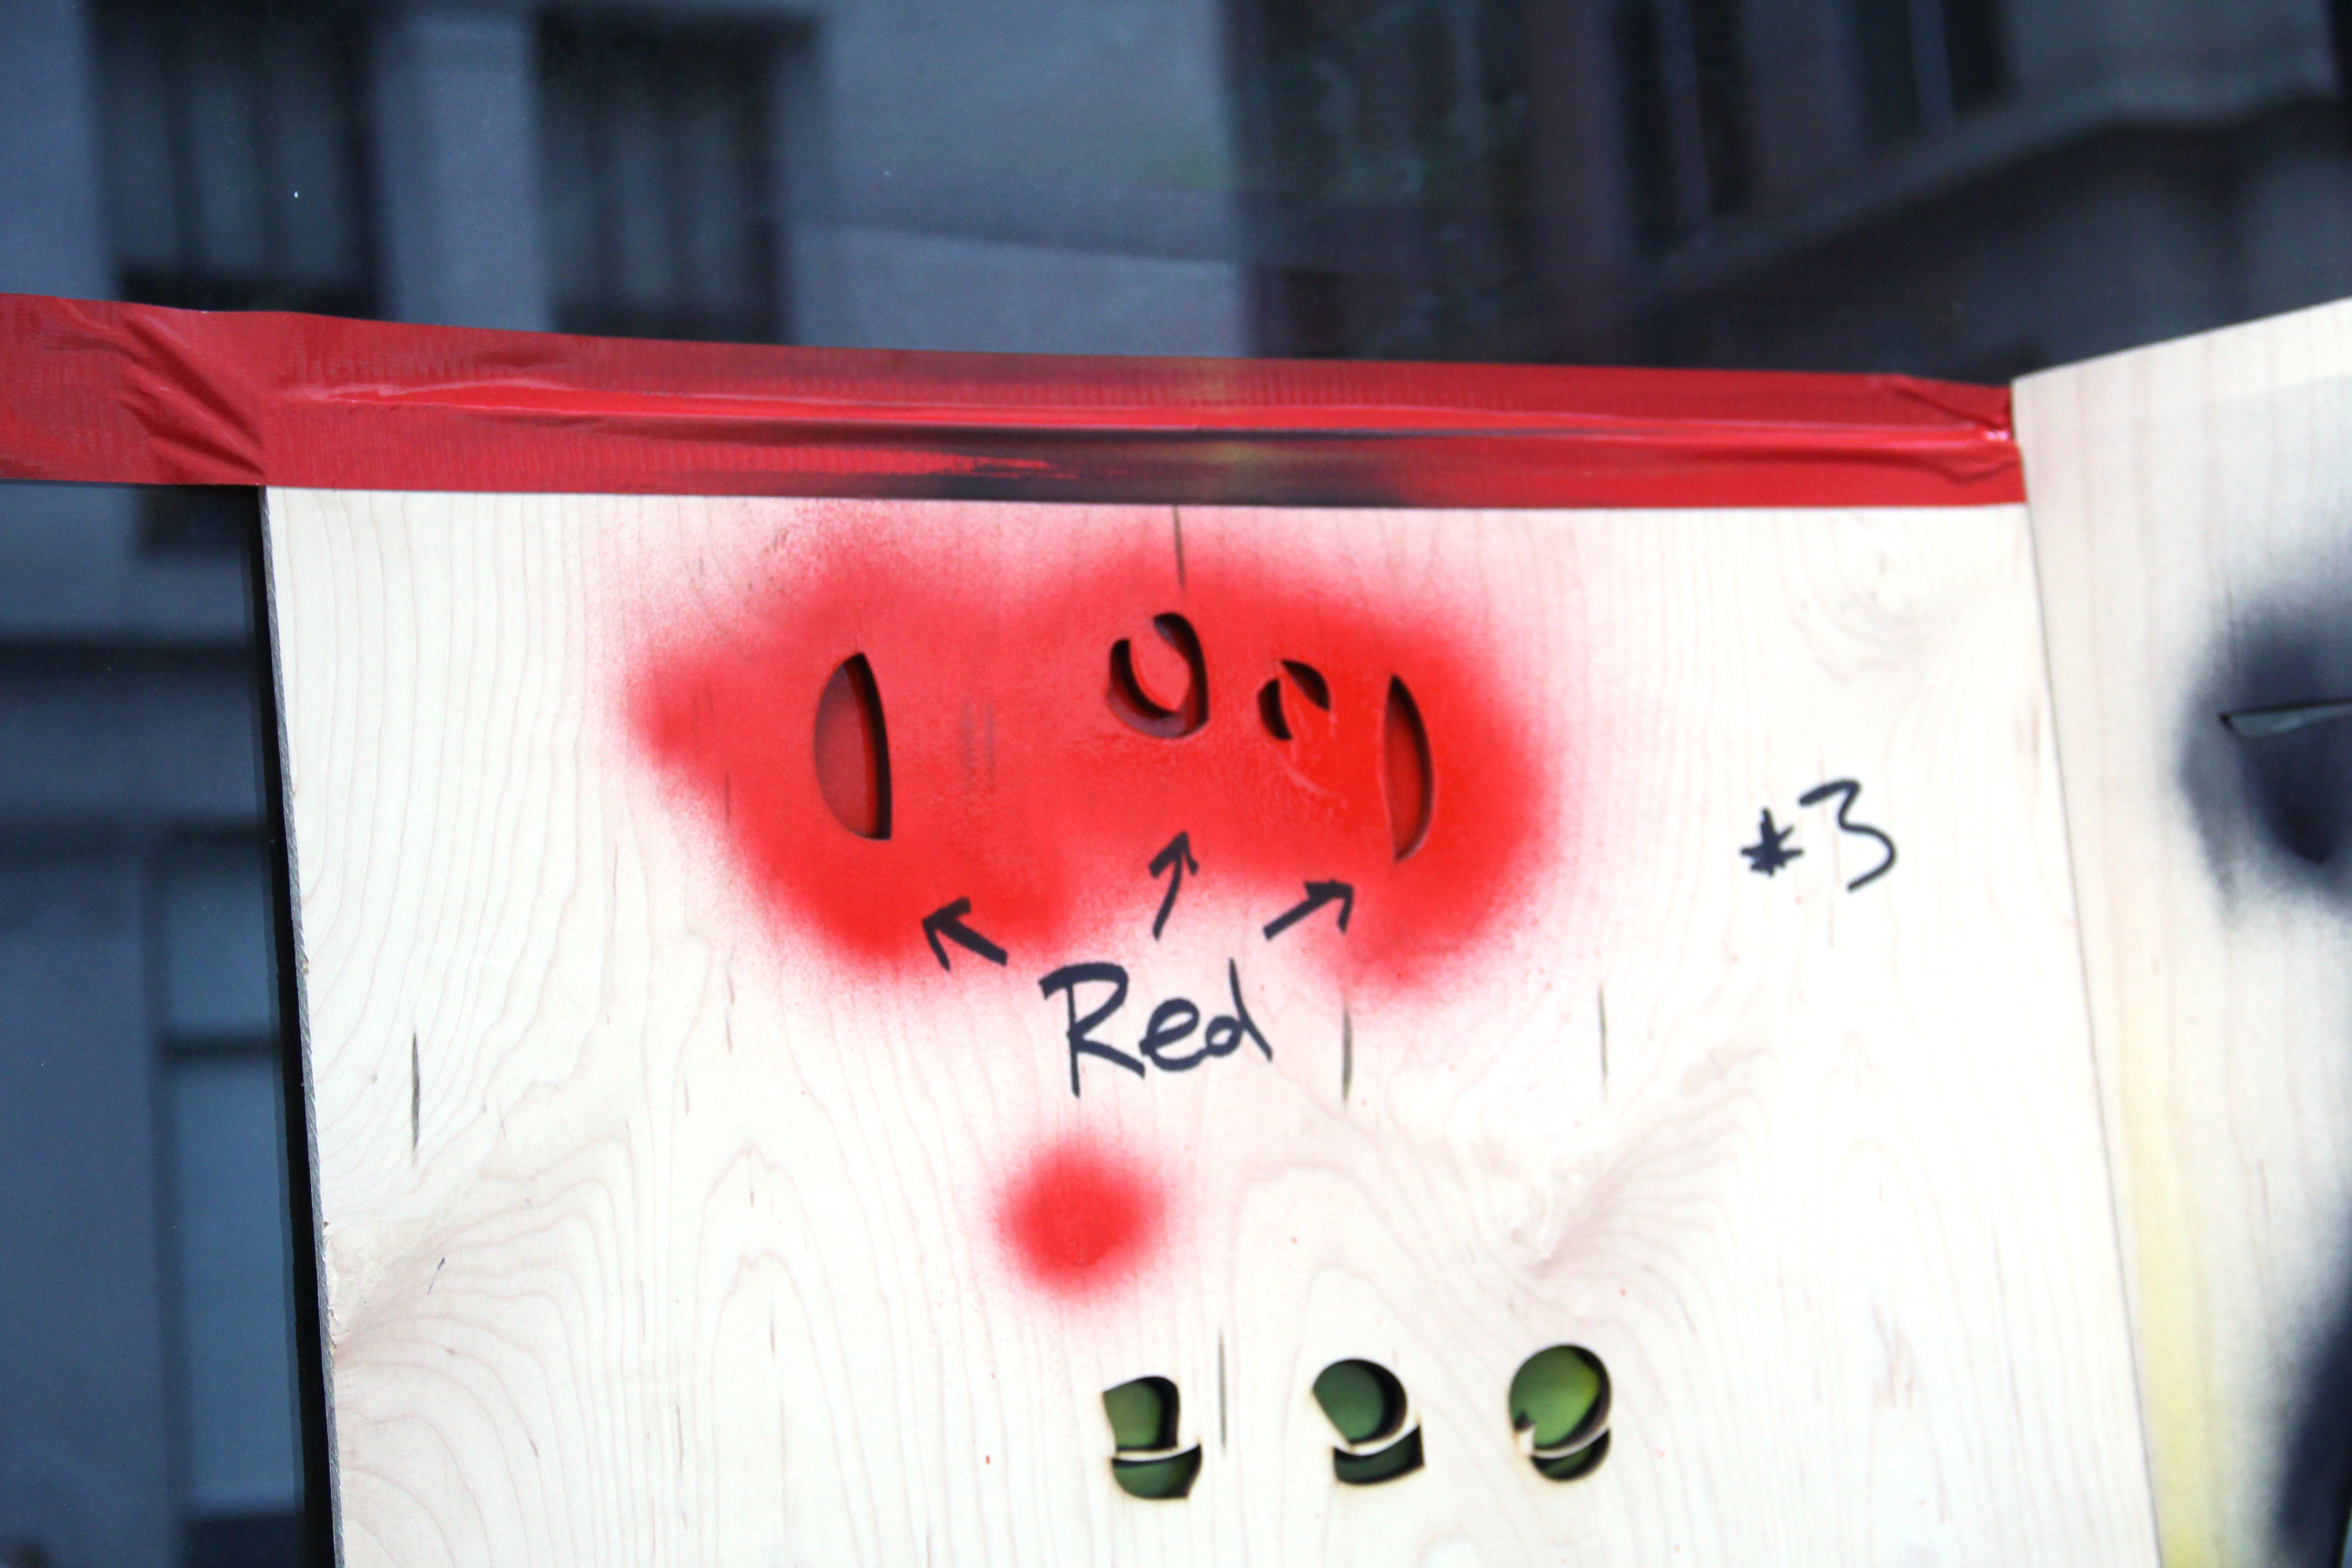
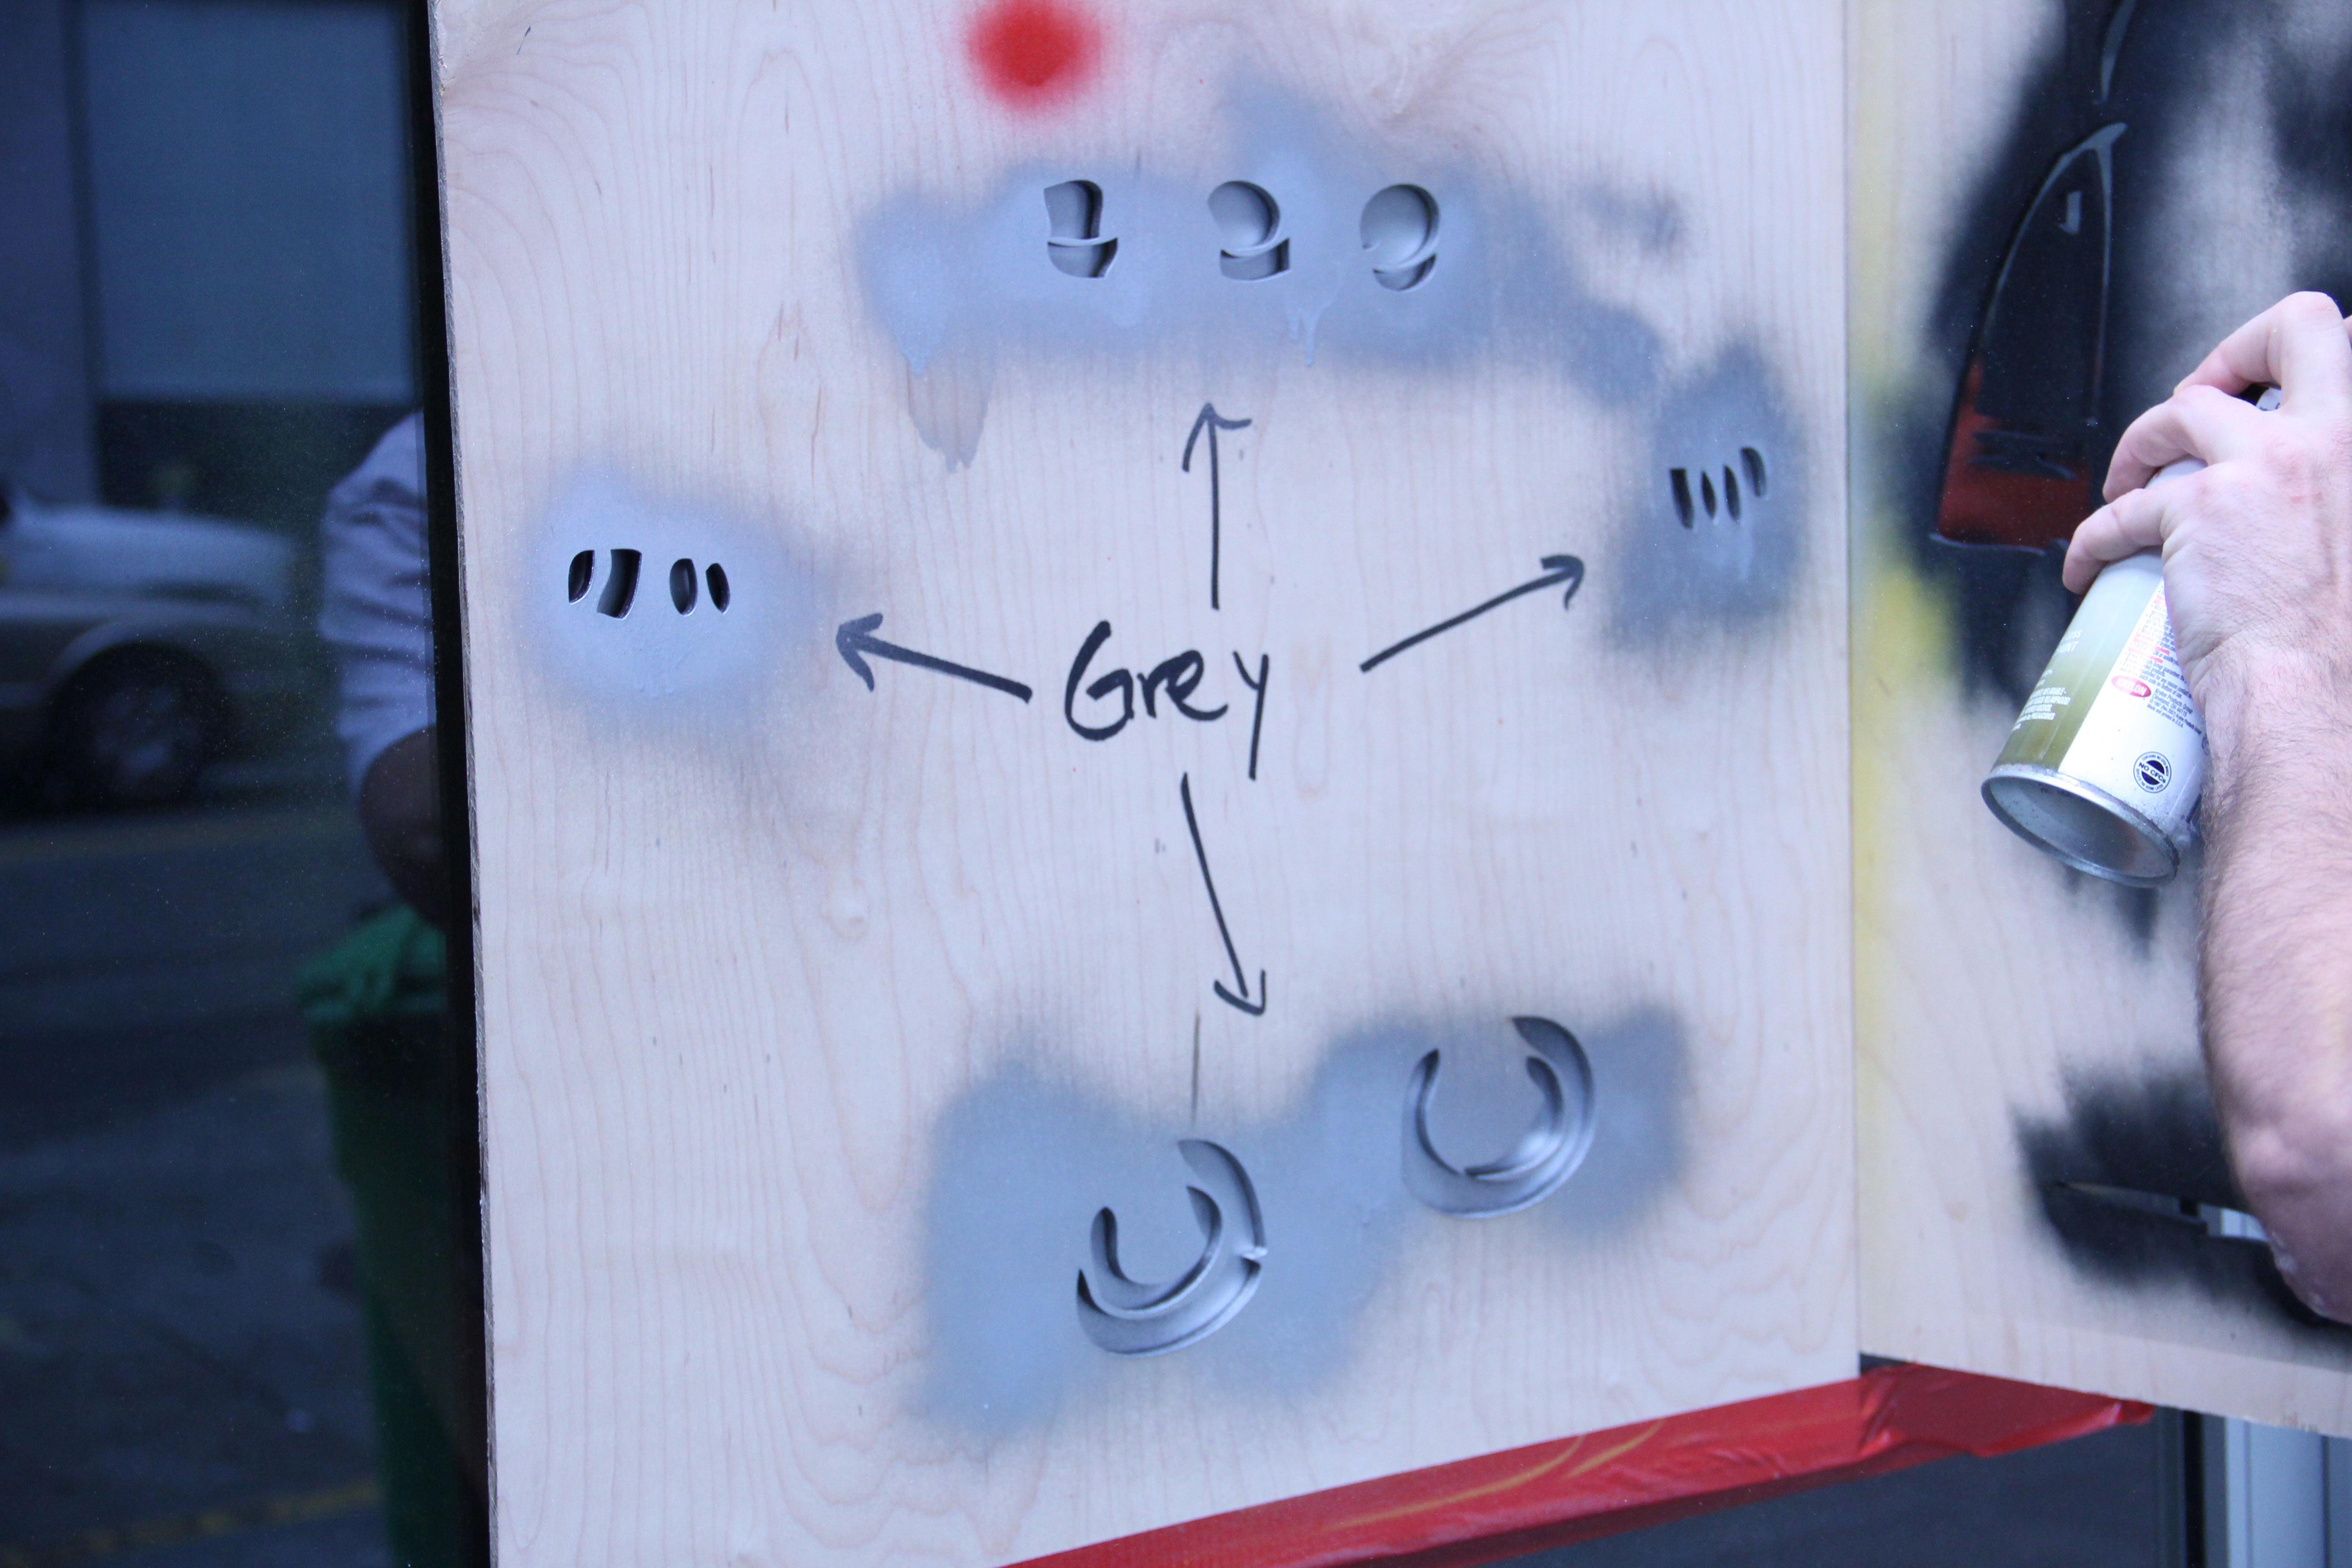
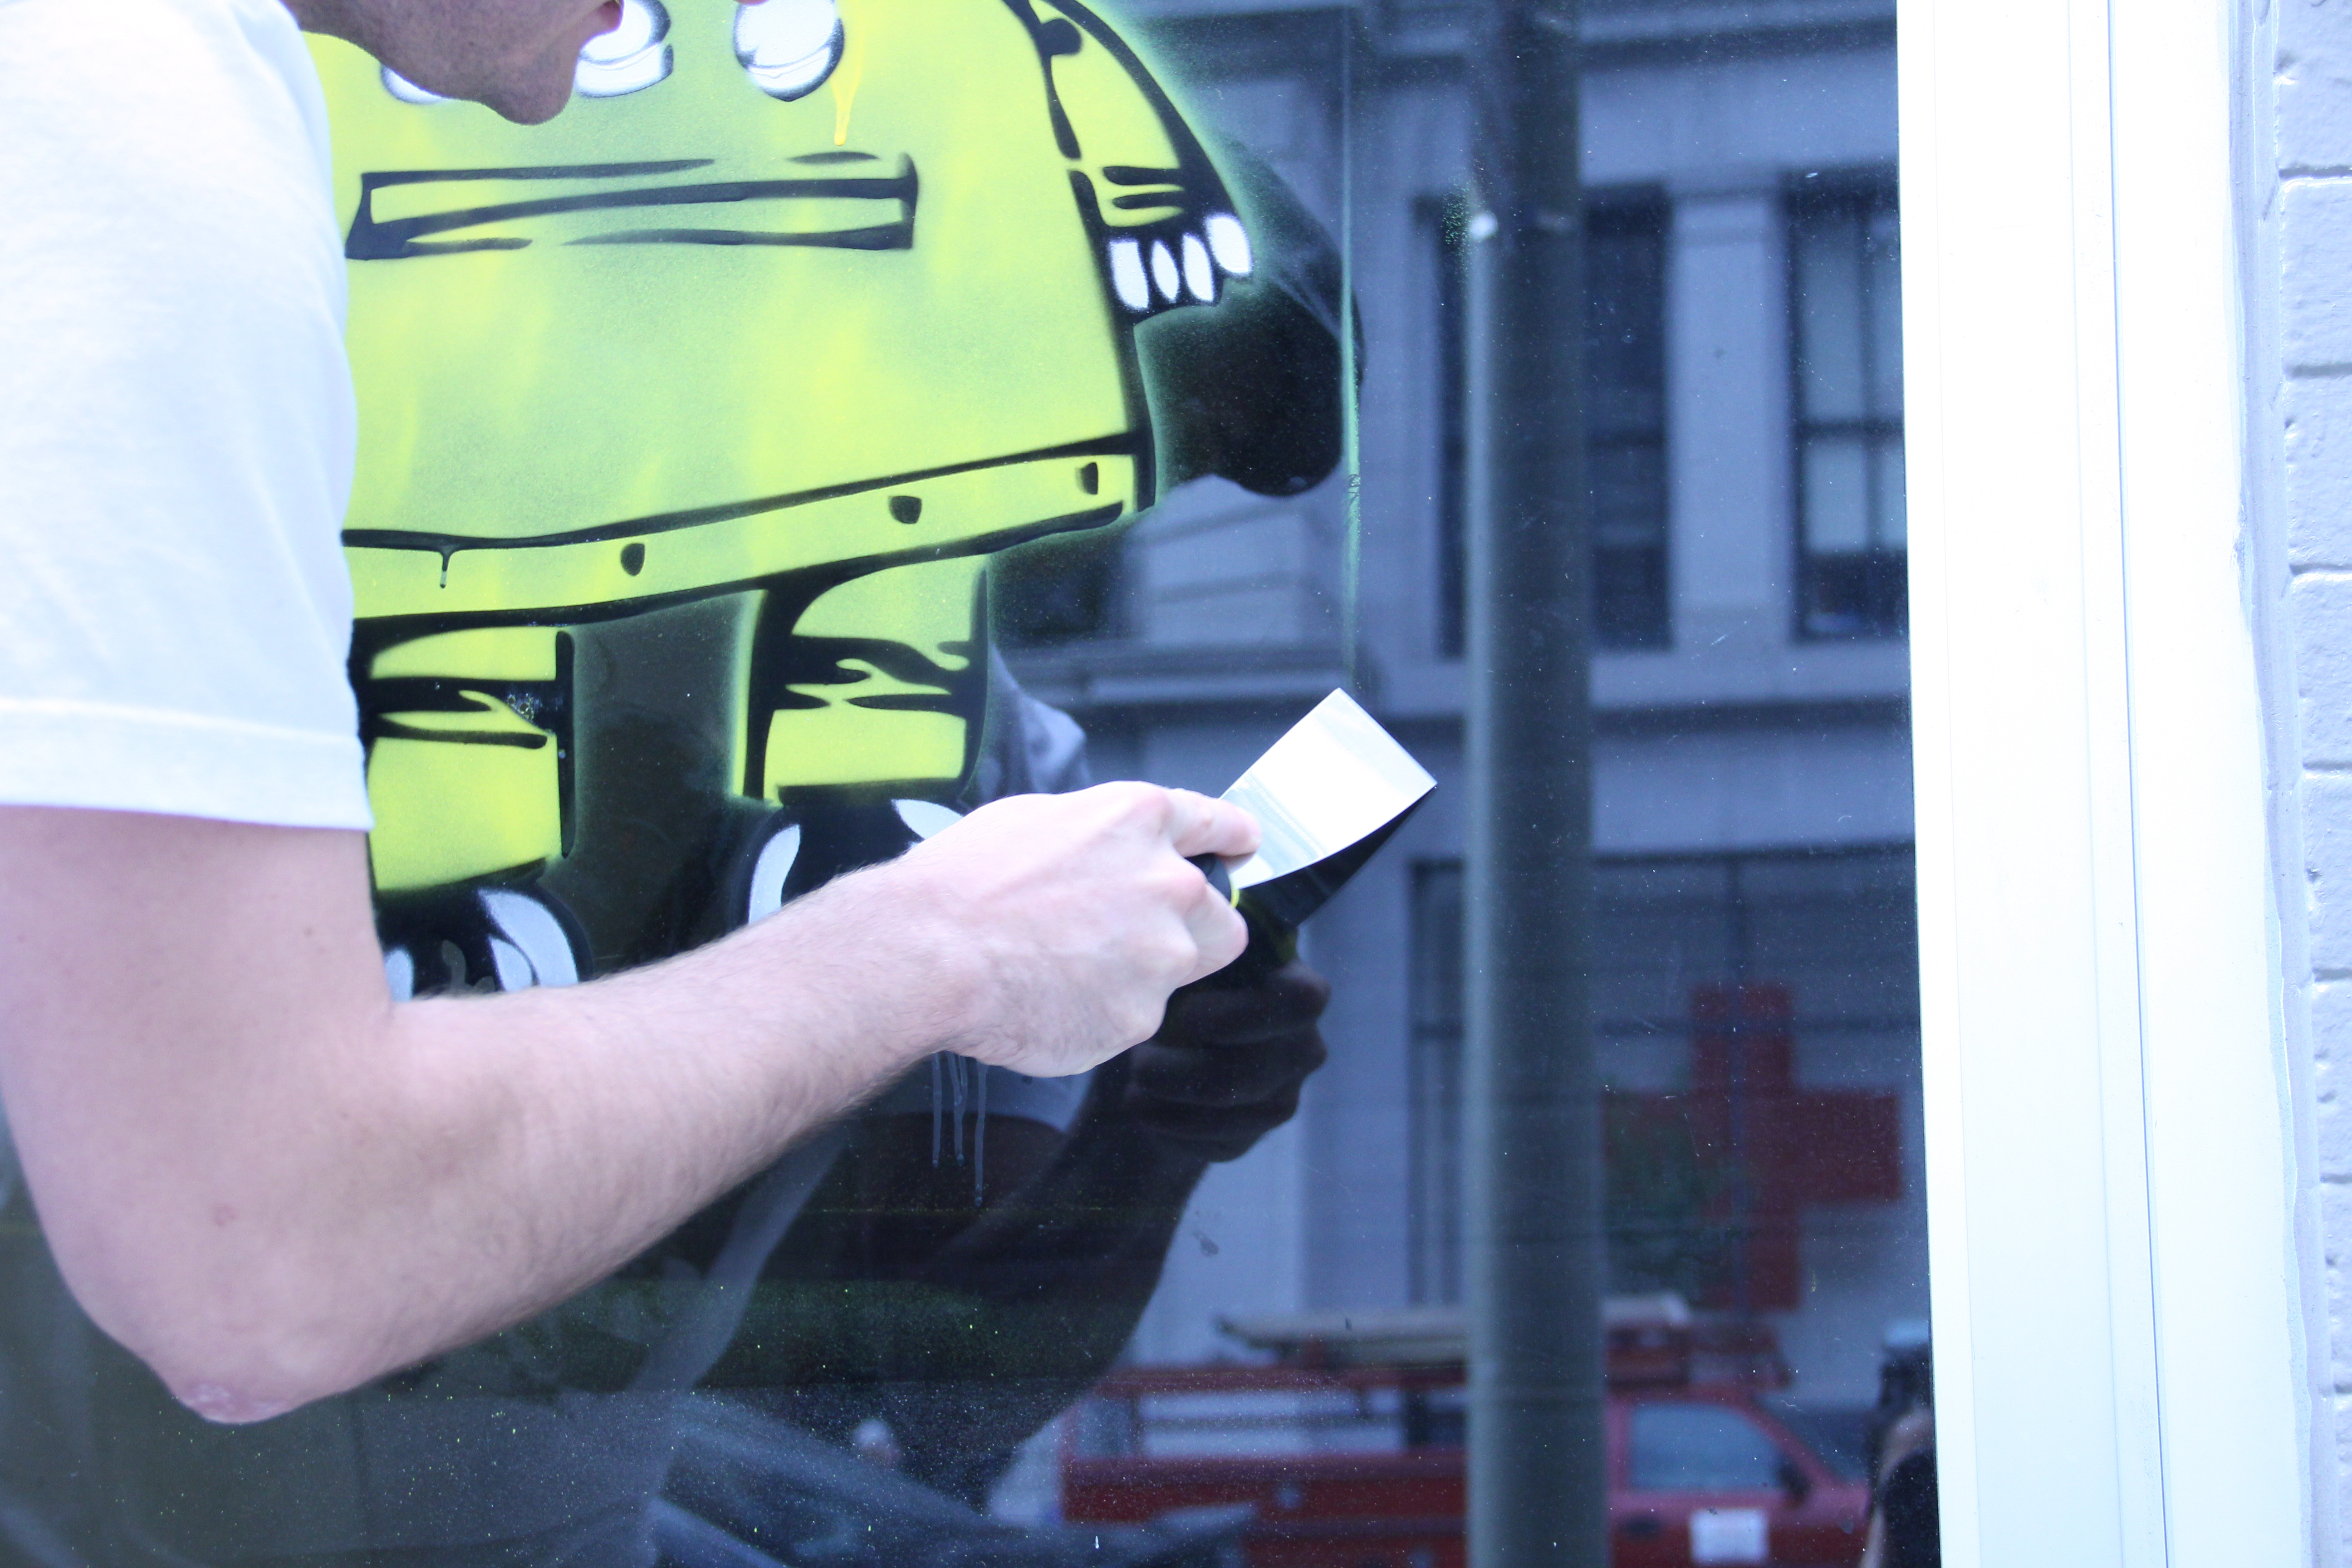
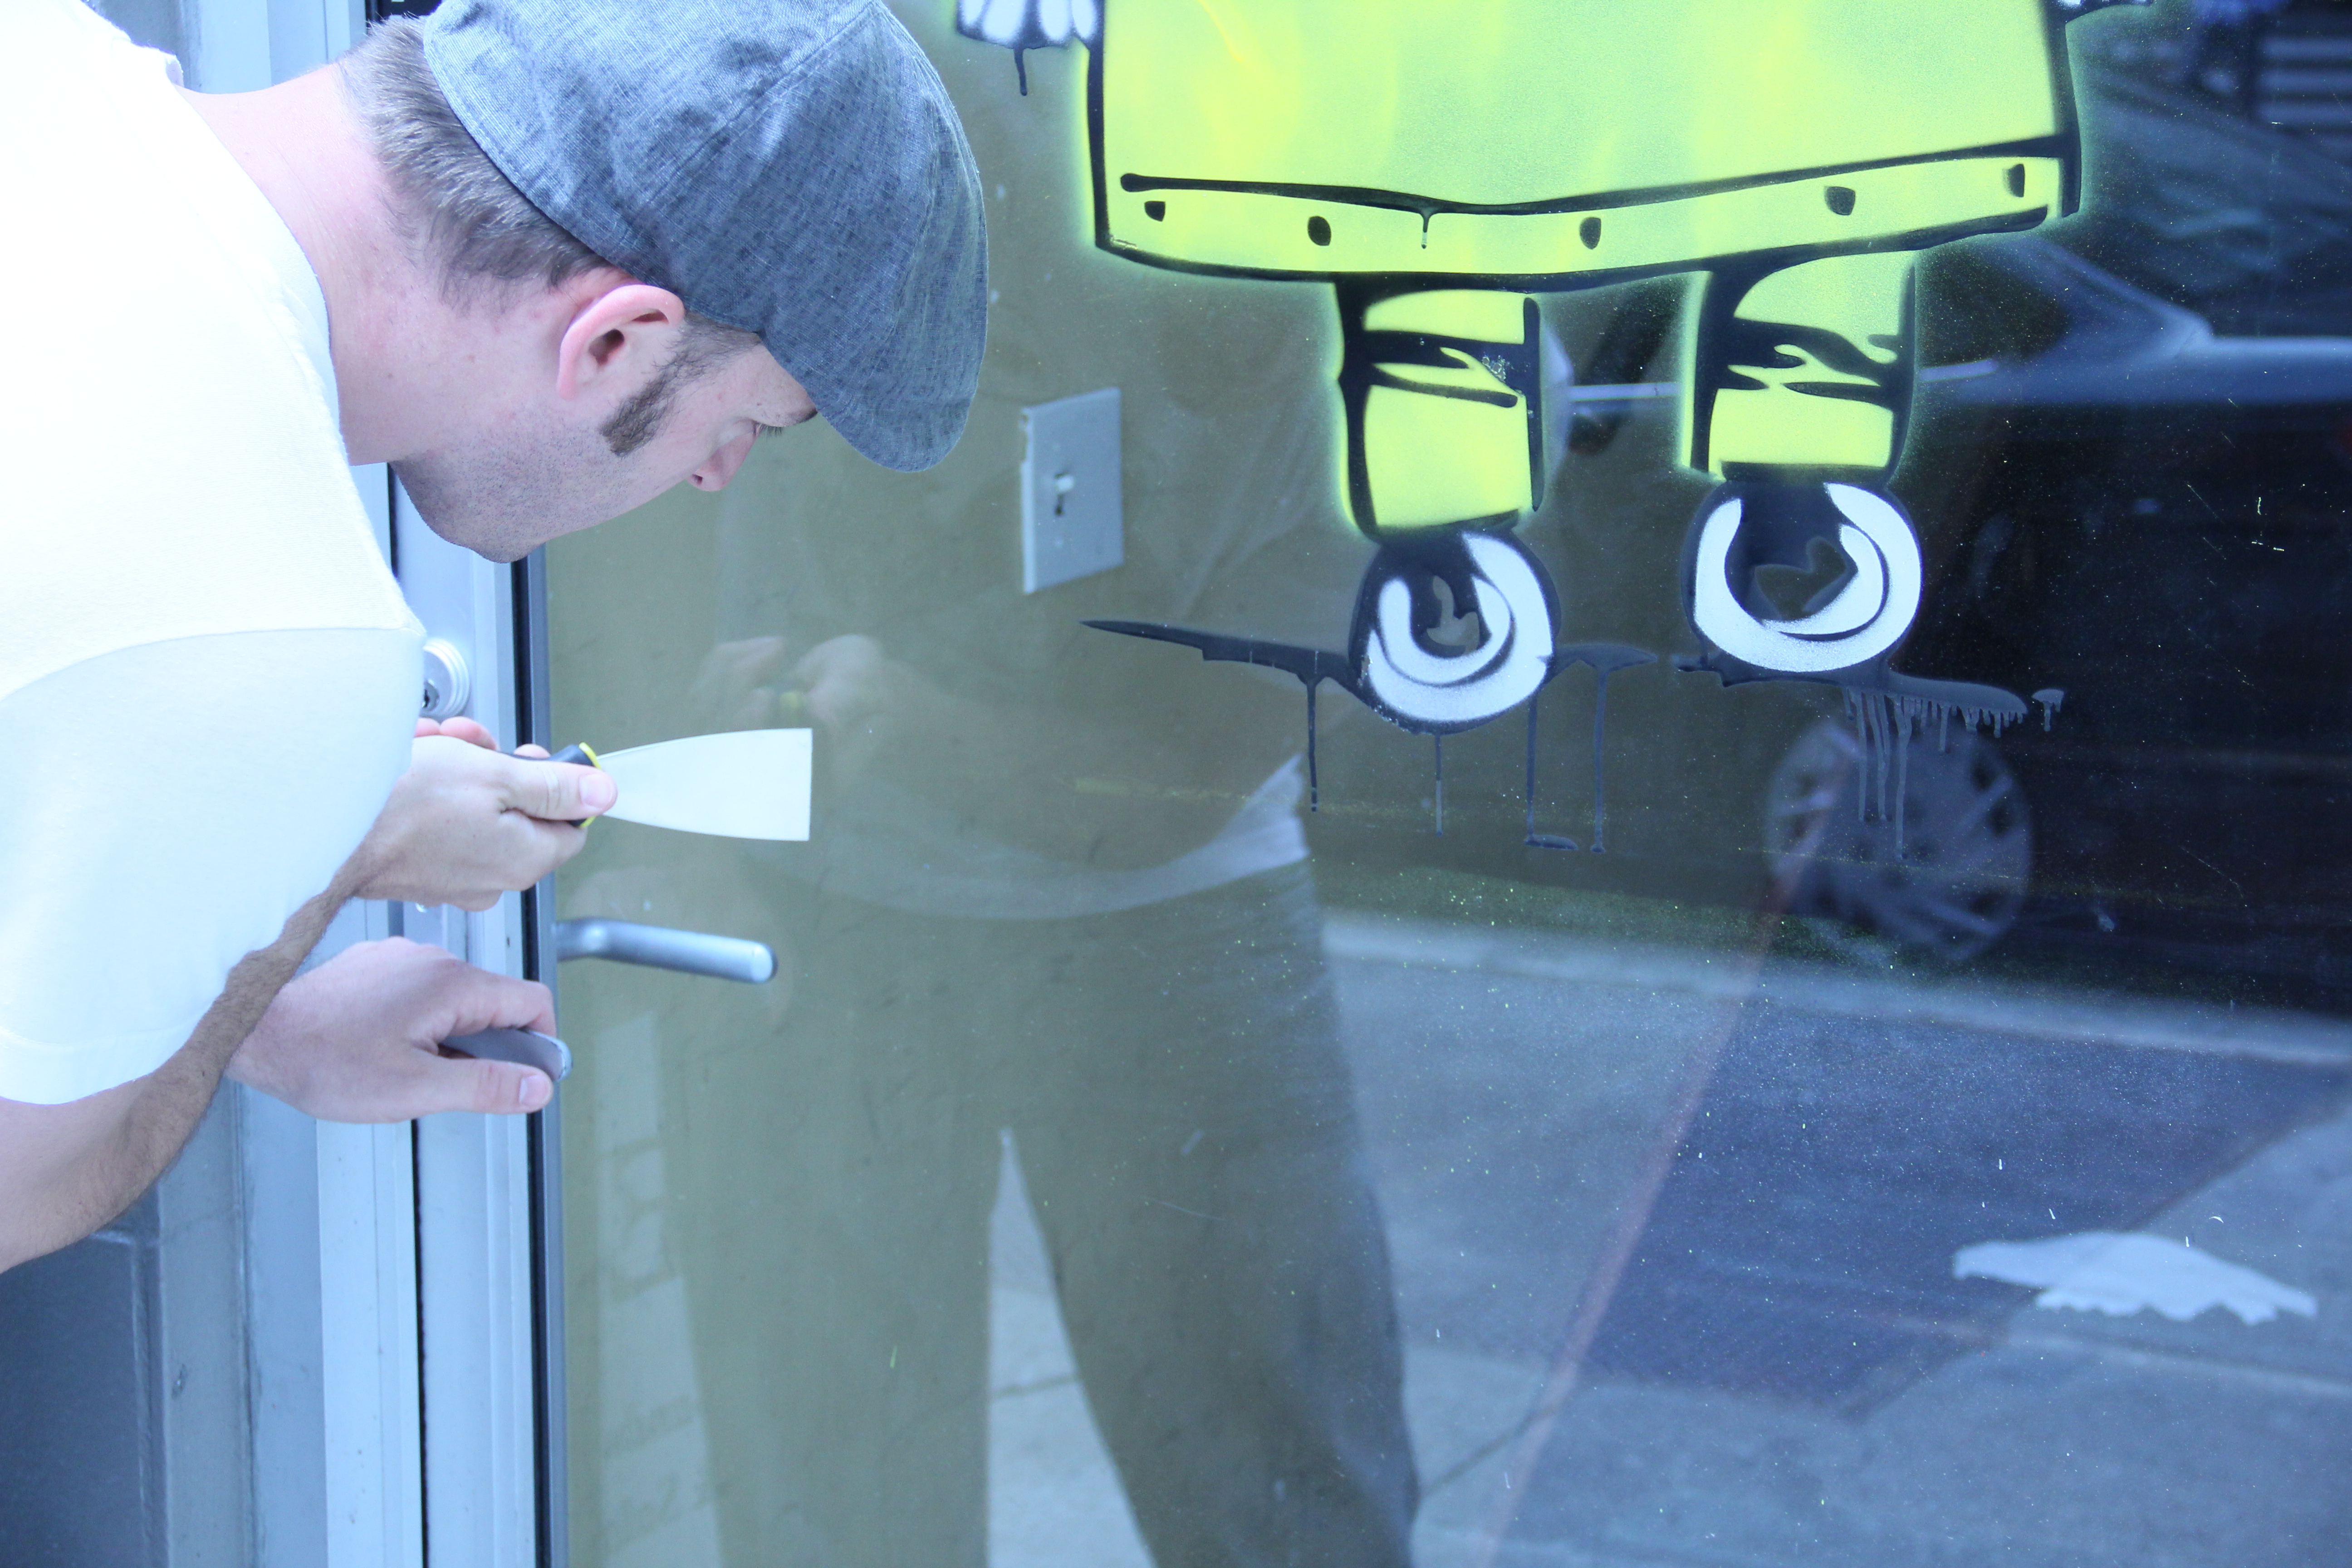
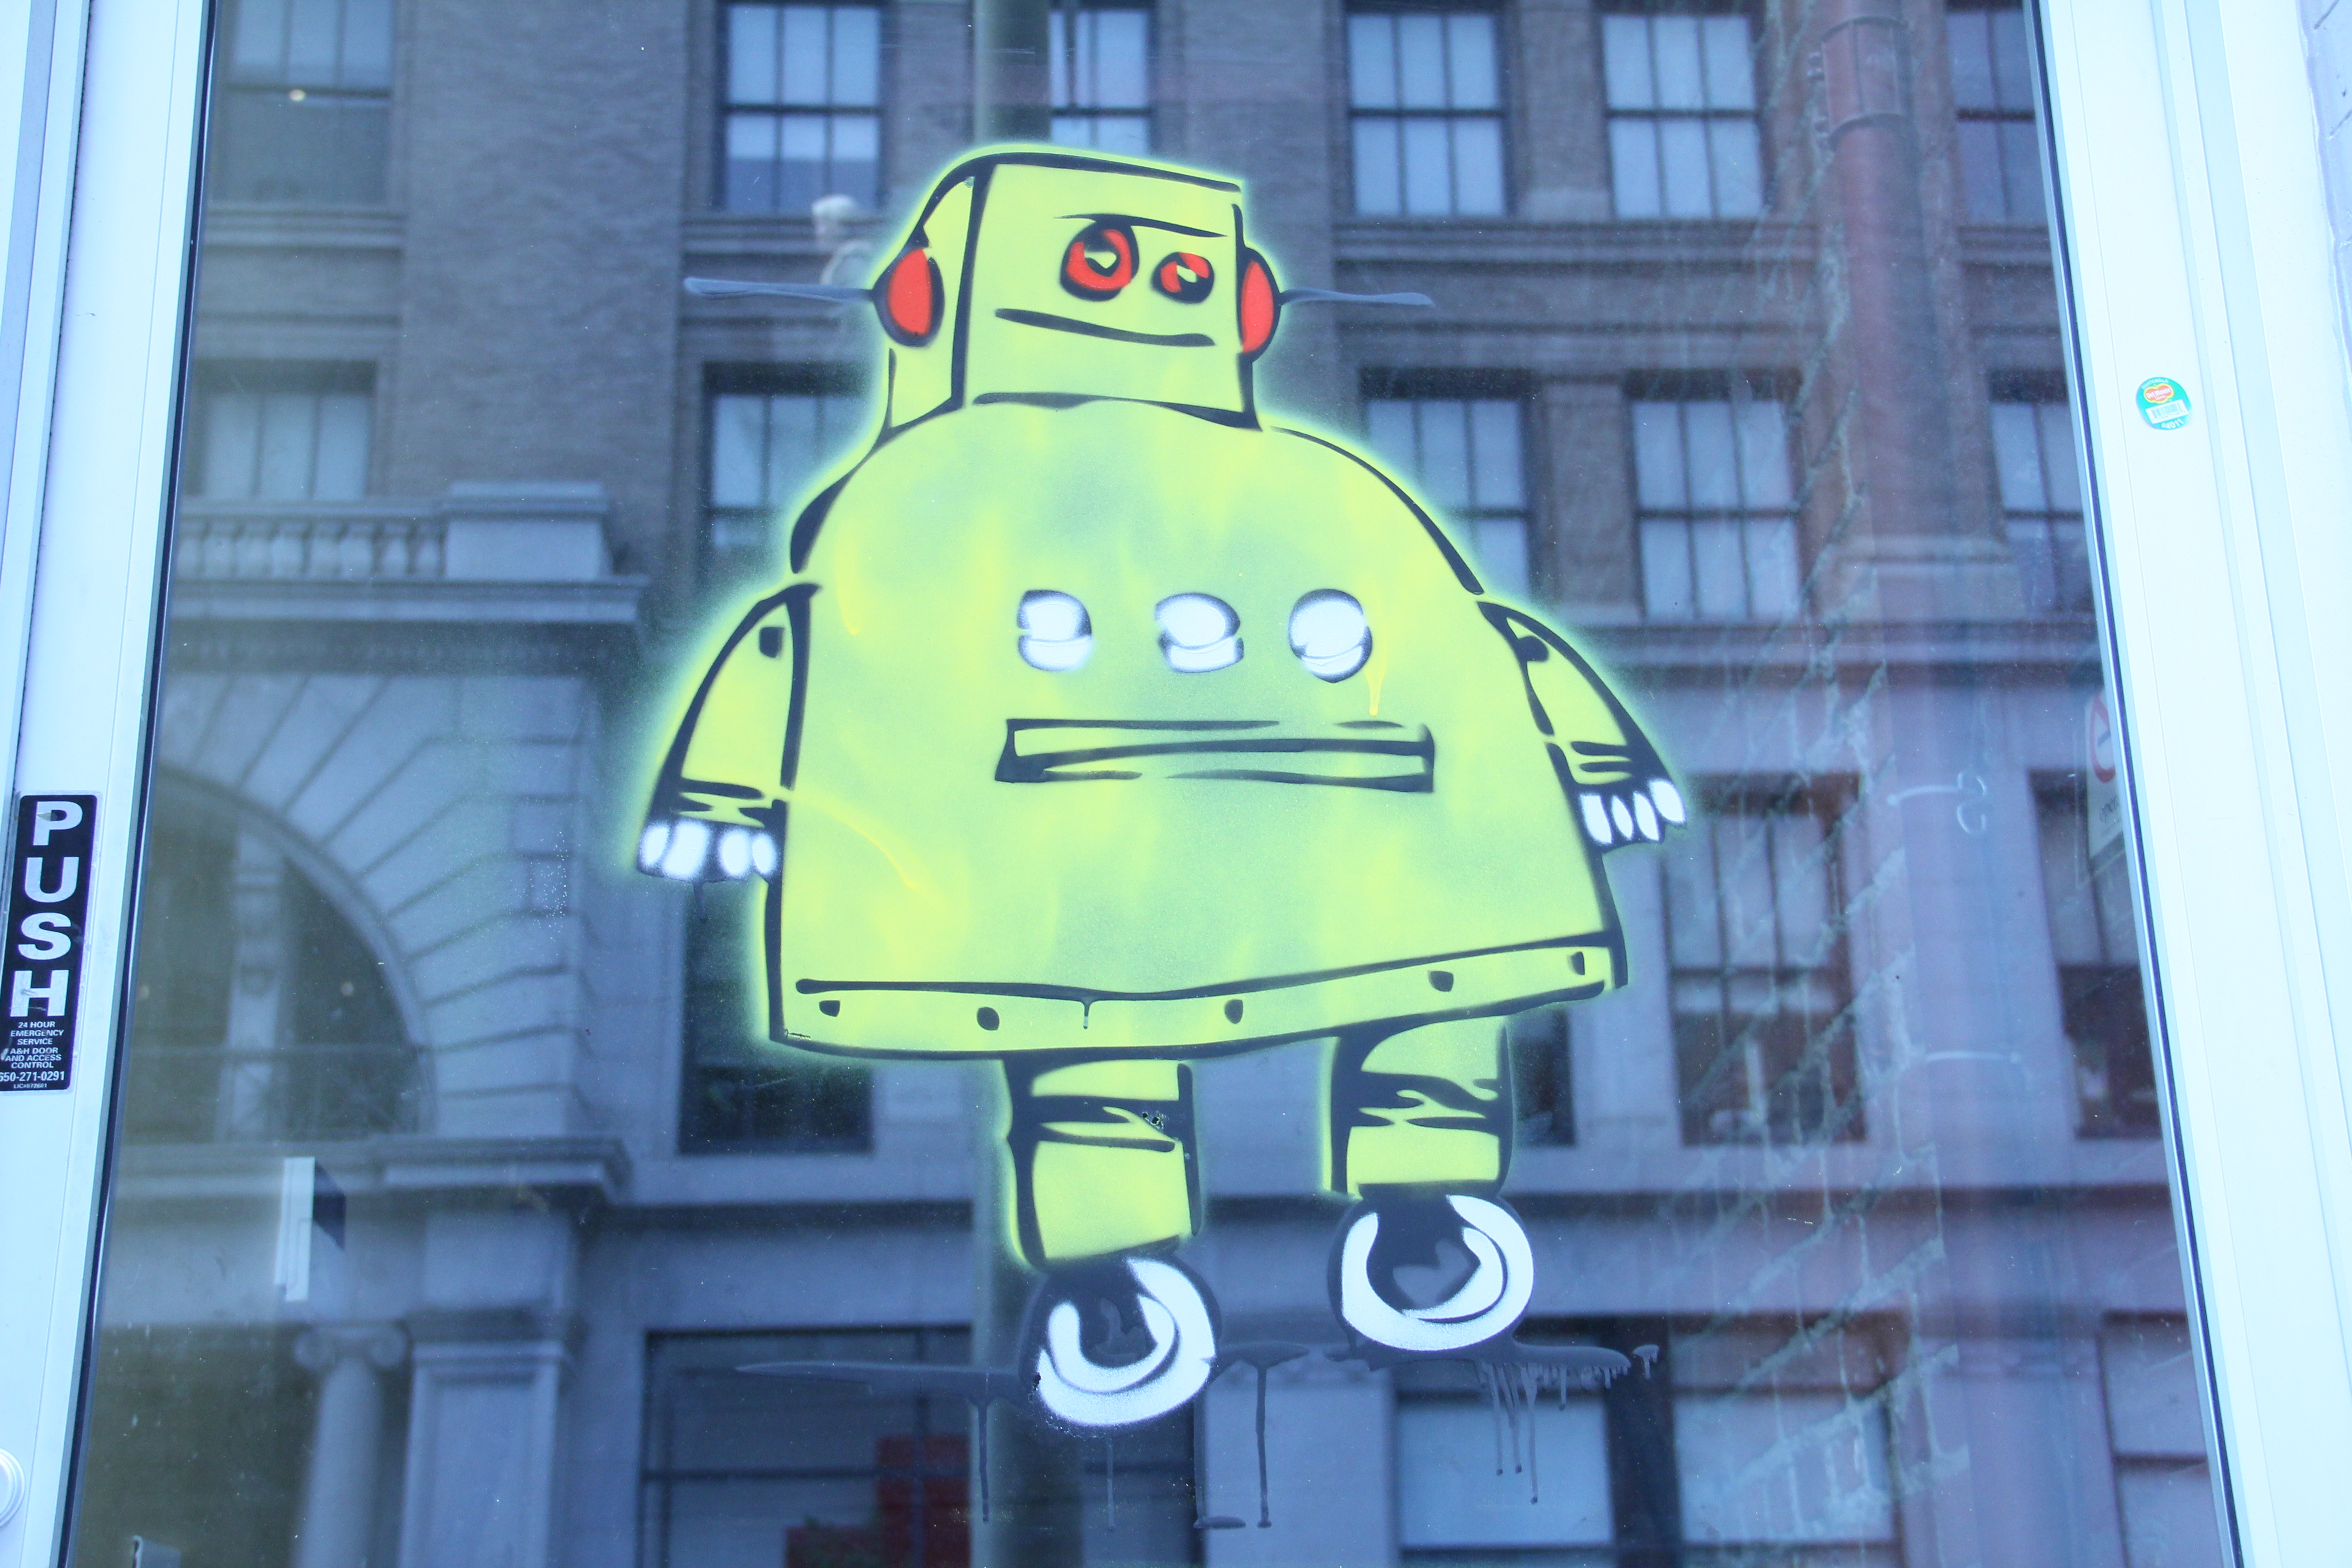

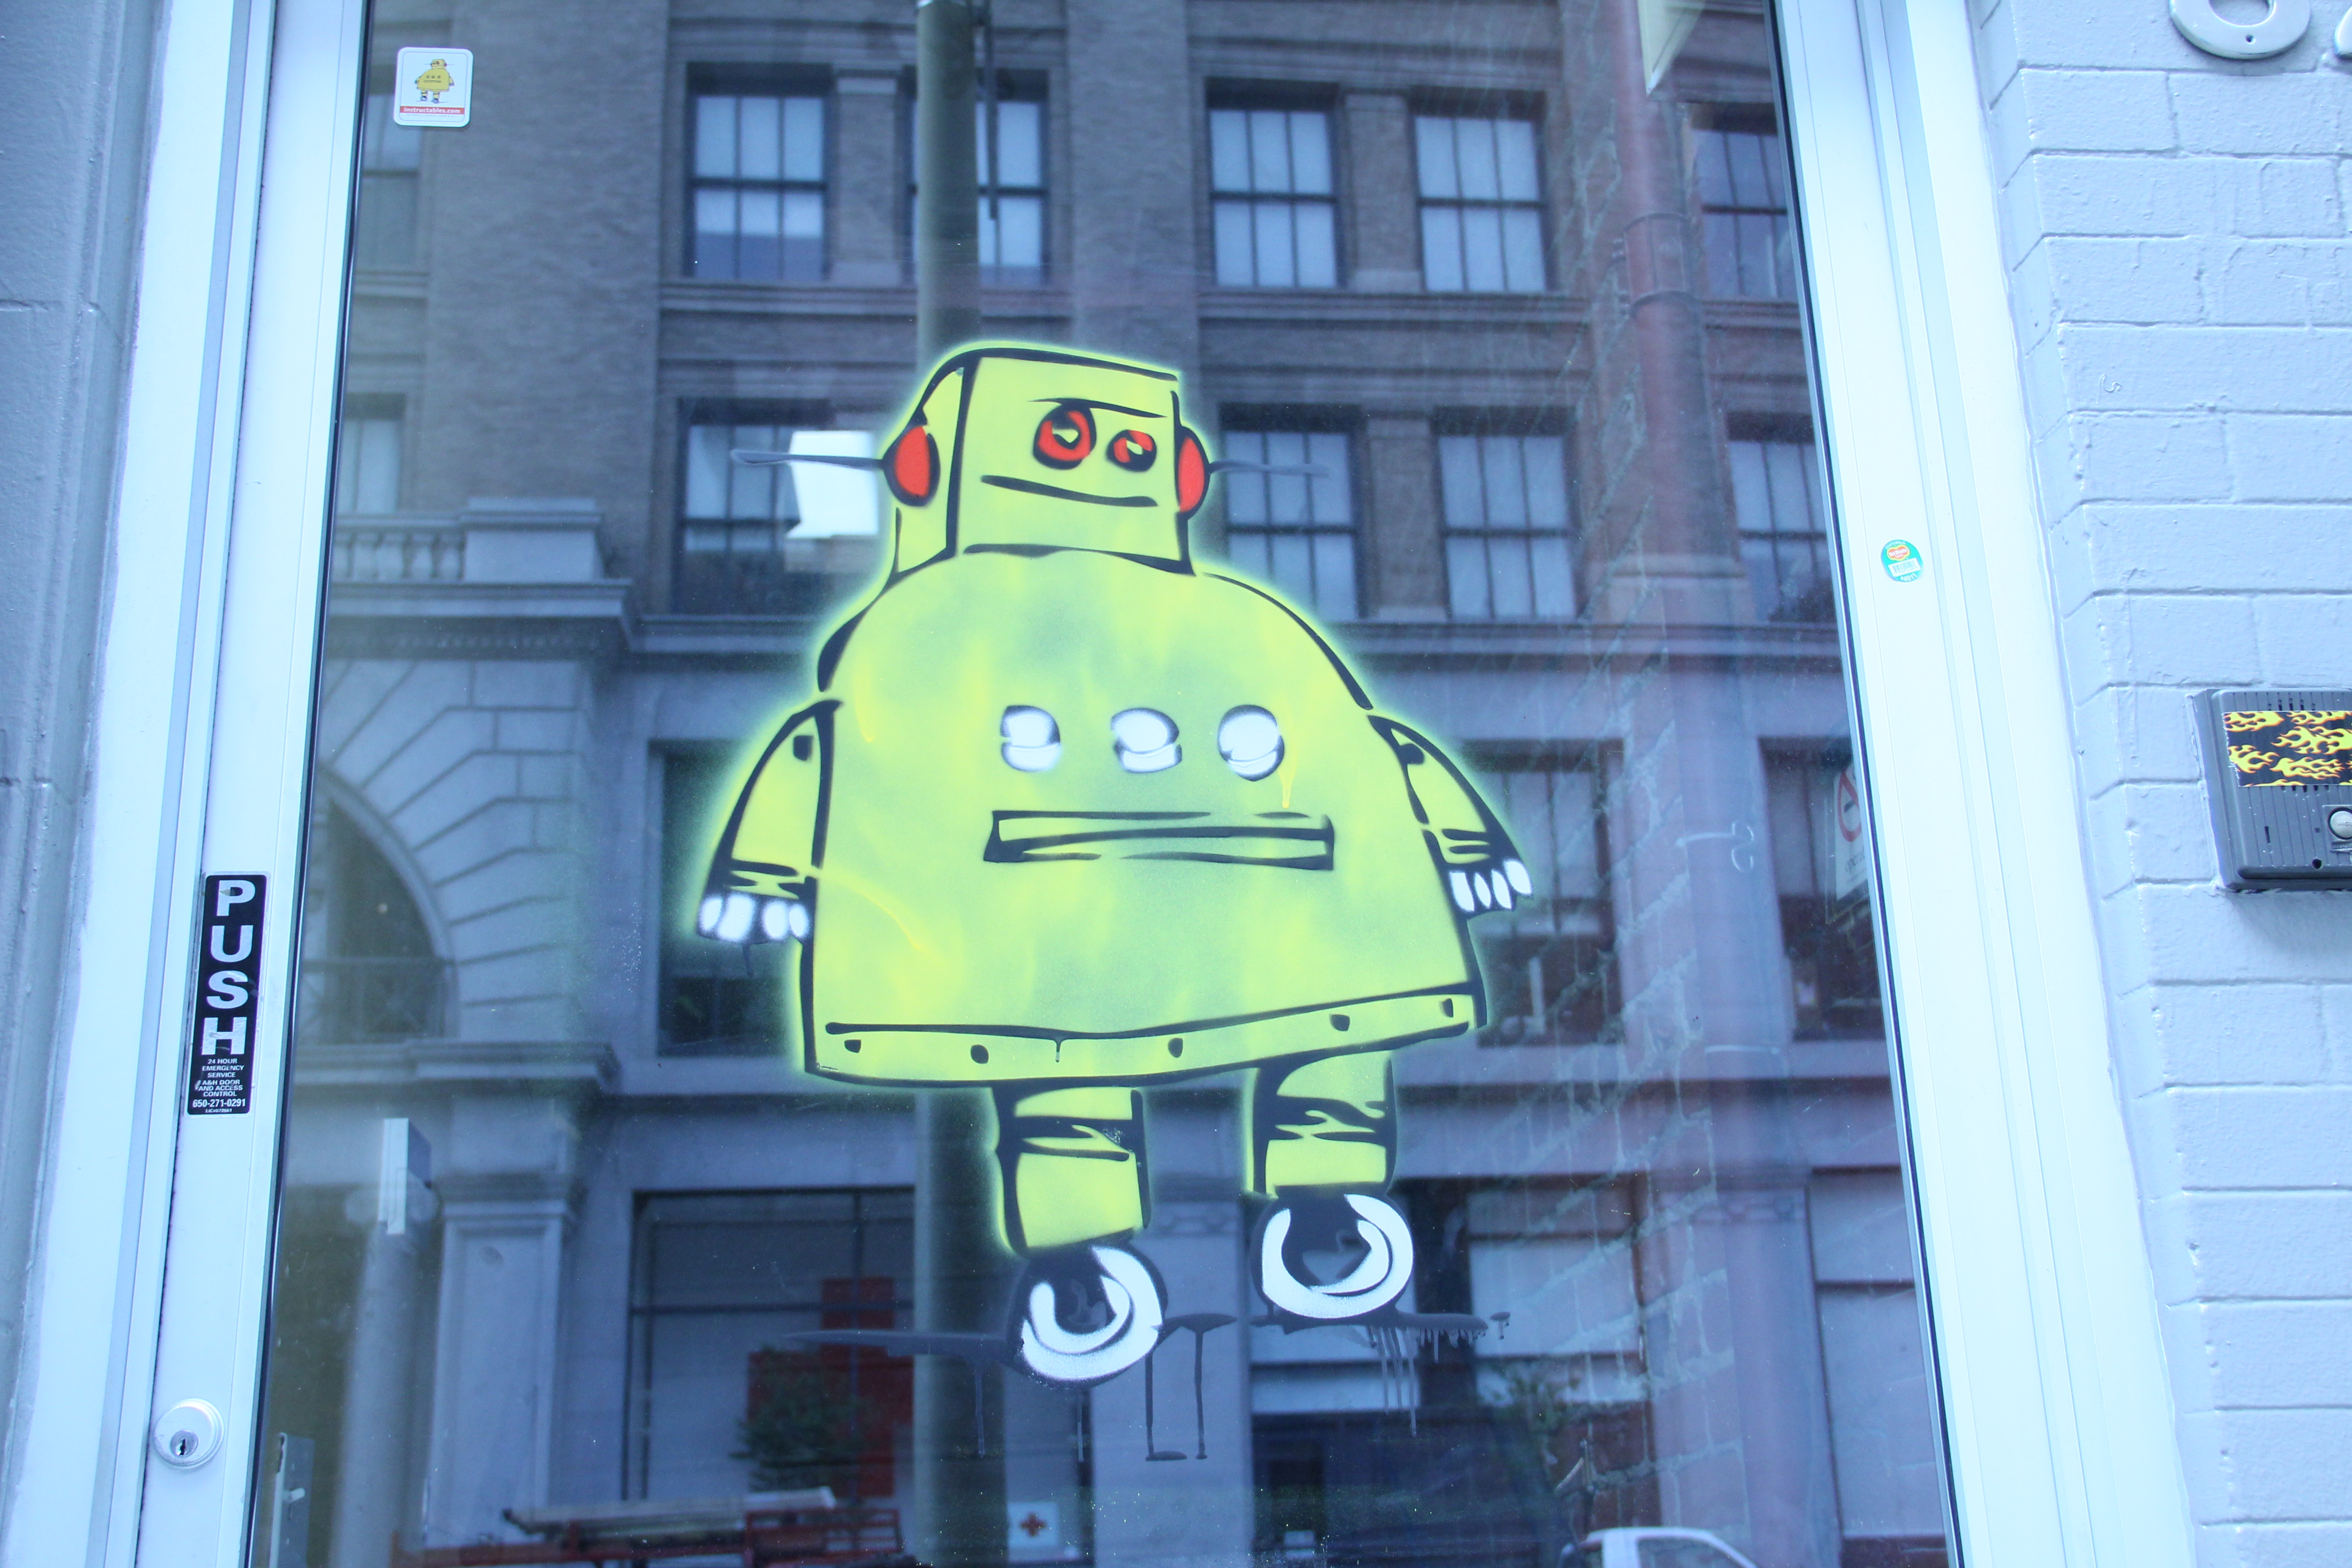
Last, I found some red, yellow, silver, and black spray paint and put my new stencils to good use! The pictures above show me, mikeasaurus, and kazmataz spraying the robot stencil on the front door of our office.
Remember, if you want to see the robot in real life, come by our Annual Pre Maker Faire Ice Cream Social tonight (May 17) from 4-9!
Remember, if you want to see the robot in real life, come by our Annual Pre Maker Faire Ice Cream Social tonight (May 17) from 4-9!