Laser Cut Pumpkin Lantern
by einar.mikkelsen in Workshop > Laser Cutting
1206 Views, 3 Favorites, 0 Comments
Laser Cut Pumpkin Lantern
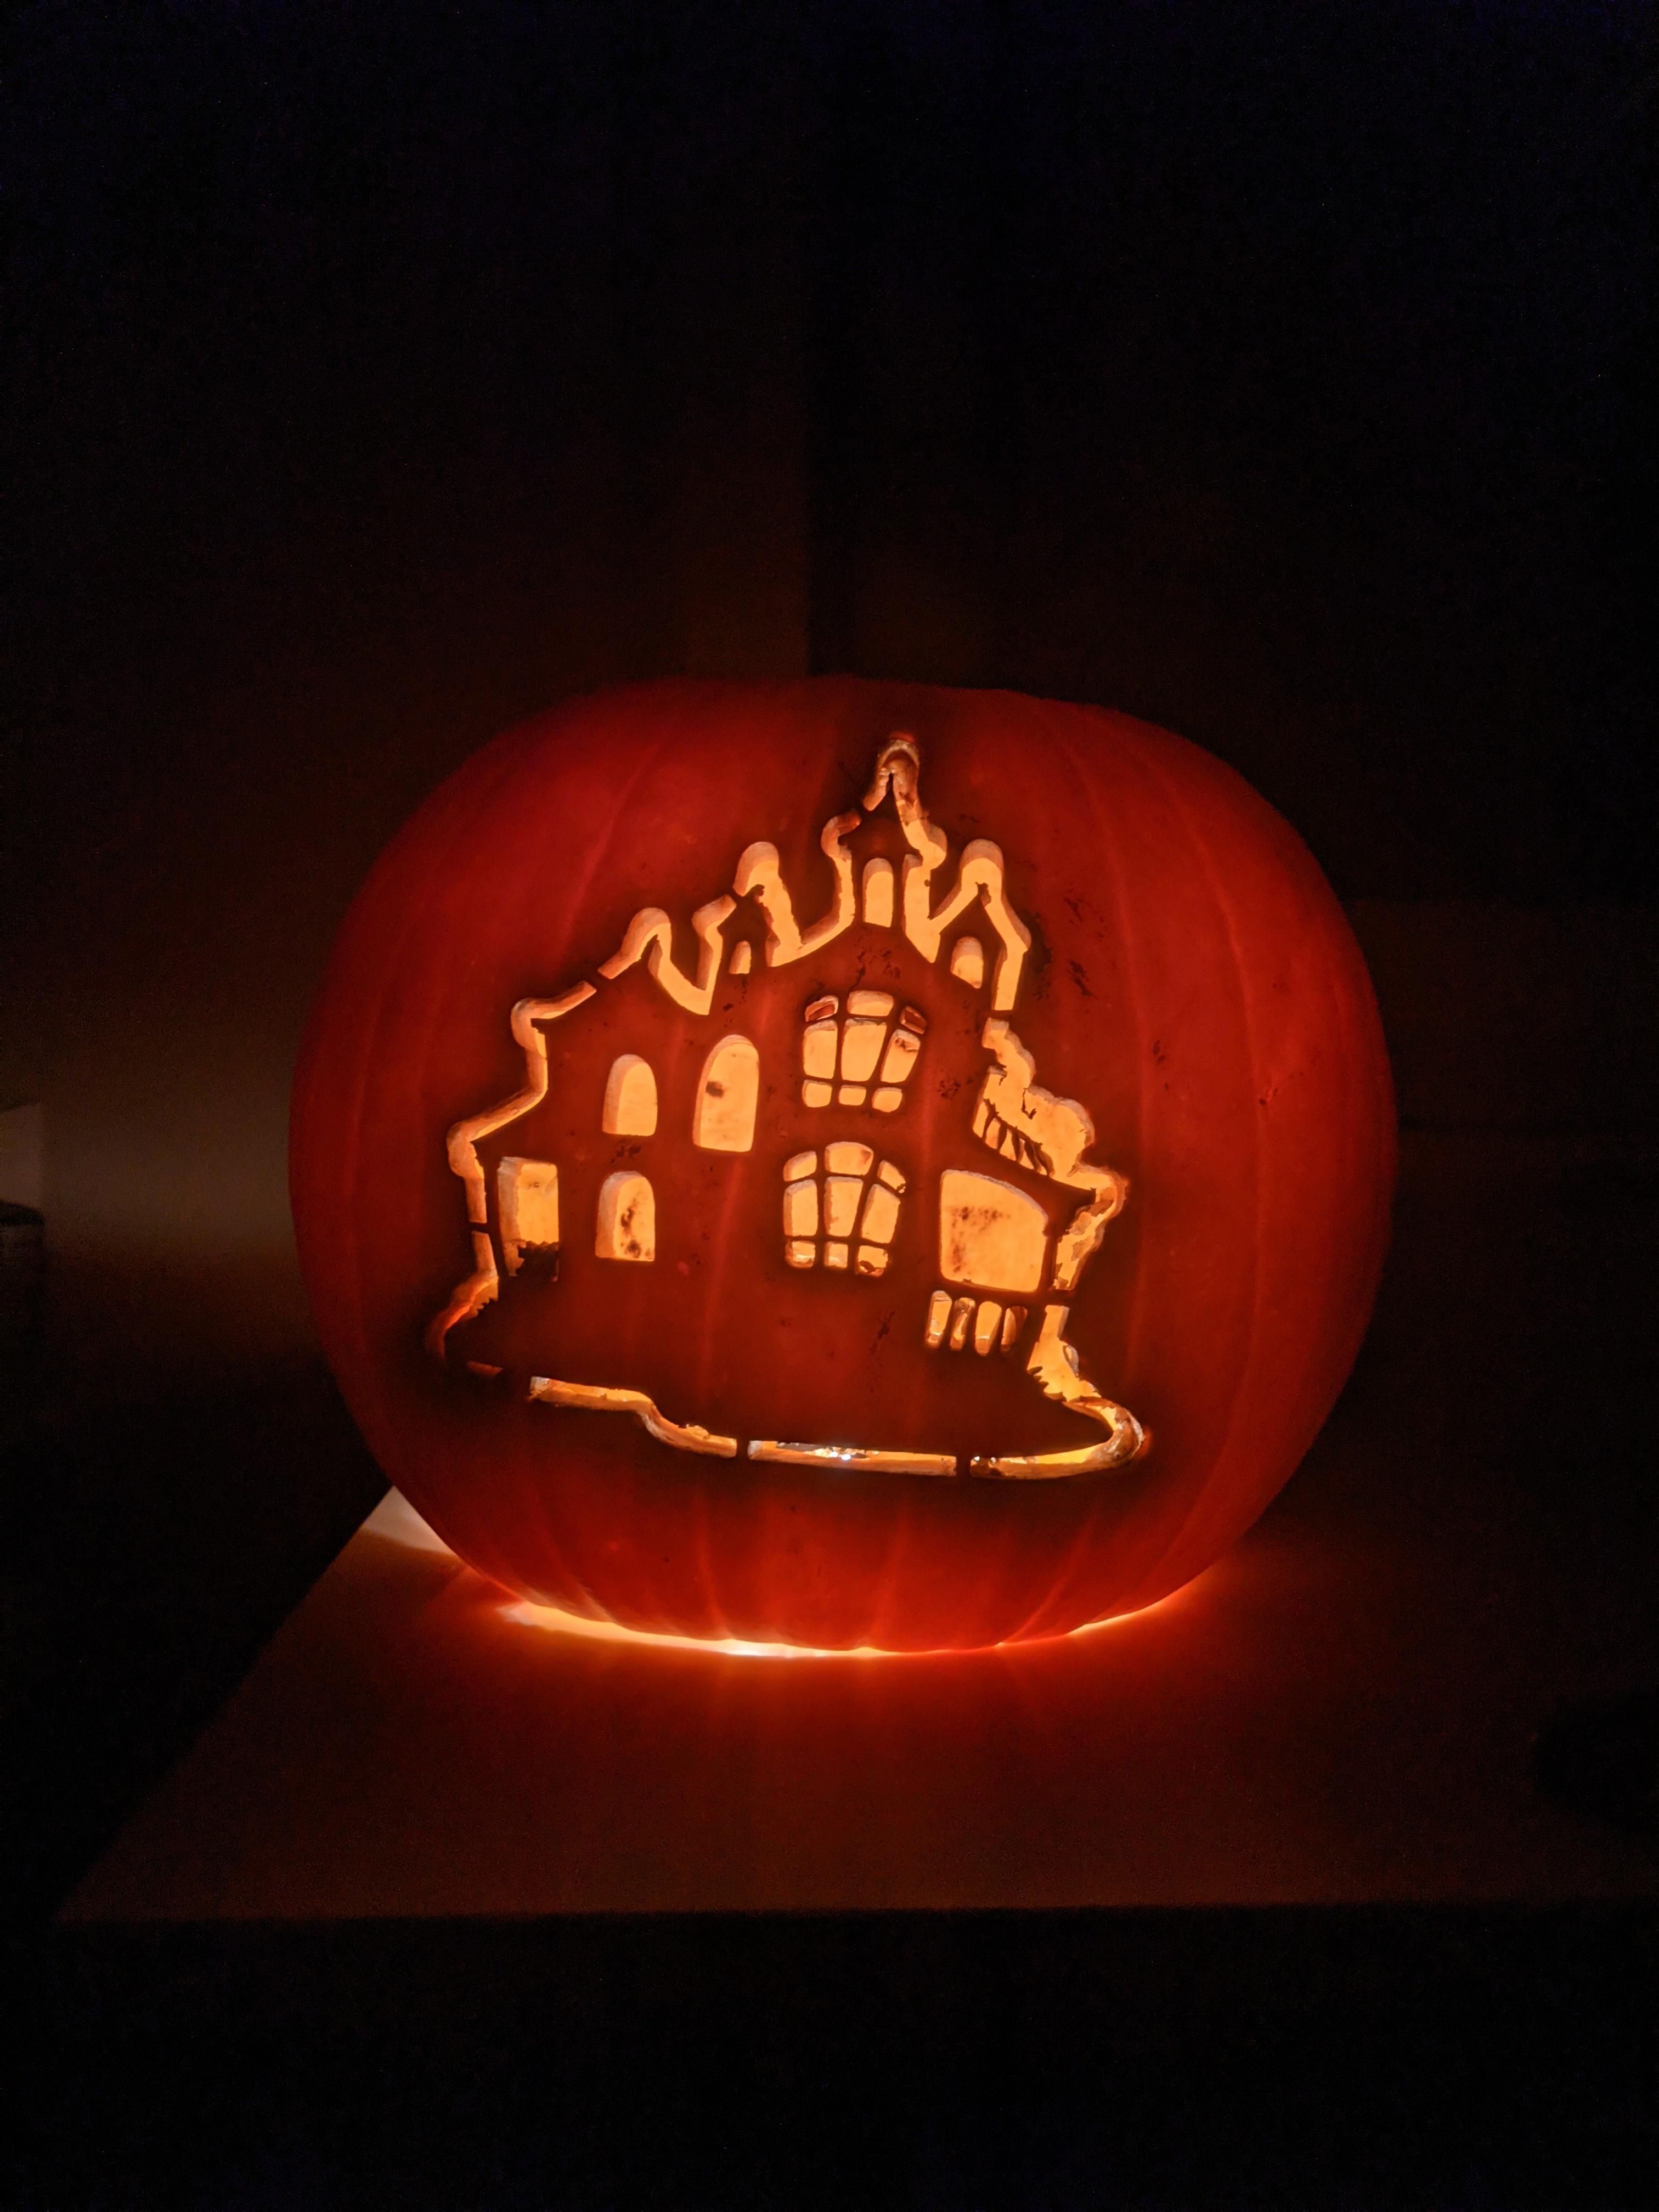
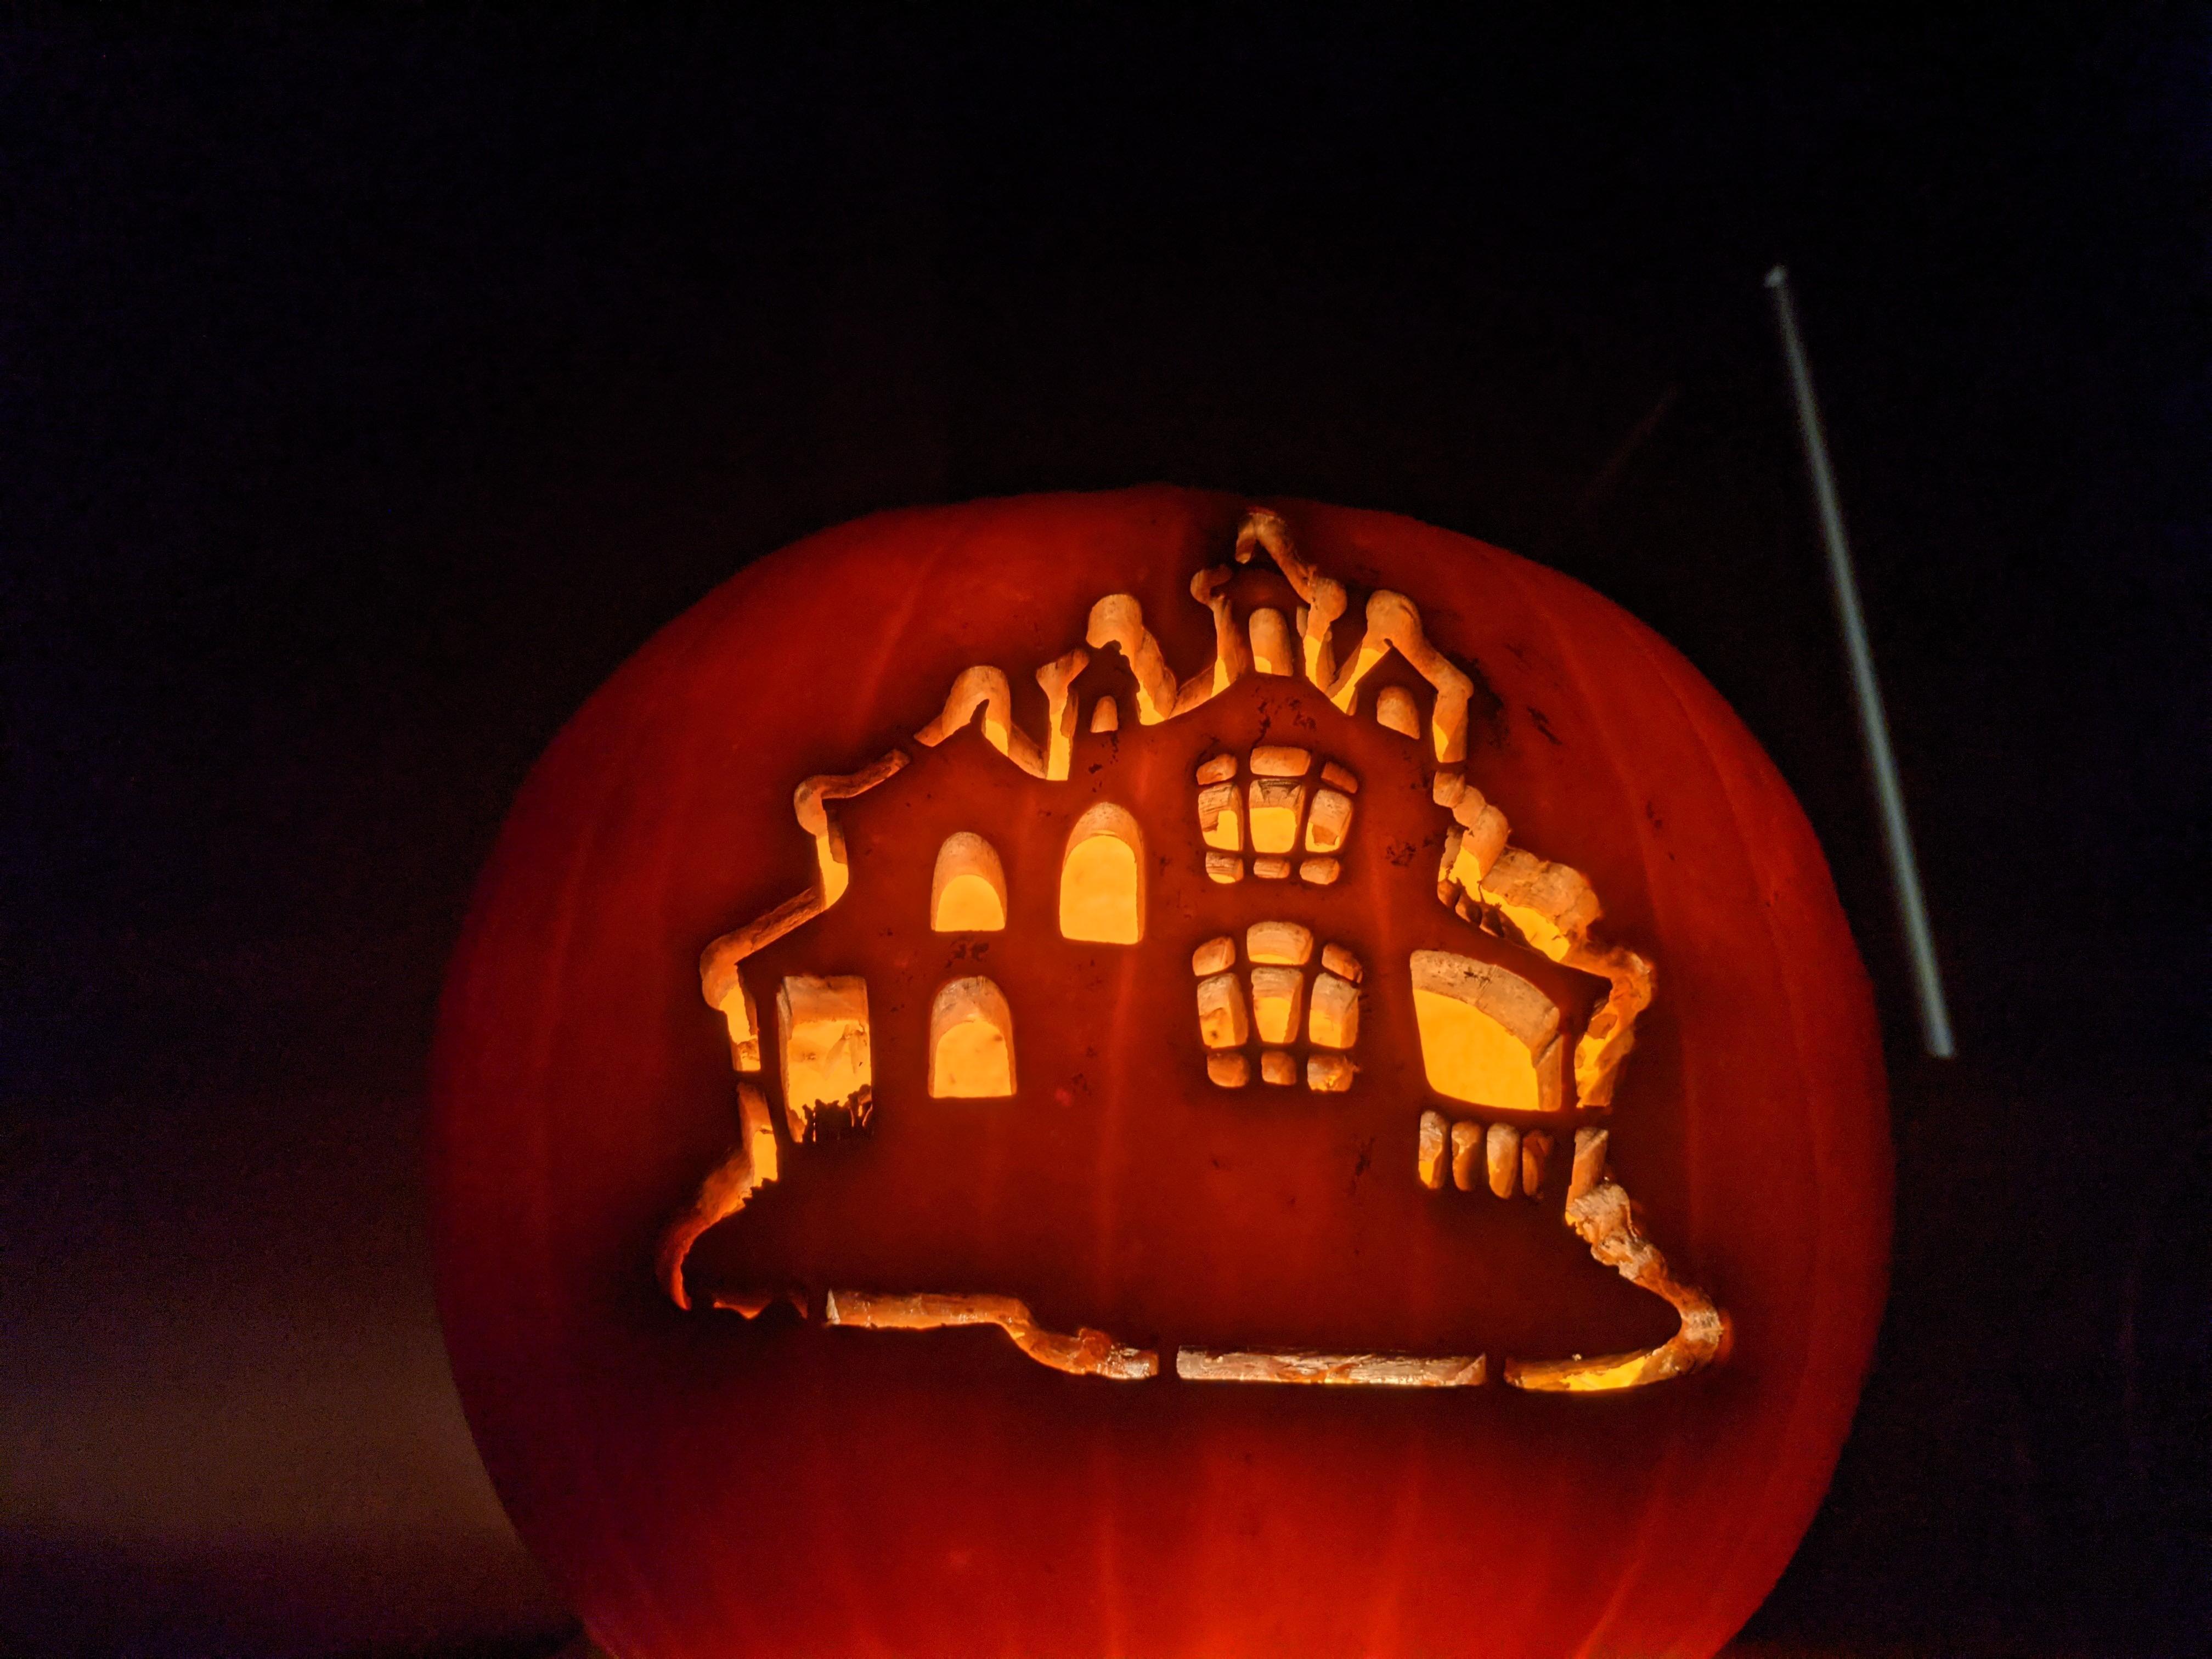
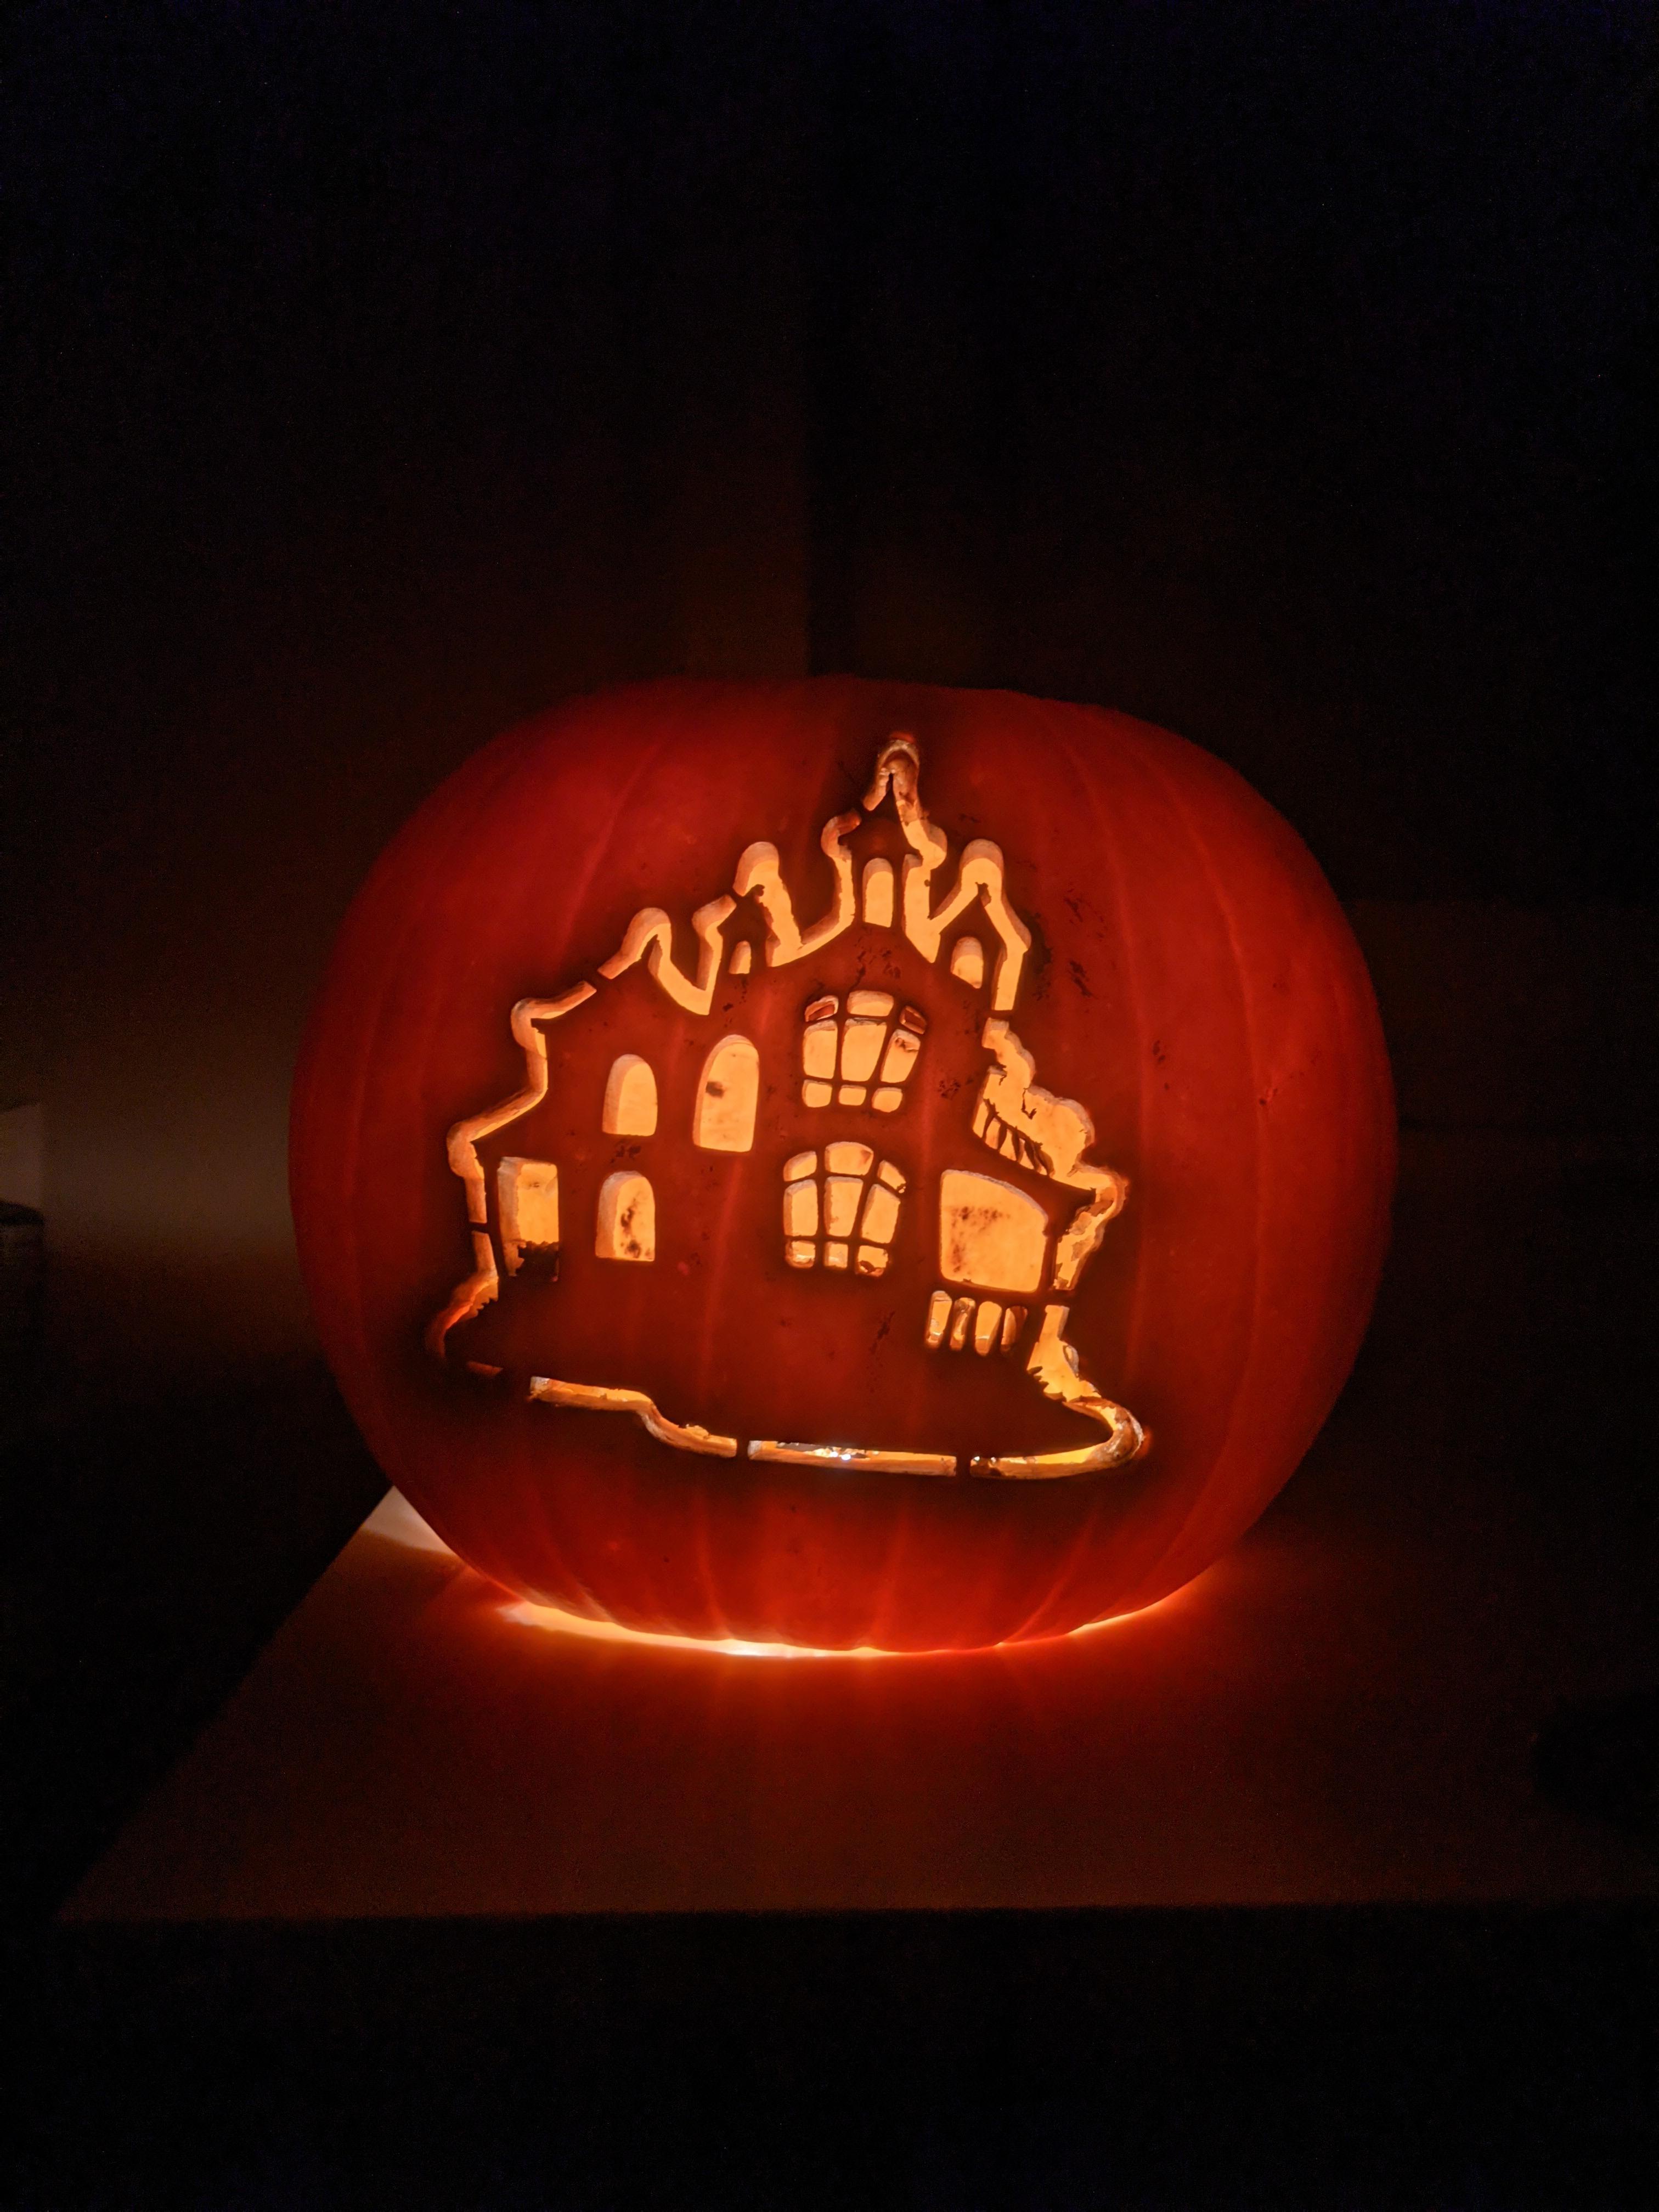
This project started from an idea of wanting to make beautiful pumpkin lanterns for Halloween but having no carving skills. I love the final product, and so do the neighbors.
Supplies

Pumpkins with a flat-ish side
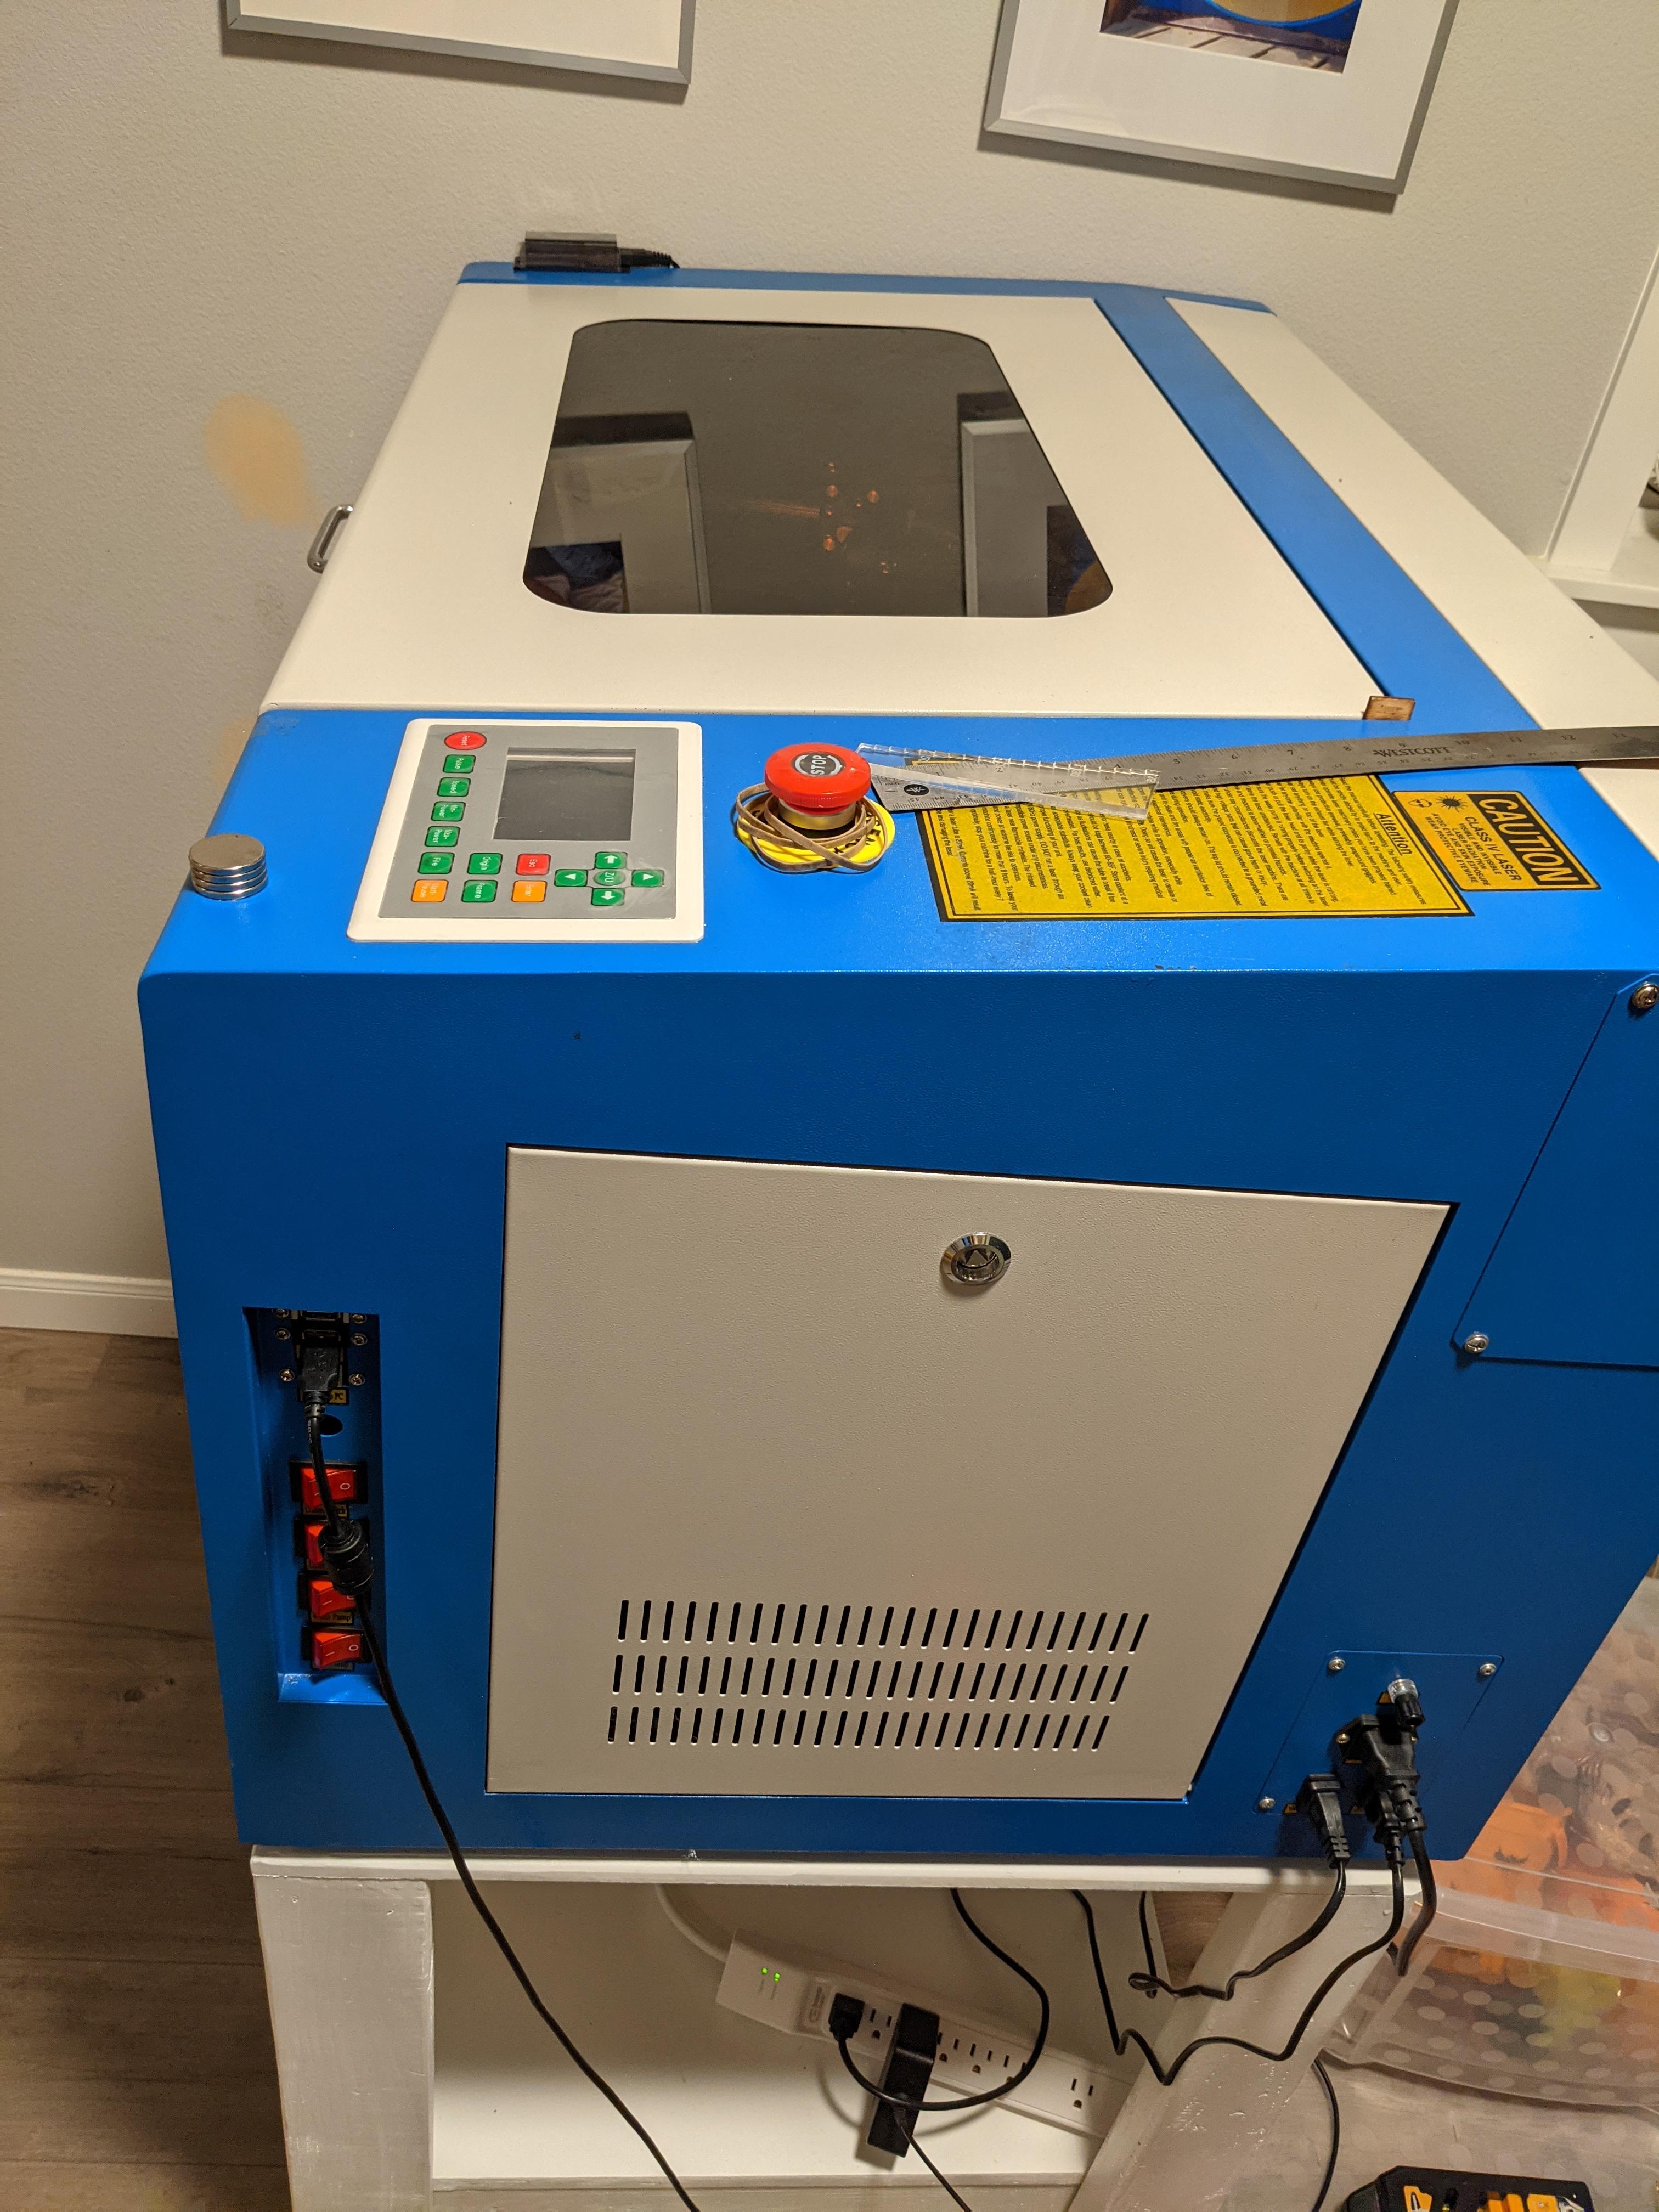
CO2 Laser Cutter
Laser software, such as Lightburn
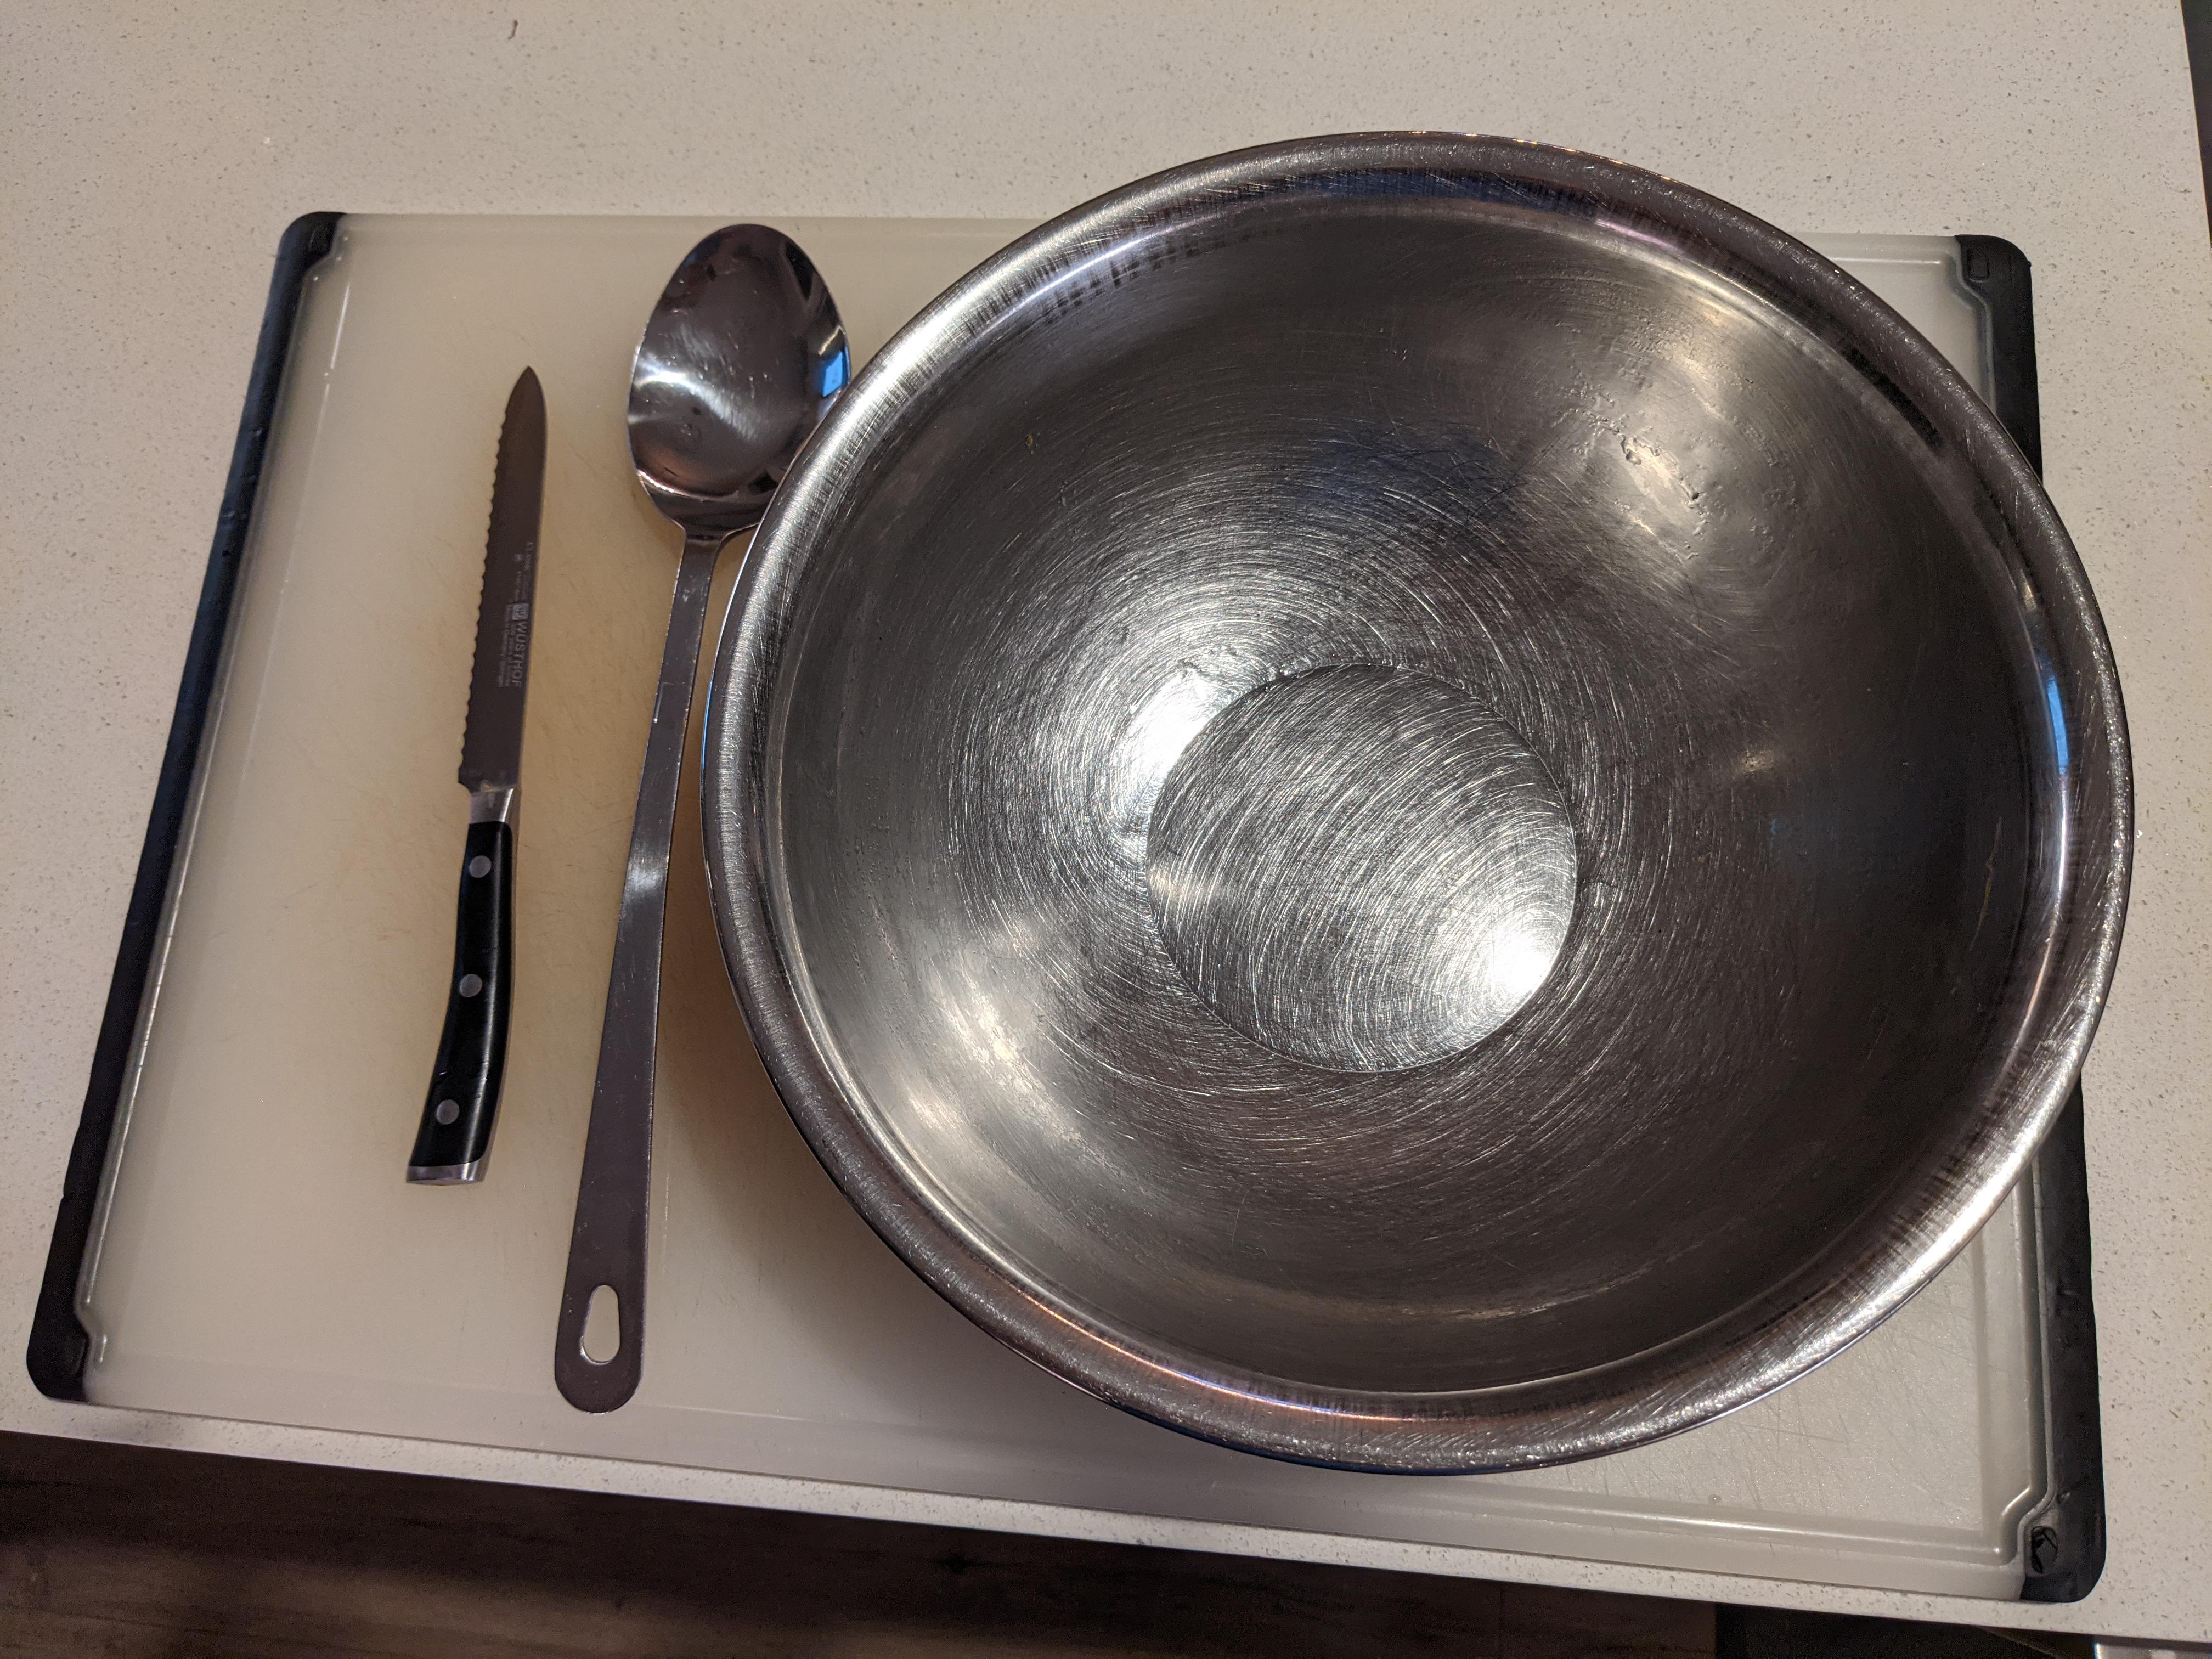
Pumpkin Carving tools, such as a knife for the lid and an oversized spoon for the inside flesh and seeds.
A towel or something similar to balance the pumpkin while cutting
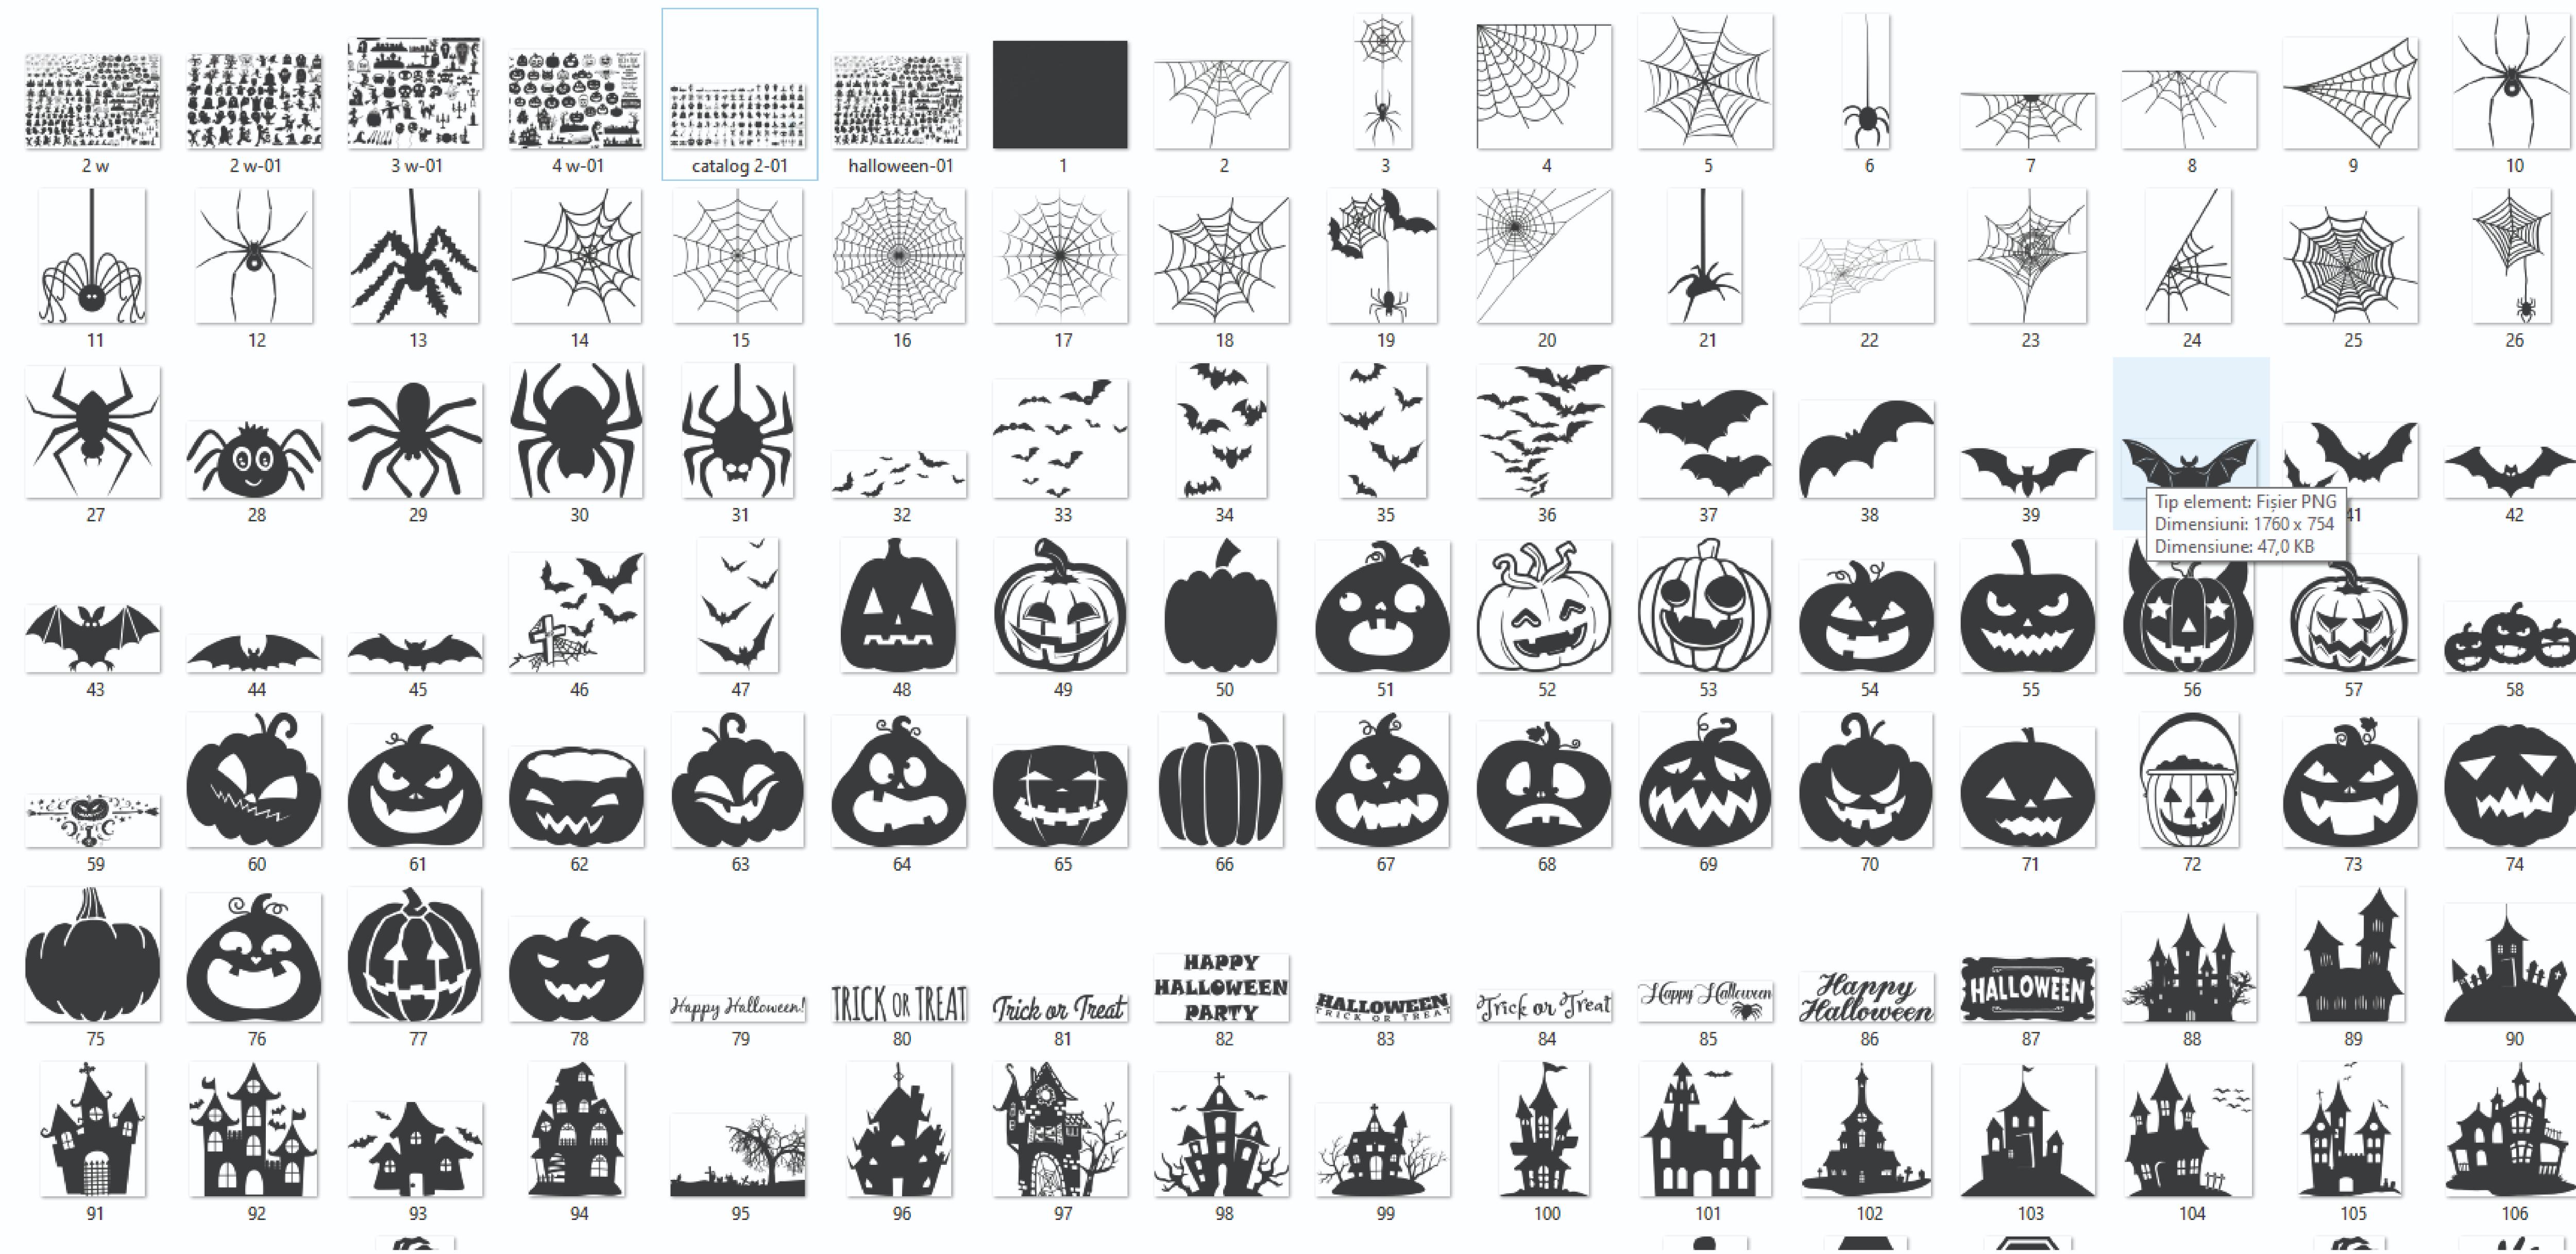
An art file to be cut in SVG file format (consider purchasing one on Etsy if you lack drawing skills)
Find That Pumpkin
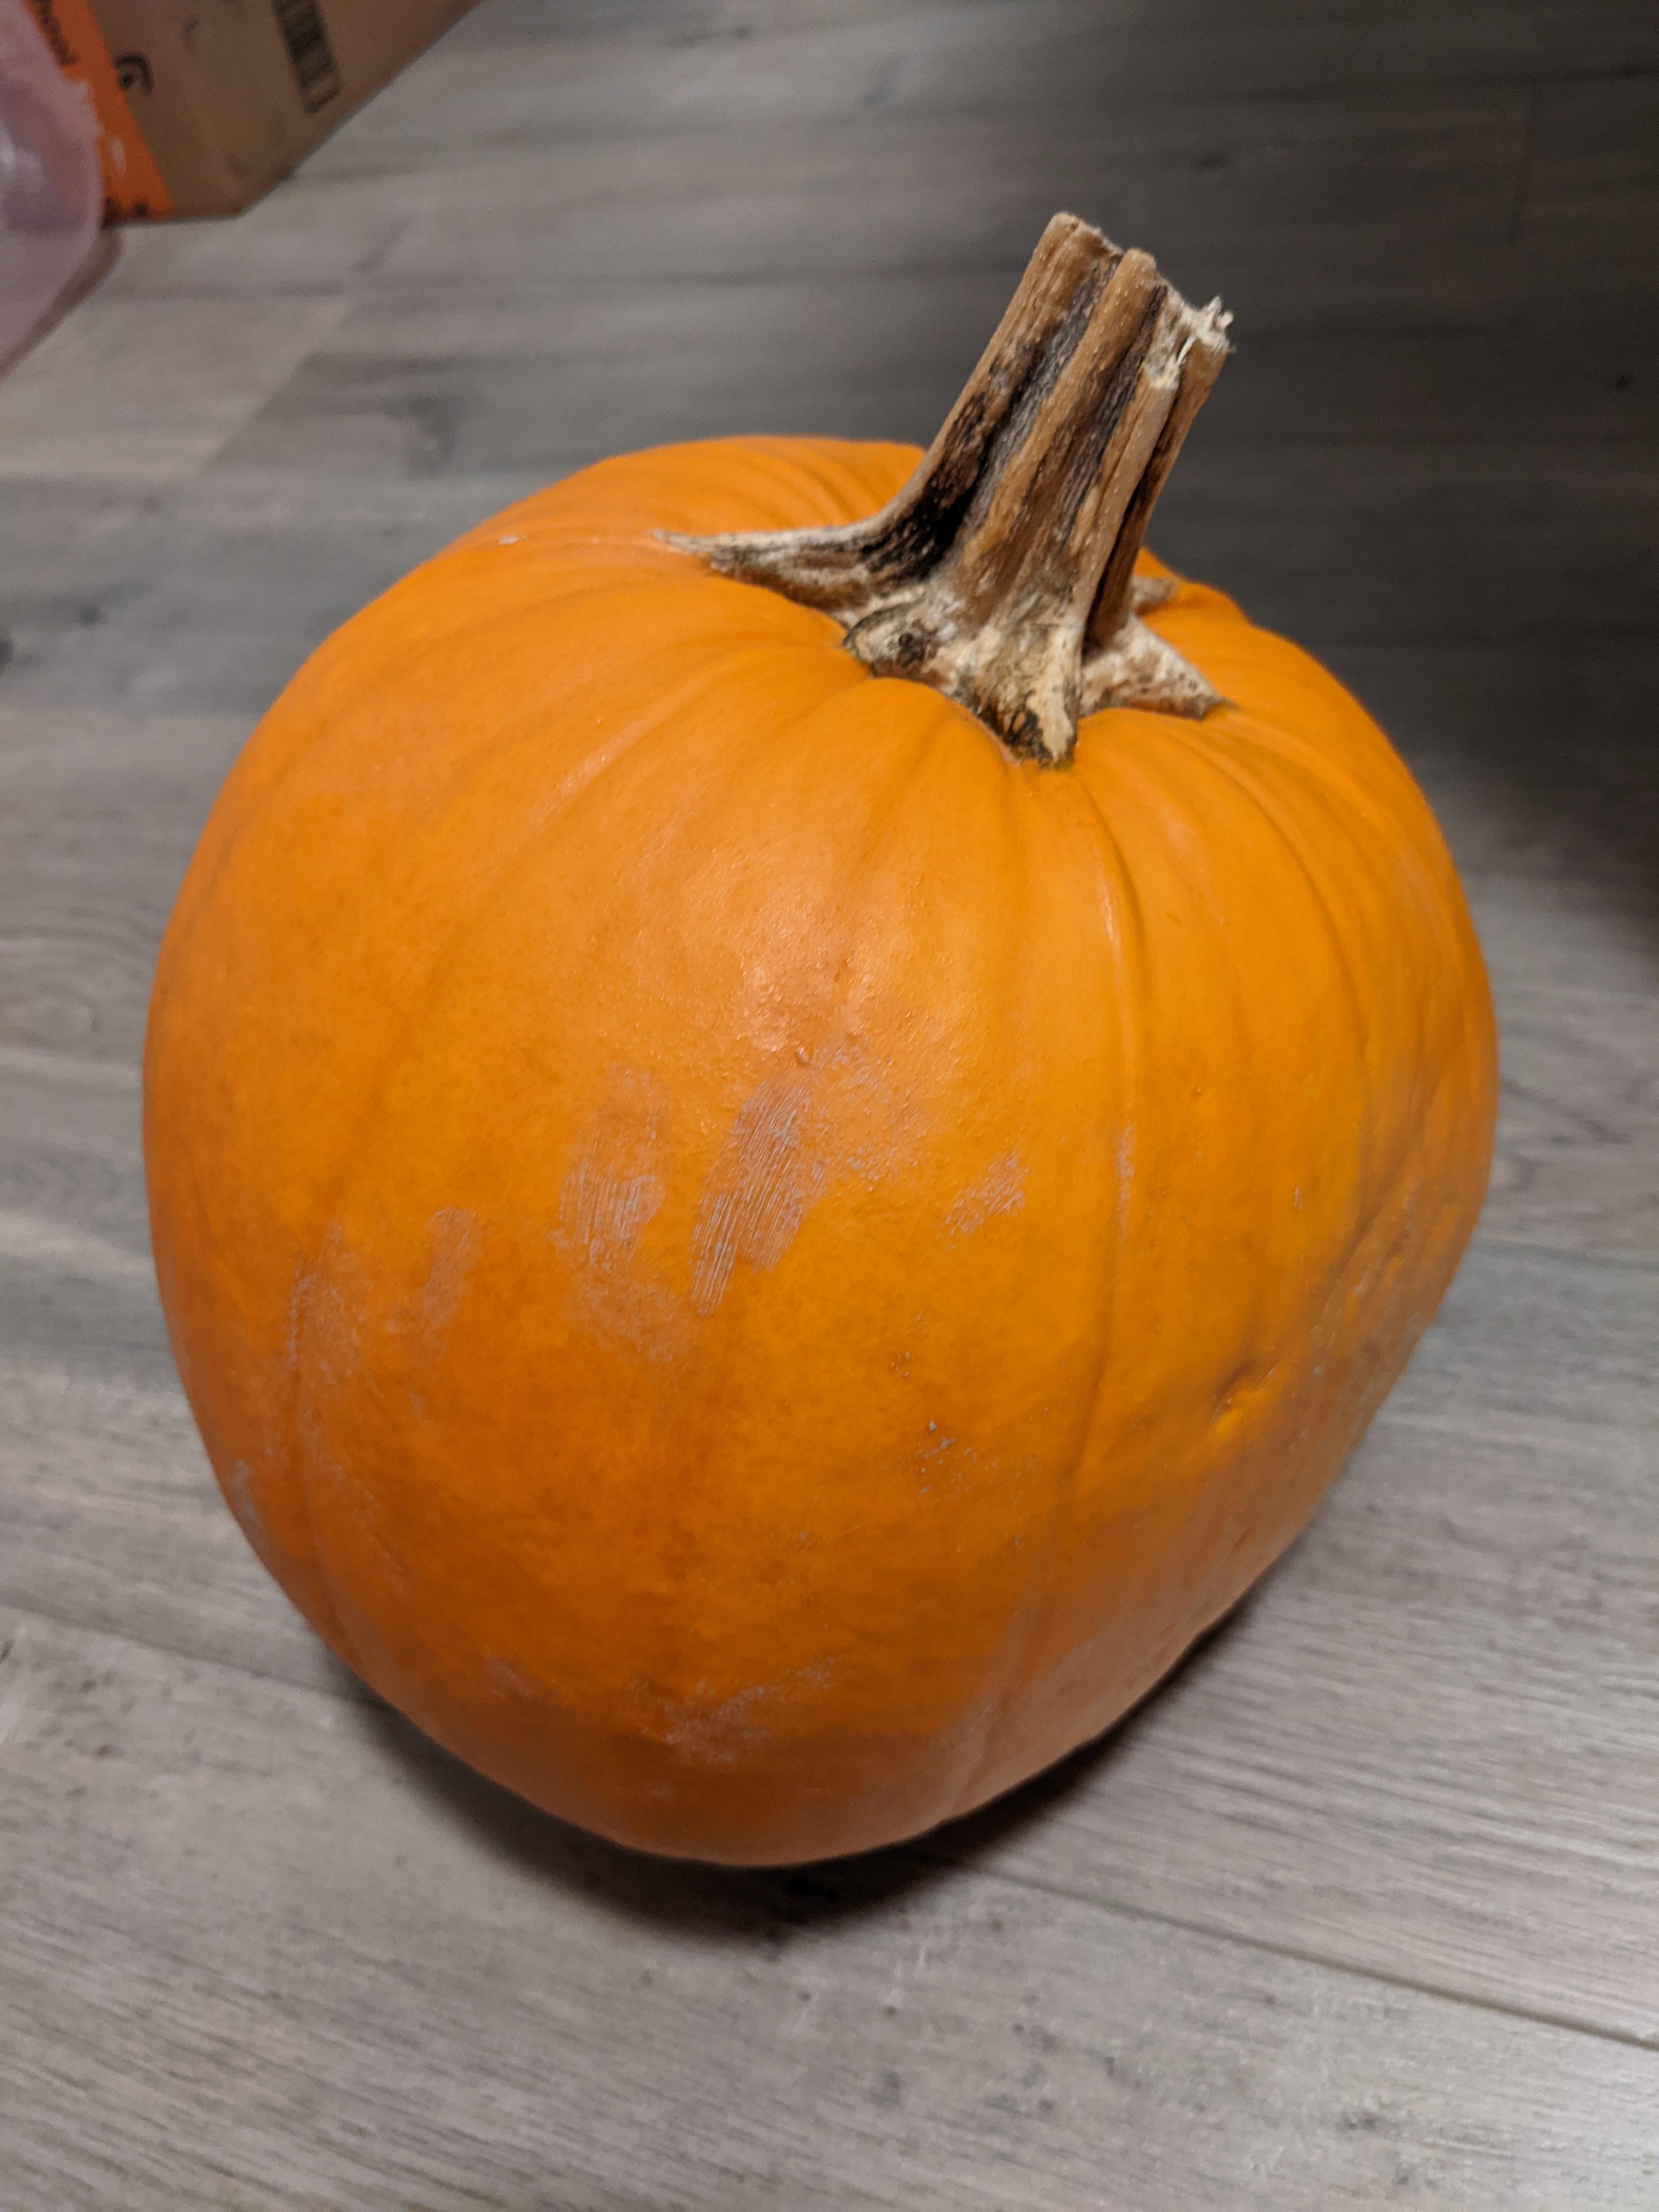

Find a pumpkin that has been growing on the side to where it has one side that is fairly flat. Also, make sure that it can fit inside of your CO2 laser. I started out by lowering the cutting table all the way, then measuring up to the nozzle and subtracting the focus distance below the nozzle. That is the maximum diameter of the pumpkin that you may pick.
Carving Time!
Time to carve that pumpkin! To do this, just cut the top off the pumpkin and empty the inside from seeds and flesh. Be sure to cut at an angle so that the lid won't fall in later on. Cutting a wedge shape on one side gives you a reference marker so the lid goes on in the right direction. You can use the side of the spoon to shave the side down a bit on the side of the pumpkin where you plan on doing the cutting.
Format the Artwork
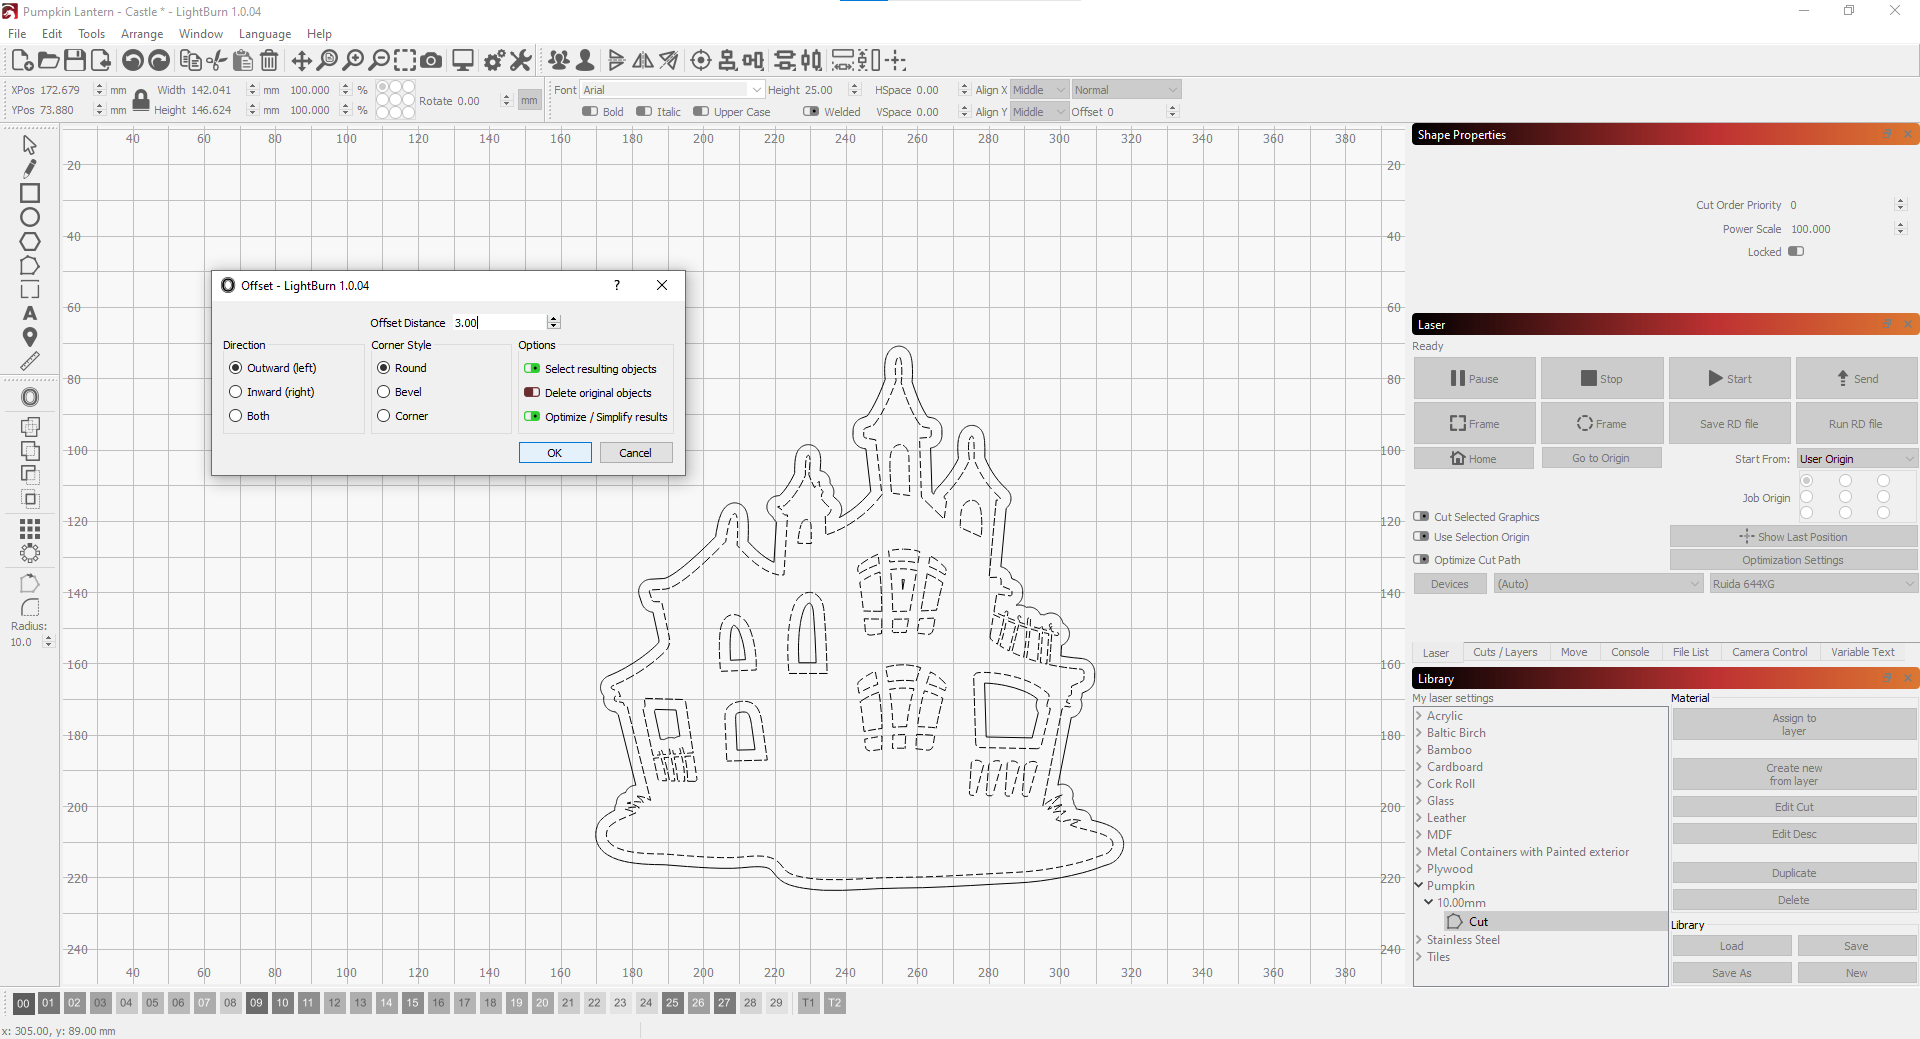
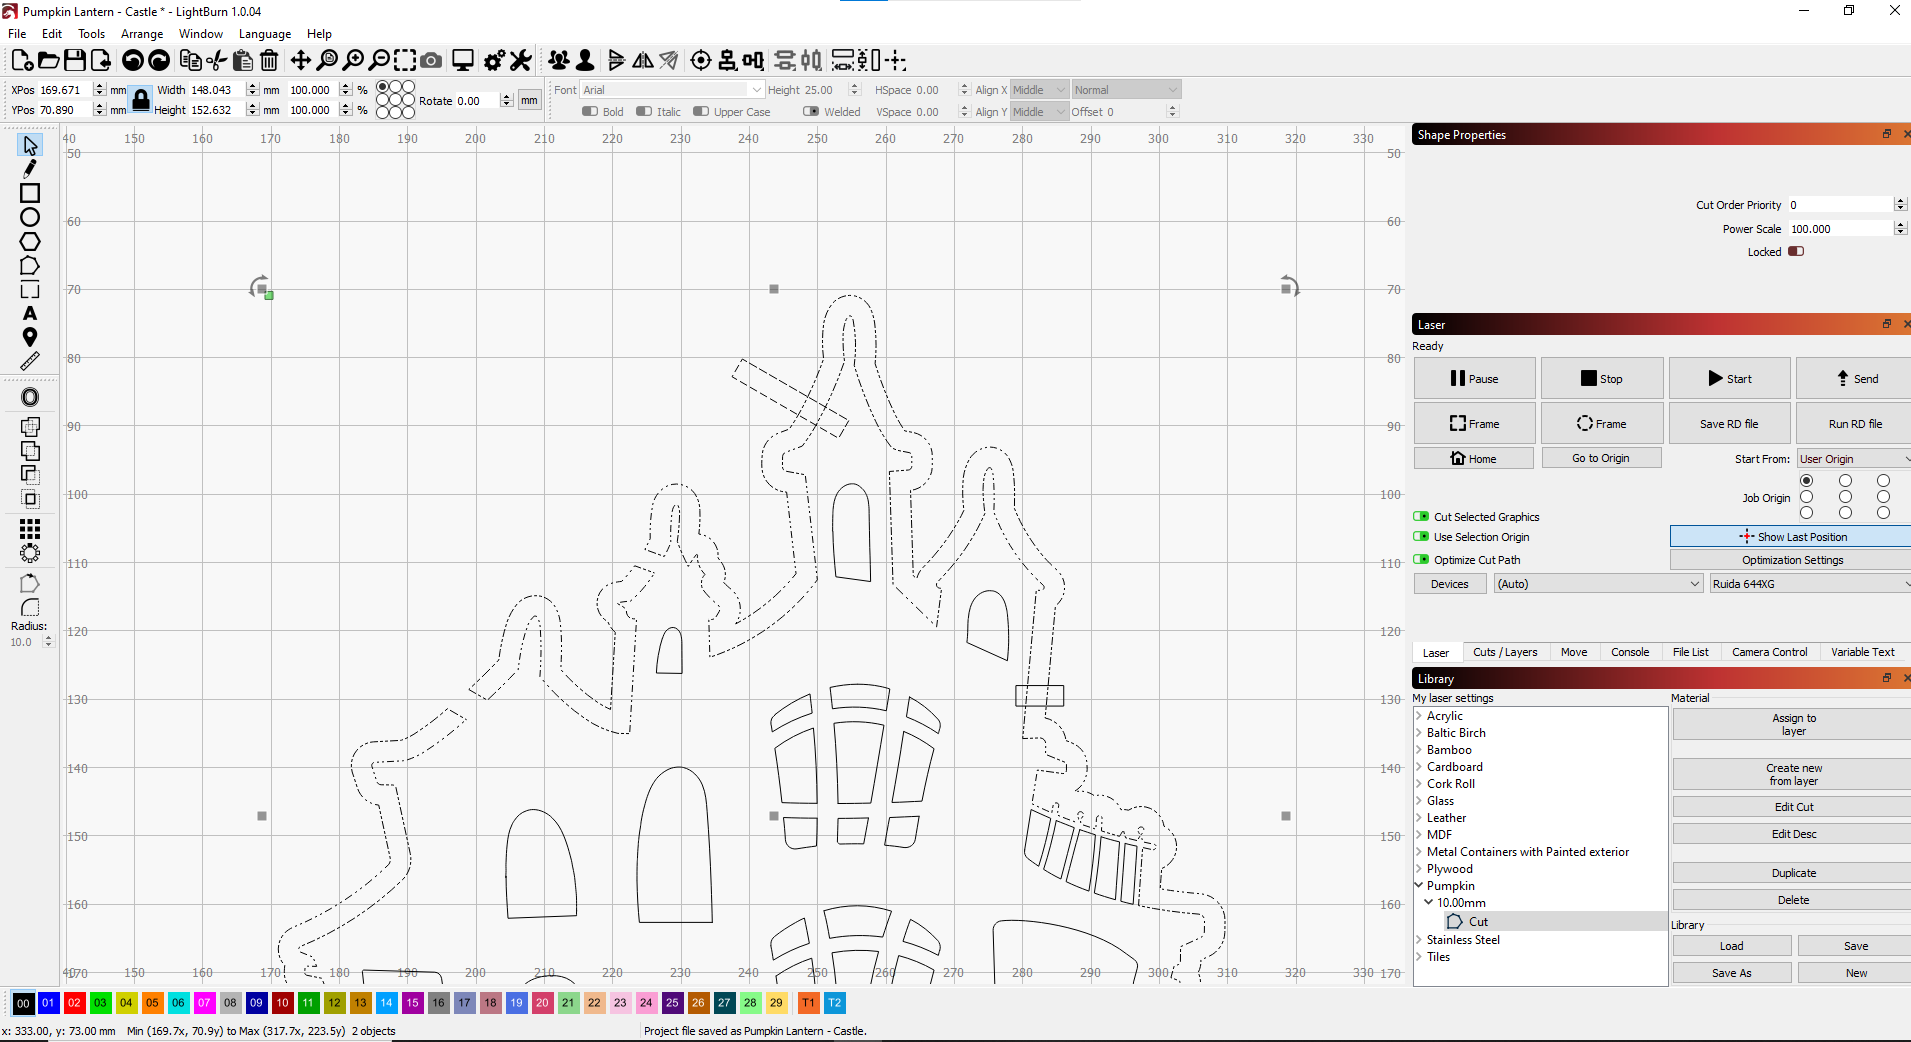
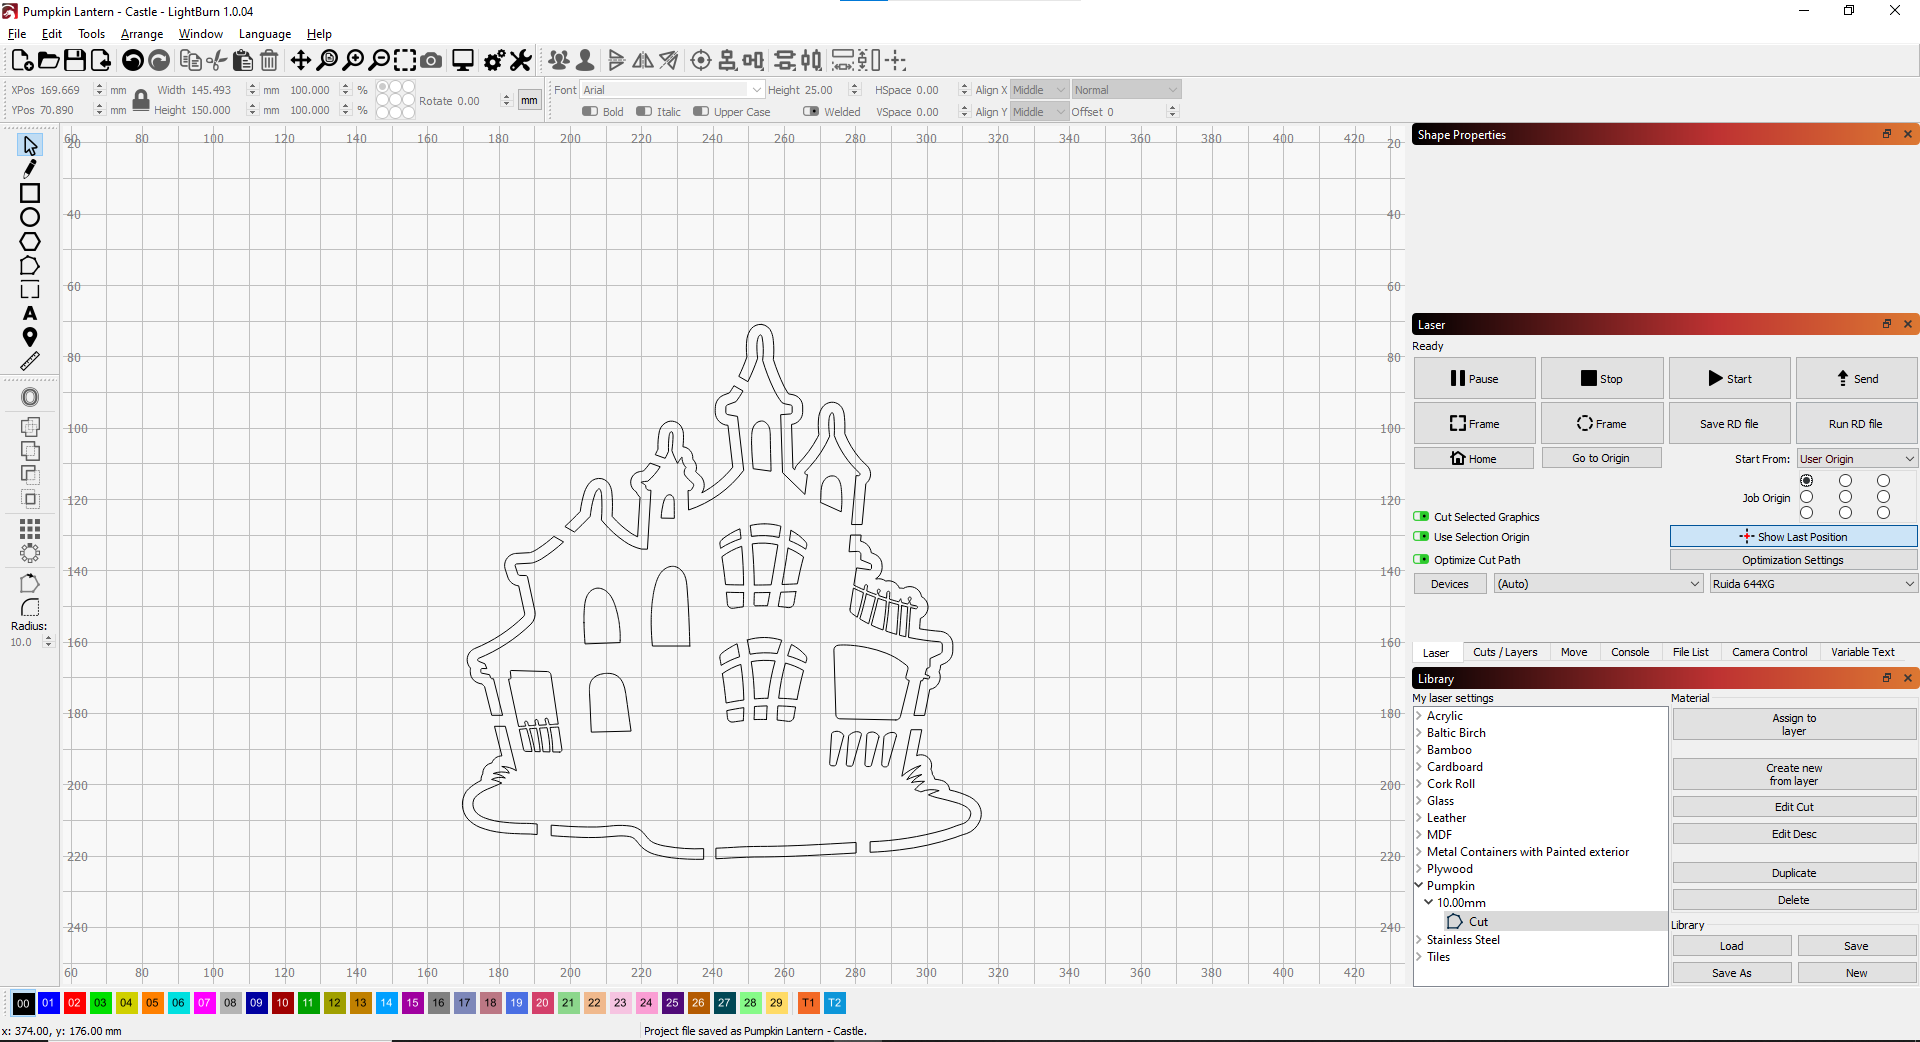
Now you need to edit that drawing you want. I have no drawing skills so I went online to Etsy and purchased a ton of Halloween-related SVG files. SVG formatting is great, as you don't have to convert anything later on. Depending on the image, you might have to modify it. In my case, if I simply cut the outline of the castle, I would miss all the window details and such. To correct this, highlight the exterior of the image and select the offset tool. Select "offset outside" and pick an amount you would like to offset. I picked 3 mm to allow light to come in. If you cut at that point the inside would still fall out, so you have to make some bridges between the outside and inside of the two lines that are now outside of the image. To do this, highlight the two exterior lines and group them (CTRL + G). Draw a small box that is large enough to go from the outside line to the inside line. This will be the bridge that will hold the center in place. You'll need a few of them. To create the bridge, select the box you created and the two grouped exterior lines (hold down shift while clicking on them OR press the left mouse button and drag up and to the left to cover both items. Press the "Boolean Subtract" button. If the action created the opposite of what you wanted, simply undo the move (CTRL + Z), then click the same "Boolean Subtract"-button again. This time it will do the opposite, and a bridge has been created. With enough bridges, the center will stay suspended in the middle.
Cutting Time!
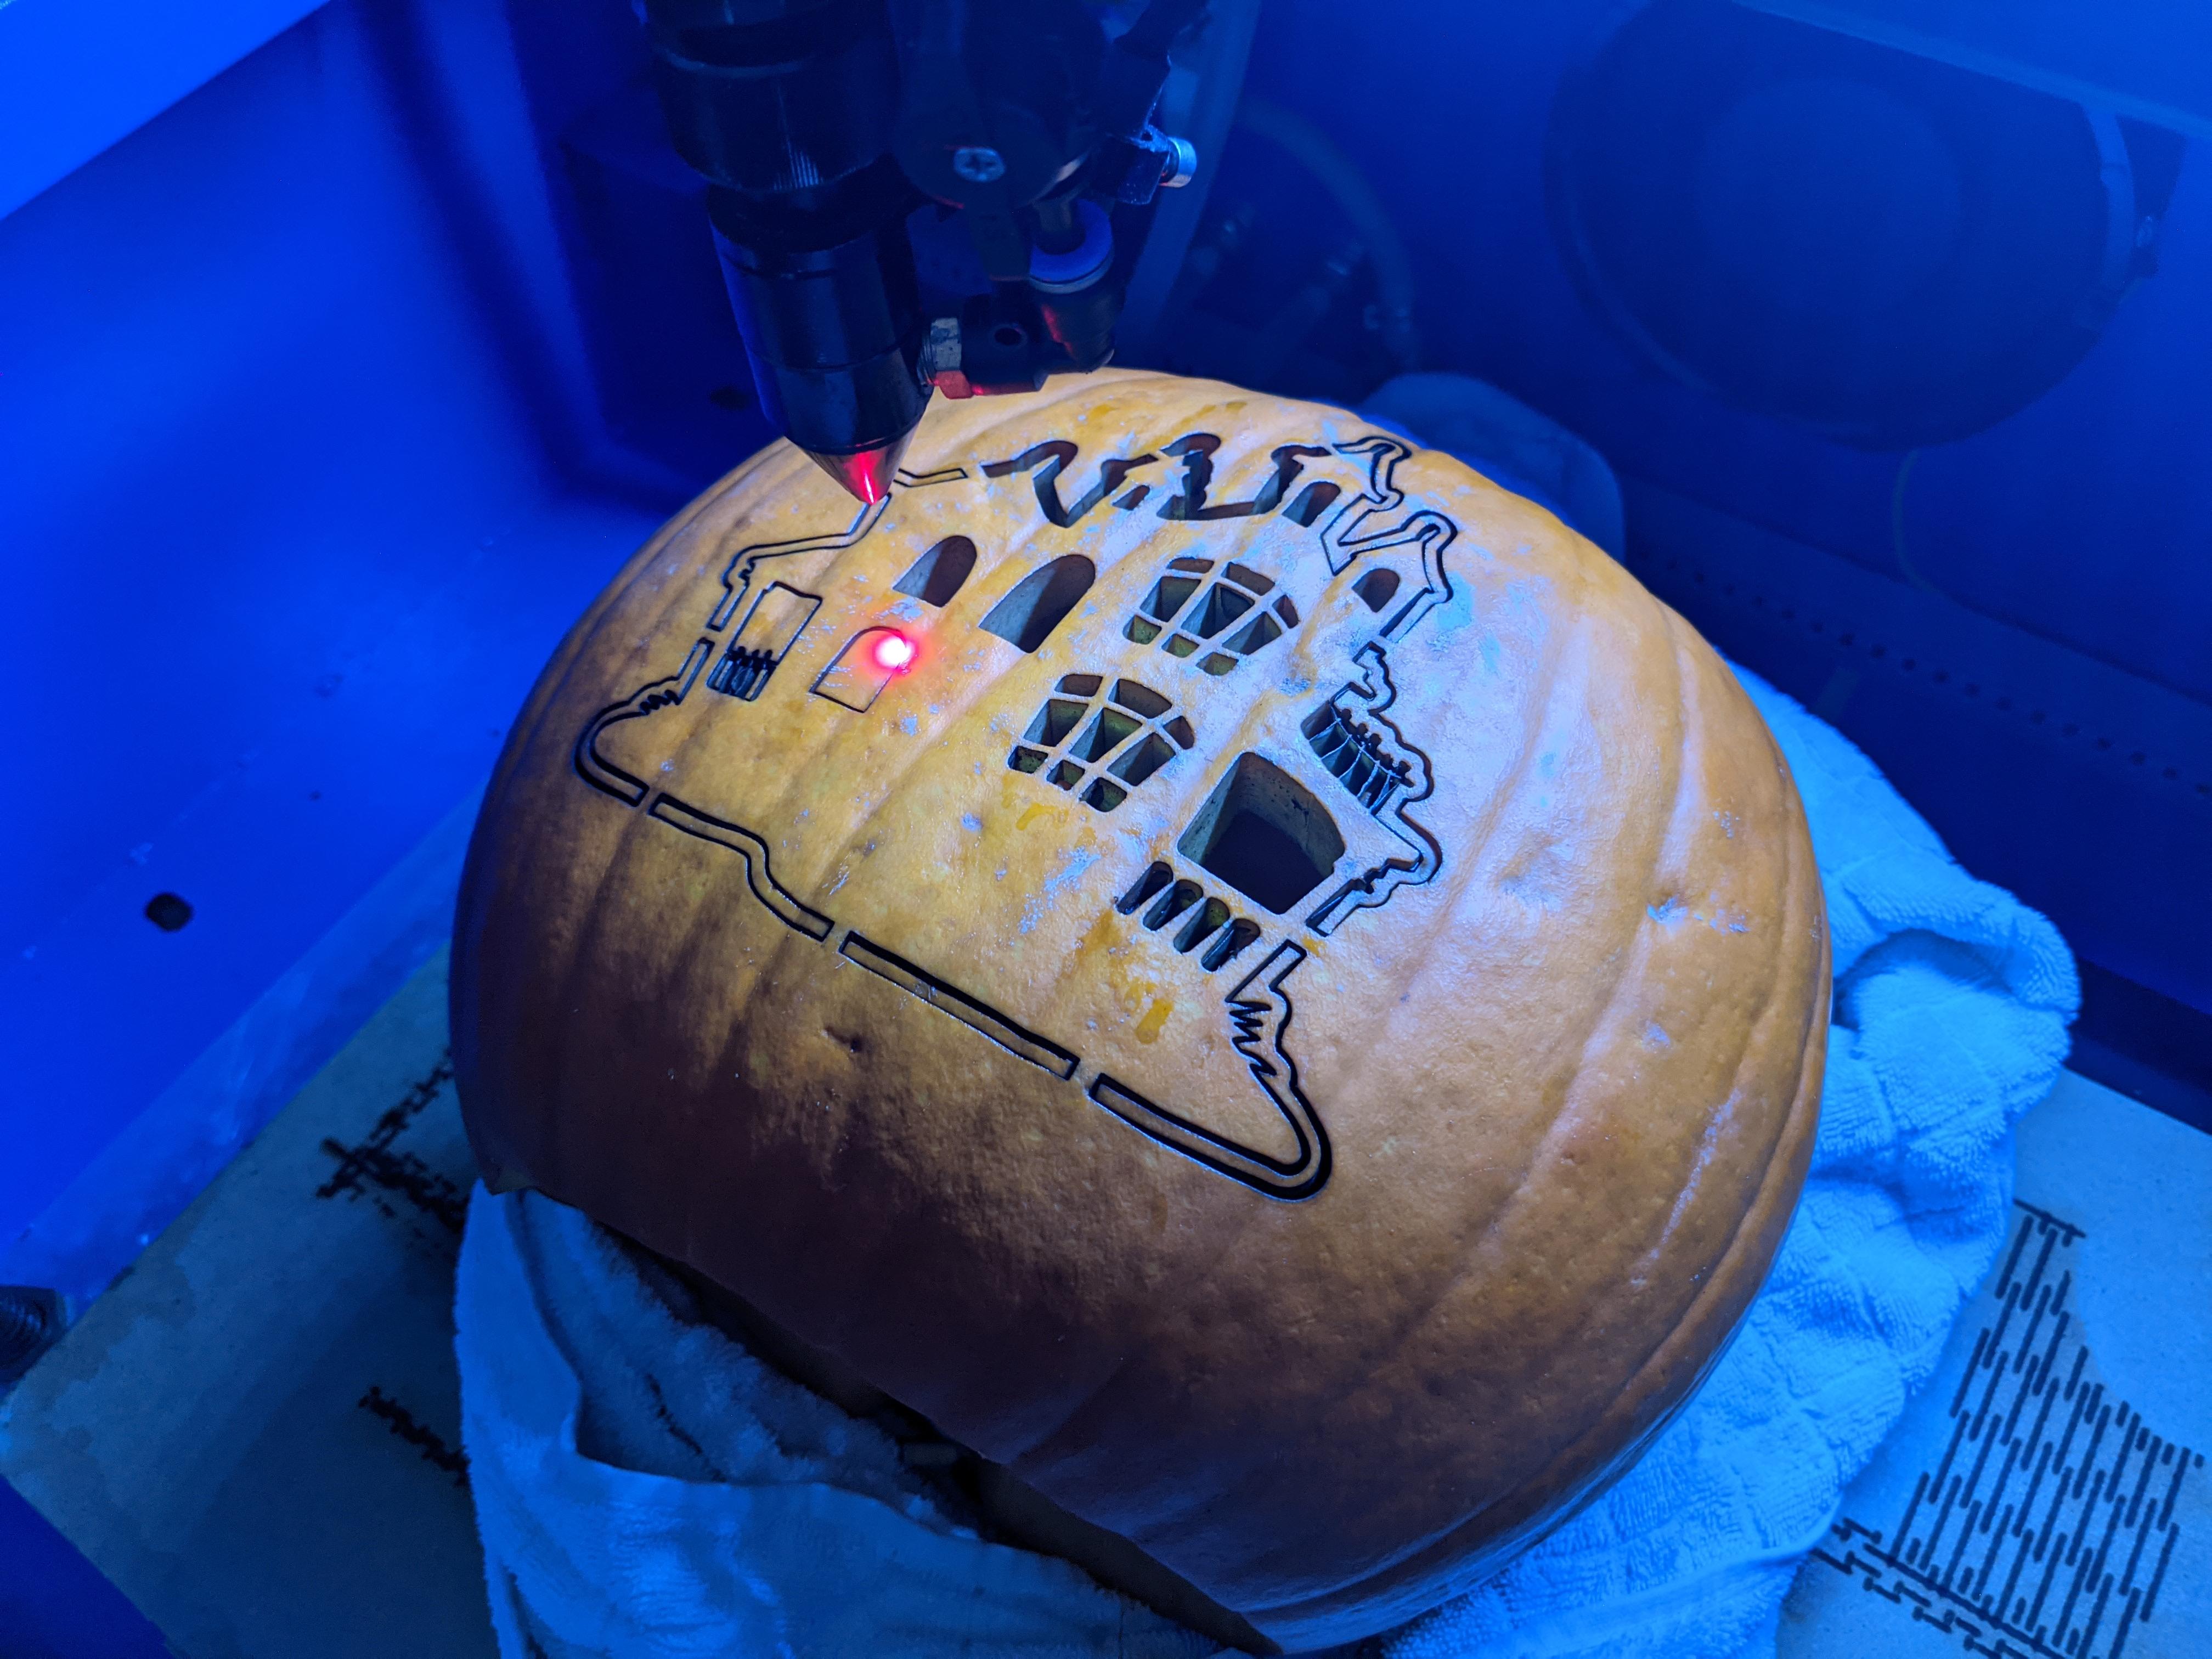
Next, you need to figure out the power setting and speed for your laser. In my case, with a 50w CO2 laser, I set the power to 65% (which somehow is my max setting), and a speed of 2 mm/sec. If you go too fast, you won't cut through and the cutouts won't fall in. If you go too slow, you could damage the back of the pumpkin, but this is unlikely to happen as the beam would be very out of focus at that distance. Place the pumpkin on the table and wrap a towel around it so that it doesn't move. I selected the middle of the pumpkin to be my "Origin" in the software, and moved the laser to the center, then hit "Origin" on my laser. From there, I framed the image on the pumpkin to make sure the image wasn't too large or small. Once I got the size right, it was time to cut. In my case, the middle parts cut perfectly, but the exterior needed another cut. The reason is that you are cutting at an angle when the pumpkin starts to round. More flesh = more time and power. With another cut, all the parts fell and I could discard them.
Get your favorite candles out, light them up, and get ready for the neighbors to place orders :)