Laser Cut Plexiglass Snowflake
by YukonJulie in Living > Christmas
2609 Views, 11 Favorites, 0 Comments
Laser Cut Plexiglass Snowflake

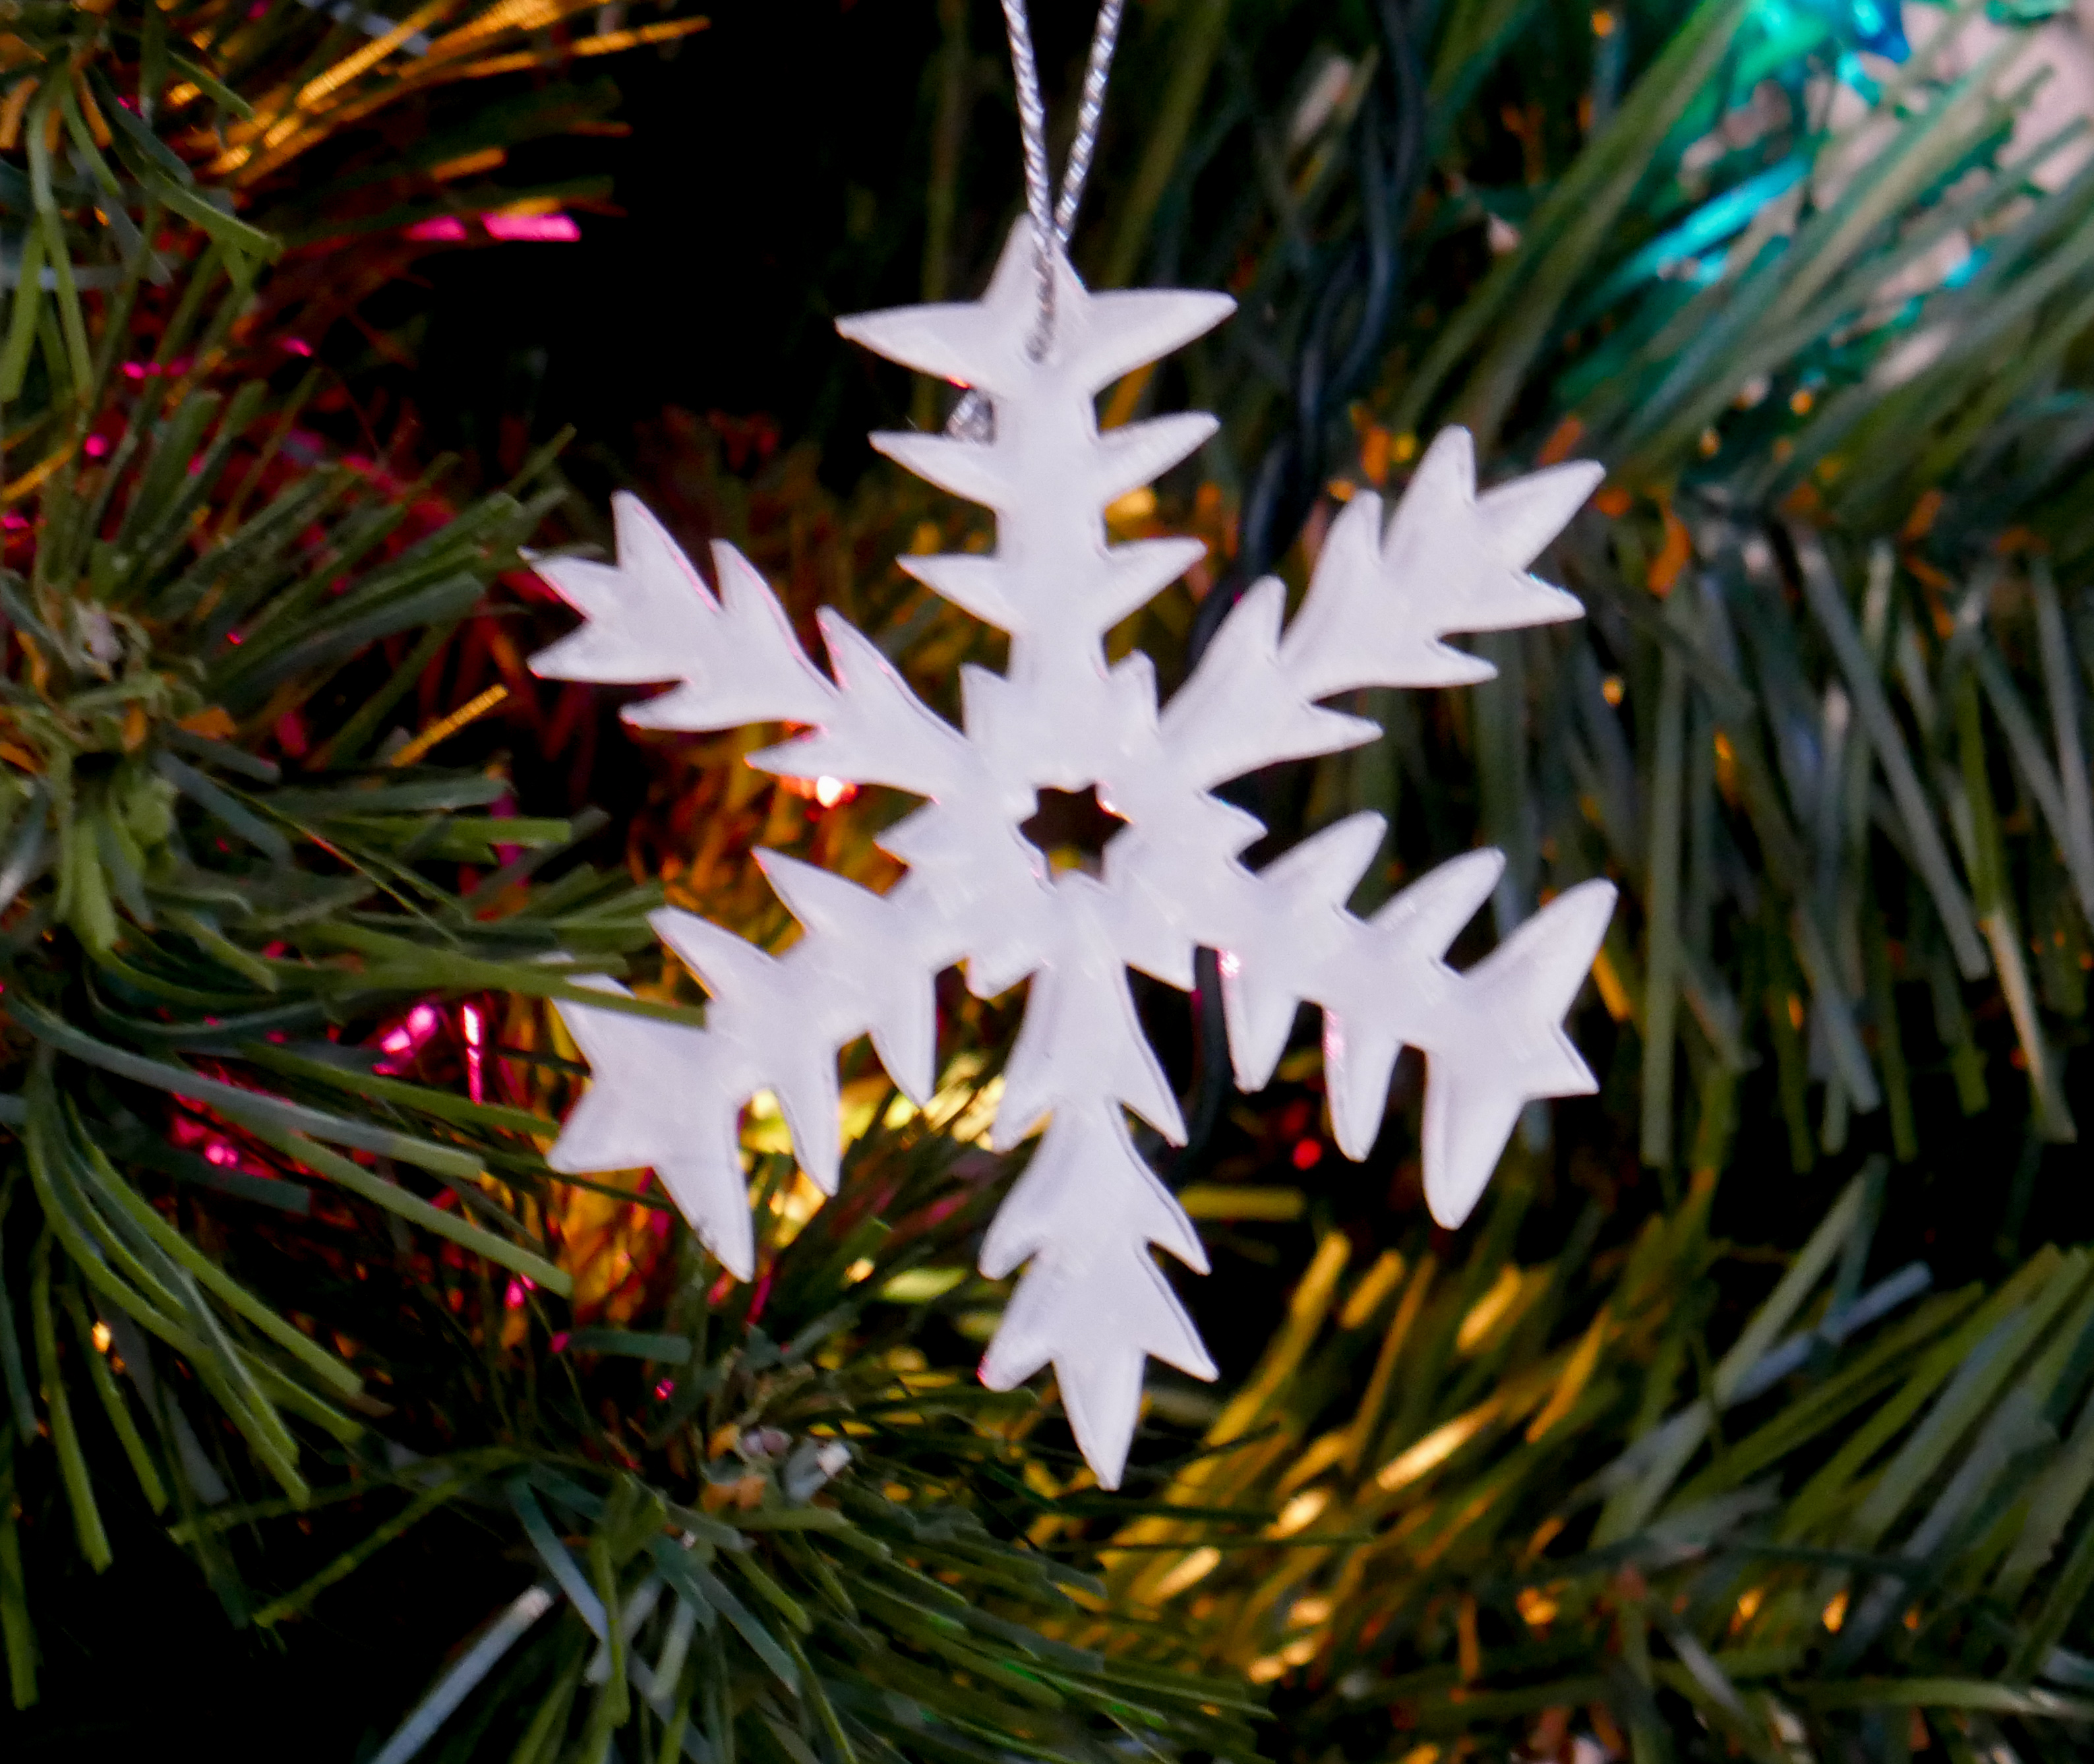
Plexiglass snowflakes make beautiful Christmas tree ornaments, and look great hung on windows or on cabinet knobs as holiday decorations.
Follow these easy instructions to make a plexiglass snowflake for that perfect holiday ornament or hostess gift!
Make a Paper Snowflake or Find a Snowflake Image on the Internet
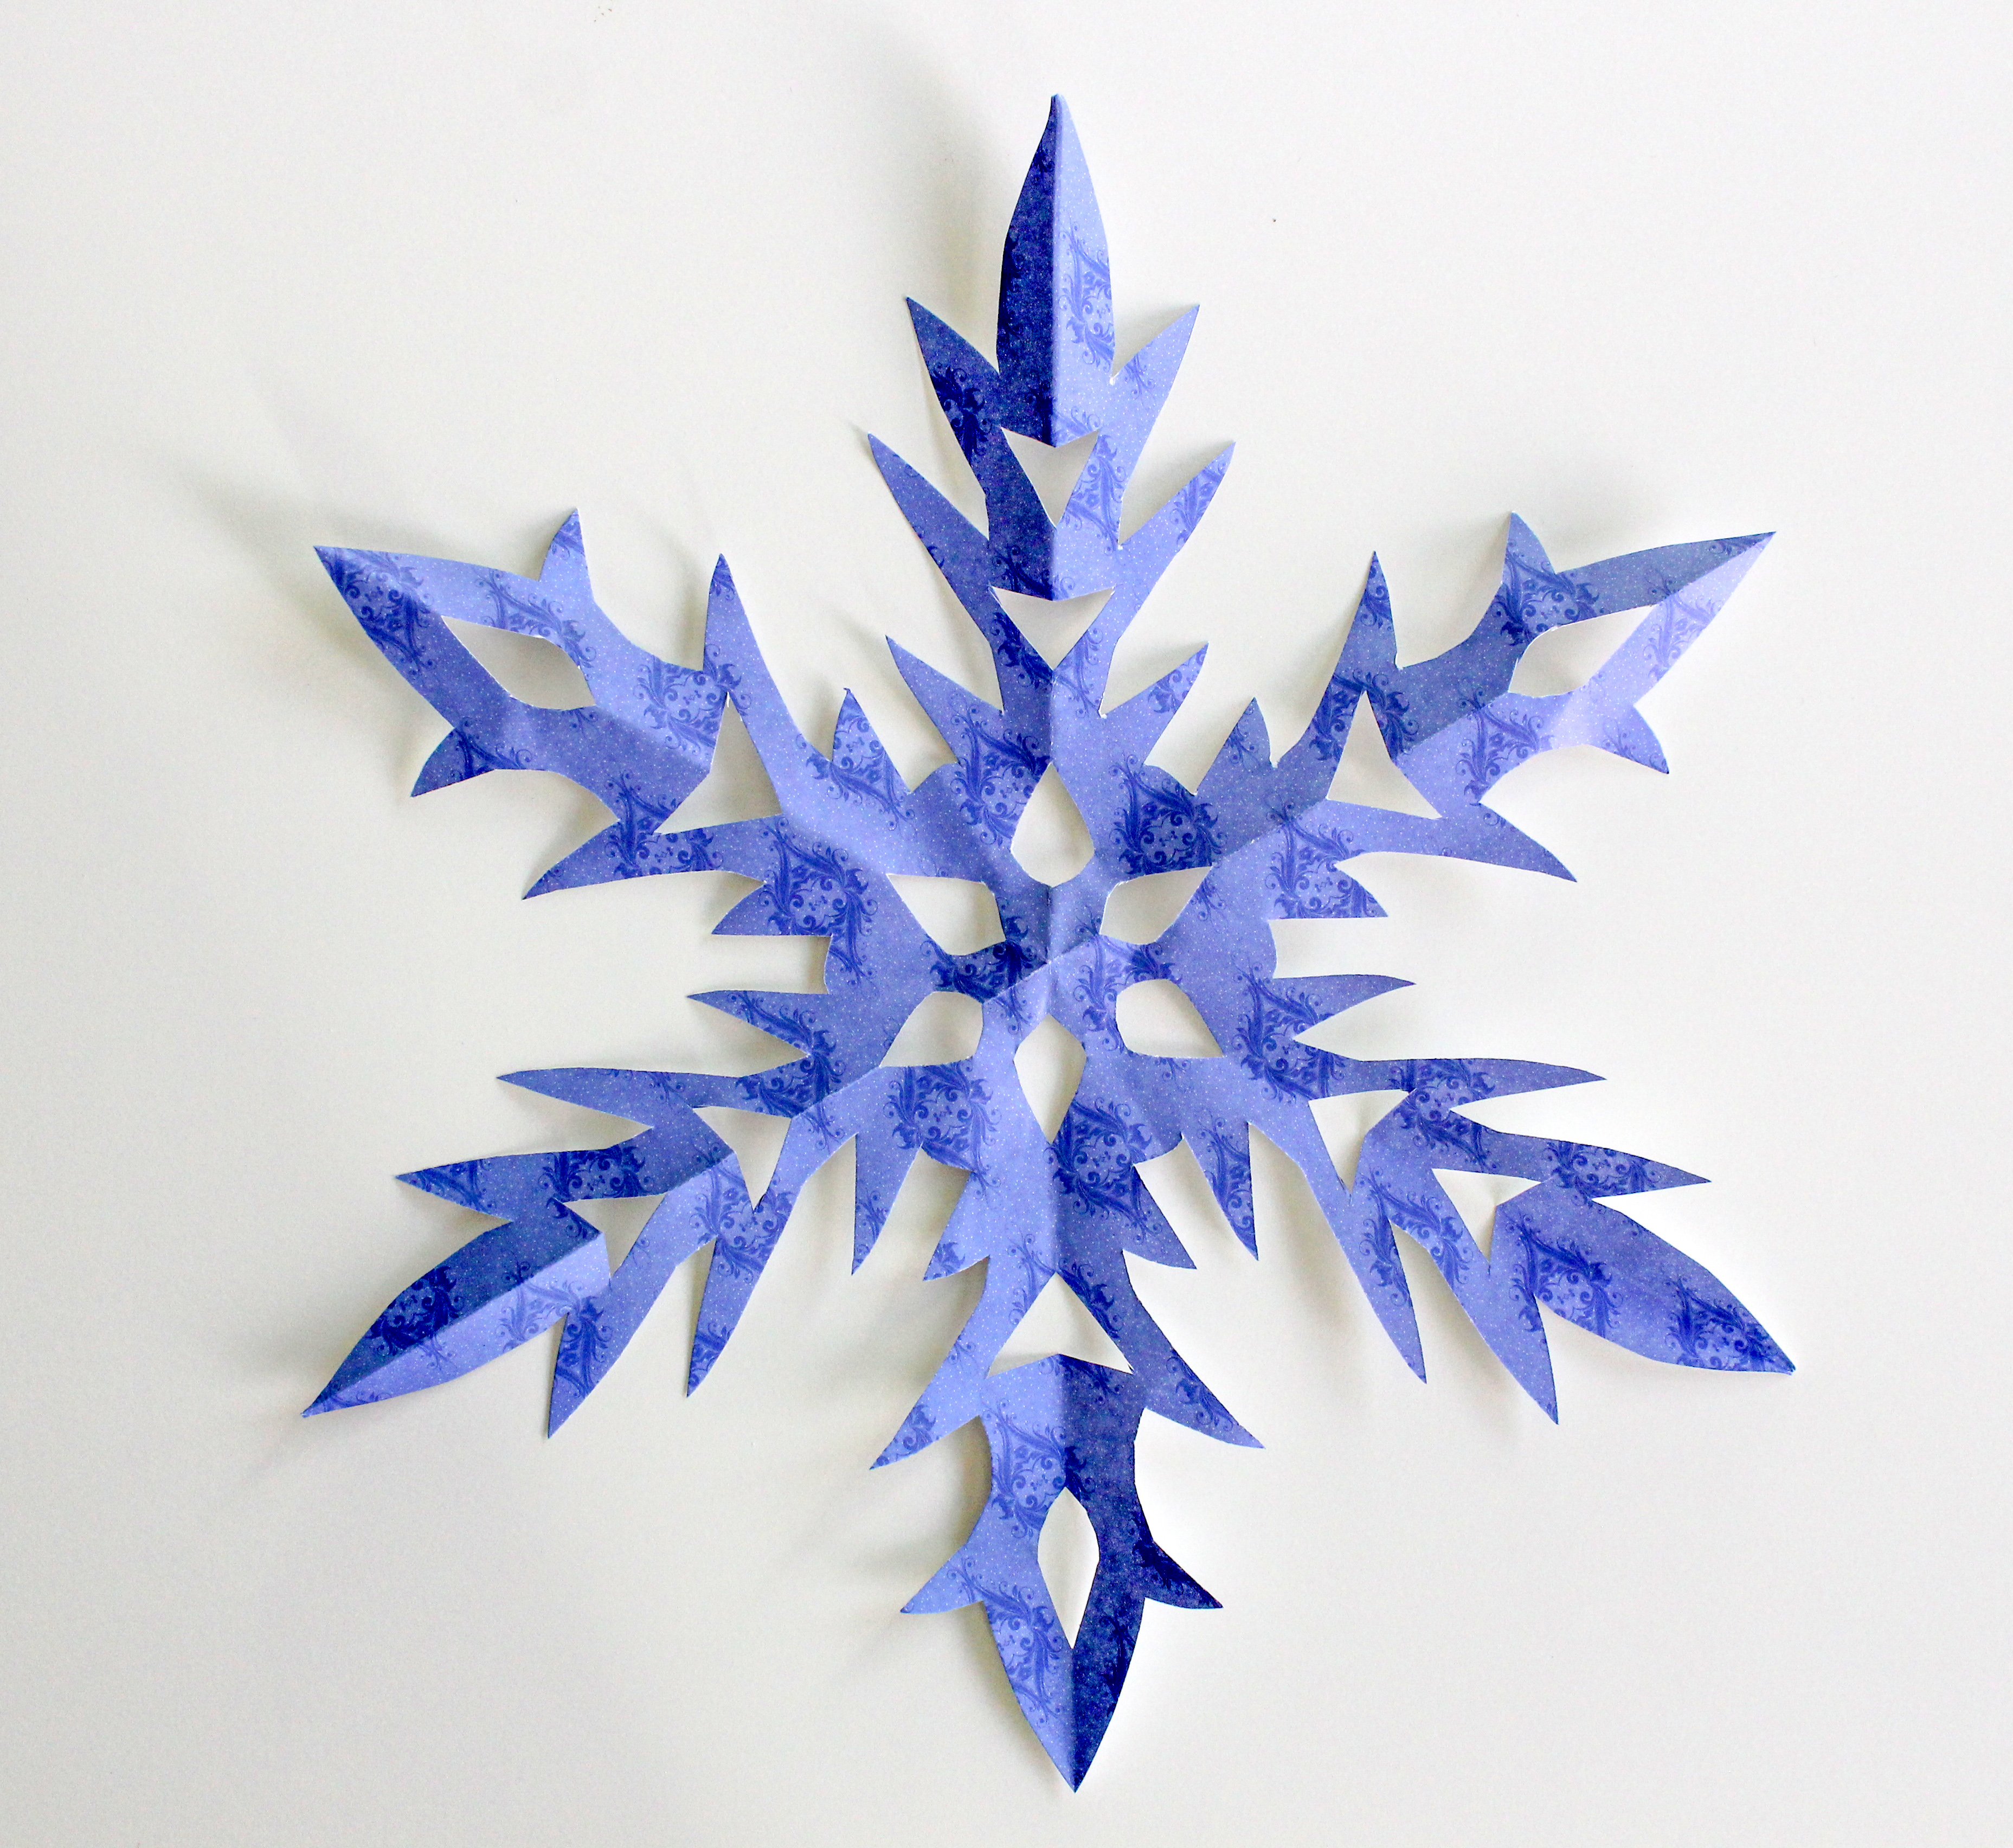
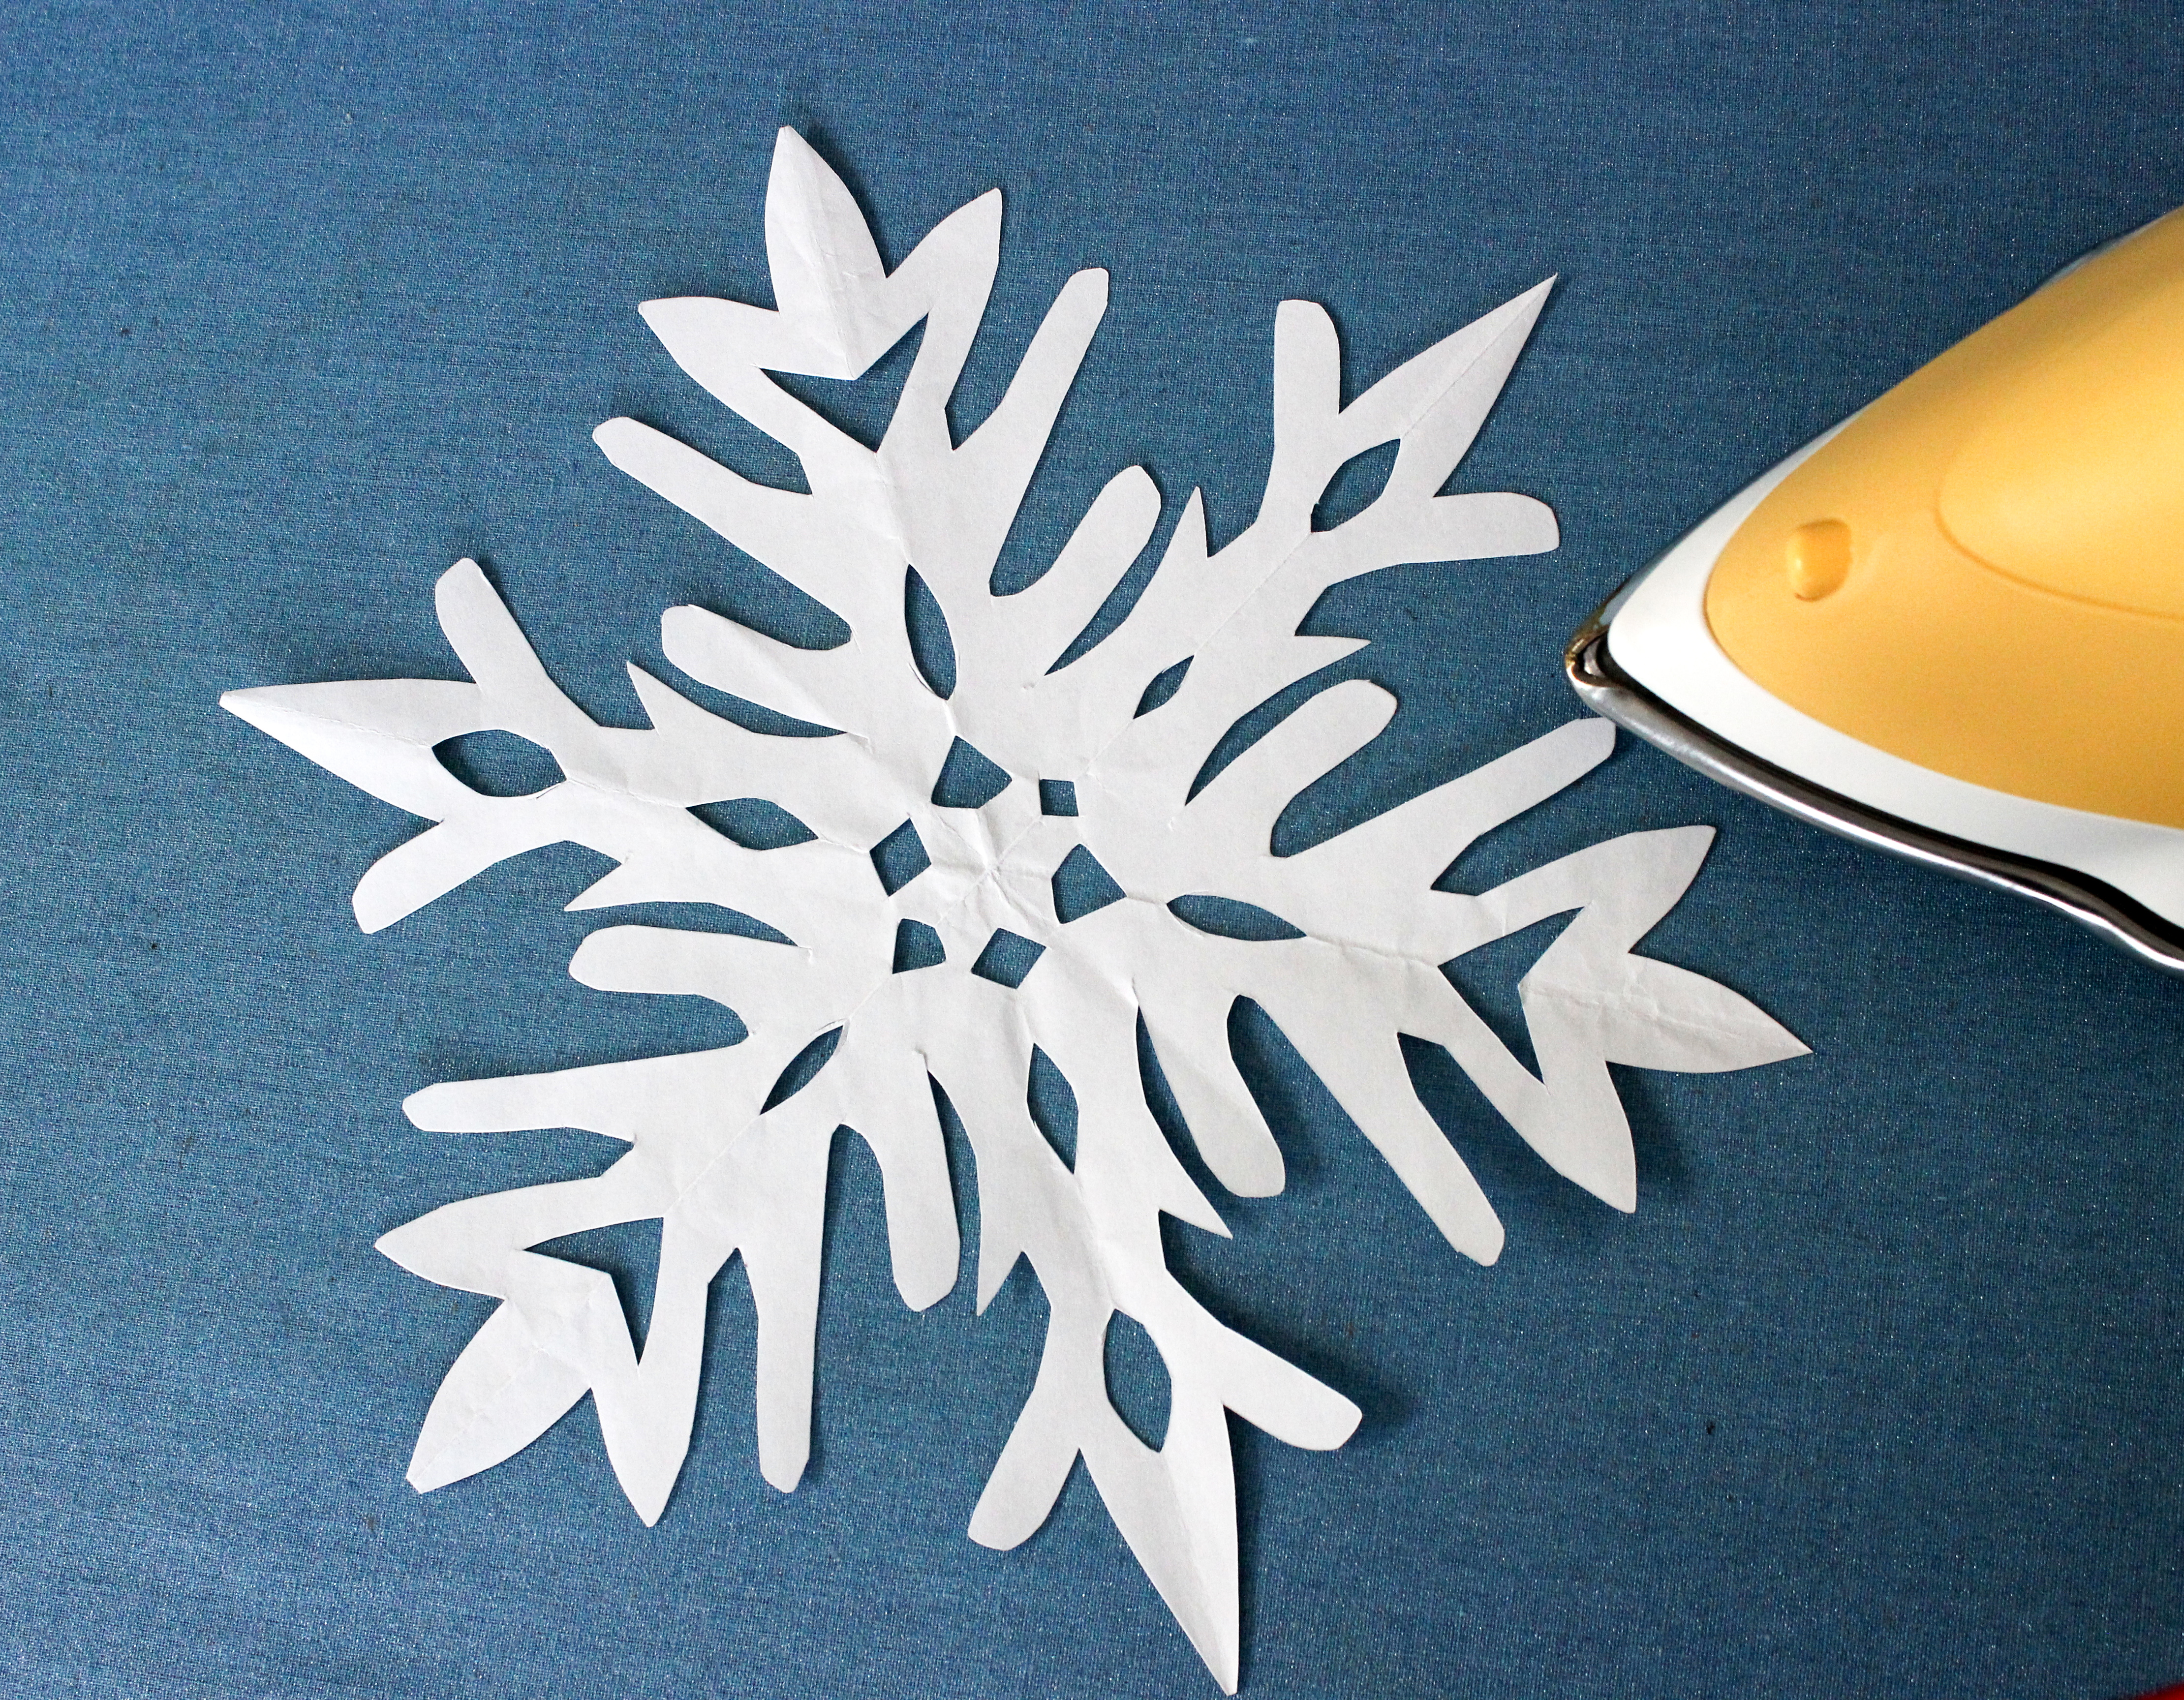
- Start by making a paper snowflake. Use a plain solid colored piece of paper and follow the easy instructions set out in my Perfect Paper Snowflakes instructable.
- Iron the snowflake so it is flat.
- Place your paper snowflake on a scanner or printer and scan it. You can also scan it with your smartphone.
- If you don't want to make your own snowflake, borrow a snowflake image from the internet.
Use Corel Draw to Create an Image the Laser Cutter Will Recognize
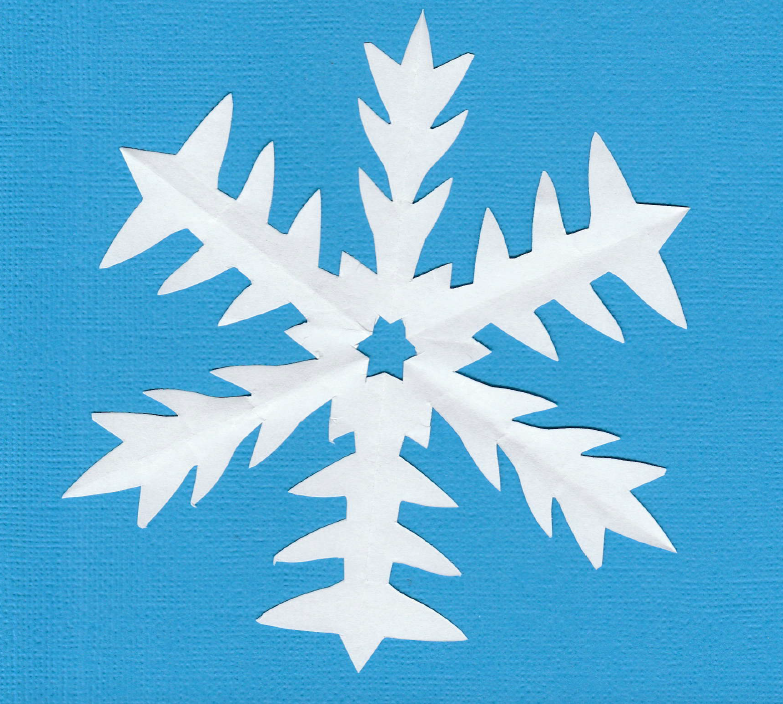
- Open Corel Draw or another program which the laser cutter will recognize and import the scan (which is a .jpg image or a .pdf). It should now be a Corel document with a cdr extension, e.g. snowflake.cdr.
- Use the Outline feature in Corel Draw to create a simple image for the laser cutter that includes the outline of the snowflake as well as any interior cuts. I've attached the Corel file which I made from the paper snowflake shown above.
- Add a small circle near one of the outer points, so you have a hole to attach a cord to hang the snowflake.
Downloads
Get Acrylic Plexiglass
Auto glass shops are a good source of plexiglass. You can often buy small leftover pieces at a good price ($5 or so for a scrap large enough to make 10 - 15 snowflakes). You can also order plexiglass online, for example from Amazon.
Make sure it is acrylic, and 1/8" thick.
It is most commonly available in clear (colourless), and you can also find it online in a variety of colors.
It usually has paper or a thin removable layer of plastic on one or both sides to protect the plexiglass from scratching.
Remove the paper from one side only. If it is an old plexiglass scrap that you bought at an auto glass shop, and the paper isn't coming off easily, use a hair dryer to melt the glue and lift off the paper.
Put Plexiglass on Laser Cutter Bed and Cut
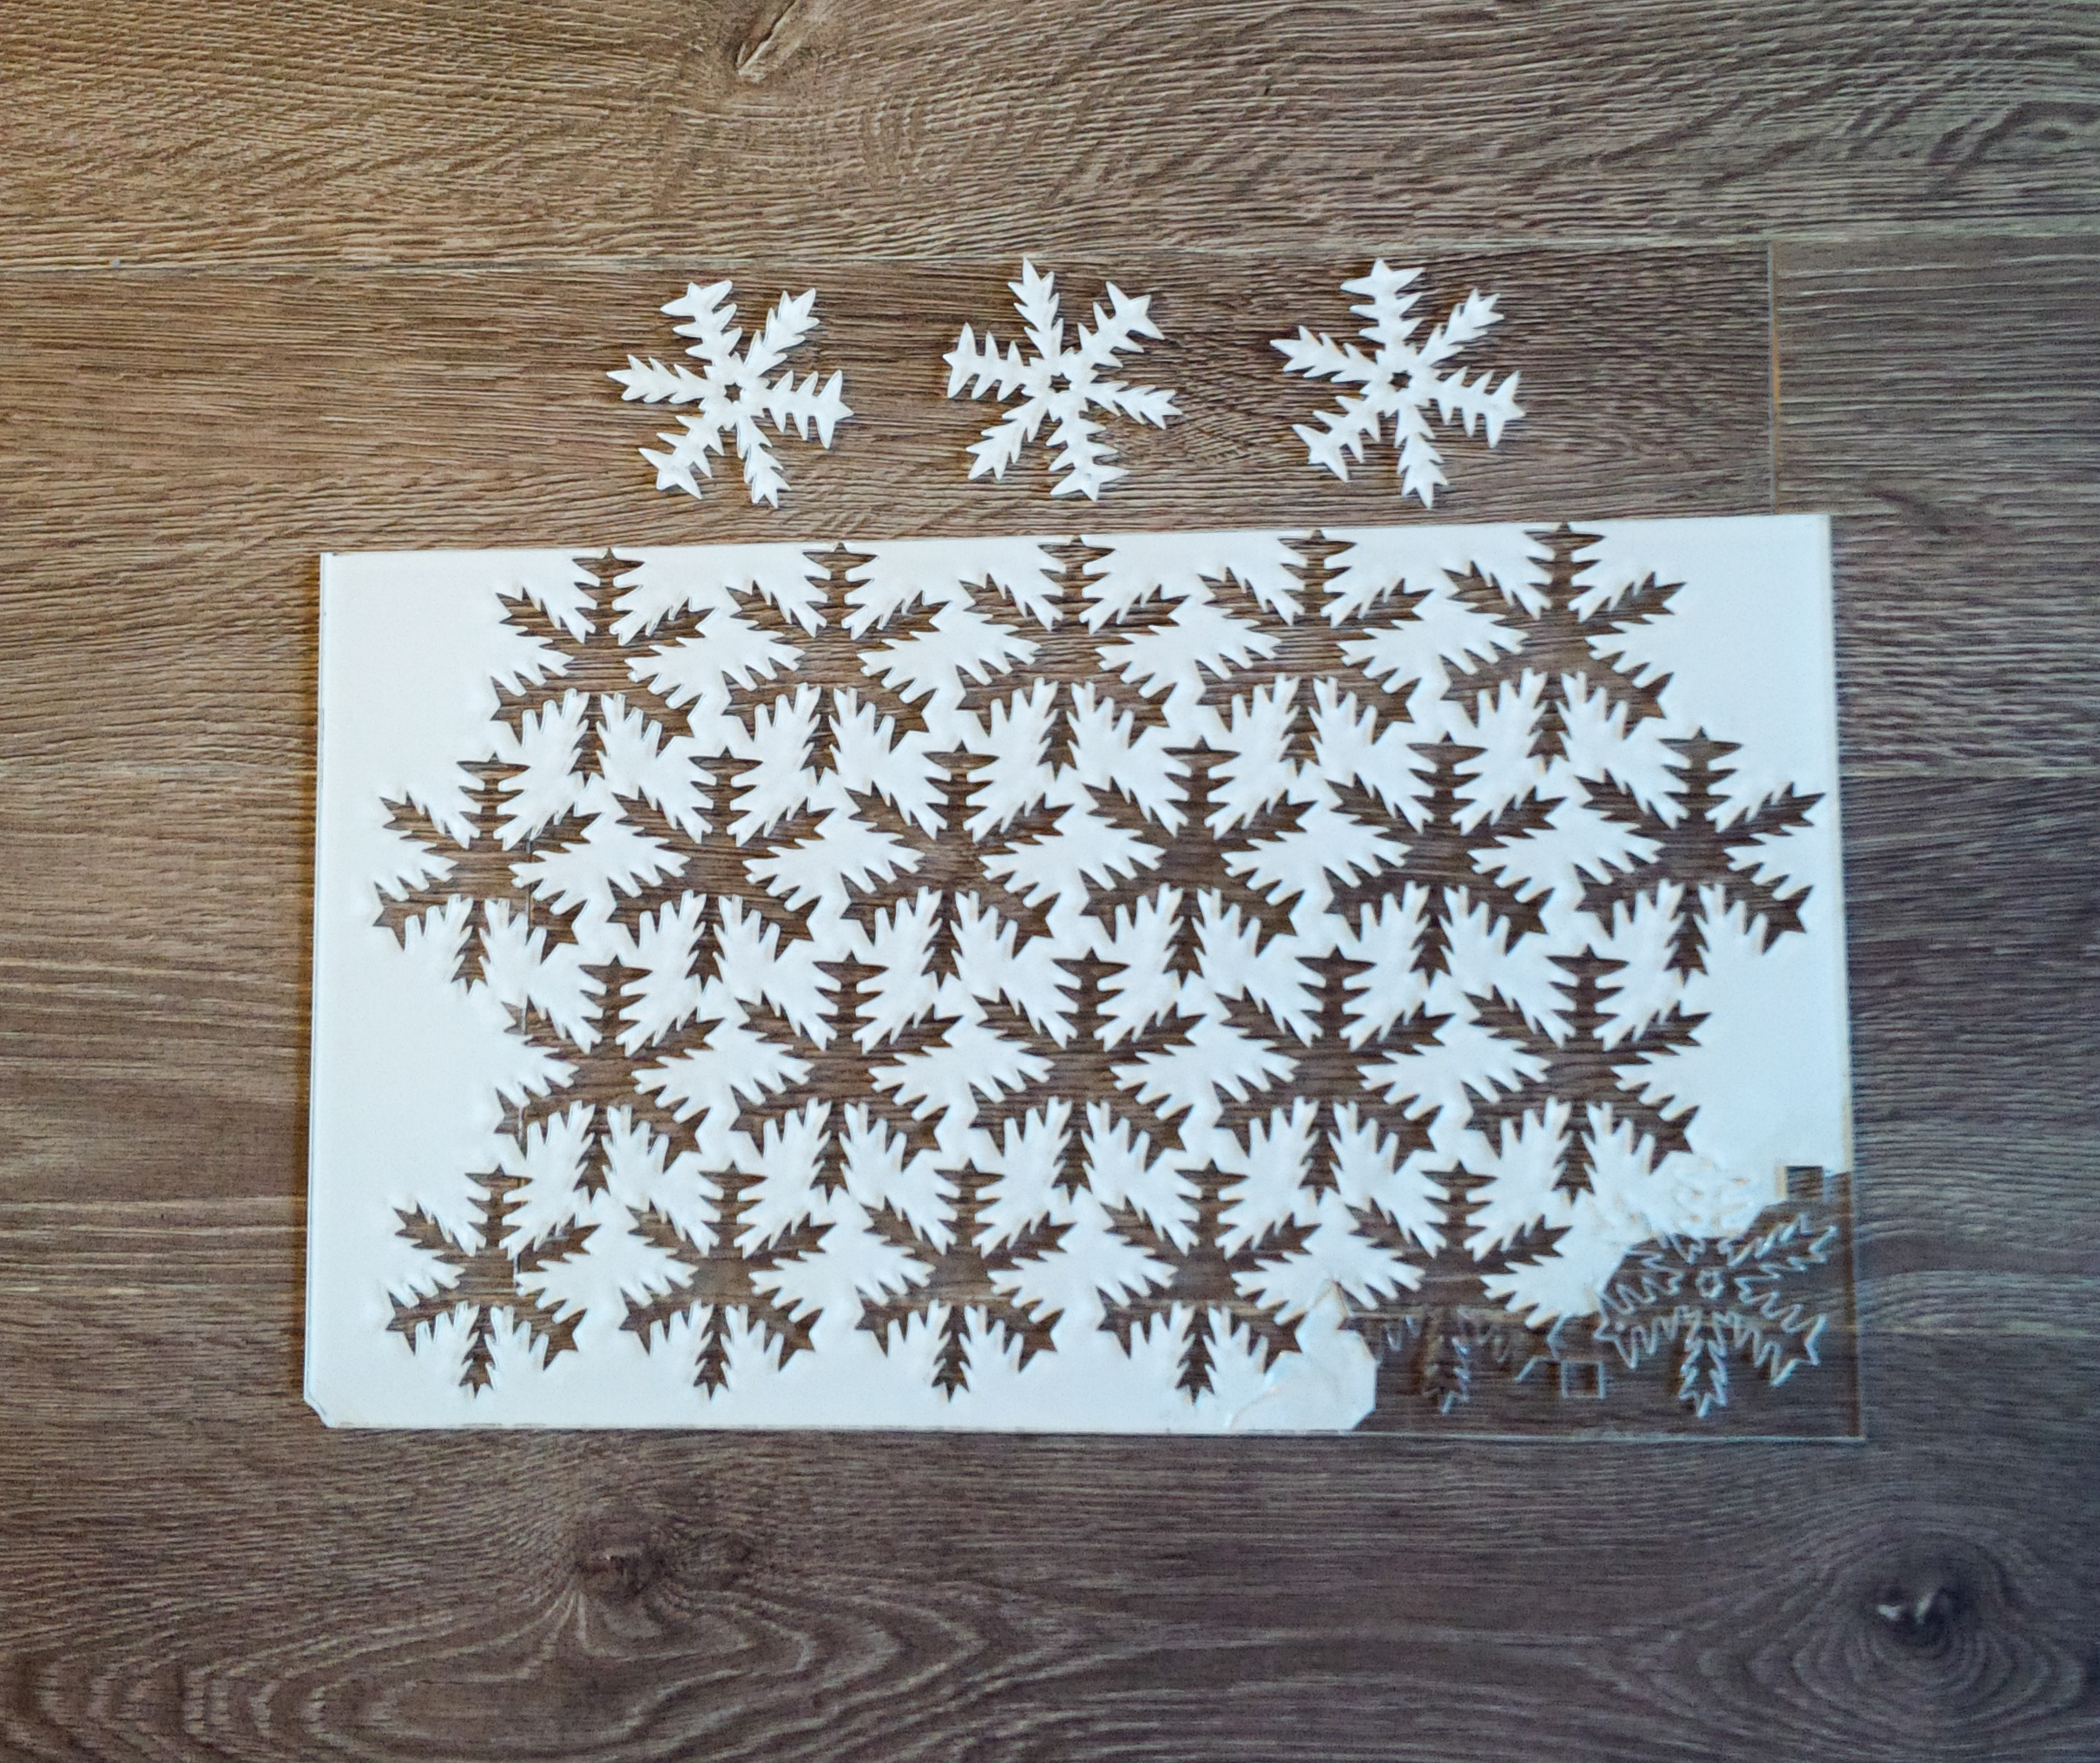
If possible, leave the paper/plastic on one side of the plexiglass and place that side down on the laser cutter bed. This will reduce scorch marks from the laser cutter on the plexiglass itself, and you can peel the paper/plastic off after your snowflakes are cut. If there is no paper/plastic on either side of your plexiglass, you may want to cover the side which will be face down with wide painter's tape, to protect the surface during the laser cutting process.
Experiment with settings and cut your snowflakes. The settings which worked well for me were Speed 6, Power 100, Frequency 100 on an Epilog Engraver WinX64 fusion laser cutter. I started out with the Speed at 12 but the cut did not go through all the way, so I gradually reduced the speed until I found a setting that worked. The thickness of my 1/8" plexiglass was .125" in decimal format. Set the laser cutter on Vector only, and proceed to cut your first snowflake.
It's easy to change the size of your snowflakes. I made most of mine between 2" and 3" wide. I like to use different sizes, materials, and patterns for my laser cut snowflakes, so that no two are identical. Once you have determined the correct settings, you can program the laser cutter to cut many snowflakes from one sheet of plexiglass, and then pop them all out at the end, as in the above photo.
Enjoy Your Beautiful Snowflakes!
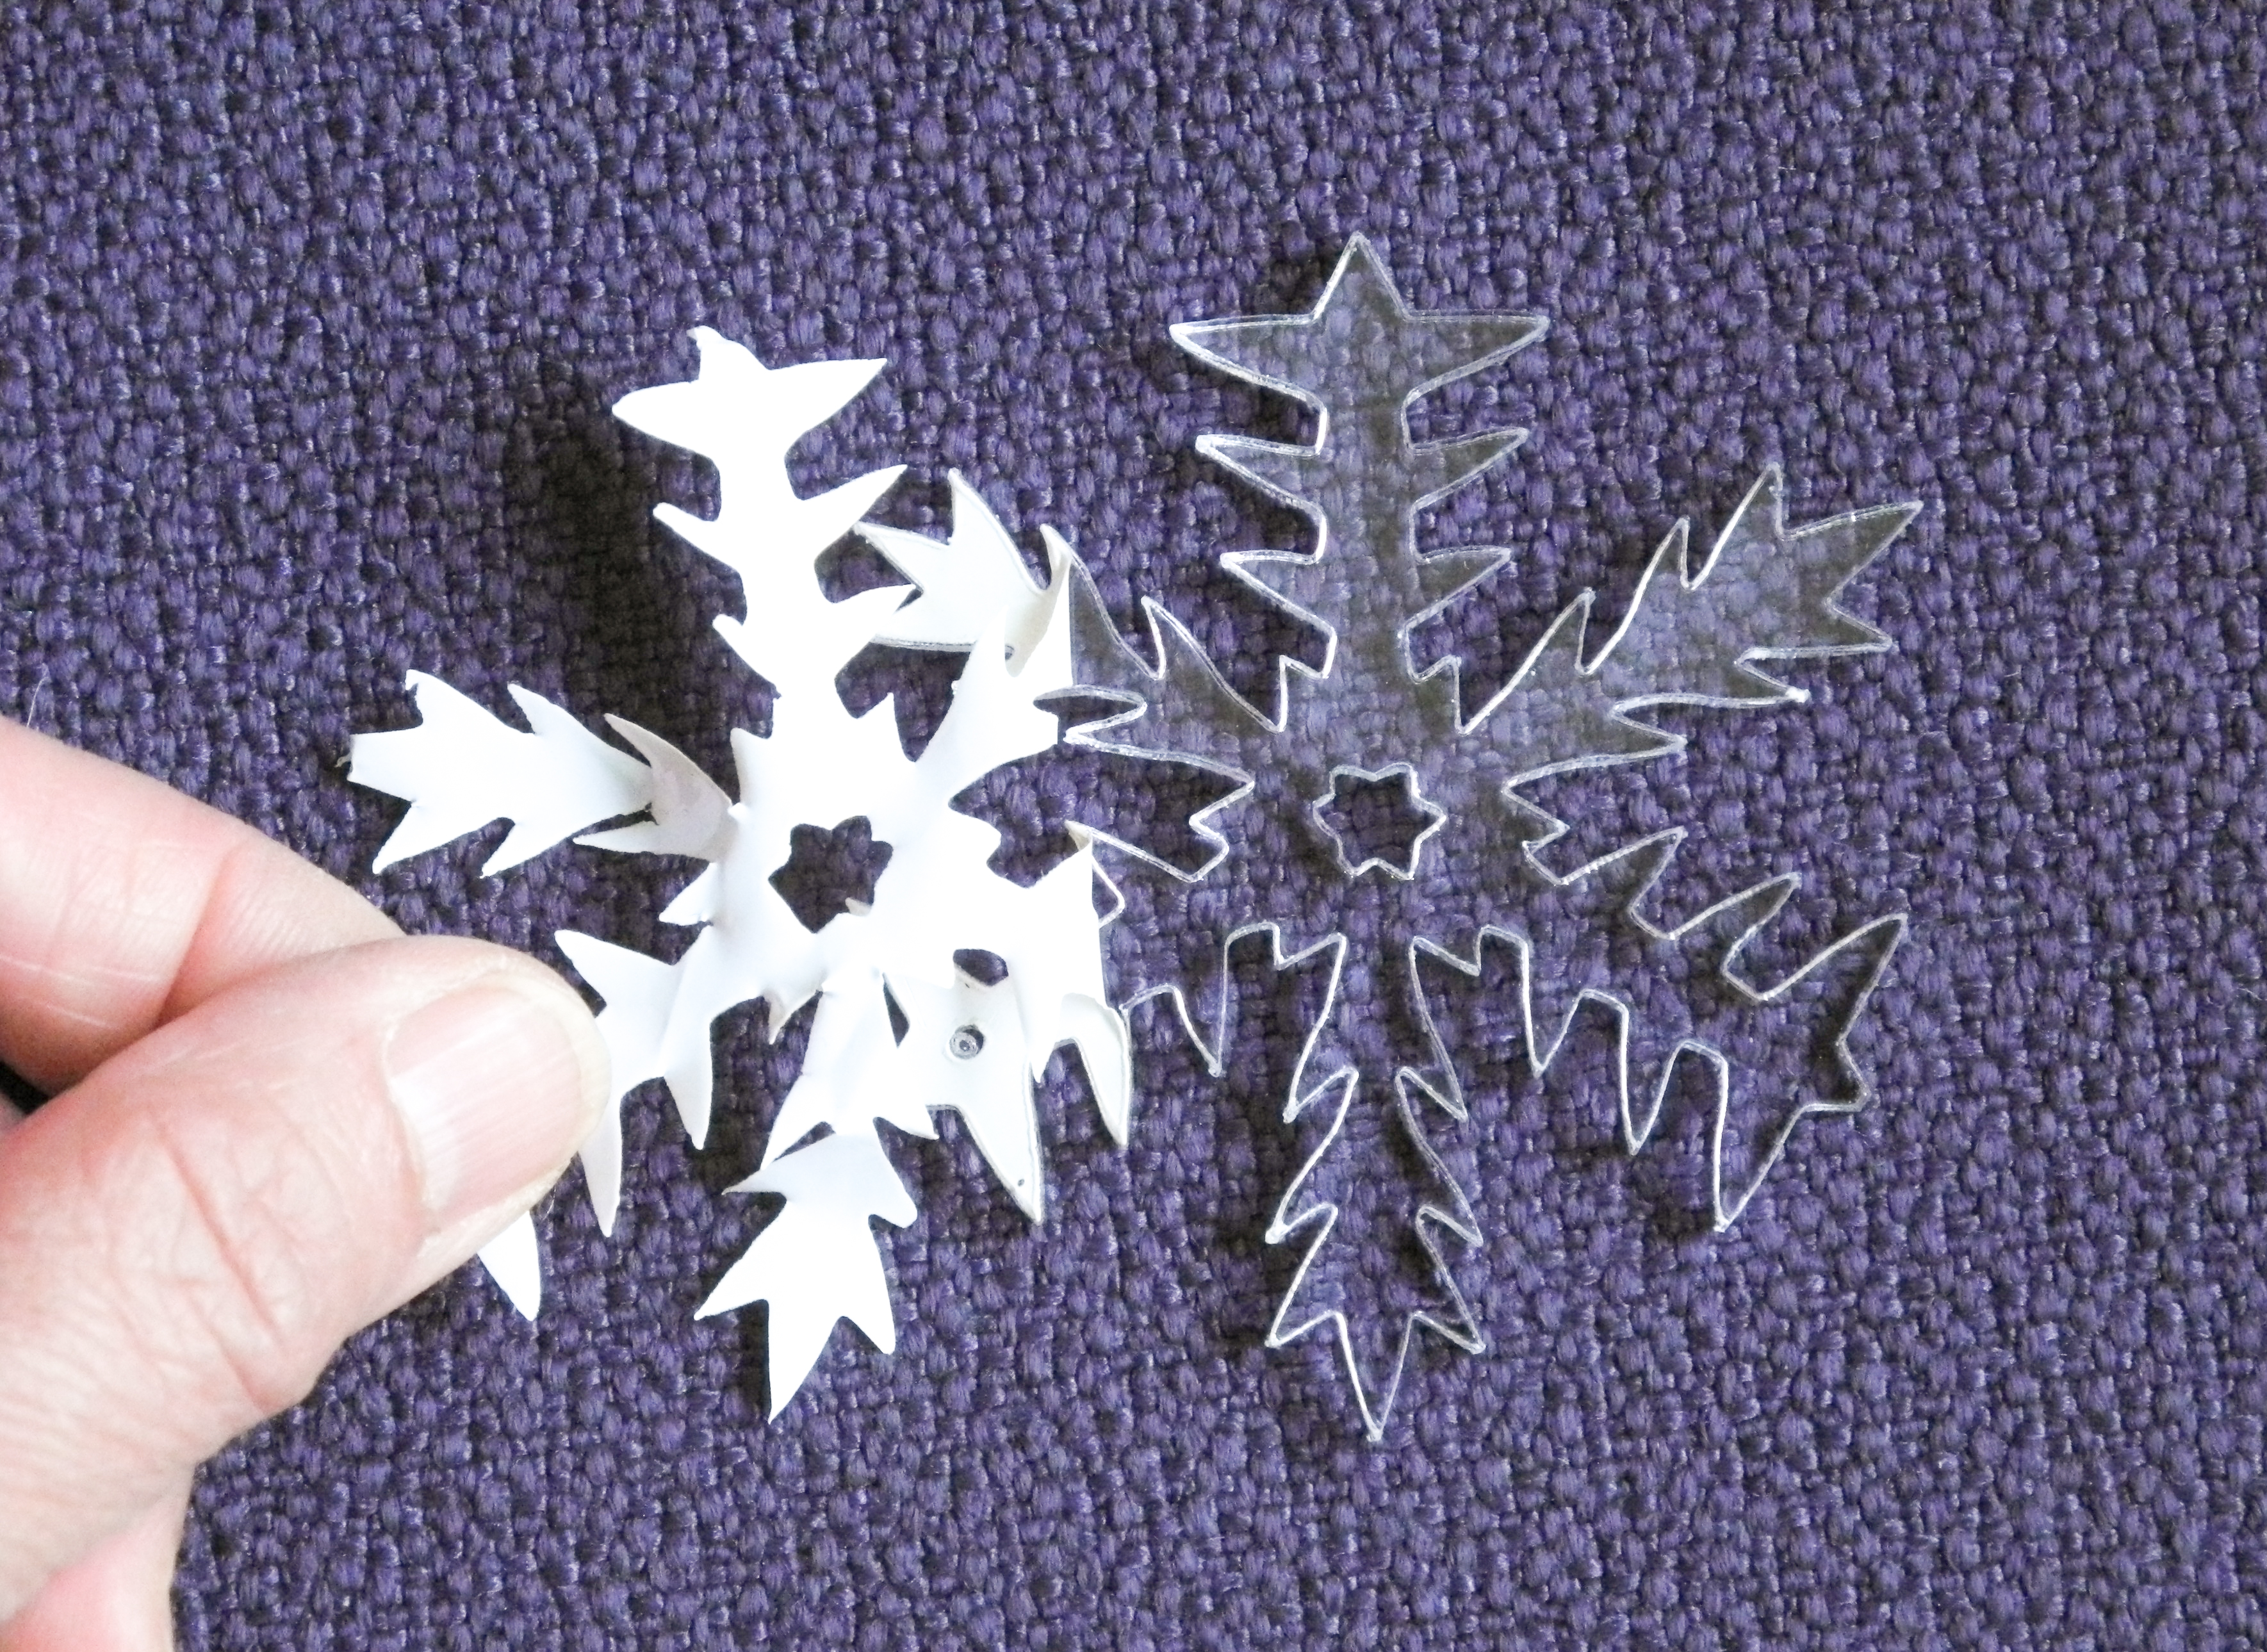
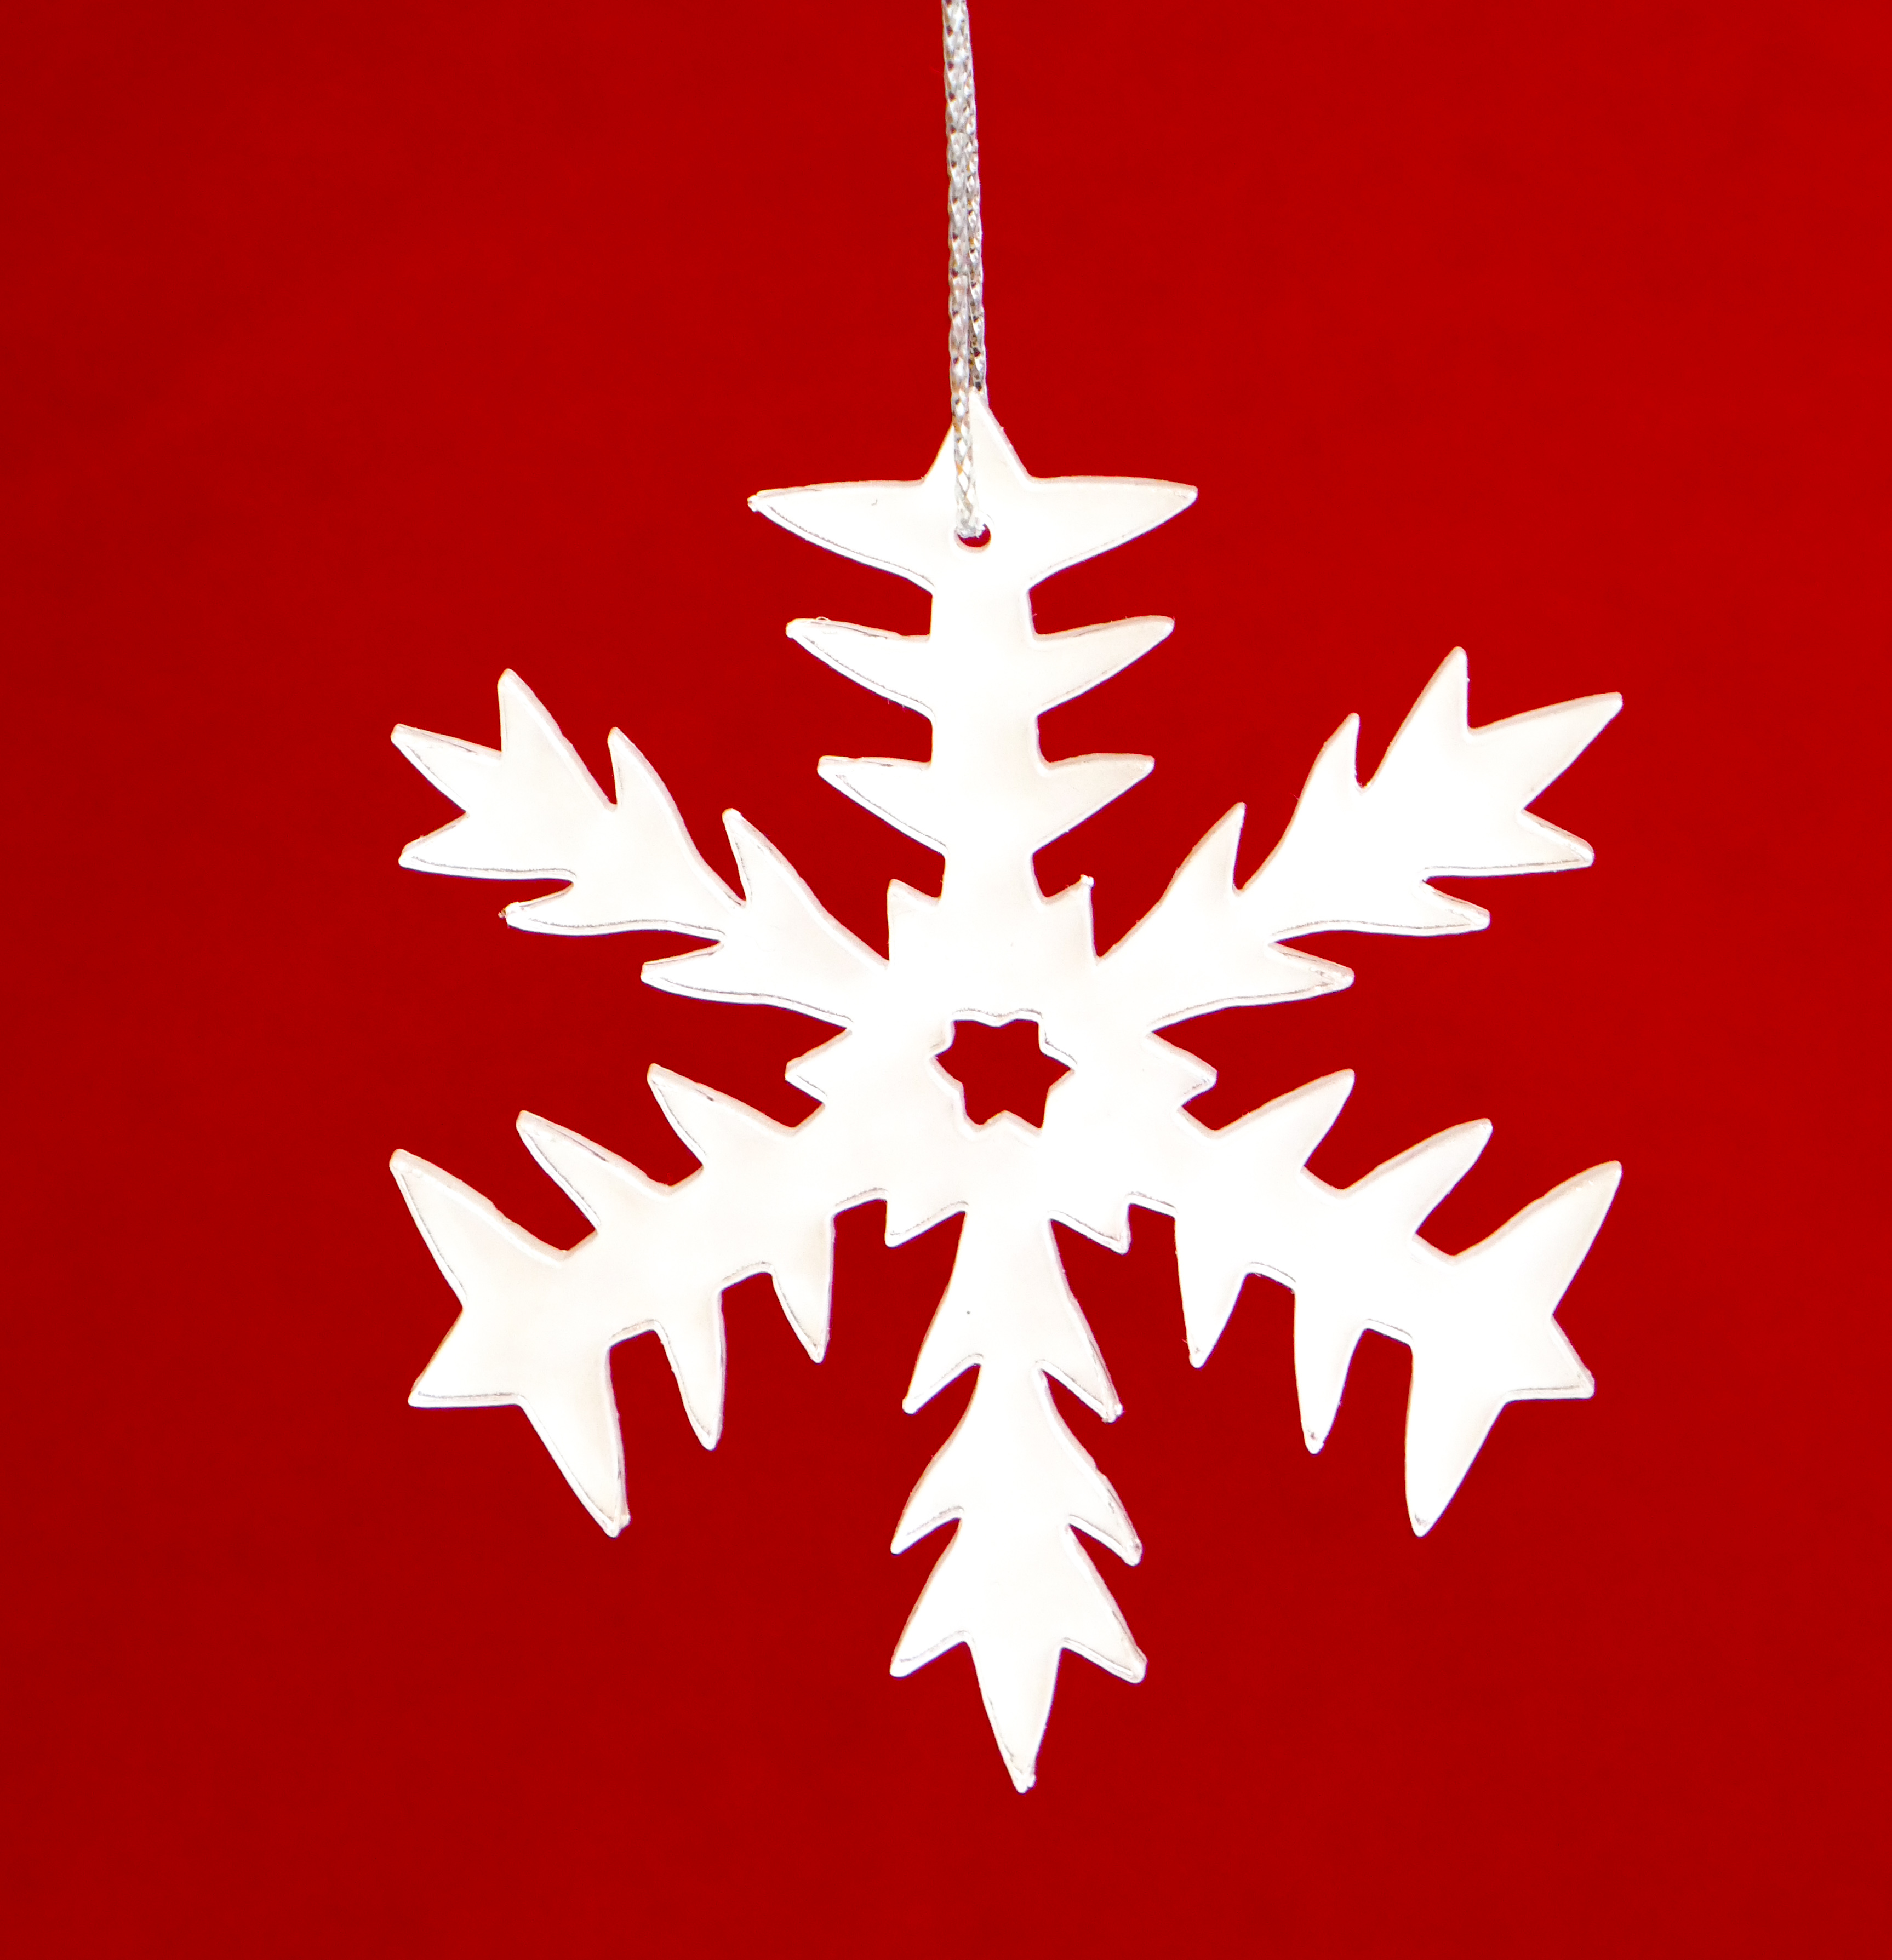
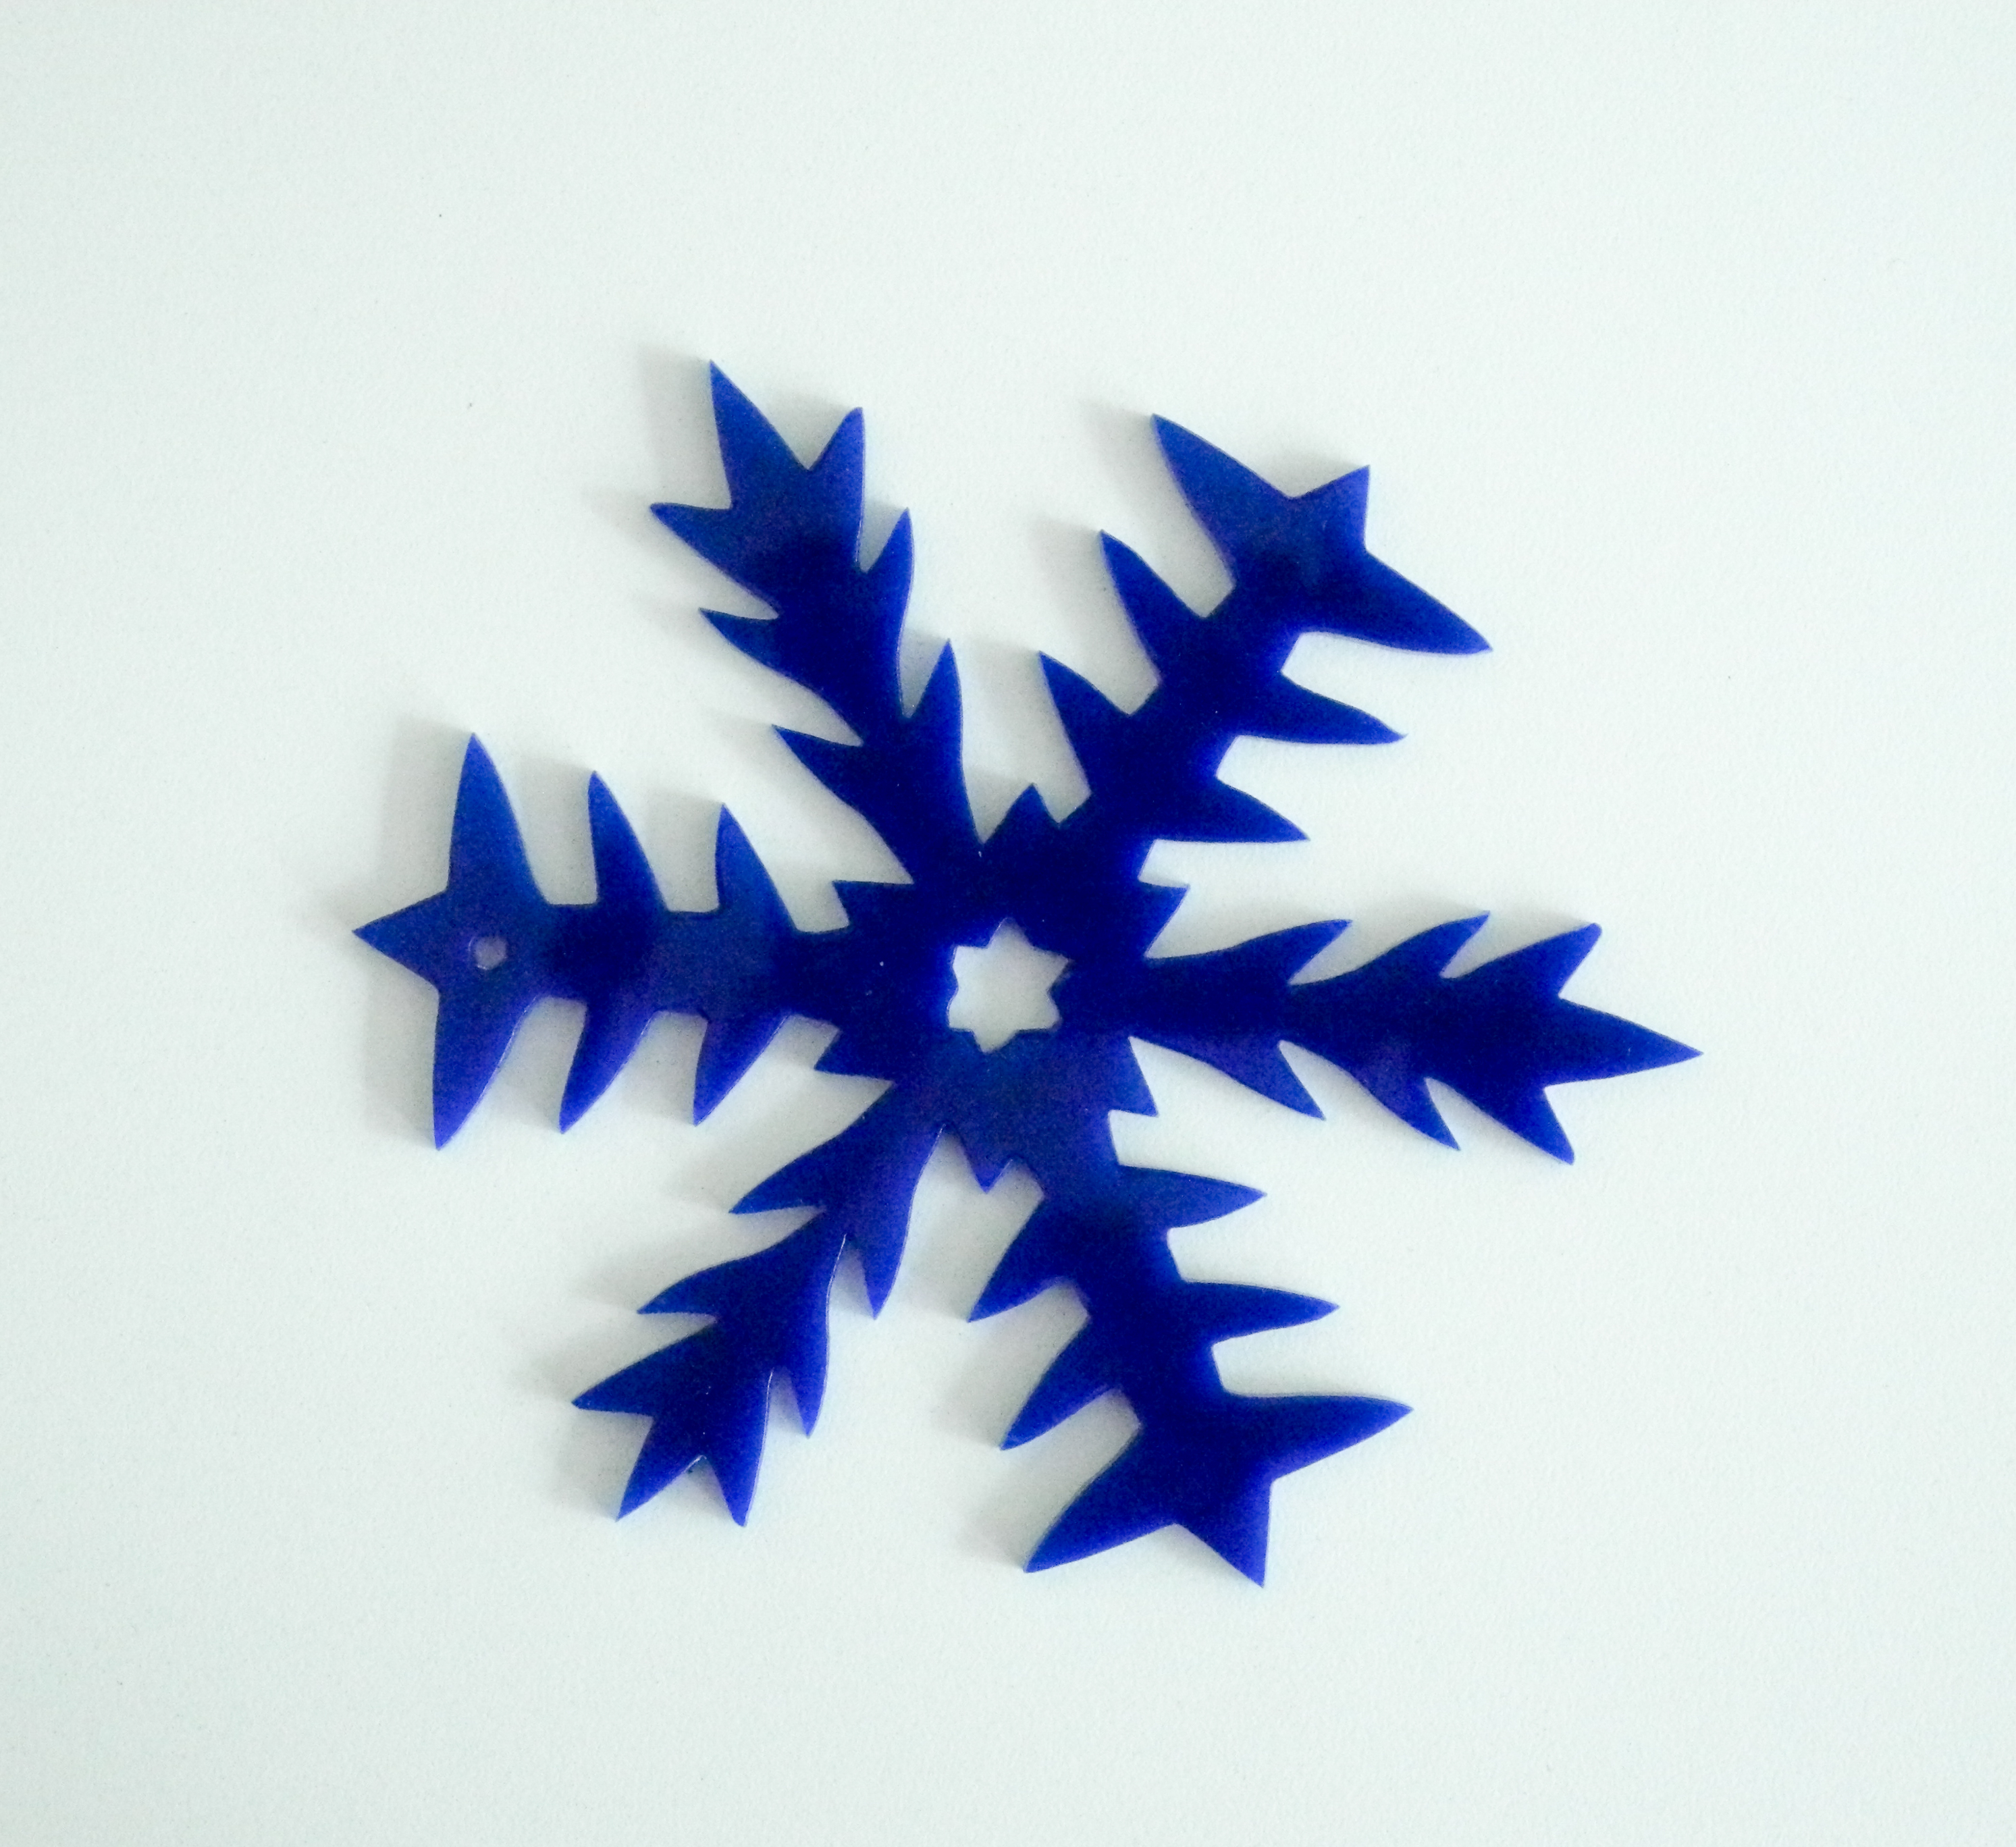
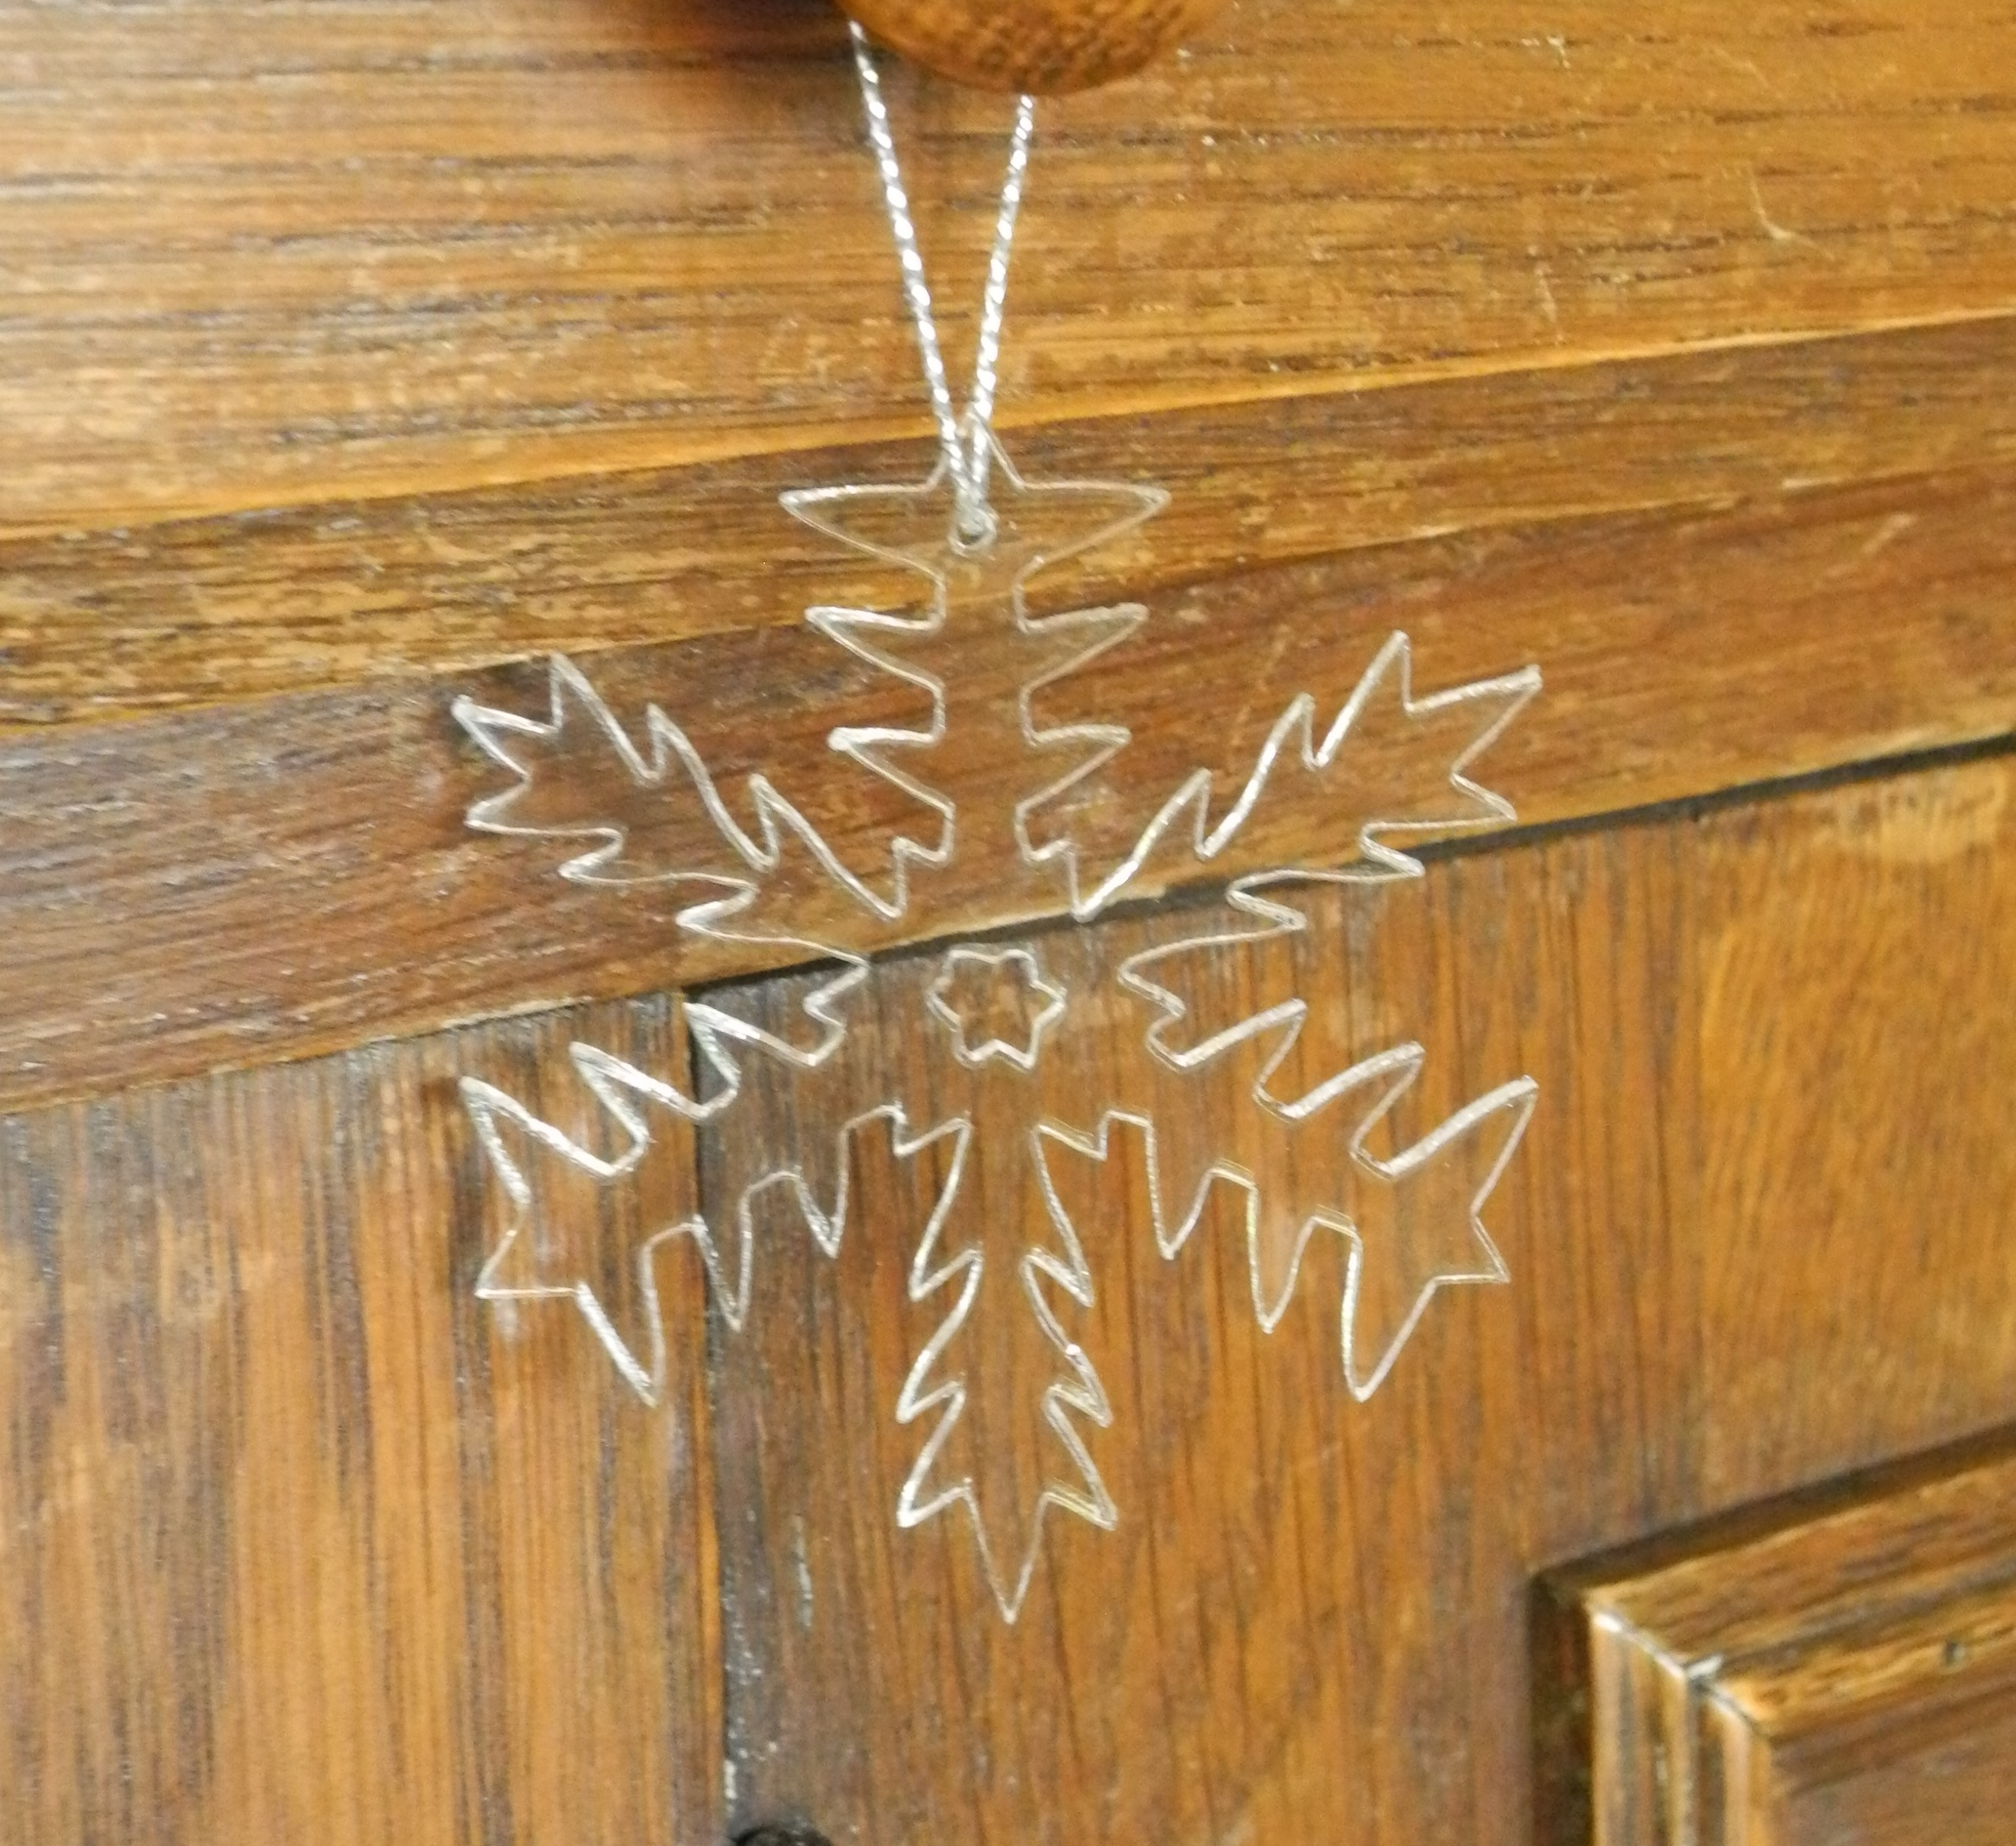
Peel off the paper/plastic from the back of your snowflake. Alternatively, leave the white plastic backing on one side of the snowflake, to get a white, rather than clear snowflake.
Add a thin cord or clear fishing line to make a loop to hang it from.
Enjoy!