Laser Cut Pinhole Camera
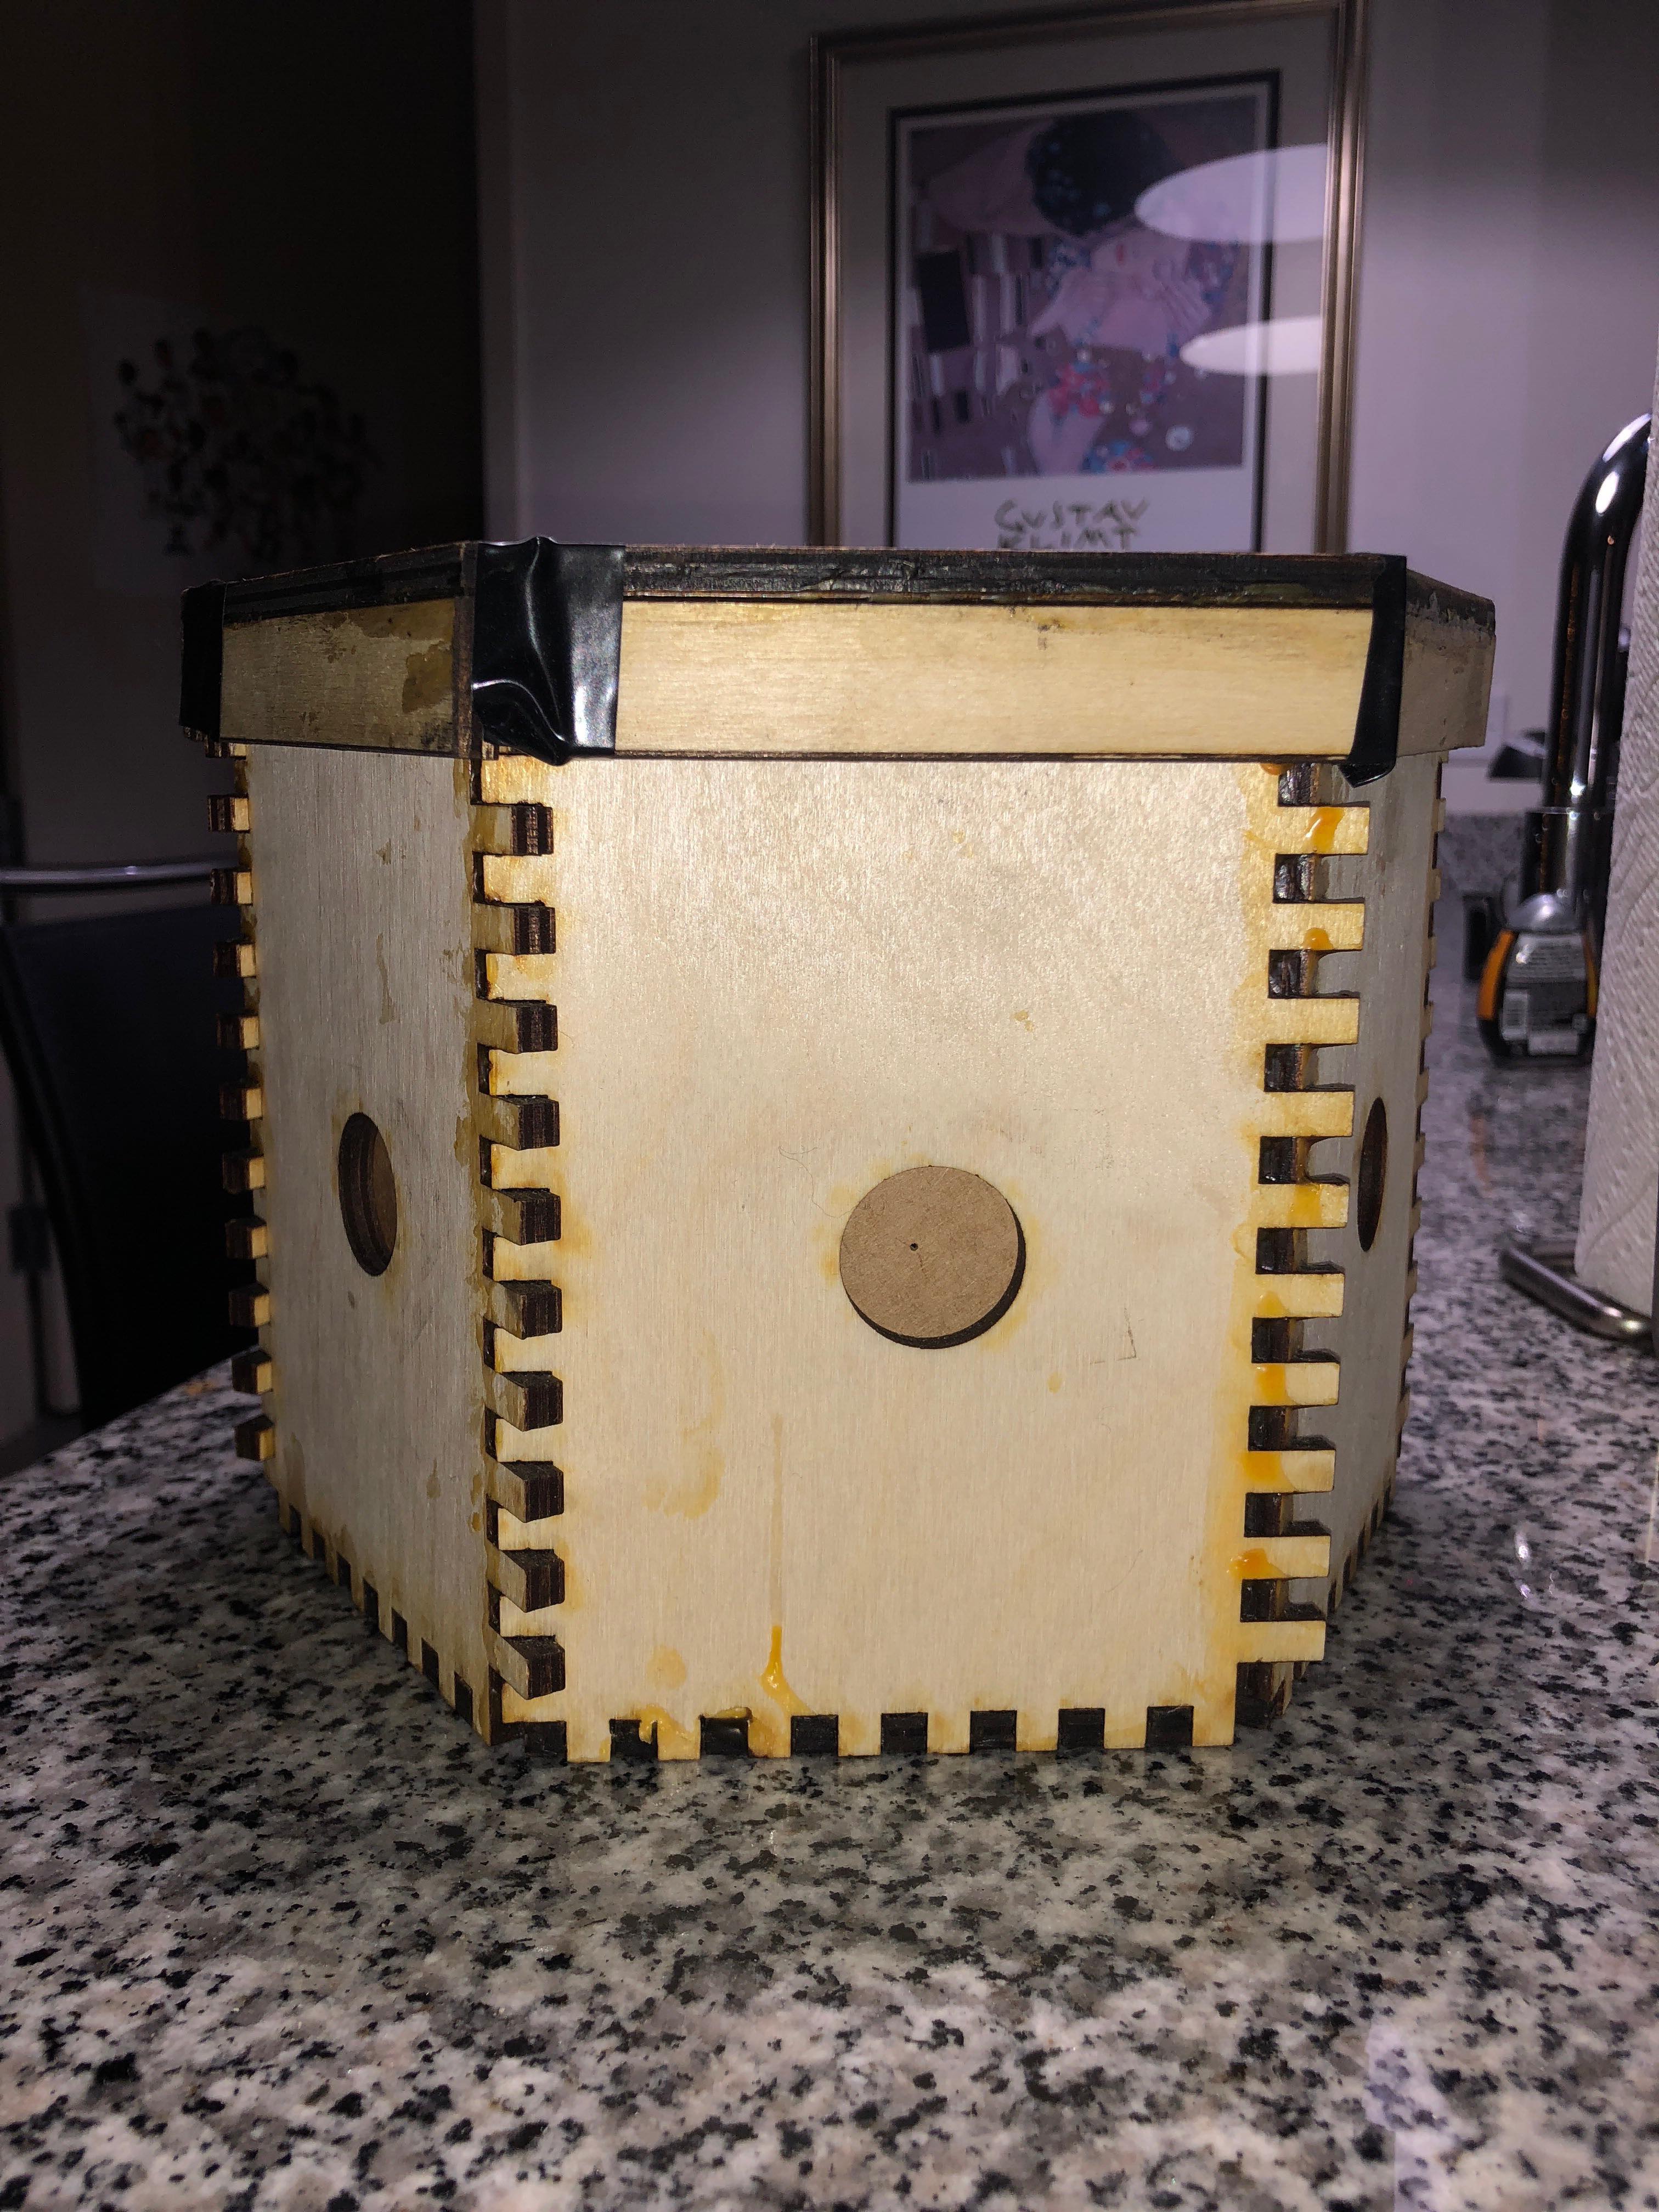
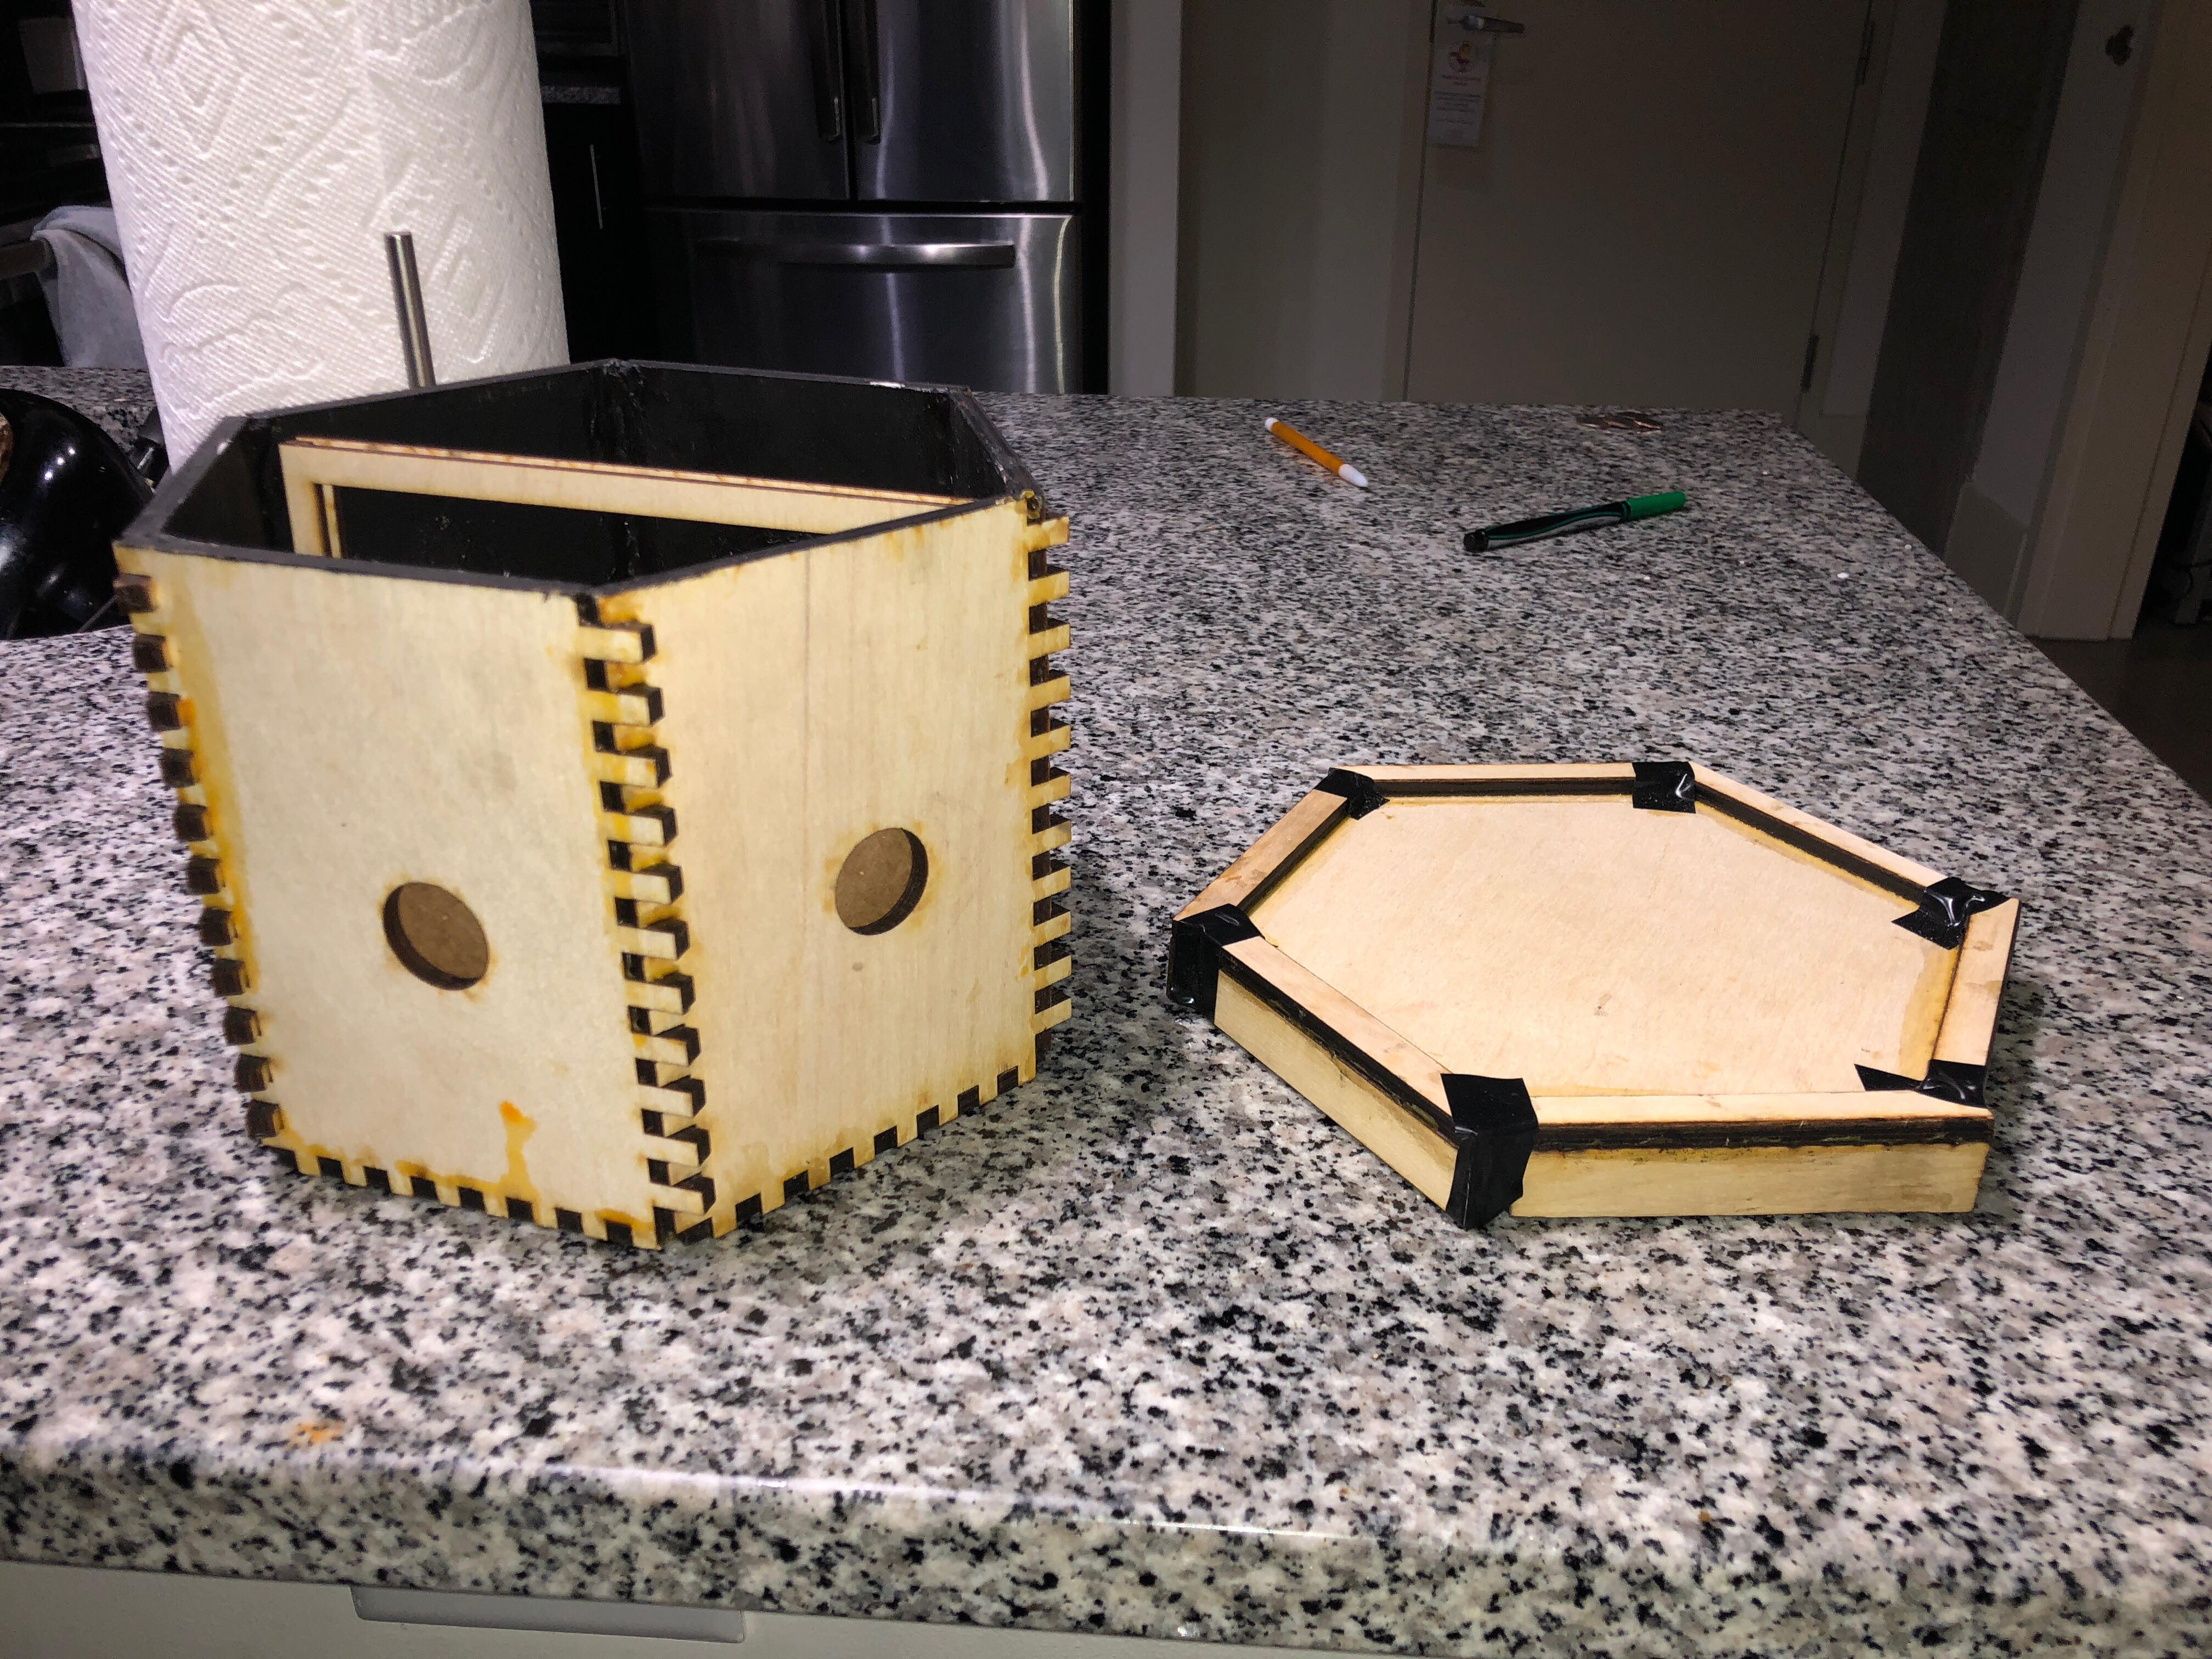
This Laser Cut Pinhole Camera, affectionately dubbed "The Hex", is a remodeled version of a camera obscura. A camera obscura is an ancestor of our modern photographic camera. The Latin name means “dark chamber” as the earliest versions consisted of small darkened rooms with light admitted through only a single, tiny hole. The result was that an inverted image of the outside scene cast upon the opposite wall. By the 16th century, large camera obscuras were used as an aid to drawing where the subject was posed outside and the image reflected on a piece of drawing paper for the artist to trace. Portable versions were built and the introduction of a light-sensitive plate began the foundations of modern photography.
Step 1: Designing a Chamber
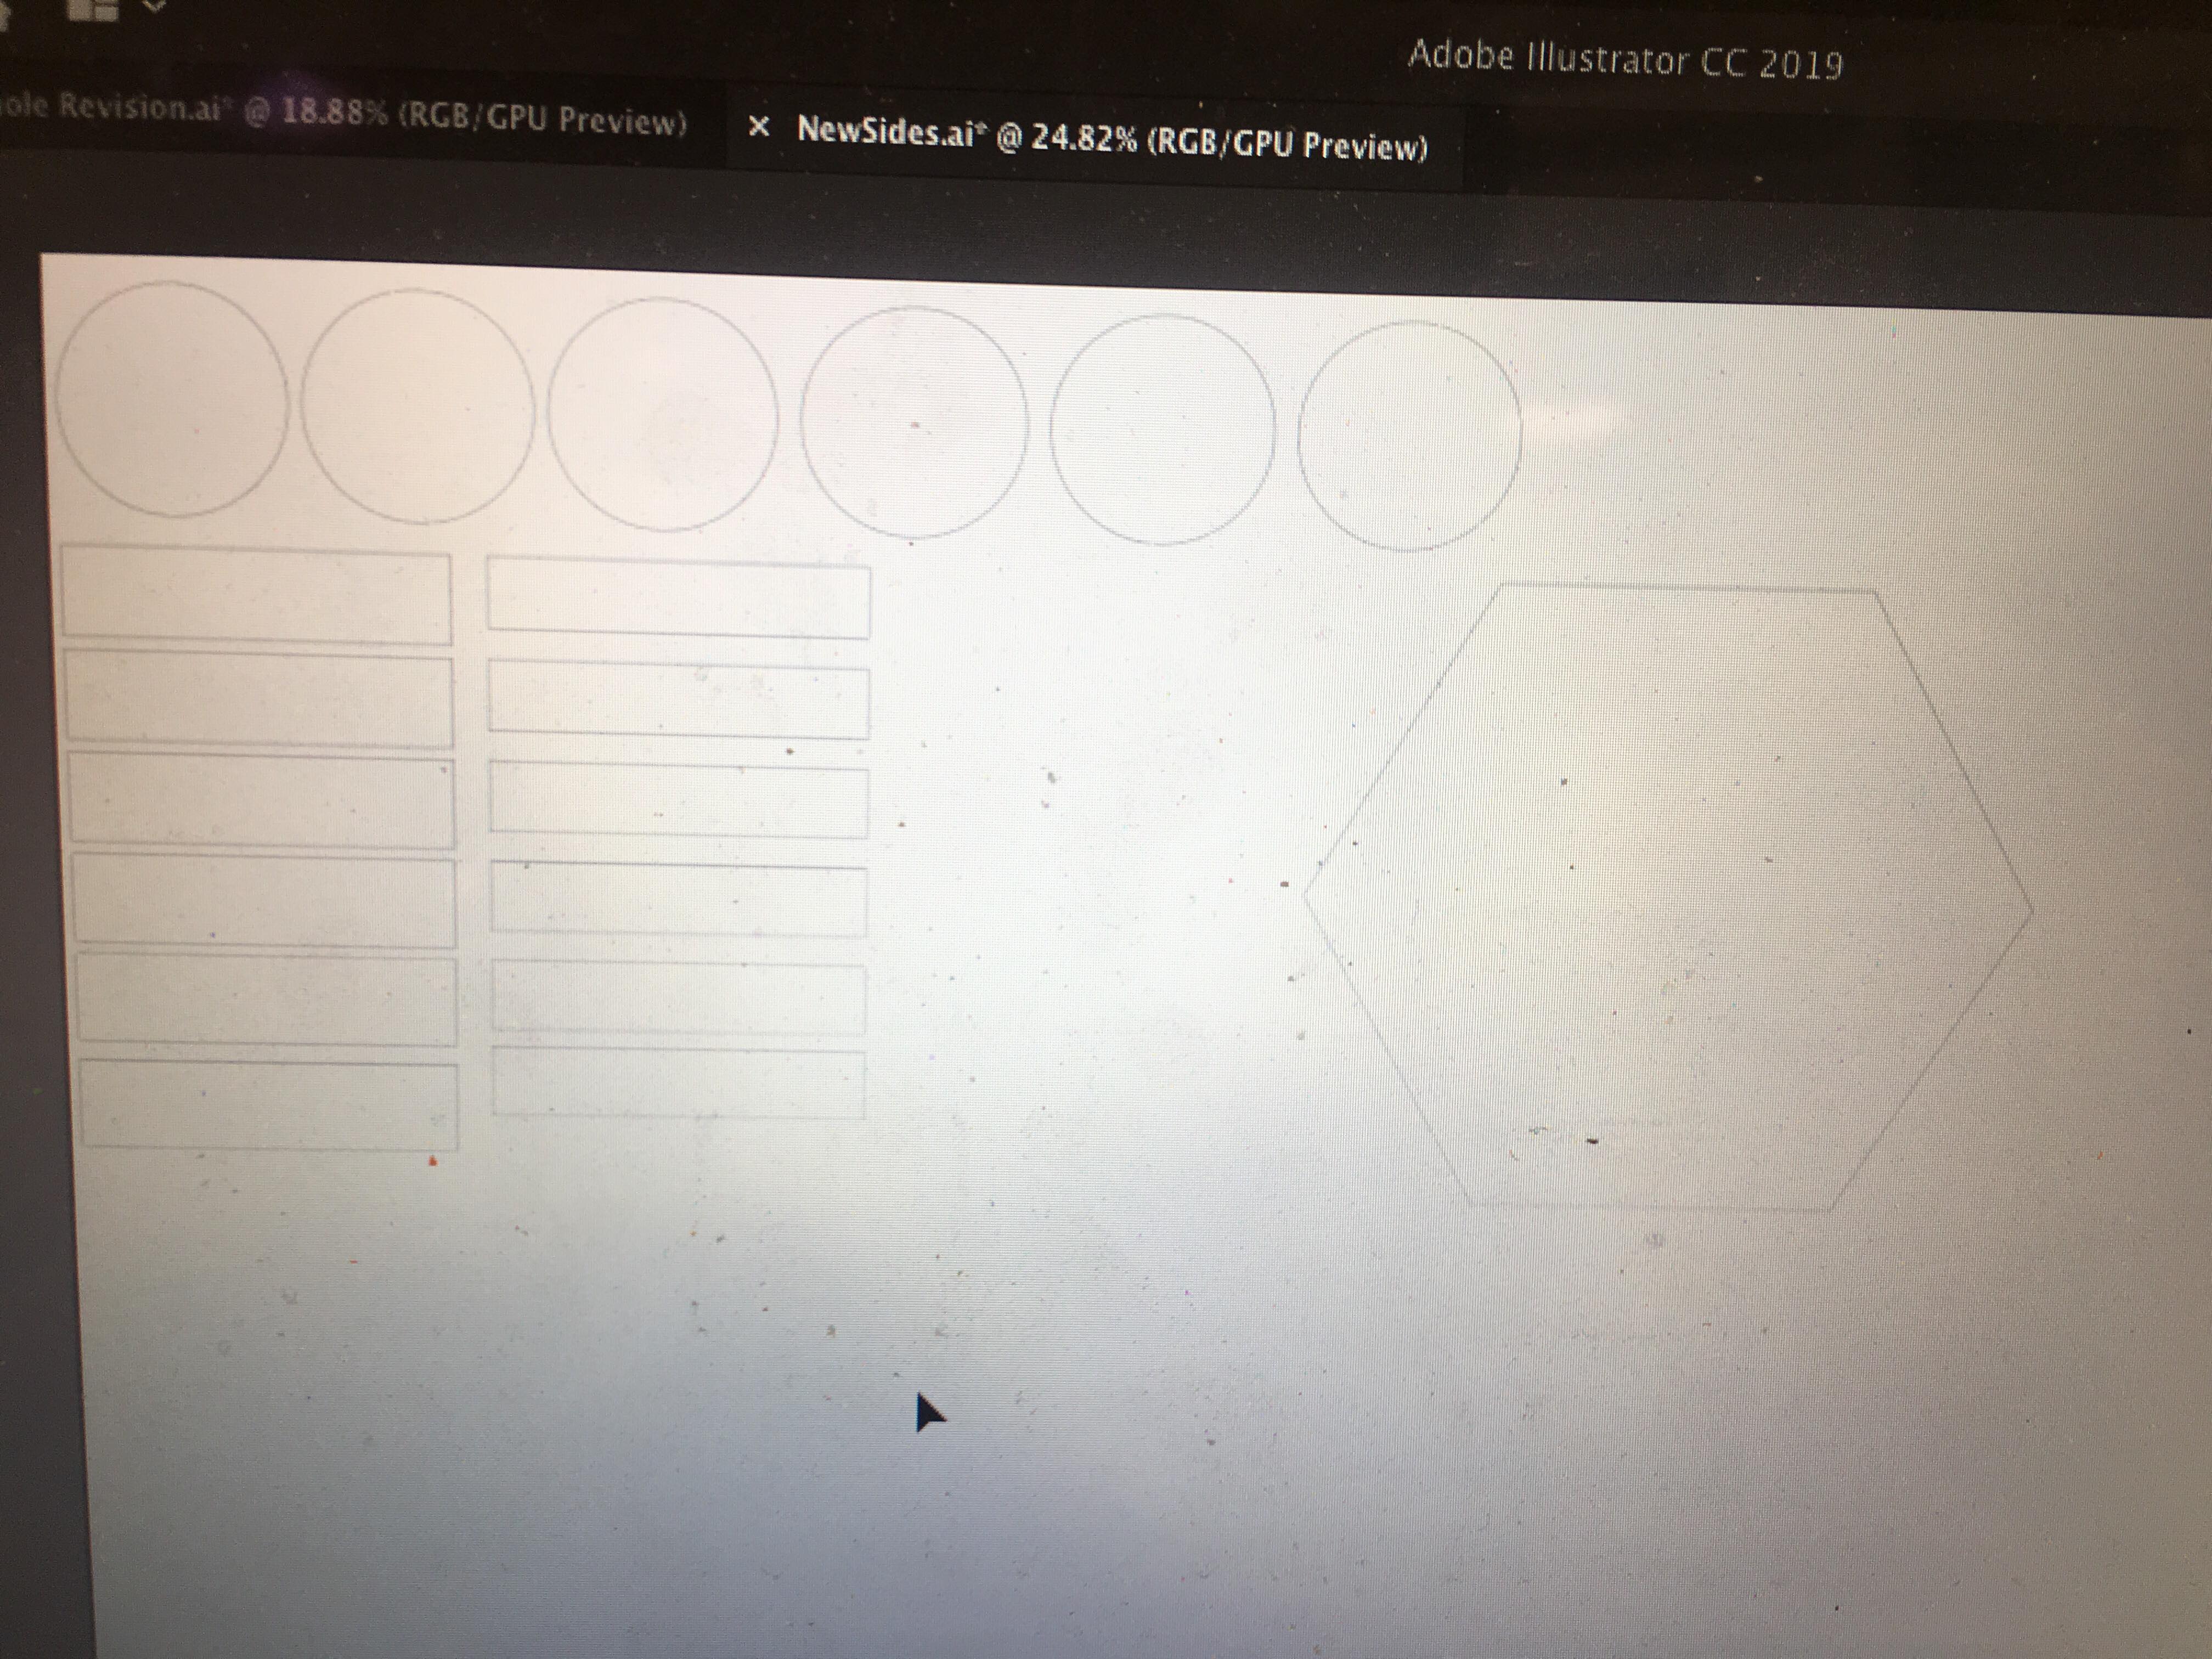
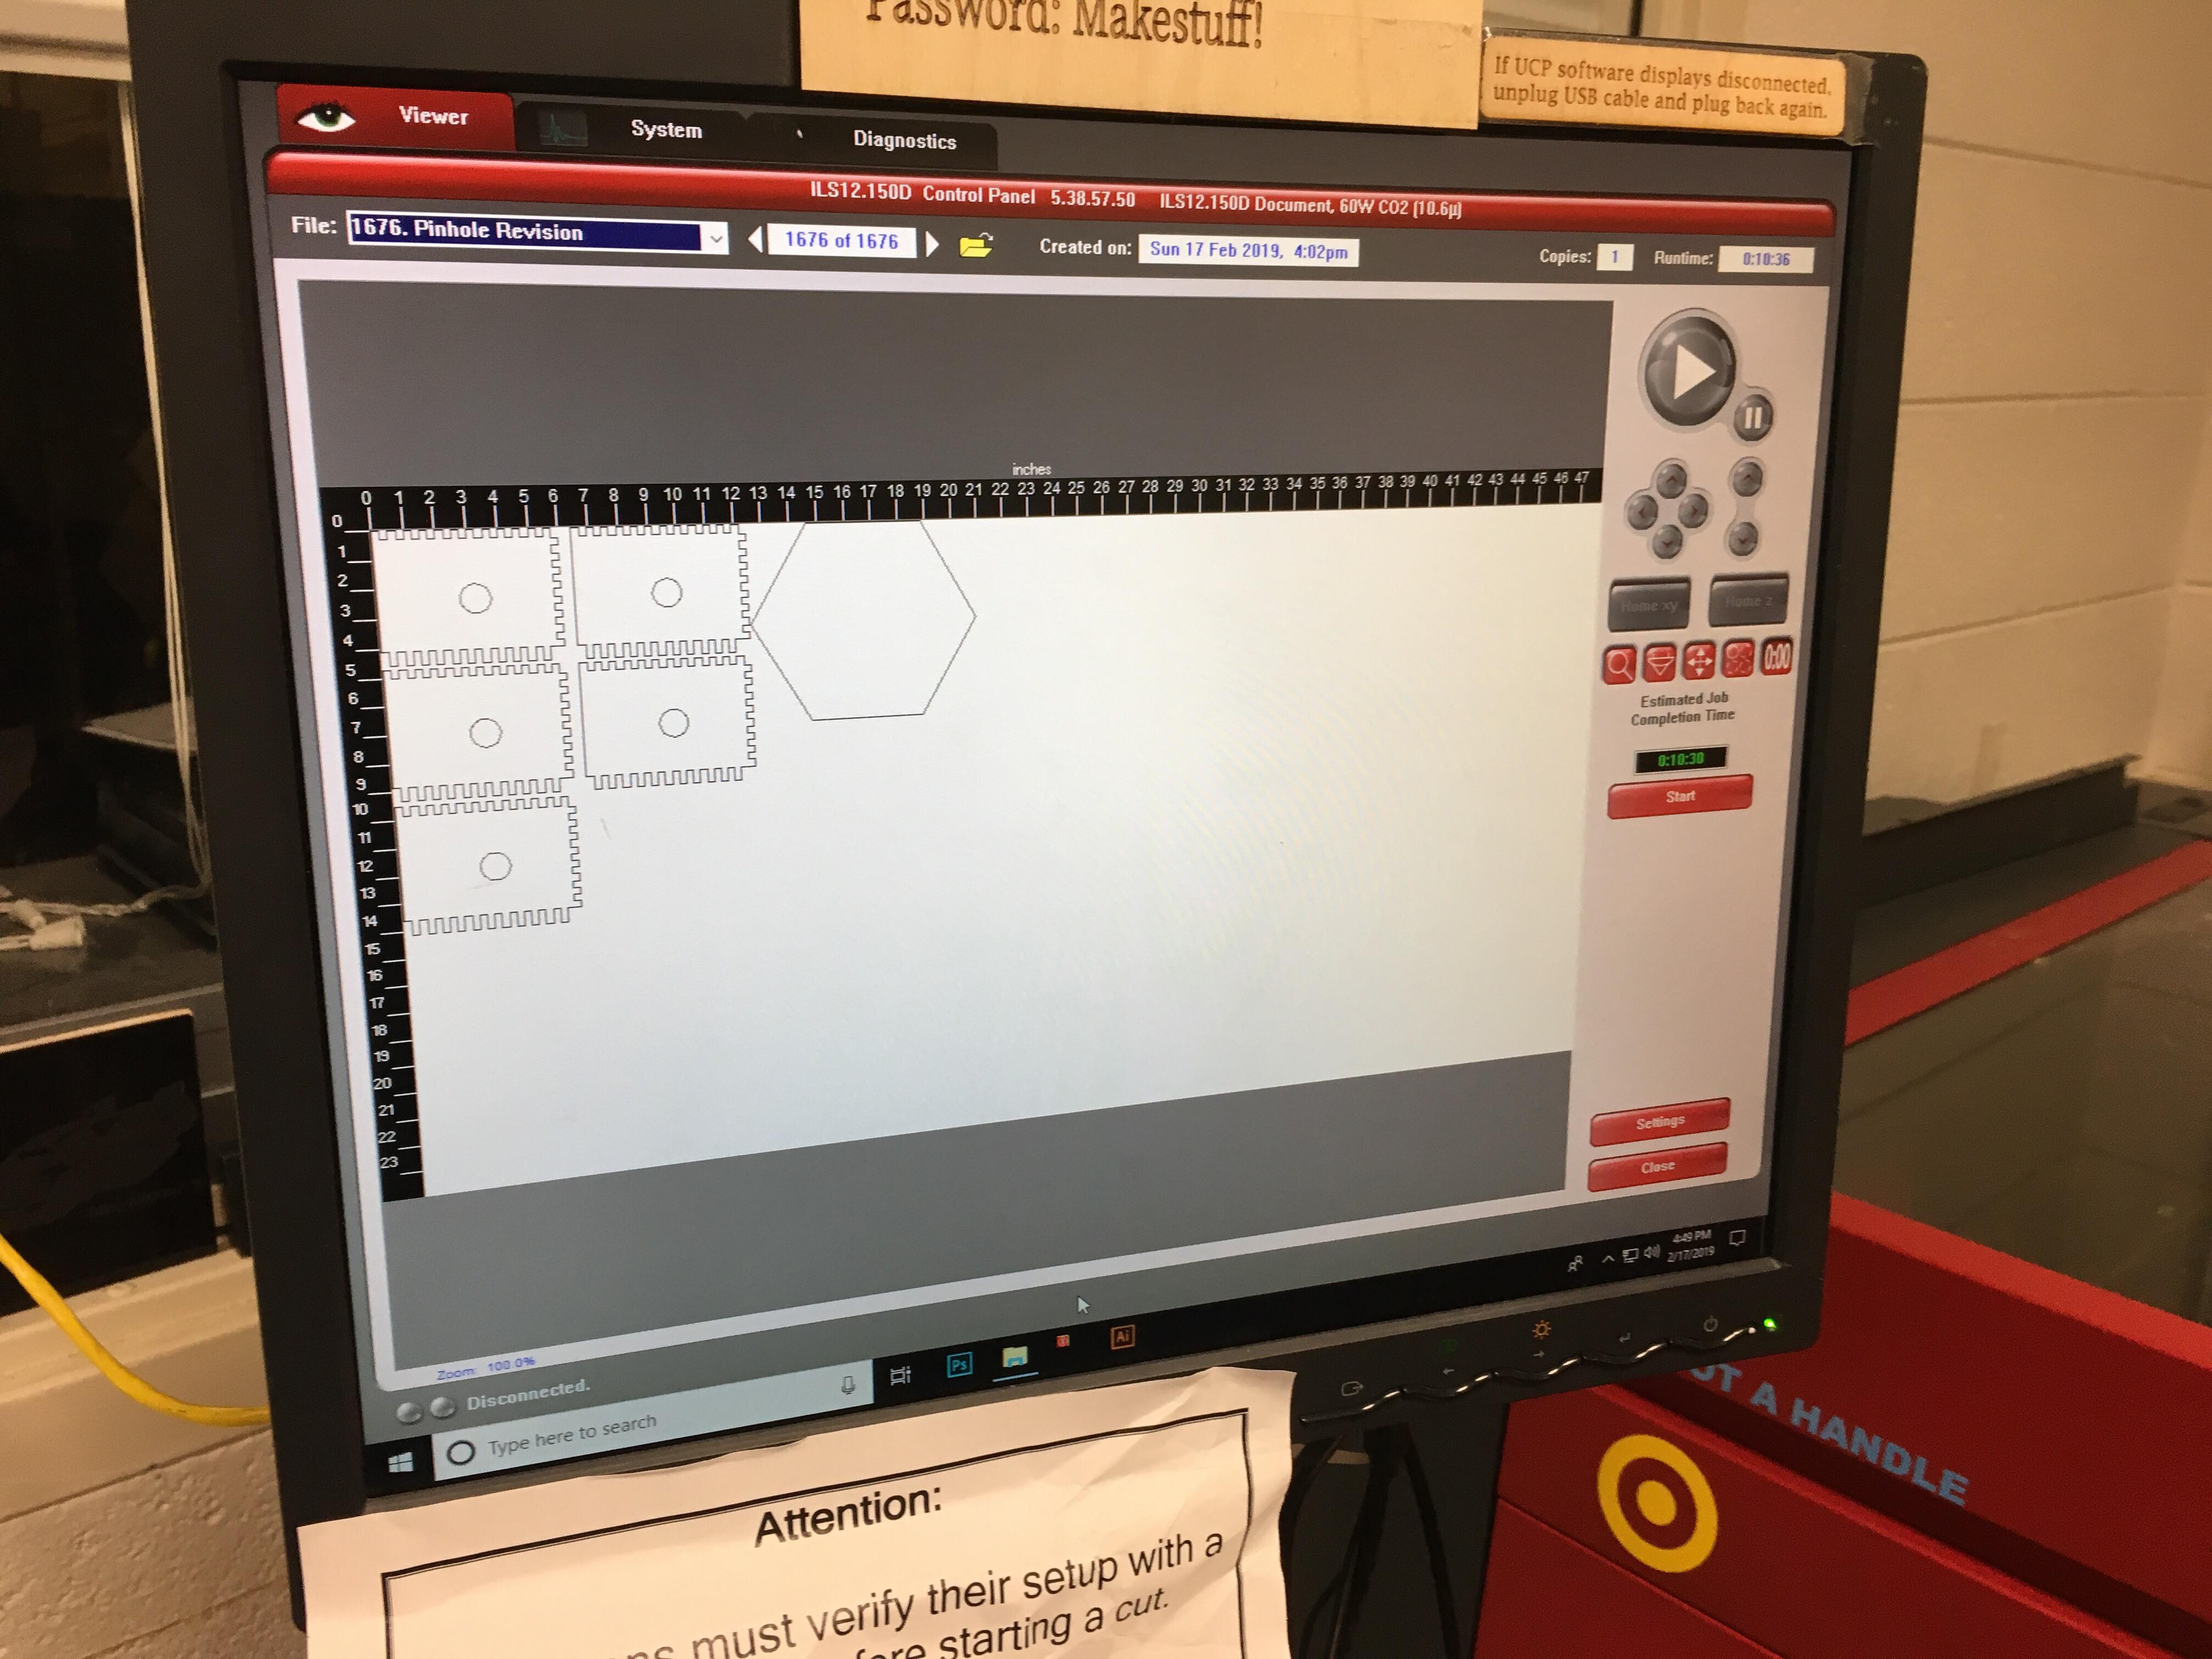
There are several methods to creating a pinhole camera. The key concept to work around is making sure your chamber is light tight and holds your photosensitive paper. Therefore, the Hex is constructed out of 1/4" plywood; rather than cardboard or plastic. The layout for the dimensions and joints of the chamber, lid, and frame were designed on Adobe Illustrator in order for everything to fit seamlessly. The sides of the Hex utilized a tongue and groove method in order to maintain joint integrity. However, when designing a hexagon box in this method keep in mind that the teeth along one edge will need to be longer than the teeth on the parallel edge. Teeth along the bottom edge of each side should be equal to the width of your wood. Also, add a circle cut out to each side that you would like to have a pinhole. Make the circle the size of a quarter or larger. The Hex's lid is equivalent size to its base but without added grooves. To compensate for light leaks, create a skirt from rectangles that will cover the seam between the lid and the chamber. The Hex is also accompanied by a frame to snugly hold a piece of photo paper. The frame is cut from 1/8" plywood.
Step 2: Construct the Chamber
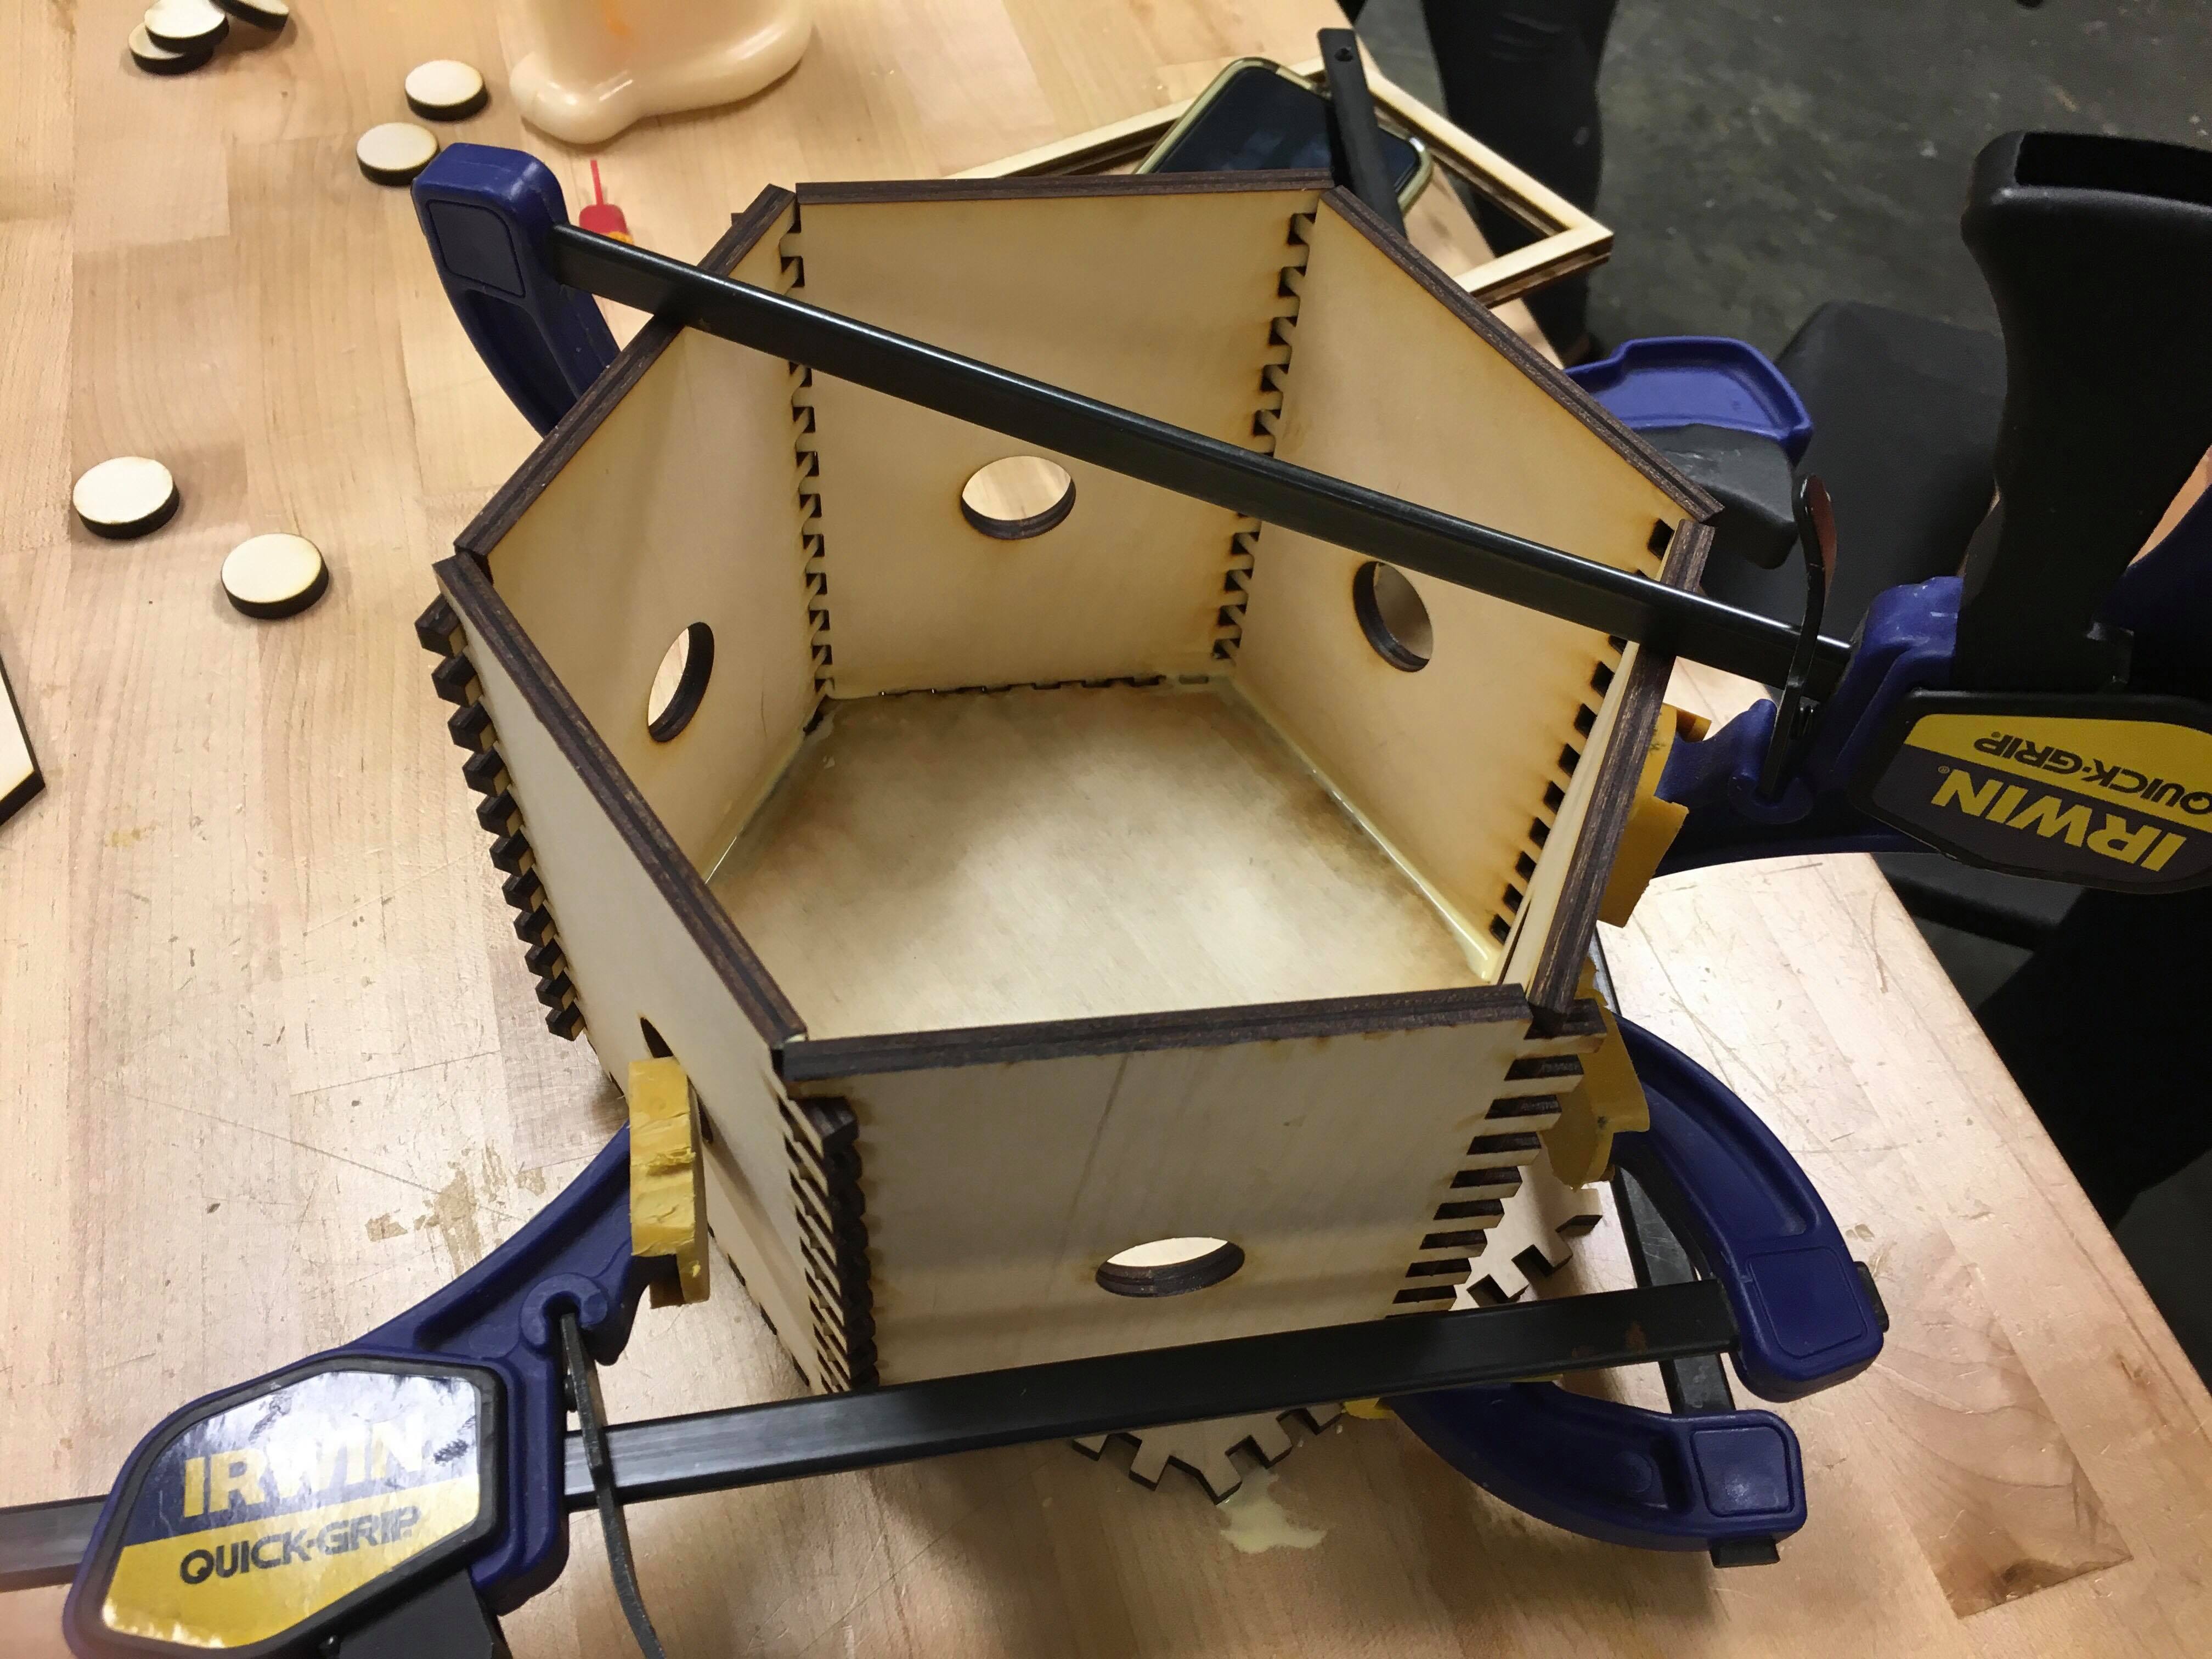
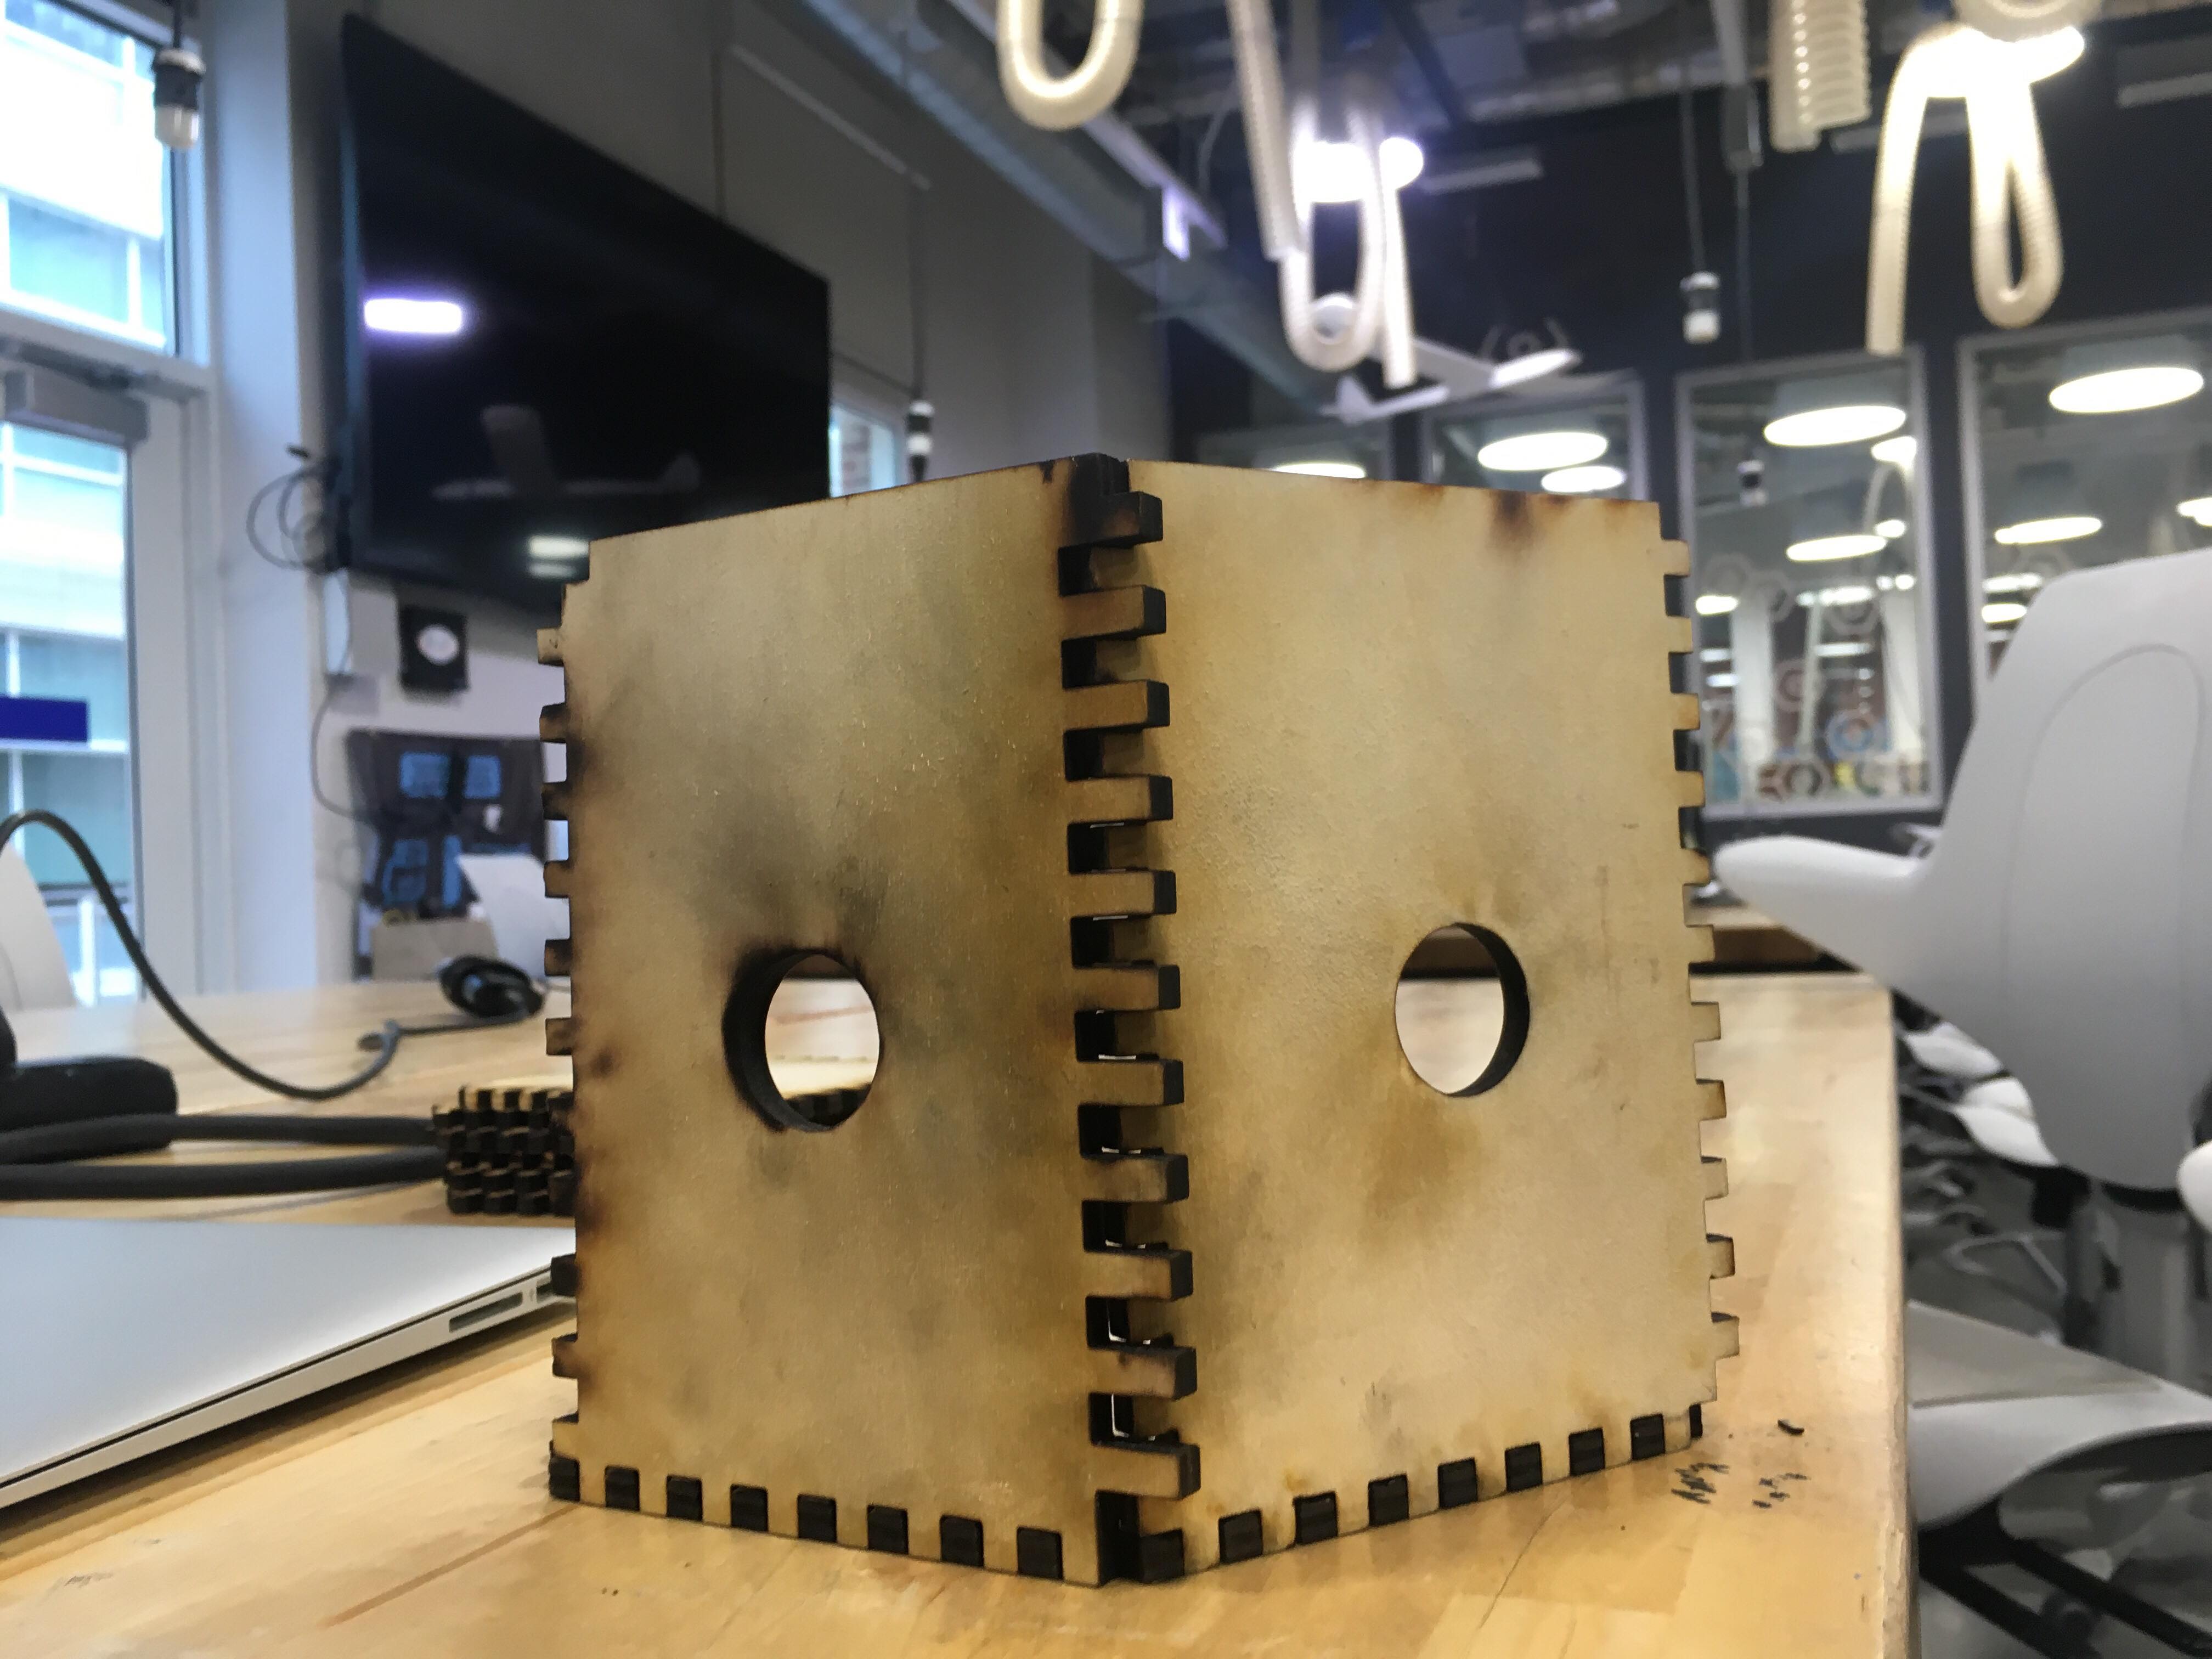
After laser cutting the individual components of your chamber, frame, and lid, they need to be assembled. The groves on the sides should fit snugly together, but they will not hold on their own. After assembling the pieces use a clamp to hold them together. Then squeeze wood glue on every connecting edge and smear excess wood glue into the space between joints. Let dry. Hold on to the cut out circles. They will be used as shutter covers once the camera is functional.
Step 3: Refine the Inside
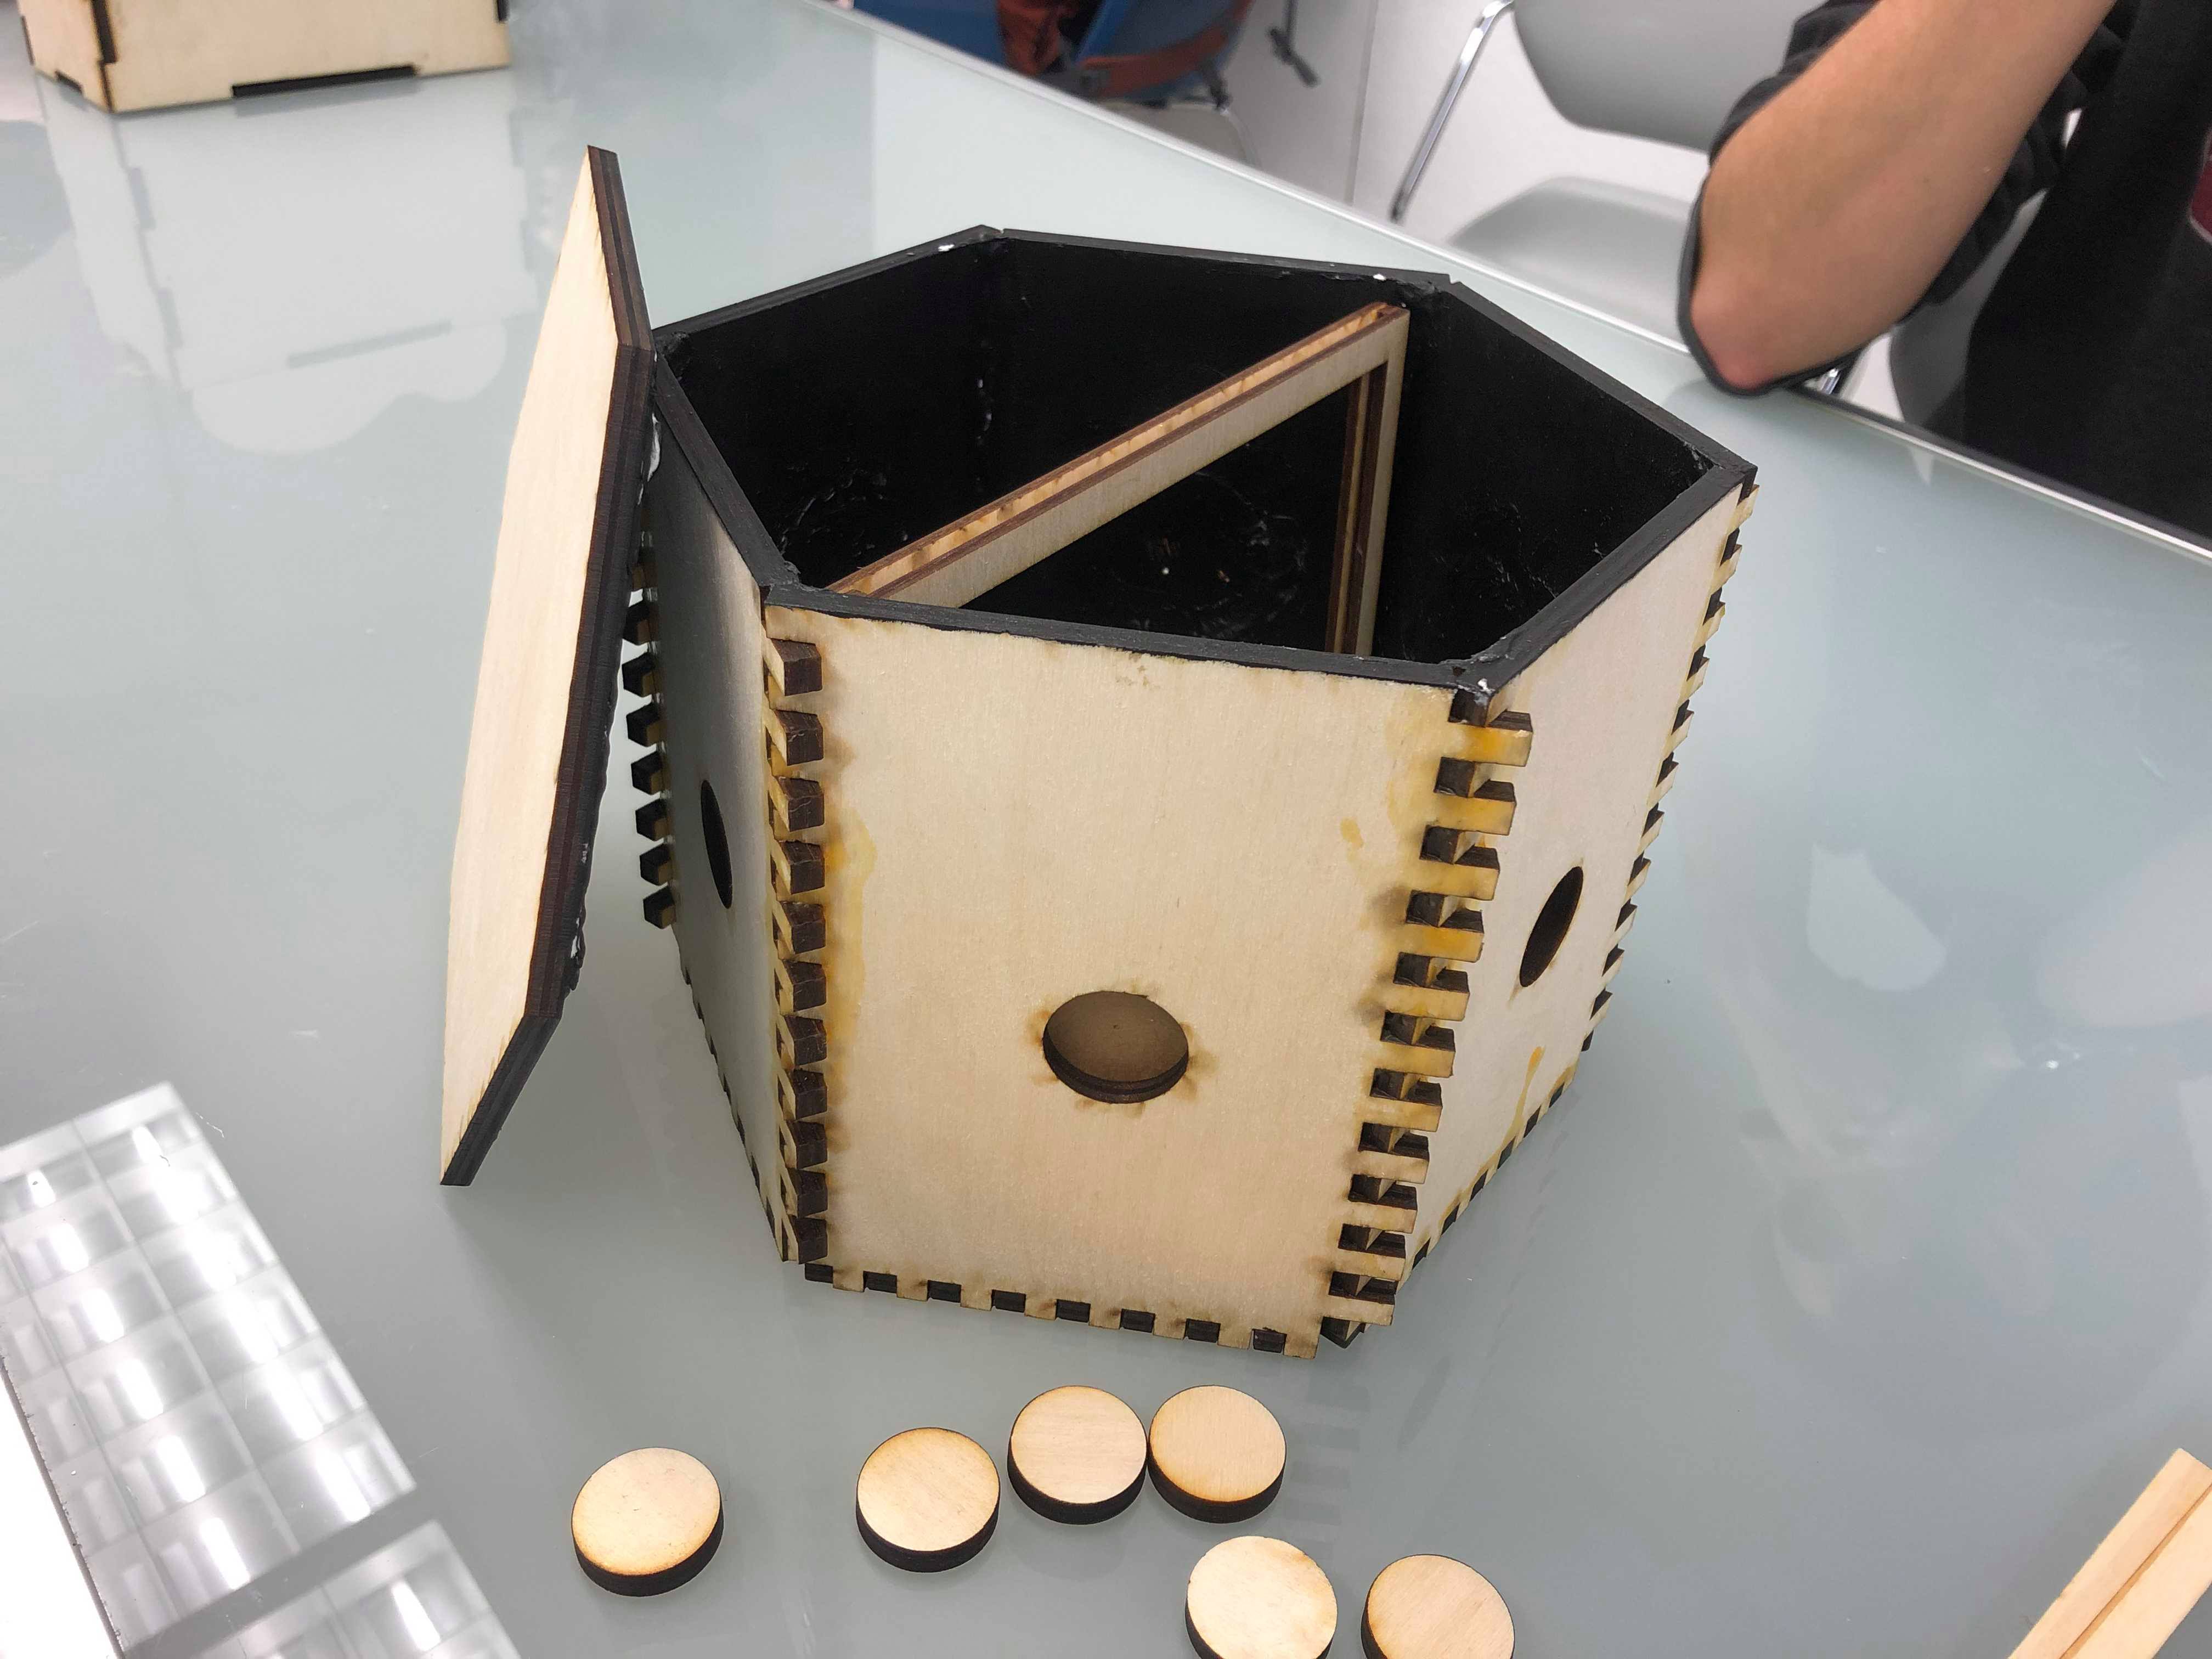
Now that the wooden components are assembled, the pinhole that will allow a controlled beam of light to enter the chamber needs to be created. Cut a circle from a stiff cardboard that is roughly larger than the circle cut out from each side of the chamber. The Hex used cardboard from a soda can box. Use electric tape or hot glue to seal the cardboard to the inside of the chamber behind the cut out hole. Then, poke a hole in the middle of the circle with a push pin. The larger the push pin, the more light will be let in and the quicker images will be exposed onto your photosensitive paper.
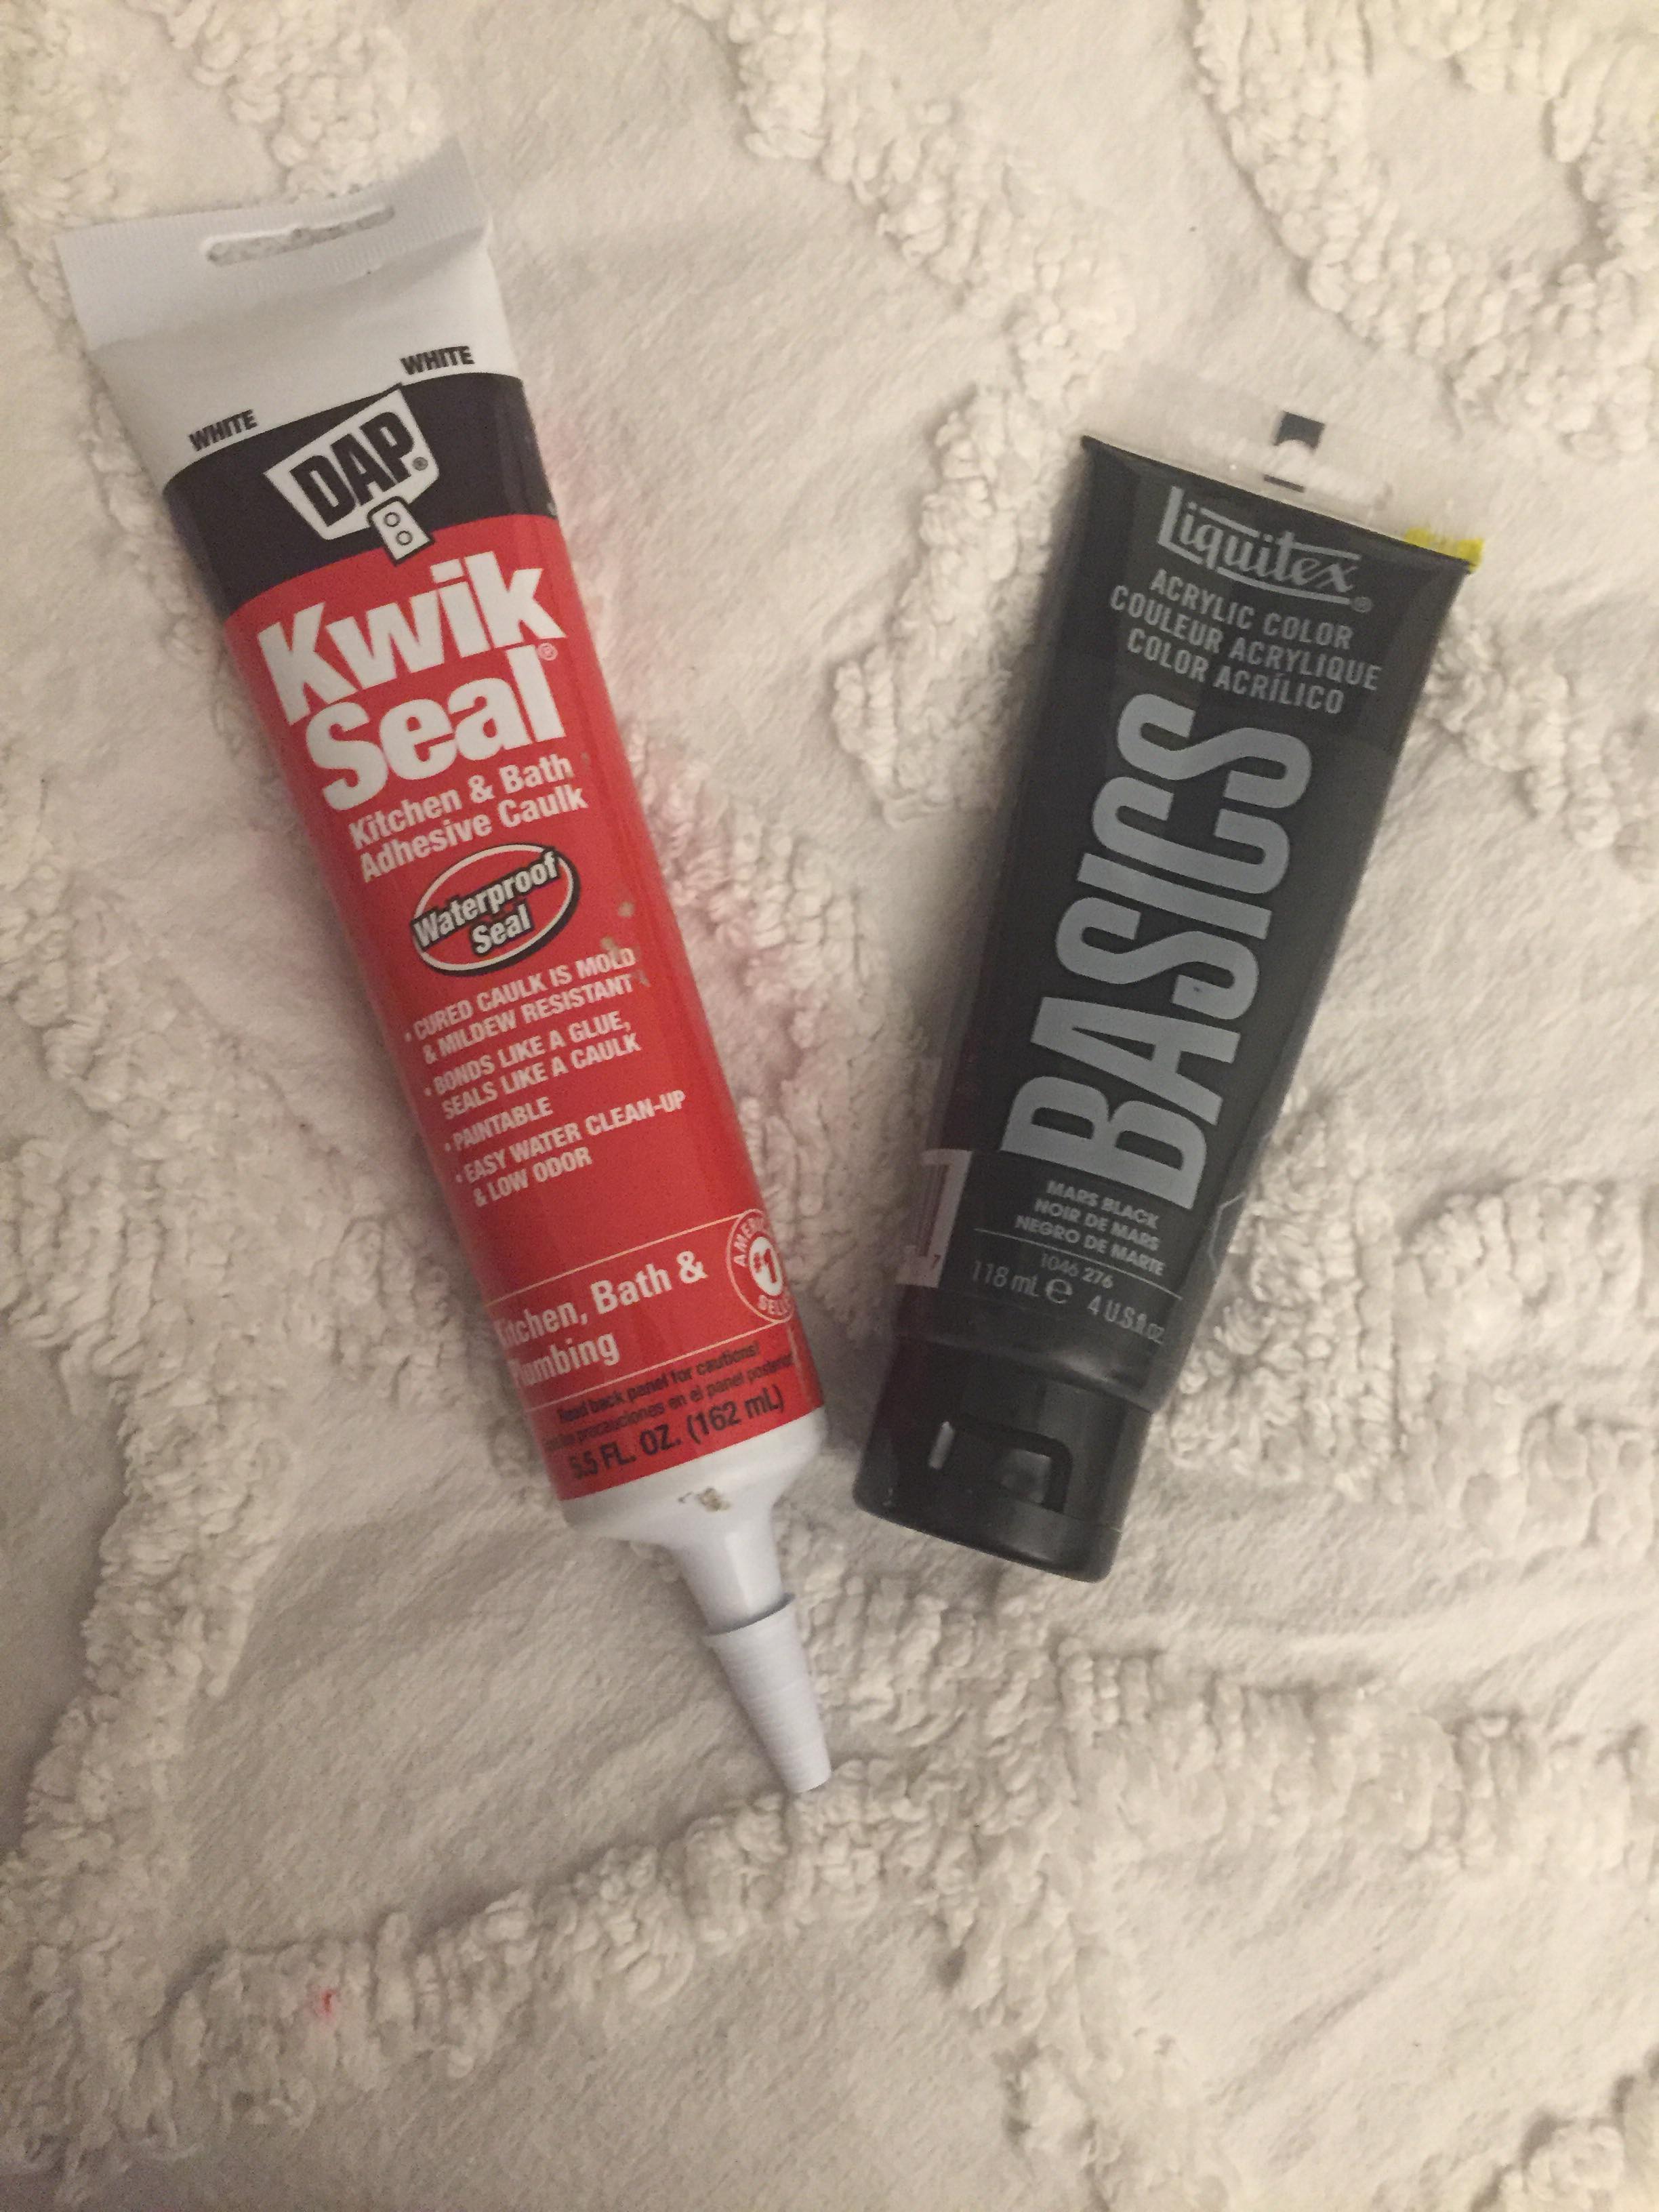
Next, the structure needs to be refined so that it is 100% light tight. This will require black acrylic paint and caulk. First, squeeze generous caulk into the every seam on the inside of the box. Use your fingers to smear the caulk into every joint. Let dry and repeat with another layer of caulk along each seam. Additionally, smear caulk onto the edge and center of the inserted cardboard circles, but do NOT cover up your pinhole. Smearing caulk on the cardboard is an extra precaution to insuring light does not leak through this thin material. Now, paint the inside of the box with a coat of black acrylic paint. The black acrylic paint prevents scatter of light should it enter the box.
Step 4: Take Pics!
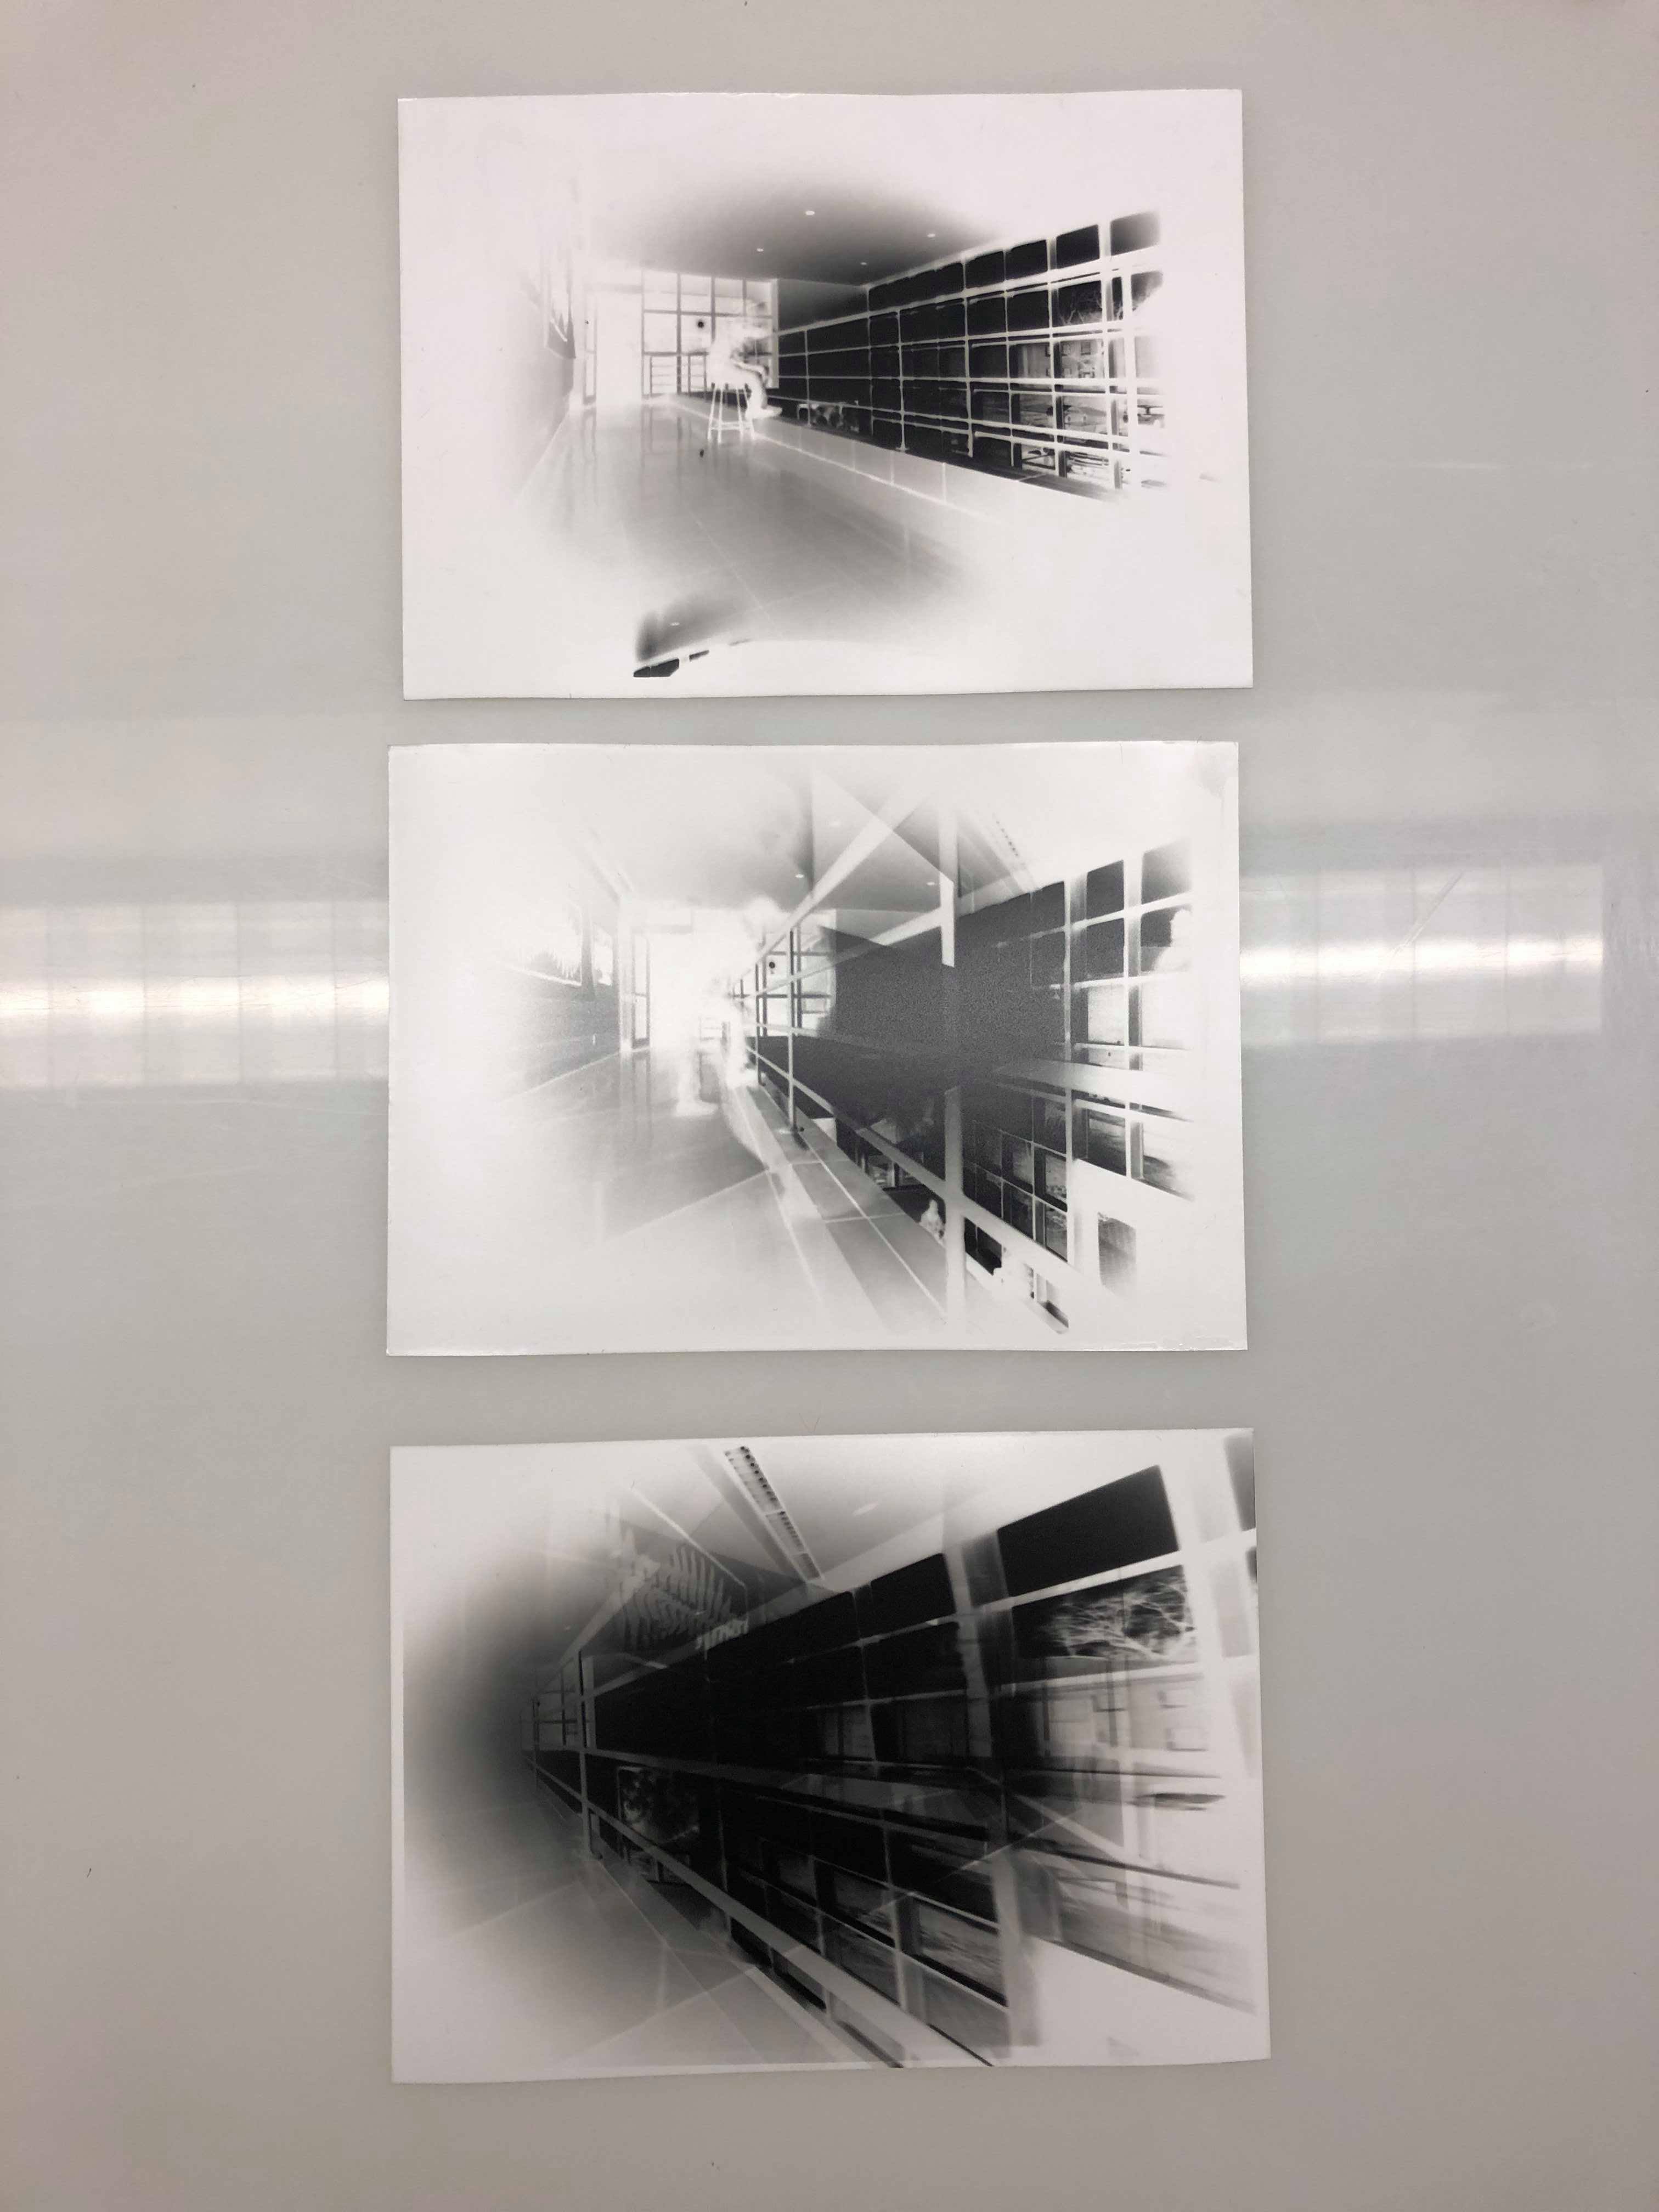
Now that the chamber and lid are assembled and the pinhole and inside refined, you should be ready to shoot pictures! Place a sheet of photosensitive paper into your frame inside a darkroom. Seal the pinholes with your cut out wooden circles and make sure the lid is secure. Walk outside and point your camera at your subject. Open up different pinholes in order to achieve a unique rendering of your subject. The shots above were taken of using The Hex along a breezeway. The top picture was taken by opening up only one pinhole, the middle picture was two pinholes, and the bottom photo was three pinholes. Once you're done exposing your photosensitive paper unload it from the chamber inside a darkroom. Treat it with the proper chemicals and let it dry. The result should be negatives such as the ones above that can manipulated into positives via Adobe Photoshop or another photo editing software.