Laser Cut Photo Frame
by Autodesk Gallery Workshop in Craft > Paper
3247 Views, 7 Favorites, 0 Comments
Laser Cut Photo Frame
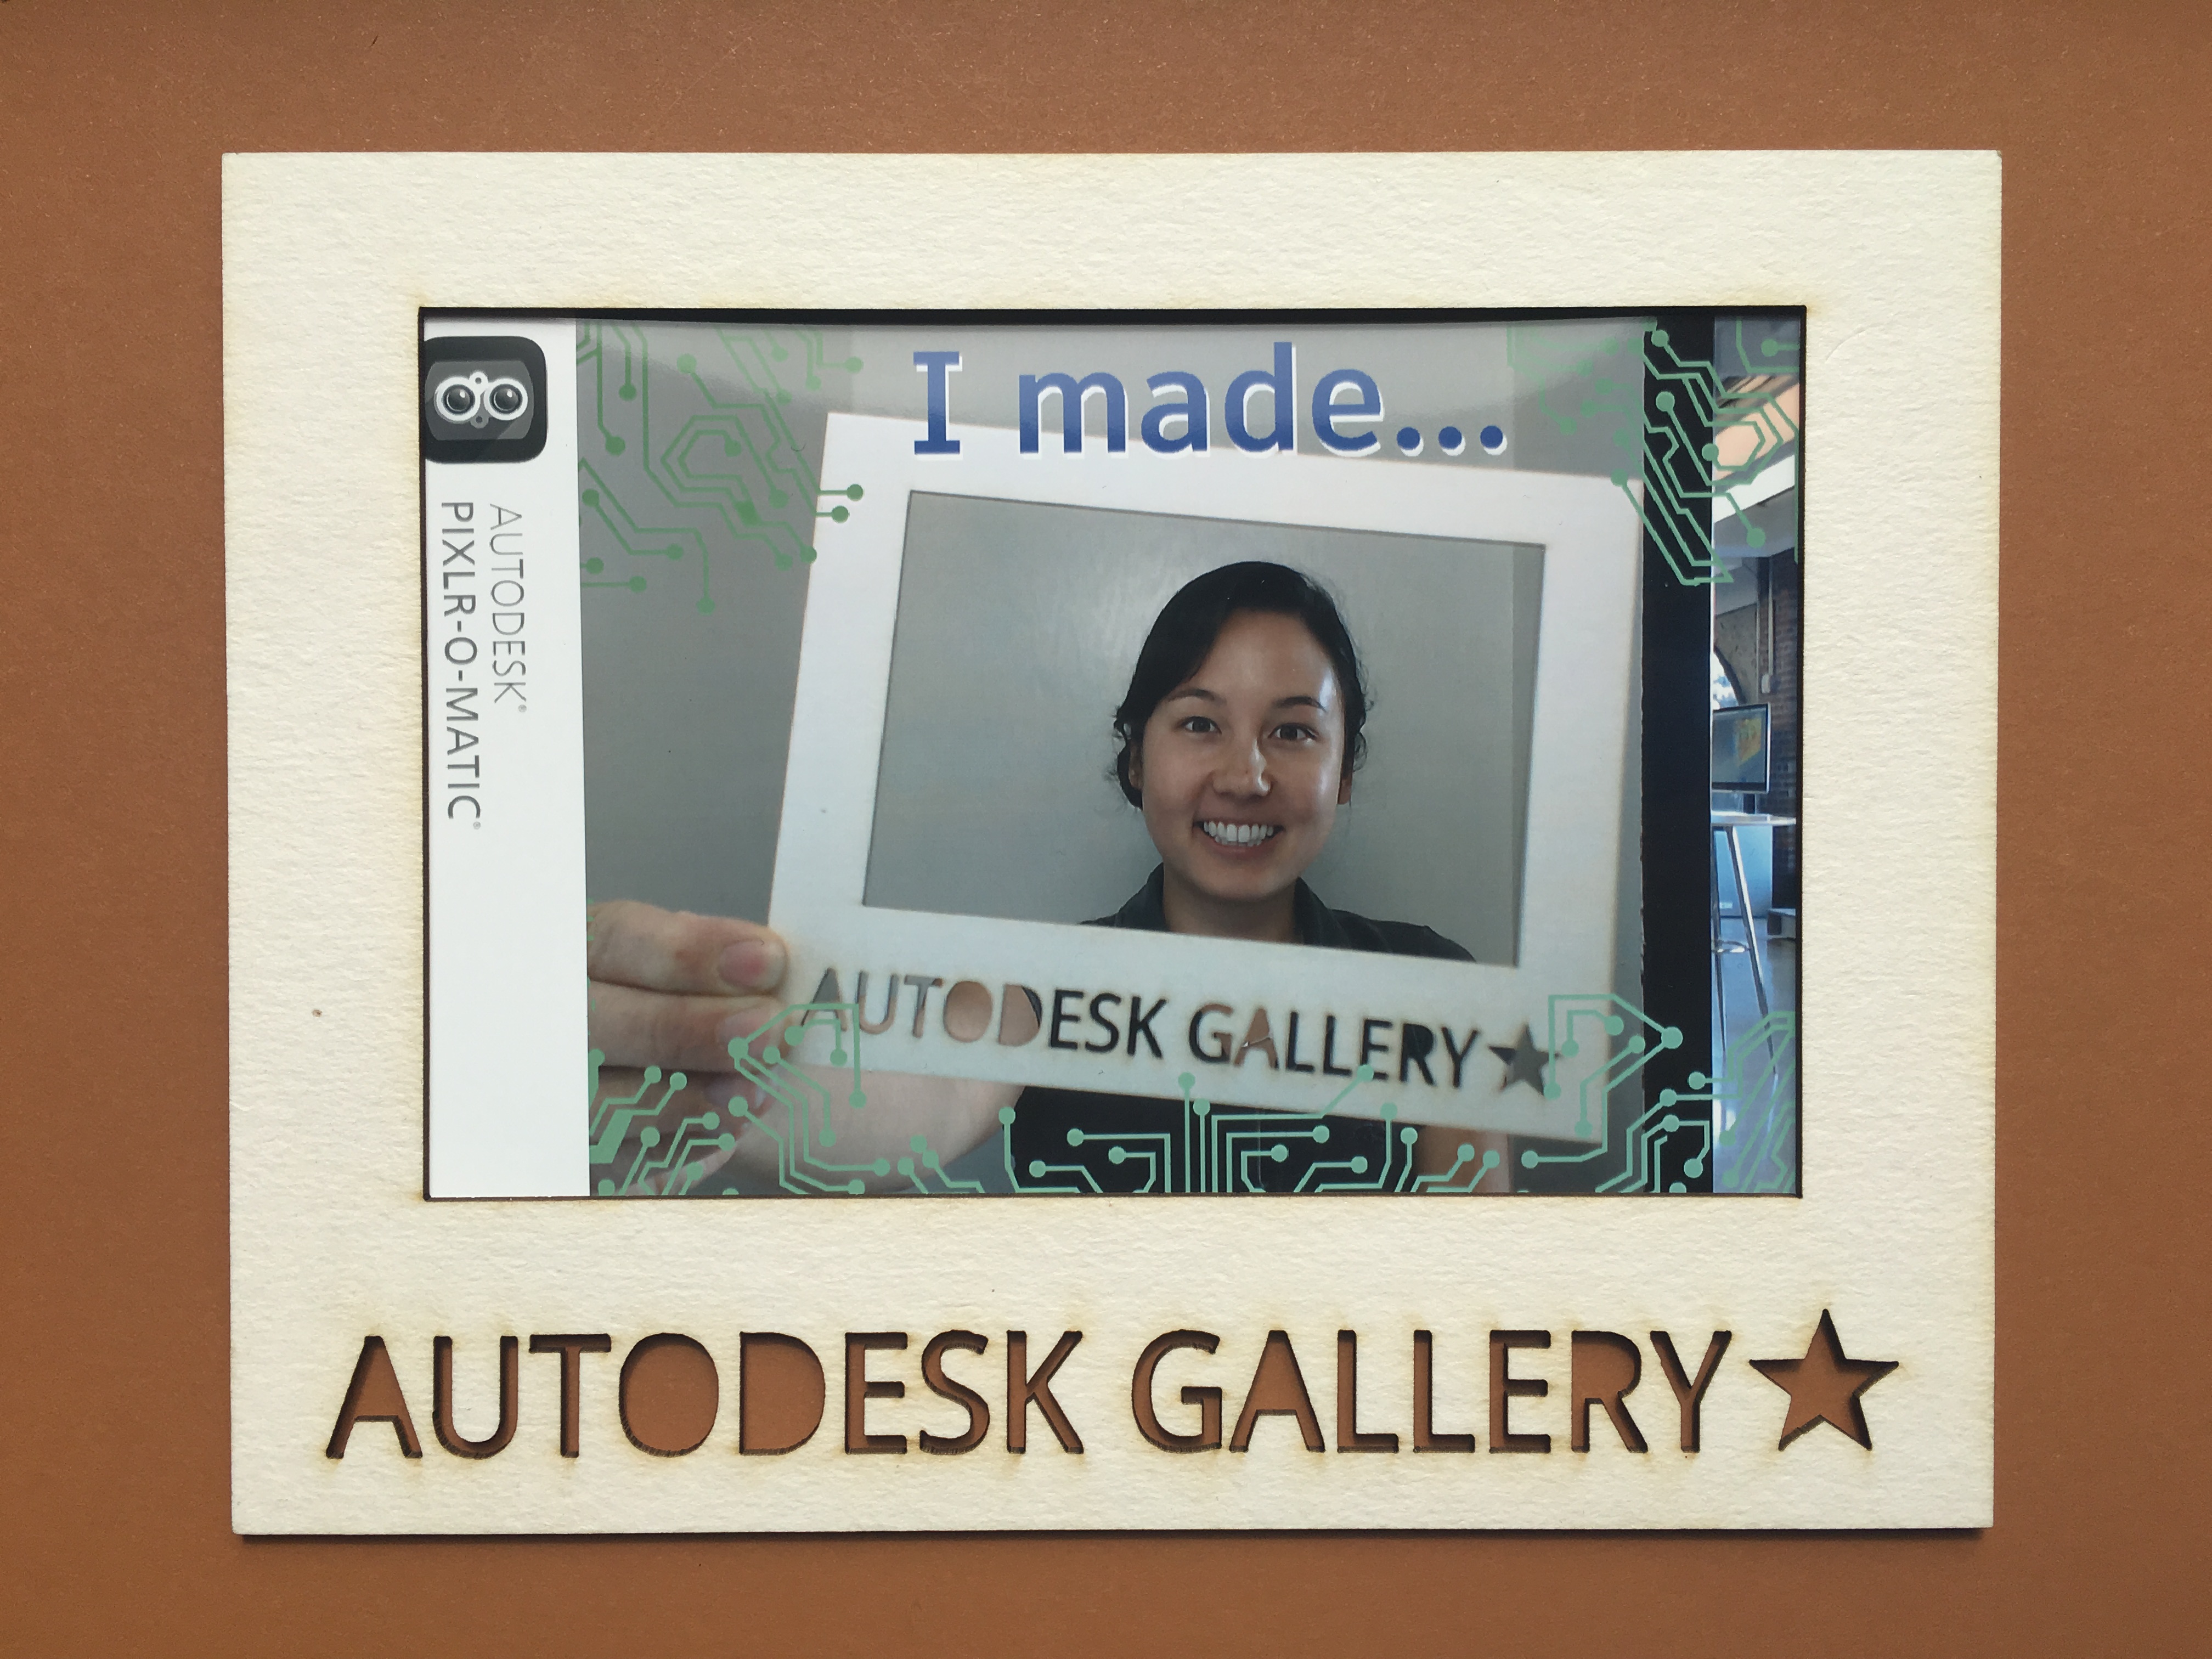
These step-by-step instructions will guide you through the basics of creating a photo frame using Tinkercad and preparing it for laser cutting. This frame can be customized to your liking, and fits a 4"x6" photograph.
Tinkercad is a free web based CAD program: www.tinkercad.com
Create Frame
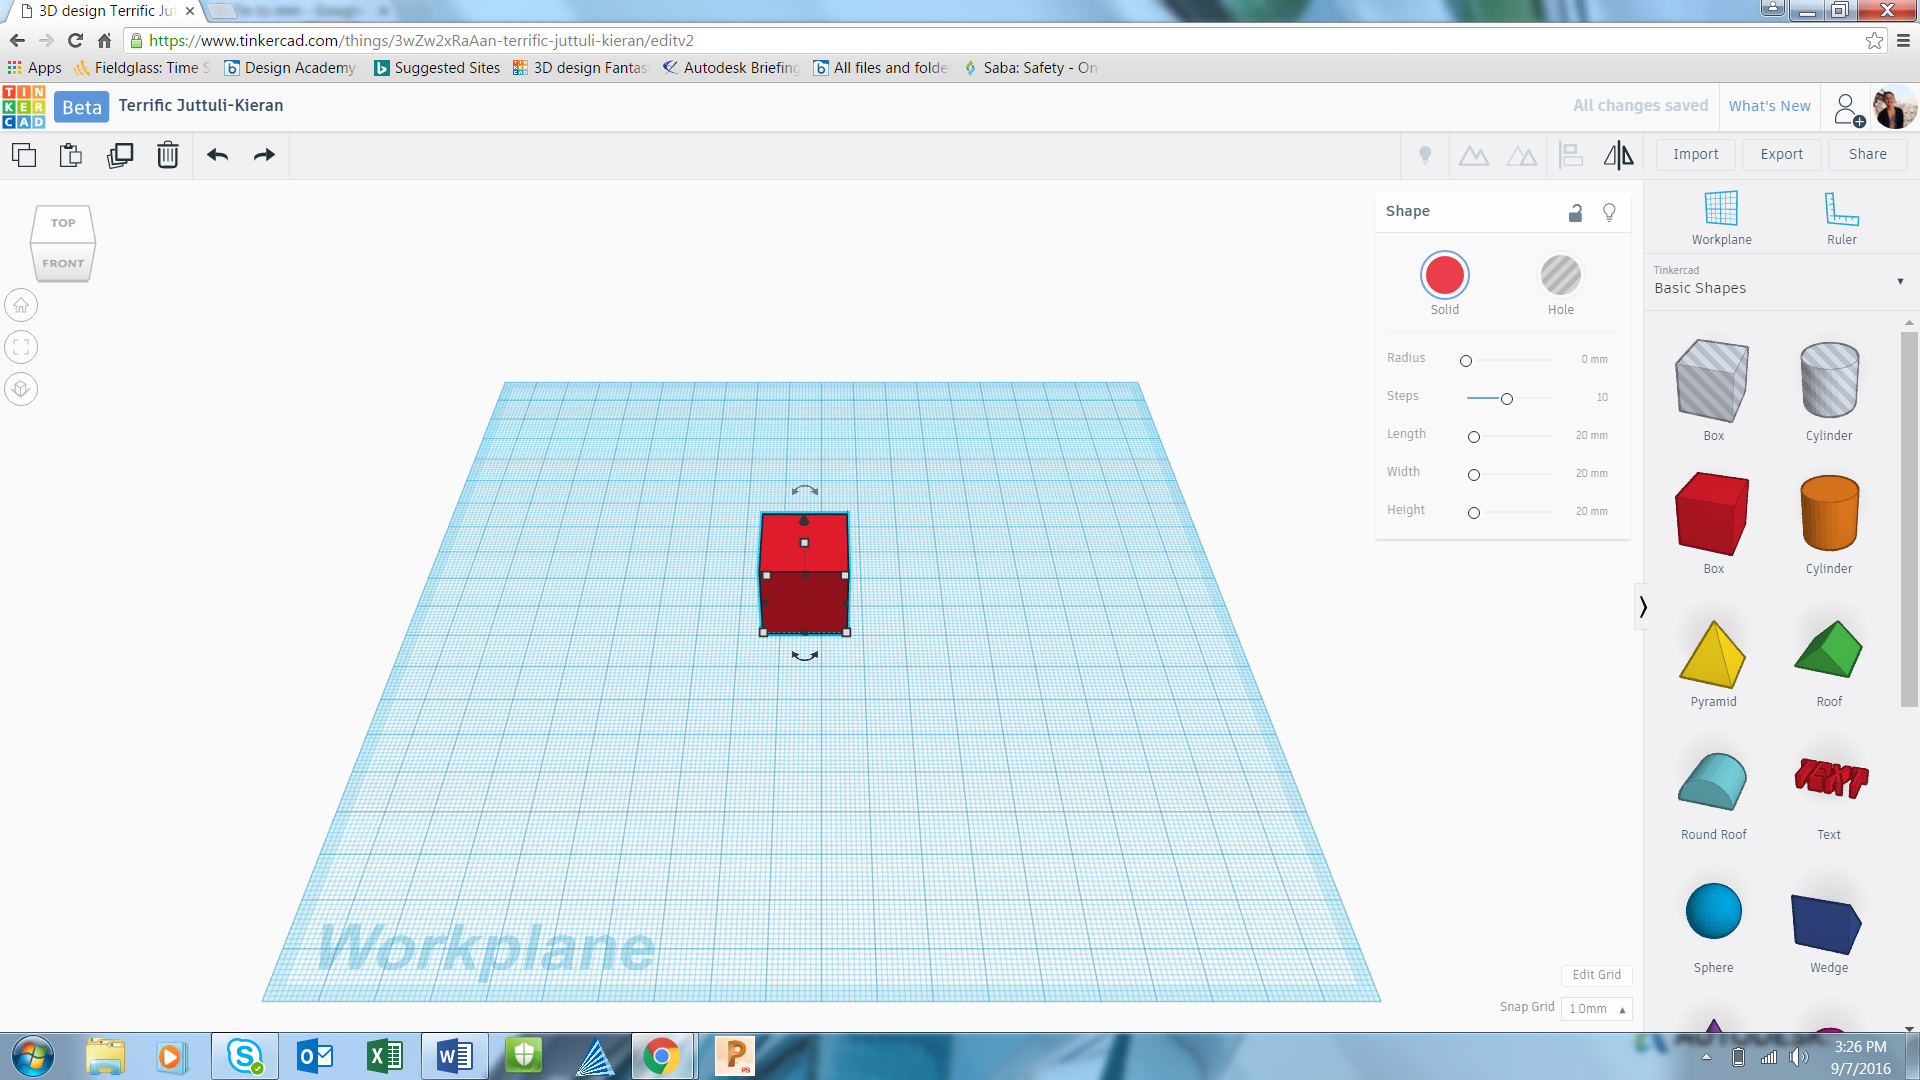
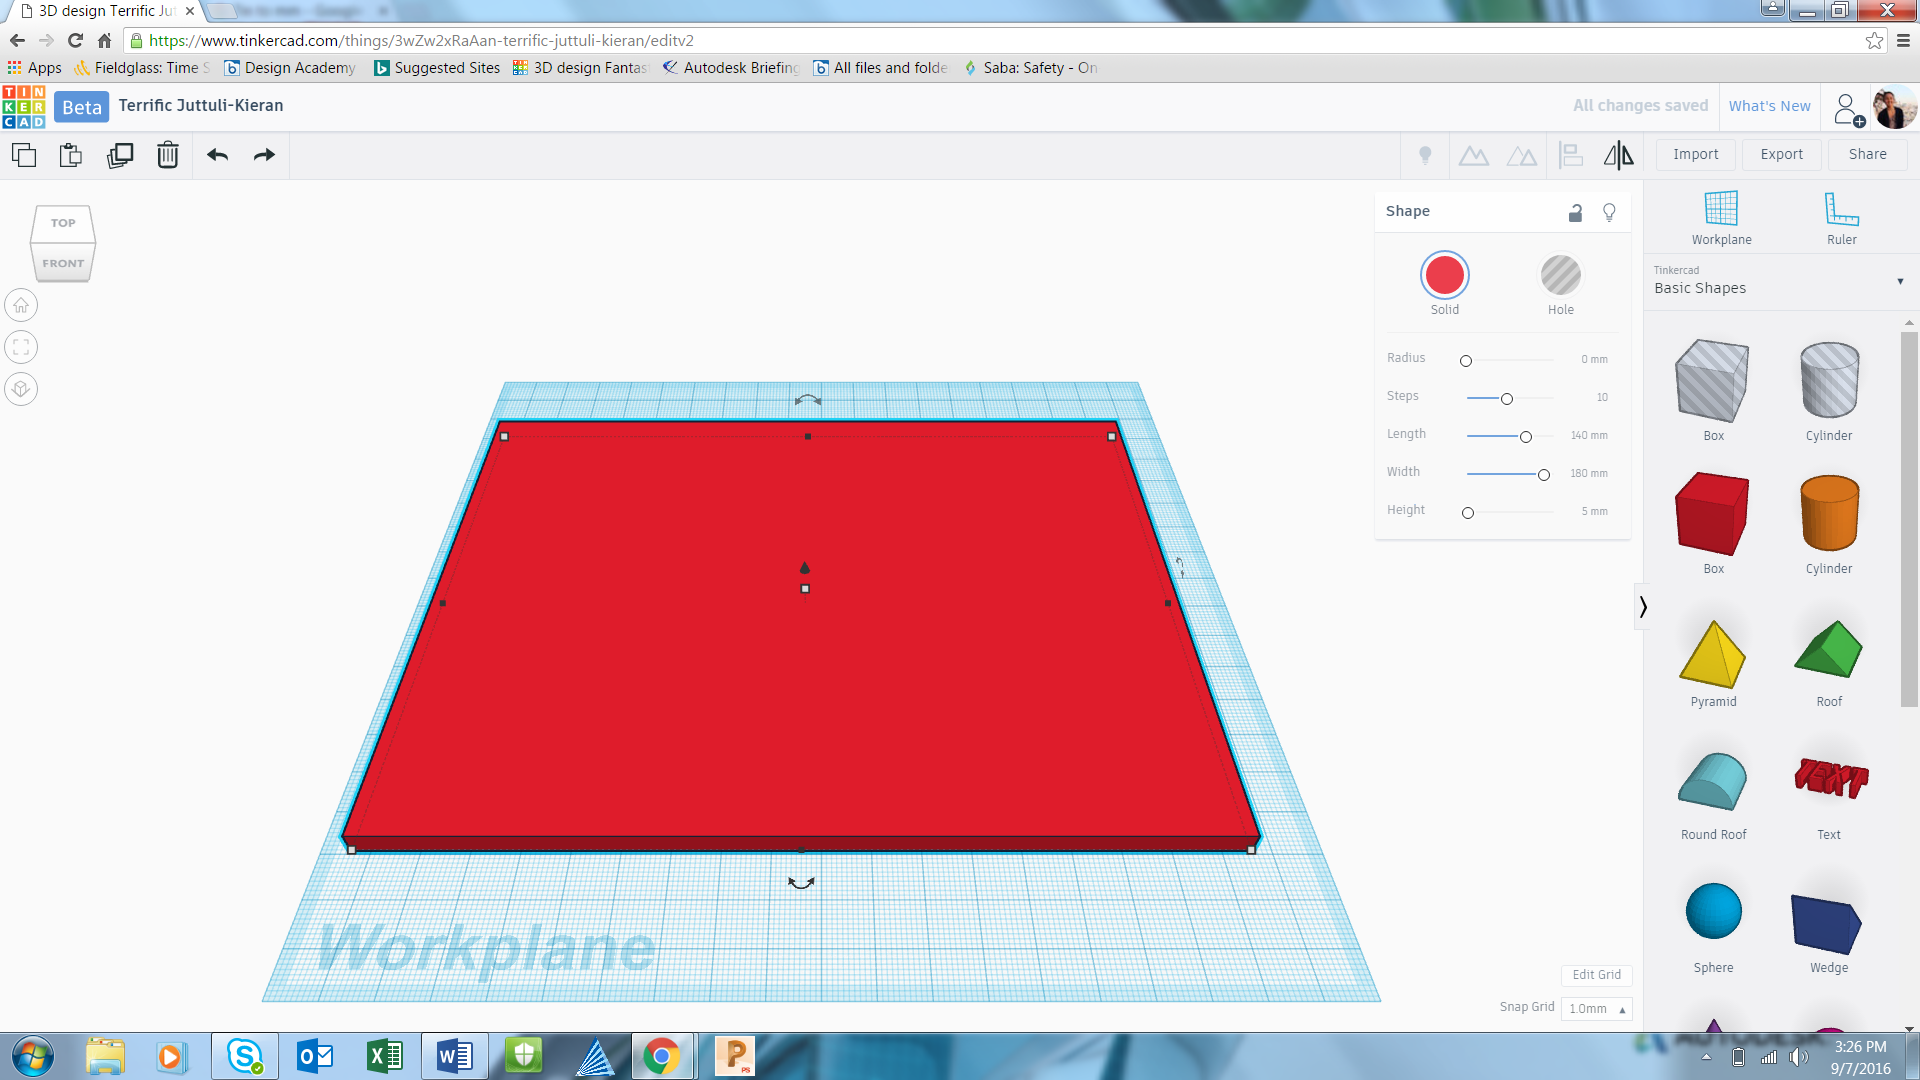
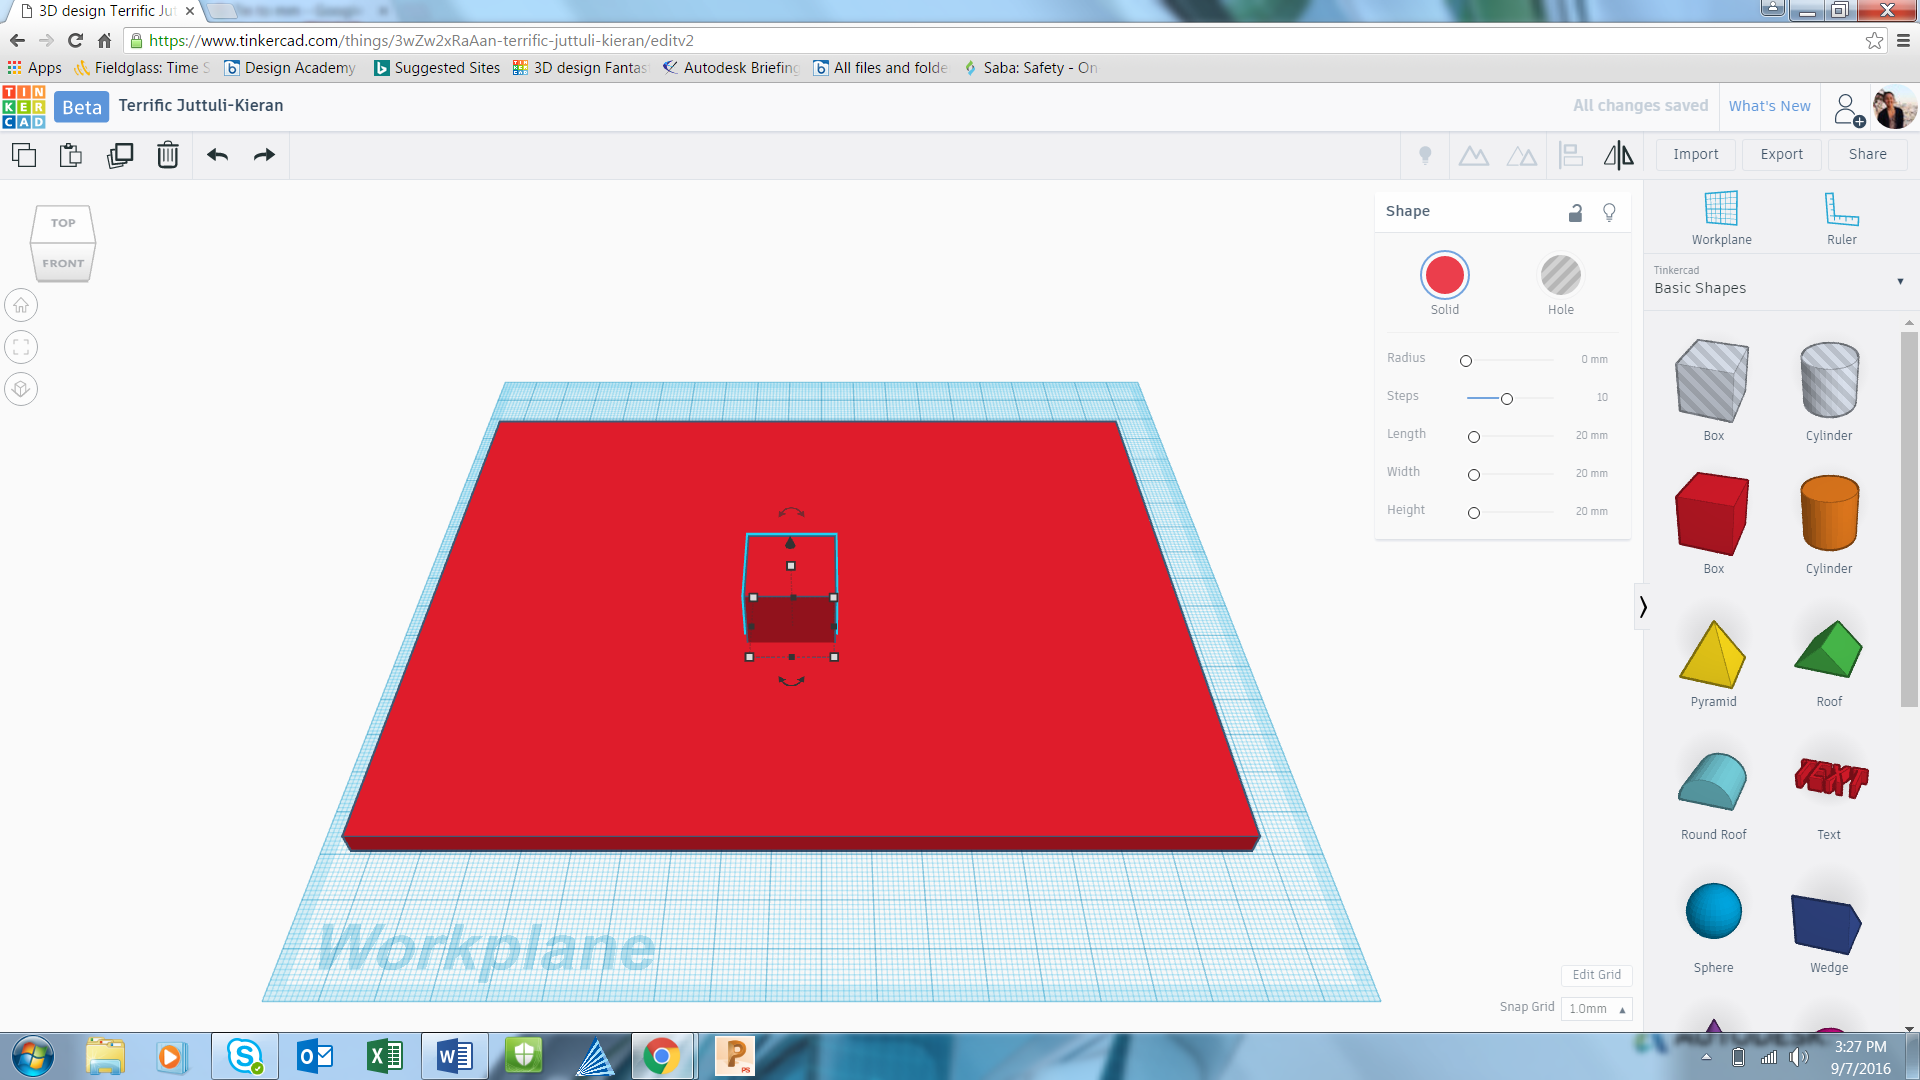
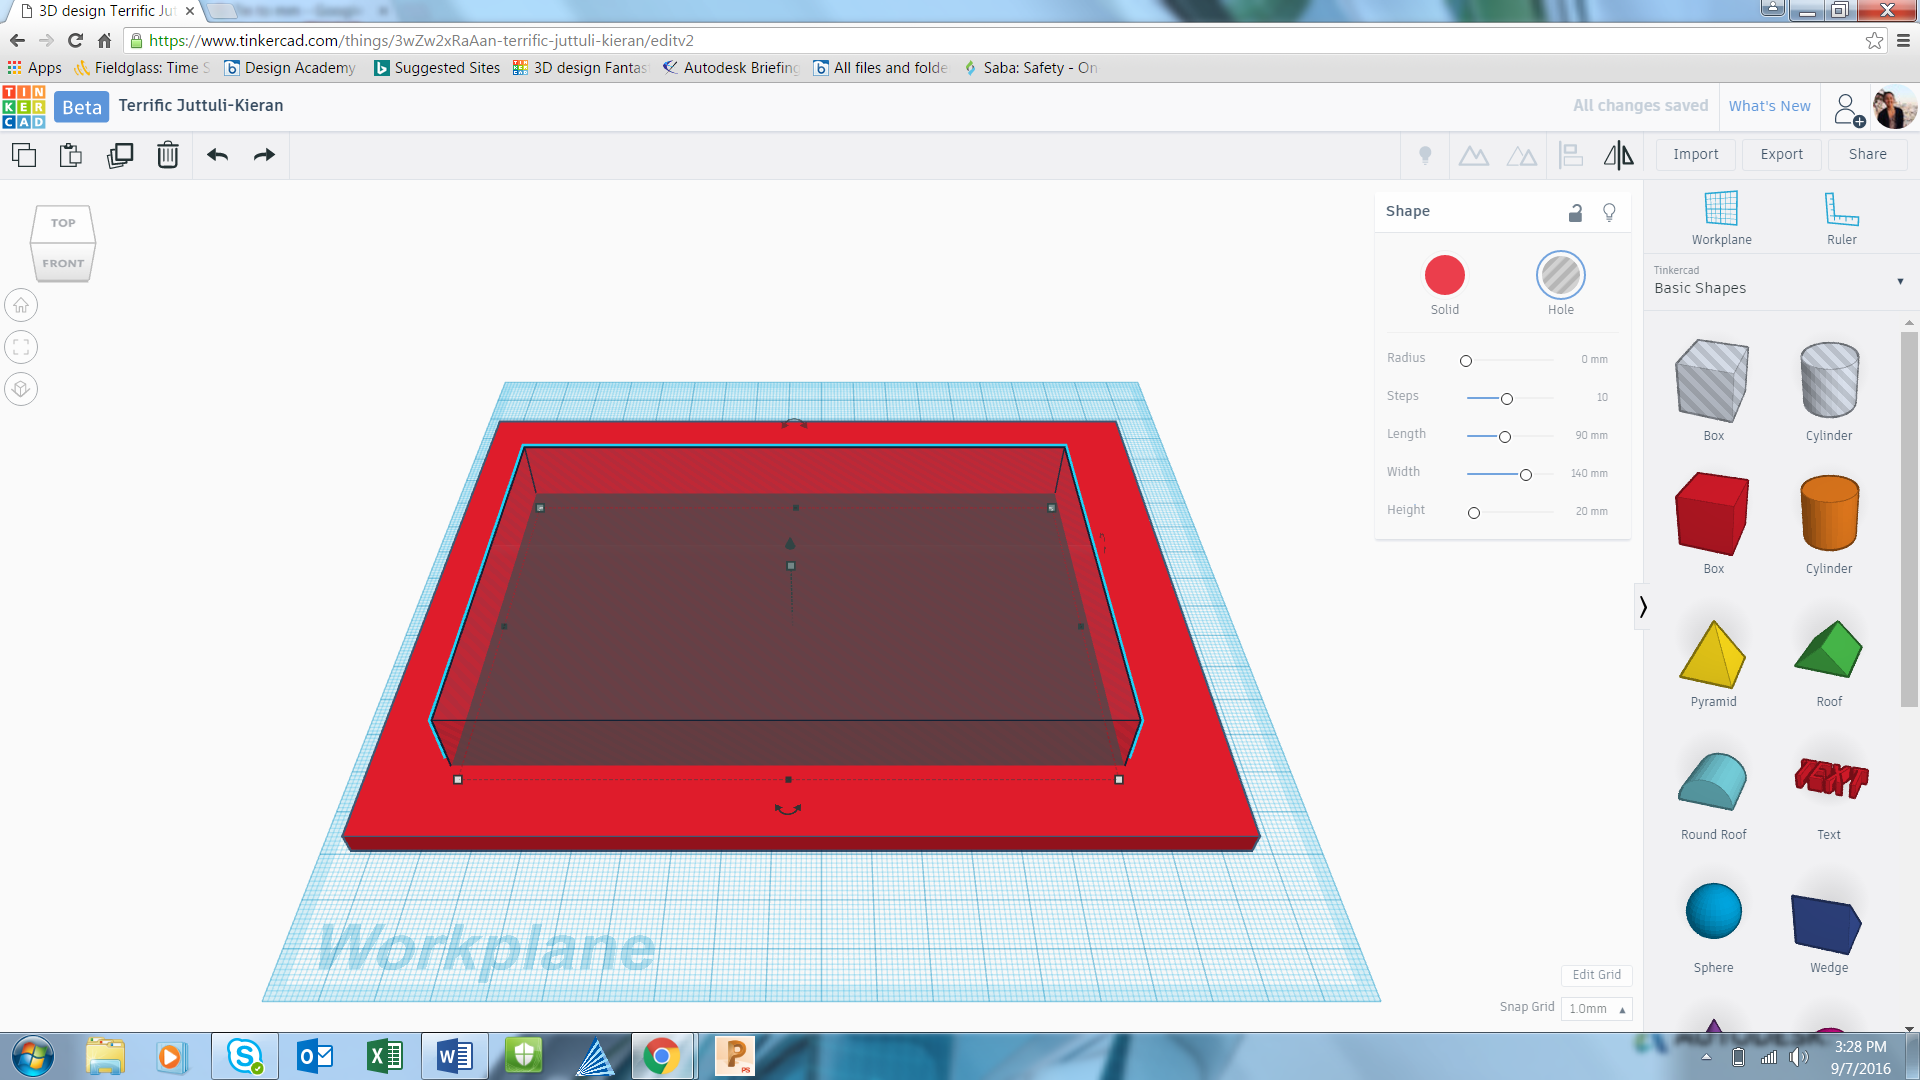
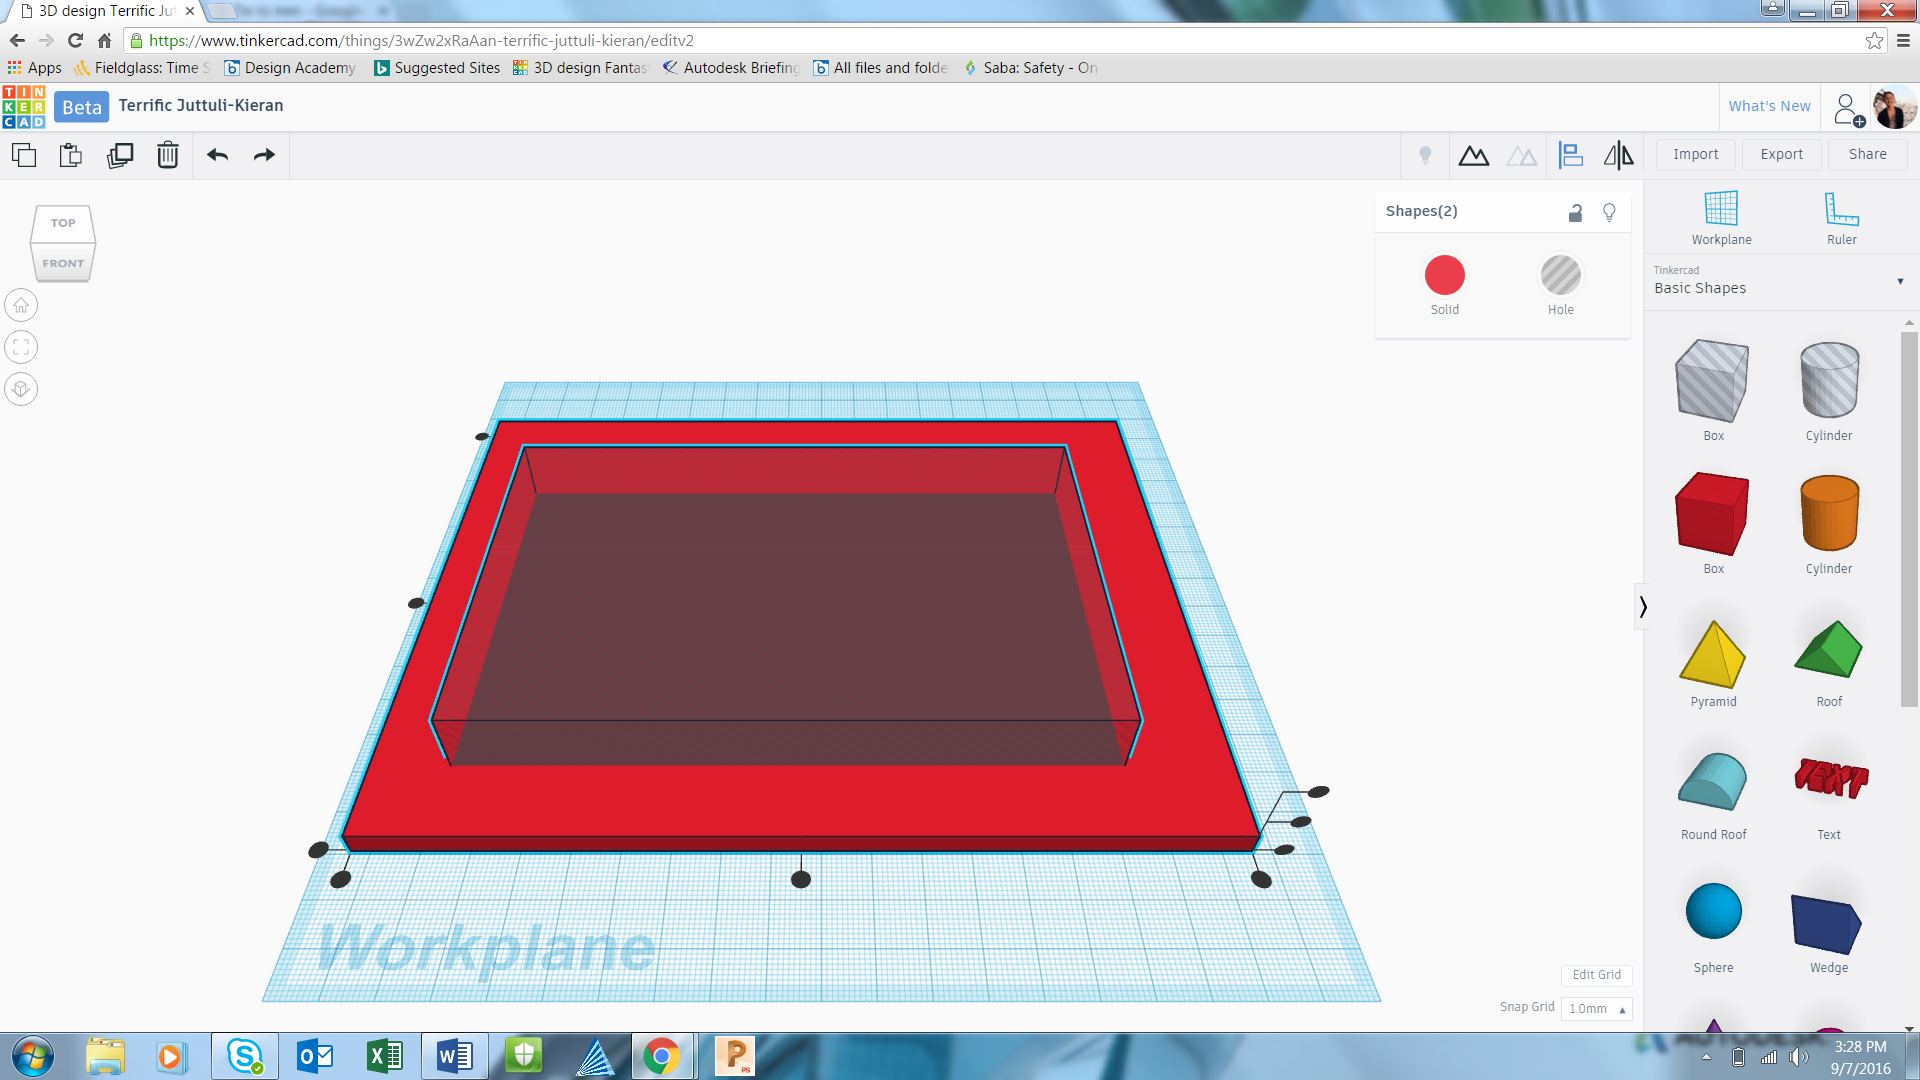
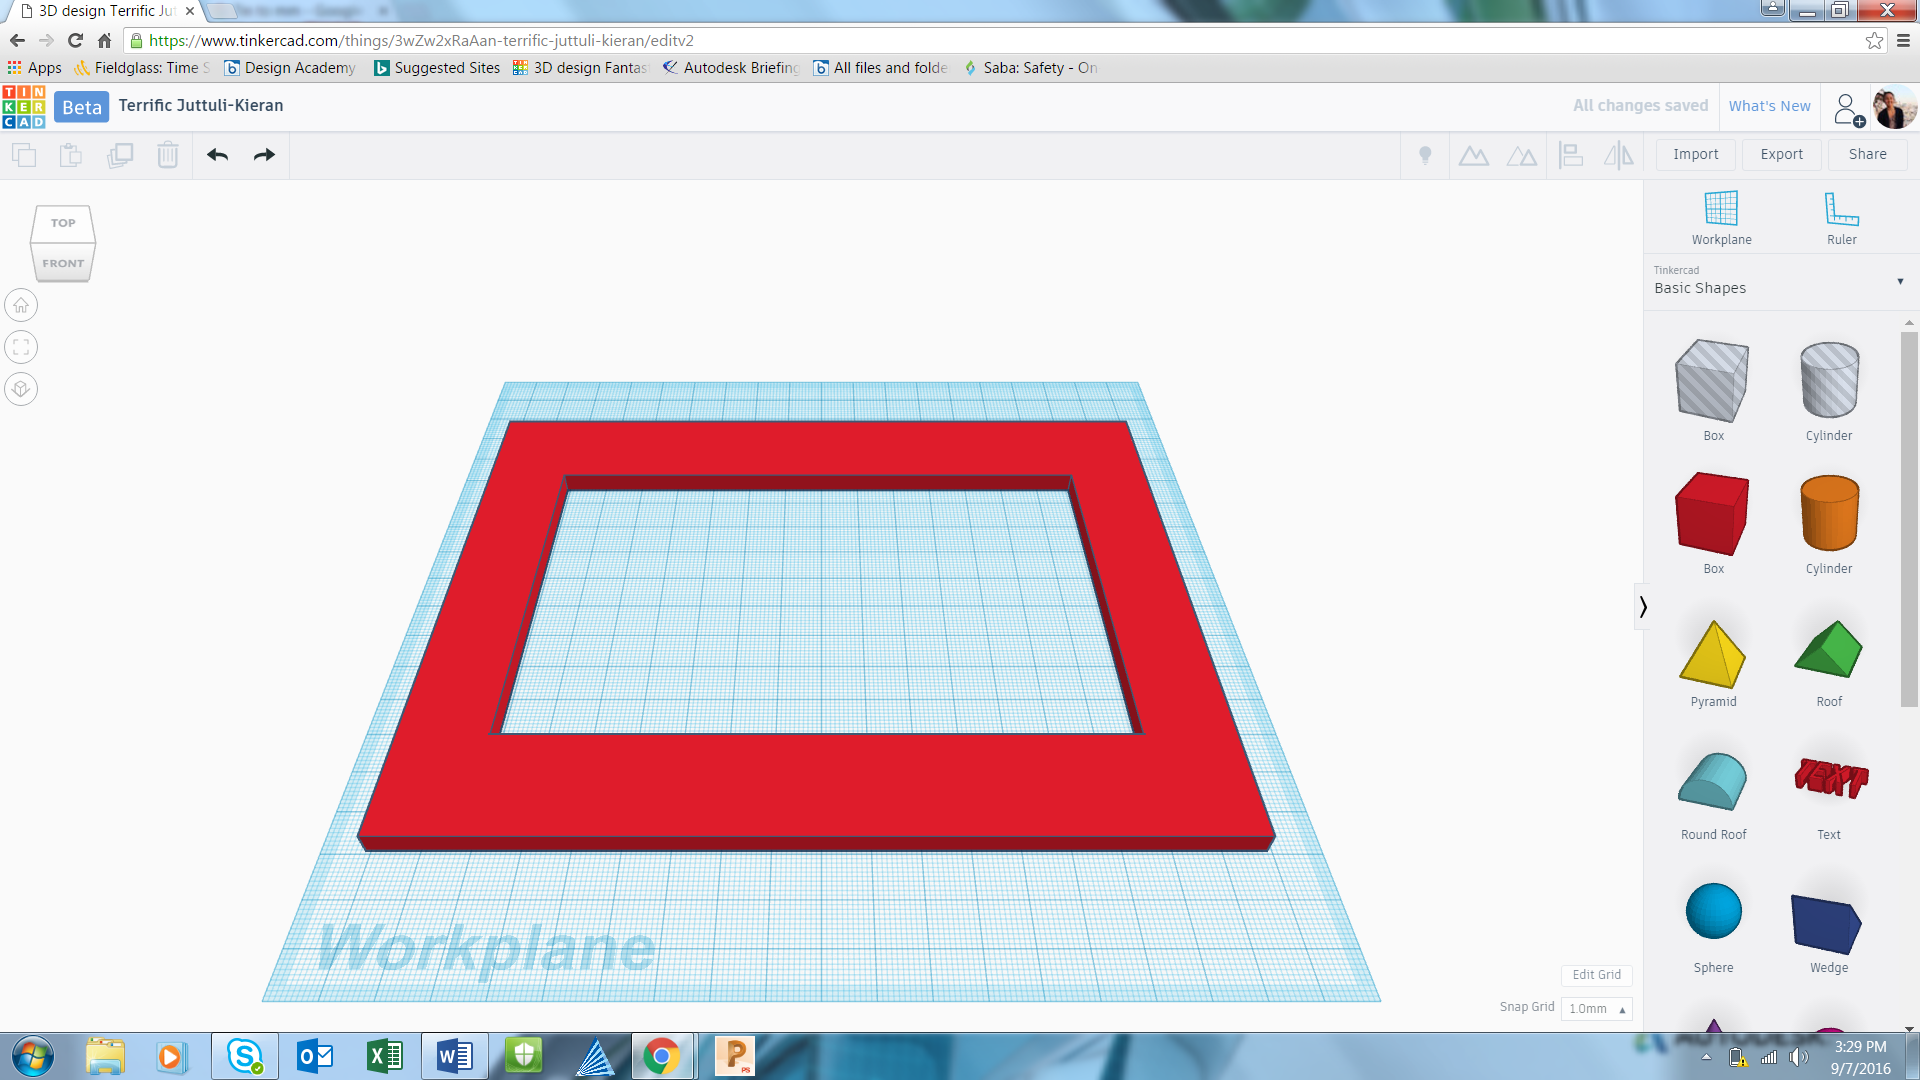
1. Drag and drop a box onto the workplane
2. Adjust the box to about 140mm x 180mm
3. Adjust the height of the box to about 5mm
4. Drag and drop another box onto the workplane
5. While the new box is selected click hole in the shape menu in the top right to turn the box into a hole
6. Adjust the hole to about 90mm x 140mm
7. Place the hole in the center of solid box
8. With the hole and box selected (CTRL+A) use the align tool located in the top right corner. Click on the two black circles as shown to ensure perfect alignment of frame hole.
9. With the hole and box selected, press the group button in the top right corner.
You now have a photo frame! Keep working to personalize the frame.
Personalize Frame
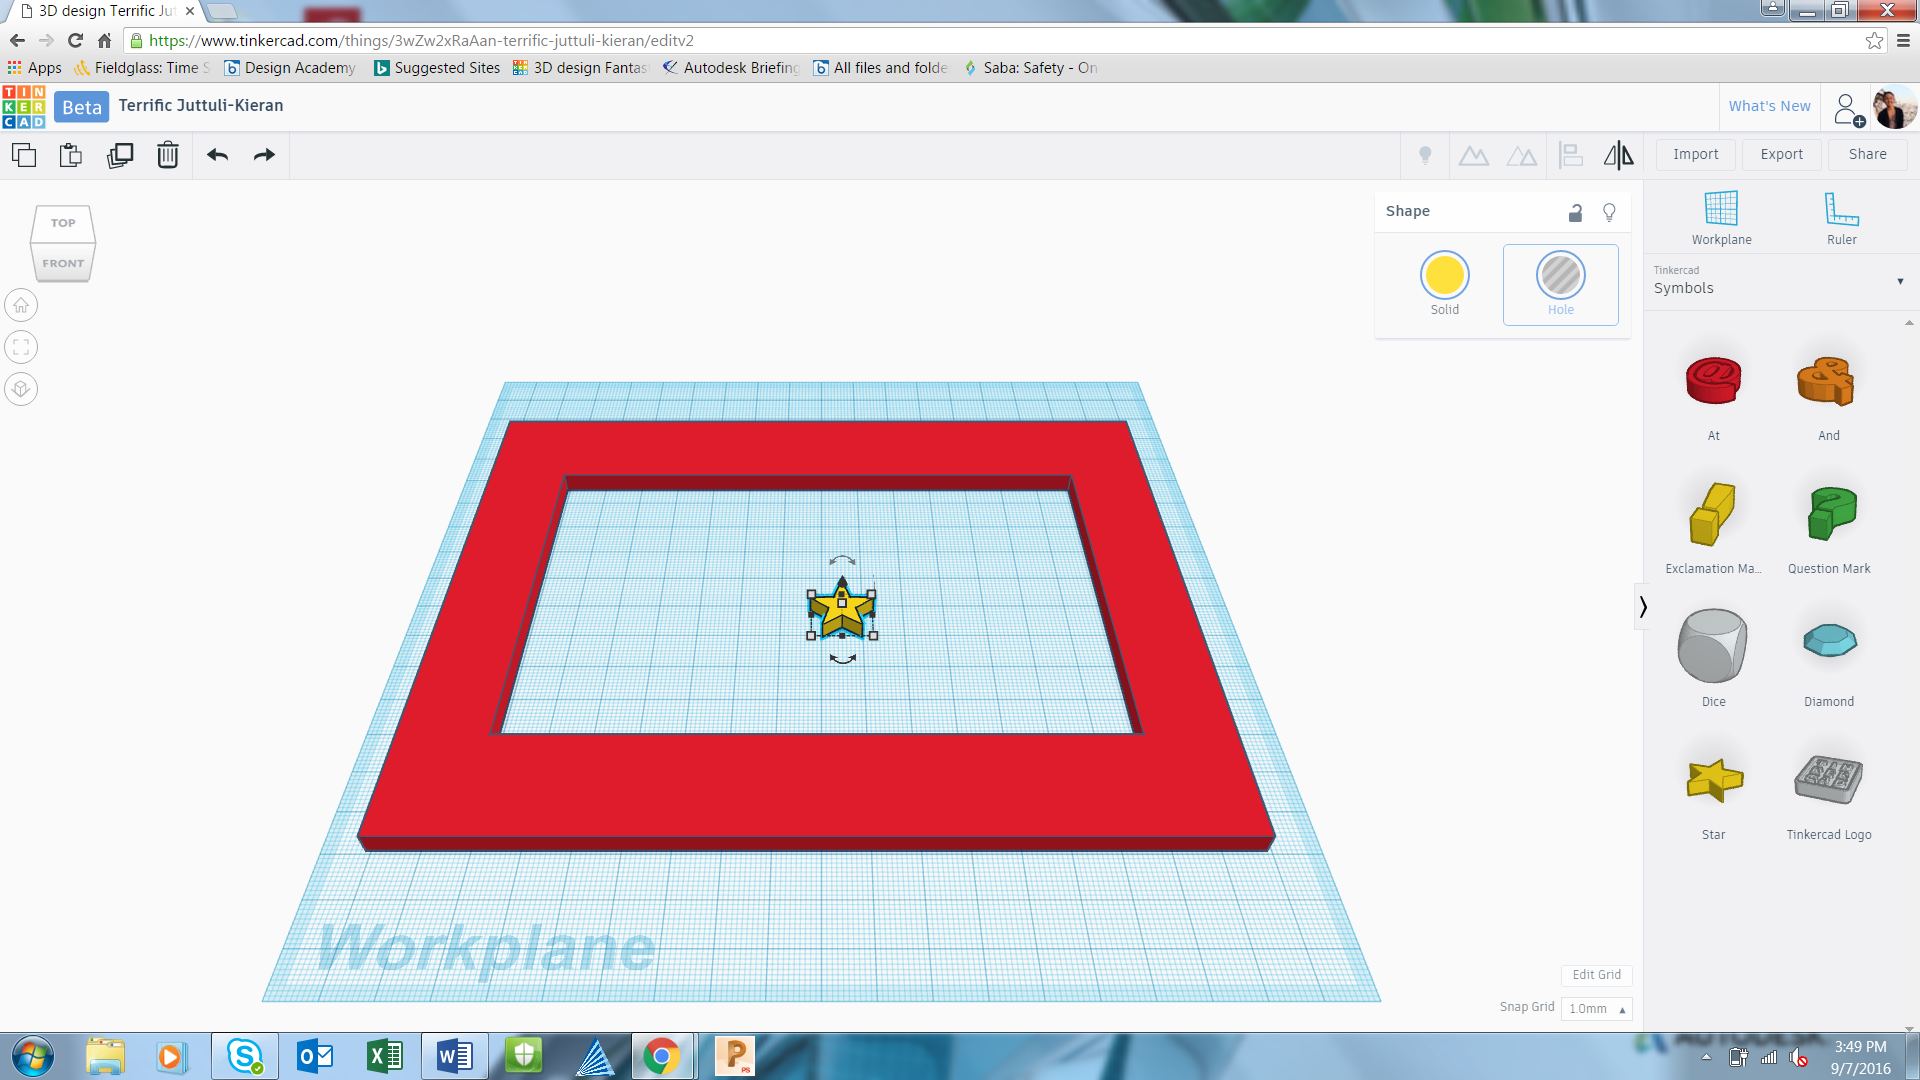
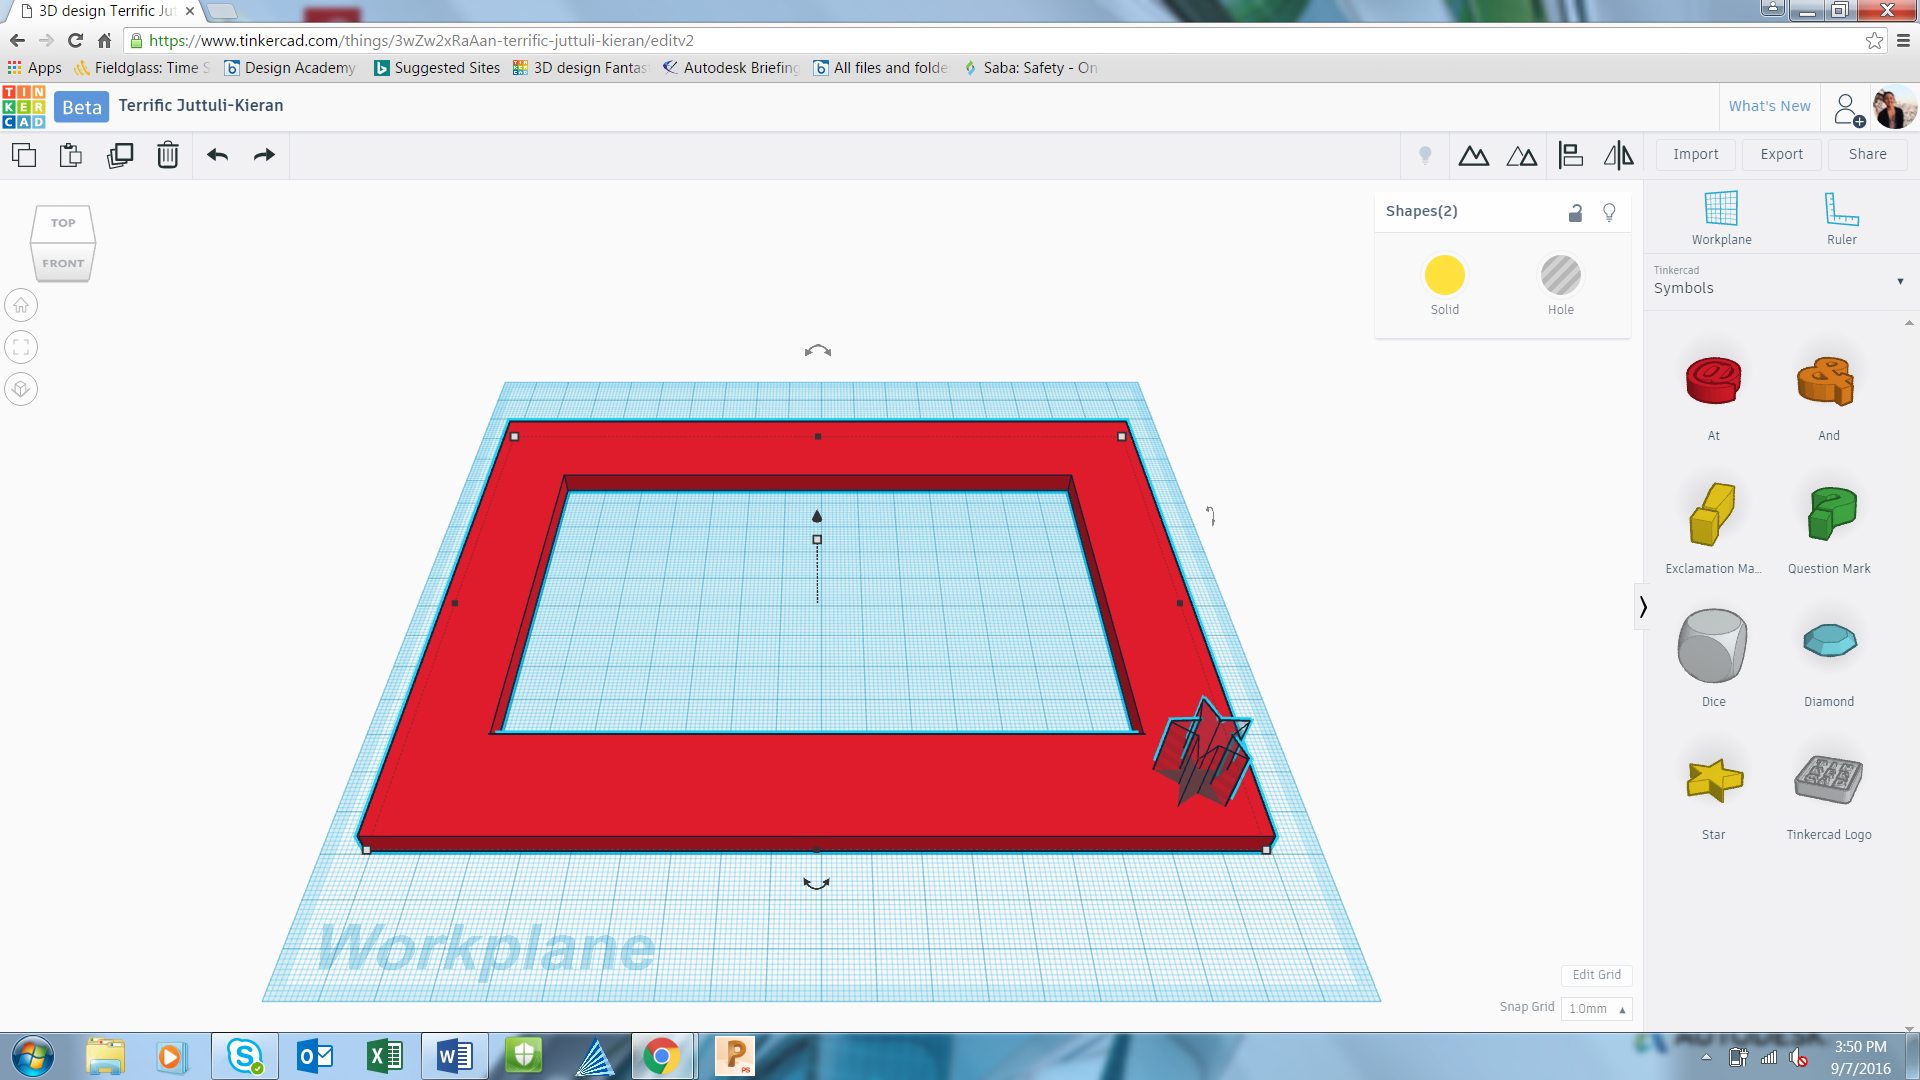
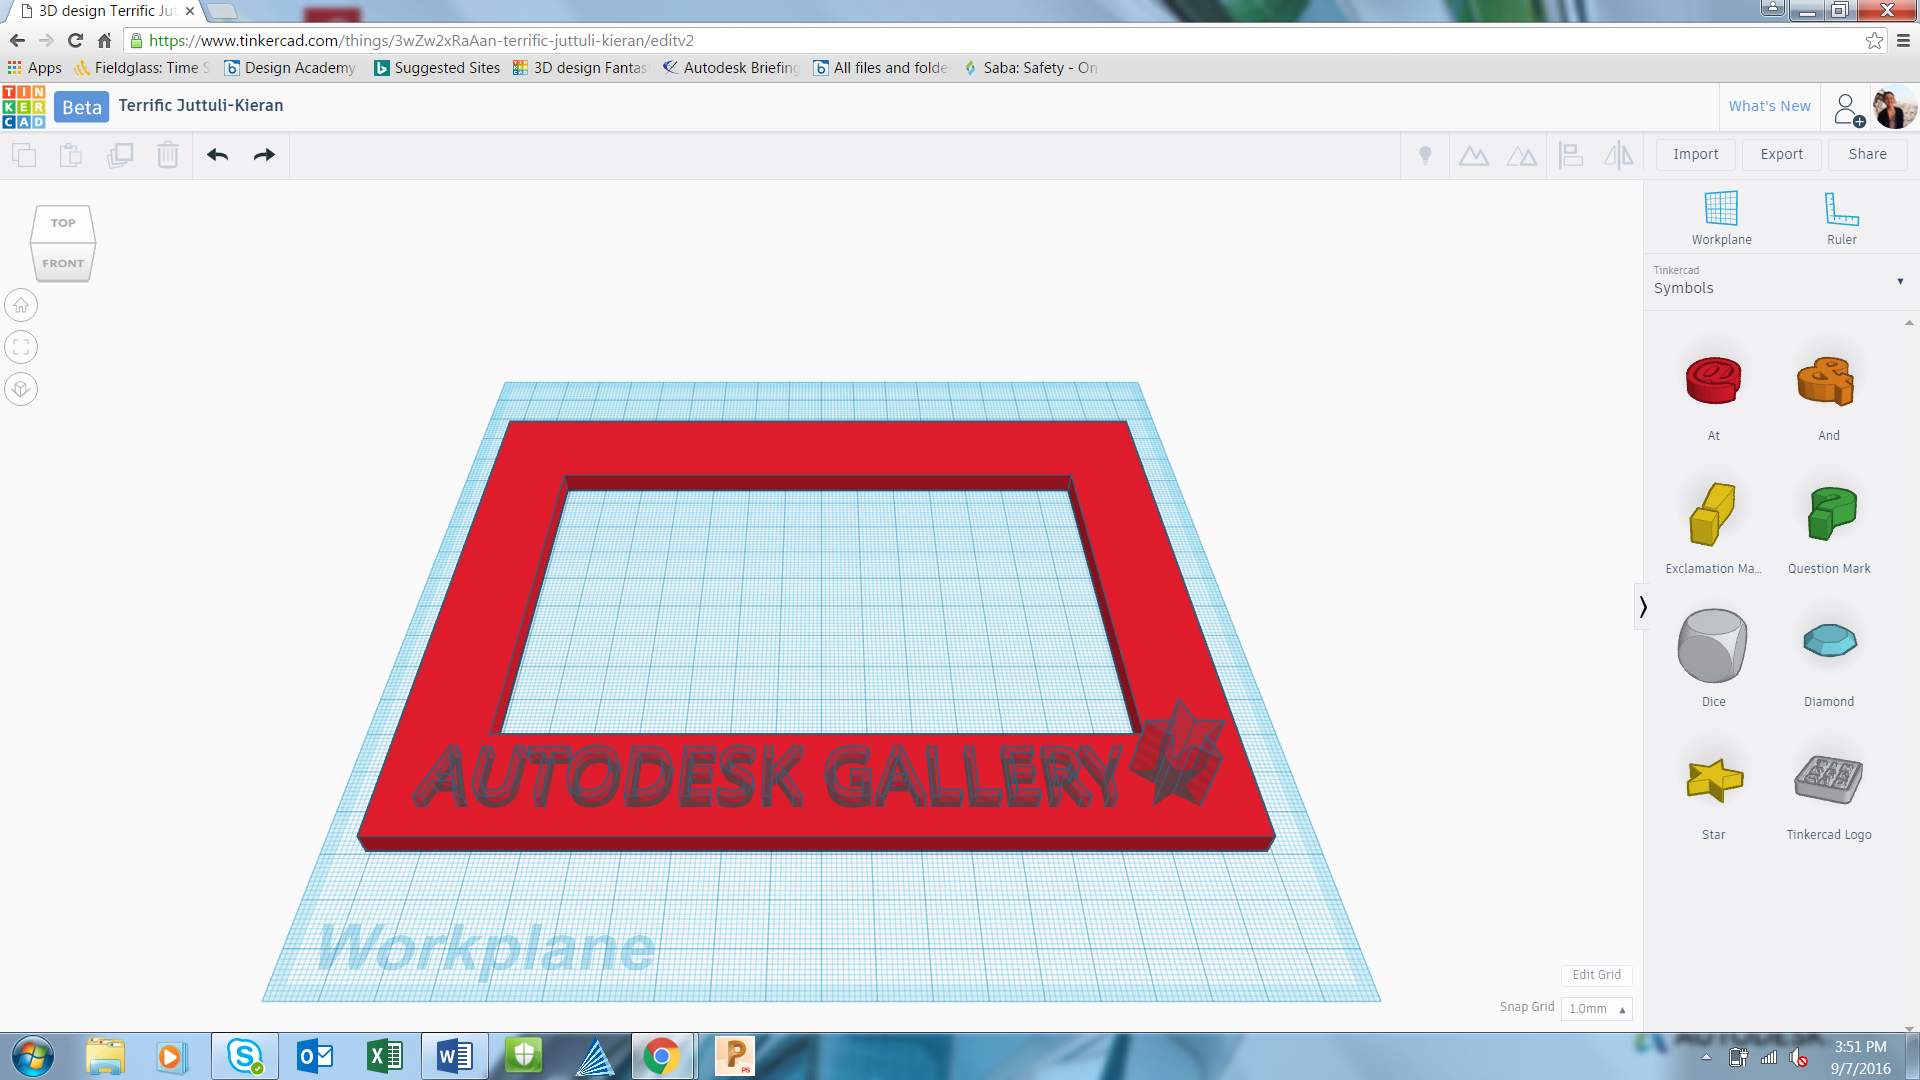
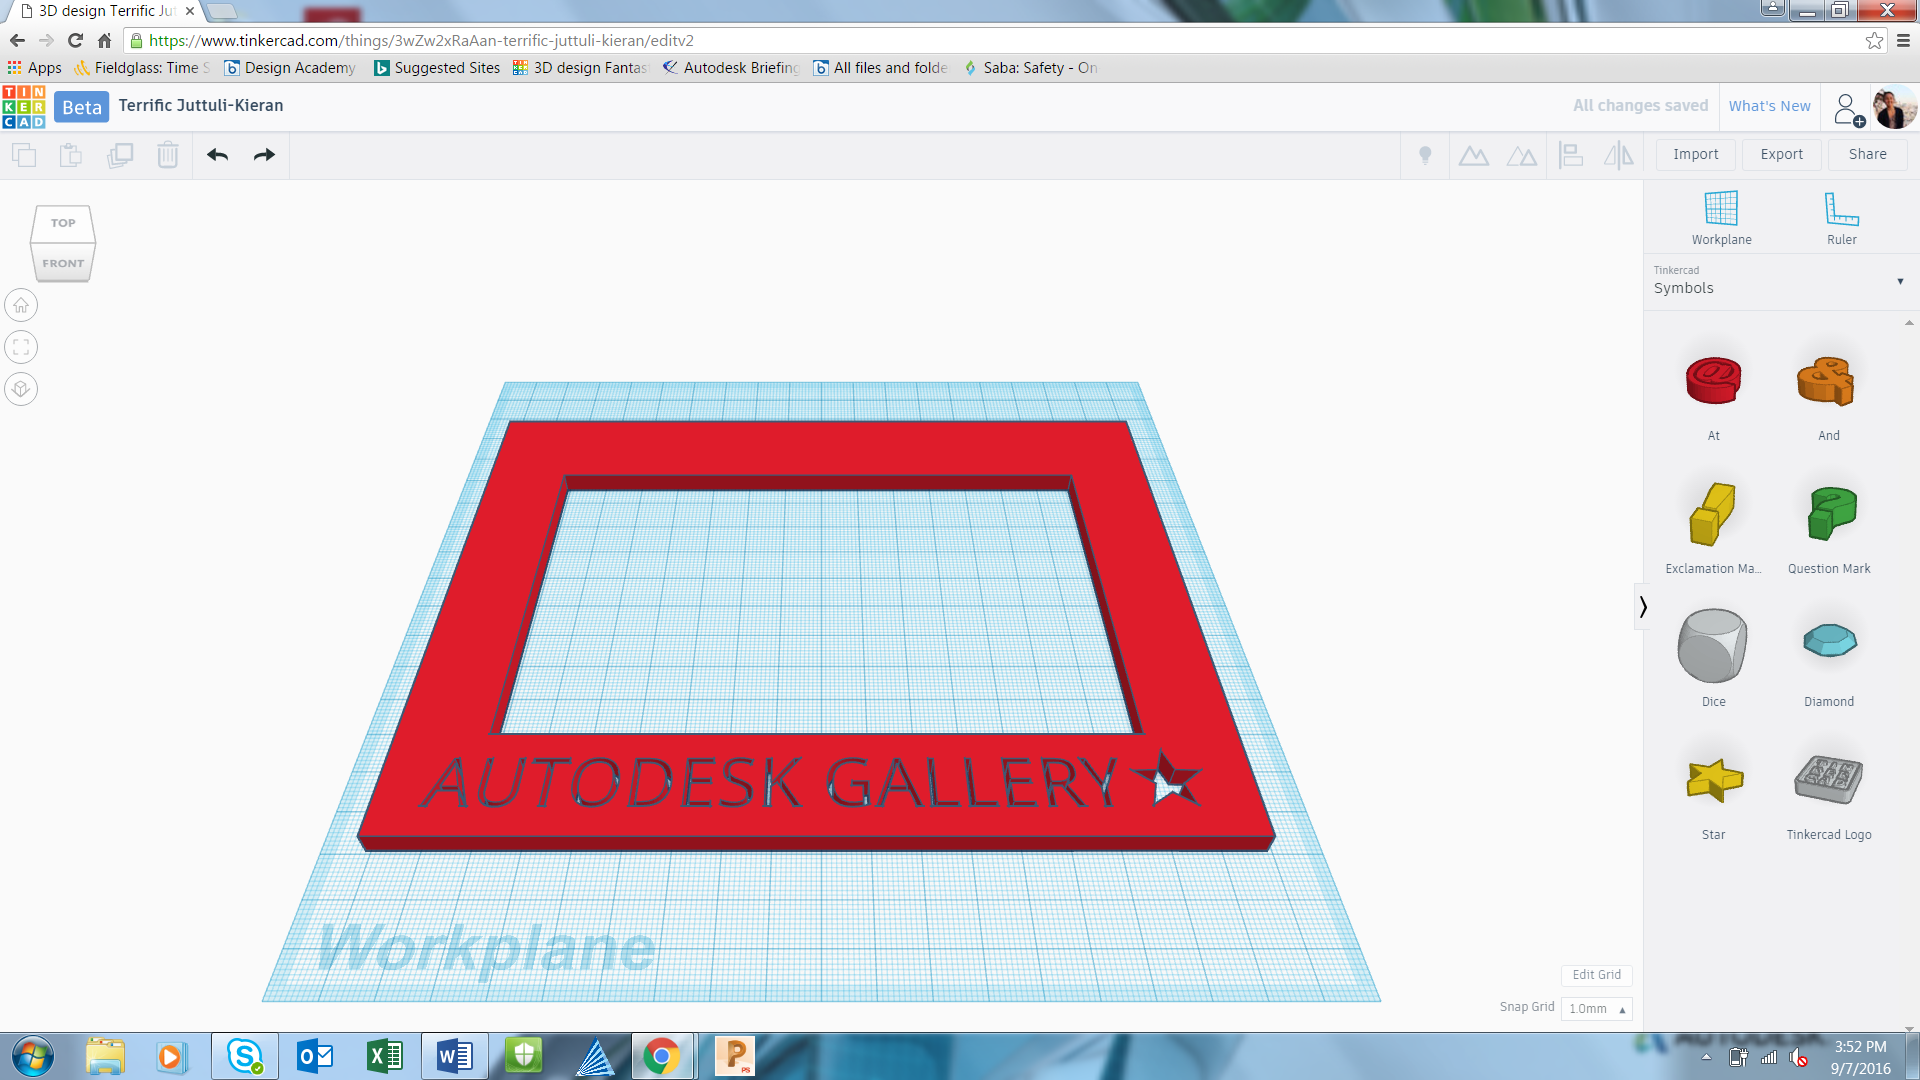
1.Add any shape onto the workplane and click on the hole button.
2.Any hole shapes that intersect with the frame will be laser cut. You can also add text, and change the text into holes!
3.Once you are finished with your design, select all objects (CTRL+A) and group them together (CTRL+G).