Laser Cut Papel Picado (perforated Paper)
846 Views, 1 Favorites, 0 Comments
Laser Cut Papel Picado (perforated Paper)

Hello! I recently graduated from college, and wanted to make some custom papel picado for my graduation party to celebrate my heritage and getting a degree. Papel picado is traditionally used for celebrations, and I grew up seeing it around for a lot of special events such as Day of the Dead, holidays, weddings, Fiesta in San Antonio, etc..
I ended up forgetting to print it out before then (oops), but I still had it for another gathering and had fun making the designs, so I wanted to share my process + some templates in case anyone was interested in making their own! While this isn't the traditional way of making it, I hope that you can still find something in the process that is fun/meaningful for you.
Supplies
- Colorful construction paper (as many sheets as you want)
- Laser Cutter (I used a glowforge because that's whats in the lab)
- Adobe Illustrator
- String for hanging
- glue/tape/staples for attaching the banners to the string
Design

So, I started out by making some background templates (attached) that I could use over and over again for other designs that I wanted to have the square background cutout. The one I'm using for an example didn't use these, but the Norgüestern one did.
The design is the most time consuming part so just take your time and make sure you're happy with your design! I will tell you part of what I did to make mine, but its really up to personal taste.
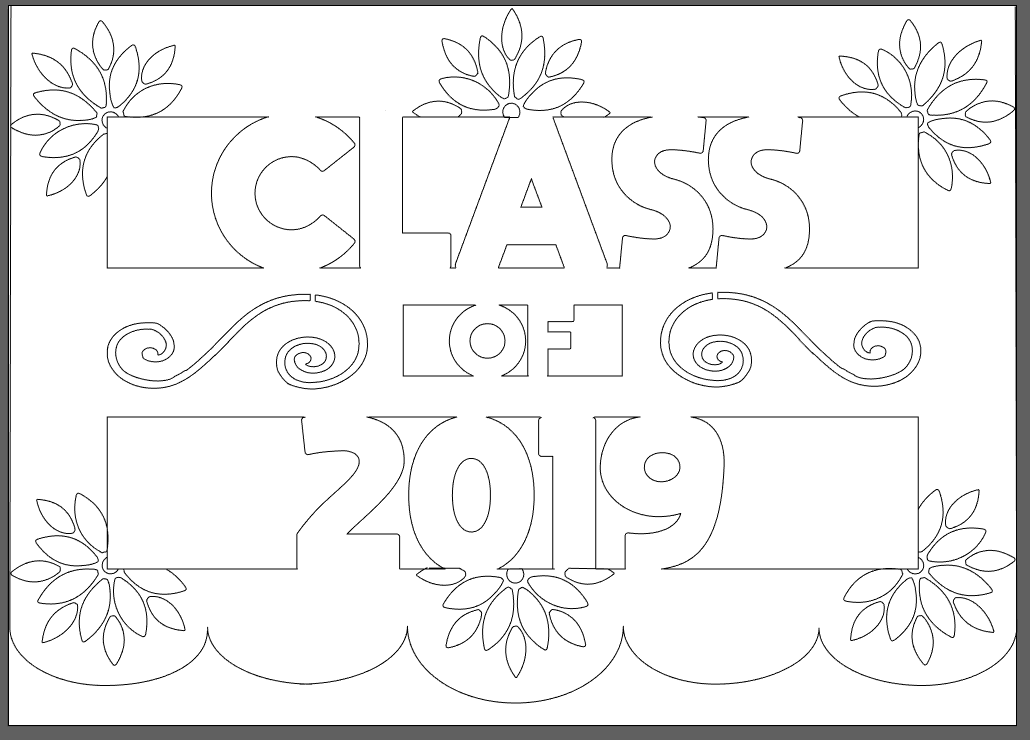
- For the images, I did a google search for simple images (I chose flowers and swirls), and imported them to Illustrator as silhouettes so I could use them as outlines and then delete parts of the traces (like how some of the petals are deleted) without having to delete the images or hand-trace anything.
- The text came from the Illustrator package, and I just made separate text boxes for each word/number.
- Googled many things on how to use Adobe Illustrator (I had little experience prior). Most of the things had to do with how I was using the images, so if you just stick to drawing designs in the editor it might not be that bad.
- If you're using the templates, you should be able to start with those as backgrounds and then work on layers above with your actual designs.
Cut

The next part is a matter of playing with settings on your laser cutter, but I'll tell you what I did:
- Glowforge has a built-in camera, so it takes a picture of the bed so you can place the image you want to cut. So I placed 5 sheets of construction paper (stacked on top of each other) on the bed of the laser cutter so it can take a picture. I also taped it down (just the top paper) because the fan tends to blow the paper away.
- Upload your design to the app for the laser cutter (you'll probably need an account).
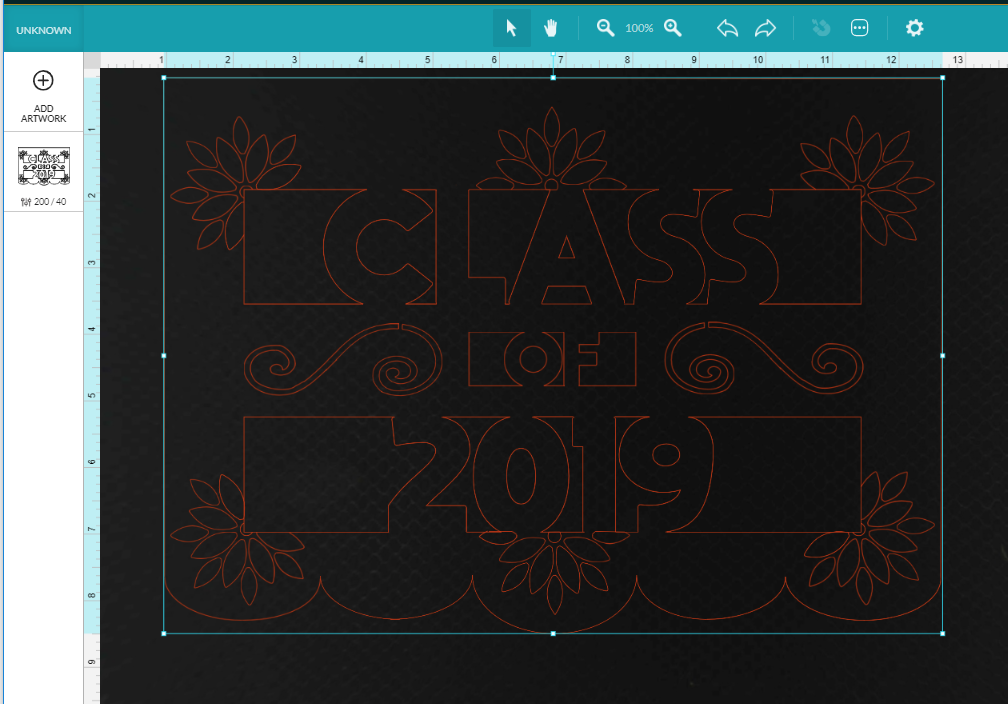
- Place and size your cut design in the app (like in the image) to get the cut you want.
- I used the settings 200 speed and 40 power, but definitely play with this based on your laser cutter and how much scorching you can live with (it also shows up differently on different color paper).
- Cut! It took ~7 min each time for it to finish
String
Once you have your ideal number of banners, you can start putting them on string! Since this is with construction paper, I just taped the string to the top of the paper and stapled over it (not the best look but I was in a hurry).
If you want it to look better, I would probably recommend leaving a bit of space at the top so that you can fold that over the string and use glue to keep everything attached. It's really up to the look you are going for.
Hang It Up!

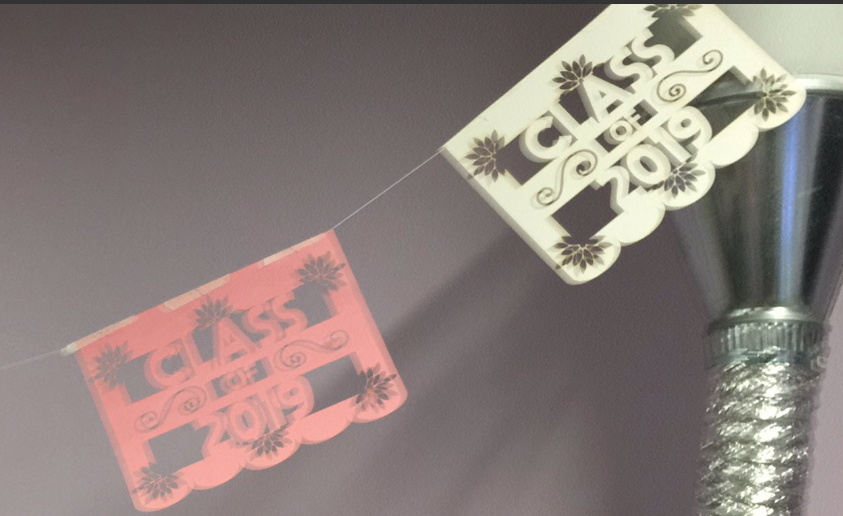
You're done! Now hang up your papel picado and celebrate! This image is from it being hung up in my lab when I was making them.
Hope you have fun making your own!