Laser Cut Notebook With Living Hinge
by AVSmakes in Workshop > Laser Cutting
10868 Views, 79 Favorites, 0 Comments
Laser Cut Notebook With Living Hinge
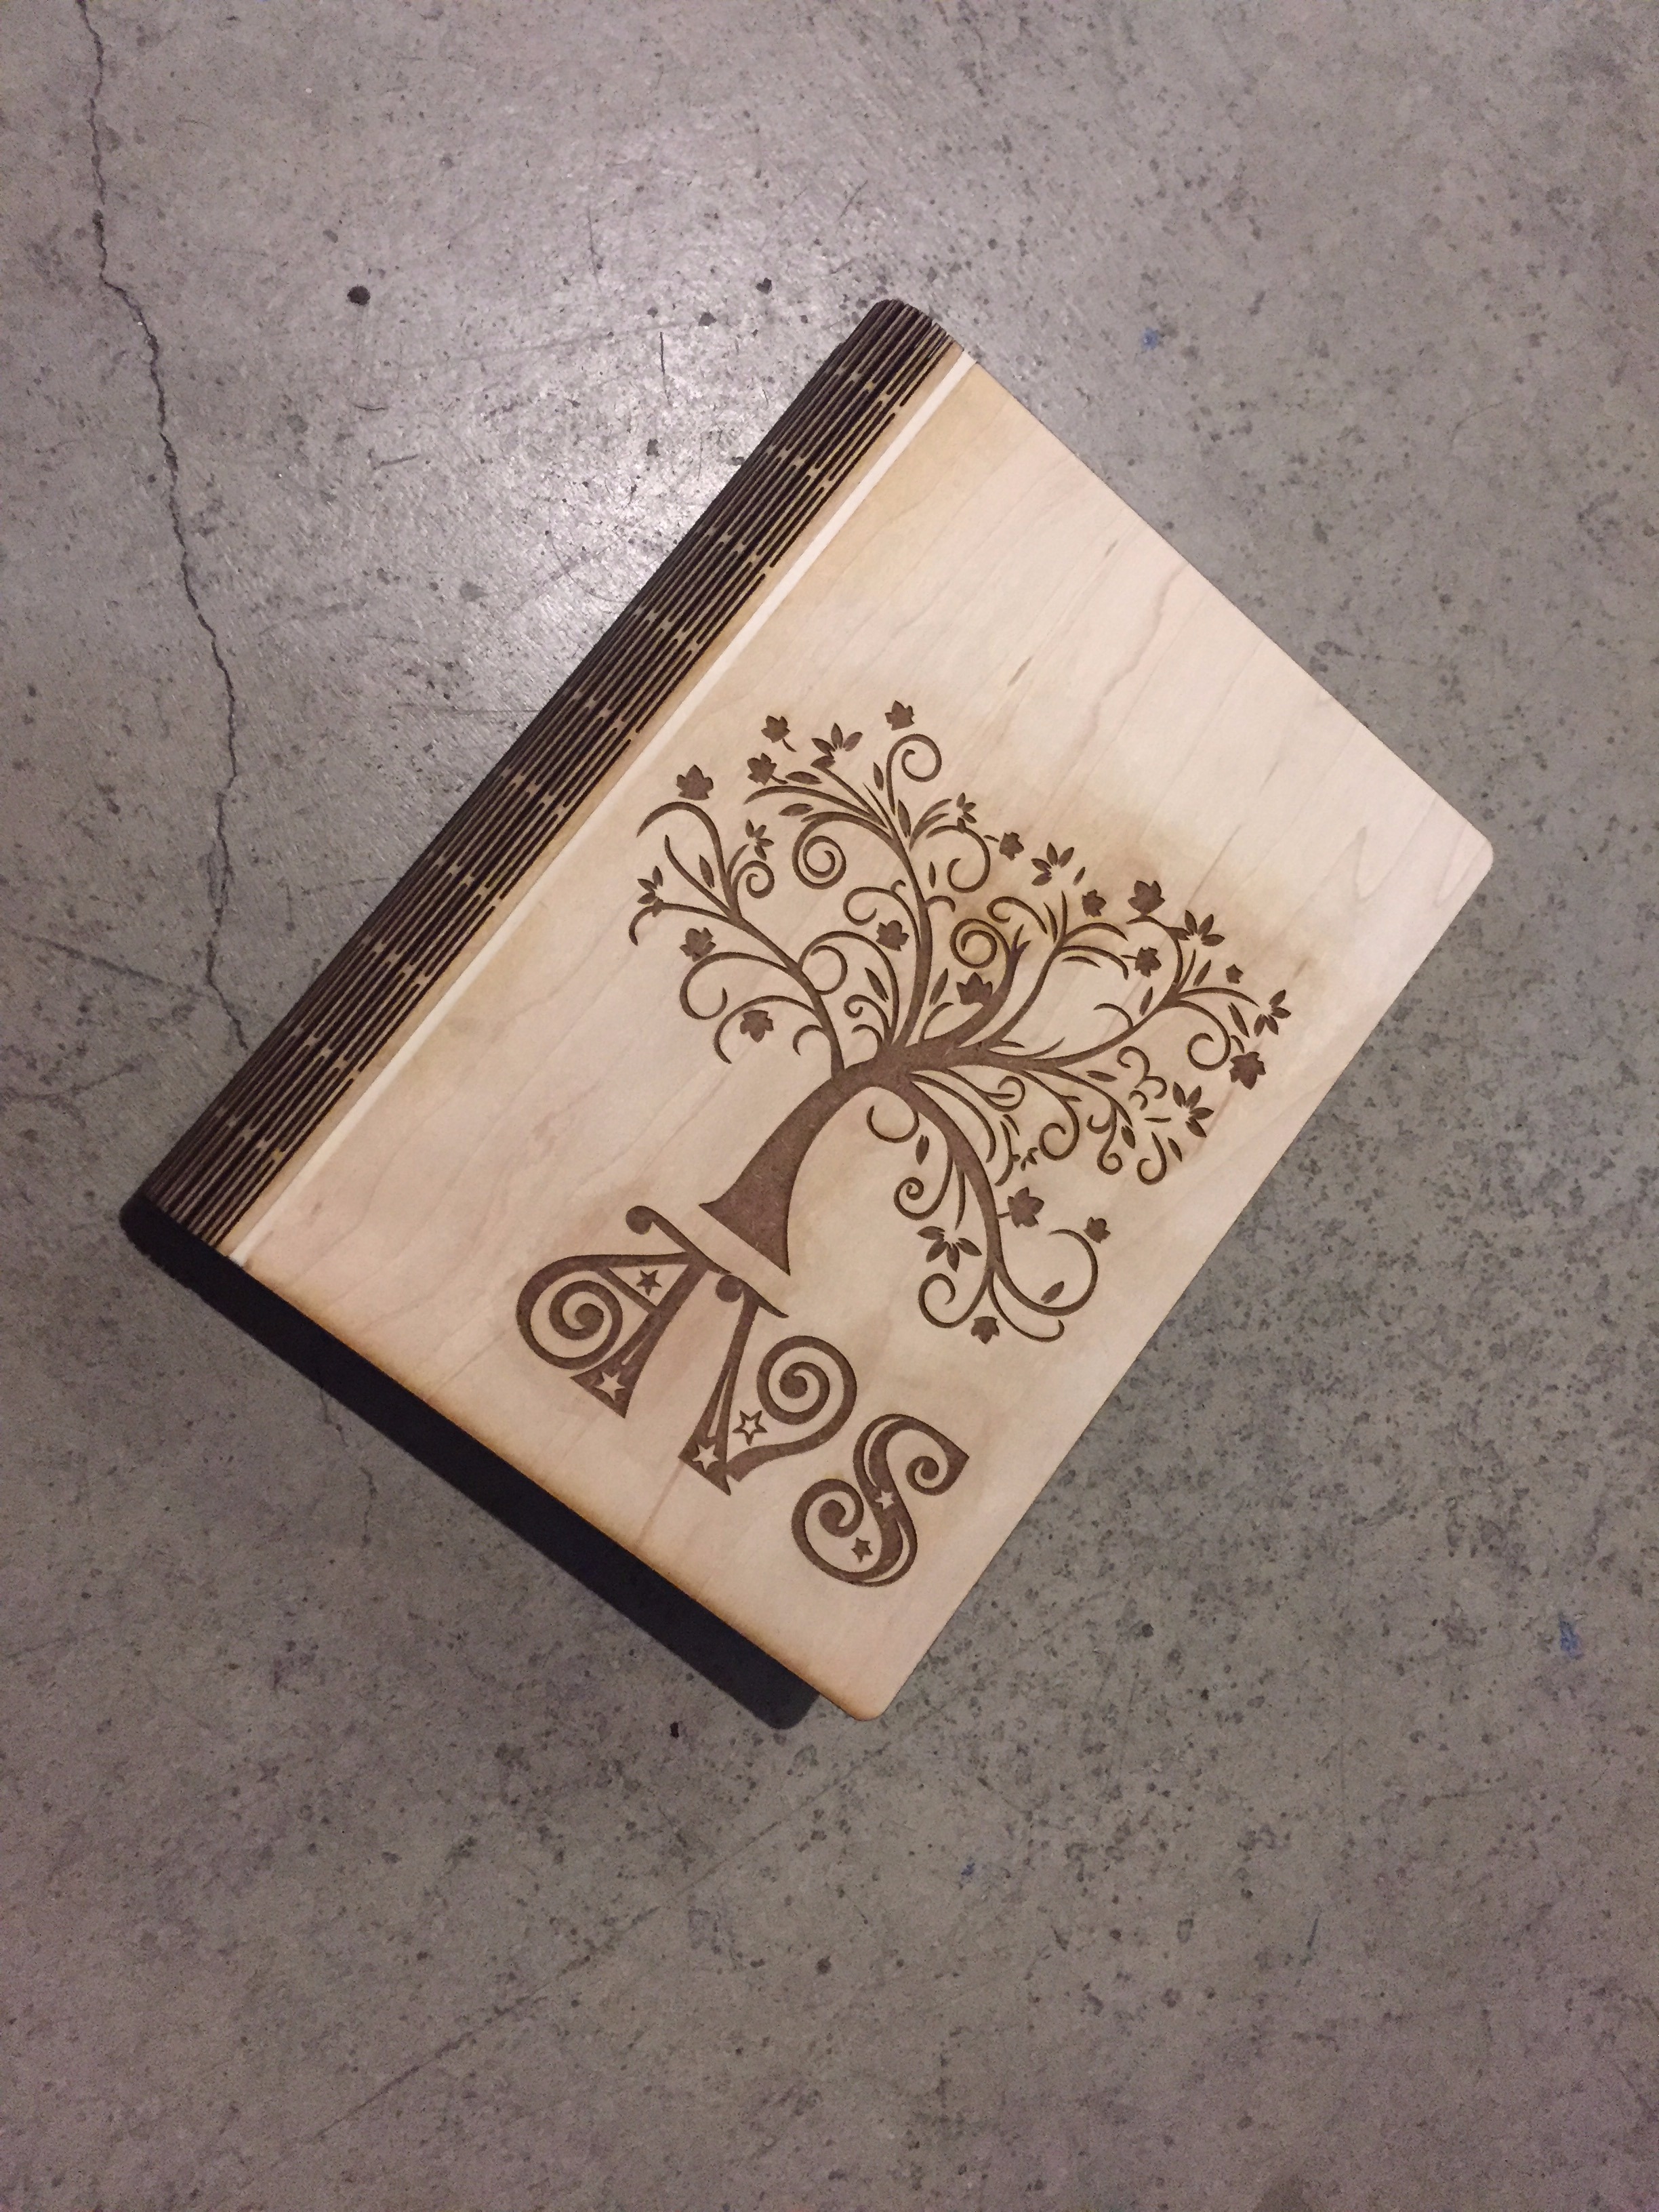
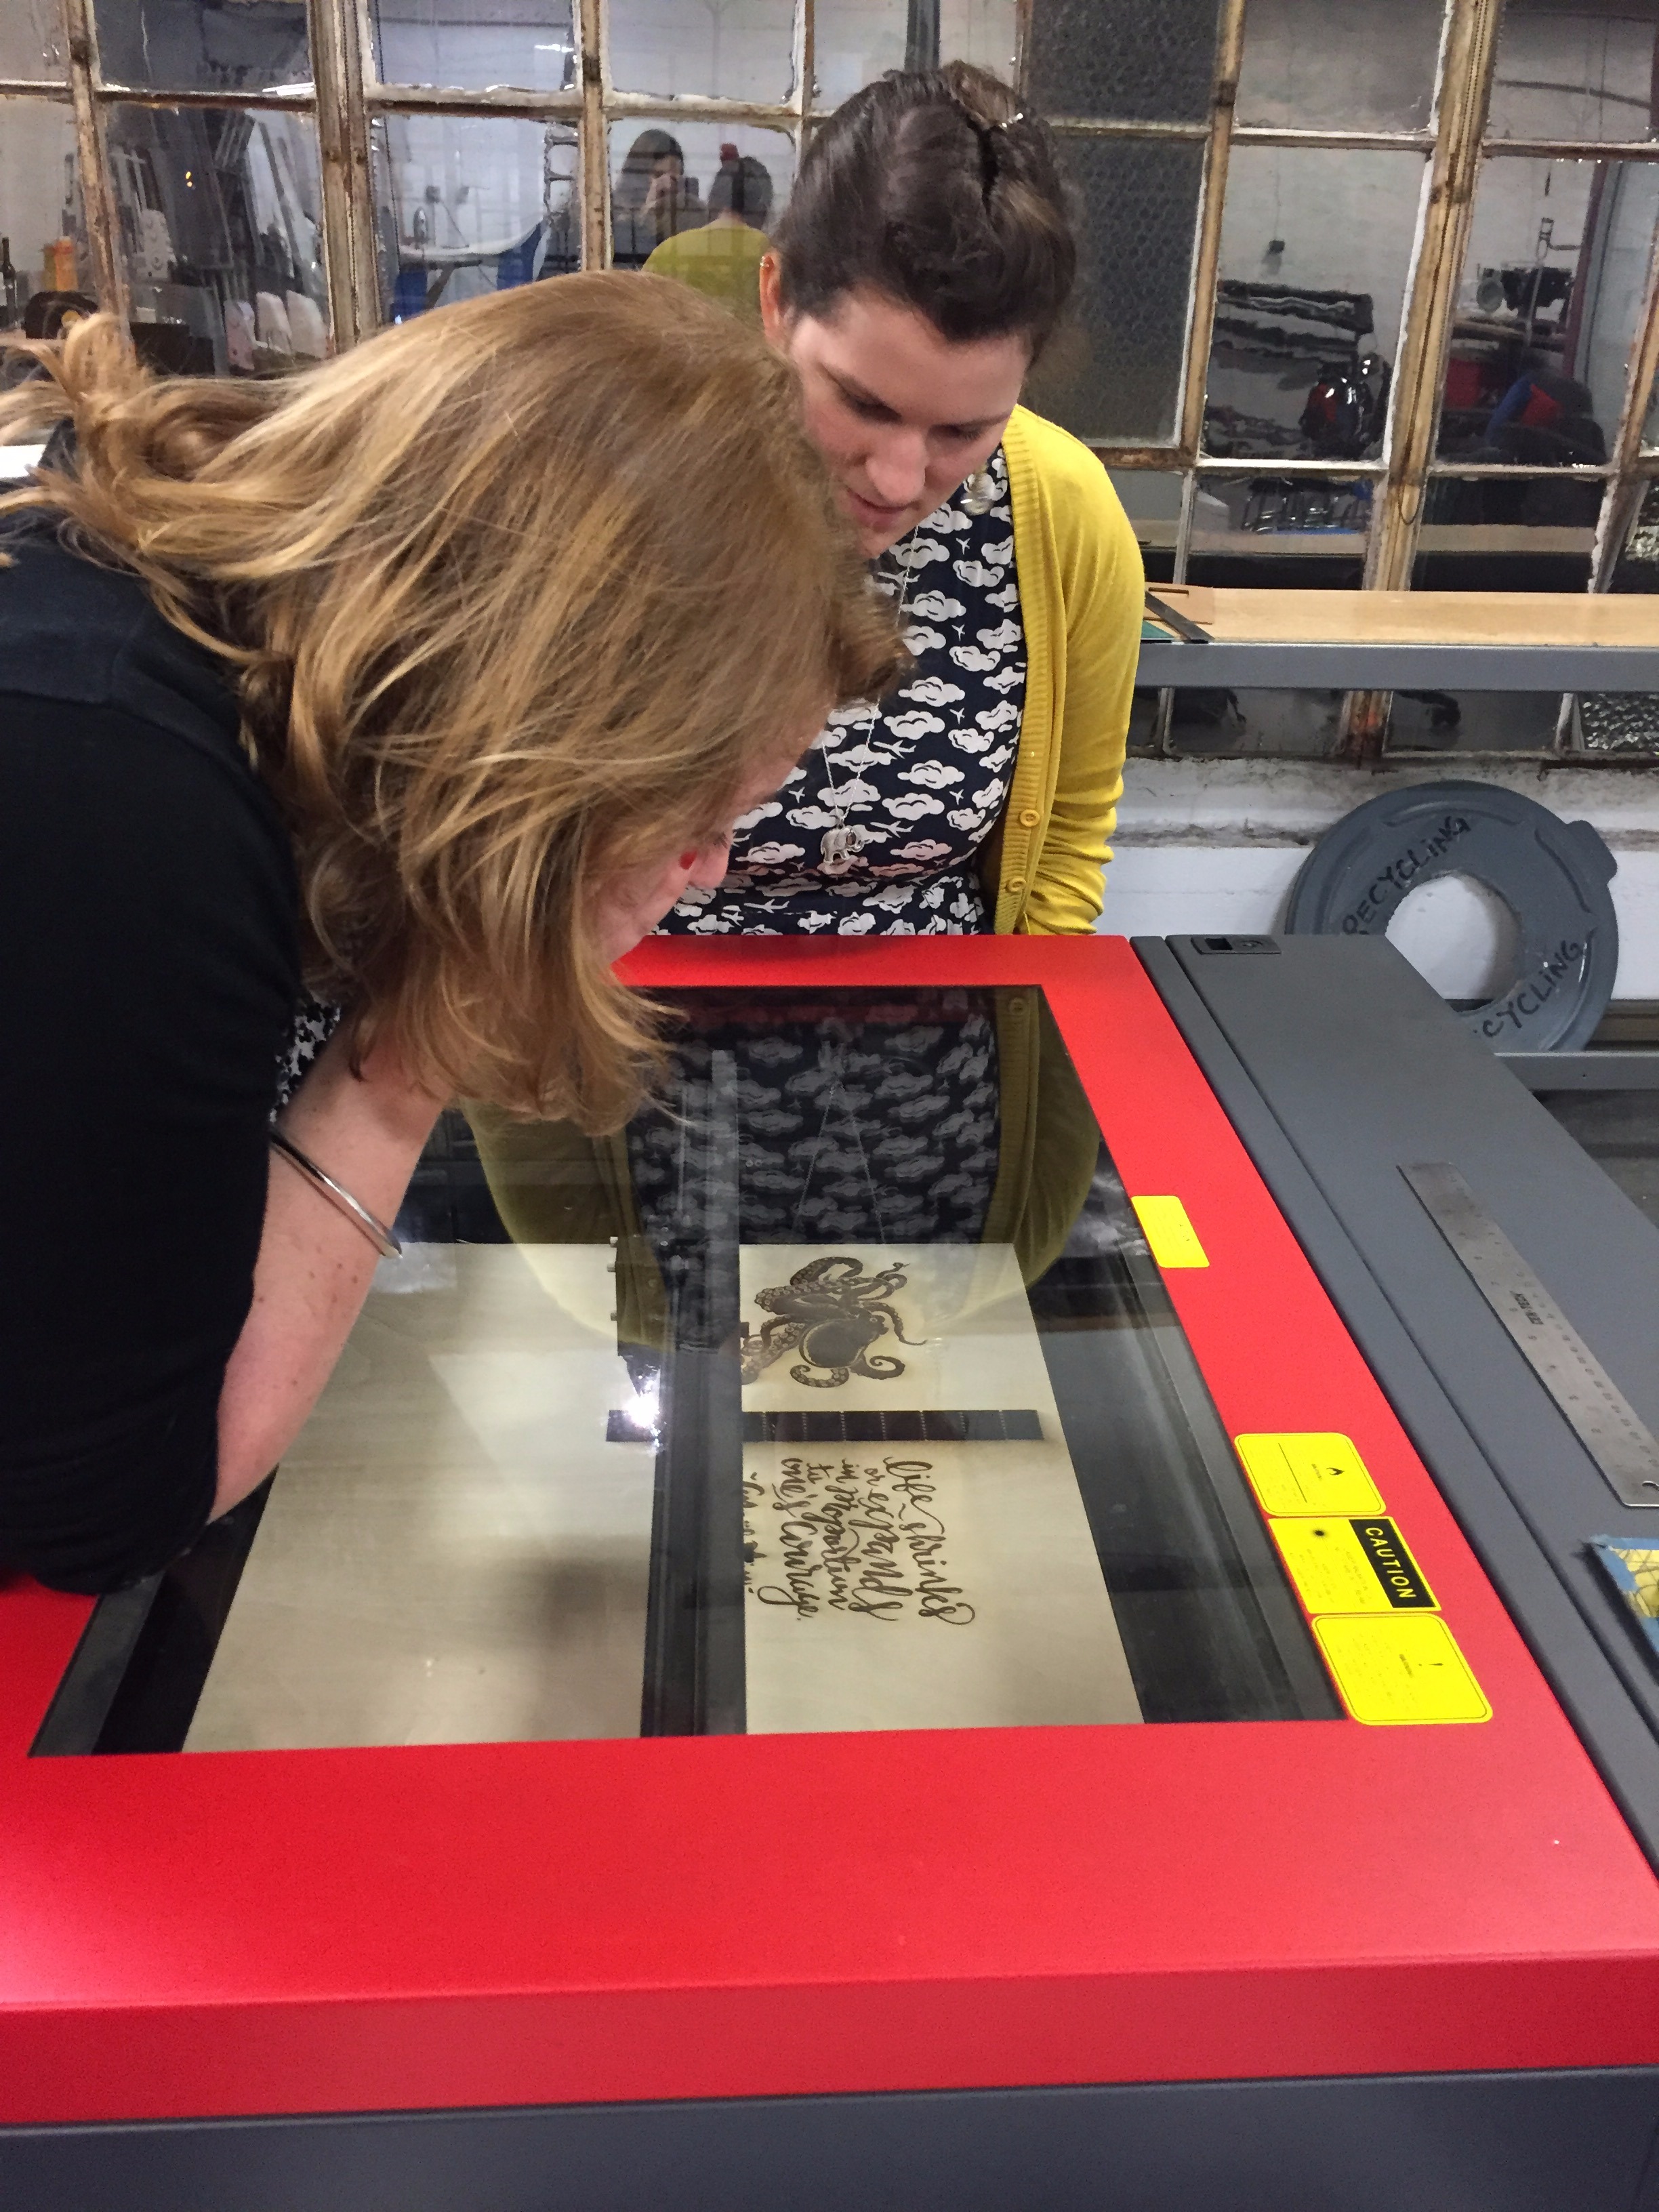
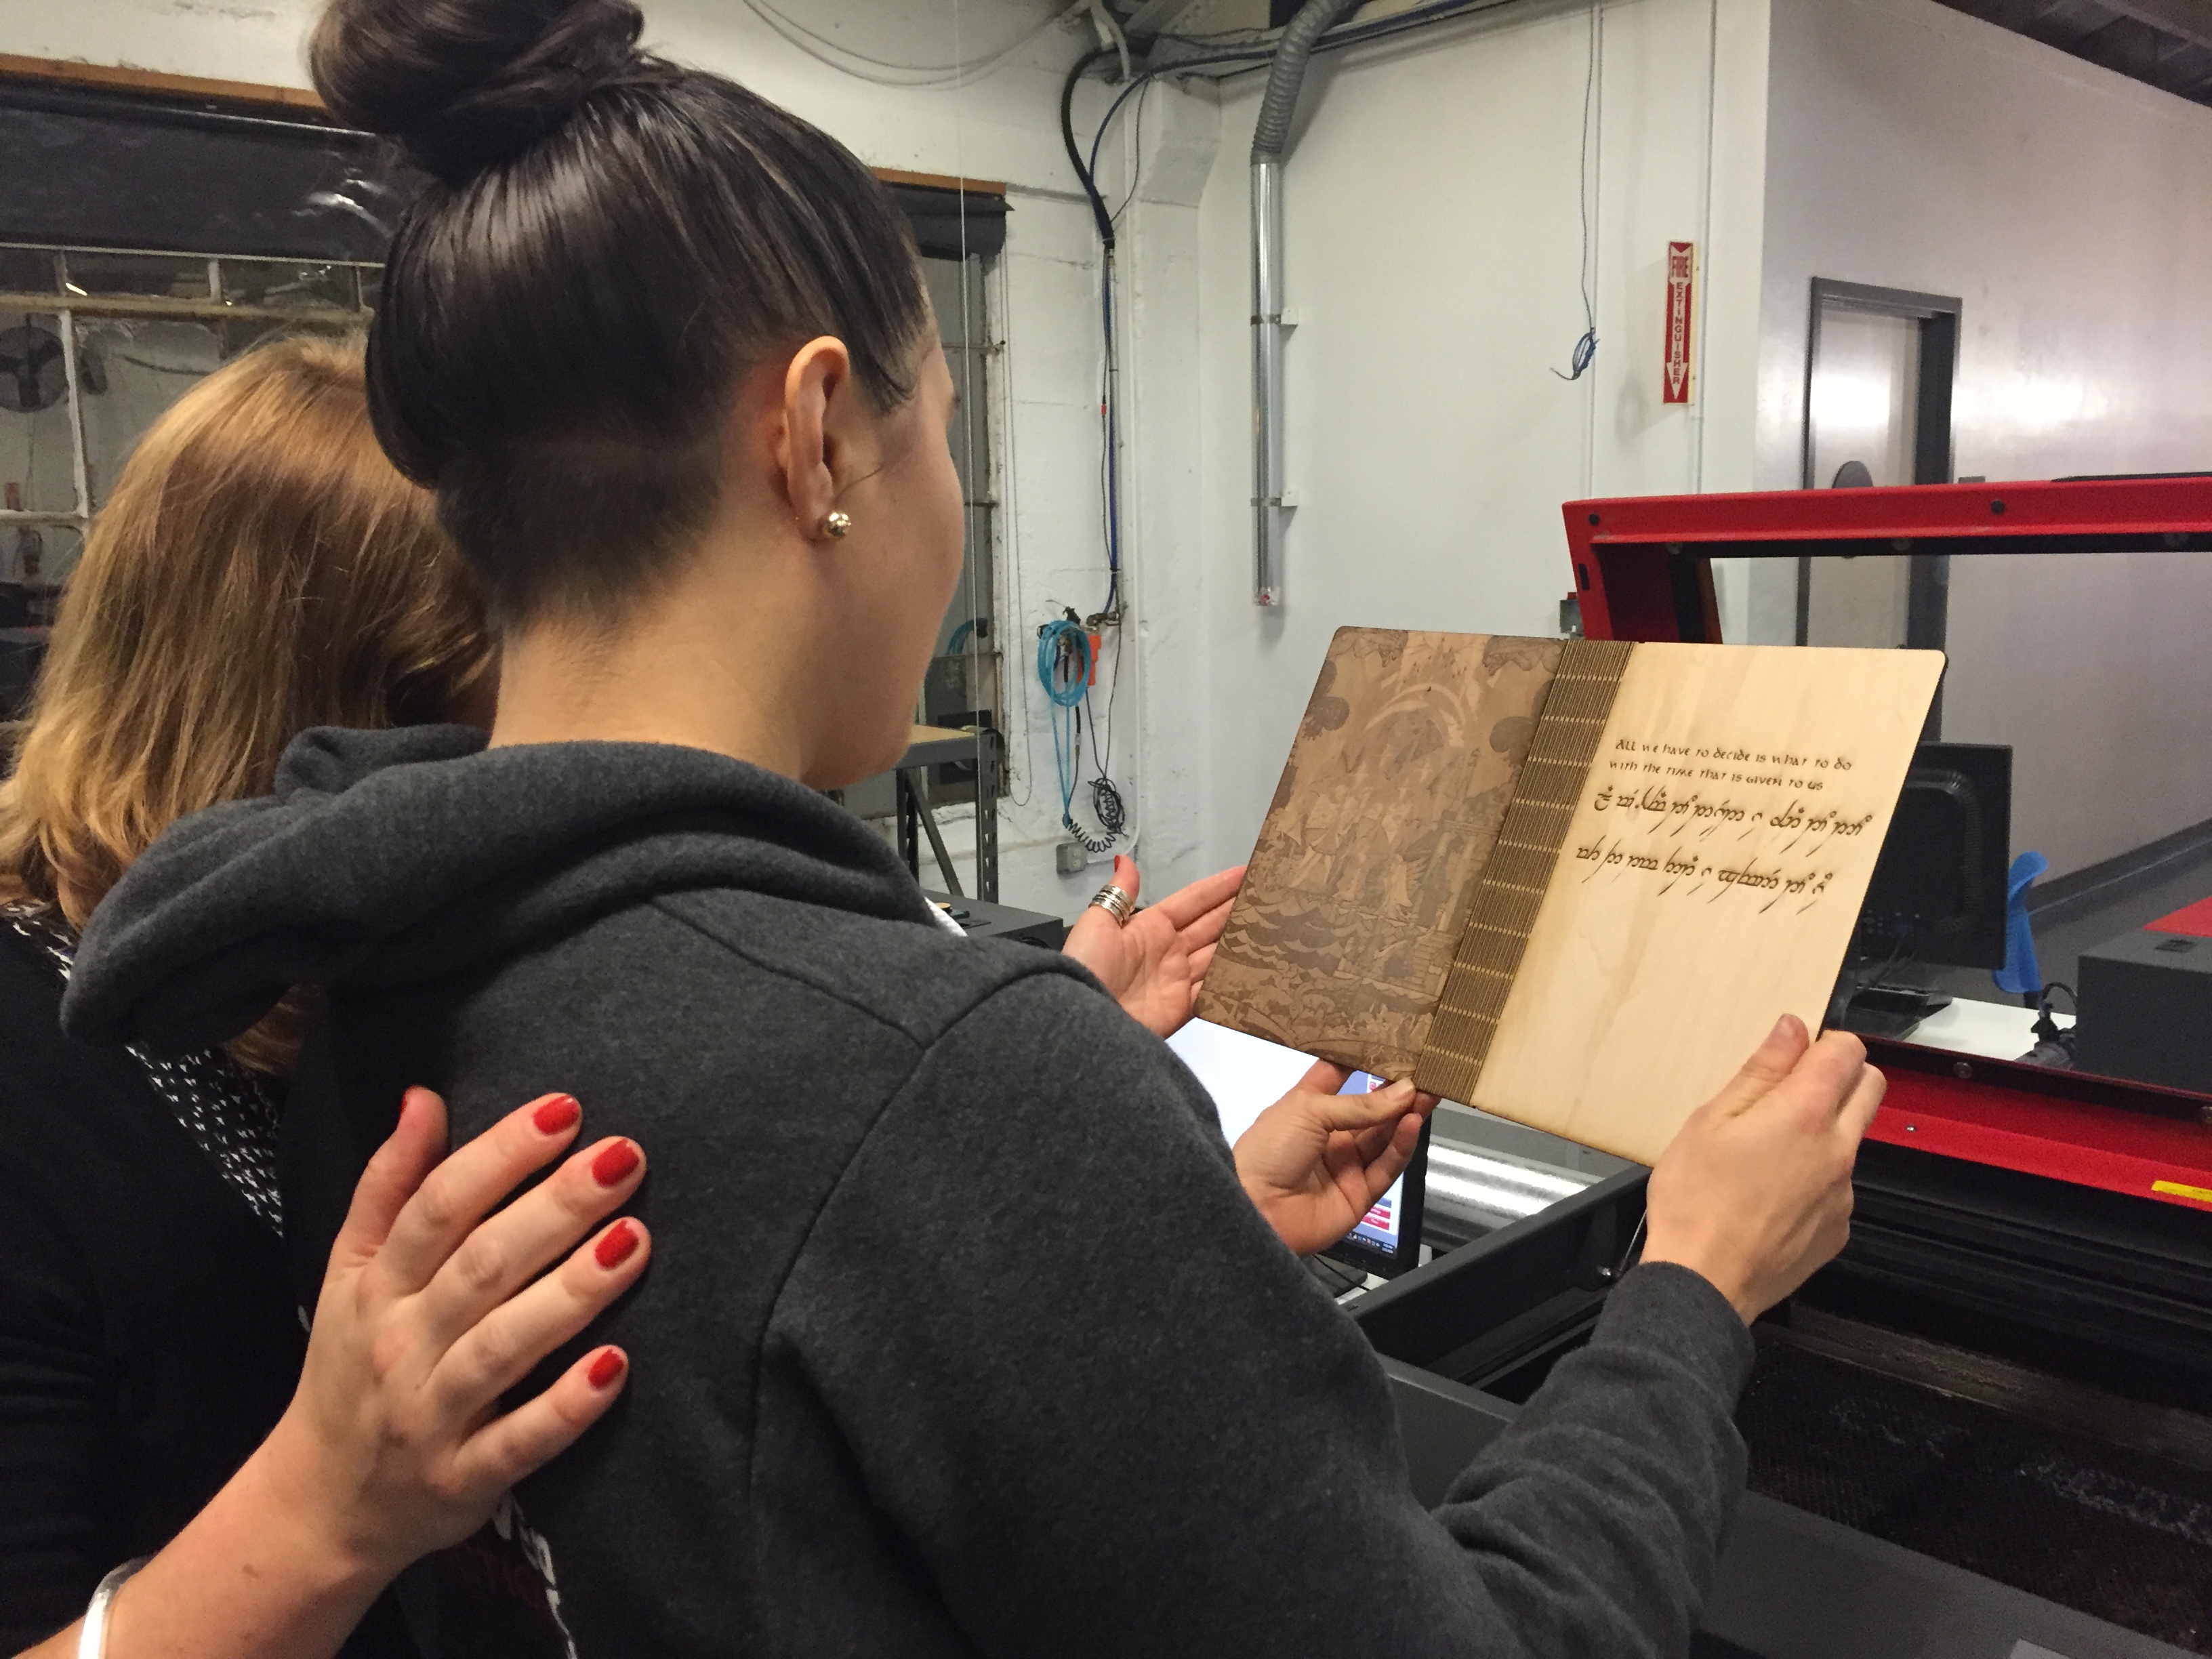
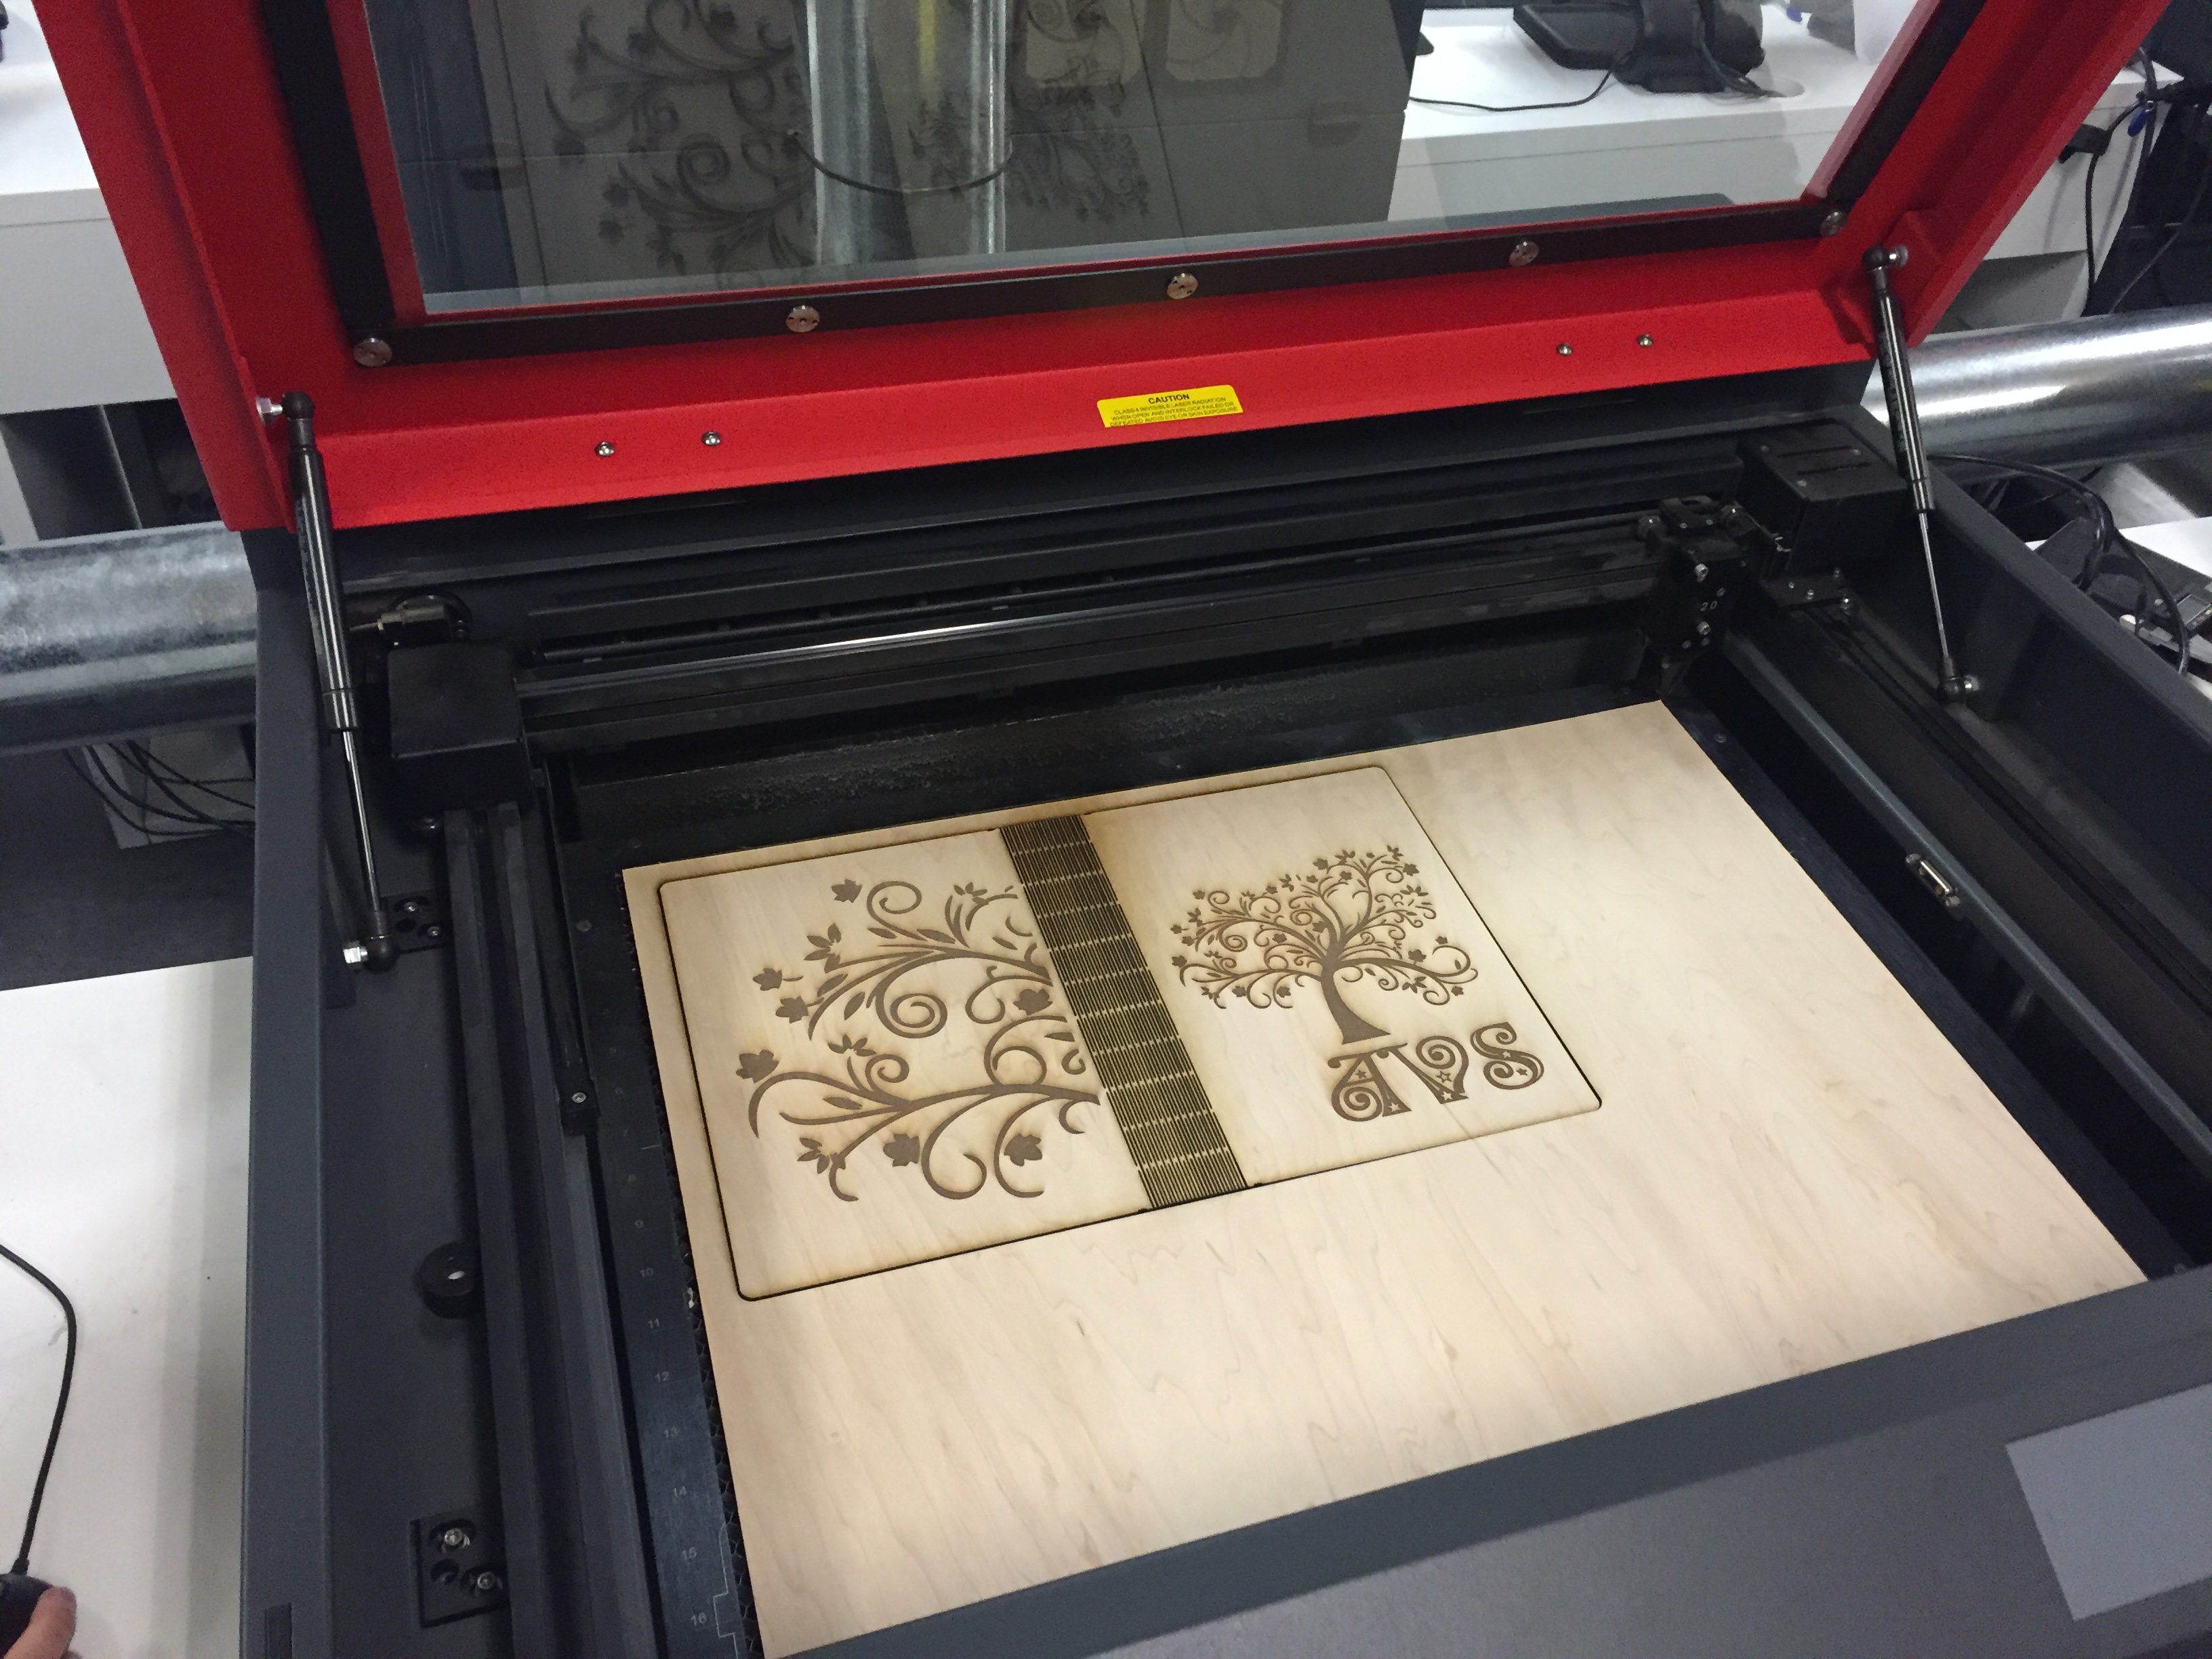
The Laser Cut Notebook Cover with a Living Hinge has been my favorite project since I first started working on it, almost one year ago. I first designed this project for my composition notebooks, since I always have one with me for jotting down notes. The initial living hinge pattern was found on Epilog Sample Club, a website with great ideas for laser cutter projects. Then, when I was asked for a fun project to contribute to TechShop Ladies Night, my first suggestion was this project. Since it’s a personal favorite, I’ve created a tutorial that goes over how to prepare a notebook from start to finish.
Since this project is done in Adobe Illustrator, I designed the tutorial to be an introduction to the vector software. First, we will use Adobe Illustrator to create artwork on the computer. We’ll go over the difference between raster and vector art and a brief introduction to vector art. Then, we’ll move to the laser cutters to etch the art we created and cut the living hinge pattern into wood. You will need access to a laser cutter in order to finish the project. However, I also recommend this tutorial if you are learning to create art in Illustrator.
Intro to Laser Cutting and Etching
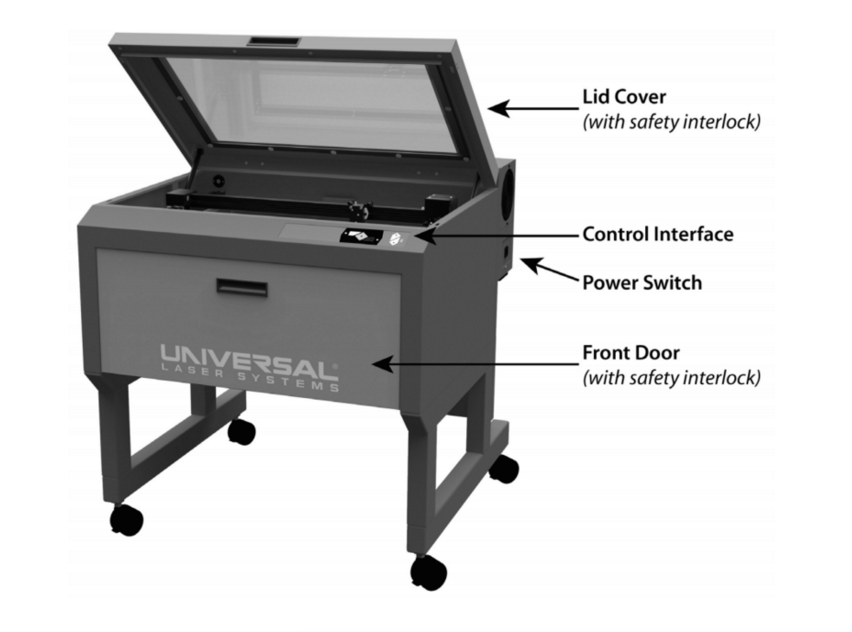

A laser system is used to etch, engrave, or cut a variety of materials. In this Tutorial, we’ll be using the Universal Laser system, which are 60W ULS machines with 24” x 18” work areas. Most wood and acrylic that is sold for laser cutting already comes in 24” x 18” sheets that are ⅛” or ¼” thick. By etching into the surface of the wood, we can “print” artwork on wood.
In addition to etching, we’ll also cut a narrow pattern of lines that makes the flat wood flexible. This is called a living hinge because the hinge is incorporated into the final material, rather than an added piece of hardware.
Laser cutters operate similarly to printers. First you’ll design your art on the computer in Adobe Illustrator. After laying your sheet of wood on the laser bed, you’ll choose settings and click “Print” in the File menu.
The Laser system uses two functions to create art, and these terms will be used throughout today’s workshop: Raster and Vector.
Raster vs Vector
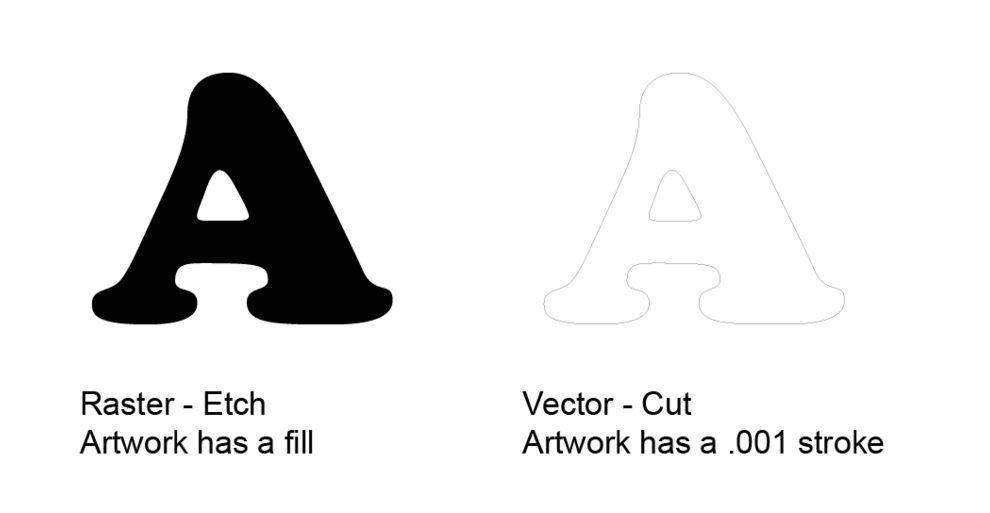
A raster pattern is used to etch the material, putting down “dots of heat,” similar to the way an inkjet printer prints with ink. Raster data is made of pixels. Any image that you copy and paste into Illustrator will be a raster image. File types of jpg, gif, png, and bmp are all examples of raster data.
The laser will read black and grey areas and translate them into Pixels Per Inch, resulting in the imaged burned into the surface of wood. Raster art needs to be in black or grayscale for the laser to recognize it. We recommend you Live Trace any raster artwork in Illustrator to eliminate visible pixels in the final laser art. Vector patterns are used to score or cut through material. When following vectors, the laser moves like a plotter and follows your vector paths to draw or carve them into your material. Vector data is expressed in lines – straight lines, circles, rectangles, splines, and hand-drawn squiggly curves are all examples of vector data. The line thickness in Illustrator must be .001 or hairline in CorelDRAW to be considered vectors by the print driver.
Color on the Universal Laser System
In addition to line weight and fill, the Universal lasers also use RGB colors to determine if you are cutting or etching.
Red lines are used to signify vector cuts, which is when the laser goes all the way through your material. Vector cut lines must be .001 thickness in Illustrator or hairline in CoreDRAW.
Blue lines are used to signify vector engraving. Engraving etches the surface of your material but does not cut all the way through. You might use engraving to create fold lines on heavy paper, for example.
The color black represents raster data. Raster data takes a variety of forms from thick lines, to simple shapes, to complex pictures. If you’re trying to raster a color picture, you’ll need to convert it to grayscale before sending it to the laser.
You can use a combination of Red, Blue and Black, and .001 pt stroke or fills to create your art. Remember that the Universal laser system will read any lines that are .001 and Red or Blue as Vector Cut or Vector Etch Lines. Alternatively, any art that is black and more than .001 stroke will be rastered, or Etched into the surface of the wood. It’s a good idea to click on all of your art to double check that it is set up the way you want to print it.
Intro to Adobe Illustrator
We will spend a few minutes to go over some basic concepts in Illustrator. This is an introduction so you can layout your artwork and set it up for the desired laser (cut or etch) effects. If you are interested in learning more about using Illustrator to create art for the laser cutter, consider taking the class Illustrator for CNC.
To begin, download the template files
Layers
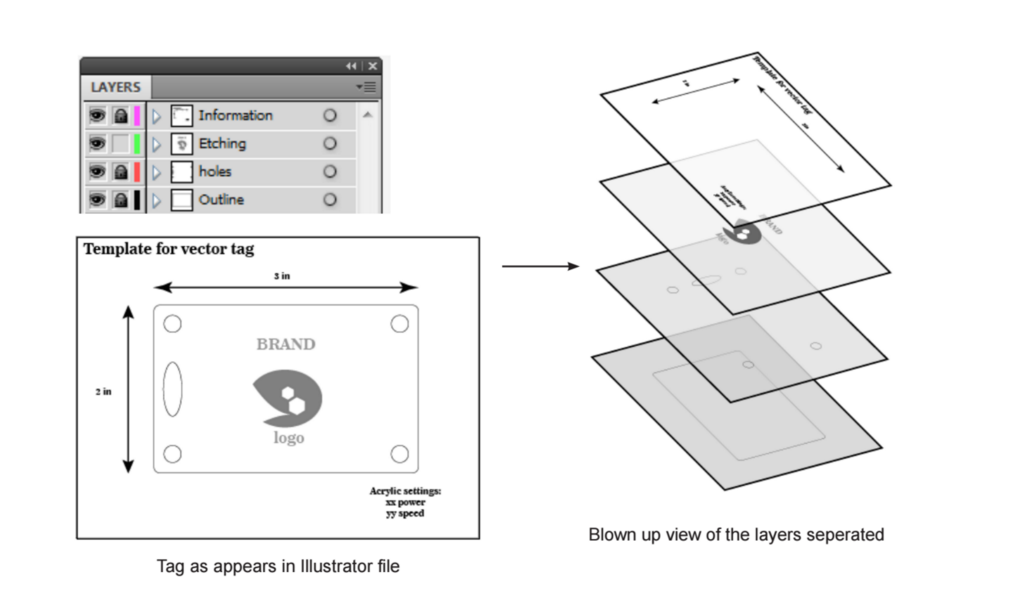
Layers are the way we organize artwork in Illustrator. They work like transparent sheets of paper that are stacked, one above the other. If all the art is transparent, we can see everything to the bottom of the stack. Alternatively, if there is a black box on the top layer, that will hide everything below it.
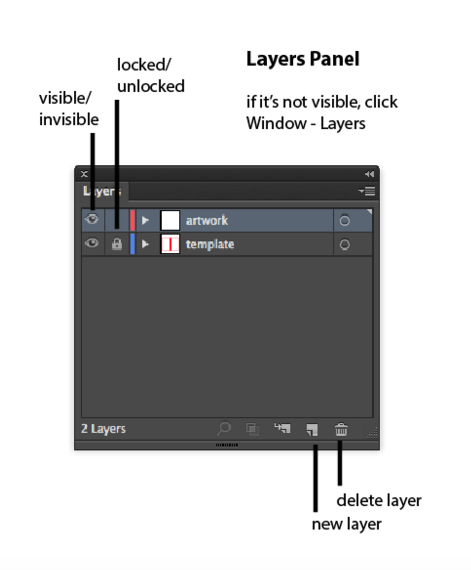
At any time, you can make a layer “Visible” or “Invisible” by clicking the eye on the left of your layer name. You can also “Lock” a layer which prevents the artwork from being moved or deleted. This is helpful when you want to keep a template layer fixed in place, but create art on a different layer.
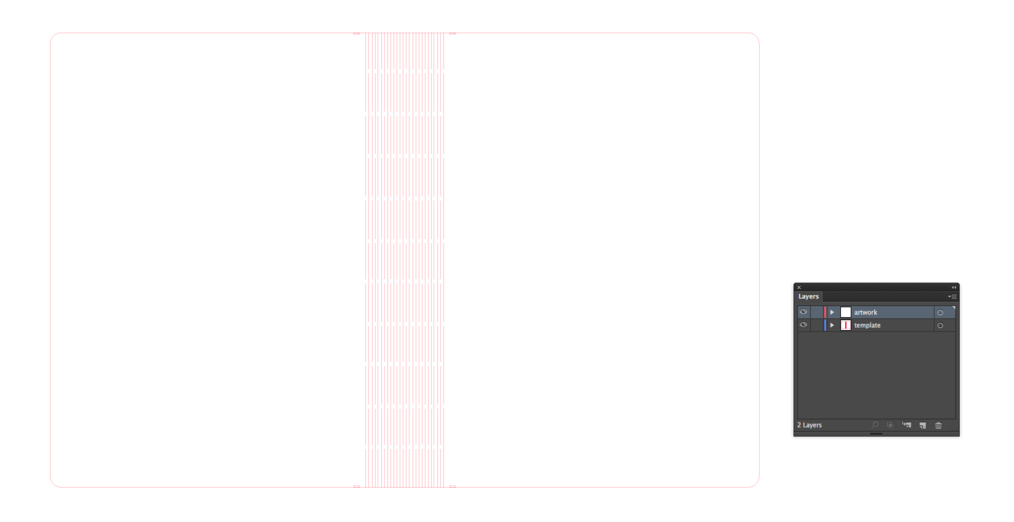
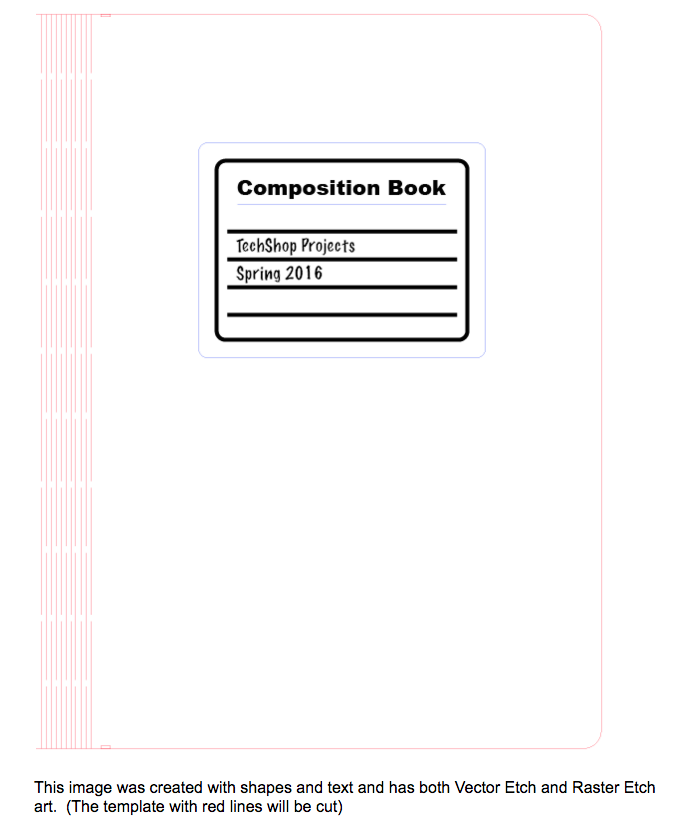
When first opening the file for today’s workshop, there are two layers: template and artwork. The template layer should be locked, but if not click the spot to the right of the eye to reveal the “Locked” icon. When a layer is locked, you cannot edit the art on it or create new art. This will keep the individual elements of the notebook template from being edited by accident.
Begin by clicking the “artwork” layer. If you draw shapes or create text, they will automatically be placed on this layer because it is highlighted.
You can create new layers by clicking on the sheet icon to the left of the garbage can. This is helpful if you want to keep things separate for easy editing. For instance, you can have one layer for text, one for raster (etch) art, and one for vector (cut) art.
The Selection Tool and Resizing Objects
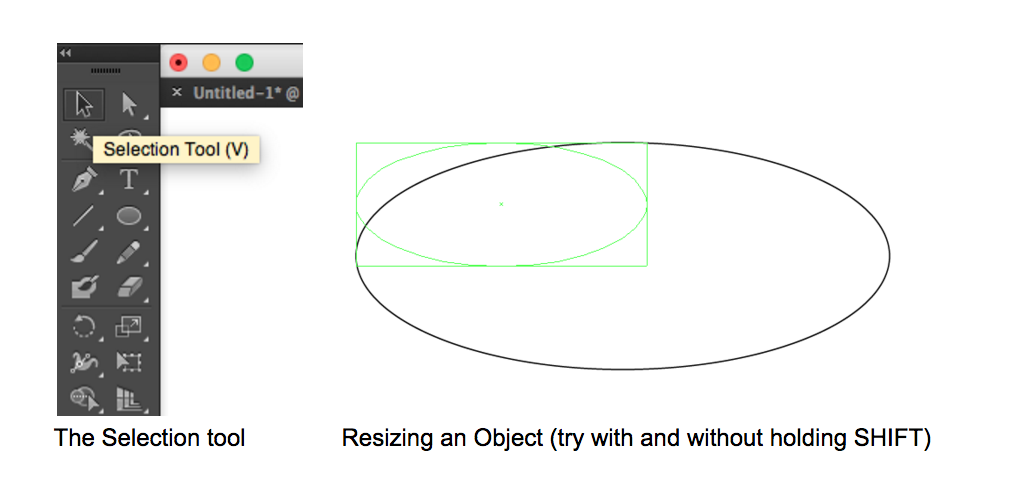
When you want to resize, rotate, or edit the stroke or fill on an object, you will first need to choose the Selection Tool (V) first. You can do this two ways:
-In your tool panel (left hand side), click the black arrow on the upper left. -Hit the V key on your keyboard.
The Selection tool Resizing an Object (try with and without holding SHIFT)
Once you have chosen the Selection Tool, you can click on your art and move it around. To resize, hover on one of the outside corners until a two sided arrow appears. If you hold down SHIFT when resizing, your proportions will remain the same. If you do not hold down shift, you can manipulate the length or width alone.
Creating Original Art with Shape and Text
You can draw just about anything using the Shape tools. The default is a rectangle, and can be found in the Tool menu on the left side. (Shape is fourth down on the right) If you click and hold the Shape tool, a menu will appear with more options, like Rounded Rectangle, Ellipse, Polygon and Star.
When one of the Shape tools is selected you have two options: -Click and drag to create a shape by hand -Click and release to enter dimensions and other options in the pop-up menu
The text tool is a T which is right above the Shape tool. When it is selected, you should click once and begin typing. When you are done, click ESCAPE on your keyboard. Then, when your Selection Tool is highlighted, you may resize text using the same technique described in the previous section. If you are resizing the text box and the text size does not change, delete the box and create a new one.
You can find new fonts in the file menu by clicking Type - Fonts. Your text box must be selected in order for the new font to be applied to existing text.
Finding Images & Text to Etch on Your Notebook
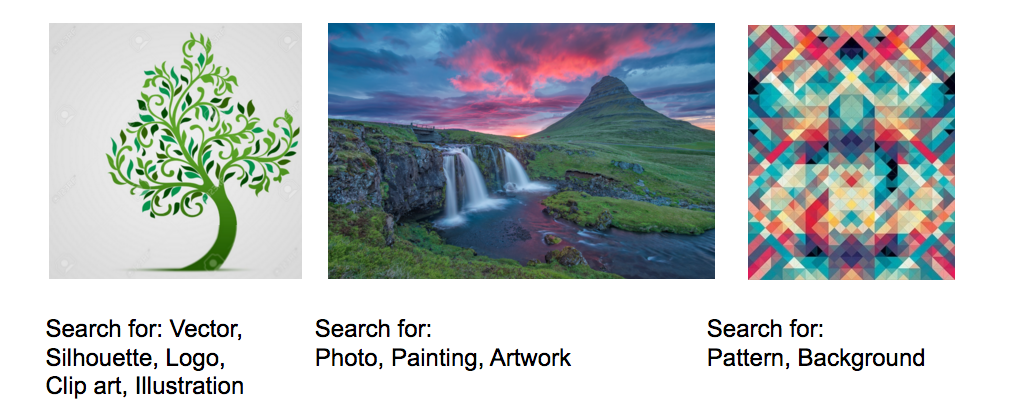

You can use just about any image to etch on your notebook, from your own photo or sketch to a logo or illustration you find online. The variety of images will have different appearances once you laser etch them. For instance, something with a white background will have high contrast of etched areas, which have been burned, and the untouched wood. Try searching for silhouettes, logos, or vector art for an example of this.
High contrast images like Silhouettes and Logos will be the quickest to raster because there is little change in contrast. Alternatively, a photo with a lot of detail will take a longer time to raster because the laser must adjust contrast levels while printing. A pattern that covers the whole notebook will also take some time to print since laser will have to cover that whole area, dot by dot, to recreate the pattern.
In the next section, we will use Live Trace to make the images you’ve chosen compatible with the lasers. This will eliminate pixels in the final image and convert your images to Black and White or Grayscale. The result will not look exactly what you see on screen, but you can tweak the settings until you are happy with them.
Finding Text art on DAfont.com
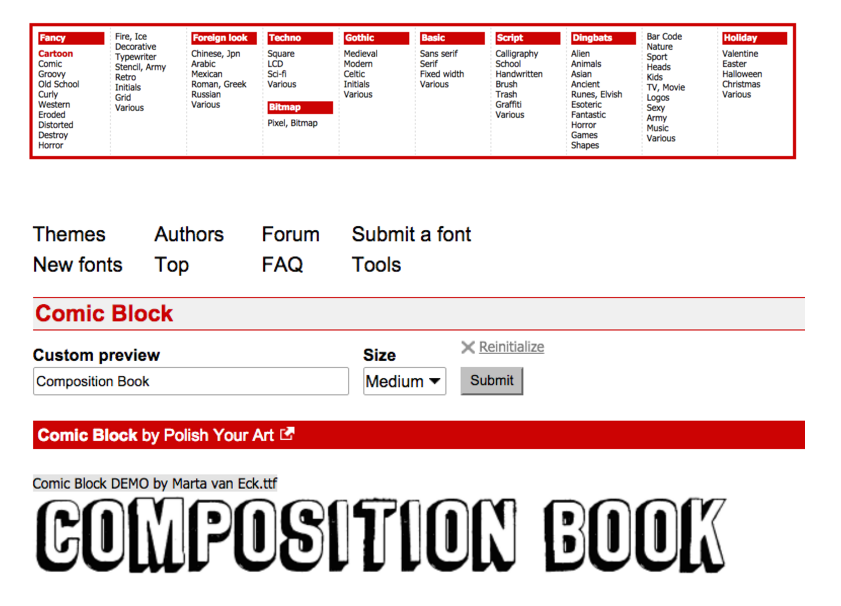
DAfont is a great resource for finding free fonts that can be used as art on your notebook. Since we can’t install fonts on TechShop computers, you’ll instead use the Preview feature on the website and copy it into Illustrator. Then, use Live Trace on the font image to create art.
Go to www.dafont.com. Here, you can browse fonts by theme to find just about anything you can think of. If you type your text in the “Custom preview” box, you’ll be able to see how your text will look in each font.
Once you find a font you like, there are a few steps to bring it back to Illustrator:
-take a screenshot using the keyboard to hold down CTRL + Print Screen.
-open the program Paint and hold down CTRL + V to paste. The entire screen will be pasted into your Paint window.
-use the selection tool to highlight the TEXT ONLY.
-CTRL + C to copy, and go back to Illustrator. Here, press CTRL + V to paste.
-use Live Trace to prepare the image for laser etching.
Live Trace to Prep Artwork for Laser Etching

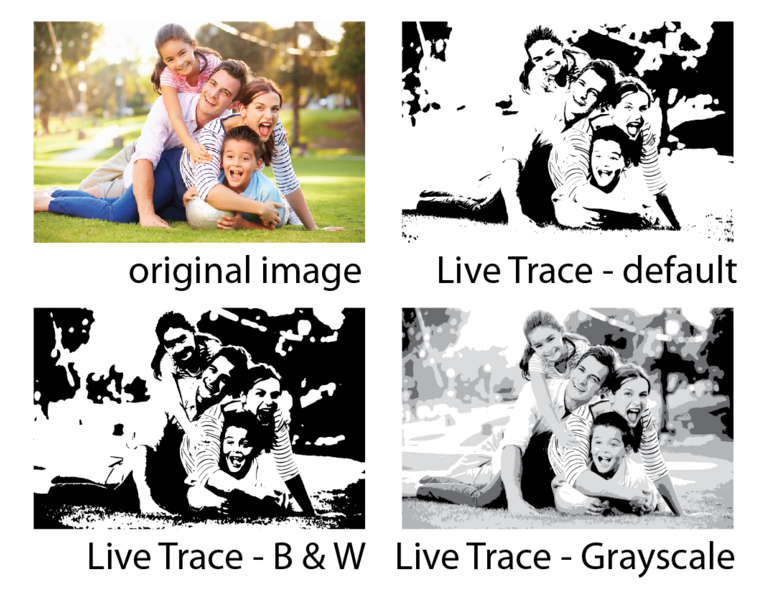
Live Trace is a tool in Illustrator that converts your artwork to vectors. This is a necessary step for this workshop, even if you are only etching. Live Trace will eliminate pixelation and allow you to resize your artwork without blurriness. It will also convert your image to either black and white or grayscale, which is necessary for the ULS.
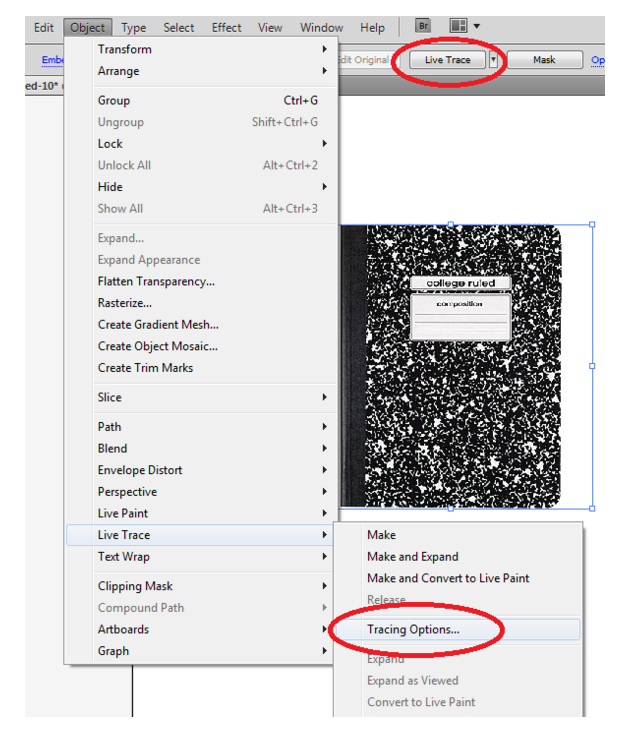
Any time you bring an image (exe: .jpg or .png) into Illustrator, an option for Live Trace will appear at the top of your screen, below the the menu bar. Clicking this will give you the default options for Live Trace. For some images, the default setting will work fine. But for more complicated images, especially those using grayscale, you will want to tweak your settings before doing the Live Trace. To access those settings, go to
Object > Live Trace > Tracing Options.
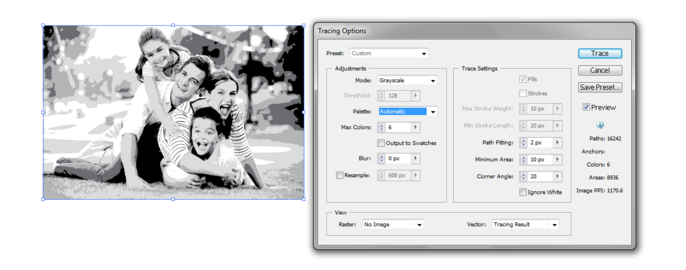
Once your Live Trace options screen is open, move it to the side so you can see the original artwork. Click on Preview to see your changes as you select them. Next, decide if you want a grayscale image, or black and white. (The laser will not recognize color images, so for this exercise do not choose Color)
In Black and White mode:
Threshold is the main setting to adjust the look of your artwork. Changing the Threshold values will have the most obvious effect. Experiment with the slider bar to see which value works for your image.
In Grayscale mode:
The Max Colors will determine the level of detail in your images. 6 shades of gray is the default. The more shades of gray you add, the more shading and contrast will be in your final image.
After you have adjusted these settings, feel free to experiment with the other values like Blur, Path Fitting, Minimum Area, and Corner Angle.
Final Steps
Once you have an idea of what your notebook will look like, layout the images and text and resize as needed. Make sure that your “template” layer is locked and that your artwork appears on the “artwork” layer. After your notebook design is finished, you are ready to laser cut and etch it!