Laser Cut Mini Cornhole Boards
by SheltonMaker in Workshop > Laser Cutting
1850 Views, 11 Favorites, 0 Comments
Laser Cut Mini Cornhole Boards
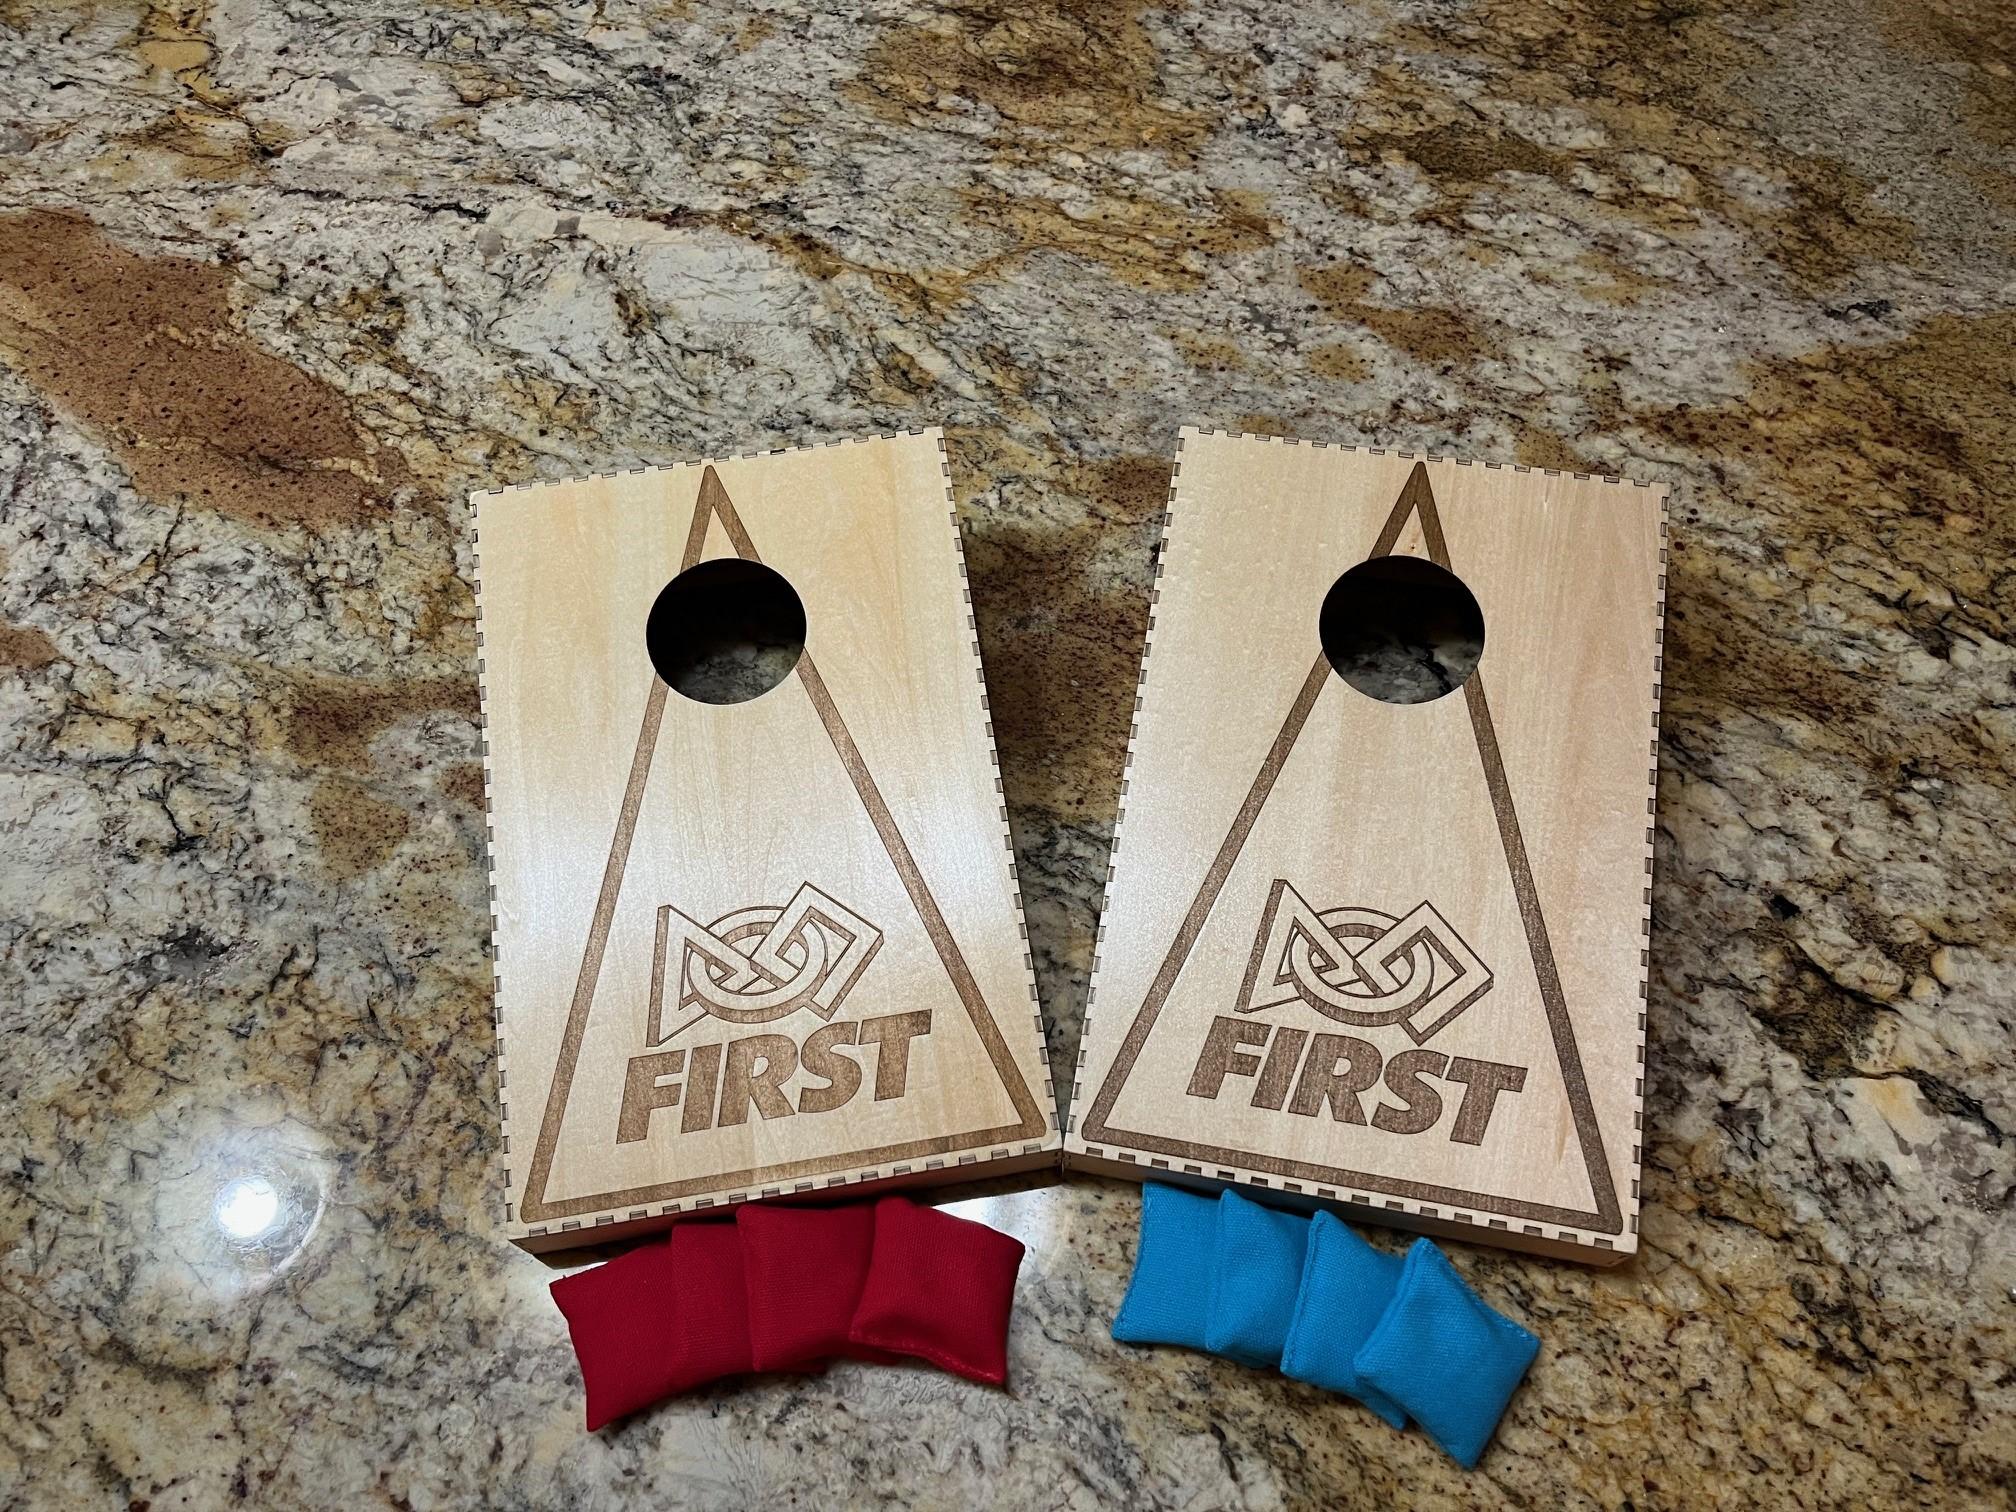

I mentor a First Lego League robotics team and we are always looking for something a little extra to help us stand out at competition. These mini cornhole boards will be small enough for visitors to play when they visit our booth. It also helps promote the First organization.
We tried several sizes but settled on a 8”x12” tabletop game which is a 1/3 scale version of a 2’ x 3’ cornhole board. The smaller boards were just not as much fun to play.
There are a few Instructables on mini cornhole boards but these would be the first to be made entirely with a laser cutter.
I used xTool Creative Space for the design but the process will be similar regardless of which software you choose to use.
Supplies
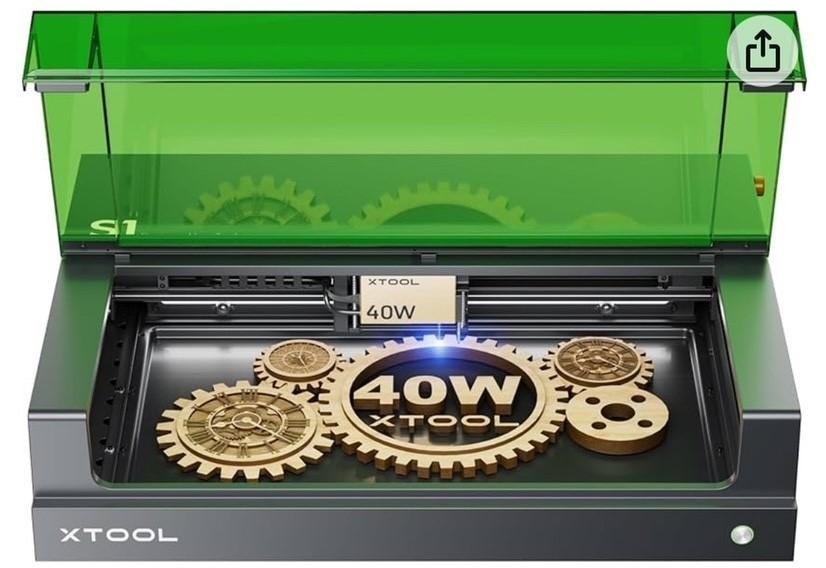
xTool S1 40w Laser Cutter
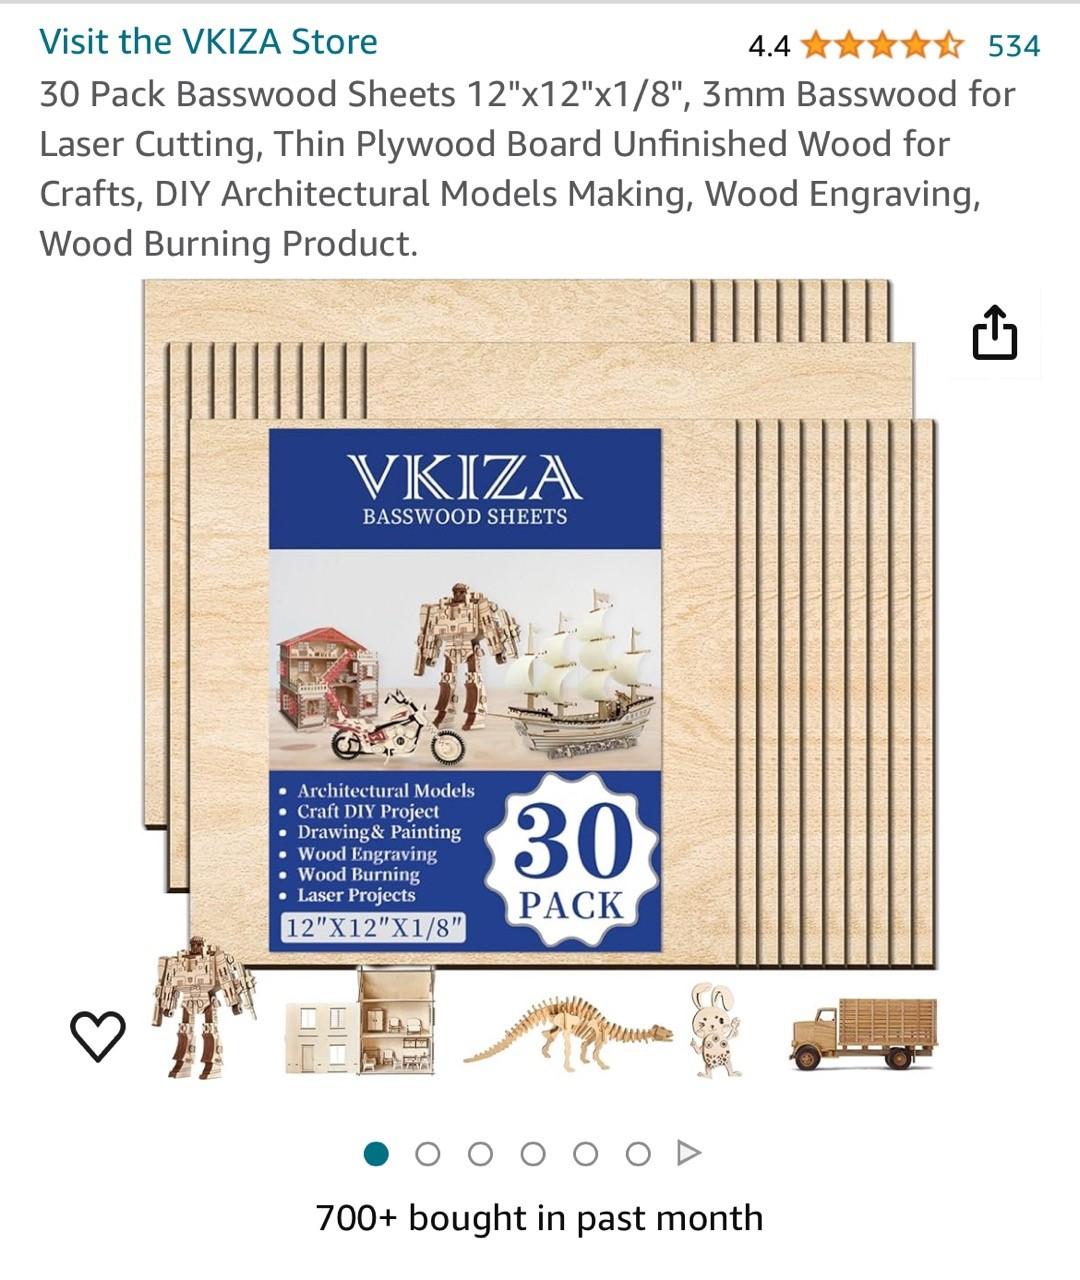
4 -12”x12”x1/8” sheets of basswood plywood
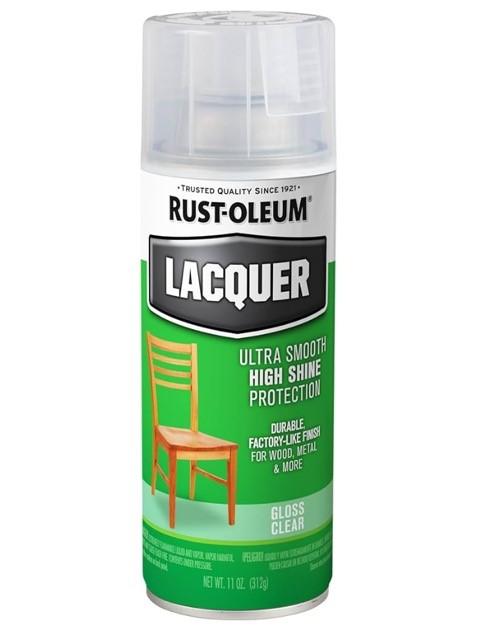
Lacquer Clear Finish
220 grit sandpaper
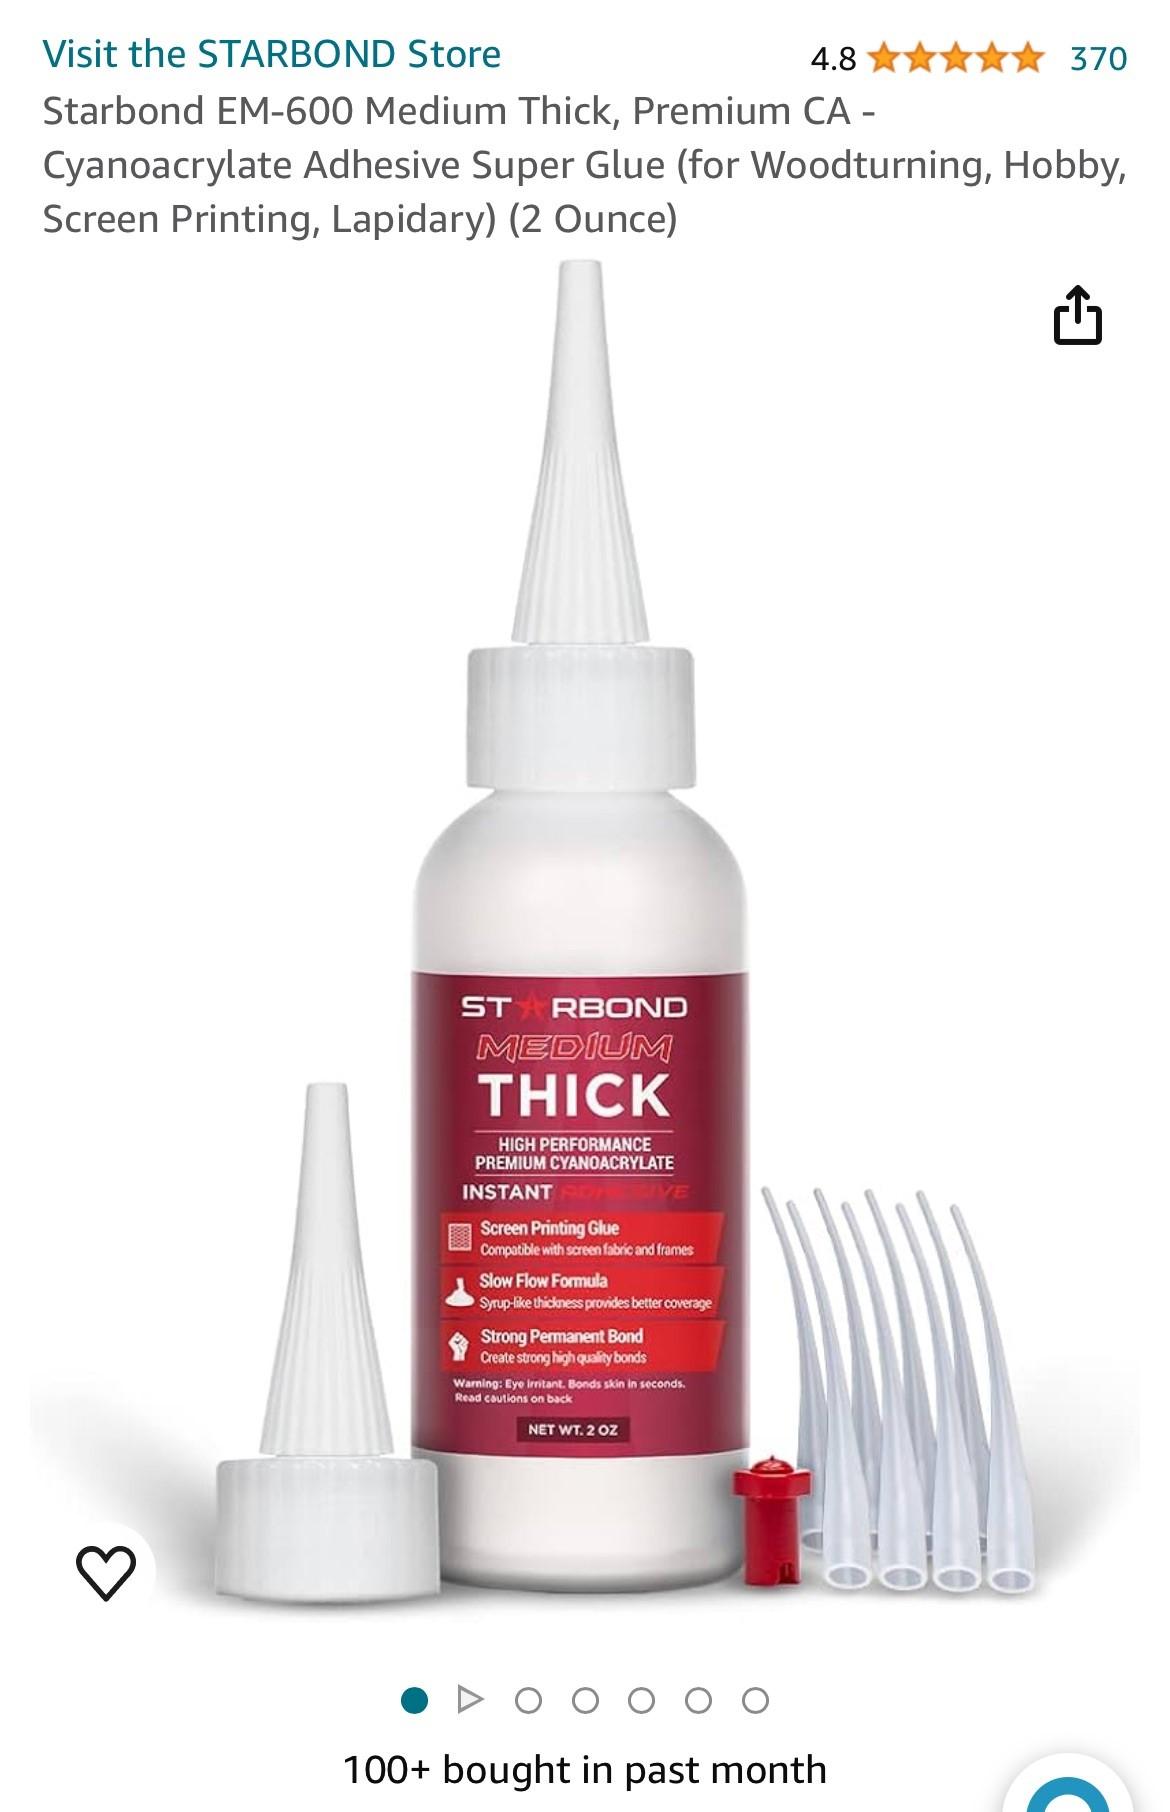
CA glue
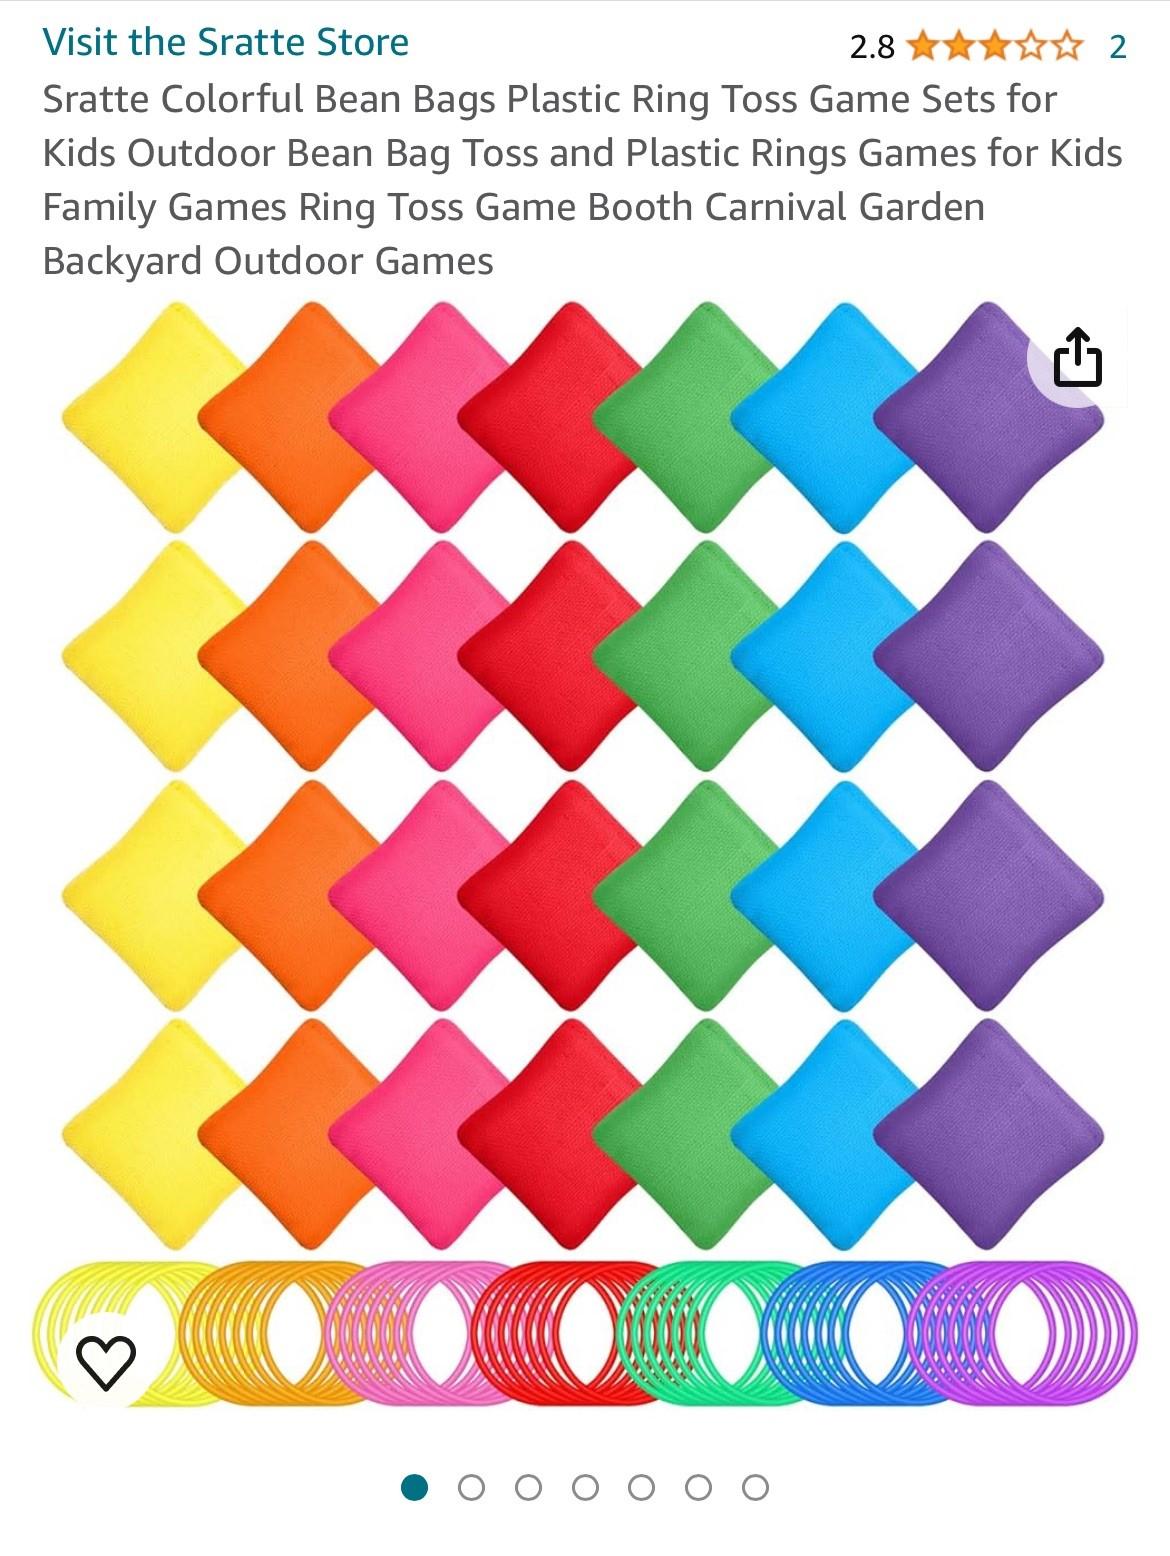
Bean bags
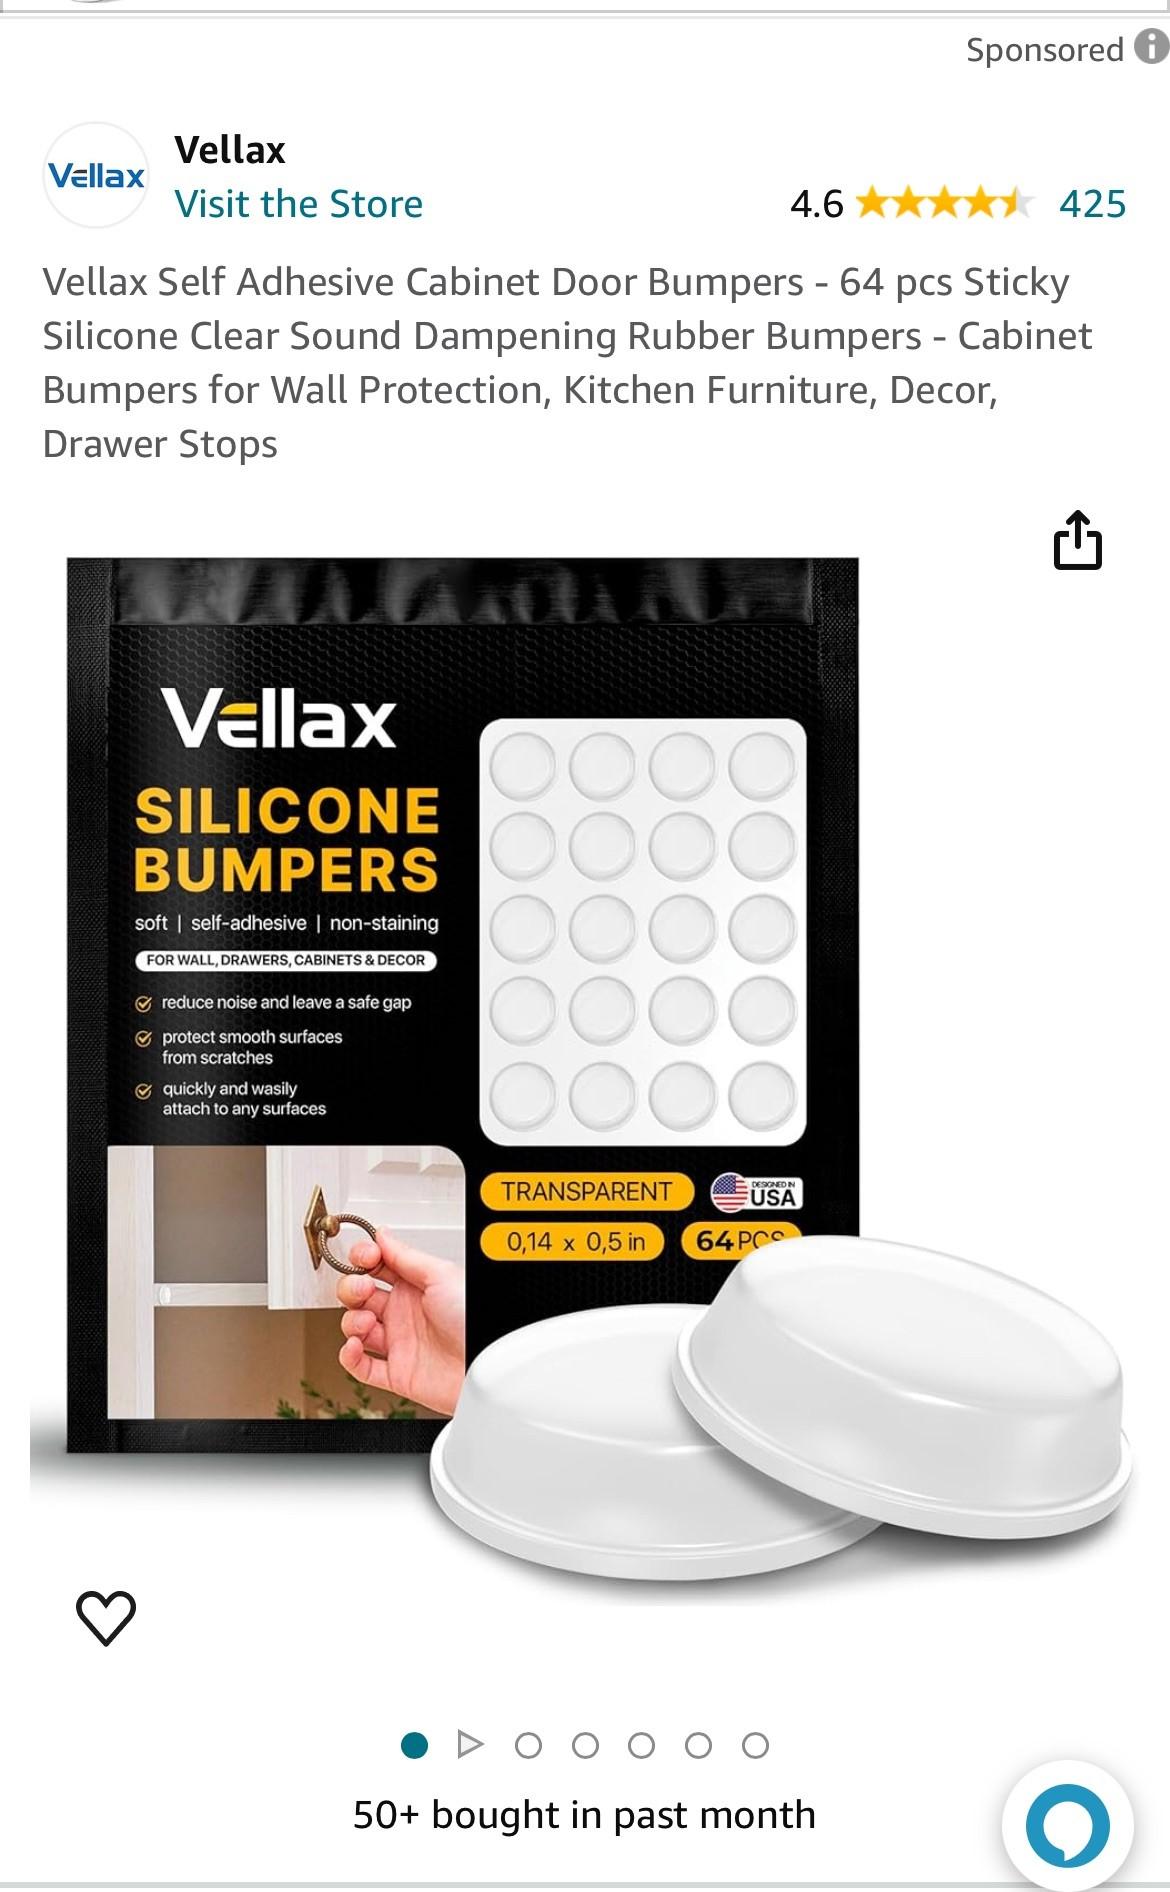
Silicone Cabinet Bumpers
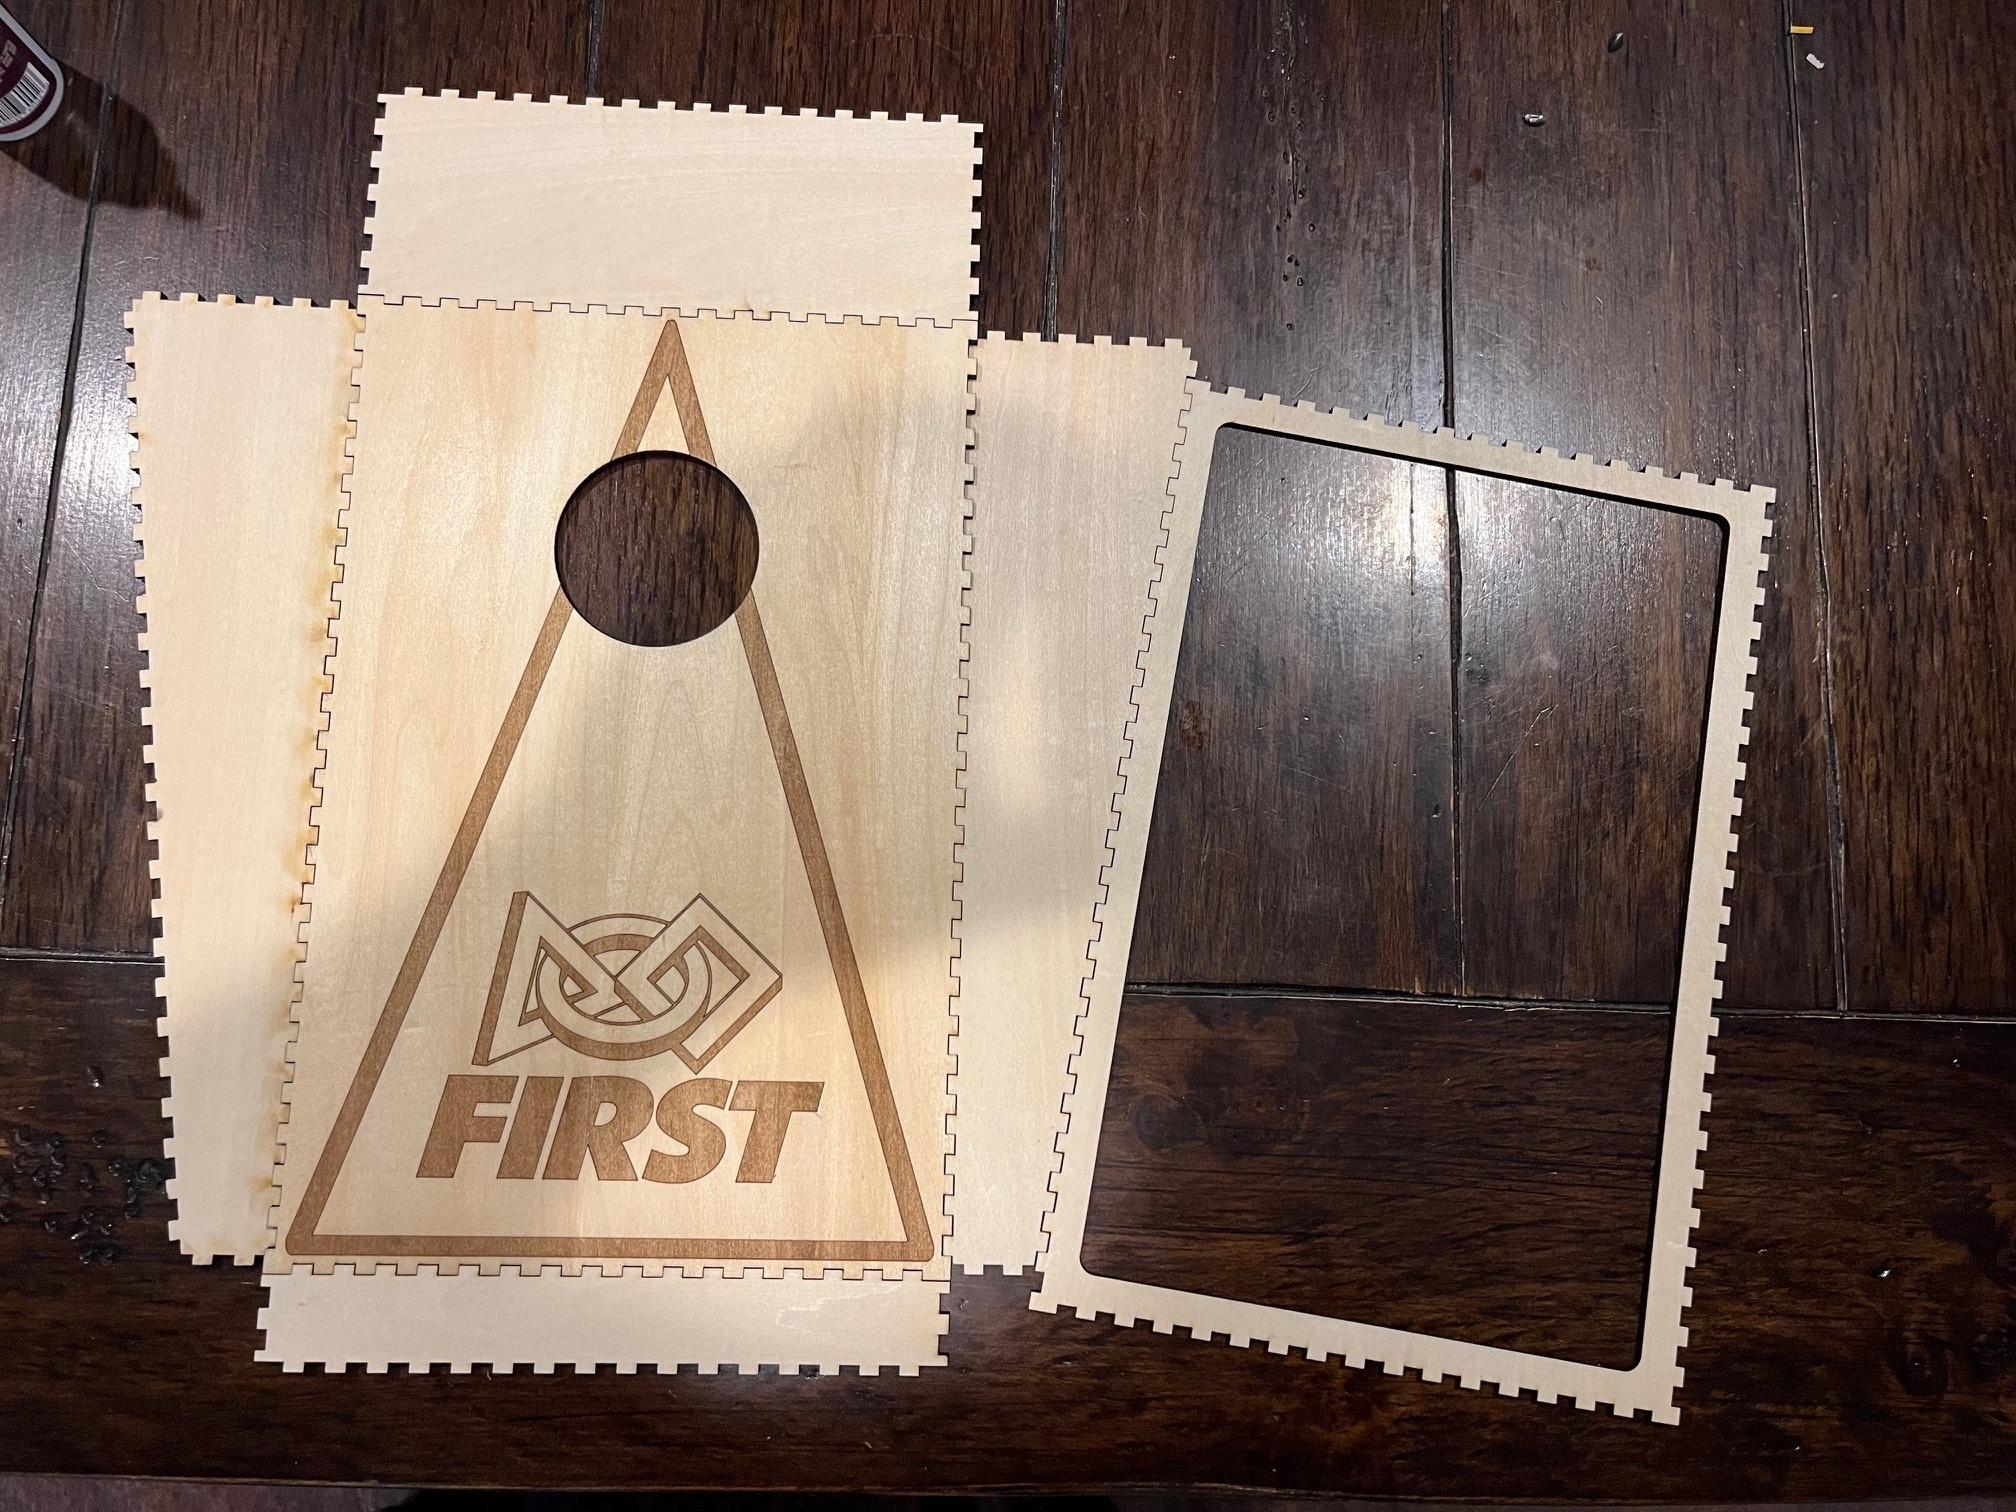
Design


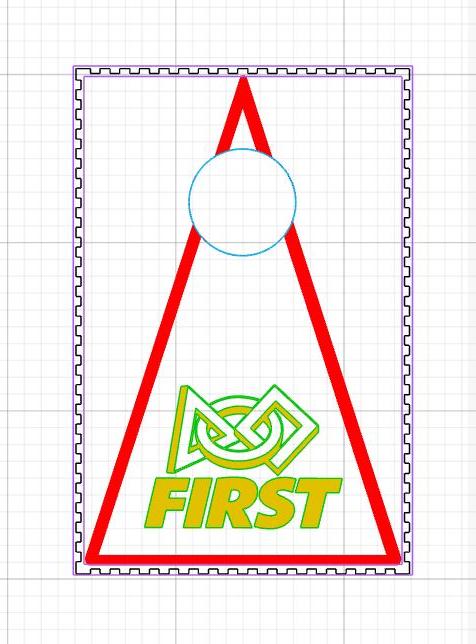
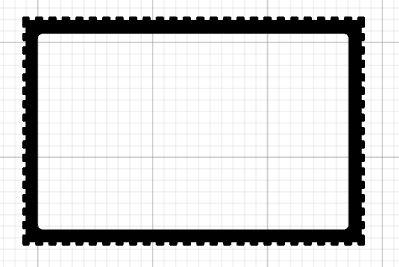
Start with an 8” x 12” rectangle to represent the edge of the boards. Use the “Outline” tool to create an 0.25” inset of the original rectangle. This will be the border of any graphic.
Add a triangle that fits inside the border and use the “Outline” tool to create an 0.25” inset of the original triangle.
Add a 2” circle 3” from the top of the border to the center and centered left to right.
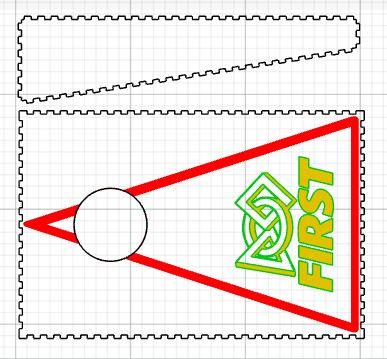
Use the “Combine” tool to unite the two triangles and circle. You will need to add another 2” circle to cut the hole.
Add Graphic
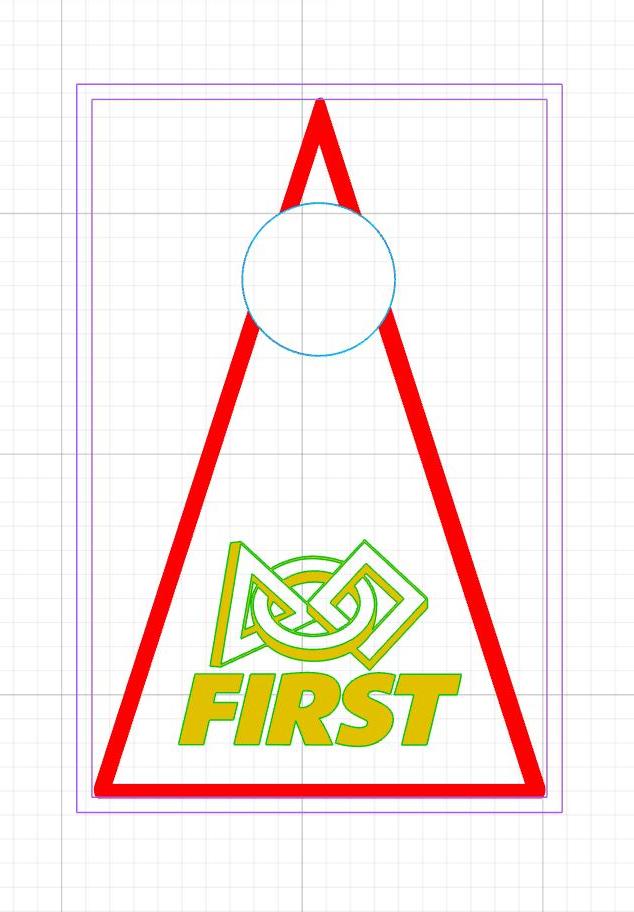
We chose to use a vector file of the First logo to correspond to our competition.
Tip: When burning a vector graphic, I like to engrave the graphic then score the same vector to give it a more defined edge.
Create the Box File
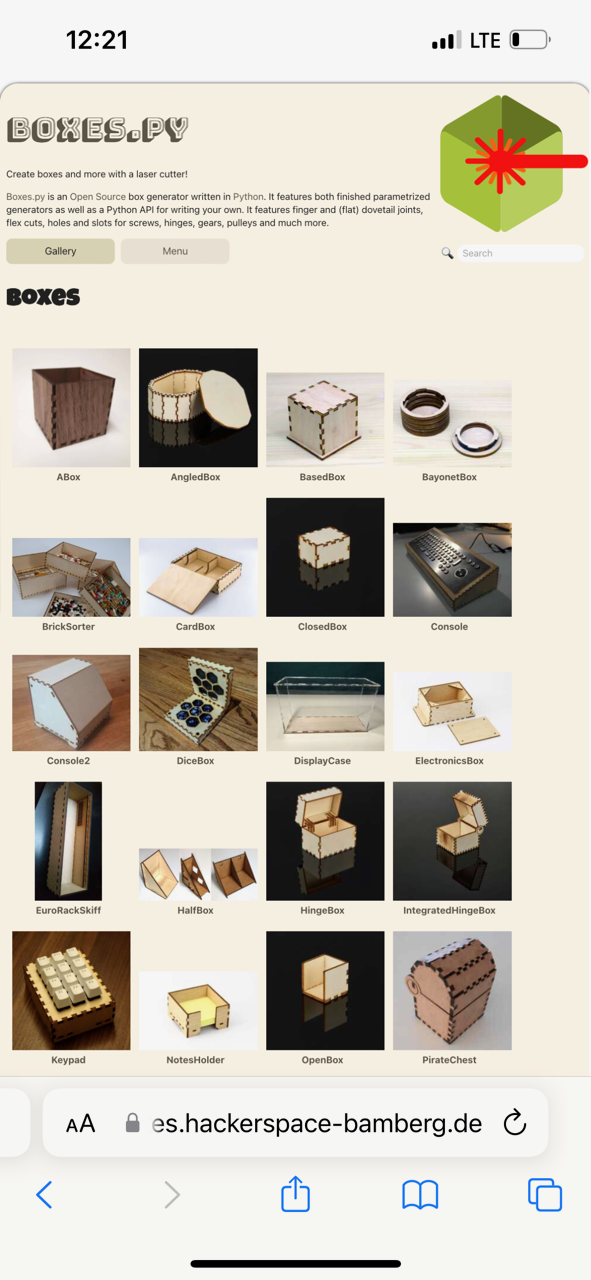
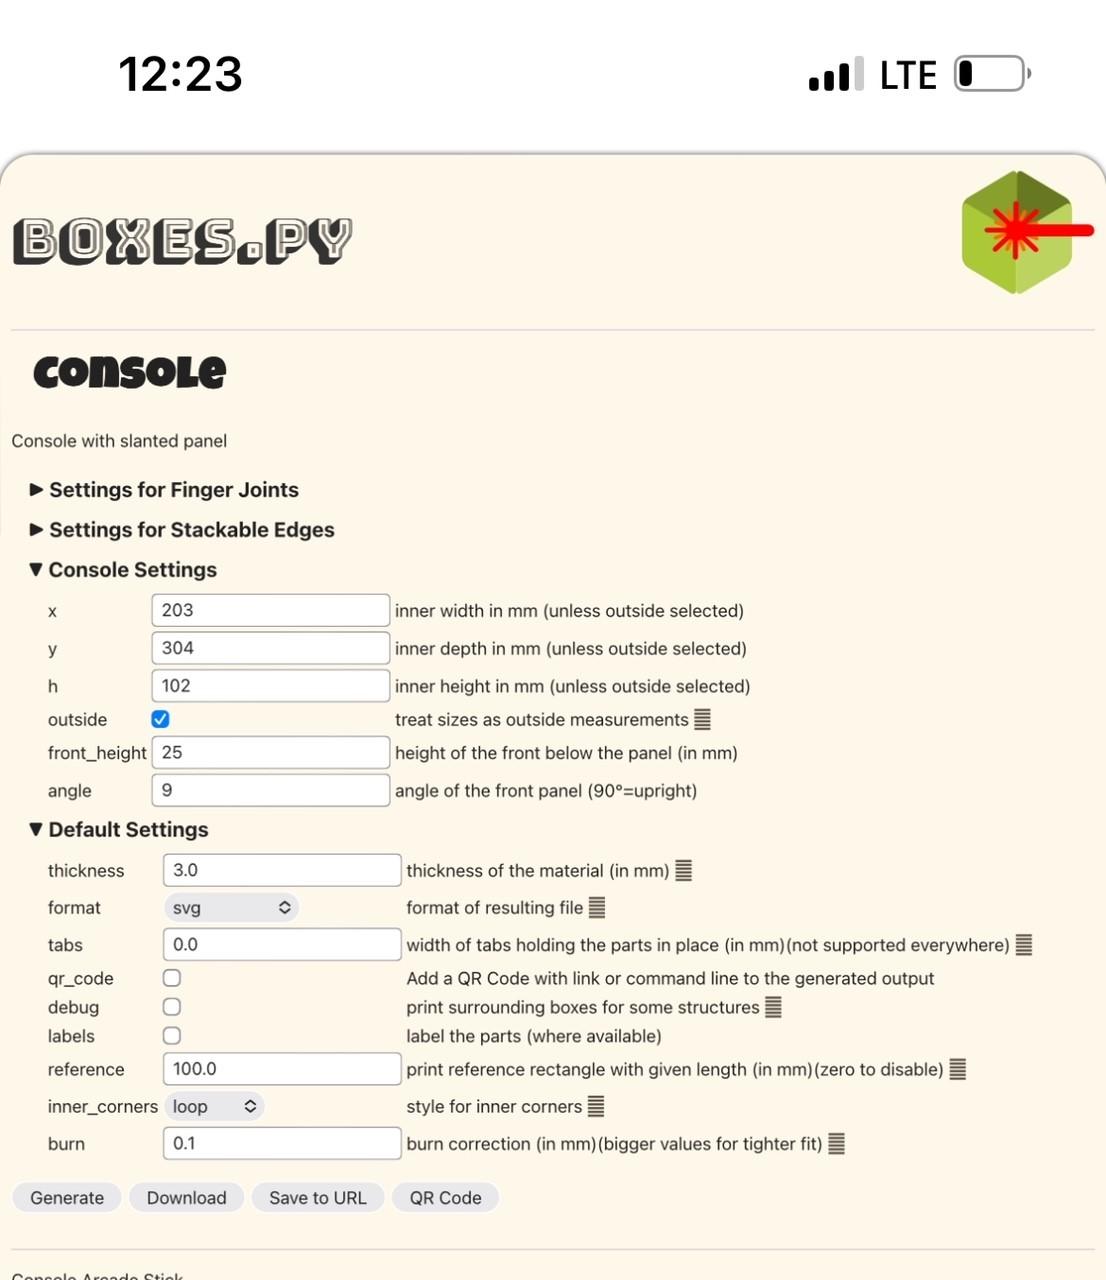
I used the BOXES.PY site to create the file to cut the boxes. Their console preset was perfect for this project.
I used 203mm (8”) x 304mm (12”) for the size. The front height was 25mm (1”) and back height was 102mm (4”). Make sure you check the box for these to be outside dimensions. You will also need to apply an angle for the console face. I found through trial and error that 9 degrees worked for me.
I am using 1/8" boards so my material thickness is 3mm.
Download and save the file as a svg.
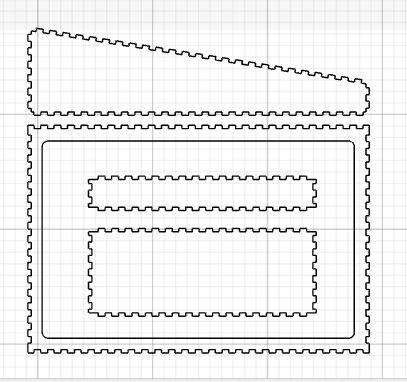
Import and Prep Box File
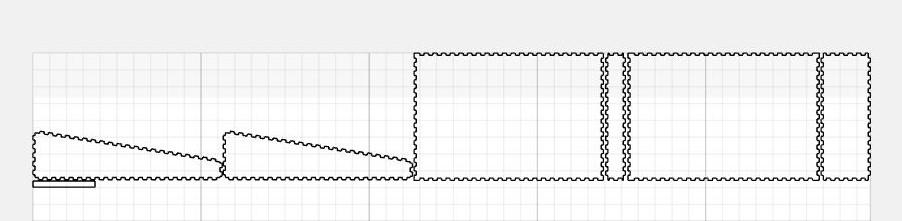
Import the svg file and scale it up to the appropriate size. As you scale, make sure all pieces are scaled together or it will not fit up properly. Use the original rectangle as a guide to align board design with the top panel of the box file.
Add a rectangle to the bottom plate that is inset 0.5" from the edge. This will allow the bags to fall though but still provide a lot of support.
Note: The top panel will be slightly longer than bottom panel.
Settings and Process
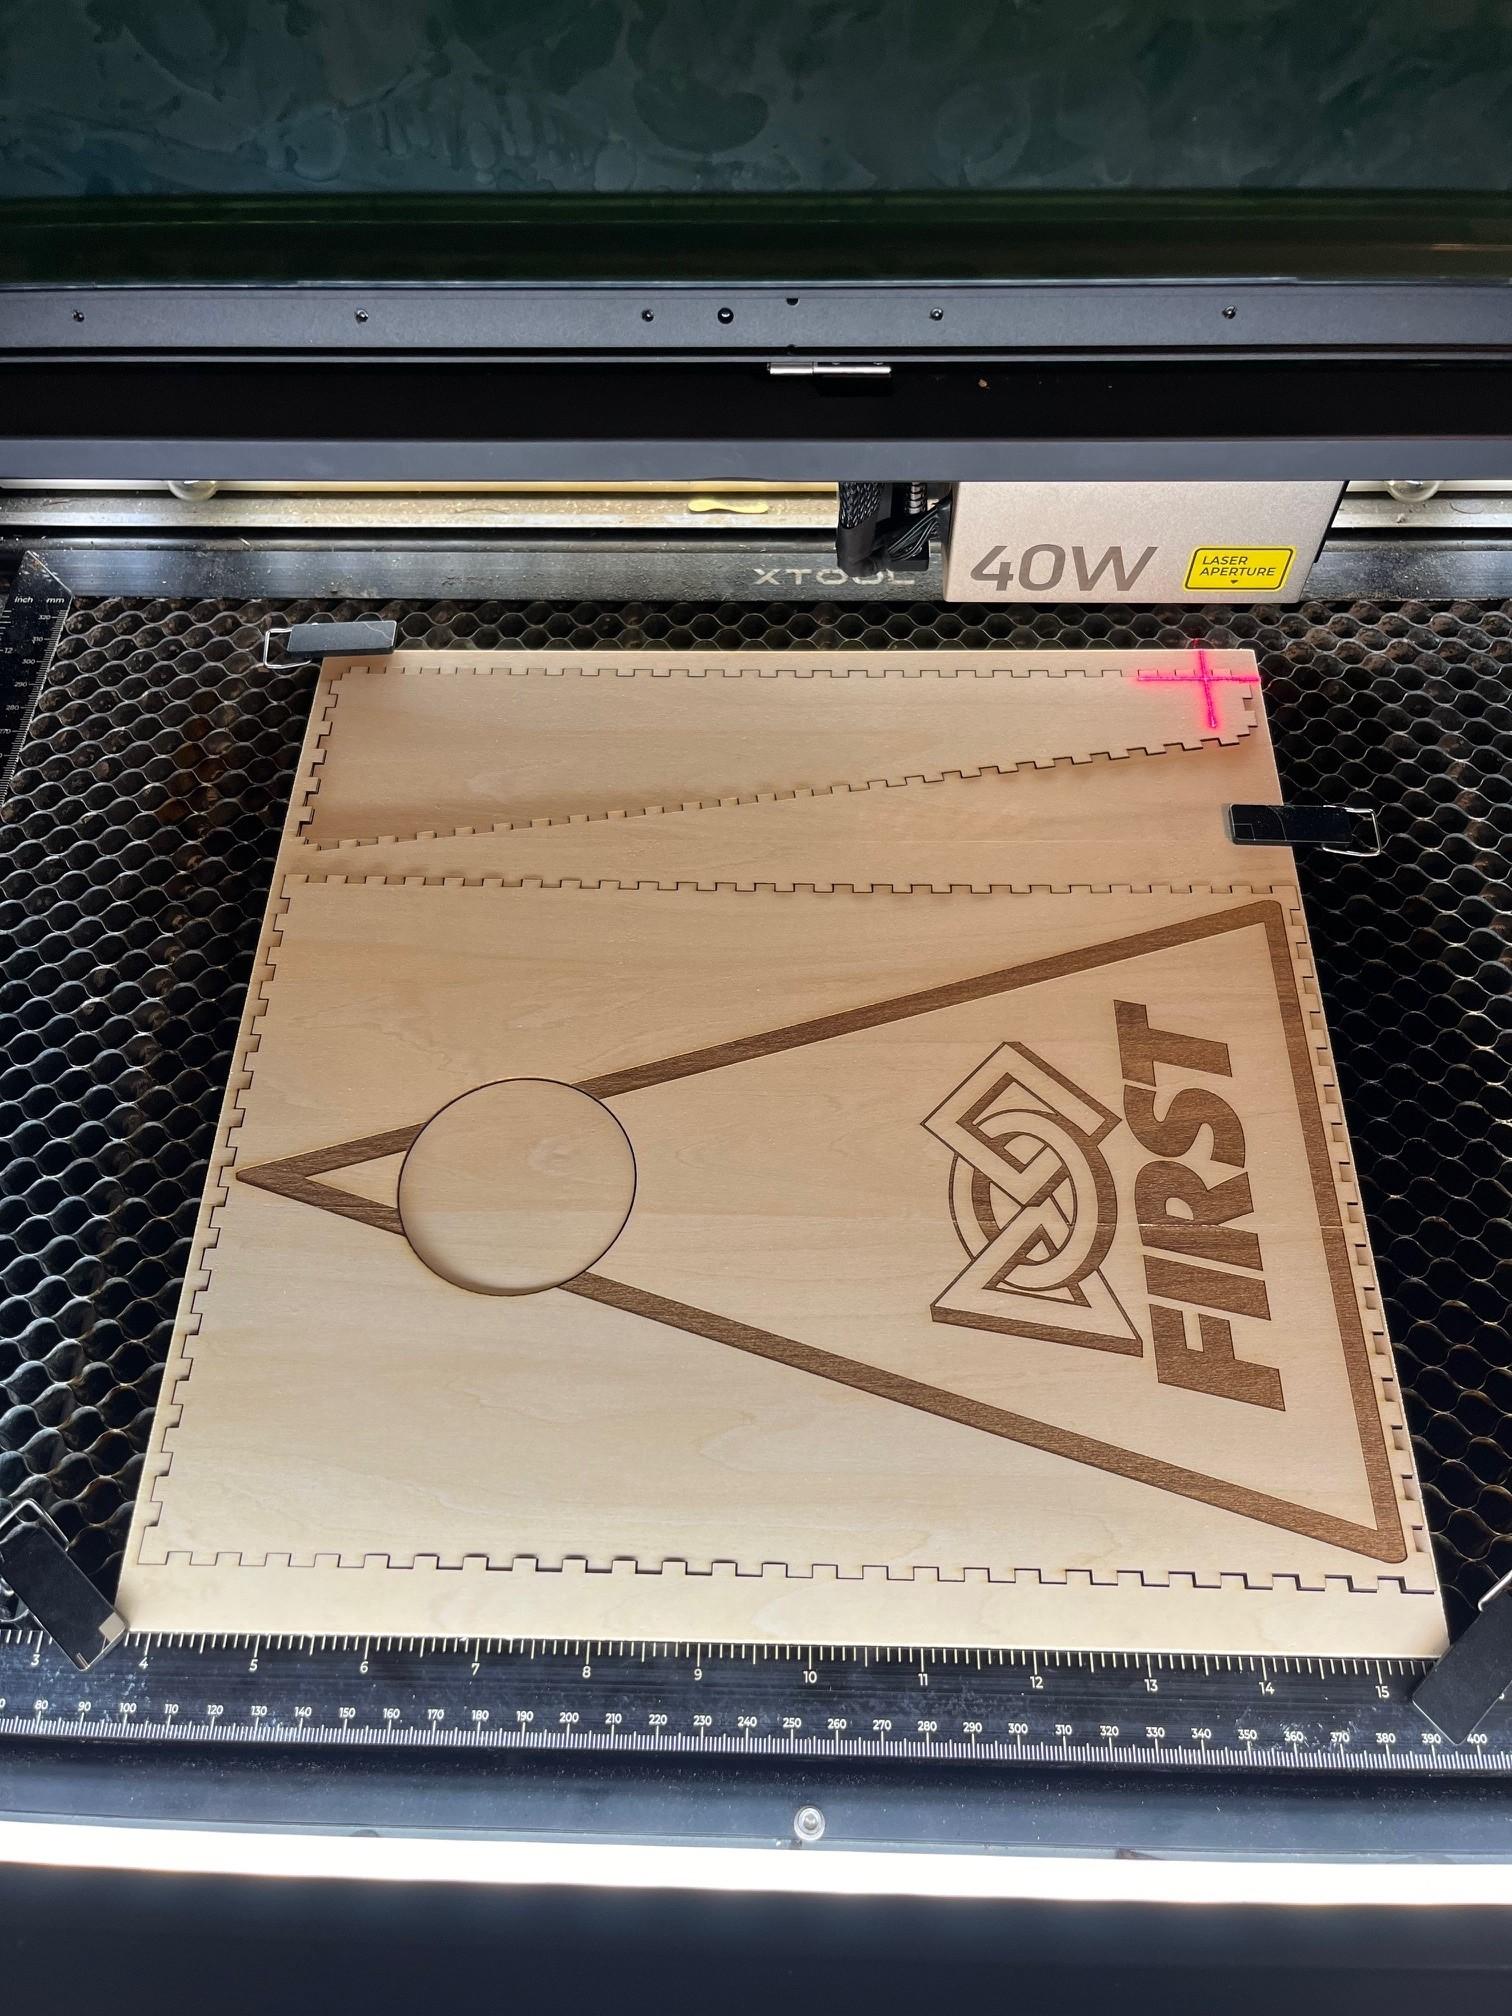
I was able to organize my pieces so I could complete the job with 2 setups.
The settings I used are listed below by layer.
Red and Yellow layers: Engrave @ 30% power and 220 mm/sec
Blue and Green layers: Score @ 40% power and 120 mm/sec
Black layer: Cut @ 100% power and 12 mm/sec
Assembly and Finish
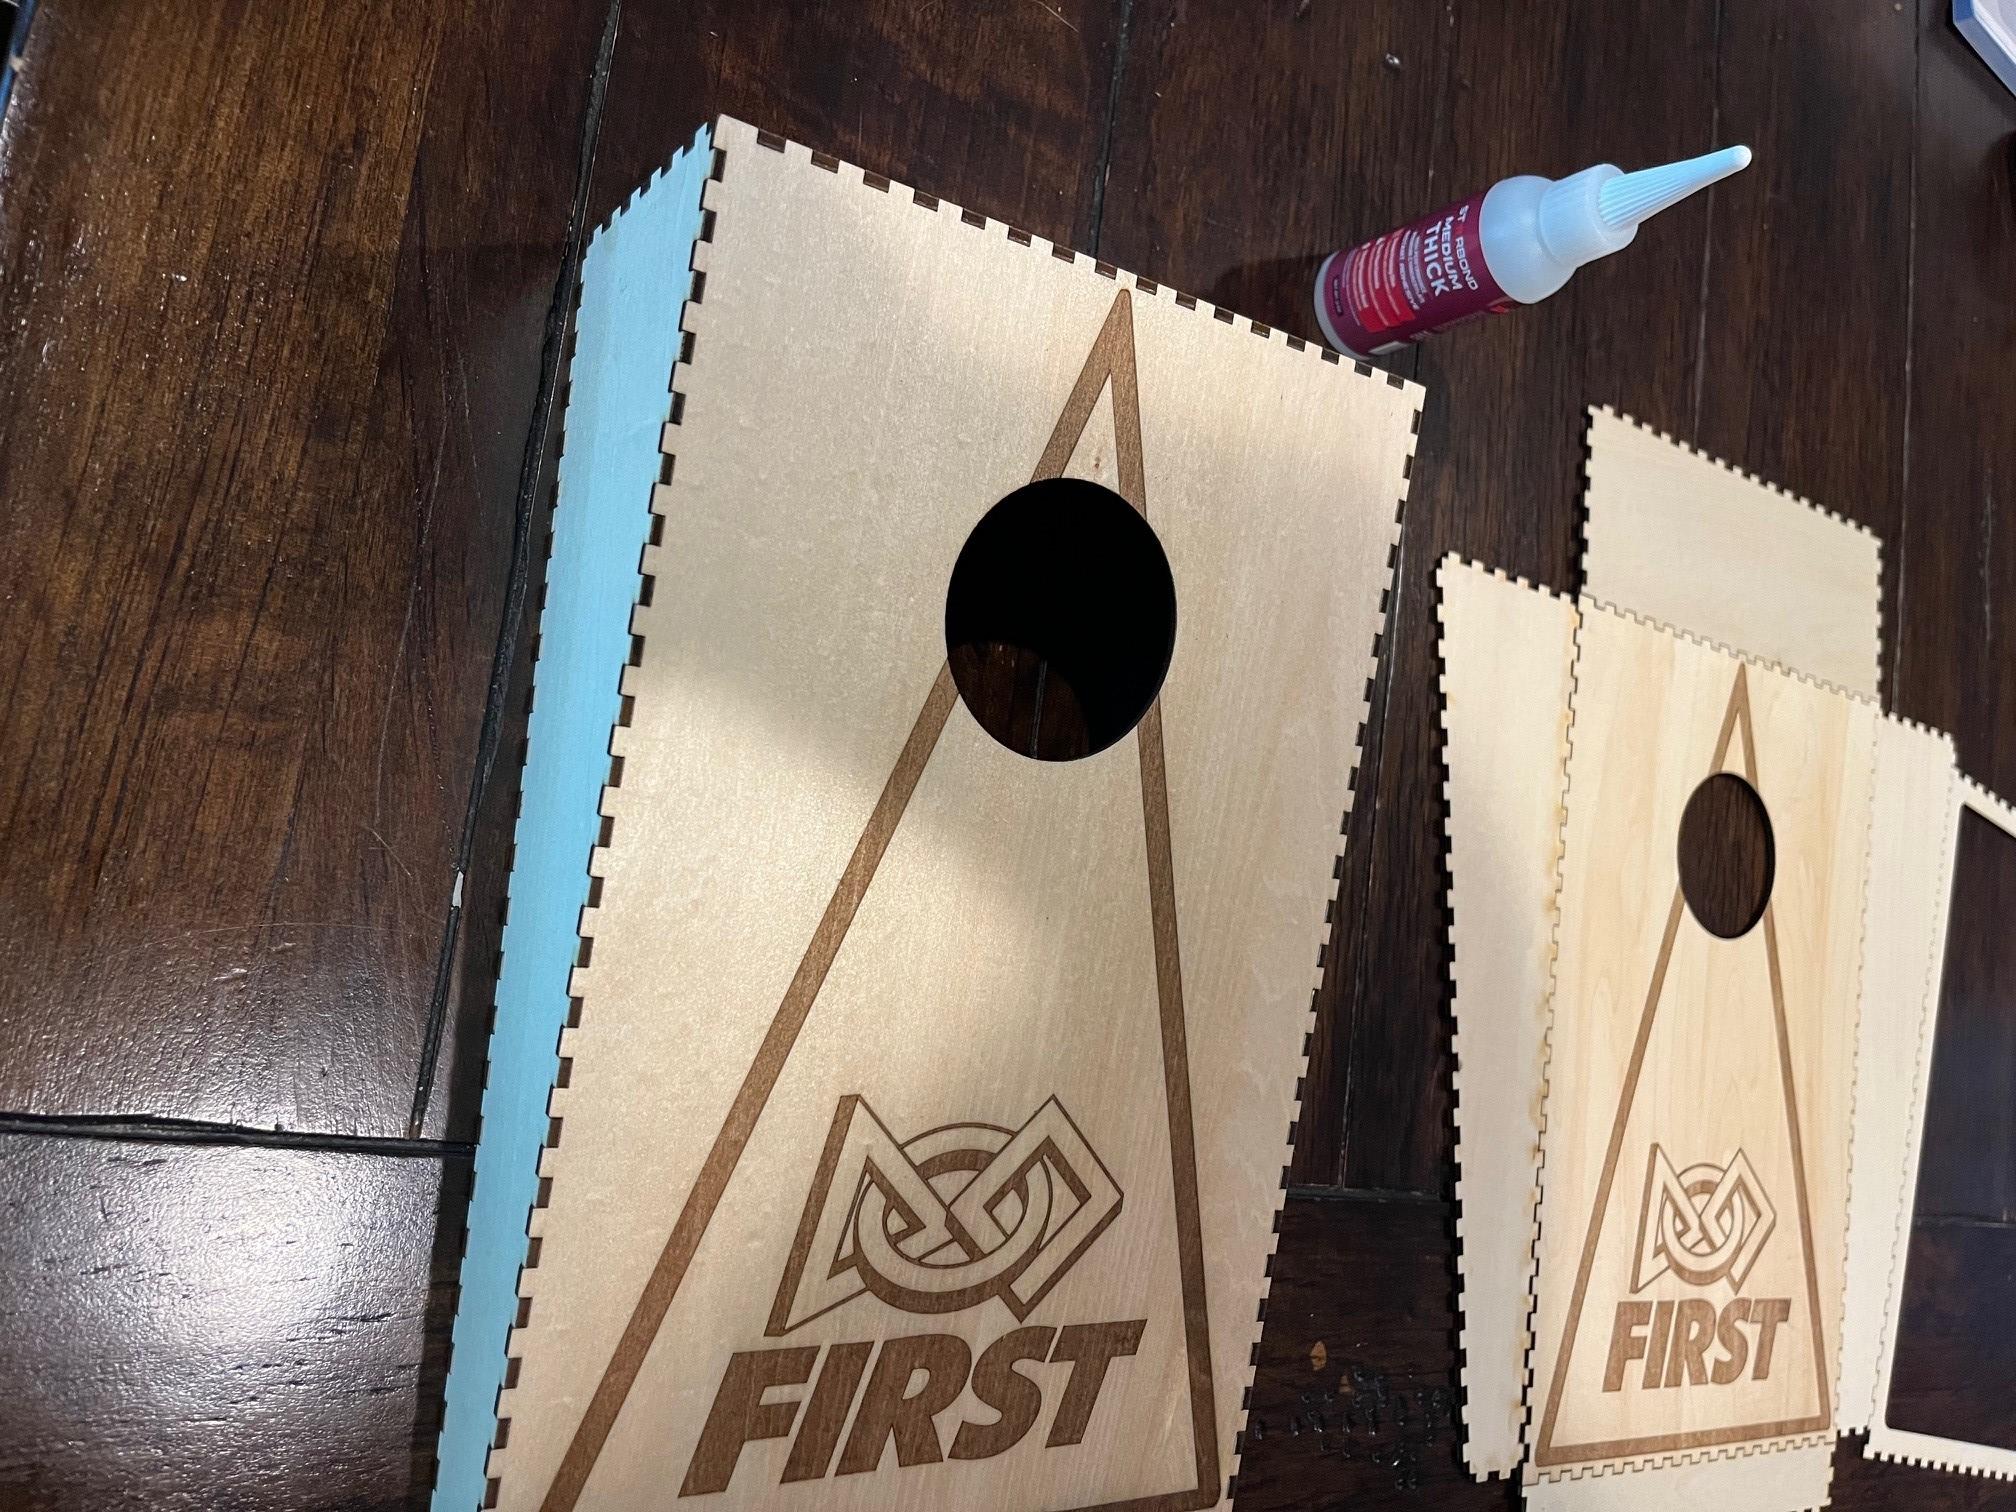
I like to ensure everything fits together before I start assembling with glue. I use Starbond medium thick CA glue to secure all the box pieces together.
Once it is together, I run a thick bead of glue along all of the inside joints for reinforcement.
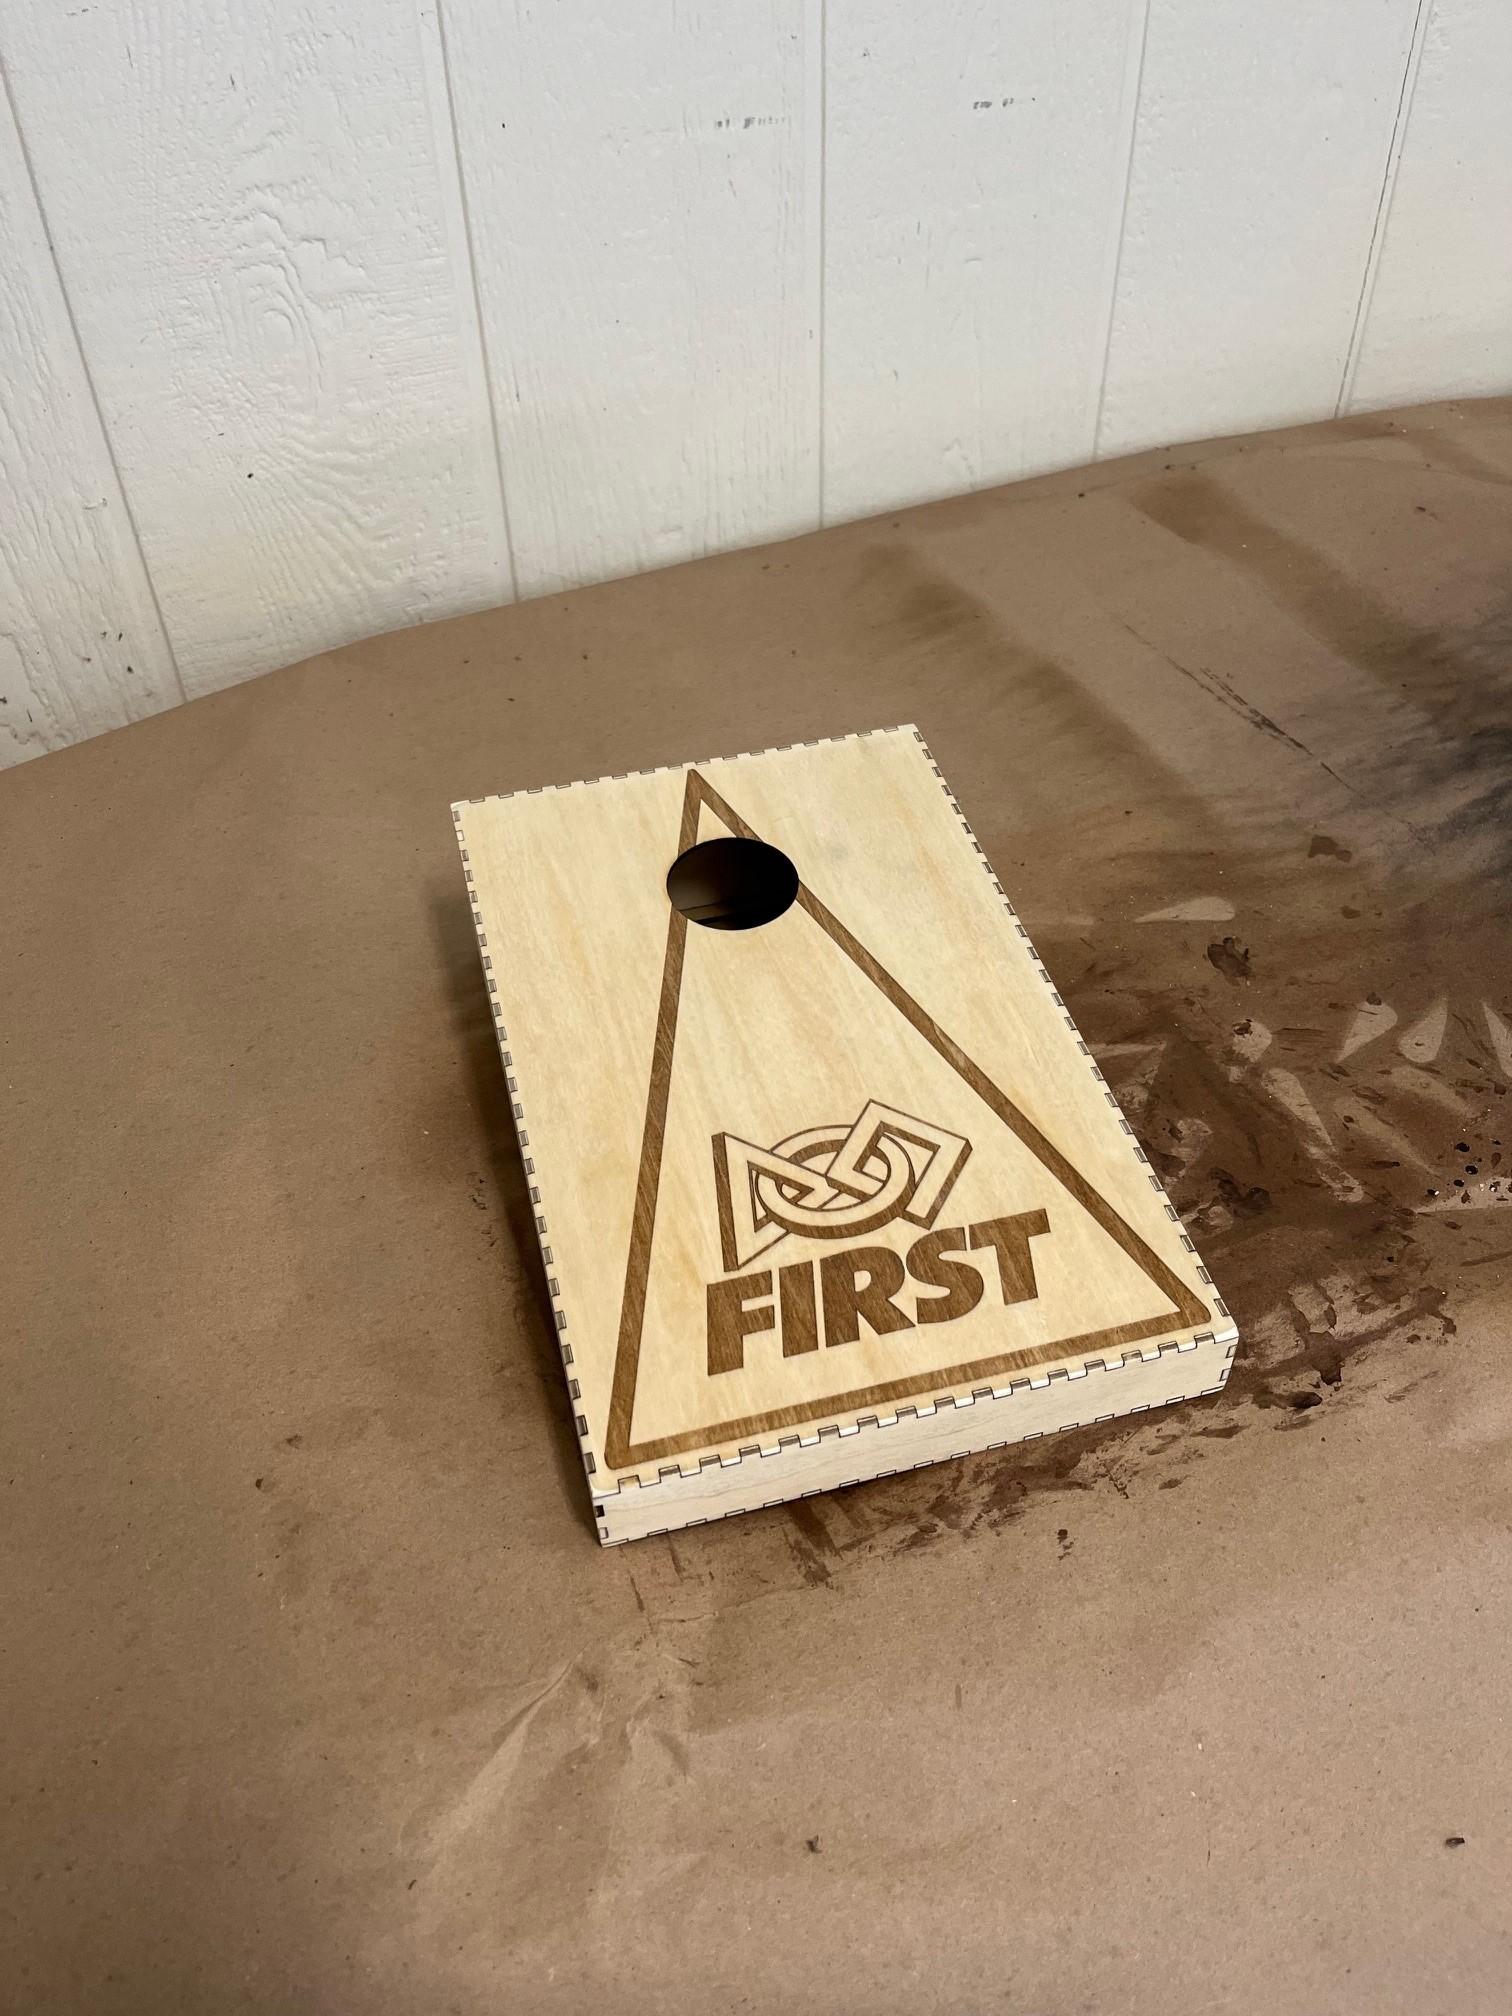
Apply an initial coat of lacquer to the top panel prior to sanding.
After allowing time for the glue and lacquer to dry, you will need to sand the joints smooth but be careful not to sand the engraving.
Wipe down with a damp rag to remove any dust and apply a second clear coat.
Add 4-6 of the silicone door bumpers to the bottom piece to give it traction.
Grab Some Bags and Play

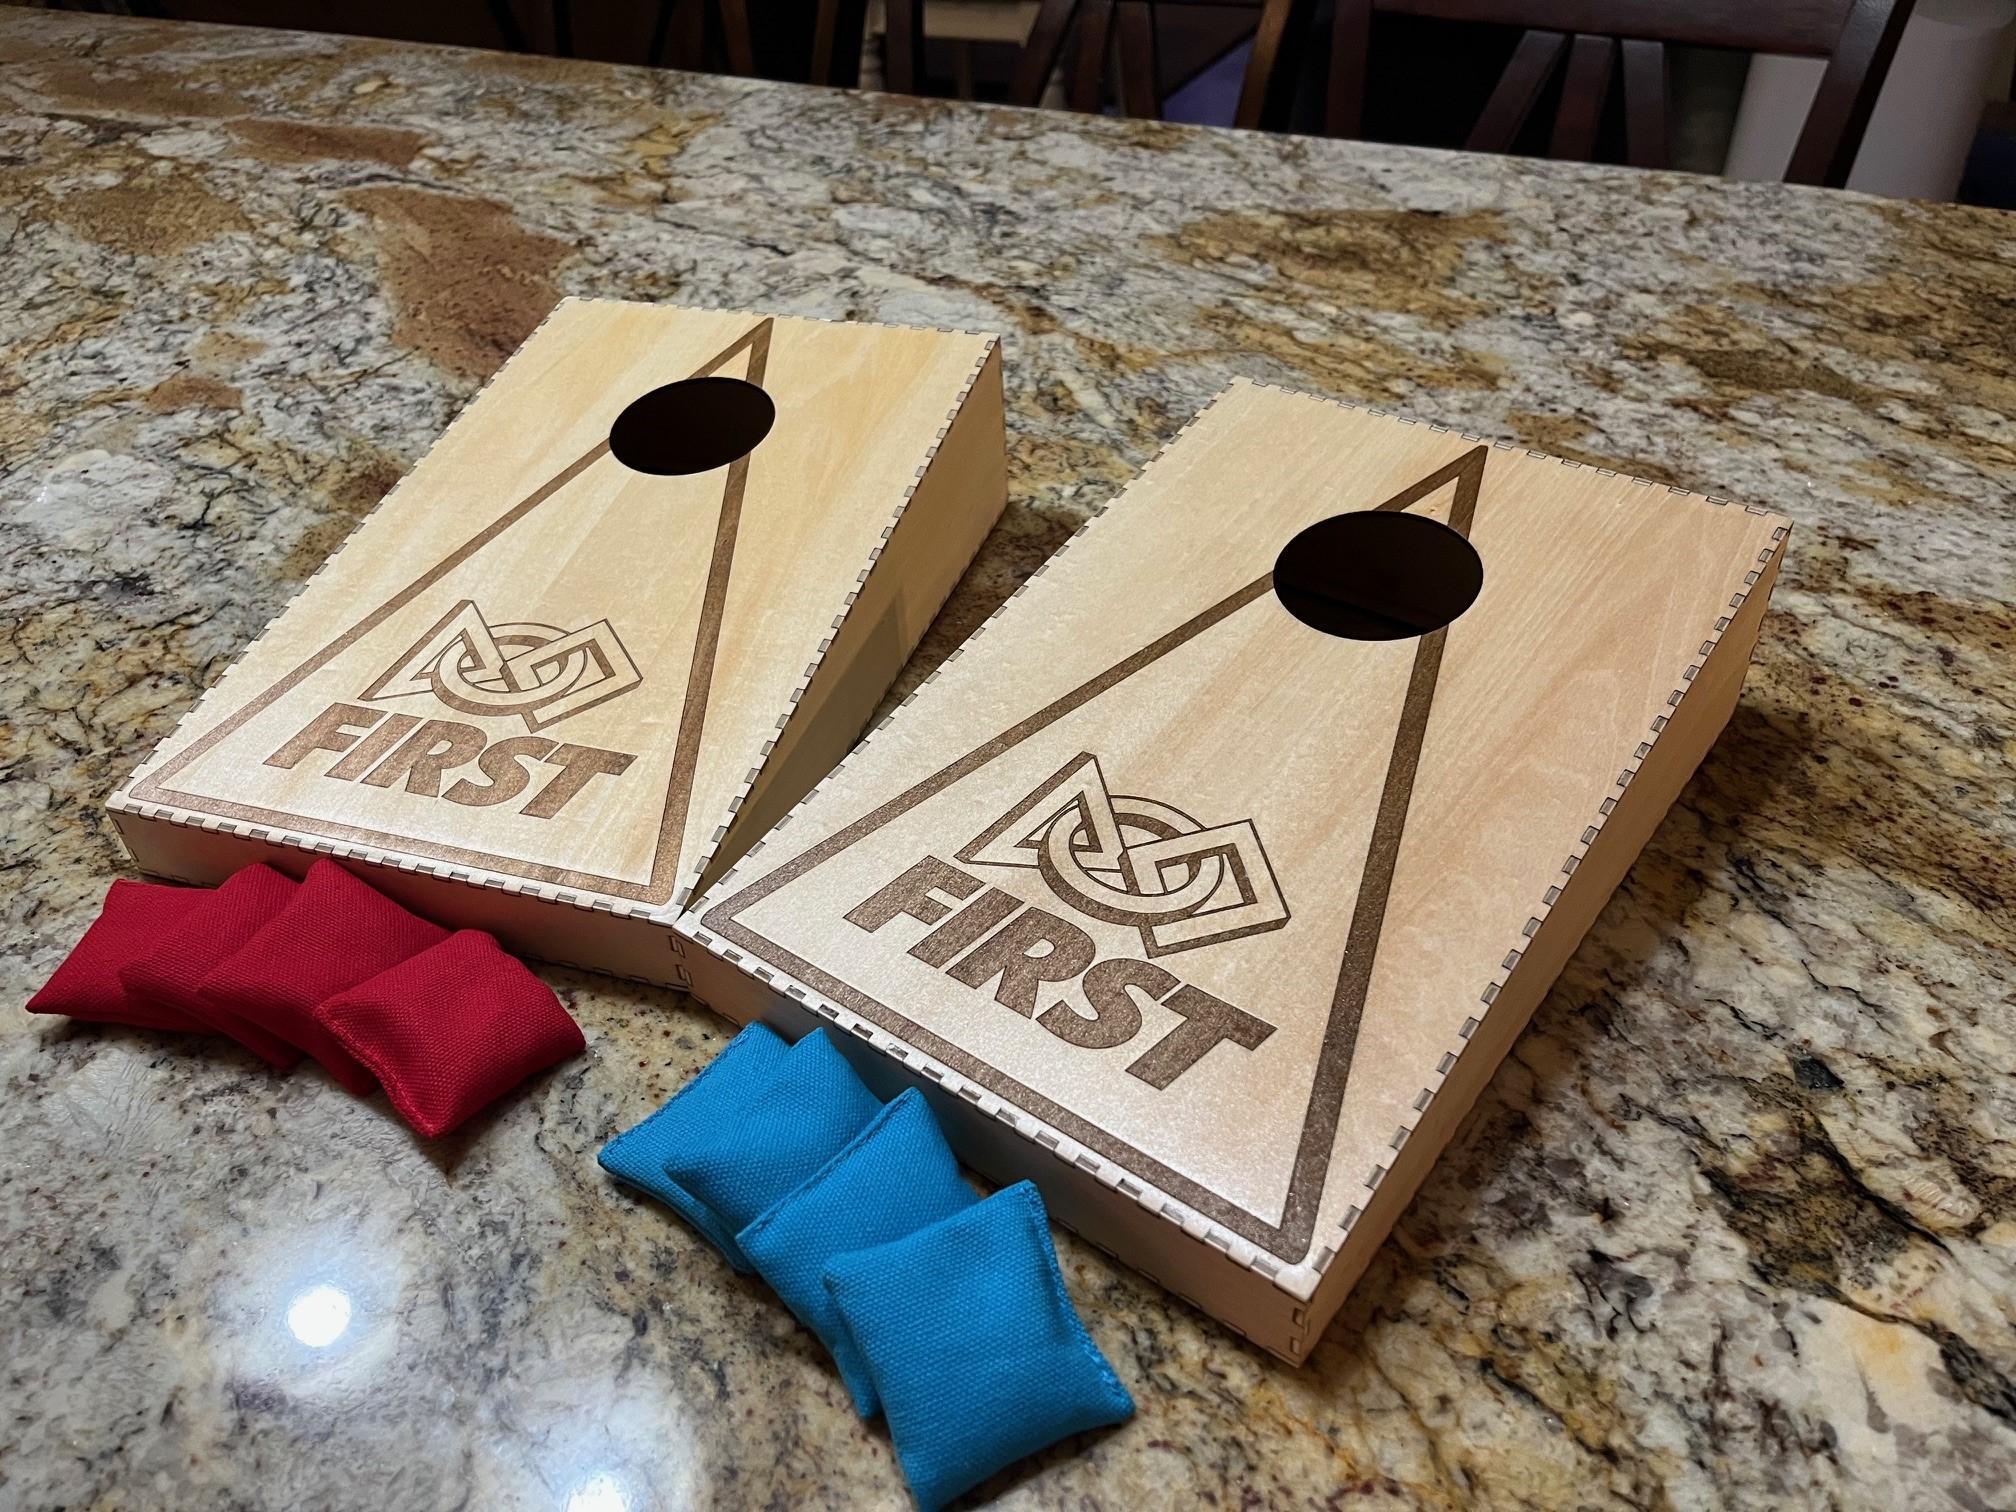
I'm not much of a sewer so buying bags was my best option. This set has 7 sets of 7 bags. They are 2" square and seem to be the perfect size and weight for these boards.