Laser Cut Light Notebook
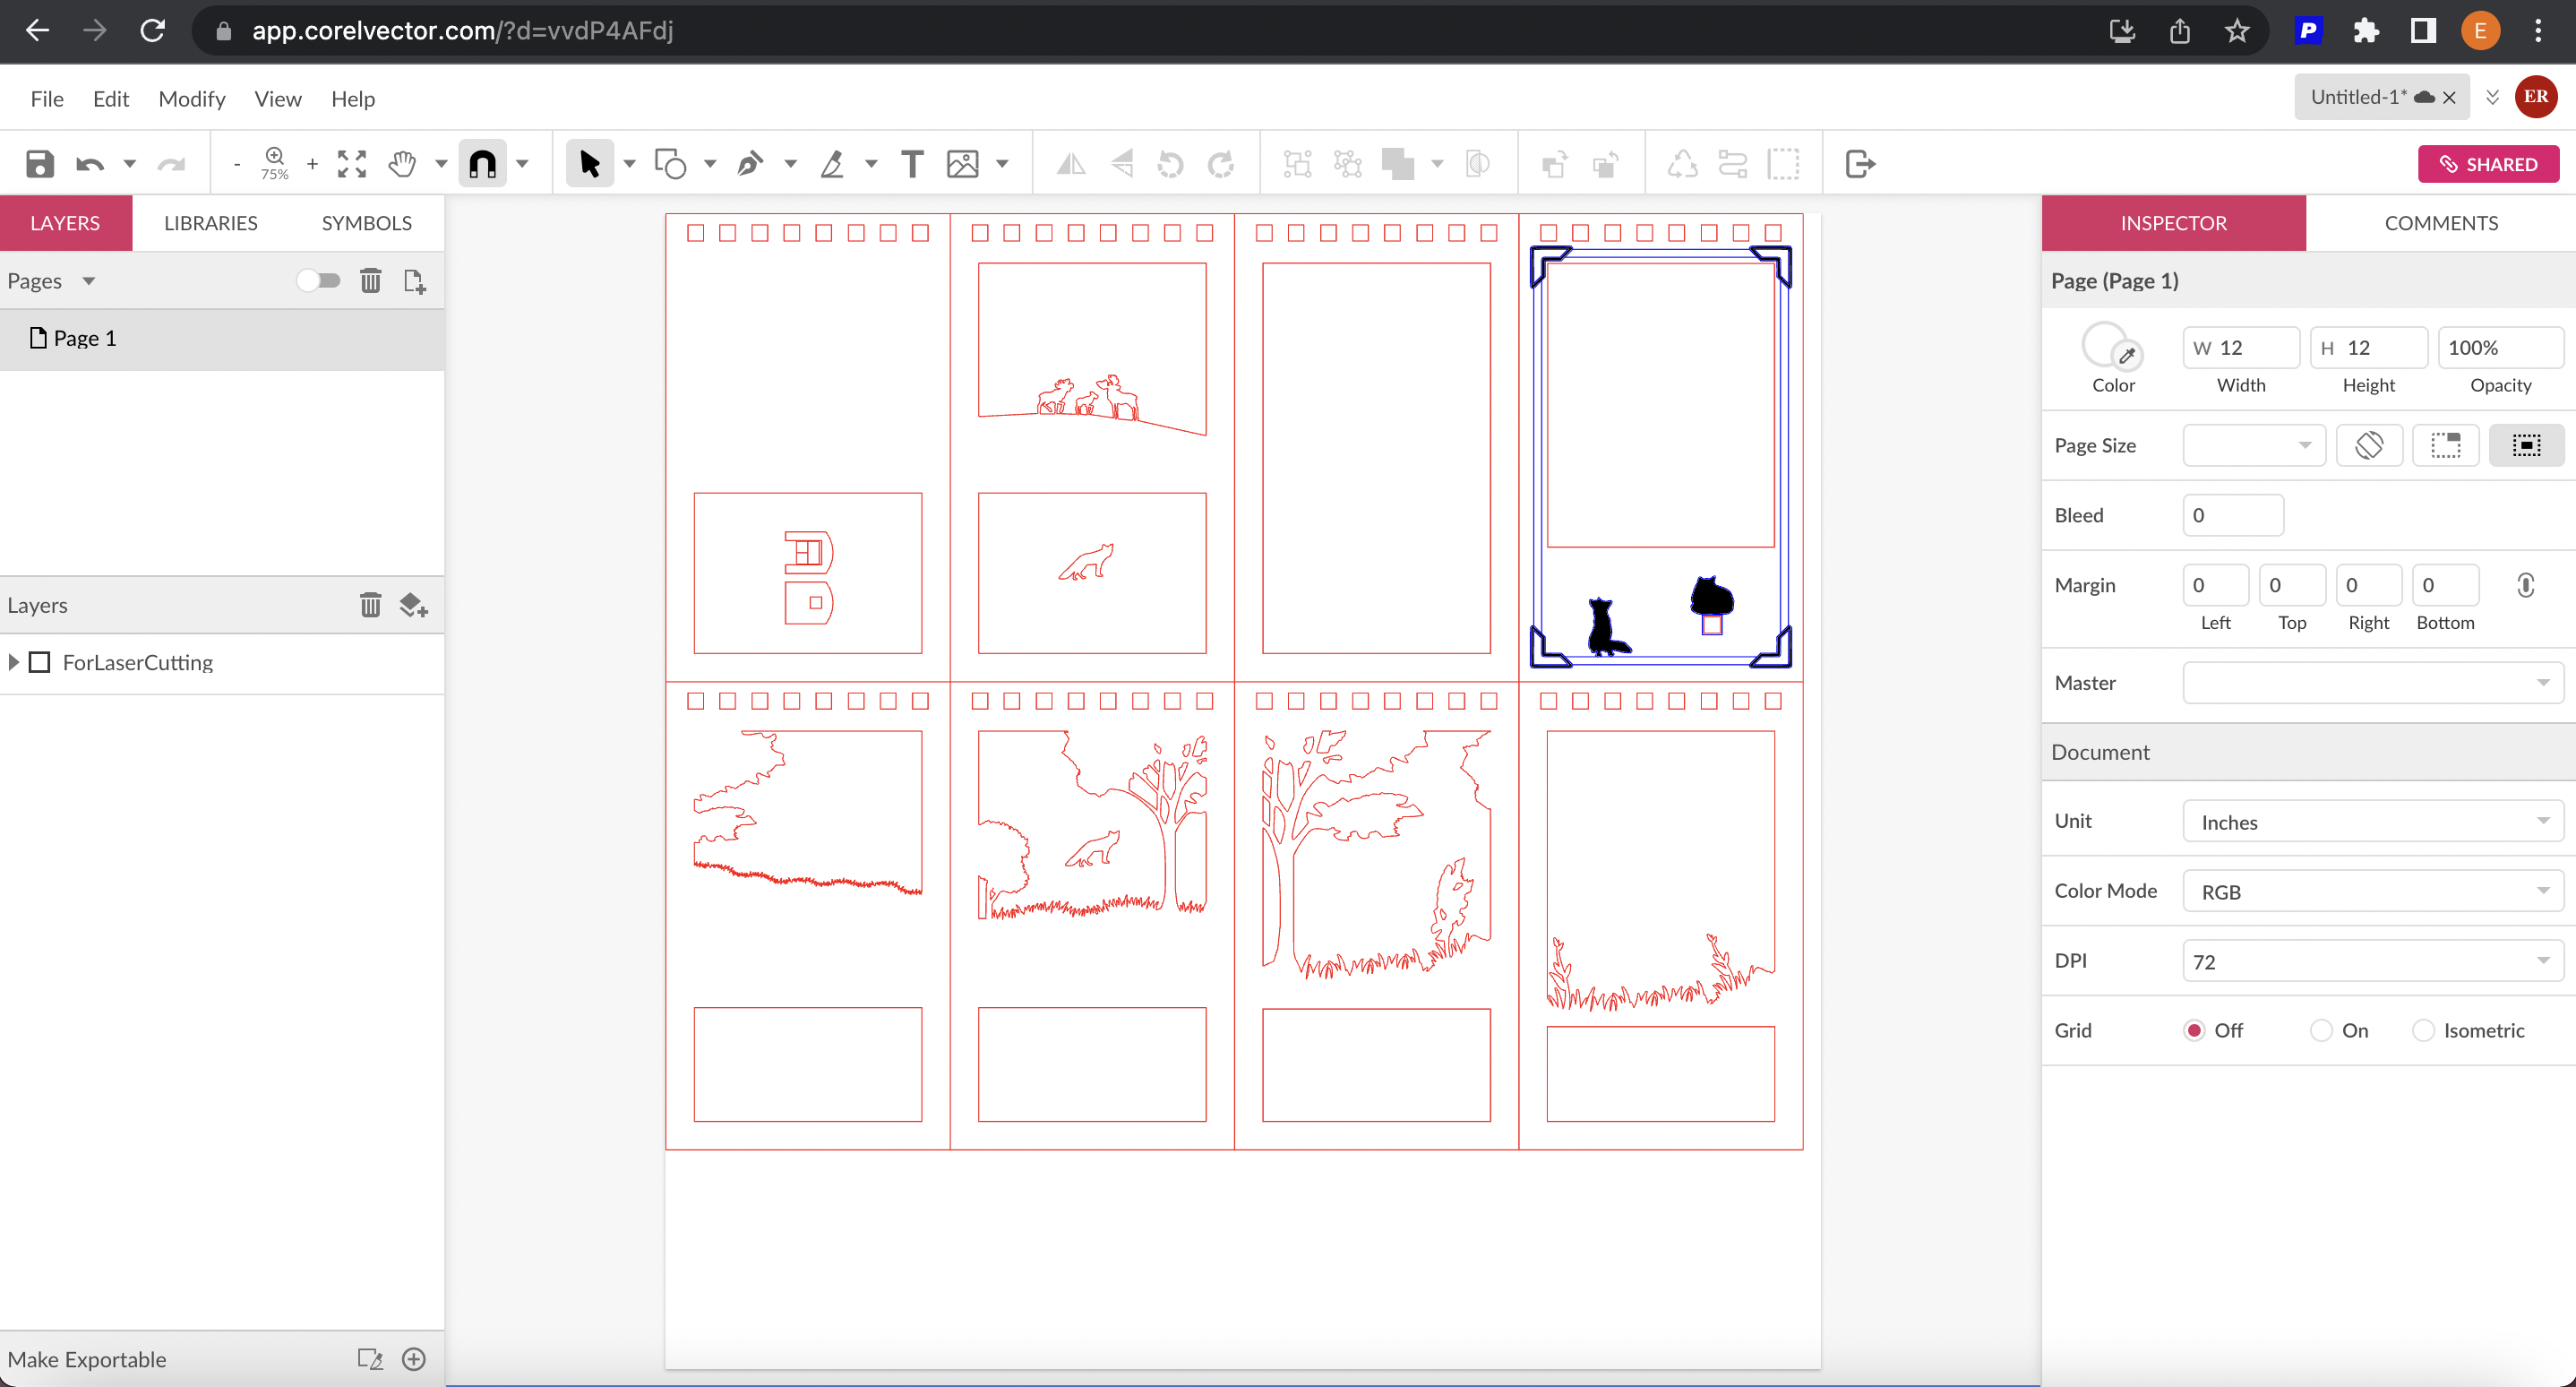
This project is a quick and fun way to Makerspace Skills! With the finished result of this you will be able to put a light in it and it will glow the images you laser cutted! This project is a "notebook" with different layers and different images on each layer that will come together when you are finished. I am teaching my sister how to do this since she is going off to college soon and wants new ideas on how to decorate her soon to be dorm room! I am a maker and hopefully can guide my sister to be one too!
Supplies
Laser cut machine ( A machine that uses a computer controlled laser to cut, score, or engrave designs into materials) 12 by 12 pieces of wood, the app corel vector, a computer
TIP: Don't put your hands in the machine when it's laser cutting!
Finding Template
This Step can go 2 ways, you either already have an idea on what you want to make or you can find inspiration online.
- I found inspiration online for this project.
Downloads
Getting Everything Ready
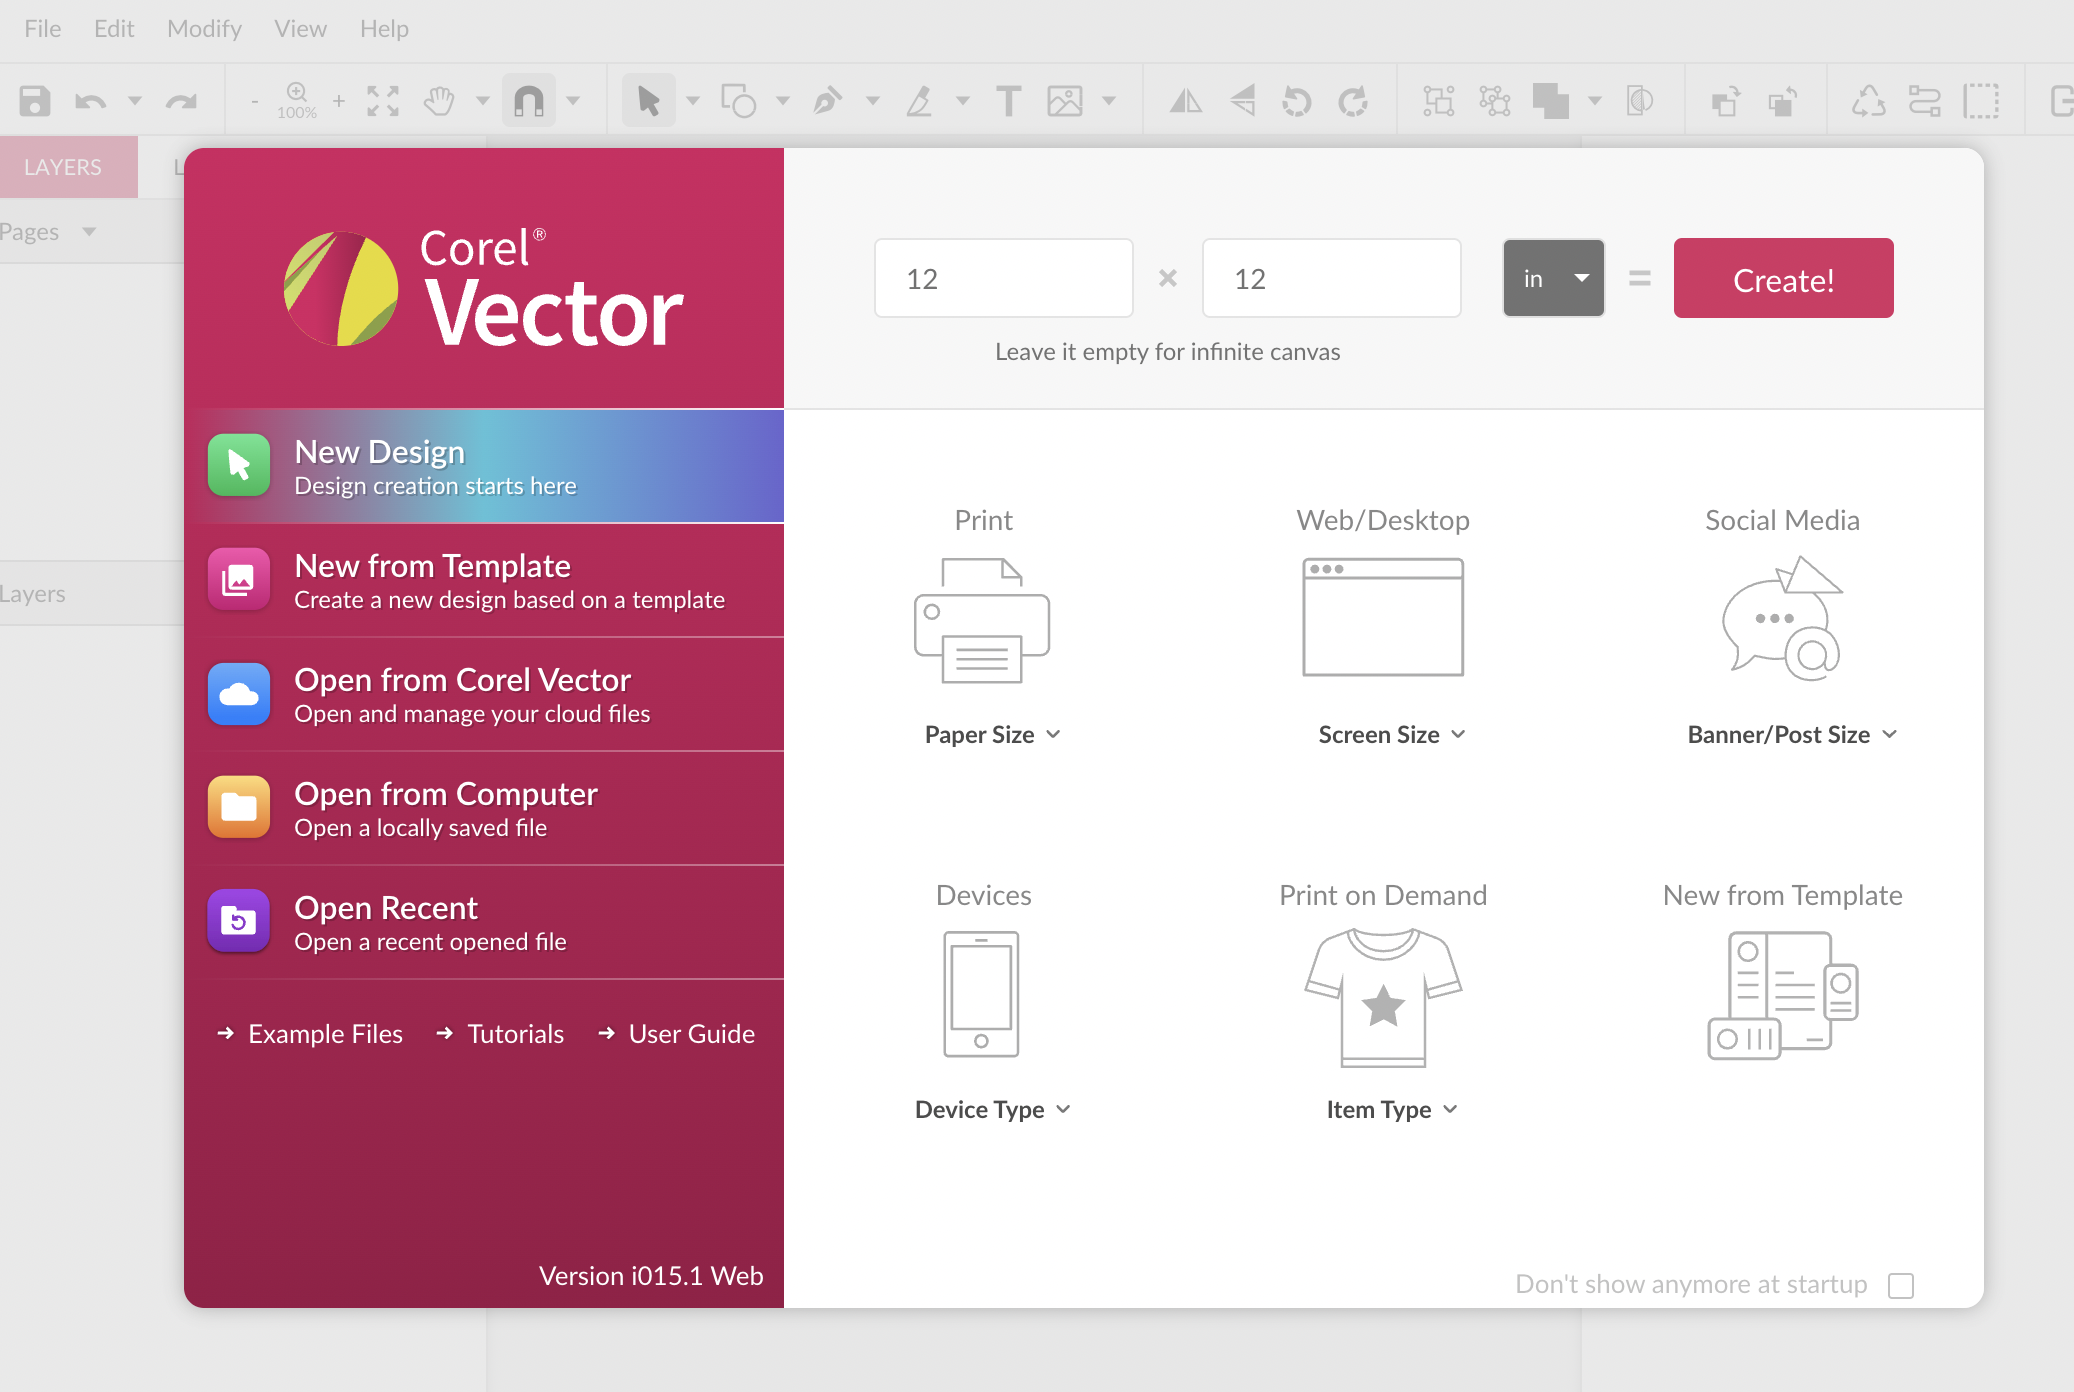
When you open Corel Vector create a new black paper (12 by 12 in)
- if you don't have an account yet, it's best to sign up with google
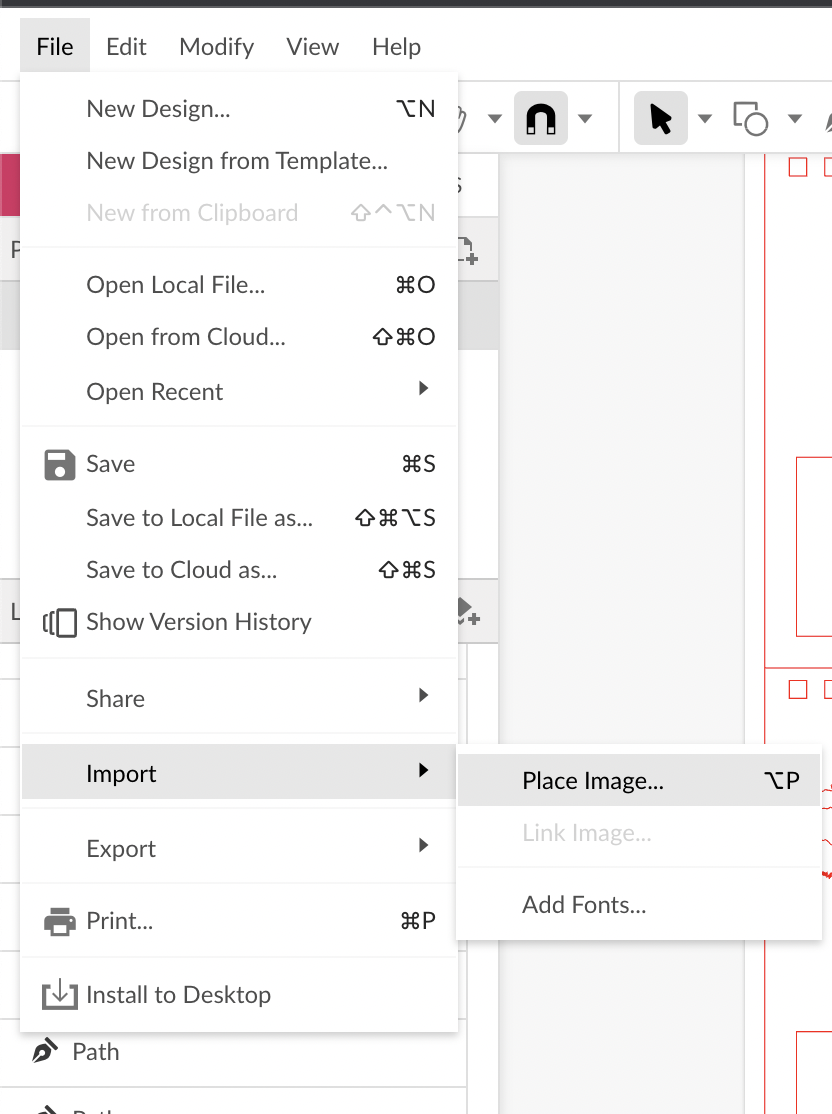
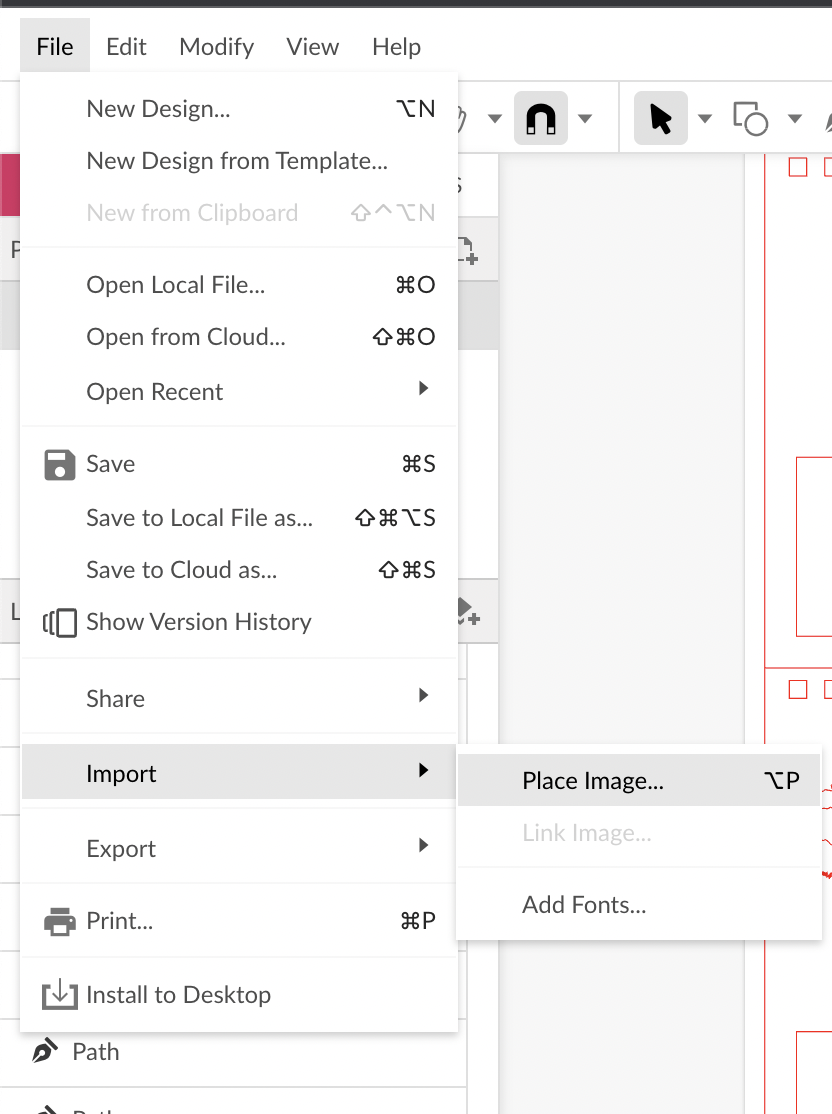
Import the design in with the Import button on the left side corner
Deleting What Is Not Needed
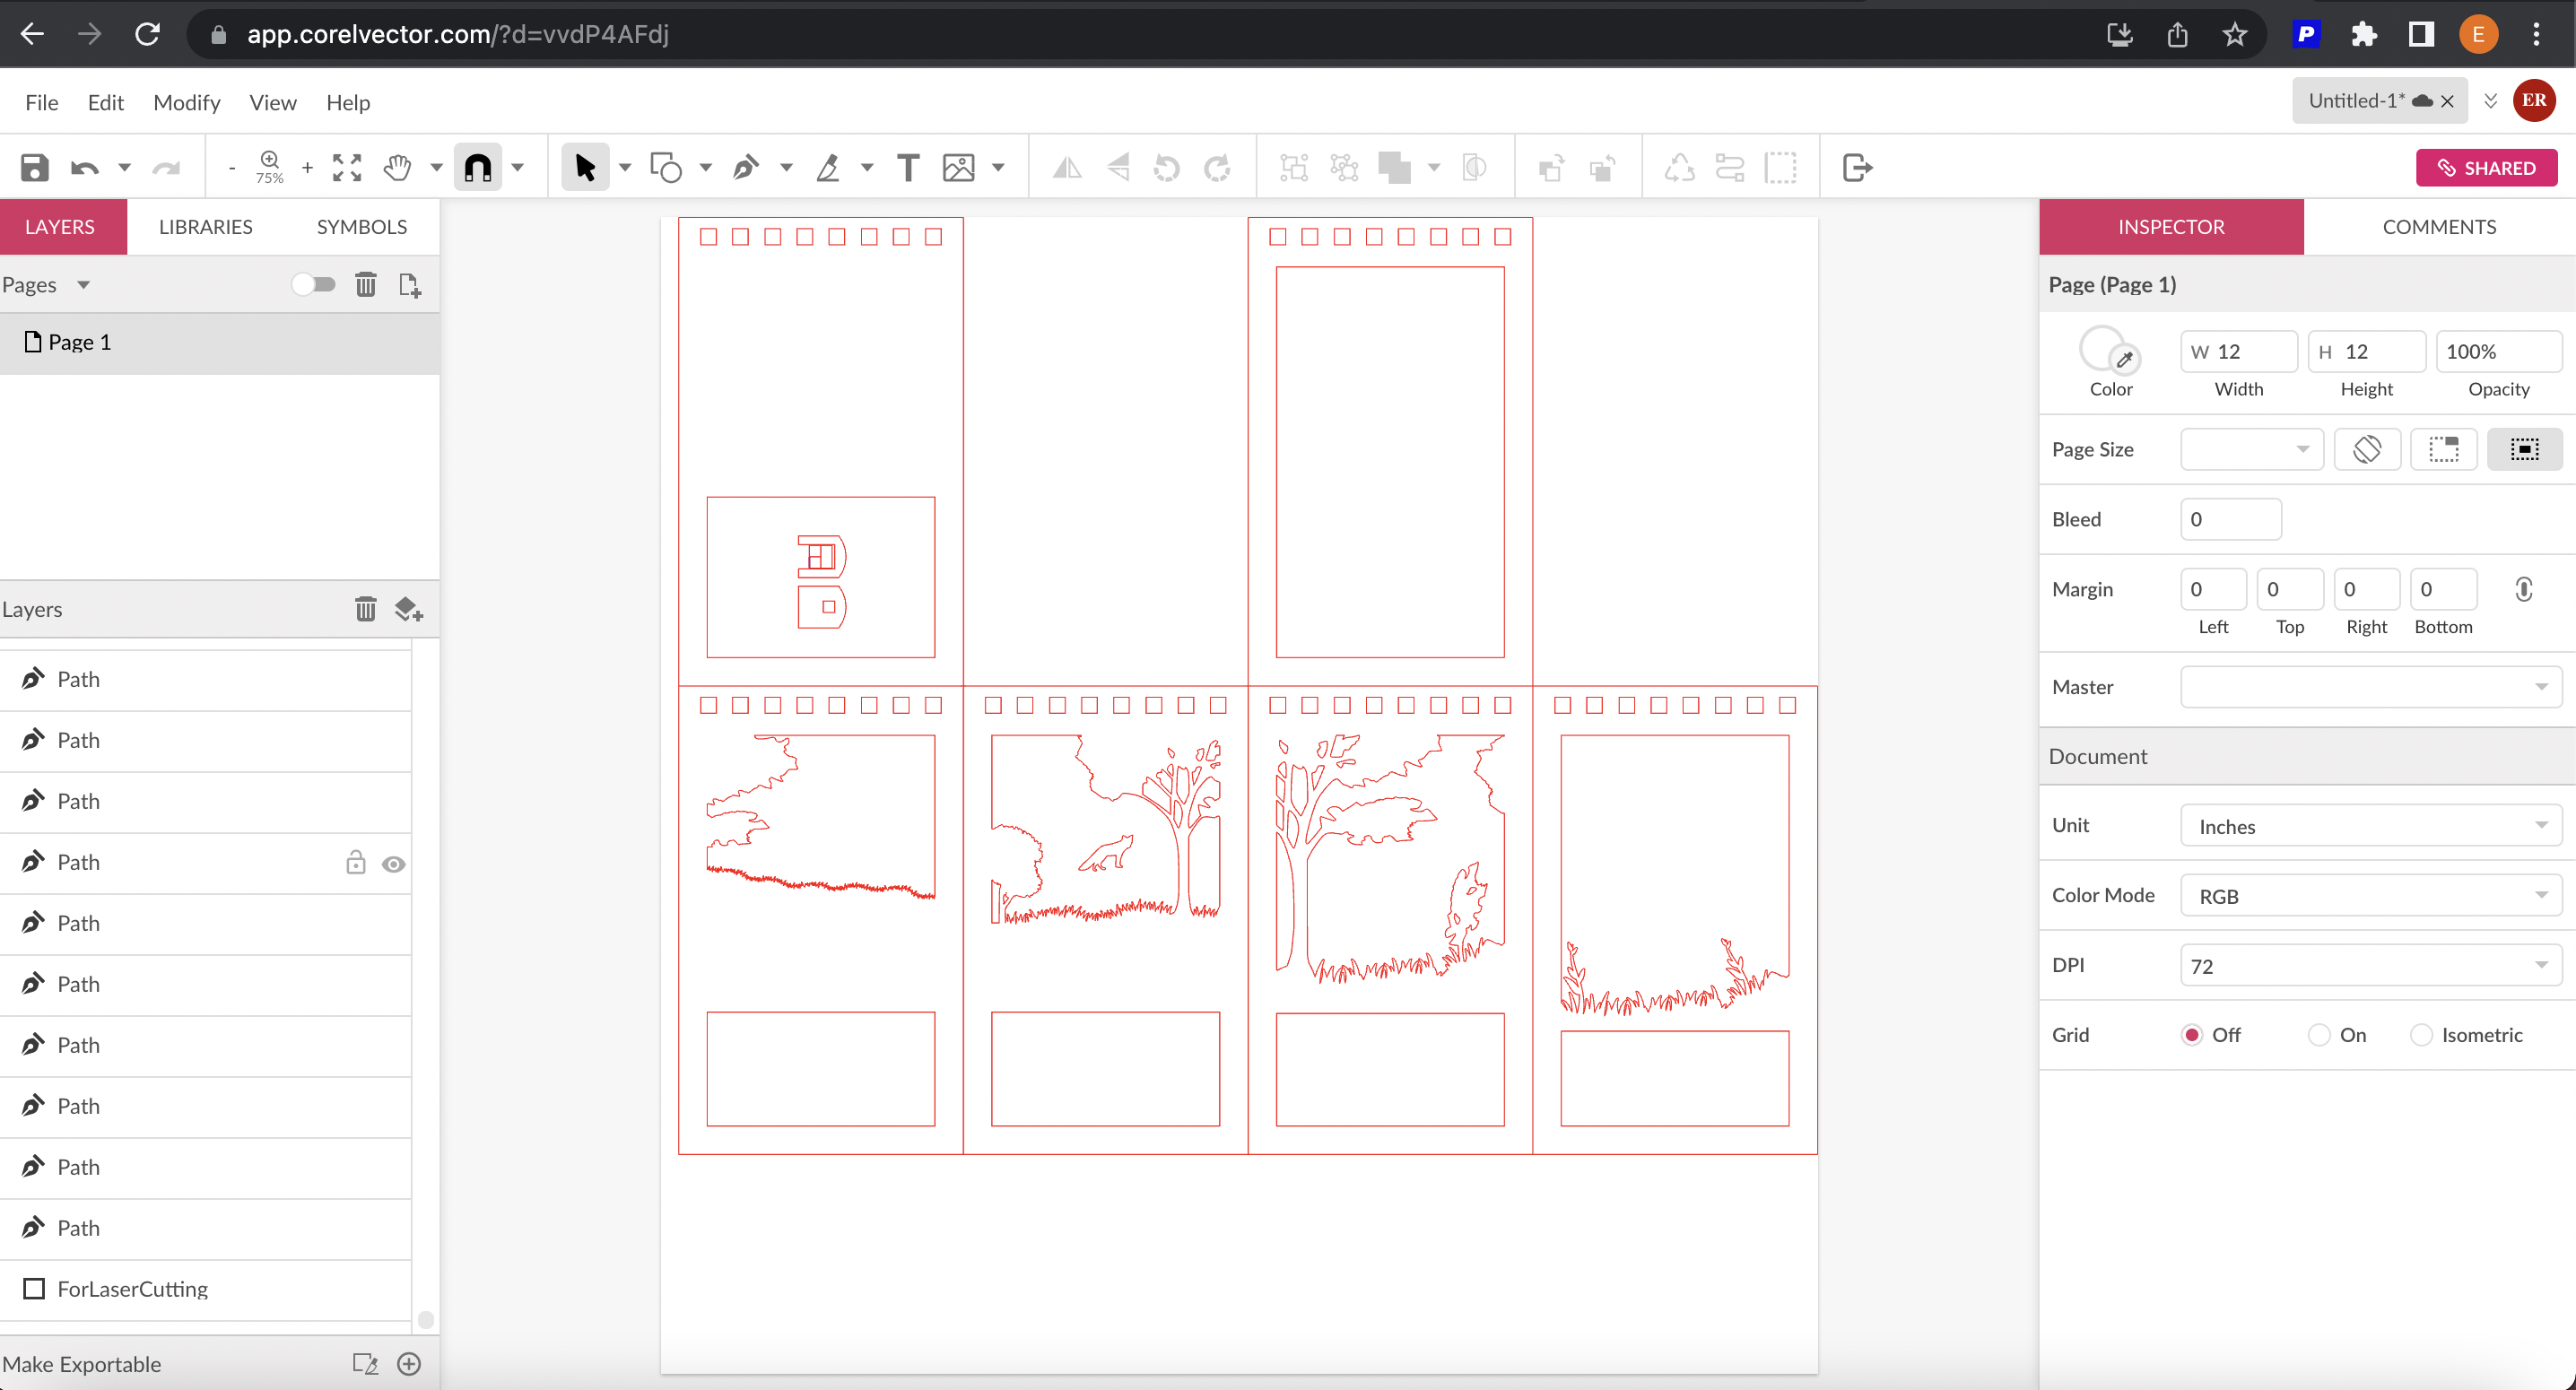
Now that you have the design imported, you can begin editing and adding changes as needed
- Delete 4 of the boxes (make sure not to delete the one with the battery holder and the front page of the notebook design) the one that has no designs on it.
Import New Images (if You Want)
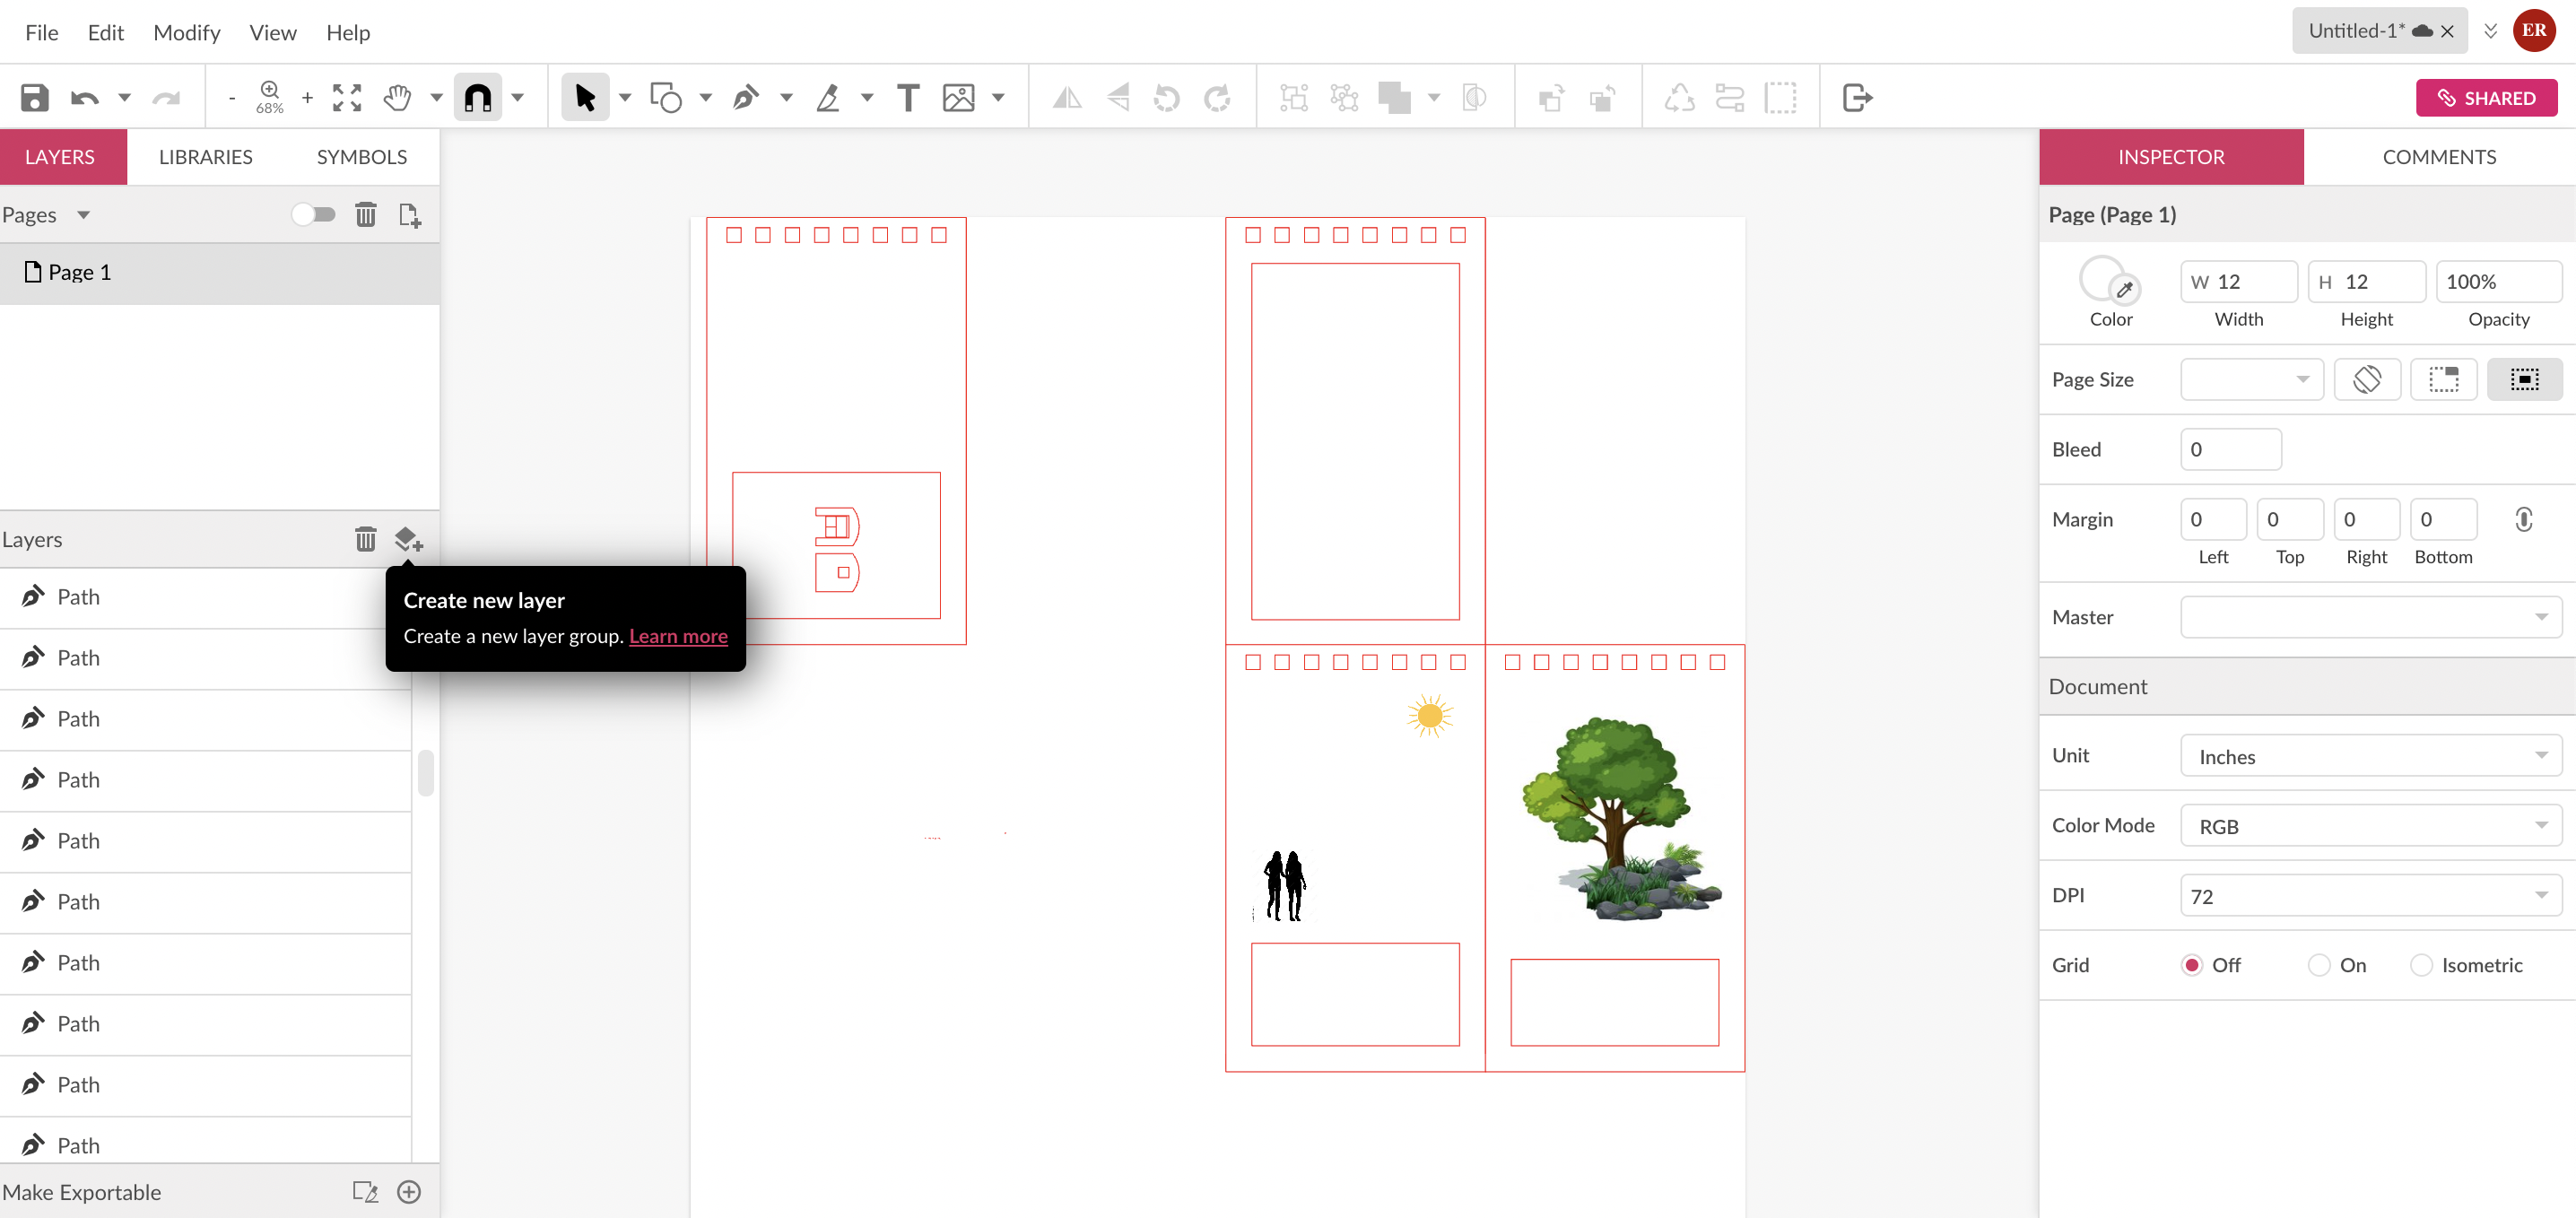
Now that you have the design imported, you can begin editing and added changes as needed
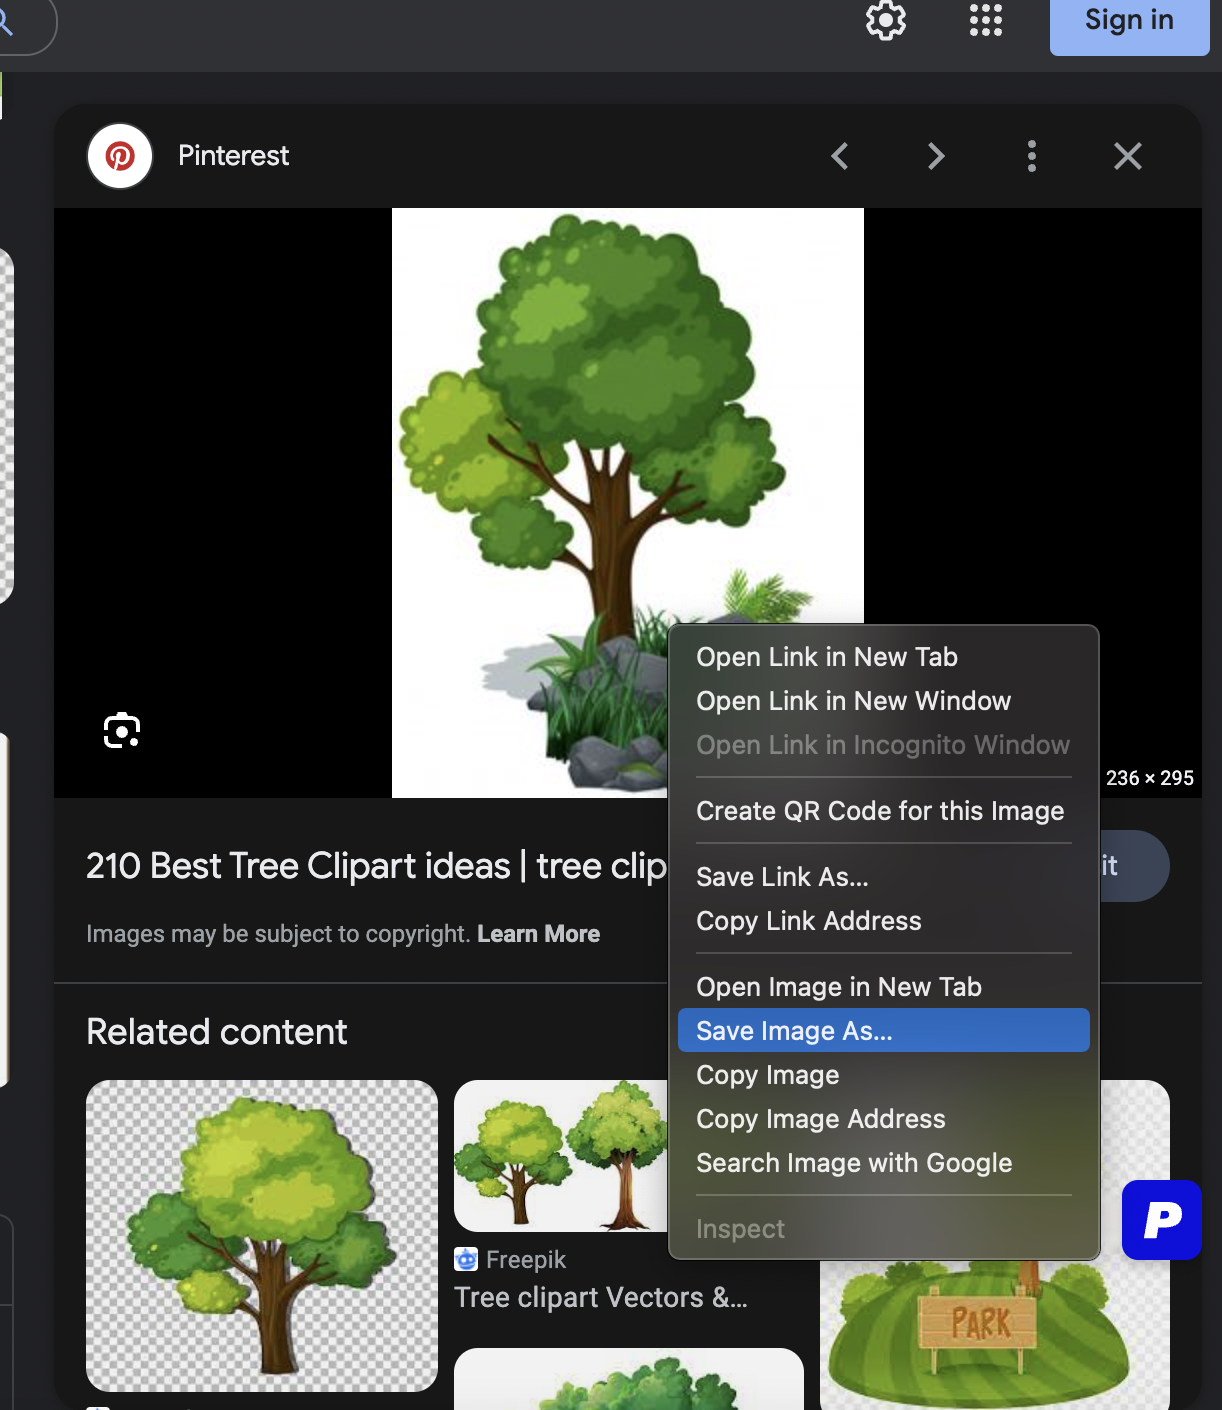
- find a image of a tree and double click "save image as" and import it to your page
They should look just like the image you saved
Vectorizing Images
Now that you have images you would like to add you need to vectorize the images
- If you don't, the machine will etch the image instead of cutting it.
Etching is a powered beam of laser that is focusing on the surface on the wood by melting it. It does not go all the way through the wood but just on the surface.
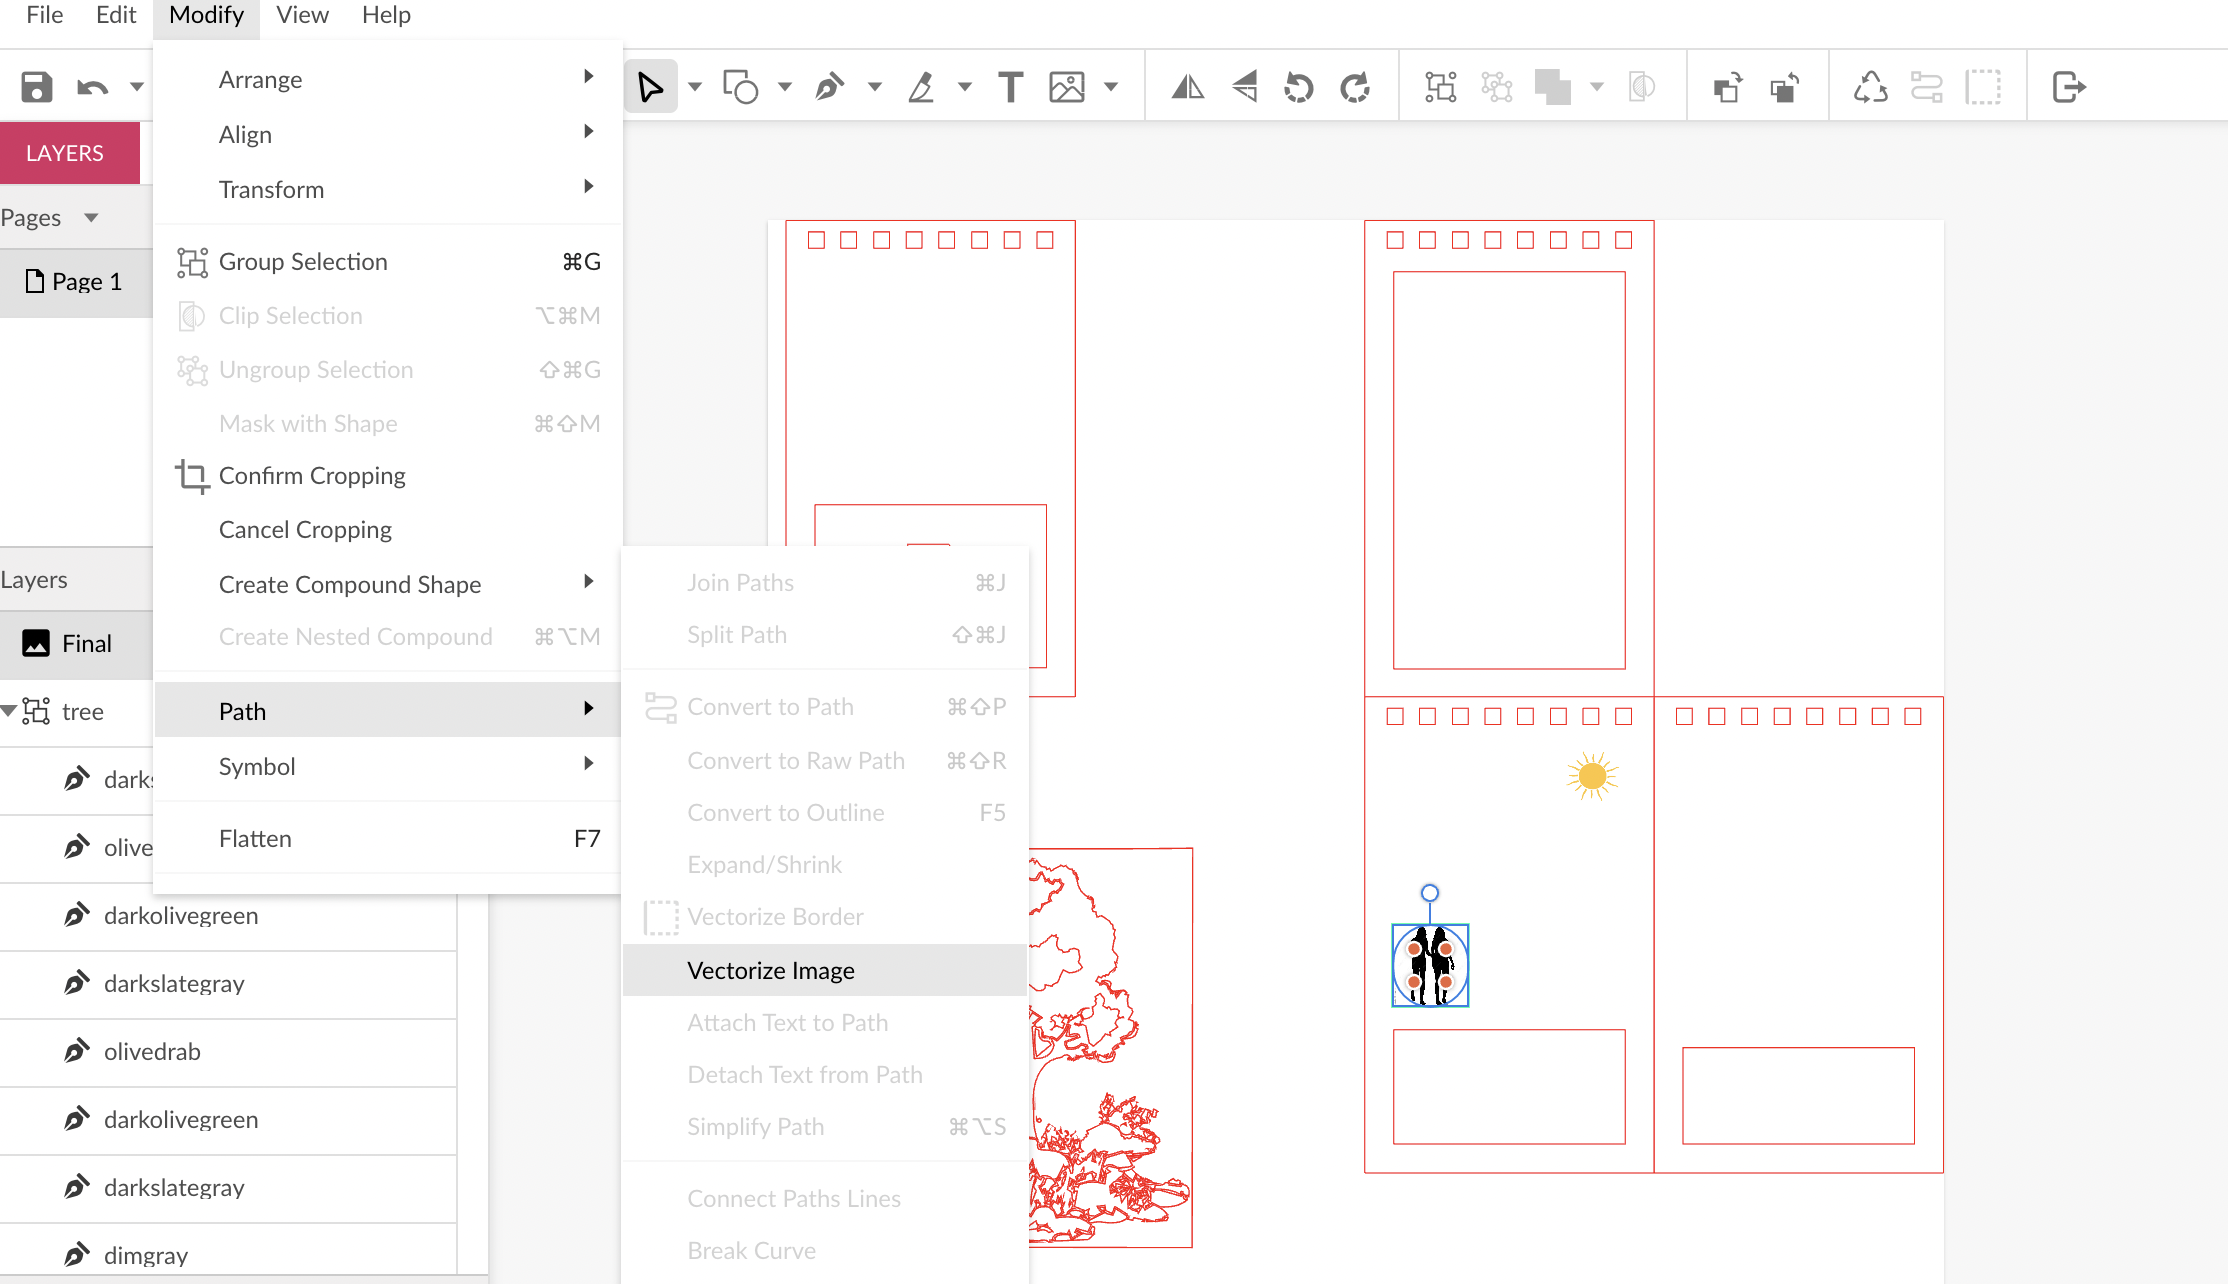
To vectorizing images you chose the images you want to vectorize and click Modify-Path-Vectorize Image
- This will turn your images into red lines
Place Images Where Needed
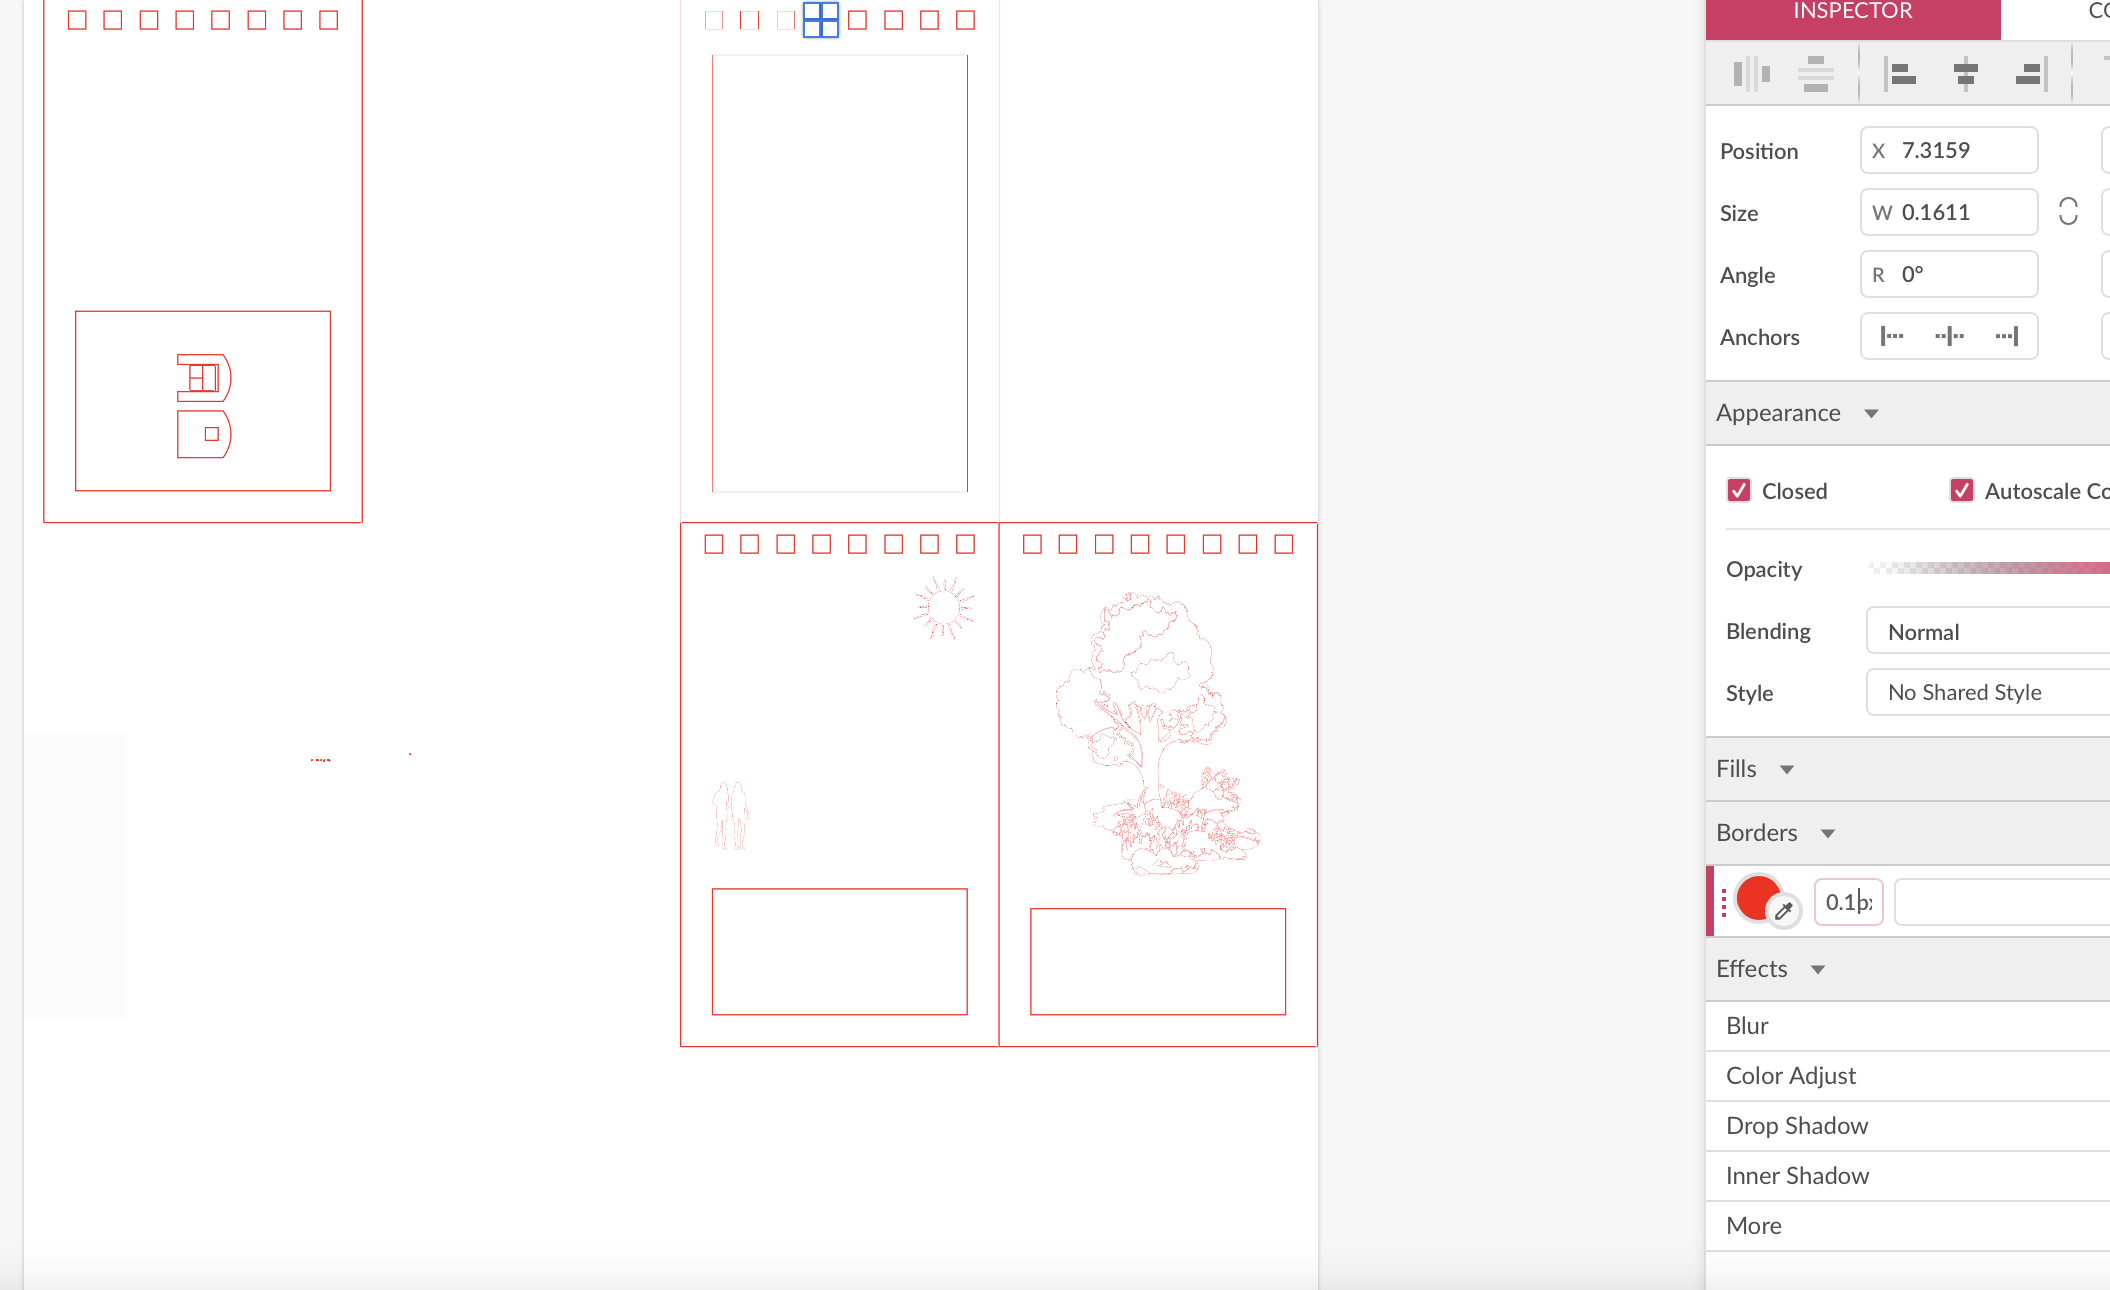
place the vectorize images where you want and your finished design is done!