Laser Cut Lamp: Color With Shadows
by esolley58 in Workshop > Lighting
10964 Views, 28 Favorites, 0 Comments
Laser Cut Lamp: Color With Shadows
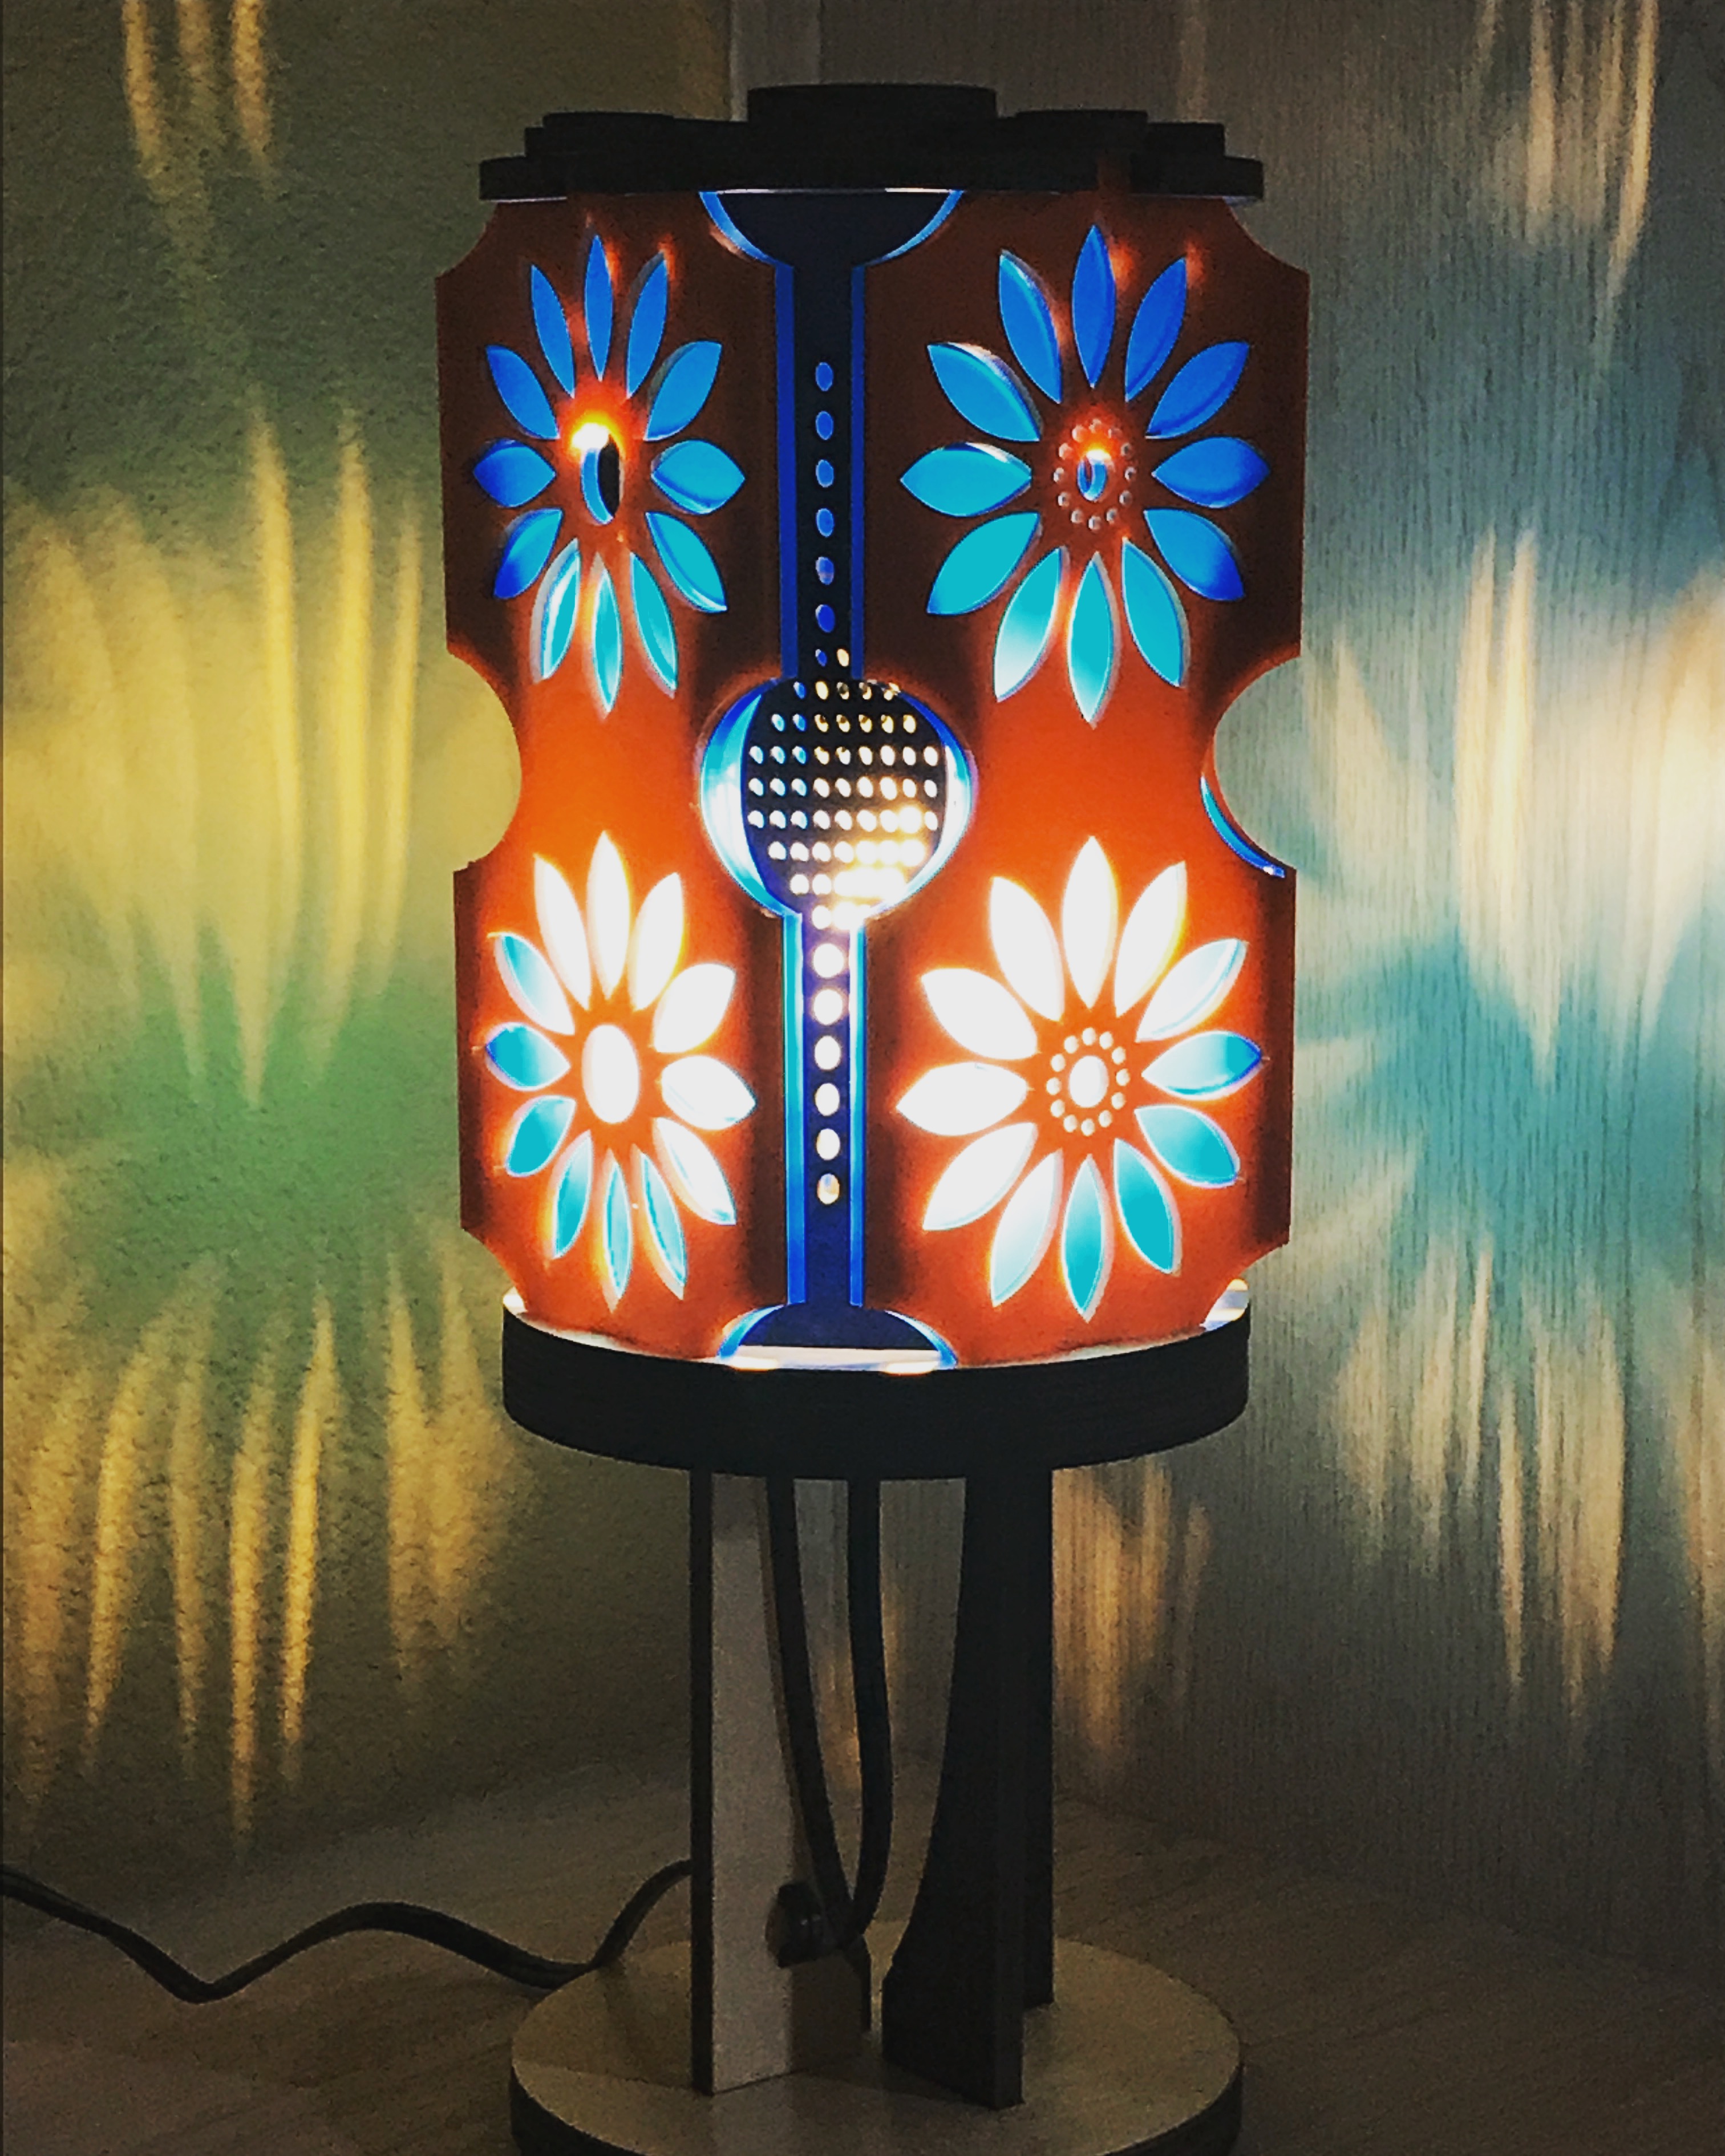
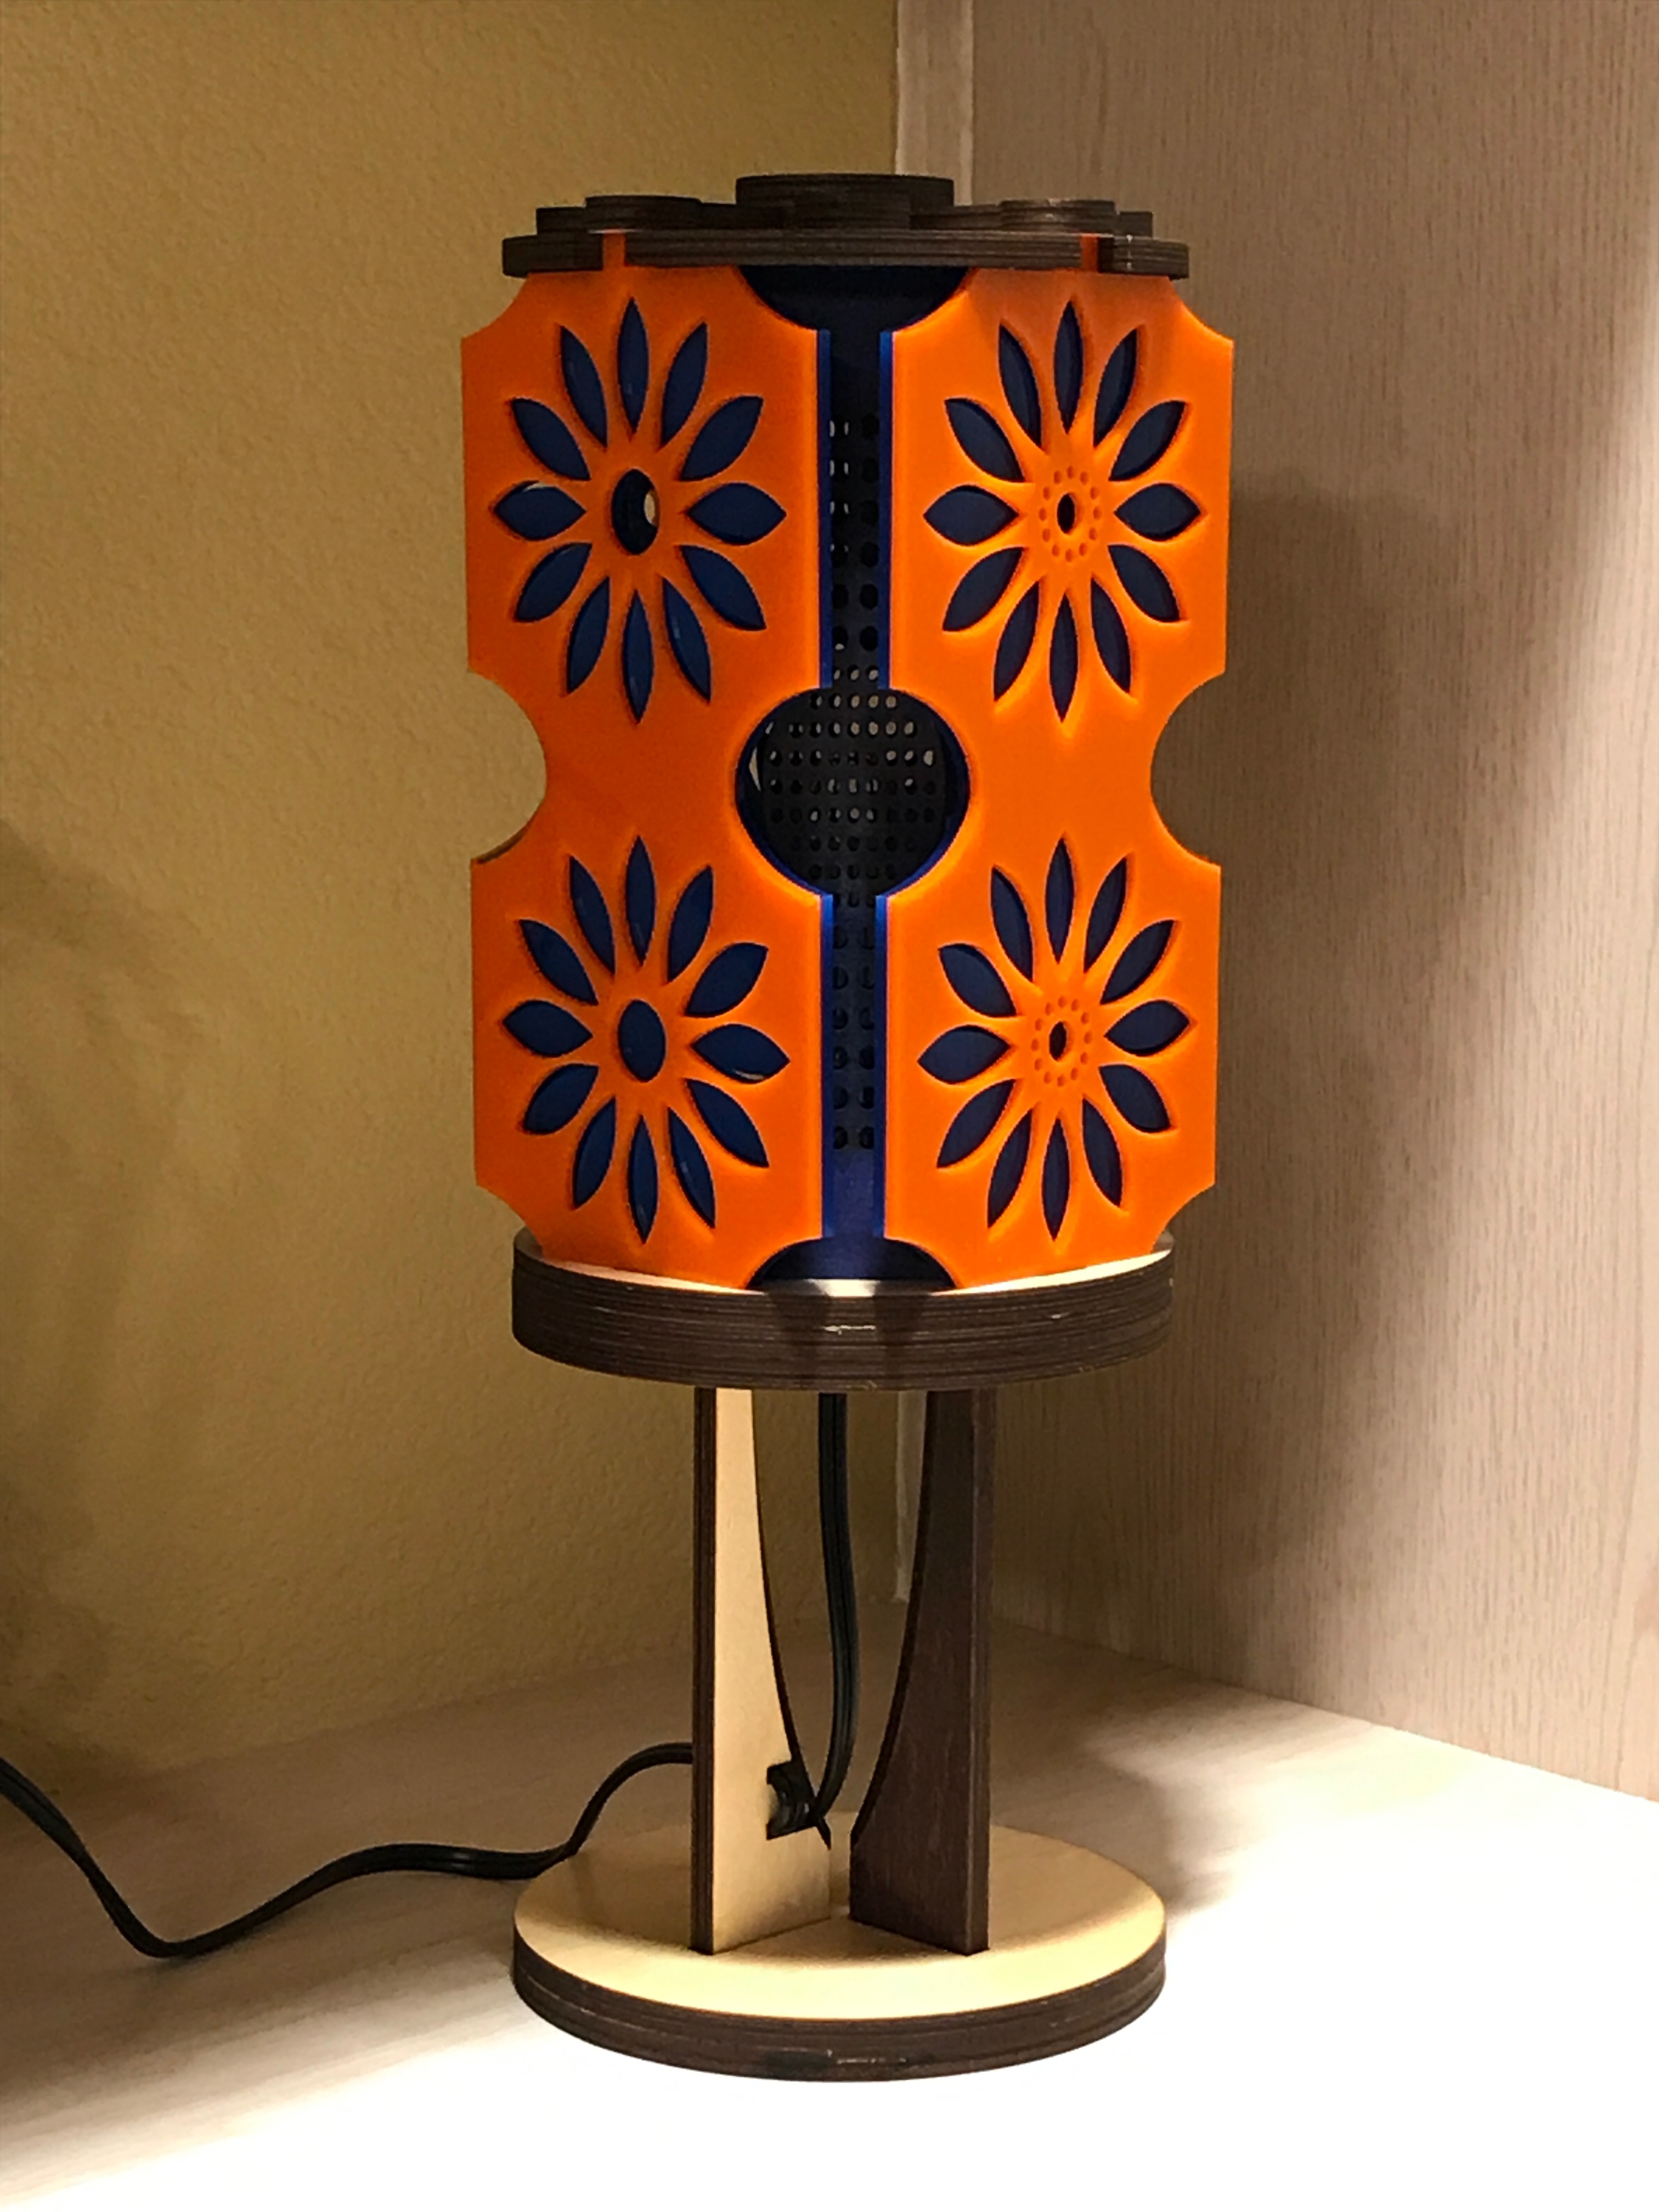
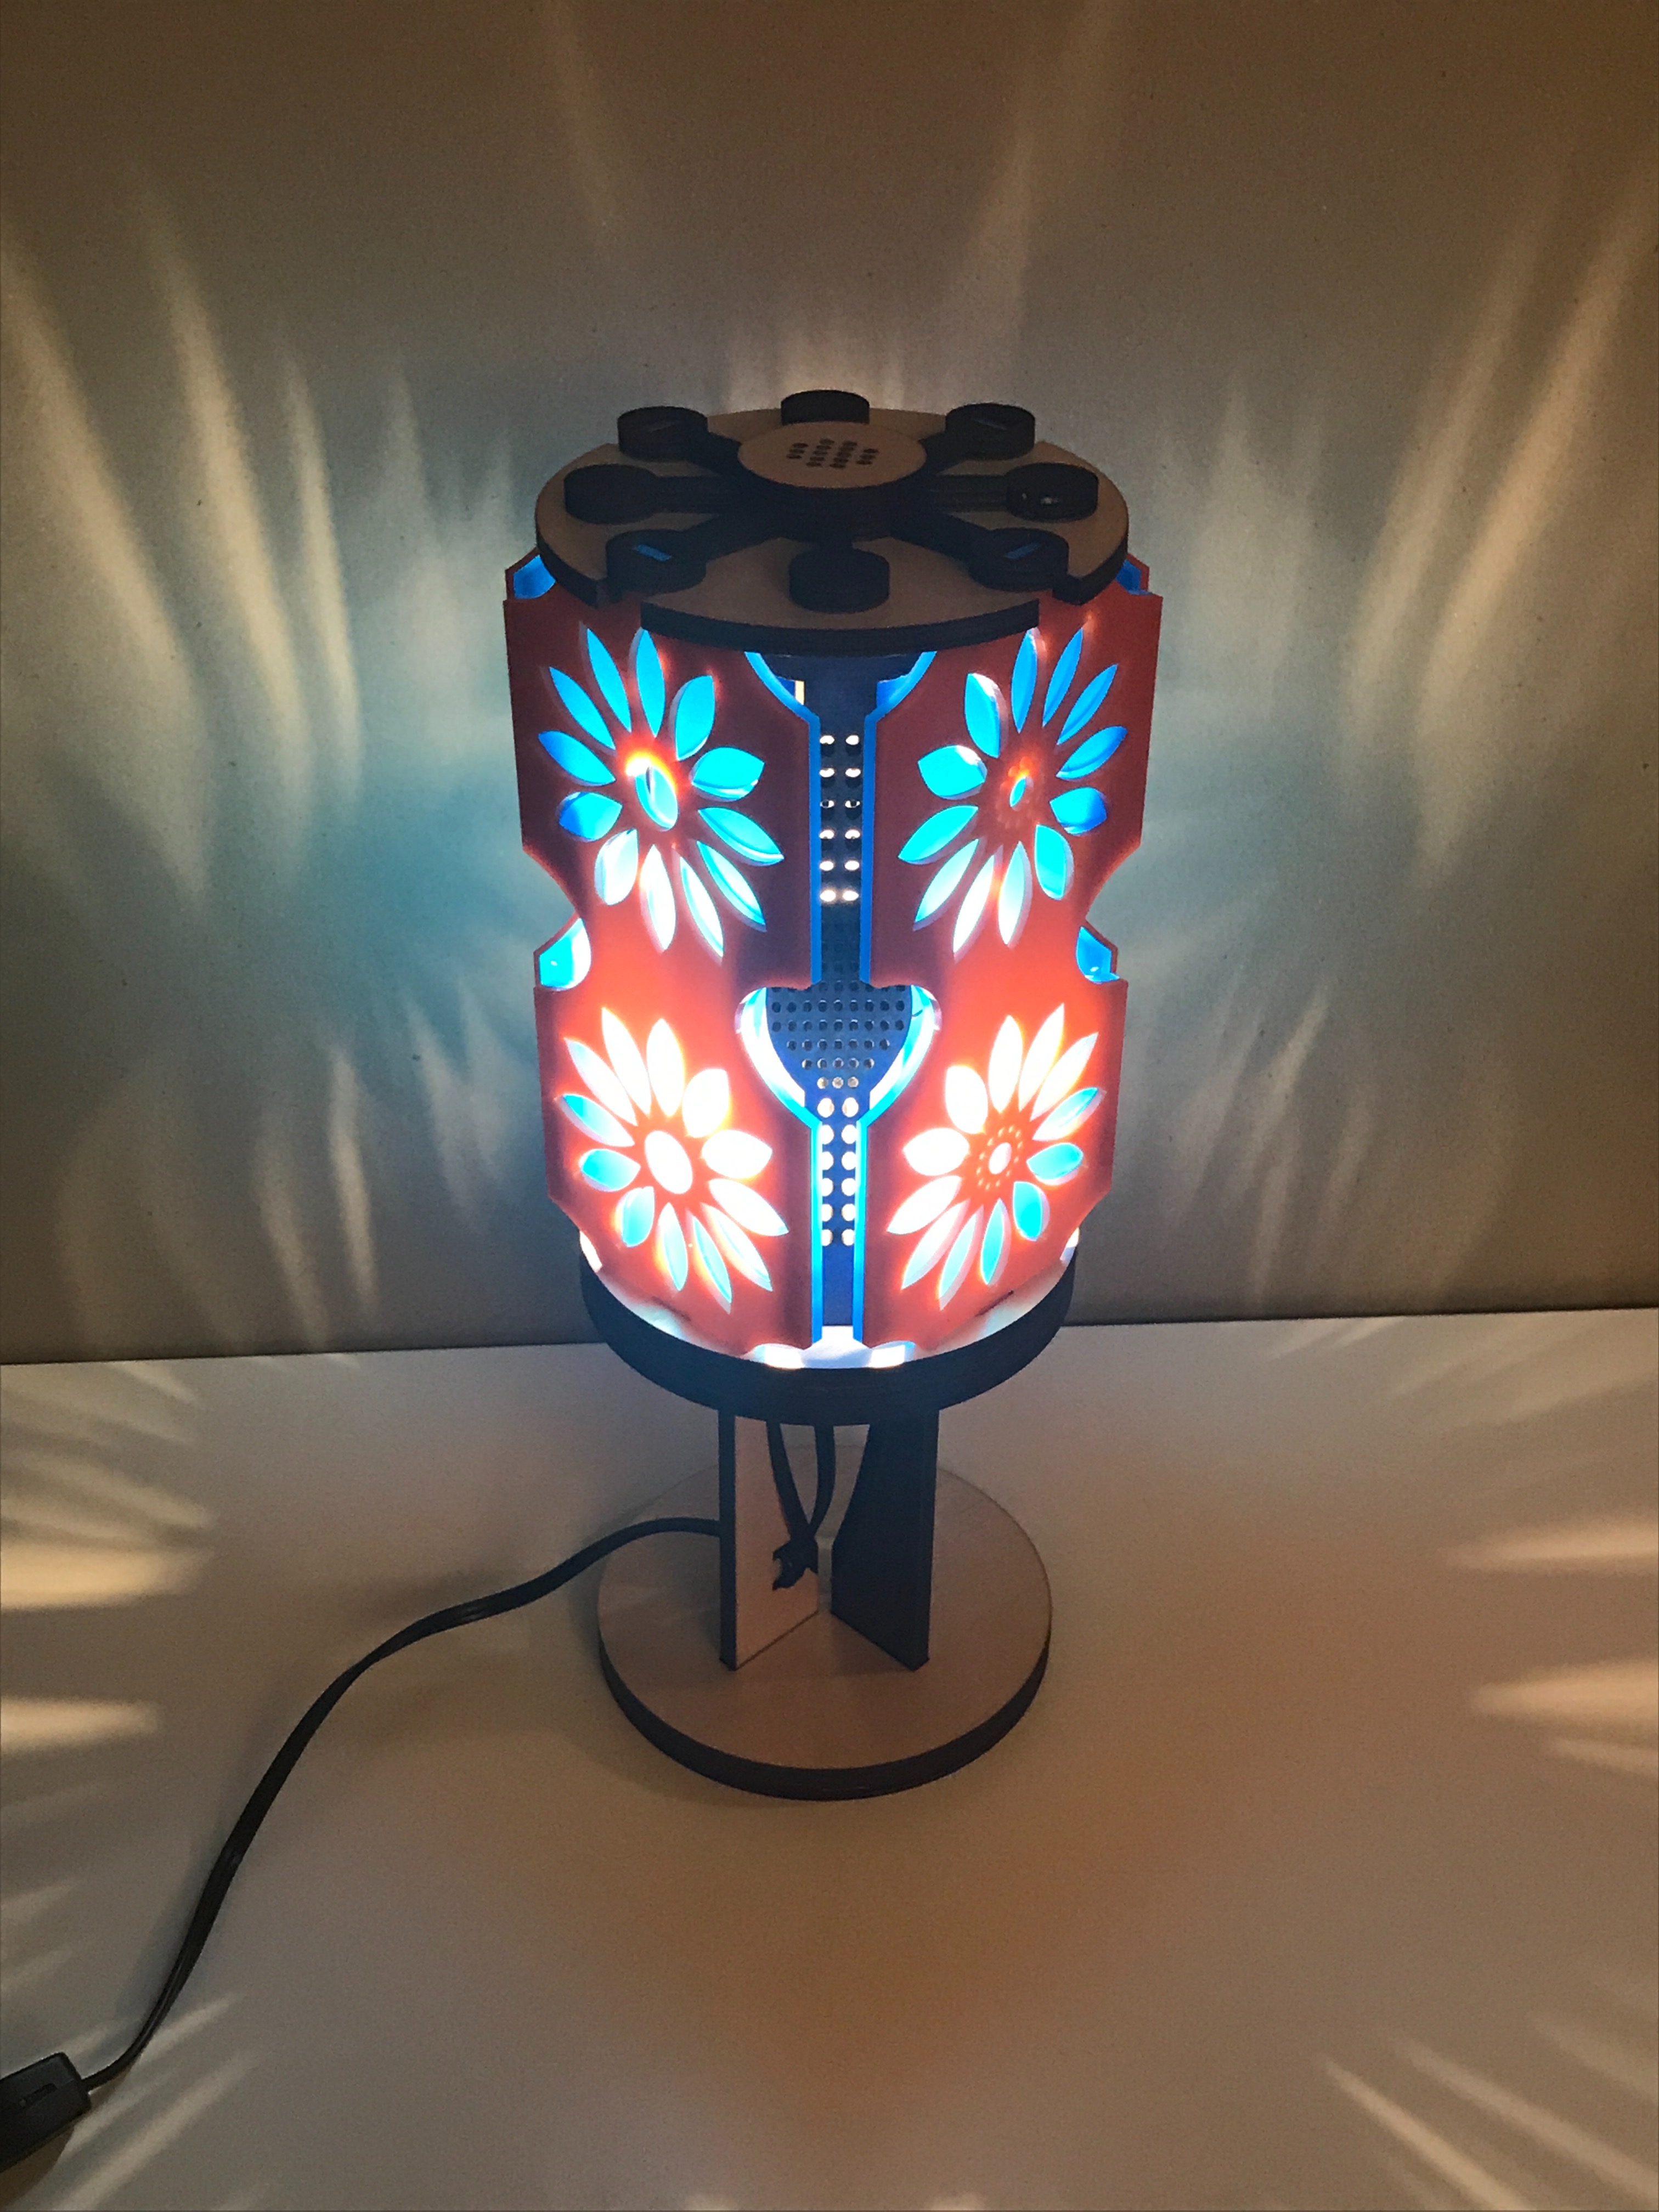
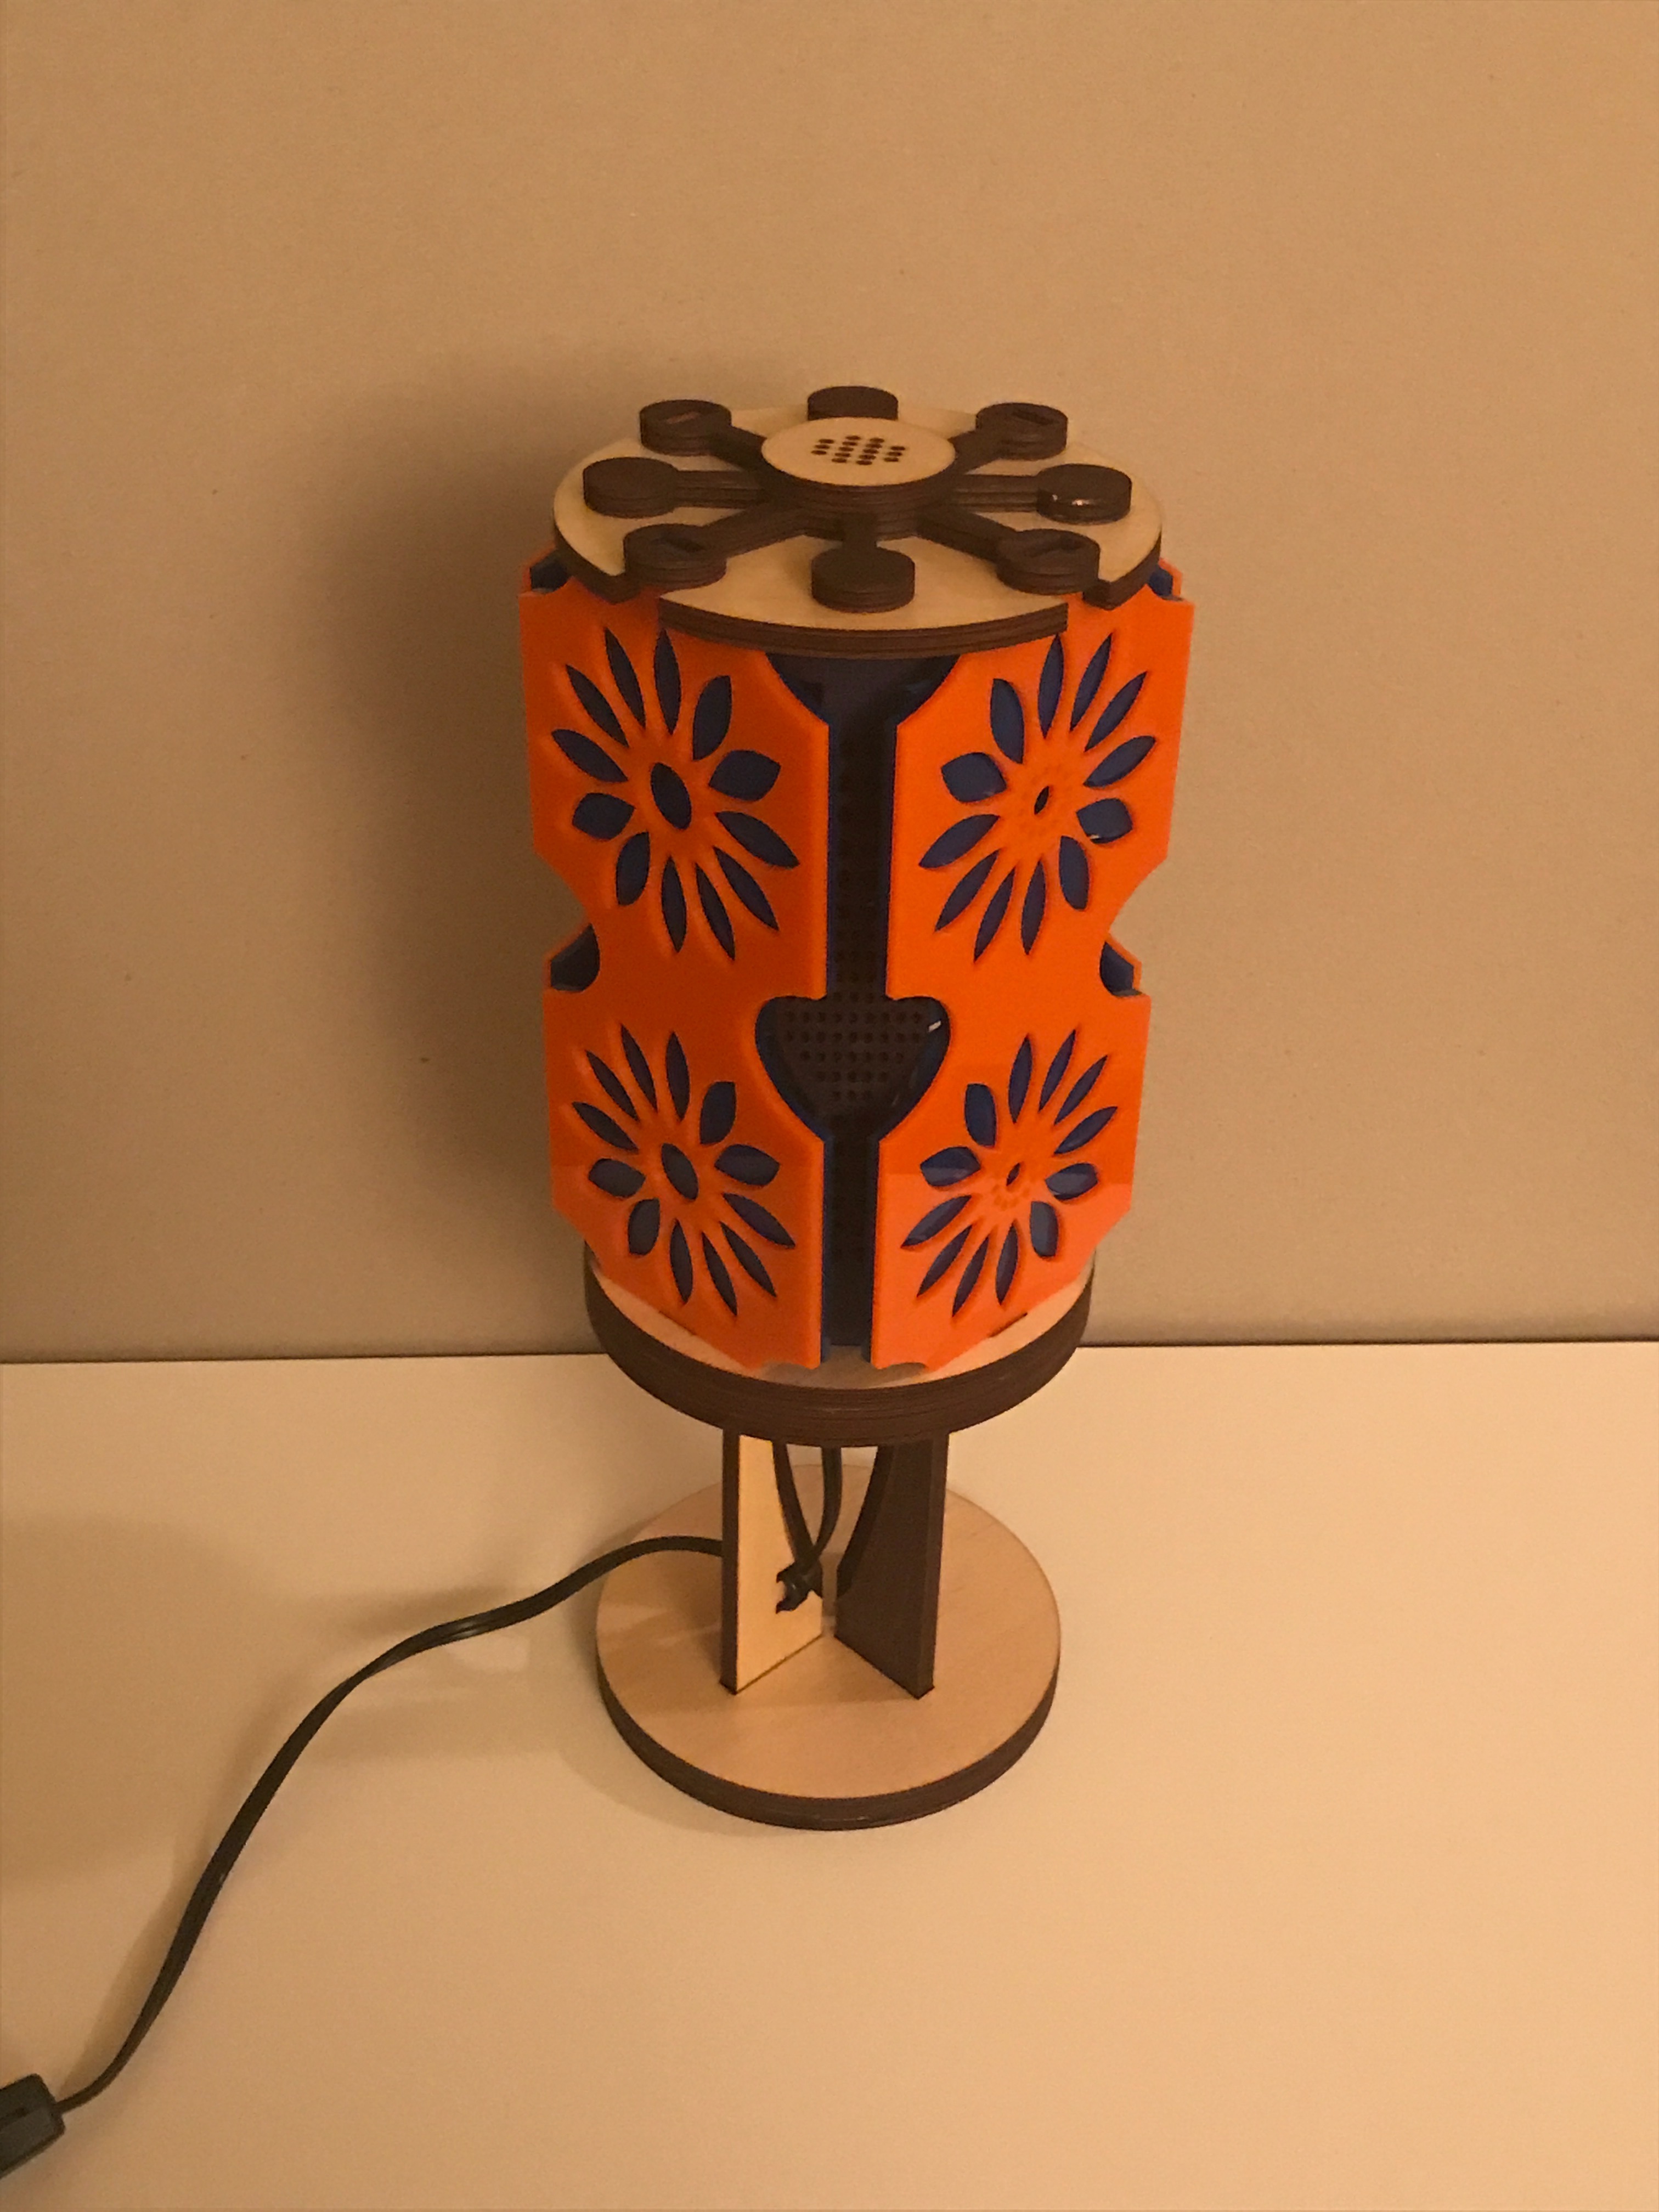
The laser cut lamp is an outcome of my work at CREATE which is a maker space adjacent to the Arizona Science Center. It is one of many lamps that I have designed and built at the CREATE. The lamps are designed to provide a making experience for folks visiting our space. Kits are provided with all the necessary supplies and tools including instruction by CREATE facilitators.
The lamp was designed using CorelDraw. The file consists of individual pages for each different type of material: lamp stand (plywood), decorative side panels (acrylic) and diffuser struts (MDF).
Laser Cut File
- see attached Lamp color with shadows
Tools Needed for this Project
- Laser cutter [60W Universal Laser Systems]
- Vector Software [CorelDrawX7]
- Clamps [Mini one hand bar clamp]
Materials Needed for this Project
- 1/4" Baltic Birch Plywood, one side finished
- 1/4" Medium Density Fiberboard (MDF)
- 1/8" Cast Acrylic- Blue and Orange
- Wood Glue [Titebond Premium wood glue]
- Light socket [Candelabra light socket- found at Home Depot]
- Light bulb [40W equivalent LED candelabra bulb]
- Sharpie Markers- Brown, Blue, Black
- Paper Towels
- Q-Tips
- Sand Paper
- Damp cloth
Step 1: Laser Cut Parts
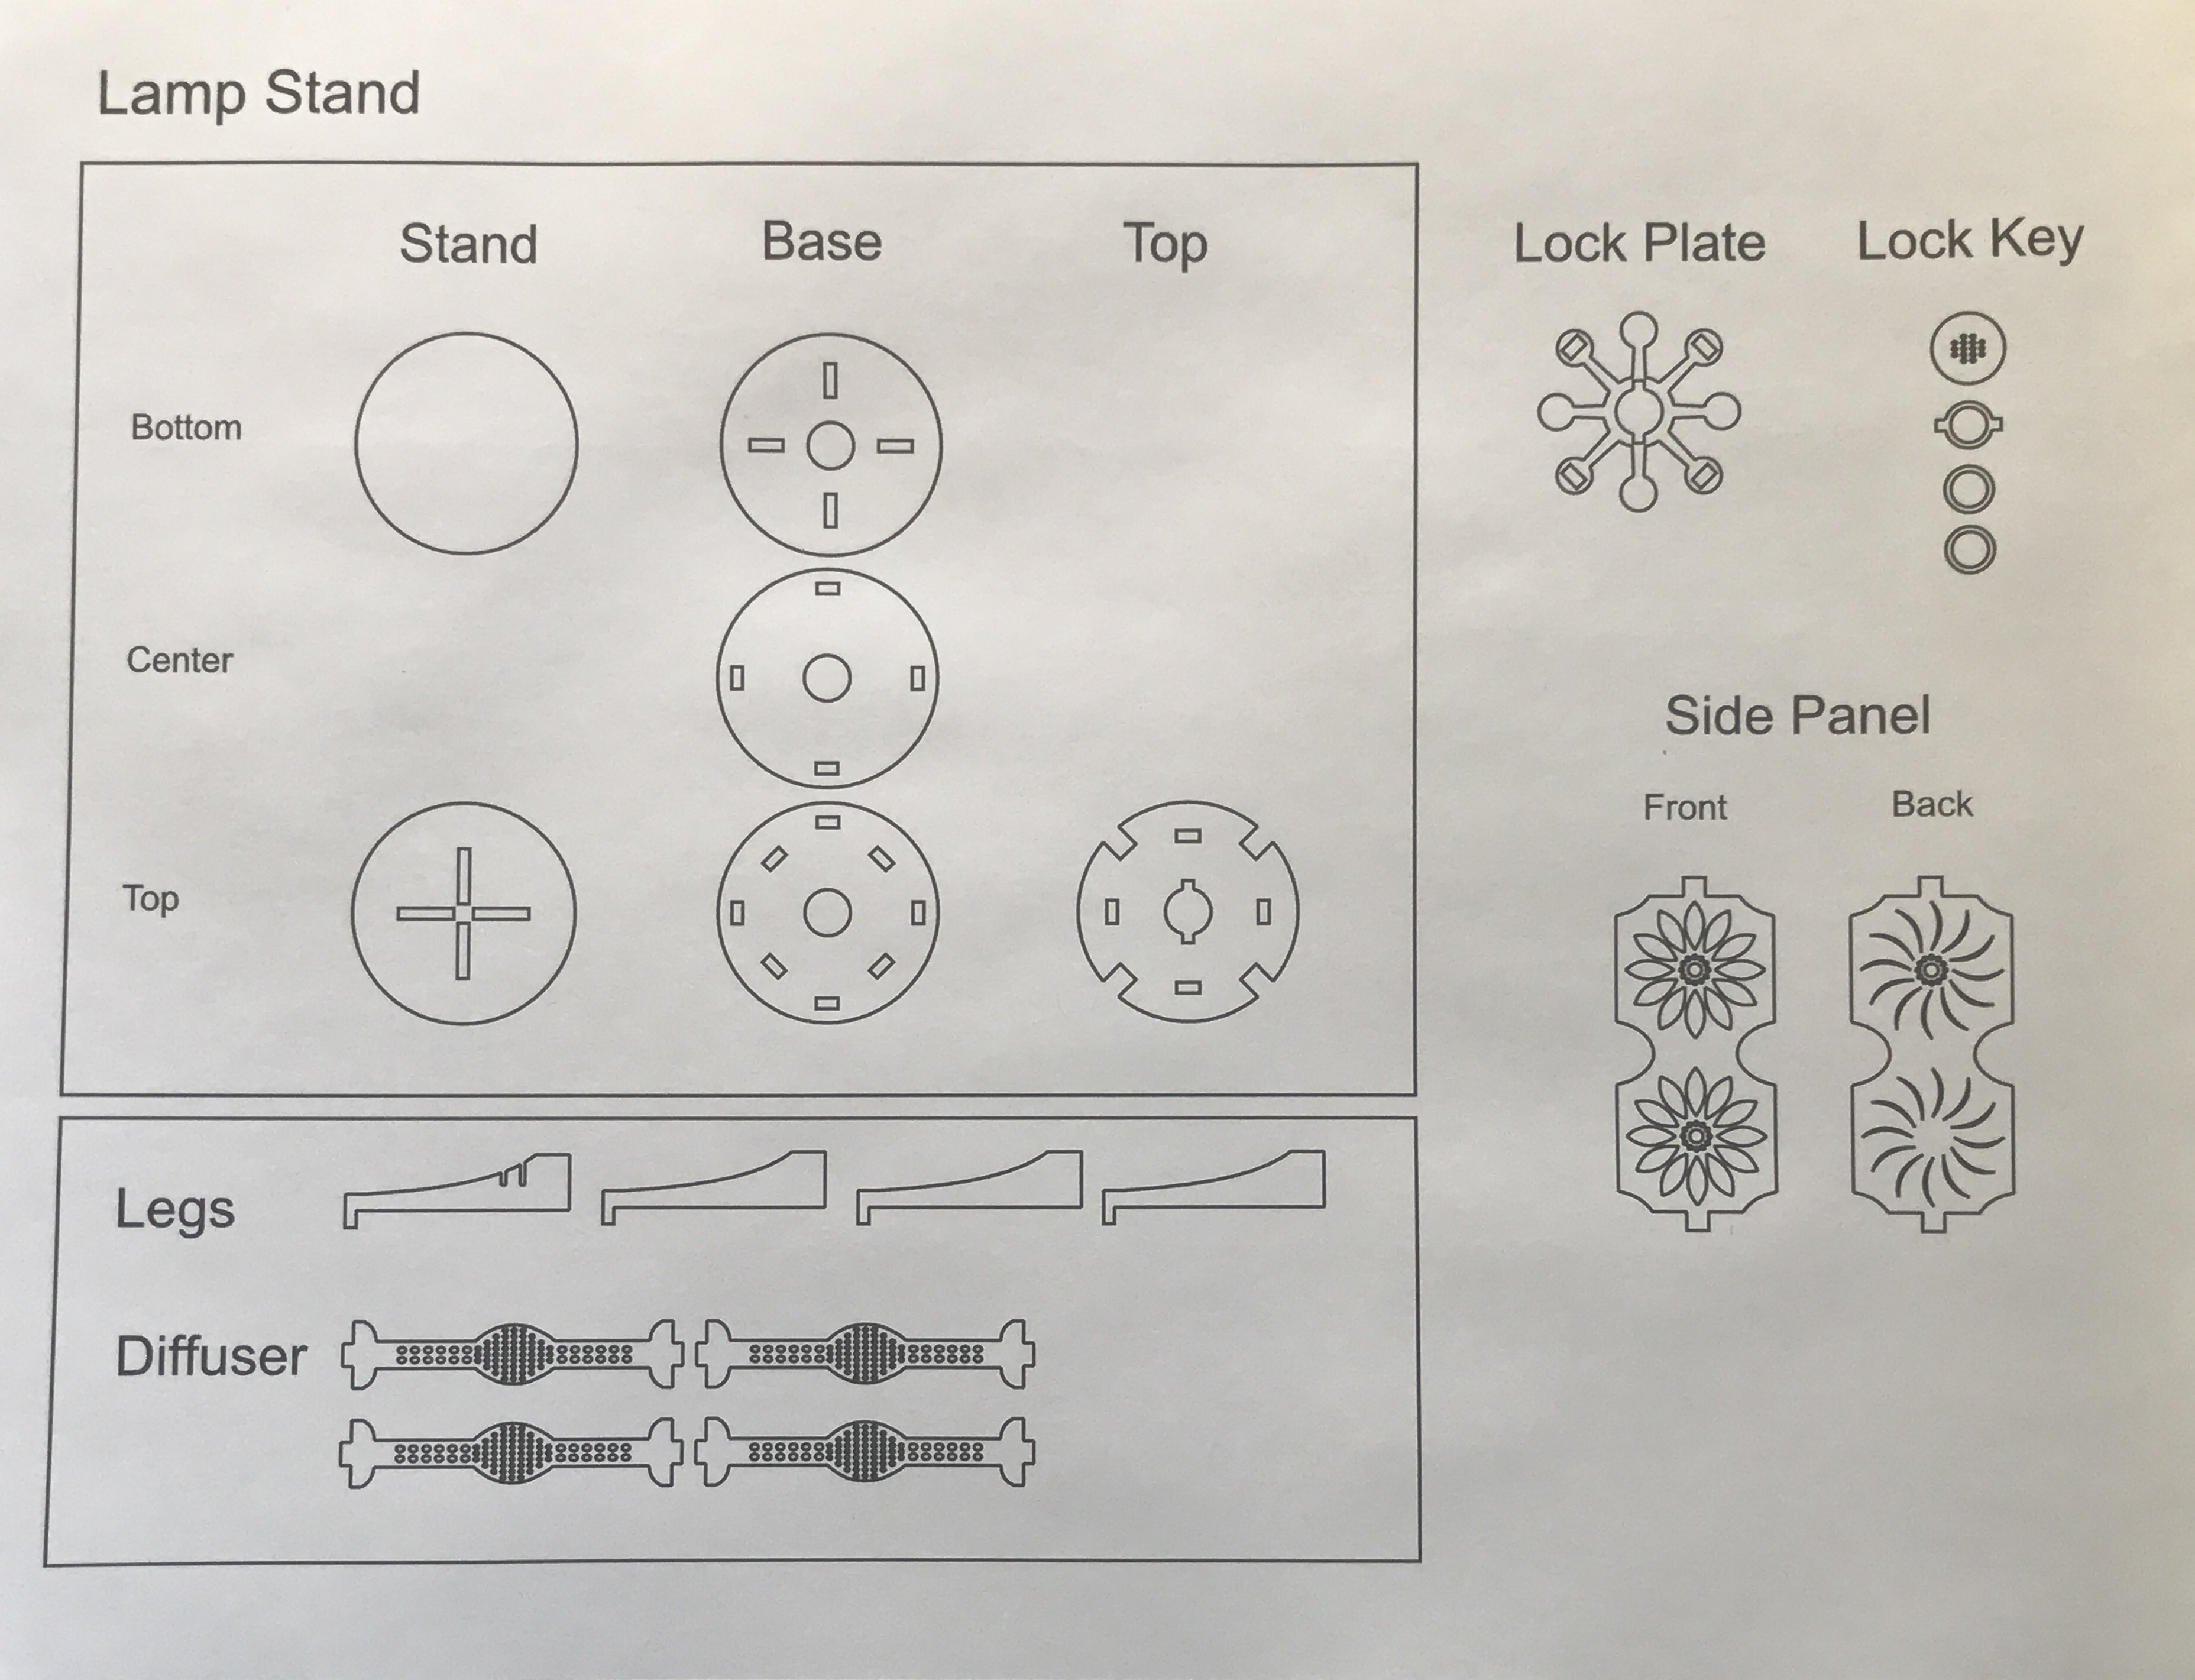
- Laser cut the required parts for the lamp stand (stand, base, and top plate sections), diffuser struts and side panels using the attached CorelDraw file. See the attached summary page for parts identification.
- Material: Diffusers - MDF, Stand - finished Baltic birch plywood, side panels - acrylic
- Thickness: MDF = 0.235 inches, Plywood = 0.24 inches, Acrylic = 0.12 inches
-
Acrylic Color: Outer side panels - orange, Inner side panels - blue
- Wipe off the finished side of the plywood with a damp cloth (remove residual finish near cut edges).
- Remove paper from both sides of acrylic panels.
- Check for form, fit, and finish of cut pieces. All cut parts should be flat with little or no warping.
Step 2: Assemble the Lamp Stand Plates
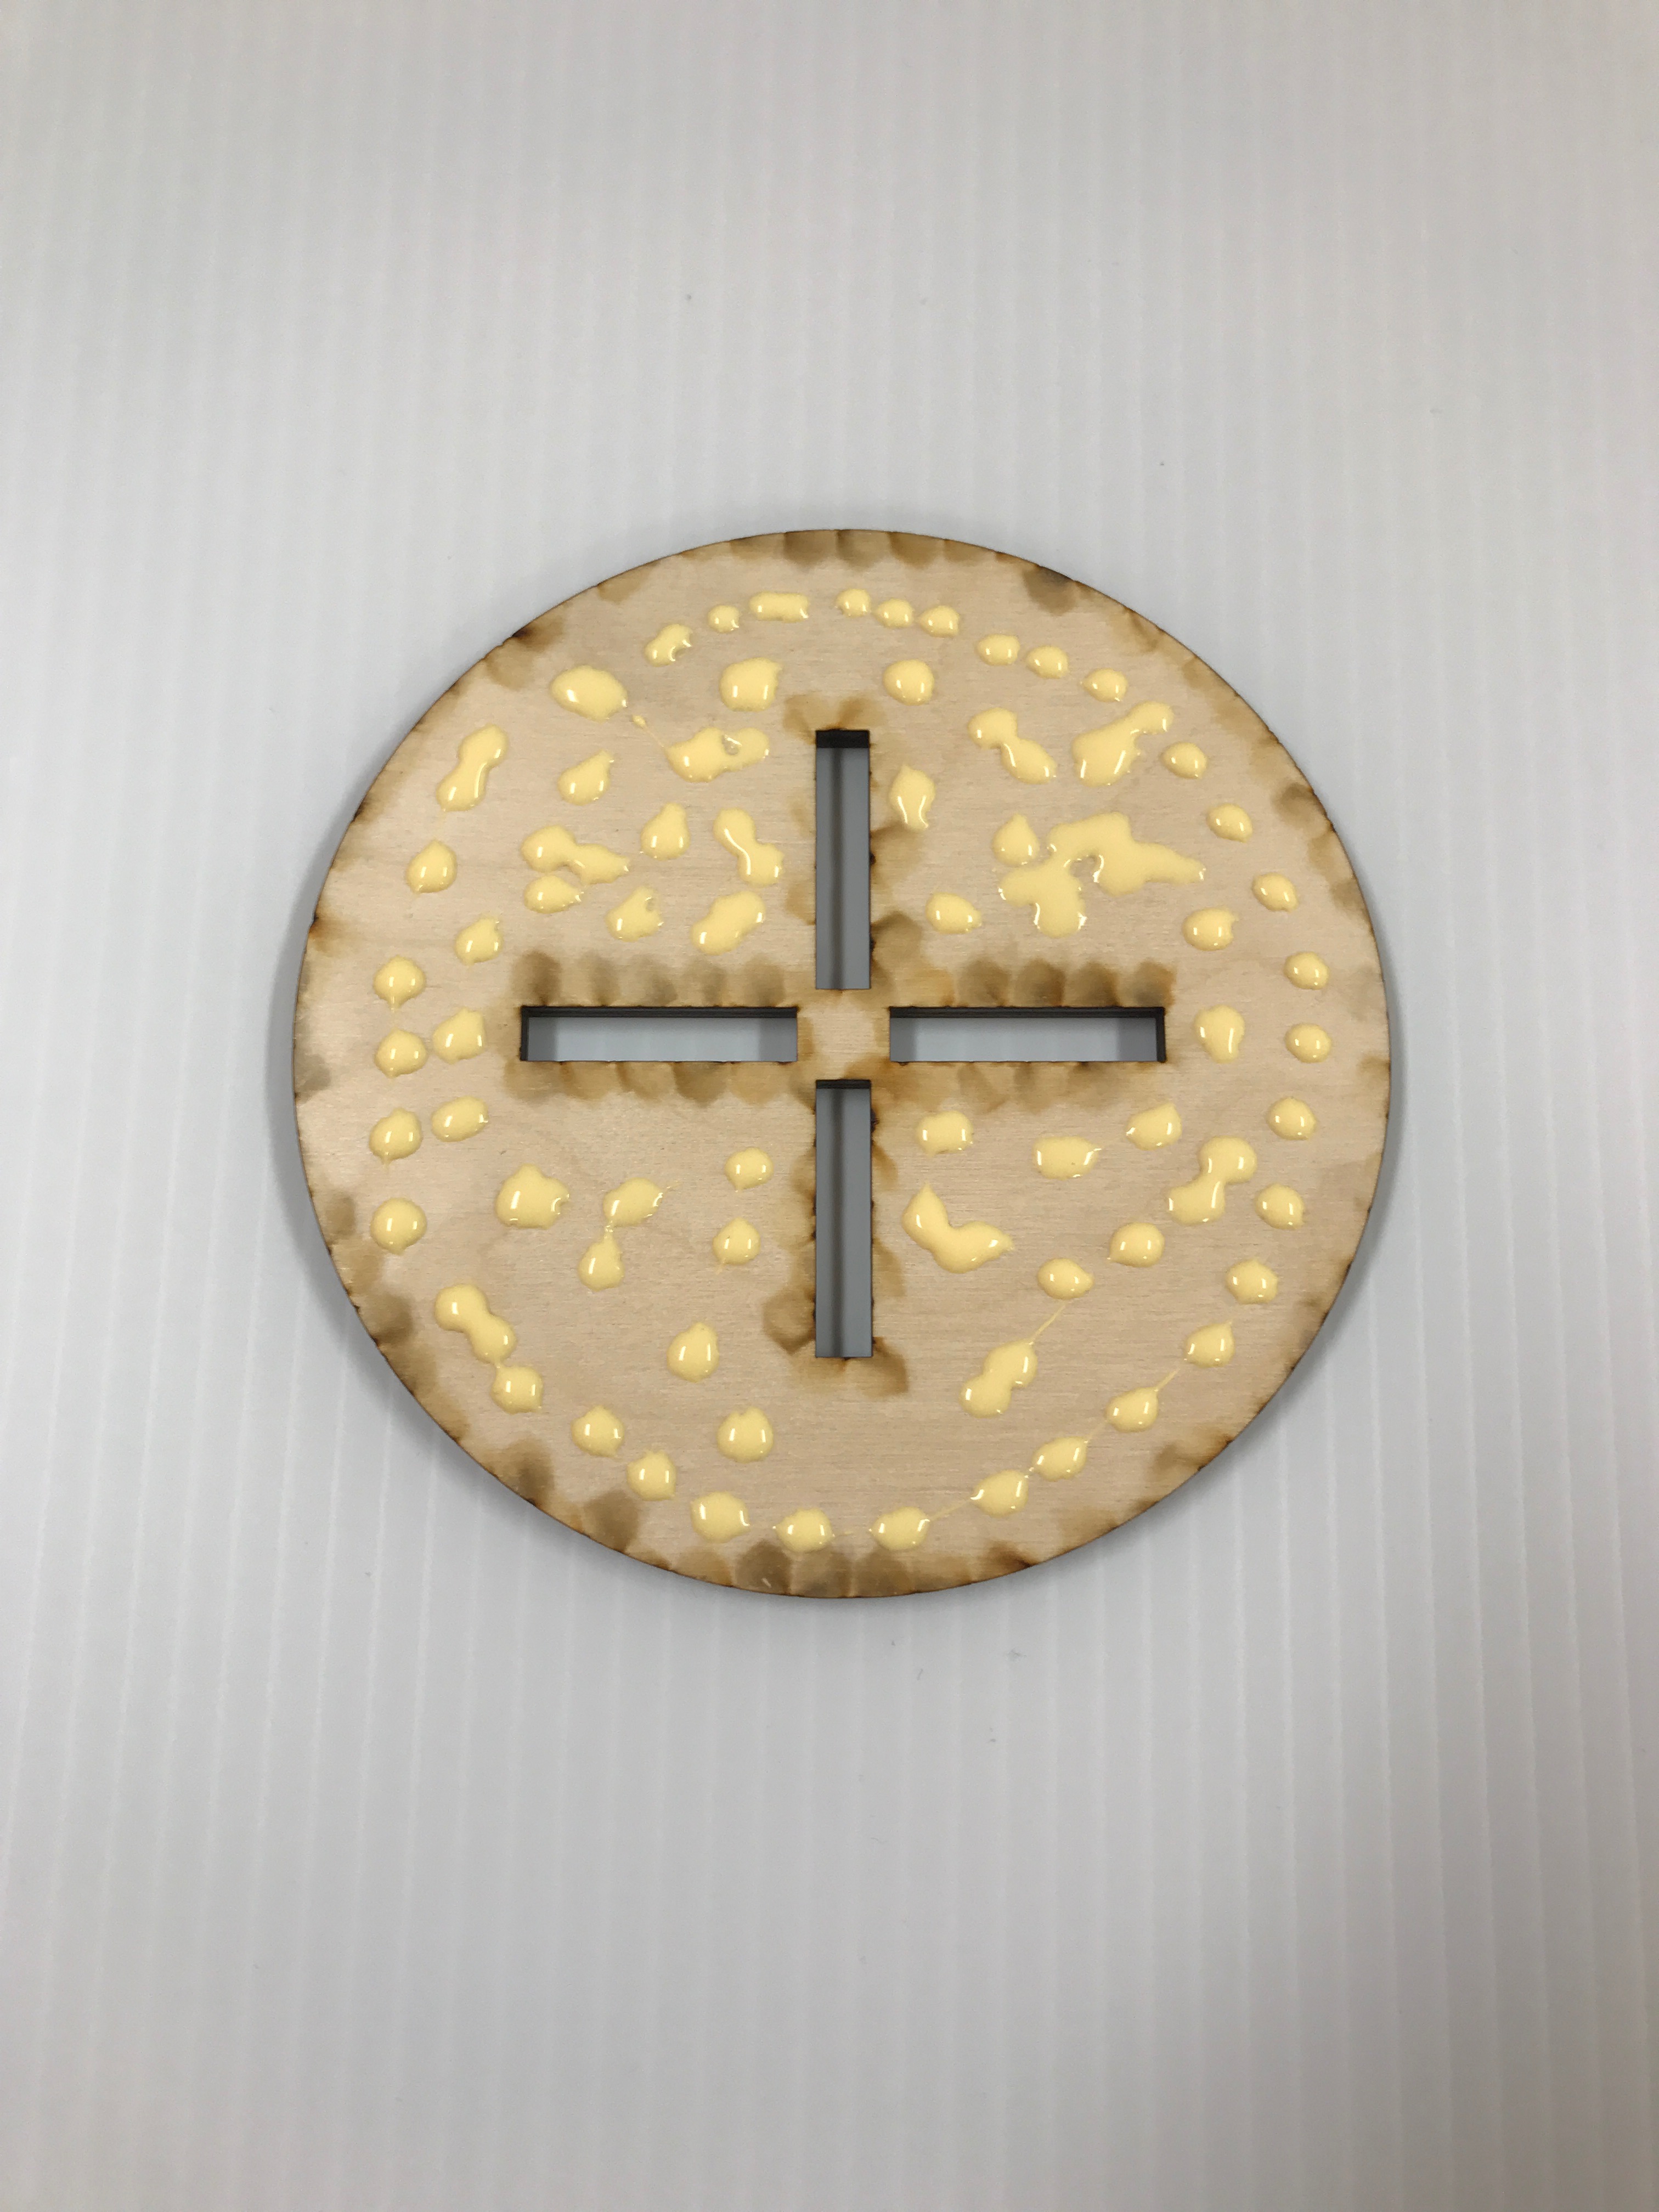
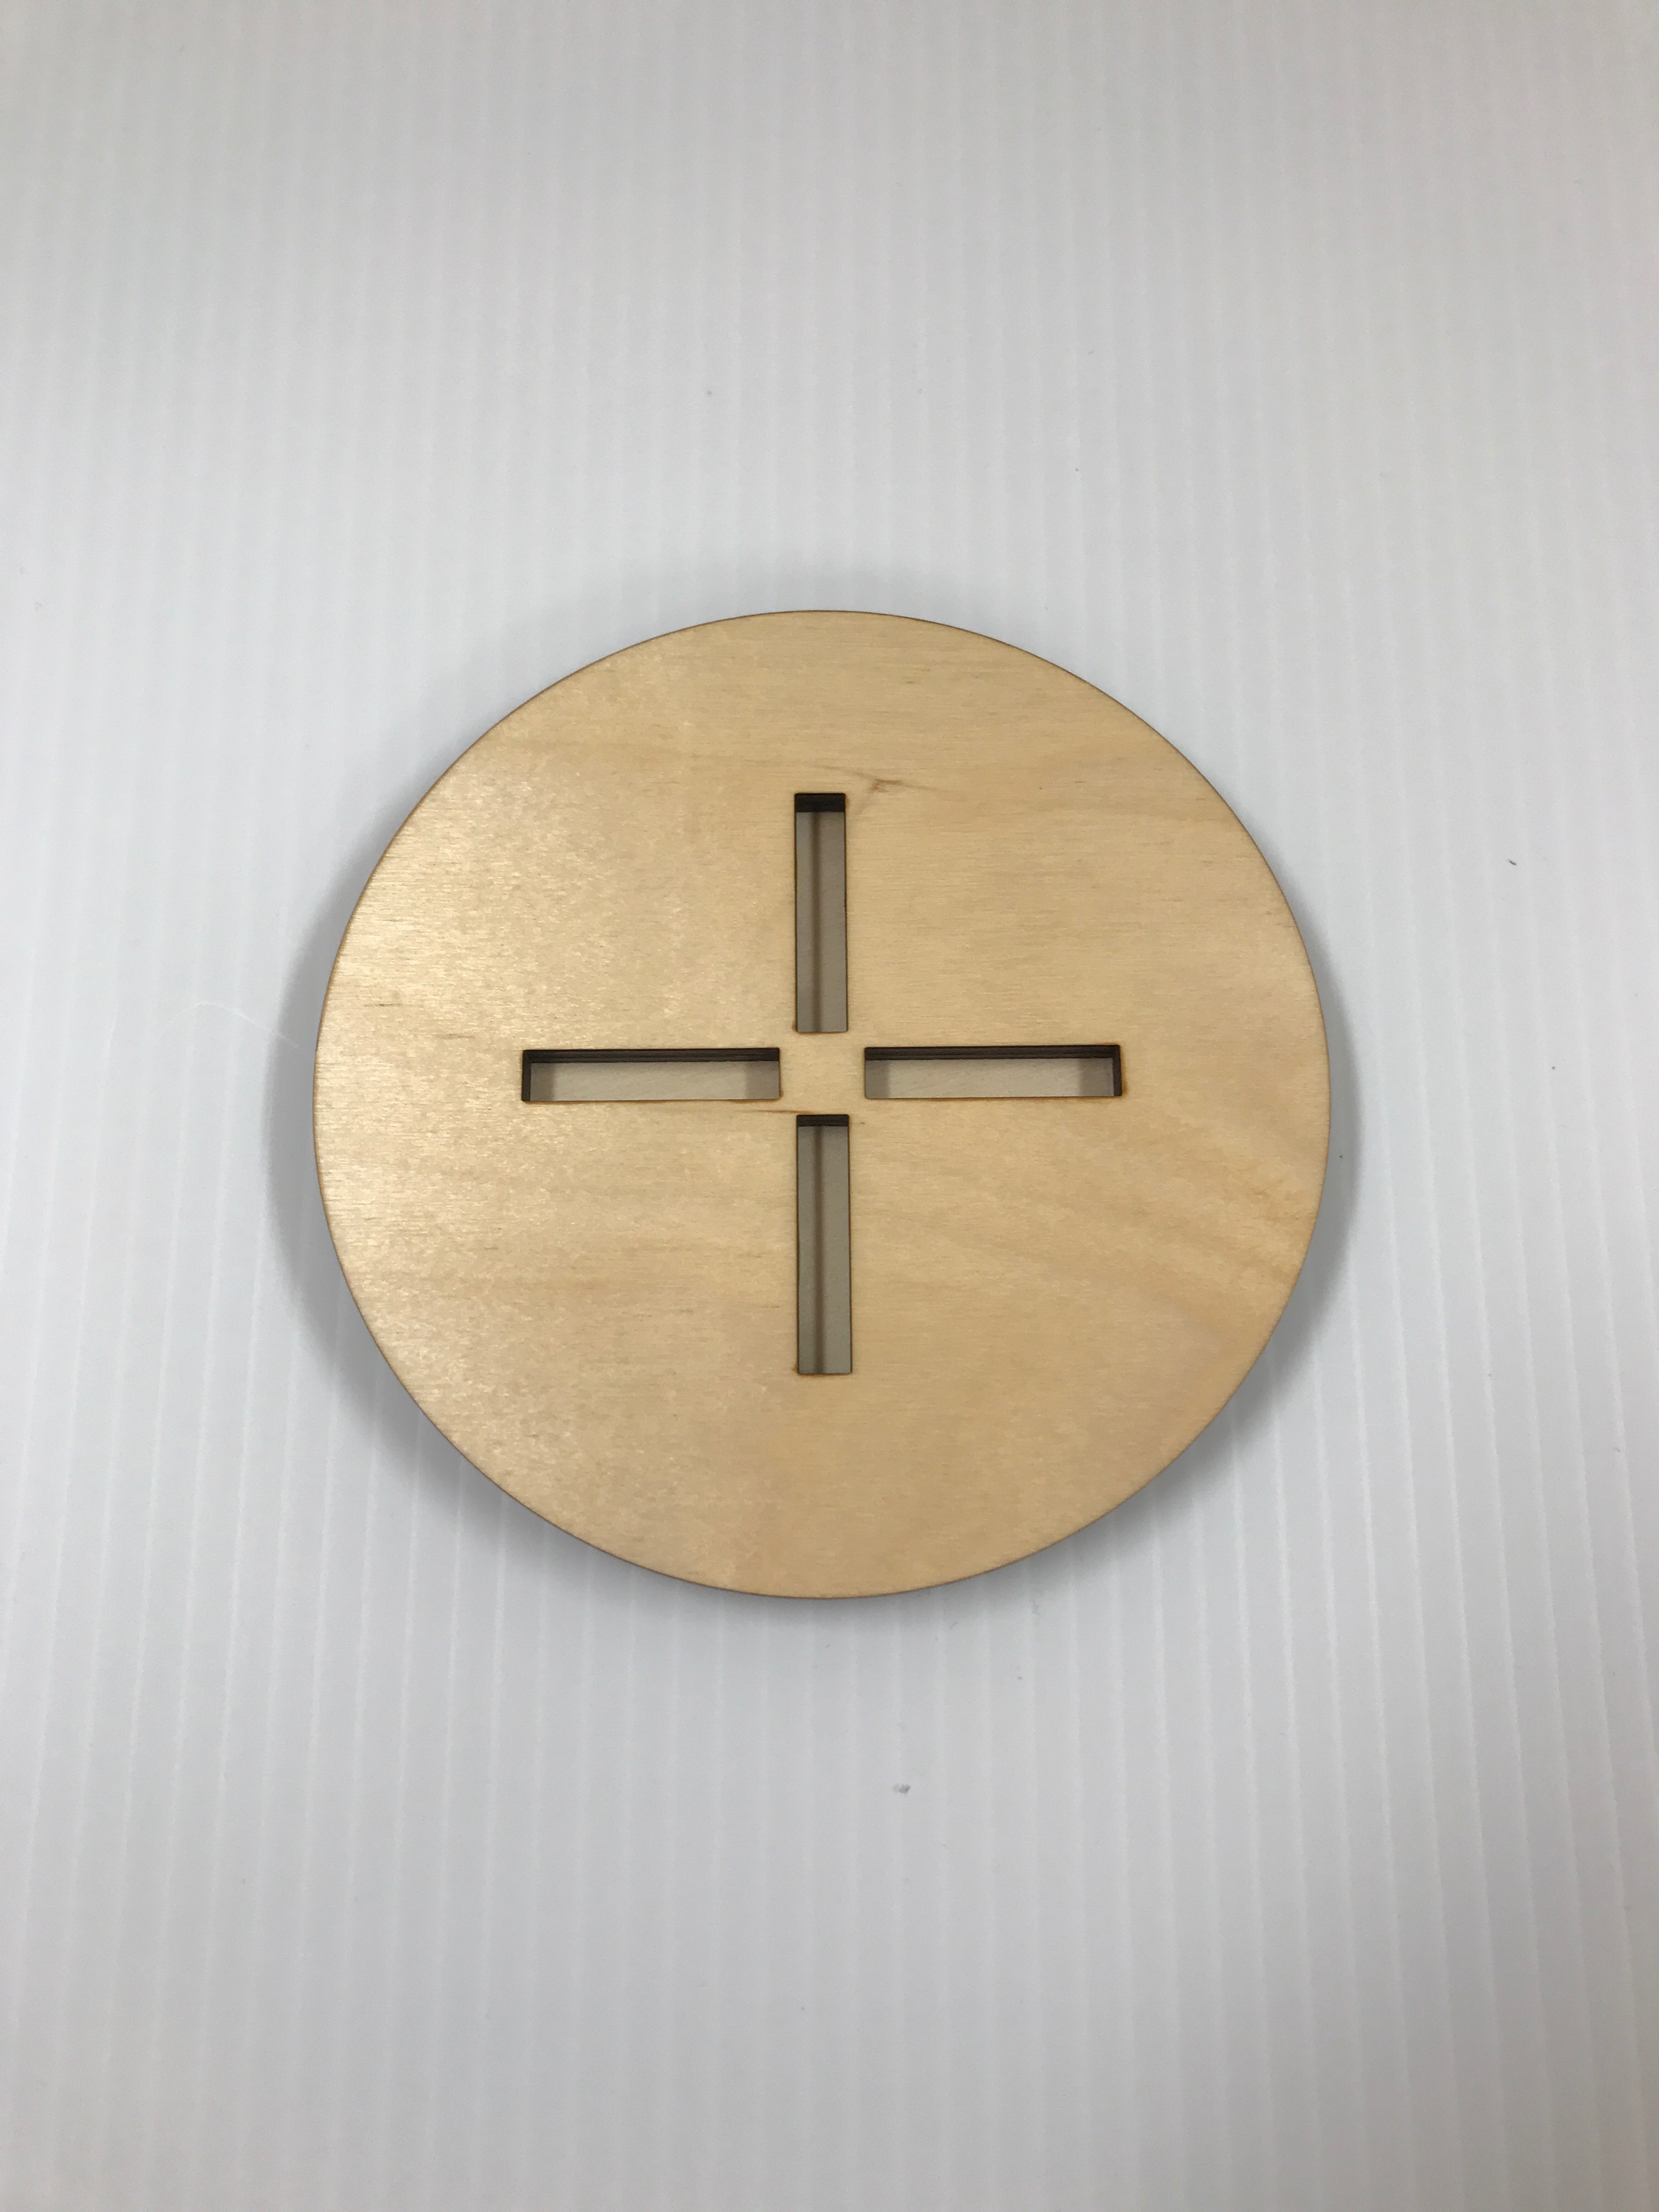
- Add glue to the unfinished side of the top plate. Cover entire surface with small drops of glue, keep glue away from cut edges.
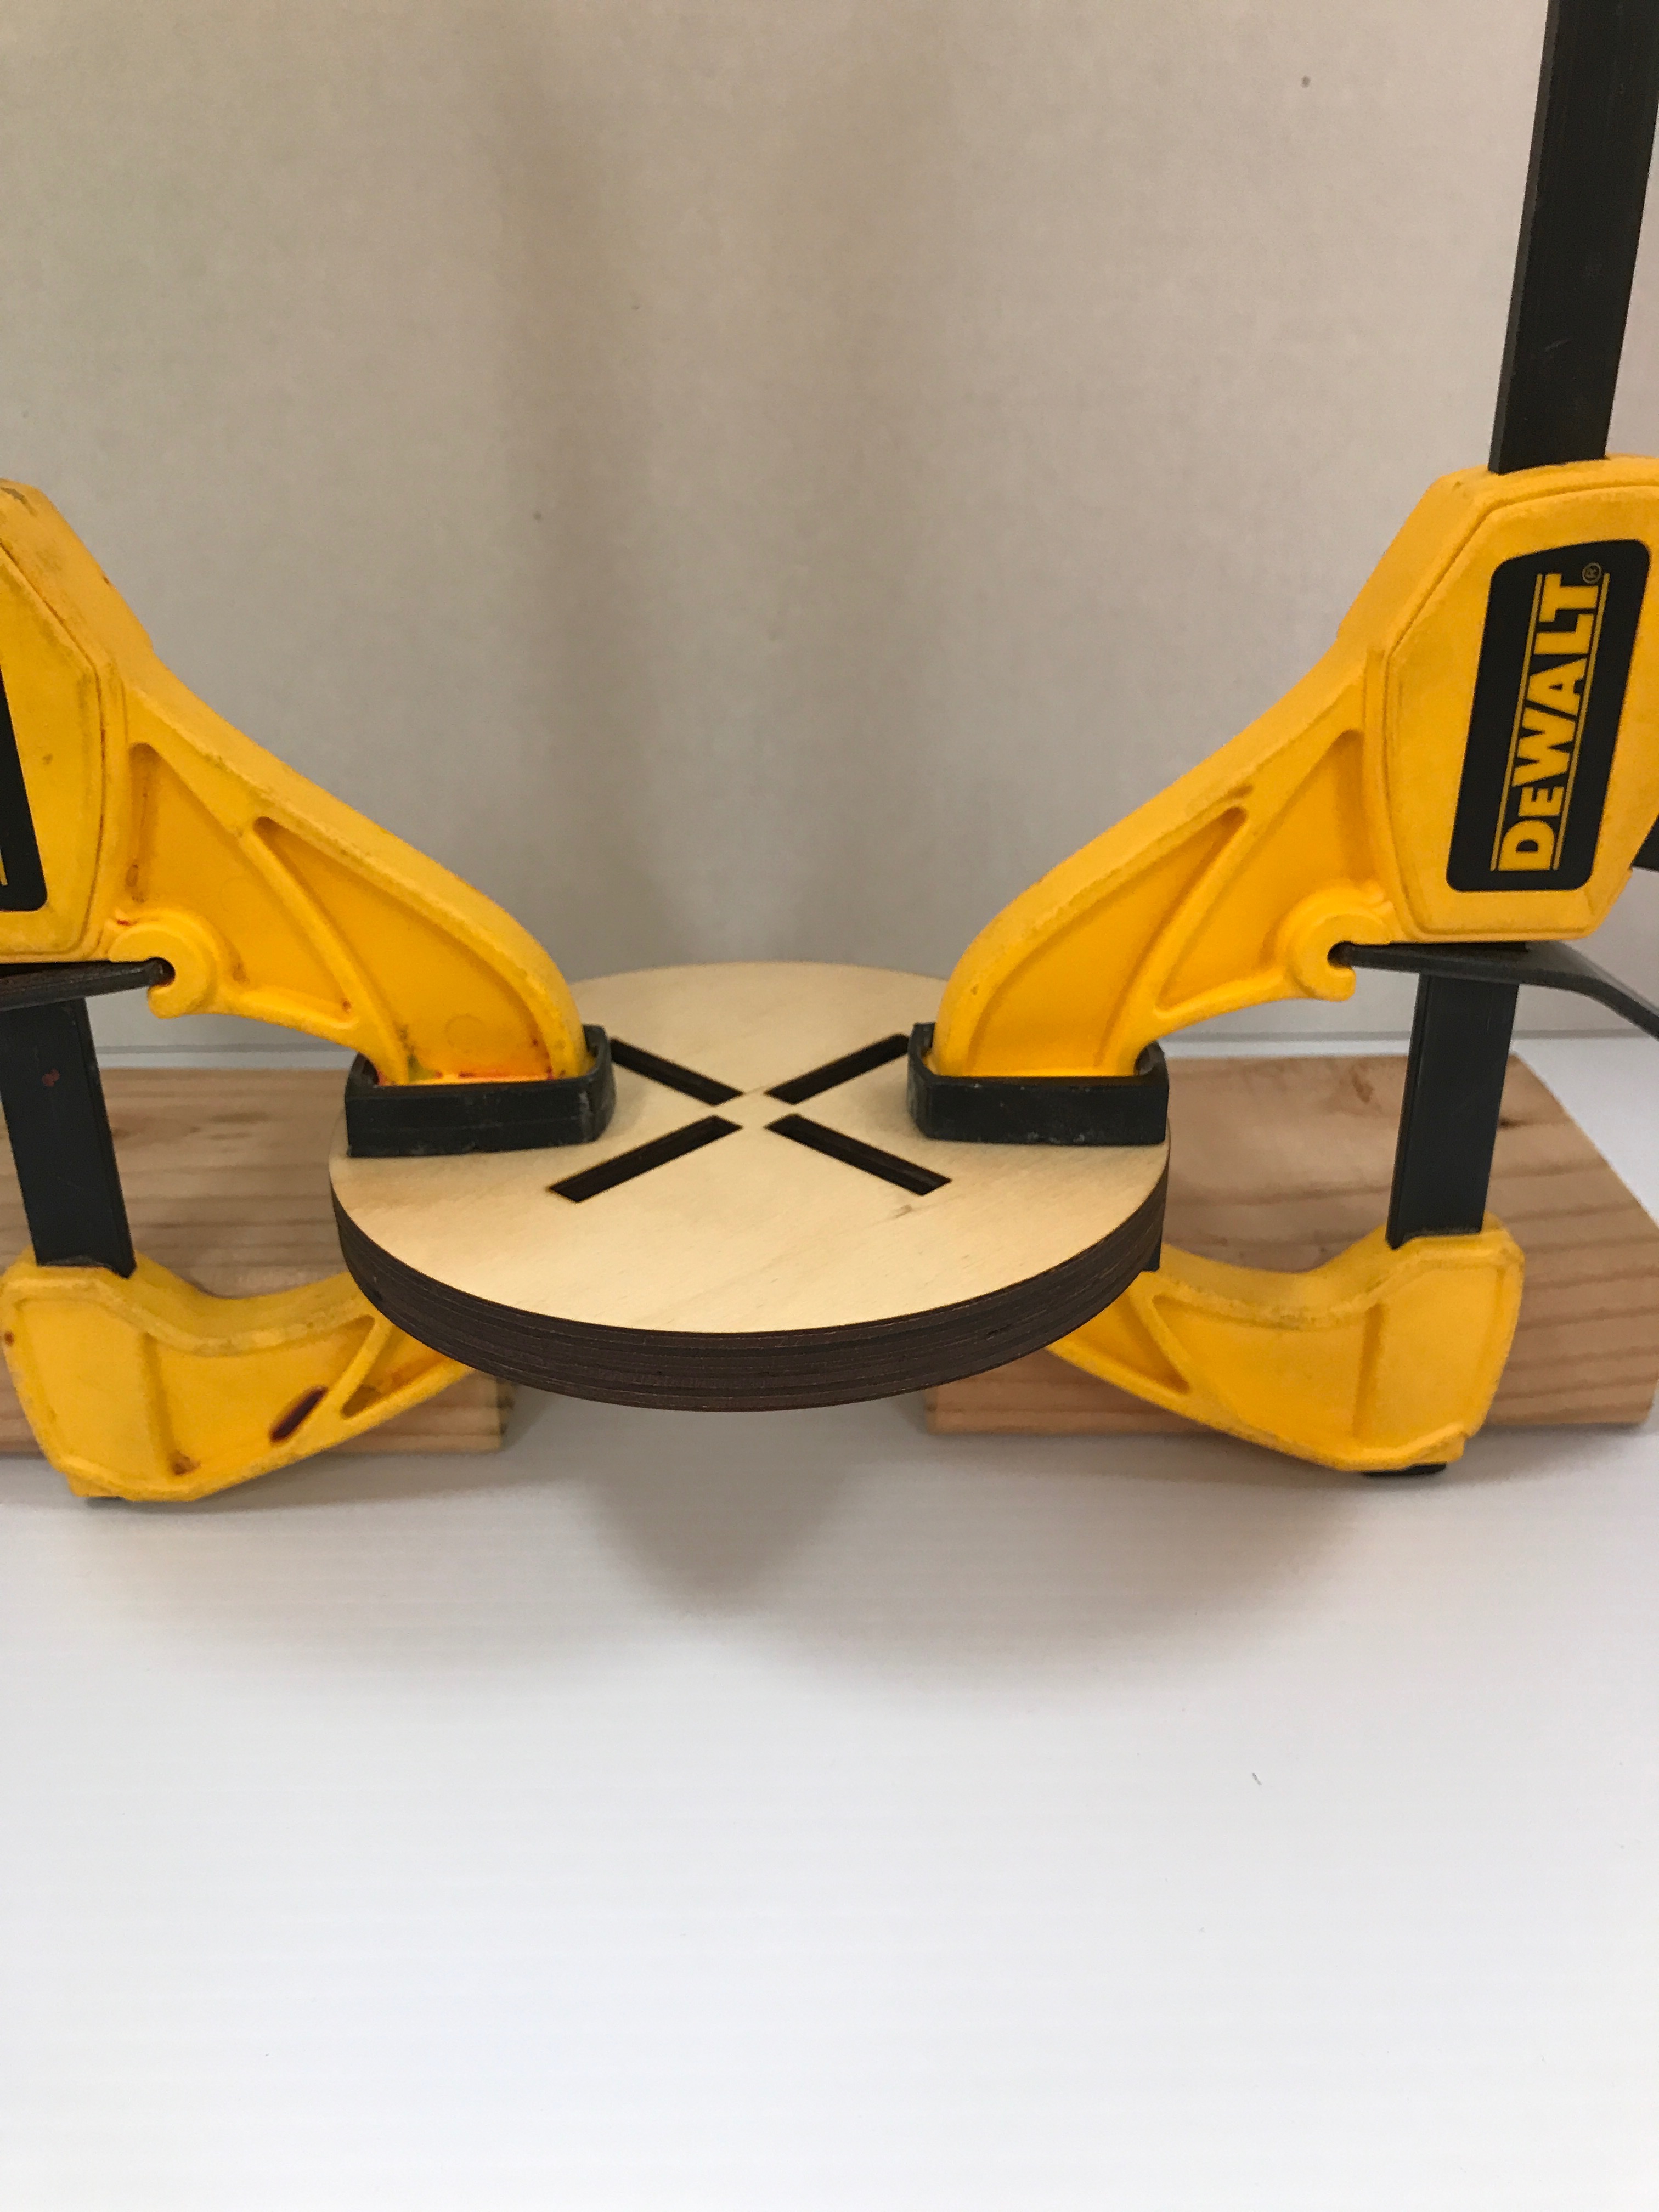
- Place glued top plate on unfinished side of bottom plate. Press plates together. Make sure plates stay in alignment. Use mini bar clamp if any gap seen between plates.
- Wipe off any excess glue immediately.
- Let dry for at least 10 minutes
Step 3: Assemble Lamp Base Plates
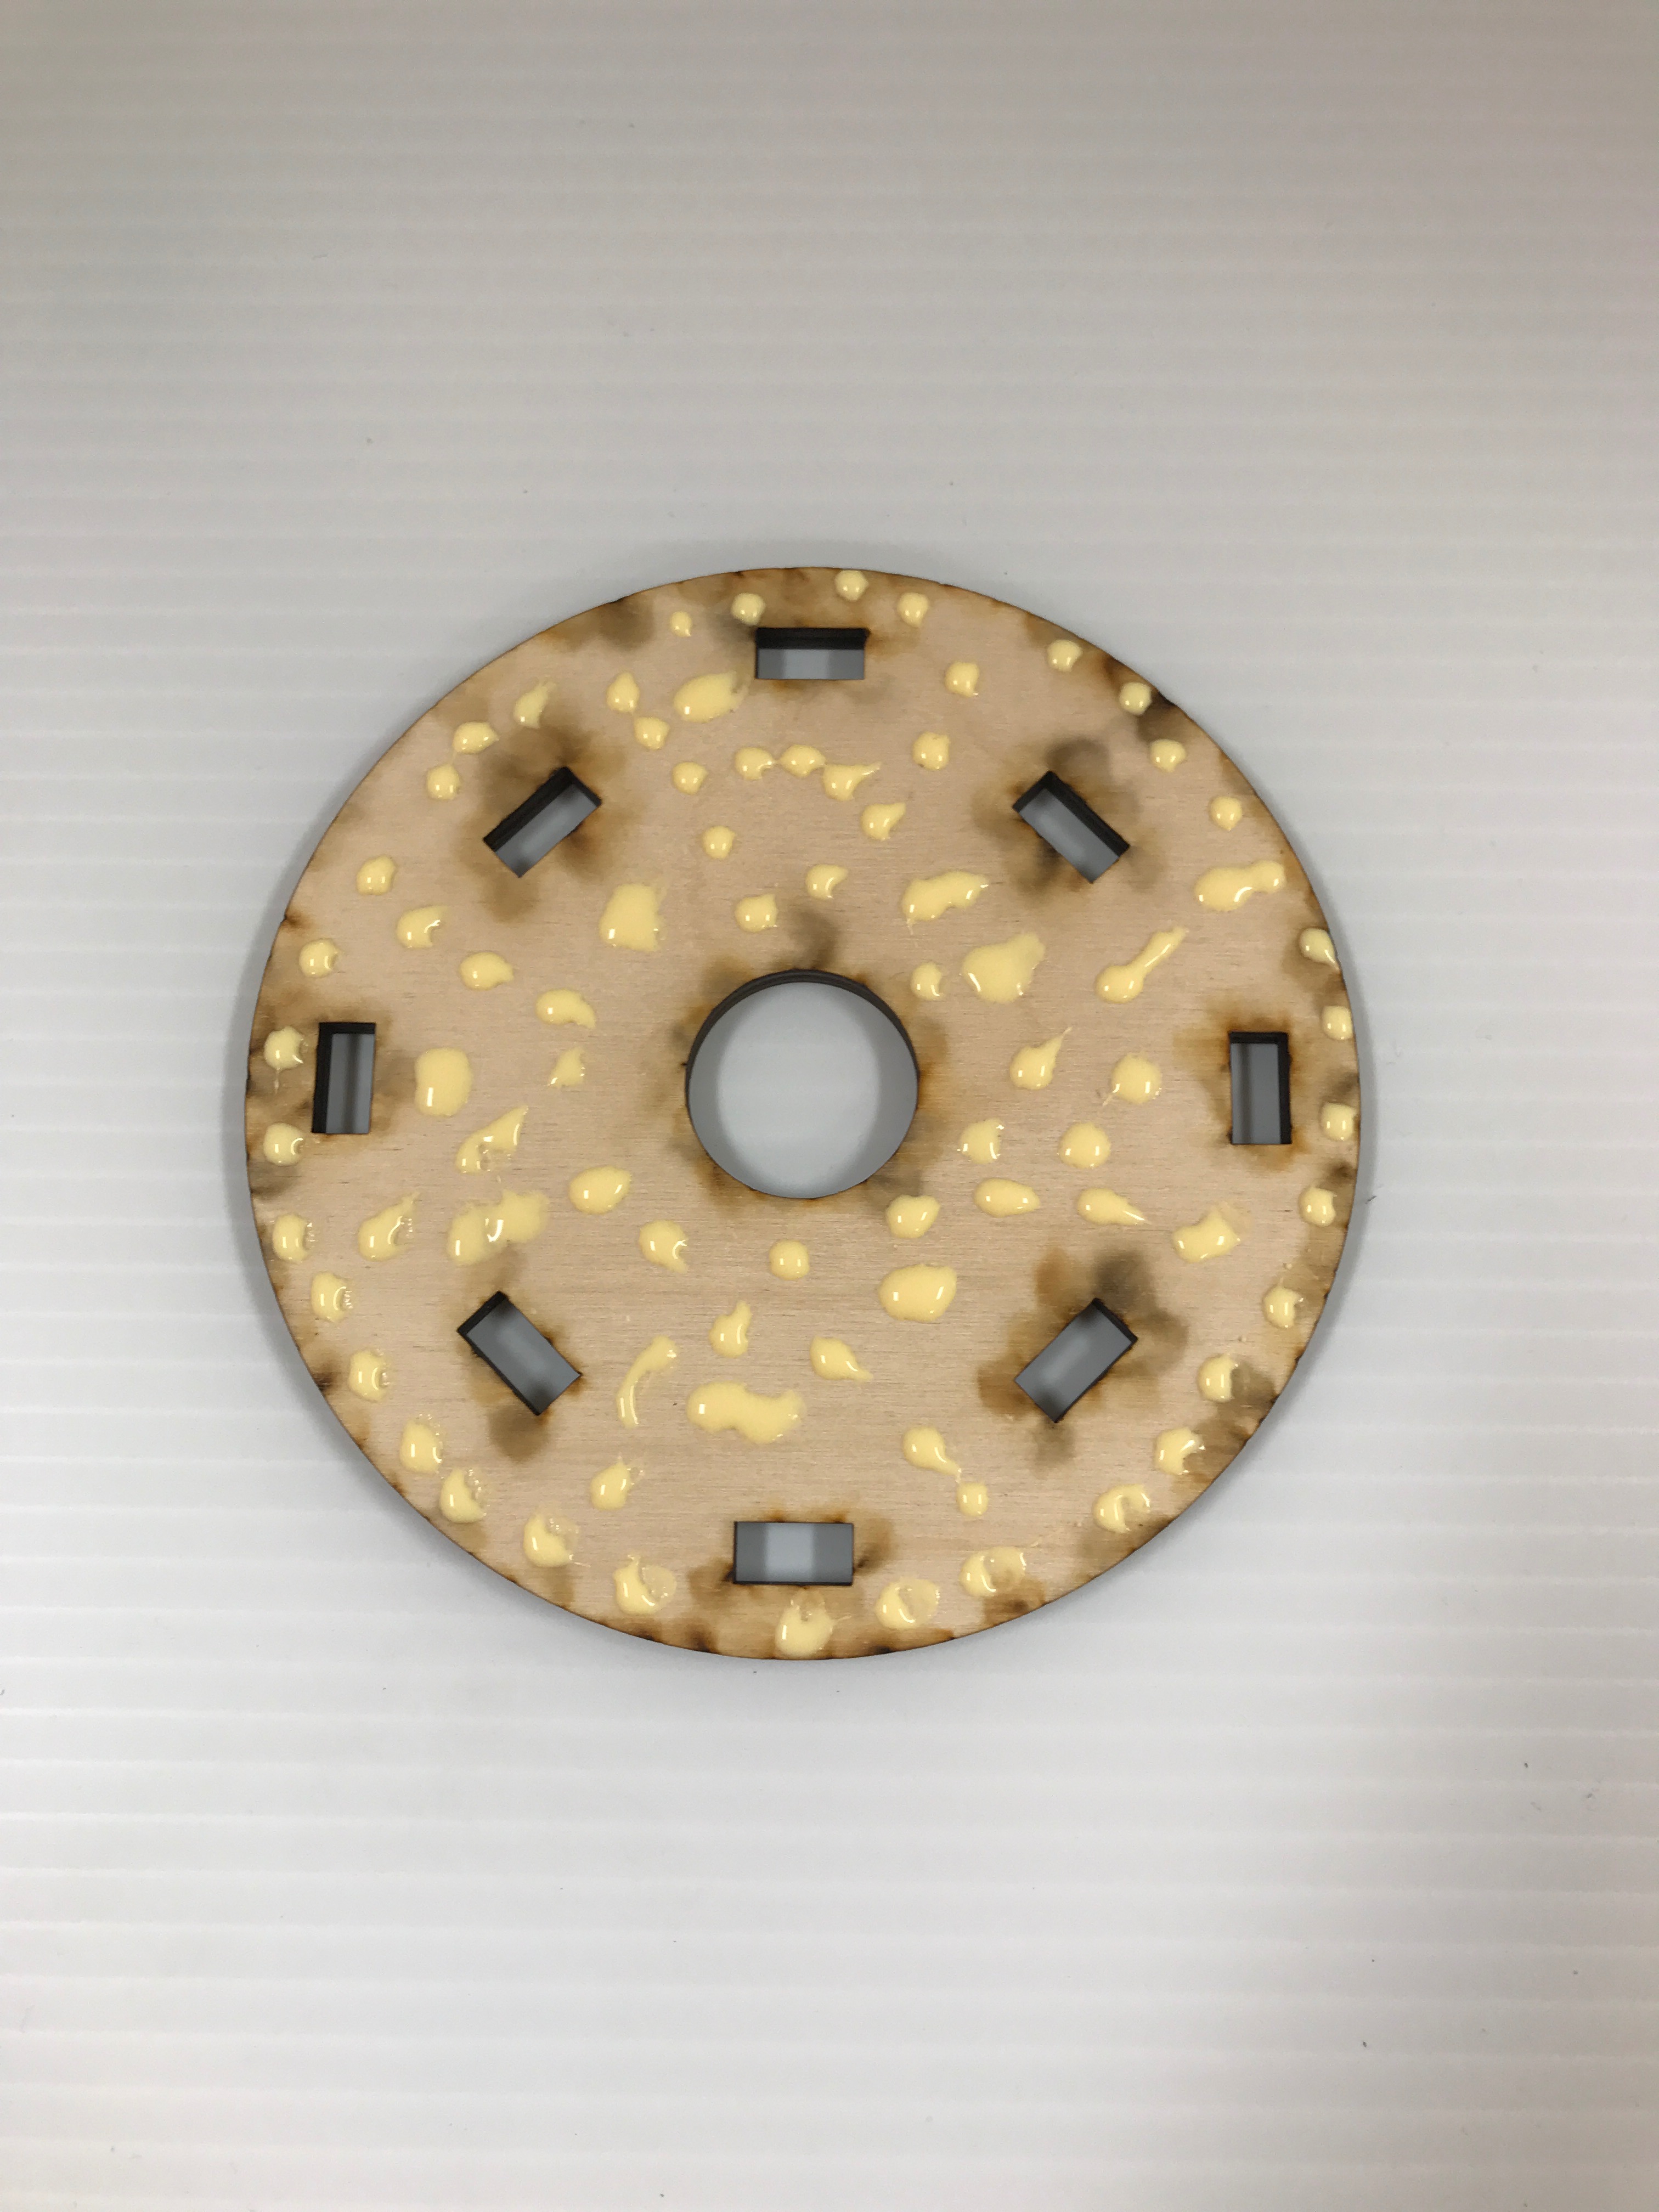
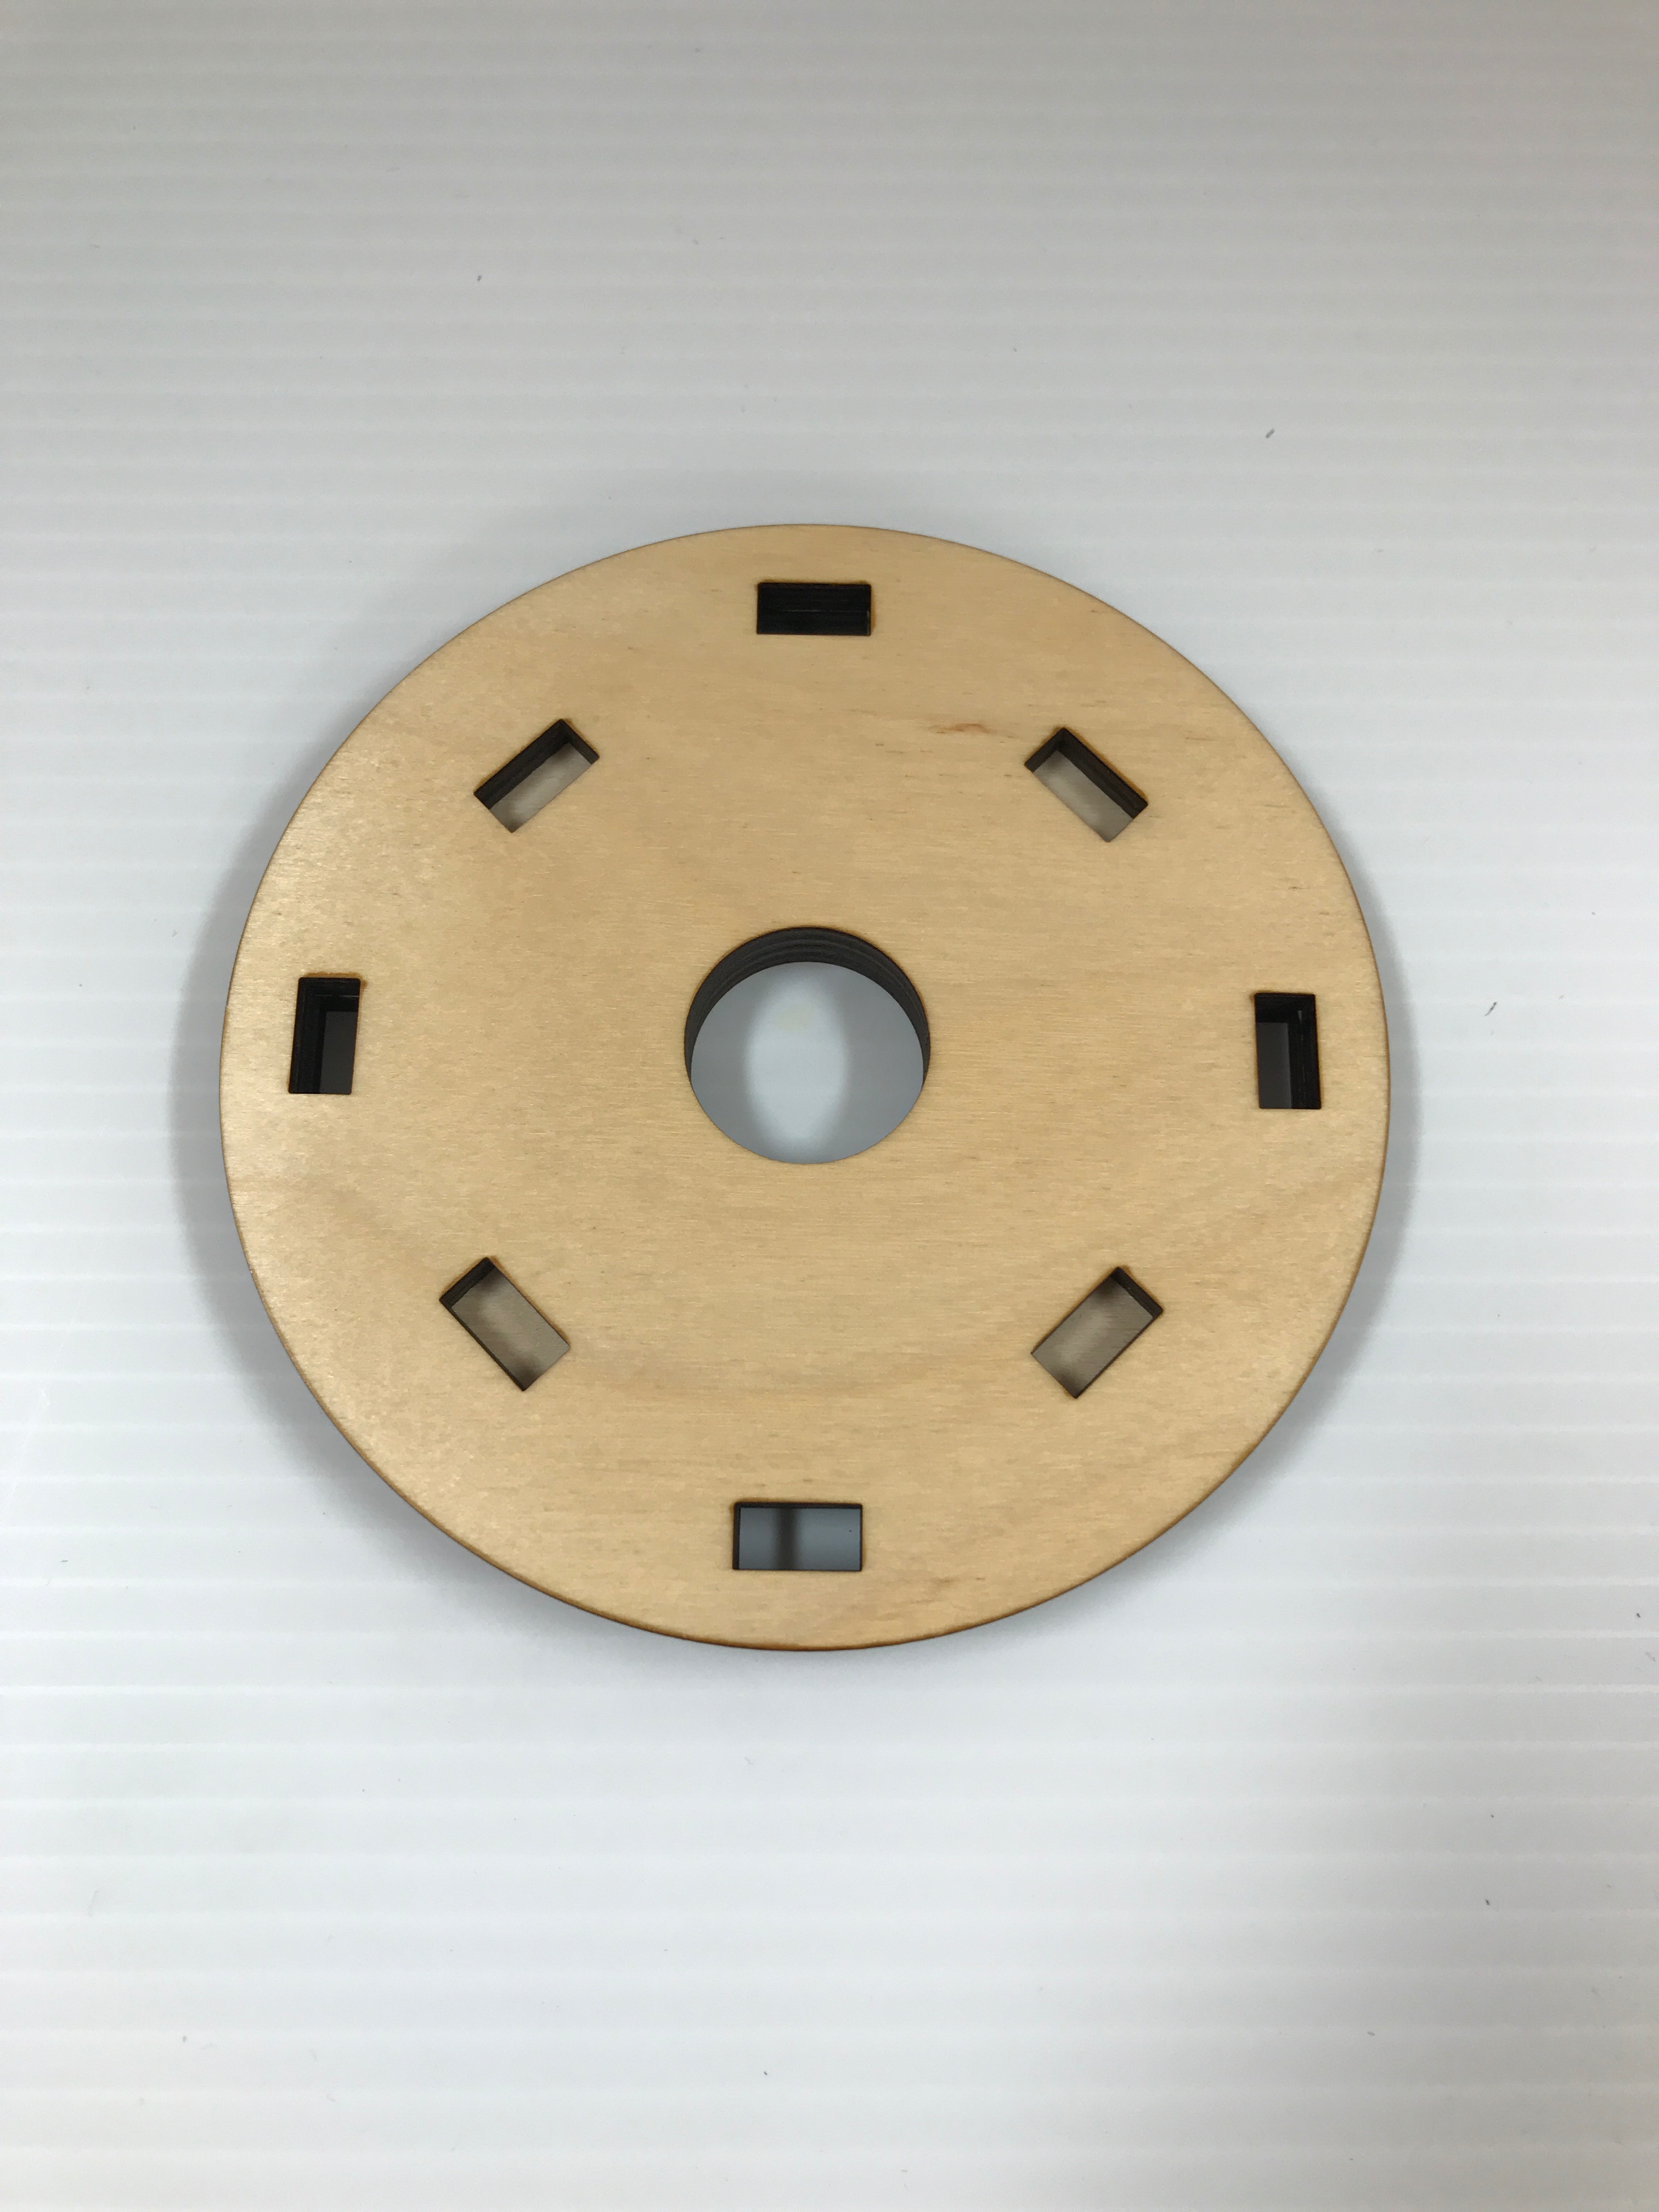
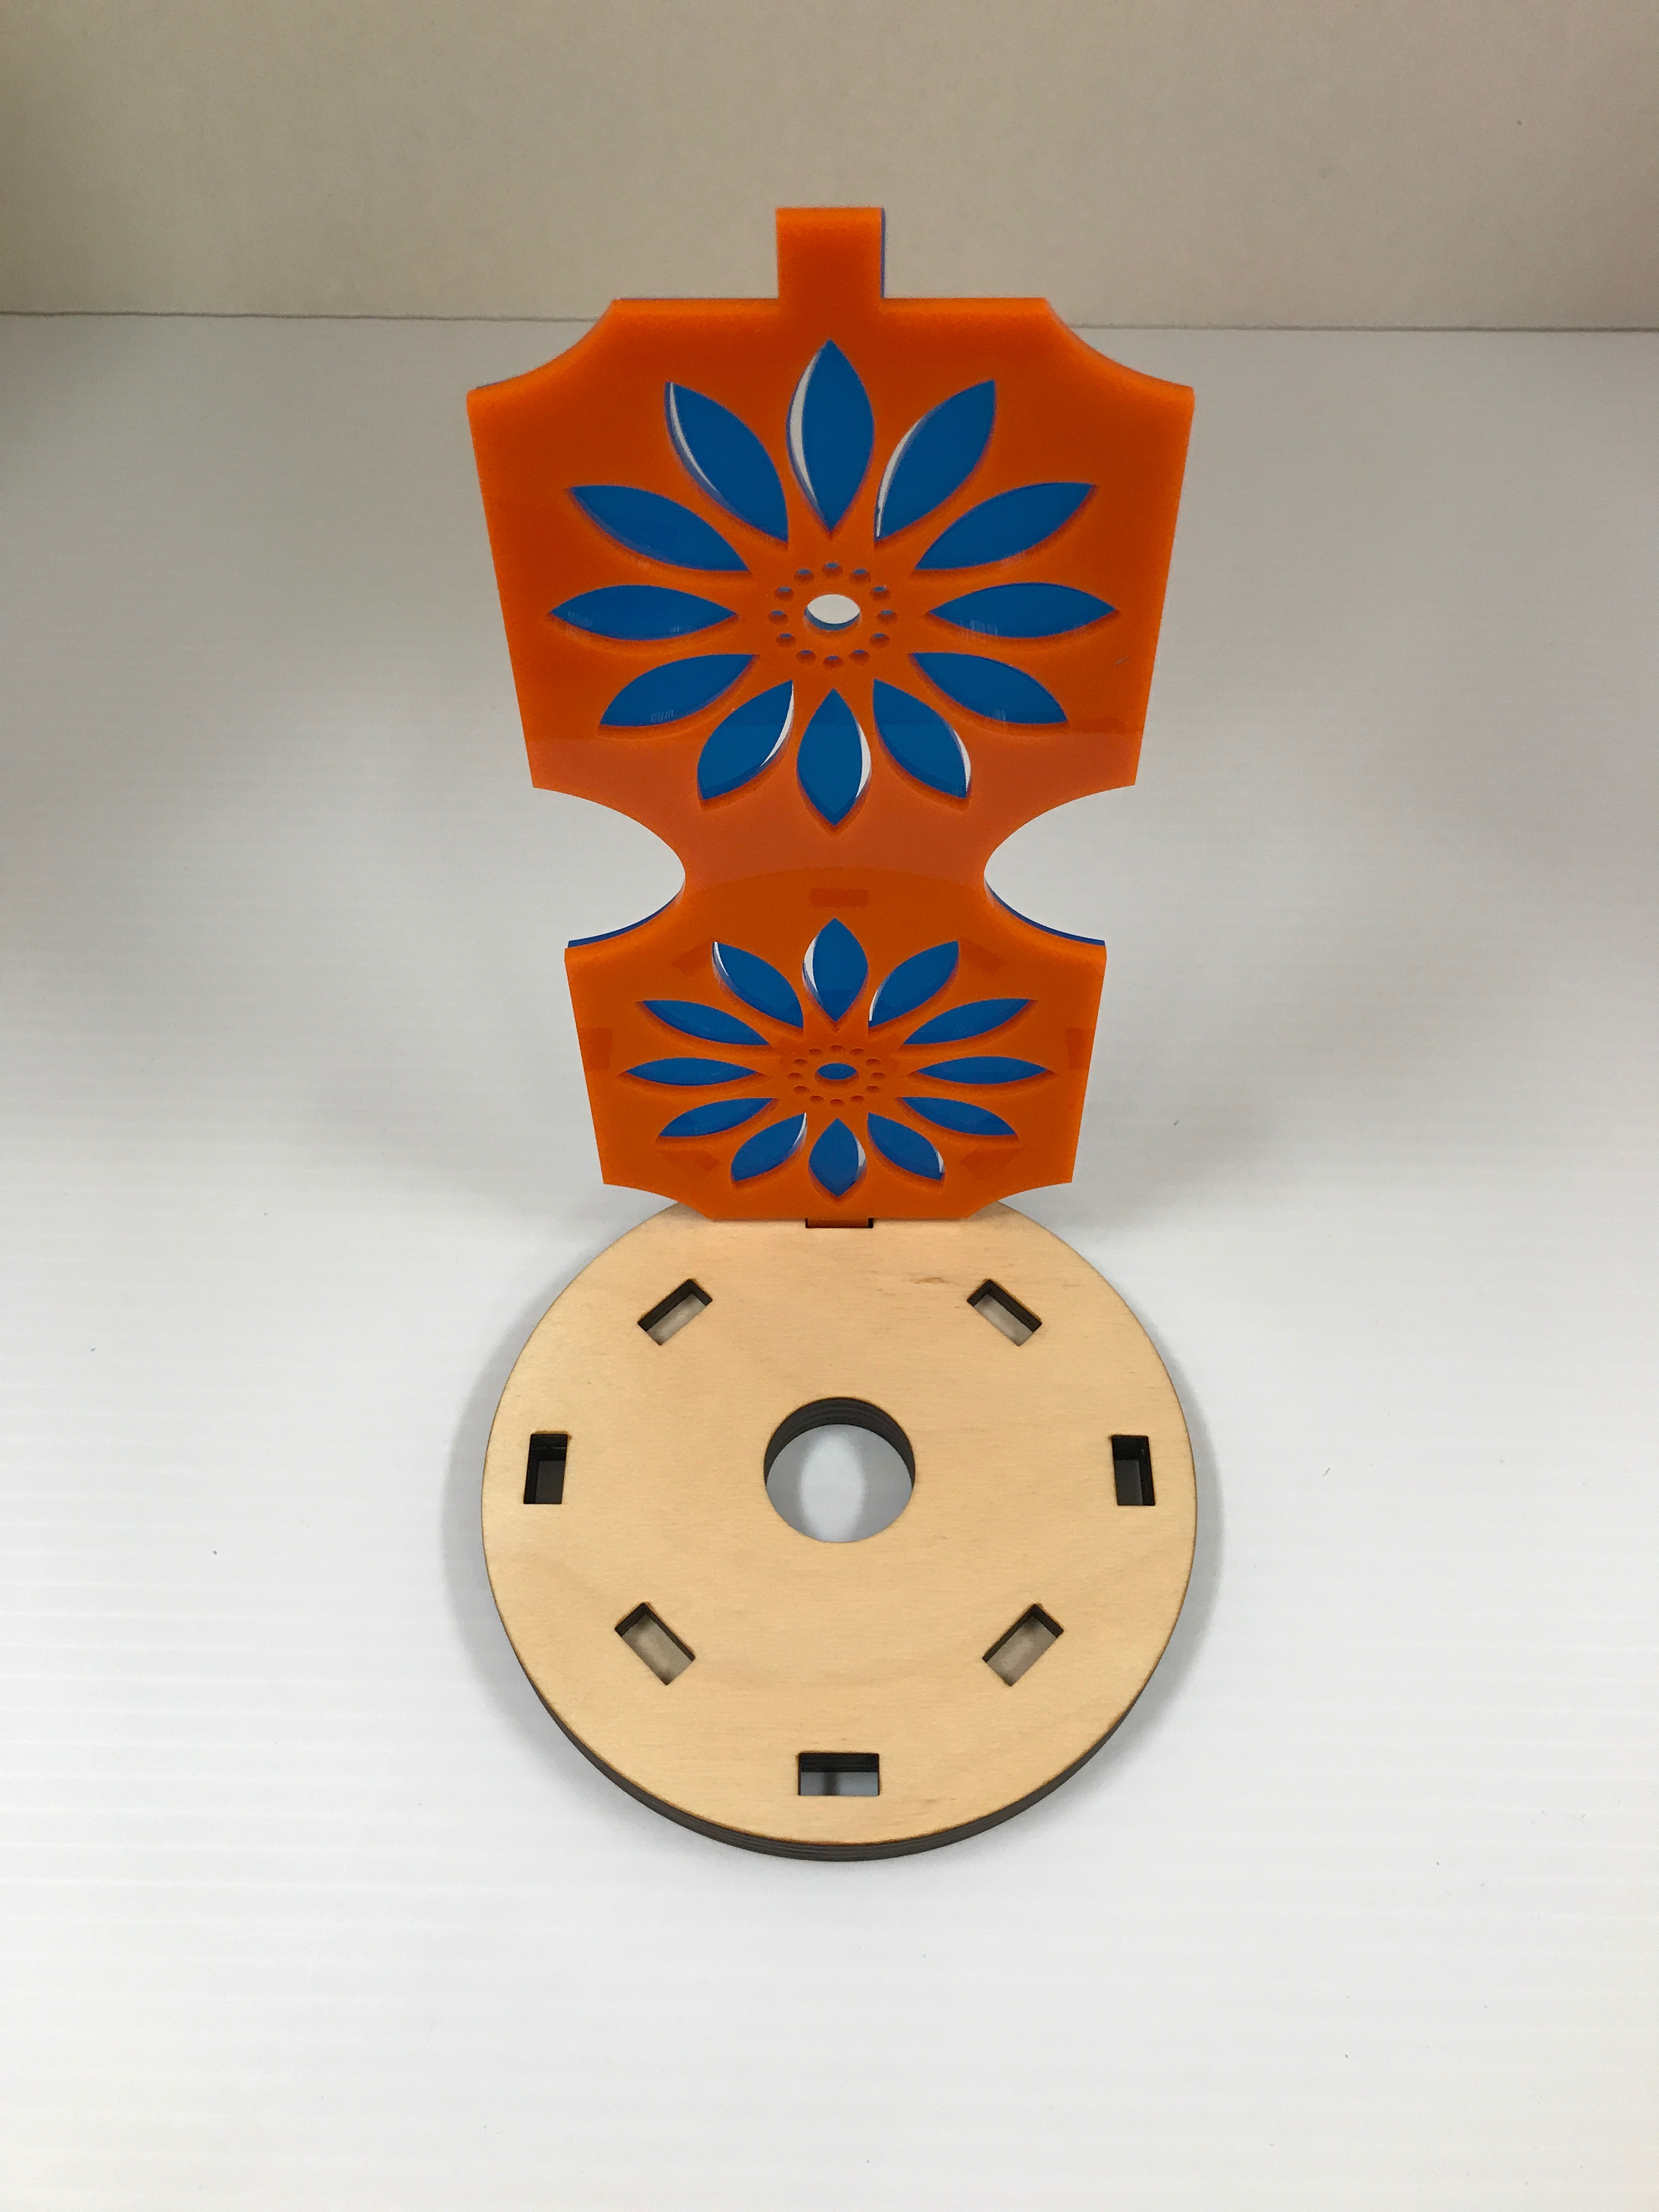
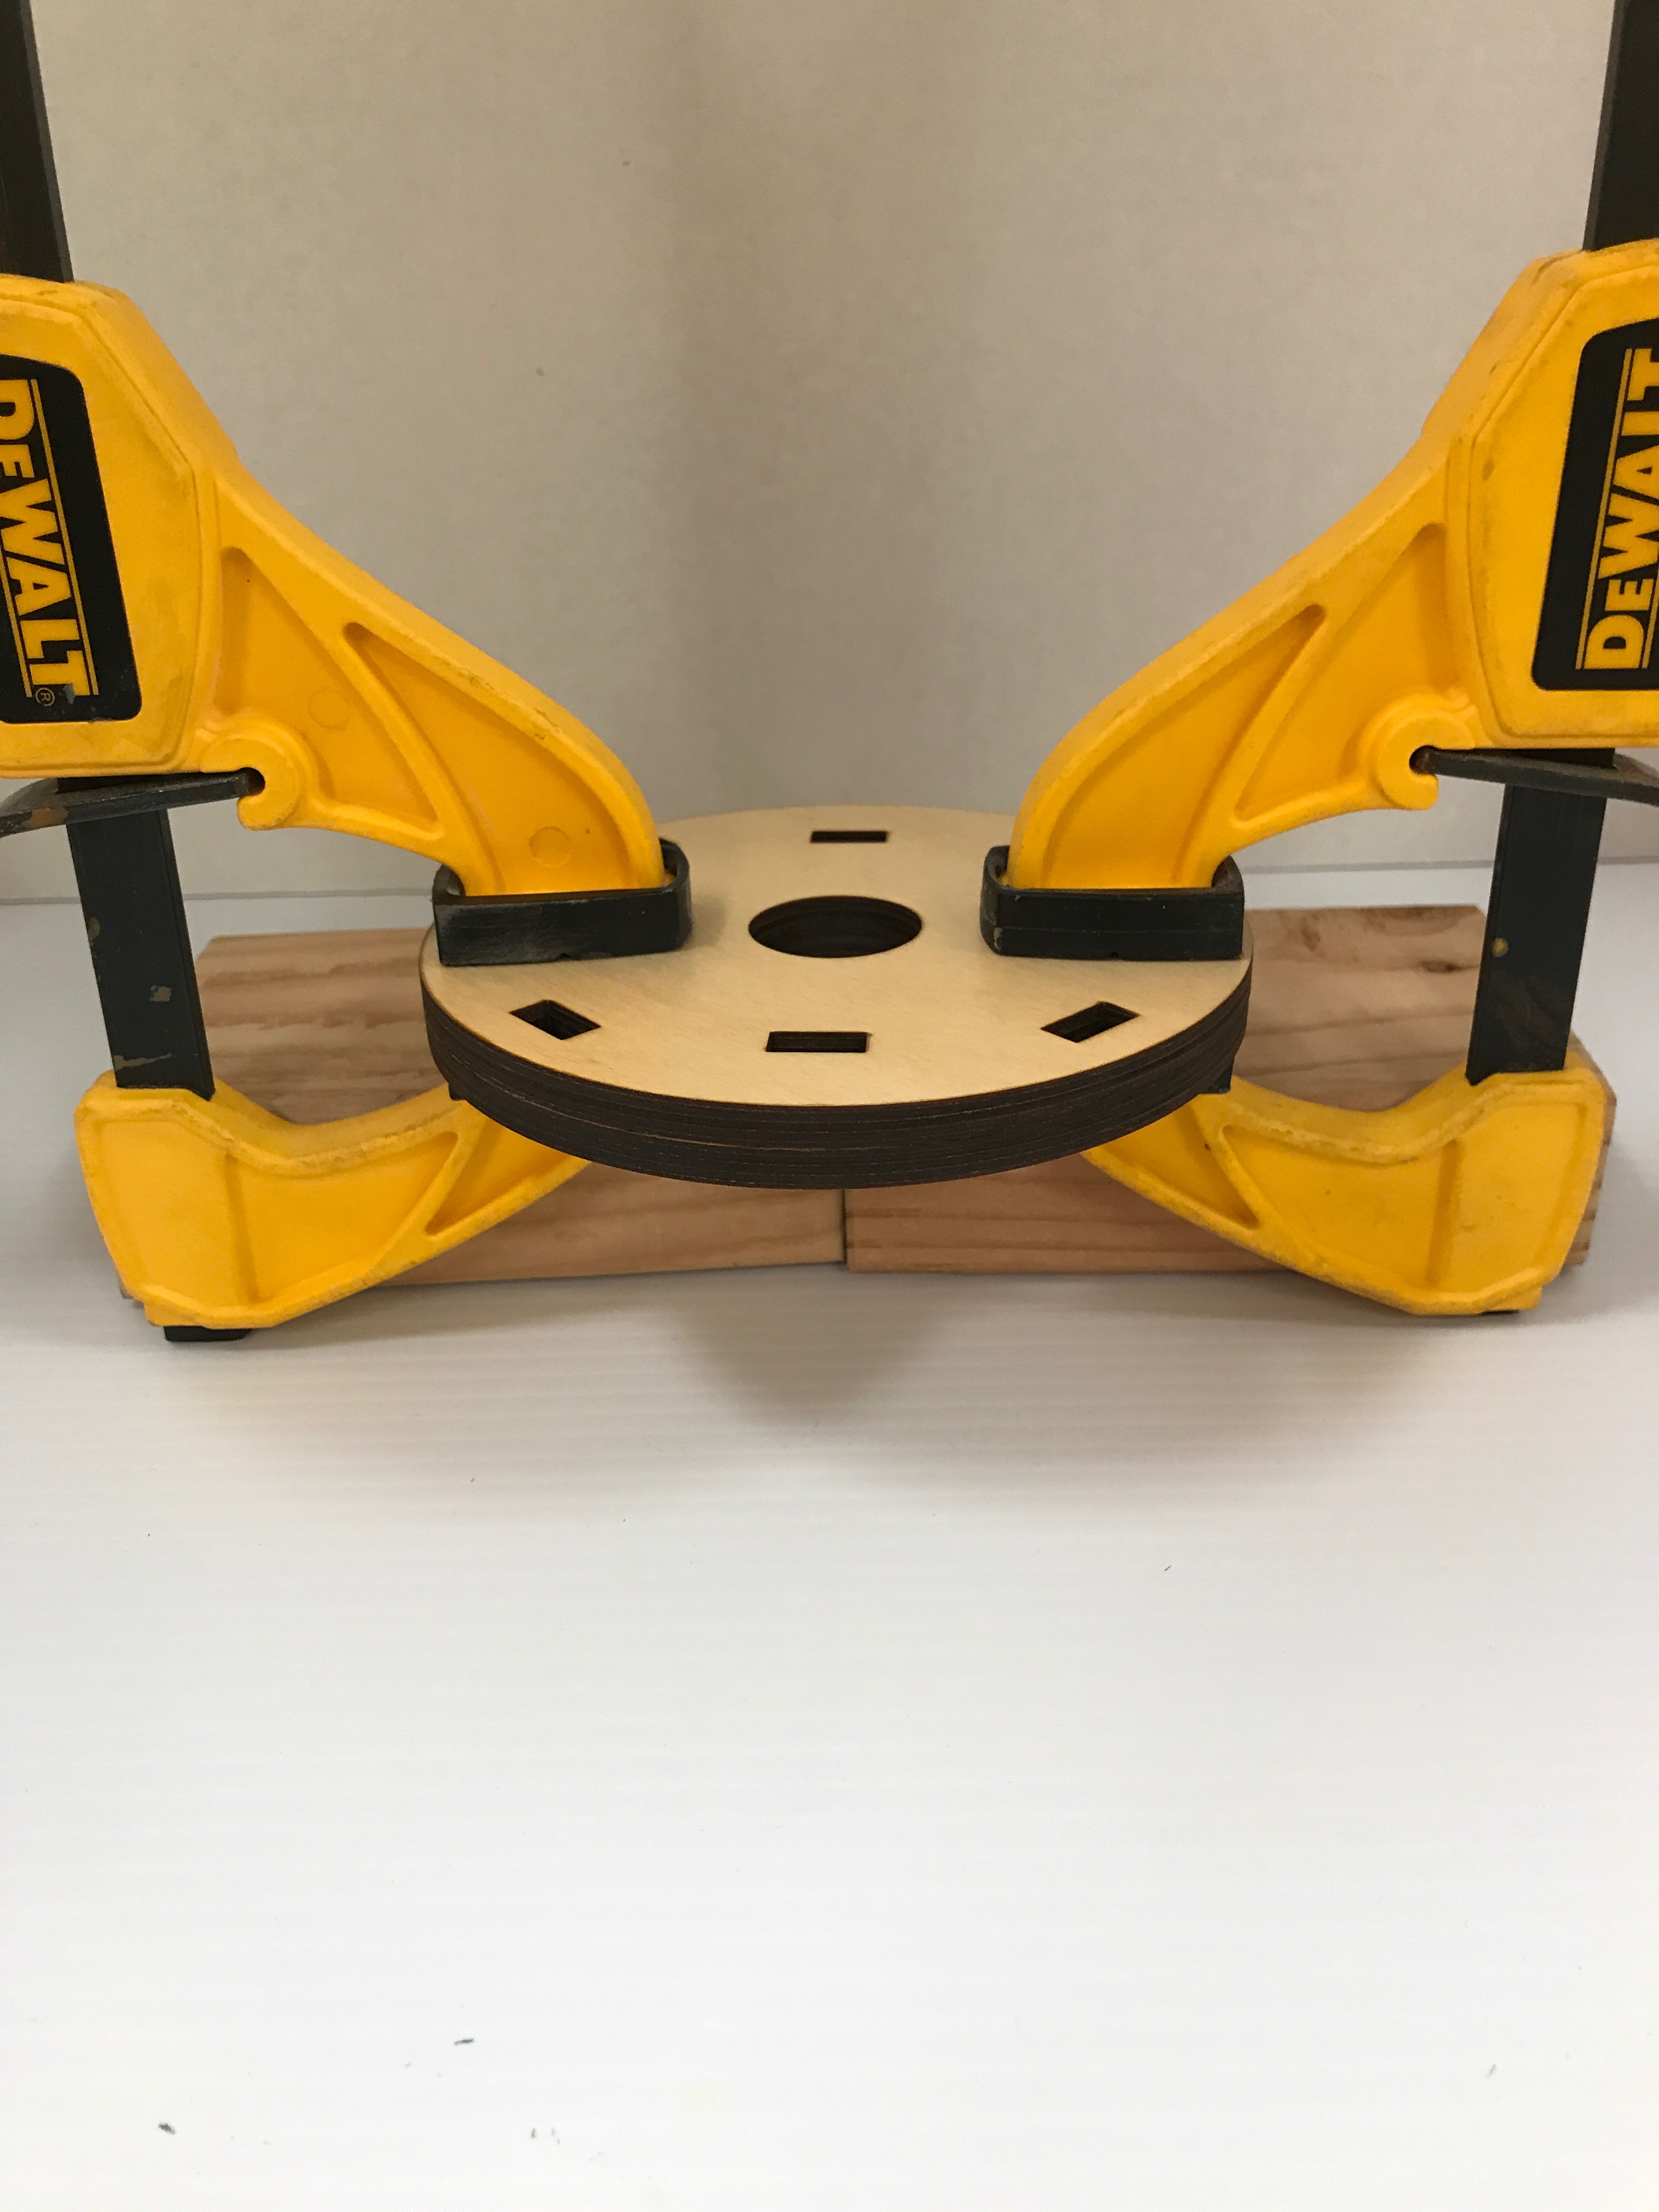
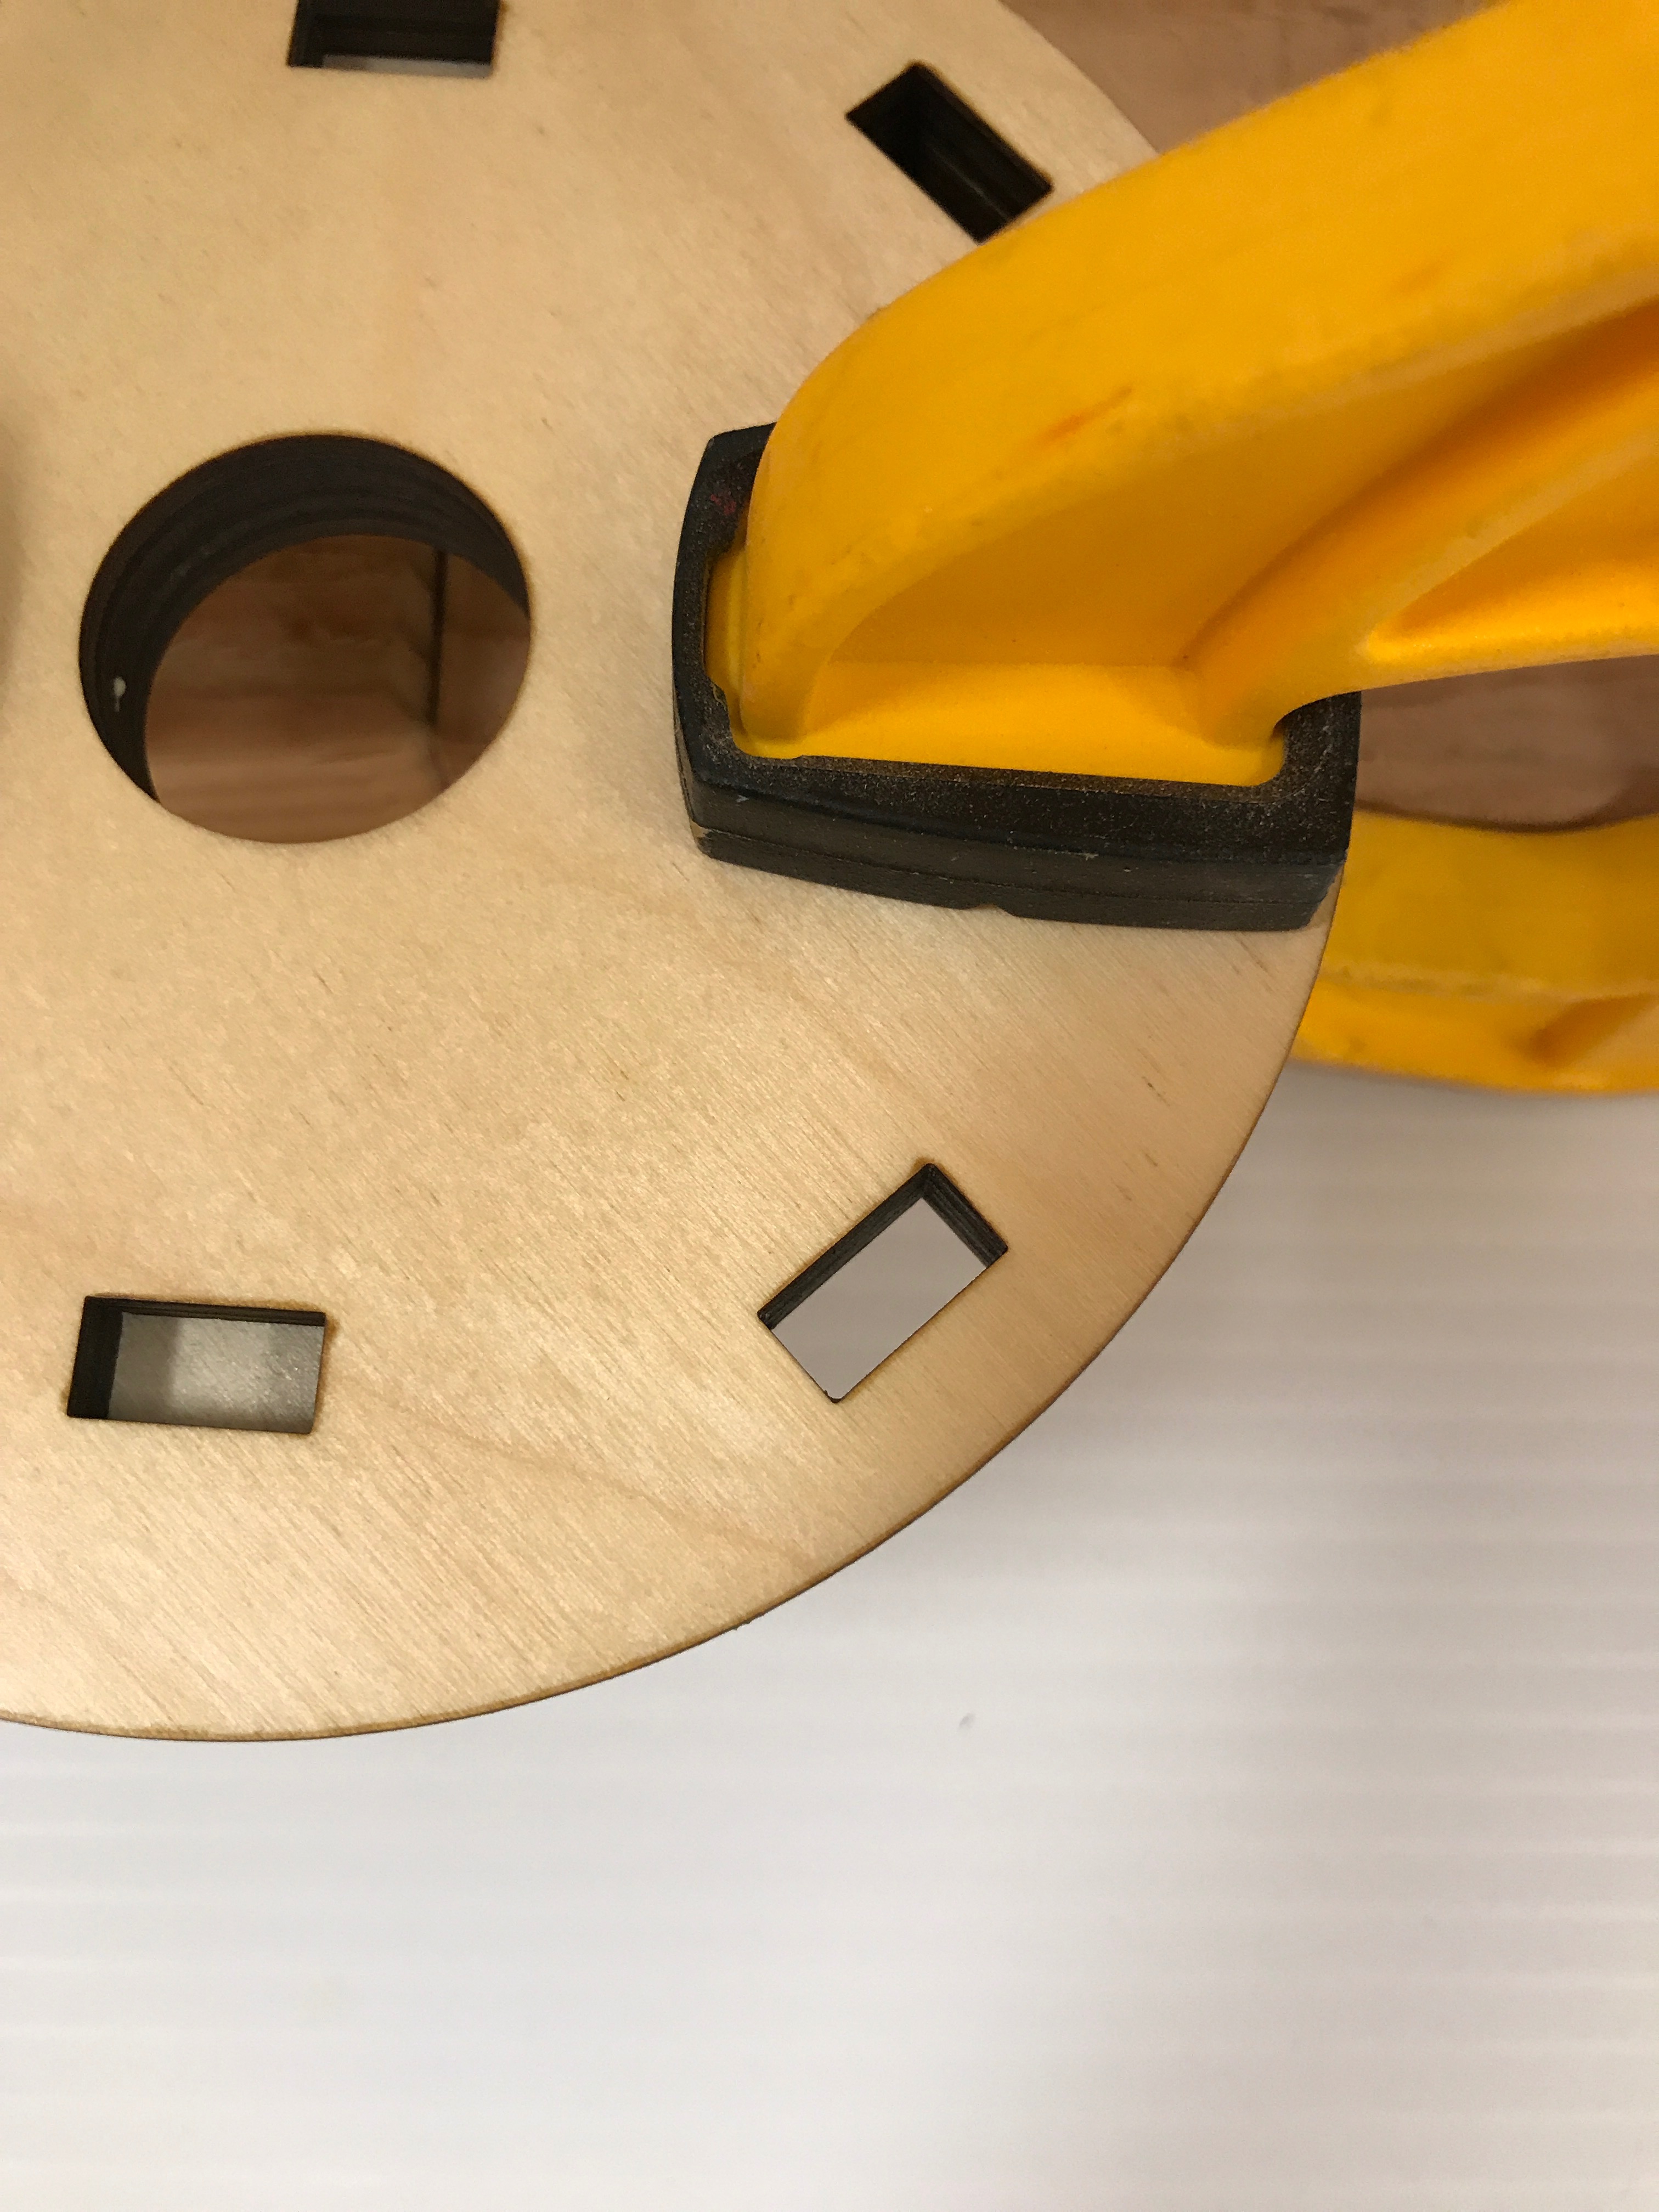
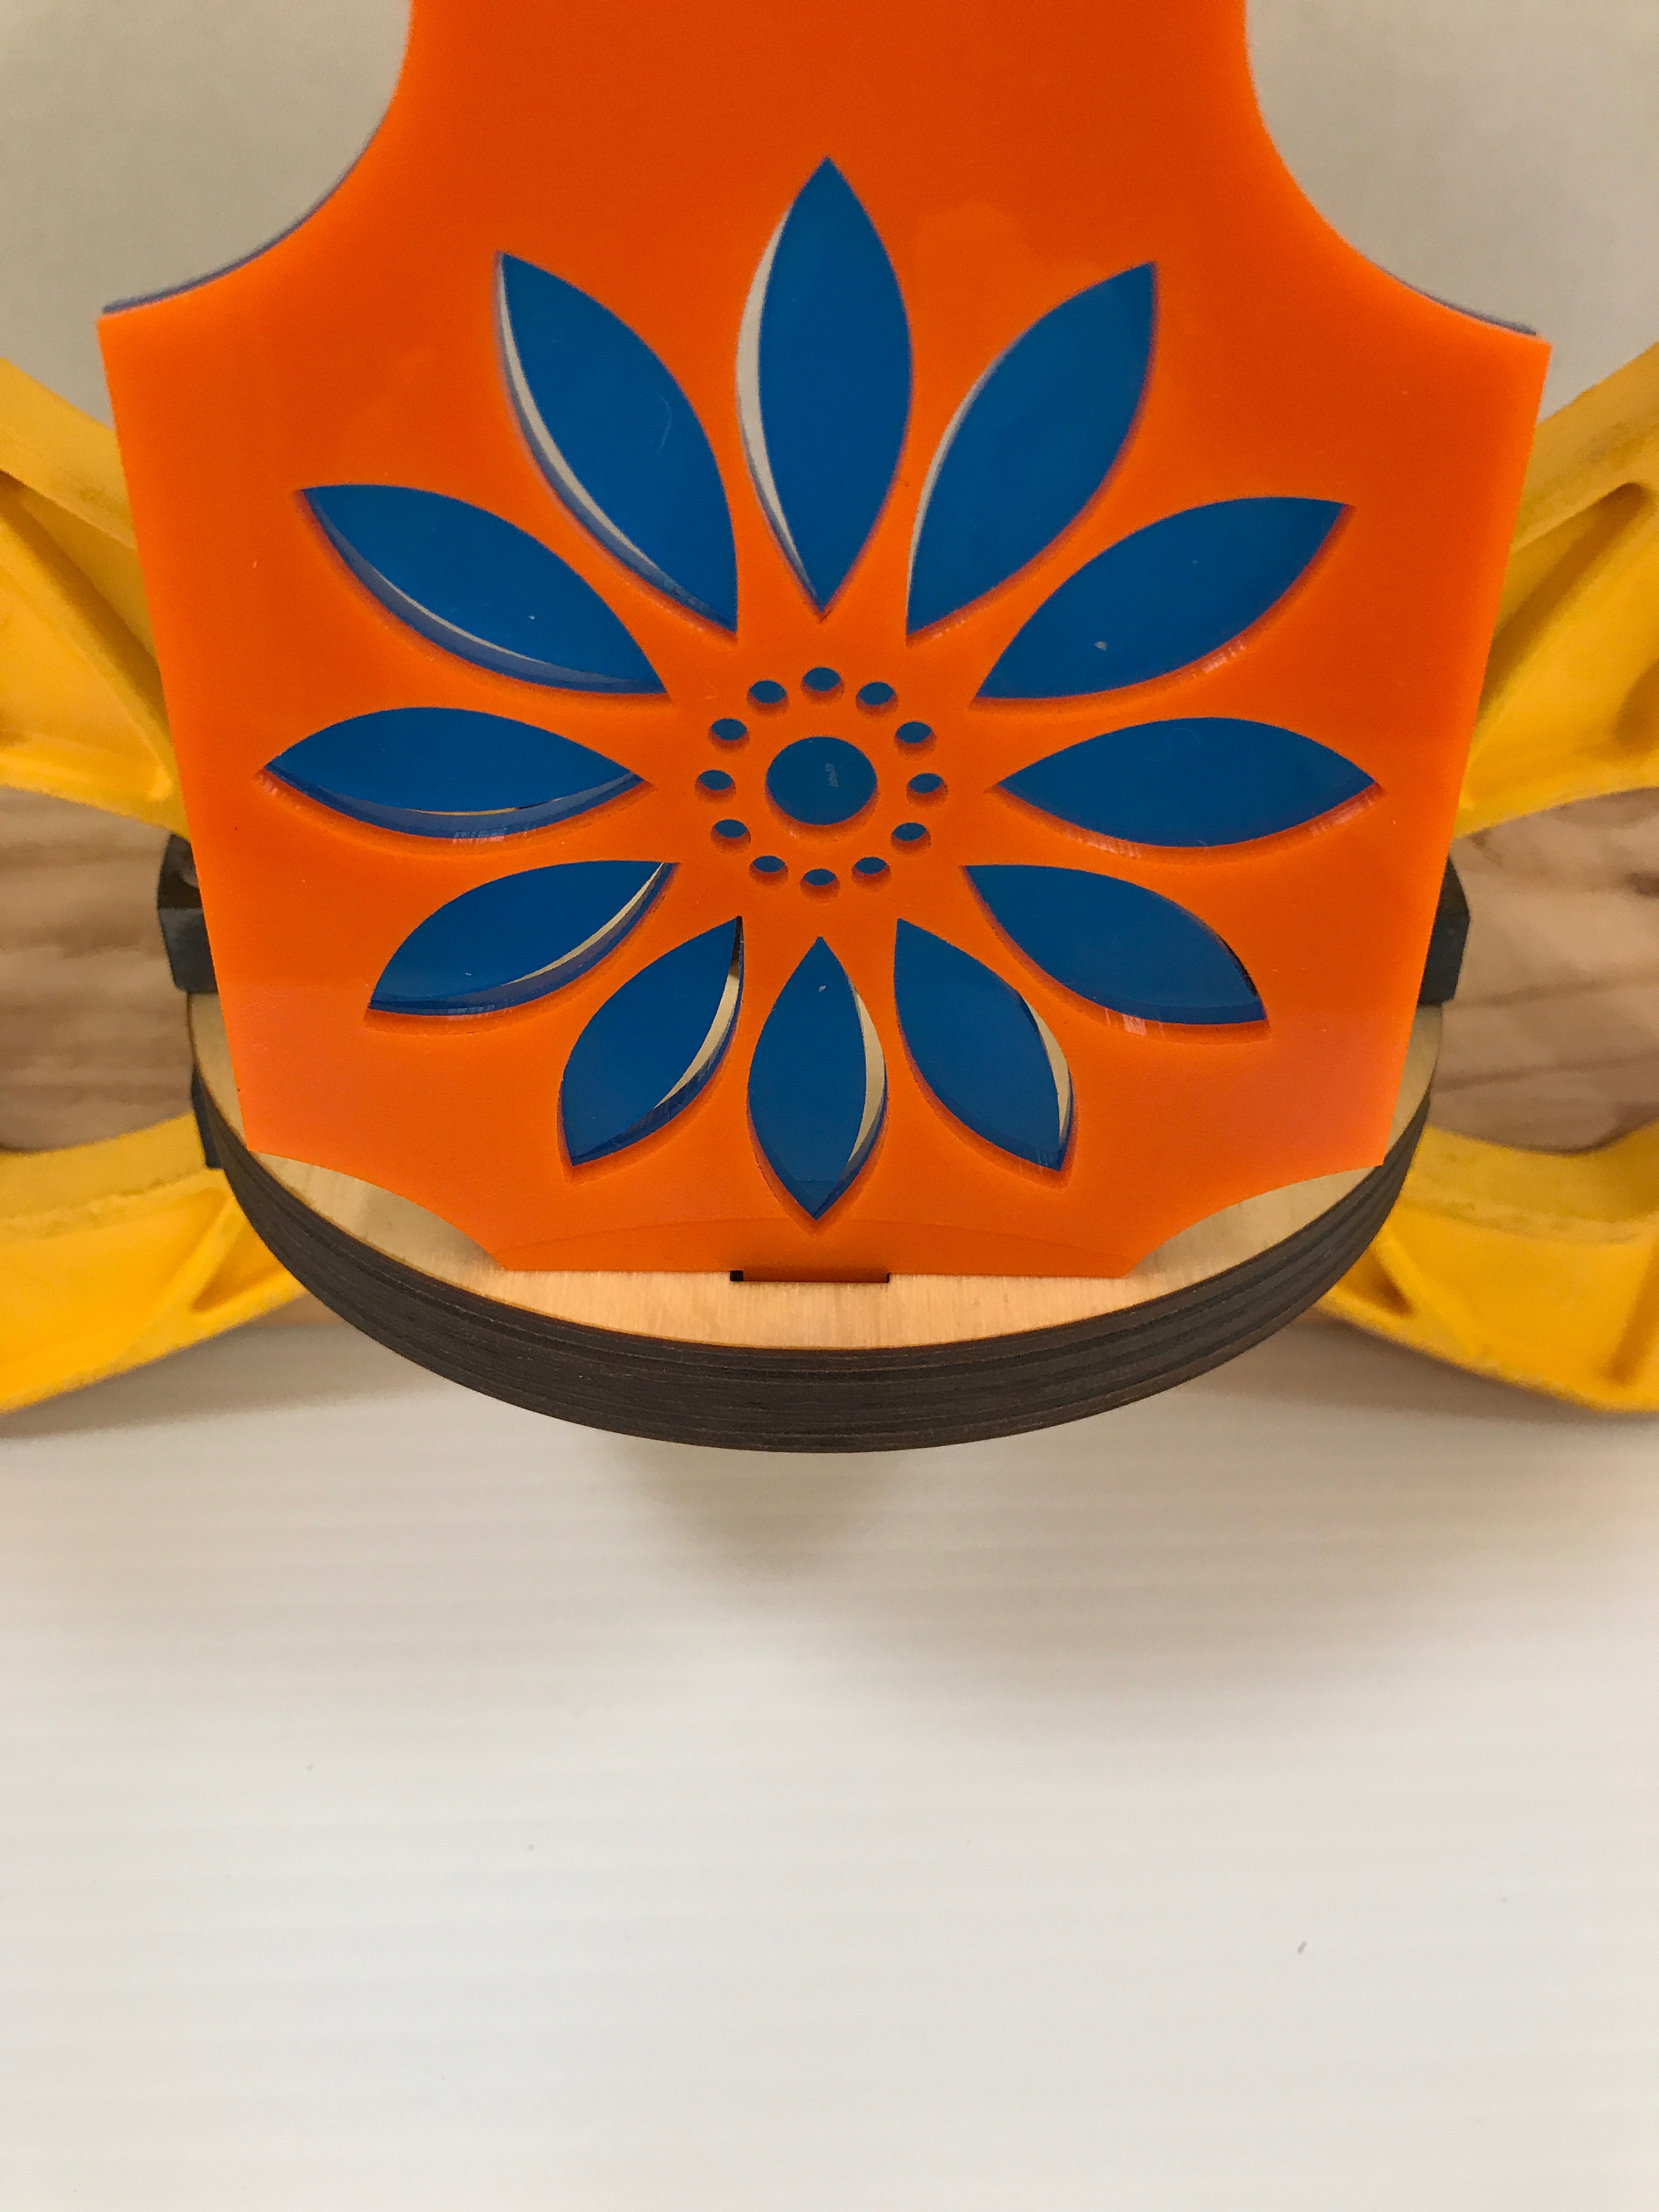
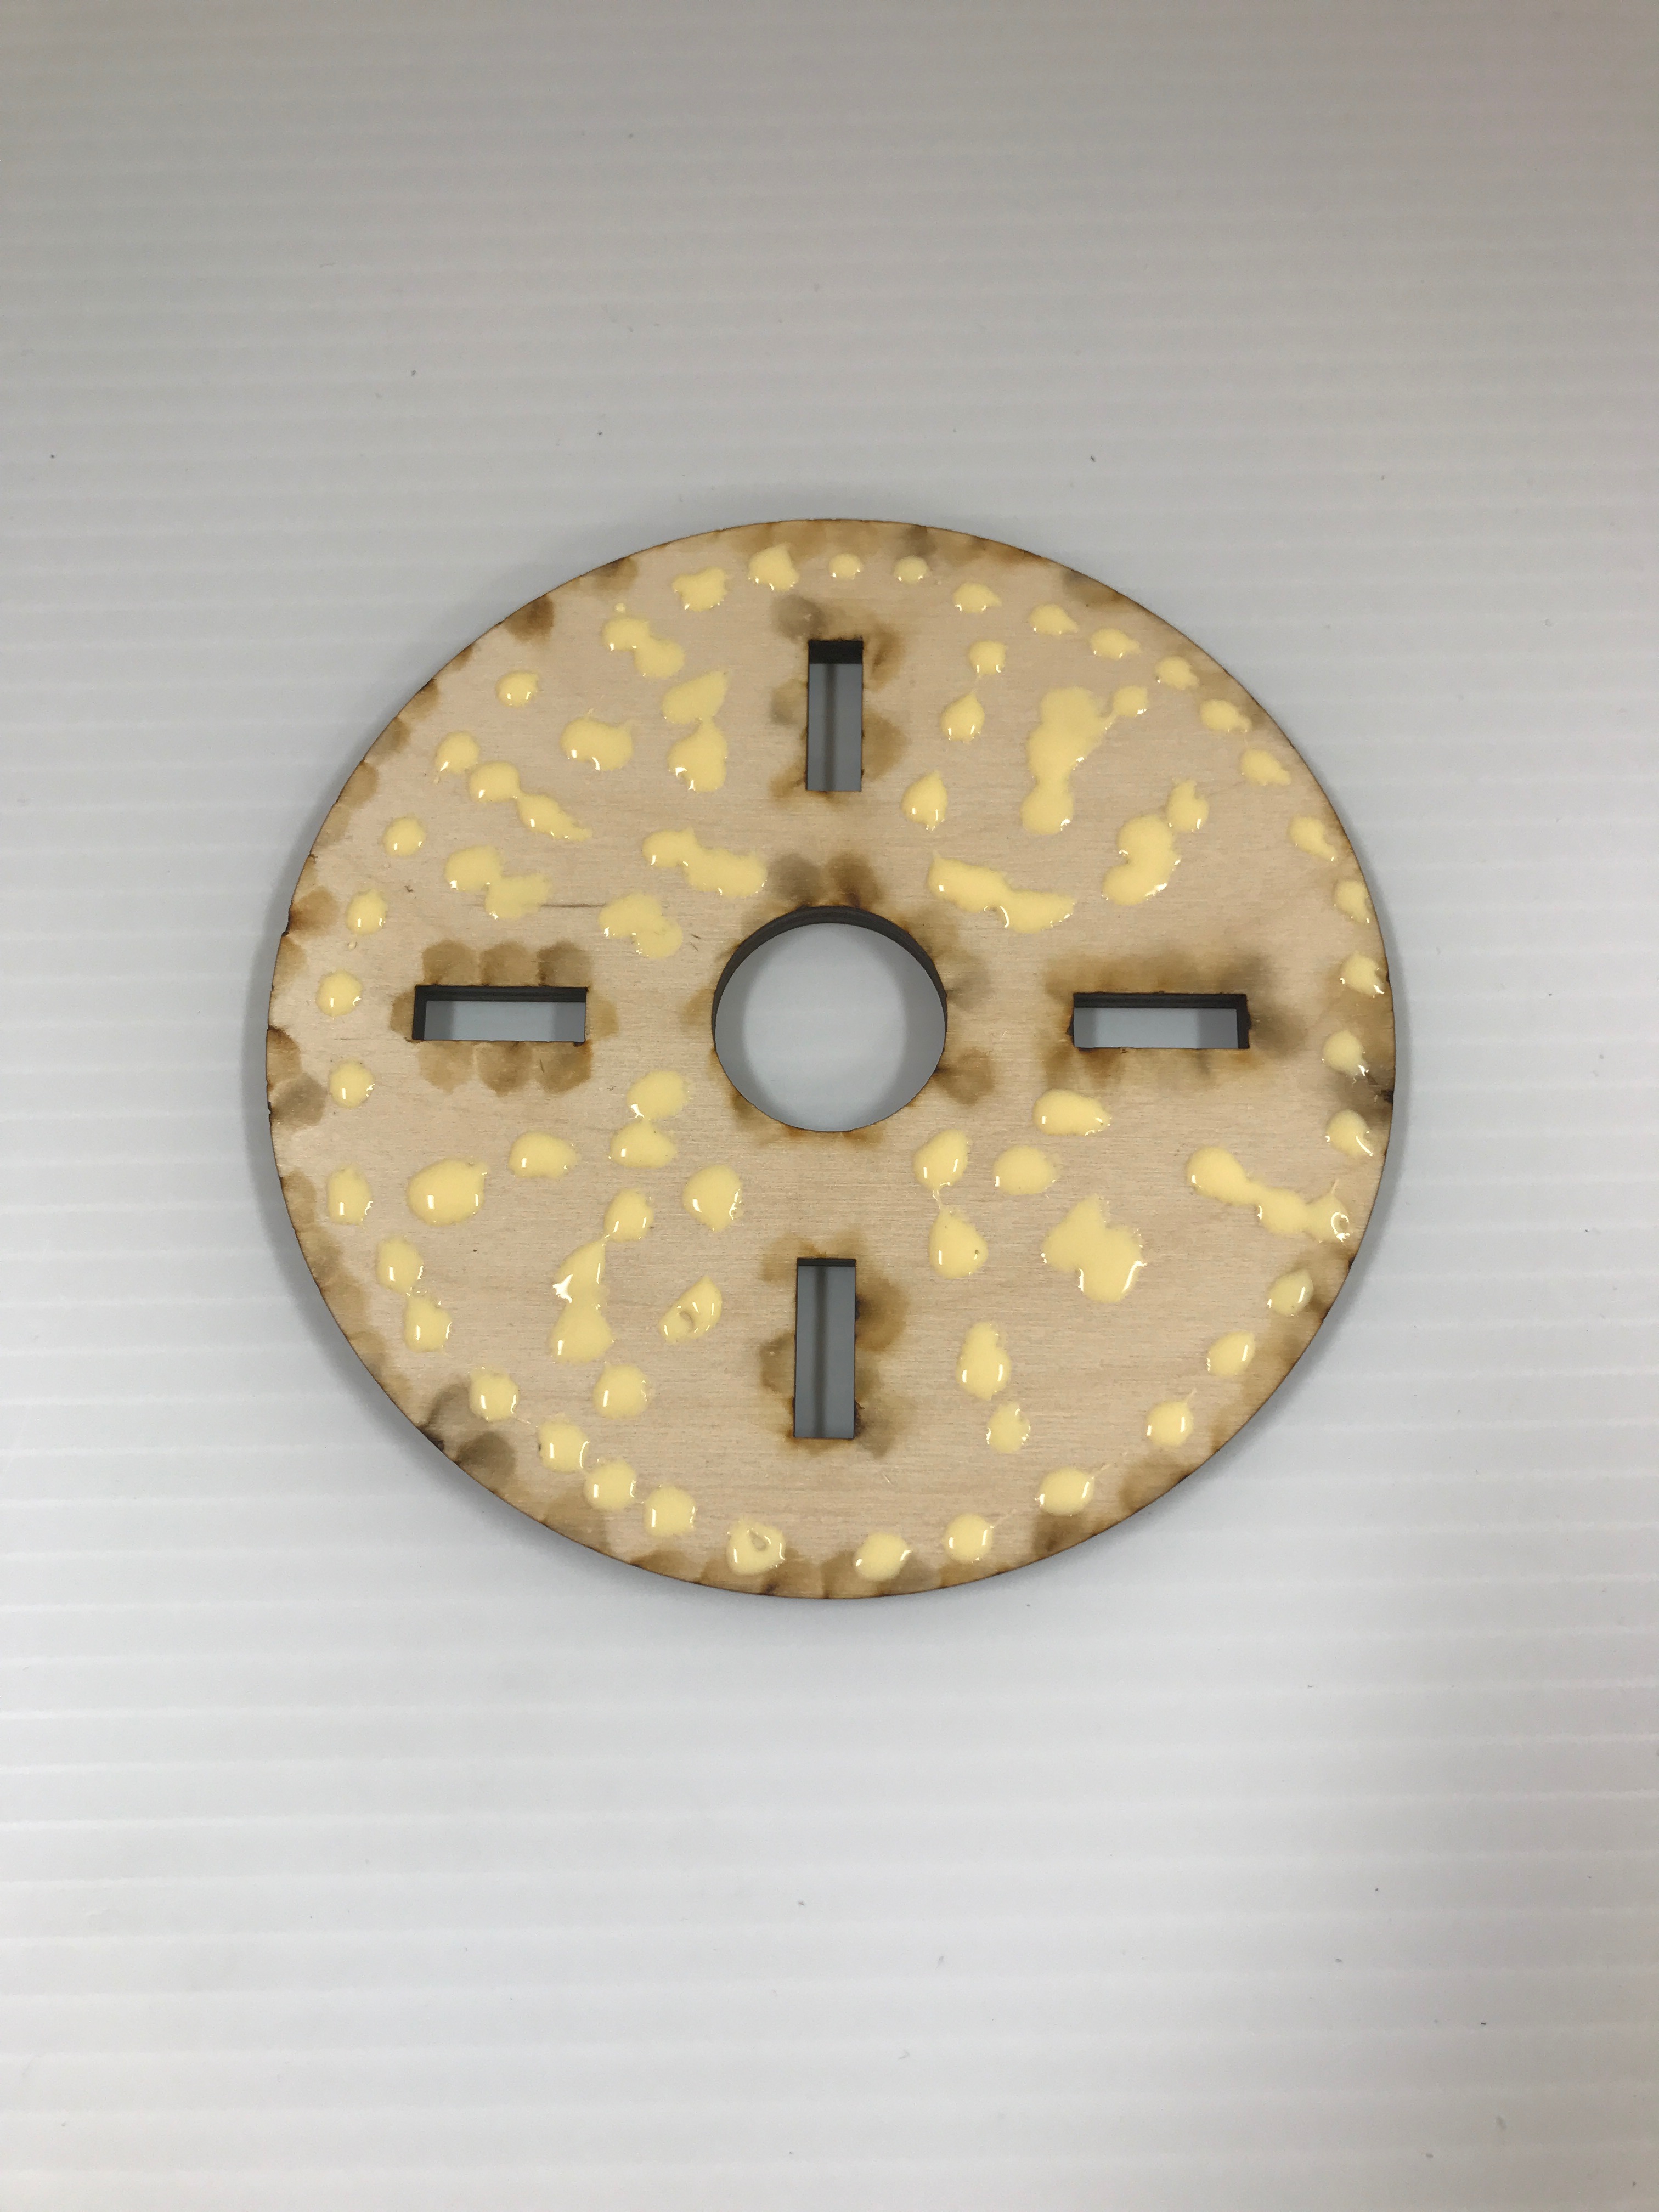
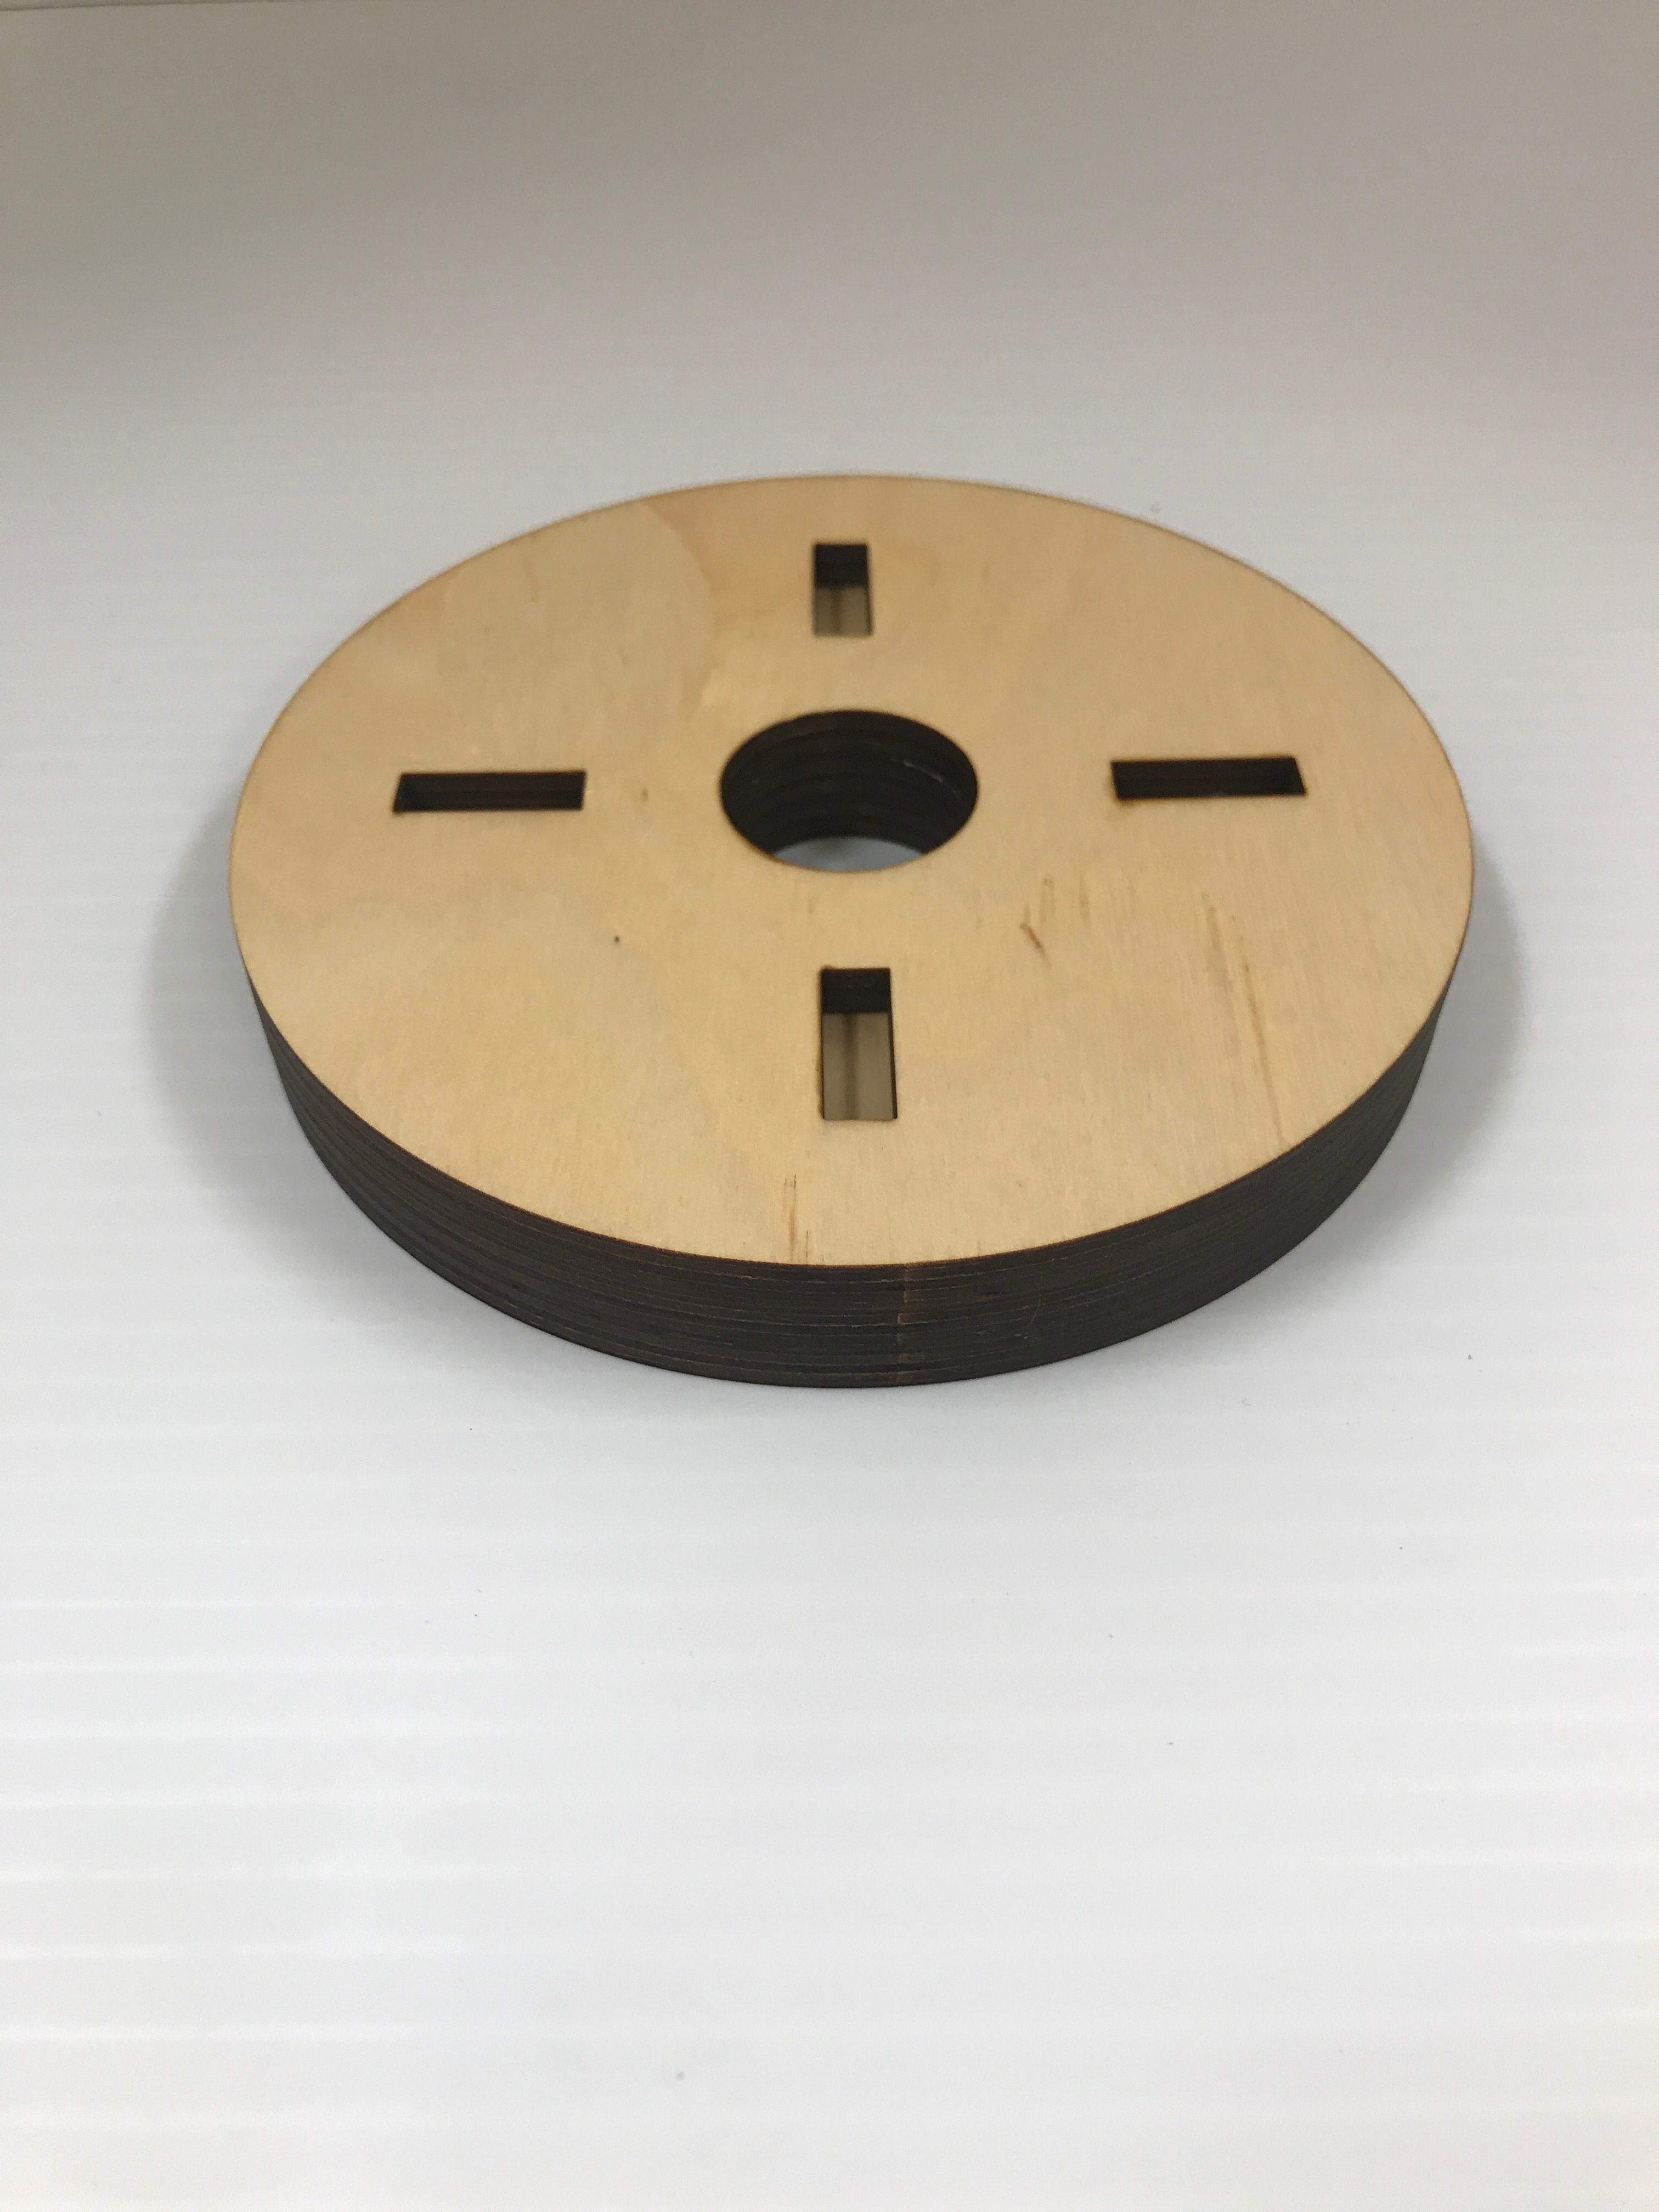
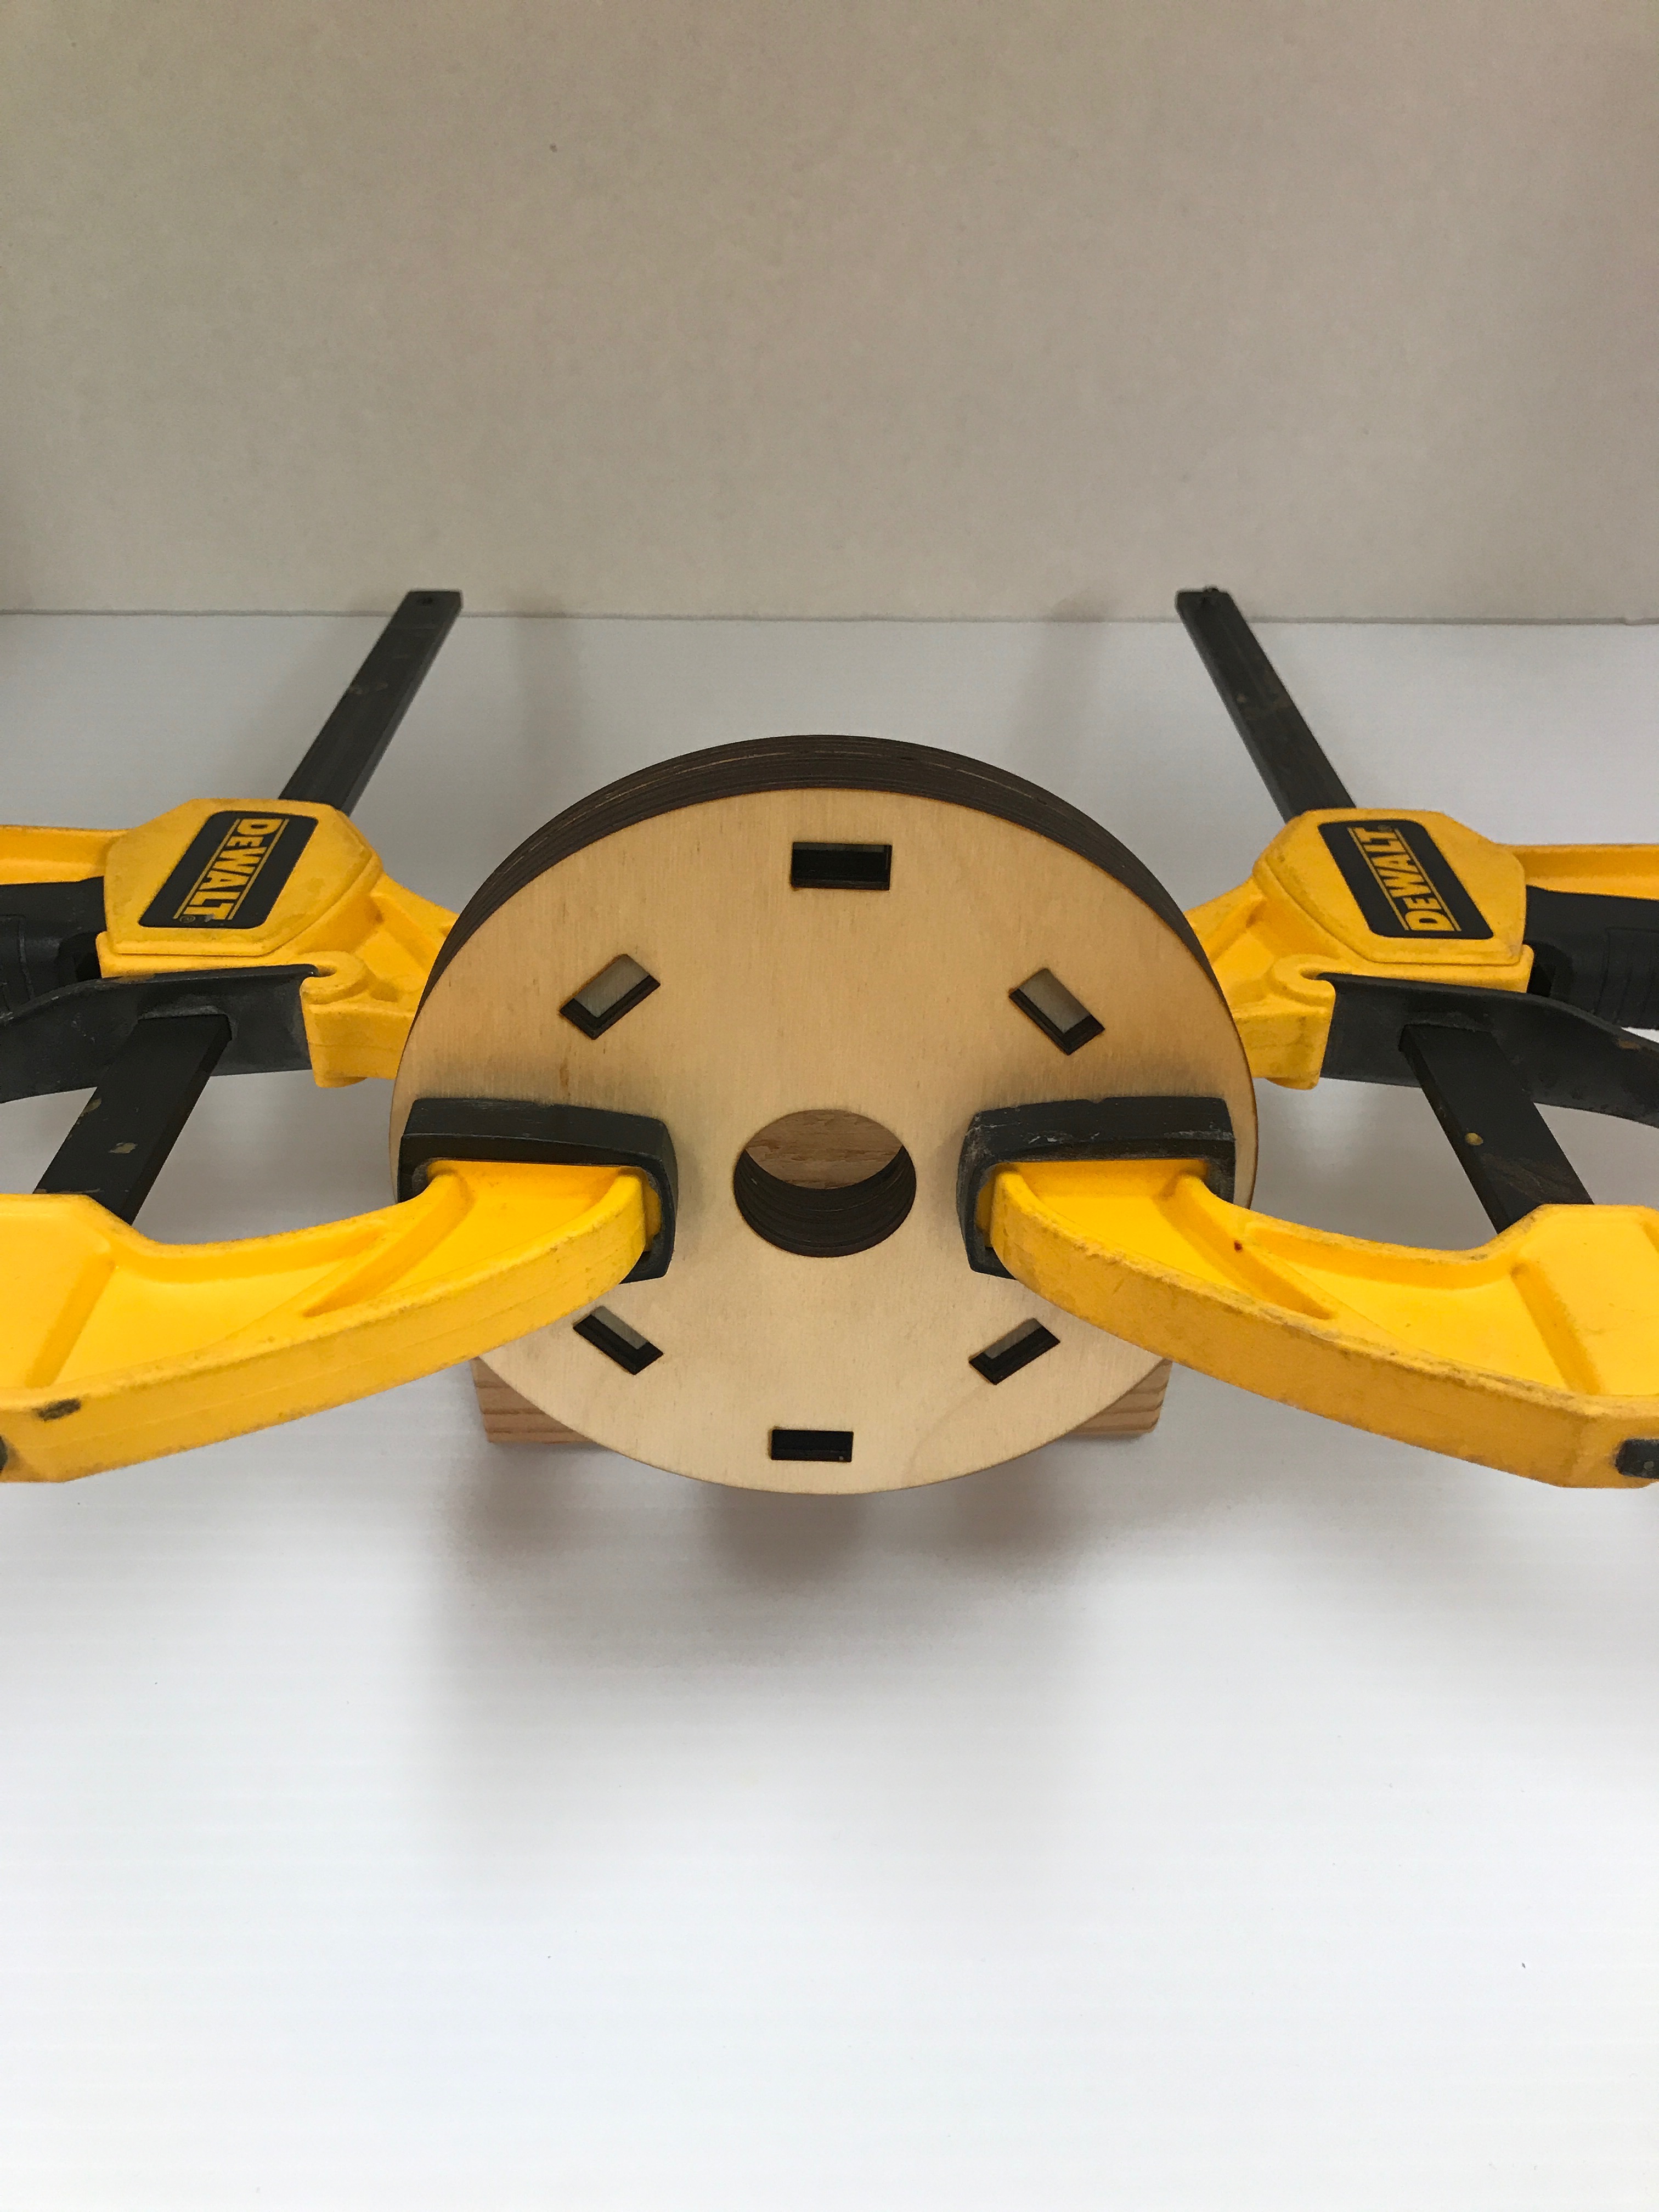
-
Add glue to the unfinished side of the top plate. Cover entire surface with small drops of glue, keep glue away from cut edges.
-
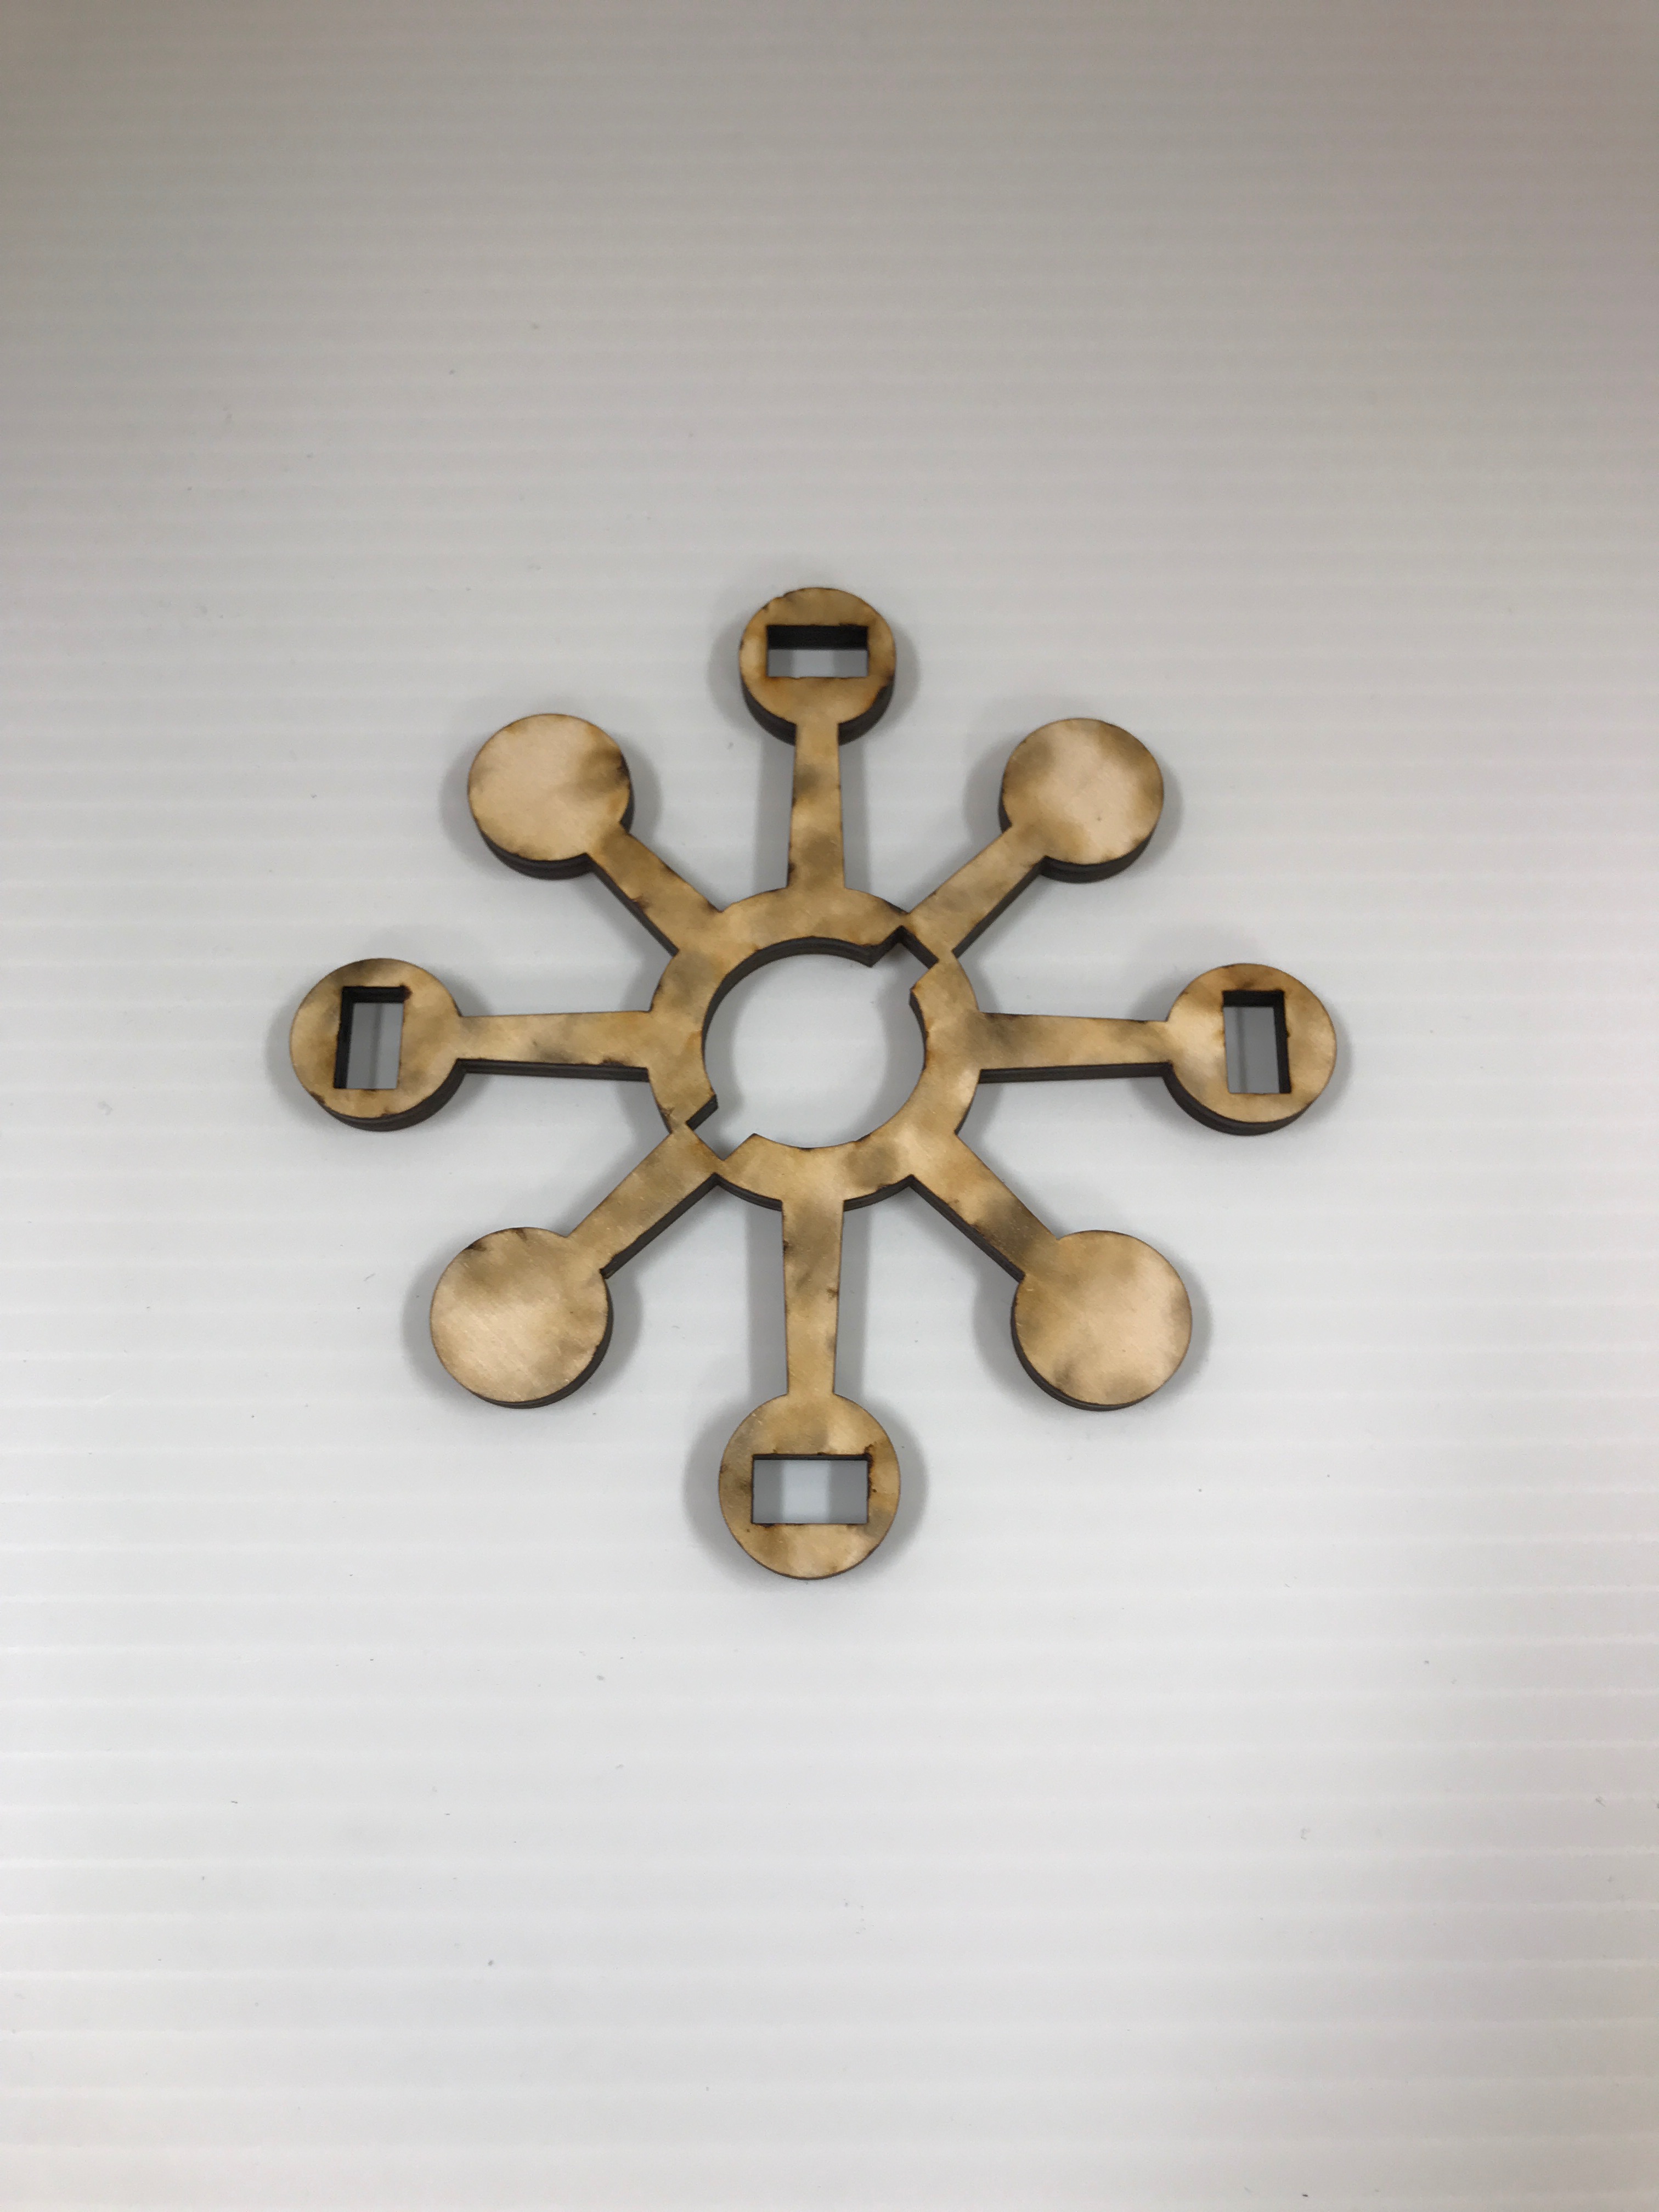
Place glued top plate on unfinished side of center plate. Align outer most cutout holes.
-
Press plates together. Make sure plates stay in alignment. Use mini bar clamp if any gap seen between plates.
-
Wipe off any excess glue.
-
Insert one of the side panels into the outer most cutout holes. It should fit each cutout hole without any resistance. If not, align plates.
-
Let dry for at least 10 minutes.
-
Add glue to the unfinished side of the bottom plate. Cover entire surface with small drops of glue, keep glue away from cut edges.
-
Place glued bottom plate on finished side of center plate.
-
Press plates together. Make sure plates stay in alignment. Use mini bar clamp if any gap seen between plates.
-
Let dry for at least 10 minutes.
Step 4: Join Stand and Base
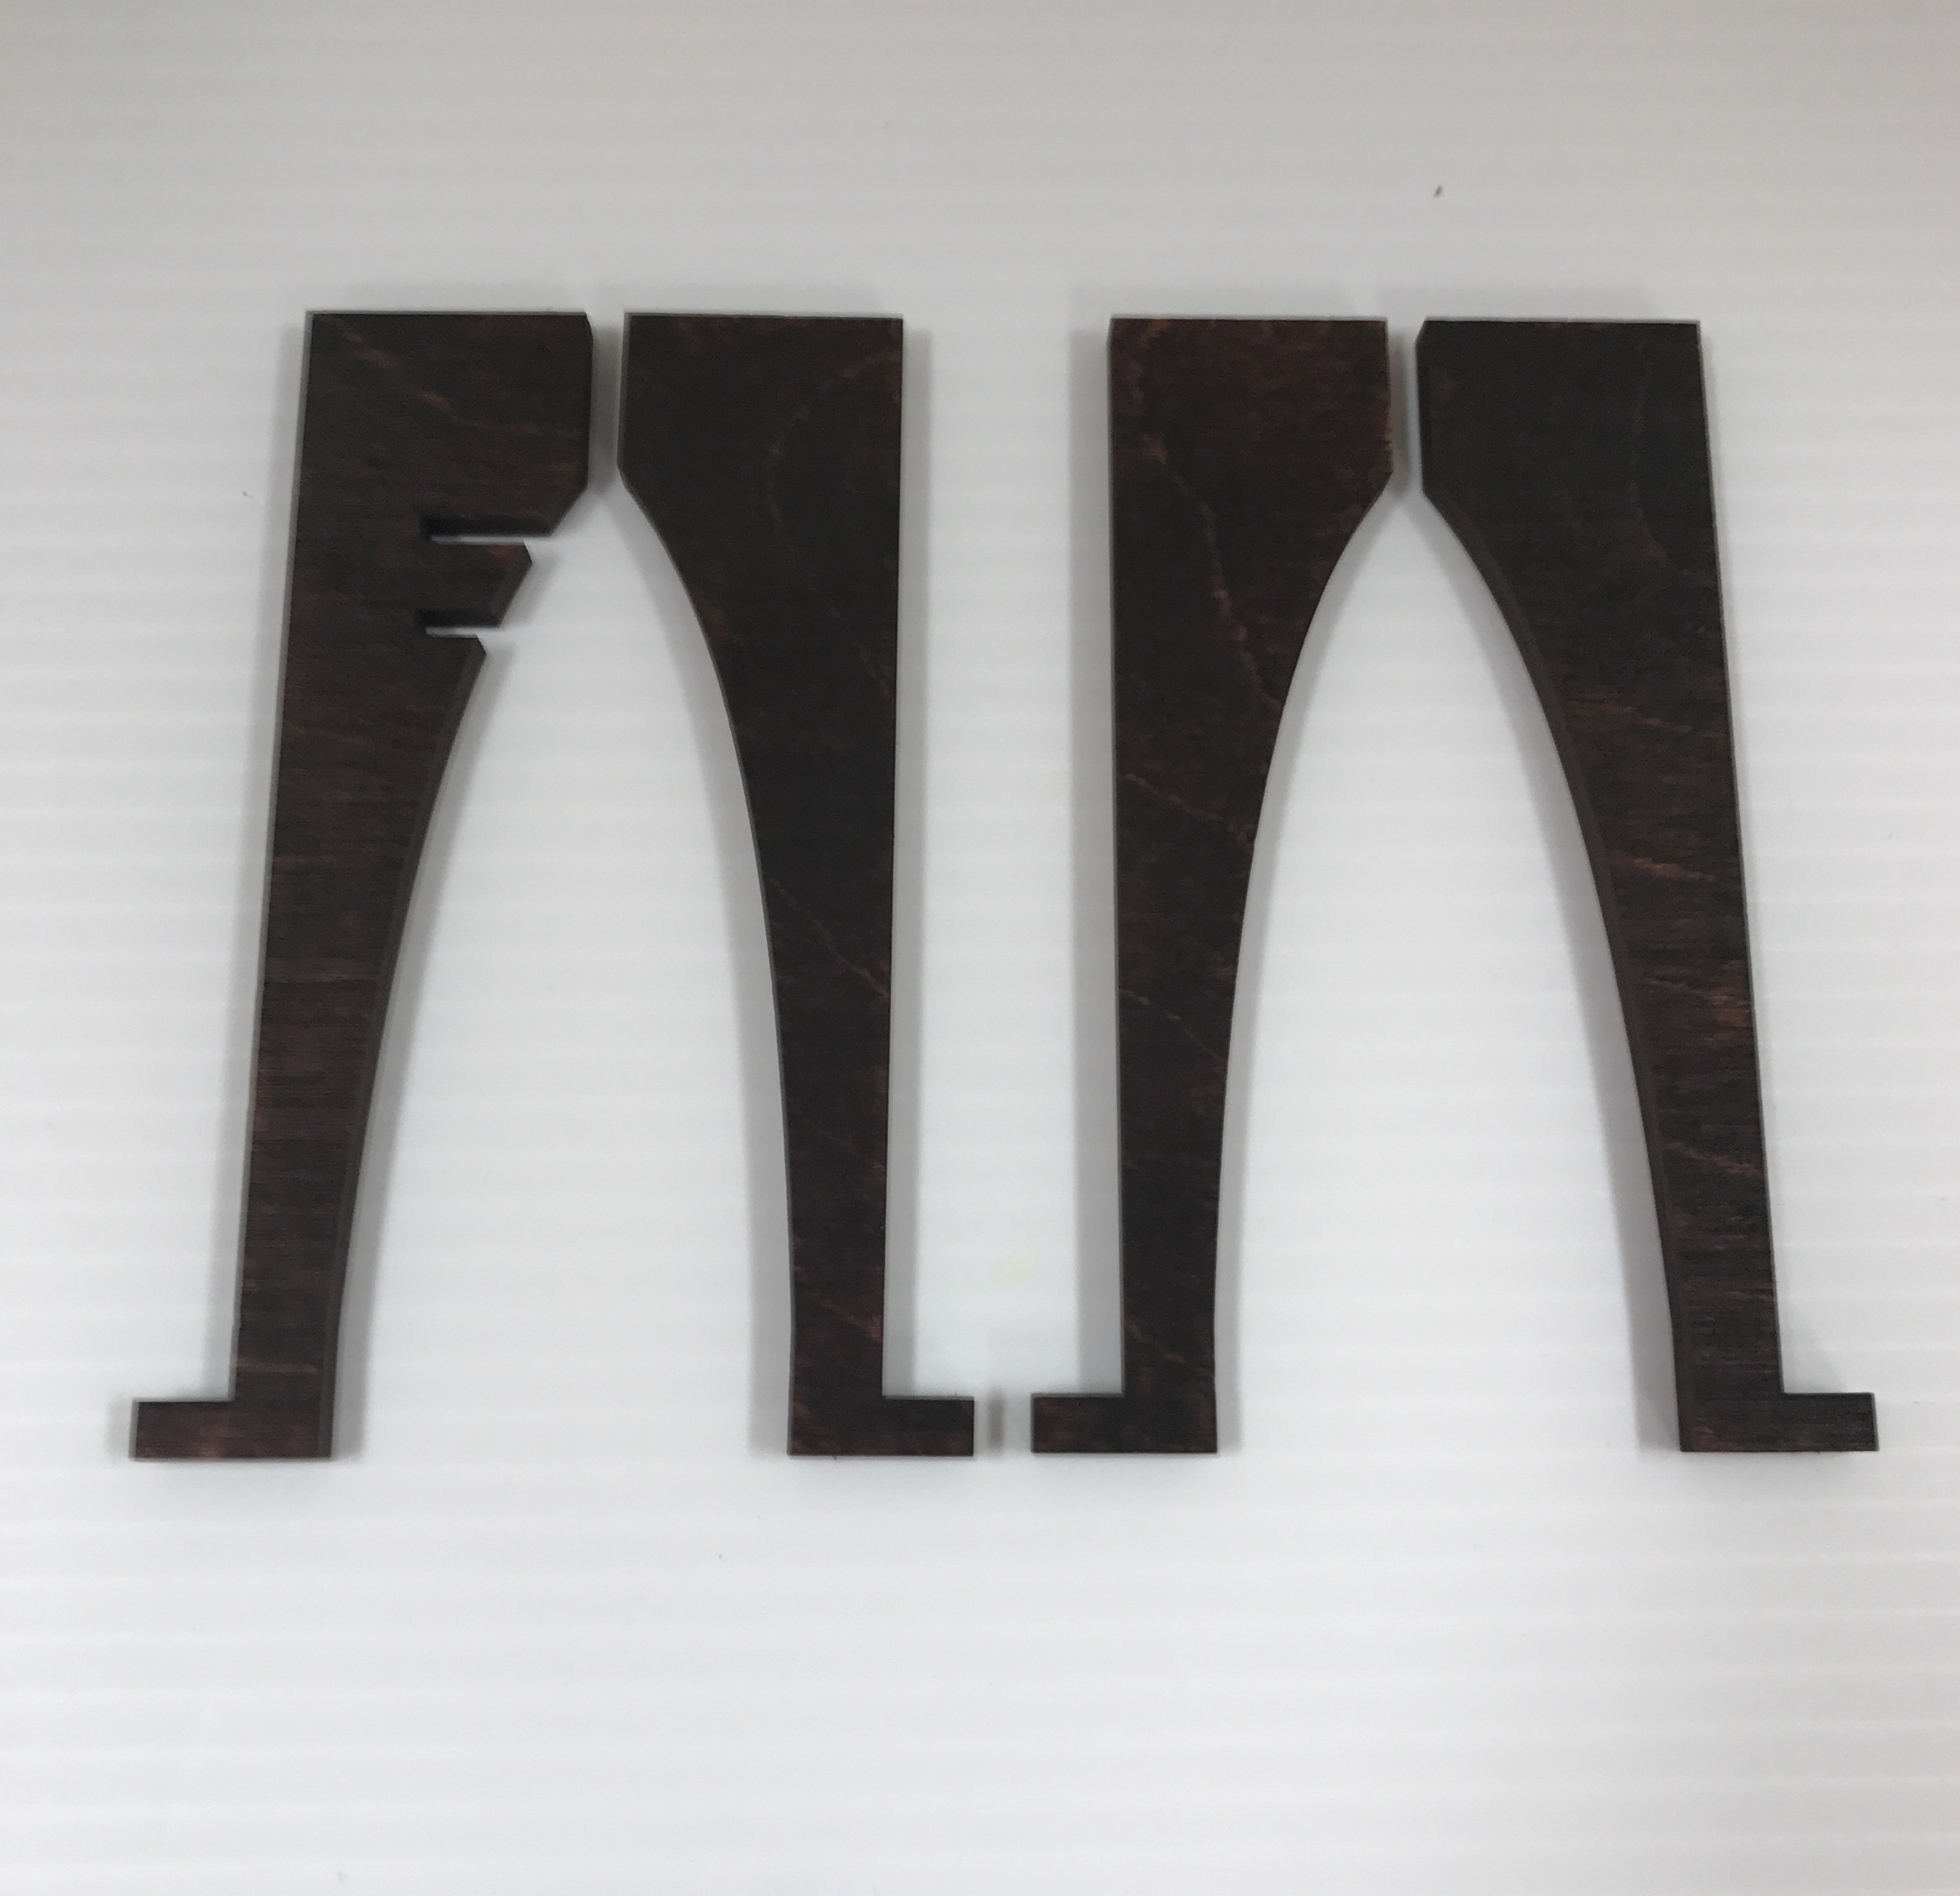
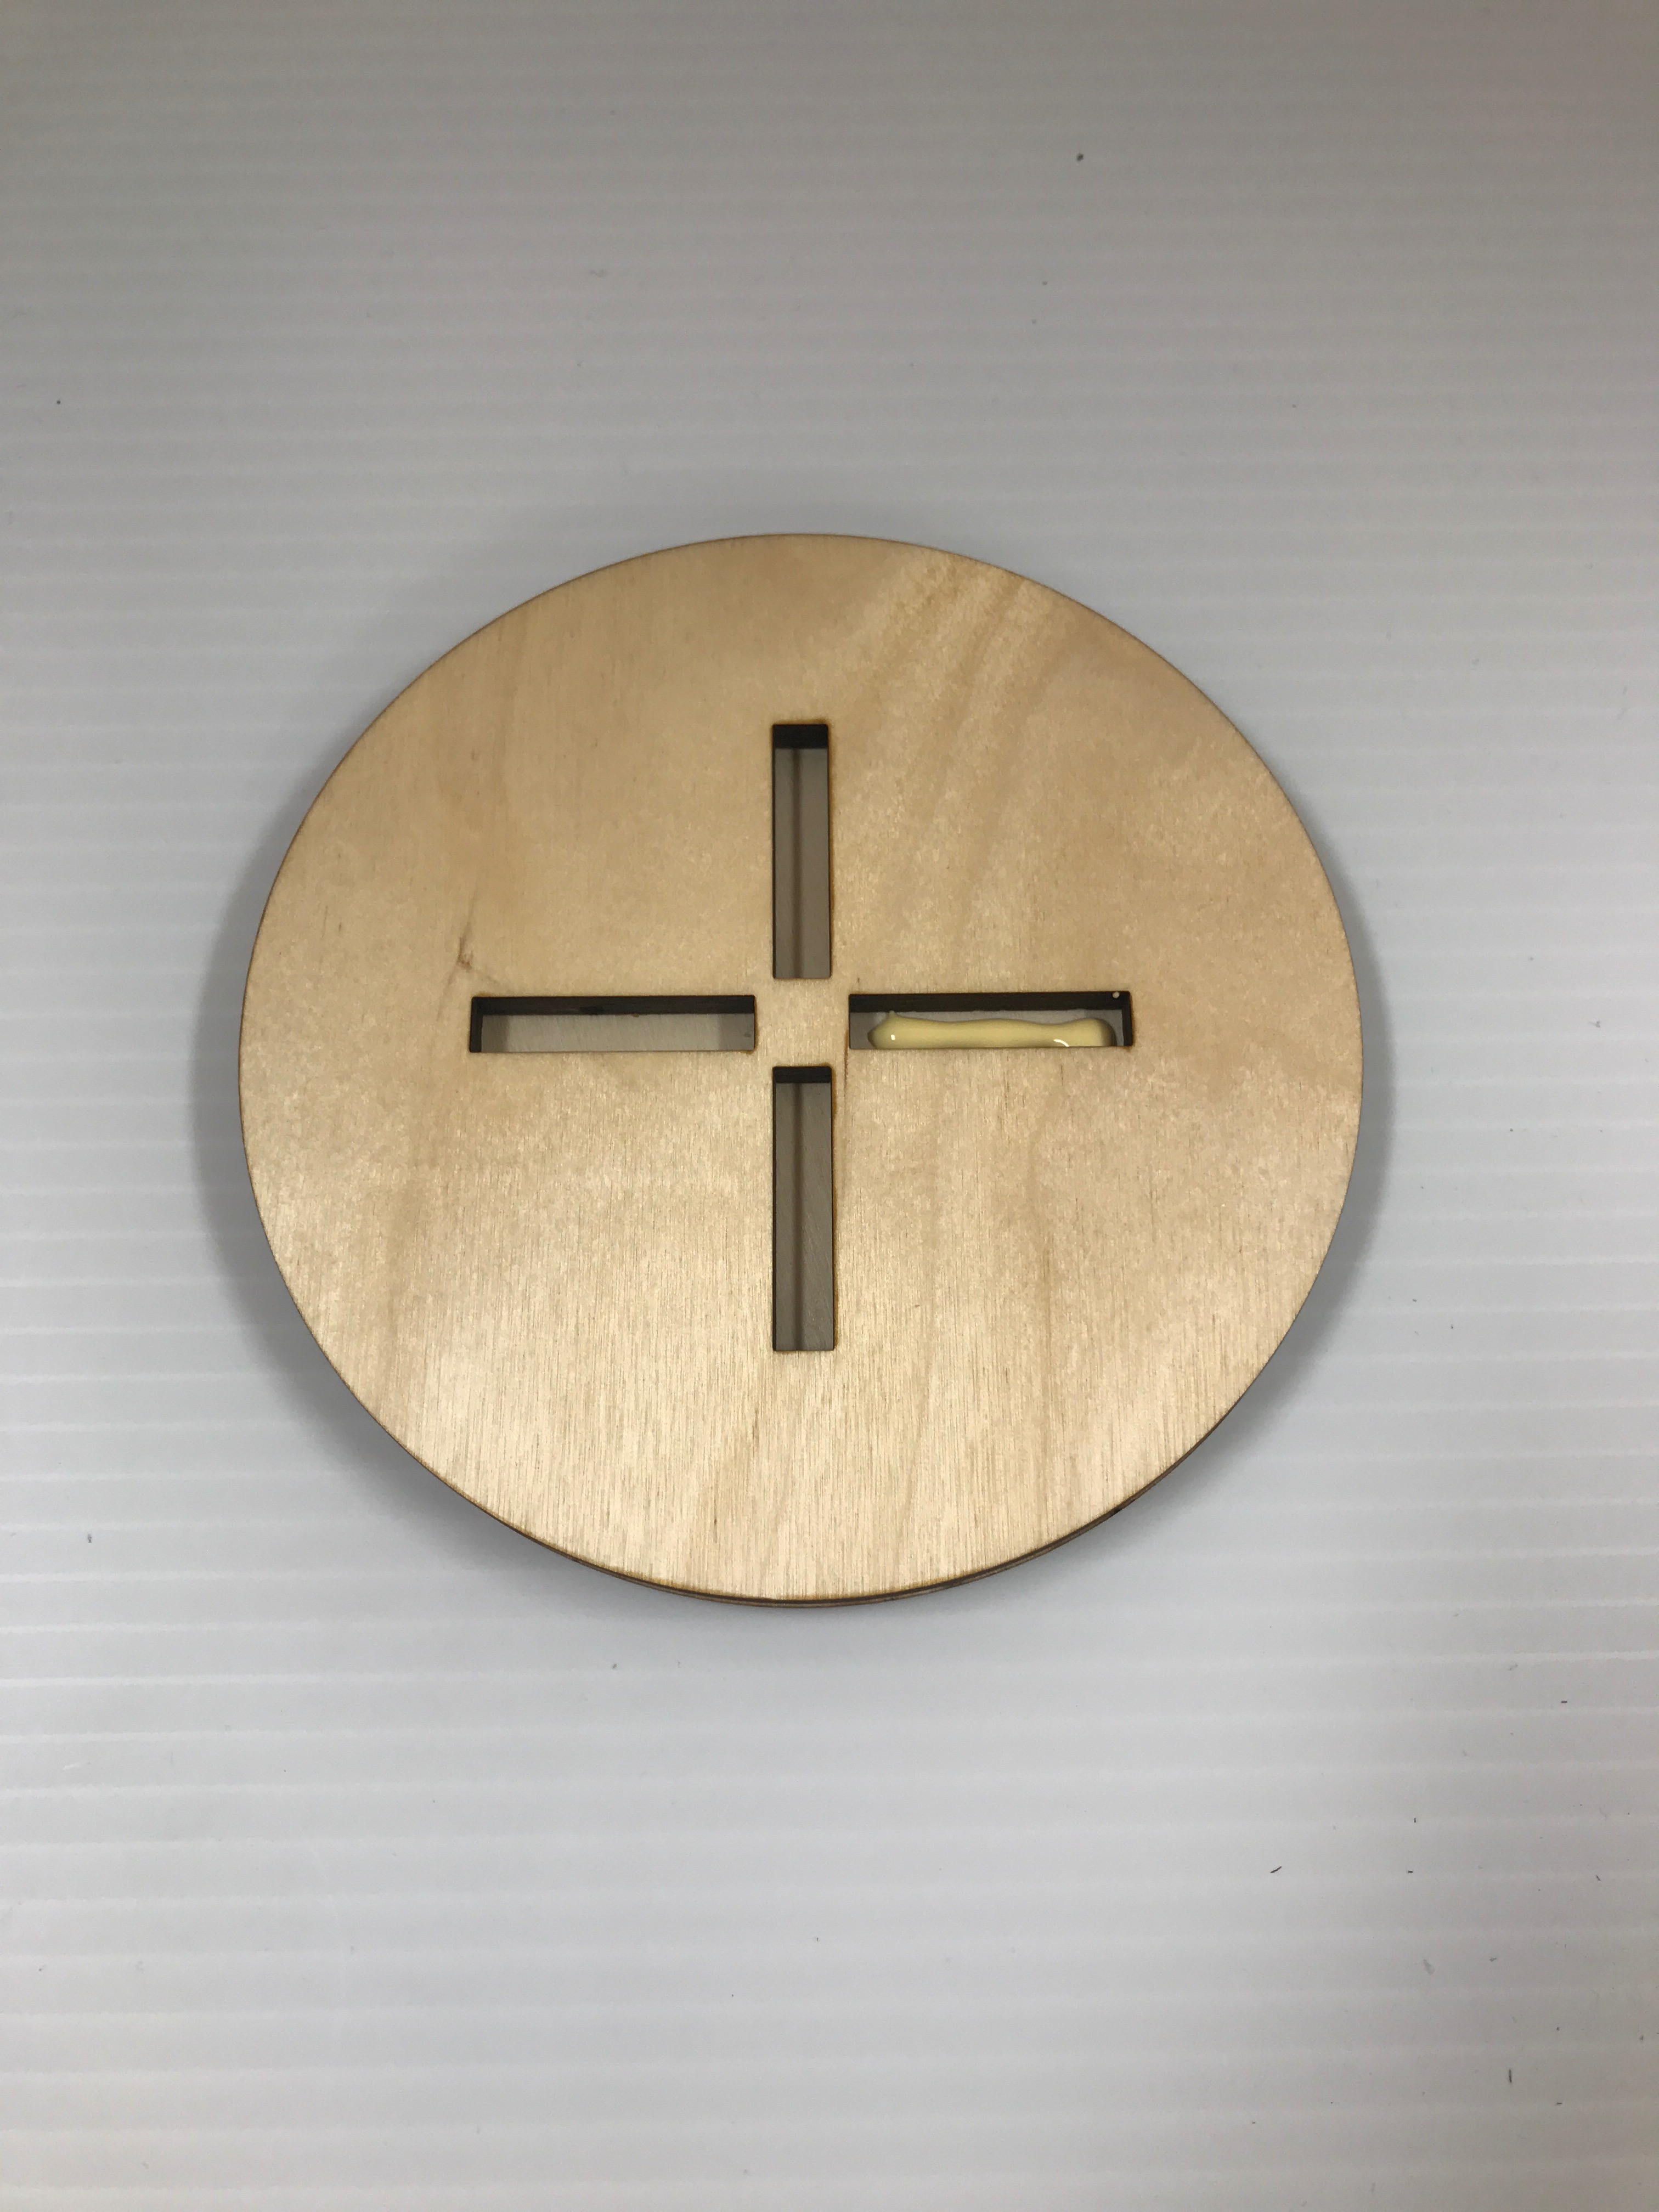
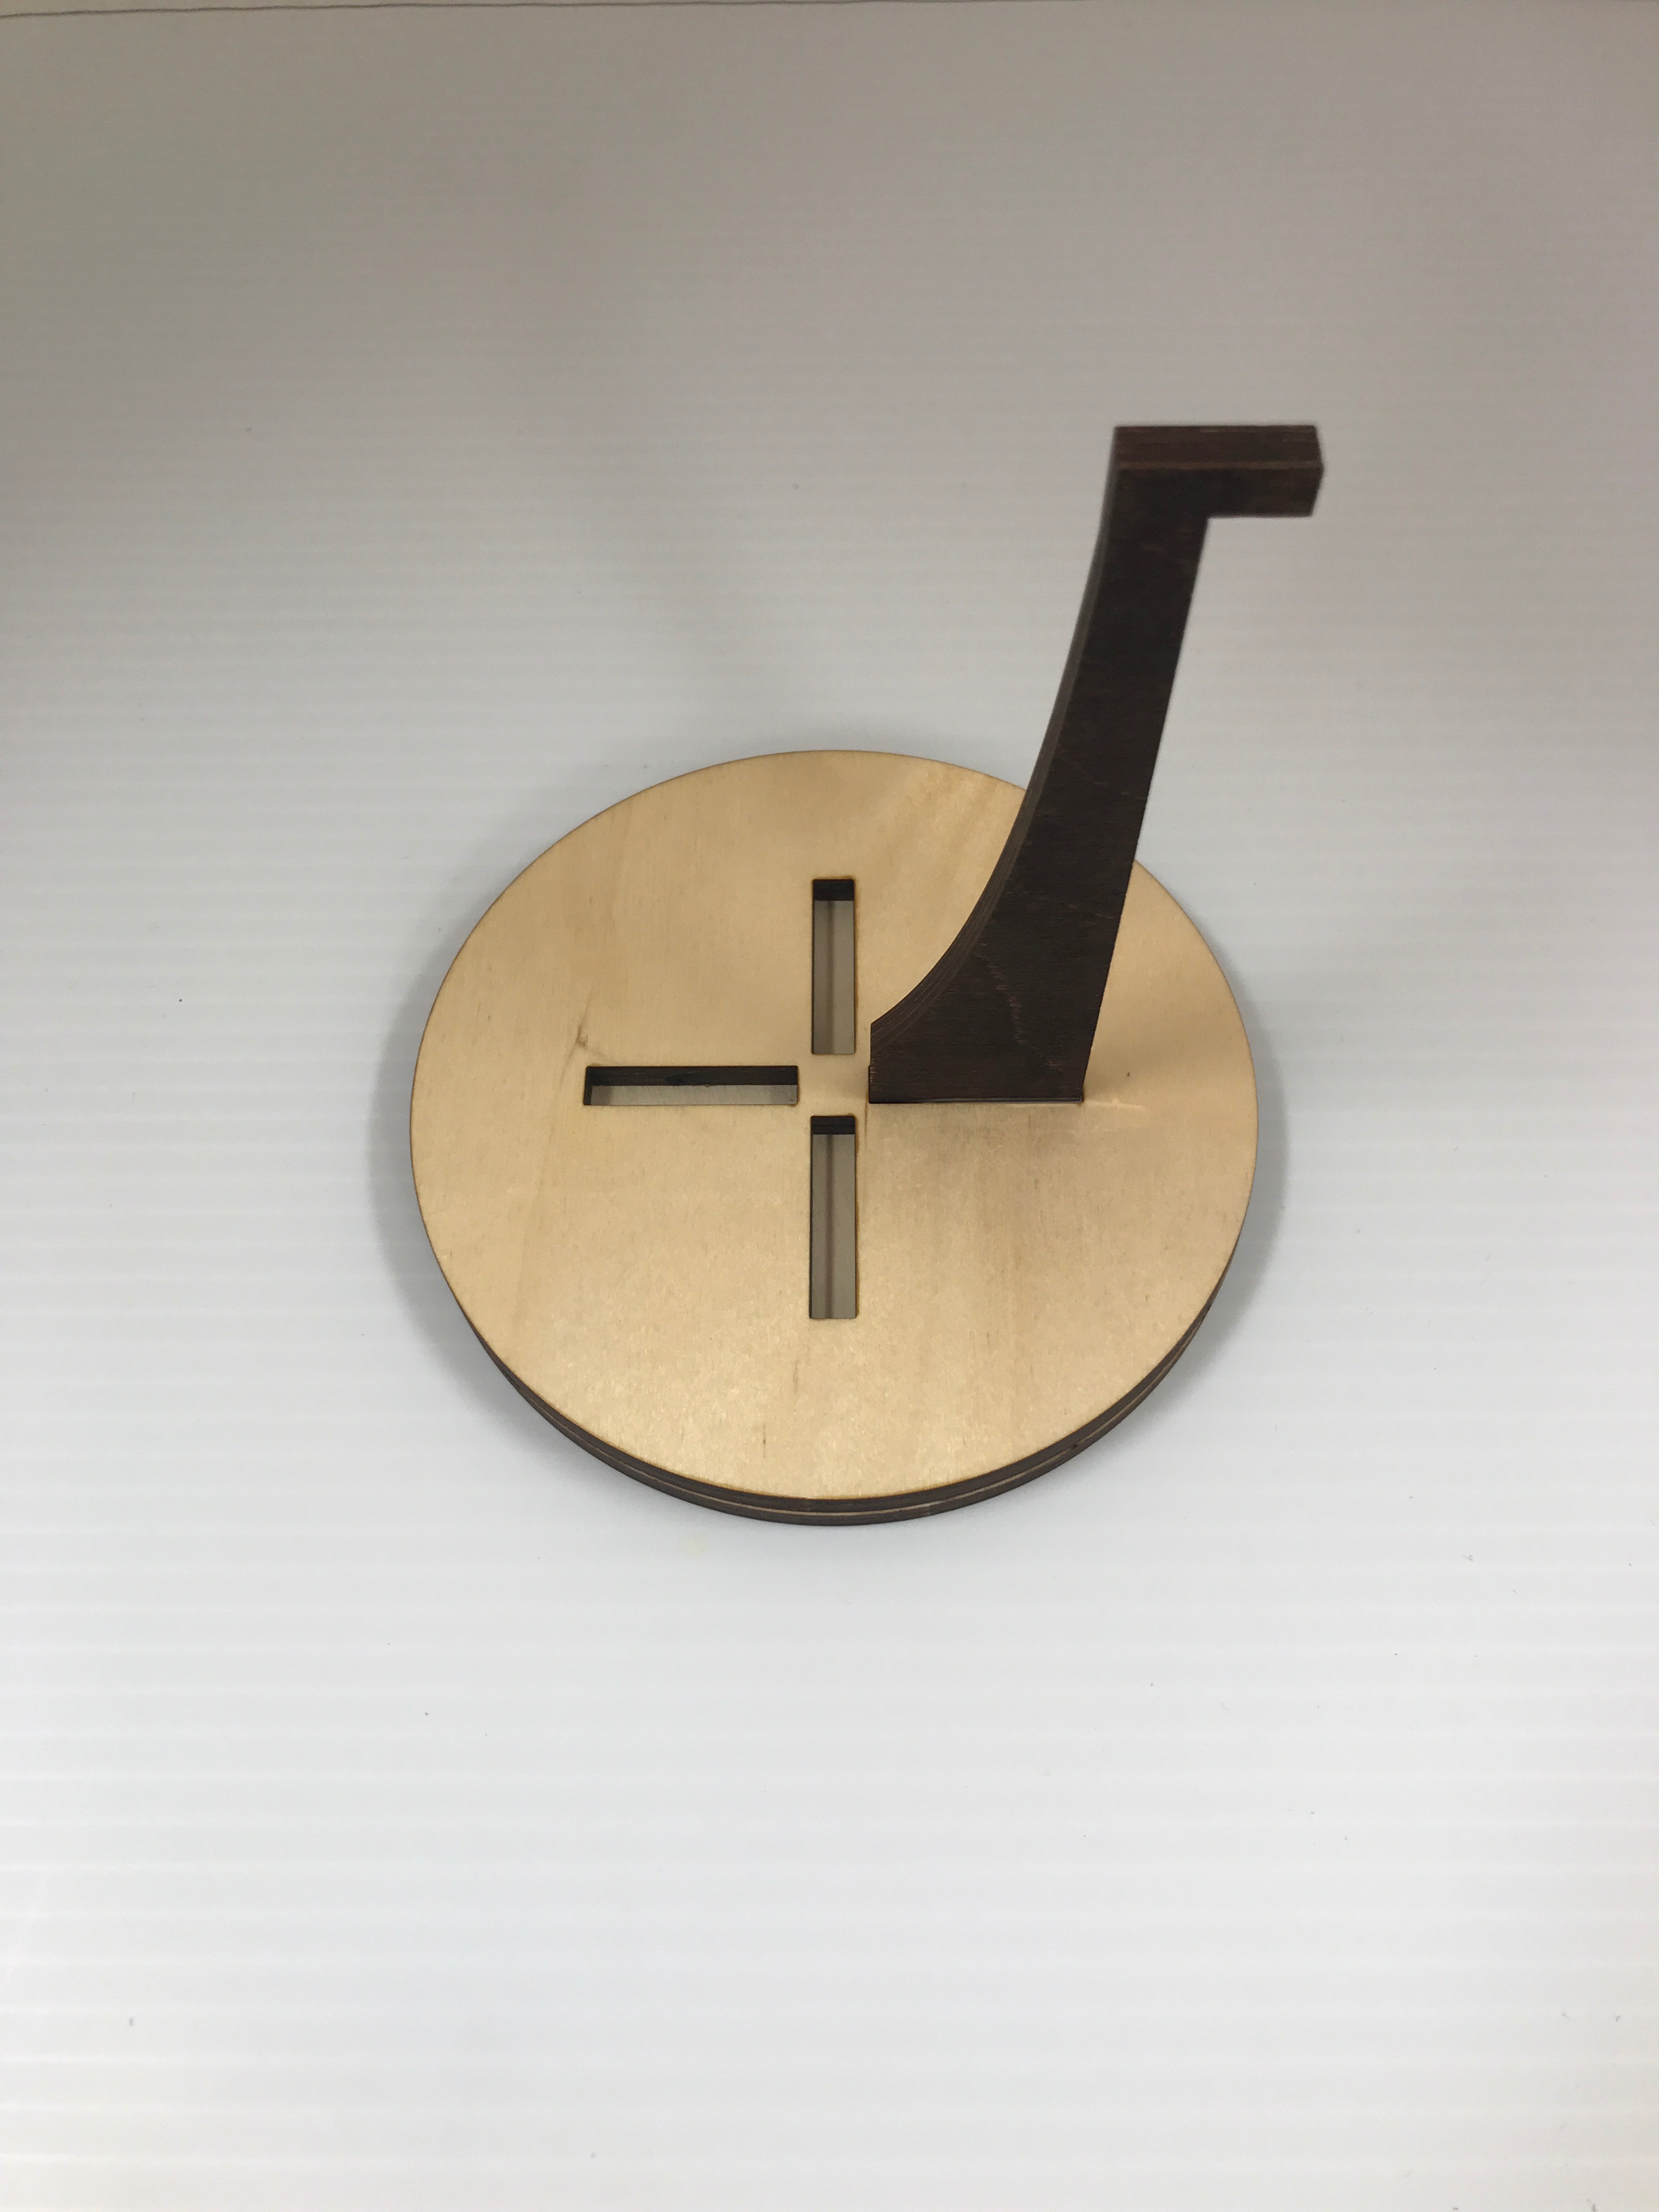
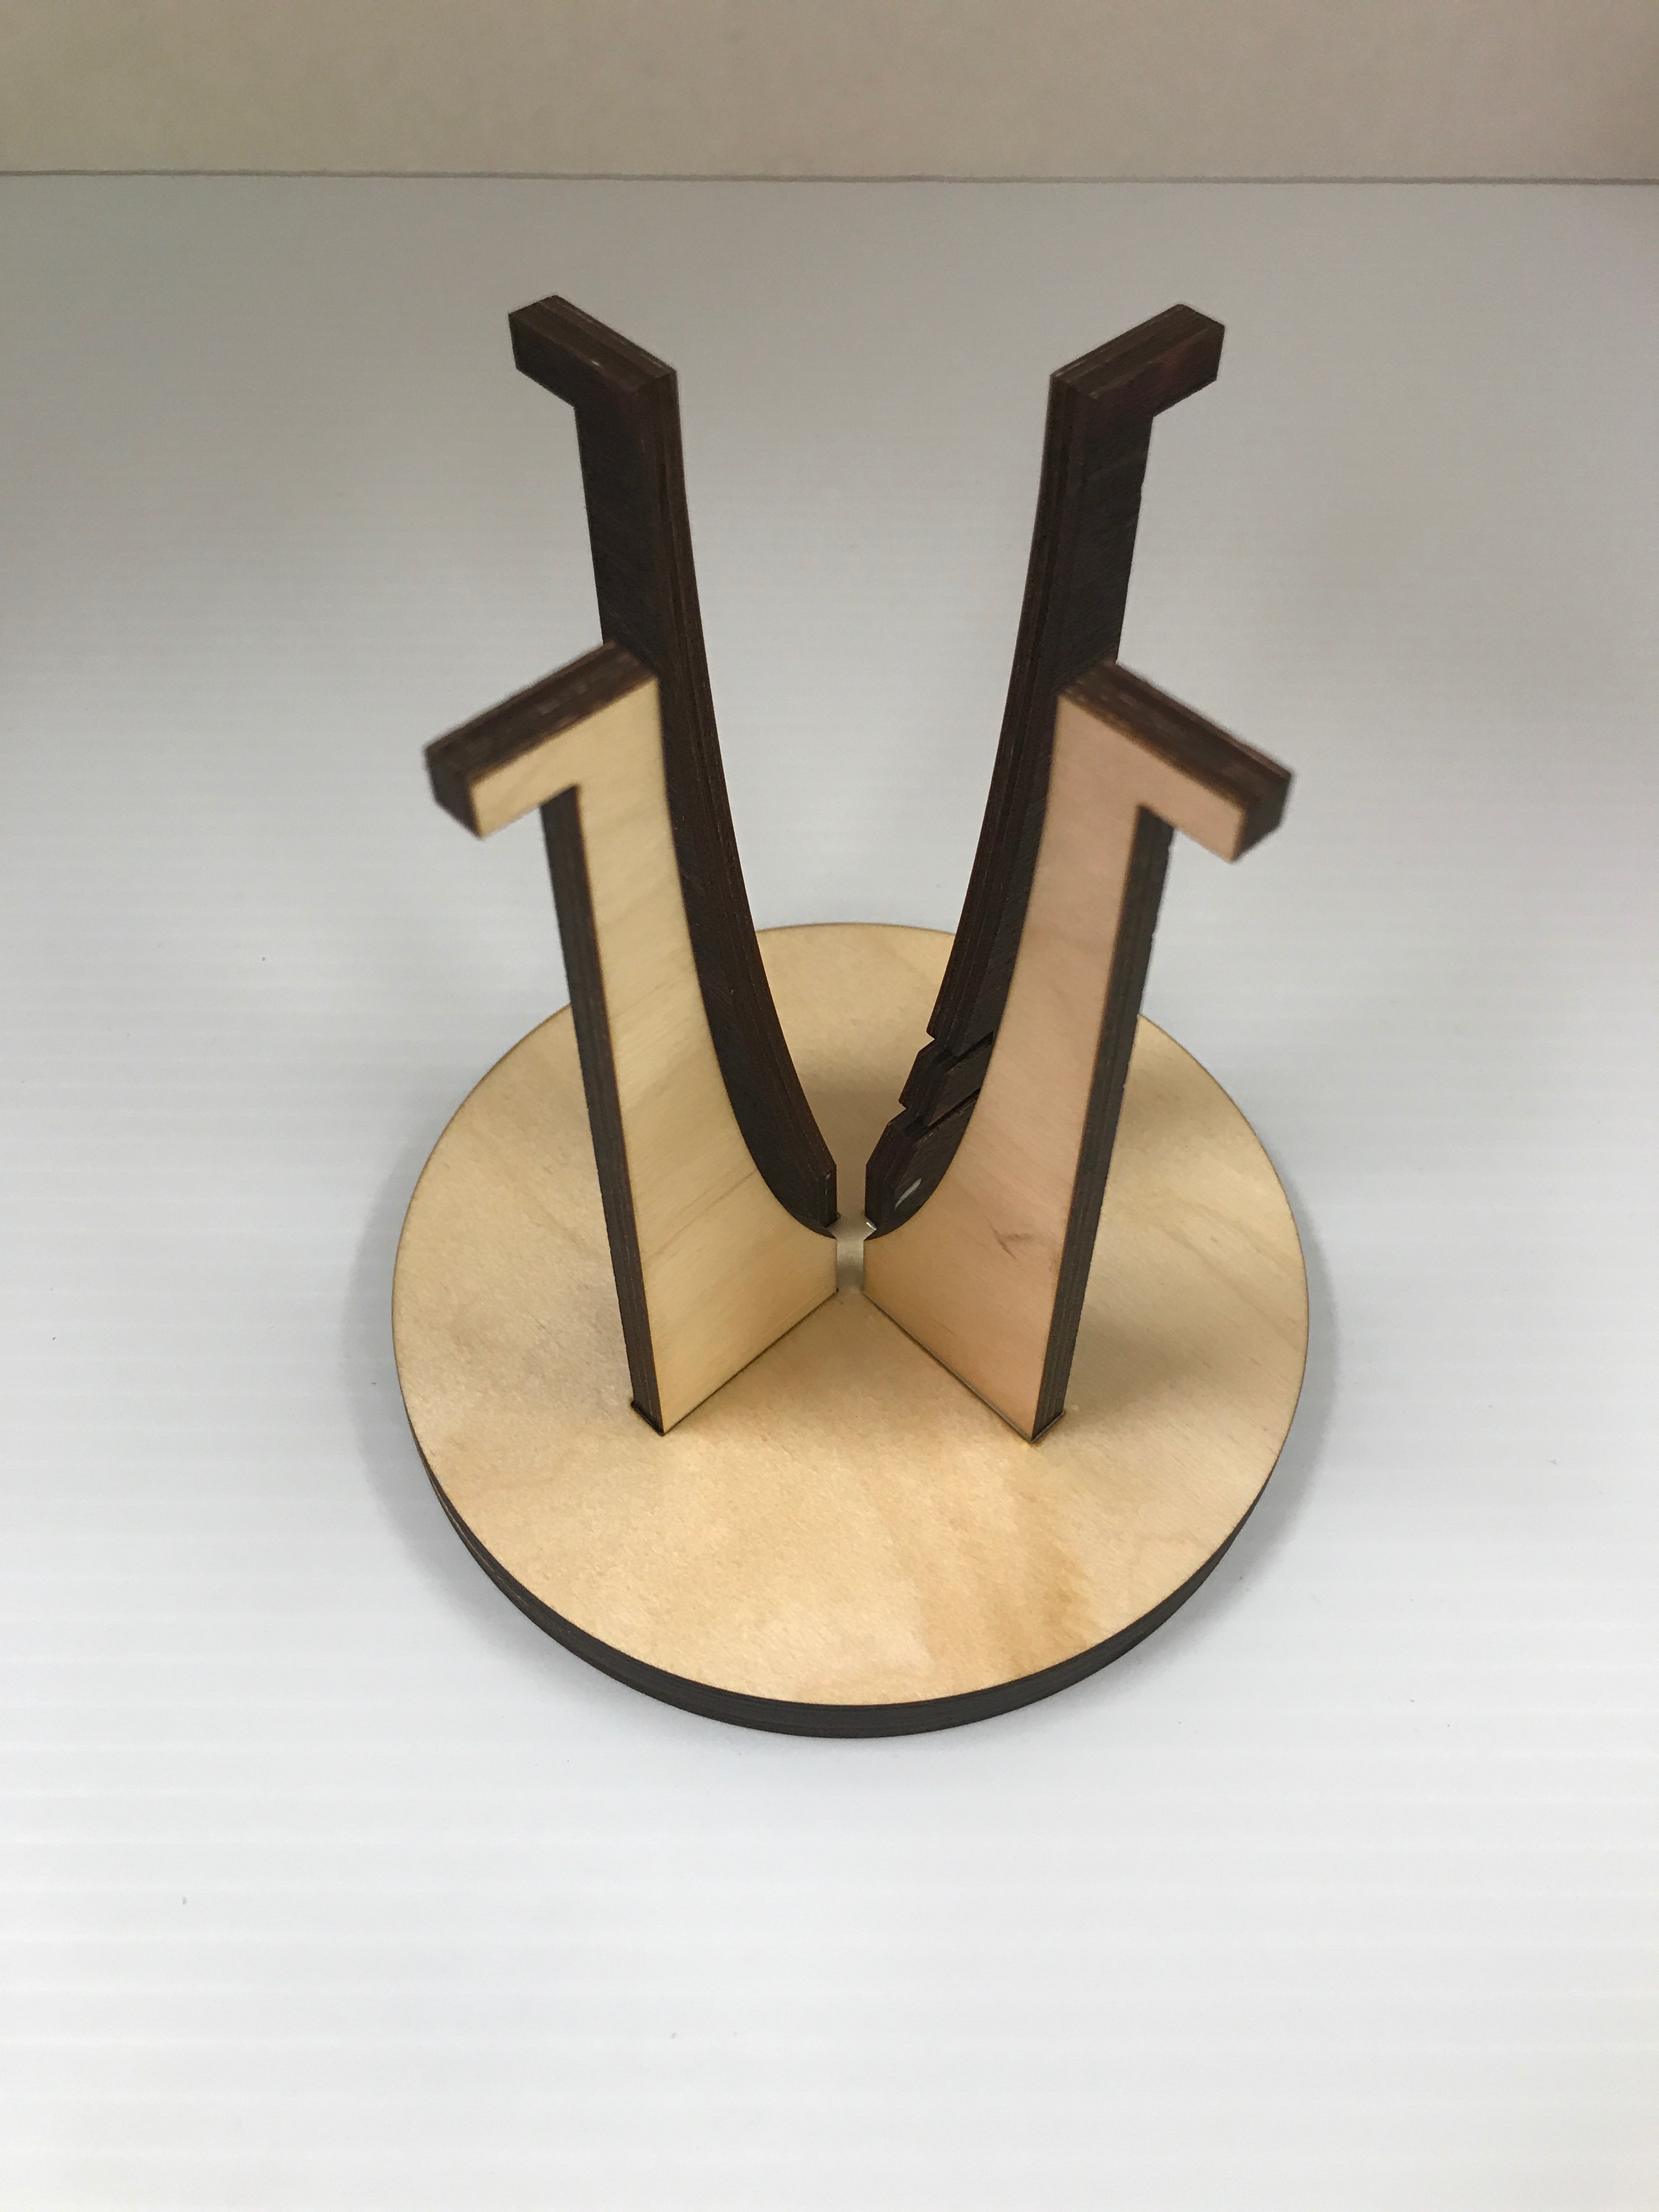
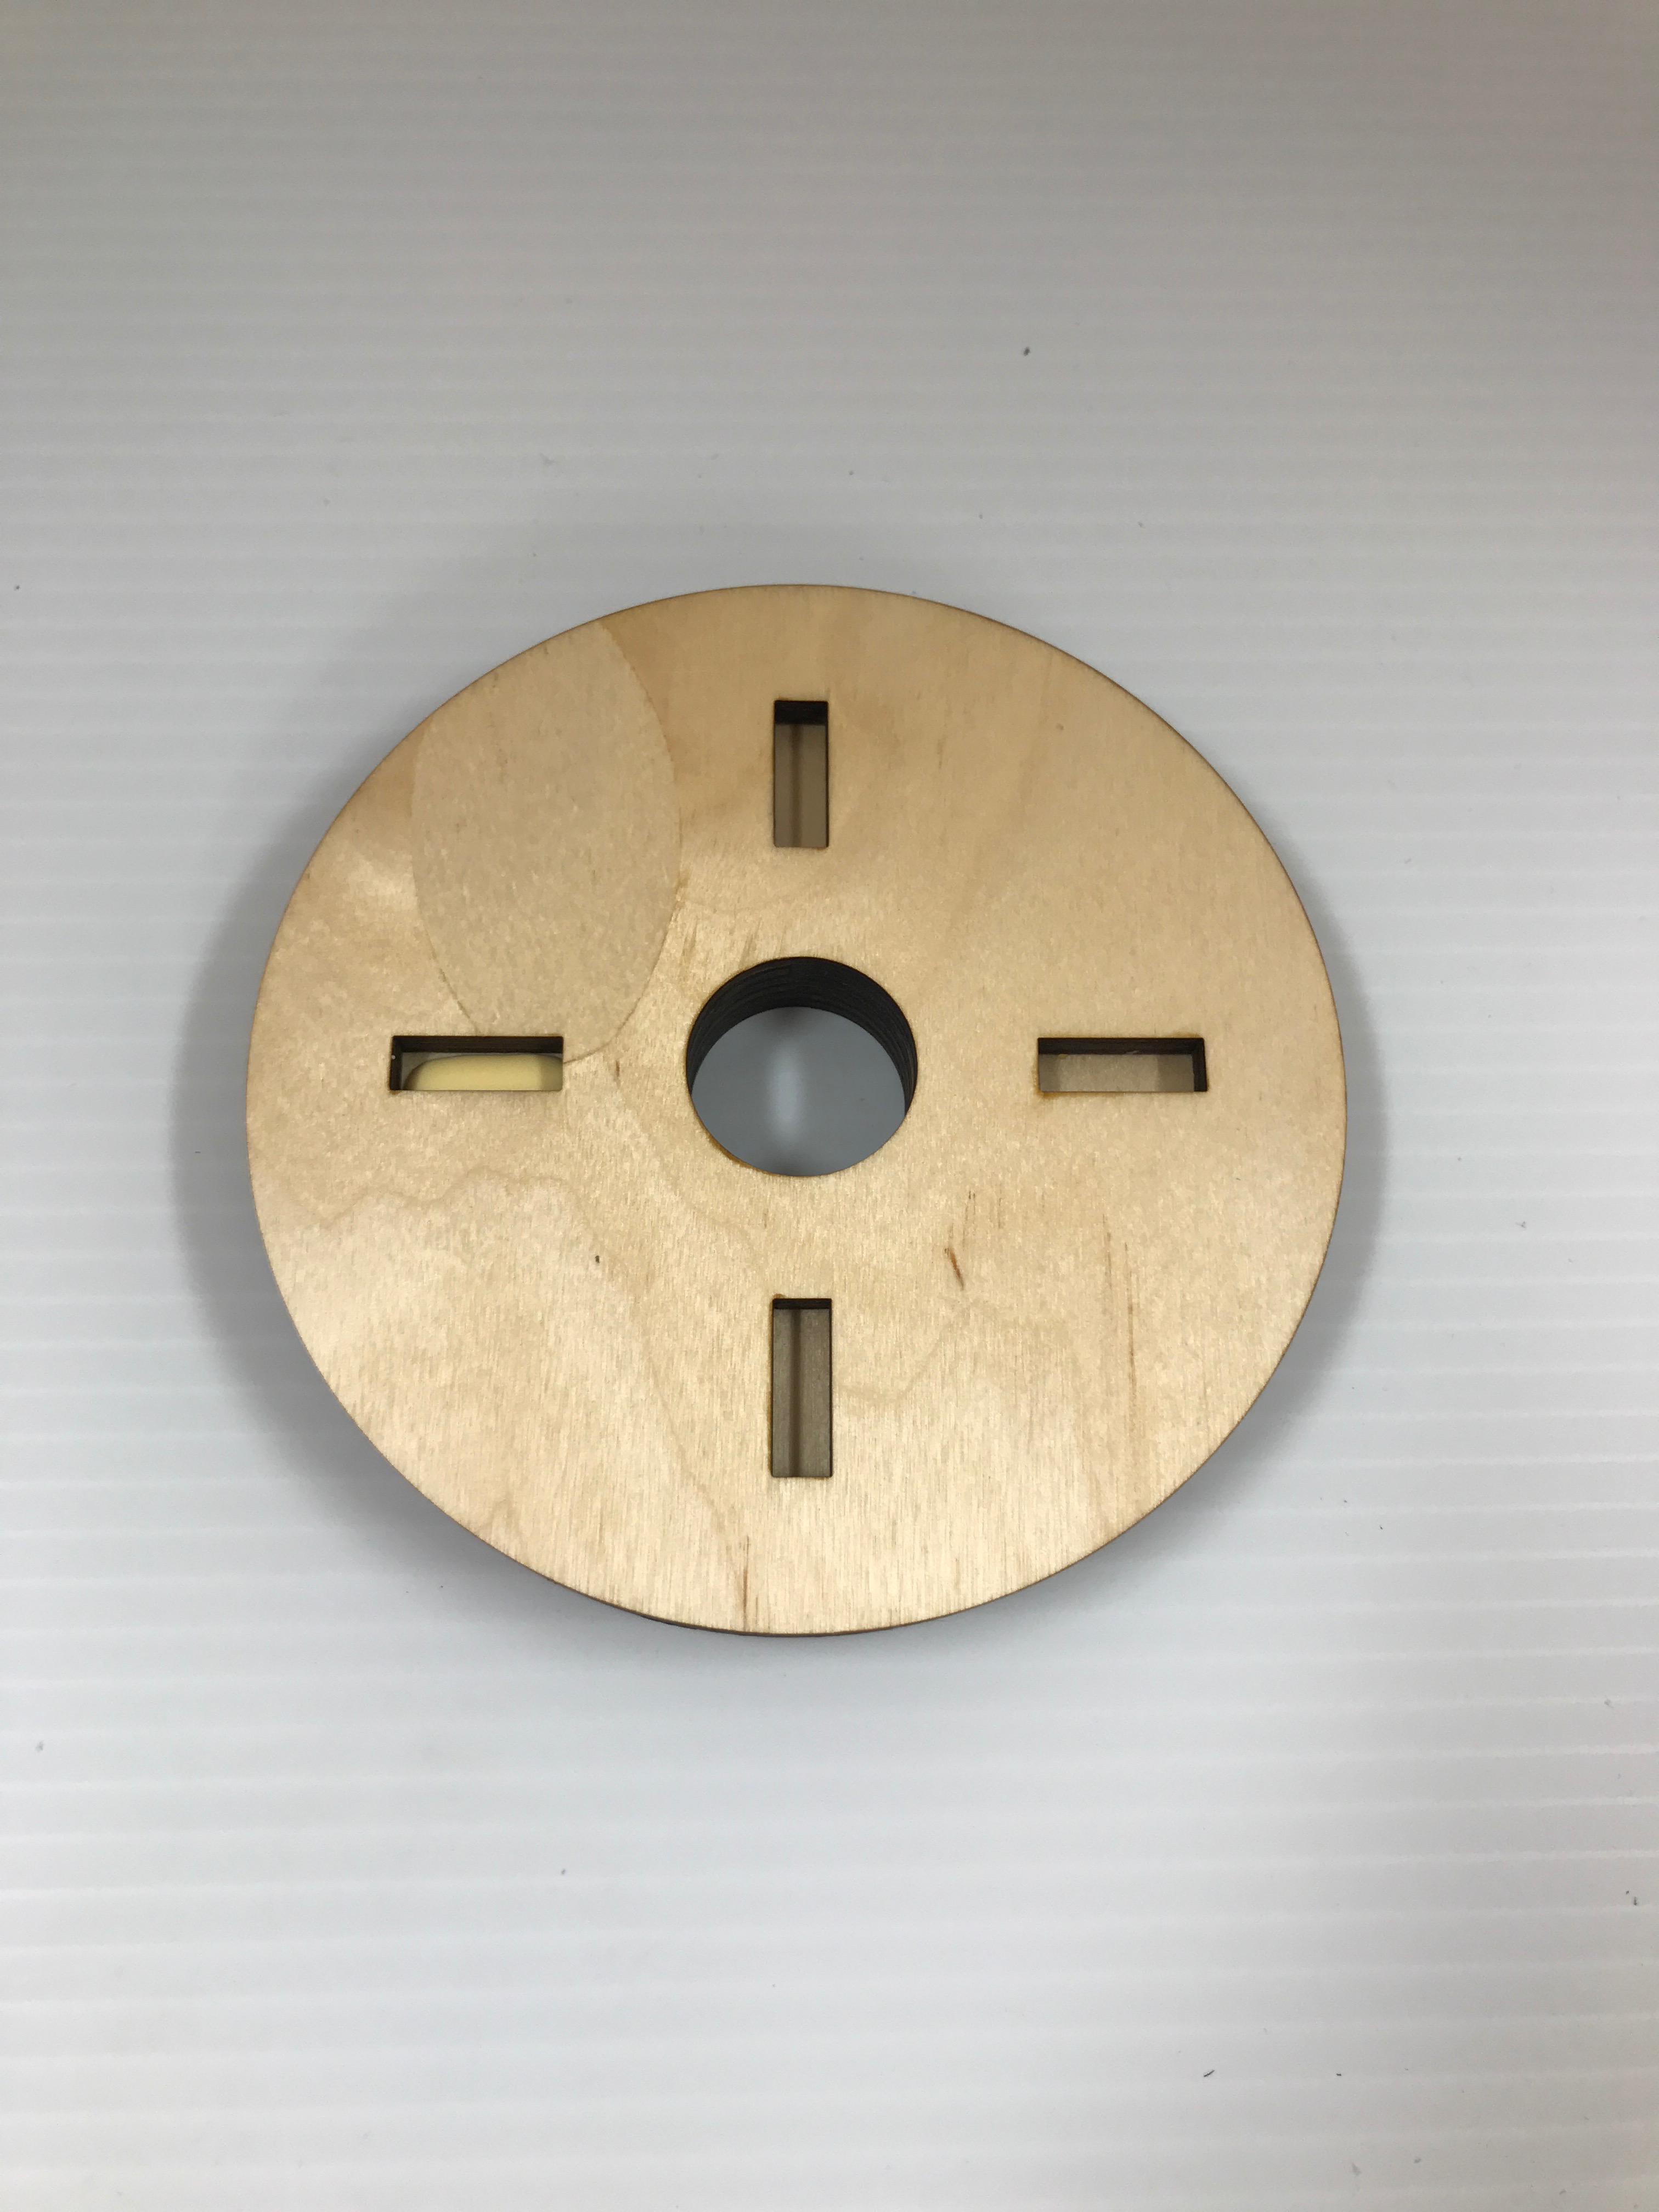
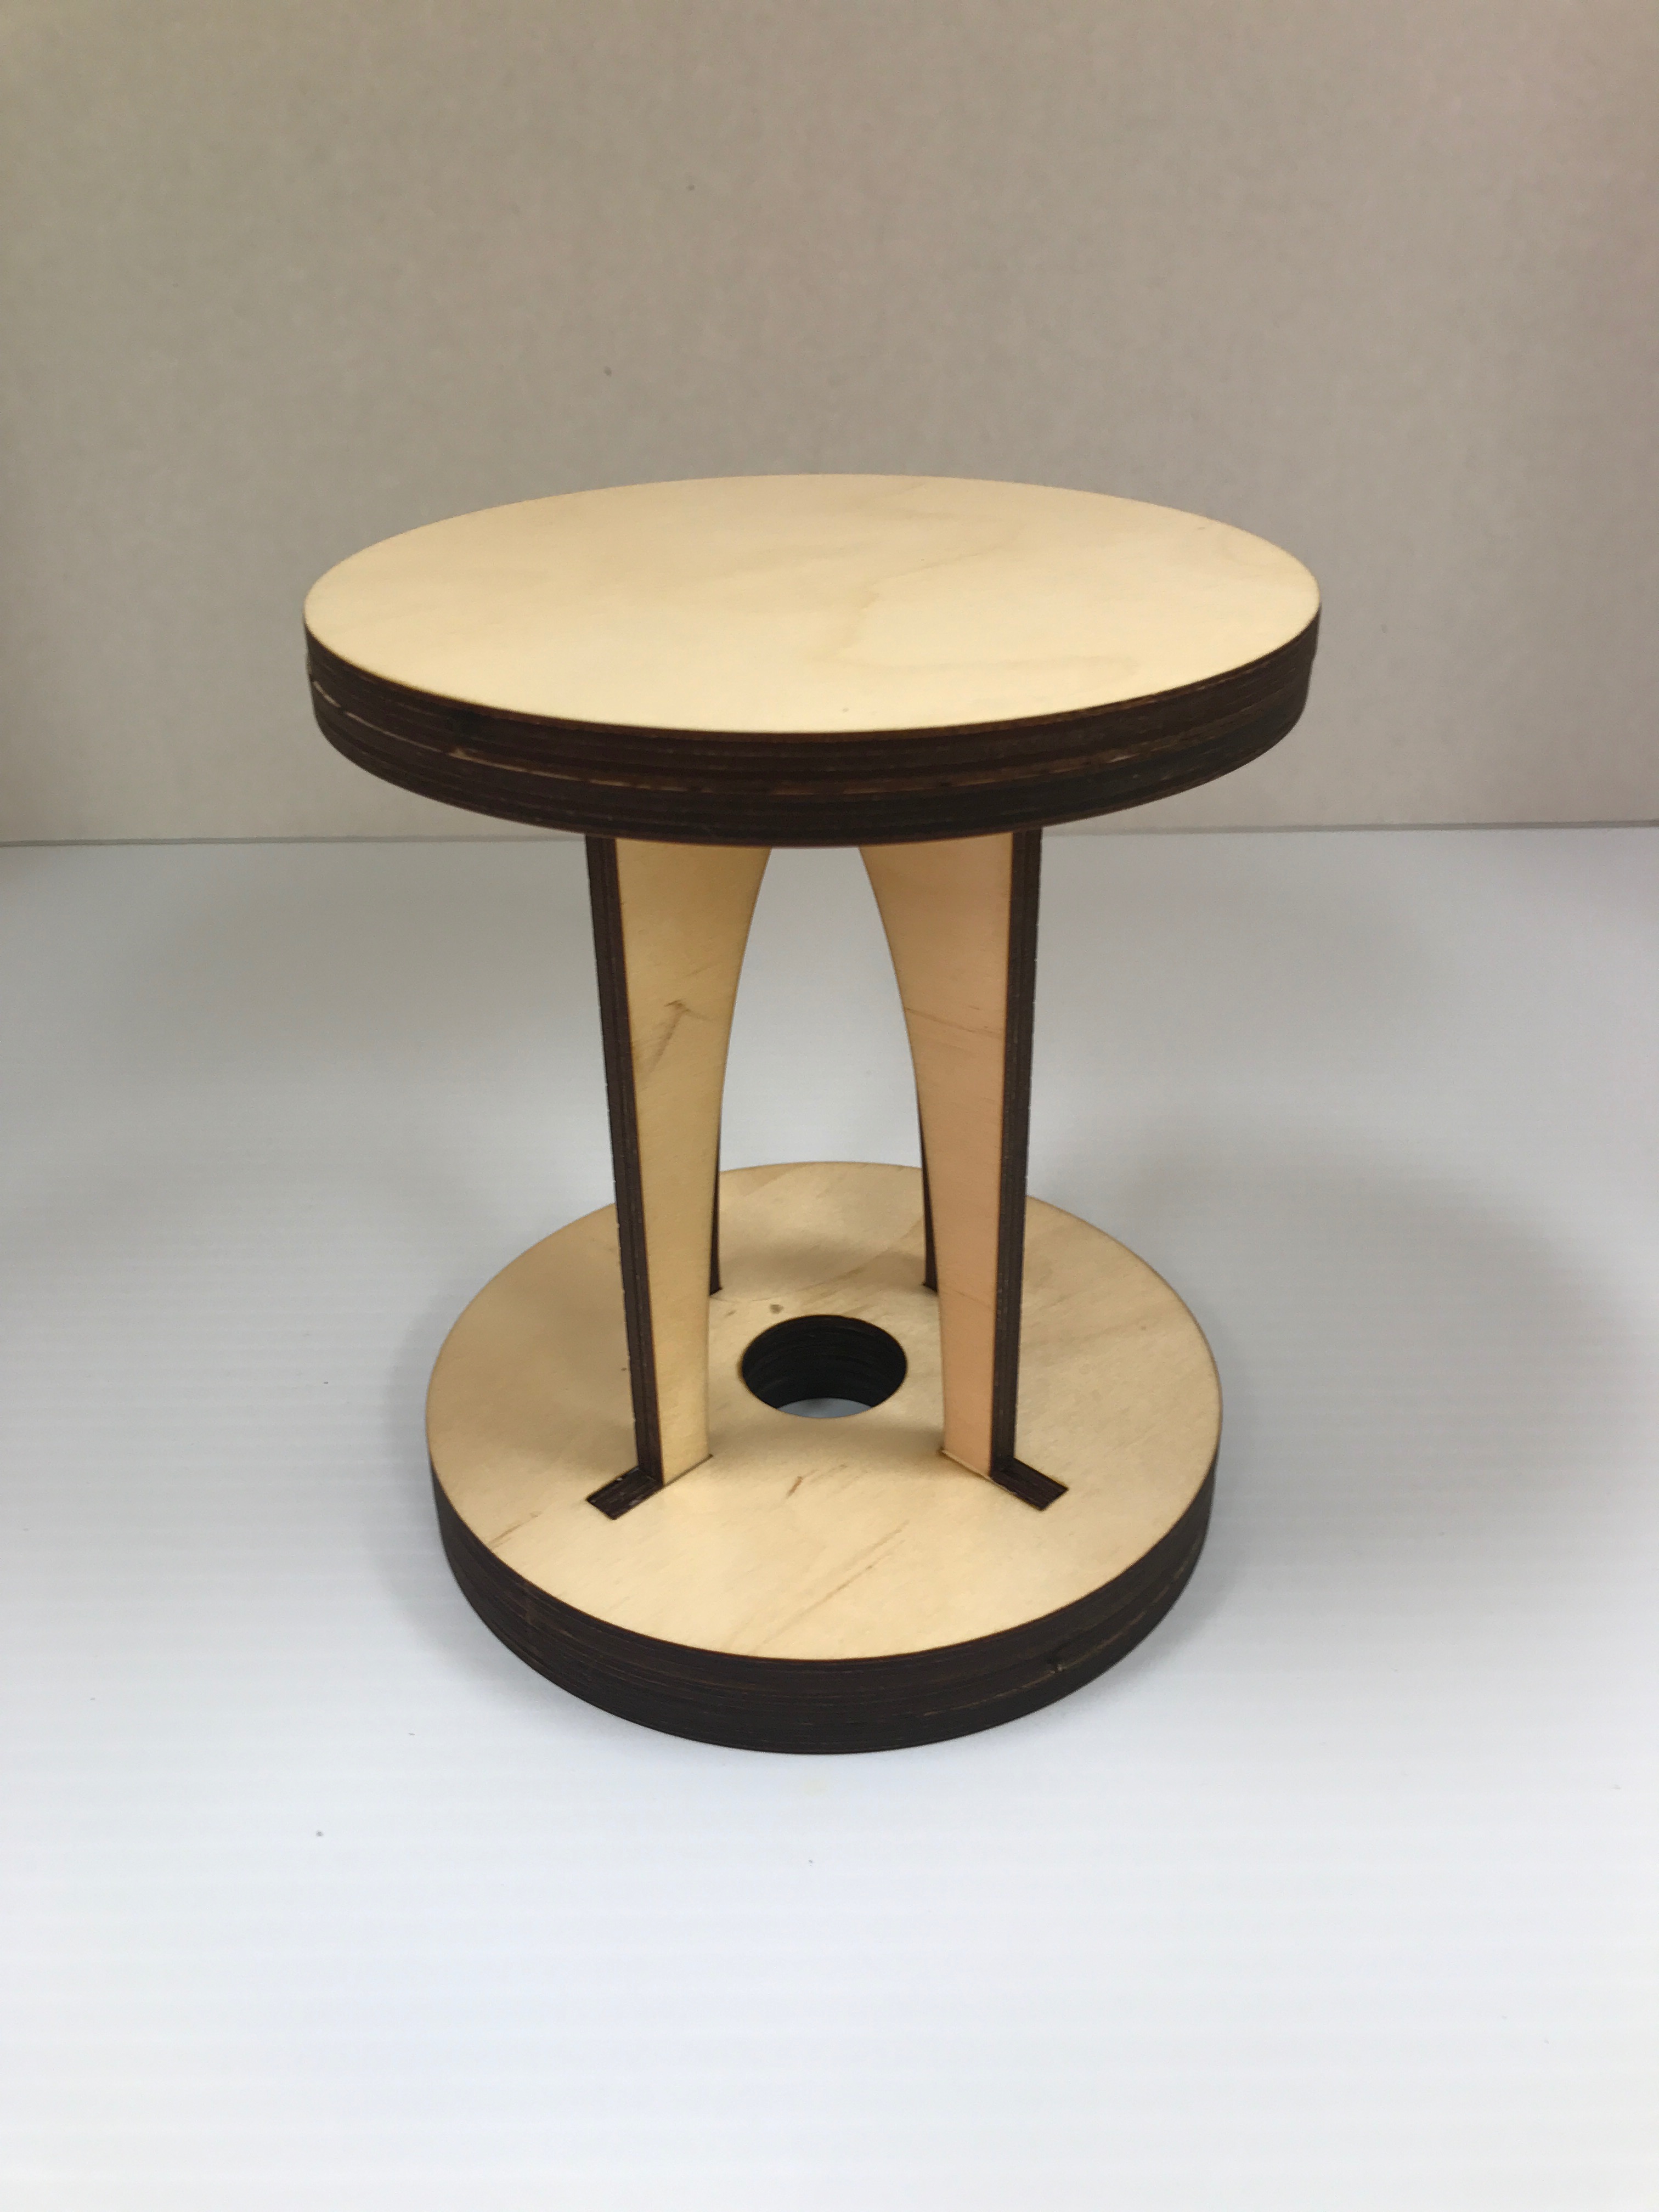
- Color unfinished side of each leg with brown Sharpie marker.
- Add glue to the cutout trench on the stand, place leg into the cutout trench.
- Wipe off any excess glue using Q-Tips.
- Repeat Step 2-3 for each cutout trench.
- Let dry for a few minutes.
- Add glue to the cutout trenches on the bottom of the base.
- Invert the stand with the recently added legs and insert legs into base trenches.
- Wipe off any excess glue using Q-Tips.
- Let dry for at least 10 minutes.
Step 5: Add Top Plate
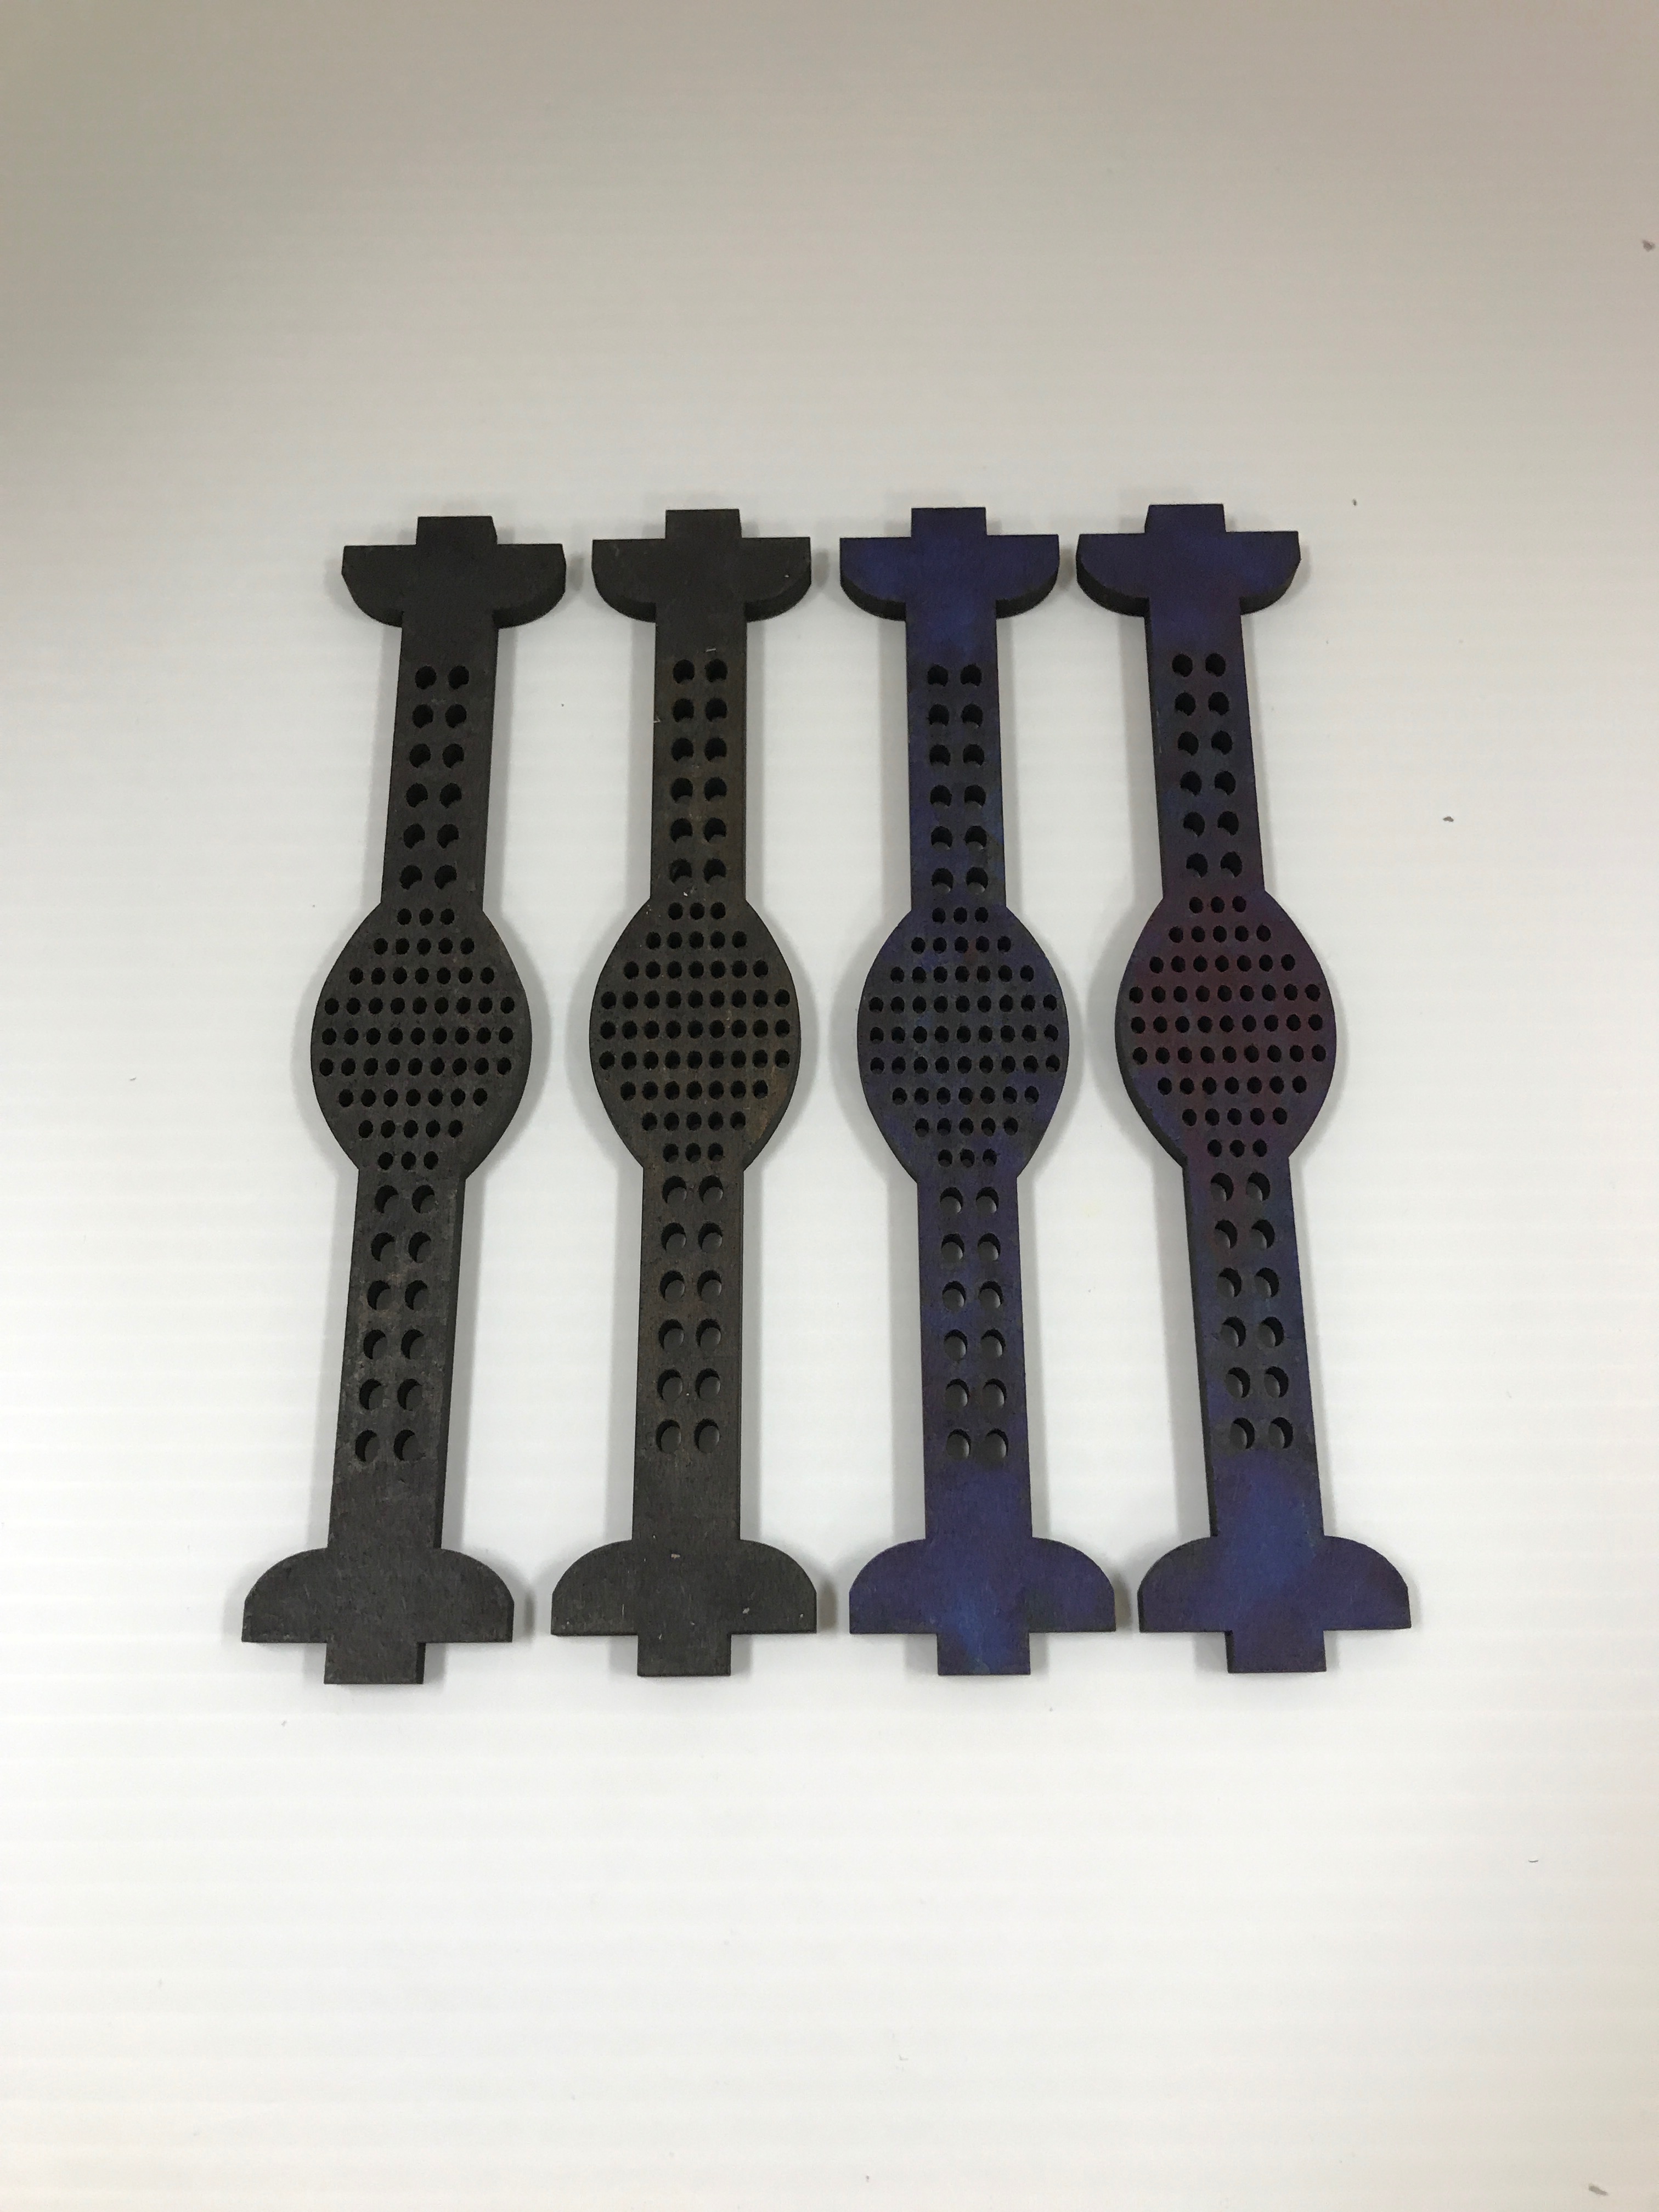
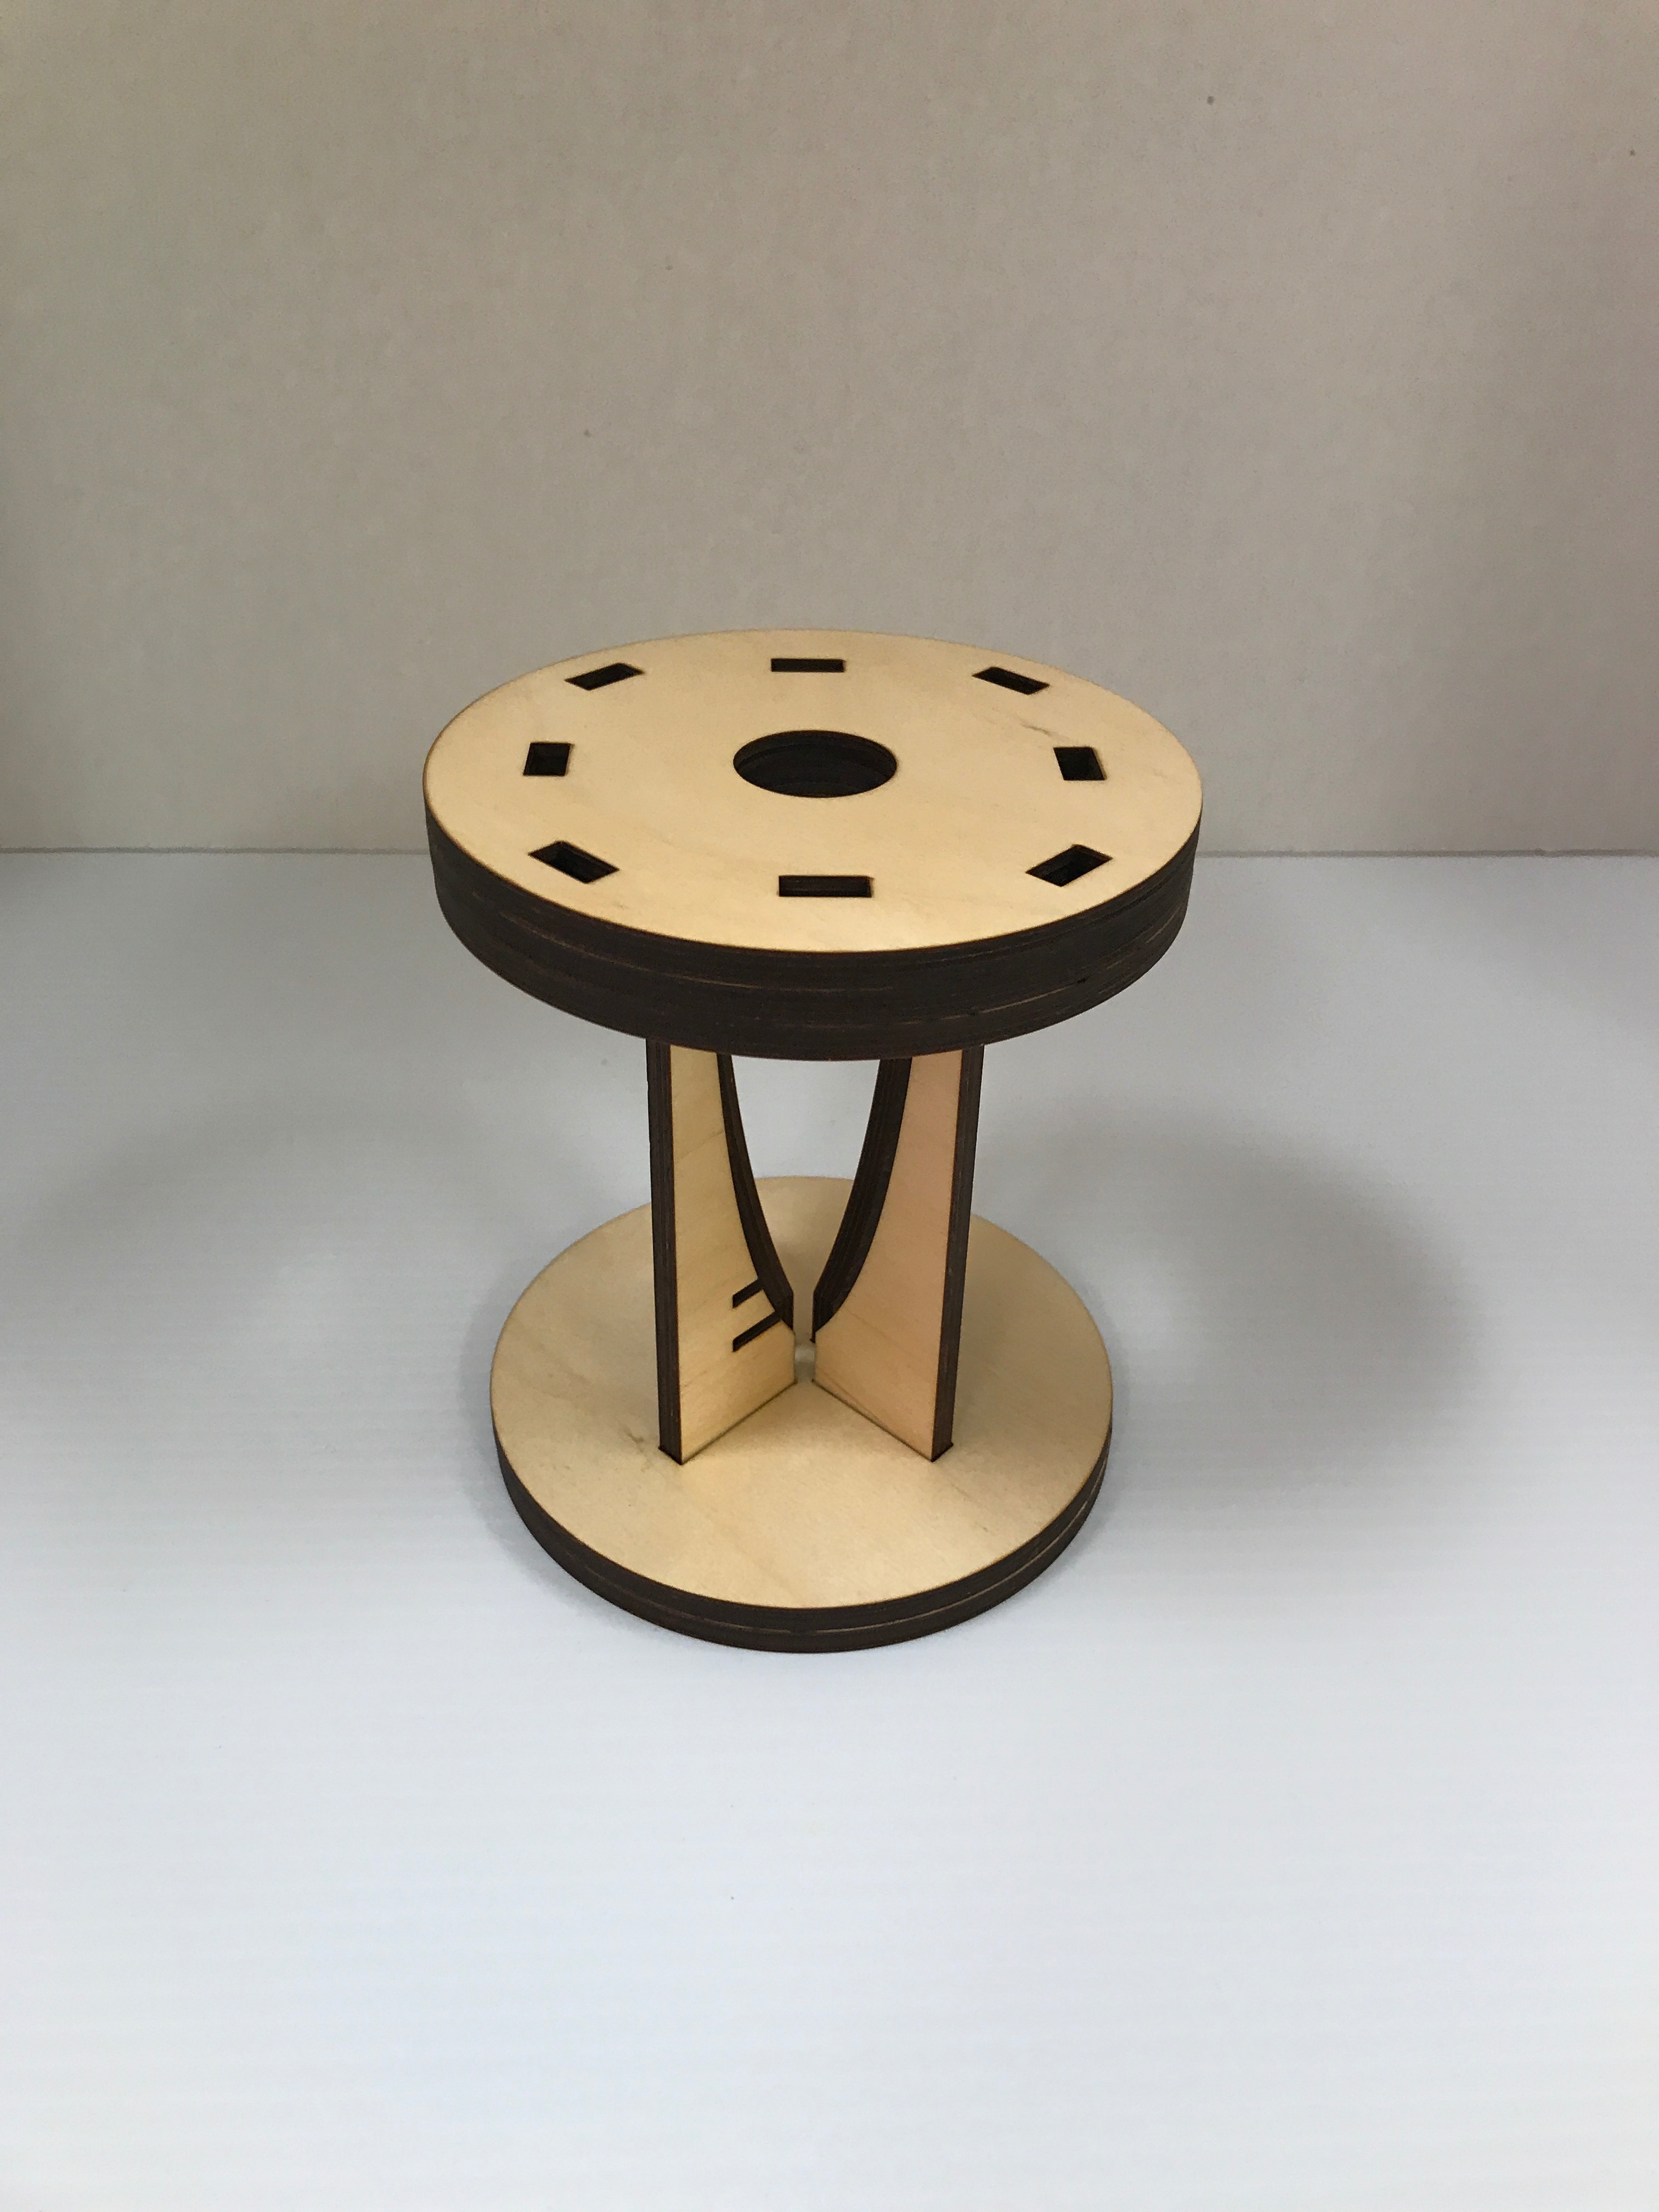
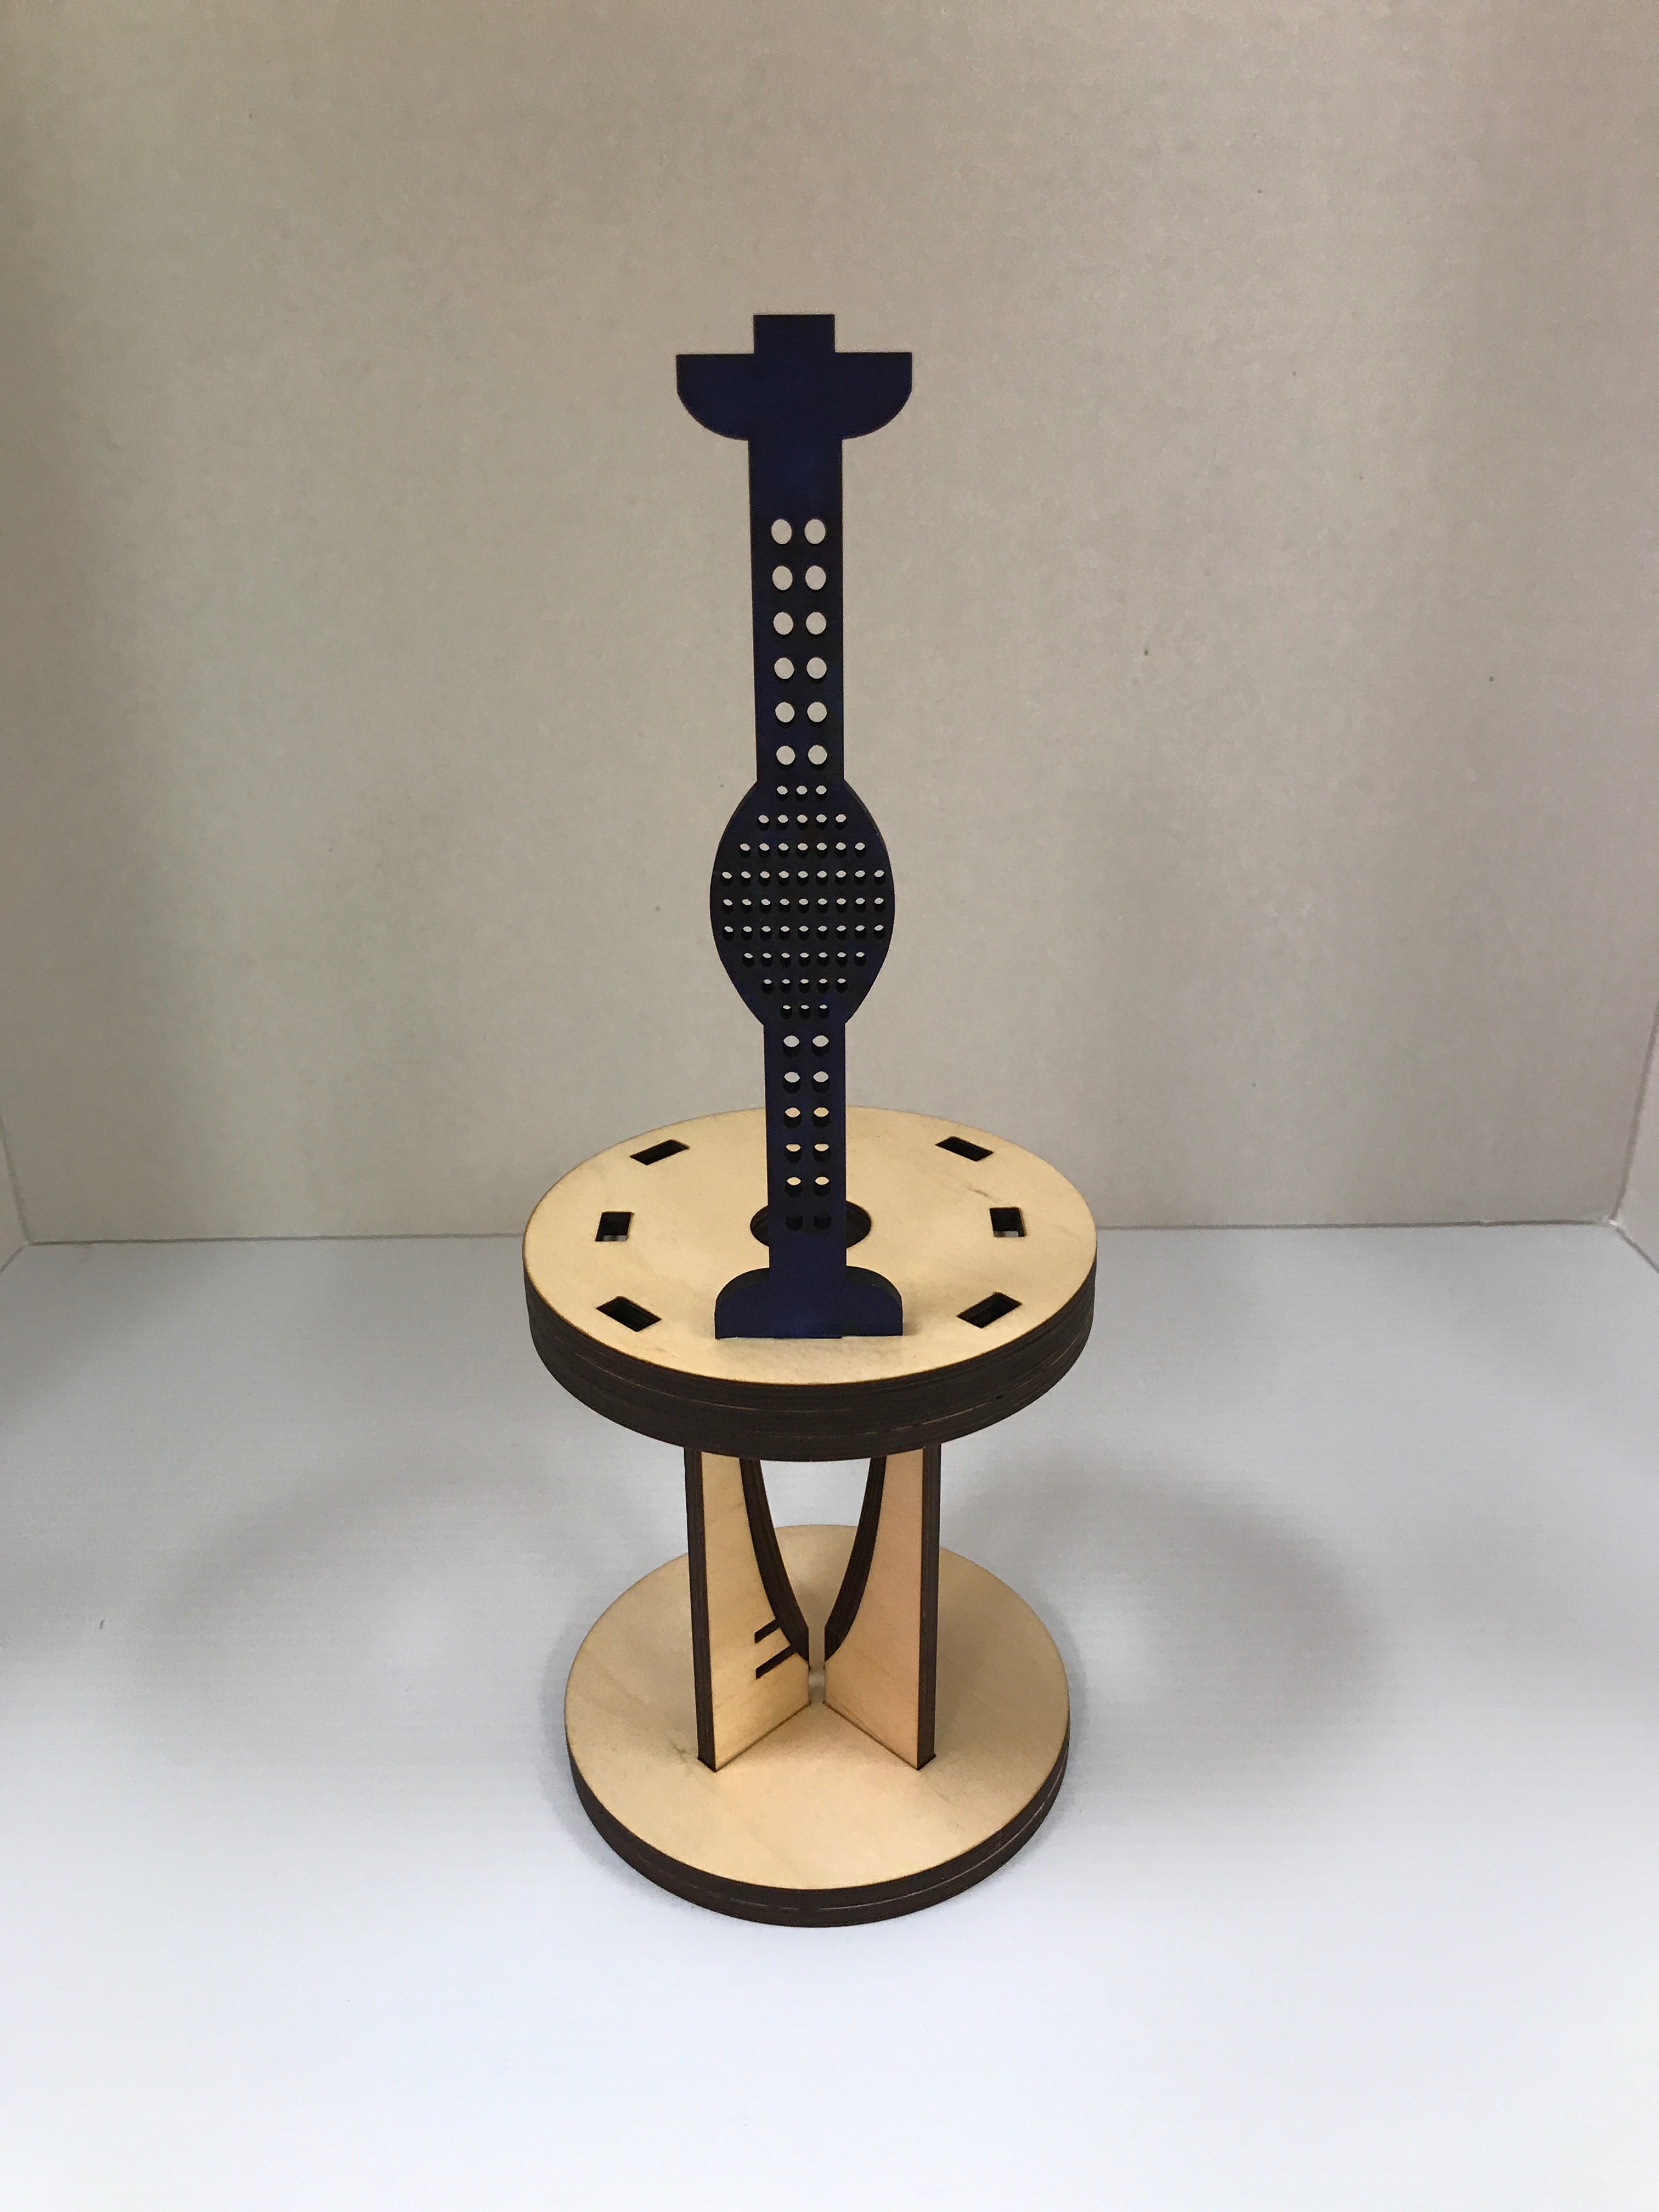
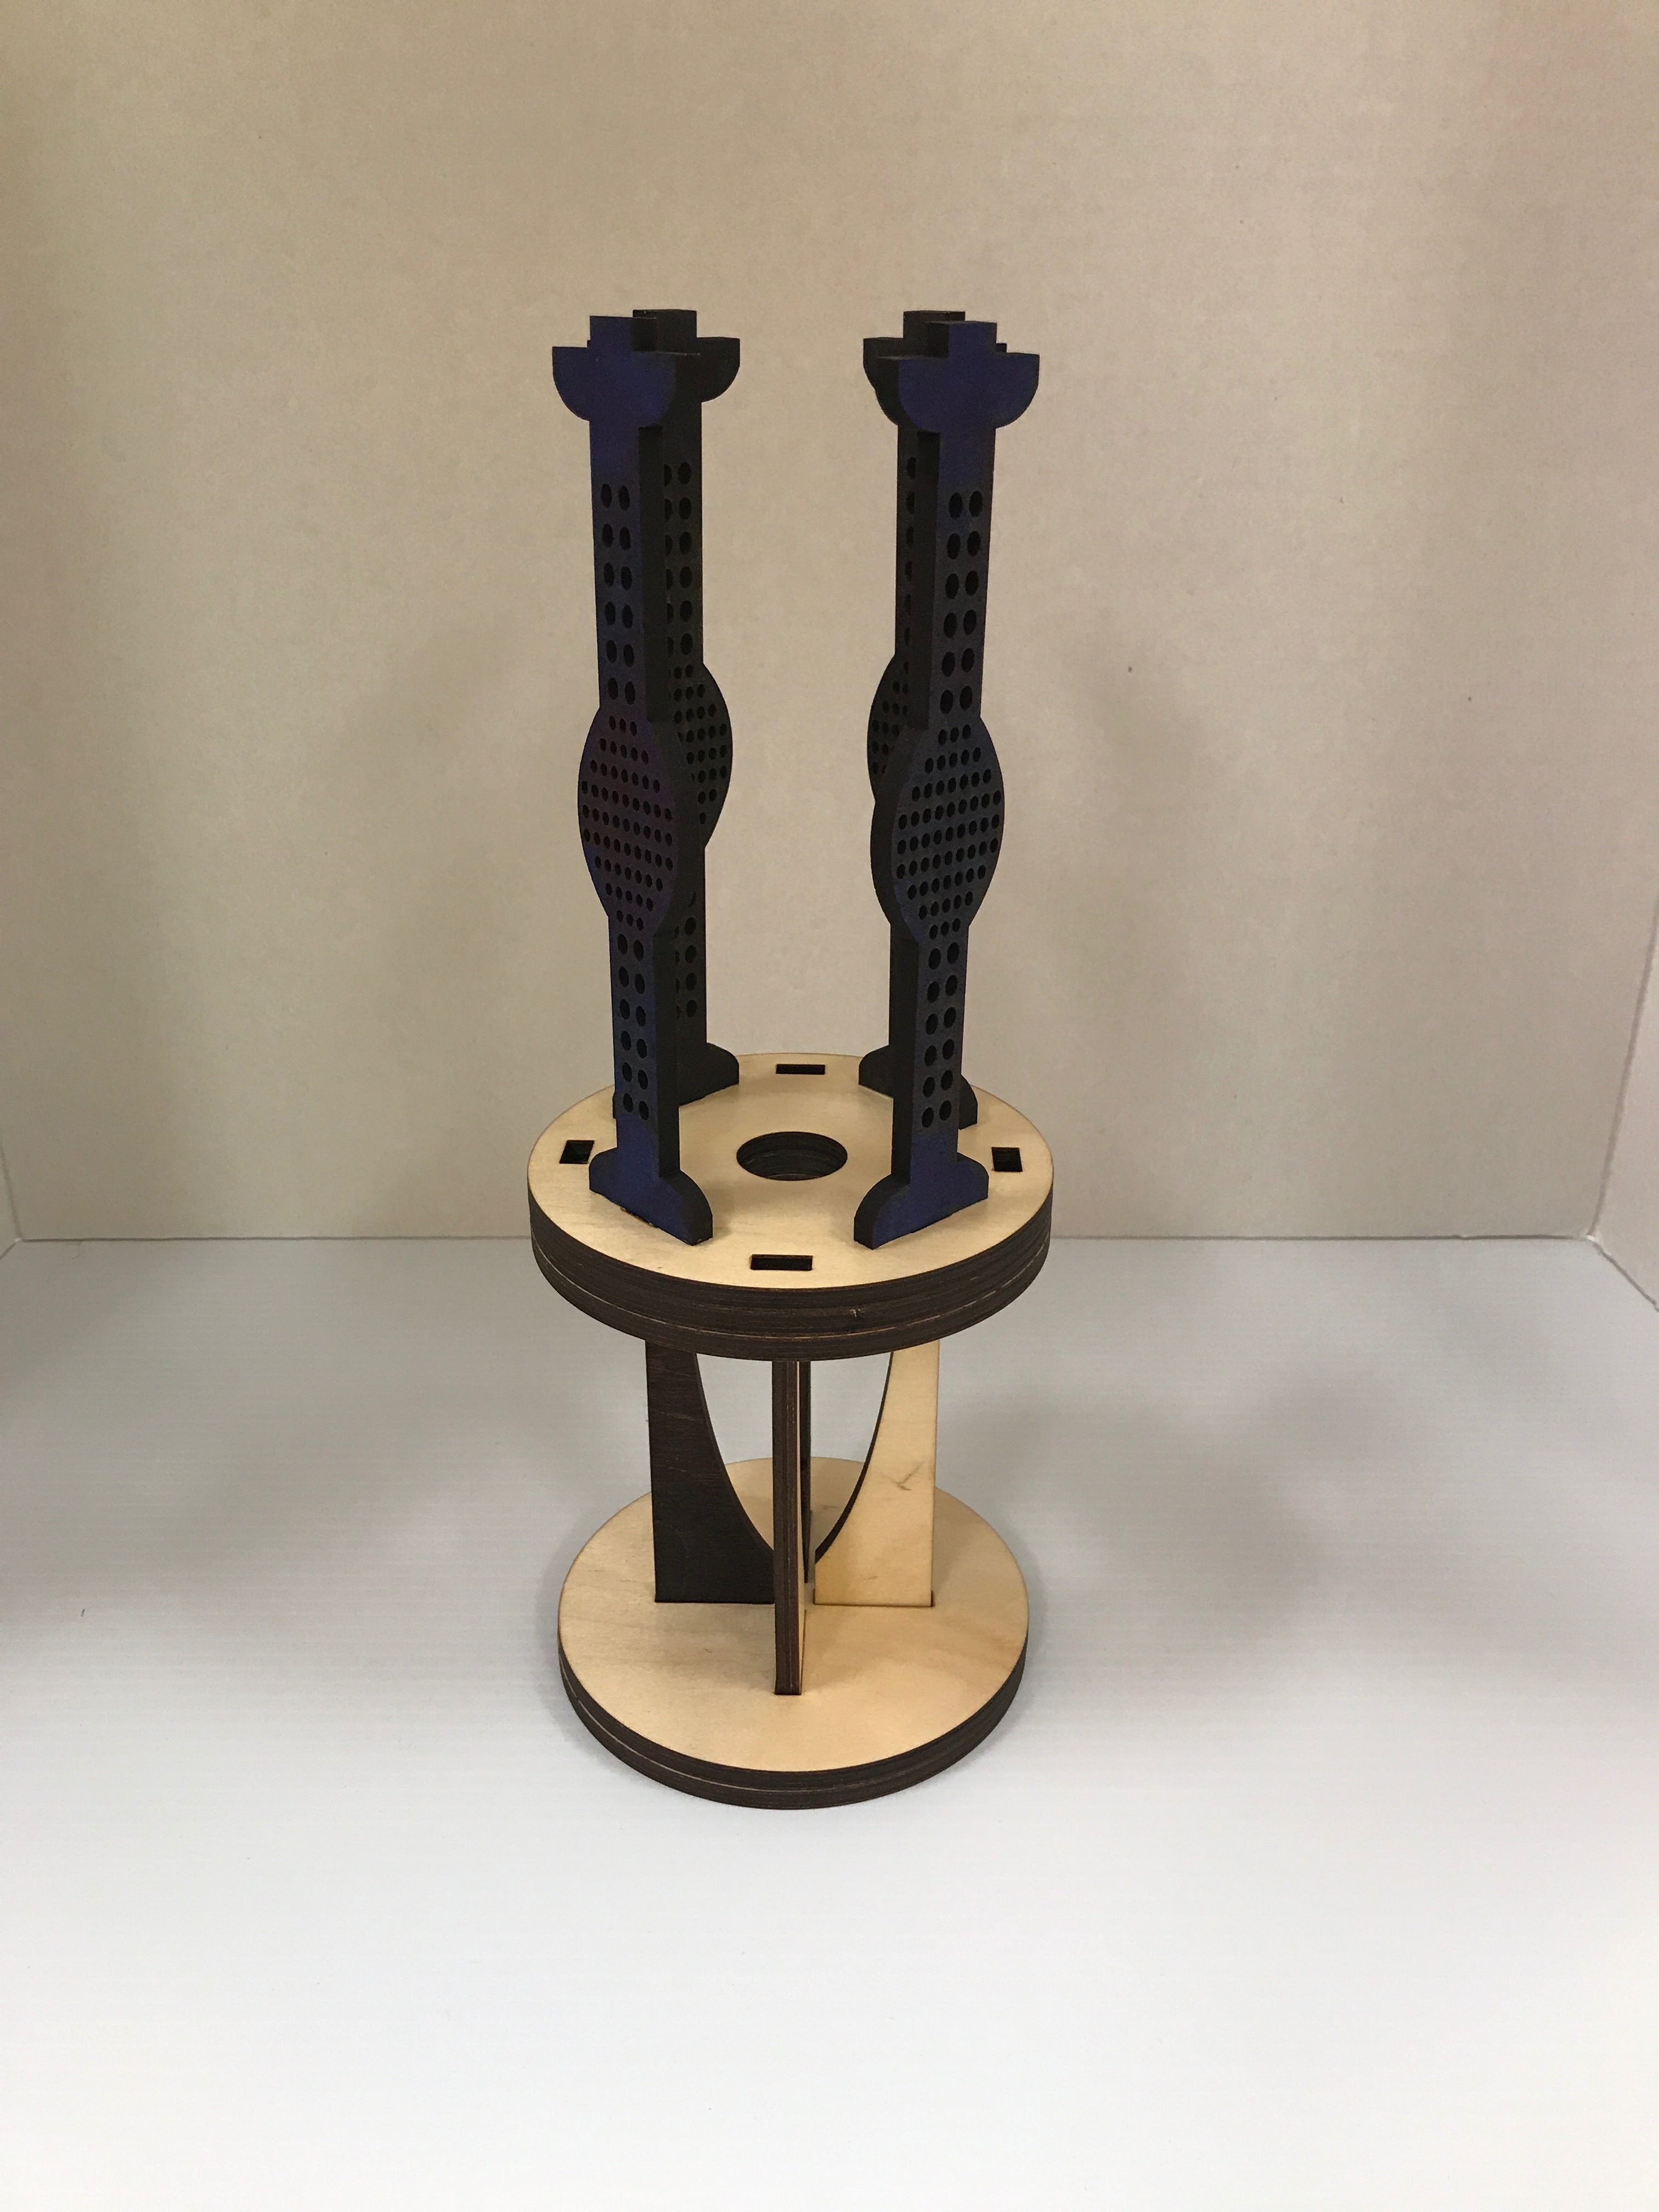
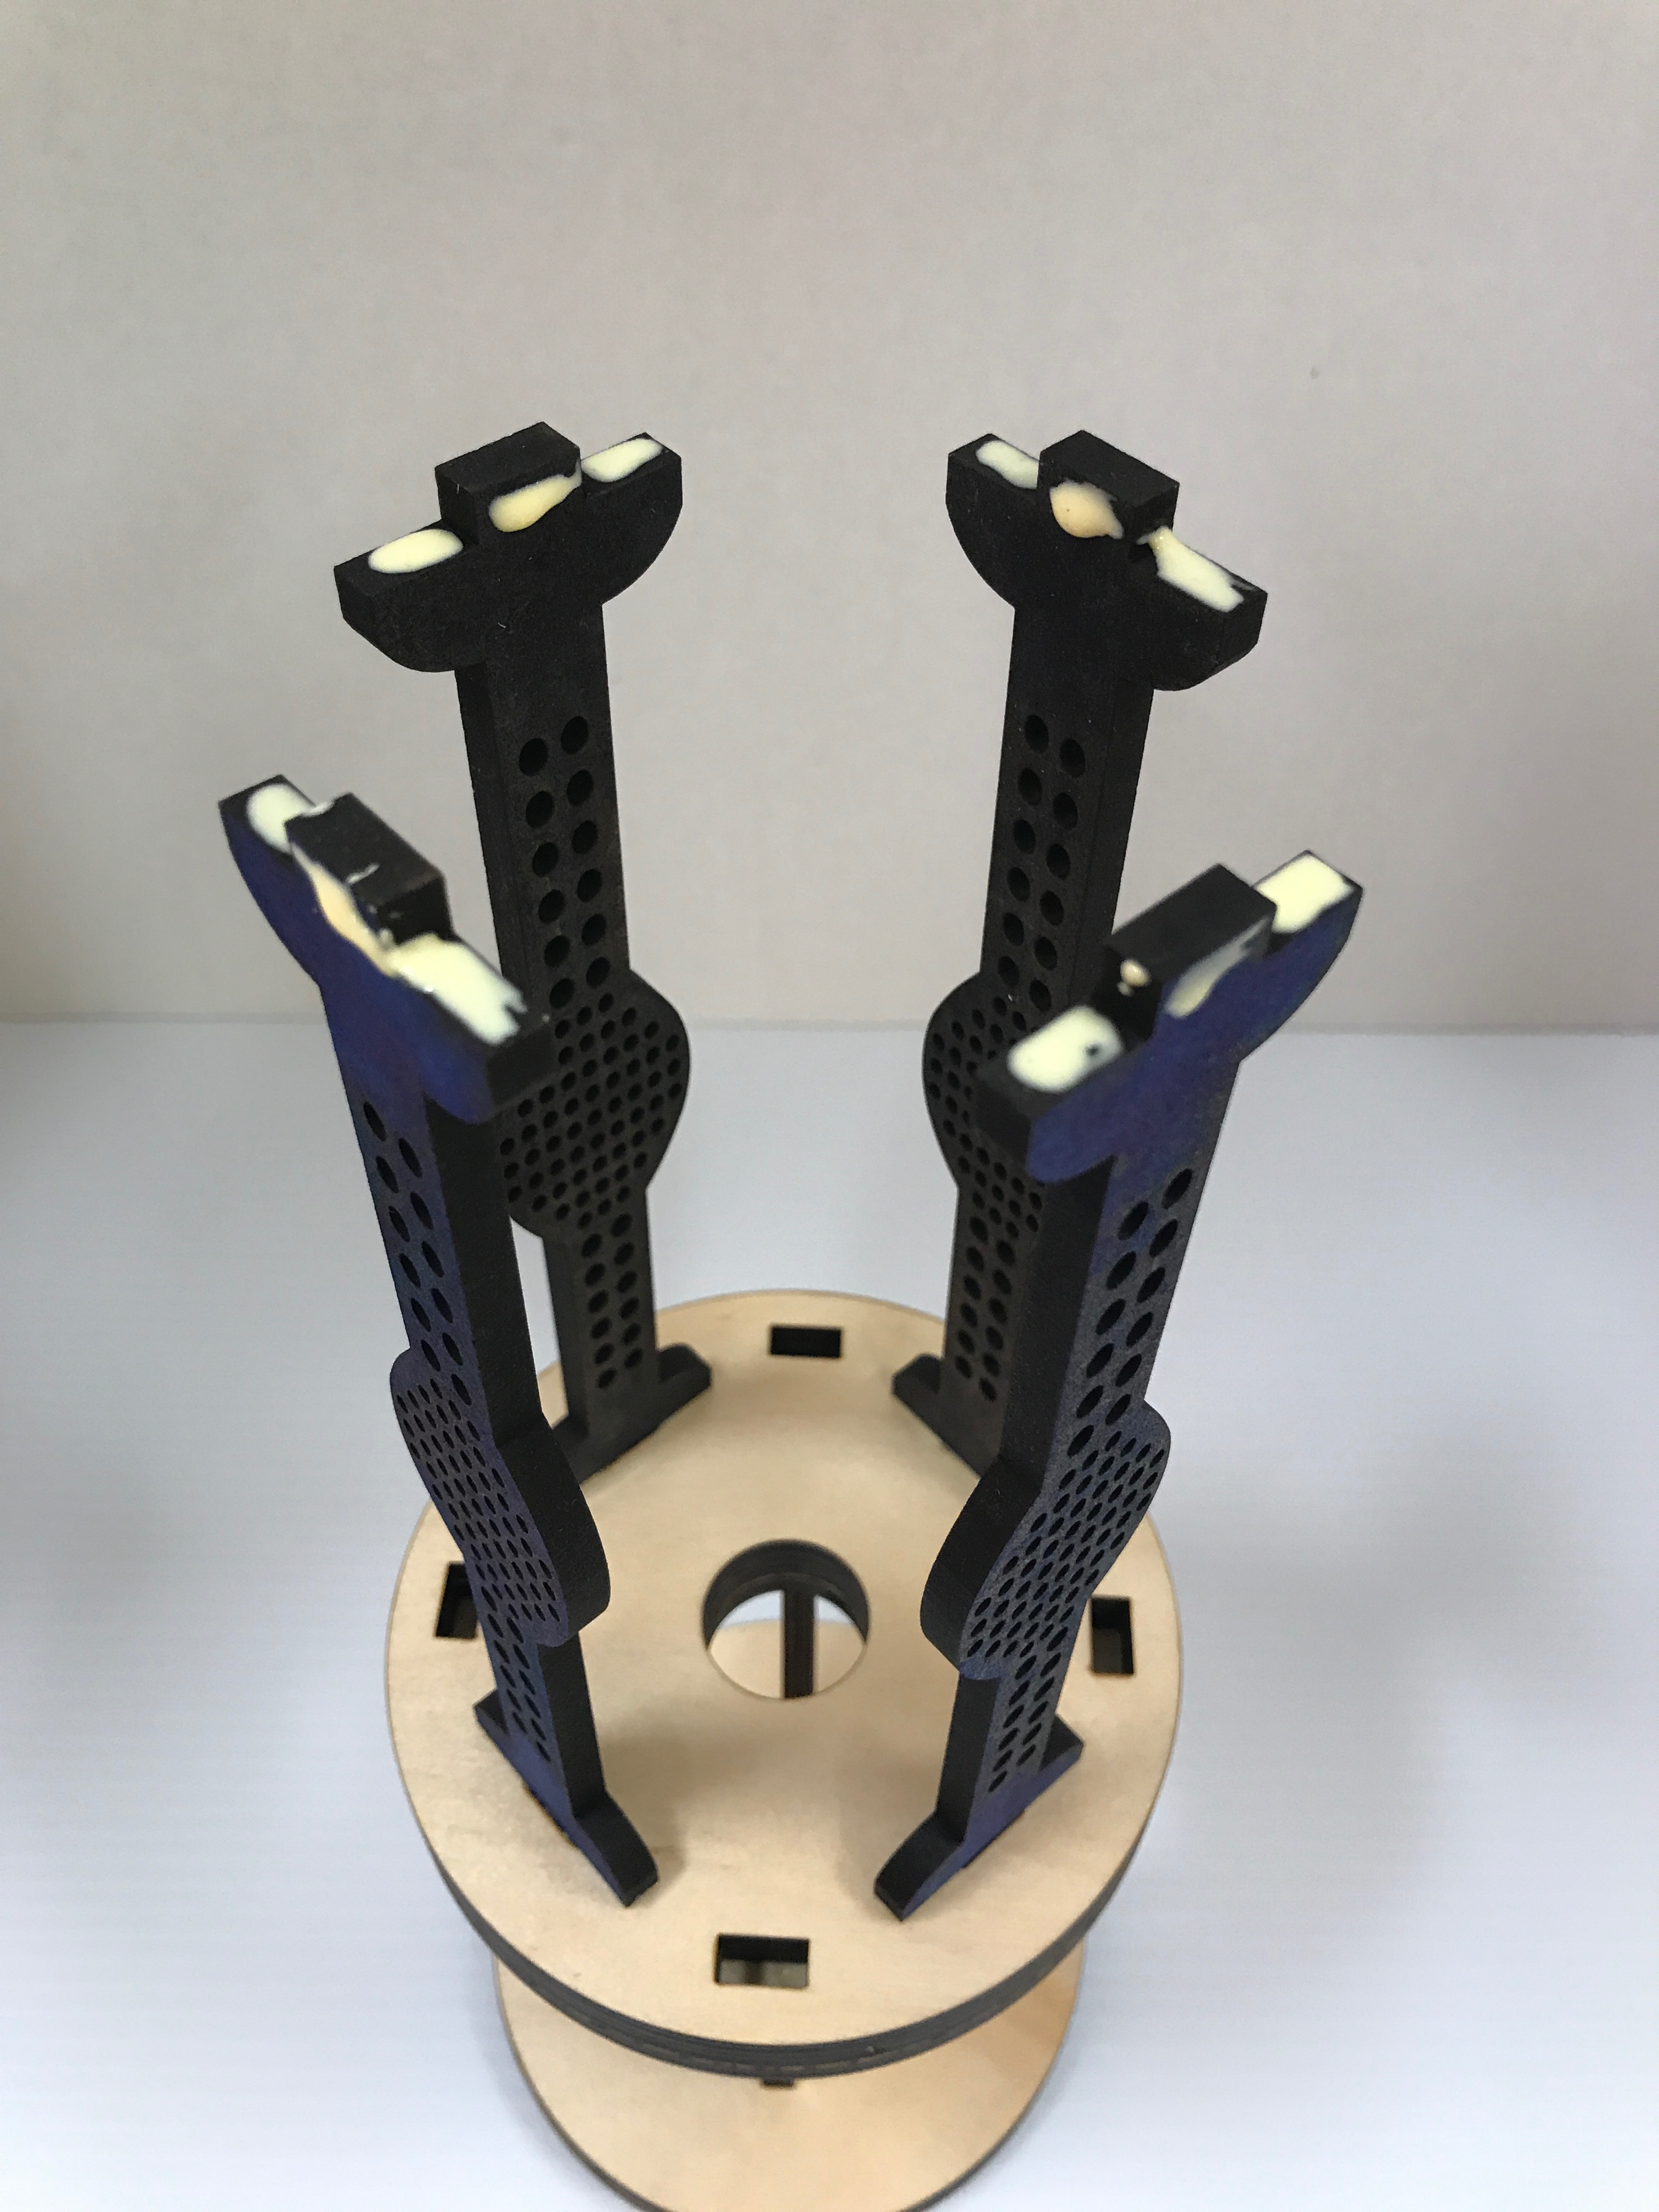
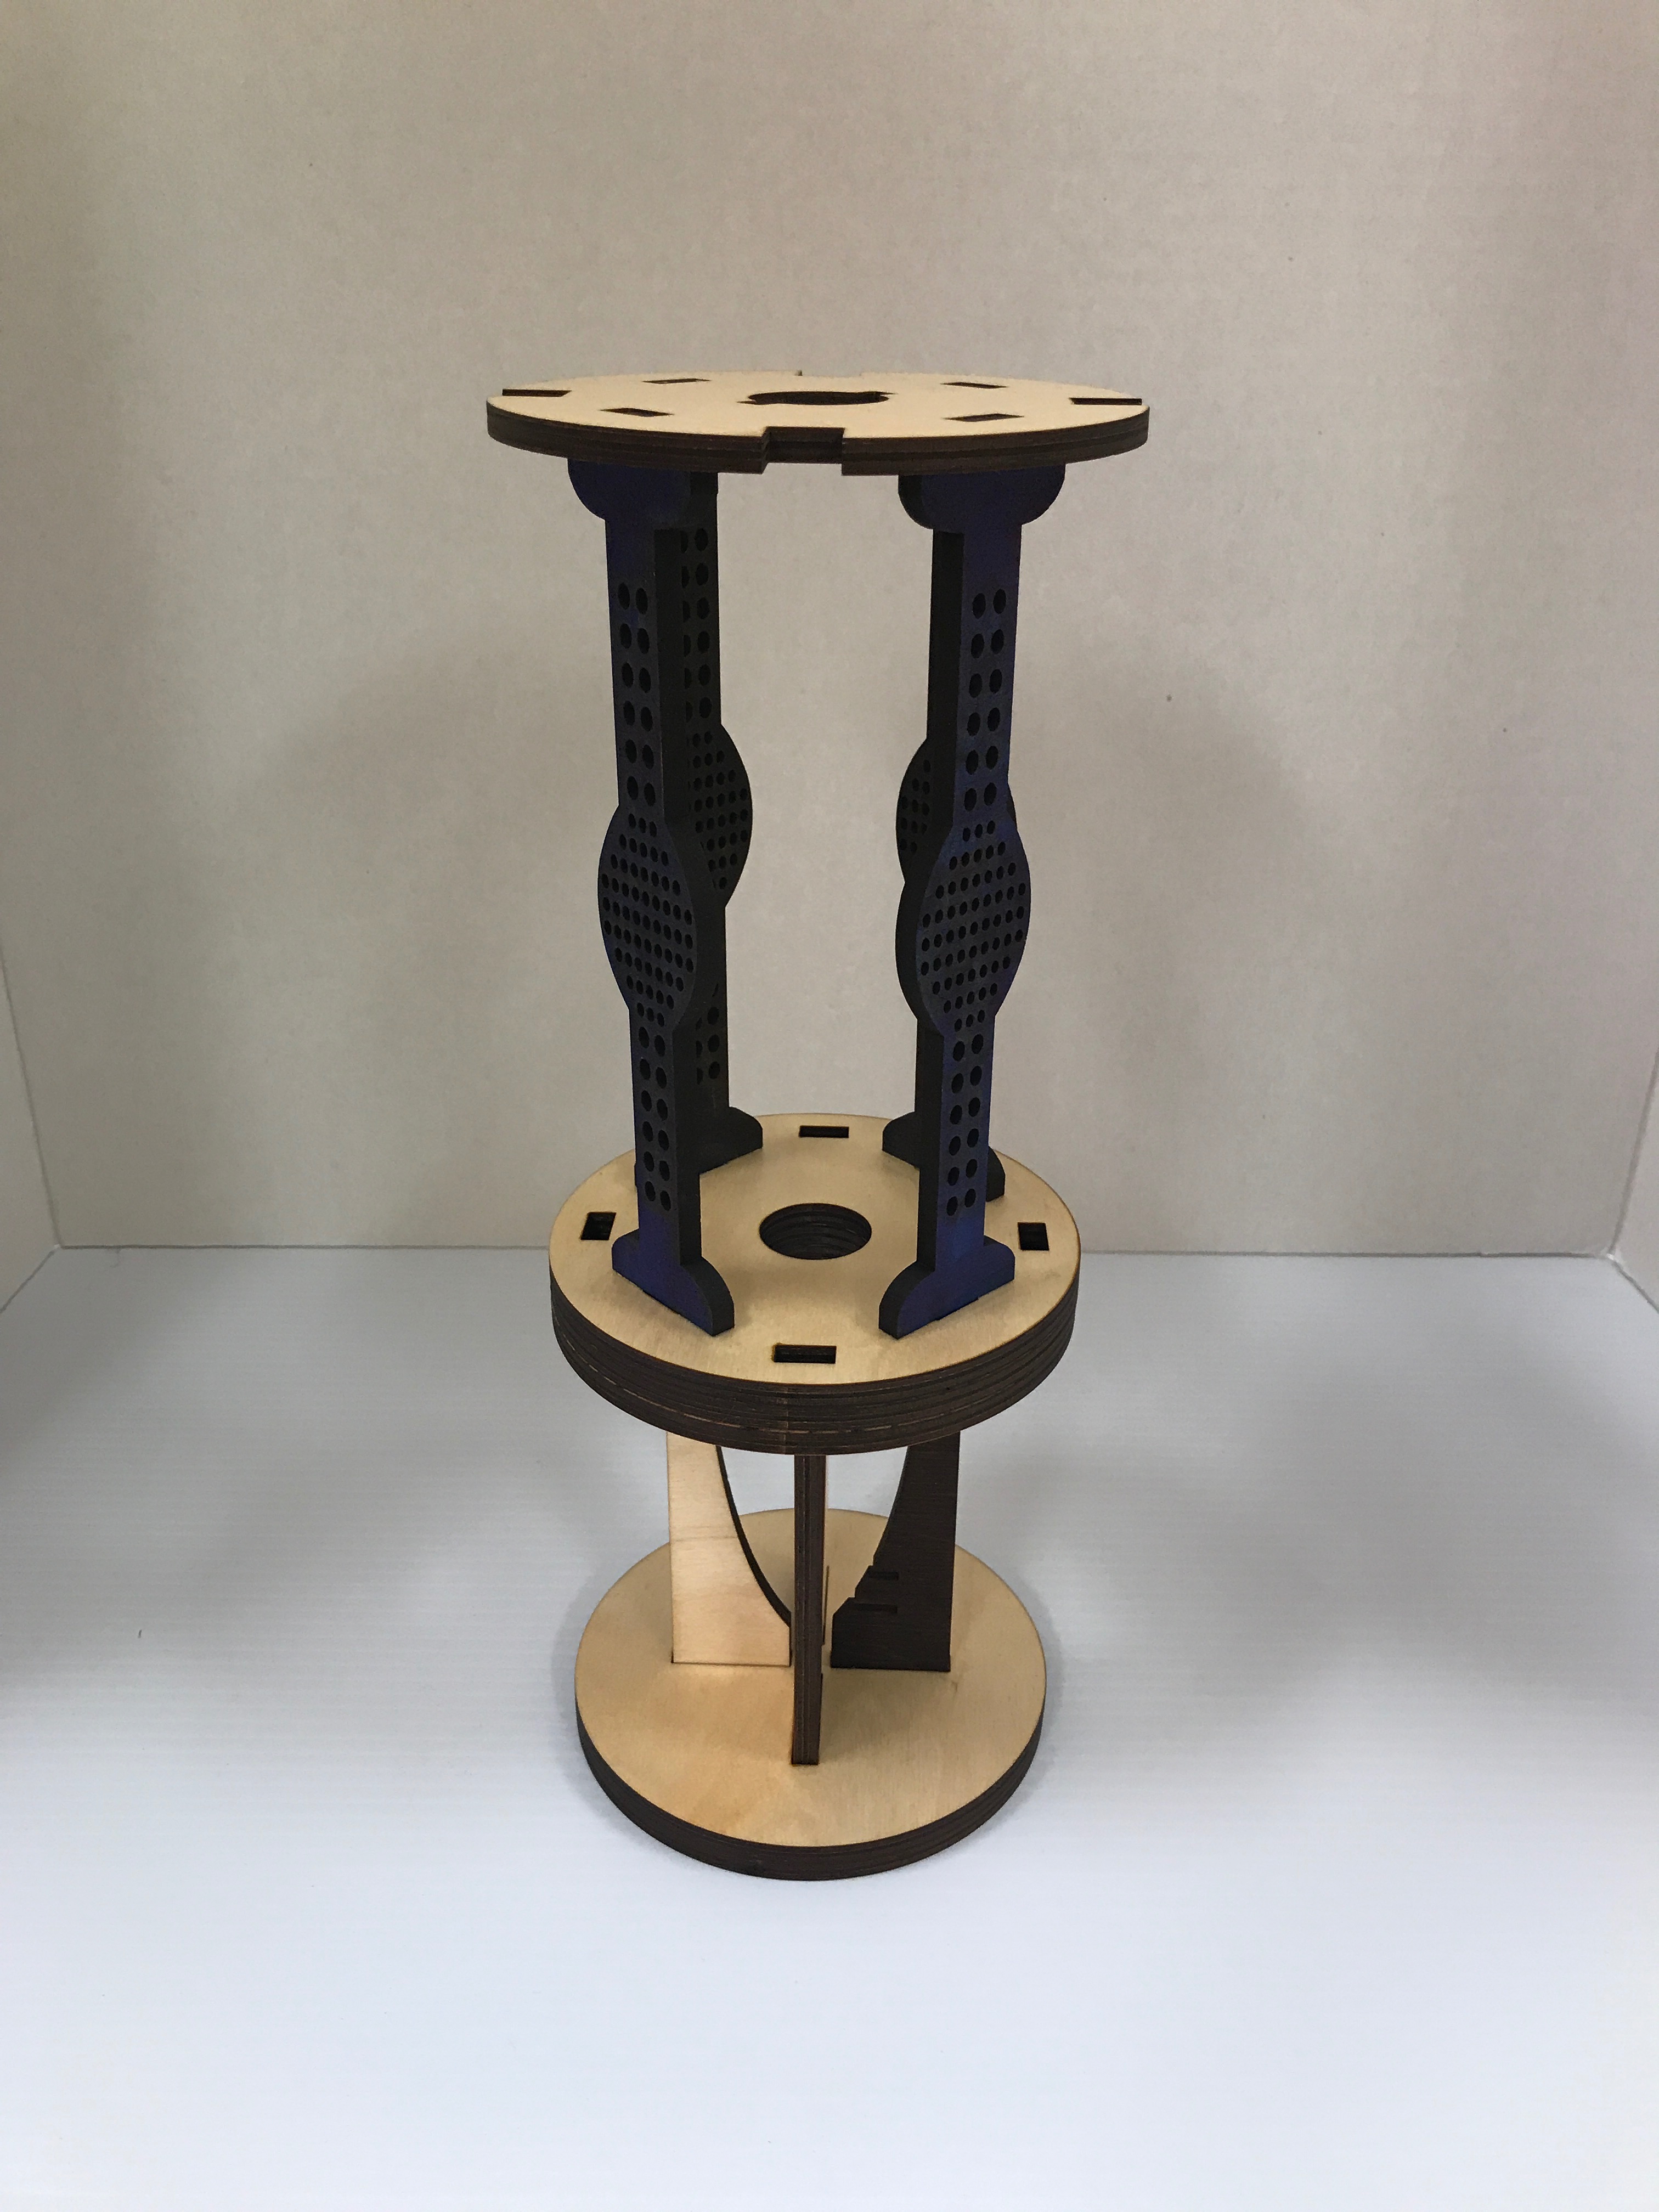
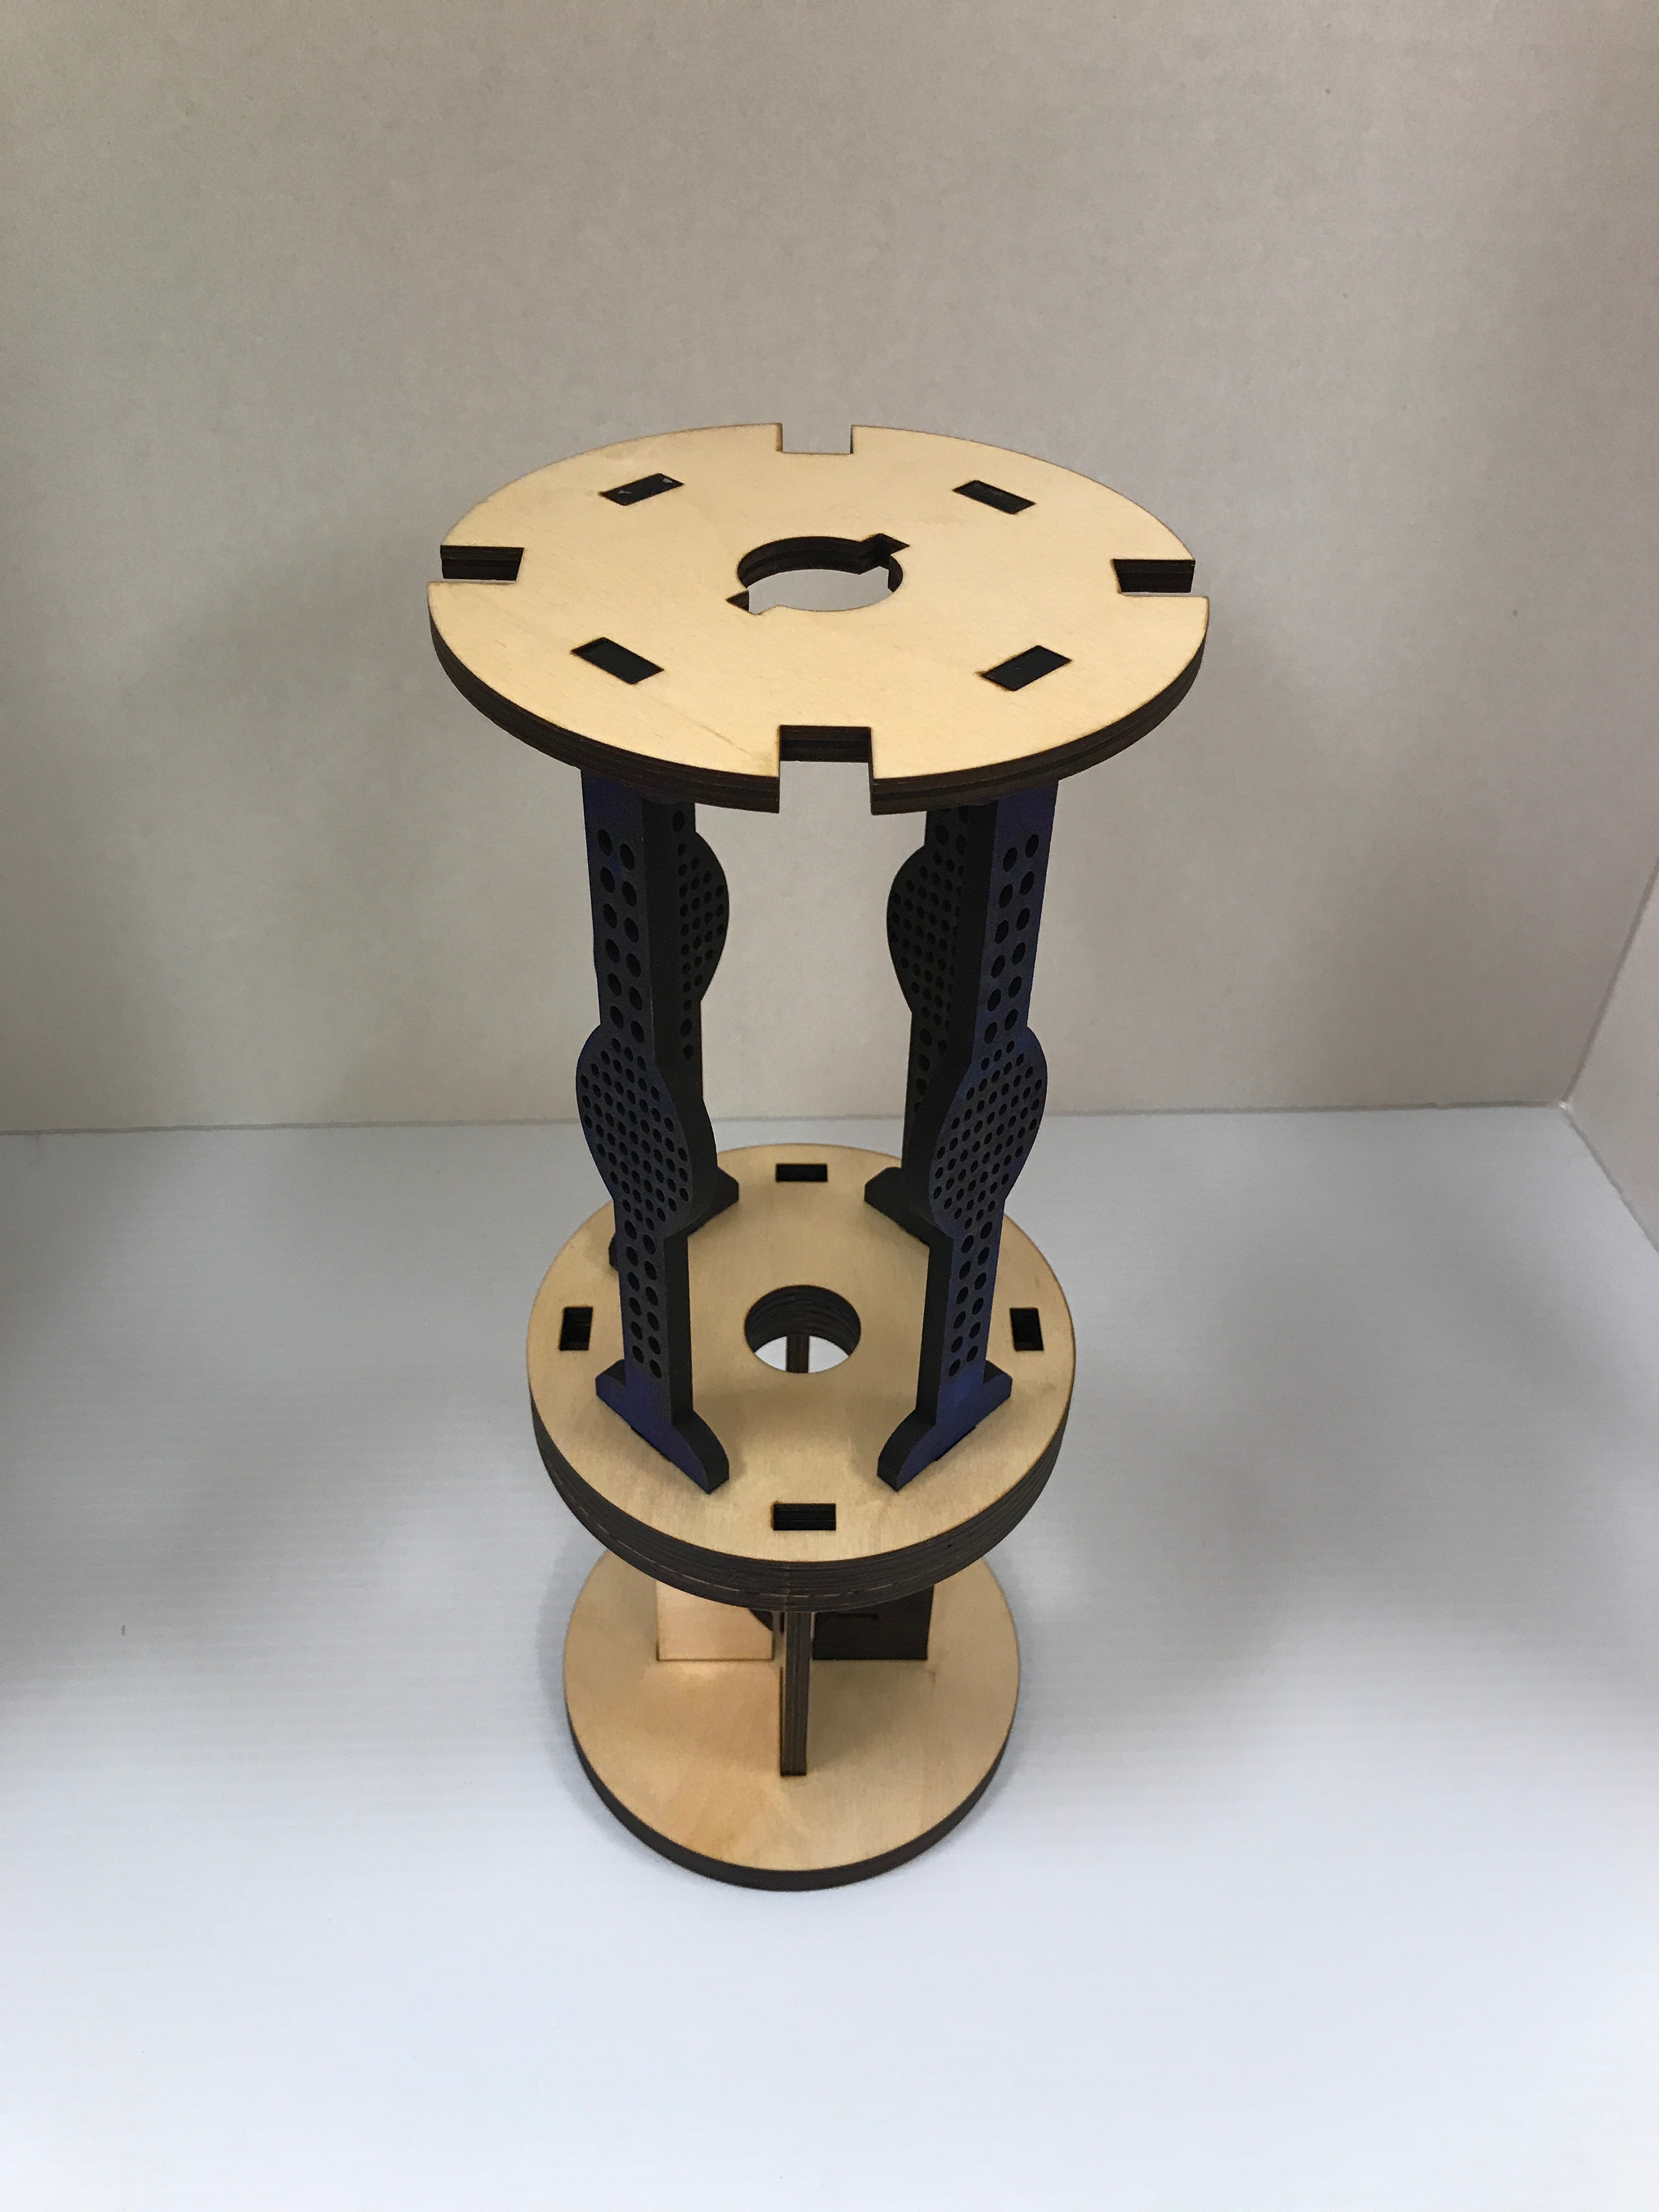
- Color both sides of each diffuser strut. One side blue the other black using Sharpie marker.
- Orient the Stand and Base to upright position.
- Add glue to the inner cutout trench on the top of the base, place strut in cutout trench with blue side facing out.
- Wipe off excess glue using Q-Tip.
- Repeat Step 3-4 for each cutout trench.
- Let dry for a few minutes.
- Add glue to the top surfaces of each strut.
- Place top plate on top of struts, align strut with top plate cutouts. Place a can of soup (or other small weight) on top plate as a weight.
- Wipe off excess glue from underside of top plate using Q-Tips.
- Let dry for at least 10 minutes.
Step 6: Assemble Lock Key and Plate
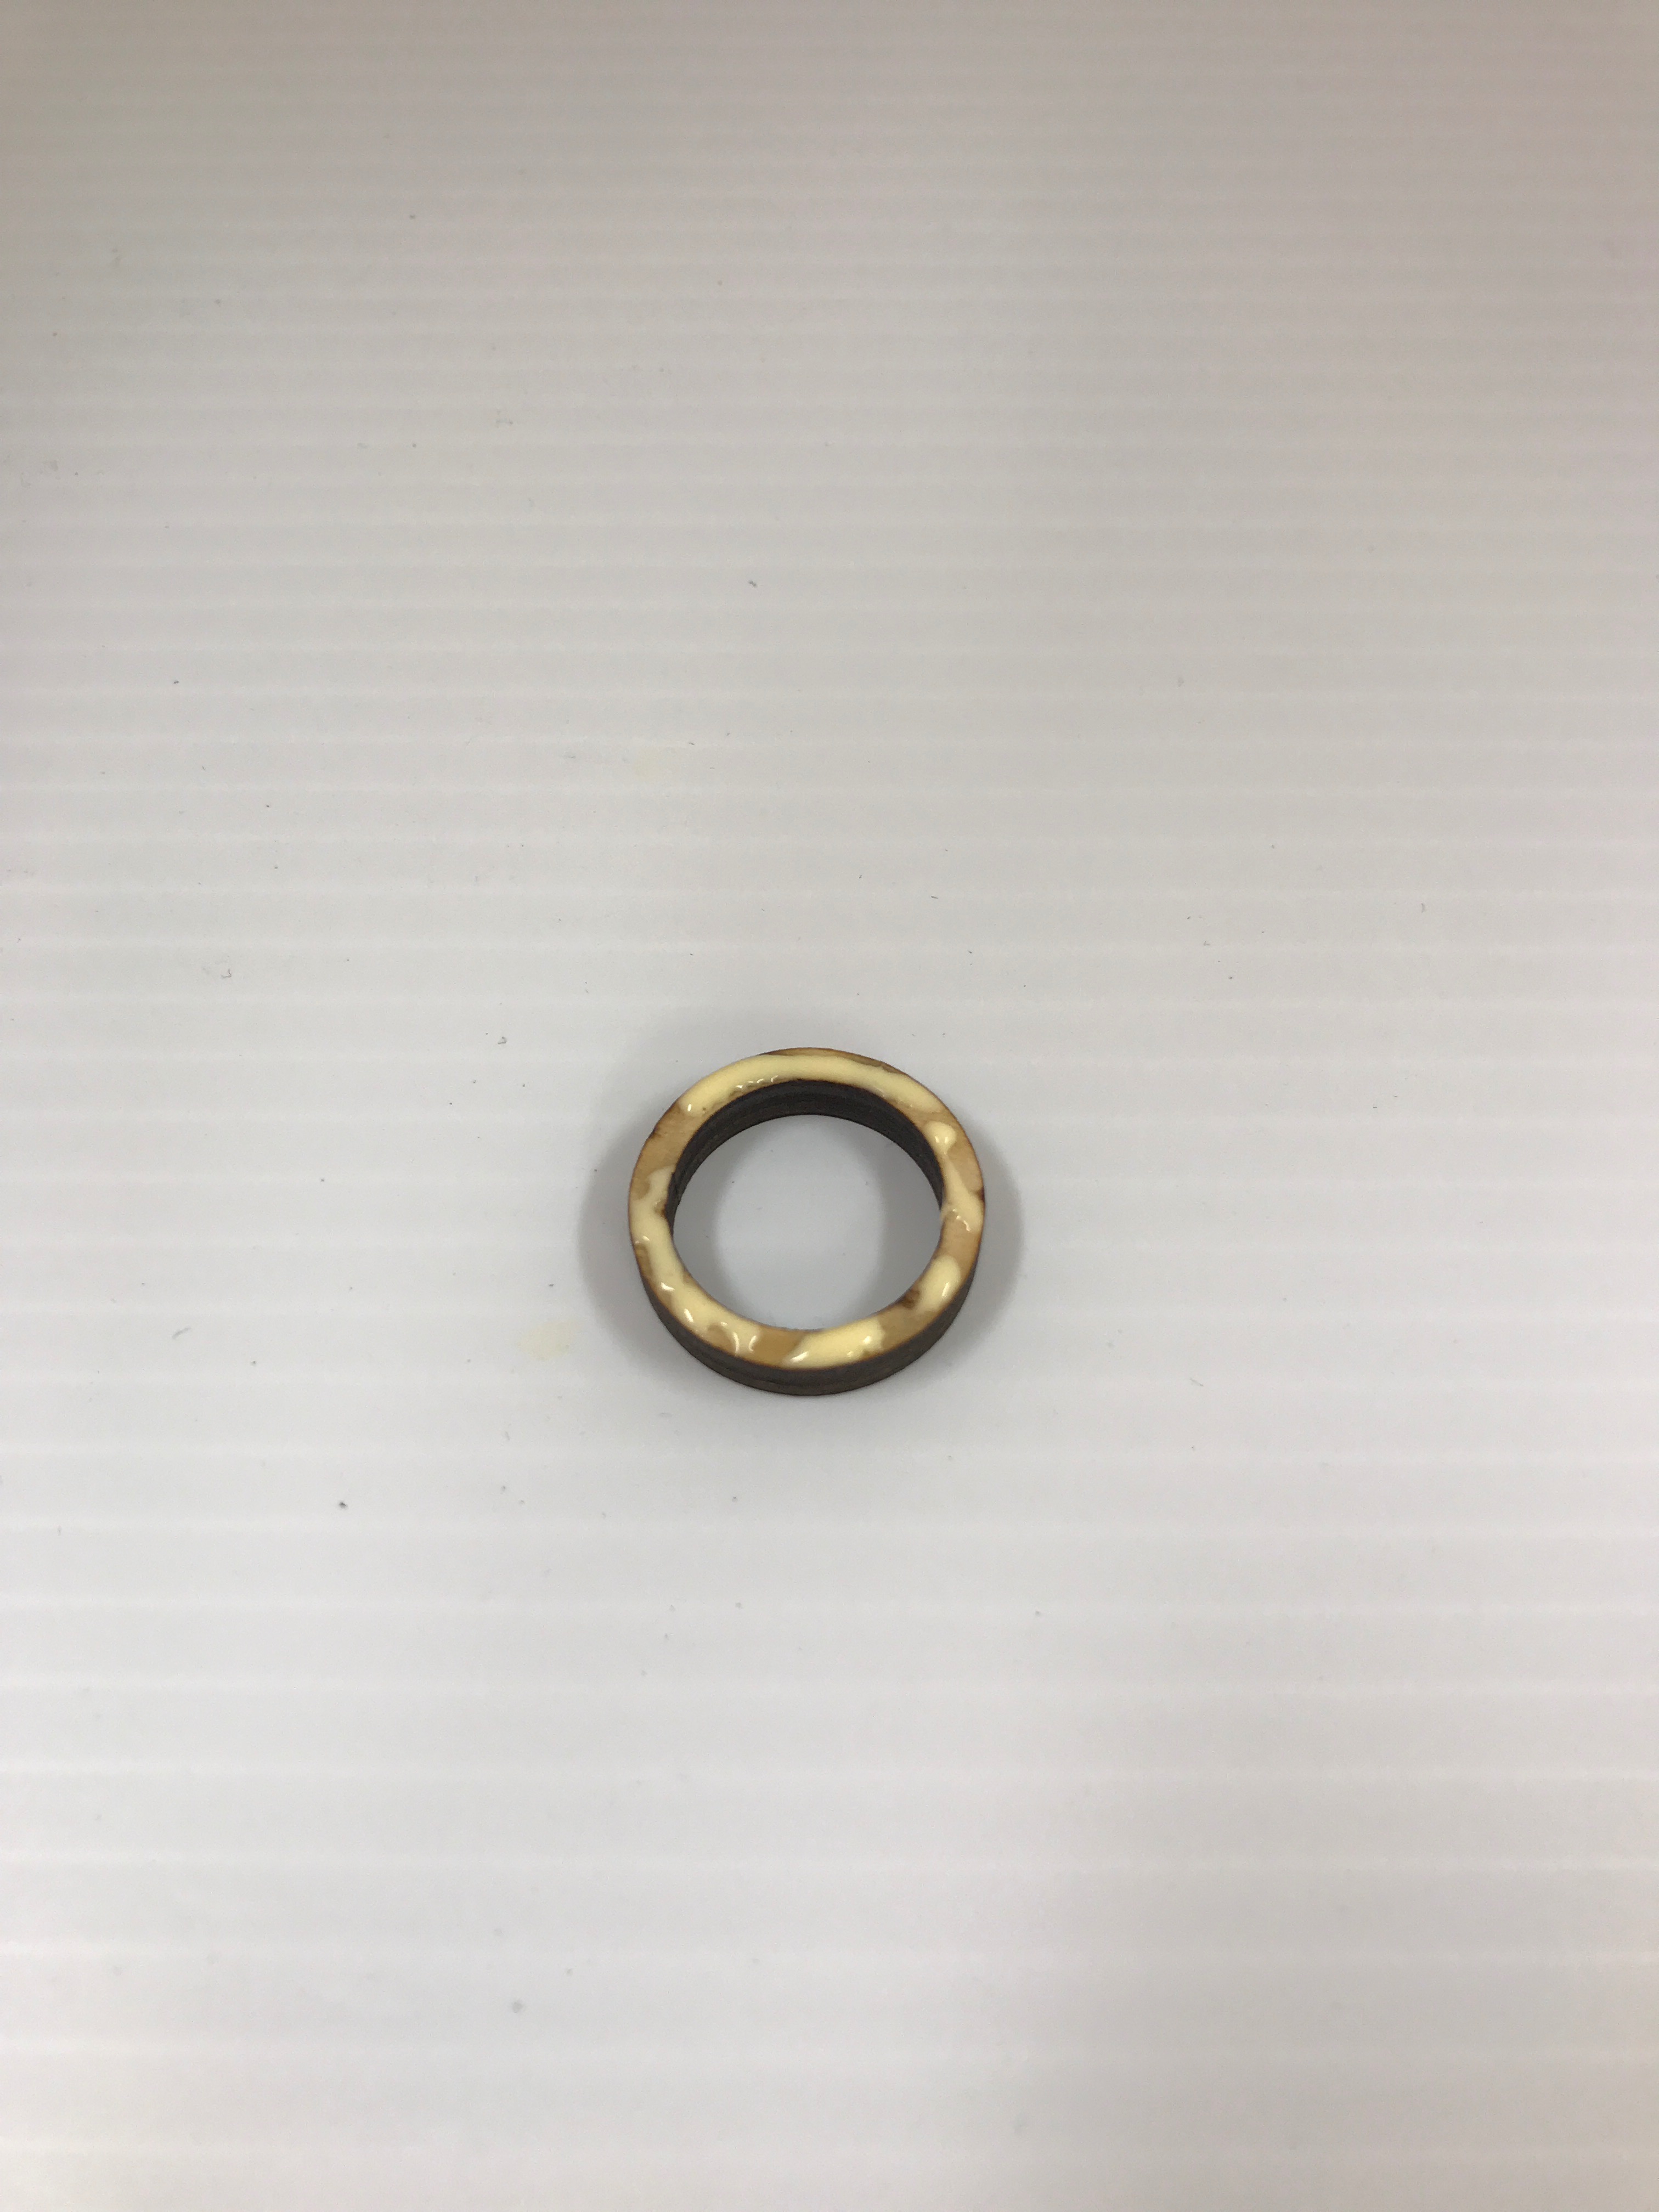
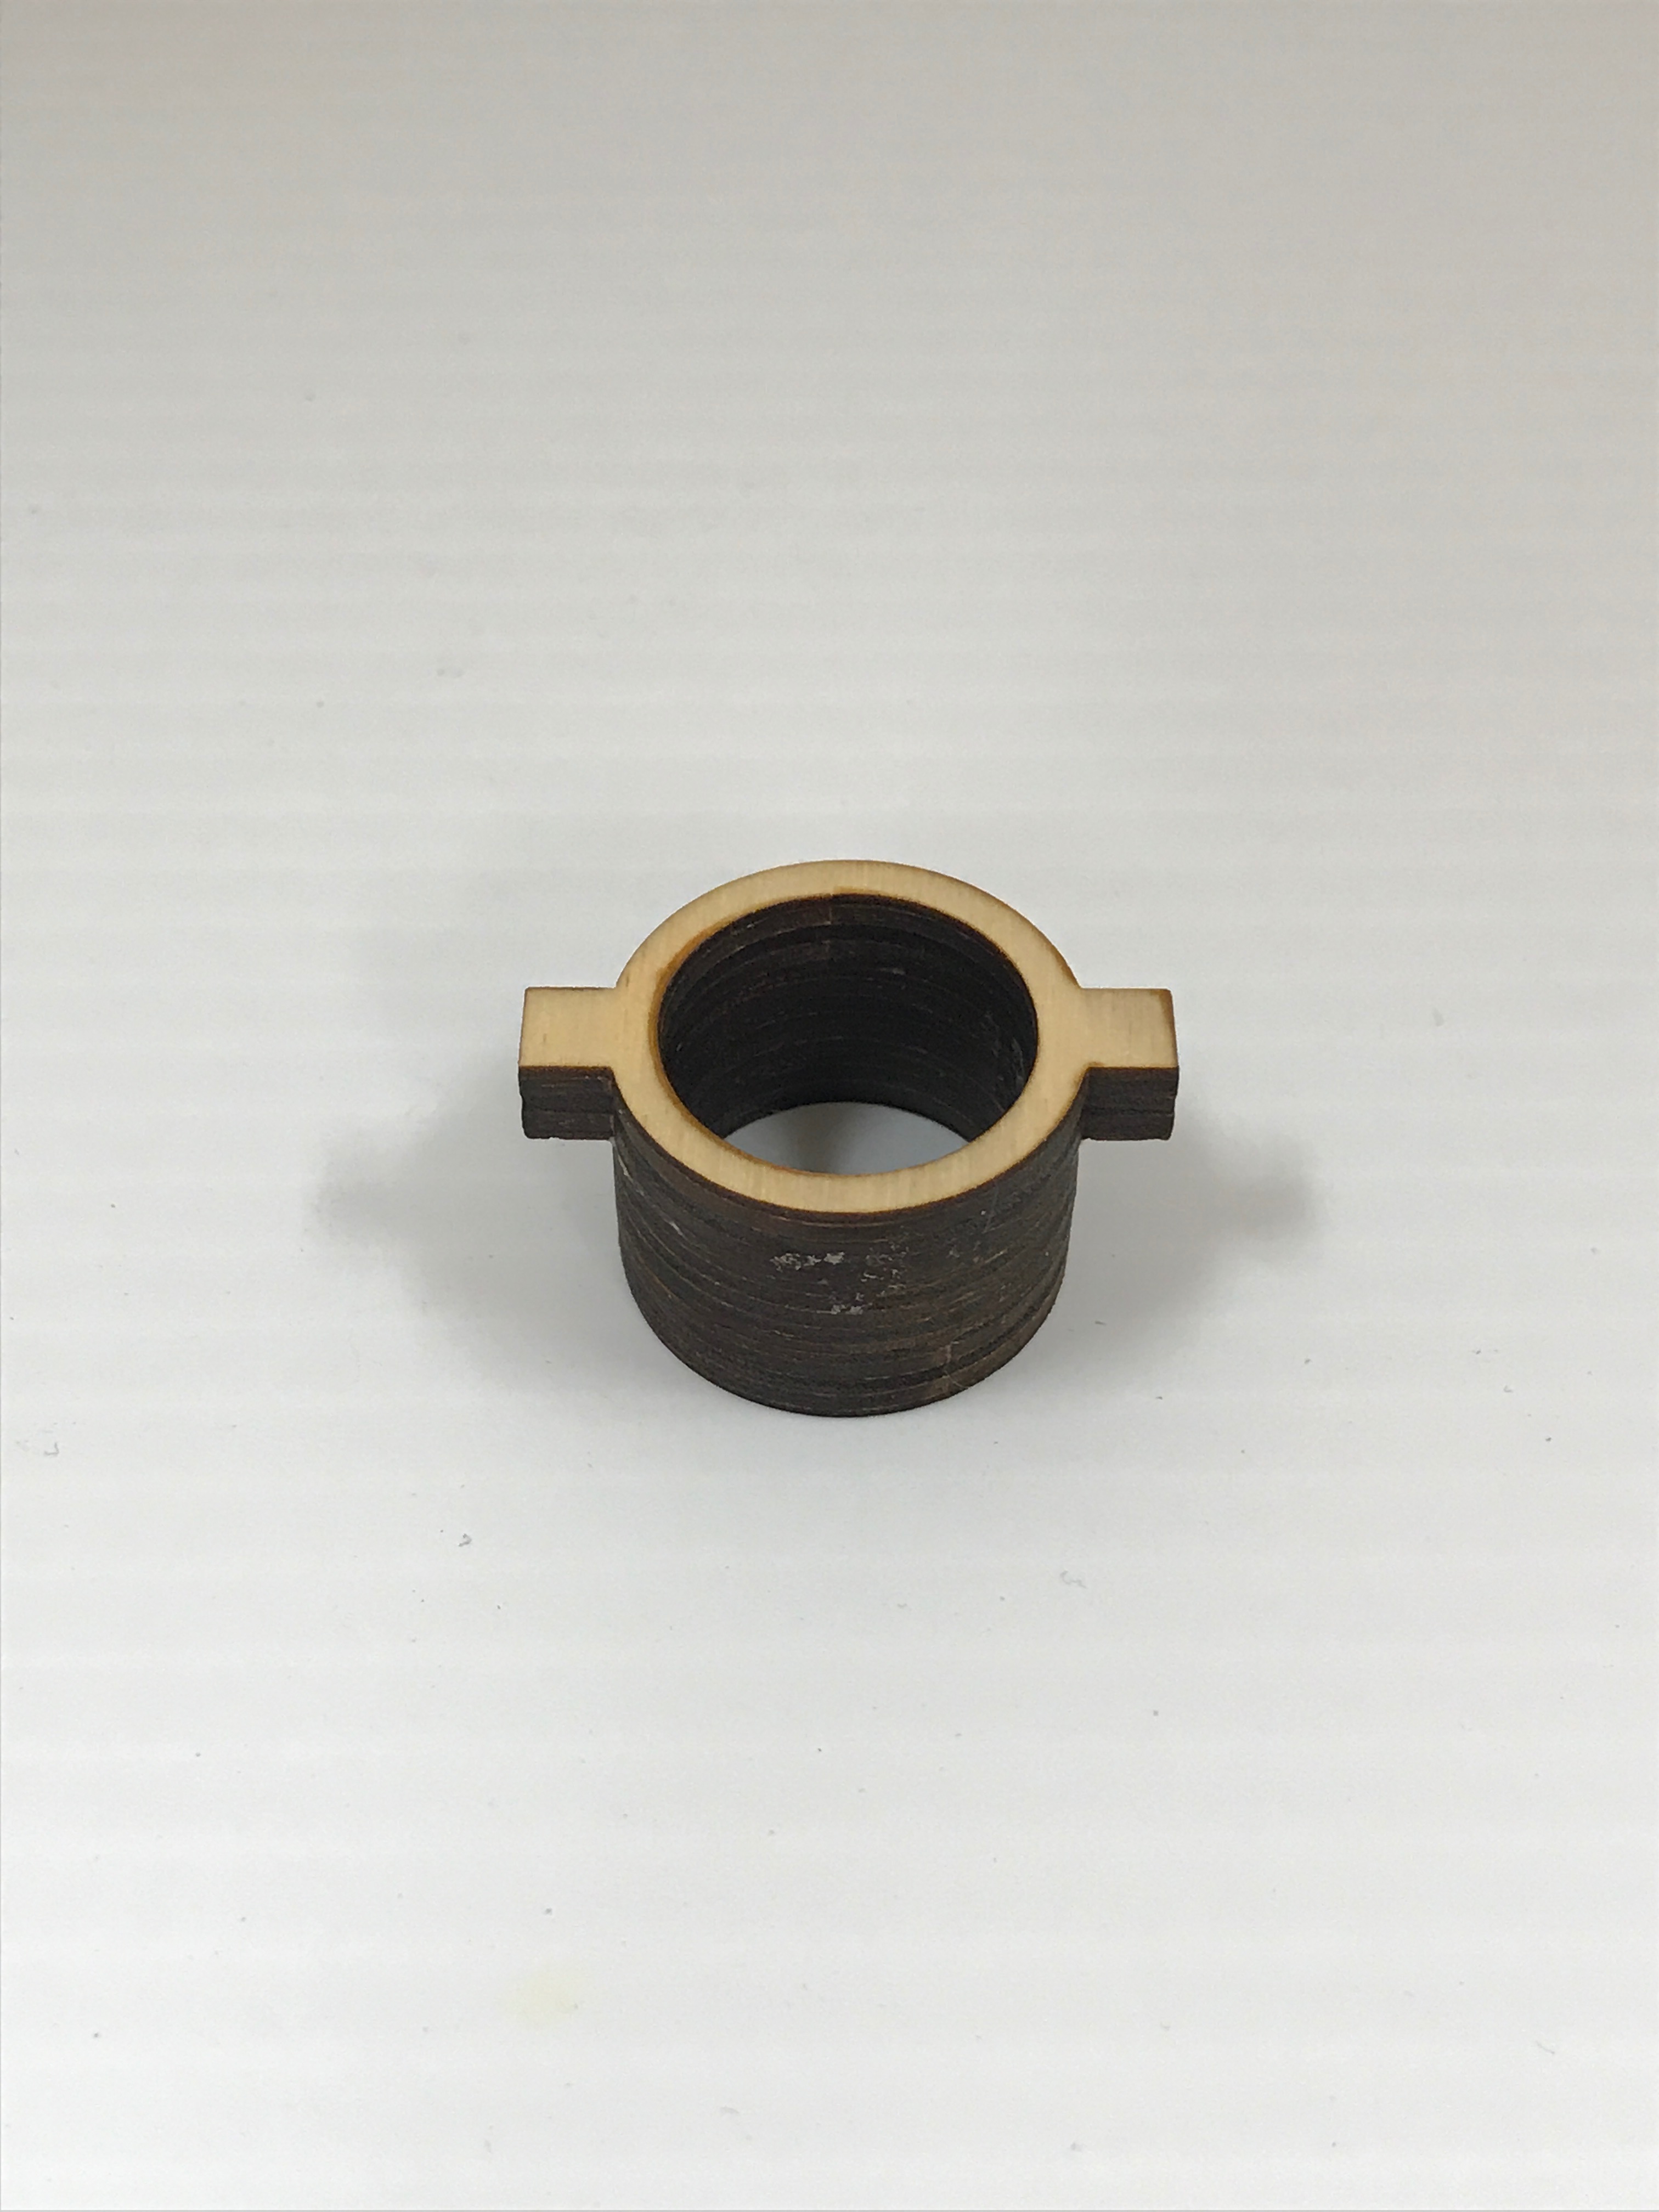
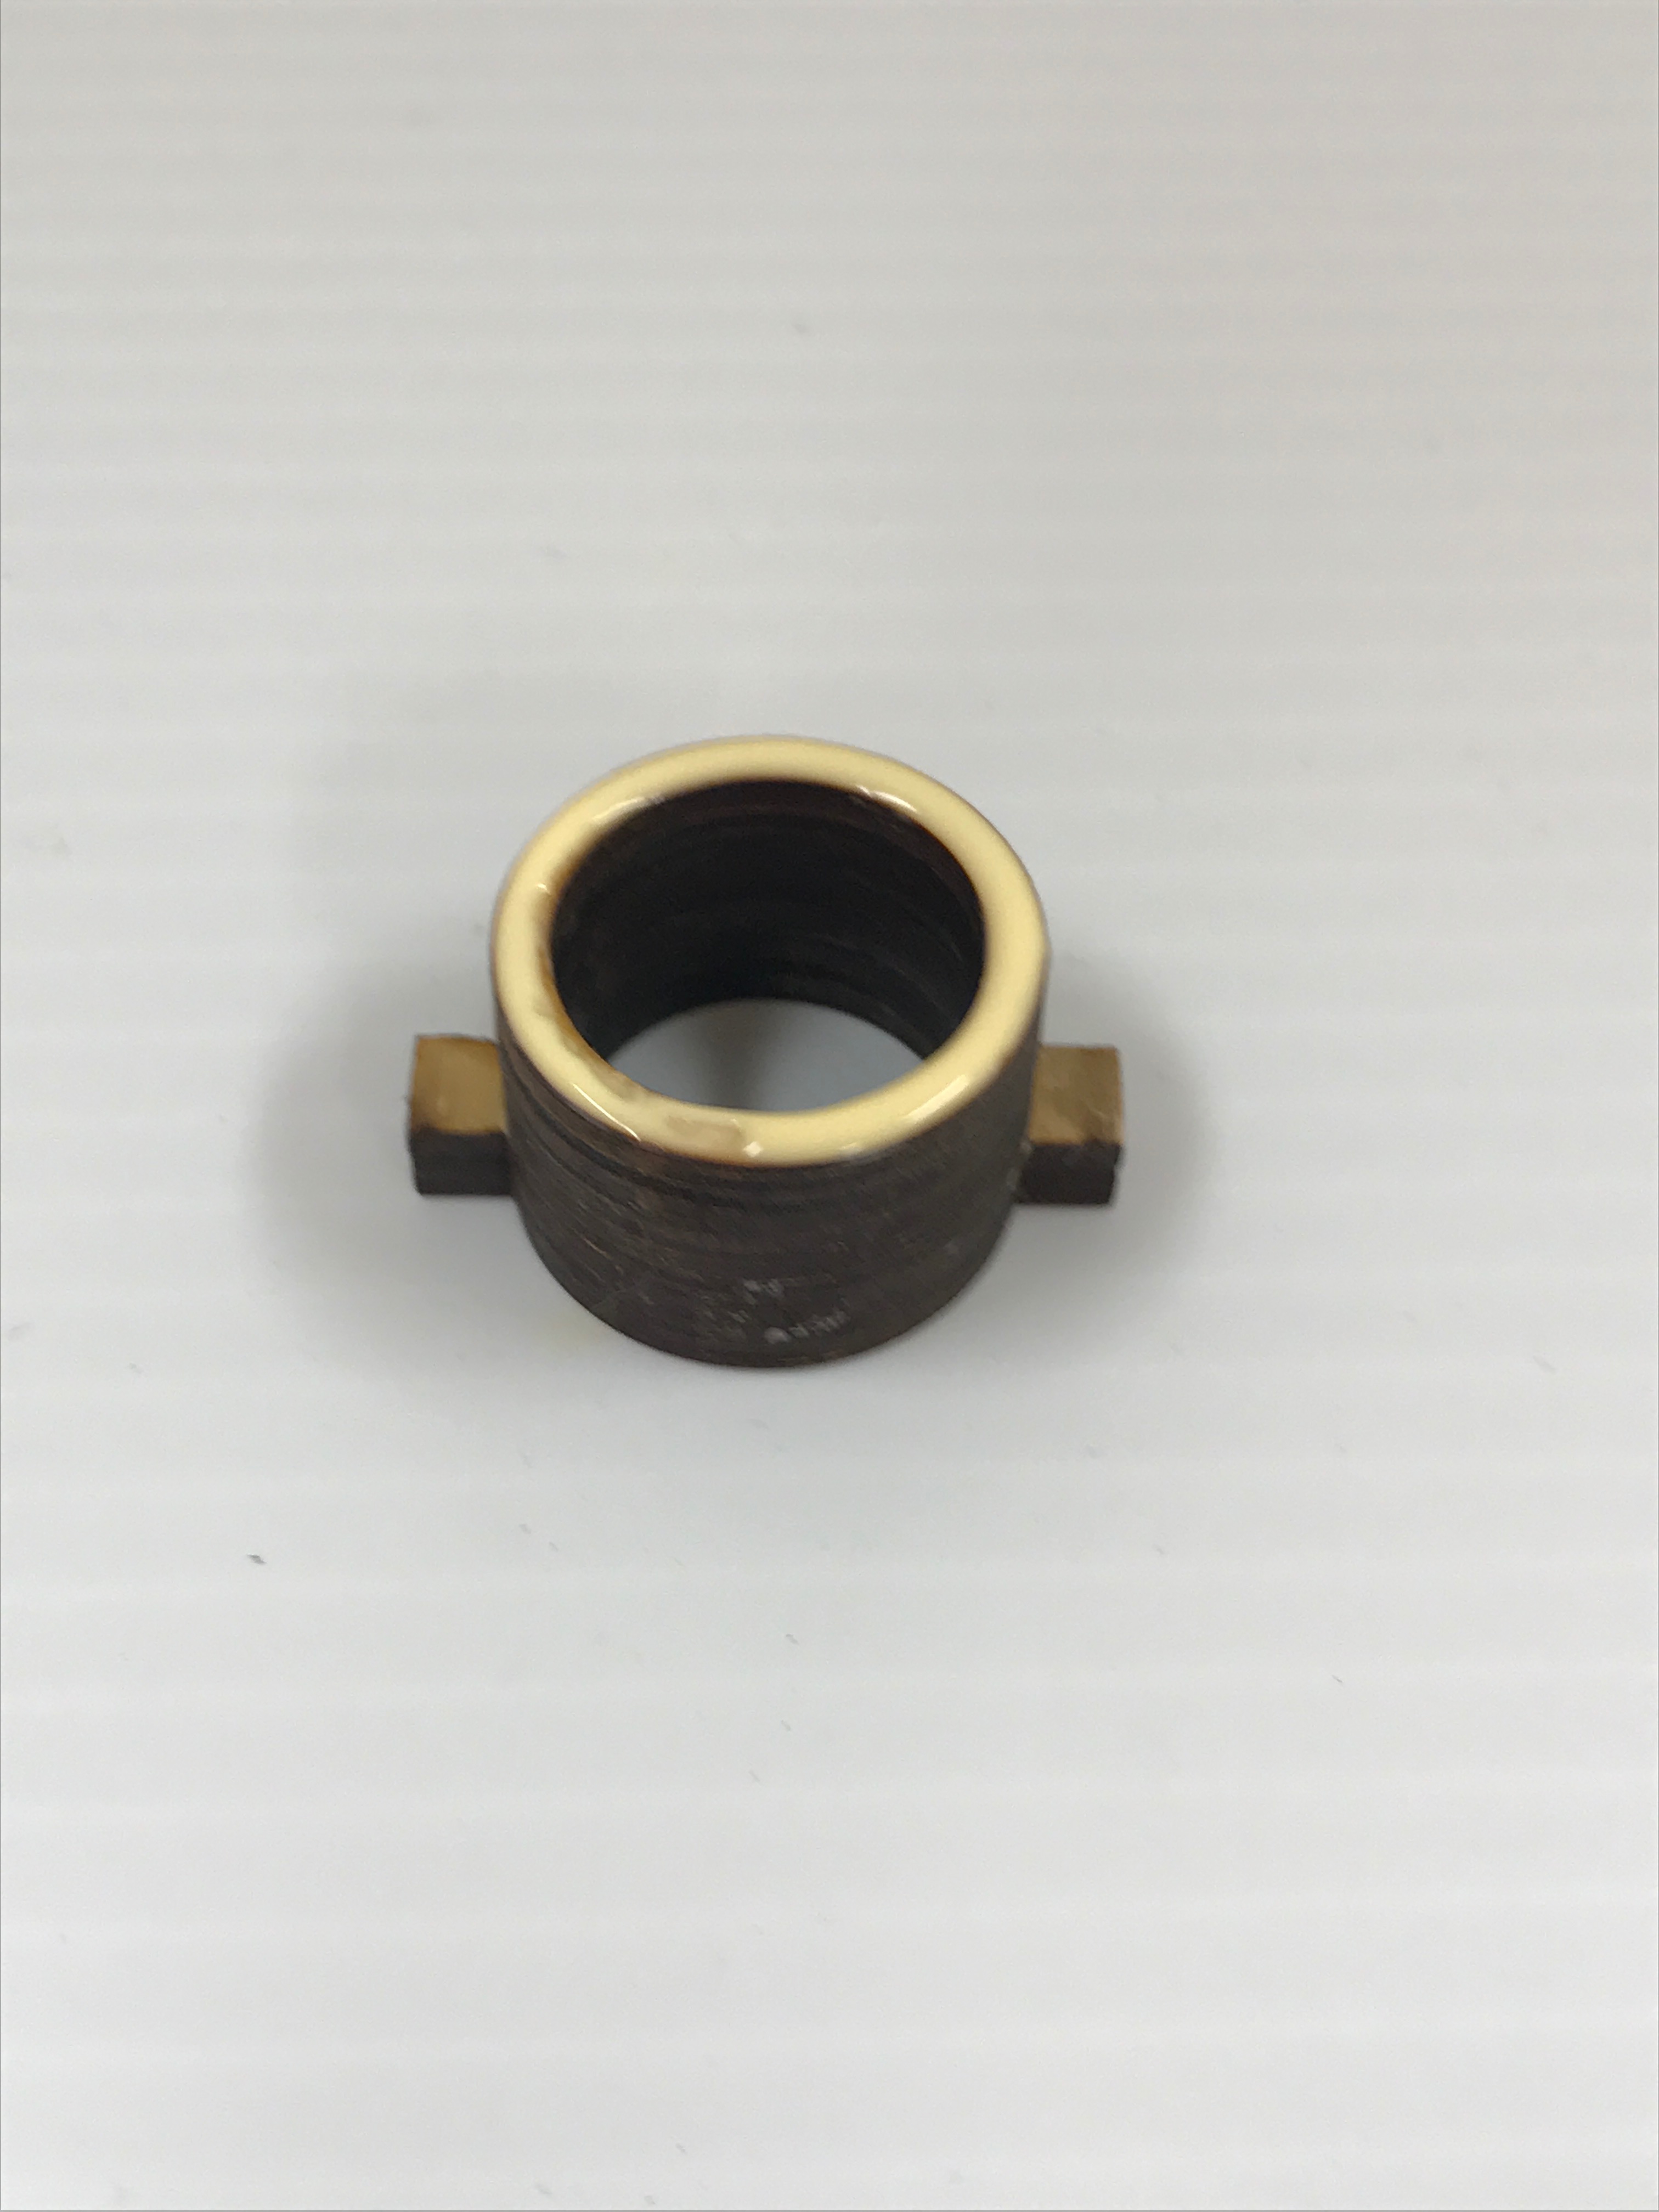
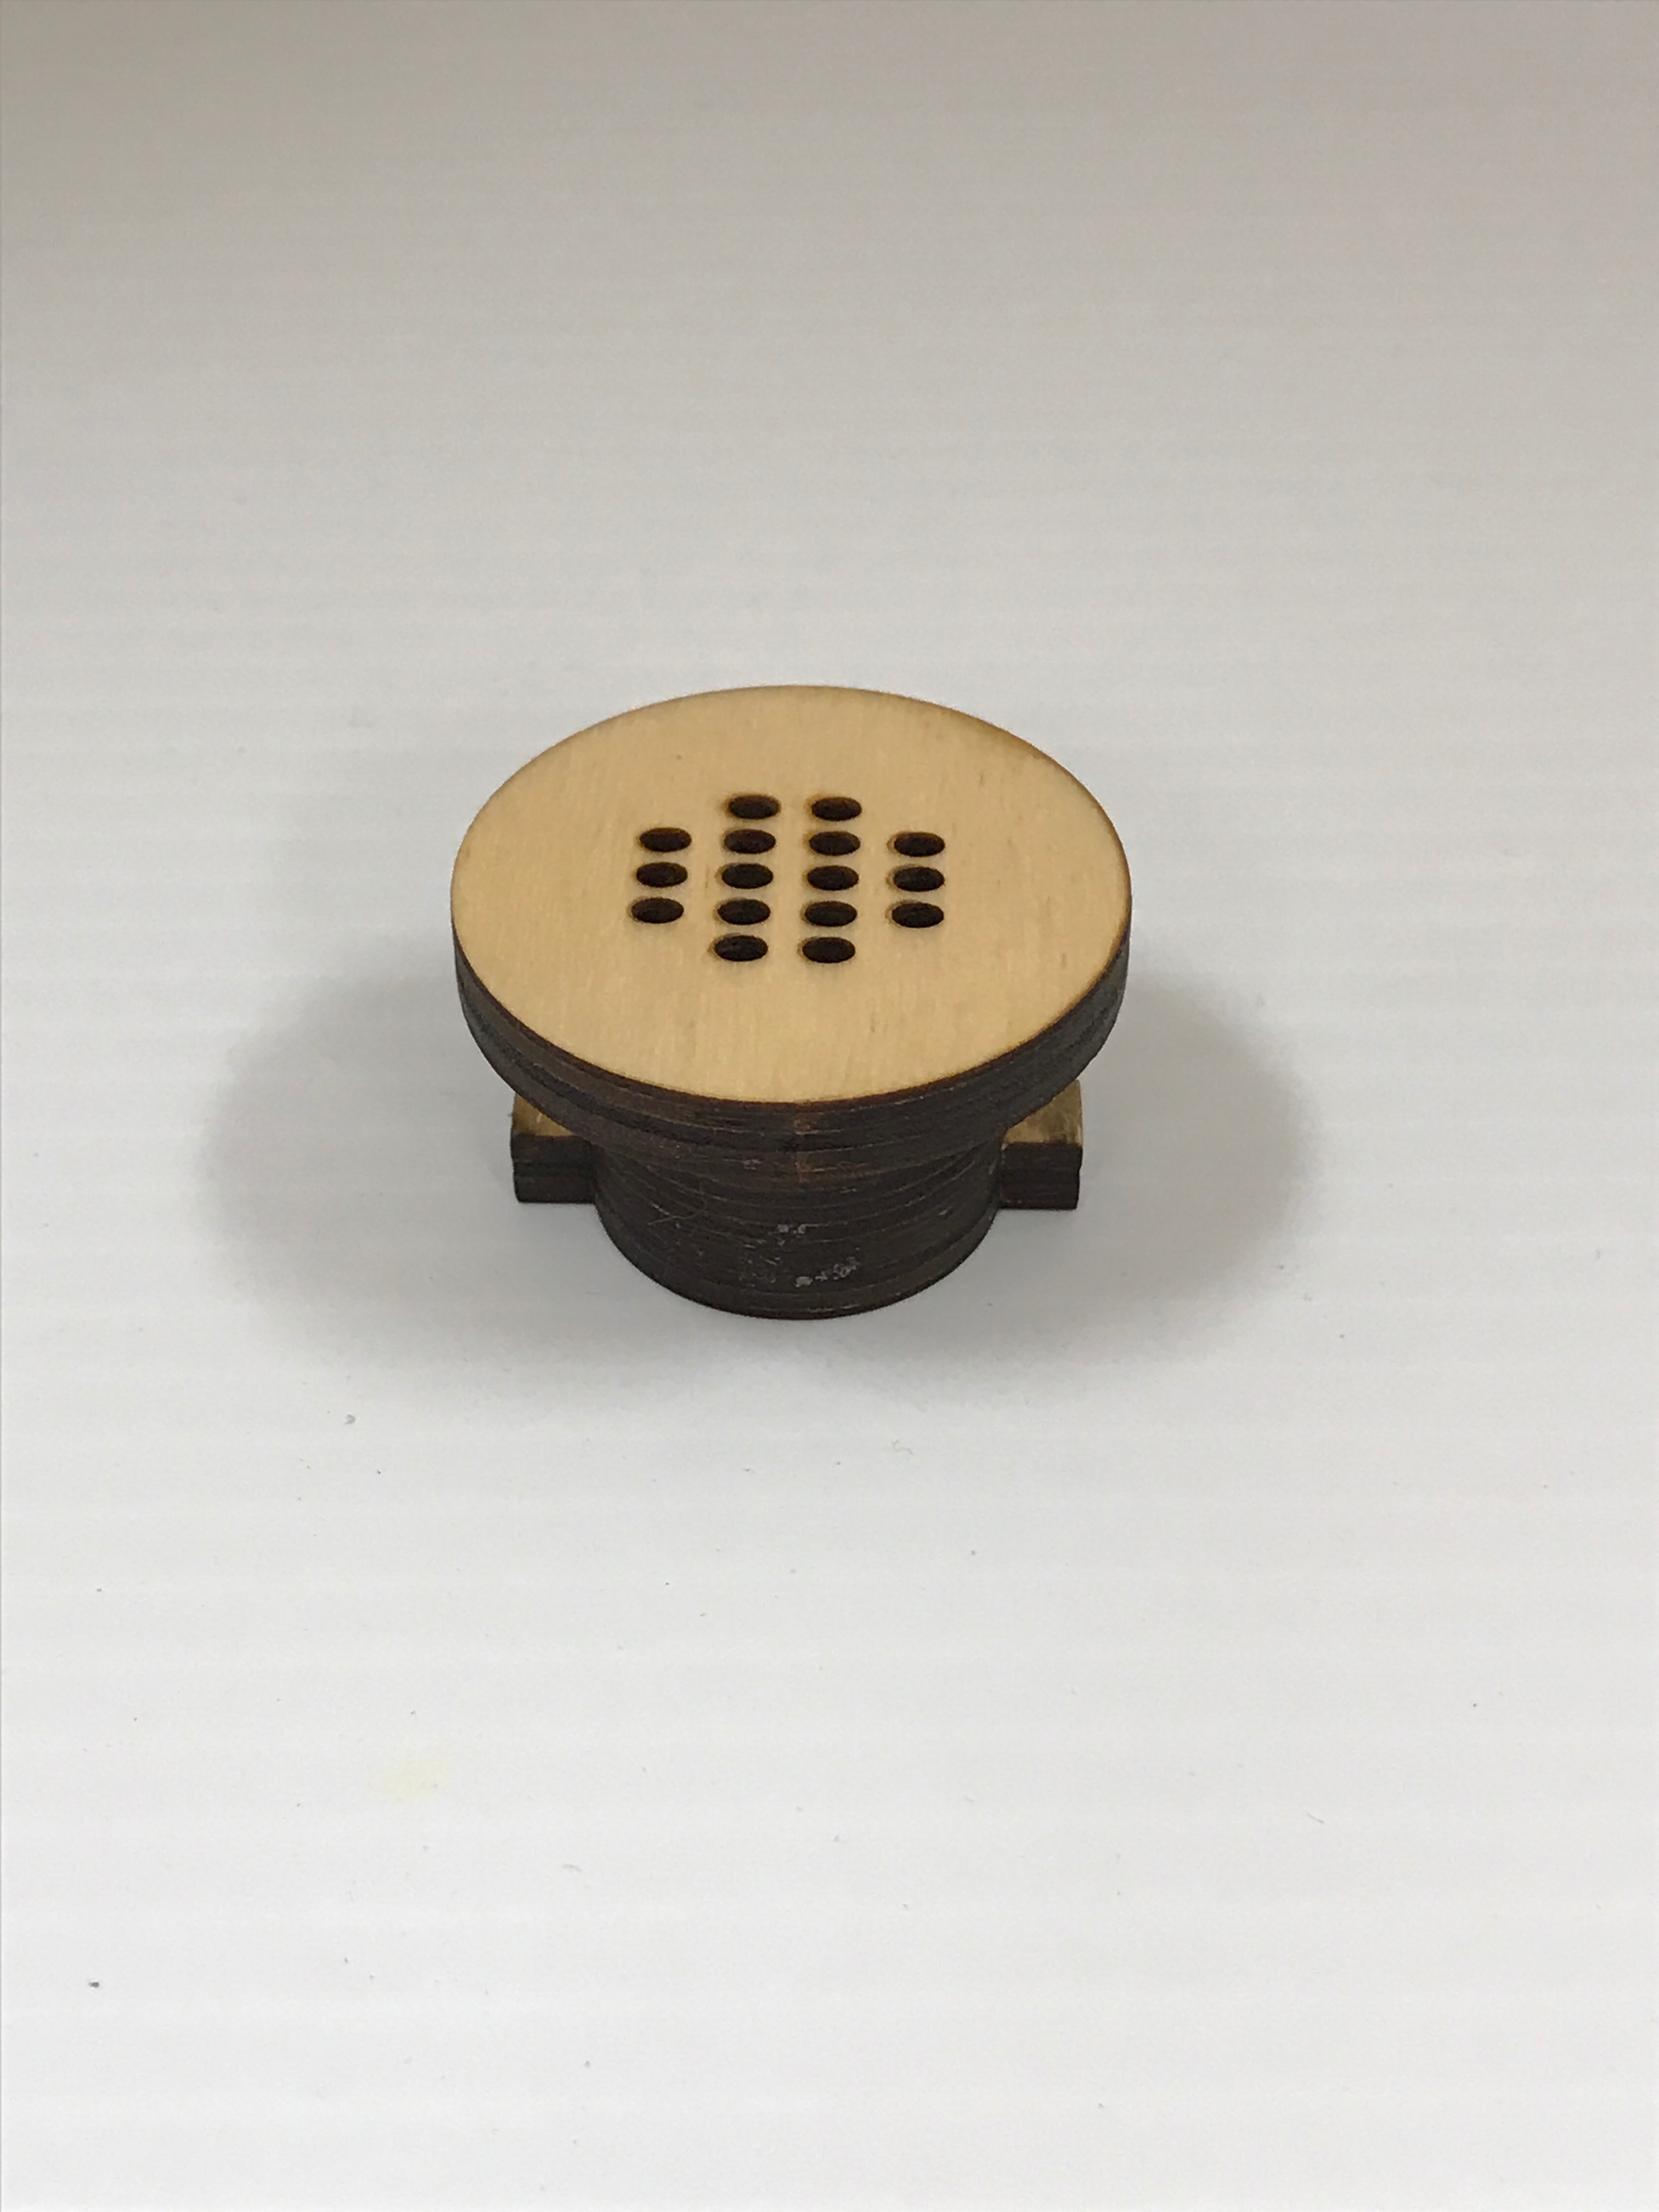
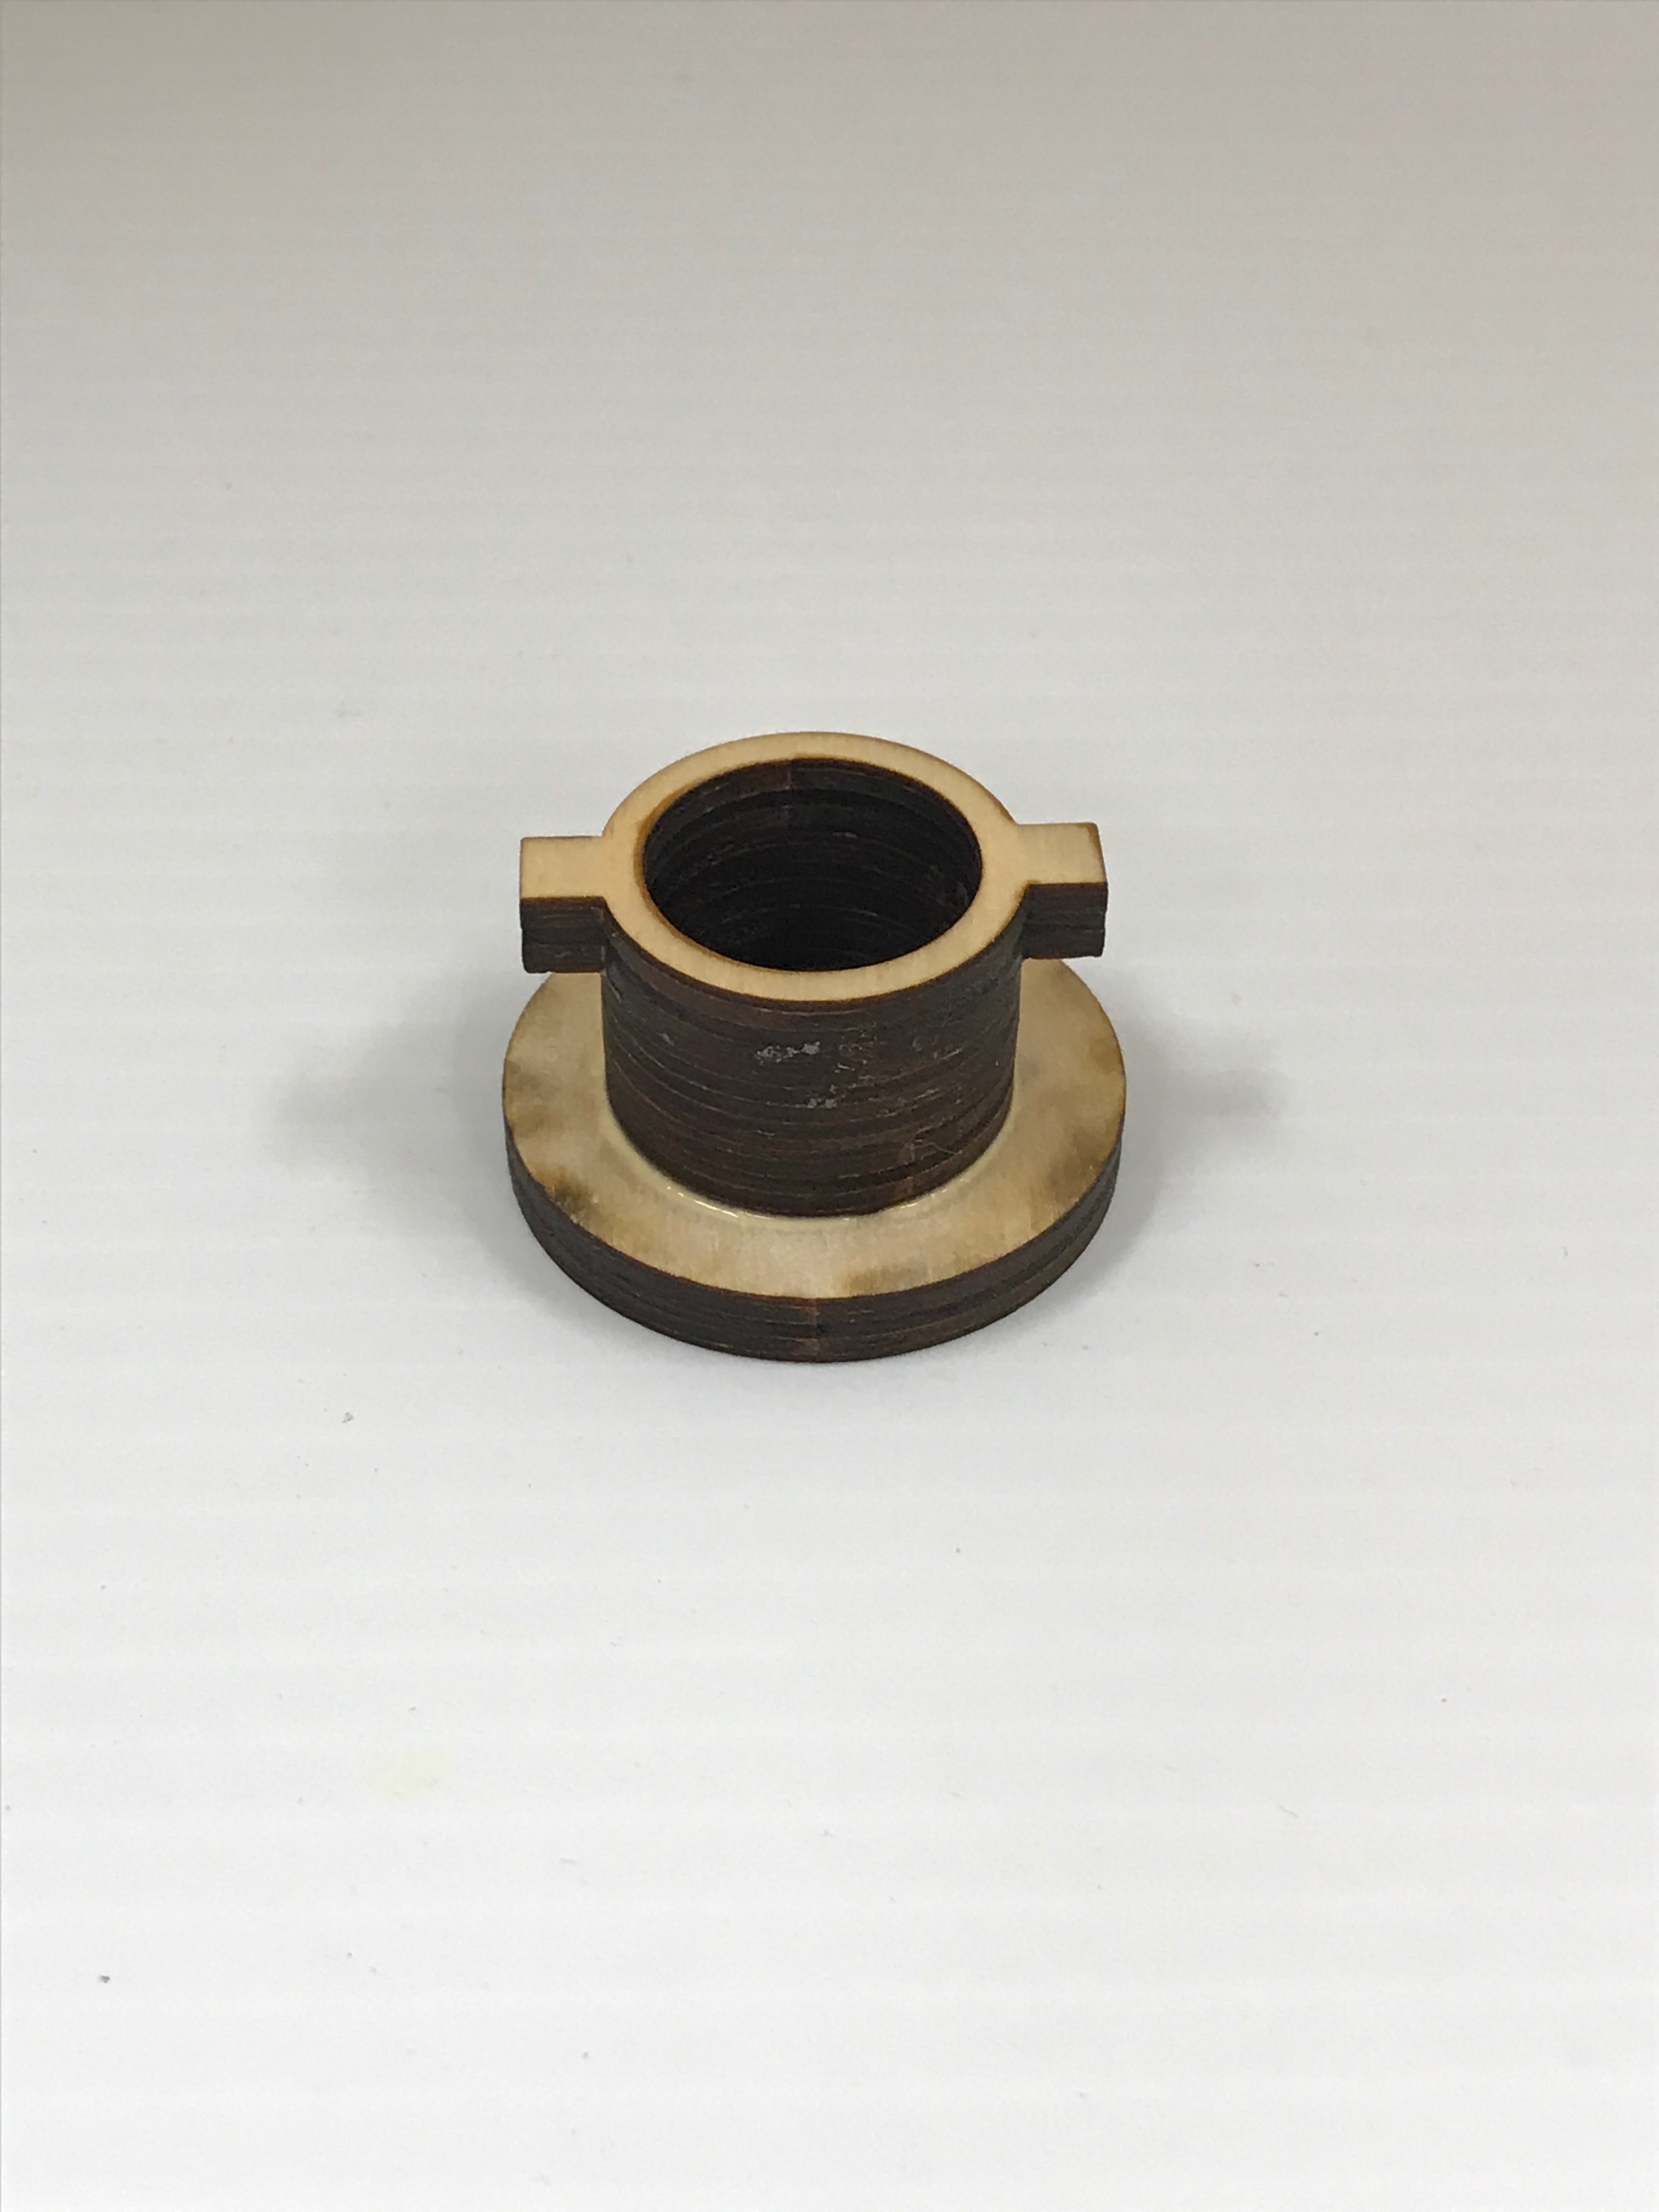
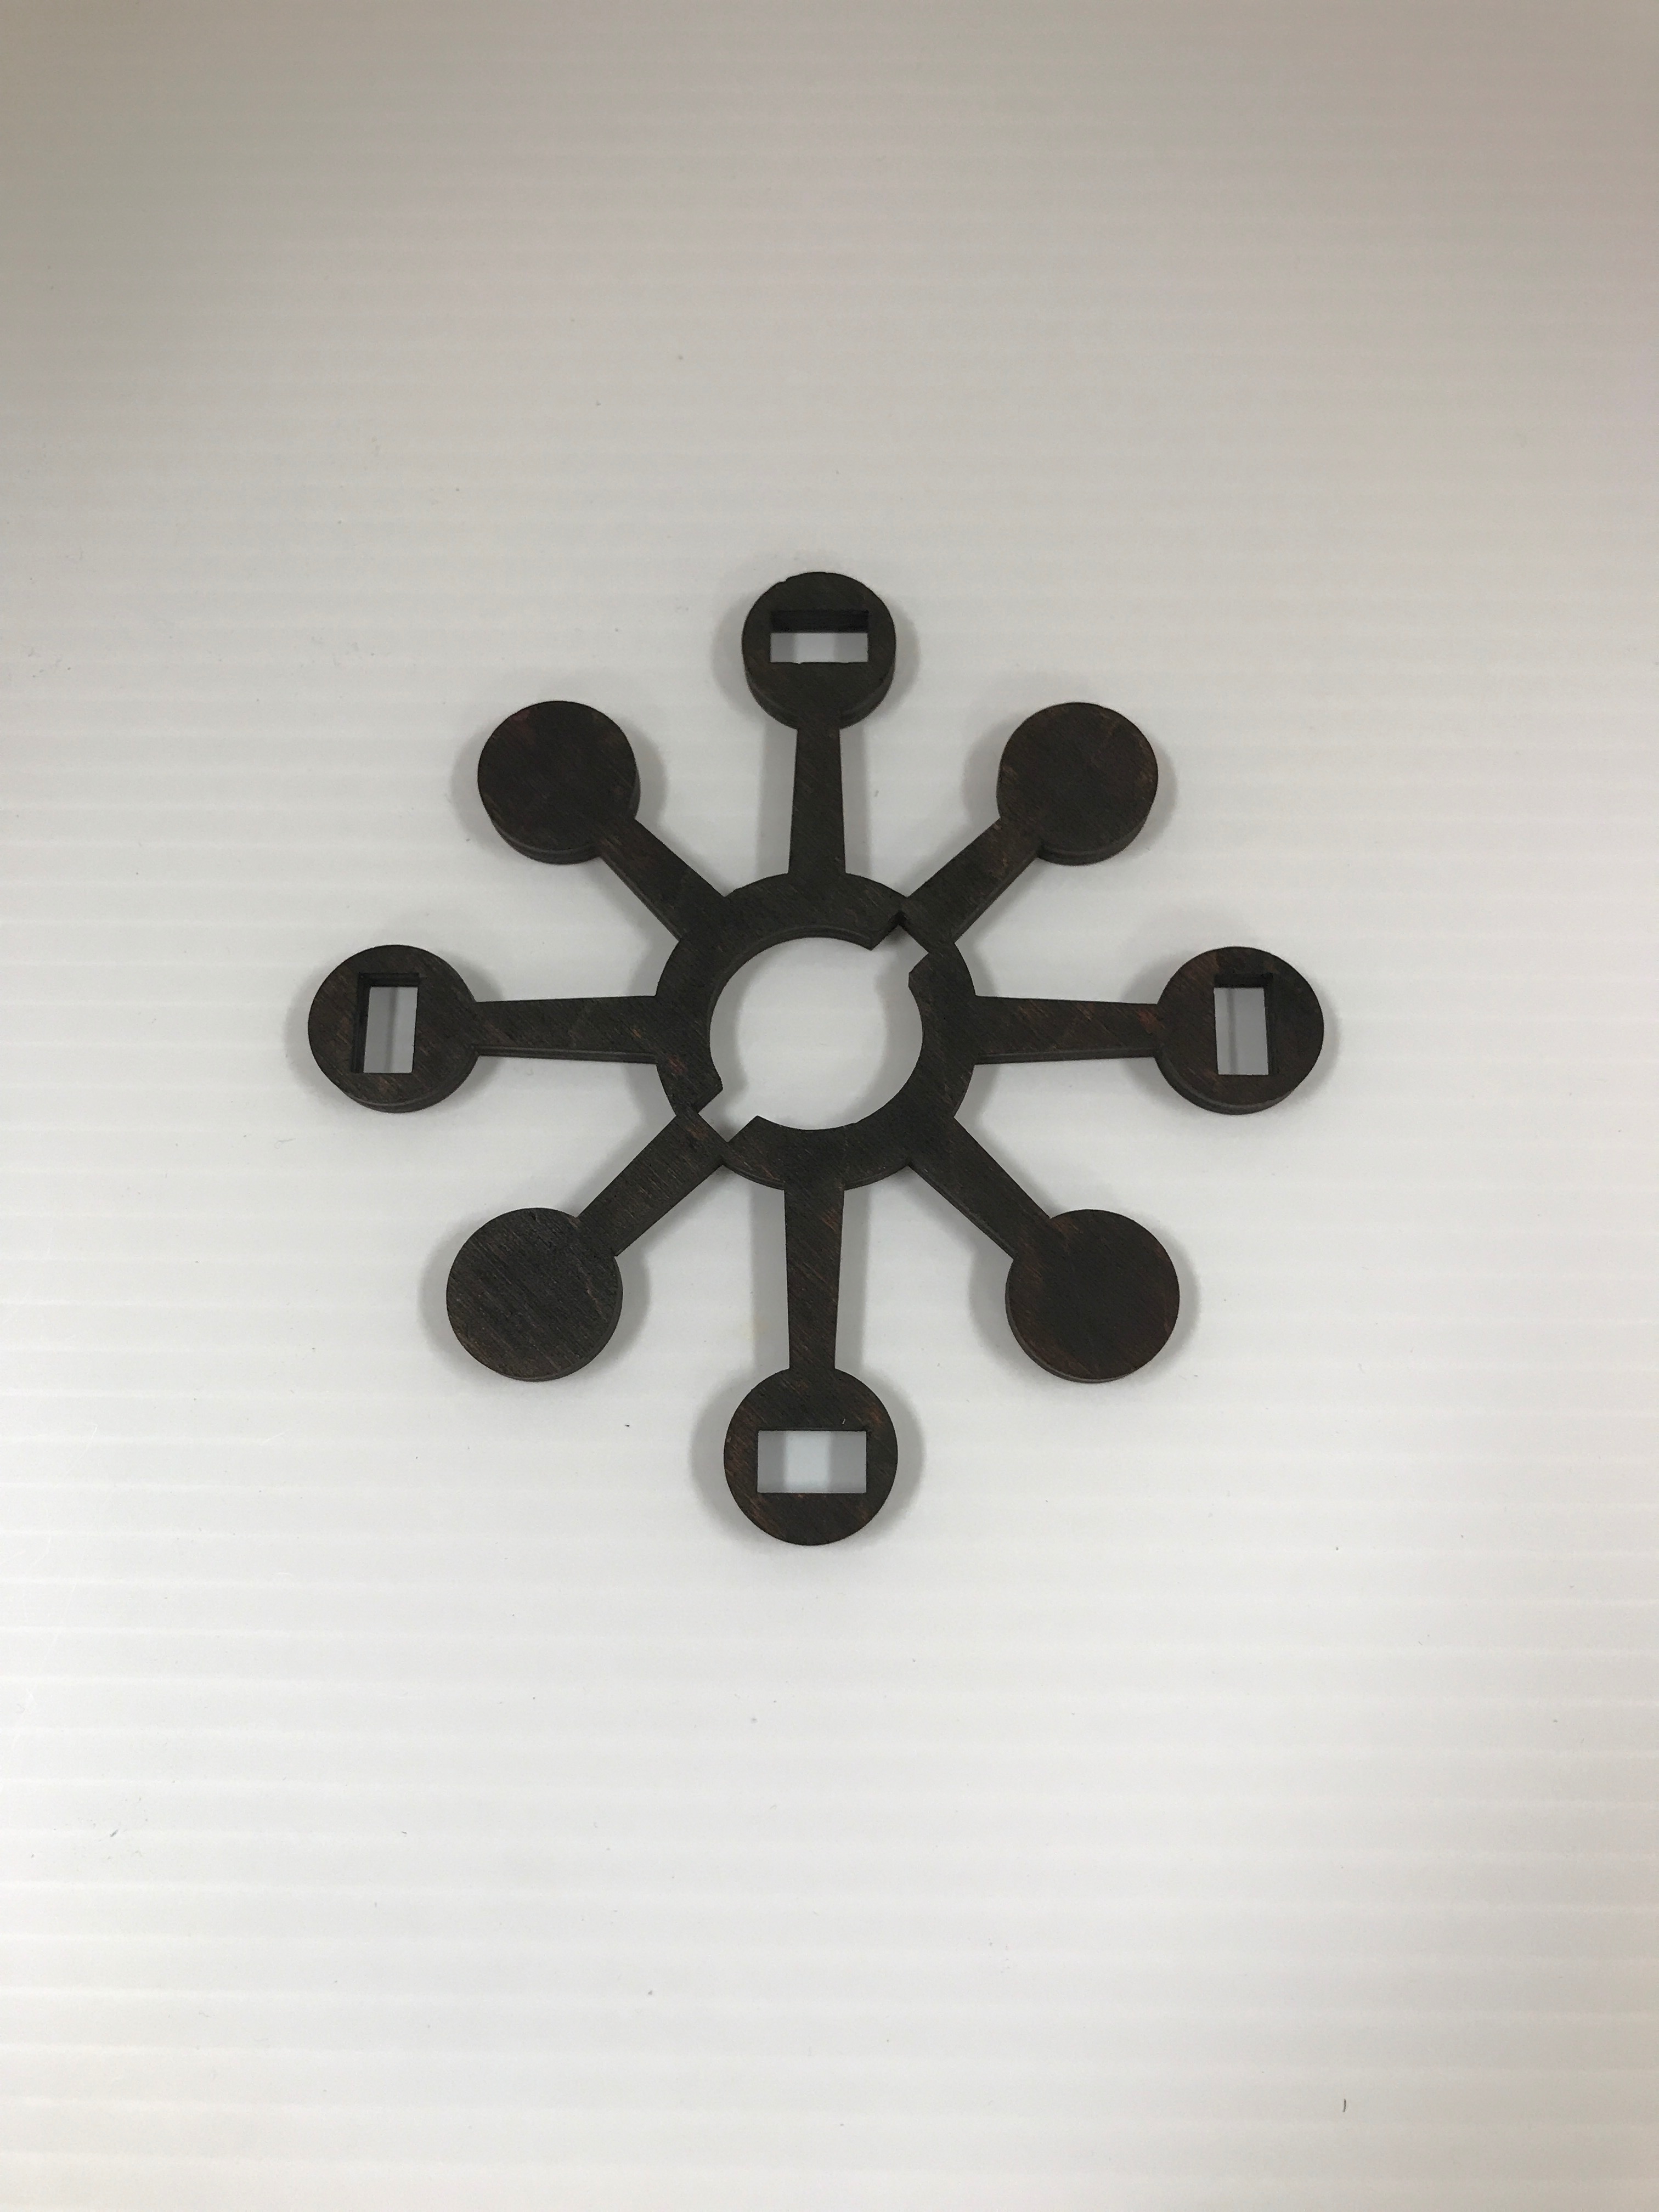
- Glue together the three small rings, ensure the tab ring is the last ring.
- Press the rings together. Make sure rings stay in alignment.
- Wipe off excess glue.
- Let dry for several minutes.
- Glue ring stack to unfinished side of the small top plate, position stack so that it is centered in the middle.
- Press ring stack onto the small top plate. Make sure stack remains centered.
- Wipe off excess glue.
- Let dry for at least 10 minutes.
- Optional: Color the unfinished side of the lock plate using a brown marker.
Step 7: Insert Light Socket and Light Bulb
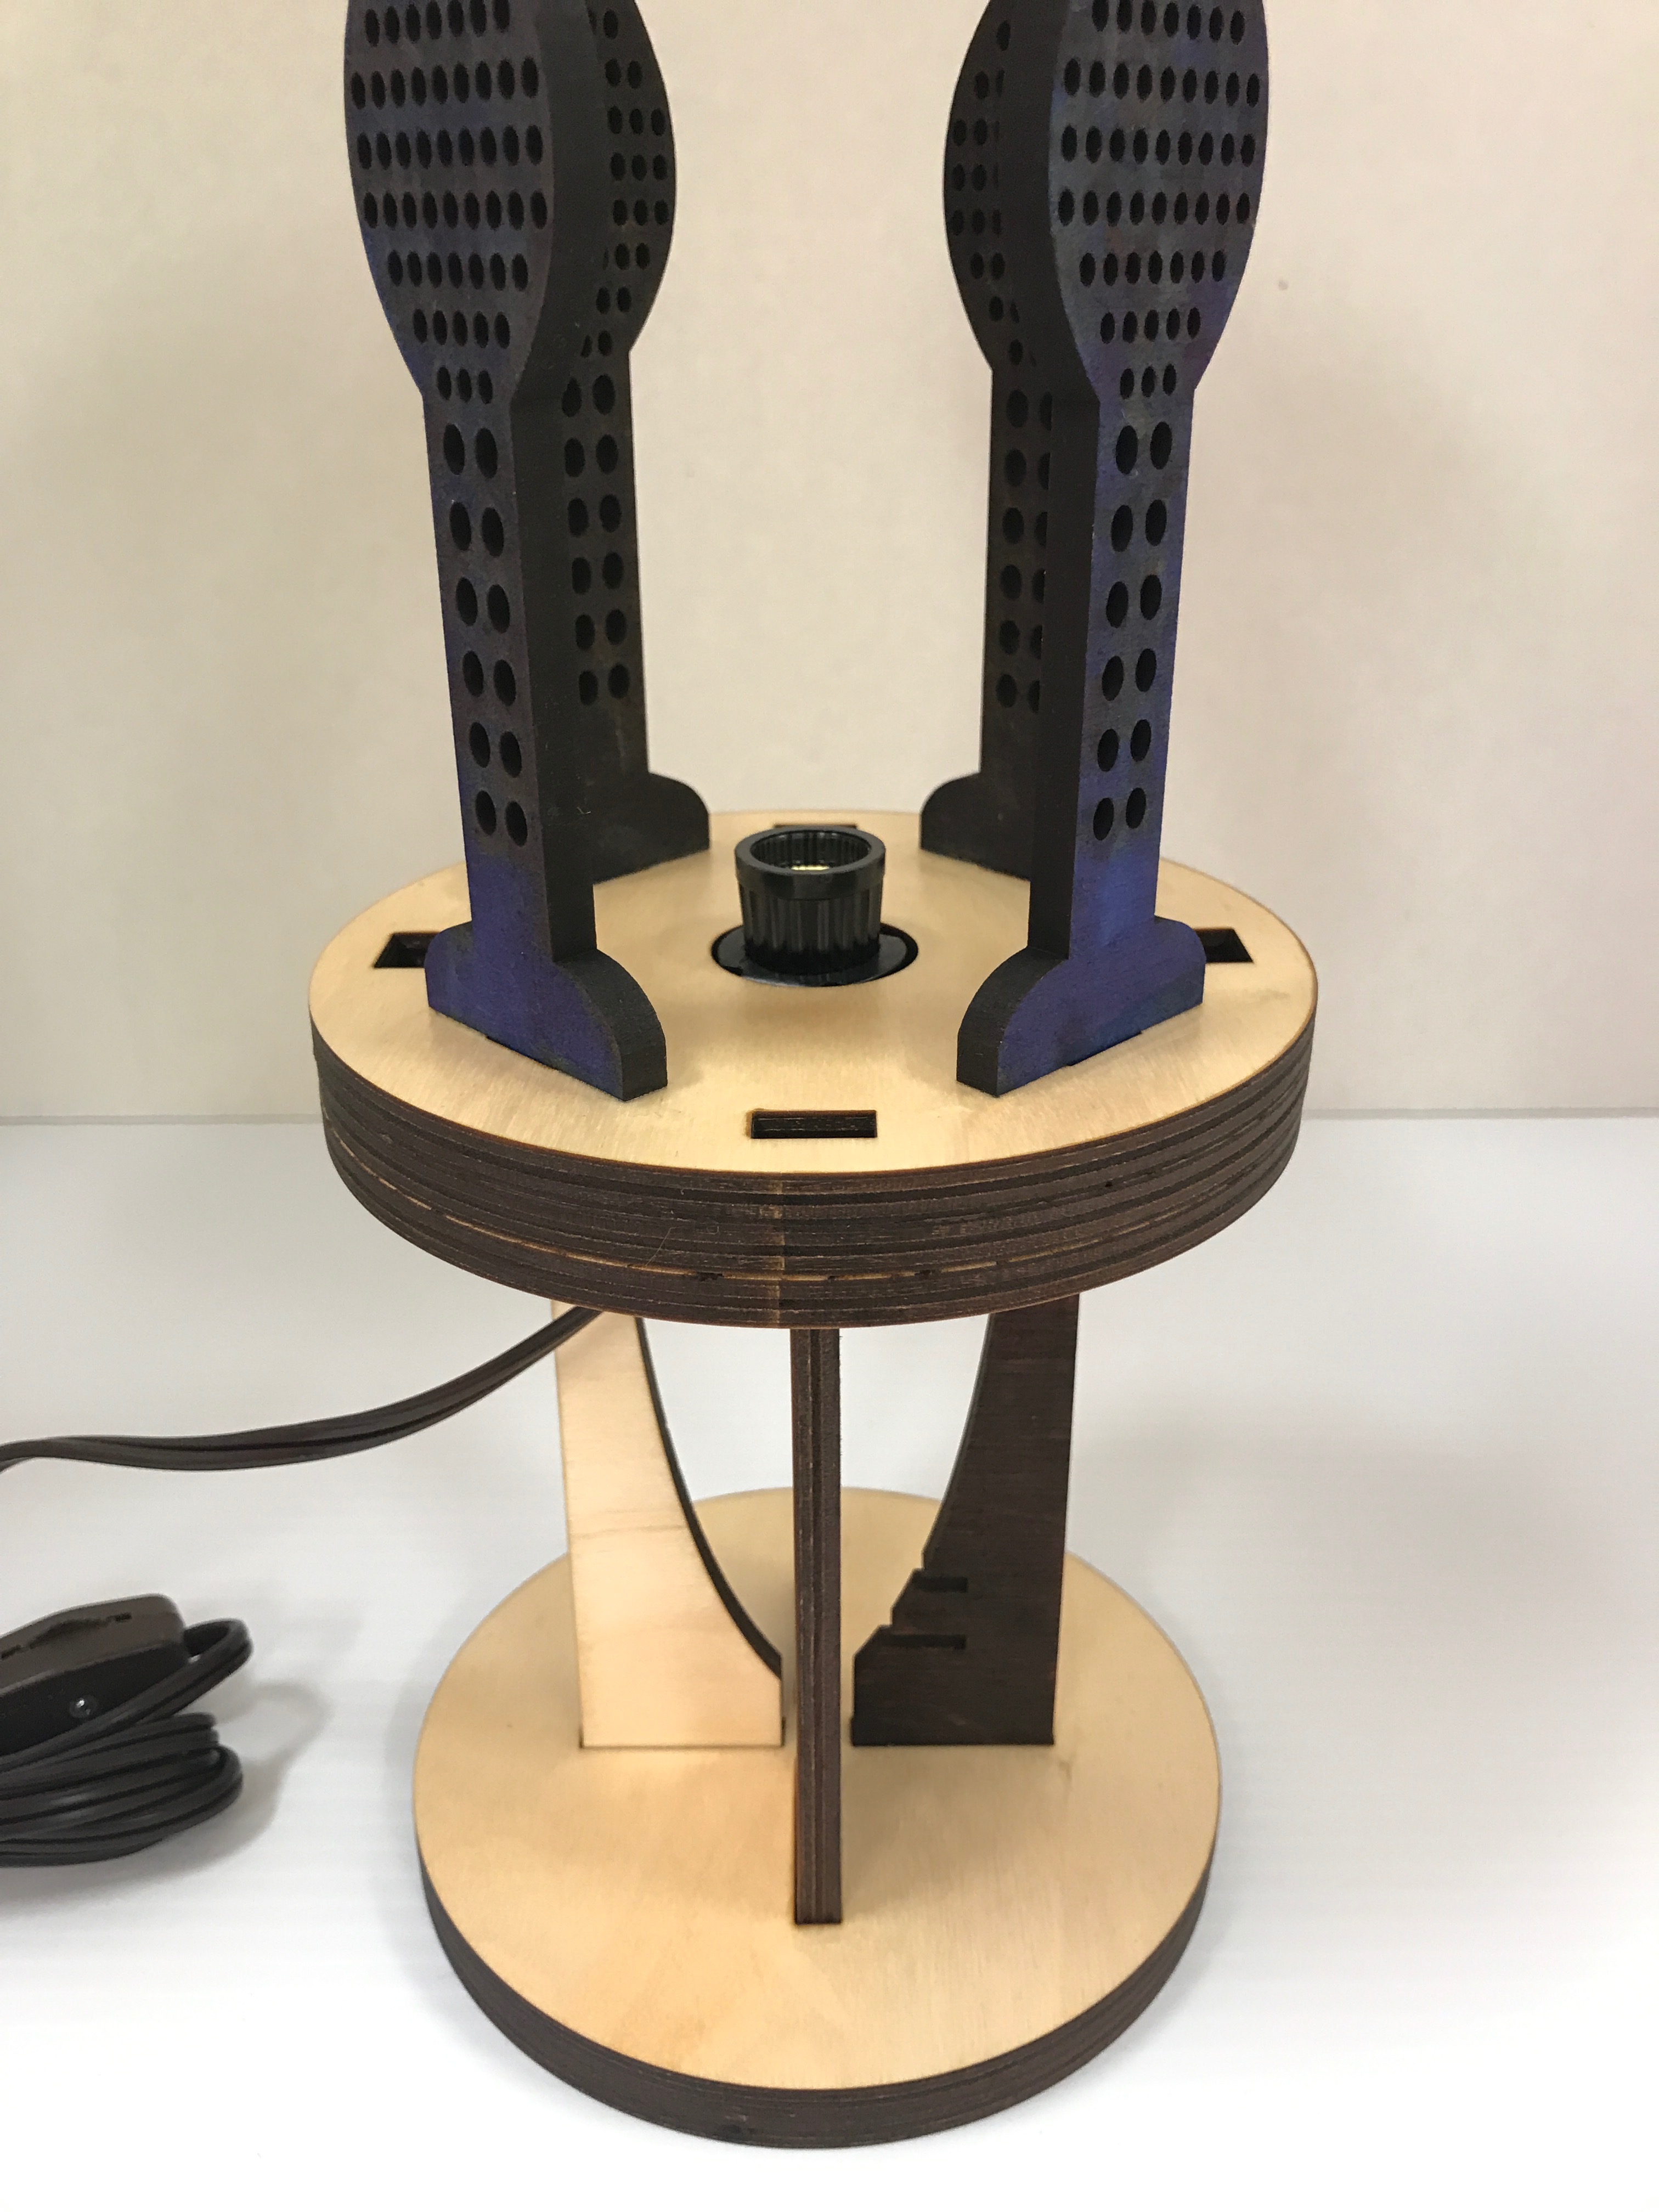
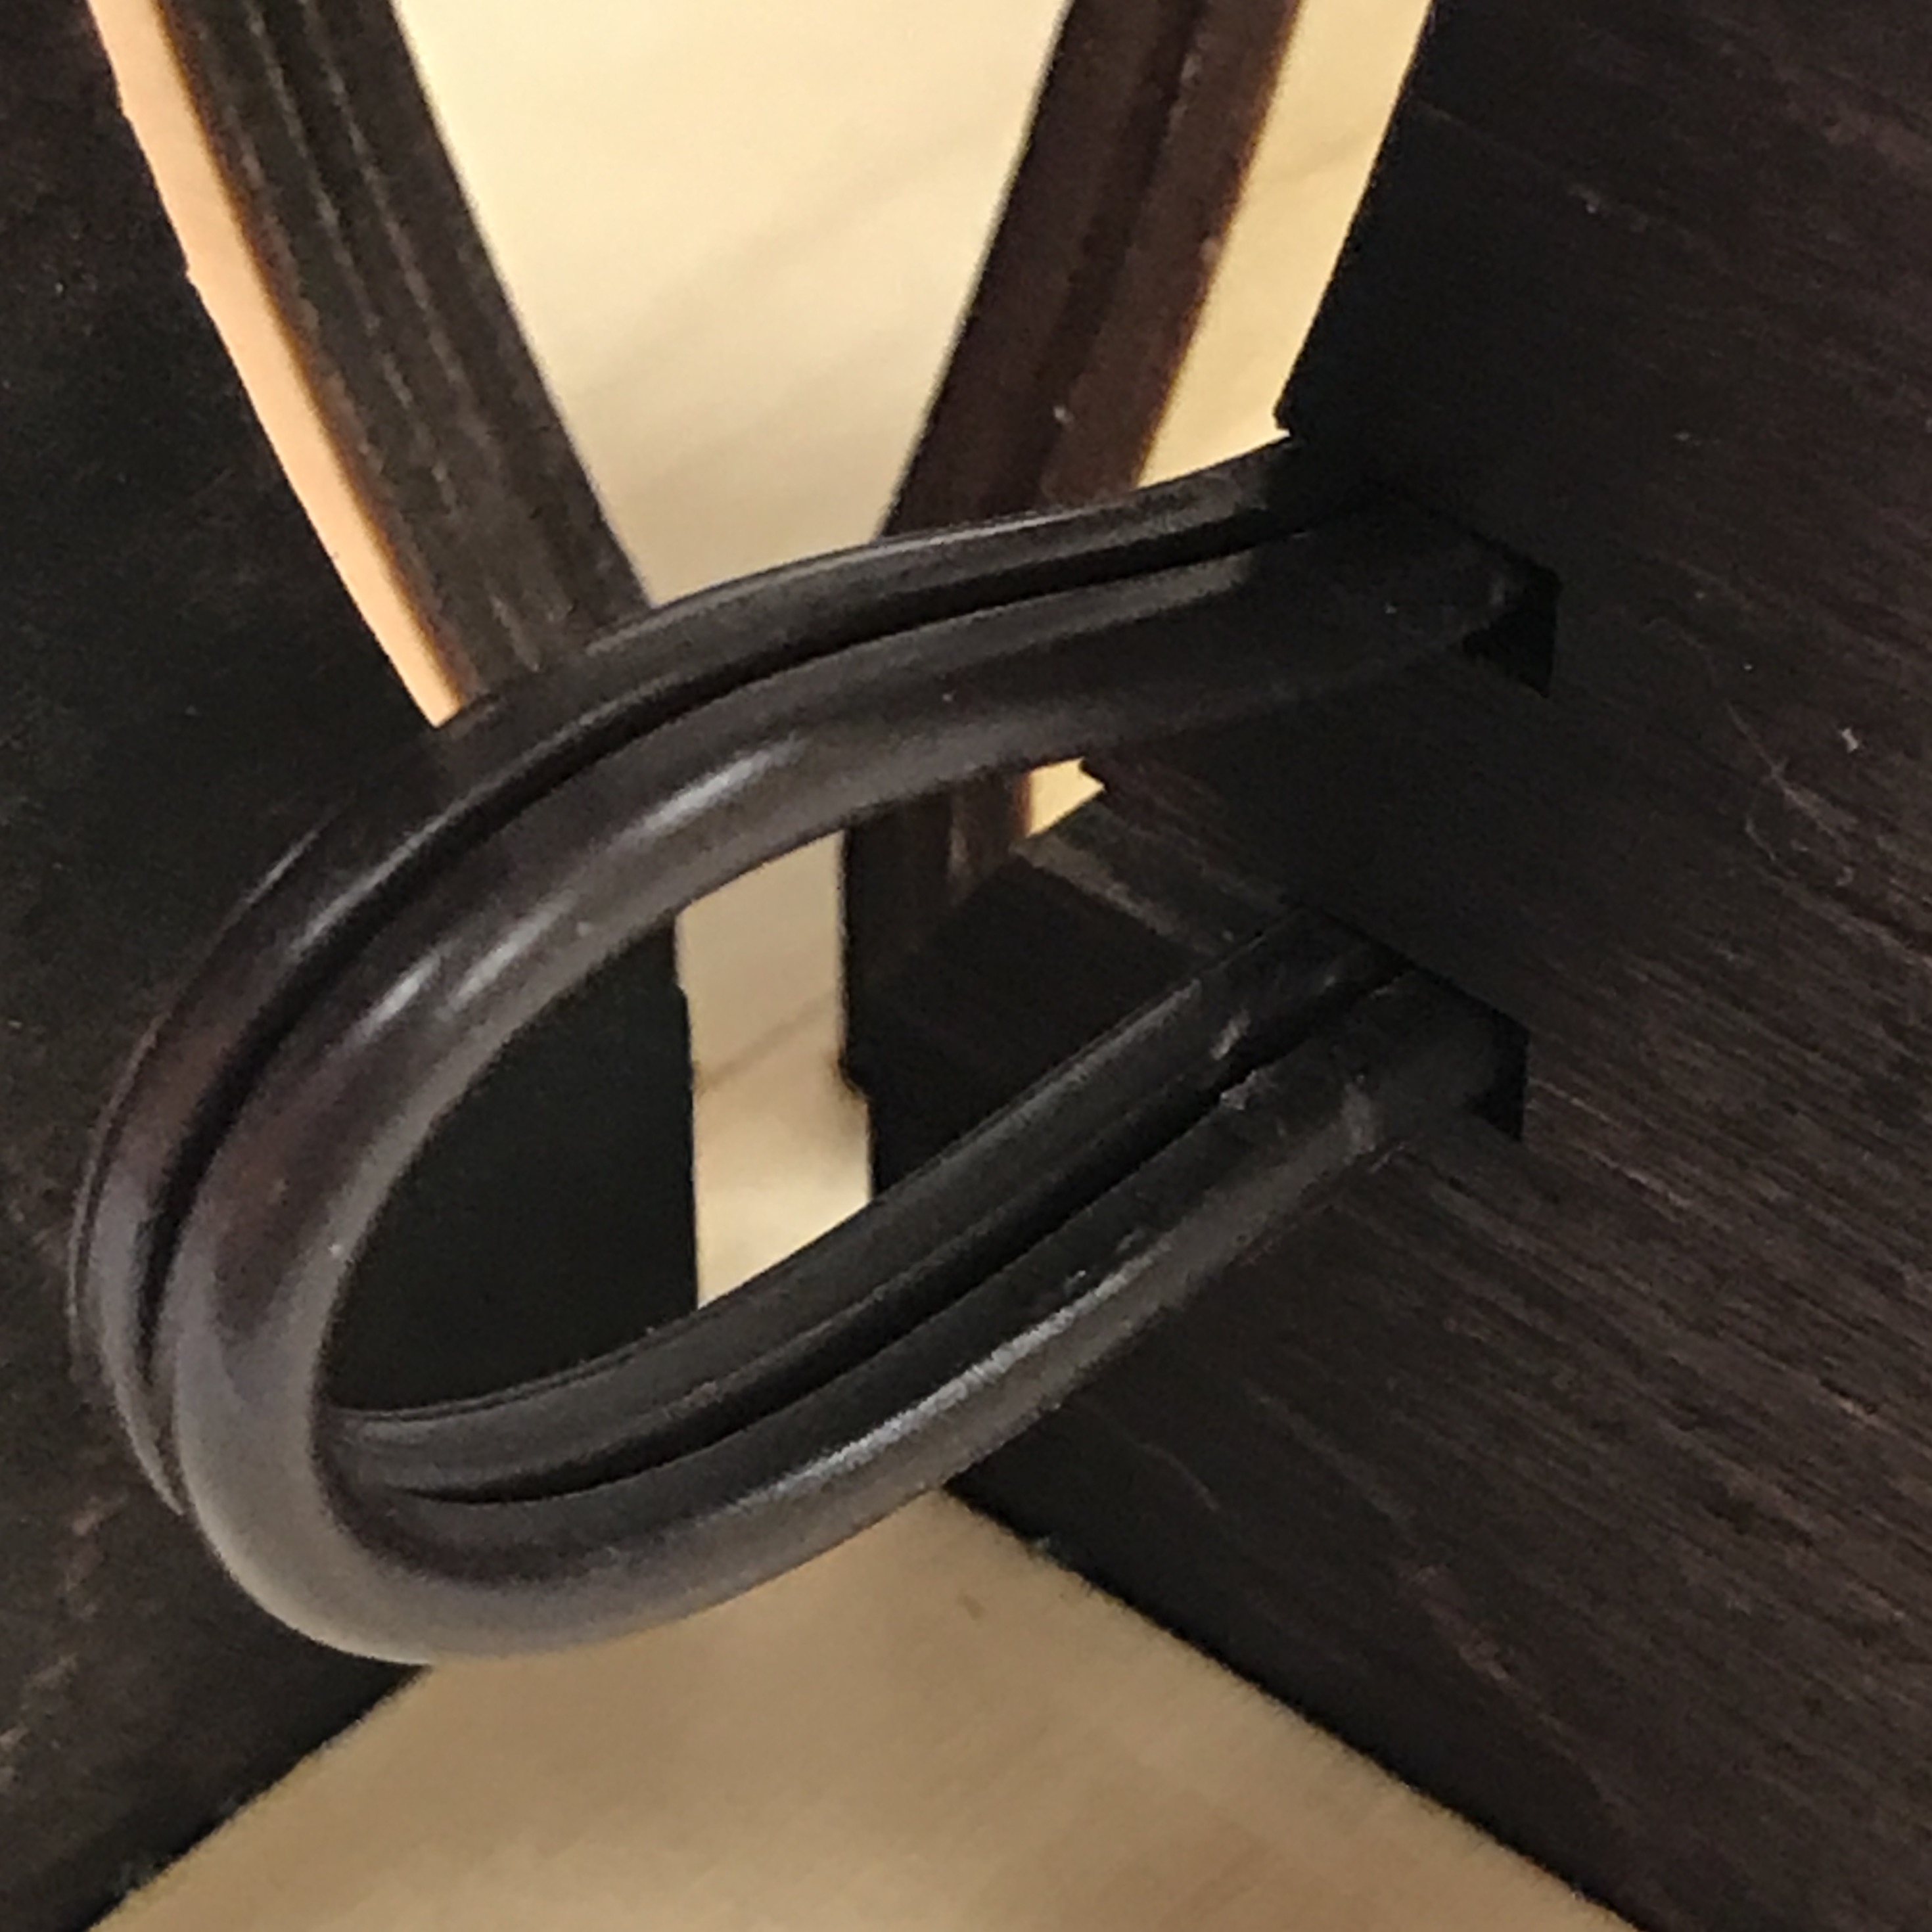
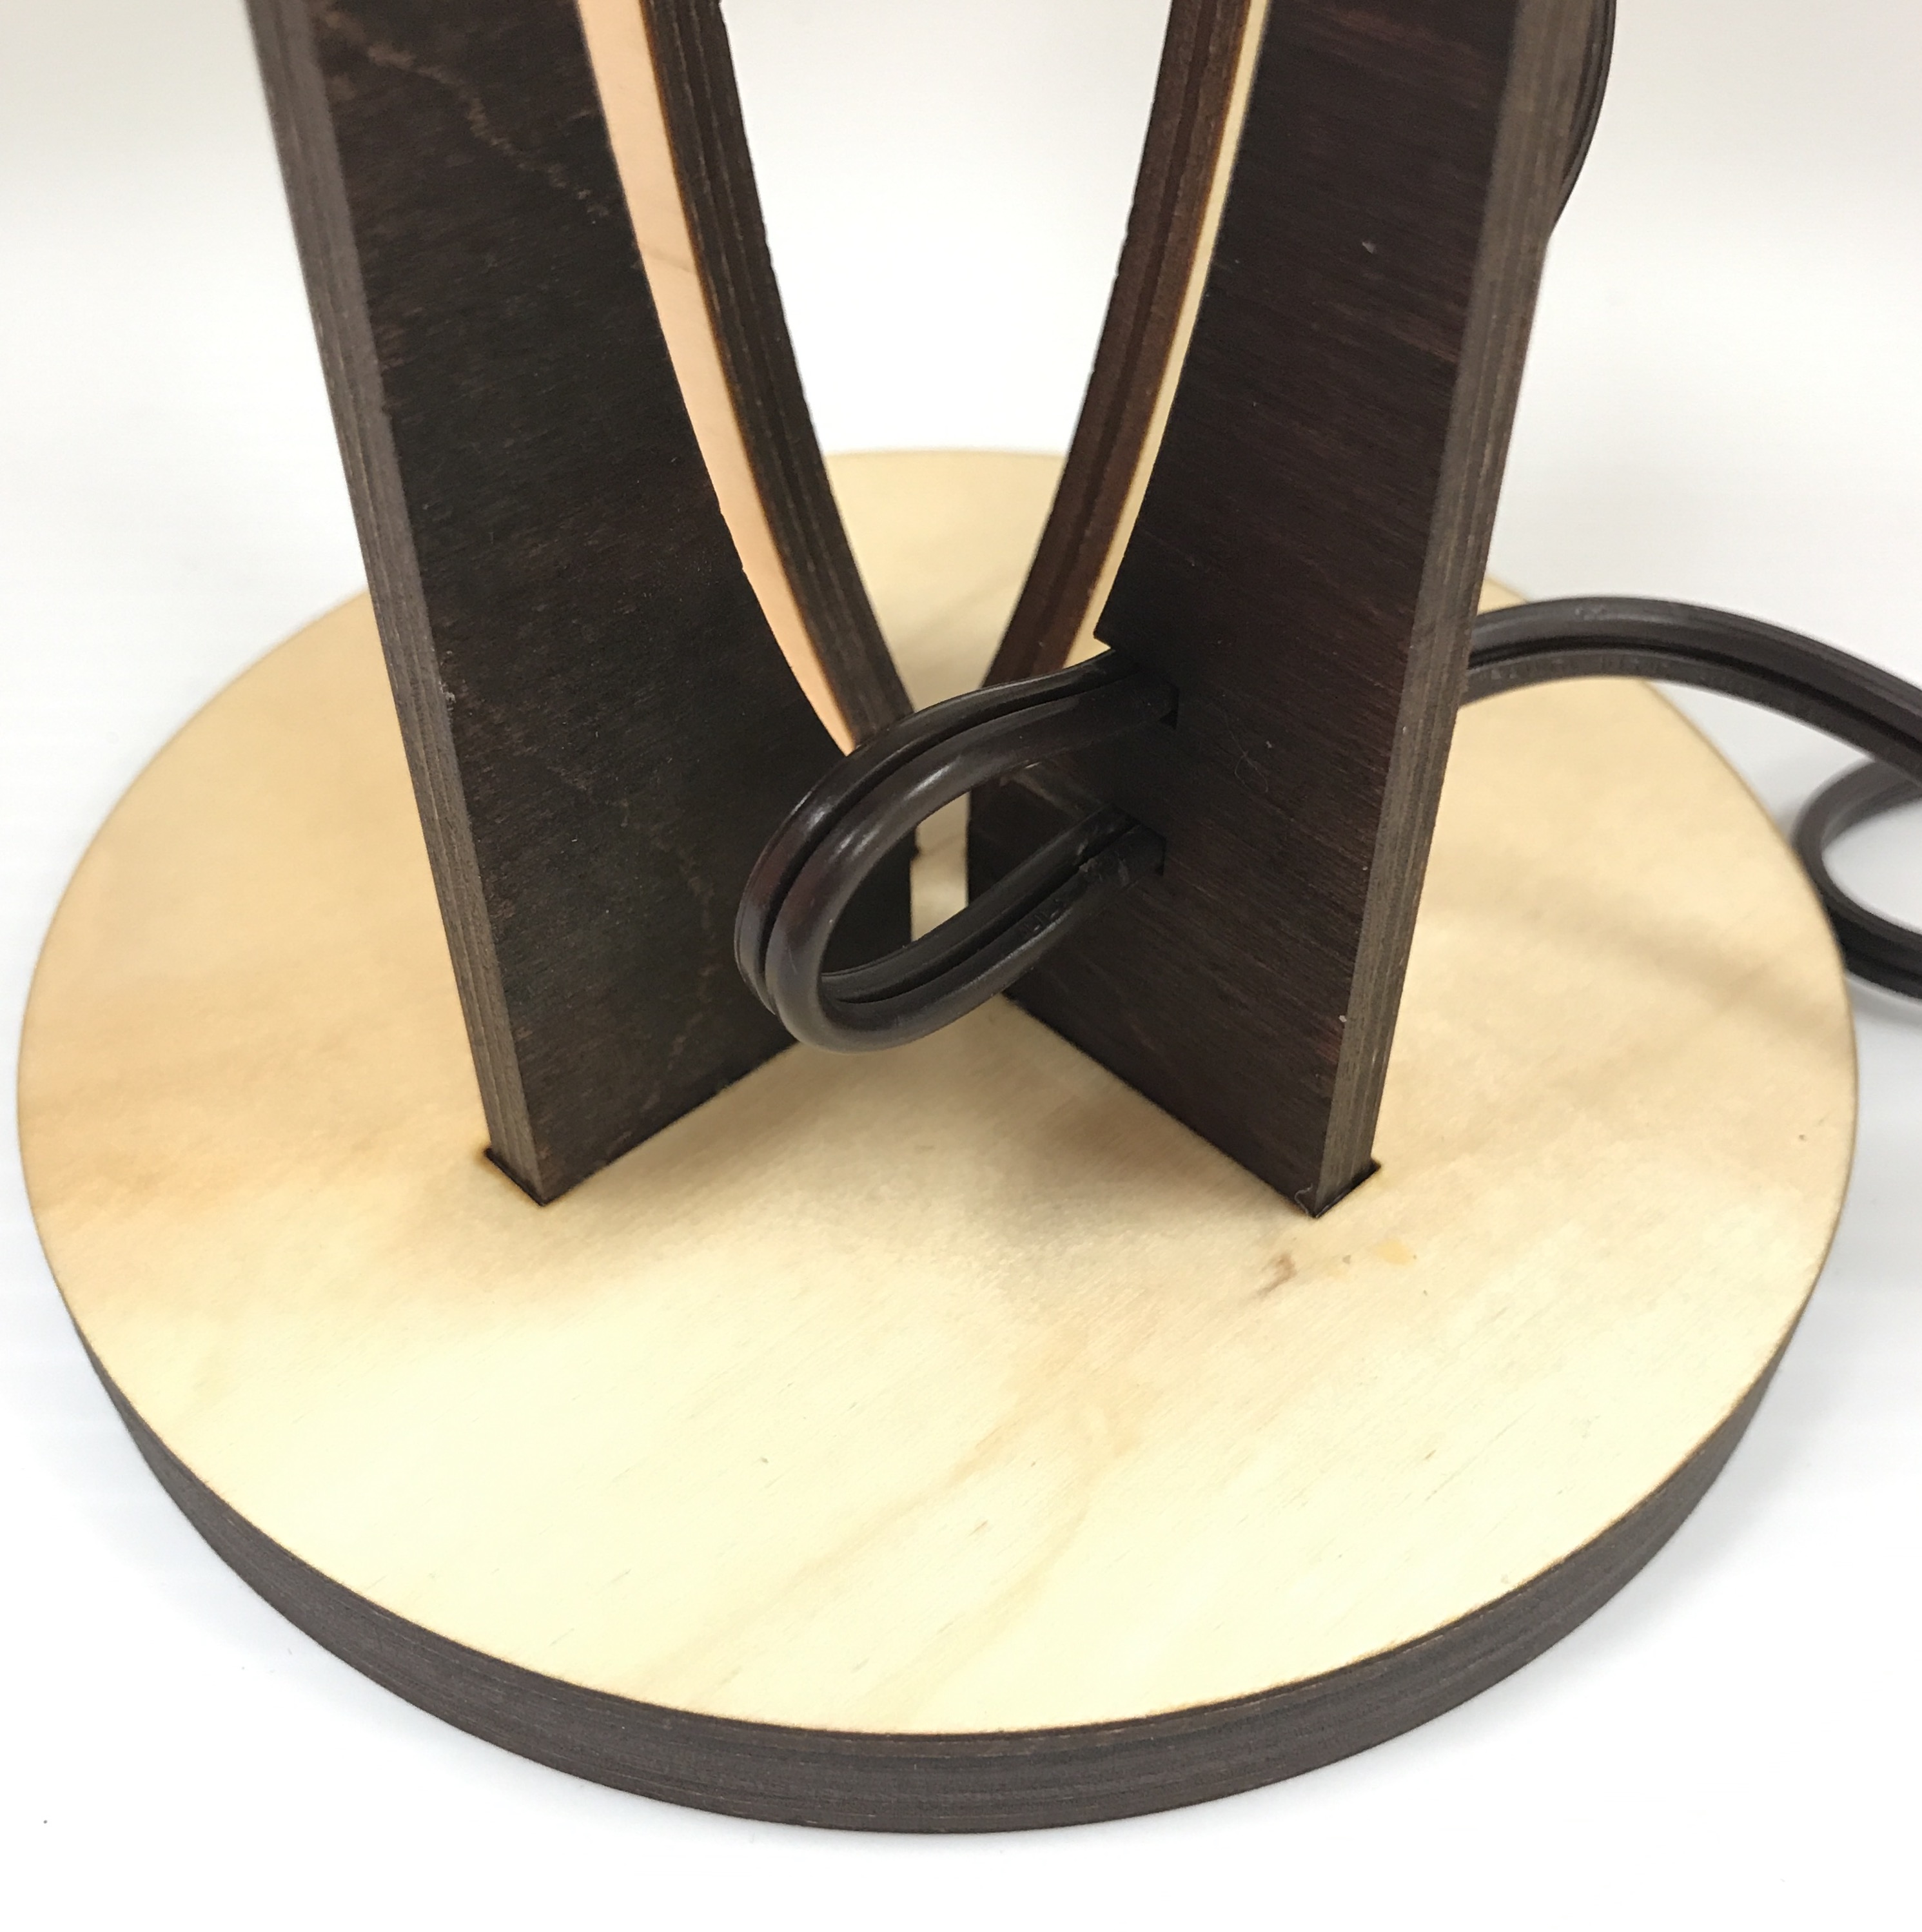
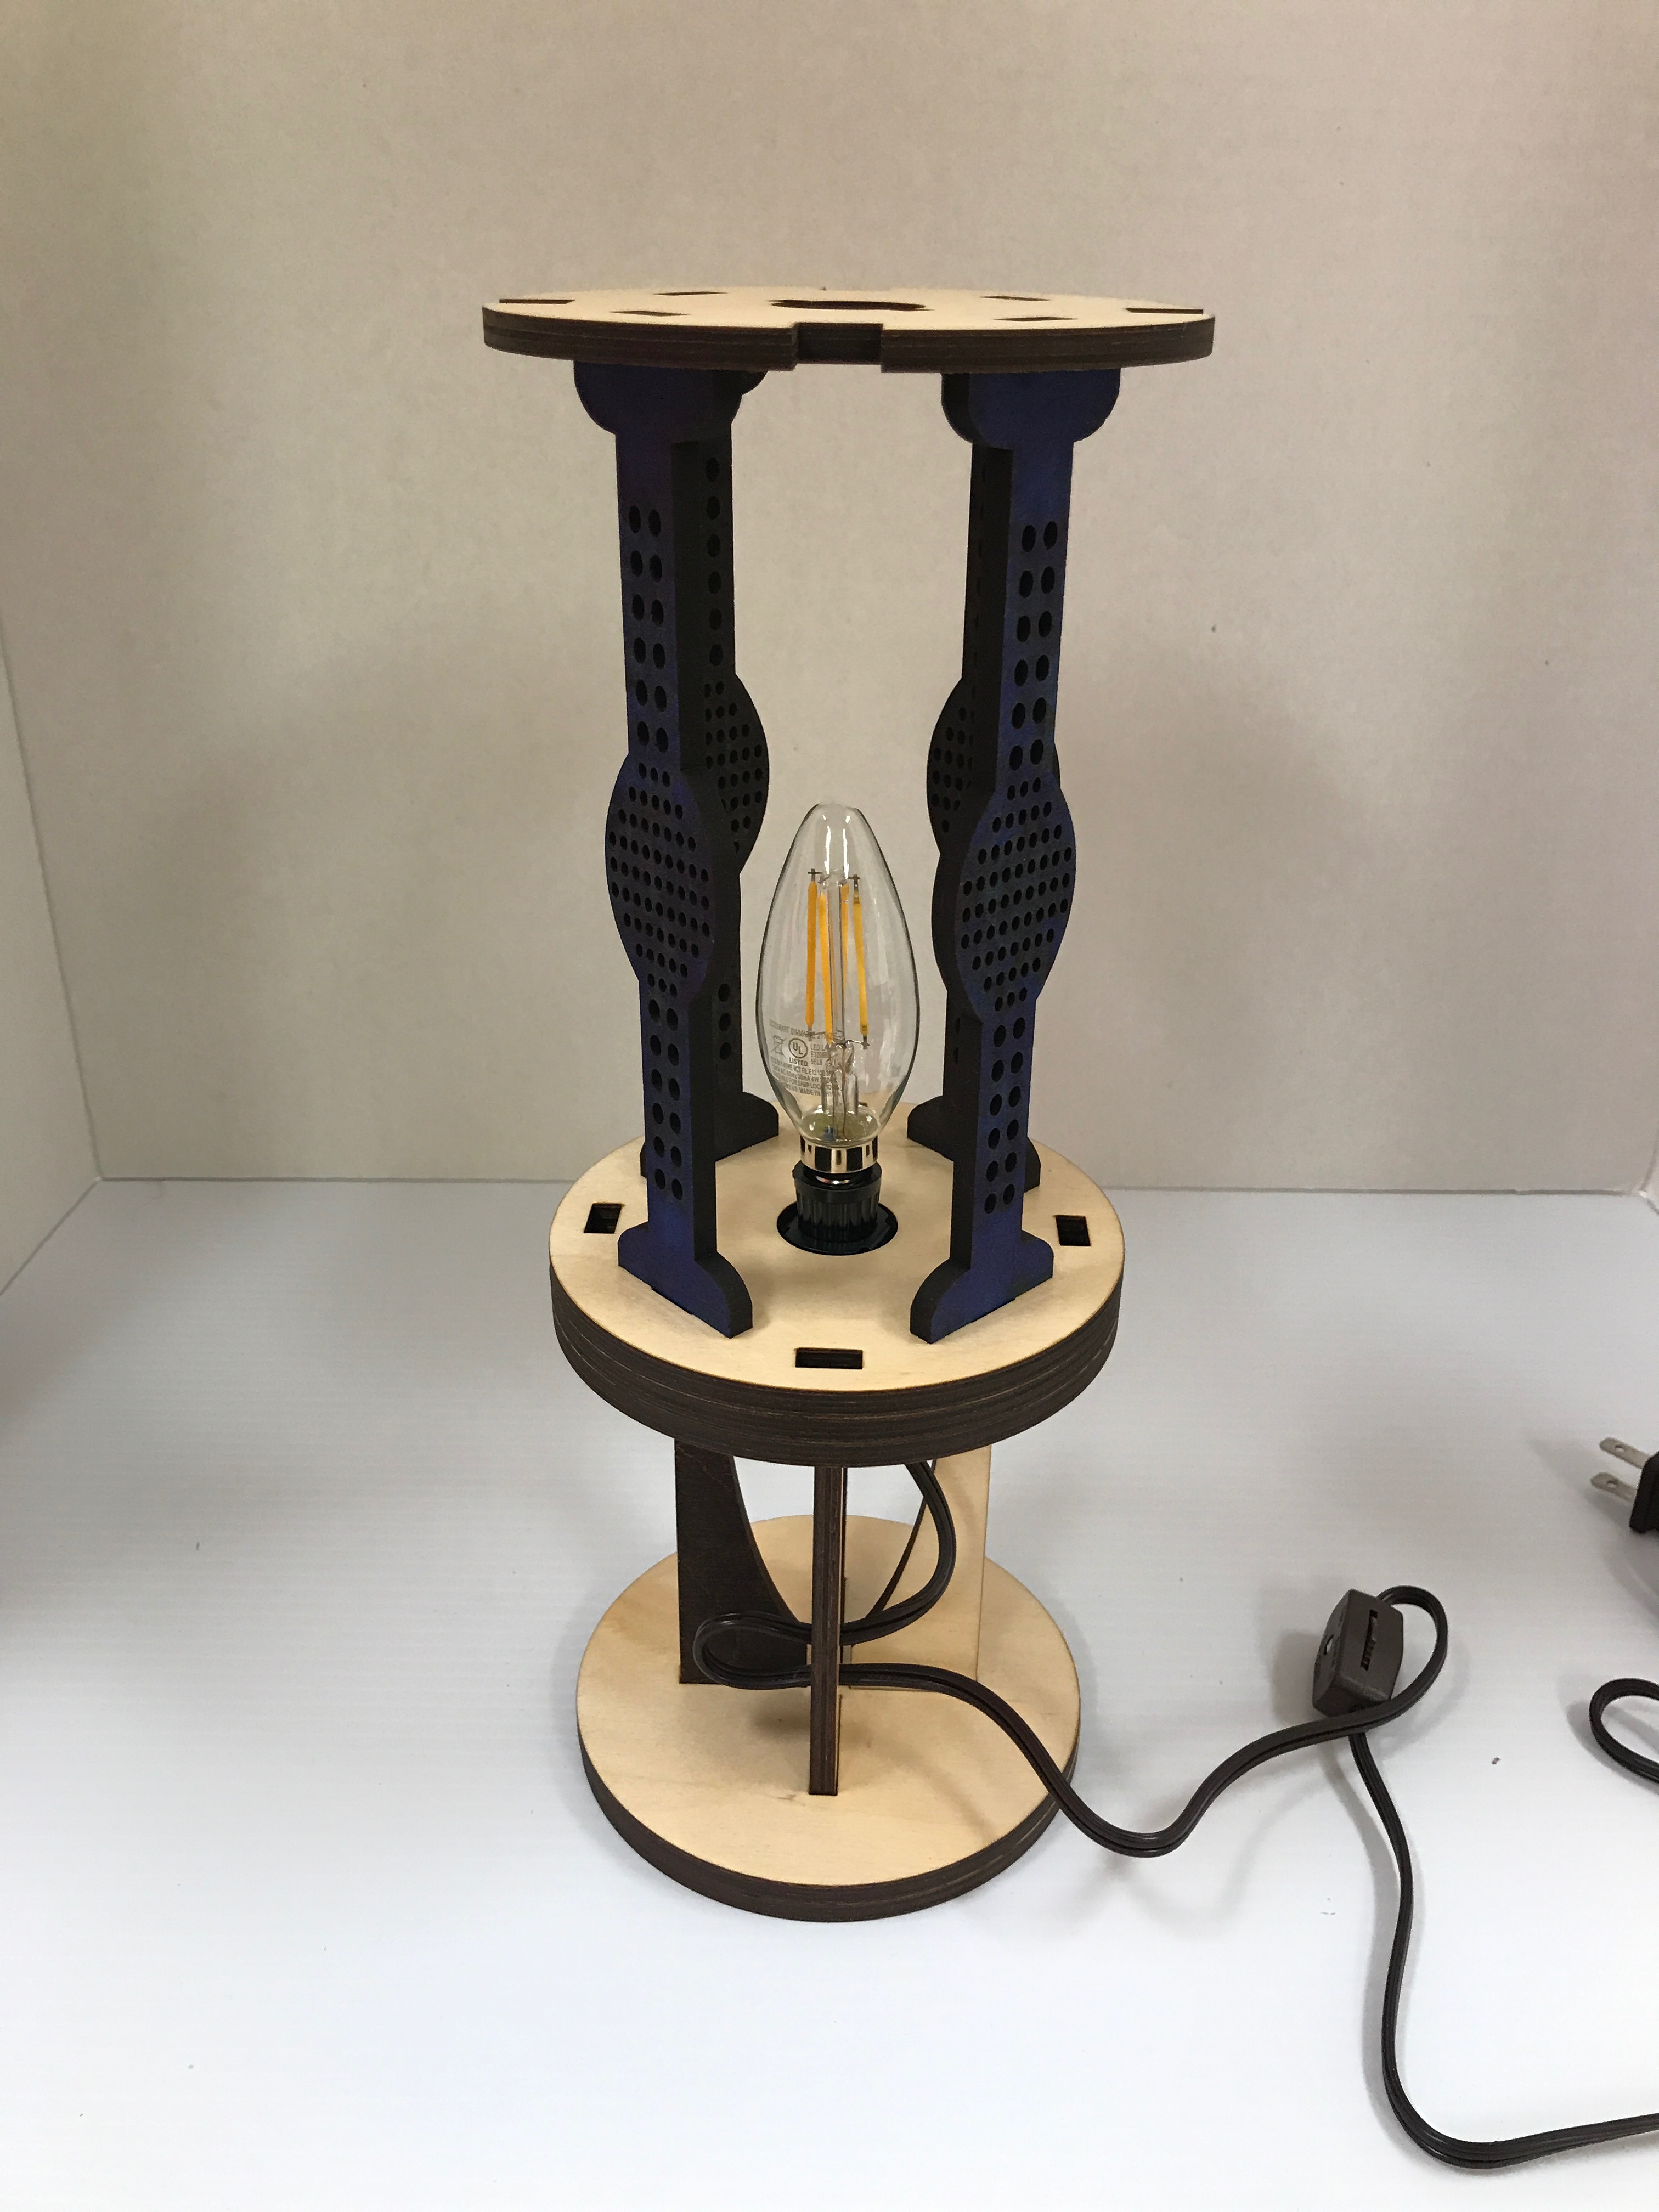
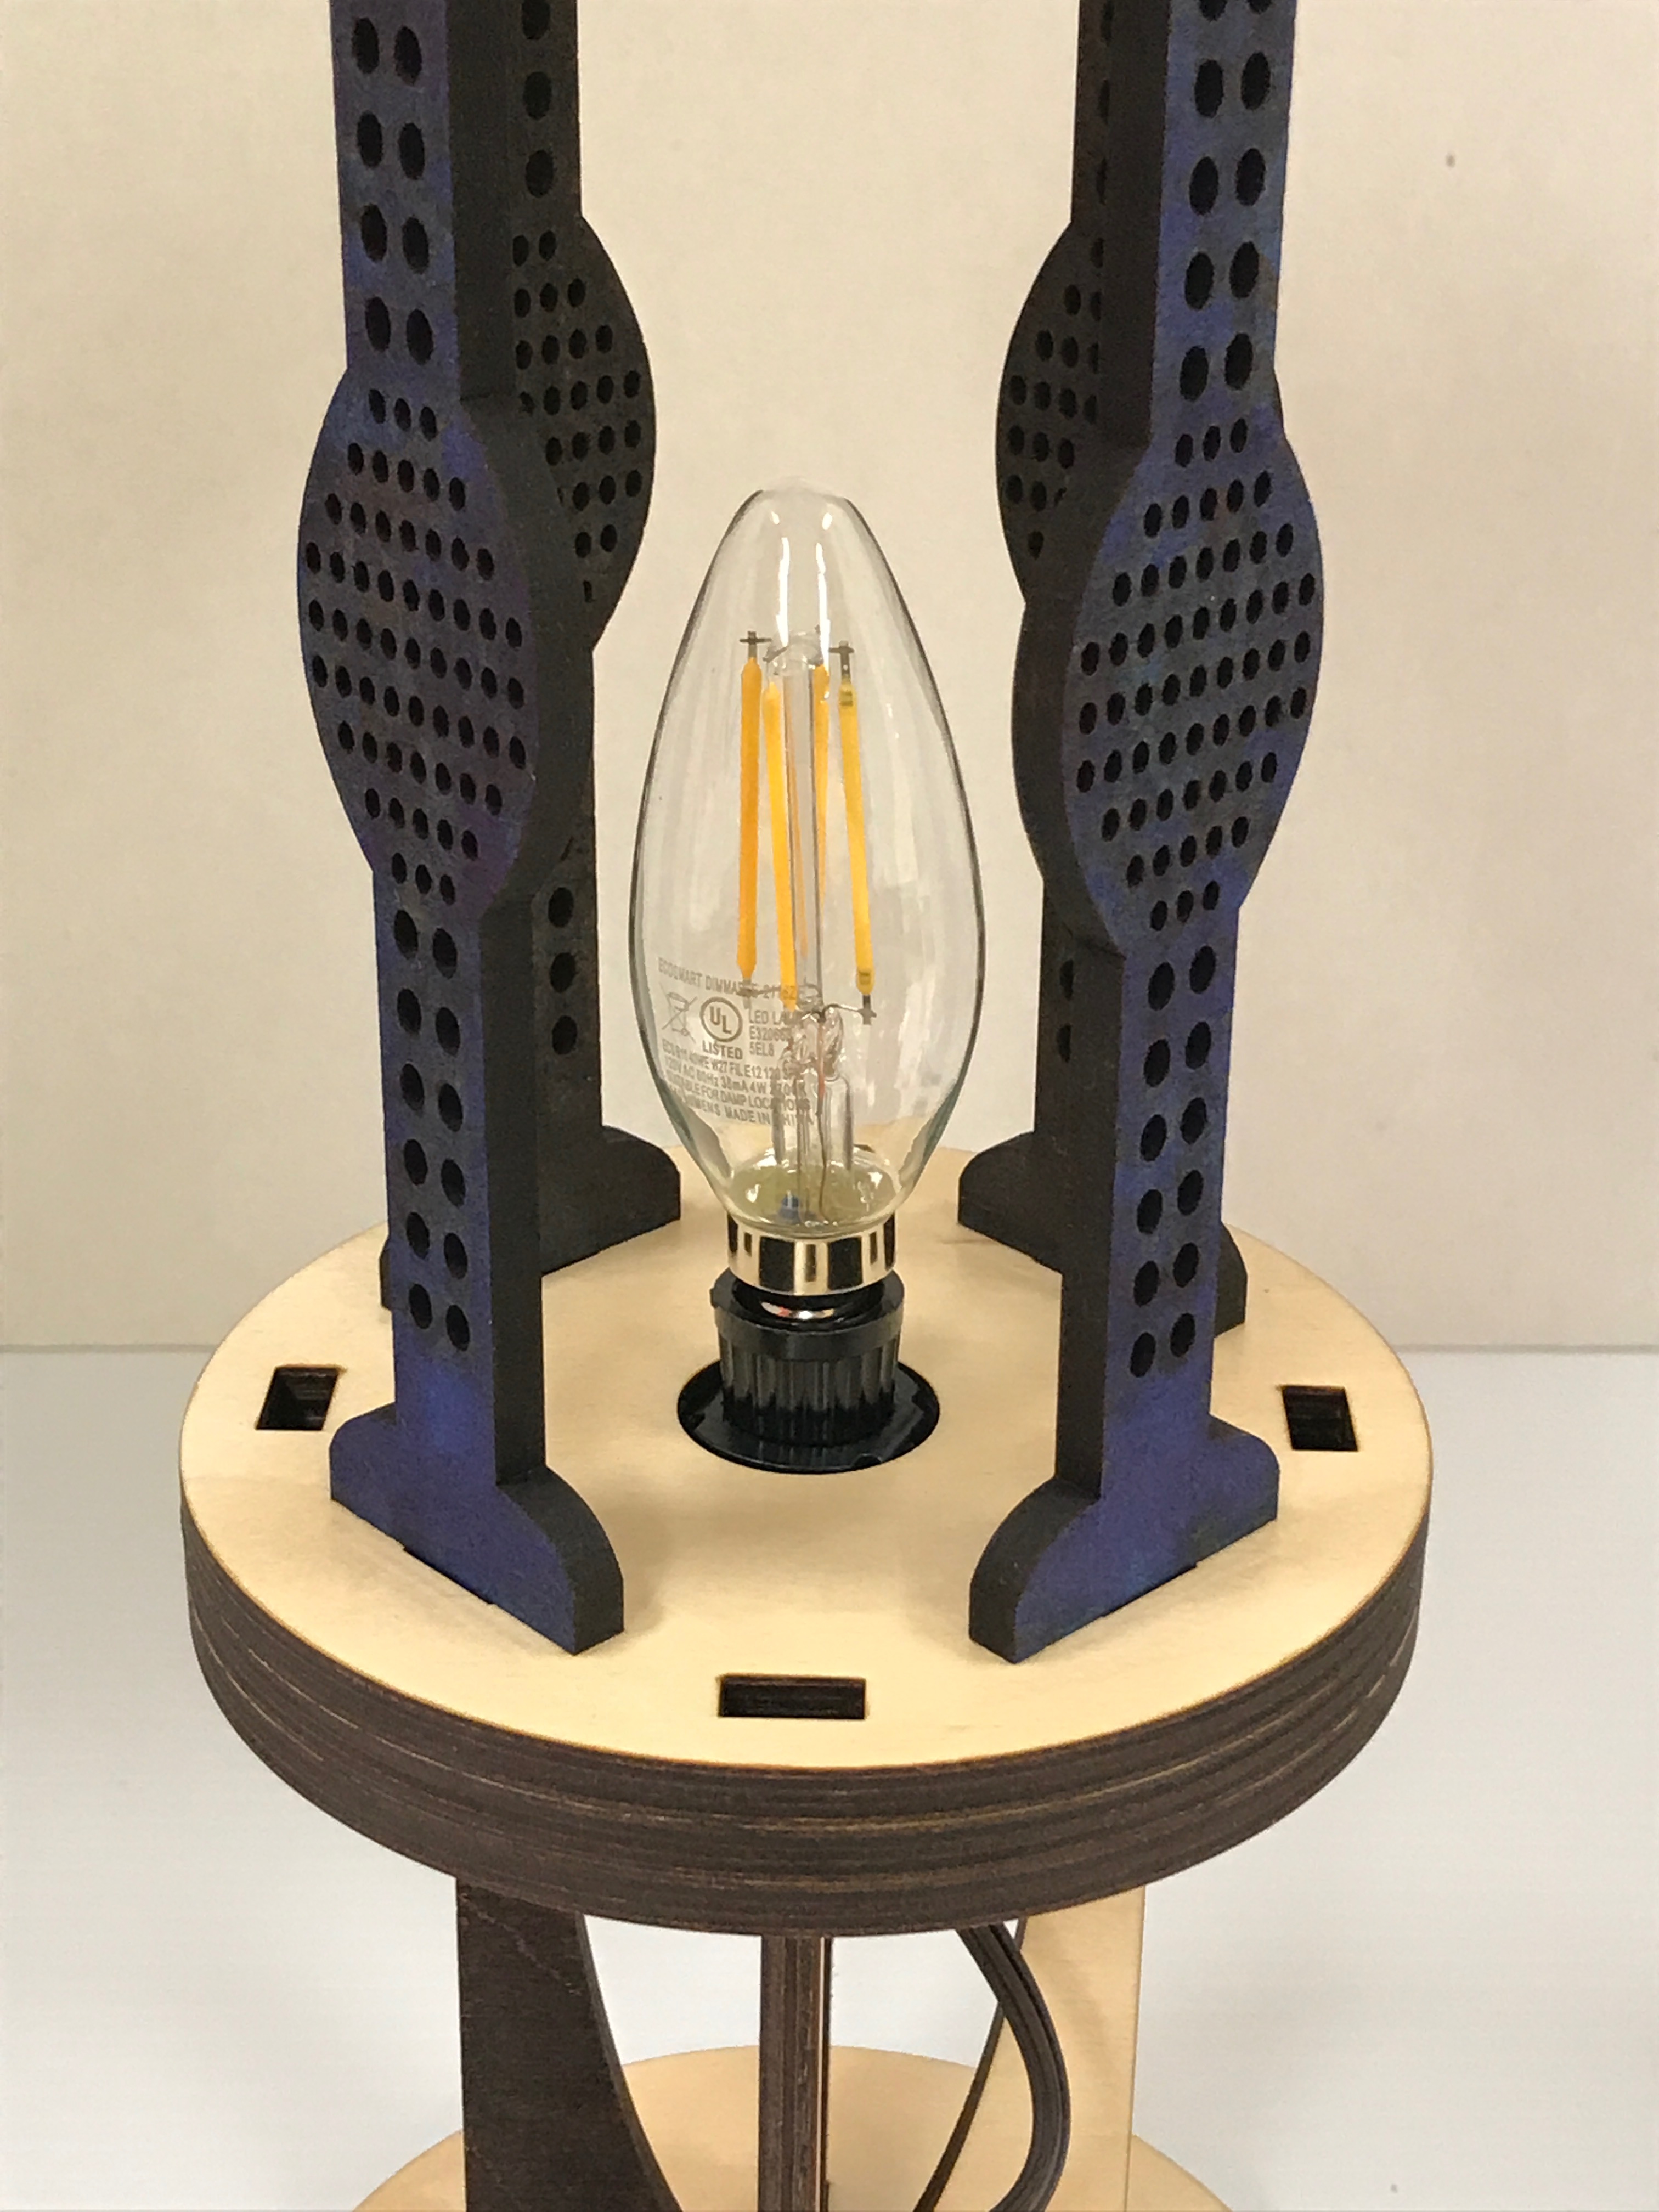
- Ensure the lamp assembly (stand, base, diffusers, and top plate) has had sufficient time to dry ~ 30 minutes.
- Compress the two fins surrounding the light socket, insert the light socket into the 1 inch diameter hole in the bottom of the base plate. Top of light socket should protrude above upper plate of base. Release the fins.
- Loop the power cord and place ends into the cutouts on leg.
- Insert the light bulb between the struts and screw into socket.
Step 8: Insert Acrylic Panels and Lock Plate
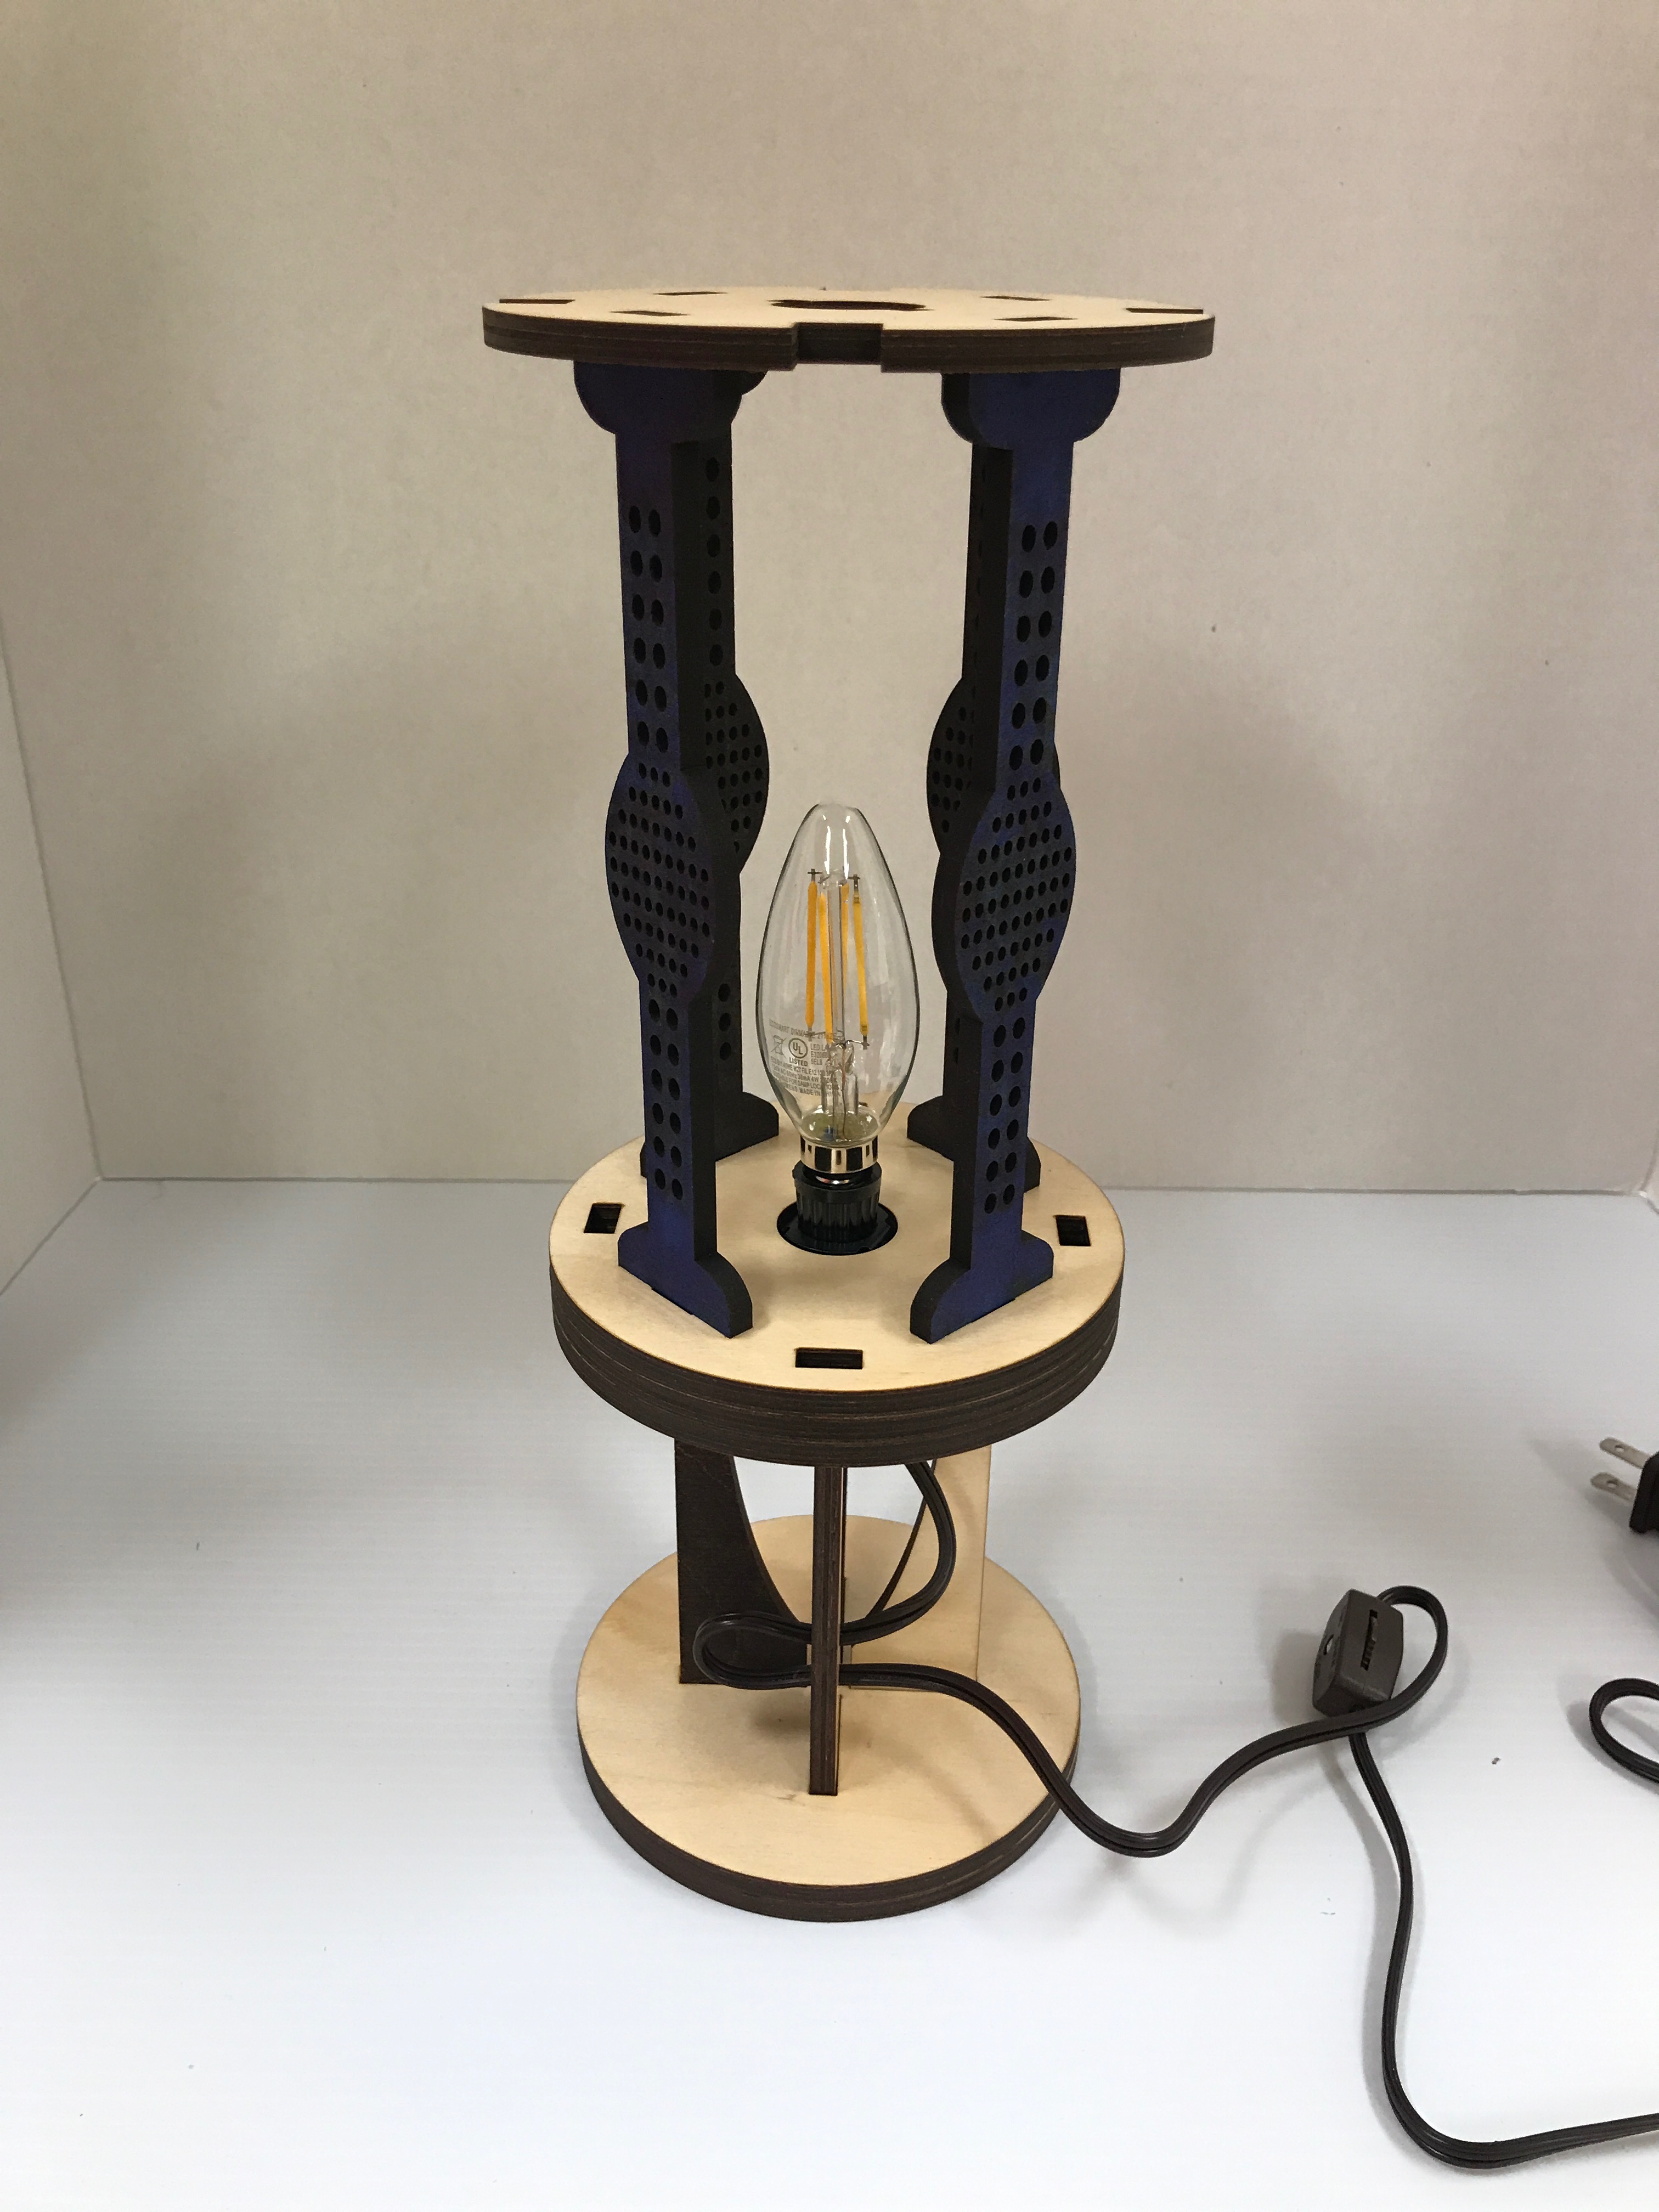
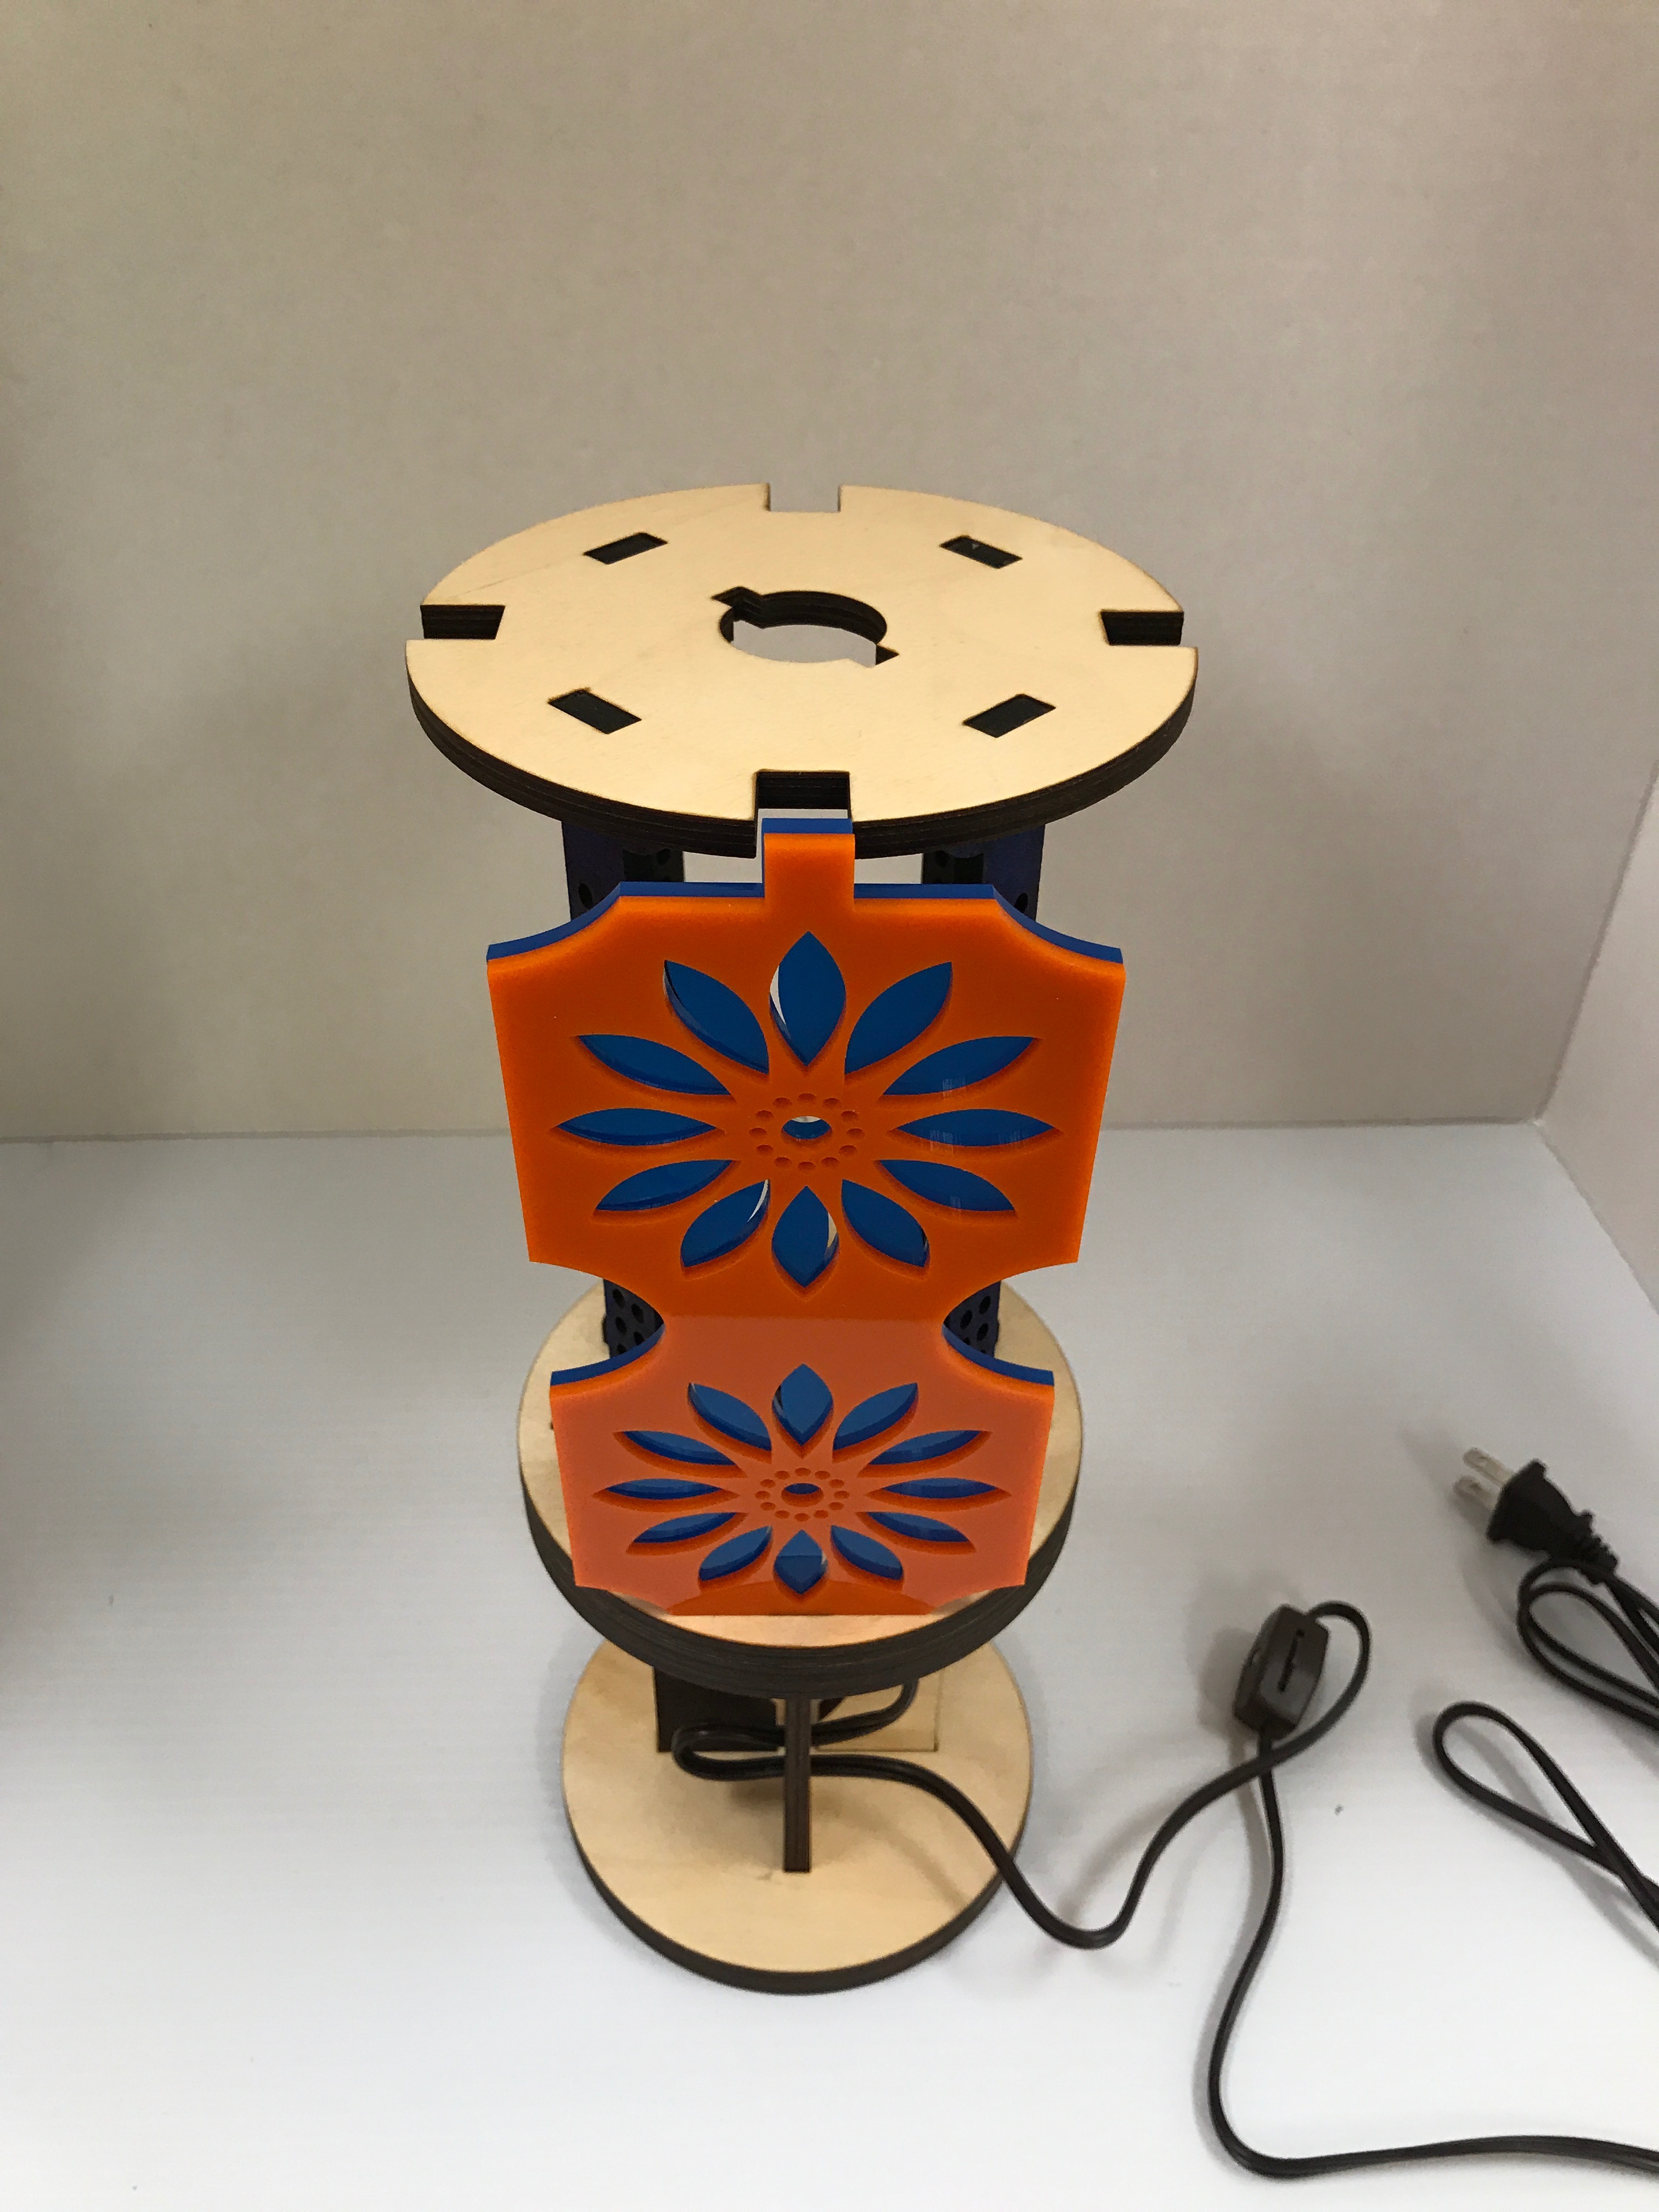
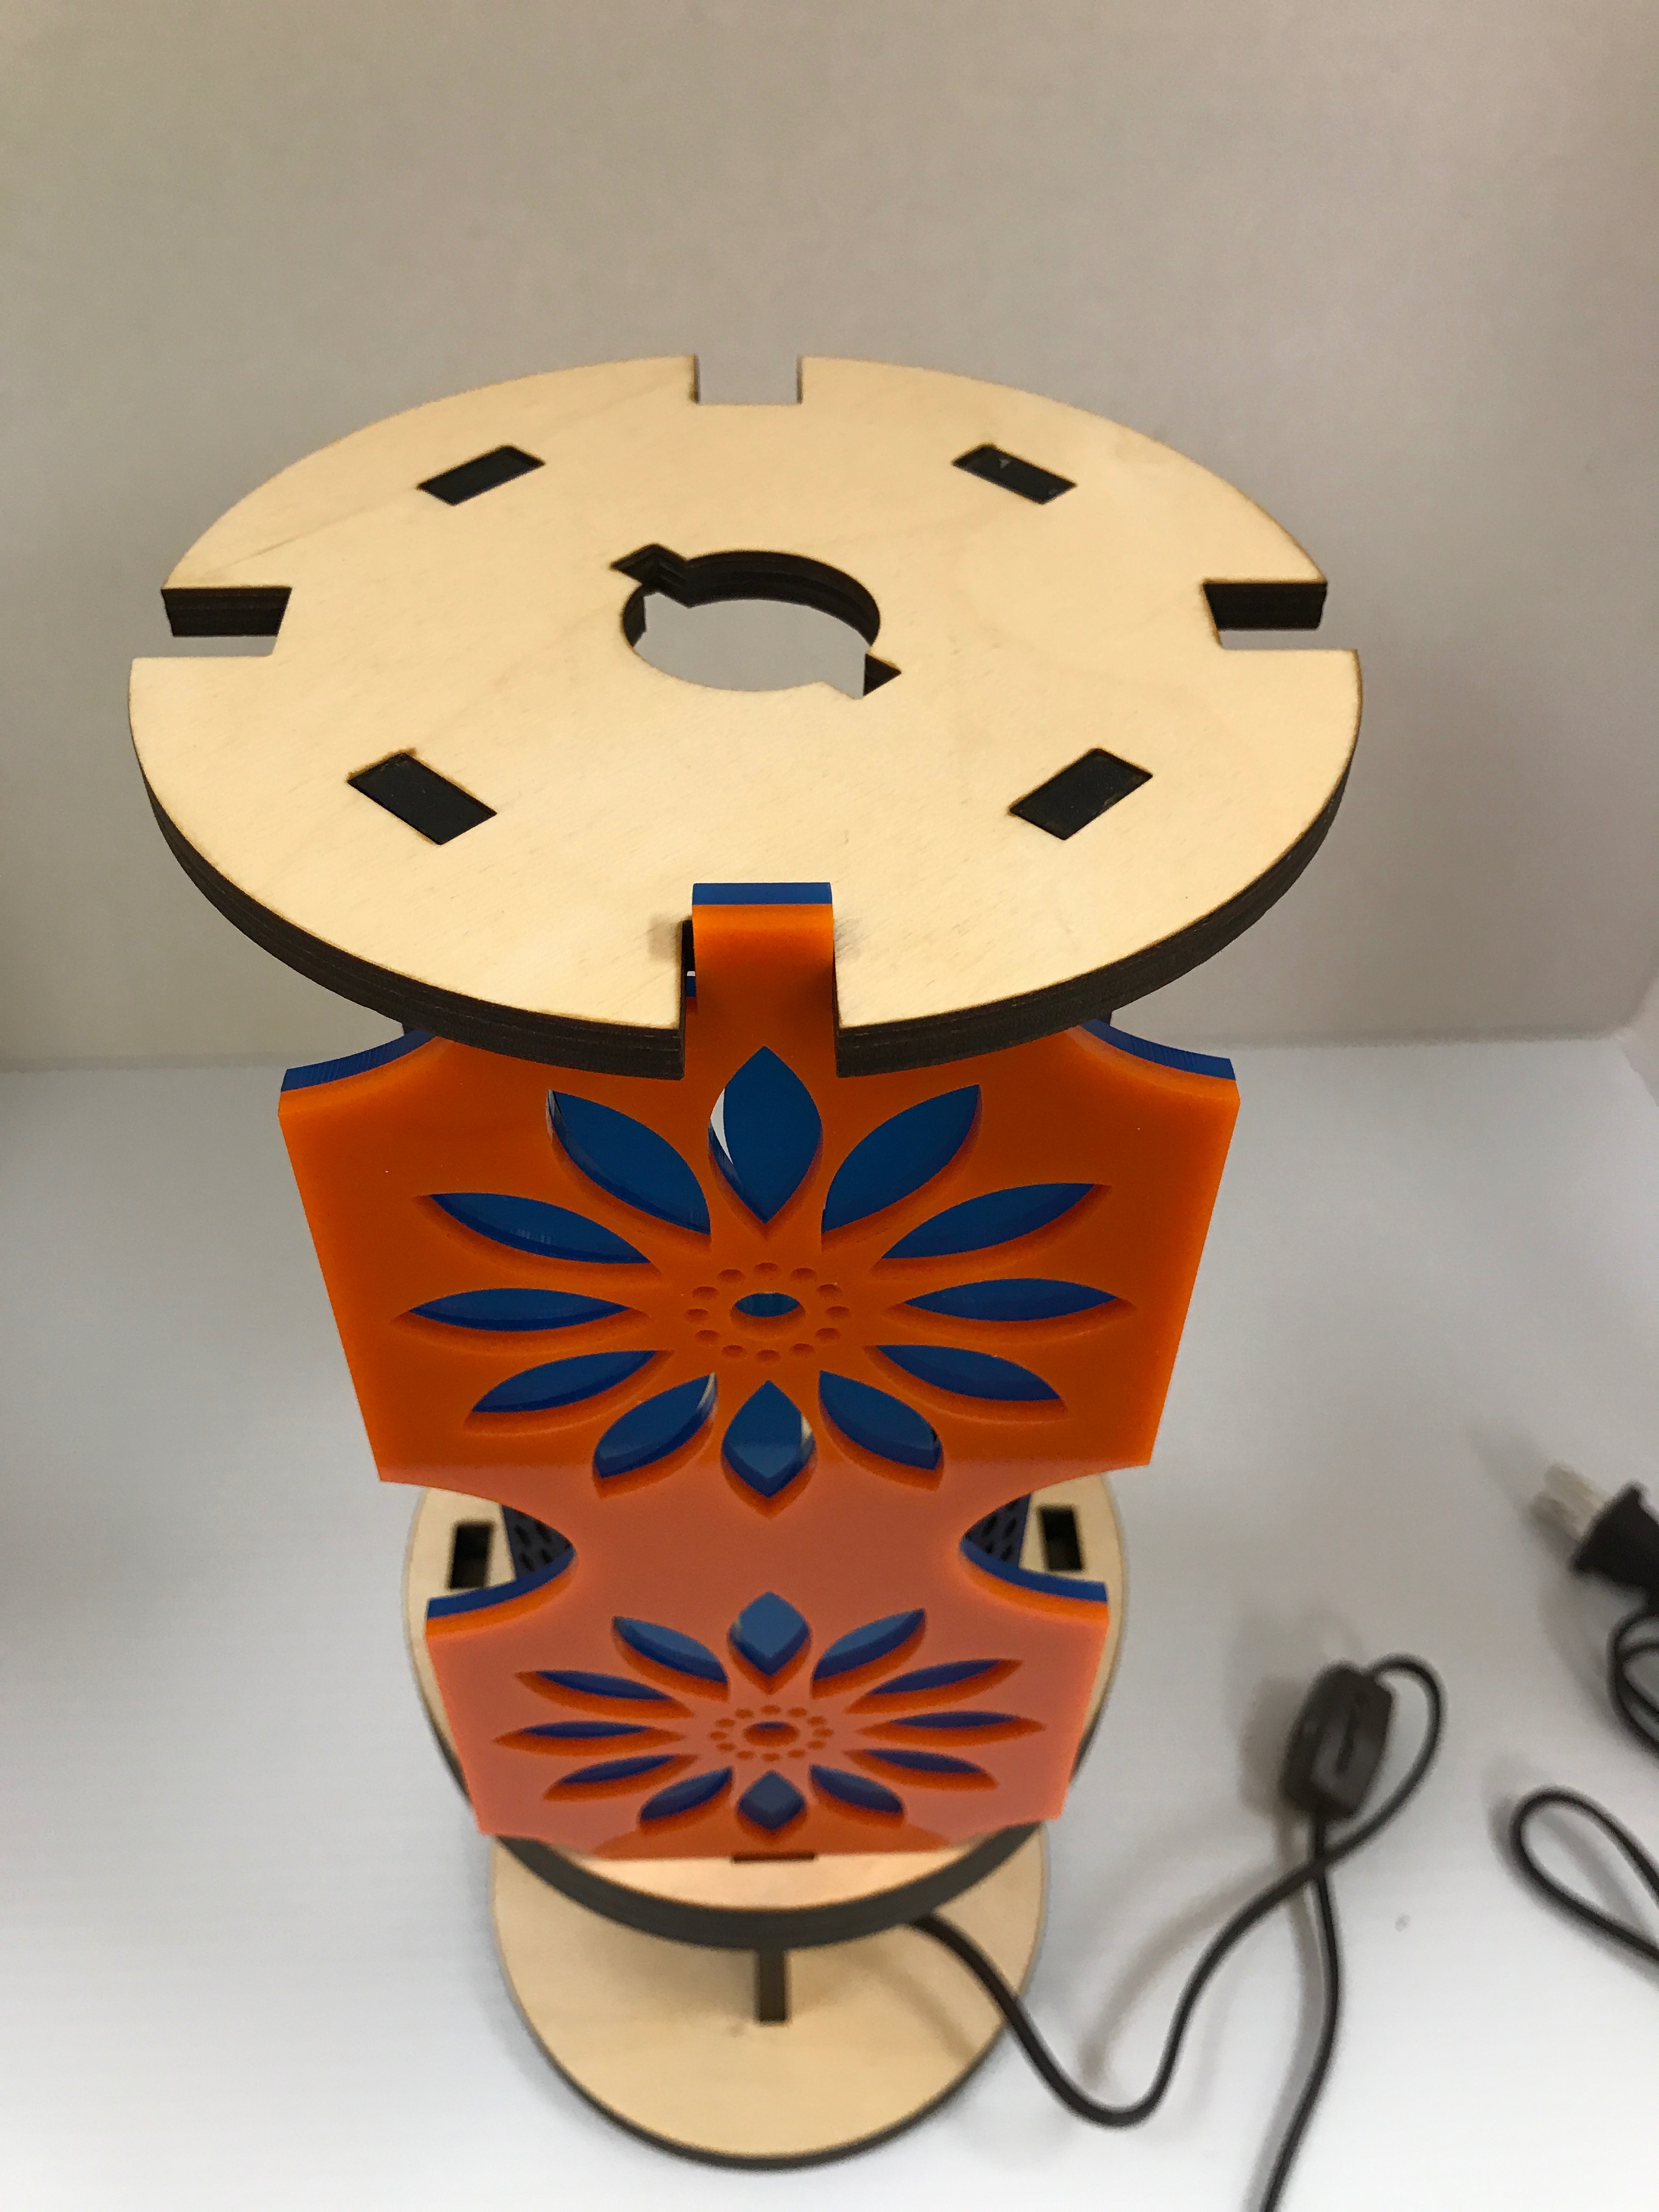
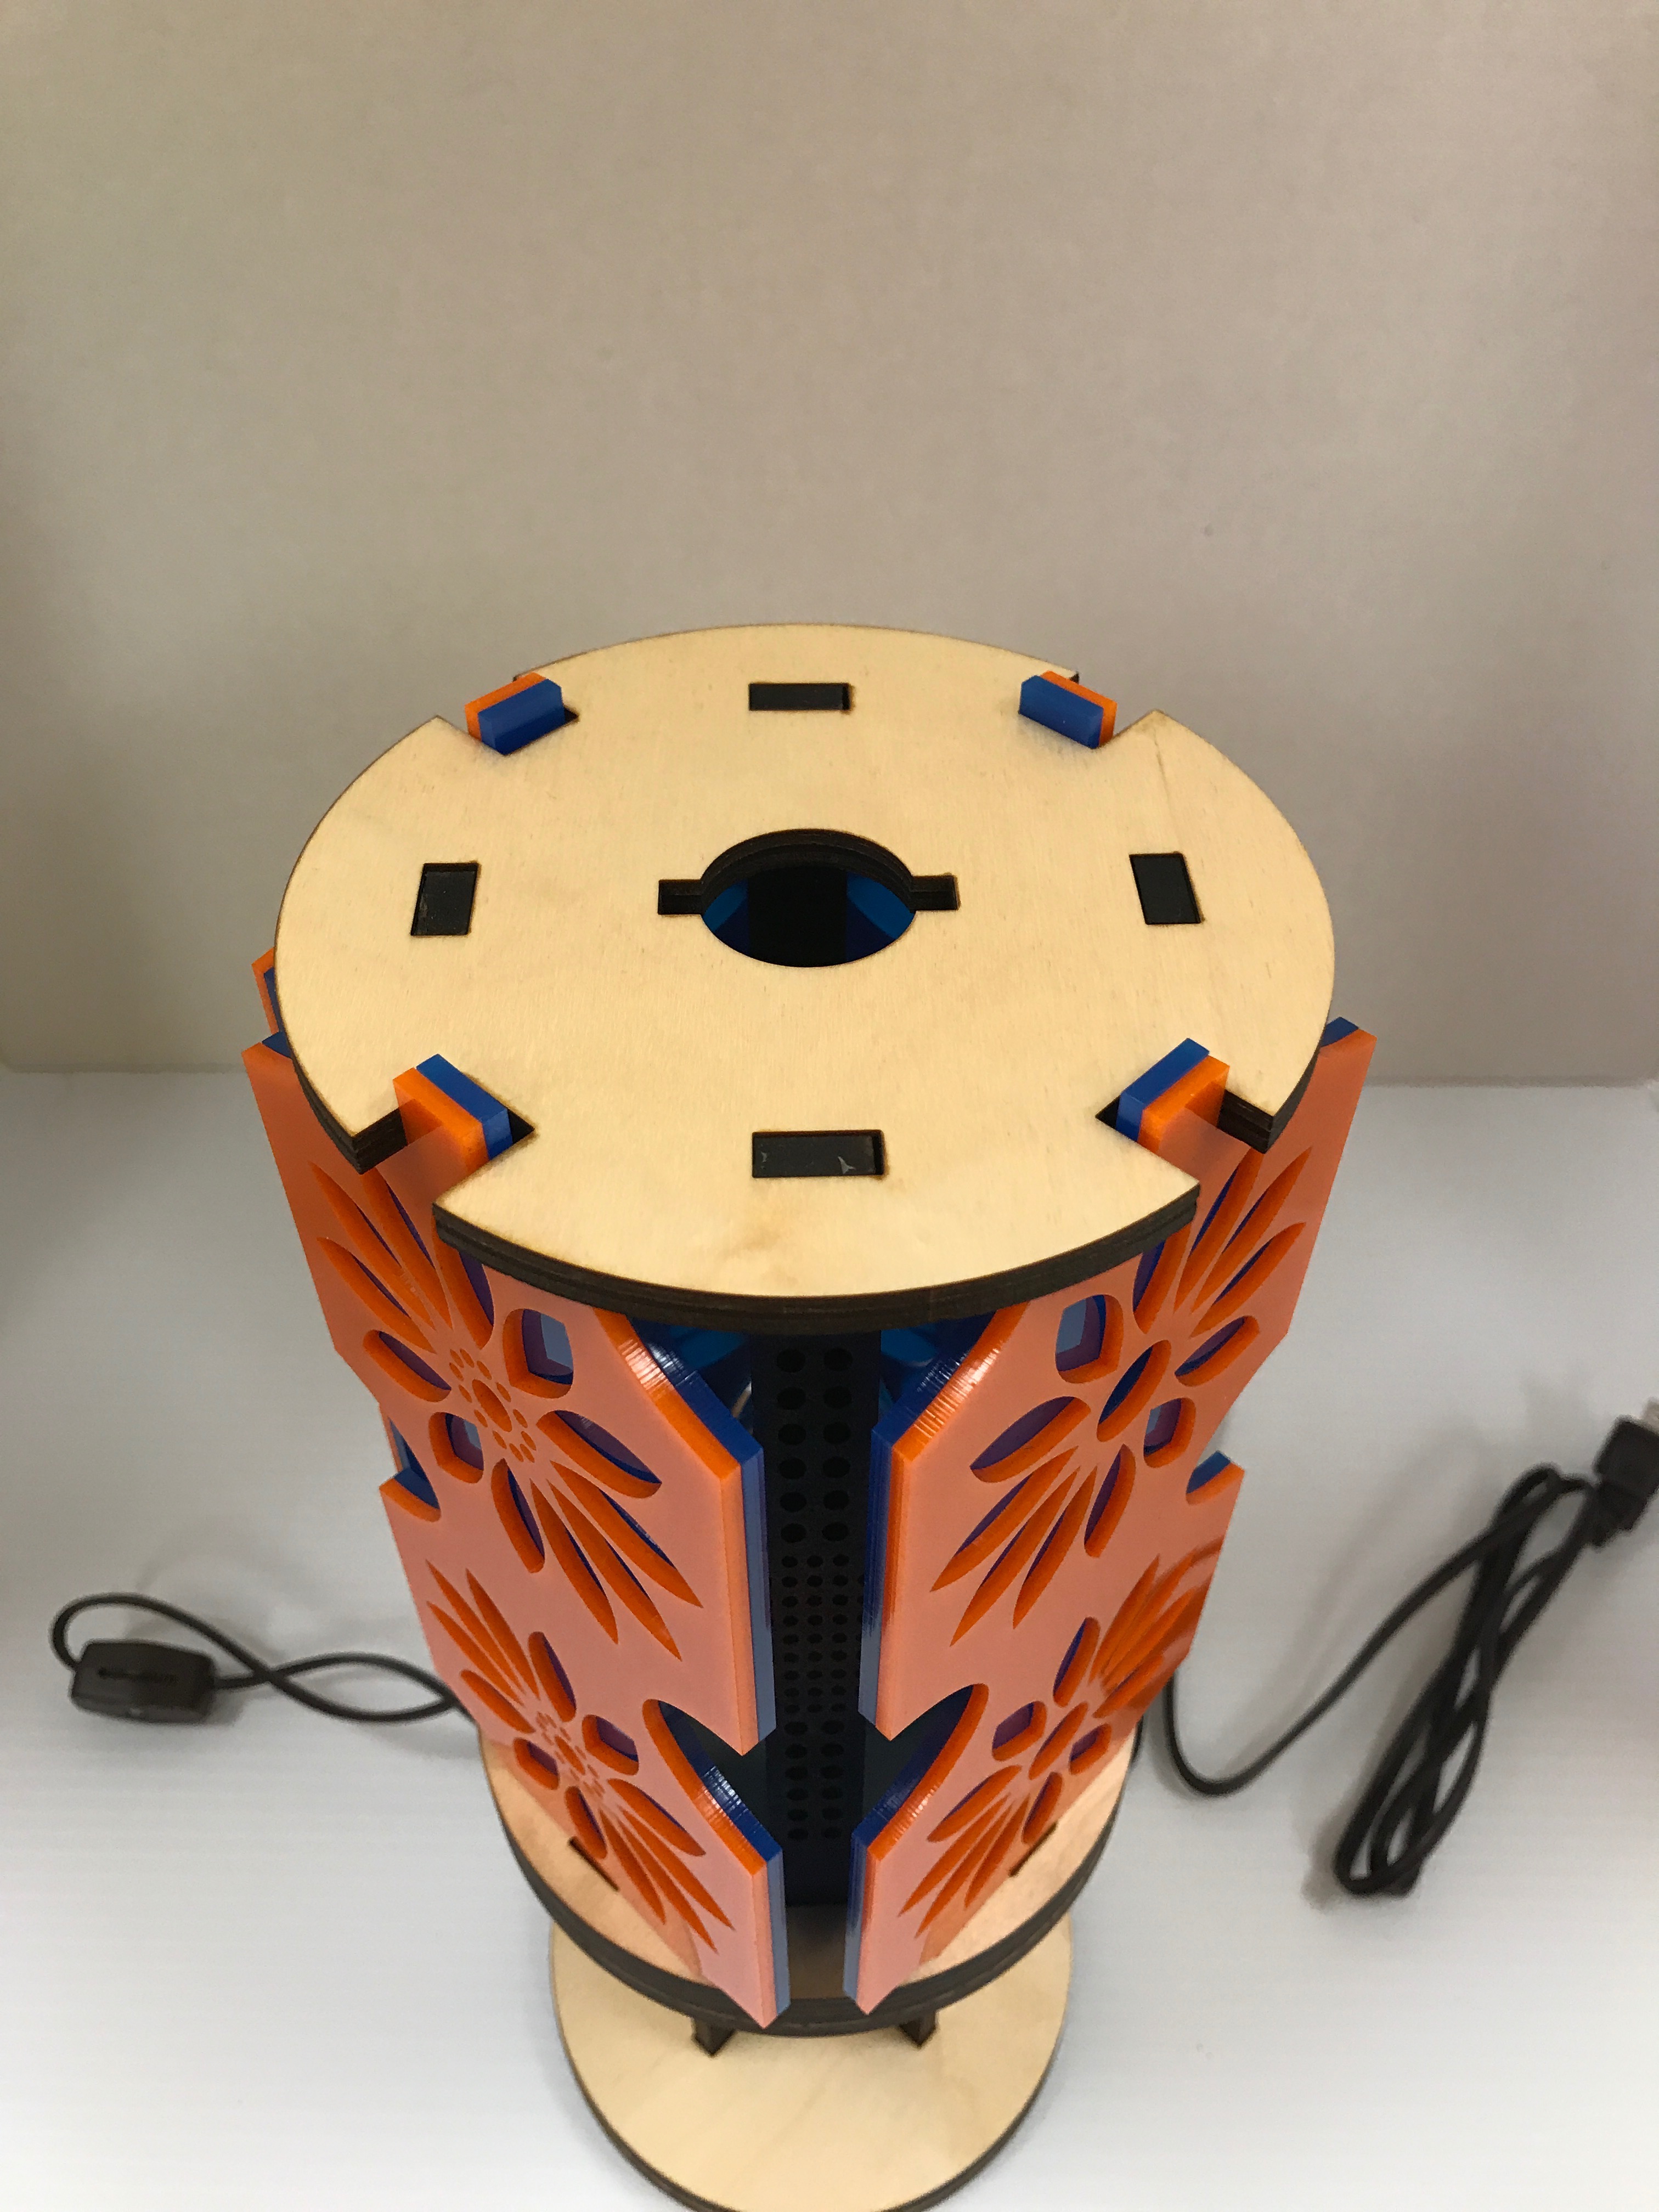
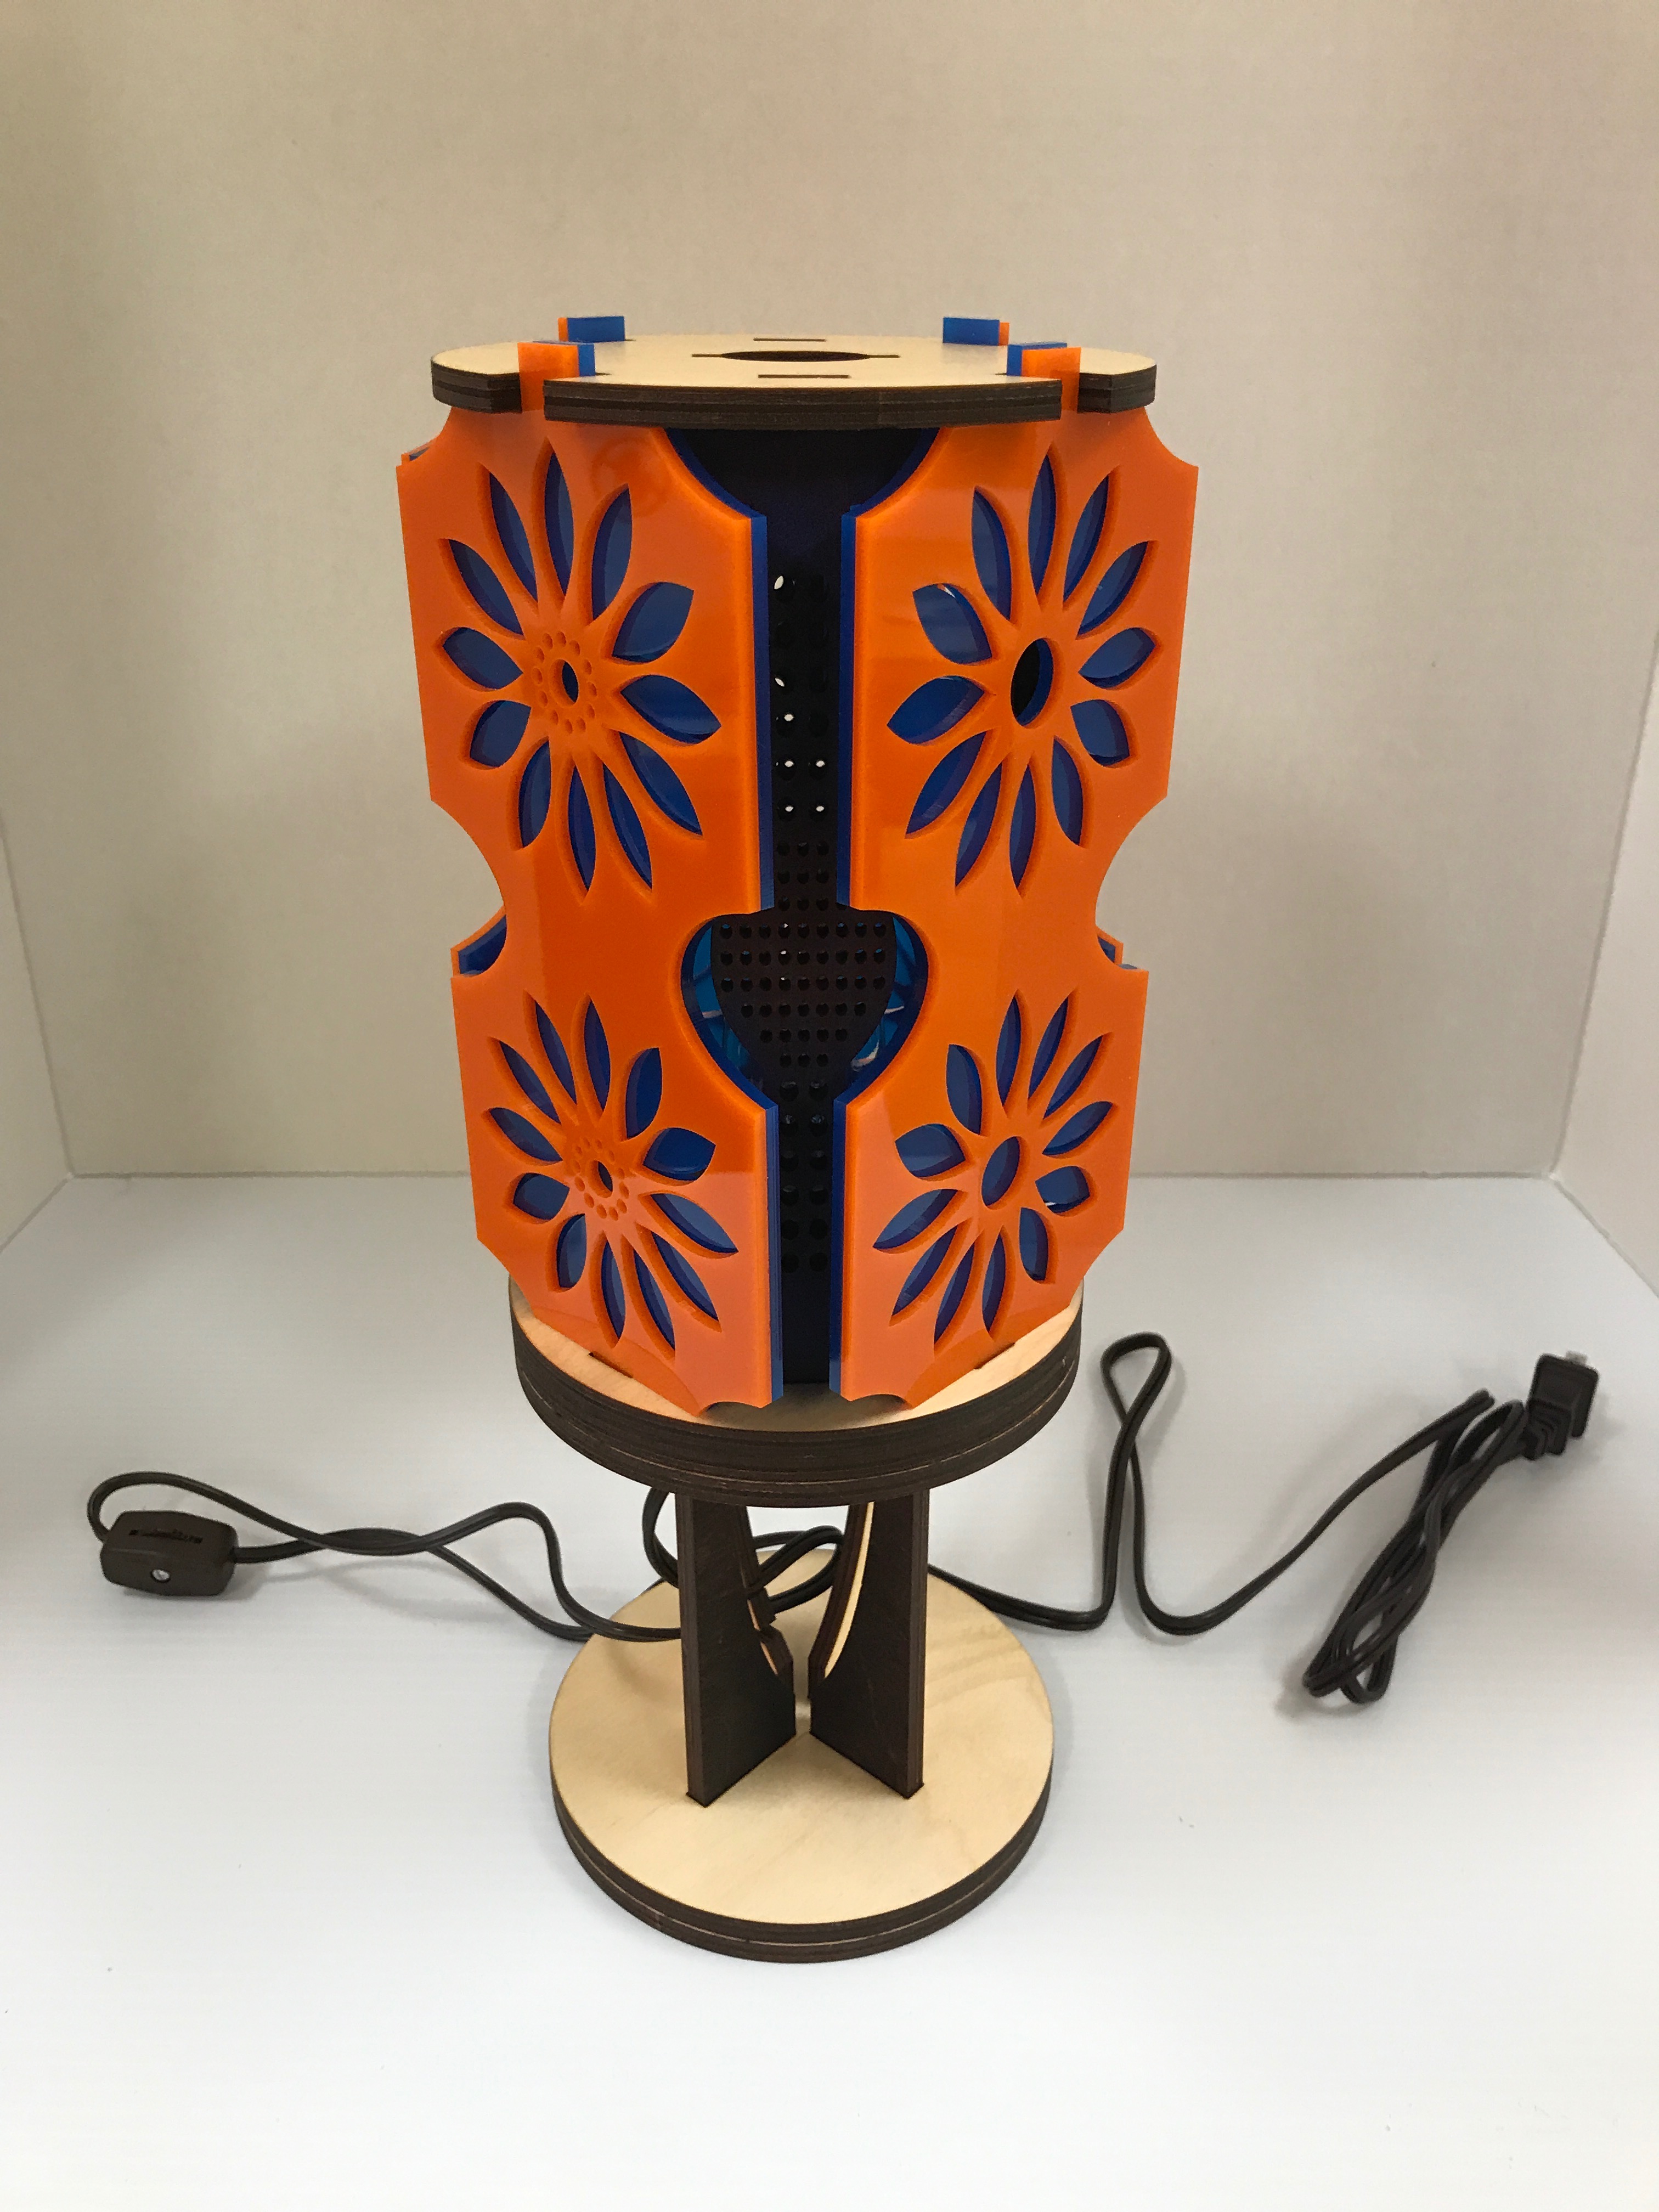
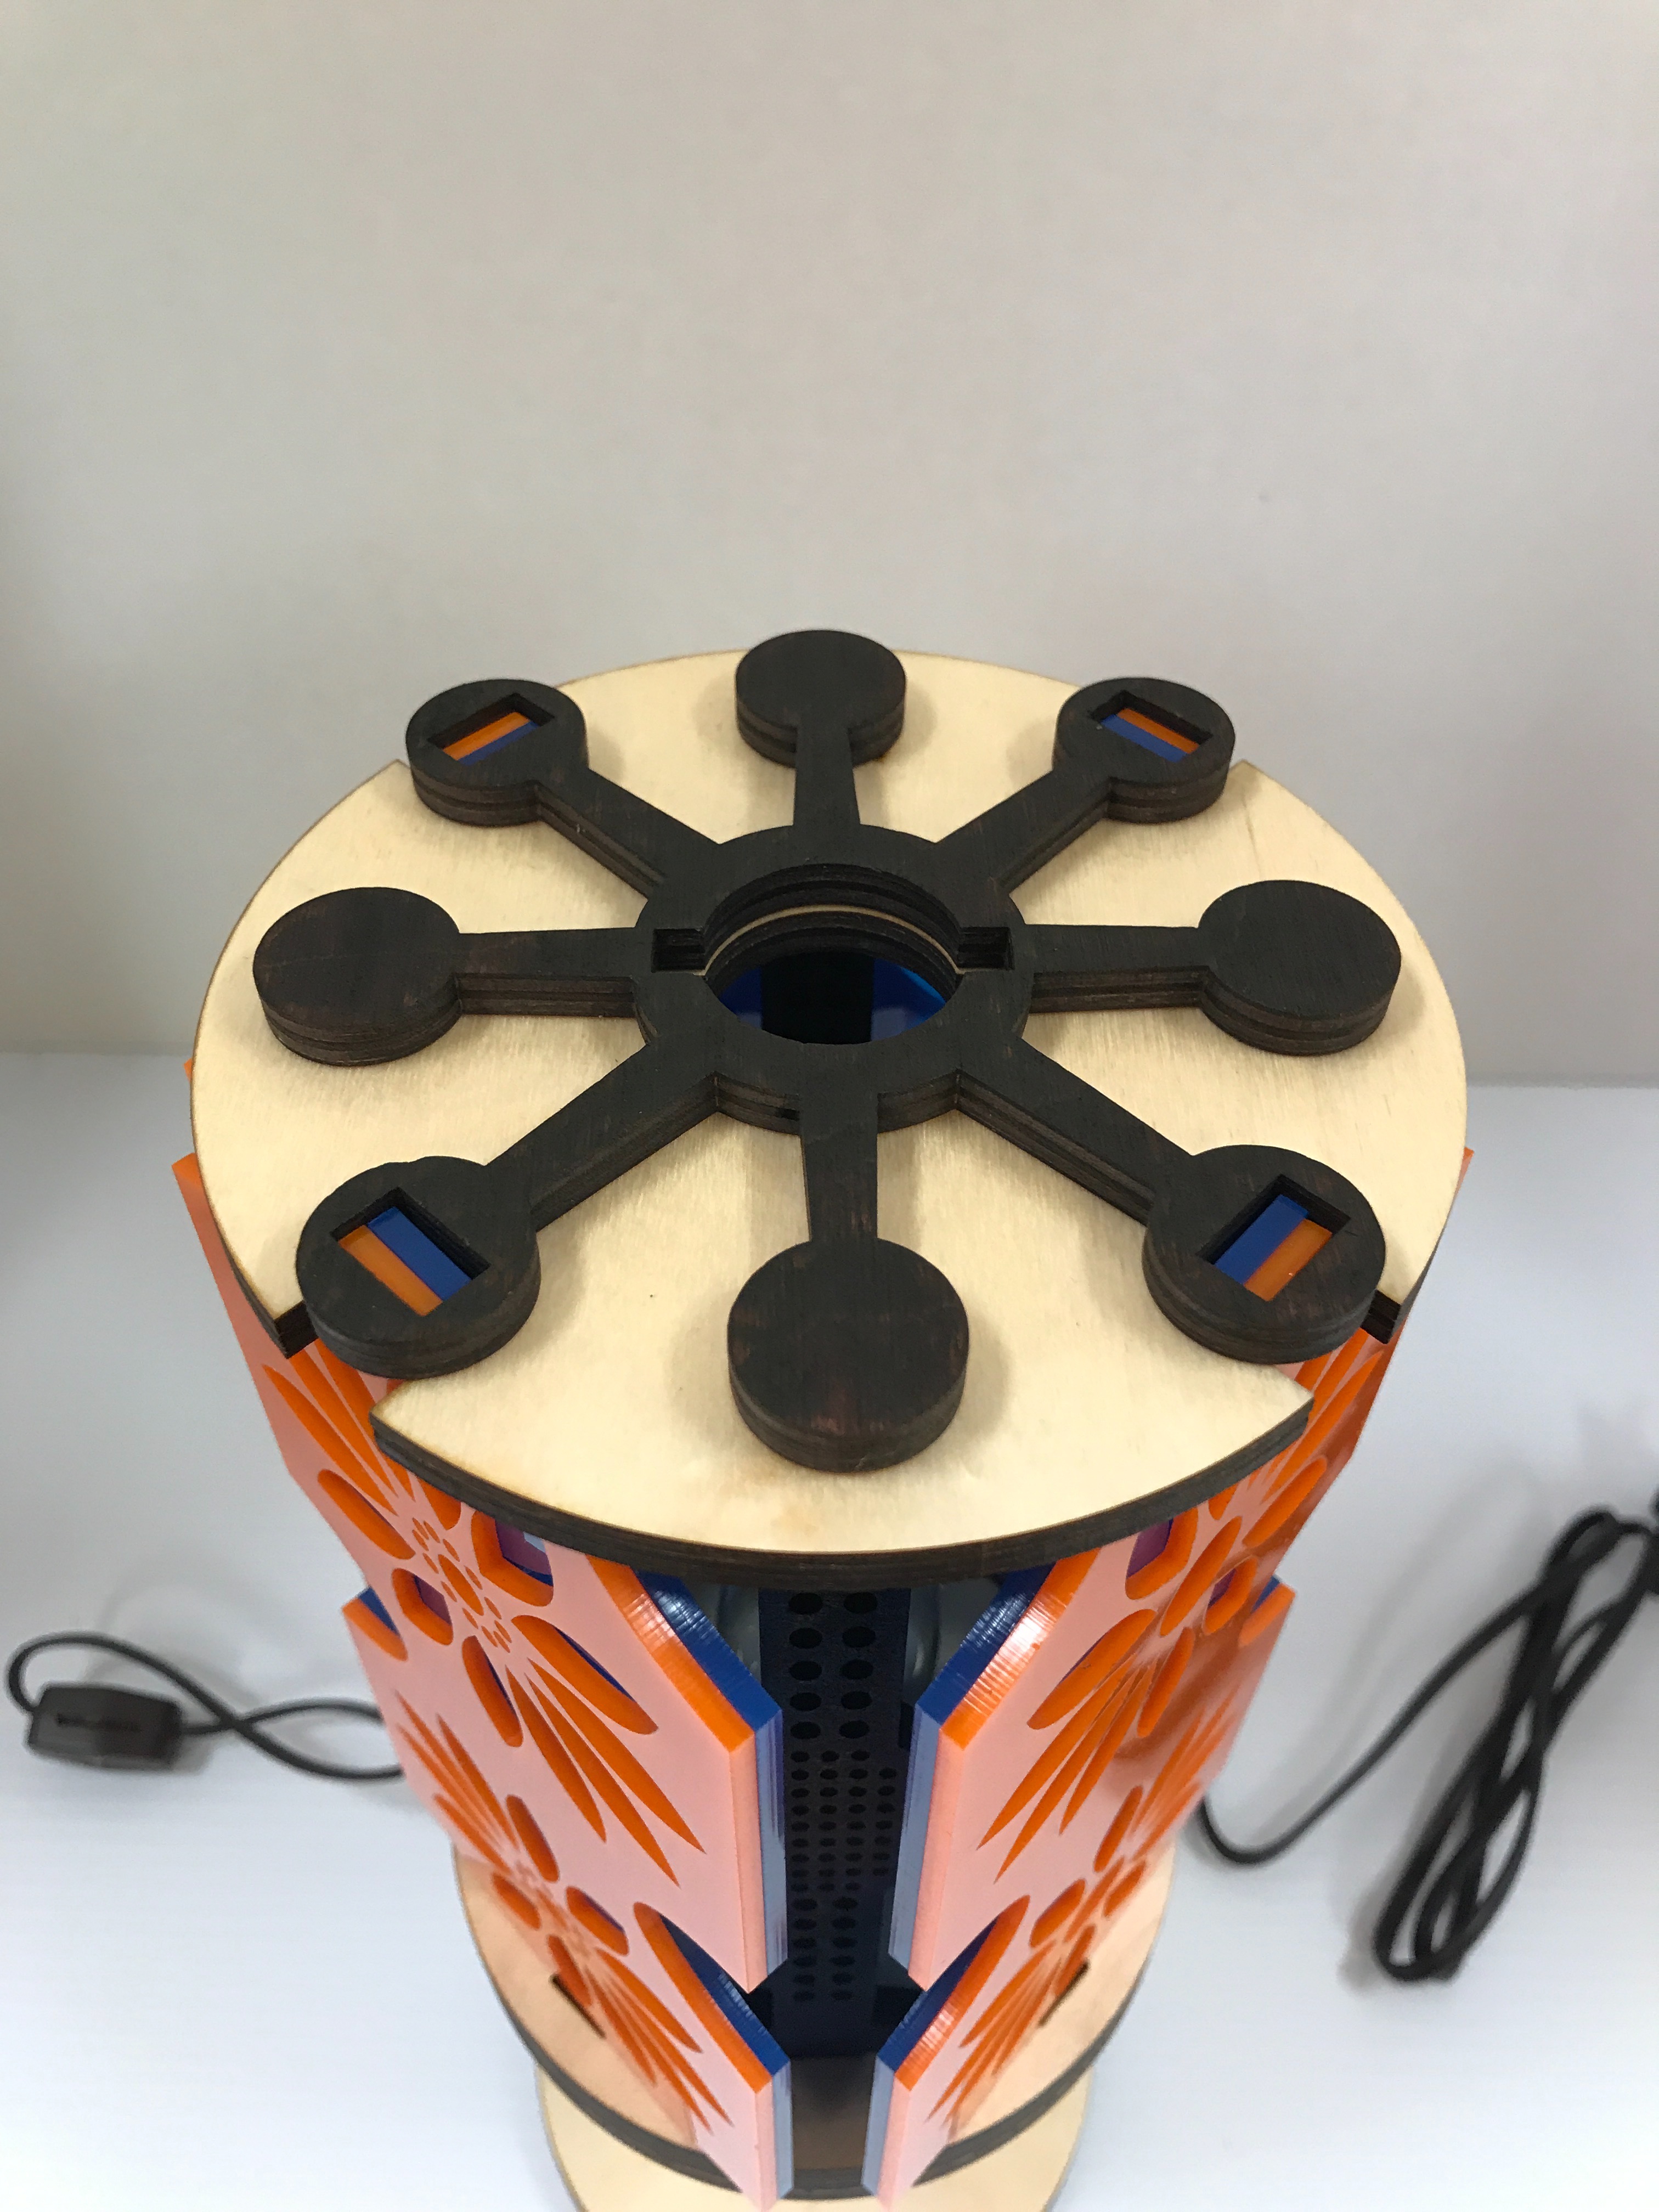
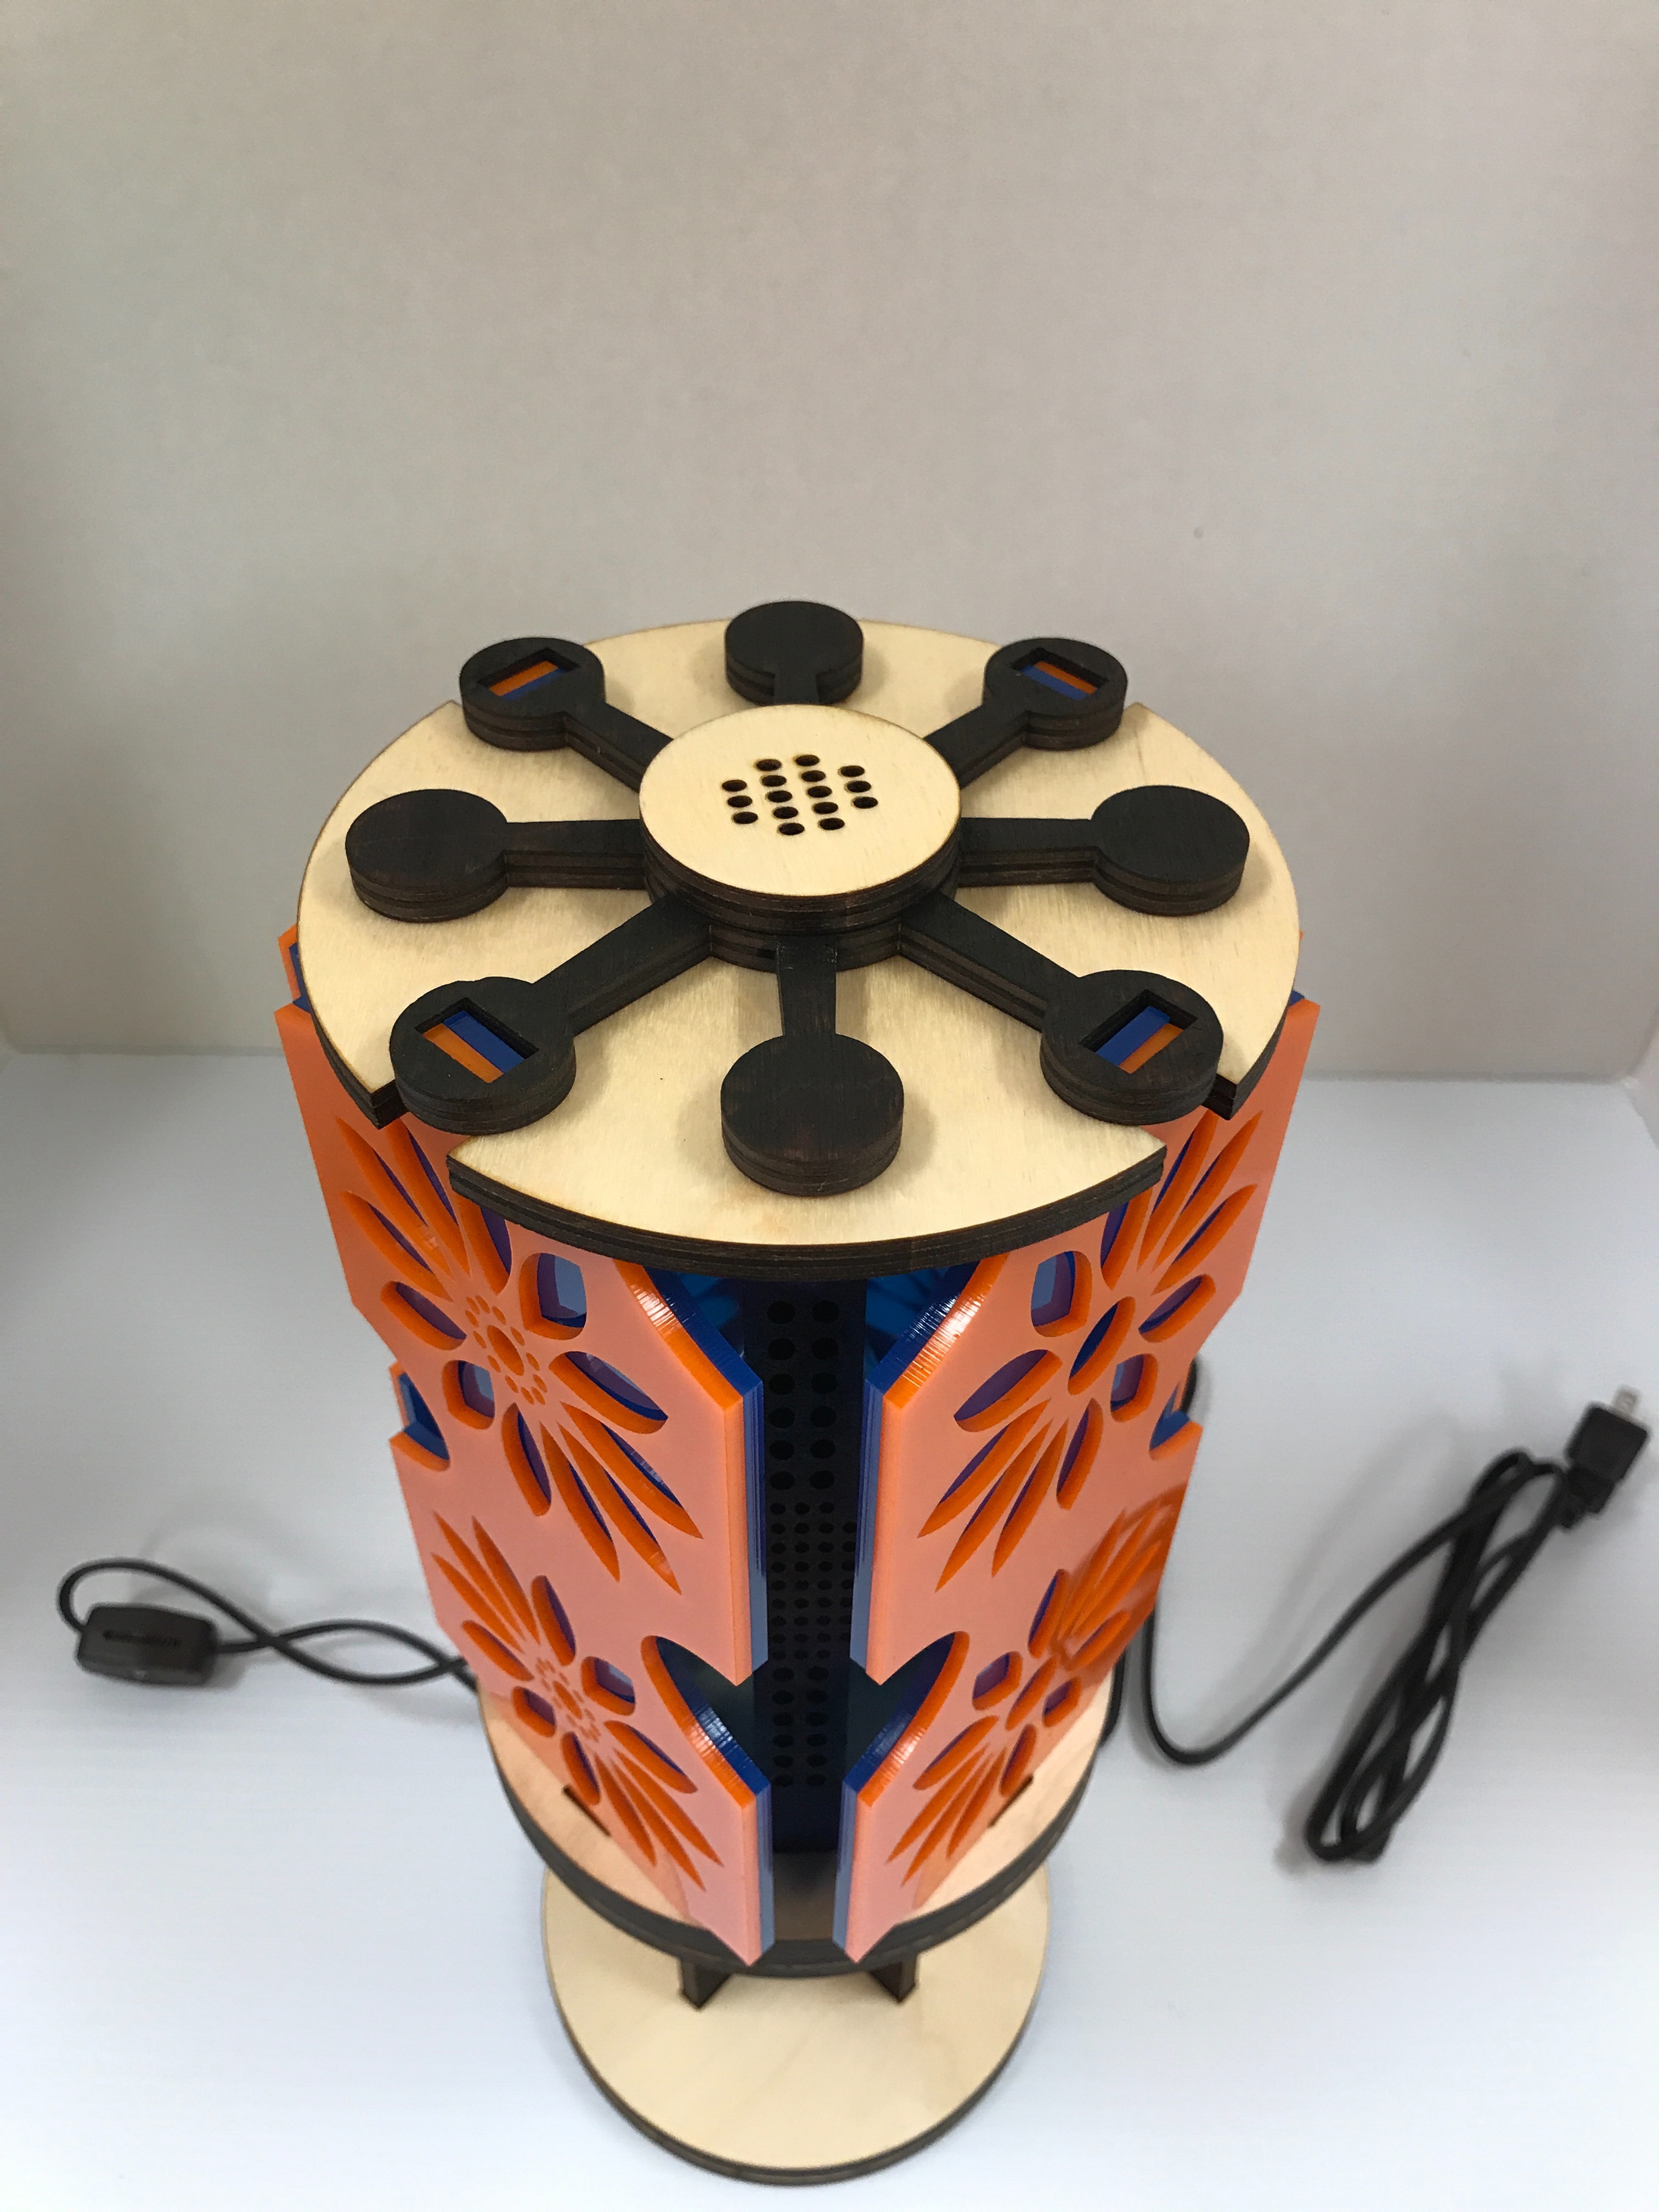
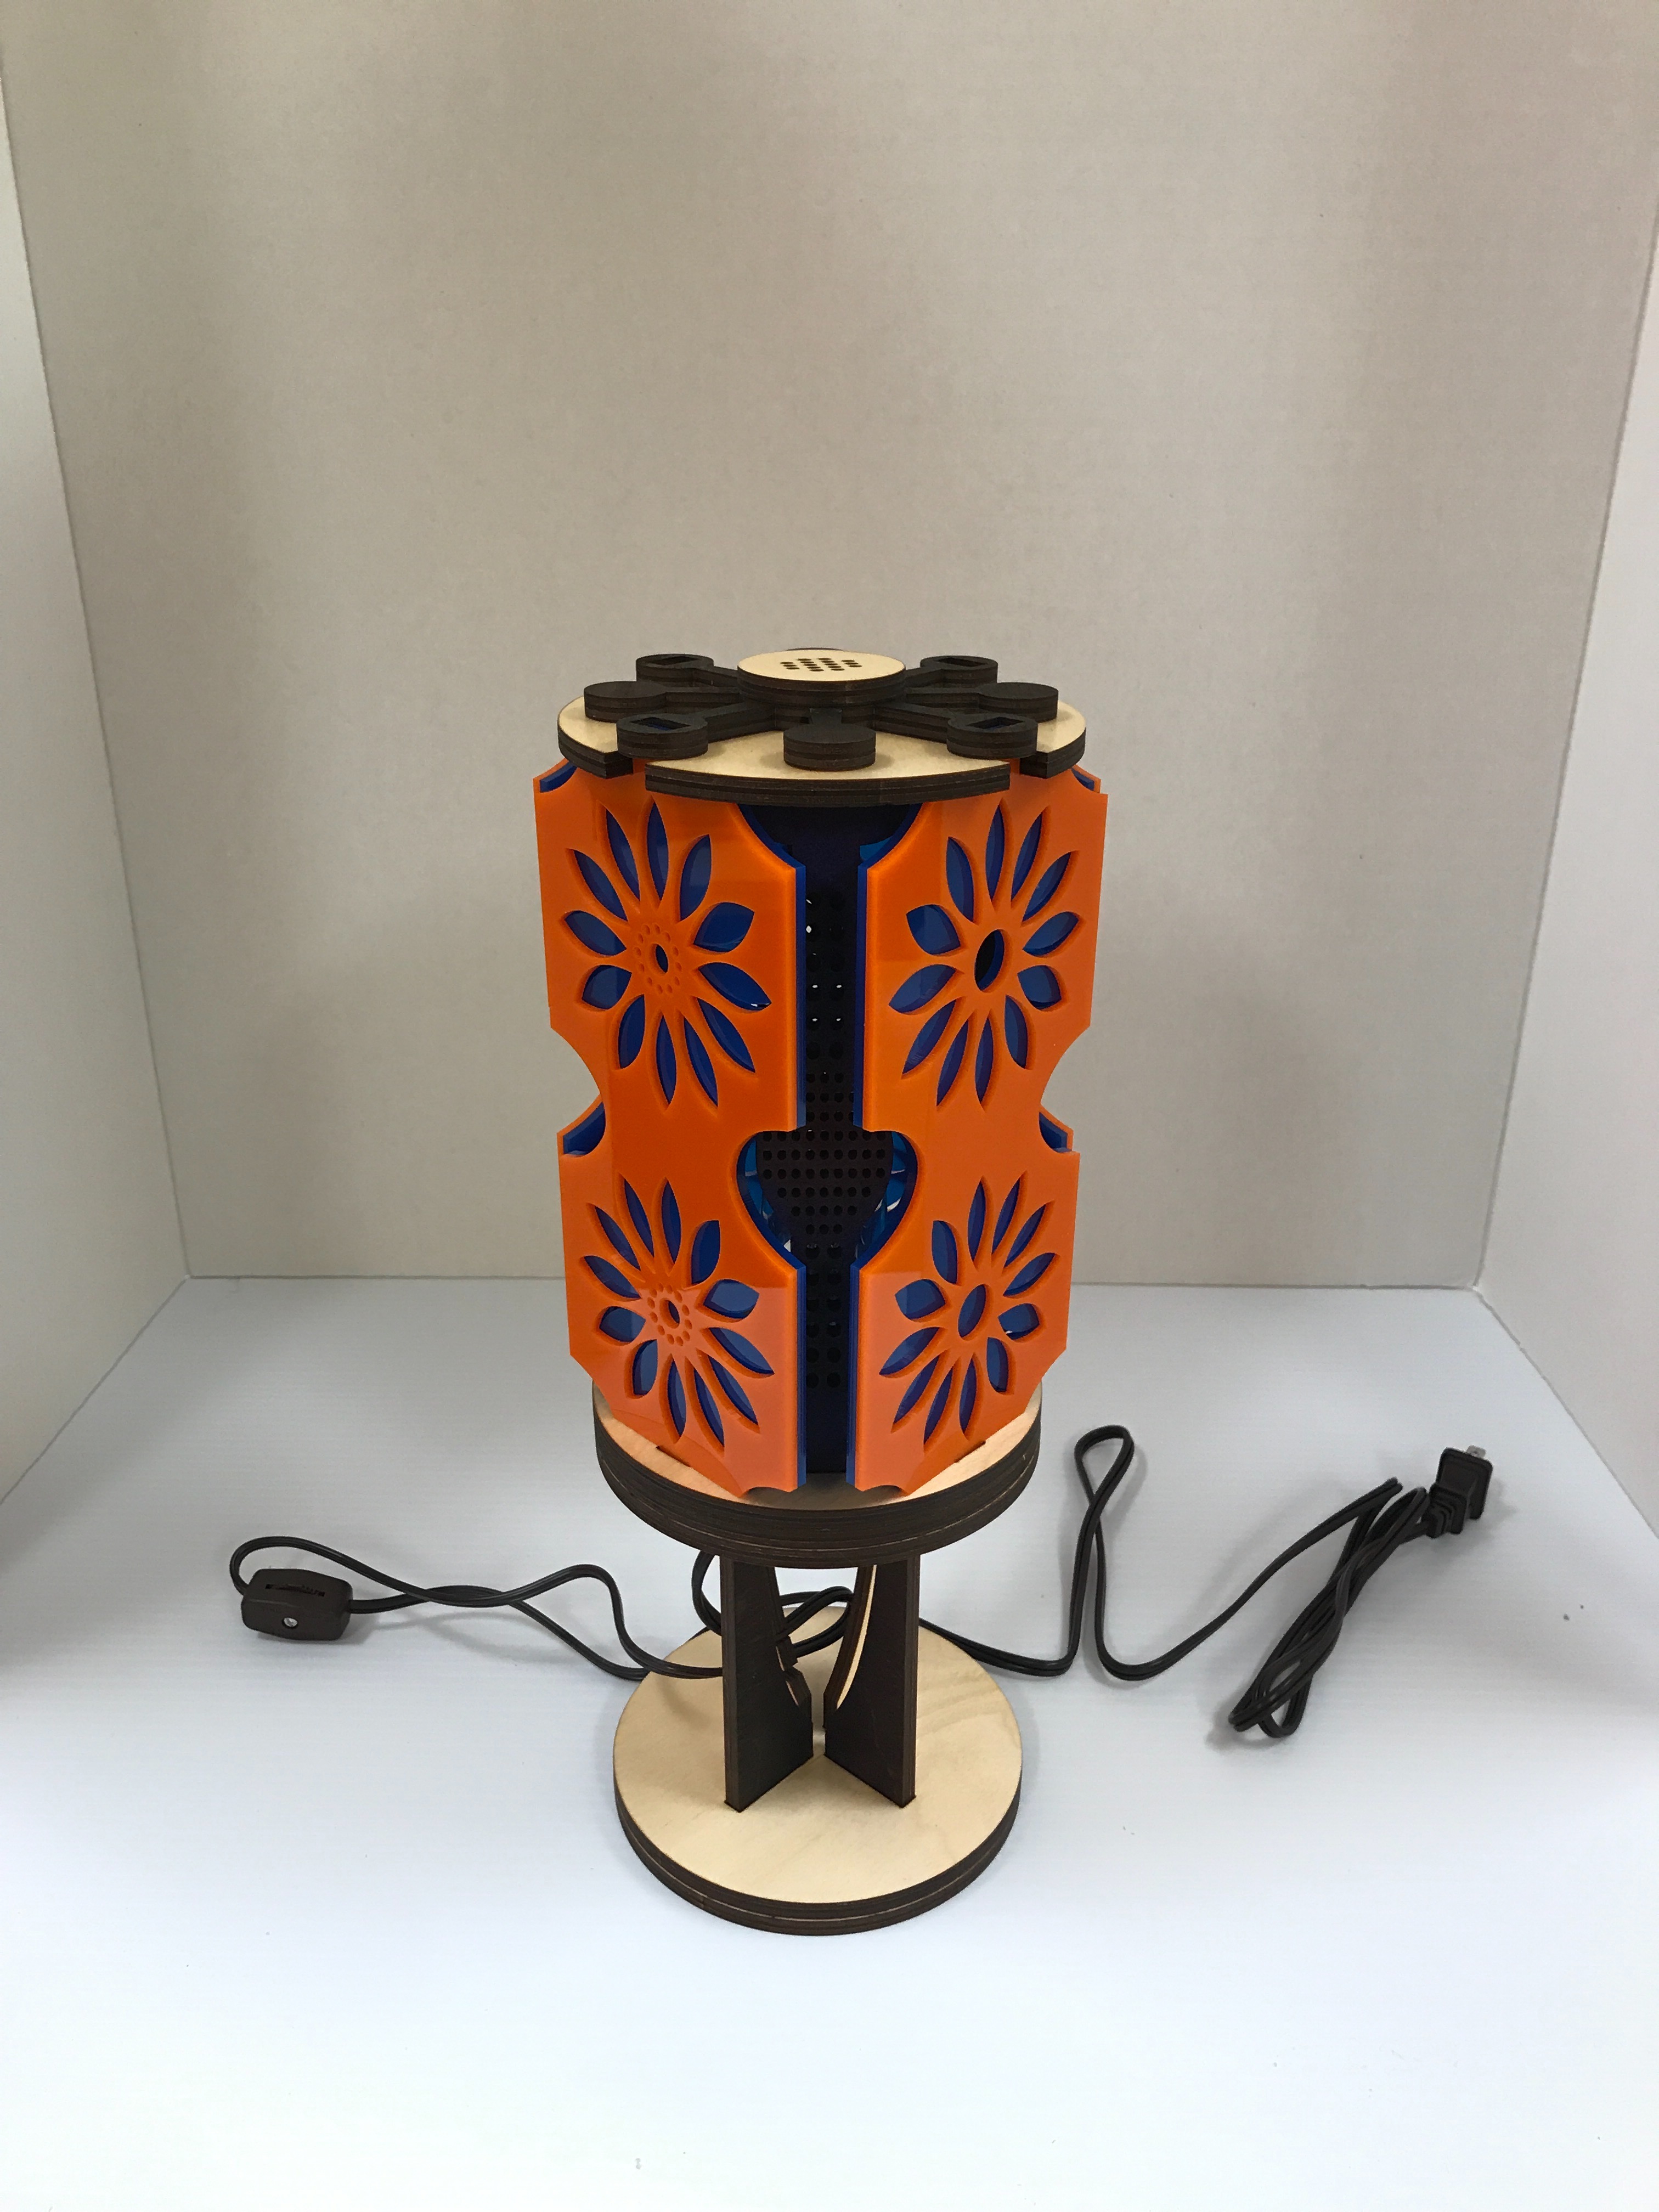
- Pair up acrylic panels (Front facing-Orange, Back- Blue)
- Insert lower panel tabs into the base cutout and upper into top plate cutout. Tilt the panel pair so that it fits easily into the base cutout then lean into the top plate cut.
- Repeat Step 2 for each pair of panels.
- Place lock plate on top of lamp assembly, line up center notches for lock key. Acrylic panel tabs should fit inside the top plate cutouts.
- Insert the lock key into the center hole, align key tabs with lock plate center notches. After fully inserted, turn key slightly to lock.
- If the key does turn smoothly, use sand paper to down tabs.