Laser Cut Labels
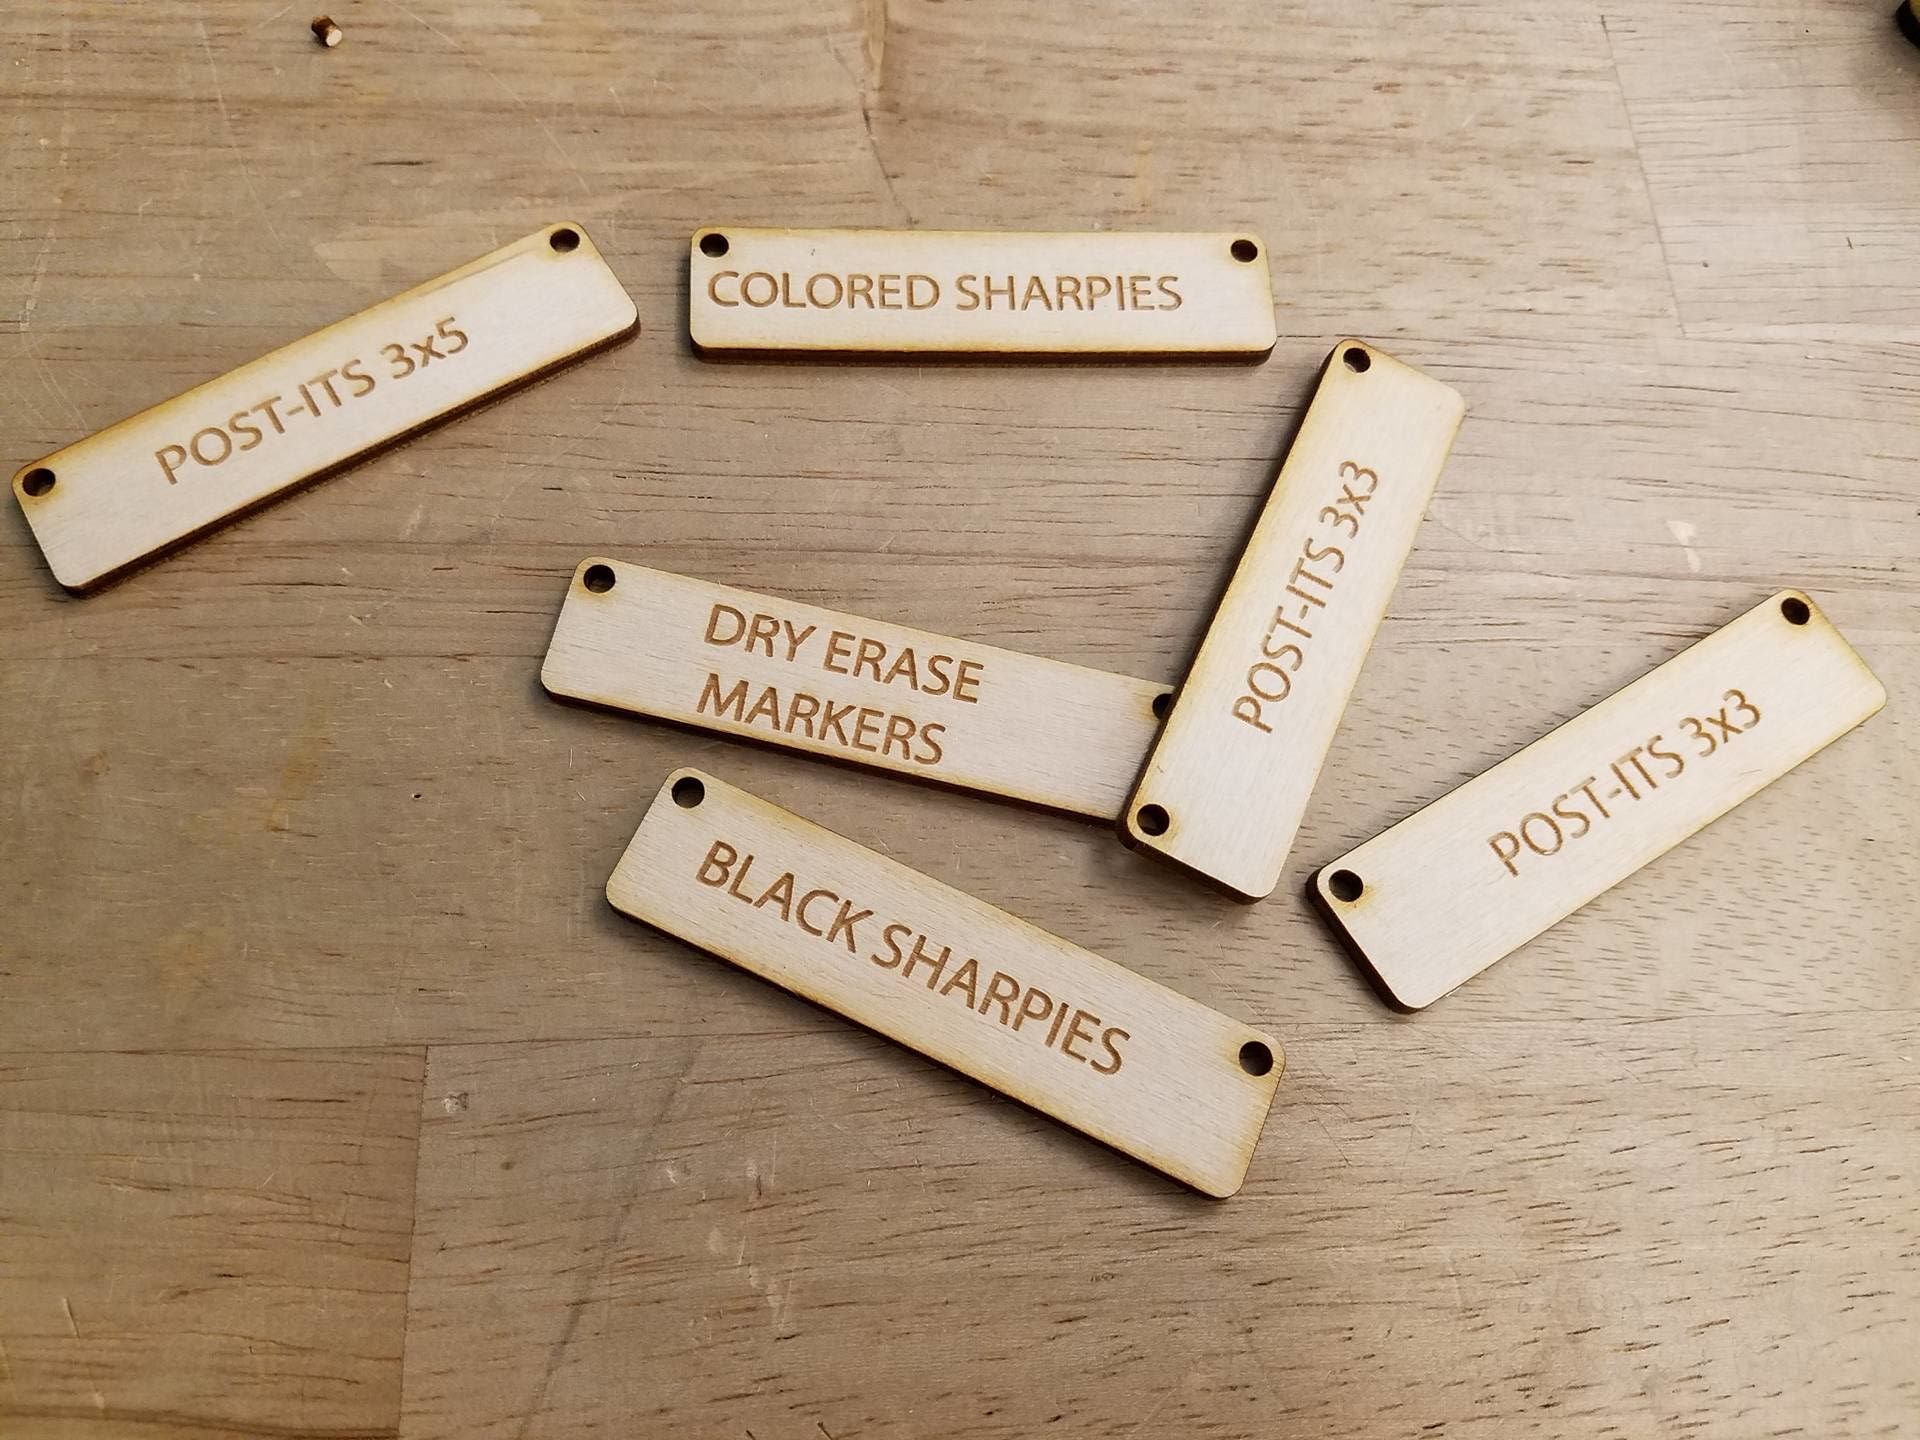
Is your workspace cluttered and unorganized? Do you have tools, supplies, or hardware that you want to organize? Then this may be the perfect instructable for you. In it, I will show you how to laser cut customizable labels and neaten up your makerspace.
I wanted to organize some supplies at my makerspace, but the label maker labels were tiny, wore off after a while, and were just not asthetic. I got the idea to laser cut labels from my boss, and they came out really nicely.
For this tutorial, you will need access to a laser cutter and a 2D design software. I will be using Adobe Illustrator, but I will upload a pdf of the designs so you can follow along in whichever graphics design program you prefer.
Required tools:
CNC laser cutter
Required materials:
A small amount of scrap 1/8" plywood
Zip ties, screws or bolts, or adhesives
Files:
Customizing the File
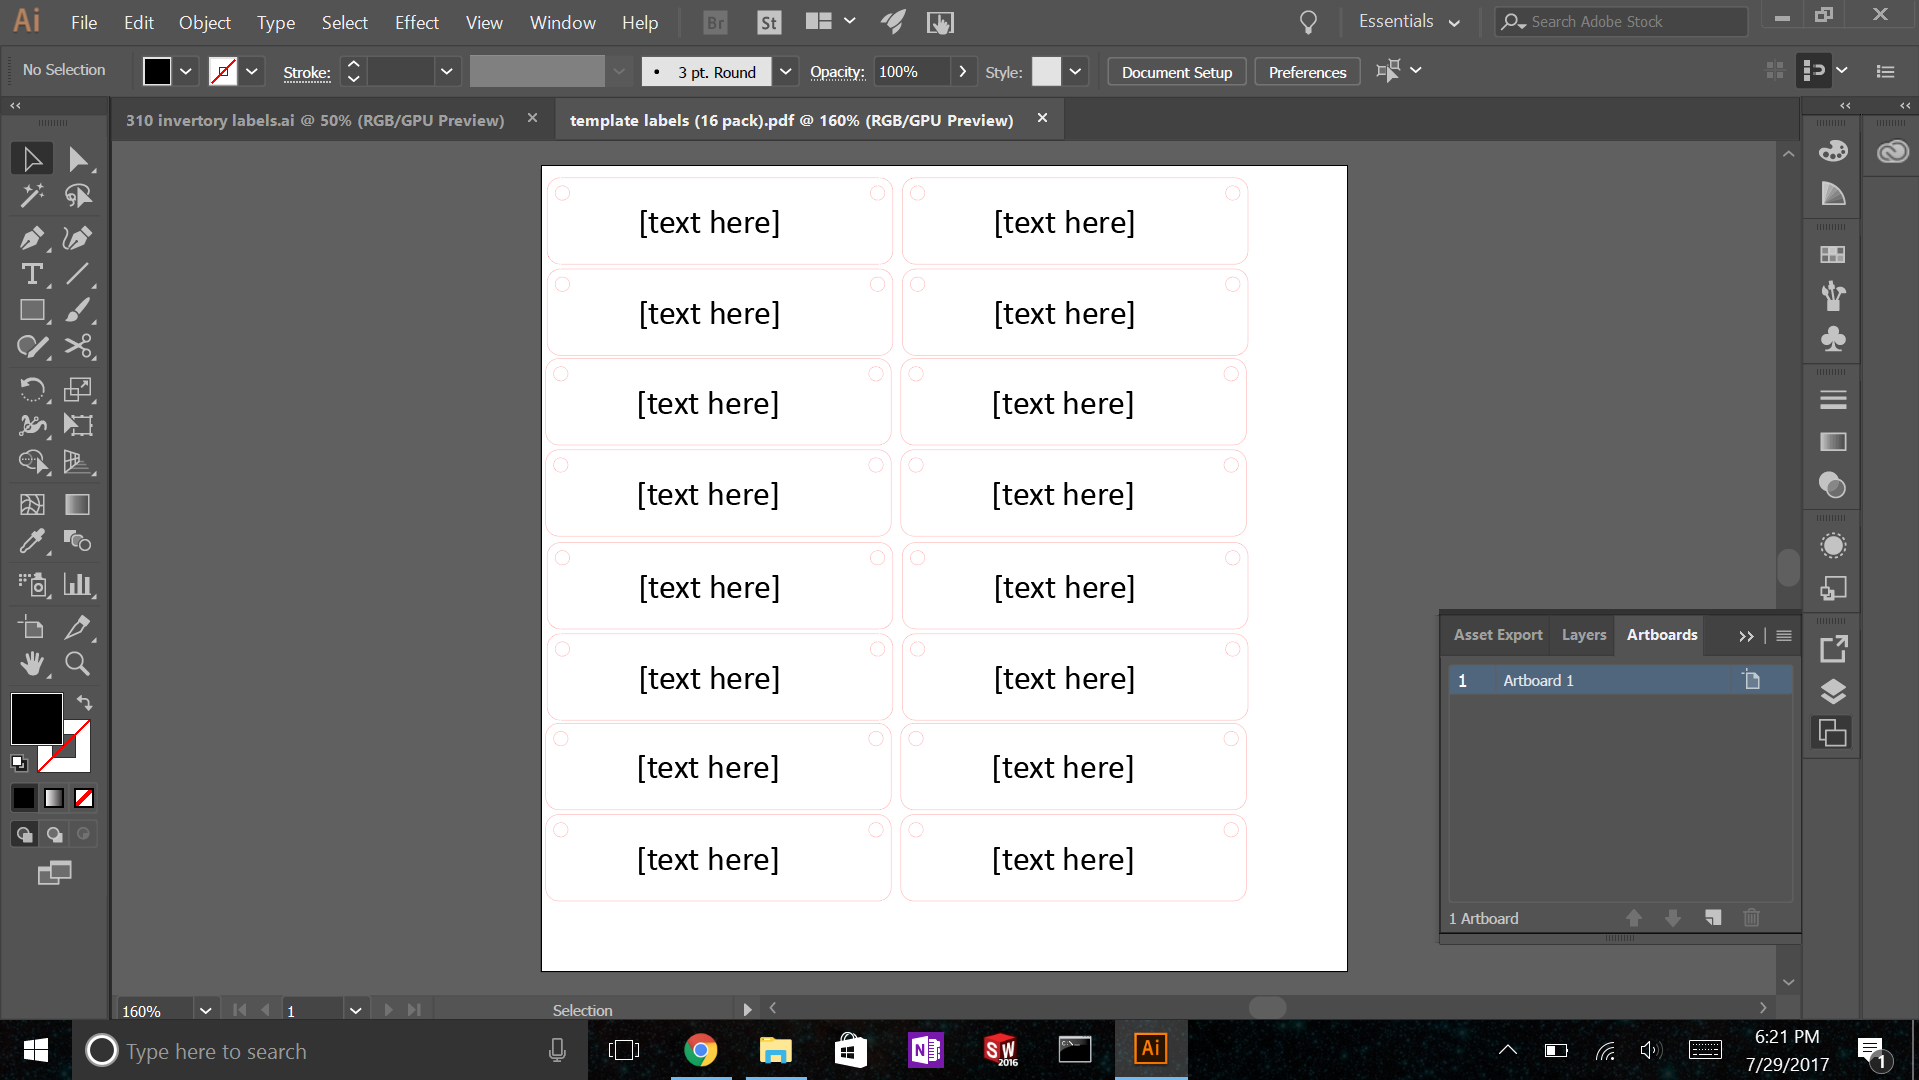


Using your preferred graphics design edittor, open up the attached file 'template labels (16)'. By default, there are 16 empty labels you can type your own text into. Double click on the text "[text here]" to edit it. I was organizing a classroom supplies cart at my makerspace, so I made labels like 'post-its' and 'sharpies'. Later, I plan to organize my tool cabinet at home and make labels for each drawer, and label each of my screw/nut/washer bins as well. If 16 isn't enough, you can copy/paste more labels. If its too much, just select the ones you don't want and press the delete key on your keyboard.
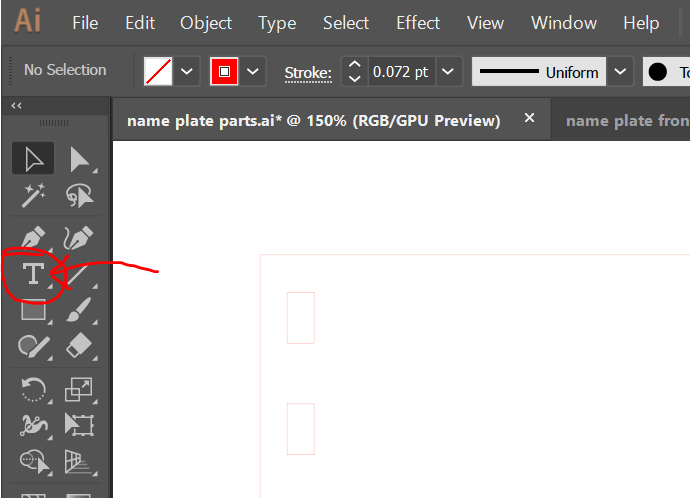
You can also use the text tool (the T in the left-hand menu if you are using Illustrator) to type up your own text strings if you are having trouble editting the blanks I left.
After you have customized the labels, head over to your laser cutter and cut them out. You will want to vector cut the red lines, and raster the text. Once they are cut out, bring them over to where you will be mounting them.
Laser Cutting the Customized File
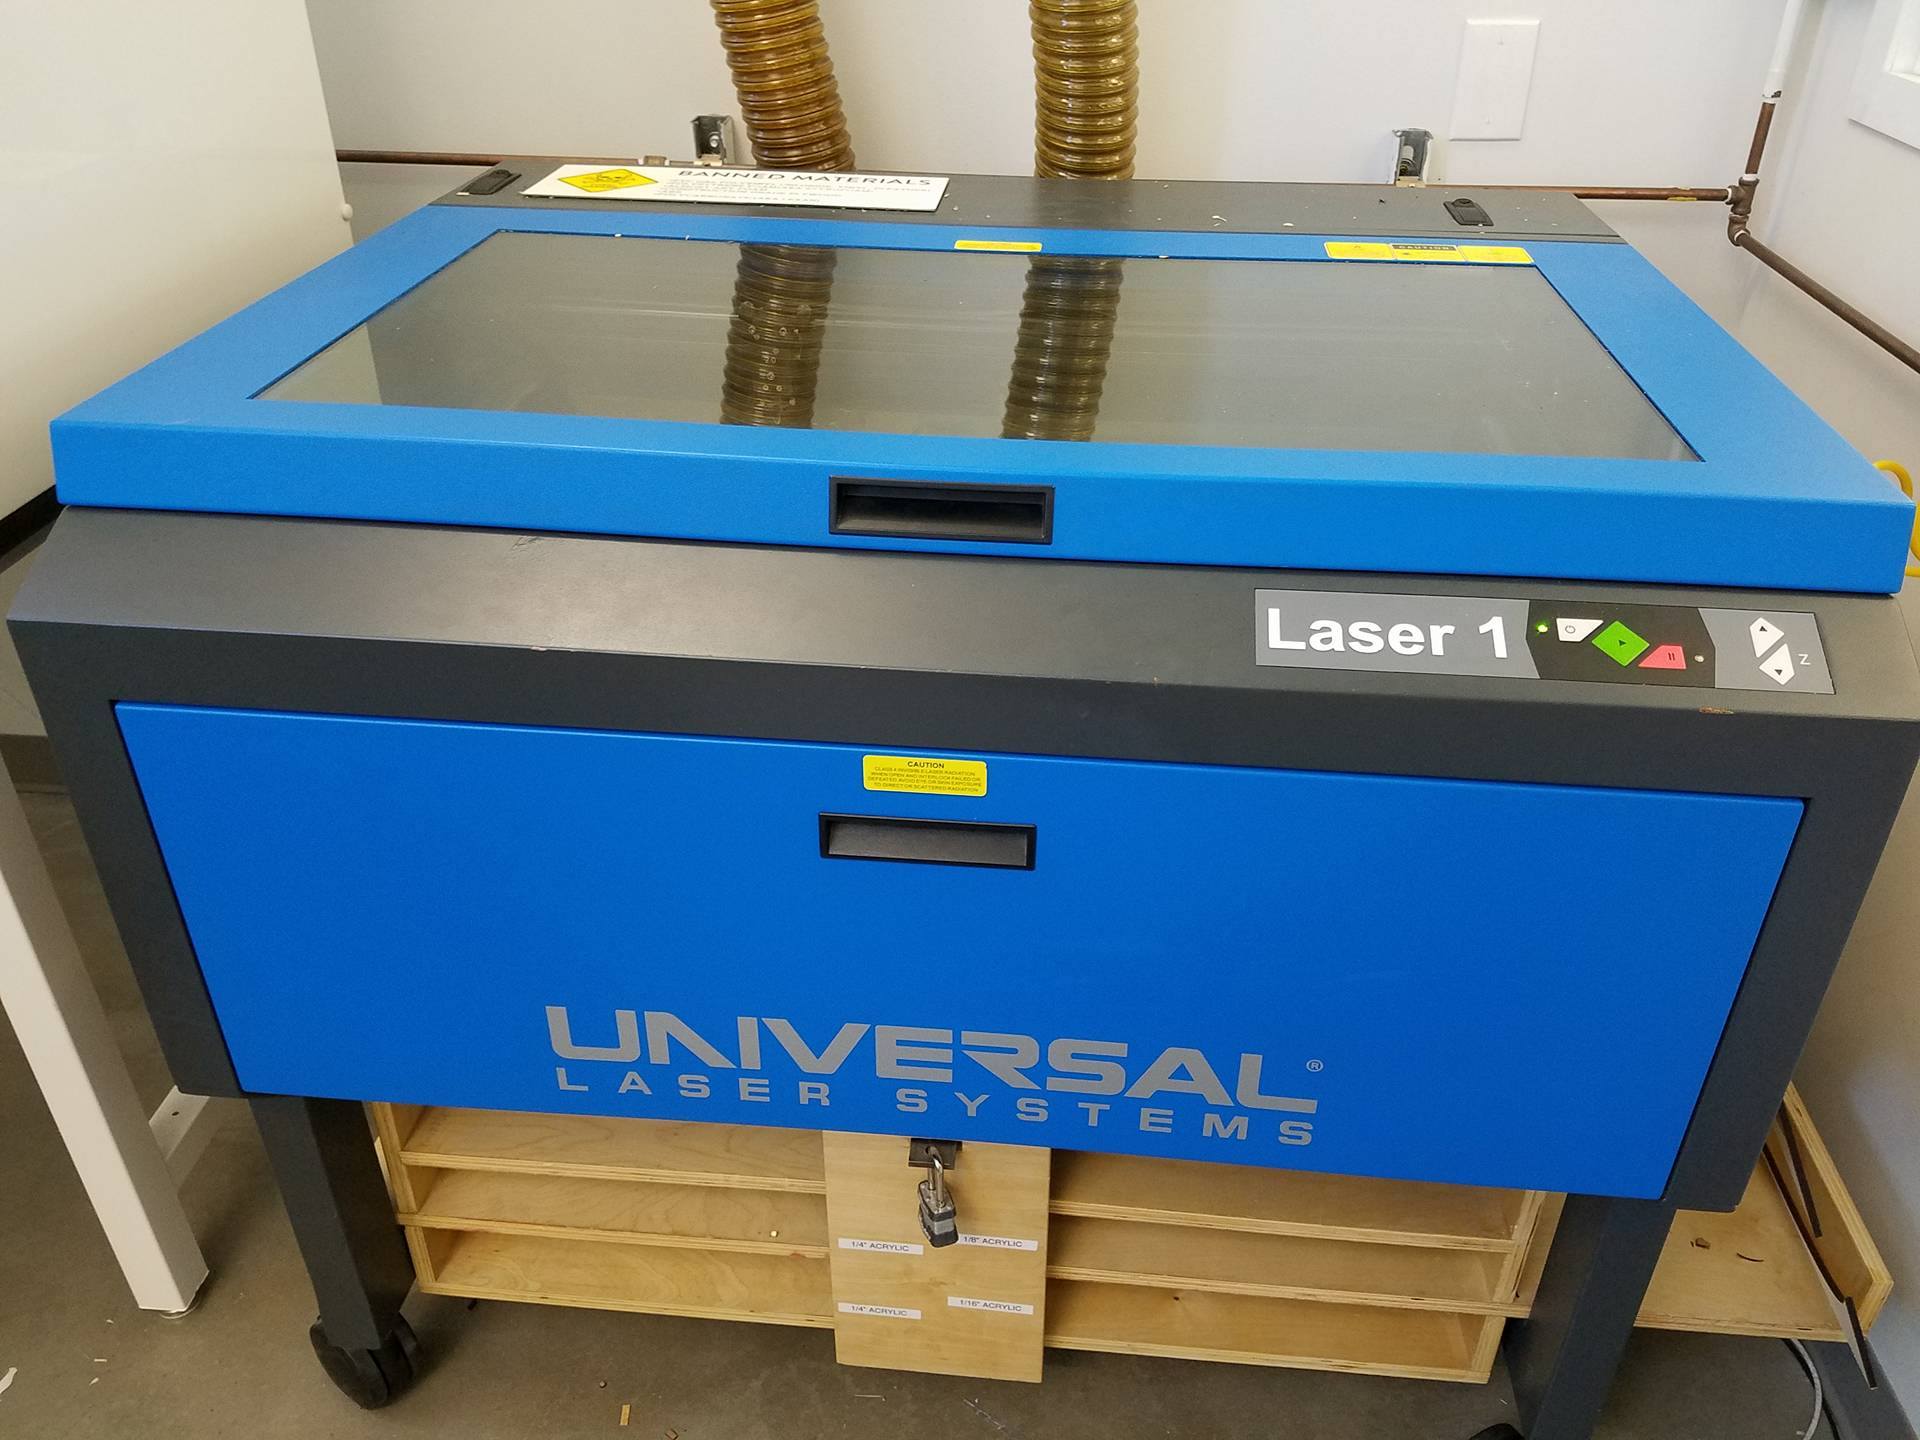
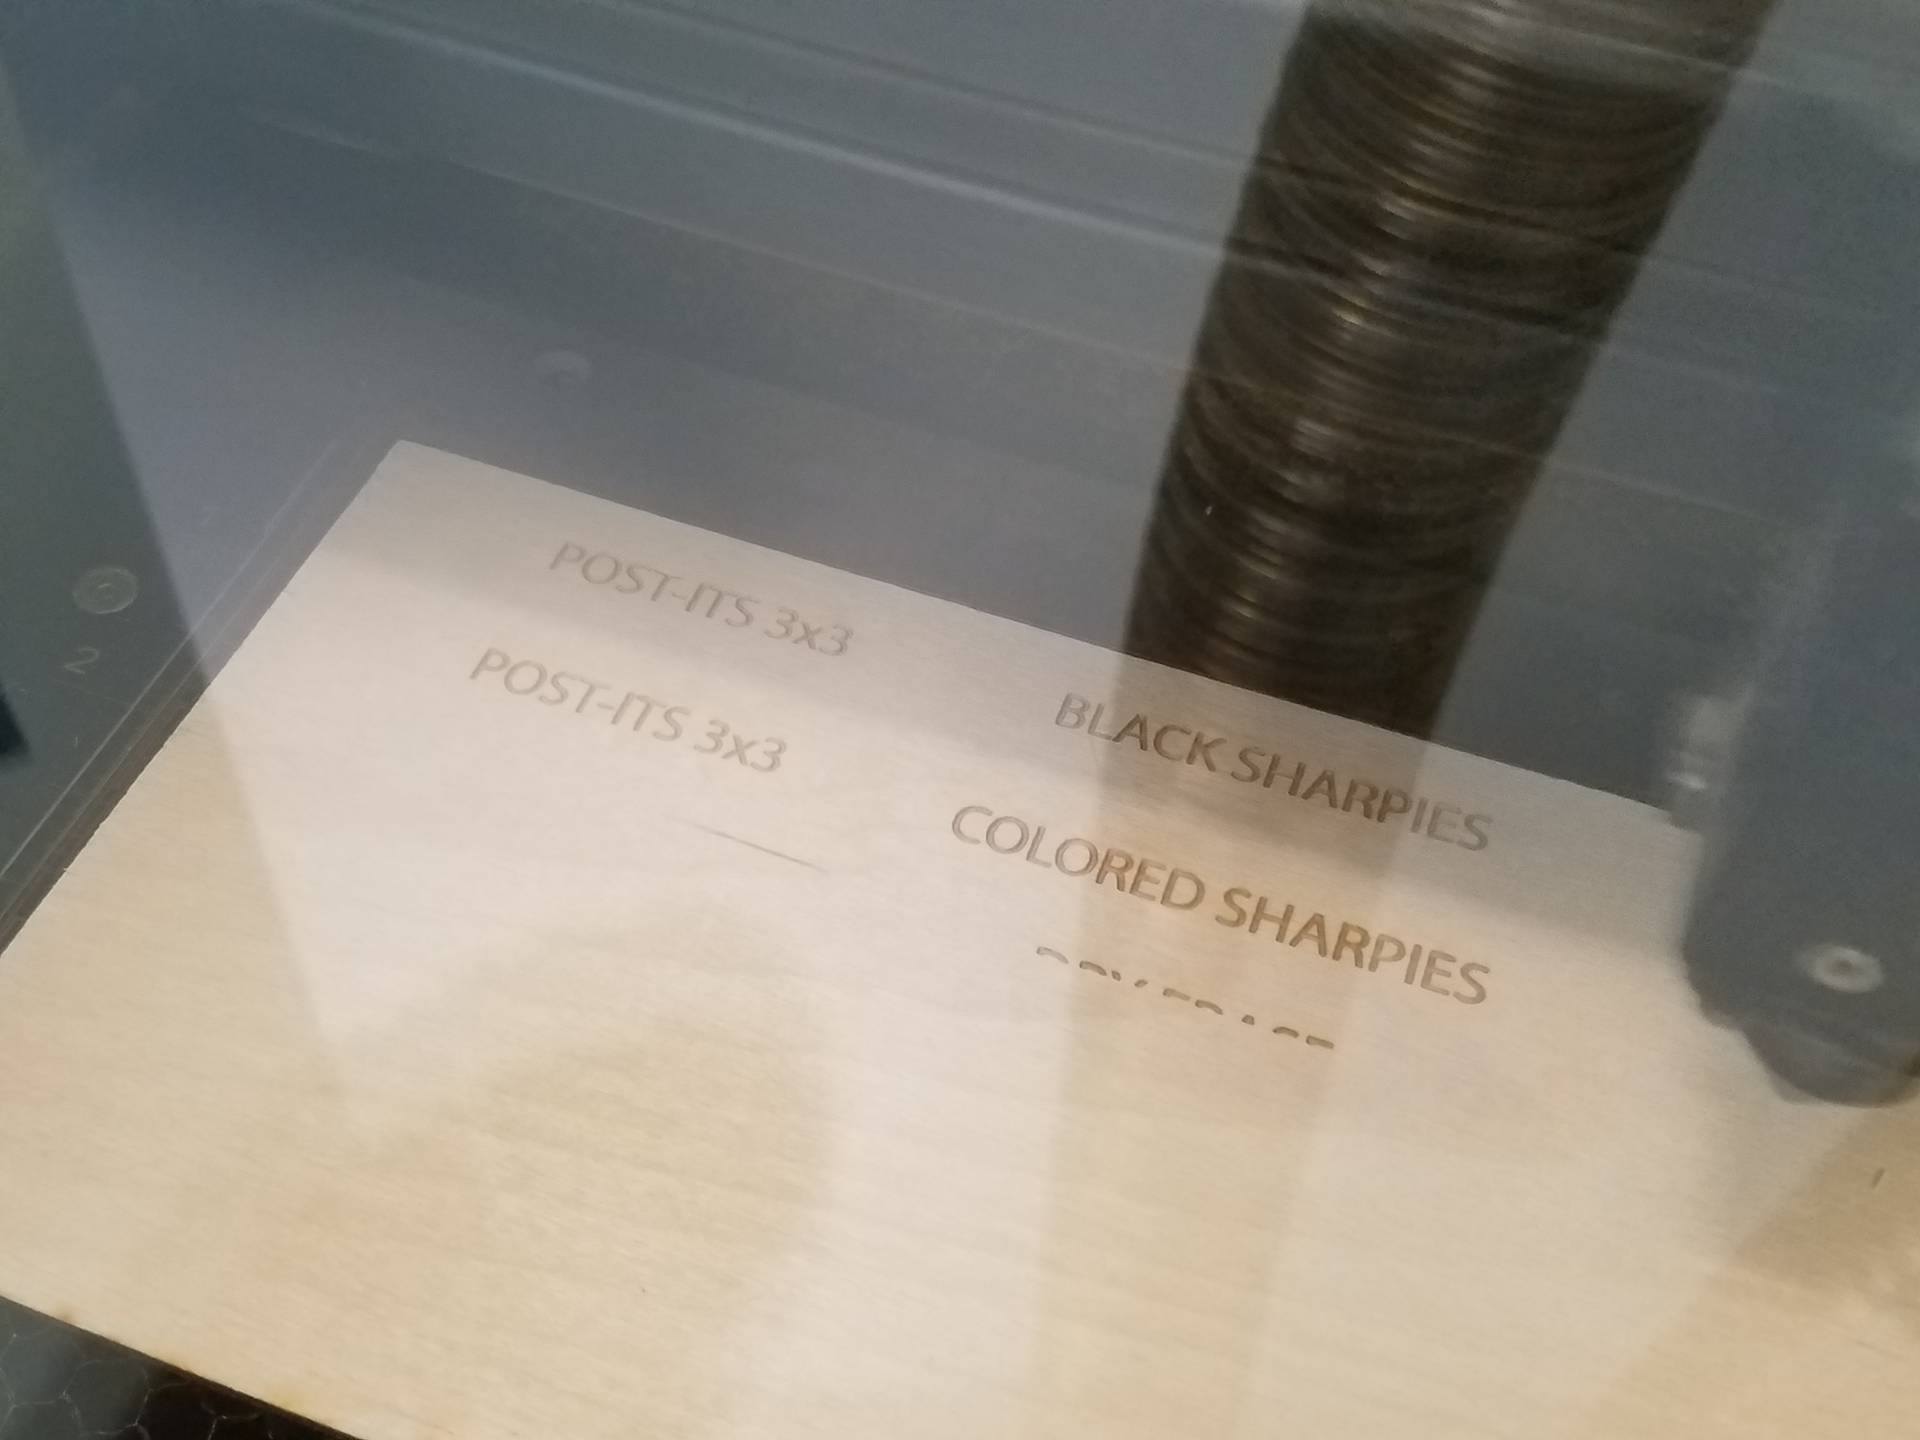
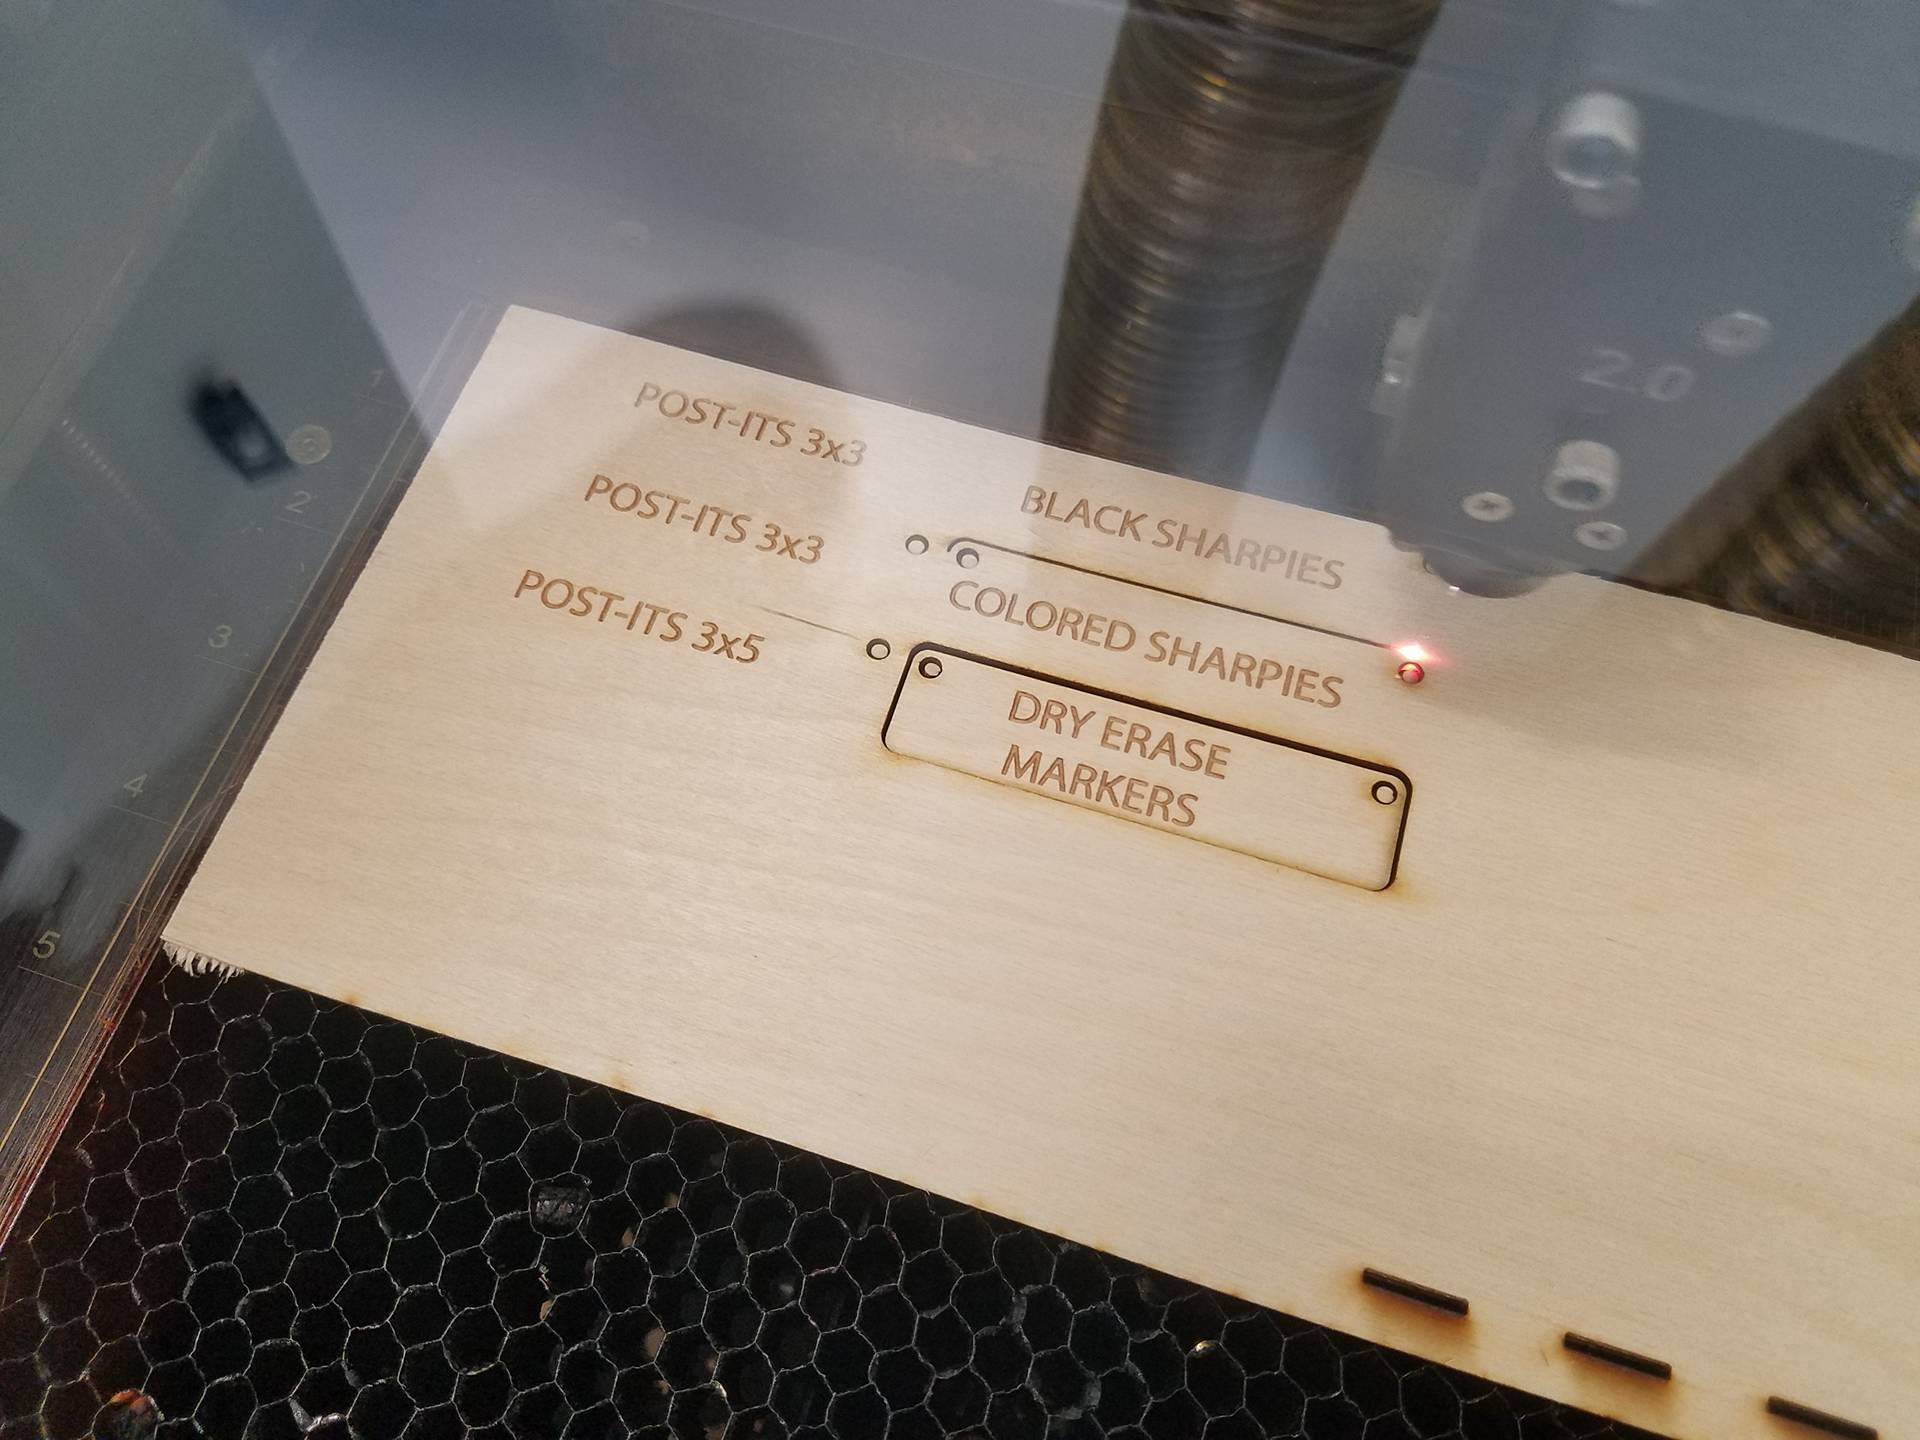
After you have customized the labels, head over to your laser cutter and cut them out. You will want to vector cut the red lines, and raster the text. Once they are cut out, bring them over to where you will be mounting them.
Note: This tutorial assumes you have access to and operator's knowledge of a CNC lasercutter. As each machine's software and interface are drastically different, I'll have to assume that you know how to operate the laser cutter you will be using. The laser I used accepts illustrator files, which is why I uploaded the design as an .ai file. However, I also uploaded the .pdf for people who use a different software. Open the .pdf file in your laser's software, as pdf's are very standard file types and should be accepted by your laser's software.
Attaching the Labels
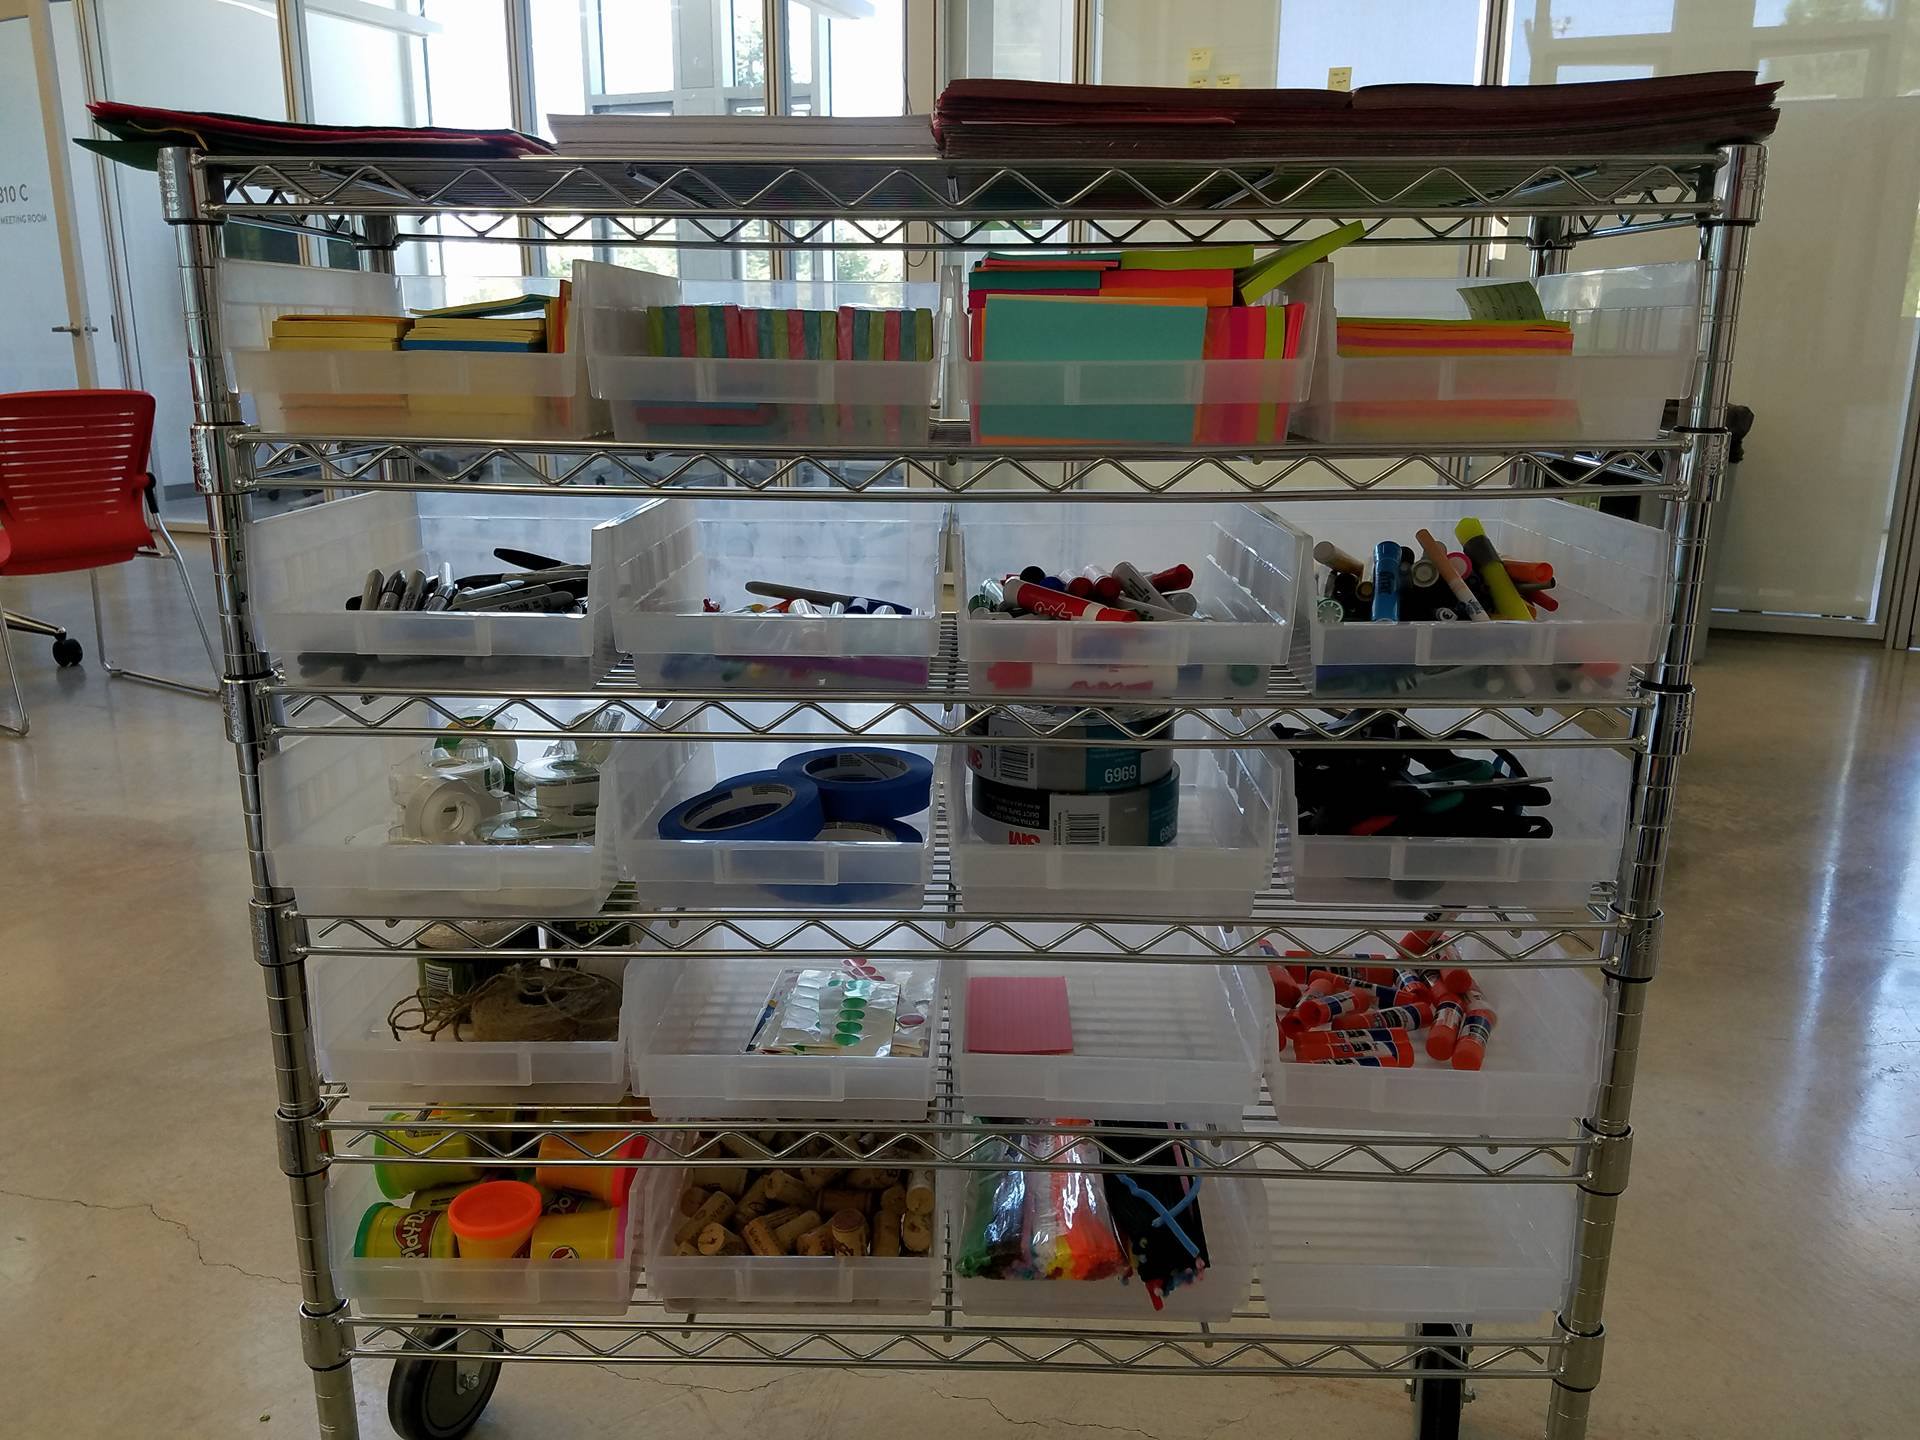
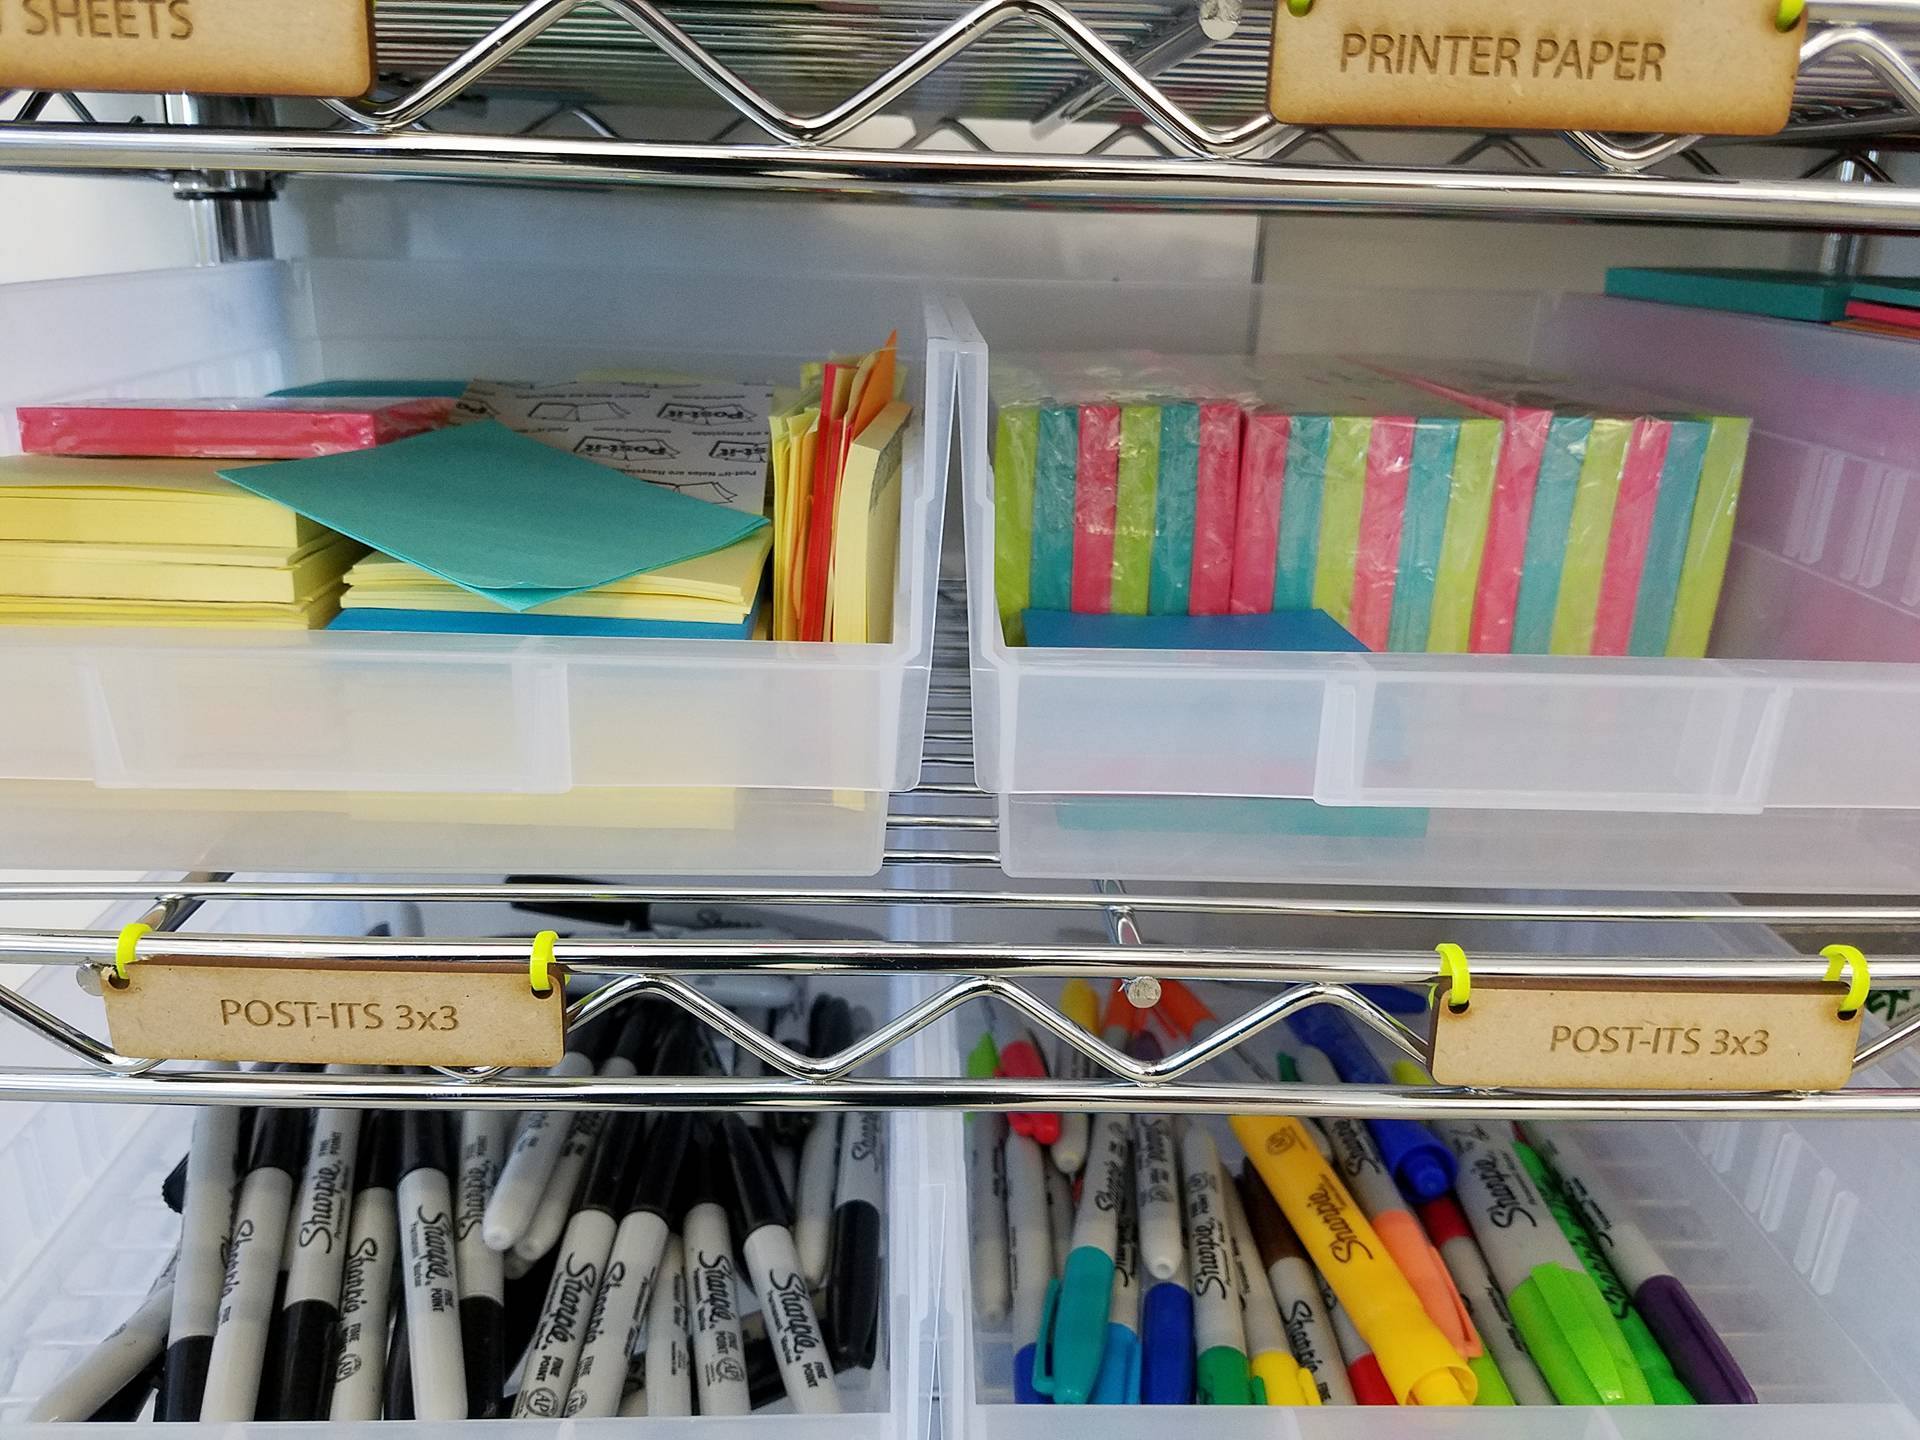
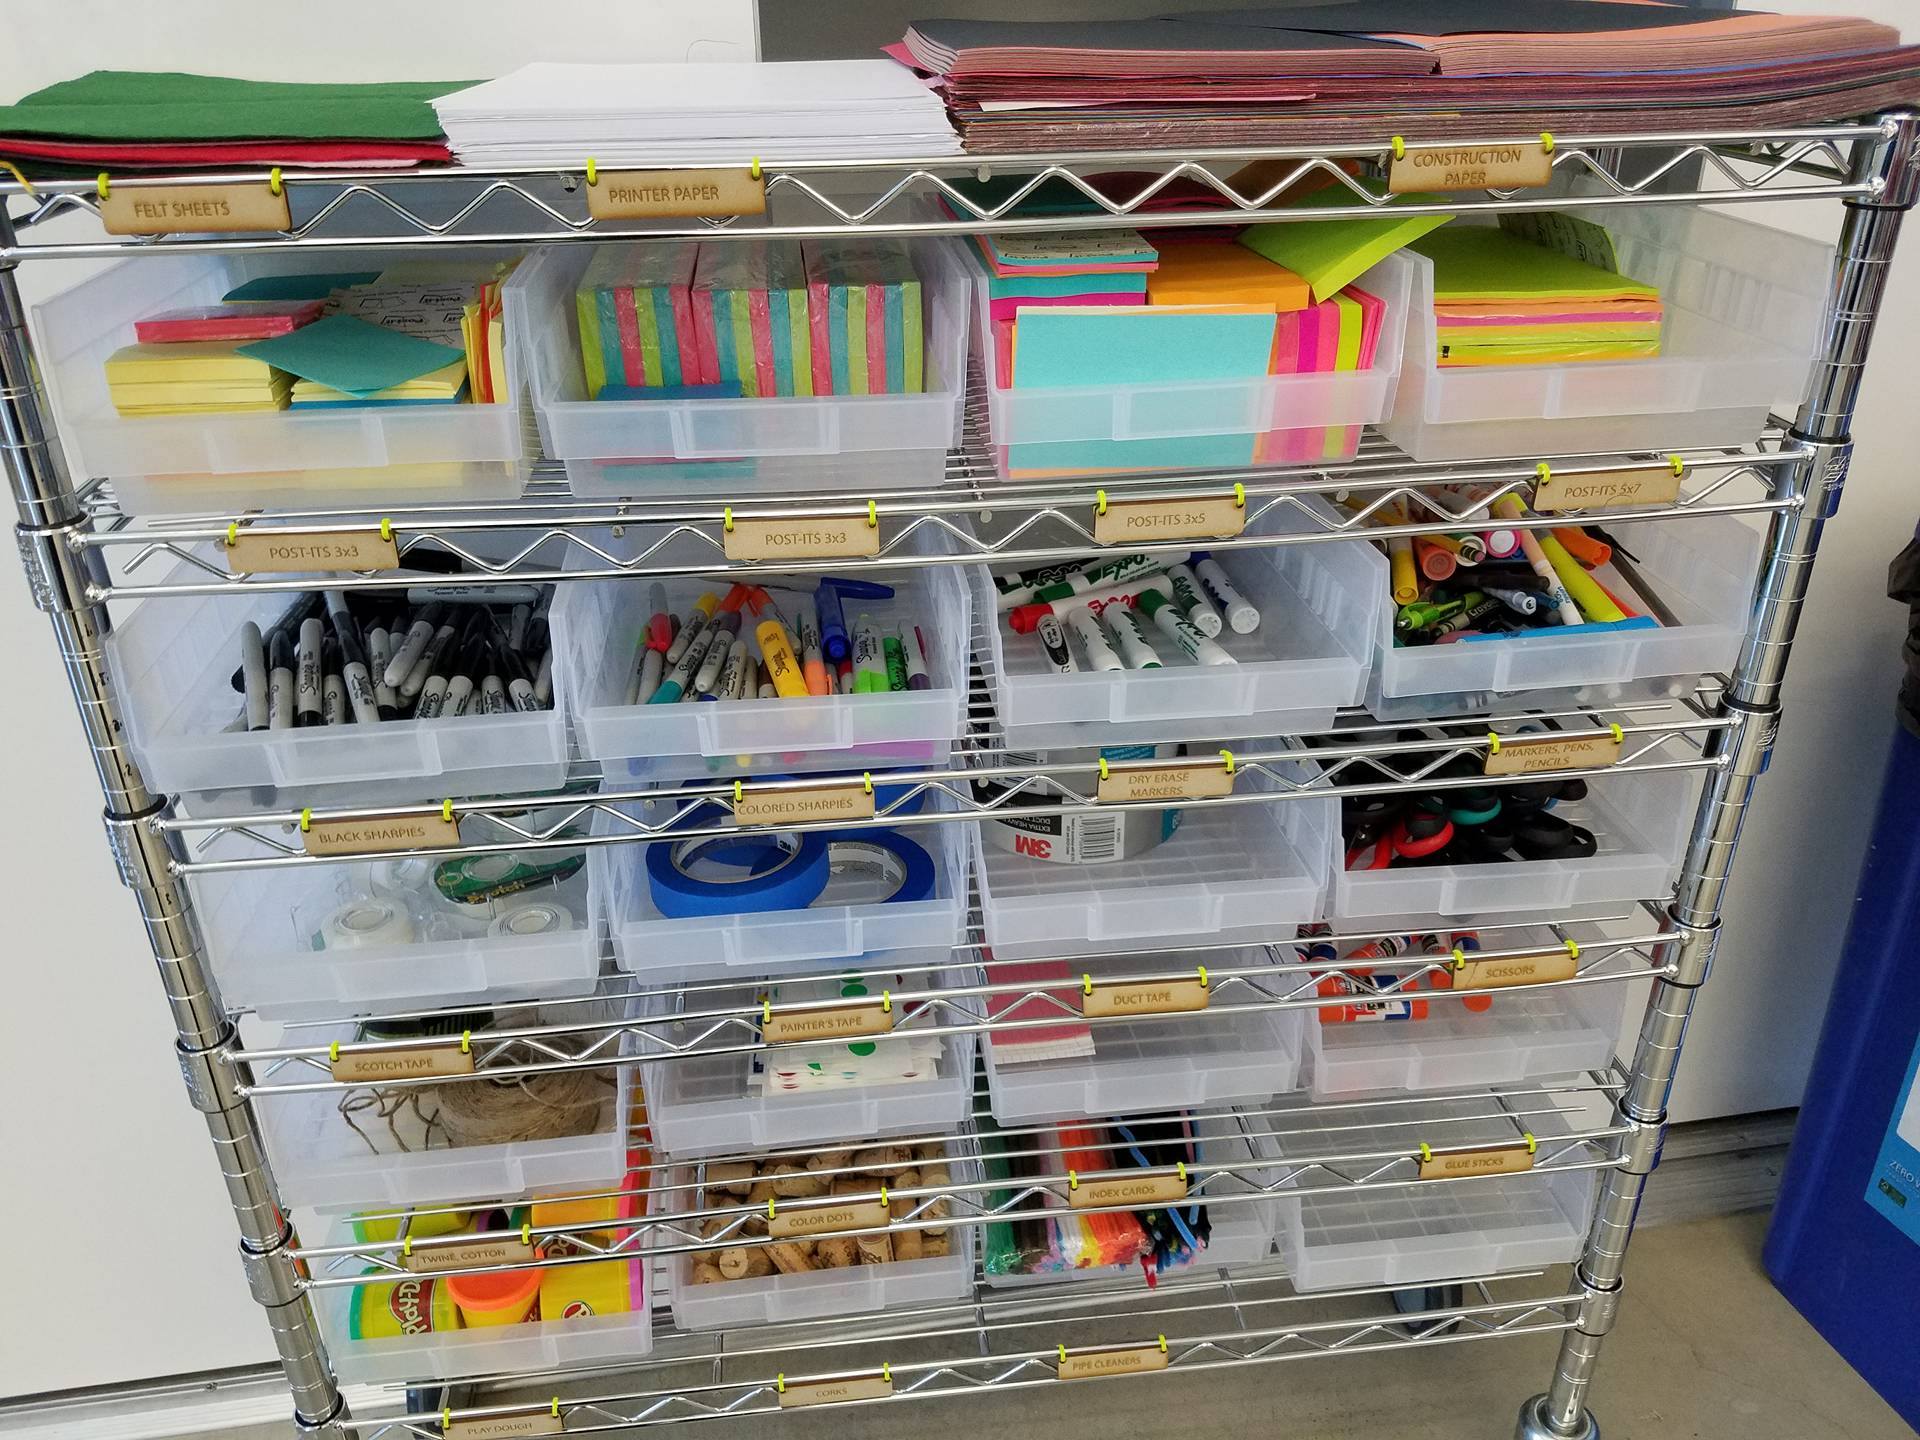
The supplies I was organizing are on a metal rack, so I wasn't able to screw the labels into place. I also wasn't able to use any adhesives due to the limited surface area. I opted to use zip ties in this case. It was a simple solution, but if you also want to use zipties, make sure you get the small ones. The mounting holes are only 1/8" wide, so the large sized zip ties won't fit.
Otherwise, you can also glue the labels to boxes or drawers, screw them into wooden items or bolt them to metal. They are fairly adaptable in terms of mounting. Command strips can even be used to stick them onto stuff if you want to remove them later.
Hope you enjoyed the tutorial and that your workspace is a bit neater now, like mine. If you have any questions or had any trouble following along, I would love to hear some feed back and help you out. Feel free to leave a comment or to check out my profile for more home improvement laser cutter projects to come.