Laser Cut Jigsaw Puzzle With Custom Parameters
by wolfCatWorkshop in Workshop > Laser Cutting
4608 Views, 24 Favorites, 0 Comments
Laser Cut Jigsaw Puzzle With Custom Parameters
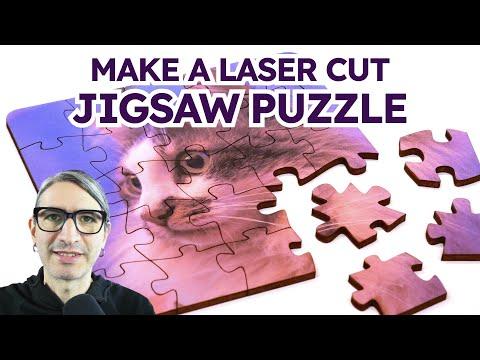
The heart of this Instructable and the embedded video above is this Cuttle.xyz template. It allows you to generate custom files for printing and image of your choice and cutting a jigsaw puzzle with your specified sizes.
Even if you don't use the template I hope there are some techniques here that you can use to make your own laser cut puzzles.
In short, the process consists of:
- Uploading and image and setting the size
- Cutting a blank on the laser cutter
- Printing the picture
- Gluing the picture to the blank after removing it from the laser cutter
- Masking the prepared blank
- Placing the prepared blank back in the laser cutter and cutting the puzzle
Supplies
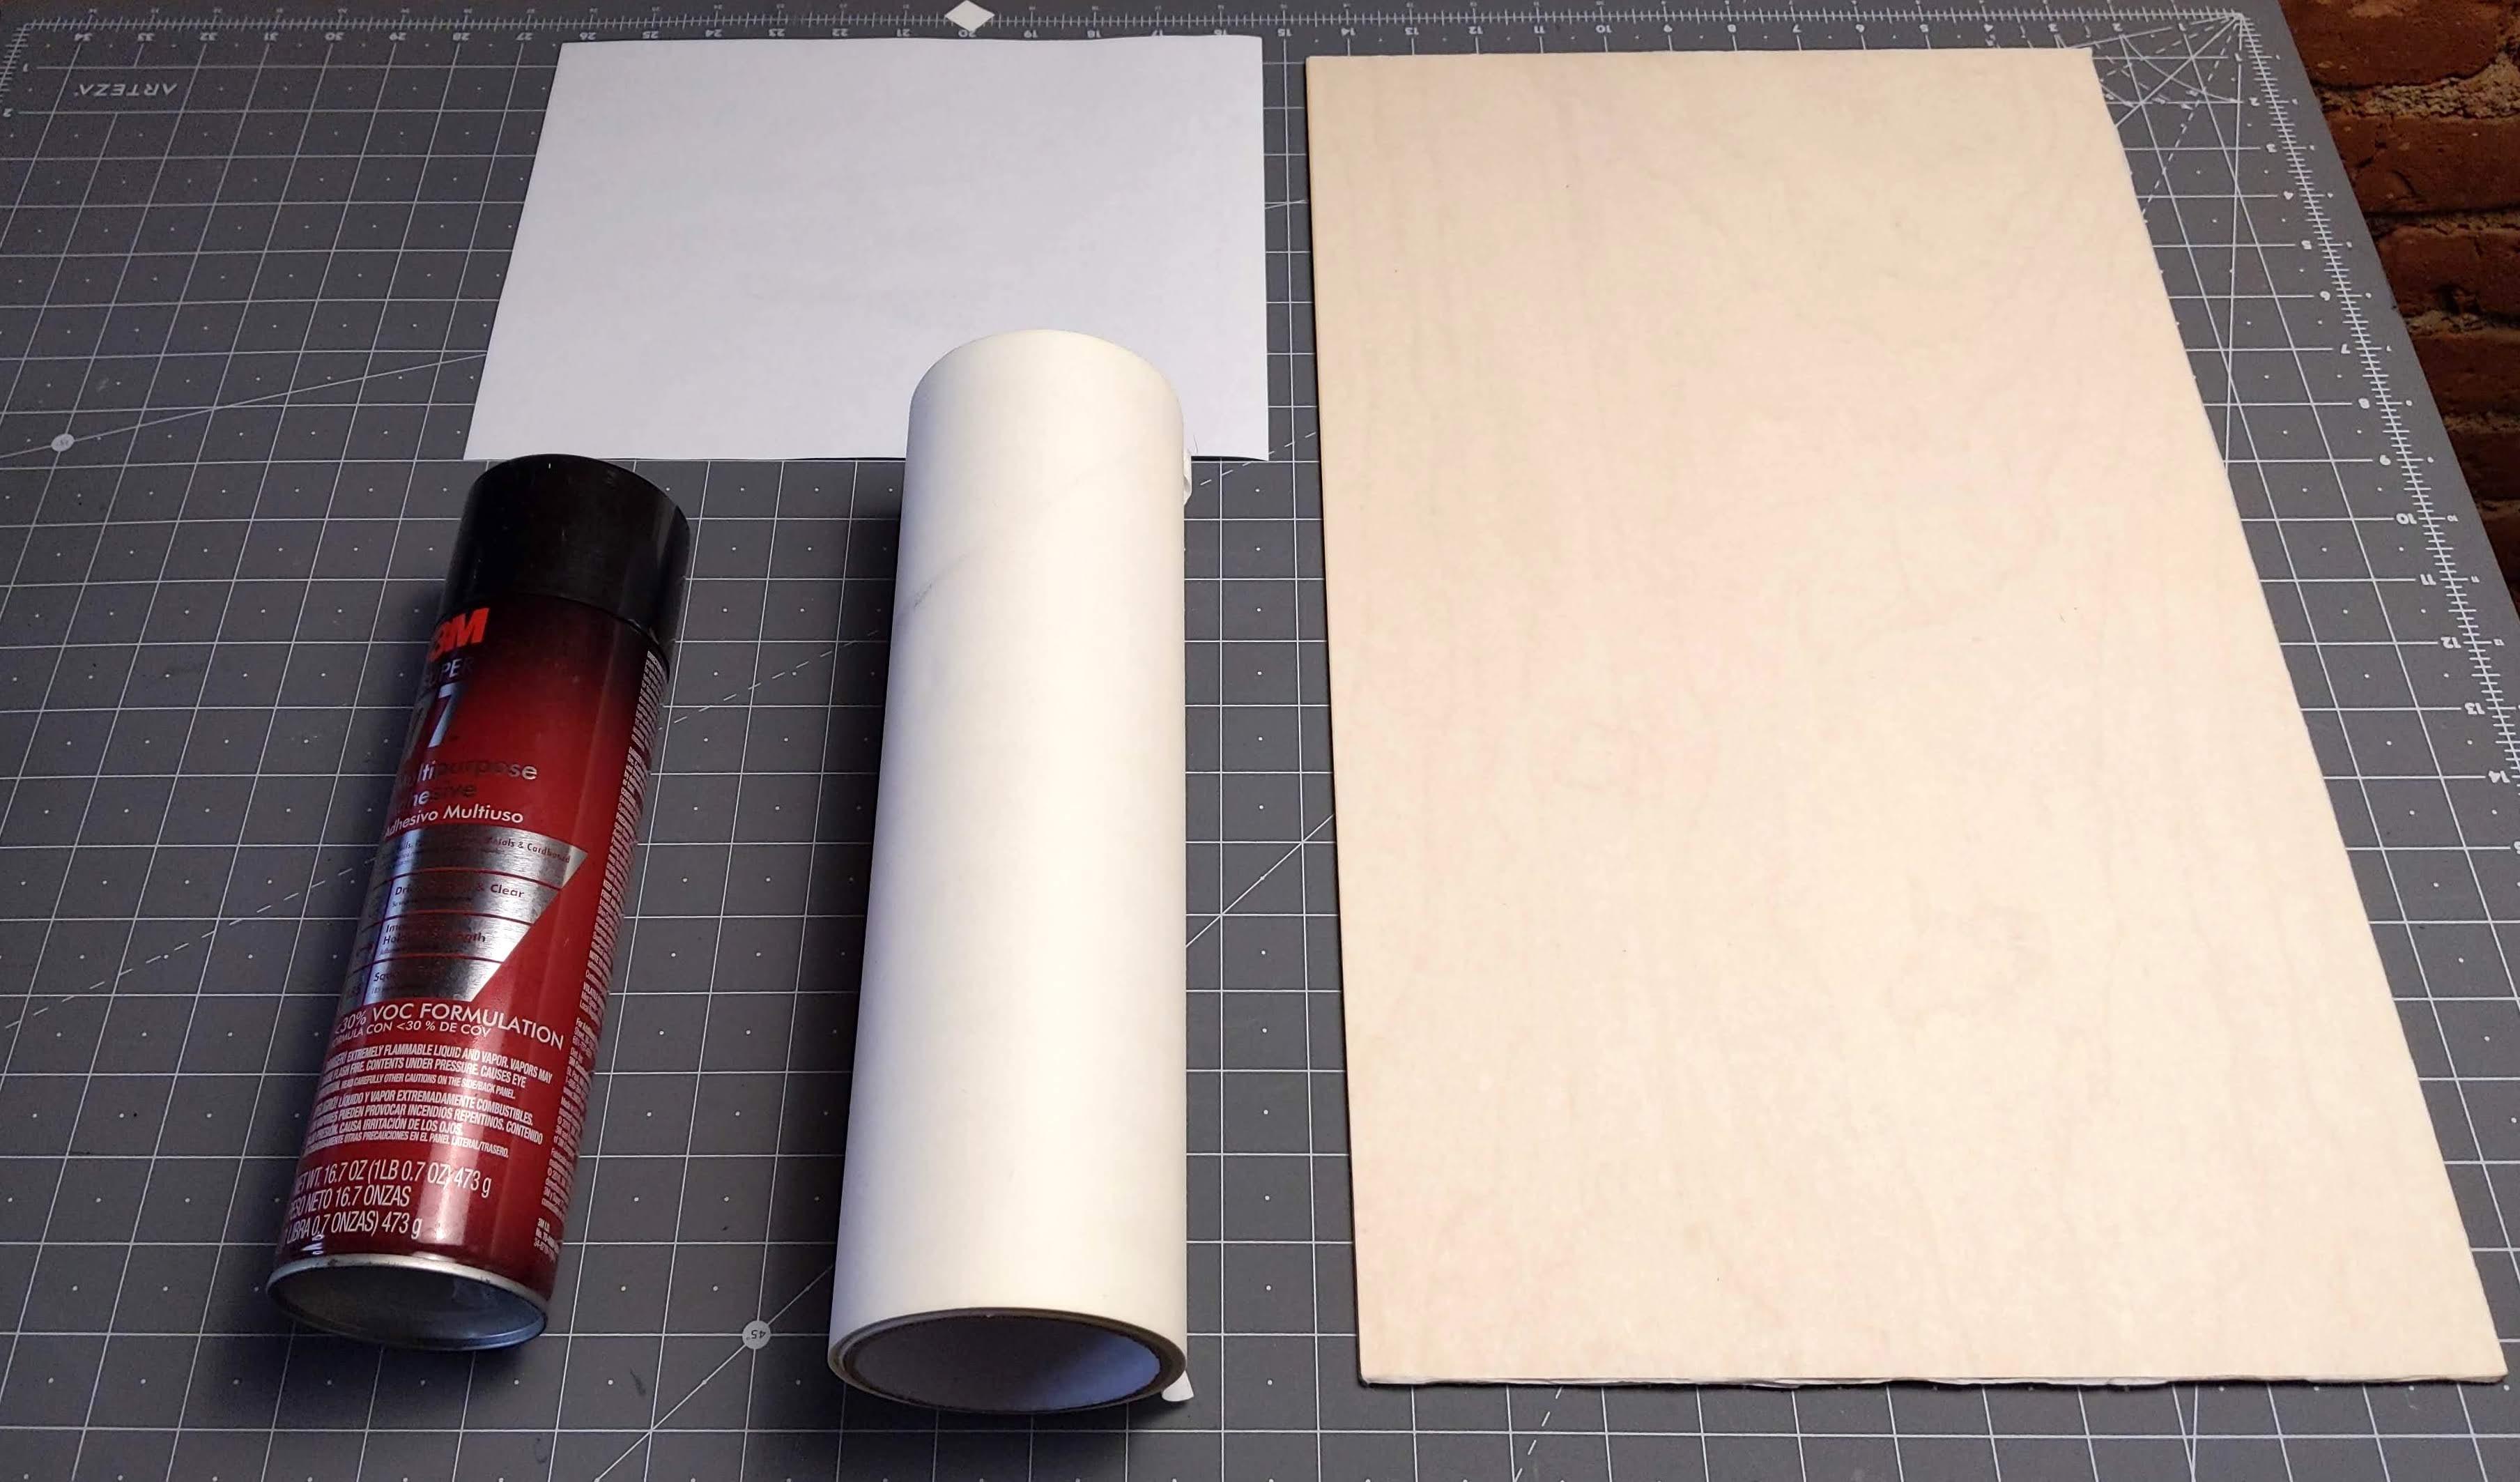
The basic materials are:
- Nice paper for printing the picture - I used some 32 lb premium paper for inkjet
- Thin plywood - 3mm (1/8") birch or other laser cuttable plywood works well
- Spray Adhesive for gluing the picture to the plywood
- Wide masking tape to prevent burn marks on the picture
Optionally you can spray the finished puzzle with some craft sealer or varnish since it will be handled a lot.
Tools:
- Printer
- Laser cutter
Upload Image and Set the Size
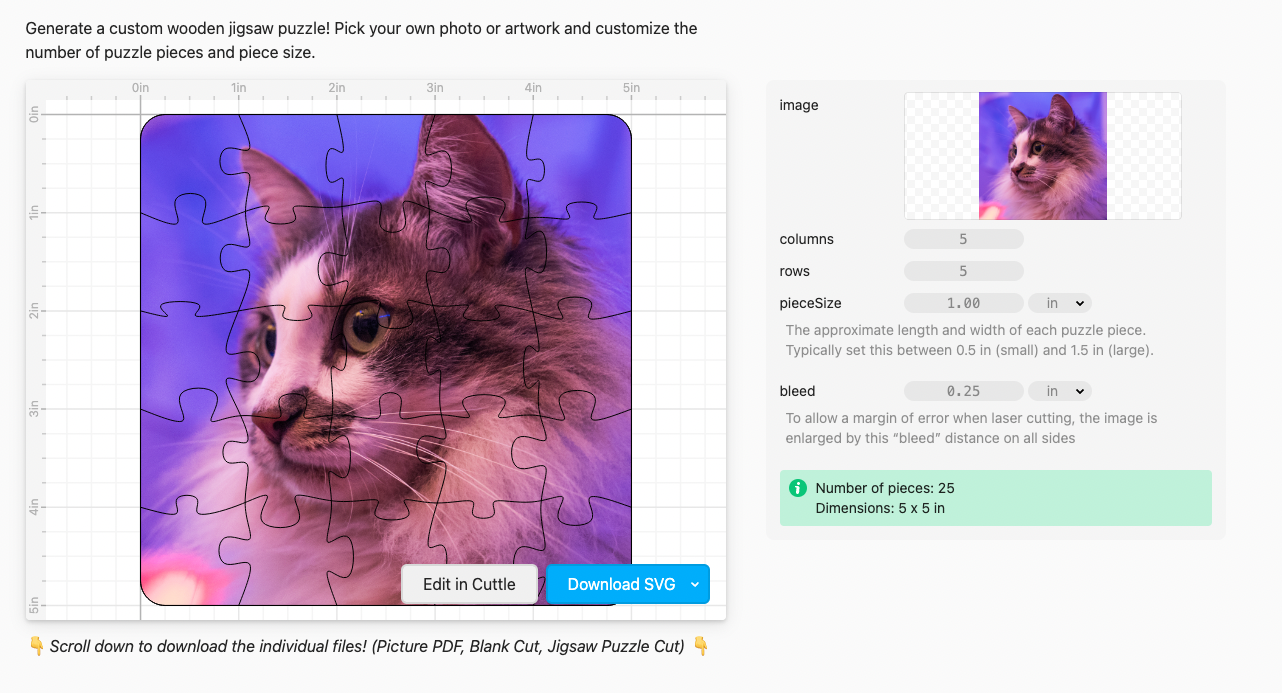
Go to the Puzzle Template page.
- Upload your picture by clicking on the Image box on the right (disclaimer: this is a Cuttle Pro feature).
- Select the number of columns and rows, you can type the number or scrub the box with your mouse.
- Select the pieceSize. The default size of about 1 inch works well and it's close to the size of commercial puzzles, but you can choose to make it smaller or bigger in this step.
Pay attention to the green box at the bottom left for the final dimensions so the puzzle fits in your laser cutter.
The optional bleed parameter makes the blank a little bigger to have a margin of error when placing it back in the laser cutter.
Download the Files
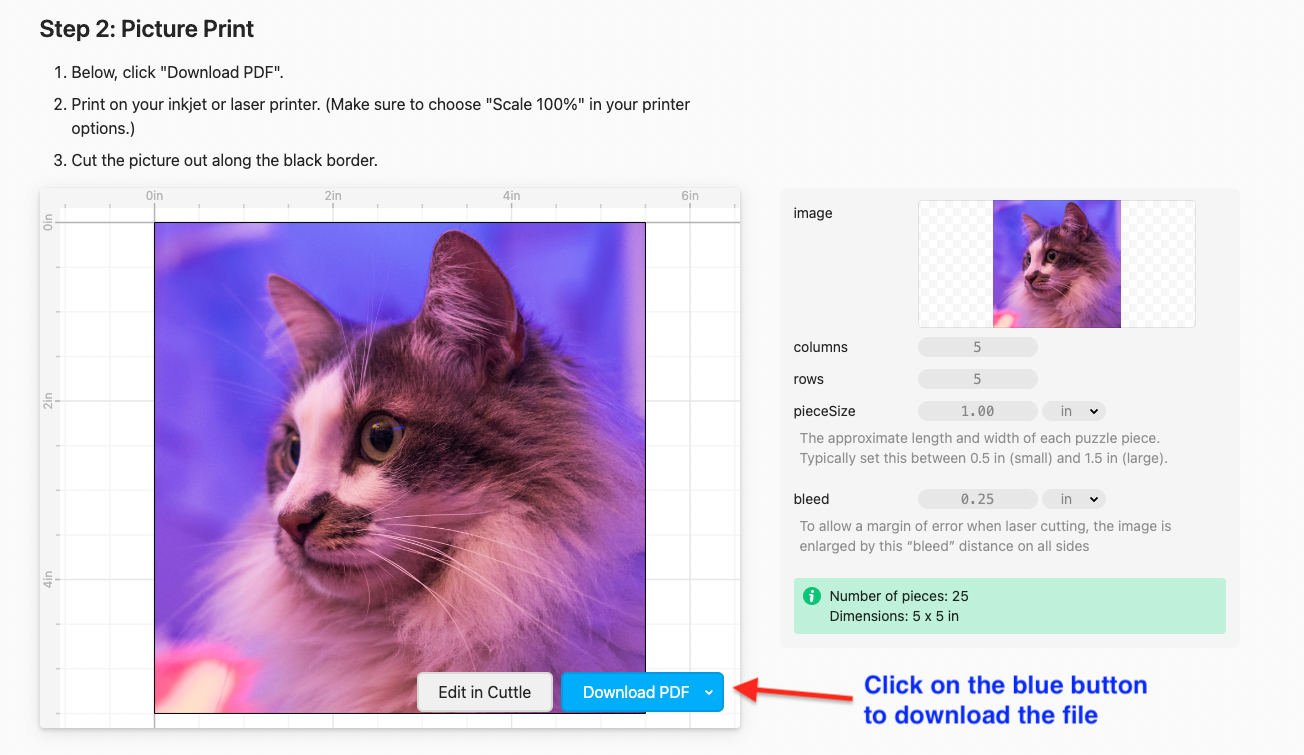
Now scroll down and download the following 3 files:
- Picture Print: this is a properly scaled PDF of the picture
- Blank Cut: an SVG for laser cutting the base piece
- Jigsaw Puzzle Cut: an SVG for cutting all the puzzle pieces
The files below can be used to replicate the puzzle in the pictures. It has 25 pieces and the final dimensions are 5 by 5 inches.
Print the Picture
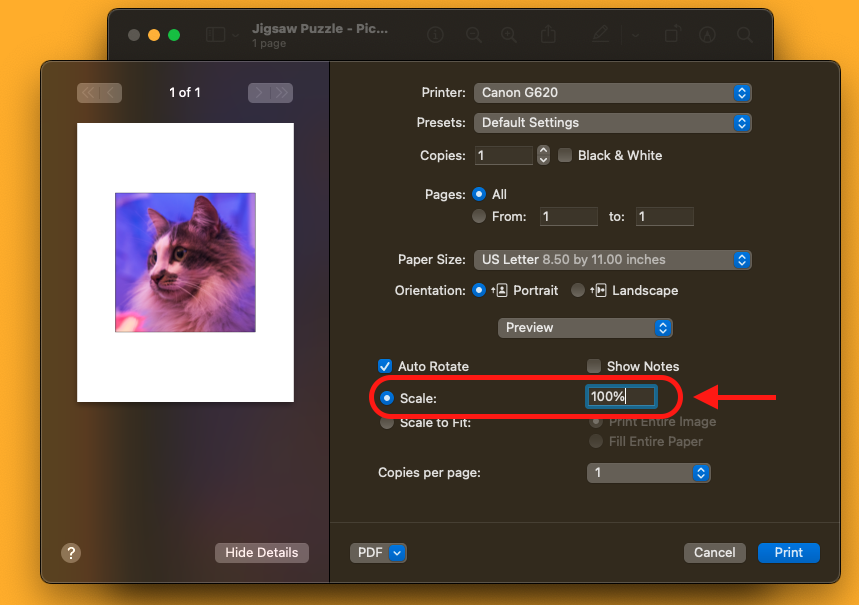
When printing the picture make sure it is scaled to 100% so it matches the size of the blank.
Cut the Blank
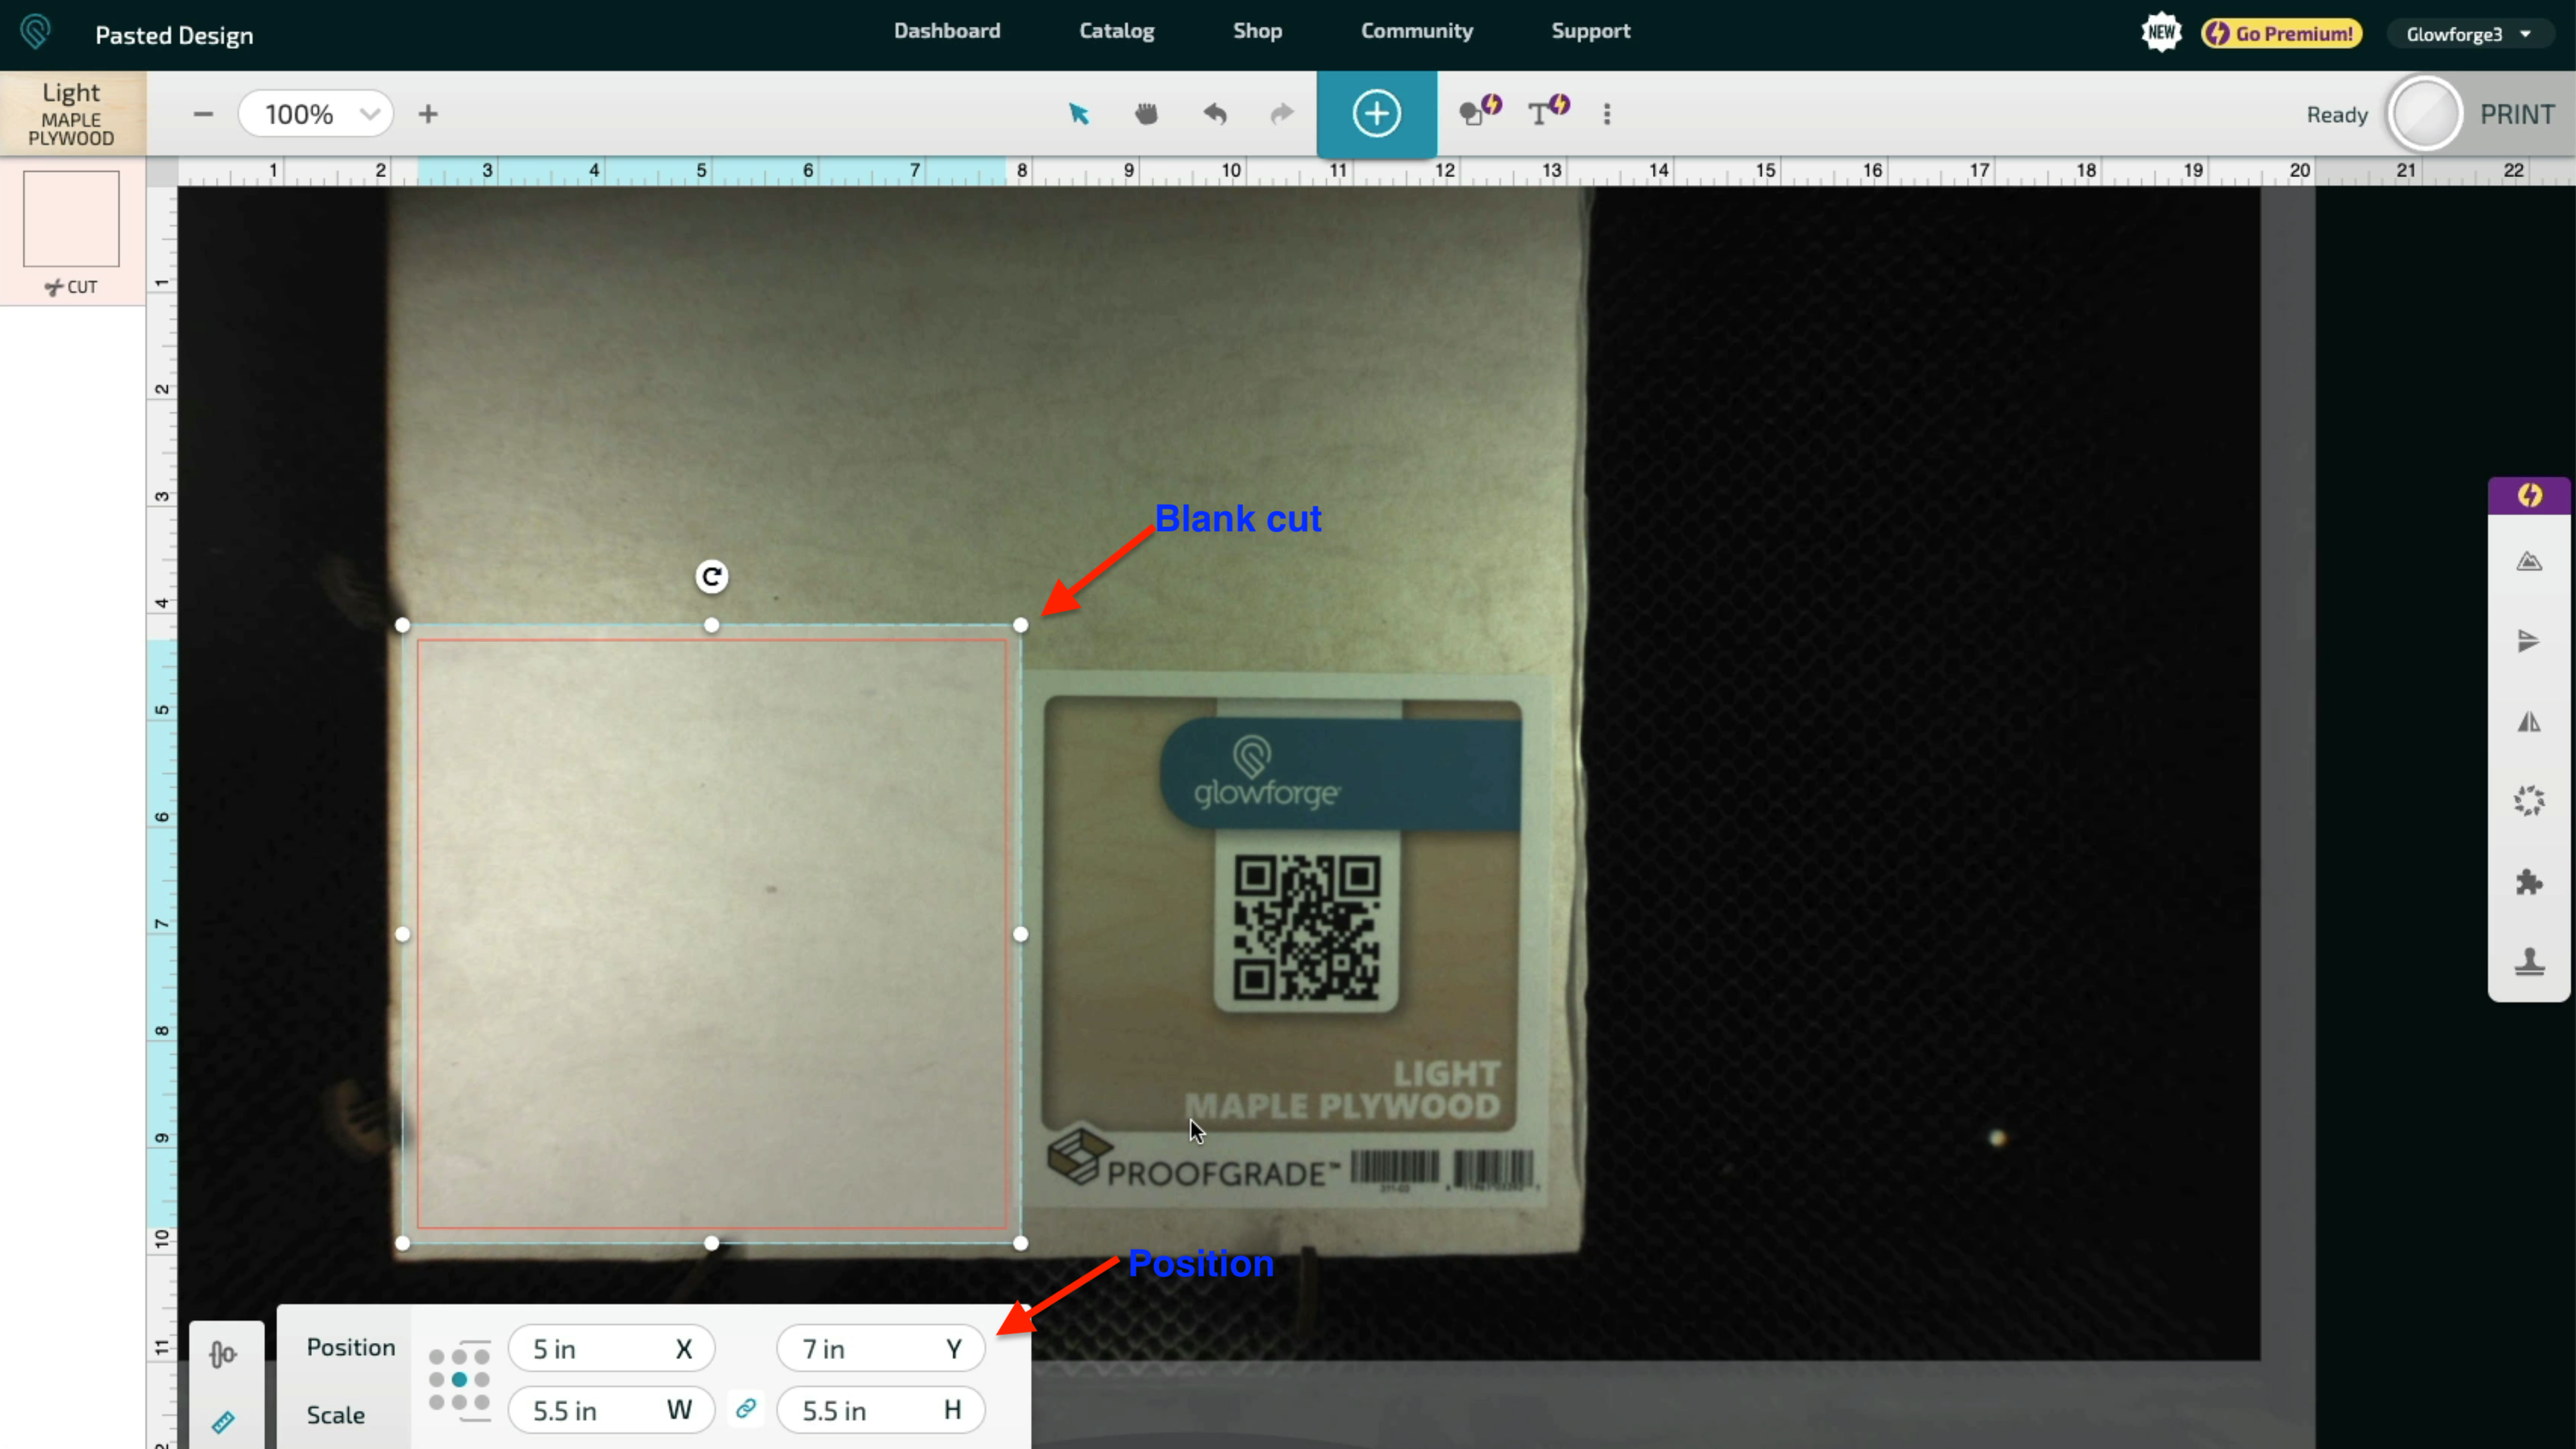
When you place the uncut sheet of plywood on the laser cutter make sure it stays in place by taping it or pinning it down. You want to cut the blank and have a way to place it back on the same spot after gluing the picture on it.
This step will vary depending on your laser cutter and software workflow.
If you are using a Glowforge you can place the blank cut on the interface and take note of the position, this way it can be placed back in the same position after gluing the picture.
Prepare the Blank and Glue the Picture
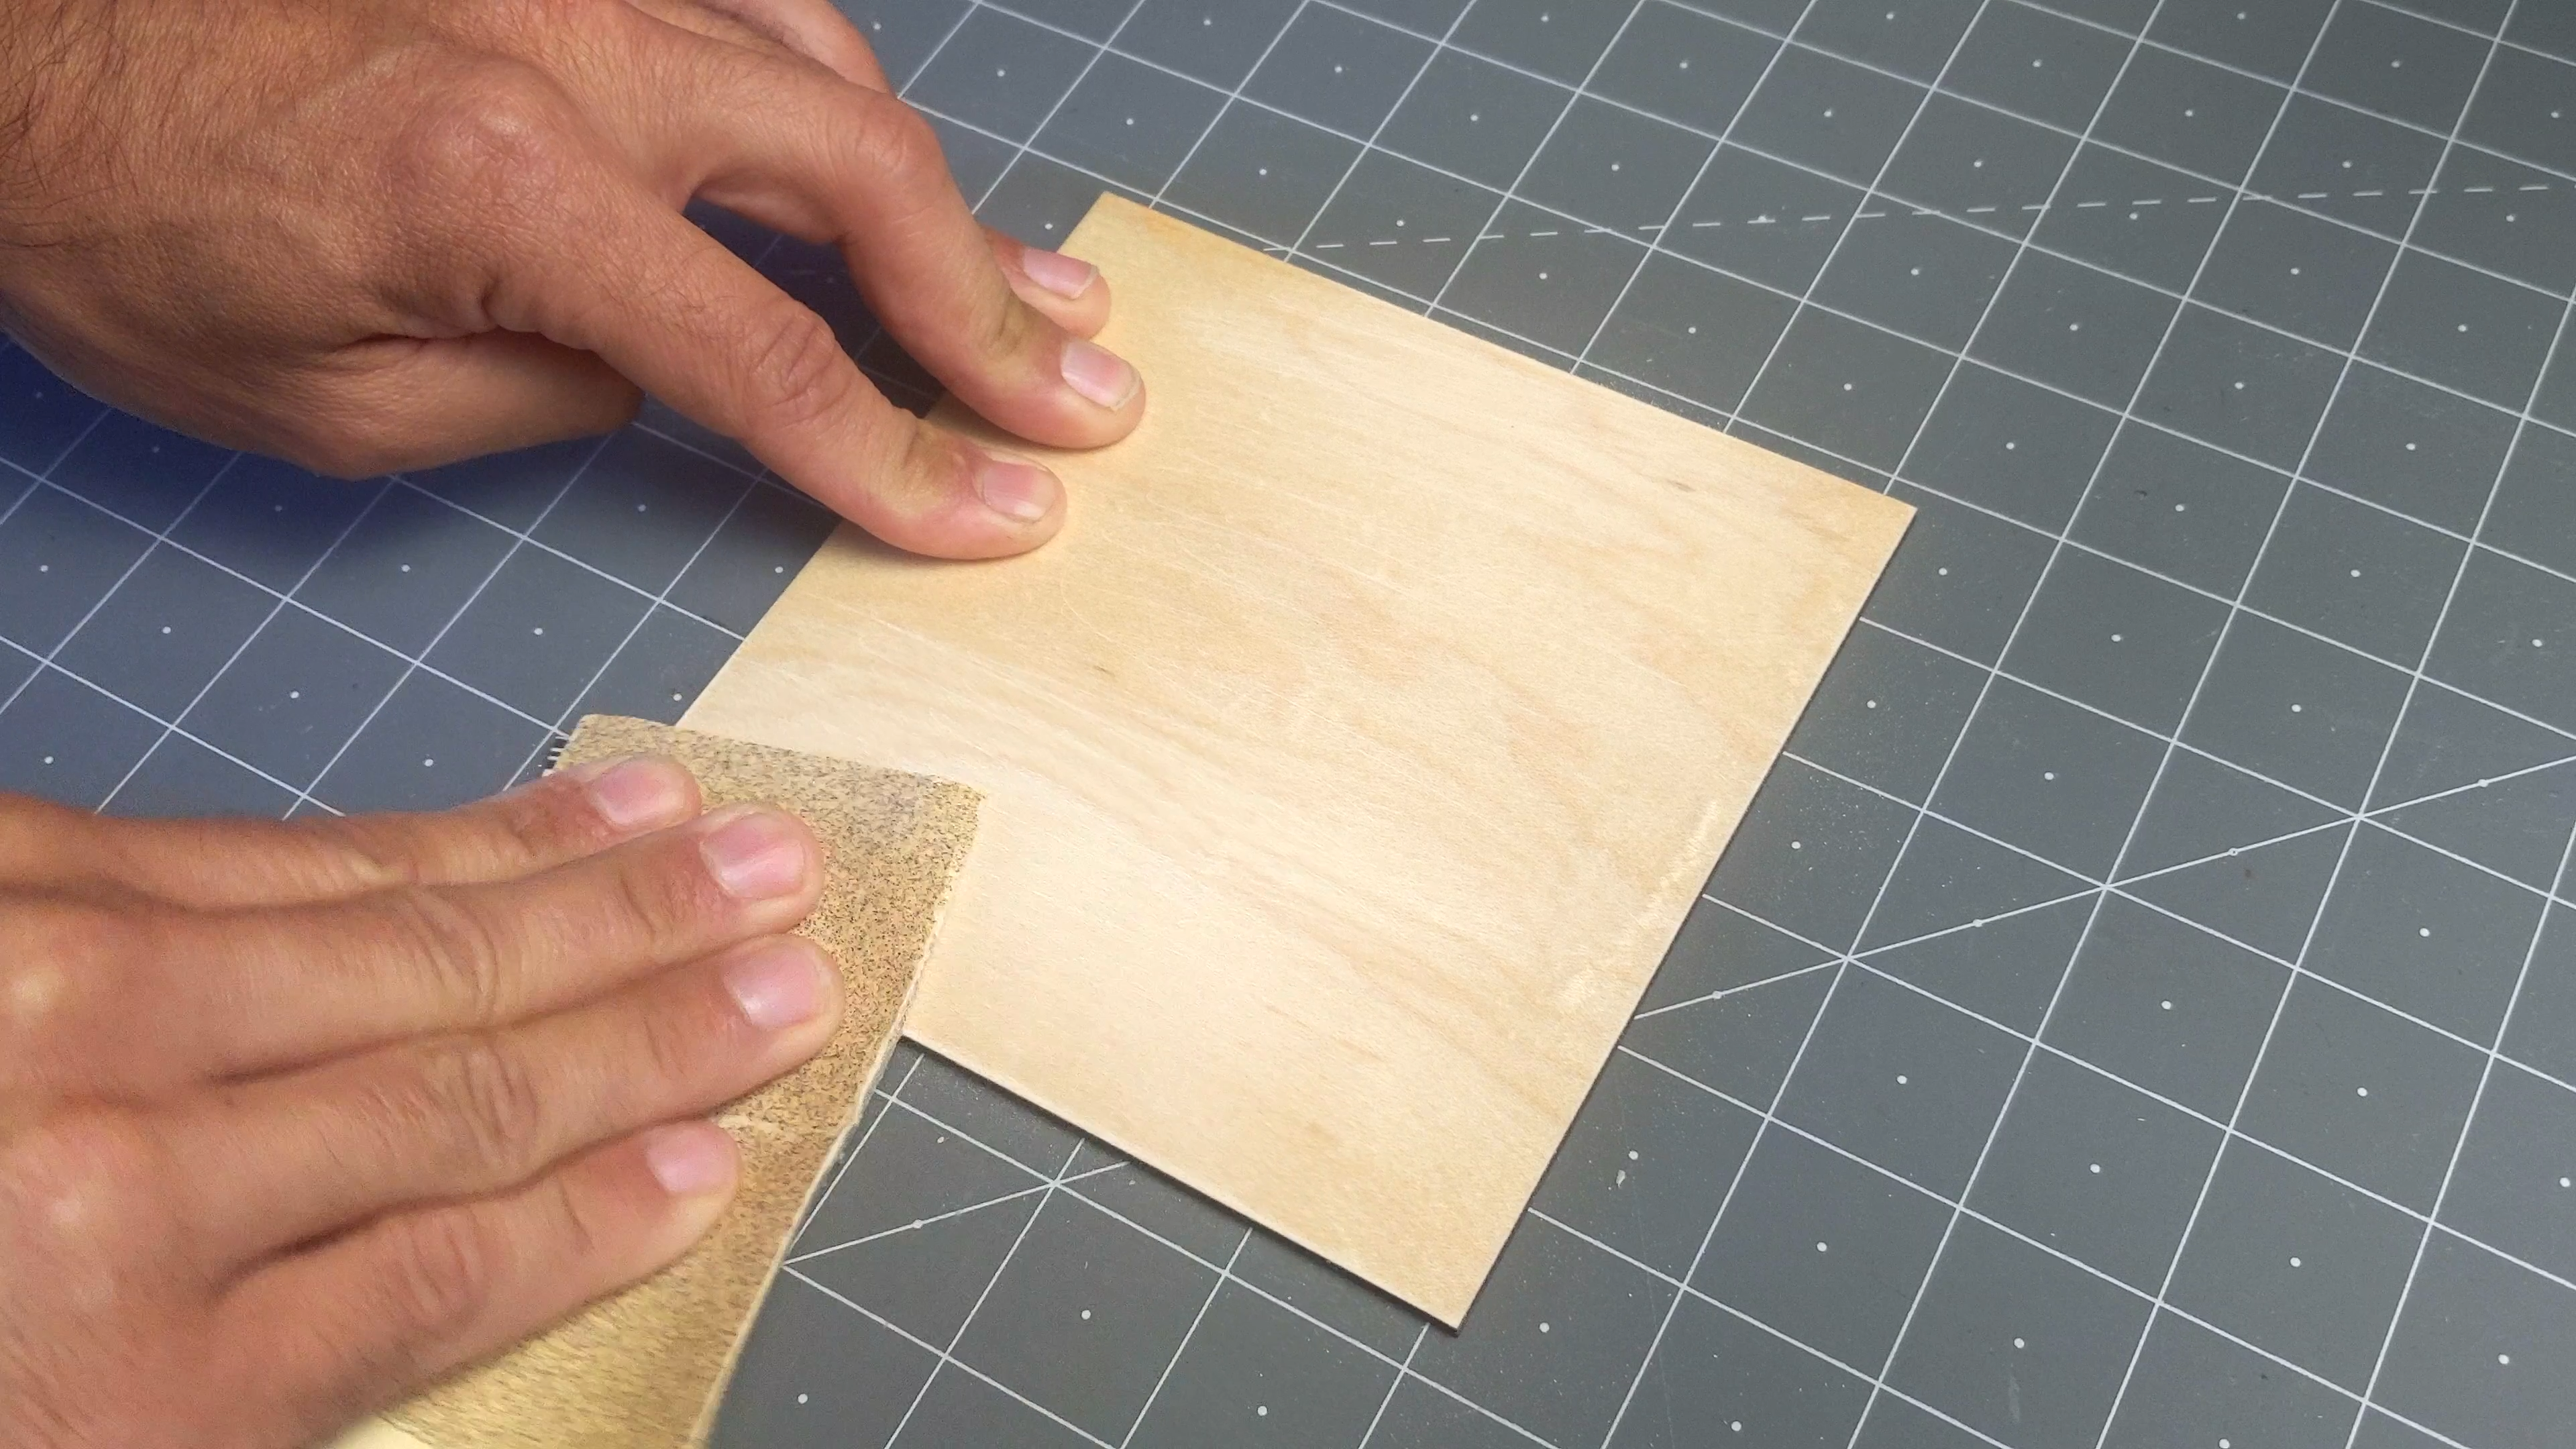
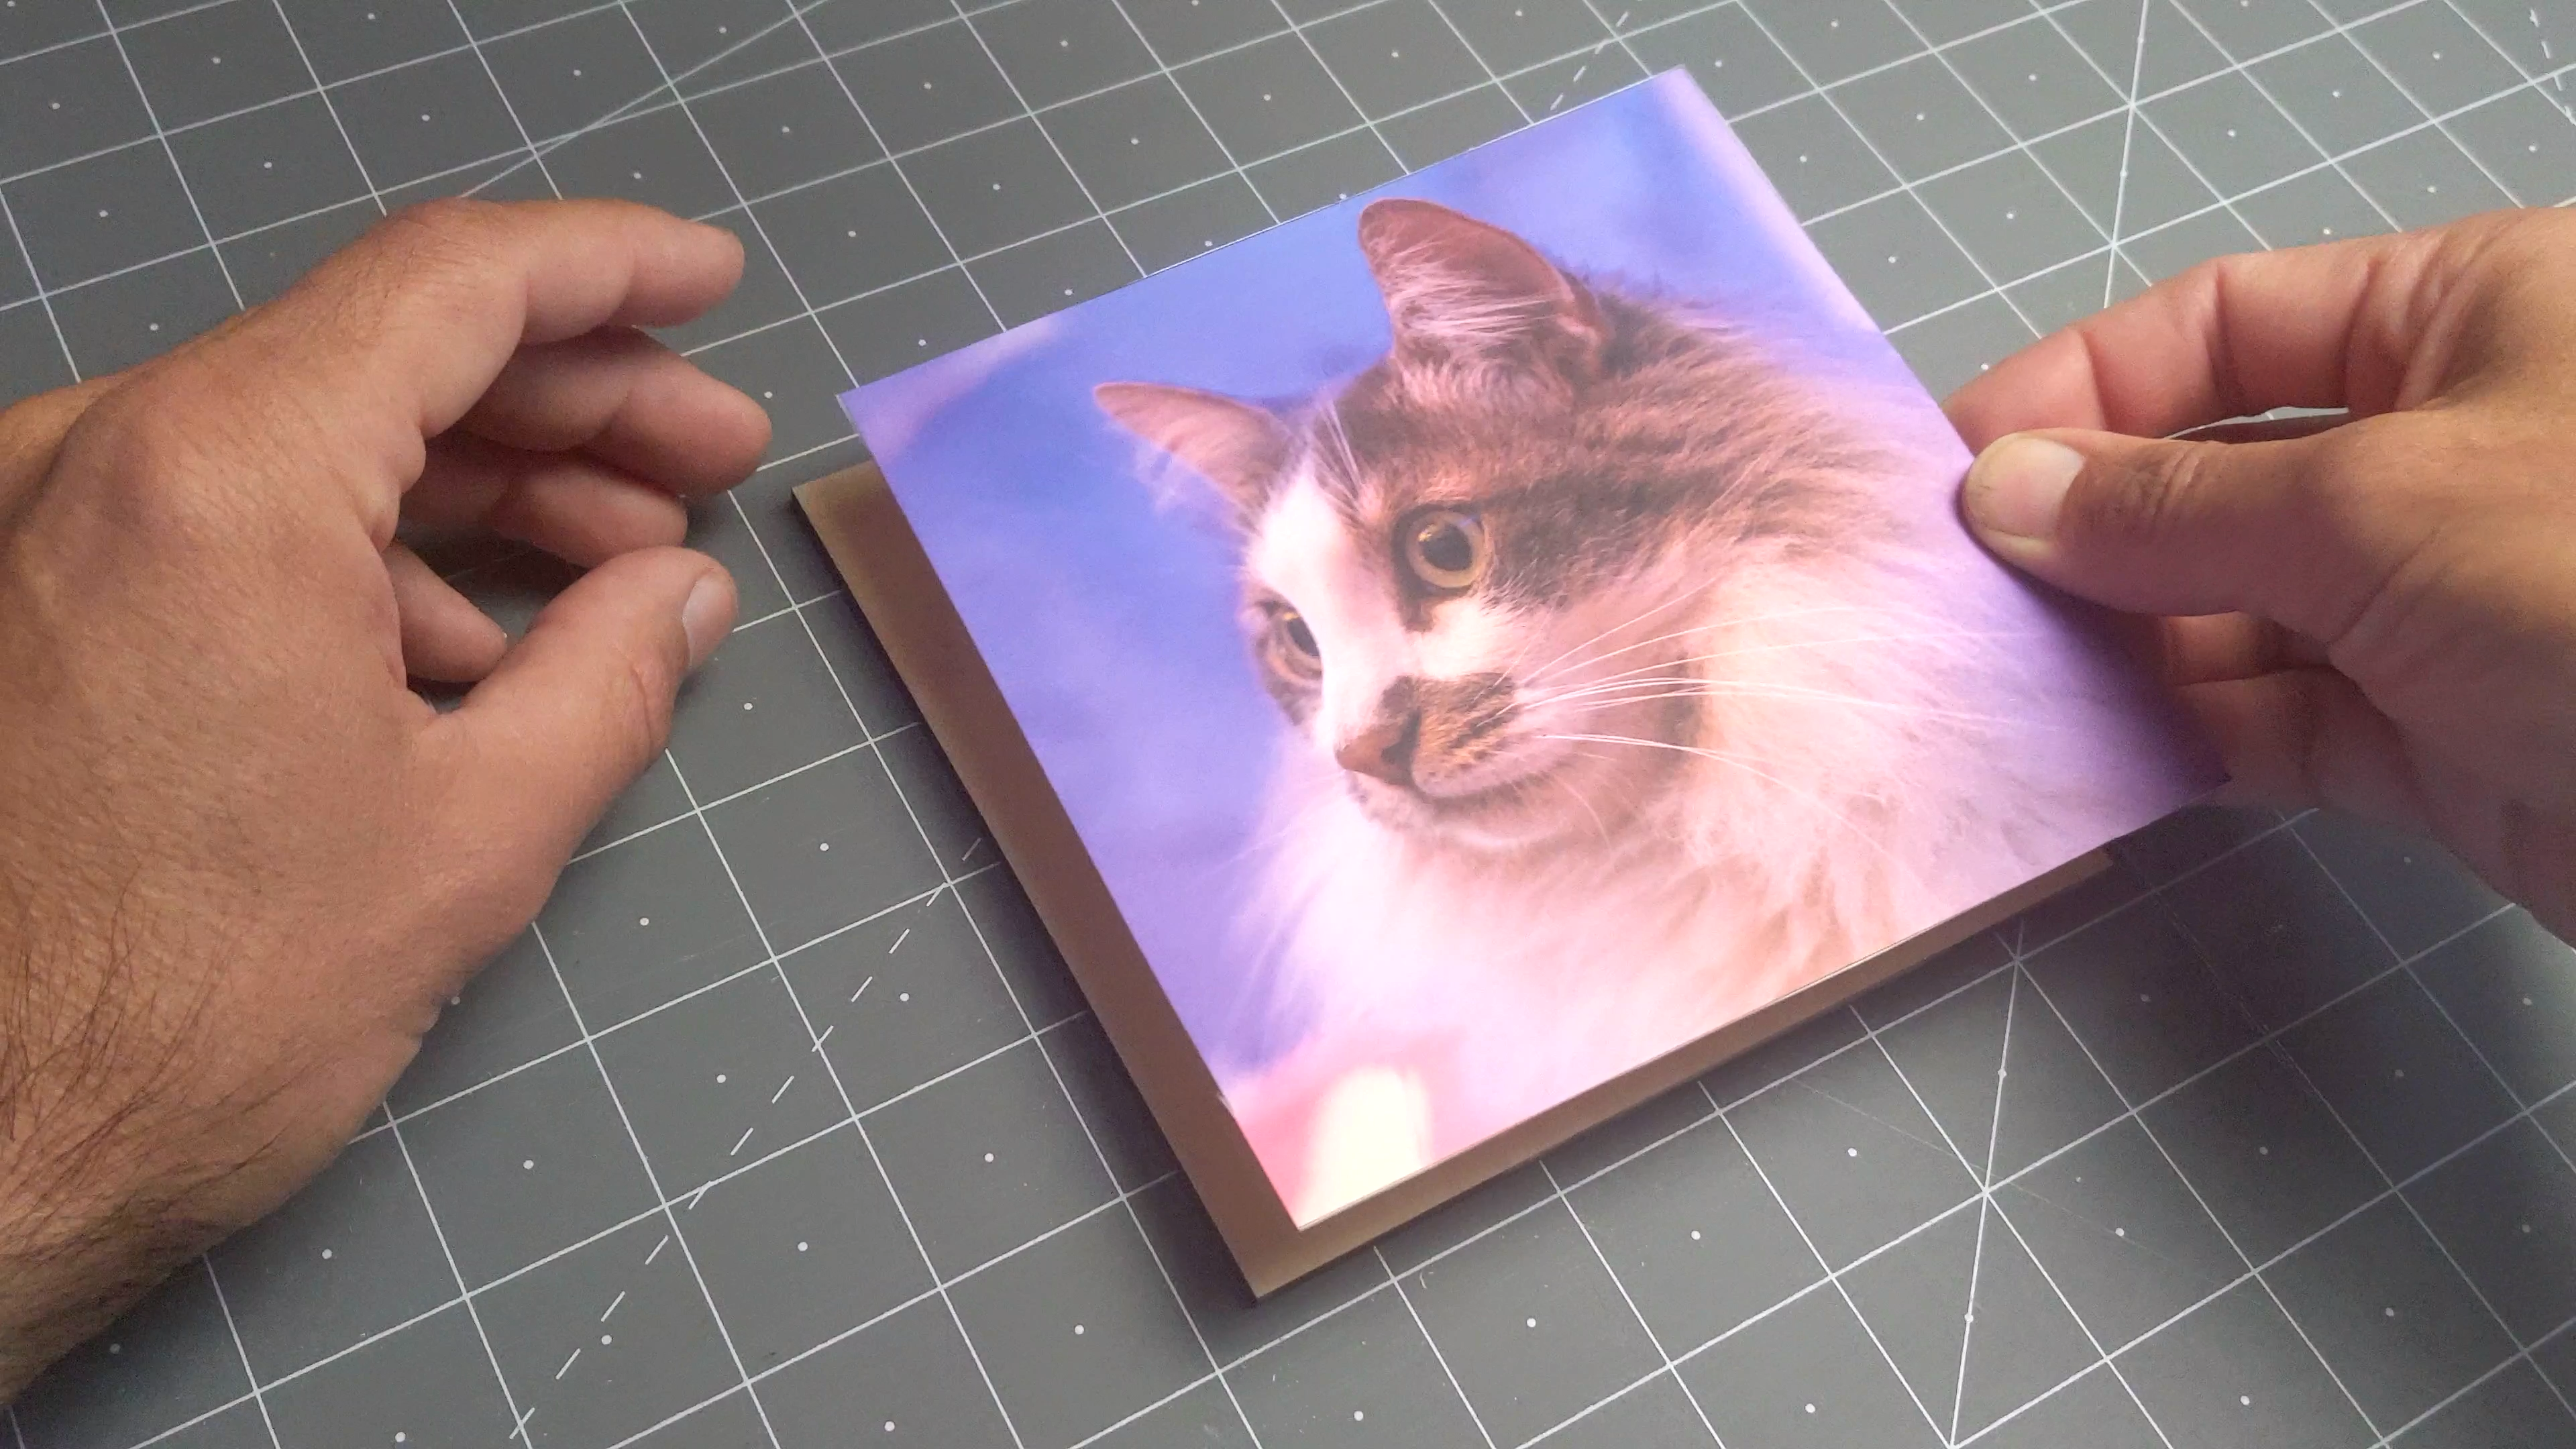
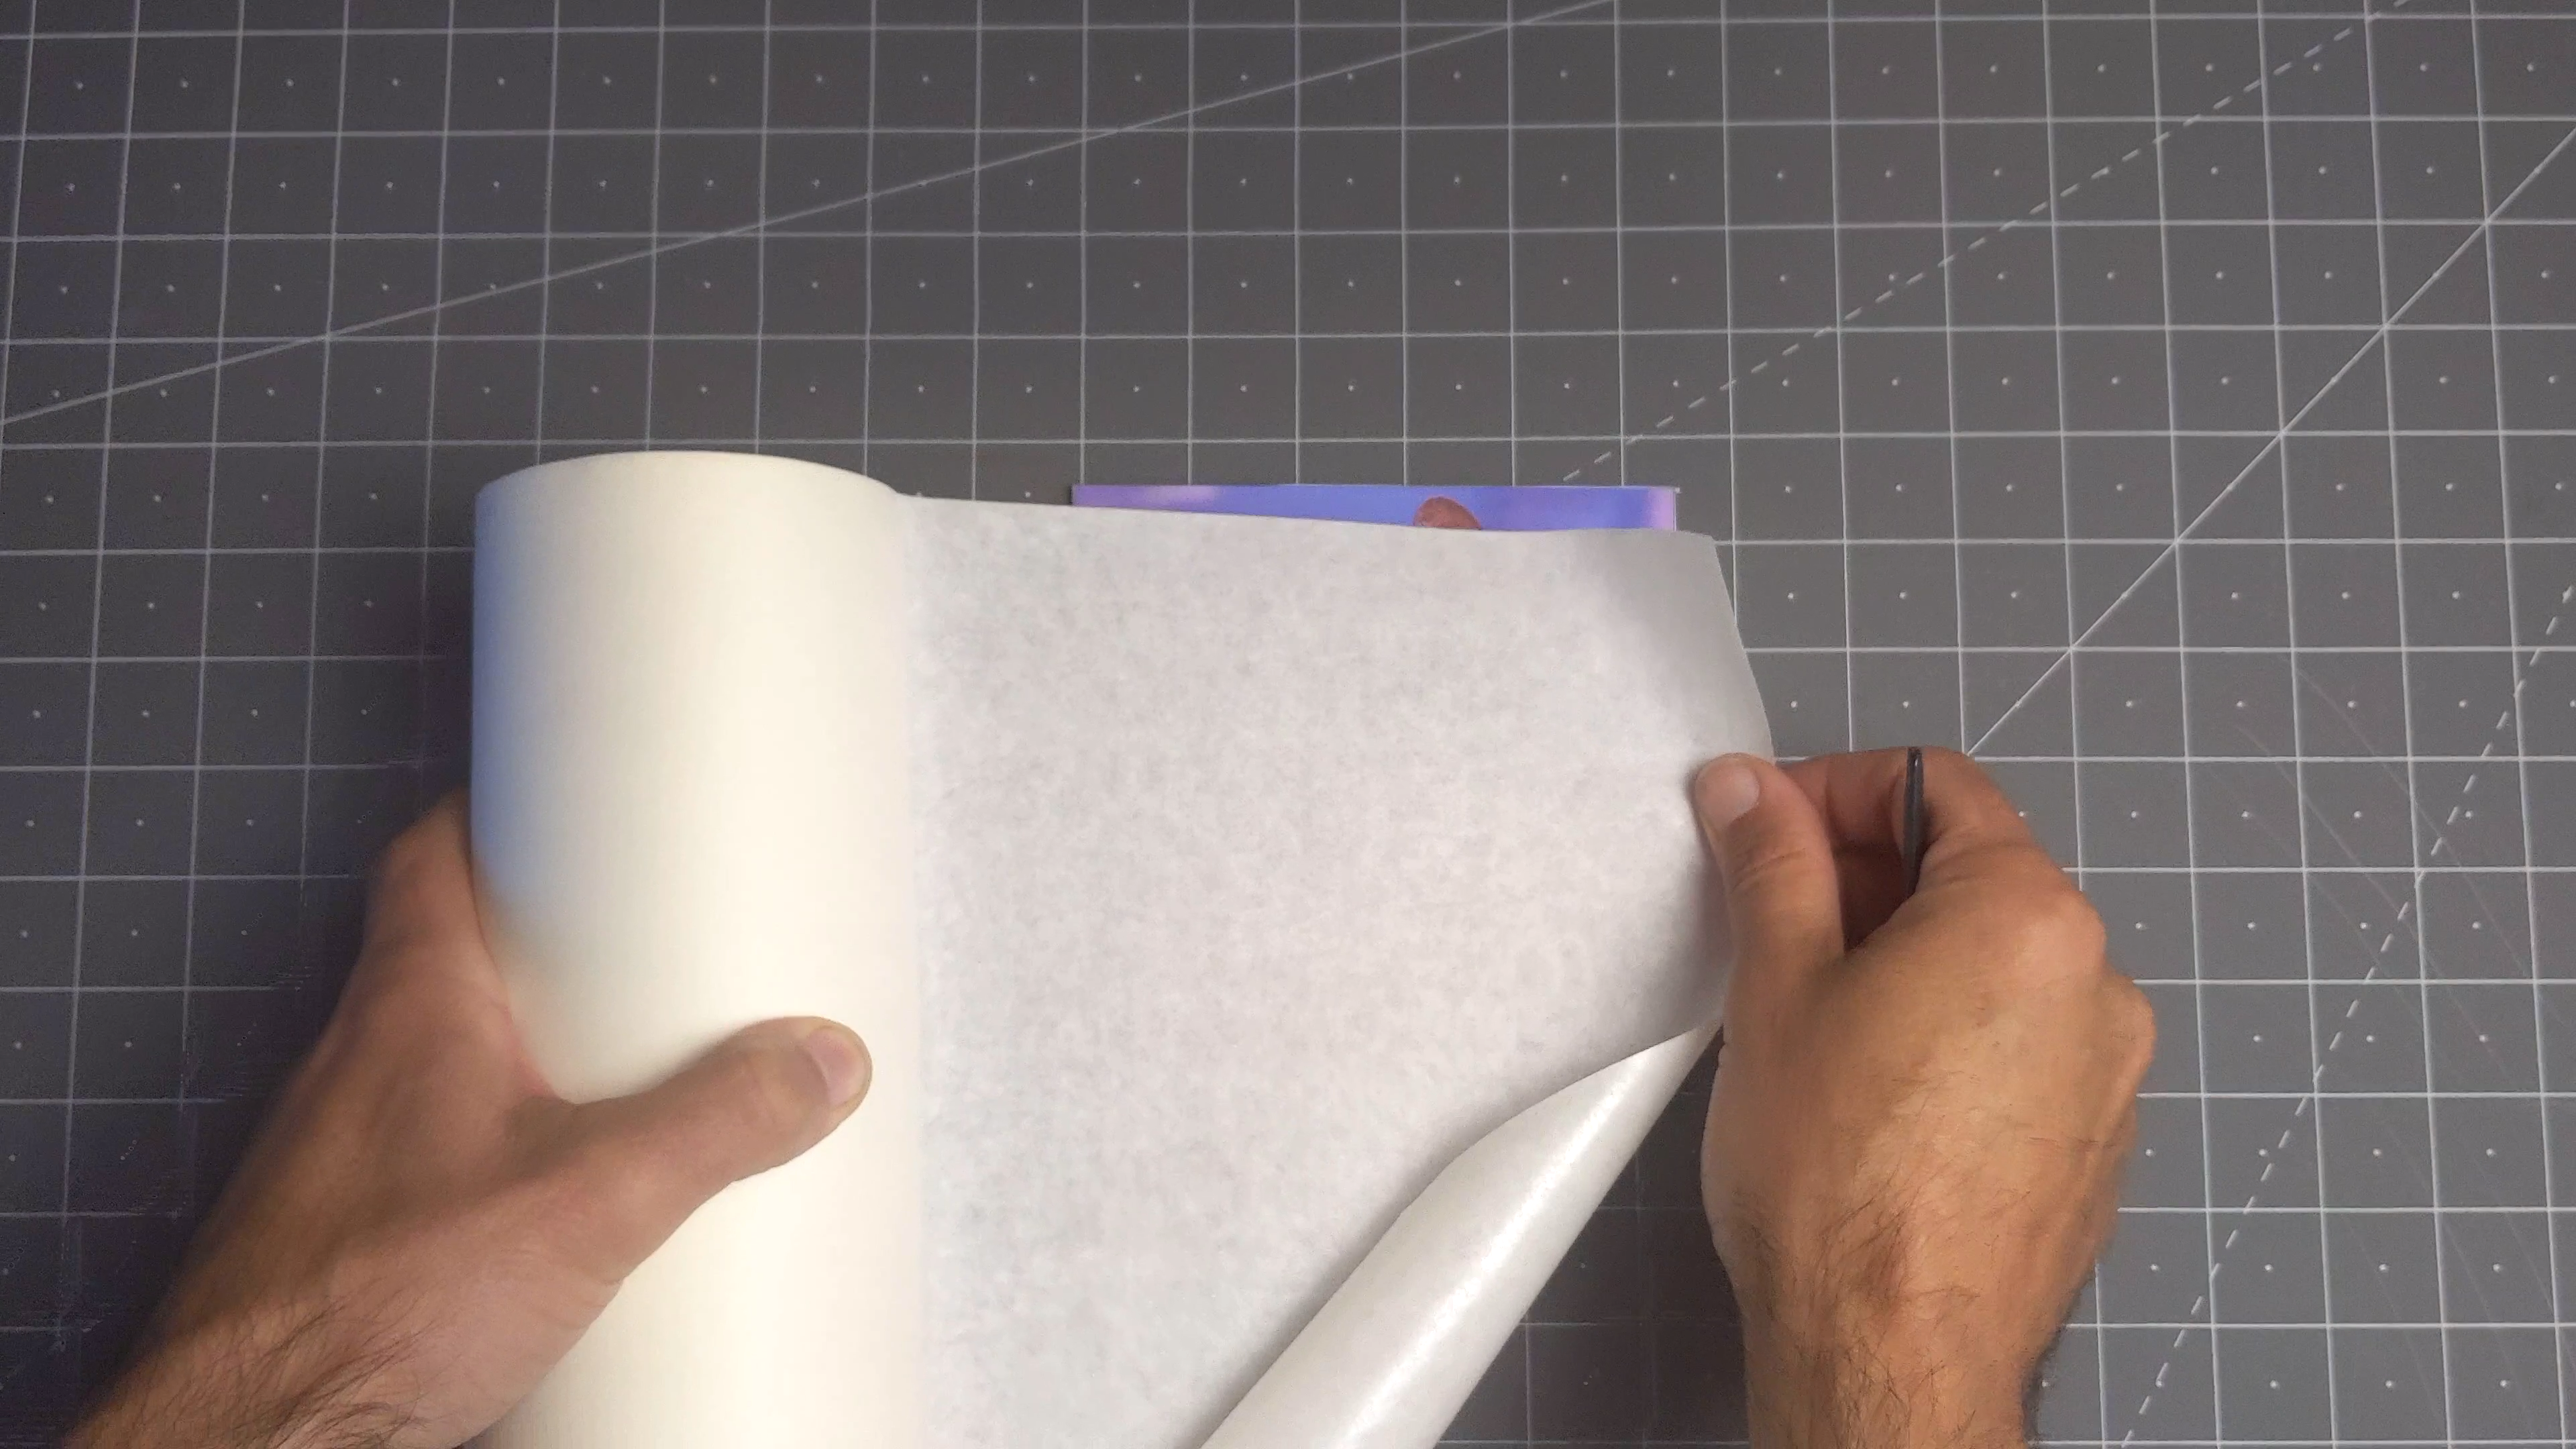
Take the blank out of the laser cutter and glue the picture on it.
If your plywood has a finish, it's a good idea to sand it lightly so the glue will stick to it. Follow the instructions for your particular glue.
If you are using 3M super 77 like in my case, make sure you apply it to the blank outdoors or in a well ventilated place and let it dry before placing the printed picture on it.
I think spray adhesive is convenient but not strictly necessary, you could also glue the paper to the wood with a gentler adhesive such as PVA glue if you apply a very thin coat and let it dry thoroughly before cutting.
After gluing the picture cover it with masking tape.
Final Puzzle Cut
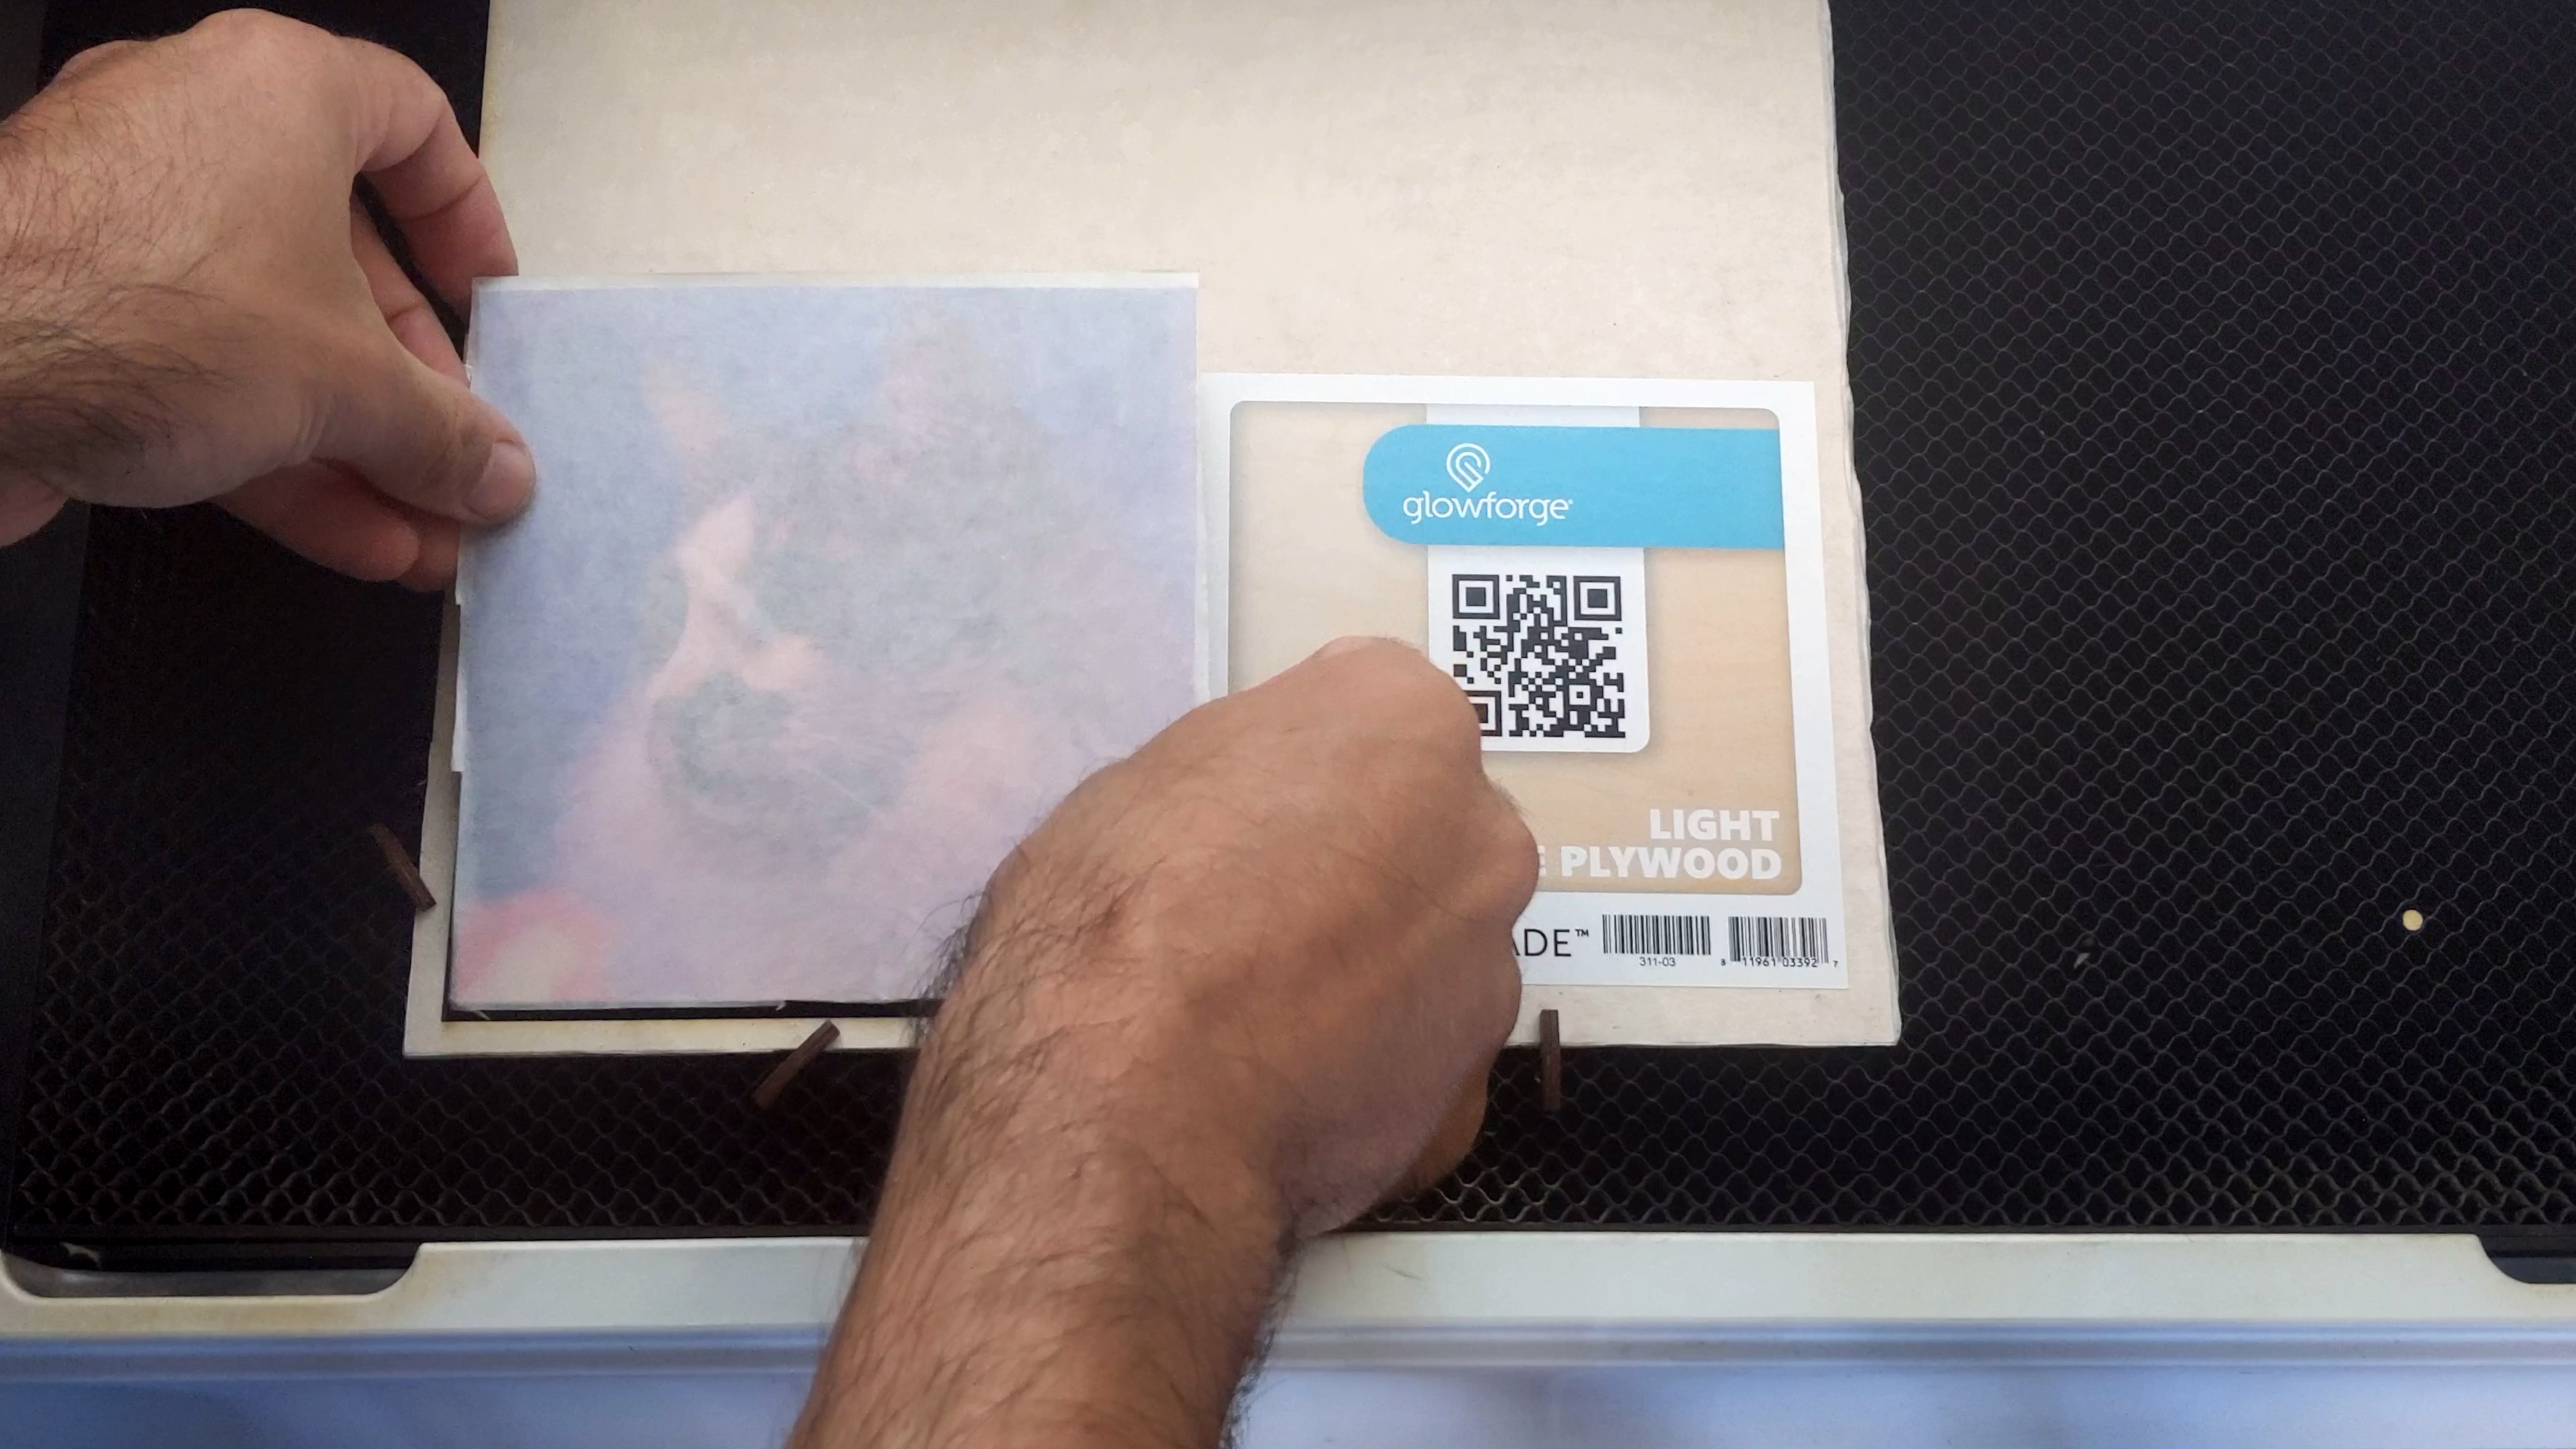
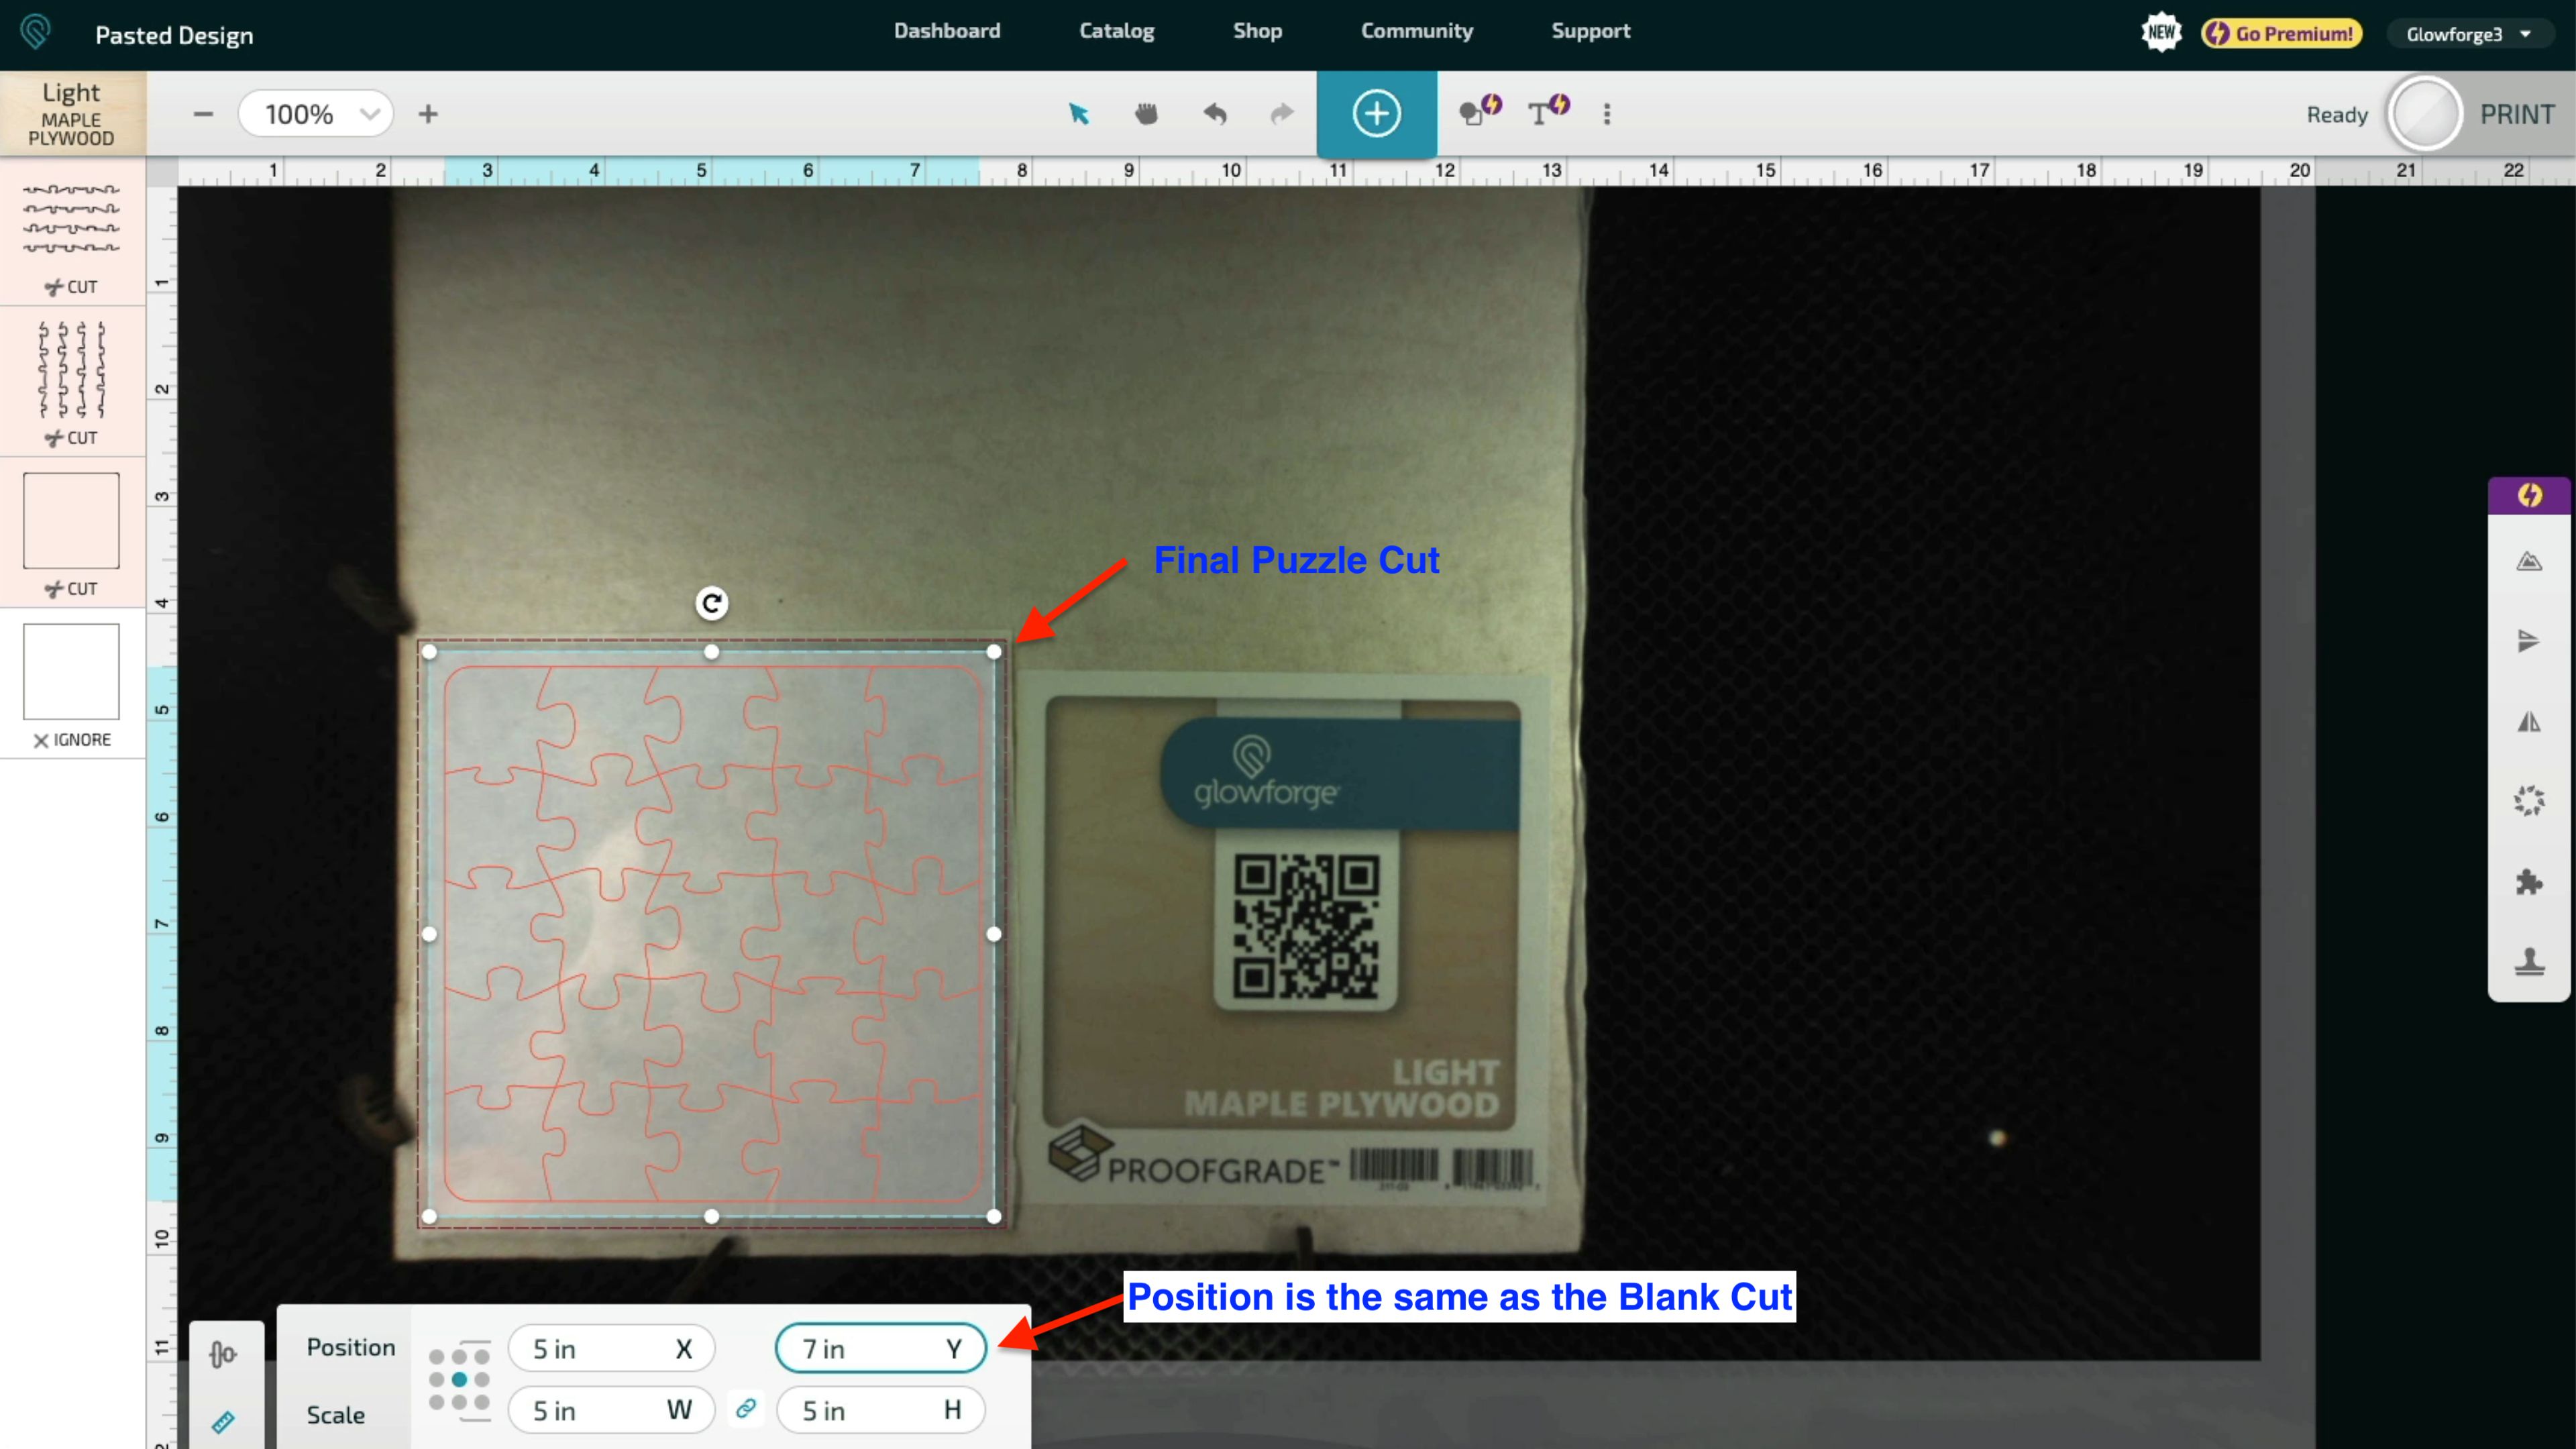
Place the prepared blank back on the laser cutter bed, then upload the final Jigsaw Puzzle Cut SVG.
Note how I used the same position as when cutting the Blank.
Finishing Touches
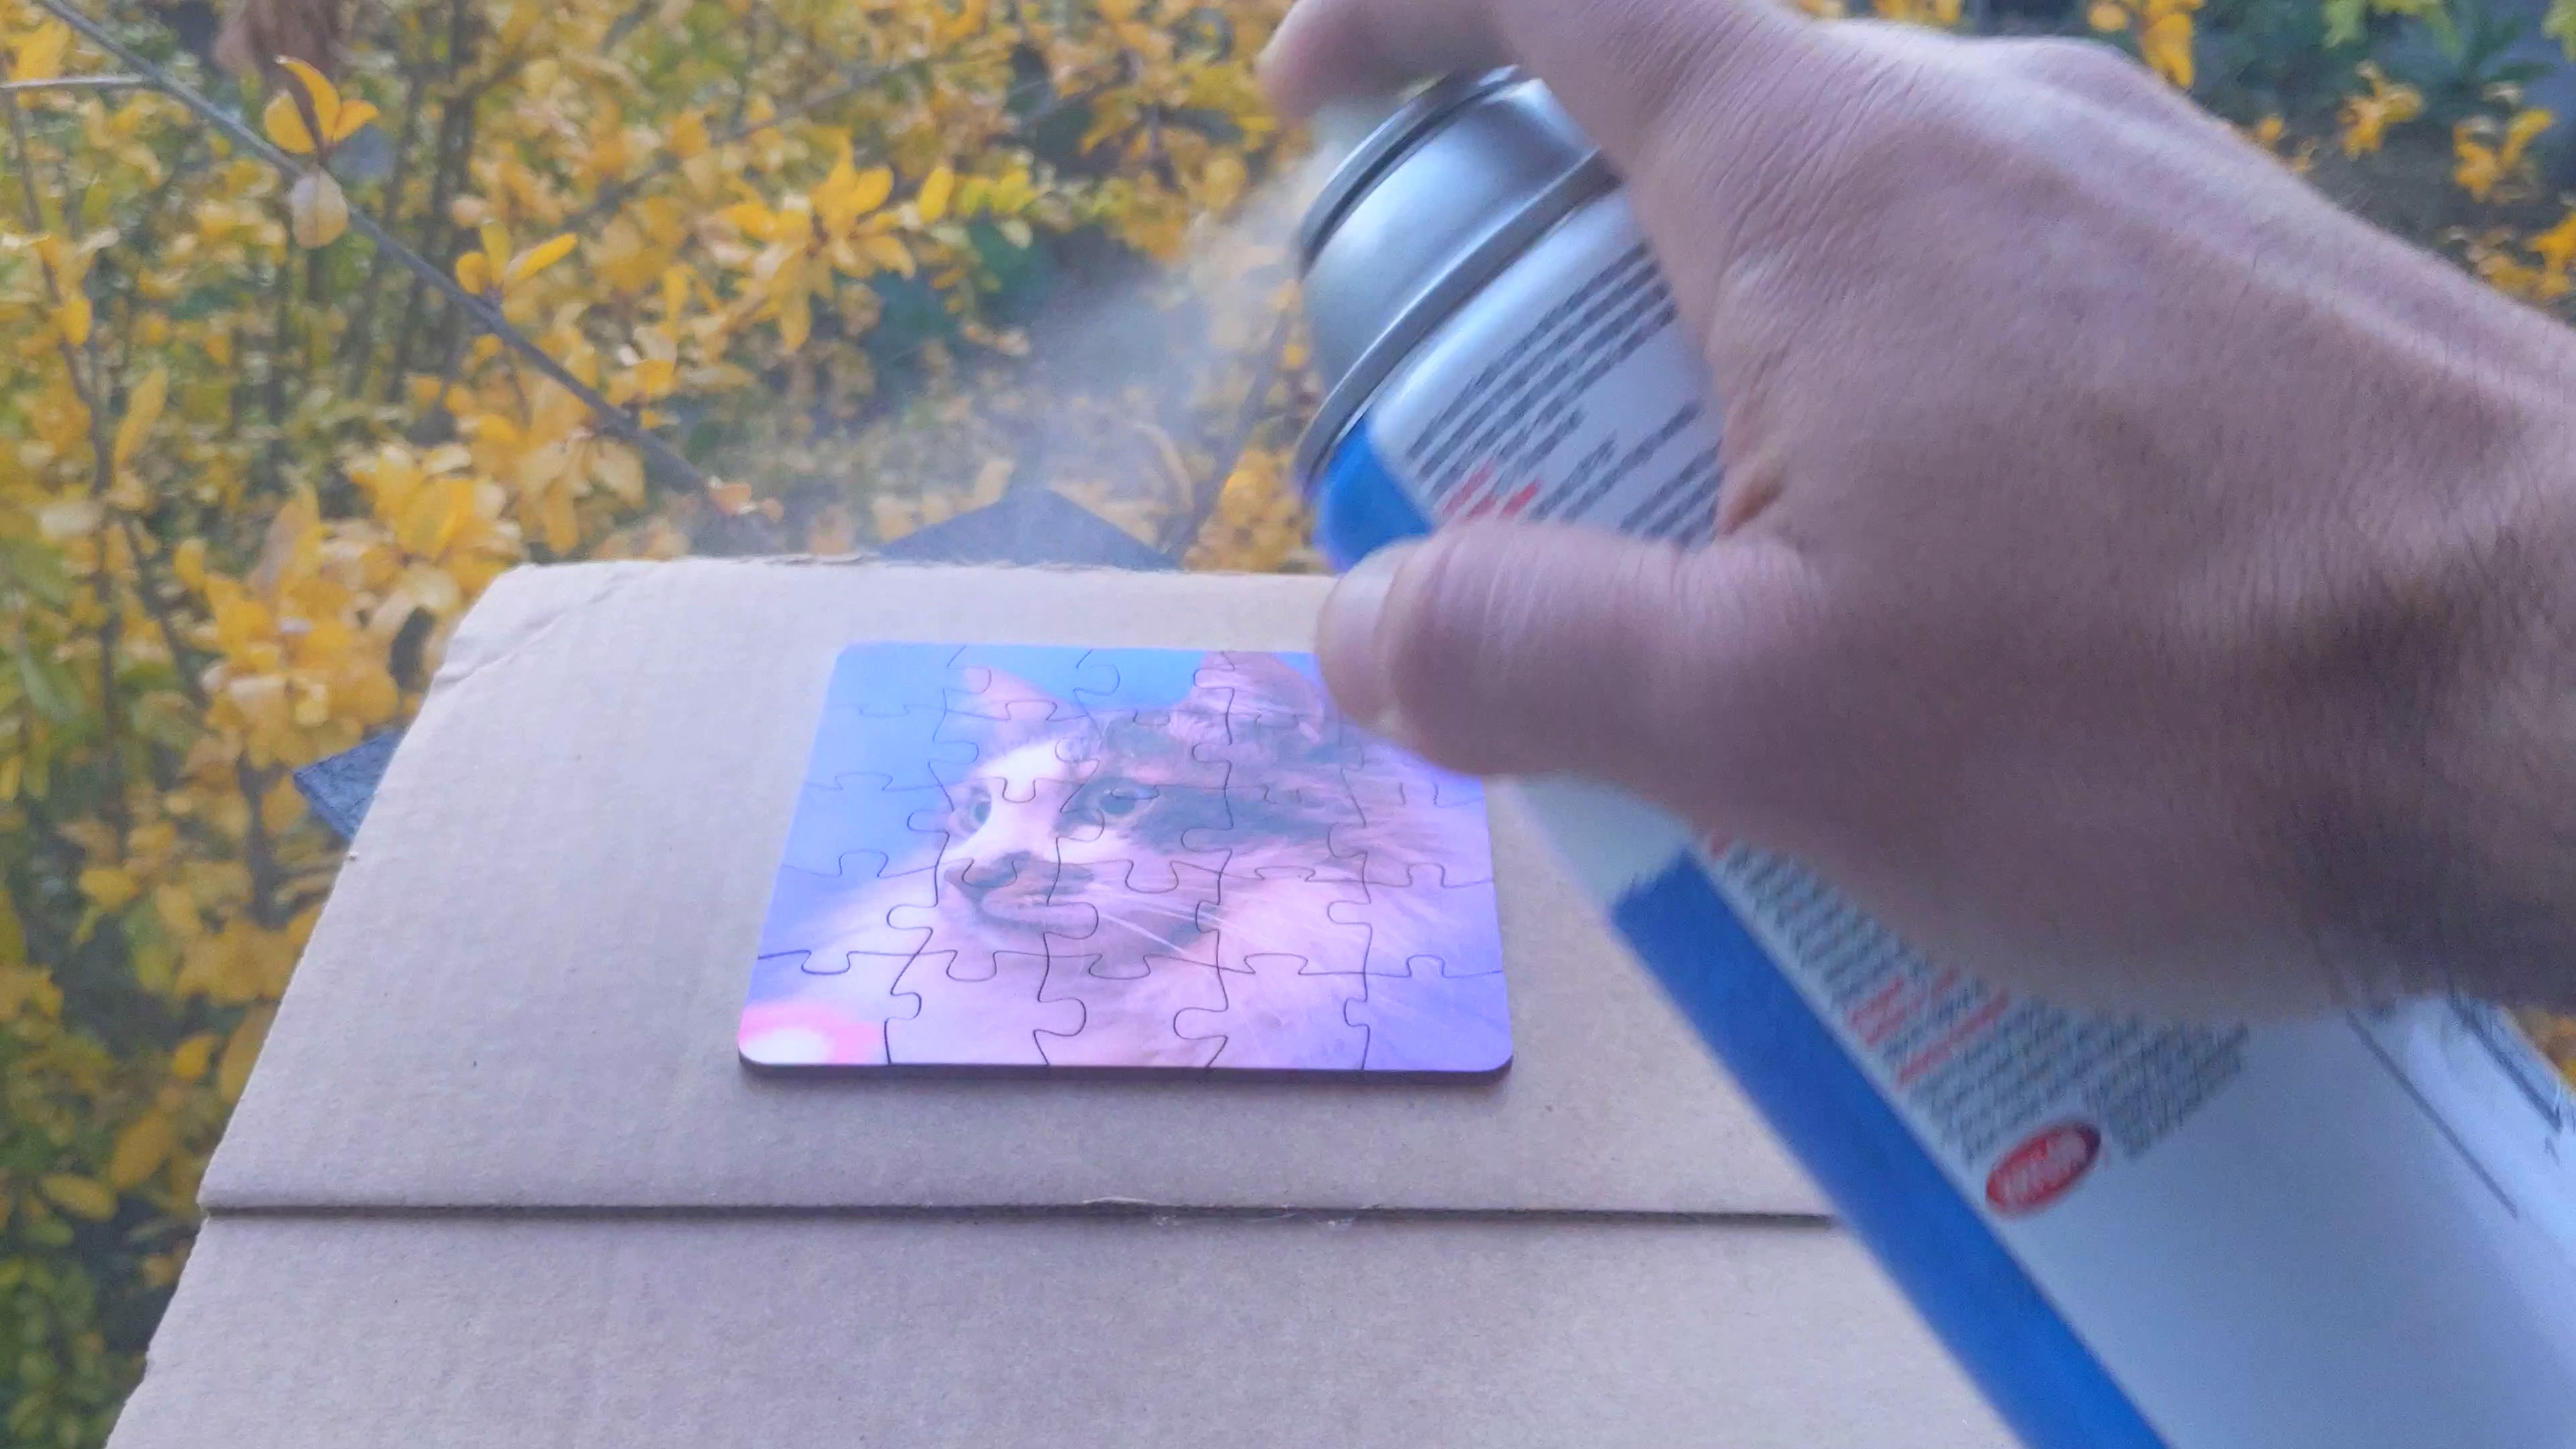
Finish your puzzle by patiently removing all the masking tape. I'll confess that this is probably the most tedious part of this process 😅
An optional step is to apply a final clear coat to the puzzle to make it more durable.
I hope this inspires you to make some custom puzzles, I think they can make great gifts.
Please let me know if you have any suggestions or tips for others making this project, and thank you for checking it out!