Laser Cut IPhone Charging Stand + Desk Organizer
by SpeedySloth in Living > Organizing
826 Views, 7 Favorites, 0 Comments
Laser Cut IPhone Charging Stand + Desk Organizer


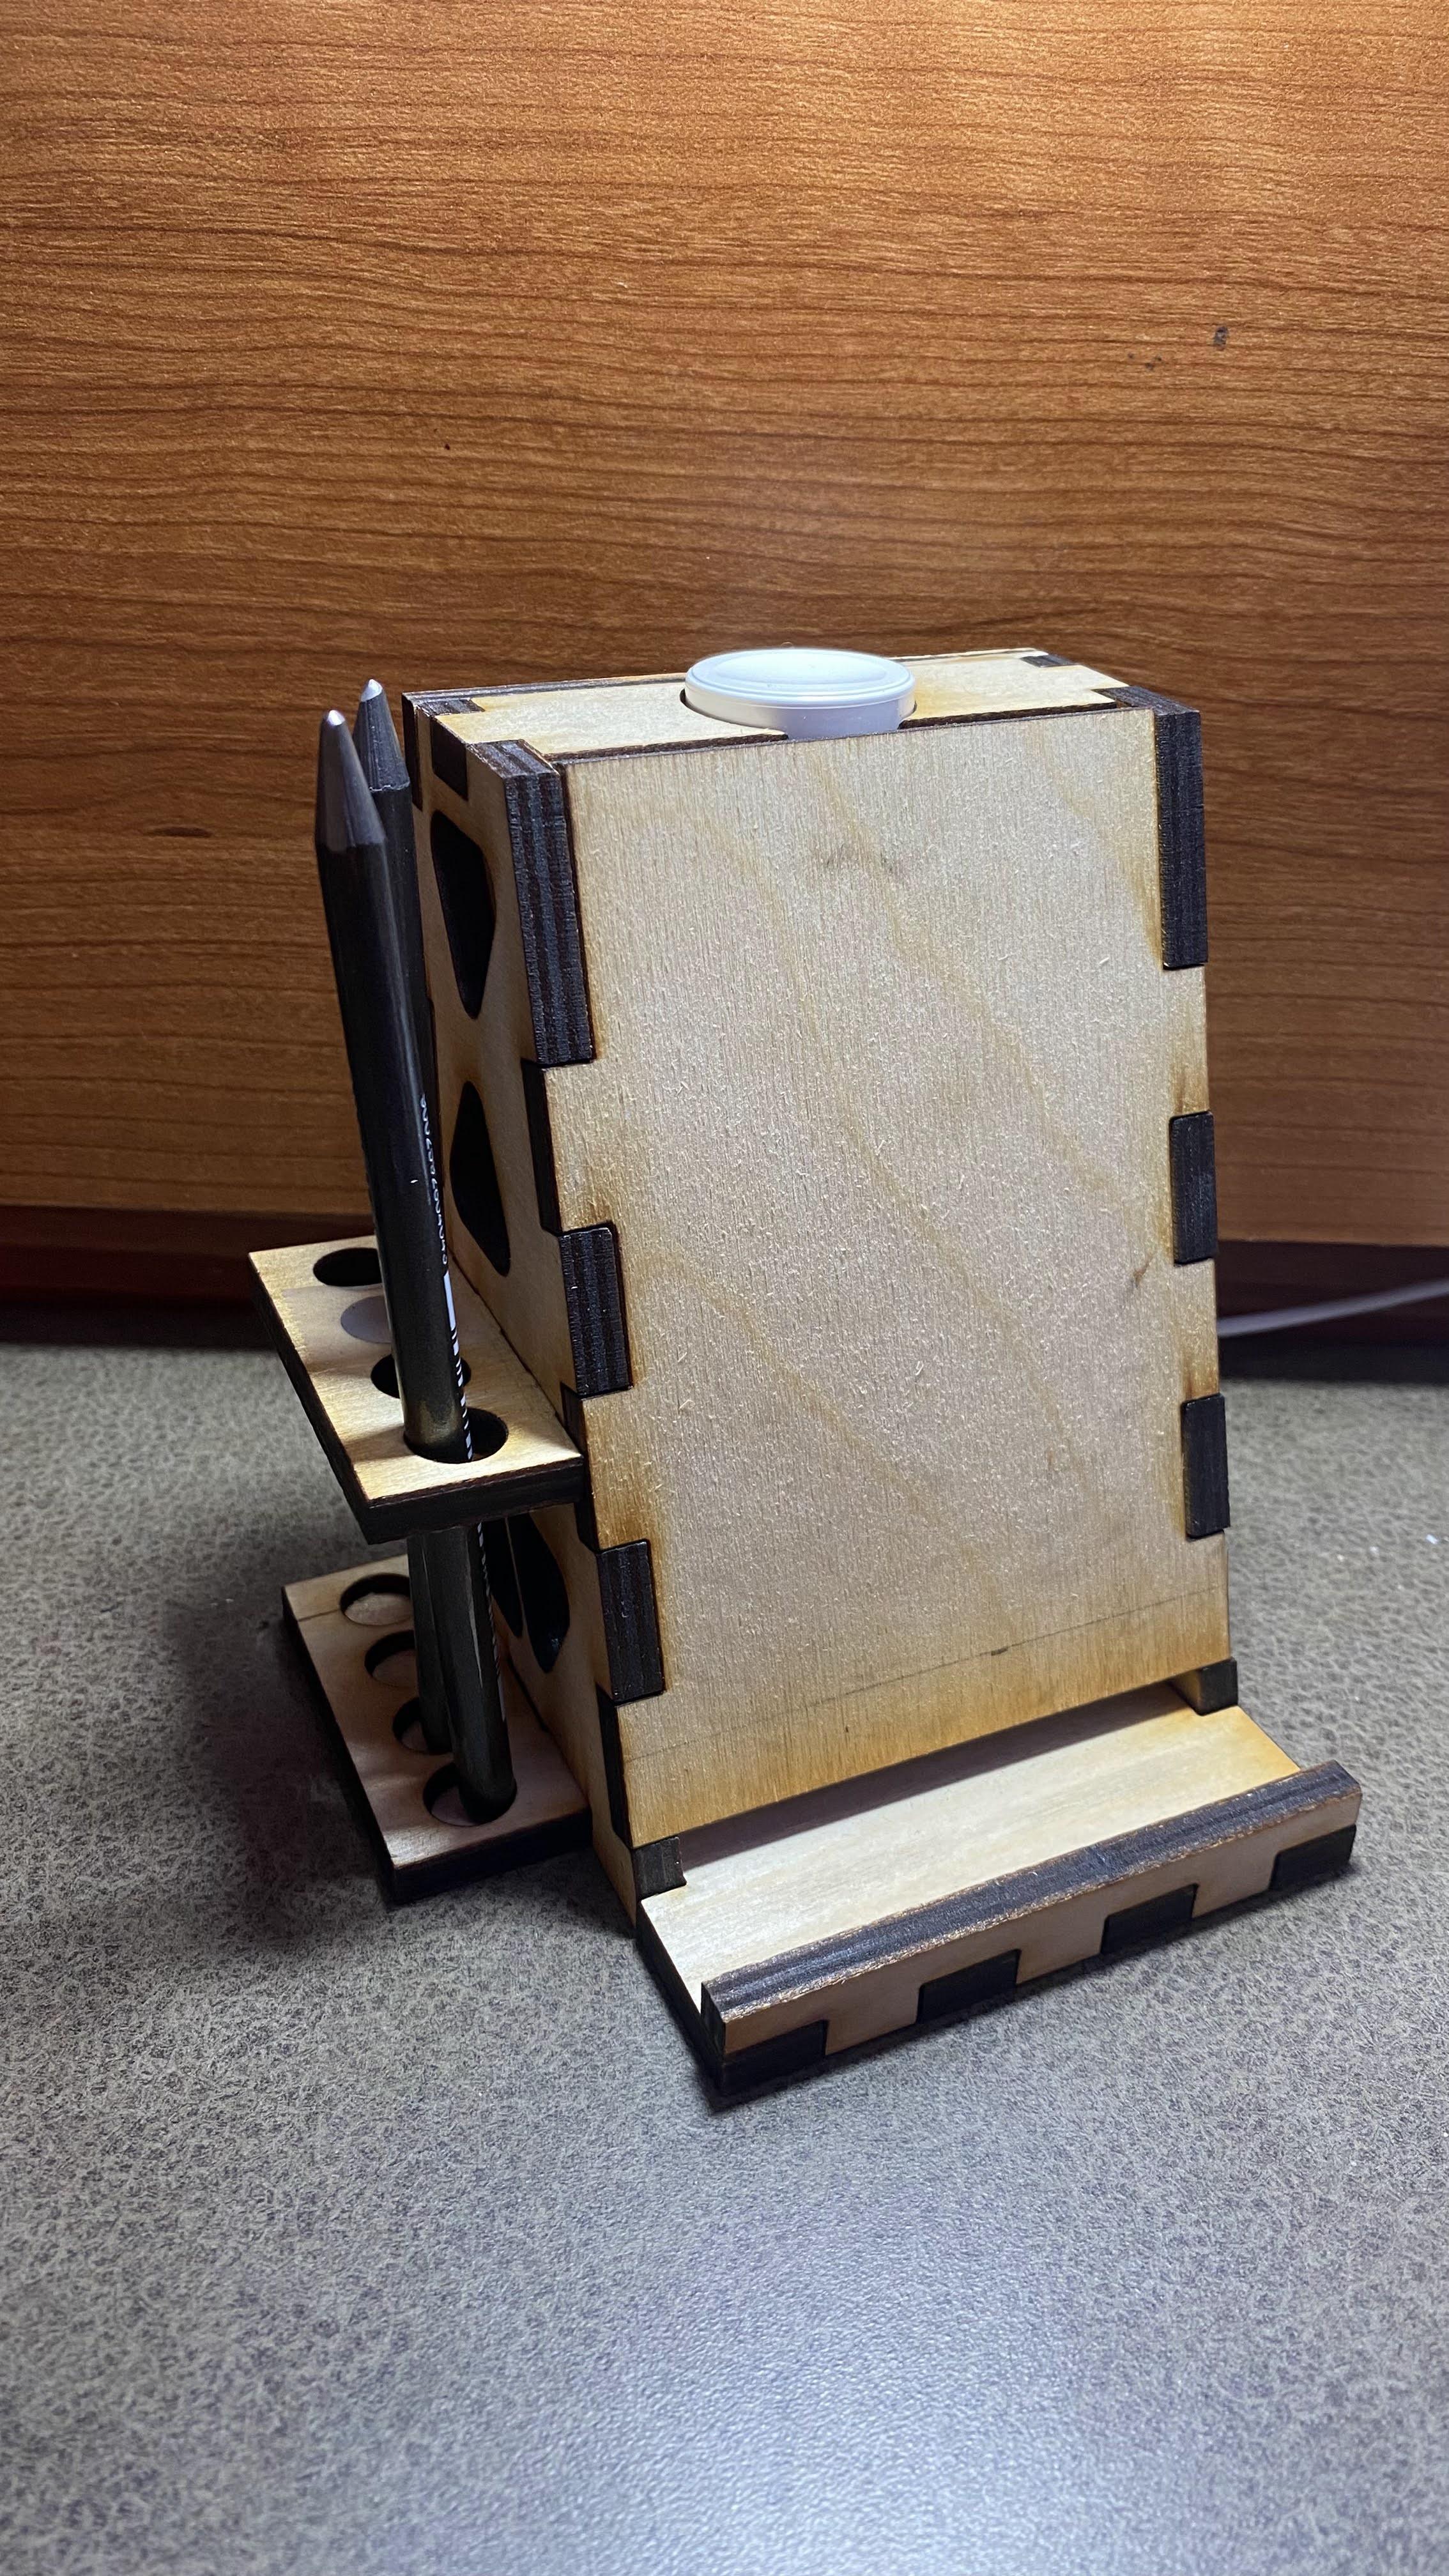
I am a first year student currently enrolled at ASU. I designed this phone stand to put my phone on when I'm calling my friends while in my dorm room. I designed it with a slight backward angle so it points up for an optimal camera angle as well as designed it to be thick enough so the phone doesn't fall over.
Supplies
Software
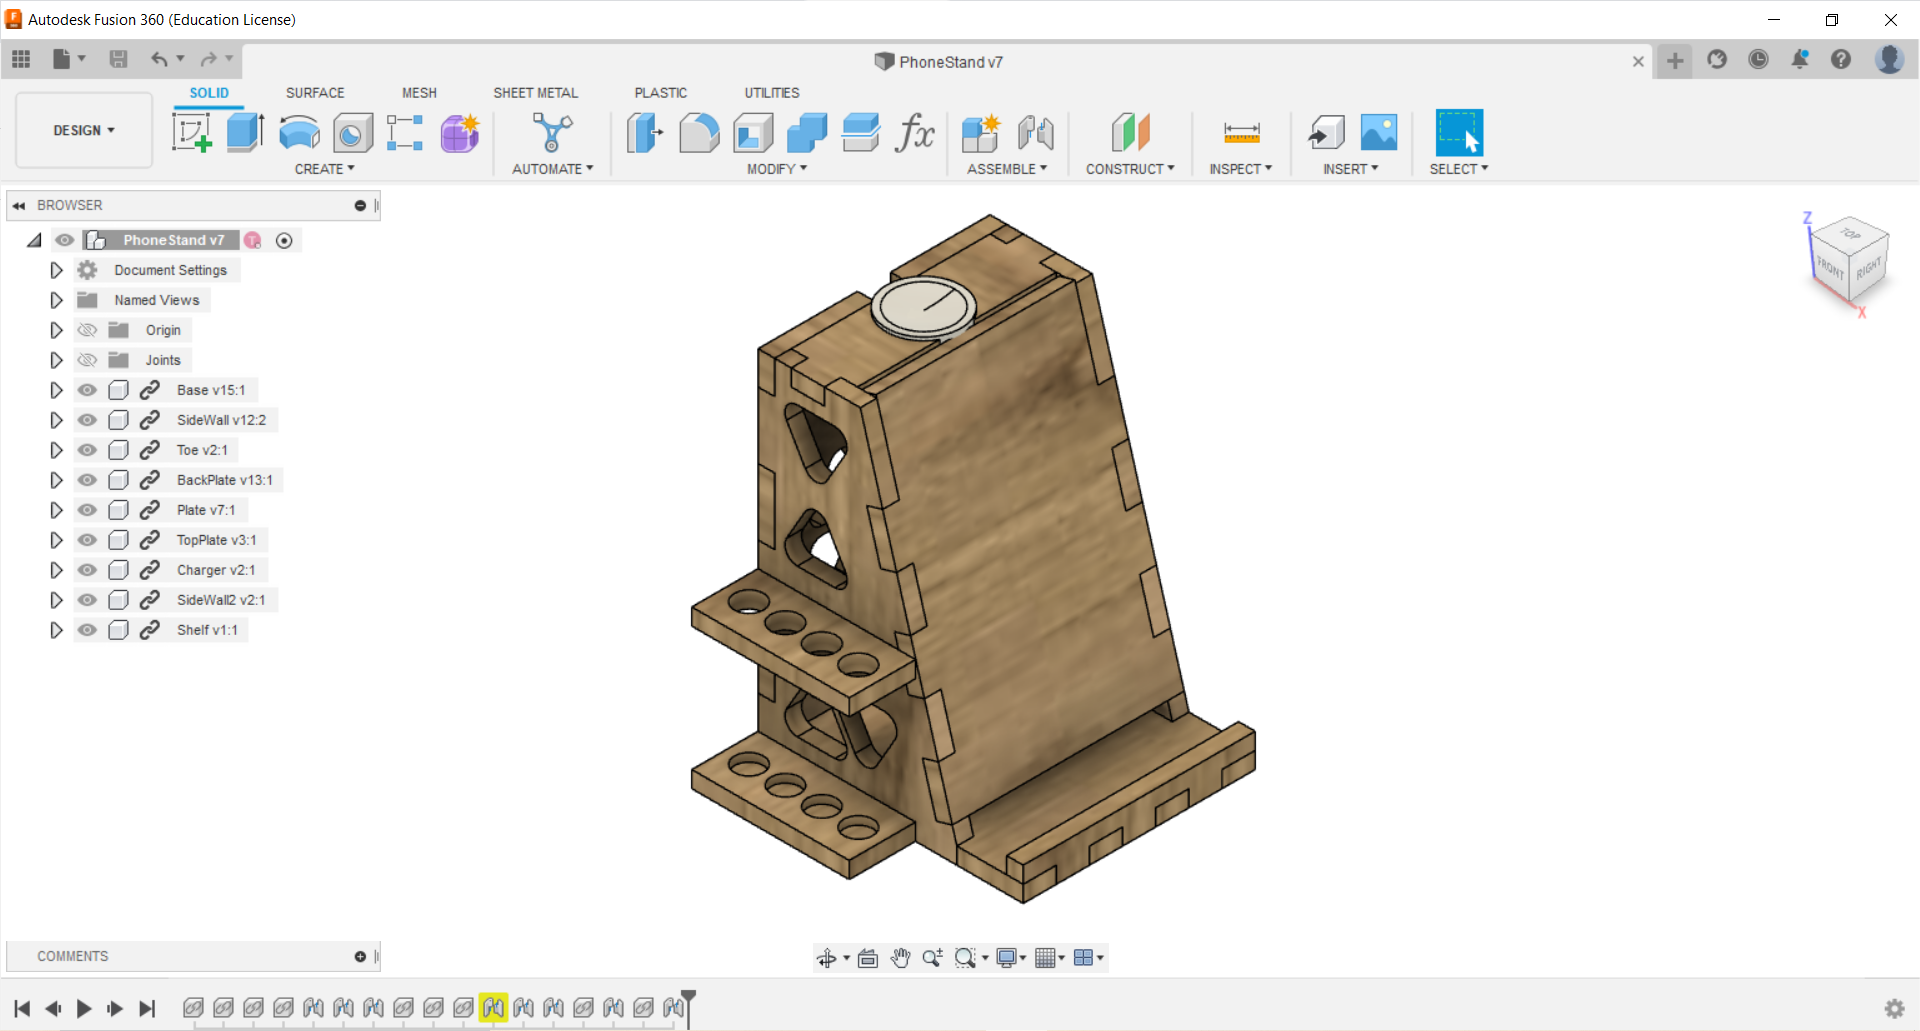
Autodesk Fusion 360 - I used Fusion 360 to design the dice and make sure all the pieces would fit together the way I wanted
Autodesk AutoCAD - I used AutoCAD to turn the Fusion 360 drawings into vector files that could be laser cut
Material
Laser Cutter
1/4 in Plywood
Superglue
Creating a Rough Design

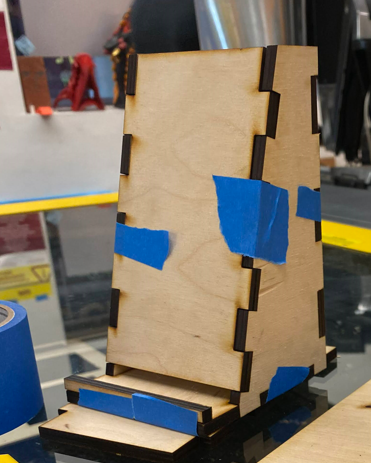
I know it looks bad but every final product comes from a simple sketch.
I started by creating a rough model in Fusion 360 of the phone stand by extruding a sketch in the shape that I wanted the design to be in. When I was happy with this design I was able to then create the 2D components that would be put together in order to create this more complex 3D shape out of laser cut wood. This is the most challenging part of this project because it requires you to think of different solutions that you could use to create these complex shapes out of only flat pieces.
Cut Your Prototype

This first design should be created to make sure you are happy with all the dimensions that you input into Fusion 360 and that it actually accomplished what you want it to do. When you are happy with the prototype you can move onto the redesign phase where you make it look cool.
Redesign


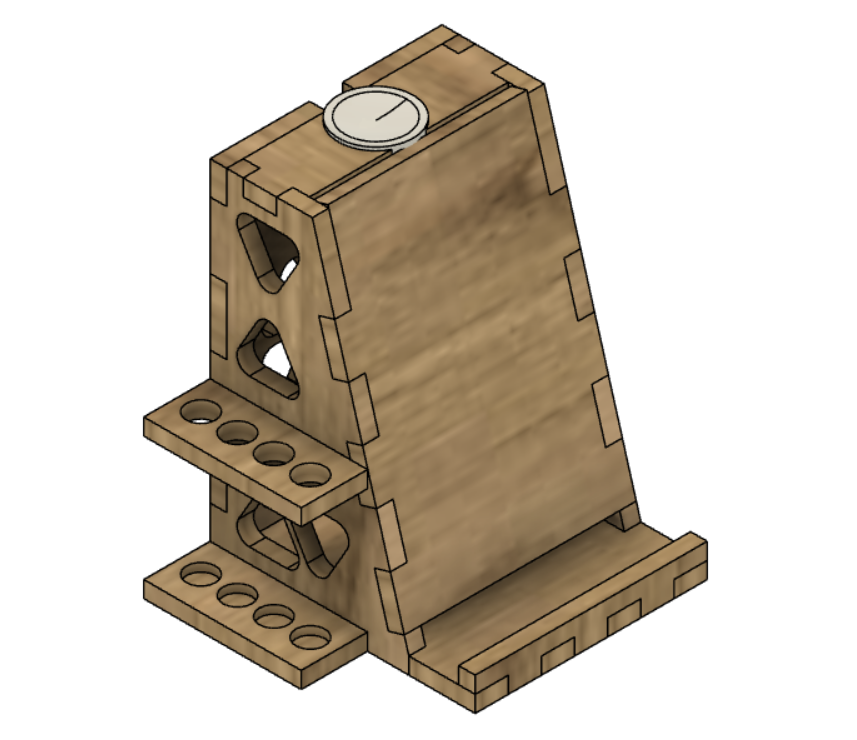
This was the second model I created of this phone stand. The first one I started with was just a box with the shape I wanted. When I was happy with the basic shape, I cut in the indentations due to the echoing and resonating whenever my phone would vibrate.I added these holes to try to prevent the vibrations and it works really well. However, it could be glued together tighter so it doesn't vibrate as much. I also added some pencil holders on the side during this second design because I need a place to hold my pencils for class.
Create Your Final Piece


This process is pretty simple where you just cut out your next components and assemble them together and hope that you didn't change enough to where the no longer fit together as intended.
Adding Electronics

I added chargers into the final design to help keep my devices at full power all day. I put the apple watch charger on top so I can charge my watch on my phone stand throughout the day. I also put an inductive charger break out board behind the plate where I put my phone so that I can charge my phone while on call. I can charge both my watch and my phone on this stand so it turned into my everyday charging station where my phone can charge even when I am using it.