Laser Cut Grinch Christmas Ornament
by AwesomeWood in Workshop > Laser Cutting
5377 Views, 45 Favorites, 0 Comments
Laser Cut Grinch Christmas Ornament
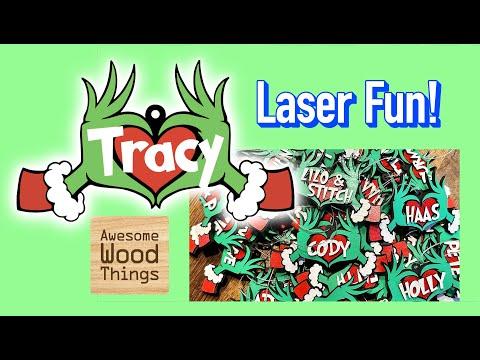
These personalized Grinch Christmas ornaments will warm the hearts of anyone who receives them. Their hearts may even just grow three sizes... figuratively, of course. Haha
Supplies
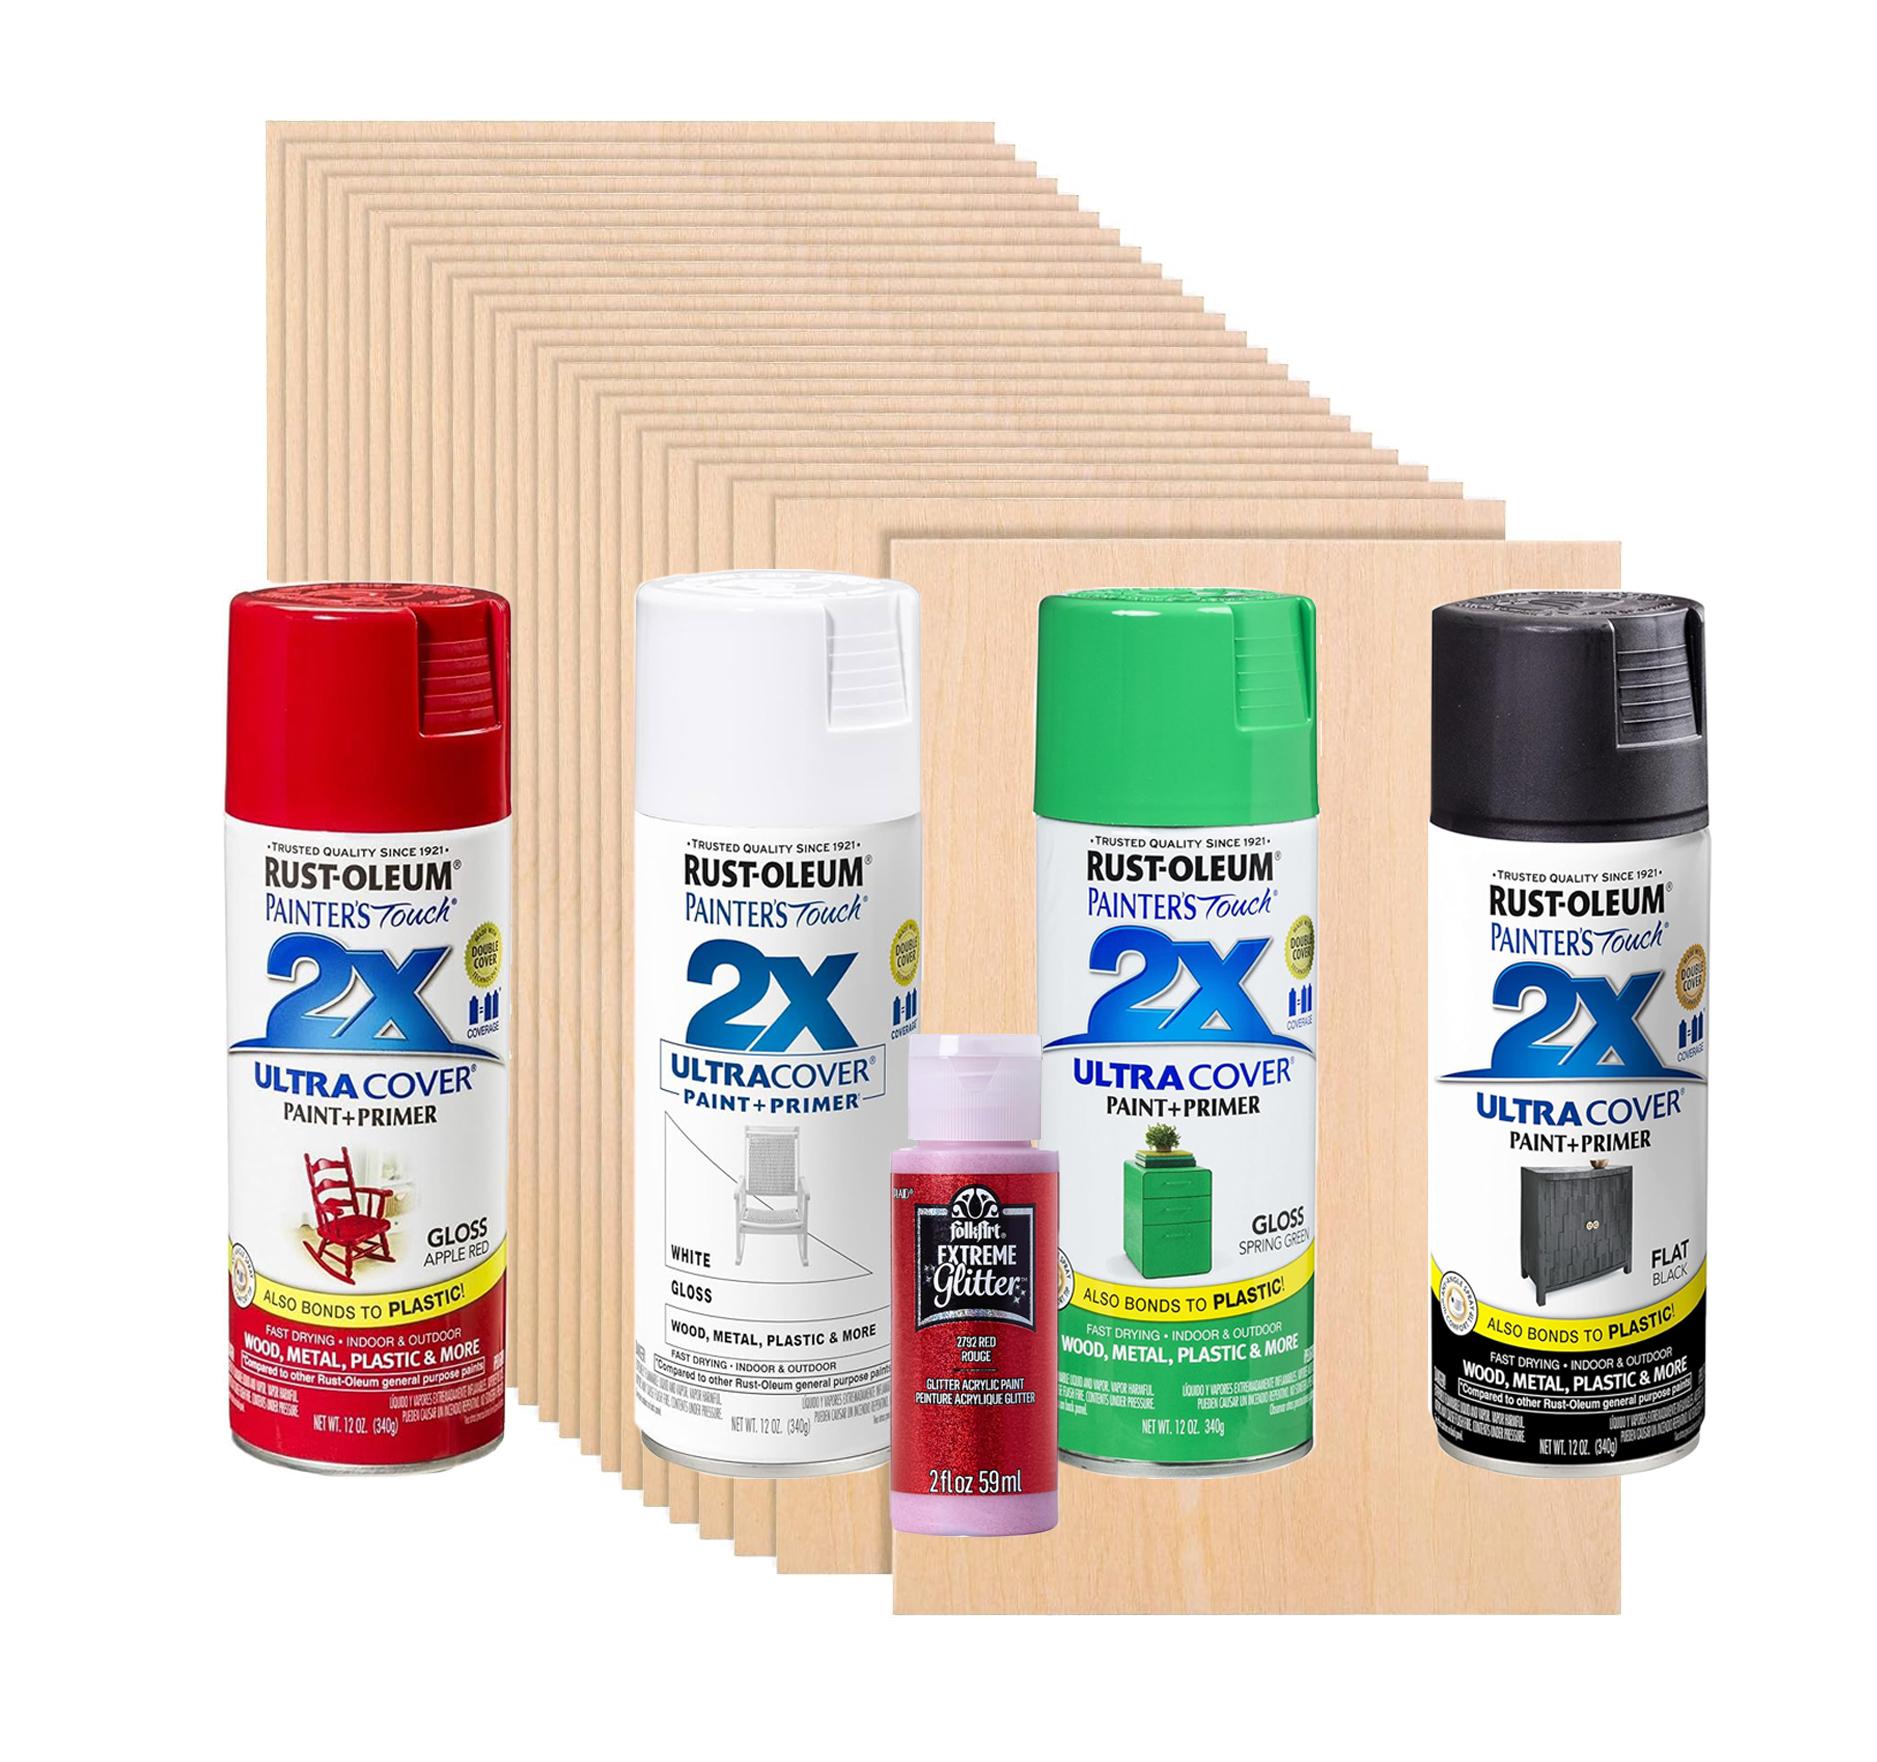
Spray-paint (Rustoleum Painter's-Touch):
- Spring Green https://amzn.to/3sy1ybV (gloss)
- Apple Red https://amzn.to/3u9kRZr (gloss)
- White [no link... sorry] (gloss)
- Black https://amzn.to/3MDTOvM (flat)
Glitter Acrylic Paint (2oz) https://amzn.to/47vWVOg
Double-Sided Tape Sheets 8.3x11.7 https://amzn.to/3FW2VnK
Wood Sheets, 8" x 12" 1/16 thick https://amzn.to/3ueByTp
Ornament String Hangers https://amzn.to/49rvNlv
Grinched 2.0 Font https://www.1001fonts.com/grinched-2-0-font.html
Paint Brushes https://amzn.to/40xAx51
All links are affiliate links... thank you for your support!
Download the Cut Files
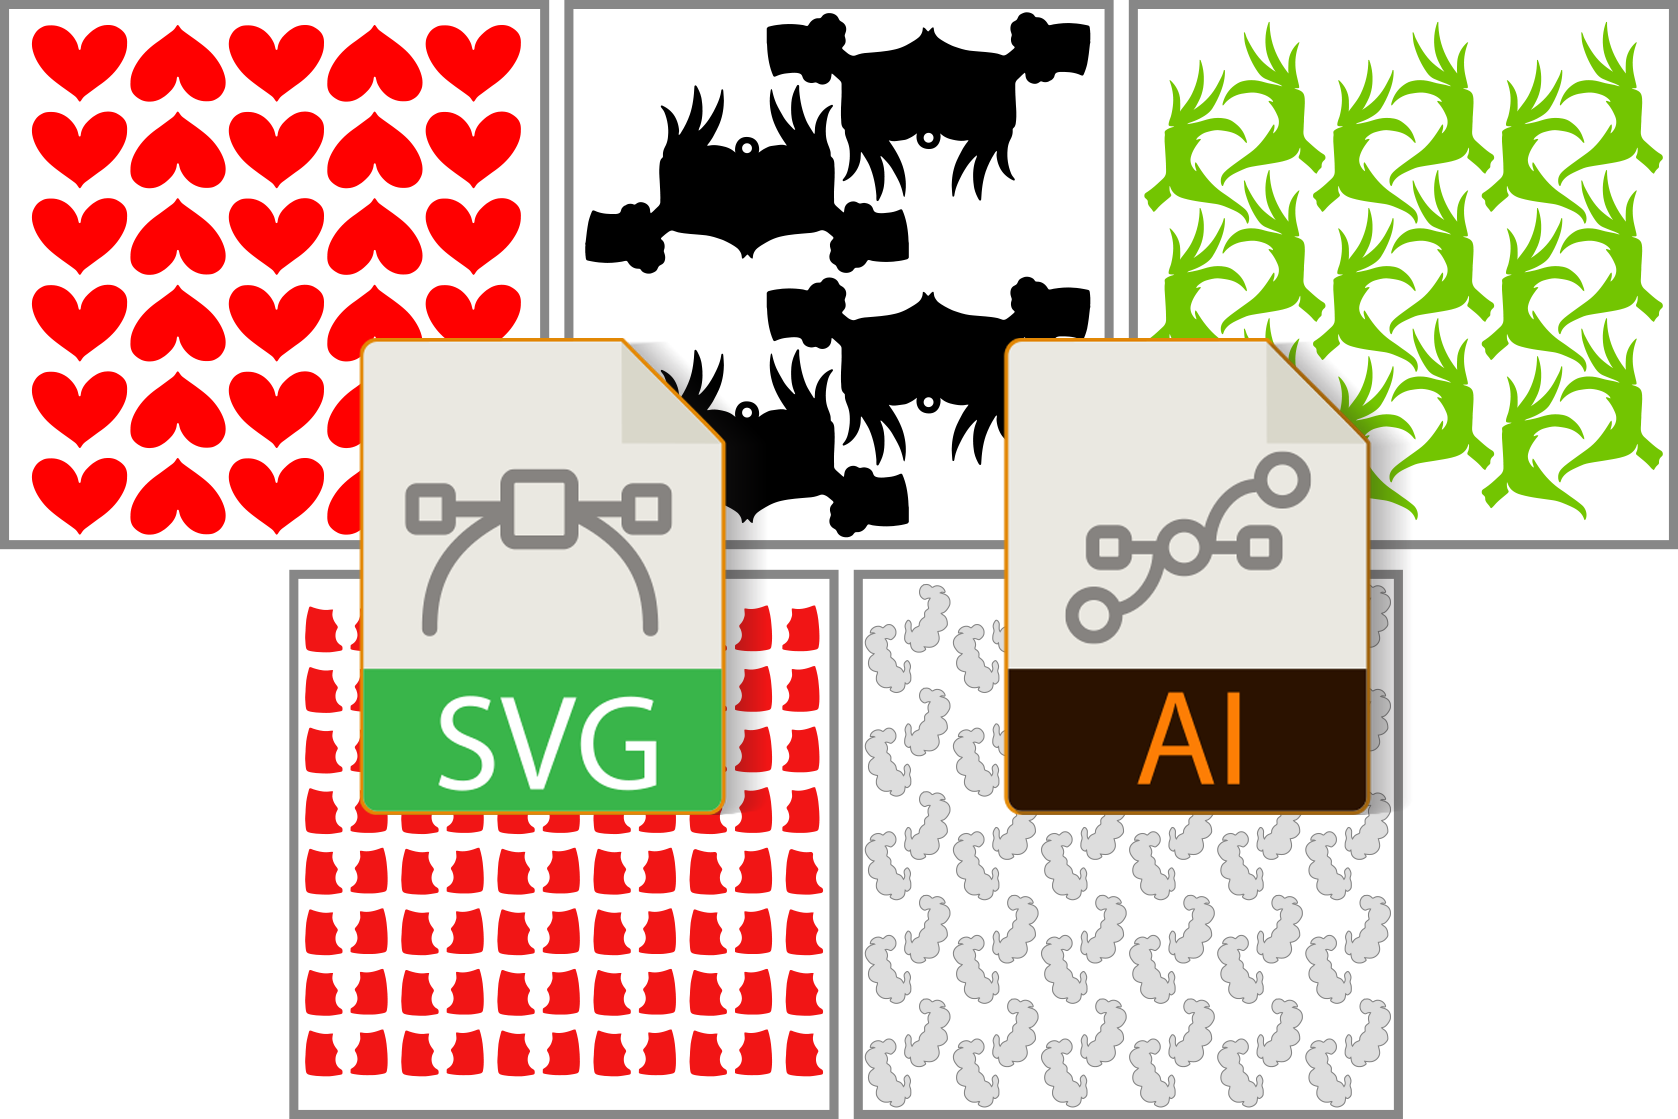
Download the FREE cut files 👉 https://payhip.com/b/BfHx9 👈
Import the SVG into your Laser Engraving/Cutting Software (ex: LightBurn)
Make sure the ornament is 4.5 inches wide. If not, scale it. If it's smaller, try scaling it 133.33%.
Create the Personalized Name(s)
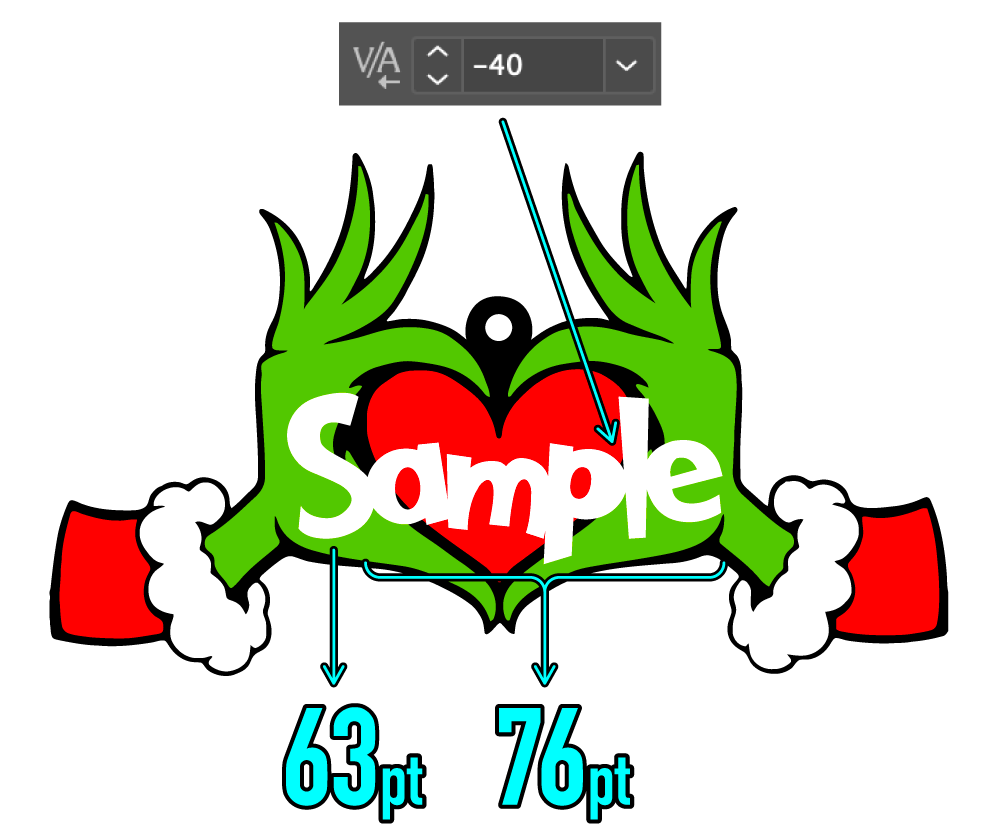
Download and install the Grinched 2.0 font on your computer.
Use a Vector (Line Art) graphics application (ex: Adobe Illustrator) to create the name(s) you want to appear on the ornament.
Sadly, there are many vector applications and it's not possible to show you how to use every one of them.
Within your Vector graphics application, open or import the file provided called: grinch-heart.ai or grinch-heart.svg. Use the TYPE tool to add a name of your choice over this base art. Doing so will help you visualize how big, or small, the font can be. Names with a few letters can be larger... while names with many letters must be smaller.
Sometimes it's best to capitalize the first letter and use lowercase letters for the remaining letters and other times all caps look best. There's no wrong answer here.
Pro Tip 1: If you're using cap/lower, increase the size of the lowercase letters because this provides a more balanced word.
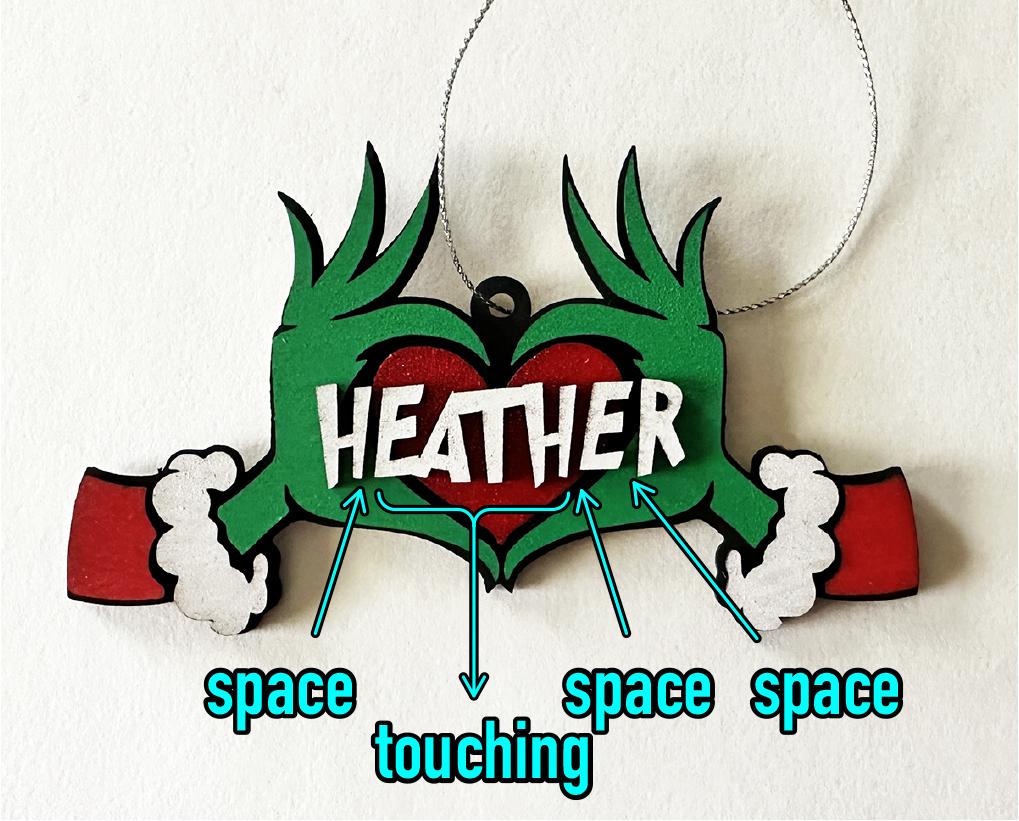
Pro Tip 2: Remove space (kern) between the letters so they touch each other. In Adobe Illustrator, an amount of "-30" to "-60" is usually enough. When the letters touch, it makes the assembly of the final ornament much easier. Think about it... do you want to stick each letter, one by one, on the ornament or would you rather simply stick one entire word?
Look out! Some letter combinations simply must have a space, such as the name "HEATHER"... if this is the case, don't sweat it. Just try to minimize the number of spaces.
When done, if using Adobe Illustrator, turn the font to outlines (Type > Create Outlines) and save the document as an SVG.
Cut the Parts
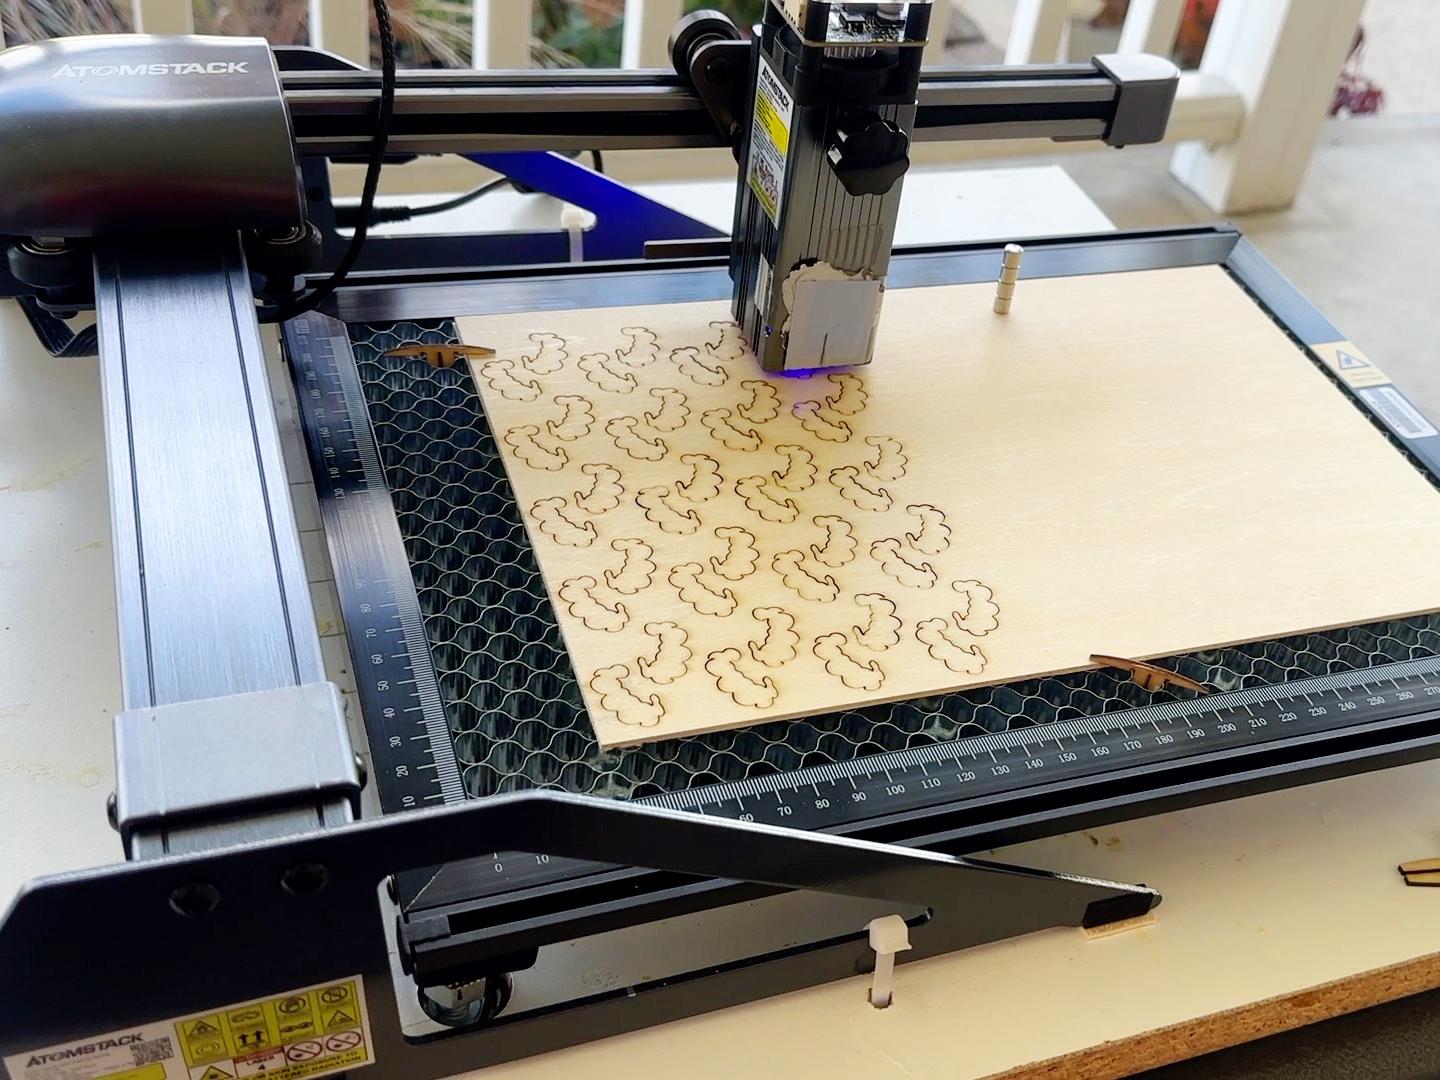
Remove the yellow wax paper from one tape sheet to expose the adhesive.
Apply the tape sheet to one piece of wood and place the wood piece (bare wood side up) on your laser engraver. Do this for all pieces except the base. Important: The base does NOT get the sheet tape applied.
You will need to know how to use your laser engraver software to import the provided SVG files and get your machine to laser-cut the shapes.
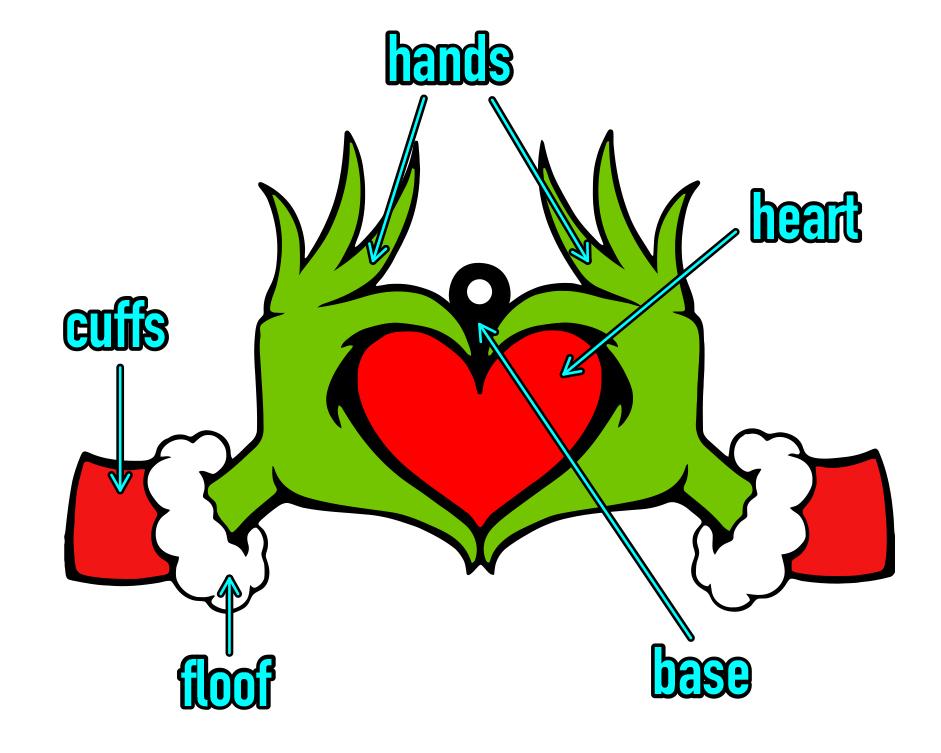
To make 42 ornaments, you'll need to cut 378 parts:
- 84 cuffs (42 left & 42 right)
- 84 floor (42 left & 42 right)
- 84 hands (42 left & 42 right)
- 42 hearts
- 42 bases <-- Remember: No sheet tape on the back of the base pieces
- 42 unique names
Apply Spray Paint
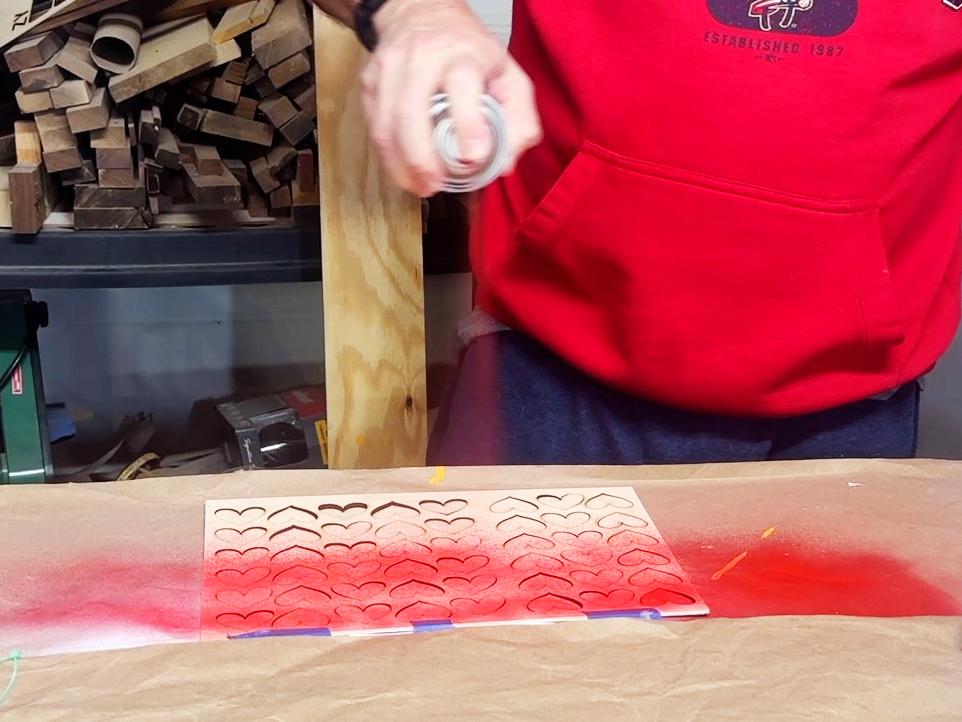
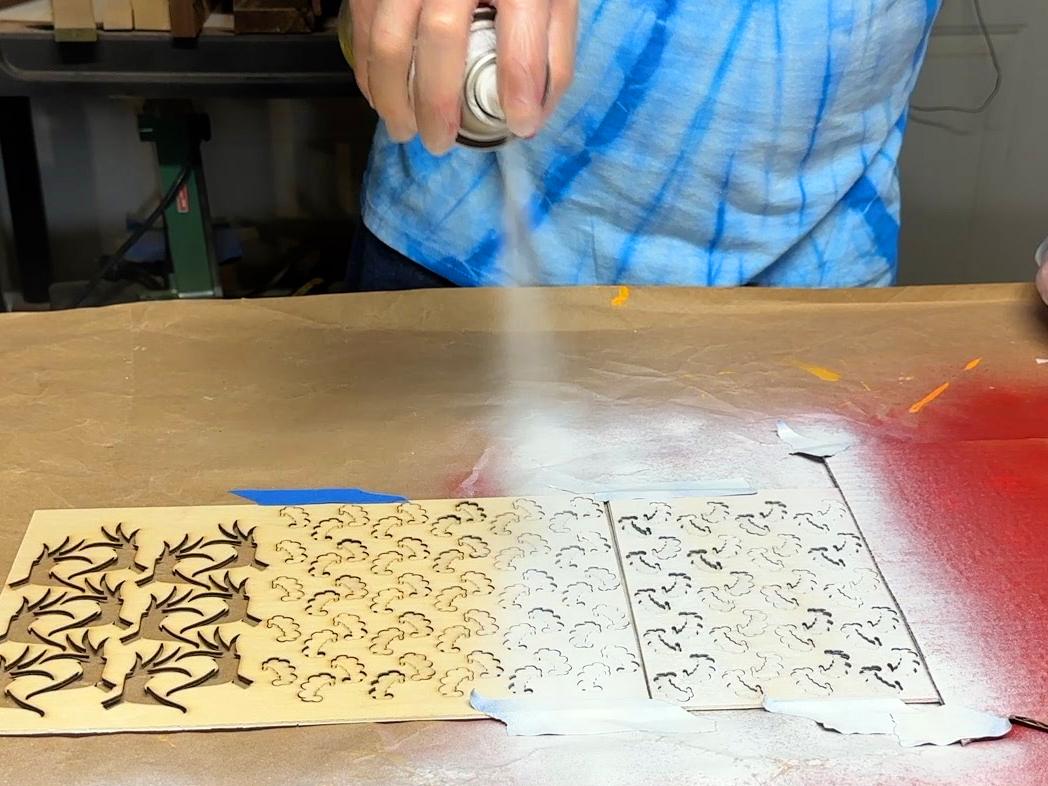
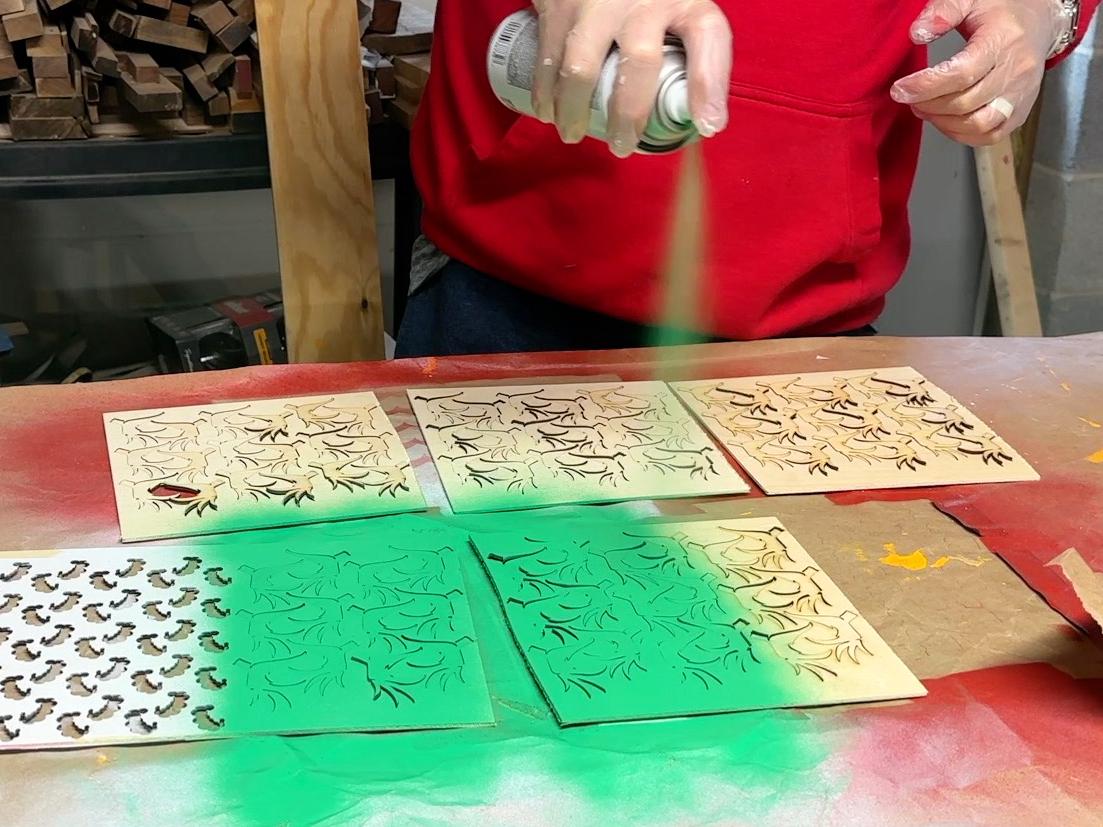
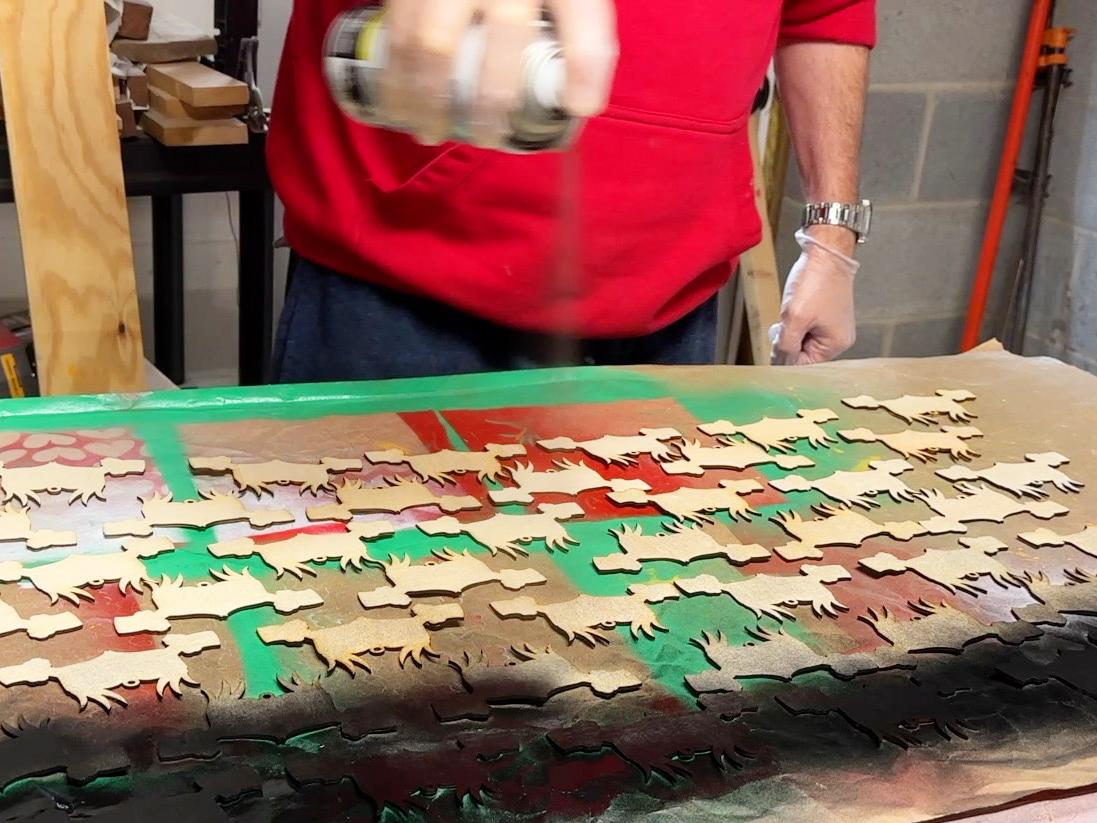
It's recommended that the sides of the pieces retain the dark coloring the laser cutting process creates. To ensure this happens, painstakingly place each item back in the wood sheet so the paint lays only on the surface and does adhere to the sides.
Apply paint to all parts. Important: Even apply red spray paint to the hearts! In a later step, the hearts will get sparkle paint applied on top of the dried red spray paint.
Tip 1: Hold the can about 8 inches away from the wood and keep the can in motion while spraying. Never hover over one area while spraying.
Tip 2: Always start and end the spray operation beyond the wood. This prevents a glob of paint from appearing on some parts.
Let dry.
Apply the Sparkle Paint
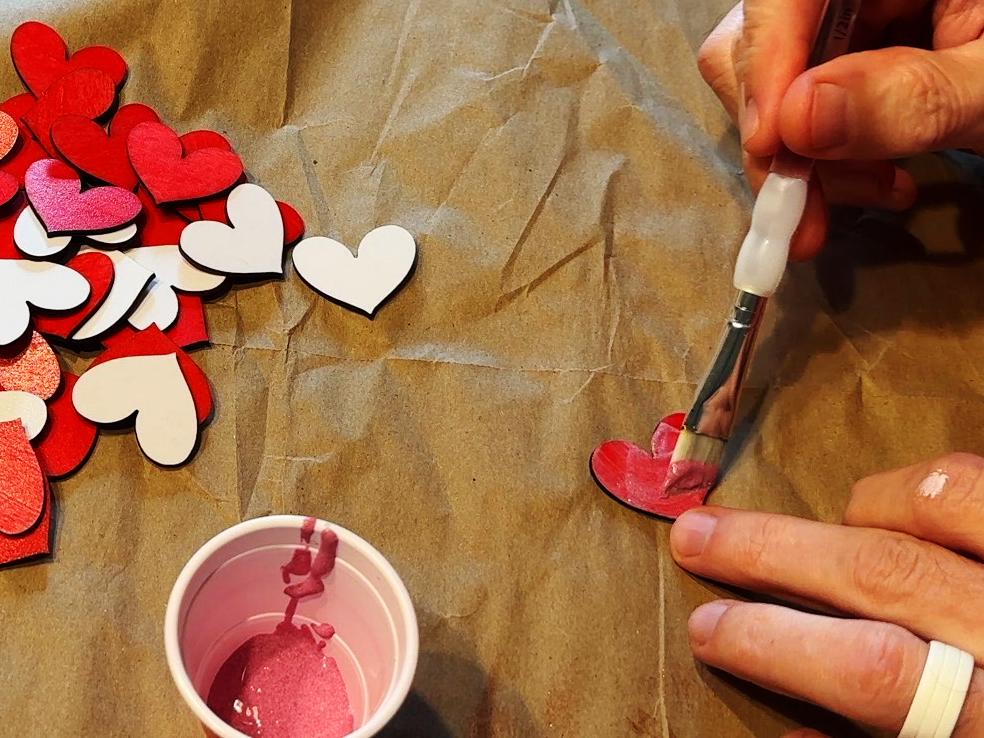
After the red spray paint dries, apply the sparkle paint.
Pro tip: It won't look good while the paint is wet... but, when it dries you'll see it looks good. Really good!
If desired, apply a second coat of sparkle part for maximum/extreme sparkles! ✨
Assemble the Ornament
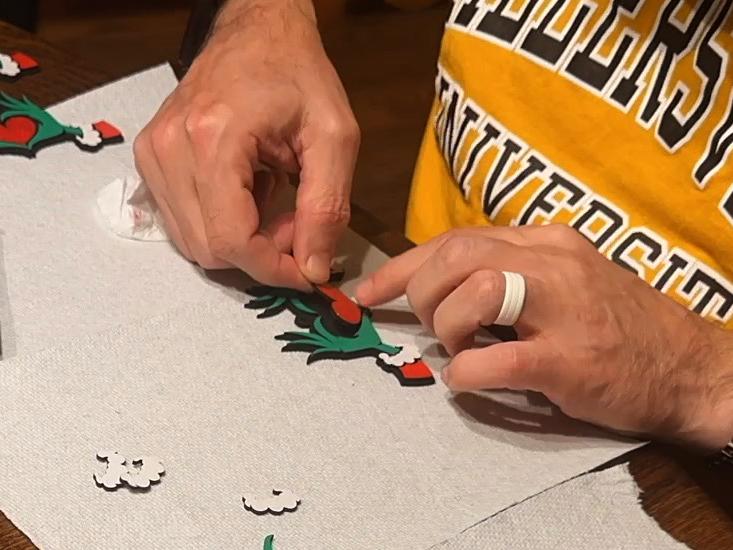
Place a black base part in front of you.
Start with the cuffs. Peel the white wax paper off the back and stick to the base.
Next, stick on the Floofs.
Next, stick on the Hands.
Next, stick on the Heart.
Finally, add a personalized name.
Optional - Add the Year to the Back
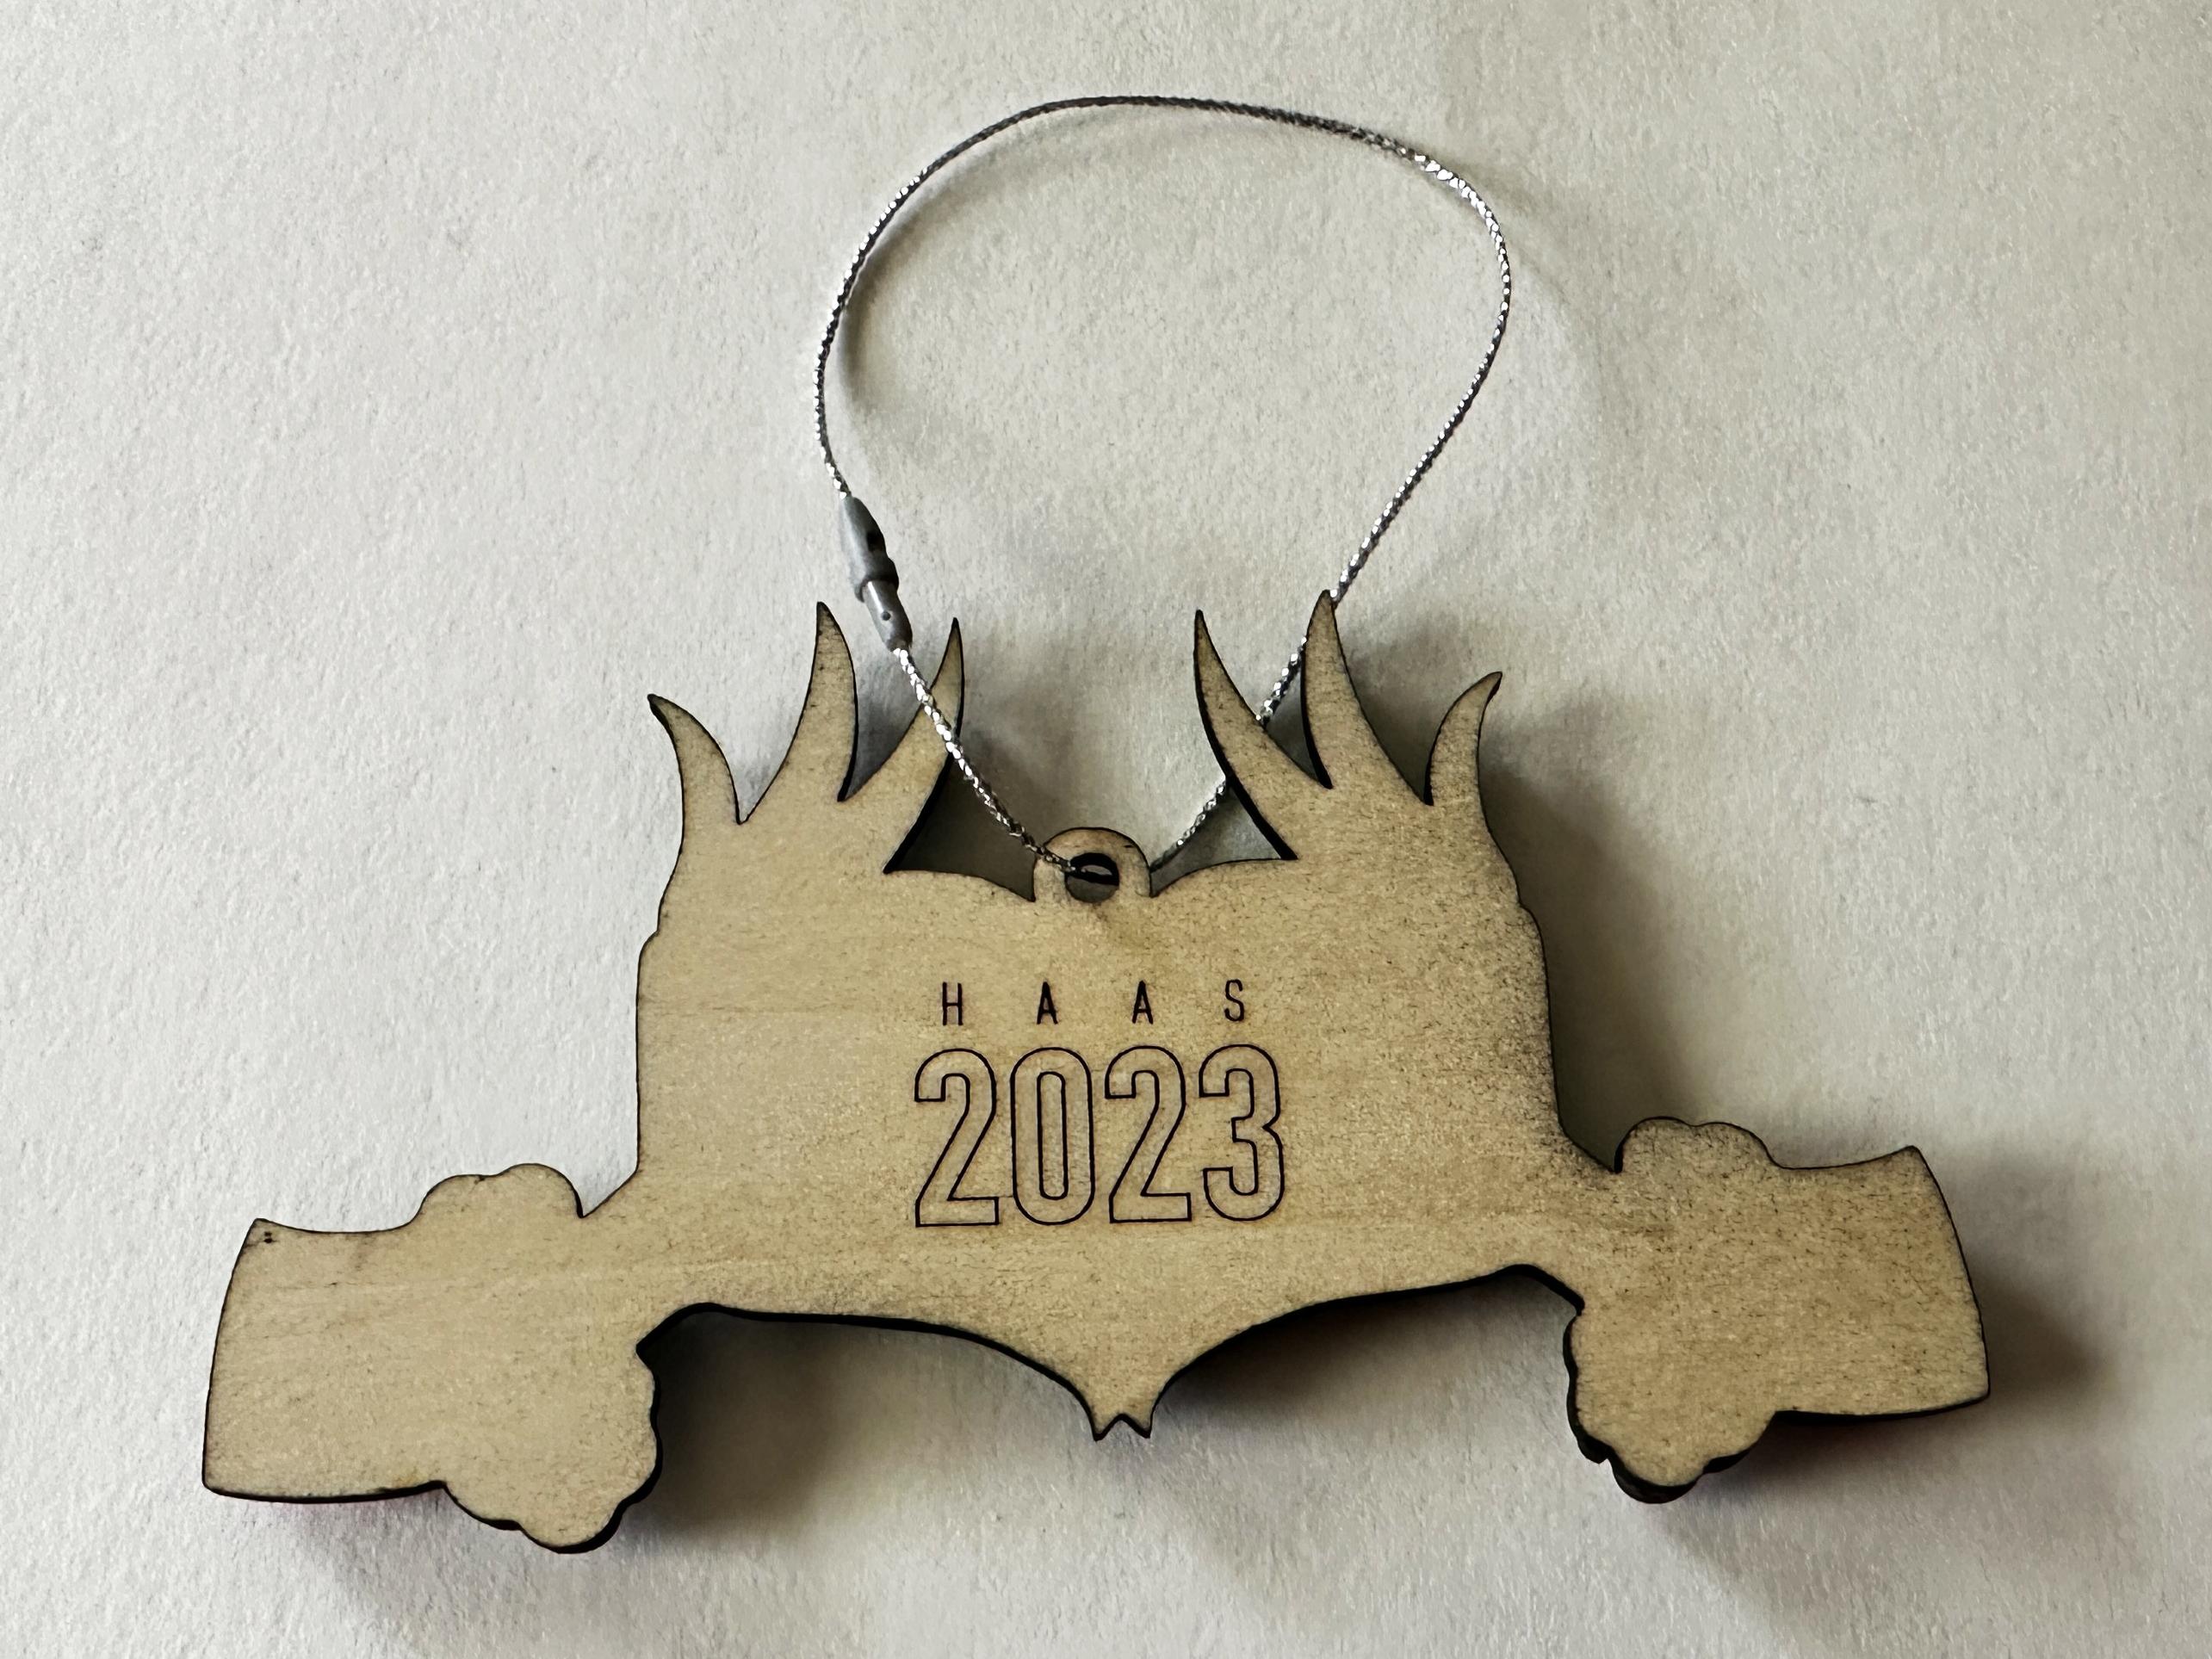
I find it nice when the year the ornament was gifted appears on the item.
If you want to do this, use your laser engraver software to create this yourself. It doesn't need to be fancy. I added my last name in small letters above the year. Again, this entire step is optional.
Add the Hanging String
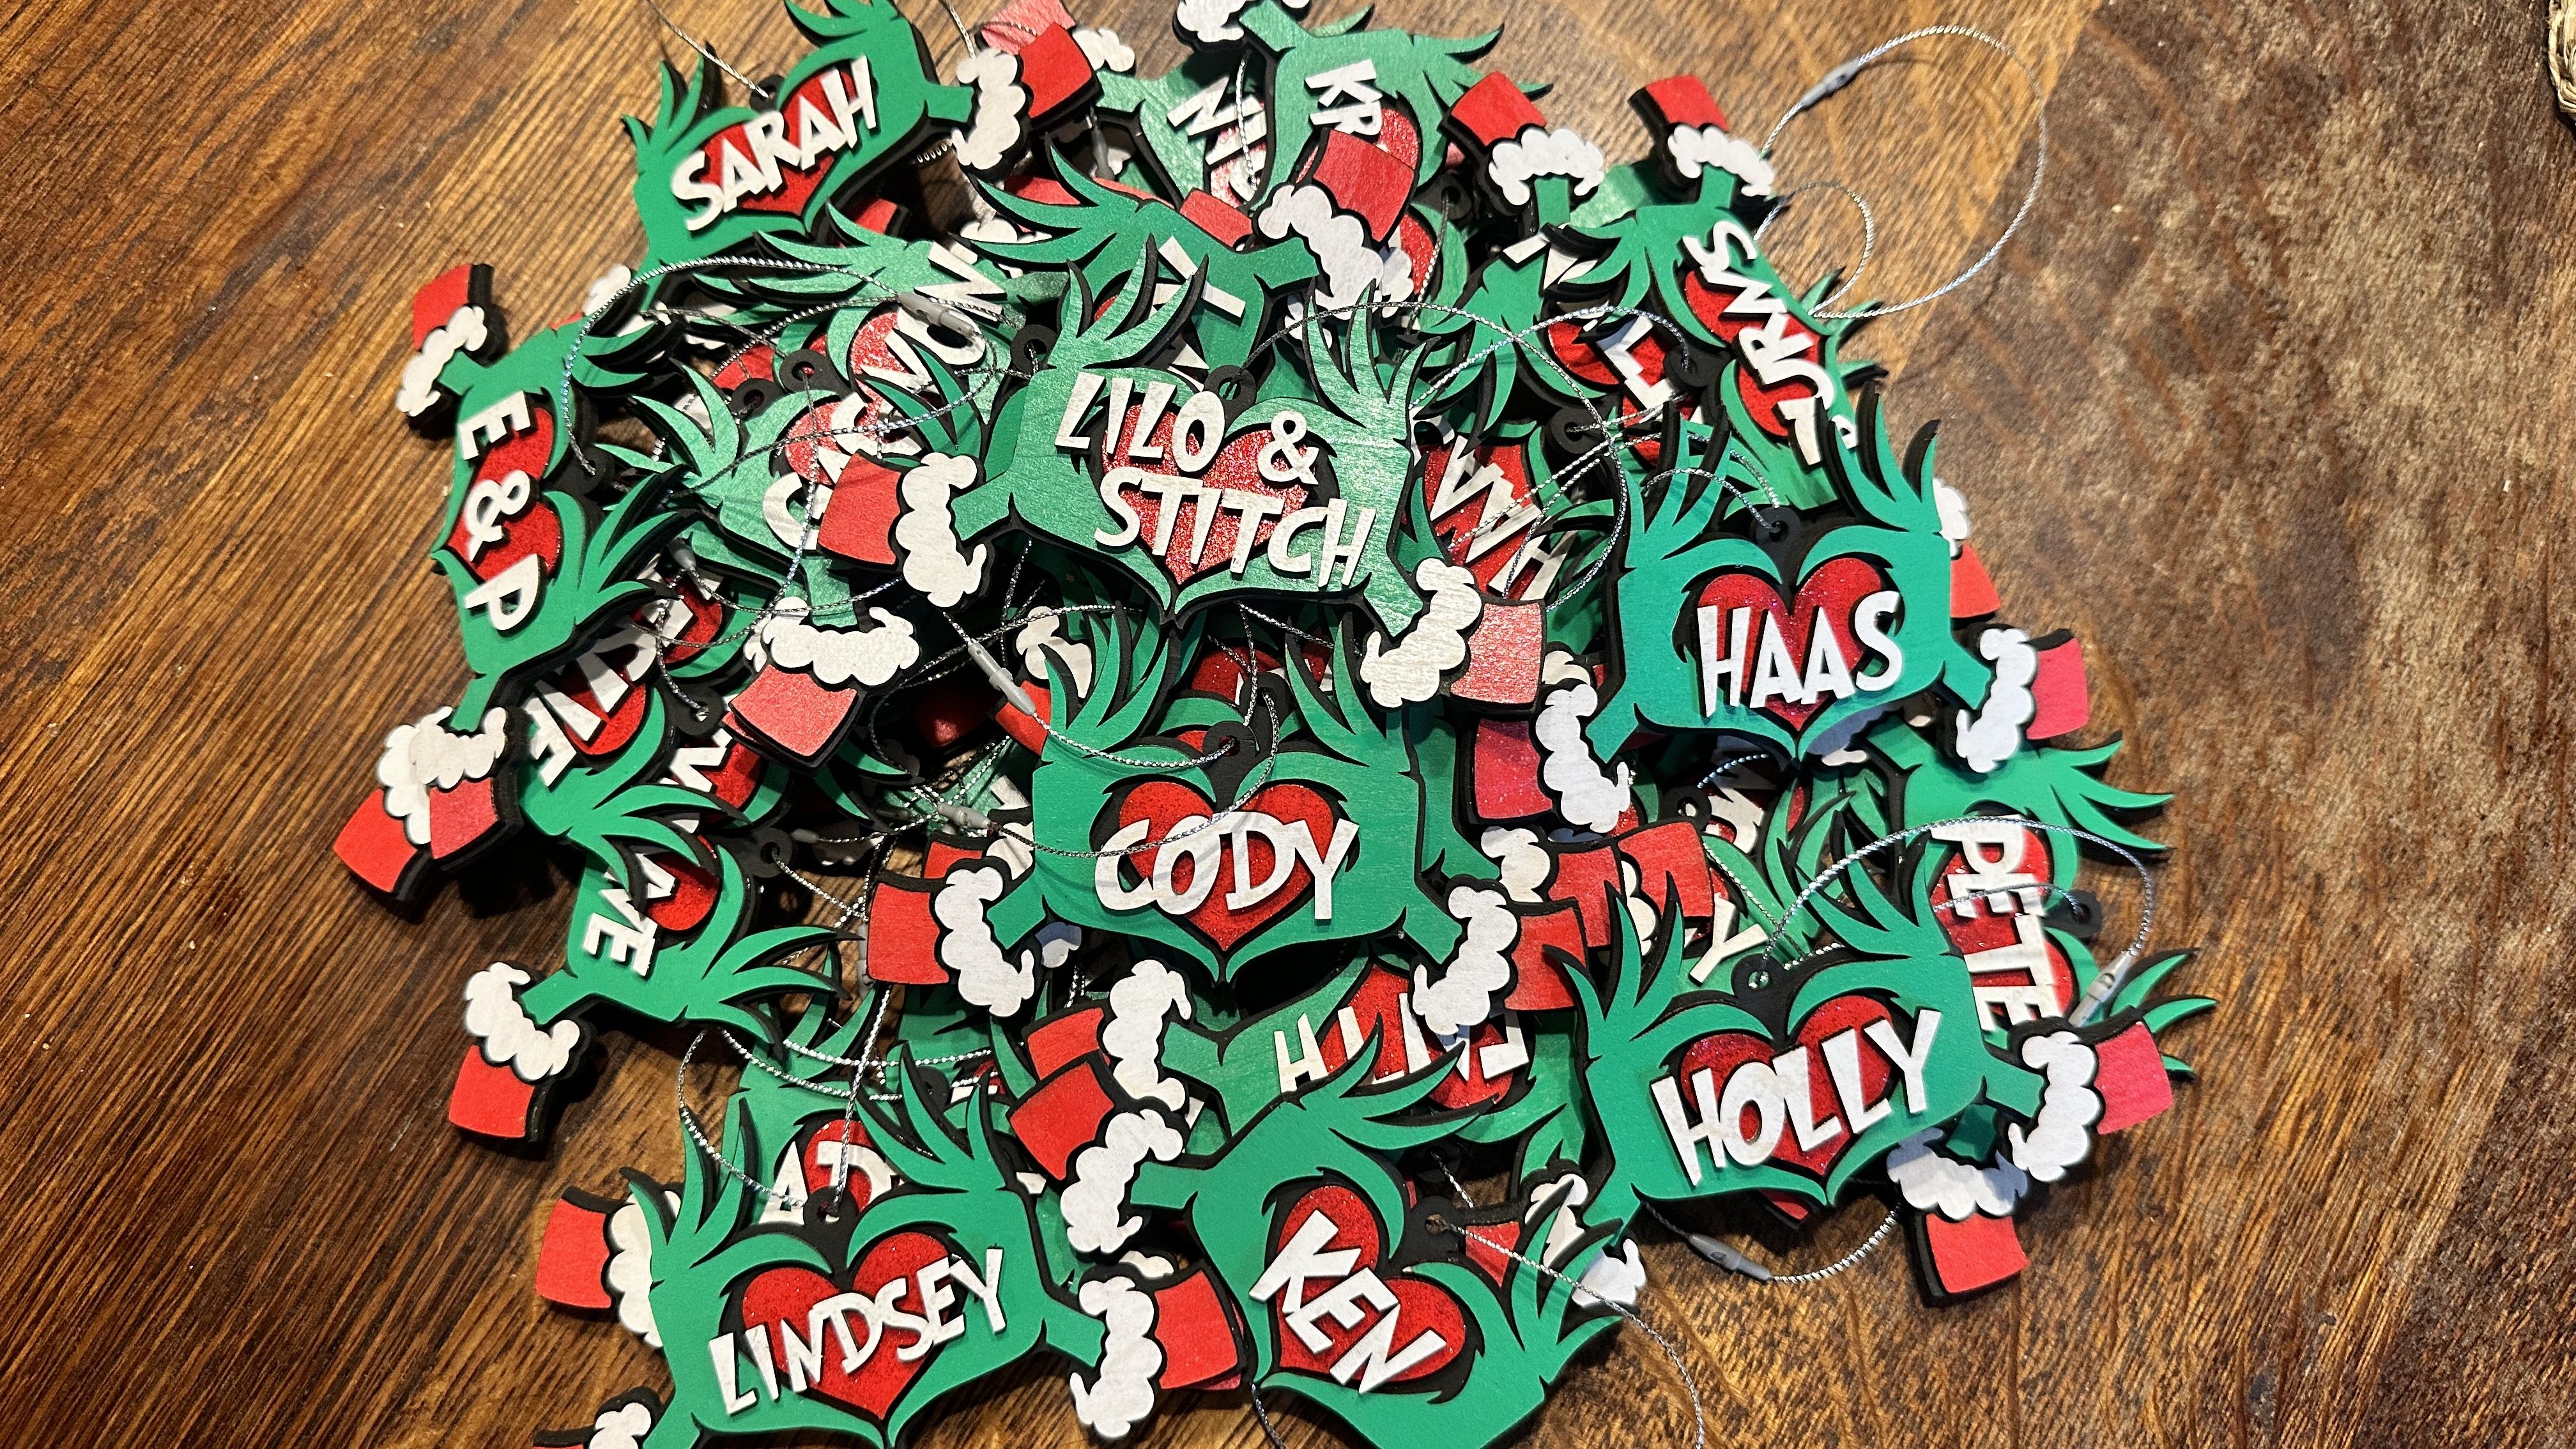
Thread a String Hanger through the hole in the base and clip it together using the plastic clippy-things.
That's it! You're done!
I'm sure whoever gets this personalized item will truly love and cherish it forever! Their heart may even grow three sizes... figuratively, of course. Haha
🤑 These also make a great item to sell! Personalized items like this always demand a higher price.
Merry Christmas! 🎄
BUILD VIDEO 👉 https://youtu.be/98l5XCBMqoU 👈 BUILD VIDEO