Laser Cut Dress Bodice

For this project, I was motivated to try and laser cut fabric as I've never done it before. I was mostly inspired to do this because I hate cutting fabric by hands and thought it would be convenient to just design and cut out my patterns instead.
Materials:
- Rhino 5 (CAD Software)
- Laser Cutter
- Fabric (preferably something natural like cotton)
- Measuring Tape
- Caliper
- Pins
- Sewing Machine
- Seam Ripper
DISCLAIMER: Sometimes things won't work out on the first try. It is a good idea to try this on some scrap fabric and then move onto your desired fabric once your pattern fits properly. While I have attached my own design files, it will not fit everyone and it should only be used as a reference.
Measurements


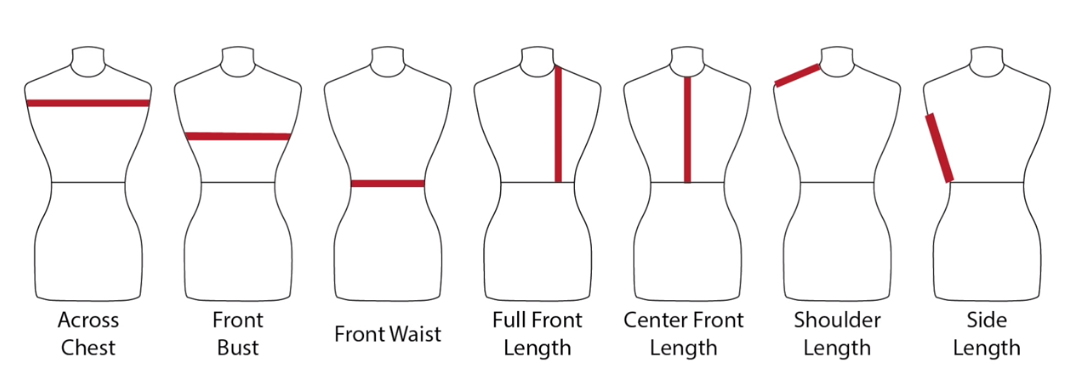
I used a measuring tape to take my measurements like so. I wrote them down on a notepad (but I eventually transferred them to Rhino using the notes feature integrated in the software).
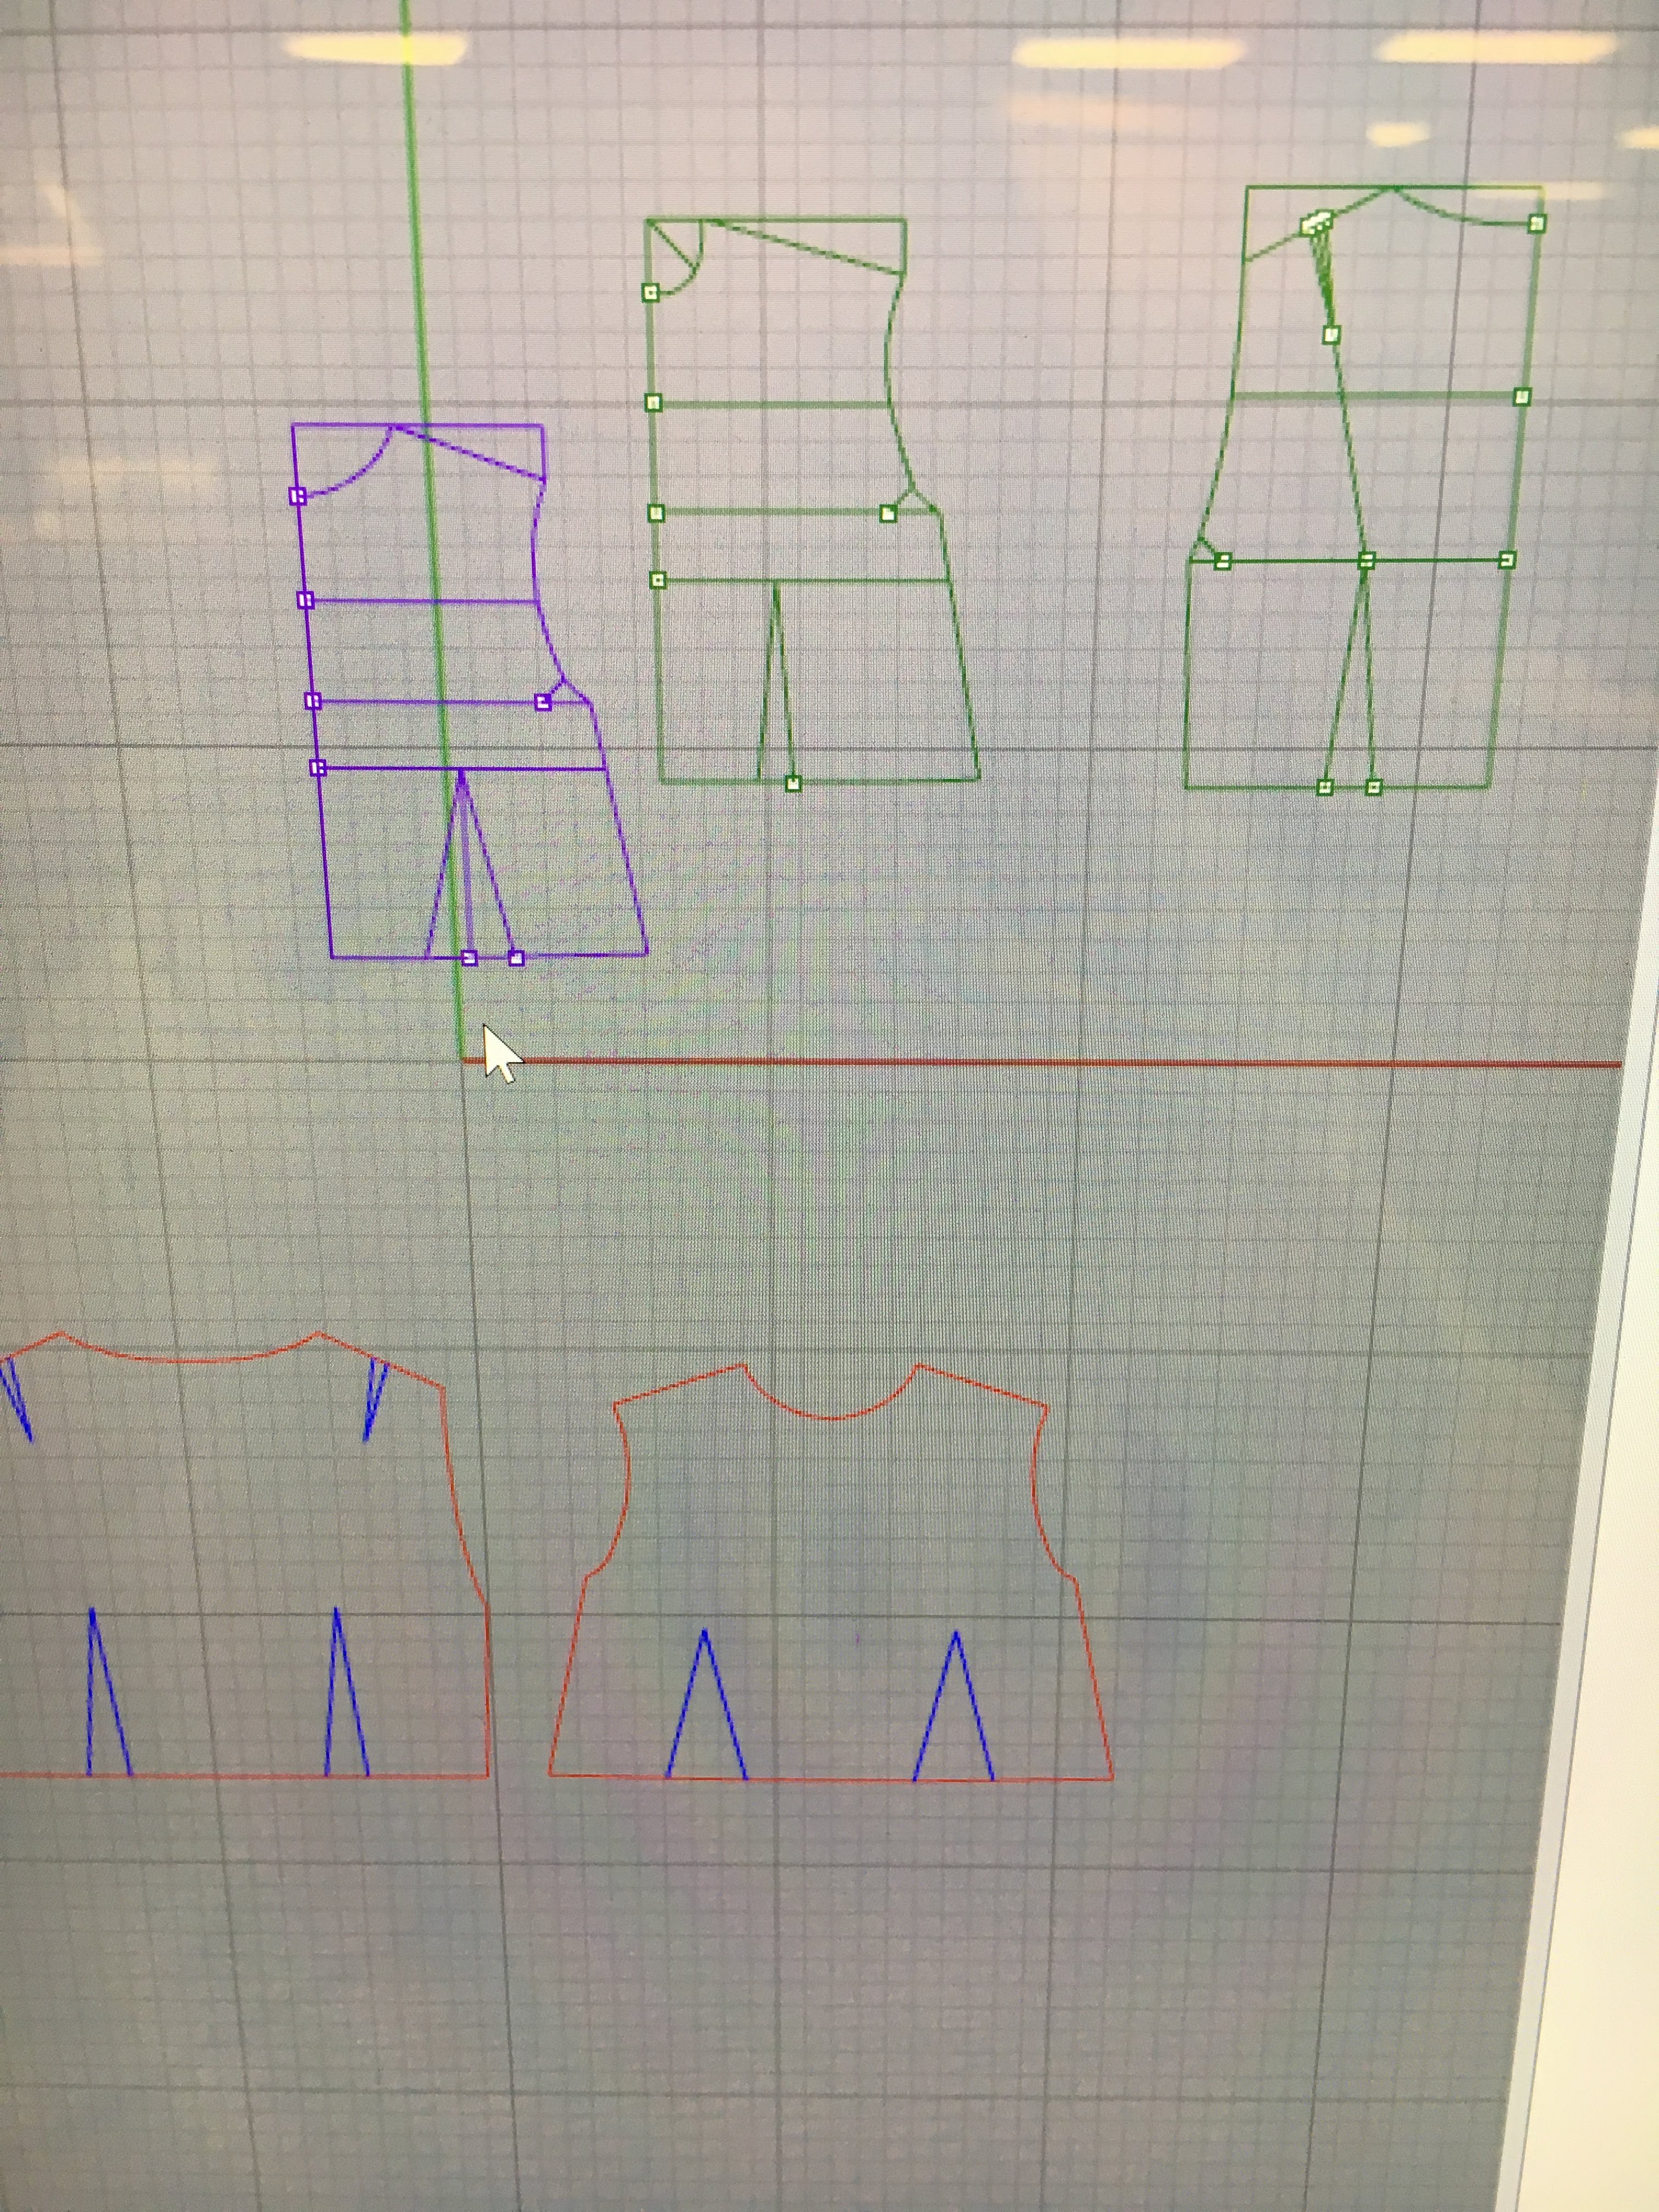
Design Bodice in Rhino

To design the bodice in Rhino, I used this video by Elewa on YouTube.
Generally speaking, I made use of the line, curve, and point tools.
Other settings I used:
- Gumball - In order to rotate lines 45 degrees
- Ortho - Draw straight lines at 90 degree angles
- OSnap - To keep track of intersections and points
Once you have your bodices done, delete any extraneous lines that you do not want to be cut out from the laser cutter. I changed all of my line widths to be 0.001 inches. For line color, I made everything red with the exception of the darts which I made blue. I also copy and pasted the darts on top of each other so there were four layers of blue. This is so they are a bit more visible when they are cut out and easier to see.
Design Sleeves in Rhino
To design the sleeves, I followed along this tutorial using Rhino. You will need to take some measurements again for your armscye (around the shoulder, where the armhole will be), bicep circumference, wrist circumference, and the length of the sleeve.
Again, when you are done, delete any extraneous lines or points, set the line width to 0.001 inches and the line color to red.
Laser Cut the Fabric!

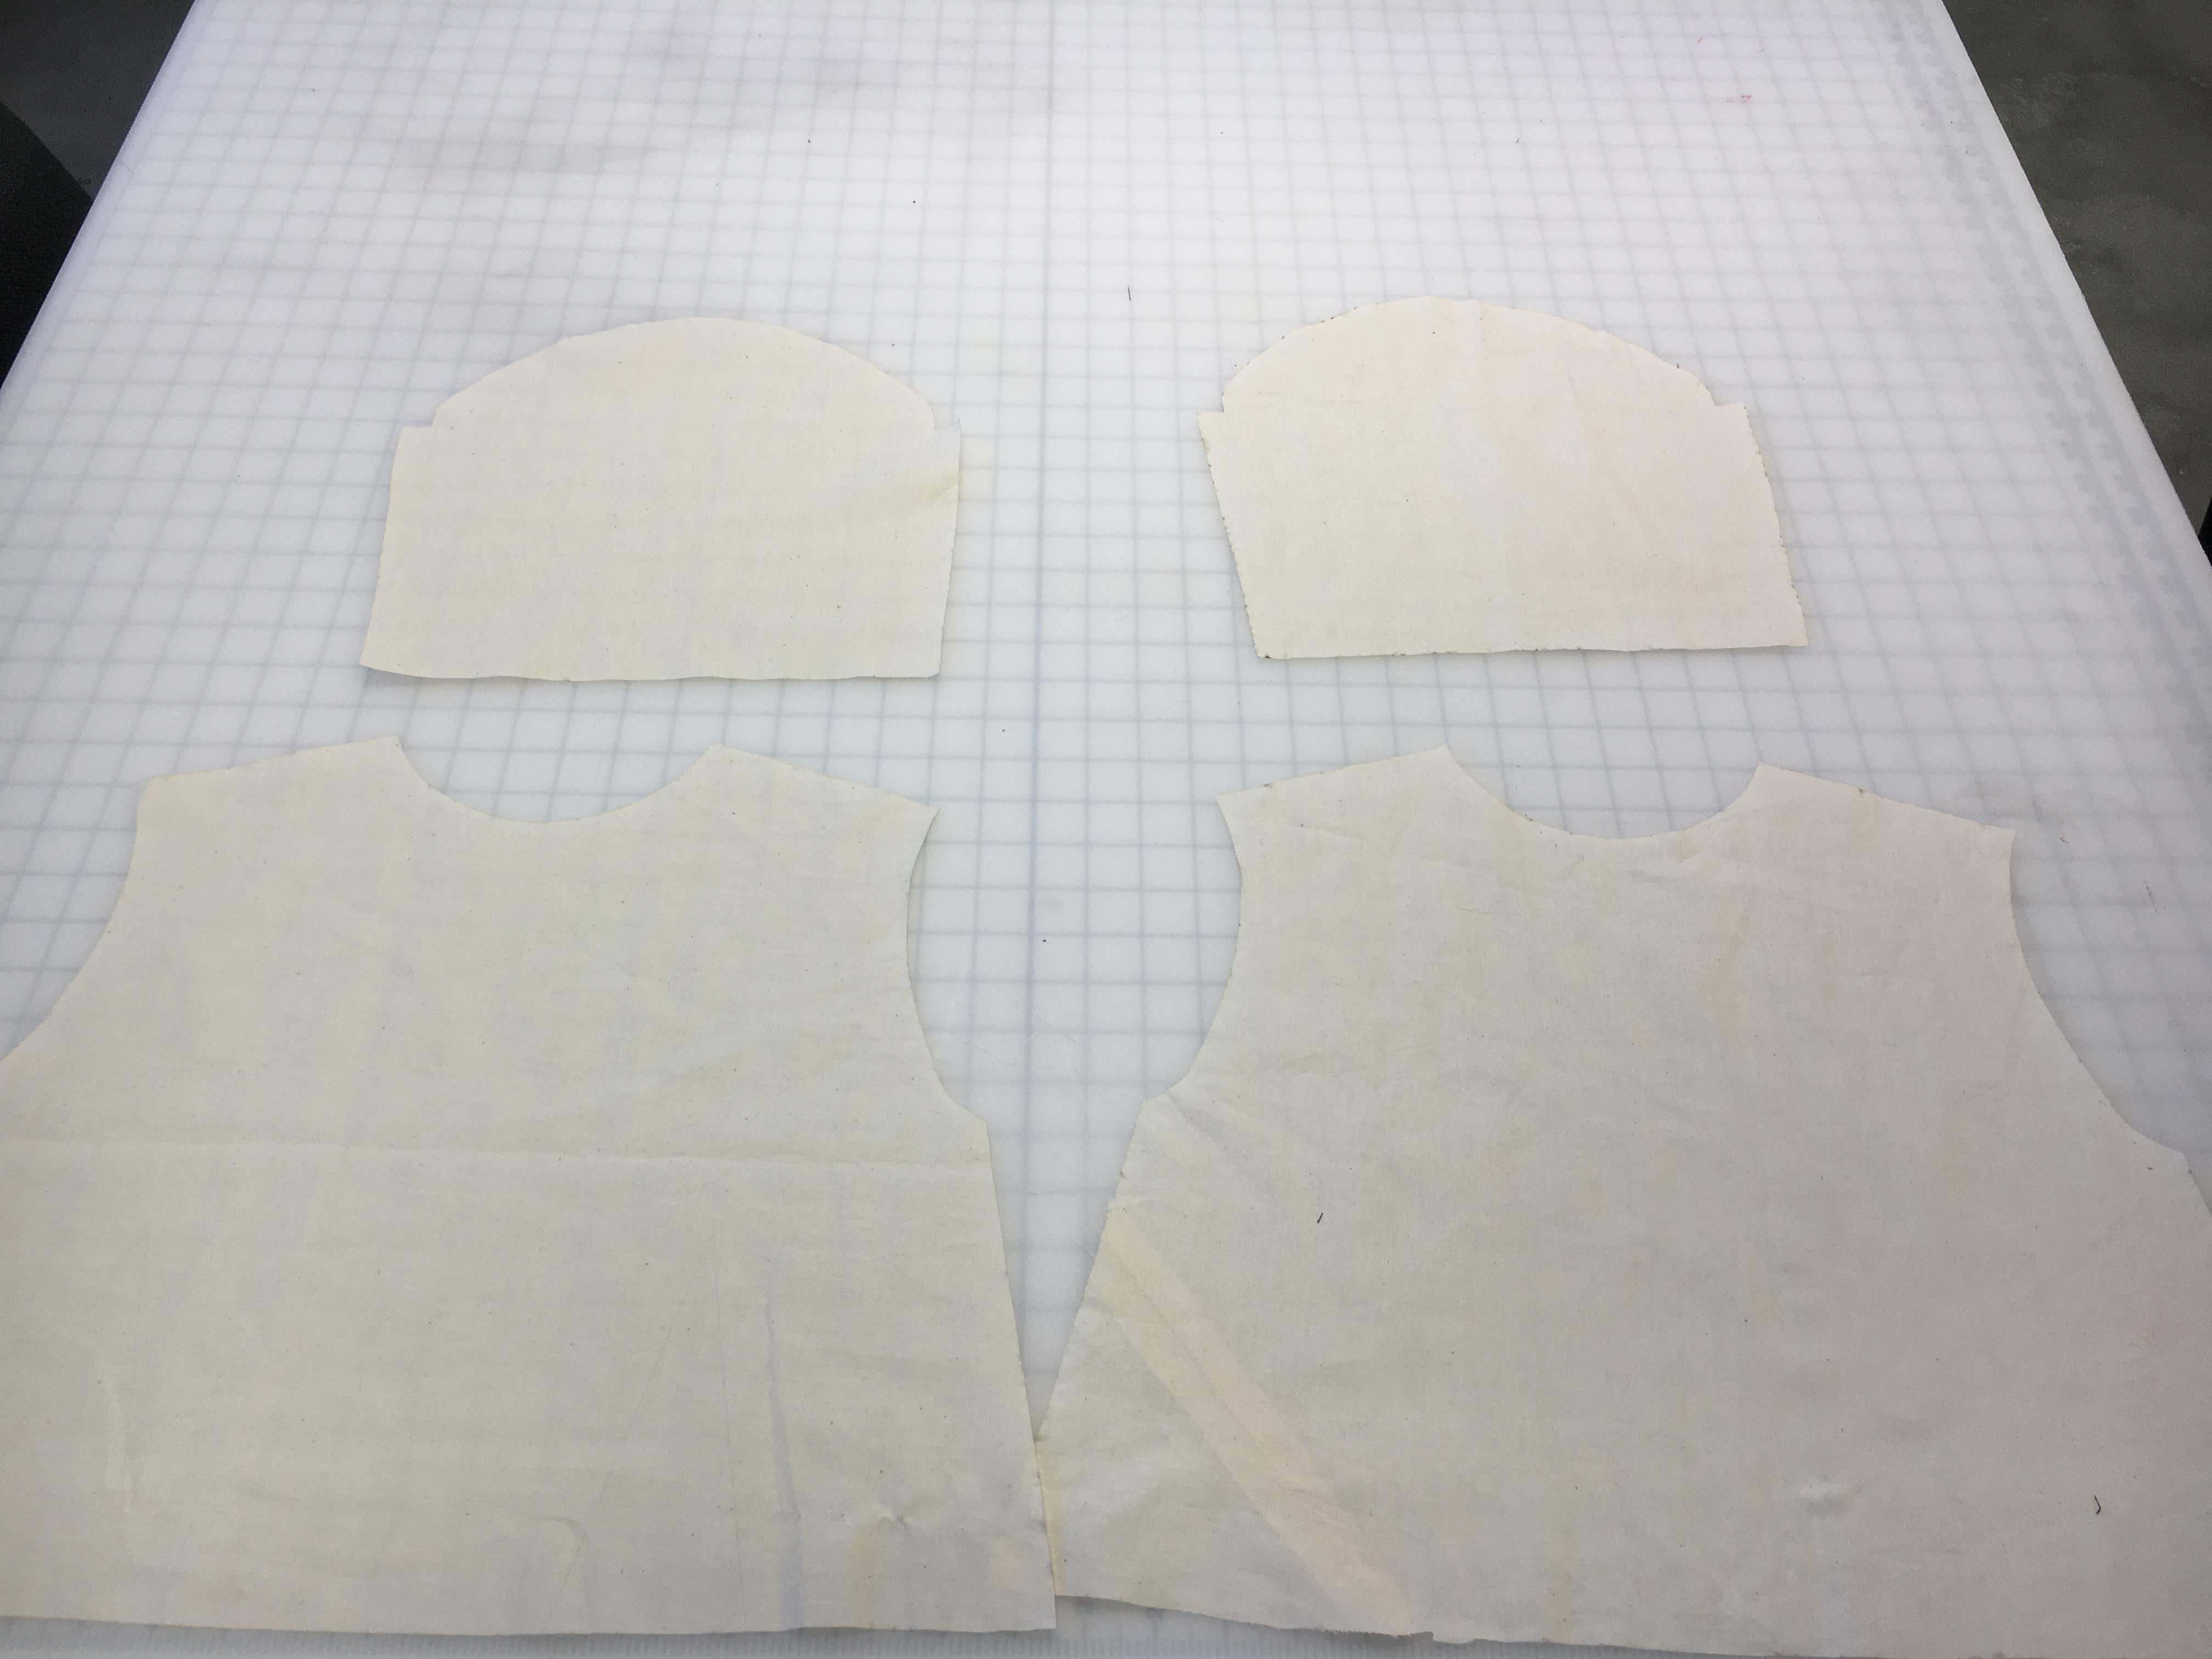
Save your design files and send them to yourself using e-mail or a website like justbeamit.com. I opened the file on the computer connected to the laser cutter. Depending on the size of the bed, you will only be able to cut one or two pieces out at a time. Use the show/hide command on Rhino to hide everything you aren't going to cut.
Once you are ready to cut, press Ctrl + P to print and hit print or the enter key. Open up the laser cutting software. Use a caliper to measure how thick your fabric is. For the laser cutter I used, I used the construction paper setting which was set to the thickness of my fabric. This was only because I could not find the appropriate settings for cotton fabric, if you find something that works better, then feel free to use that.
Before you cut, make sure any machines that need to be on are on. For example, I had to make sure that the fume extractor and air valve were turned on before cutting. With that done, I cut out all of my pieces.
Assemble by Sewing
When it comes to sewing, you'll generally want to make sure your pieces are right sides together. What this means is you want the printed/pretty sides of the fabric touching each other. If you're using a fabric that isn't printed/patterned, the right side can also be known as the "nice side" where your stitches/seams are hidden.
To start, sew the darts together. Do this by folding the along the middle of the triangle, pinning it down, and sewing along the line made from the laser cutter. After the darts, fold the sleeves in half and sew along the long edge.
Layer the front bodice and the back bodice together and sew along the shoulder and side seam right sides together. Stuff the sleeve into the armhole of the bodice and pin, right sides together and sew.
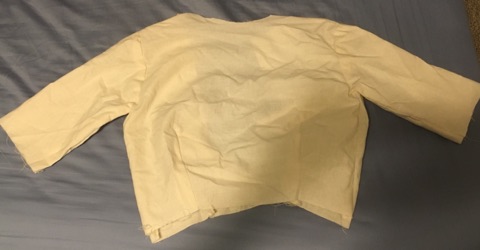
After this you can hem around the neckline, sleeves, and bottom of the bodice to finish off the garment.
OPTIONAL: Fix the Bodice
Sometimes things don't work out the way we want them to. I had to fix my design several times over the course of 10 weeks. Sometimes the bodice was too small or the sleeves were too tight. If this is the case. take note of how much you want to lenghten or shorten something, fix your design in Rhino with that information, cut it out, and assemble it again.