Laser Cut Coasters
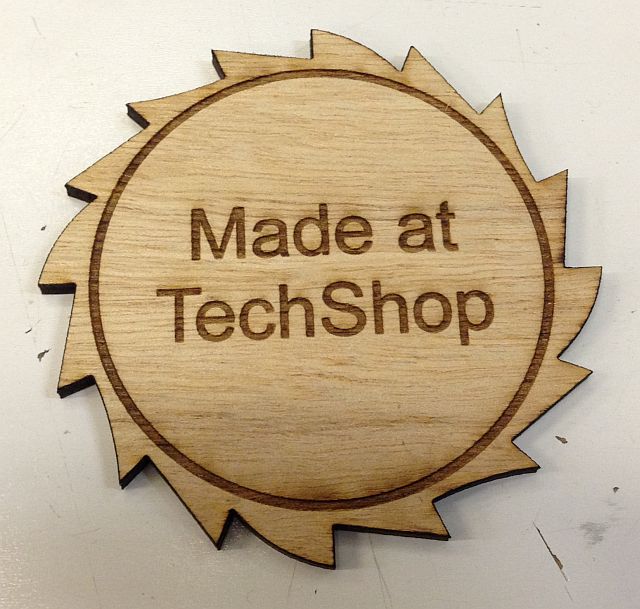
This guide describes a method to cut and detail coasters made of wood or acrylic using a laser. Laser cutters are typically driven by a print driver that converts the output of an image in a vector art program like CorelDraw, Adobe Illustrator, or Inkscape into the cutting path for the laser. The part I made was based on a CorelDraw file. Training in CorelDraw or other vector art software is beyond the scope of this guide. As always, I made it at TechShop (www.techshop.ws).
Materials
1/8” acrylic sheet (available from TechShop) cut to a 24” x 18” rectangle
3/16” plywood sheet cut to a 24” x 18” rectangle
3/16” plywood sheet cut to a 24” x 18” rectangle
Equipment
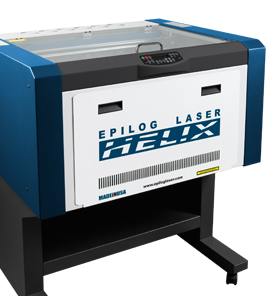
60 W Epilog Laser Helix

Prepare your vector art file. I used CorelDraw. Any shape you want cut all the way through your substrate needs to be a narrow vector path. Select a vector width of “hairline” to create a thin line that will be interpreted as a vector to cut by the laser cutter driver. Manually entering a width of just a few thousands of an inch will have the same result, but the hairline setting guarantees a vector cut. I created a hairline vector in the shape of a saw blade to define the outside of each coaster.
Any shape you want rastered onto the surface of your coaster (or other object) should be included in a similar file. This can include vectors with large widths or any arbitrary bitmap. In this example I included a circle with a width of 4 pt in CorelDraw along with the text “Made at TechShop” centered within the circle.
Any shape you want rastered onto the surface of your coaster (or other object) should be included in a similar file. This can include vectors with large widths or any arbitrary bitmap. In this example I included a circle with a width of 4 pt in CorelDraw along with the text “Made at TechShop” centered within the circle.
Remove the grid tray from the laser cutter through the slot in the front of the instrument. Empty any debris from the tray and put it back into its slot. Make sure the room's ventilation system is turned on.
Turn on the laser cutter with the switch on the bottom left side of the instrument.
Hit the X/Y Off button on the instrument. Press Go to release the arm of the instrument so that you can reposition it manually. Open the instrument’s lid and push the horizontal bar all the way to the back of the instrument. Lift the three guard bars that hold the grid down in the instrument. Lift up on the front of the grid and remove it from the instrument without hitting any of the sensitive pieces of the laser cutter. Ensure that the grid is clean, then replace and reattach the three guards.
Place a white sheet of paper on the tray beneath the mirror and look at the mirror from the side to ensure that it looks clean. If it isn’t clean, contact the instrument’s owner.
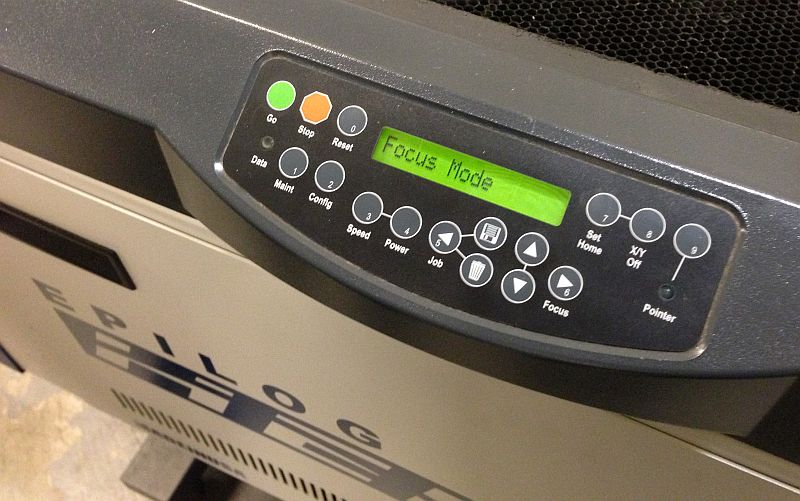
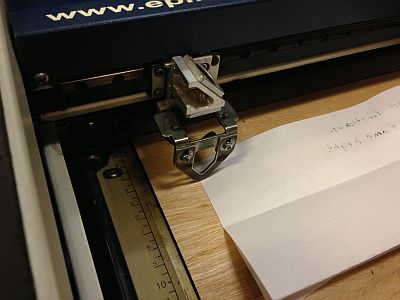
Place the material to be cut on the grid. Pull the laser cutting mirror head to the upper left corner of its motion and hit the Set Home button. Then hit the Focus button, load the focus head, and use the up and down arrows on the instrument control panel to move the plane of your material such that a single piece of paper will barely fit between the focus head and the material. Remove the focus head and the piece of paper. Hit the reset button to return the mirror to the home position.
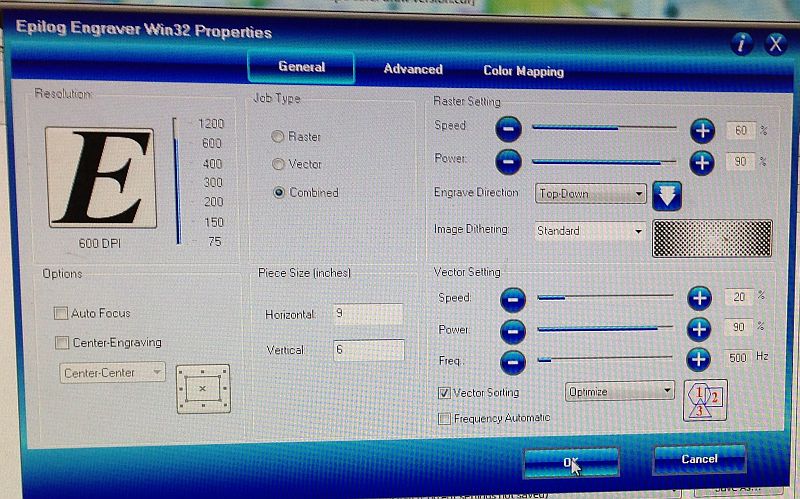
Open your CorelDraw (or other image format) file on the computer attached to the laser cutter. In CorelDraw, print your file and in the print menu select Epilog Engraver Win32 as the printer. Open the preferences menu.
Set the piece size to the printable area of the laser cutter, 24” x 18” for the laser cutter used in this guide. Set raster resolution to 300 DPI, select a Combined job type, set the raster speed to 60%, the raster power to 90%, the dithering method to Stucki, the vector speed to 20%, the vector power to 90%, and the vector frequency to 500 Hz. These settings will work for 3/16” thick plywood. For an acrylic sheet see the recommended settings included in TechShop’s laser cutter guide or for a rough estimate use the above settings but change the vector frequency to 5000 Hz. Click OK to accept your laser cutter settings. Inspect the cutting pattern preview in the print menu and if it’s acceptable click the Print button.
A final note: DO NOT use Auto Focus!
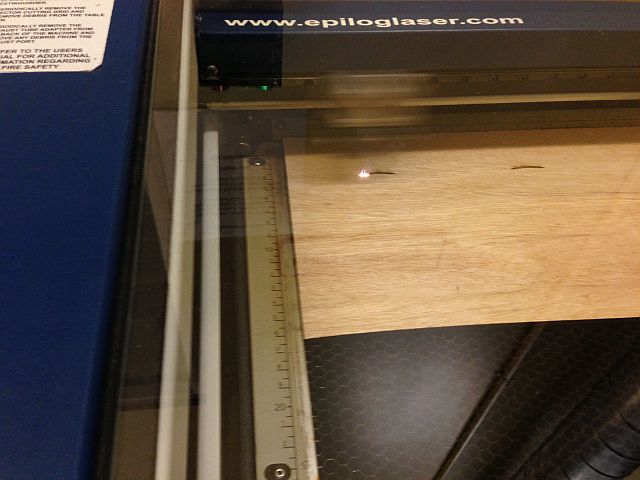
Move back to the laser cutter, which should show that it’s received the cutting pattern by displaying “Job 1:" followed by your filename on its LCD. Hit the Go button to start cutting. Any rastered details you've included will be patterned first, followed by your vector cuts.
Monitor the cutting process. If you see excessive flame or anything out of the ordinary, use the safety procedures given to you when you were trained on the laser cutter.
Once the cutting is complete, wait 30-60 seconds (especially with any plastic substrate, which can produce toxic fumes when burned) for the system ventilation to remove combustion products. Then open the lid and remove your final products.
At TechShop, hit the X/Y Off button, followed by the Go button to confirm, and move the laser mirror to the upper right corner of its movable area. As soon as you clean up your debris and power down the instrument, you're done.