Laser-Cut Classic Literature Book Cover Necklace
by brightcolorfulflickers in Workshop > Laser Cutting
2057 Views, 33 Favorites, 0 Comments
Laser-Cut Classic Literature Book Cover Necklace
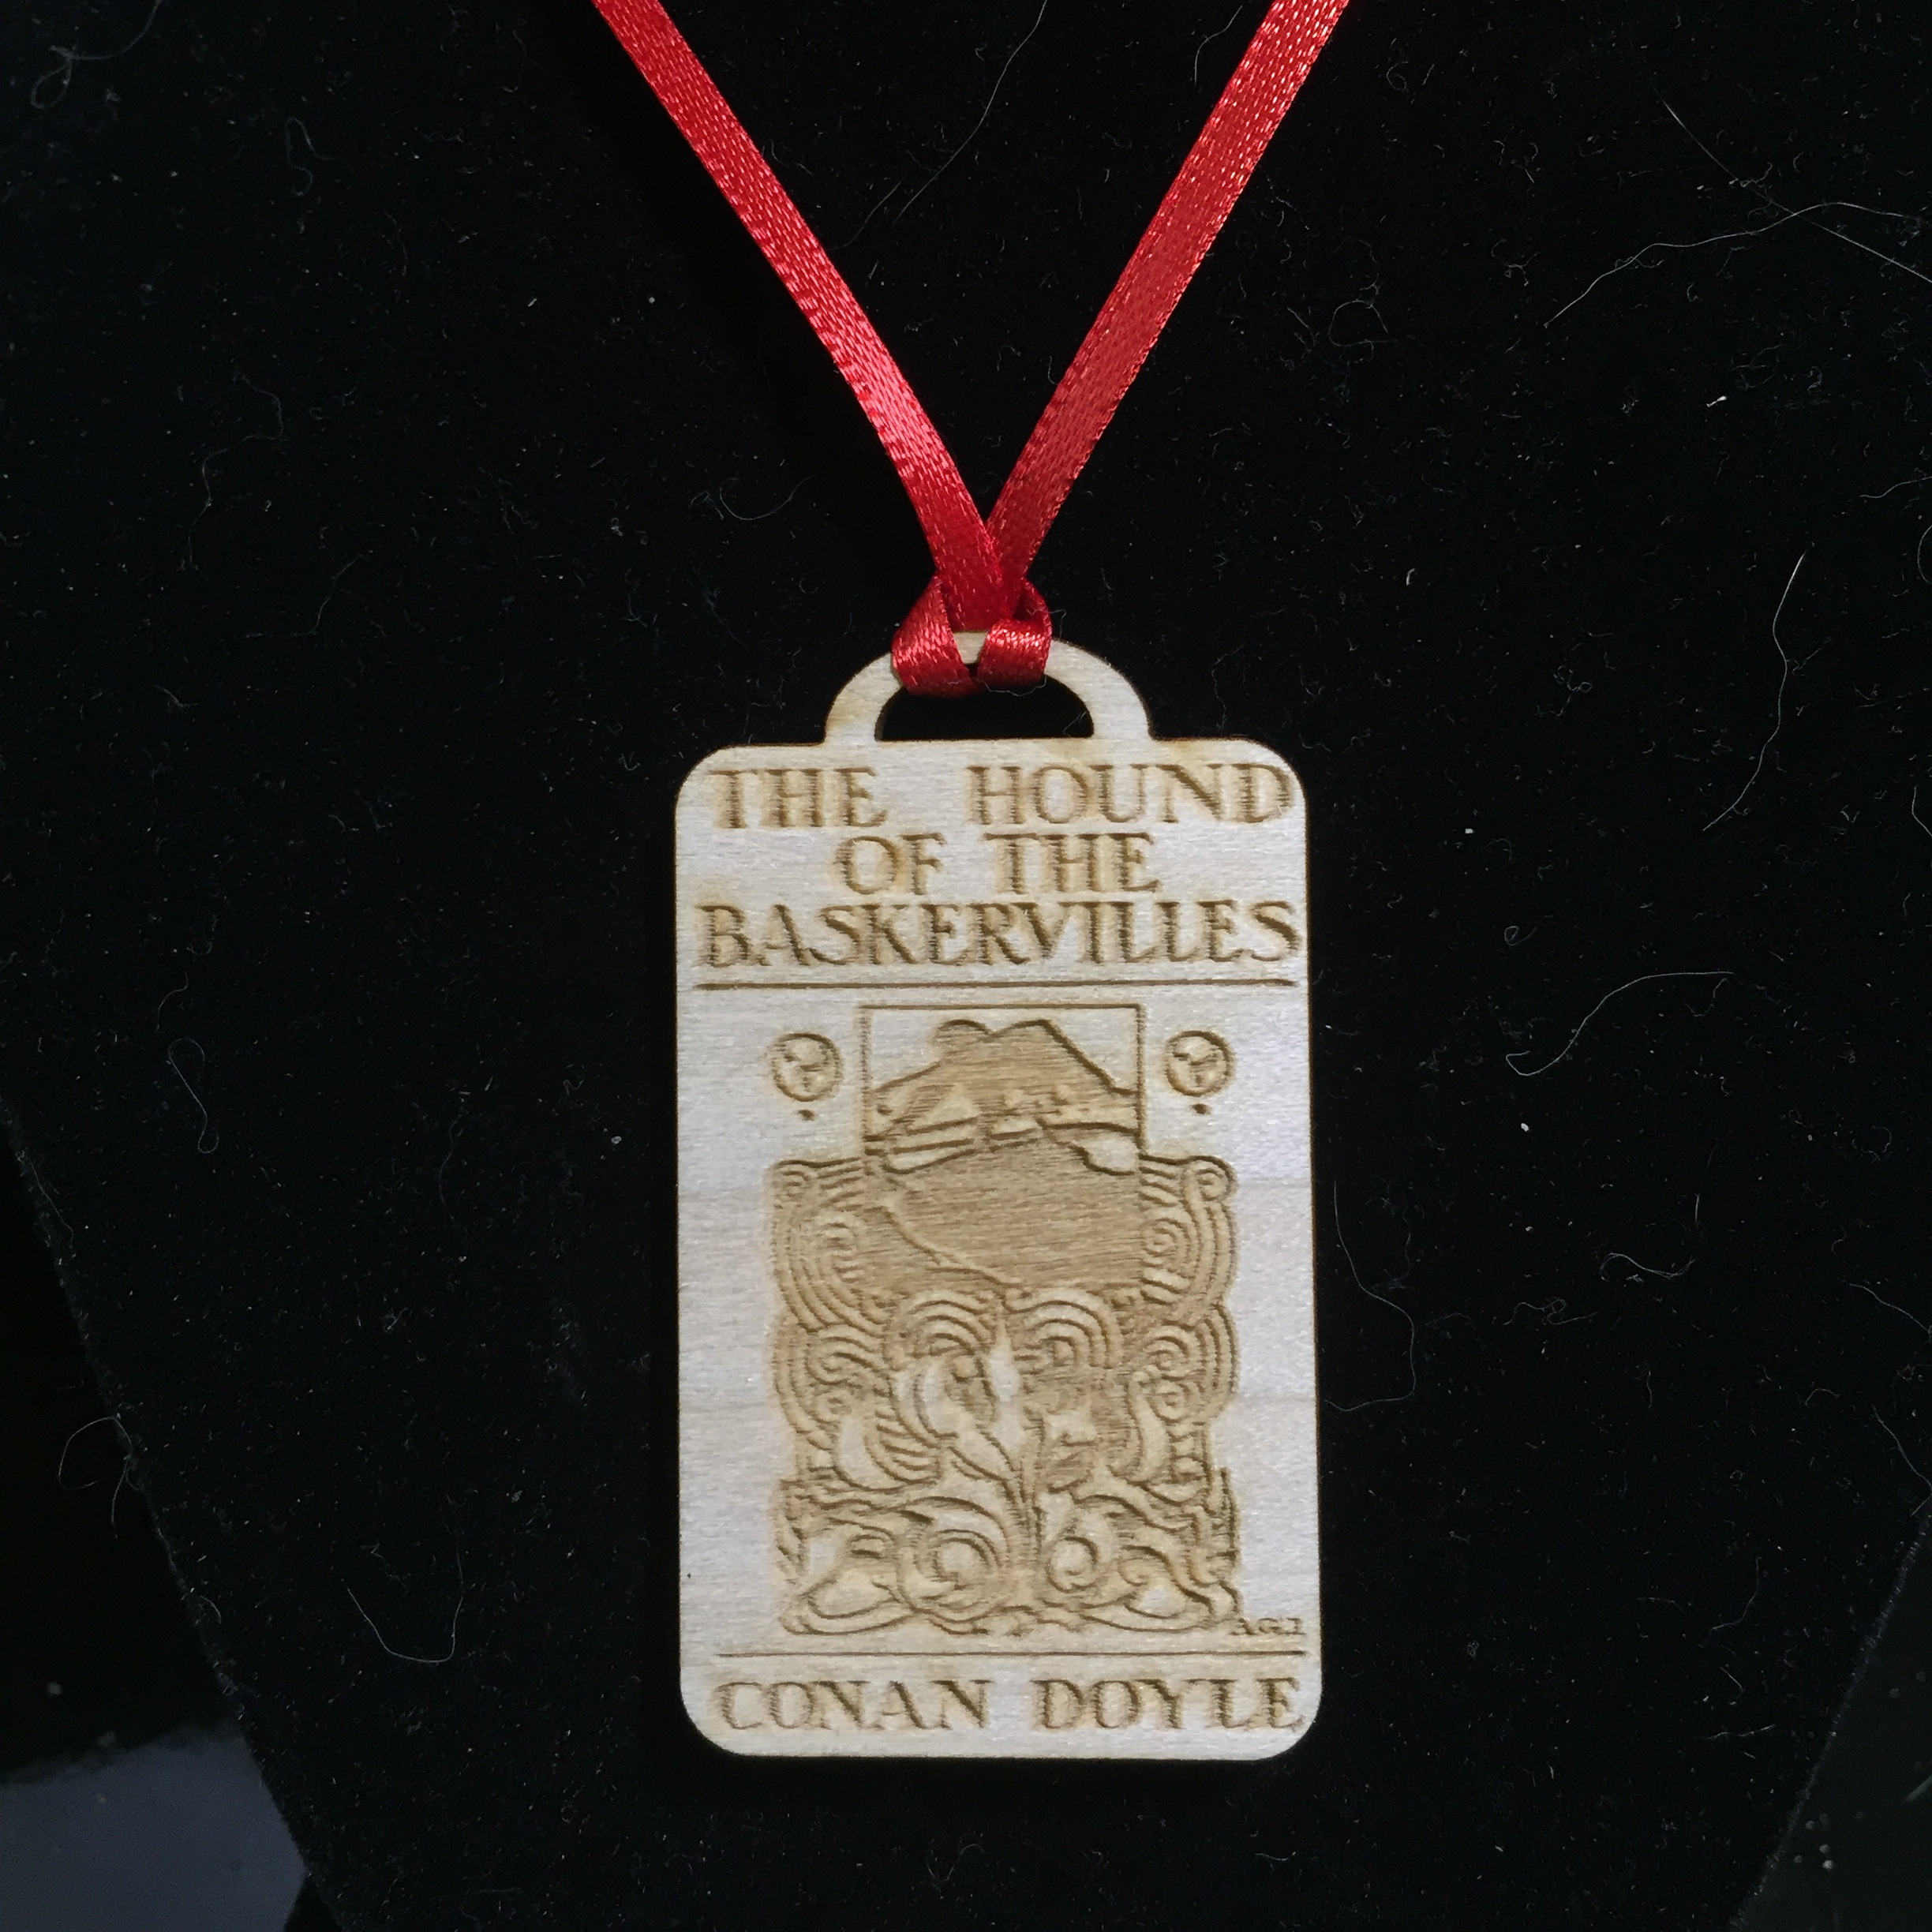
Have you always wanted to carry your favorite first edition around with you all the time? Okay, well, that's probably not really possible, but you can make a necklace using a book cover image! You can also use this as a starting point to make ornaments, keychains, or coasters.
This tutorial assumes you have access to and general knowledge of how to use a laser cutter. If you don't, consider a service like a service like Ponoko (although I have not used them myself).
Tools needed:
- Laser cutter
- Image editing software such as GIMP or Photoshop
- Vector drawing software such as Inkscape or Corel Draw
Materials:
- 1/8" thick poplar or other wood for laser engraving
- 1/8" wide ribbon - available at any craft store
Find and Process Your Image
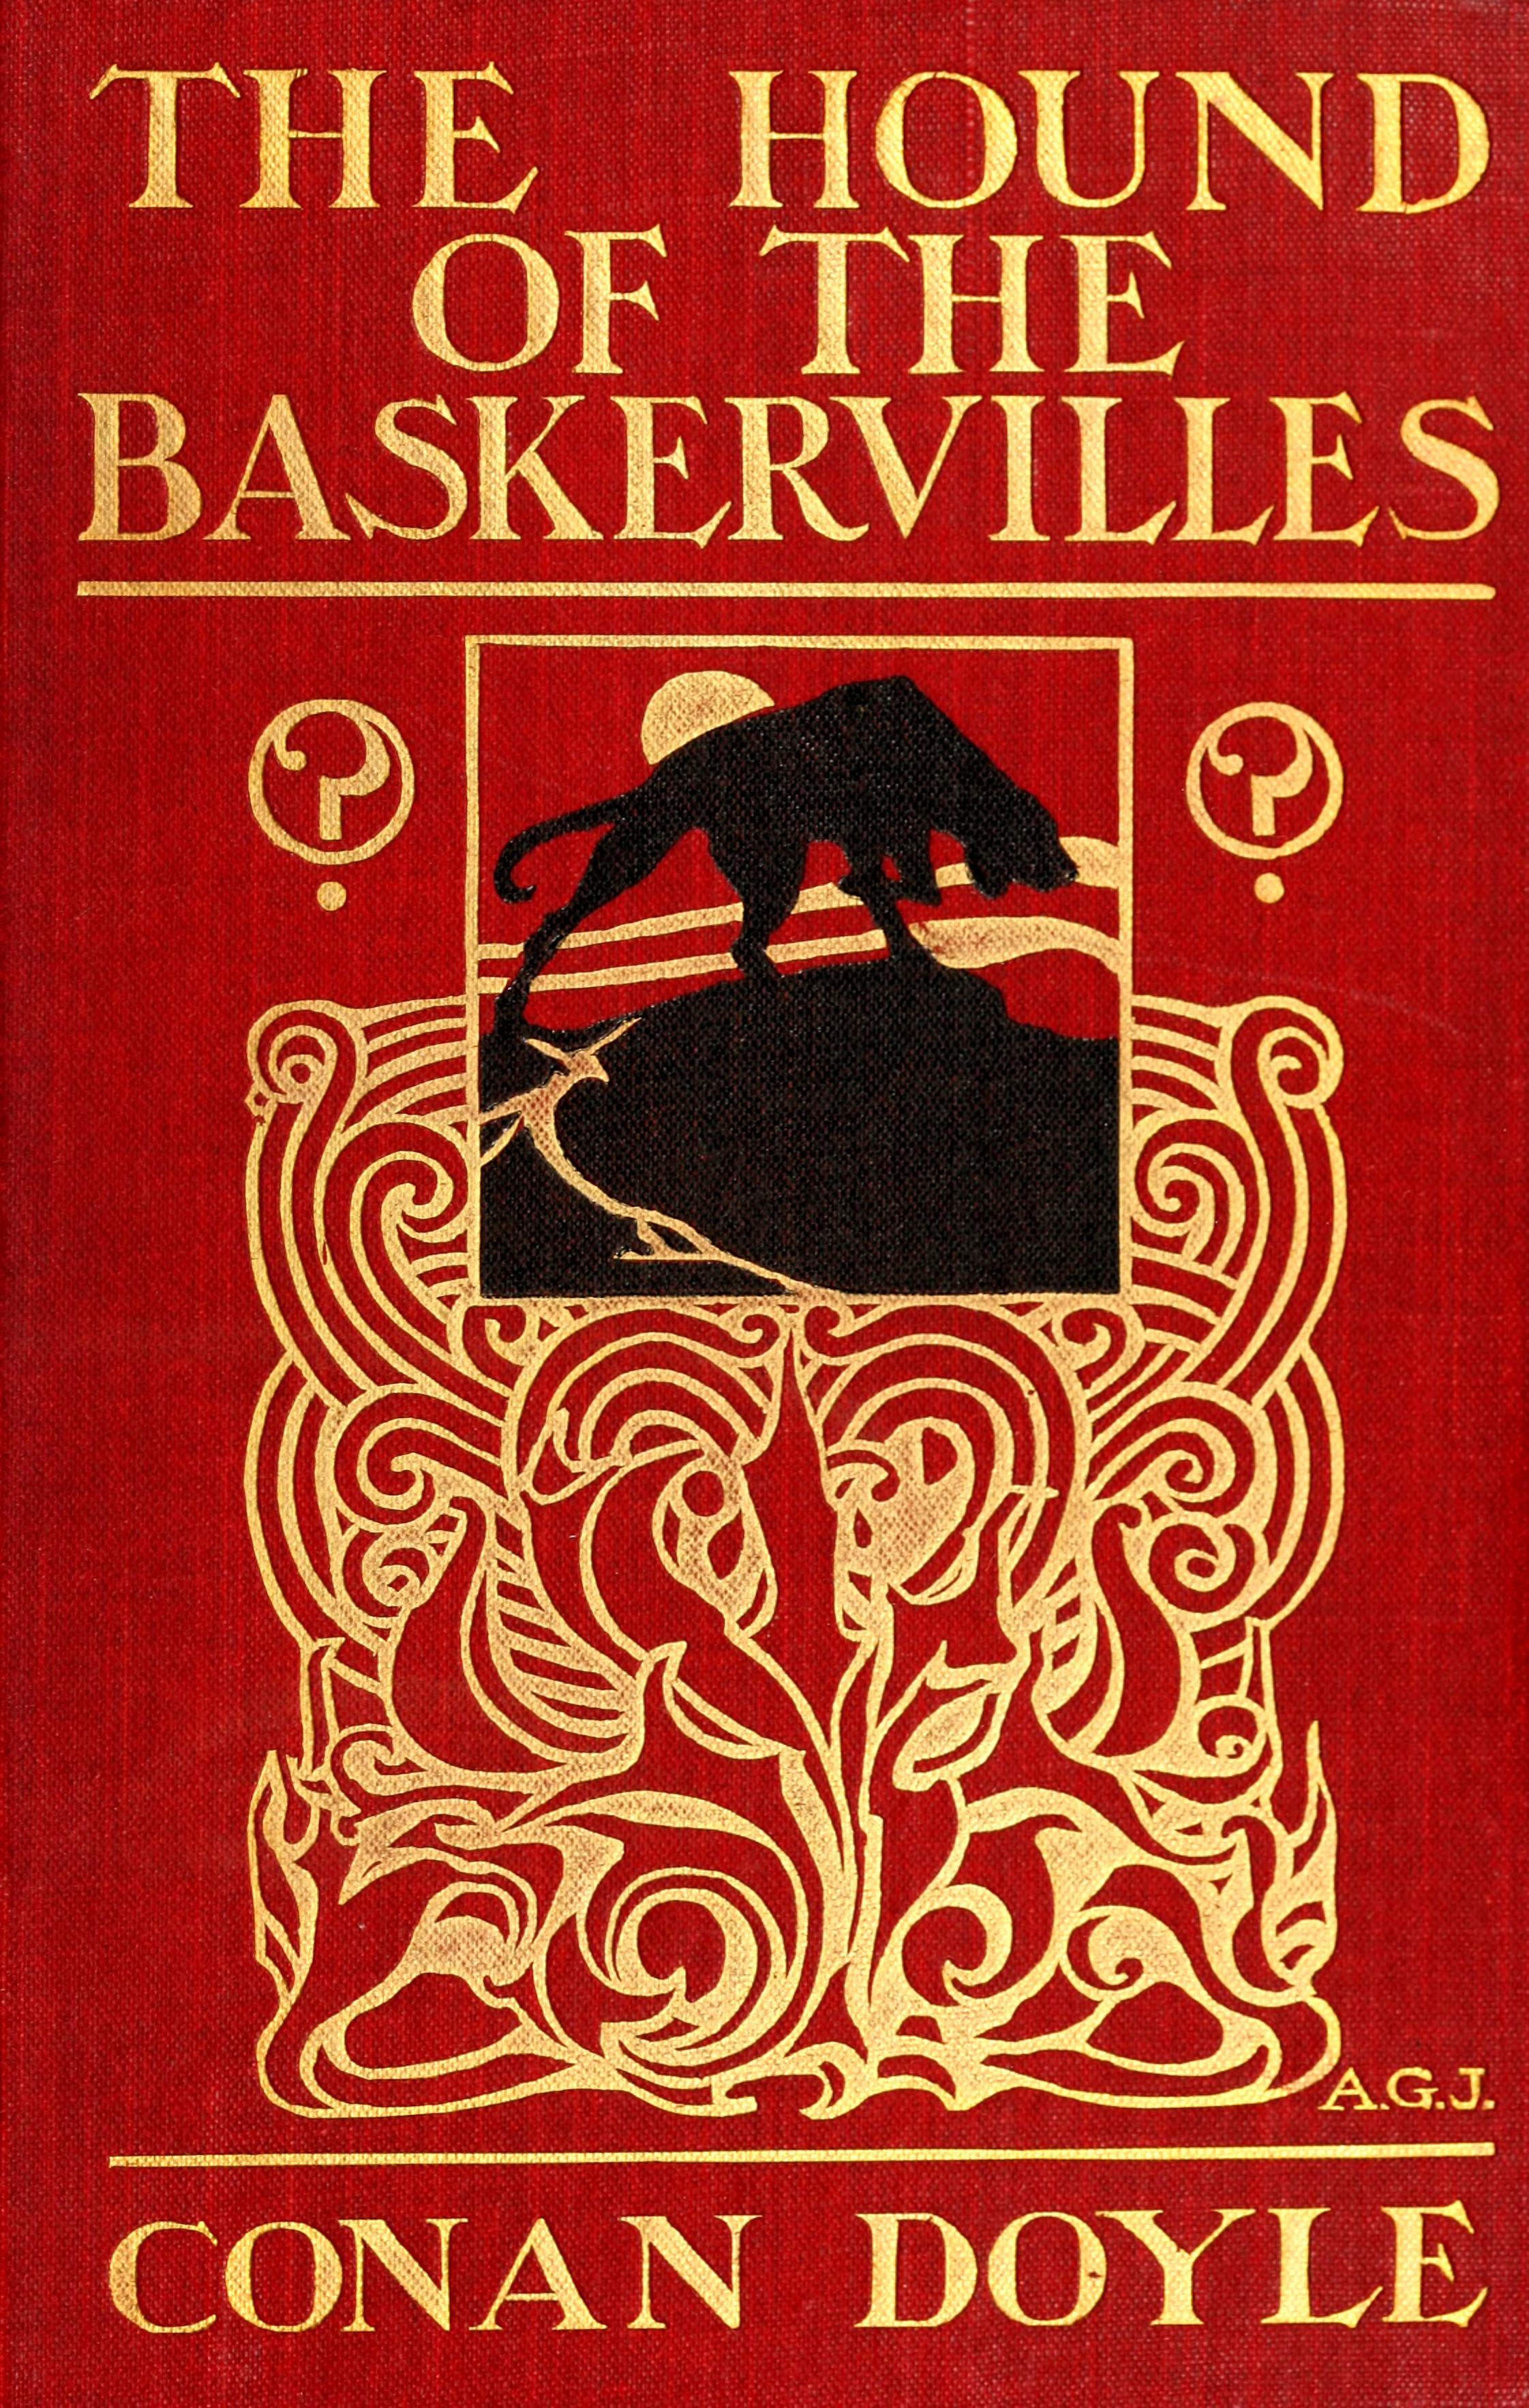
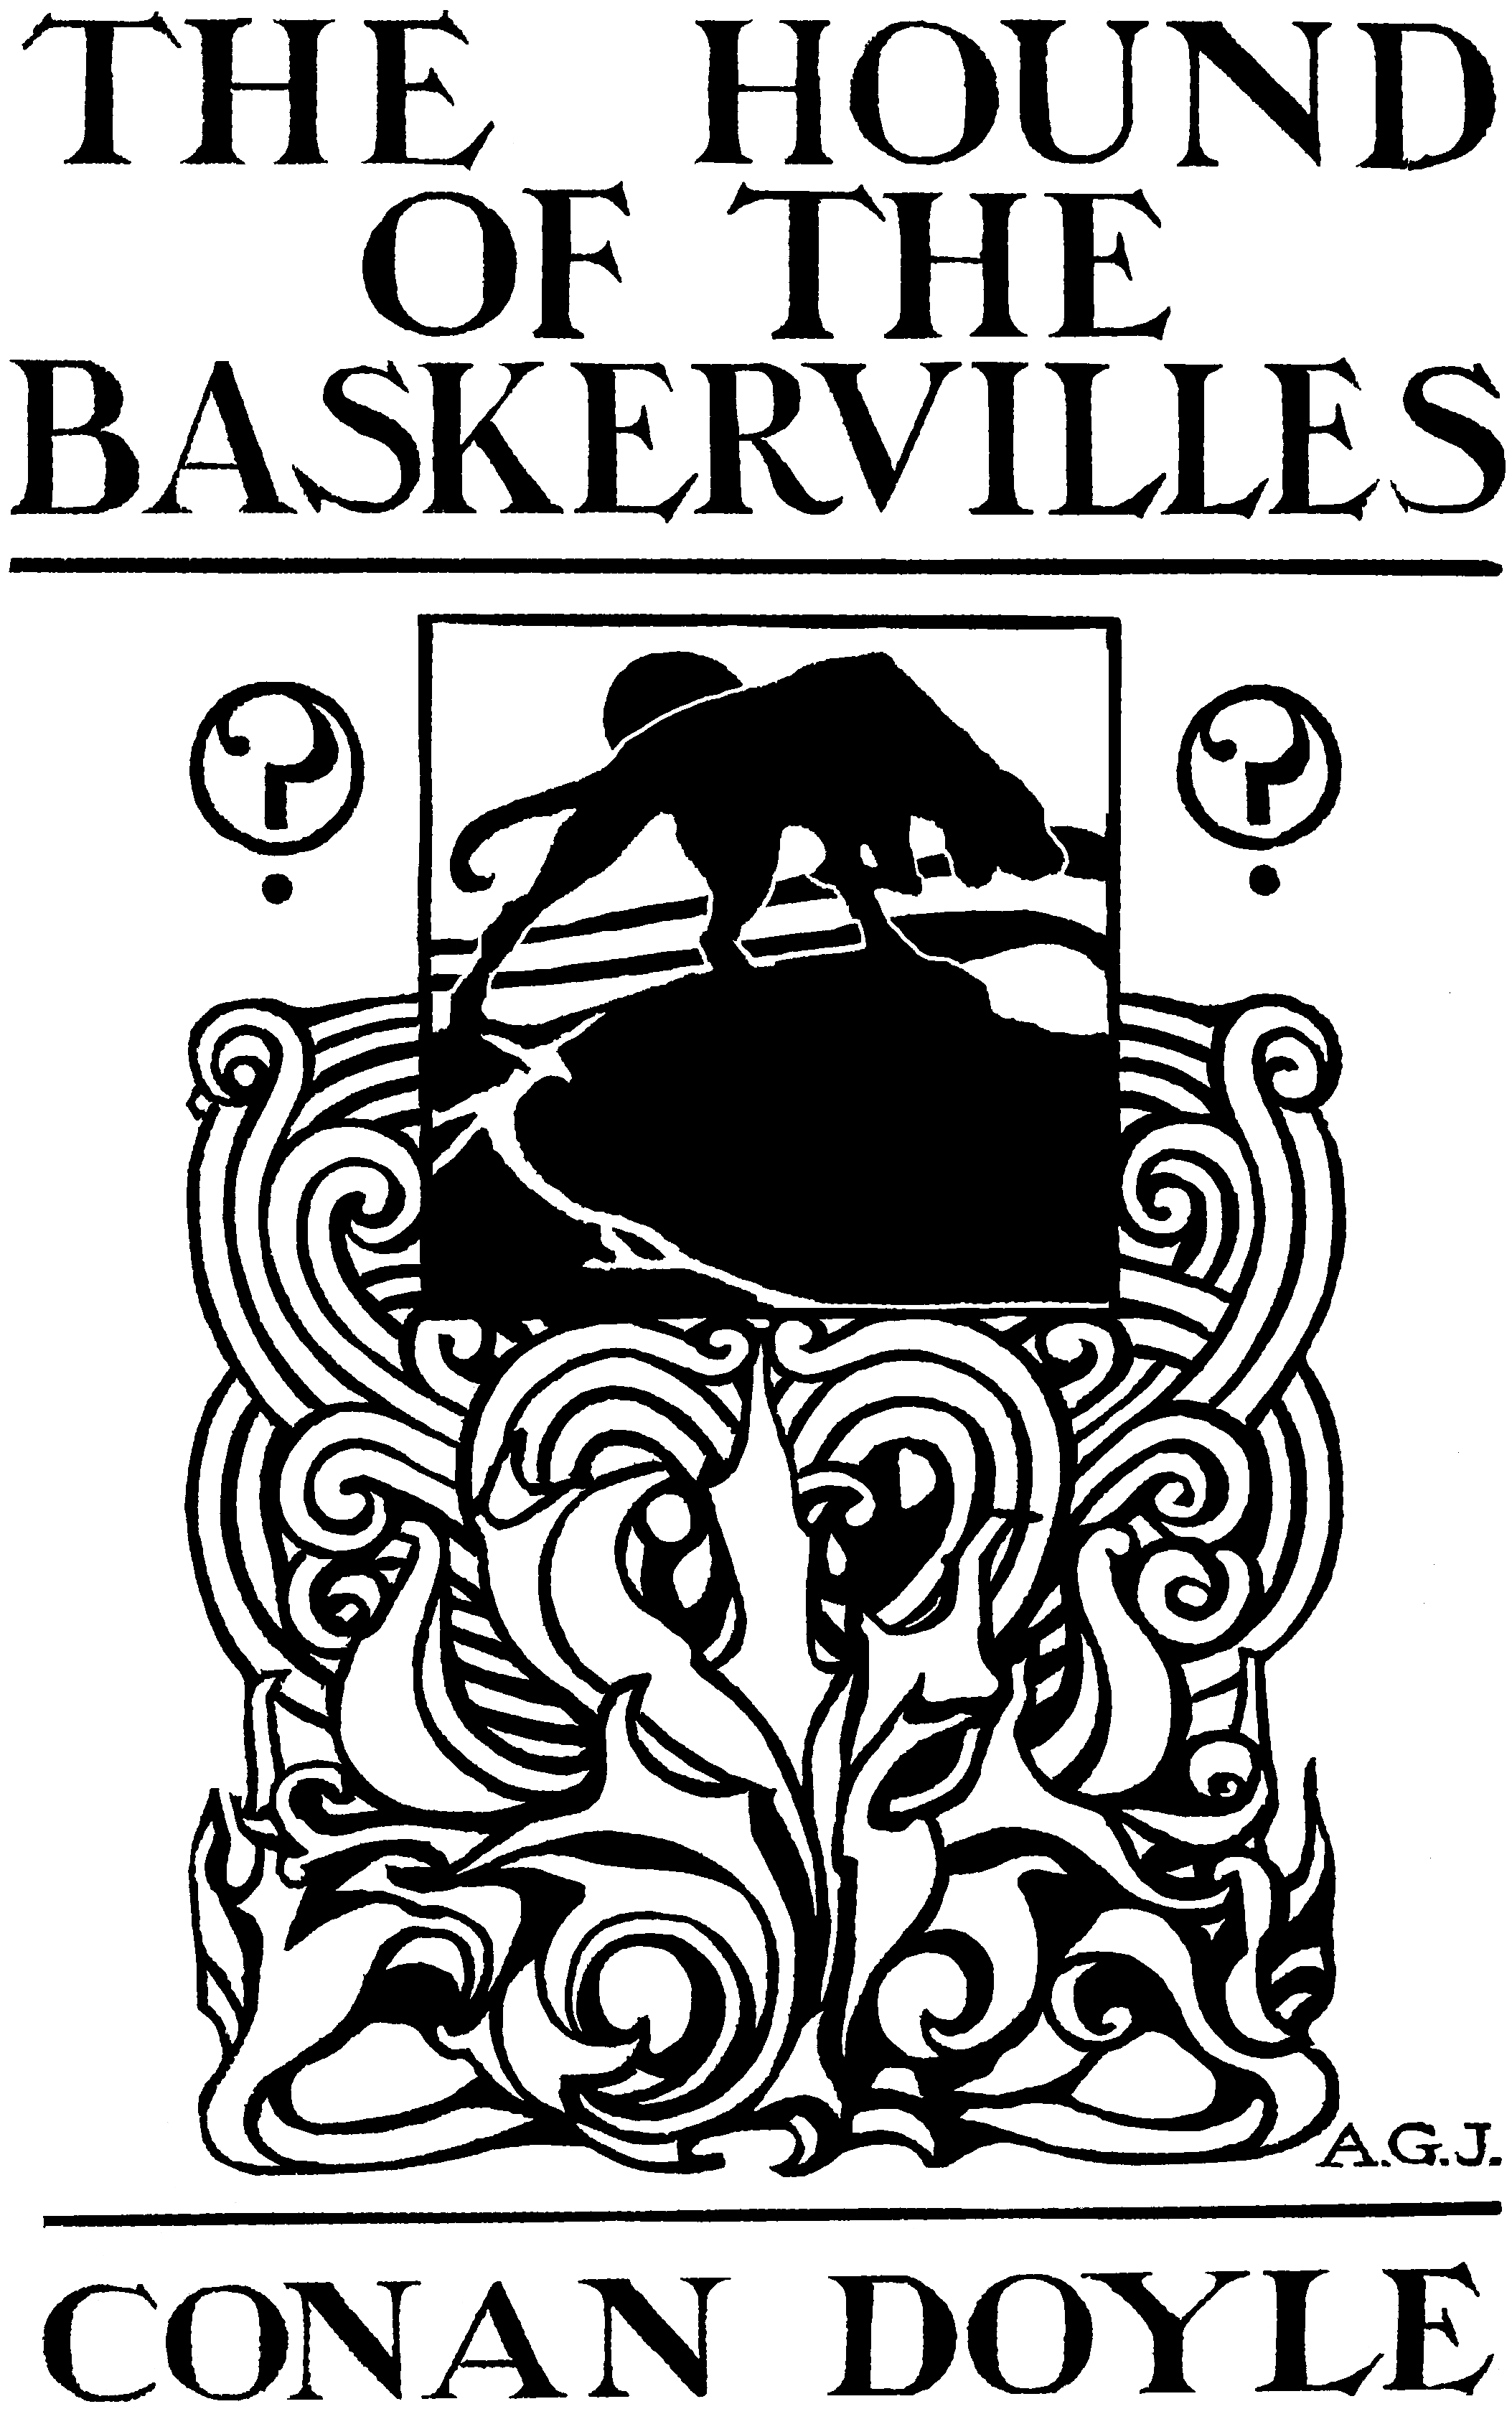
This will work best with a fairly simple cover, like the original Hound of the Baskervilles cover shown here.
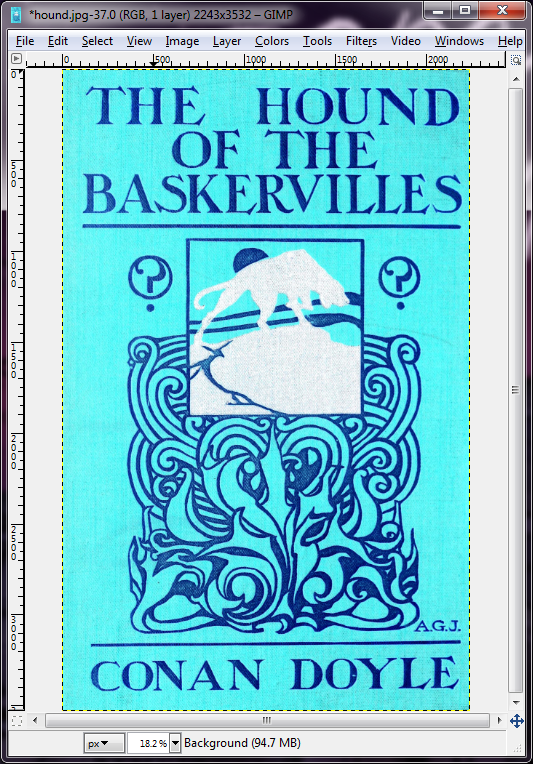
For laser engraving, it's best if you can reduce the image to a simple black and white image. This is doable with free, open source editing software GIMP.
We're going to use thresholds to divide the image into black and white pixels. You may want to invert the colors first if you have a light color that you want to be the black pixels. To do so, go to Colors > Invert.
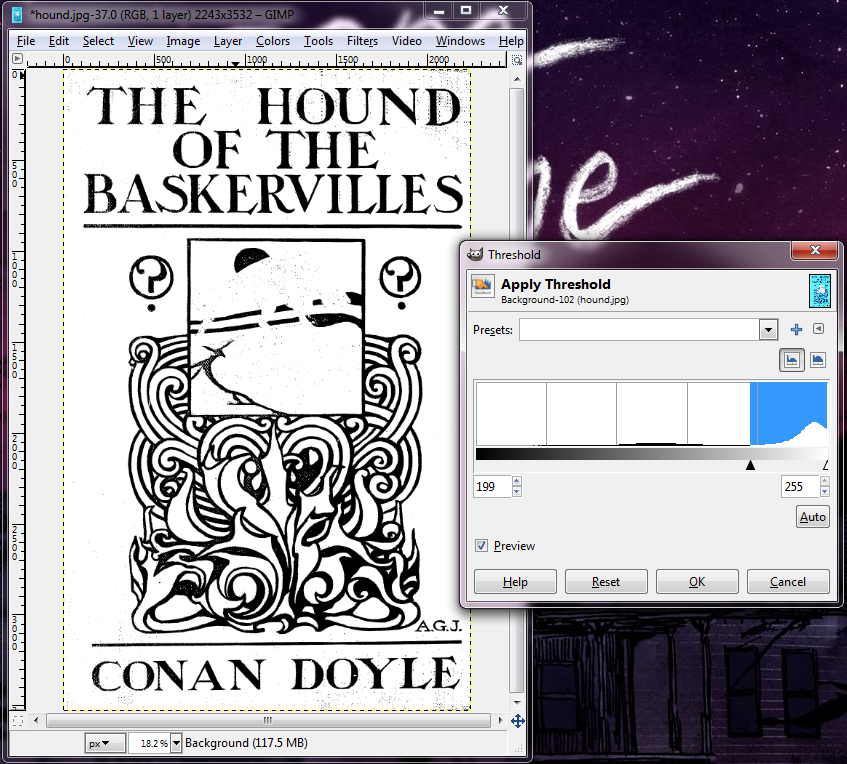
Now go to Colors > Threshold. Play around until you get the image such that the pixels you want are mostly black with not too much background noise.
And now for the tedious part: cleaning up all the background noise. I recommend using the pencil tool with a white color to overwrite the background noise and with black to fill in any holes that didn't make the threshold cutoff.
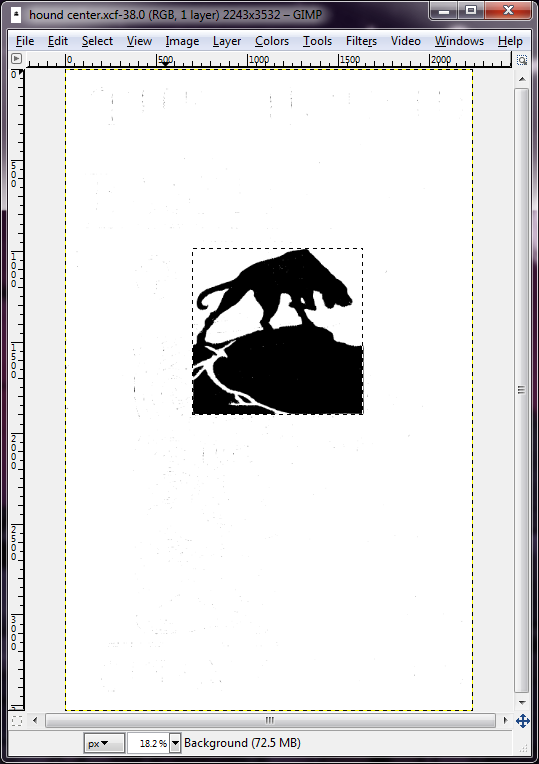
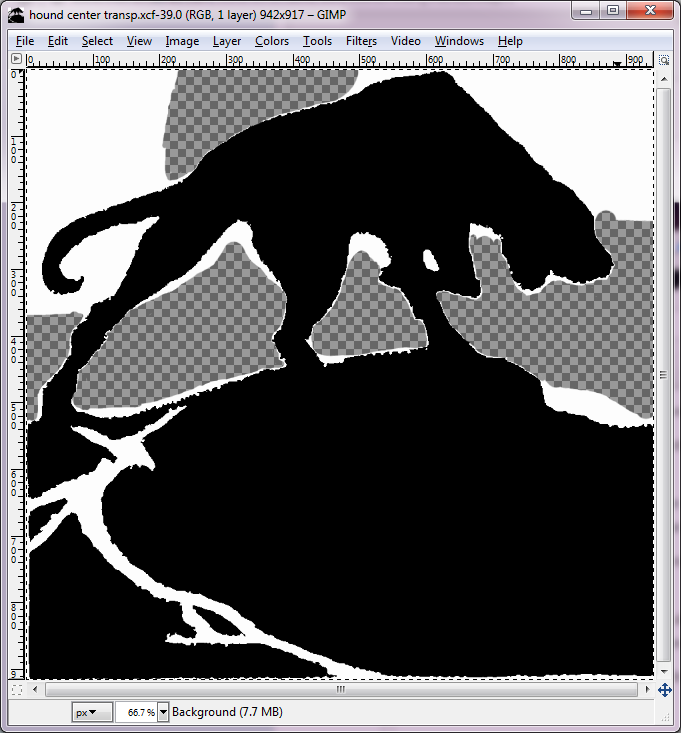
I also did a version where I did not invert first so I could capture the hound in the center. I cropped out the hound, copied to a new image with a transparent background, and erased some parts. Once I was done cleaning the first image, I copied this image onto the first one to get the hound on there. I drew some white space between the hound and the other features to make the distinction clear.
Prepare Vector Outline
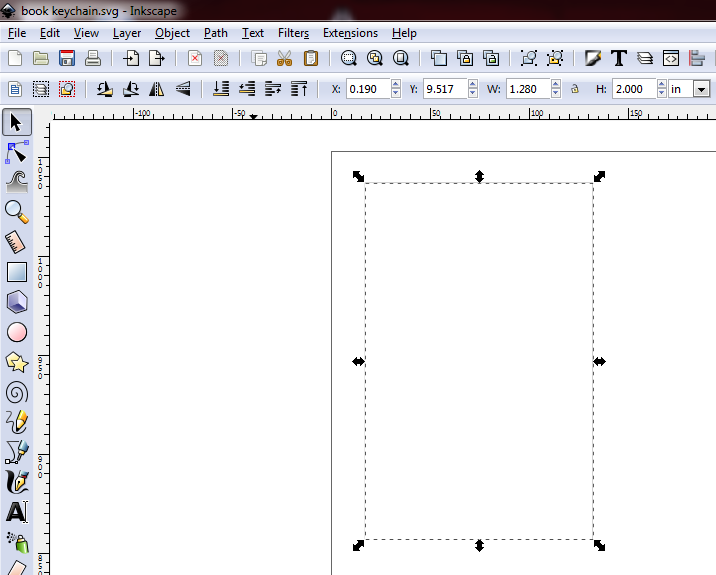
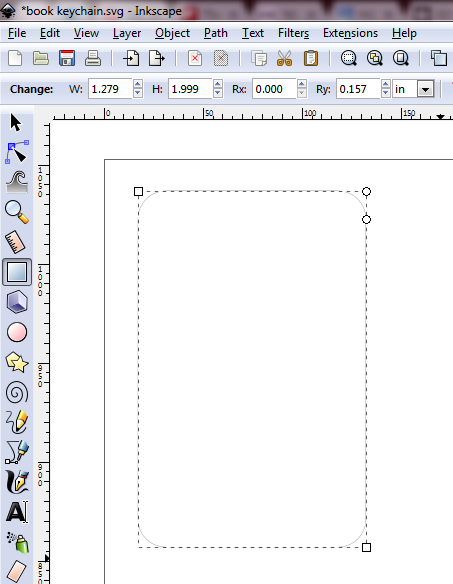
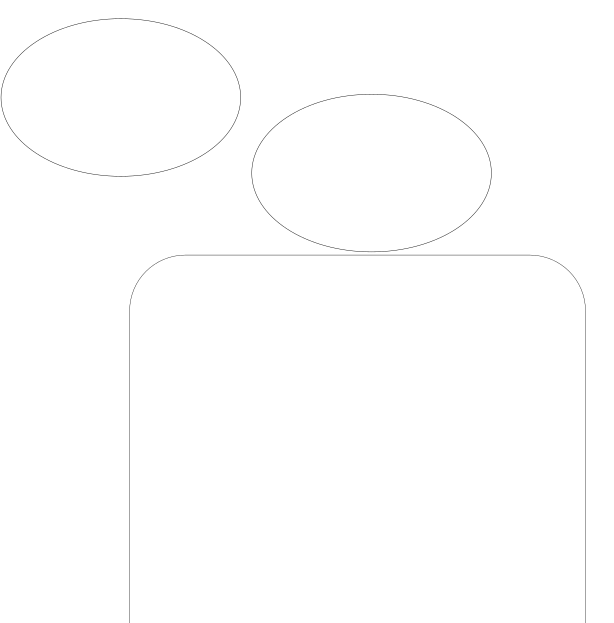
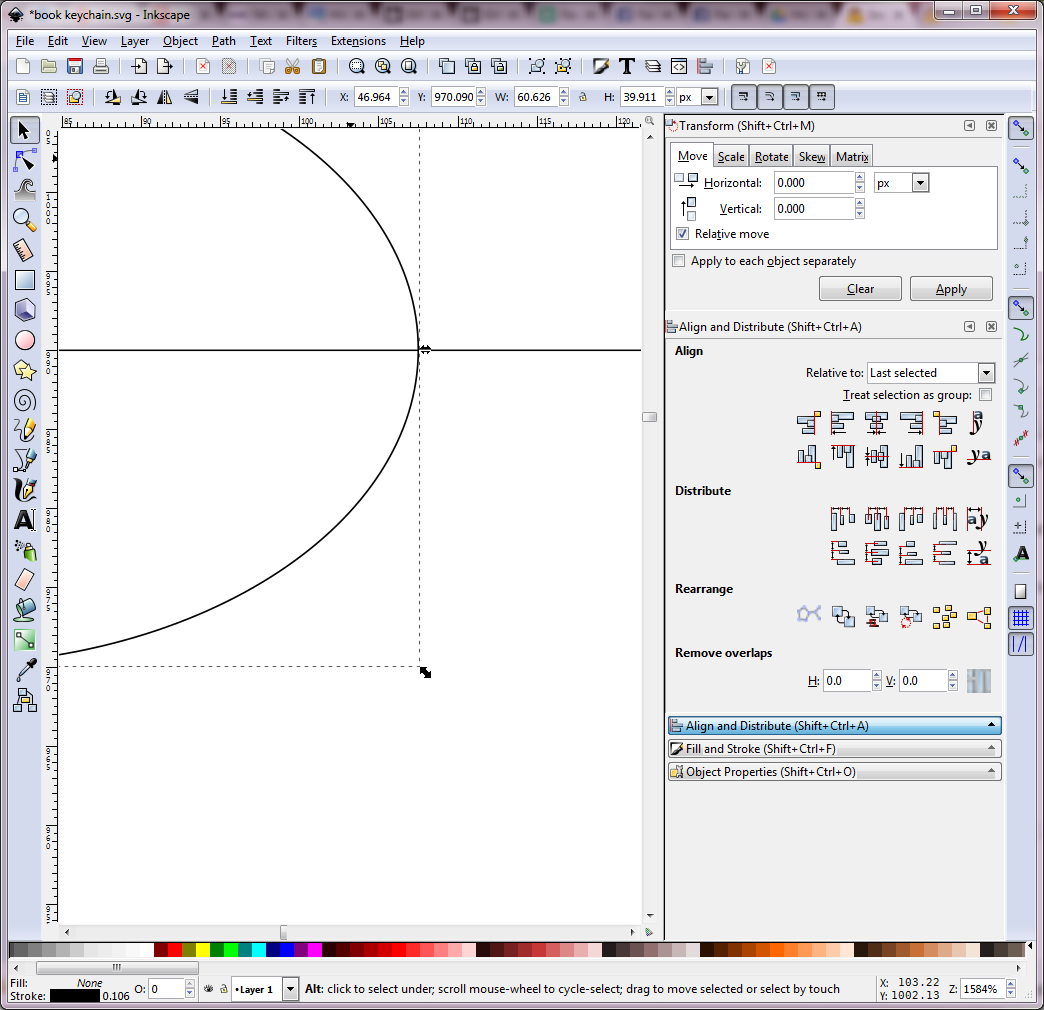
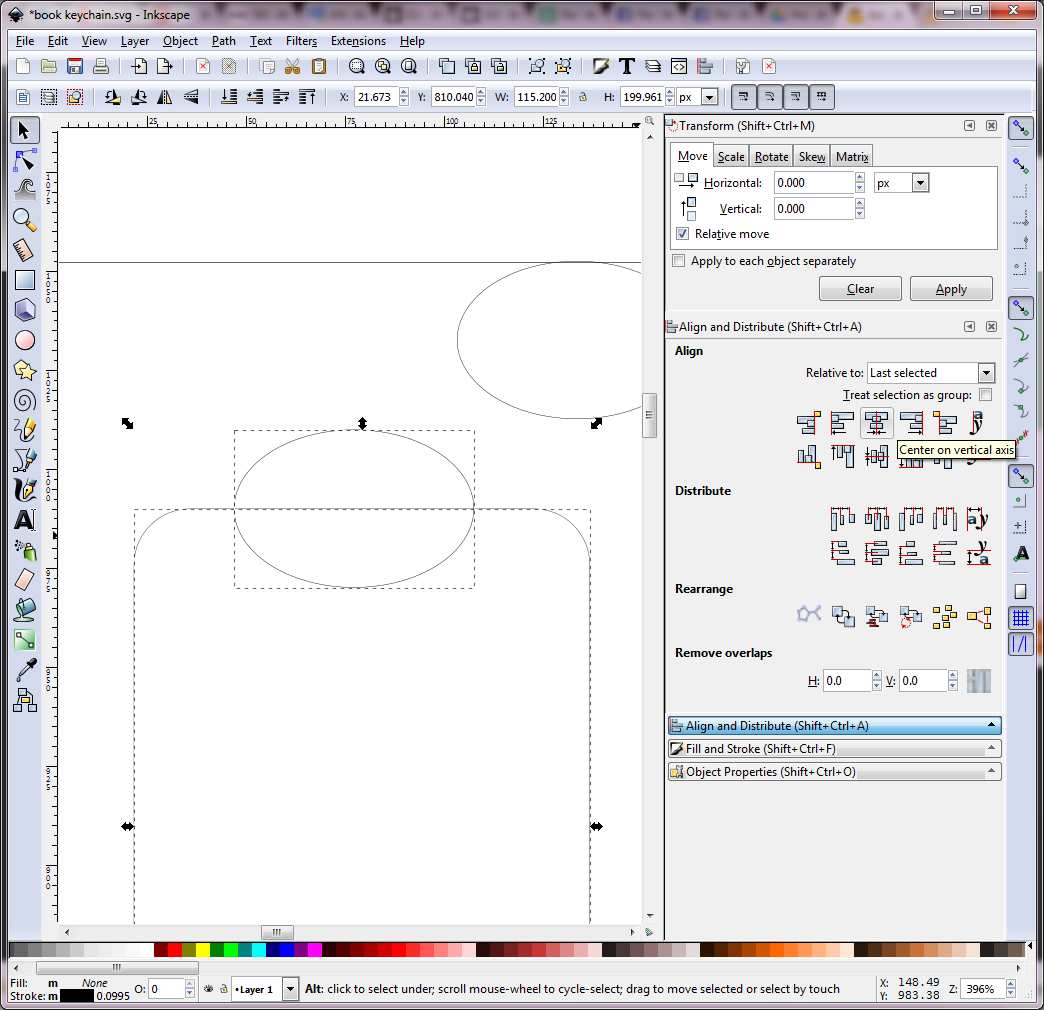
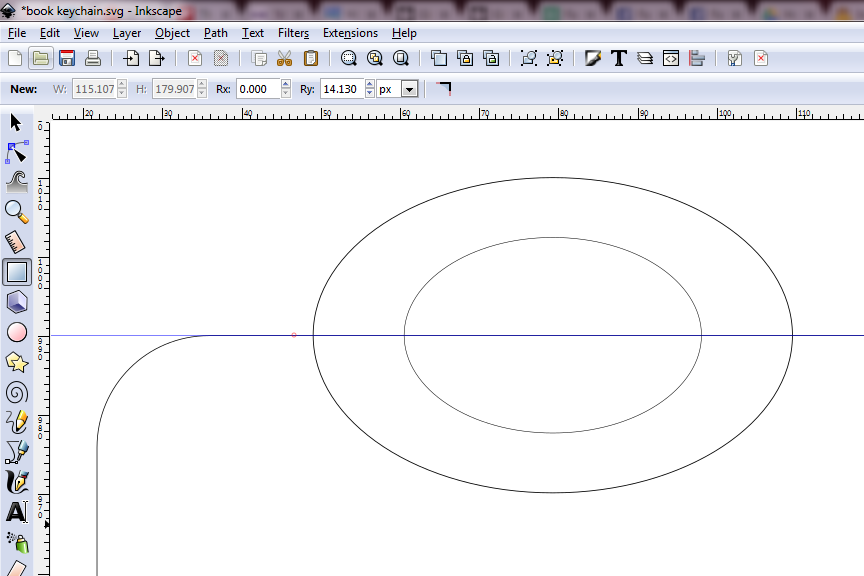
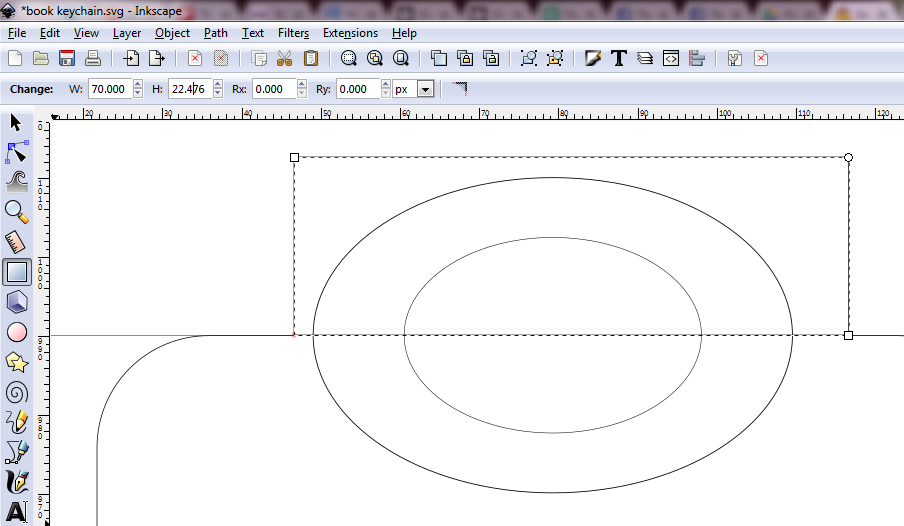
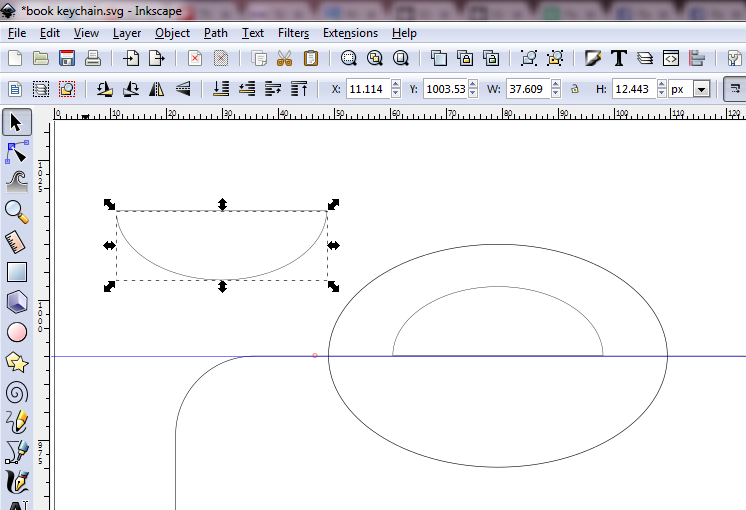
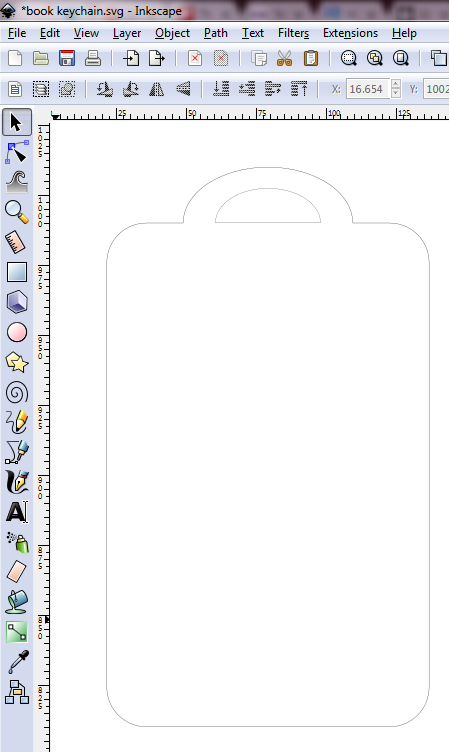
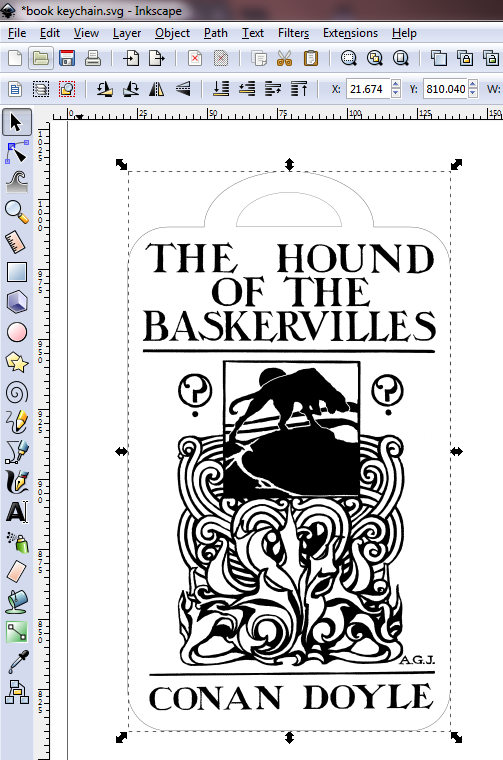
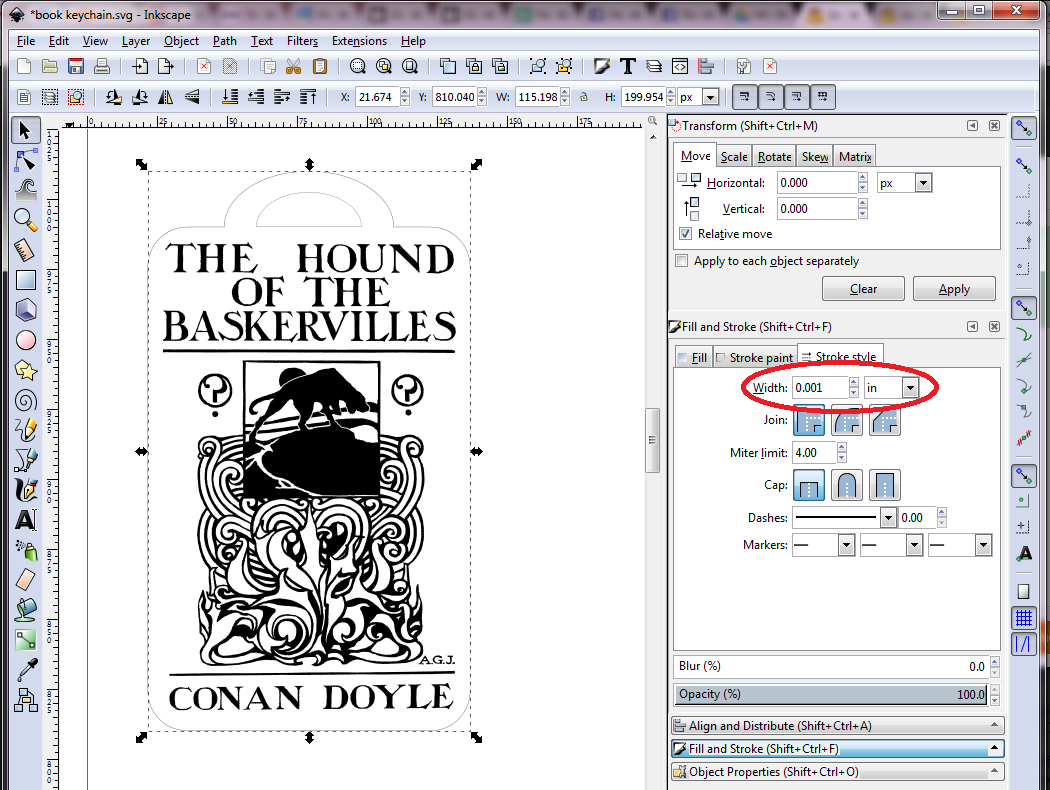
You'll need to create a vector shape for the outline of the keychain for the laser to cut. You can use Inkscape.
- Create a rectangle with the height and width you want. You can type in exact dimensions.
- Now click on the rectange tool again and click on the outline of your rectangle. We're going to add rounded corners by editing the Rx and Ry values. Edit these however you like.
- Make sure your book cover will fit inside. Go to File > Import and open up the .png file for your book cover. Edit the dimensions of your rectangle as needed.
- Now we need to make a cutout so that you can attach it to a keyring. Create an oval for the size of cutout you want. Also copy and paste an additional copy of it.
- Manually adjust the Y position of the oval so the center is aligned with the top of the rectangle.
- Now, while the oval is highlighted, hold shift and click on the rectangle. Open the Align and Distribute panel and click center on vertical axis relative to last selected.
- Take your oval copy and hold ctrl and drag a corner to shrink it proportionally. Then hold shift and click on the larger oval. Open the Align and Distribute panel and center on both horizontal and vertical axes relative to last selected.
- Click and drag from the top ruler to create a guide. Align it with the top of the rectangle.
- Draw another rectangle by clicking on the guide to start. Make the rectangle larger than the smaller oval.
- While the rectangle is selected, hold shift and click on the small oval. Then go to Path > Division. This will cut the small rectangle in half. Drag the bottom half away. You can delete it and also delete the guide line.
- Deselect, then hold shift and select the rectangle and the large oval. Go to Path > Union to combine.
- Your outline is now complete! Drag the book inside.
- Select the outline. Make sure stroke width is 0.001 inches so it will be cut.
In case you just want to make what I have, you can use the attached file. I have attached both Inkscape and Corel Draw formats.
Laser Cut!
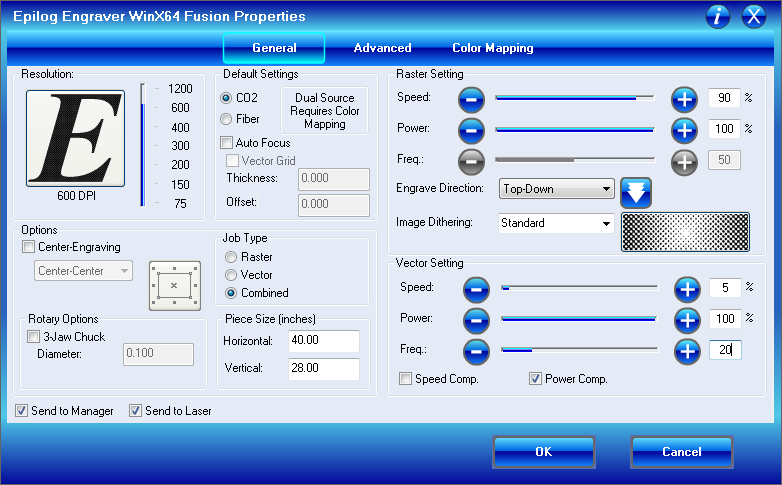
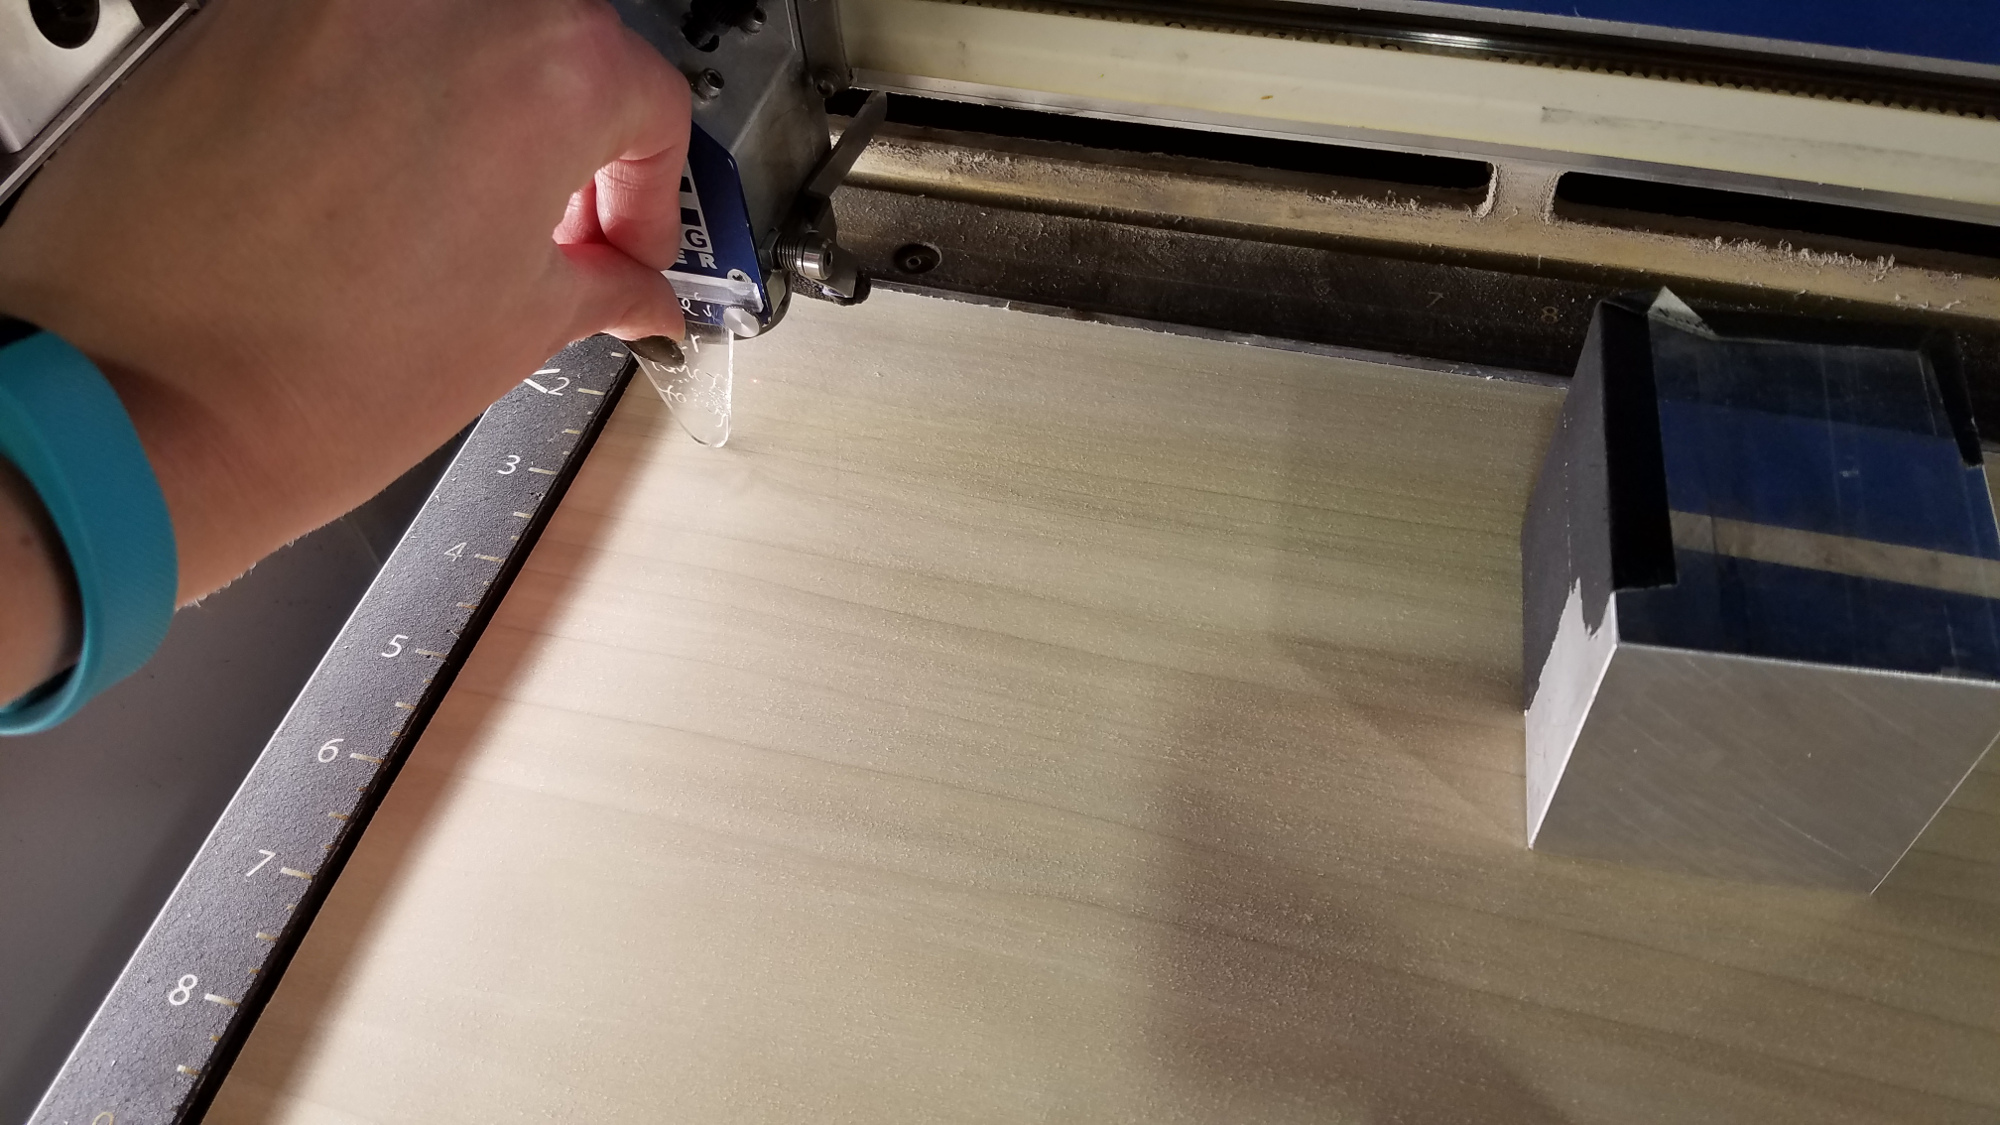
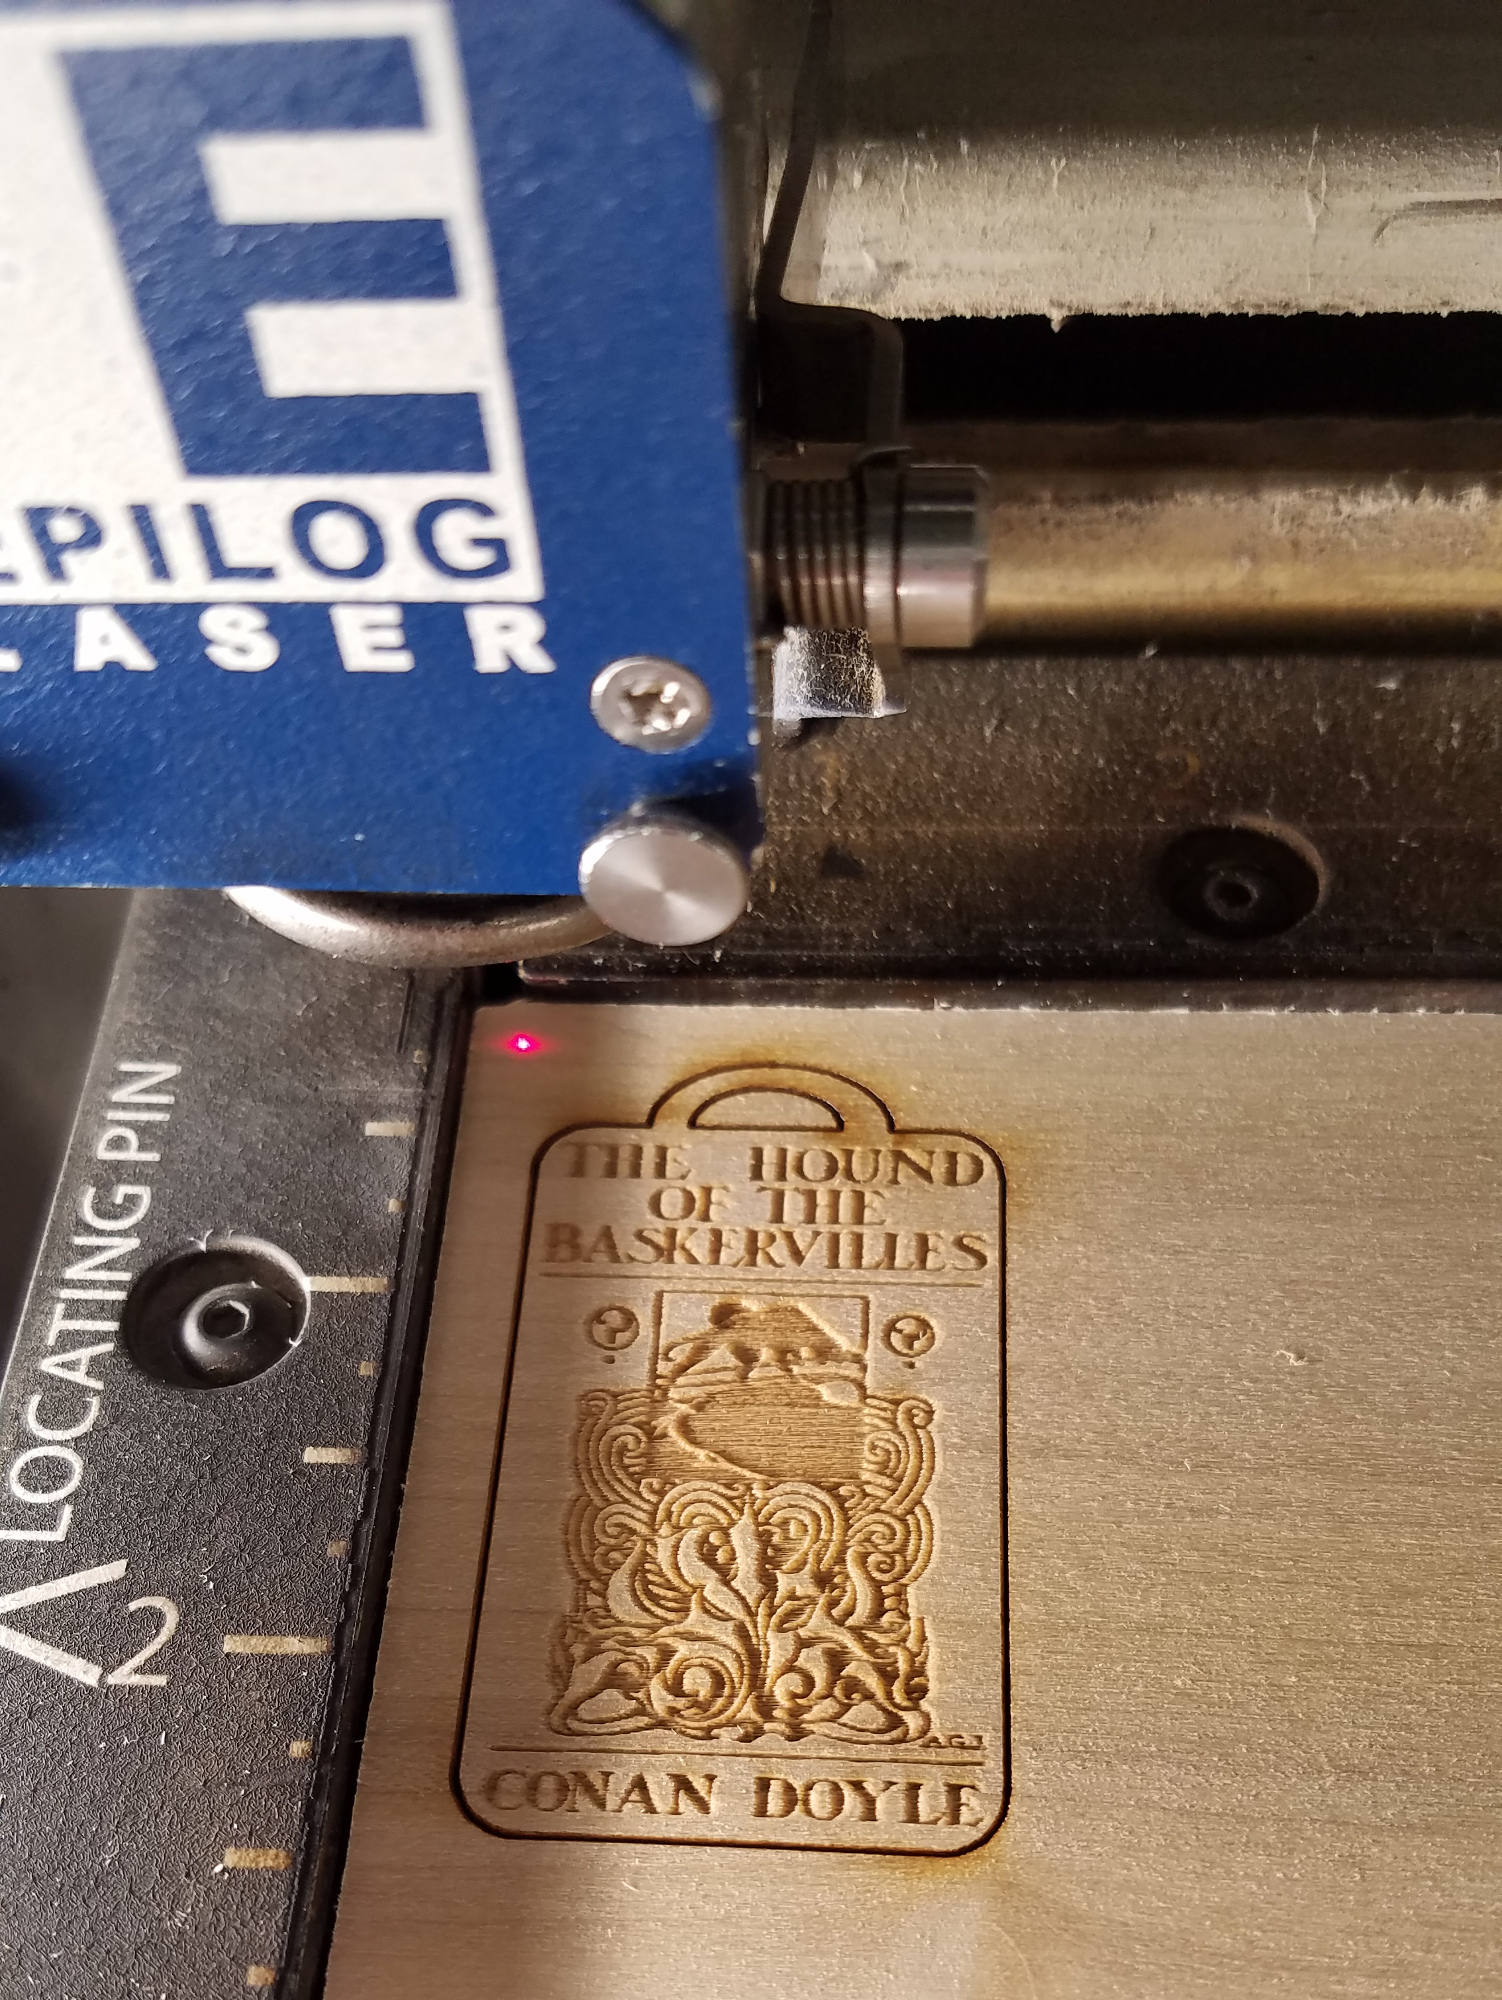
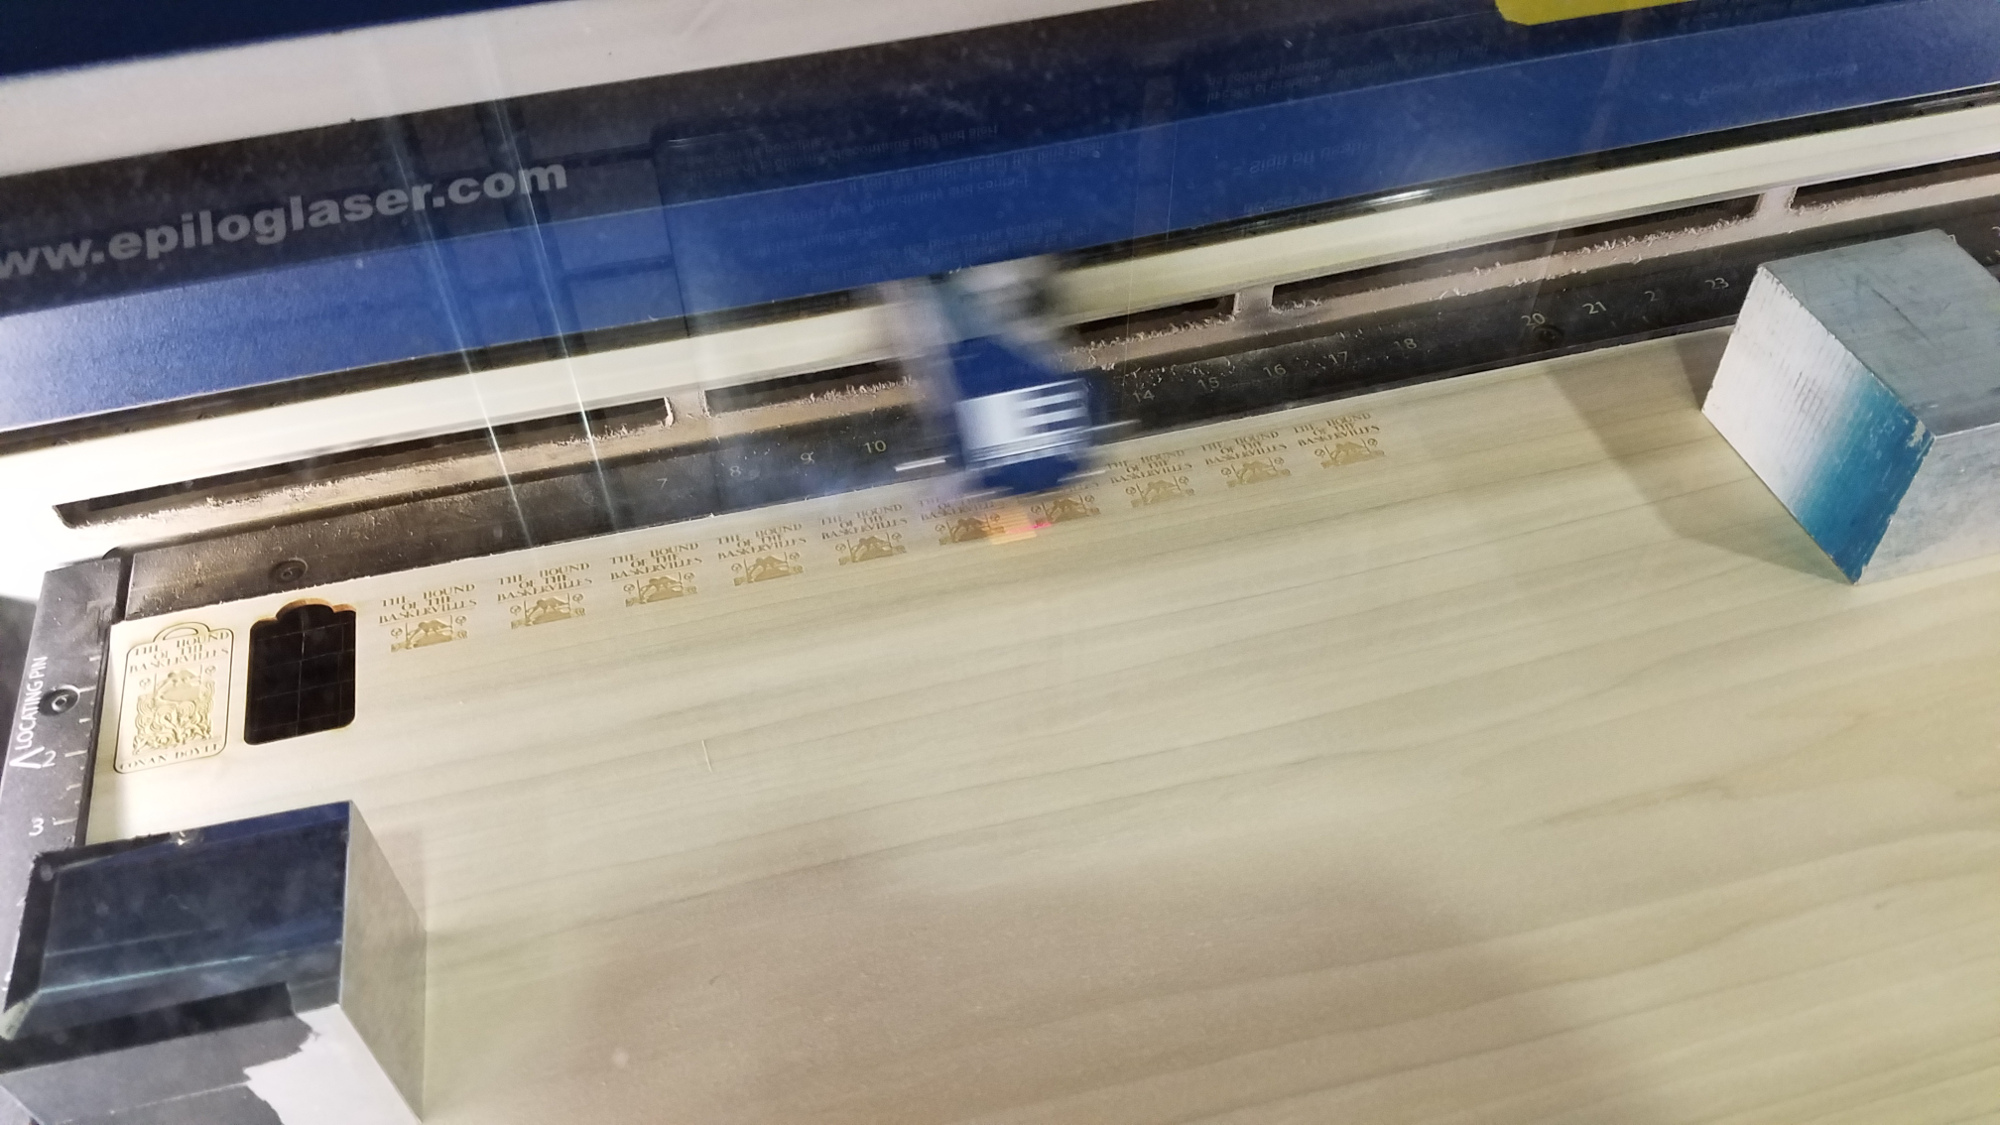
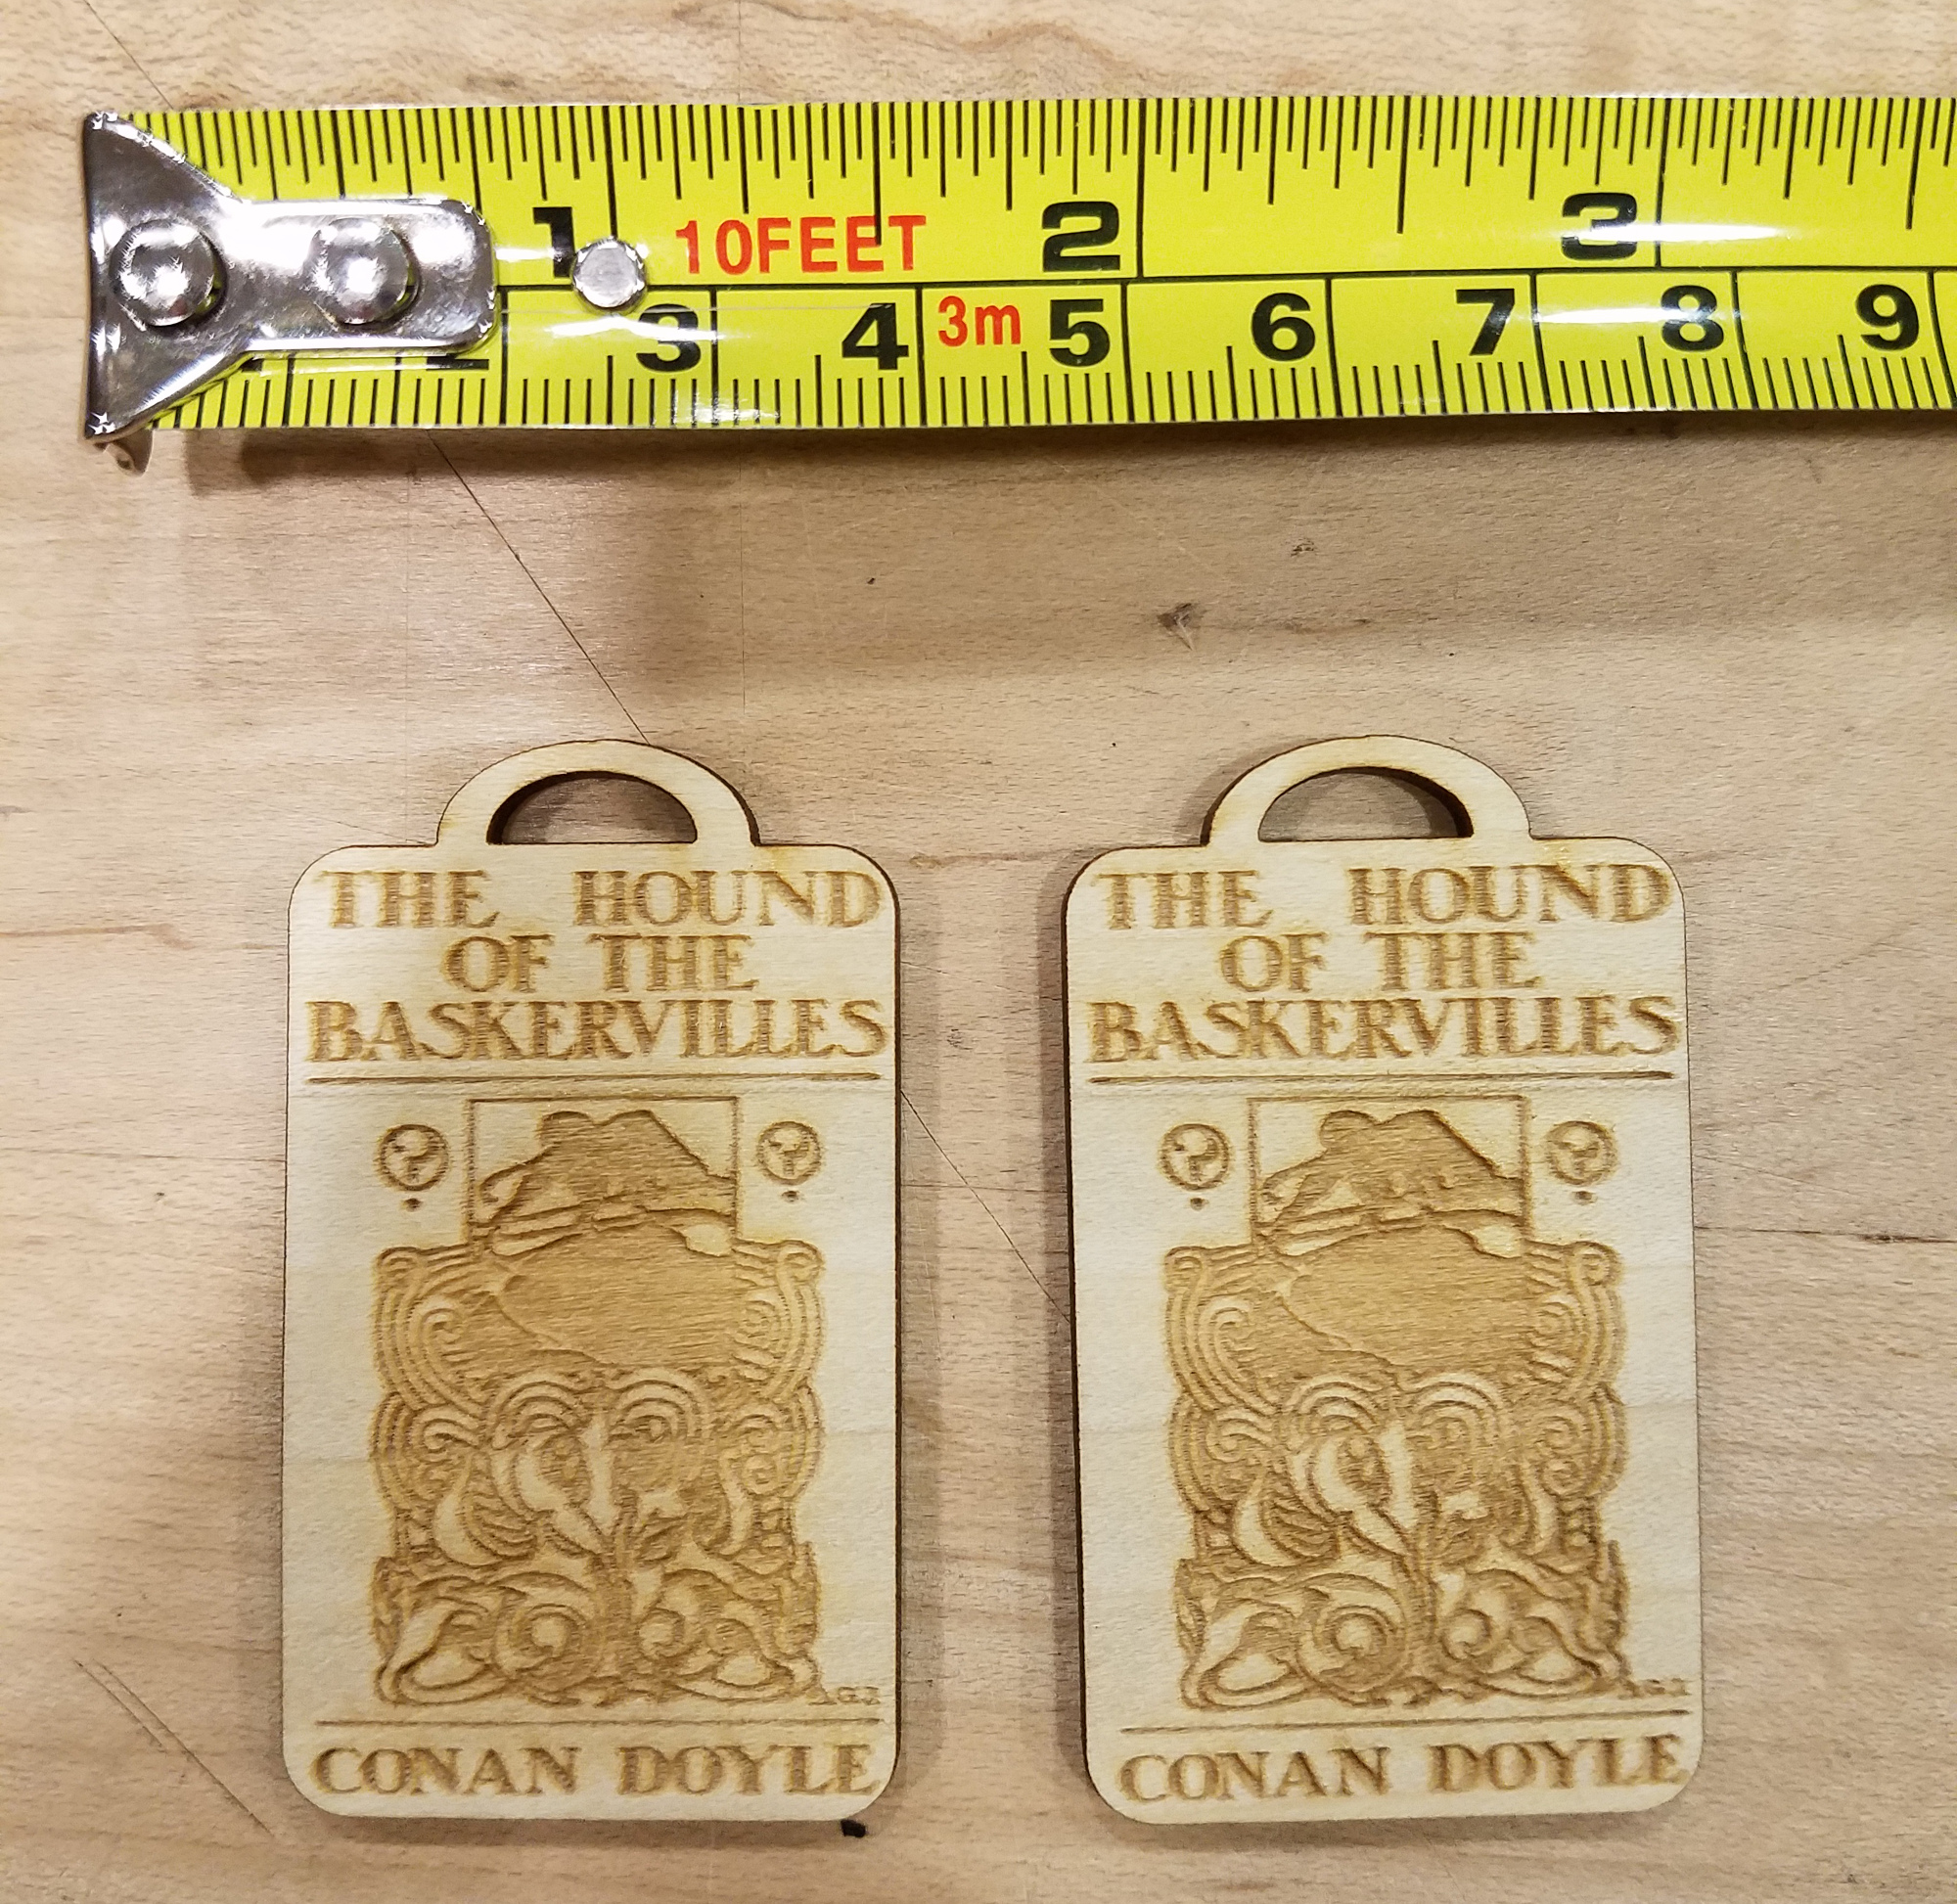
I'm not going to include a full laser cutting tutorial, but here are some tips and the settings I used. I used an Epilog 75W and based my settings on their recommended settings for wood and tweaked slightly.
- Focus - be sure to focus the laser cutter to the right height!
- Flatness - the wood I got was curving slightly, so I put down some short, heavy objects to flatten it out. Make sure they'll be out of the way of the laser cutter.
Settings:
- Job type: combined
- Raster: Speed 90/Power 100/Freq 50, 600 DPI
- Vector: Speed 5/Power 100/Freq 20
If you aren't cutting all the way through the wood, try slowing down the vector cut speed.
Make the Necklace
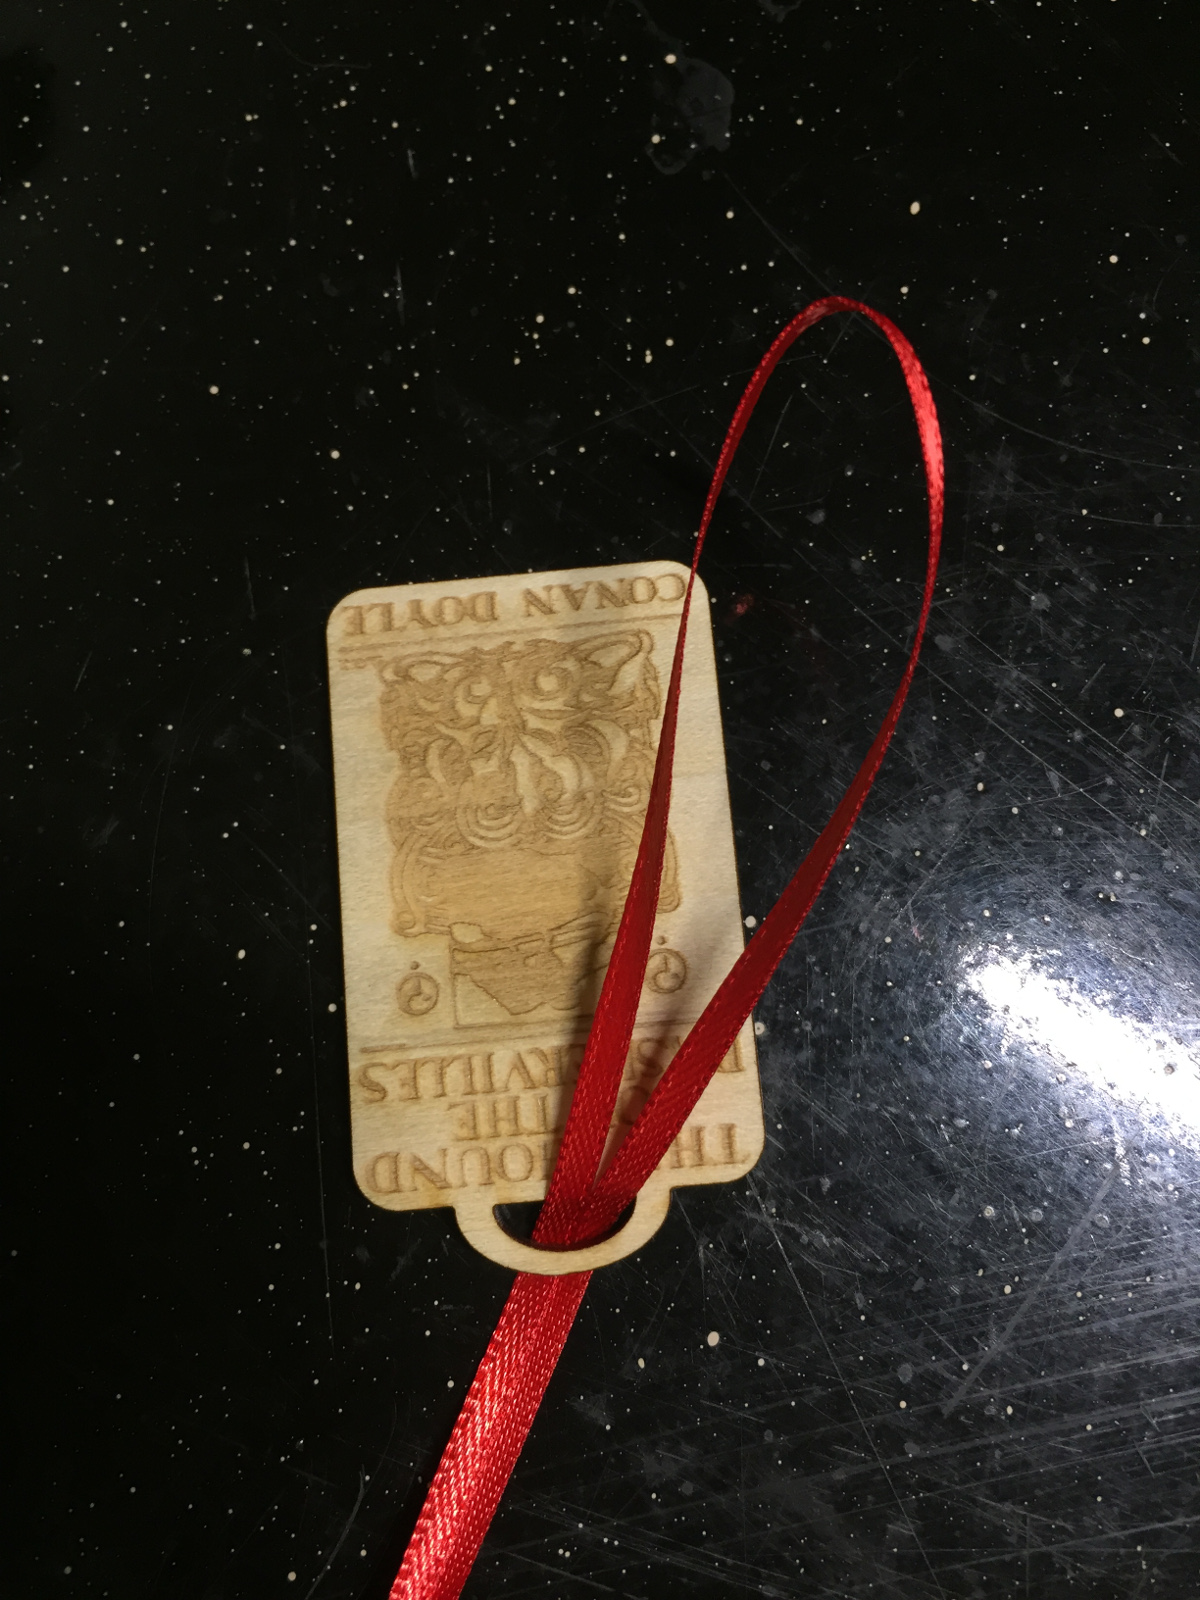
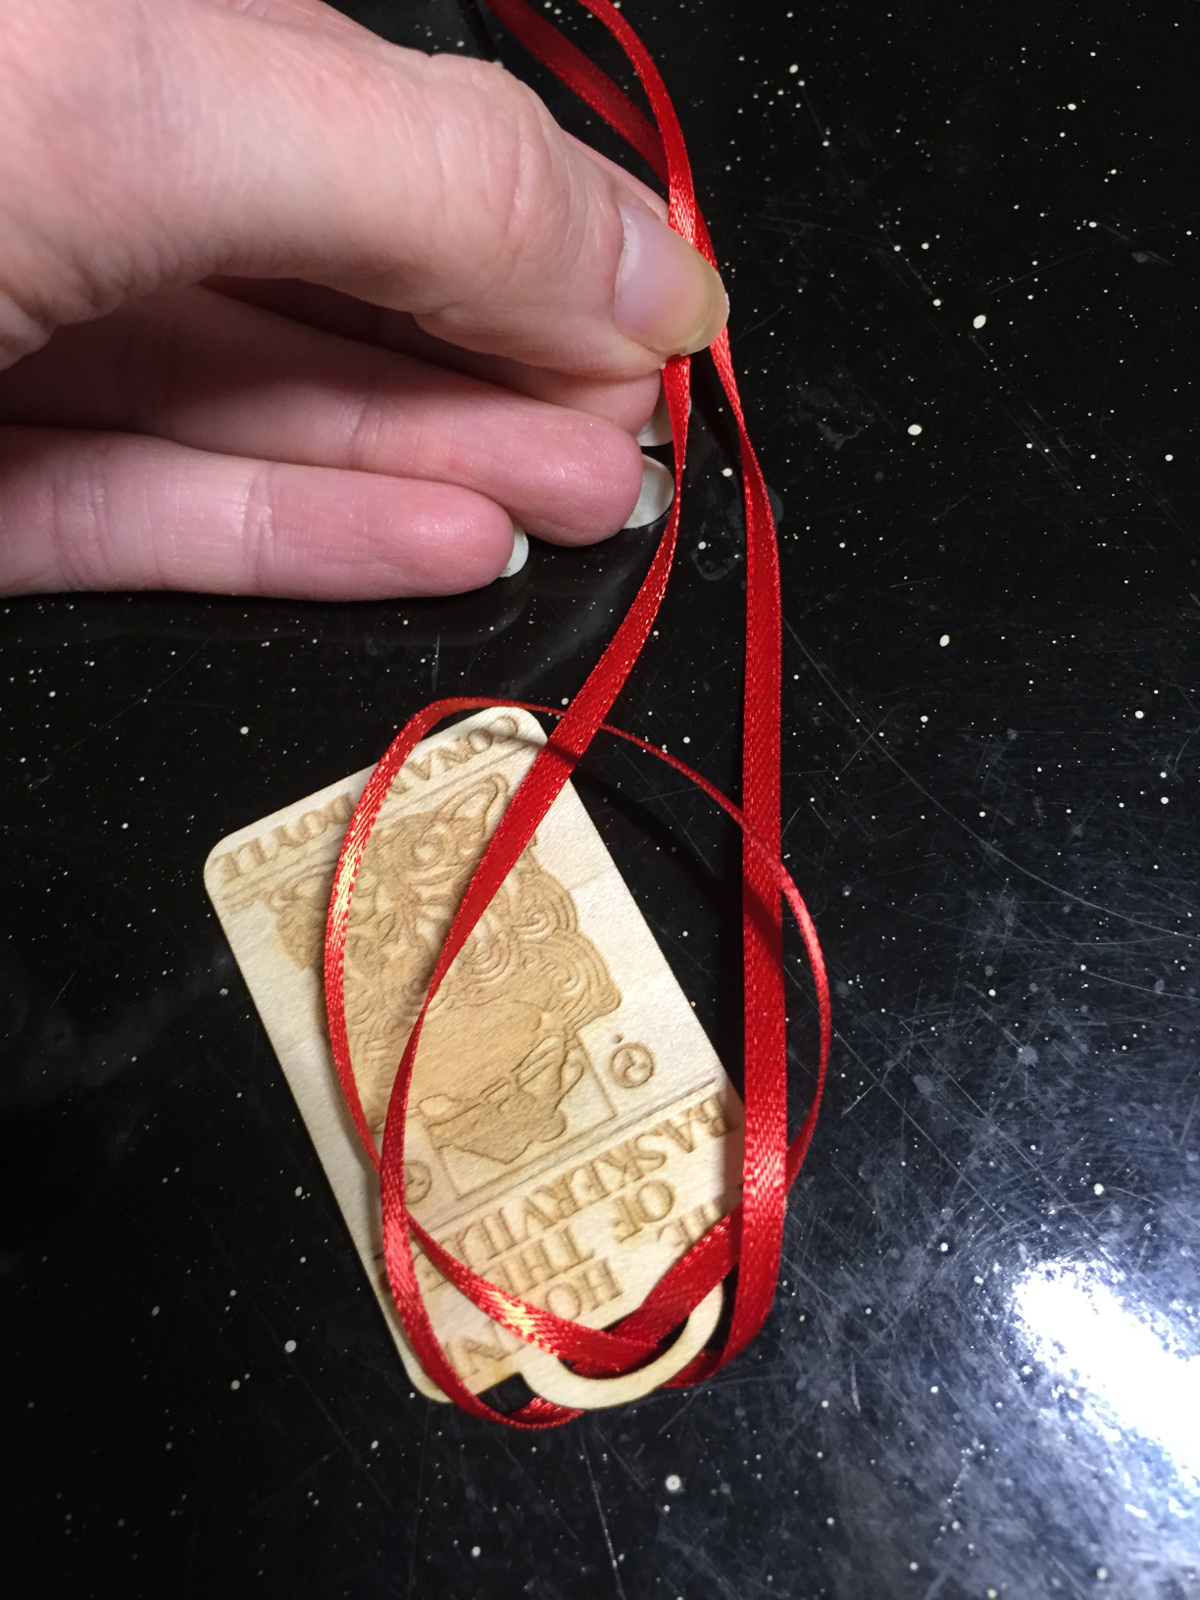
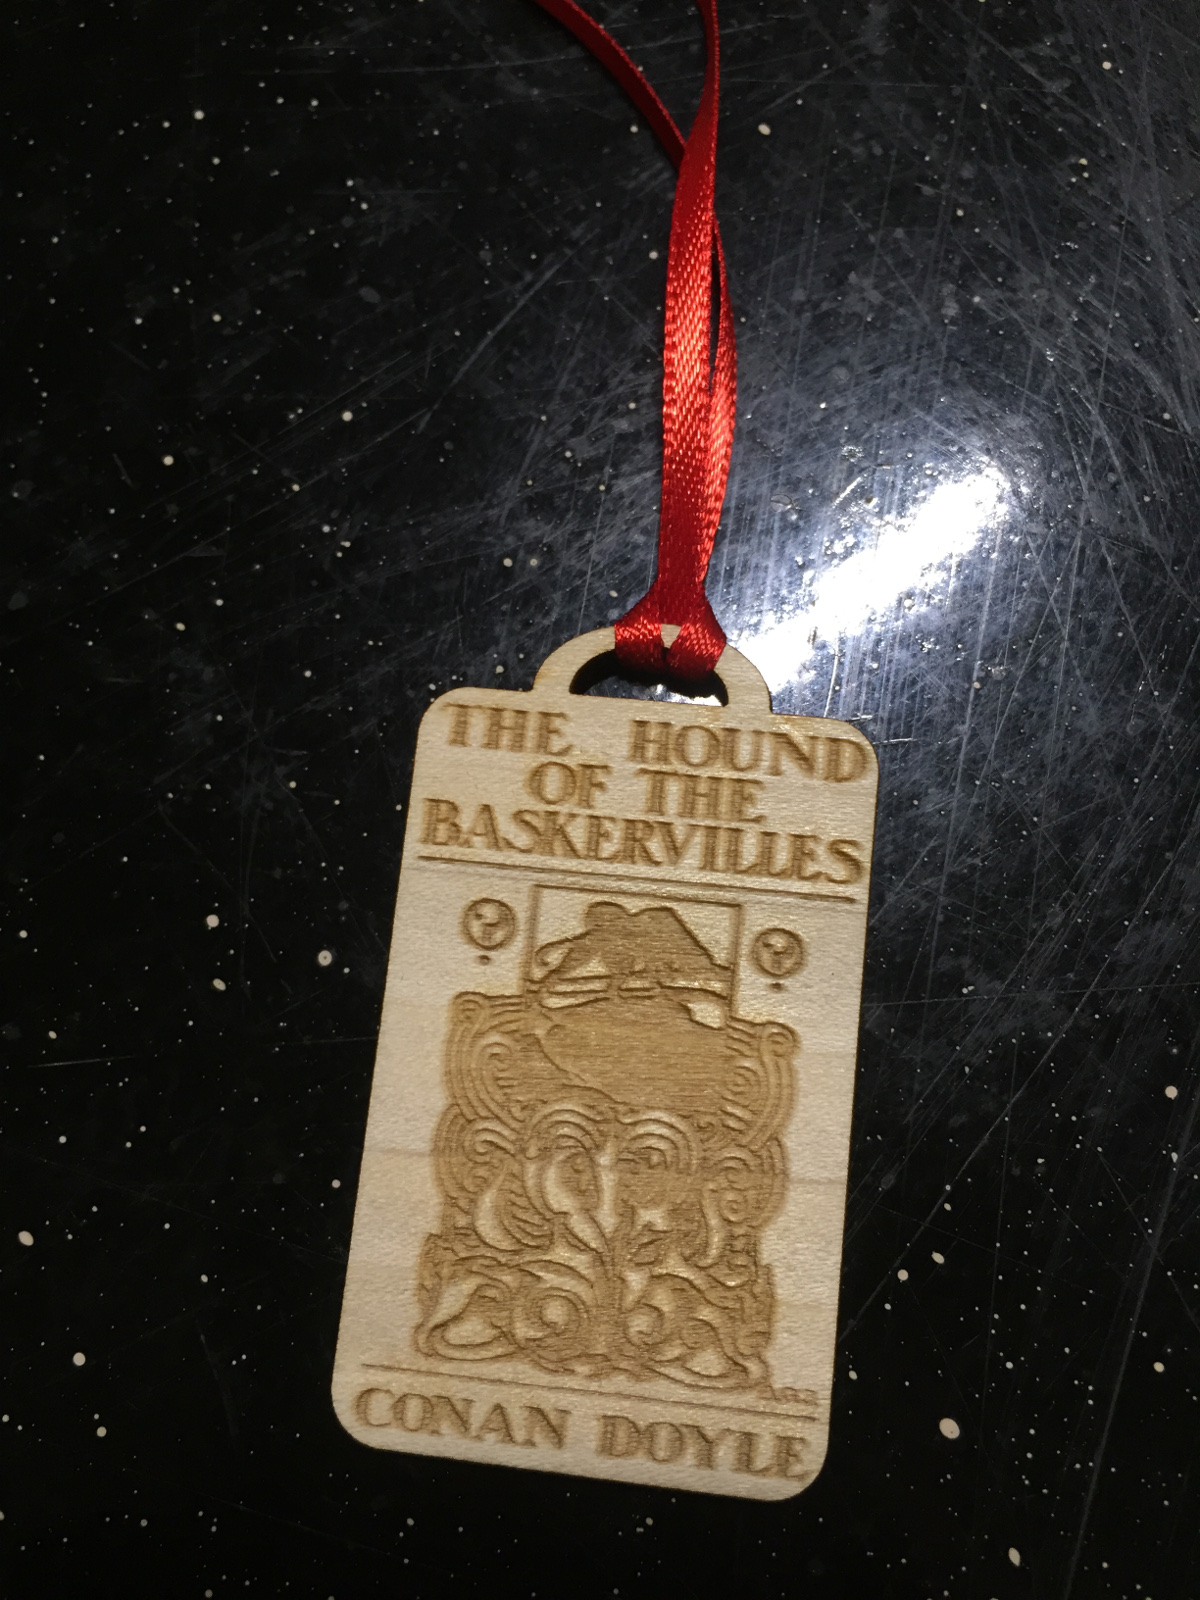
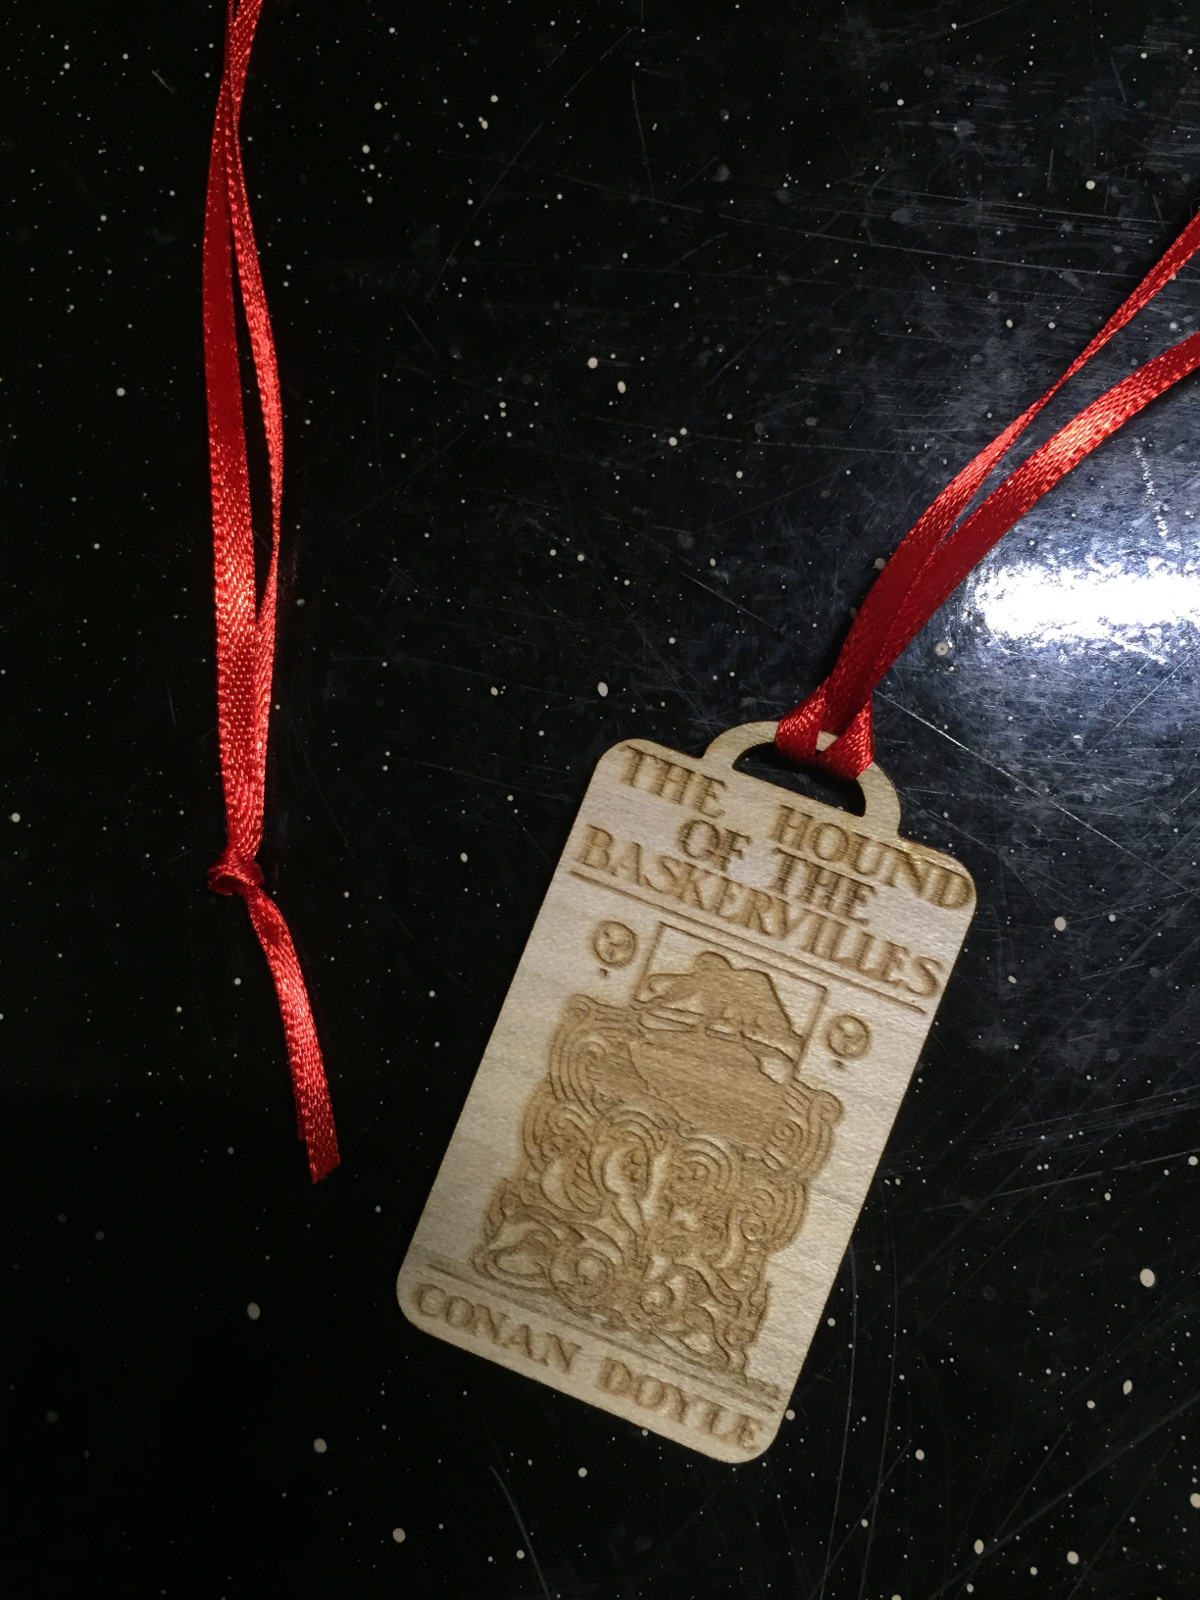

- Cut a length of ribbon that is long enough so that the necklace will fit over your head.
- Fold the ribbon in half.
- Push the fold through the opening.
- Pull the tails of the ribbon through the loop.
- Tighten.
- Tie the ends of the ribbon in a knot.
Now it's ready to wear!