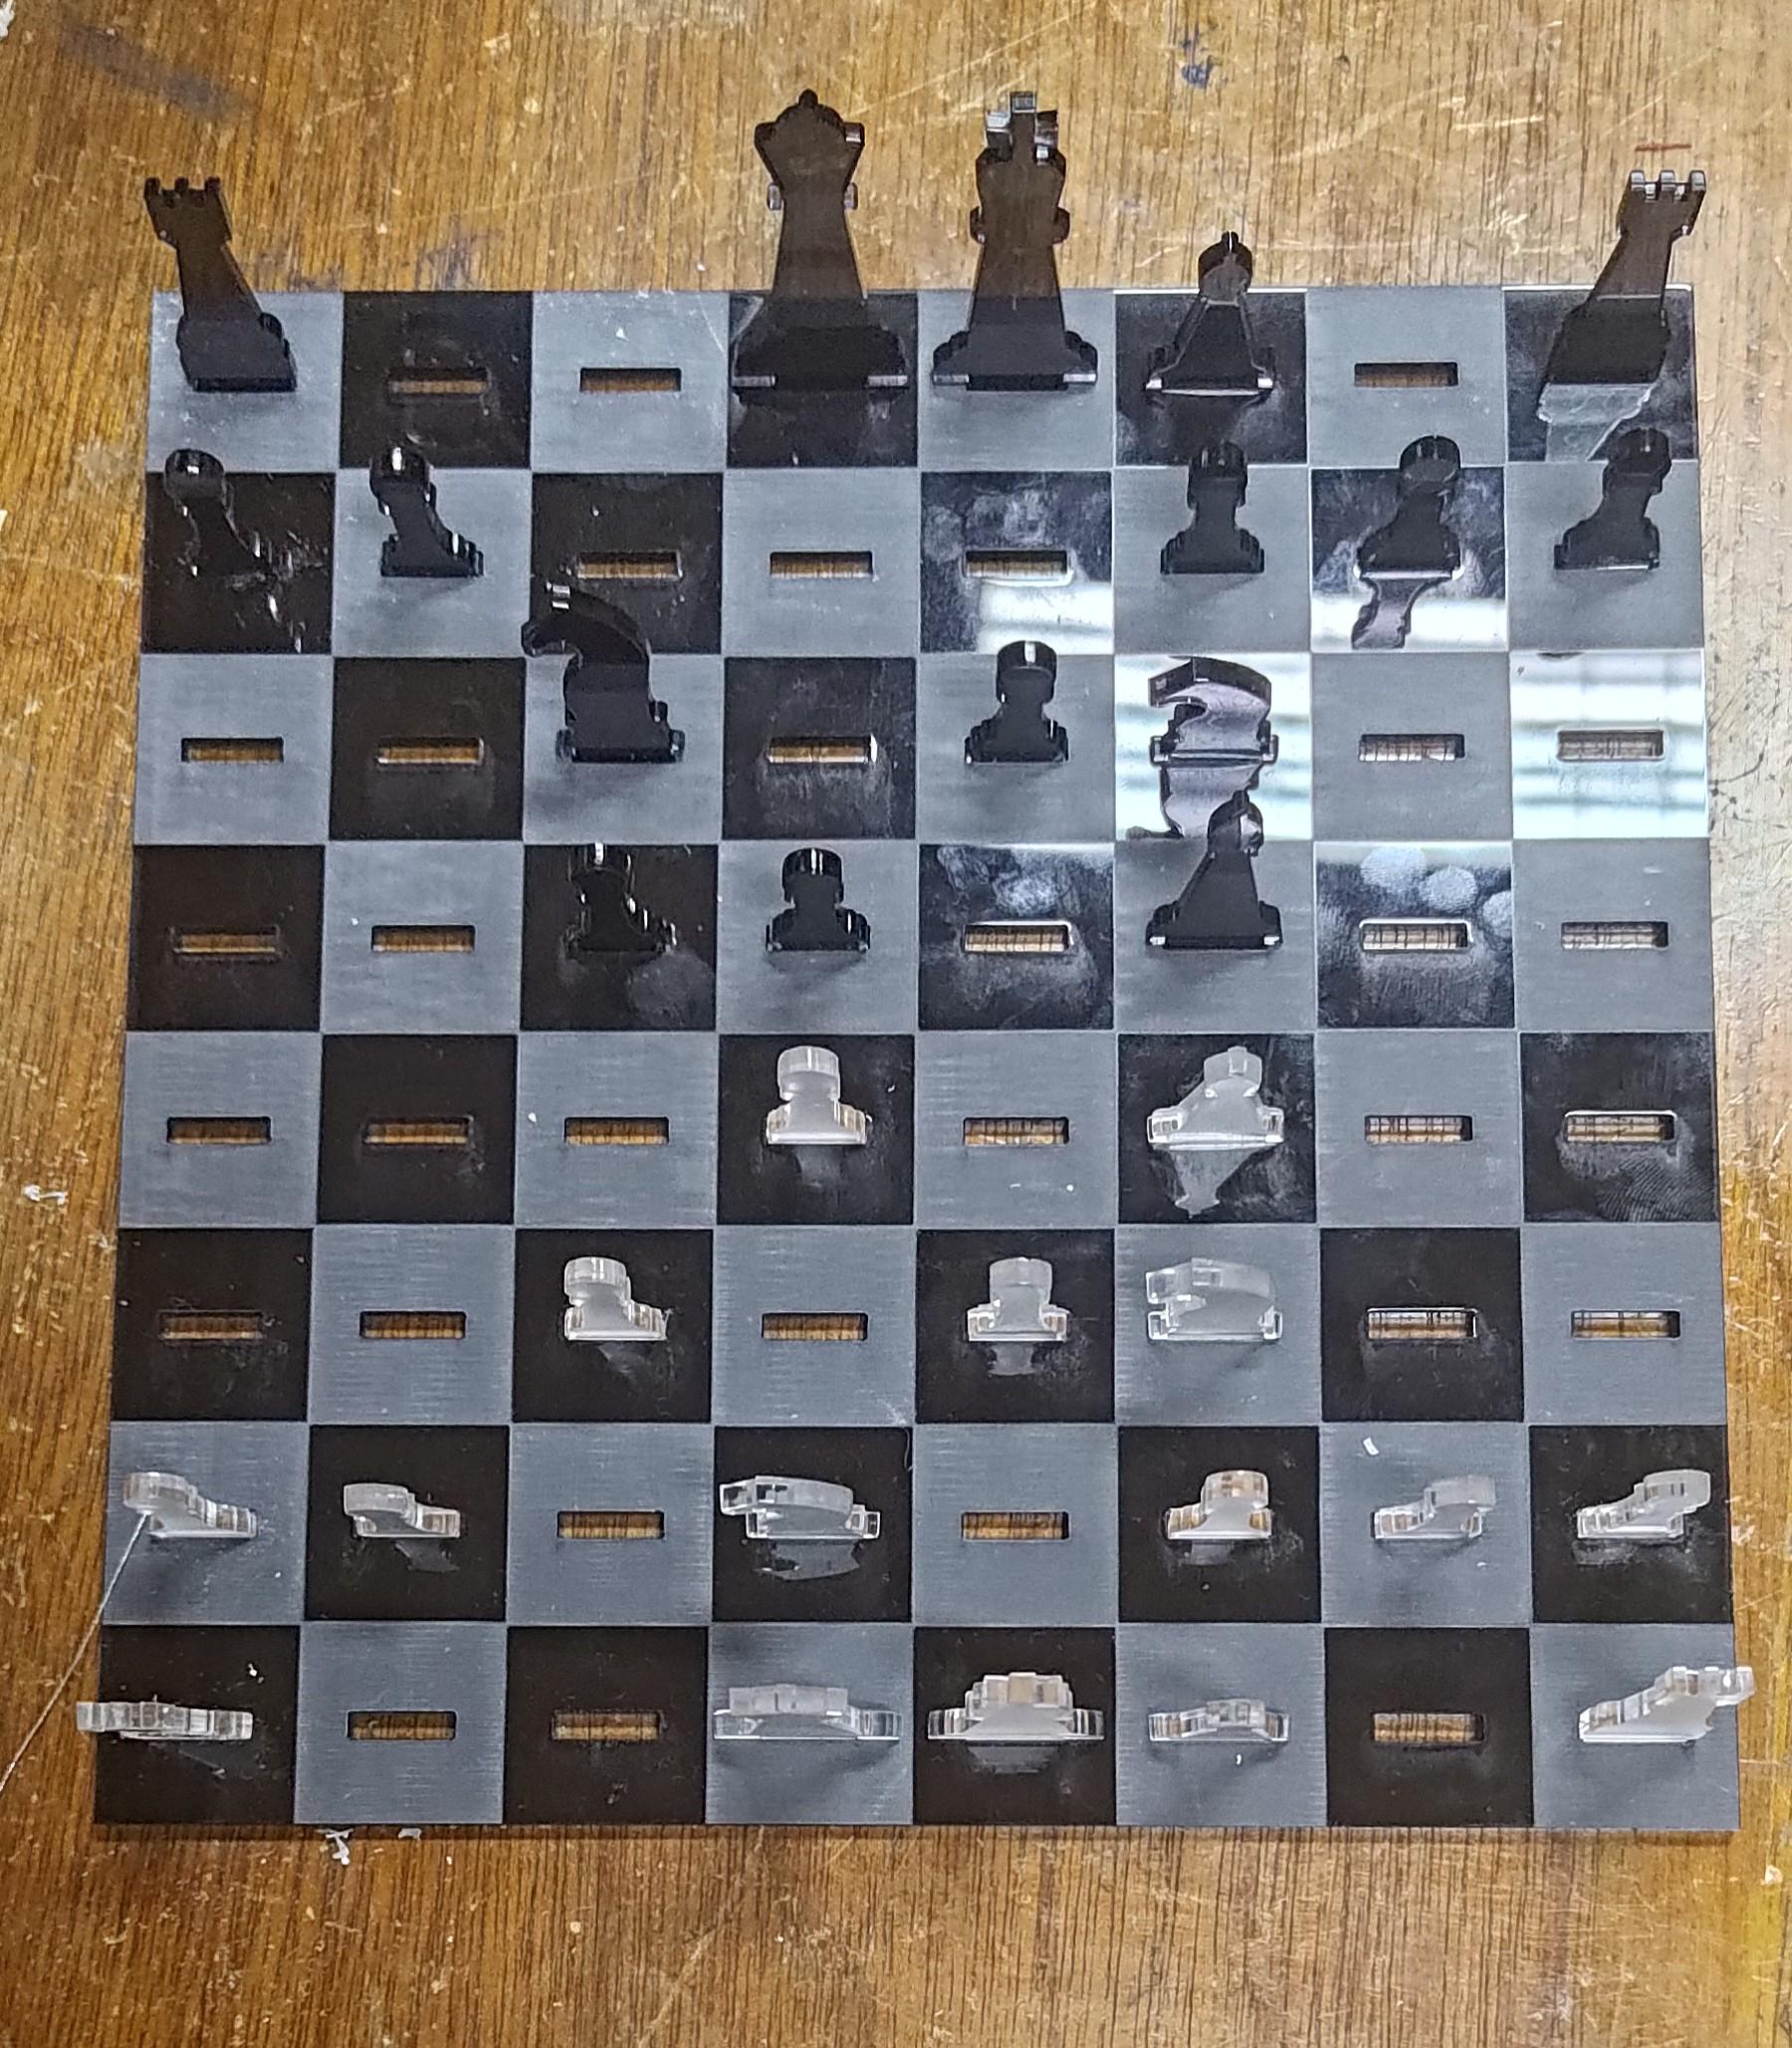
Laser Cut Chessboard
Hi London System enjoyer!
If you are reading this, you are probably tired of using wooden chessboards. Anyways, have fun!
Supplies
- Laptop that can run Inkscape
- Acrylic
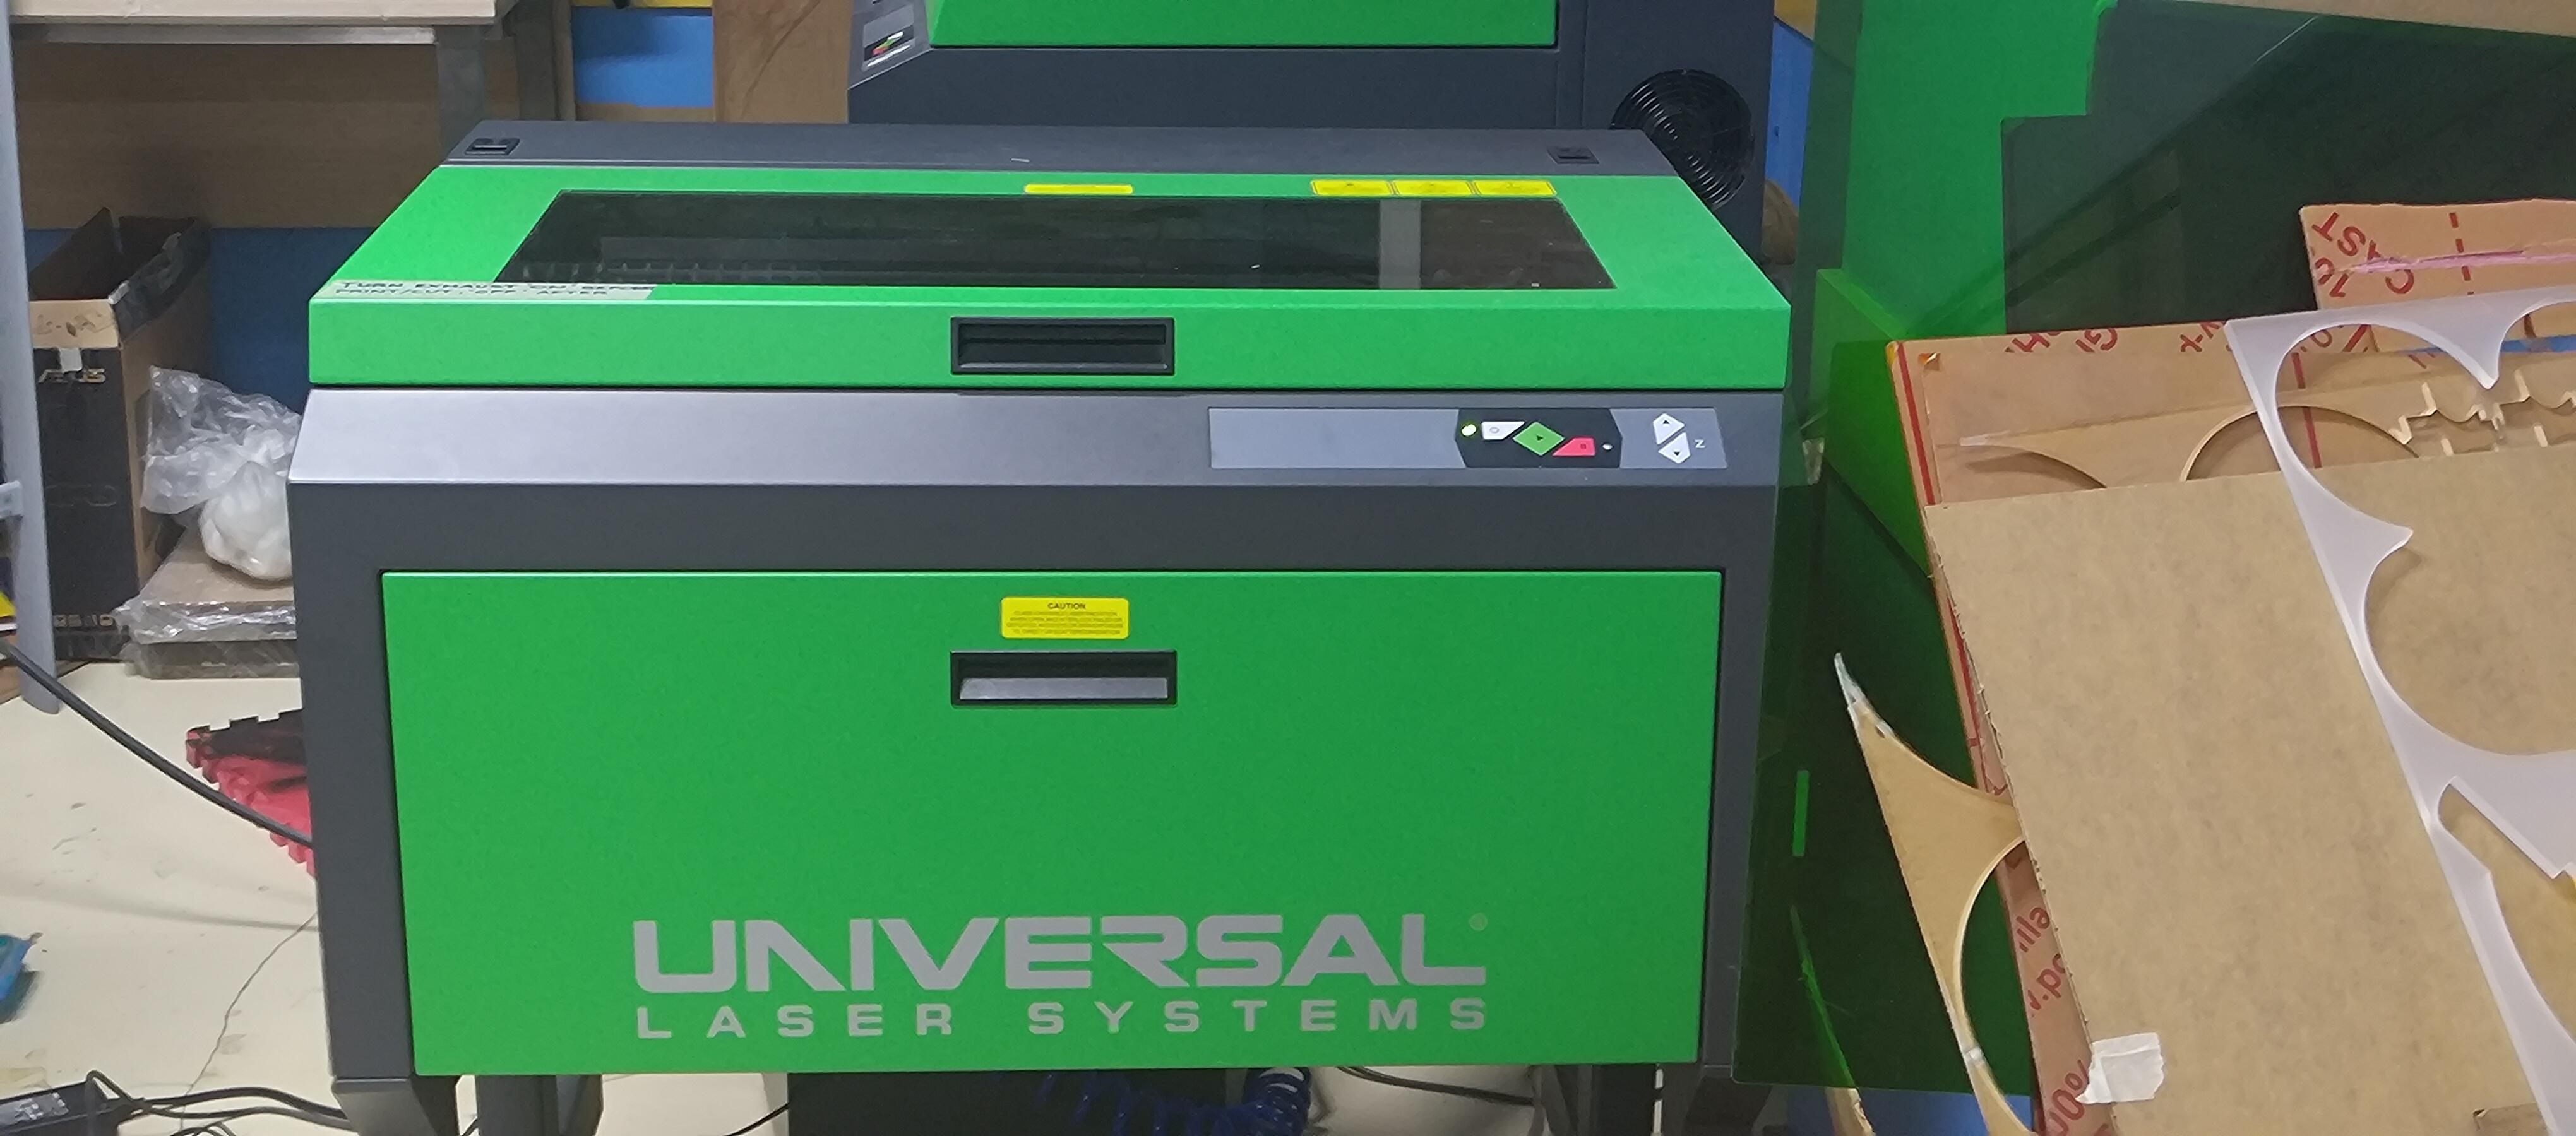
- Laser Cutter (laser cutter used was Universal Laser Systems)
Board and Piece Designing


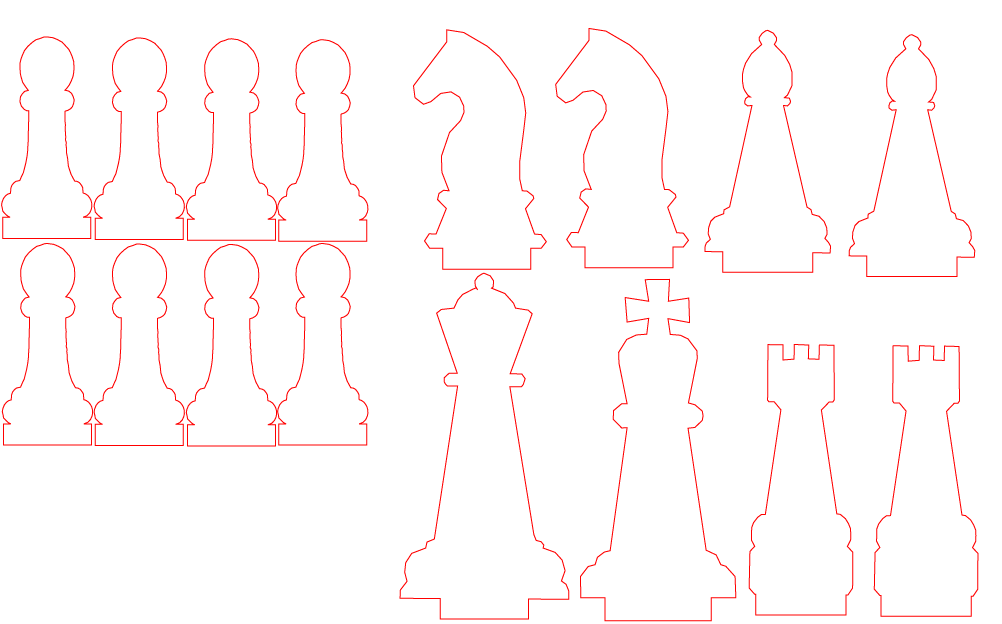
Get some reference images for your chessboard and chess pieces. The attached images here are the reference images I used for my project.
Processing on Inkscape (Chessboard)
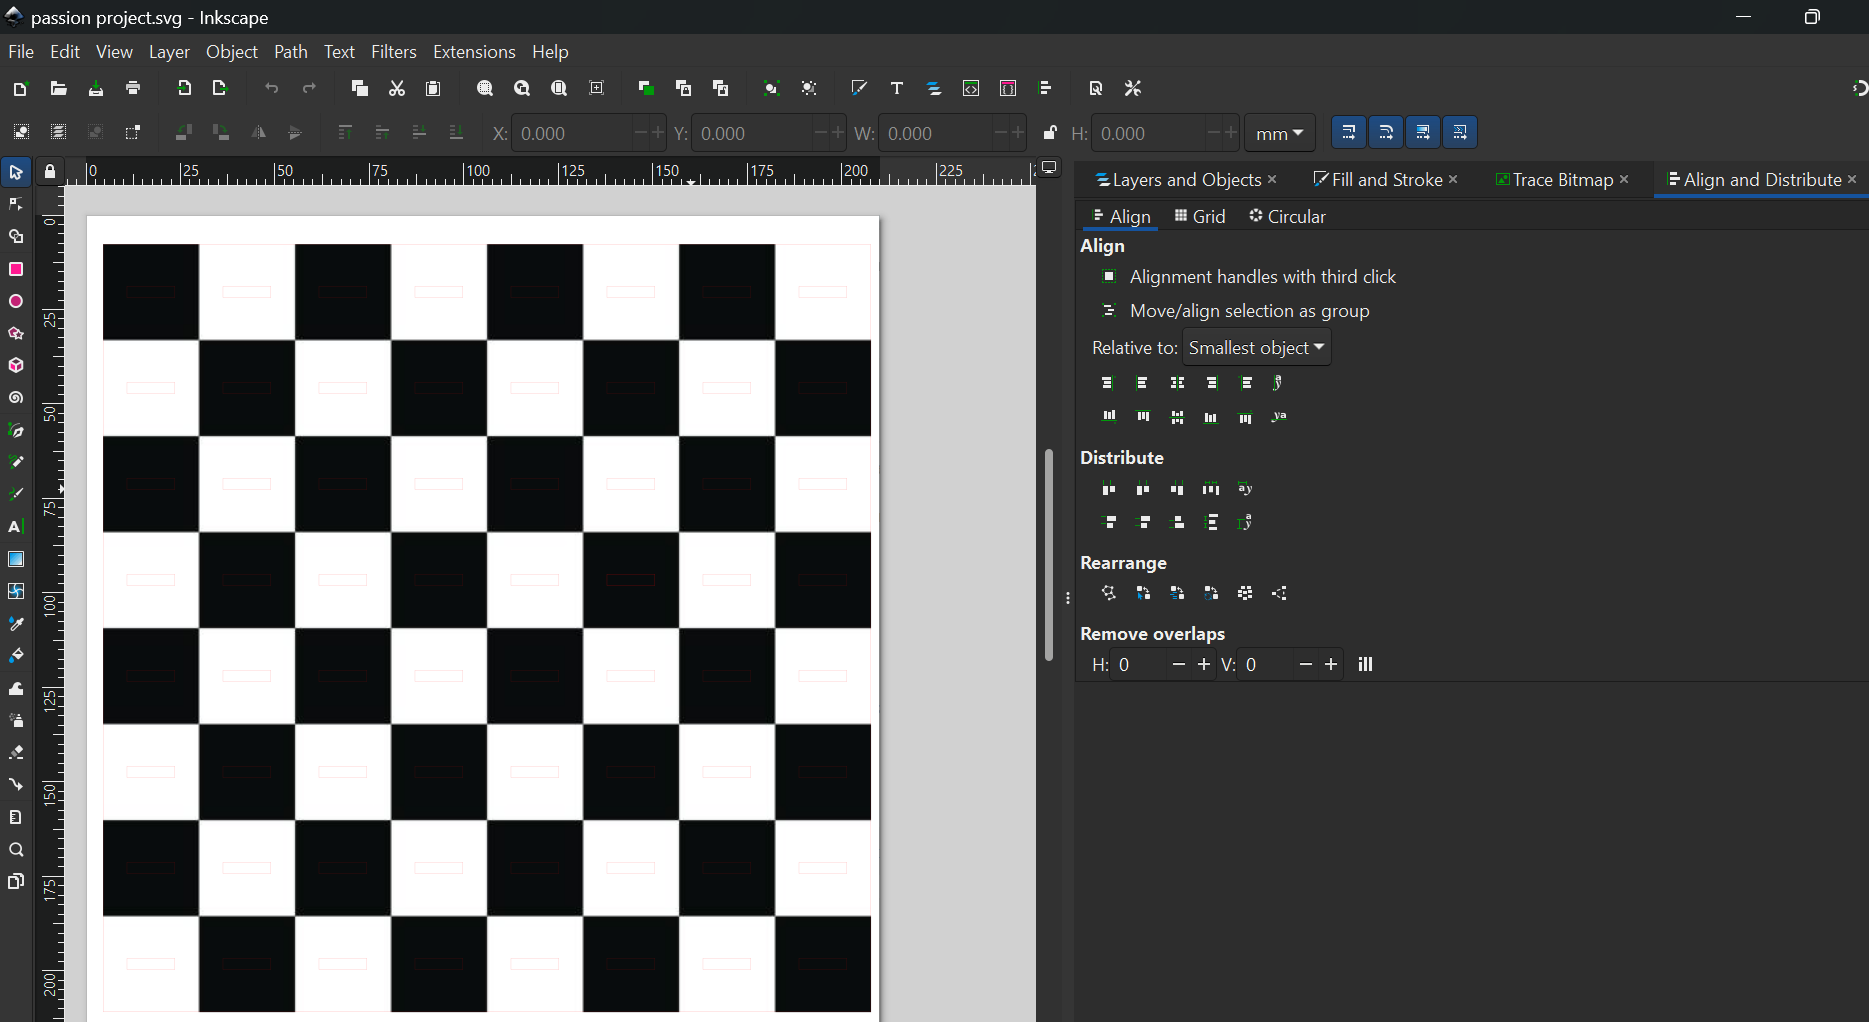
Create a chessboard using 64 1x1 inch squares using the Rectangle Maker tool in Inkscape and arrange them in the standard chessboard pattern.
Create an 8x8 square with no fill color, 0.001 inch stroke length with red stroke color and make it the border of the chessboard.
Create a rectangle with 0.001 inch stroke length and red stroke color. Make this rectangle be less than the 1x1 colored squared. This will be your tab to be attached to the pieces.
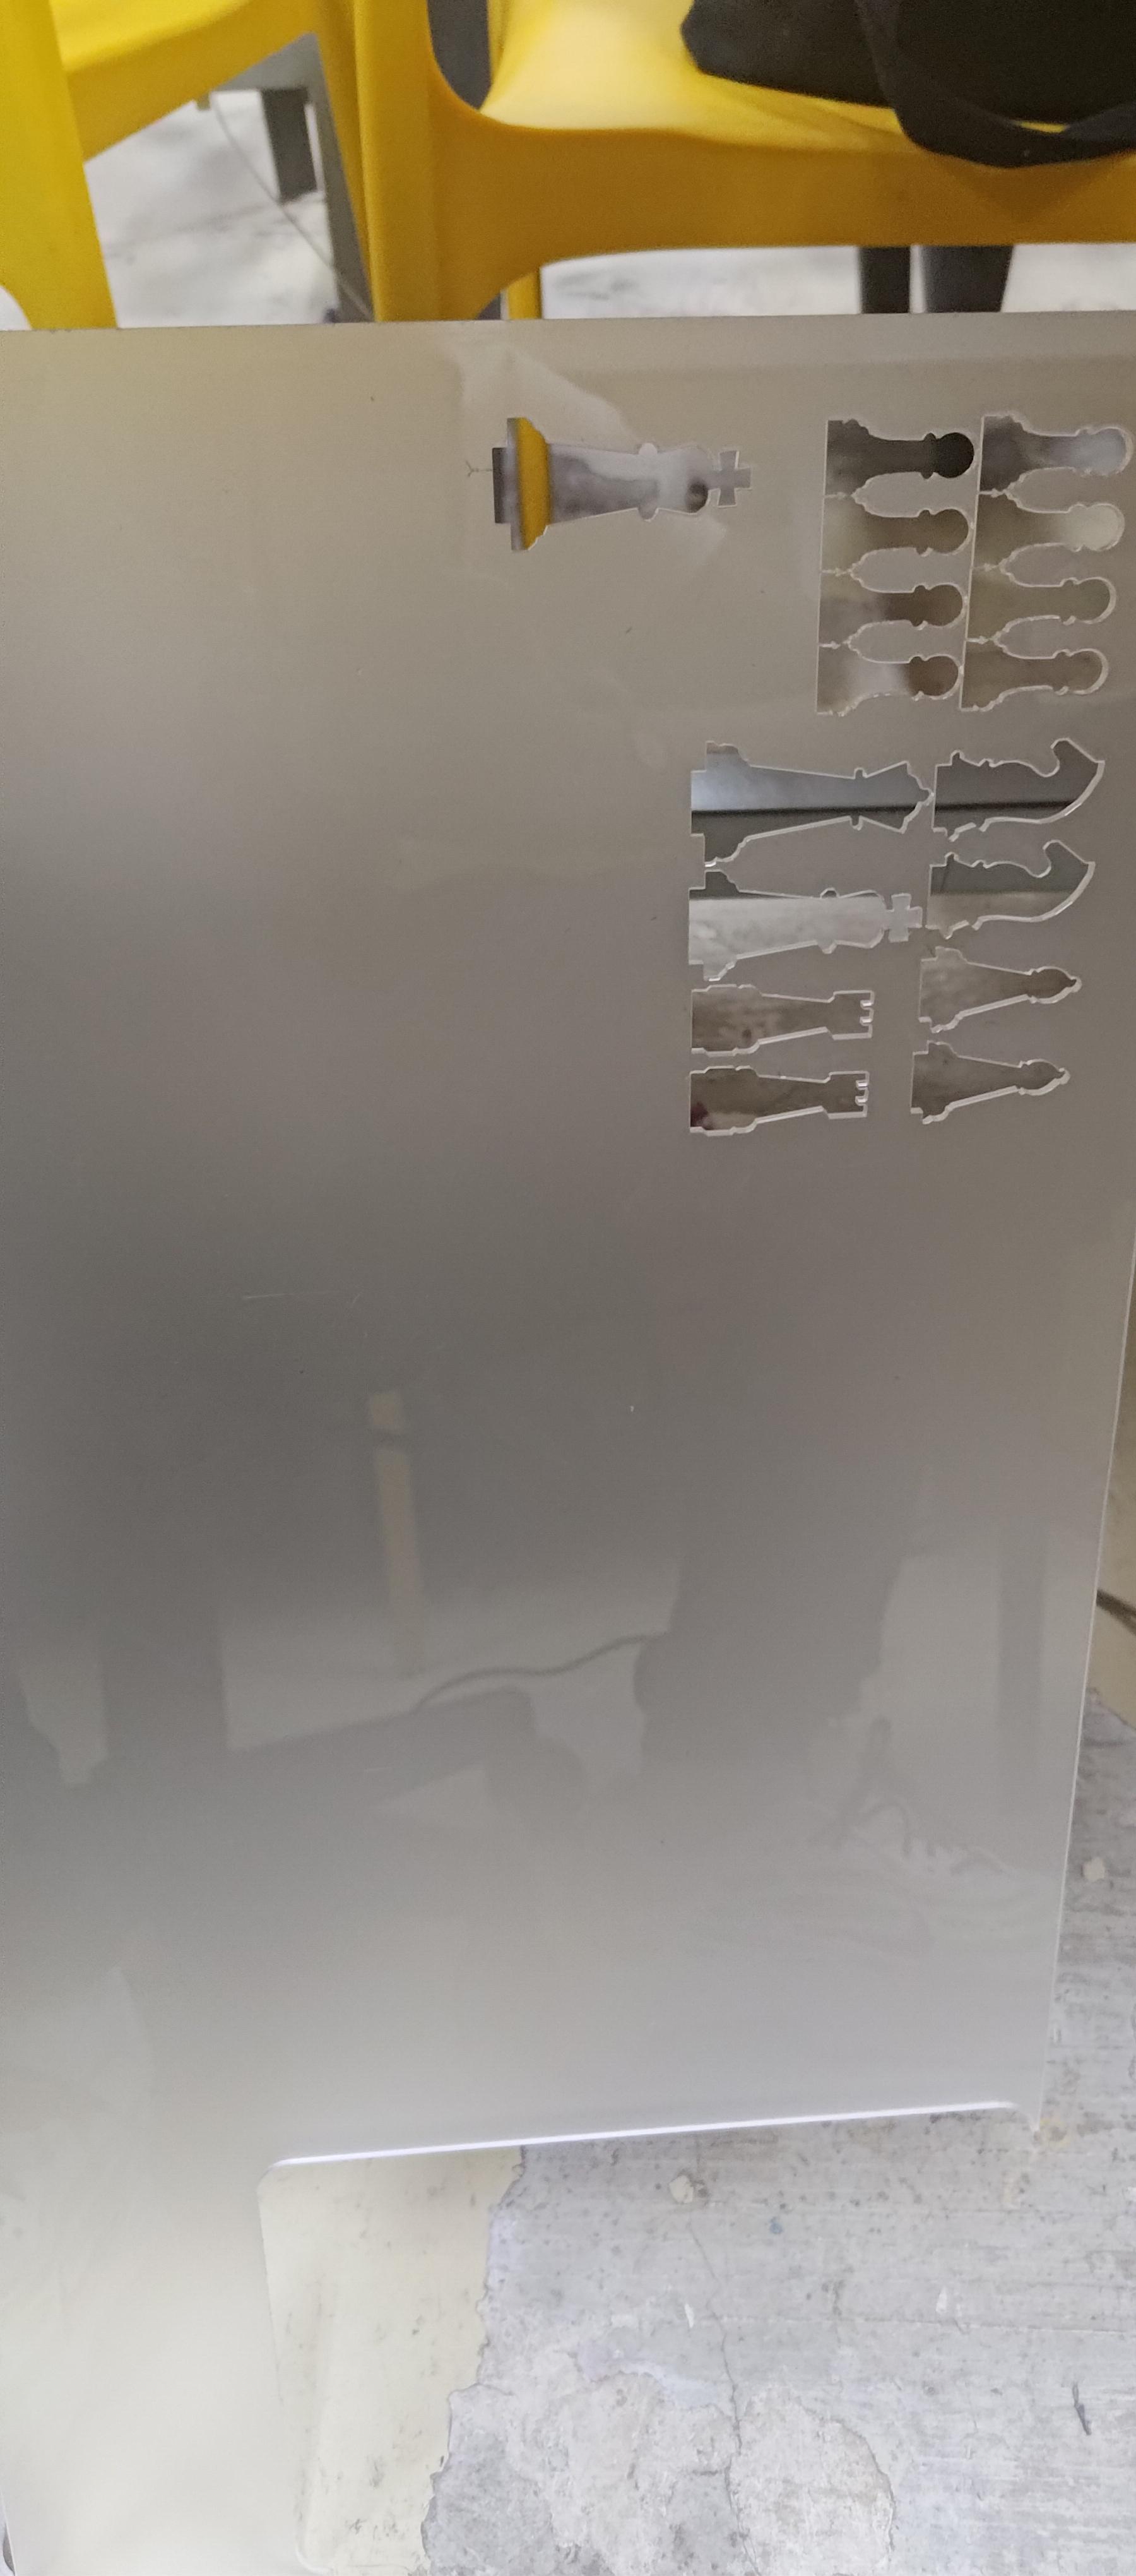
Processing on Inkscape (Pieces)
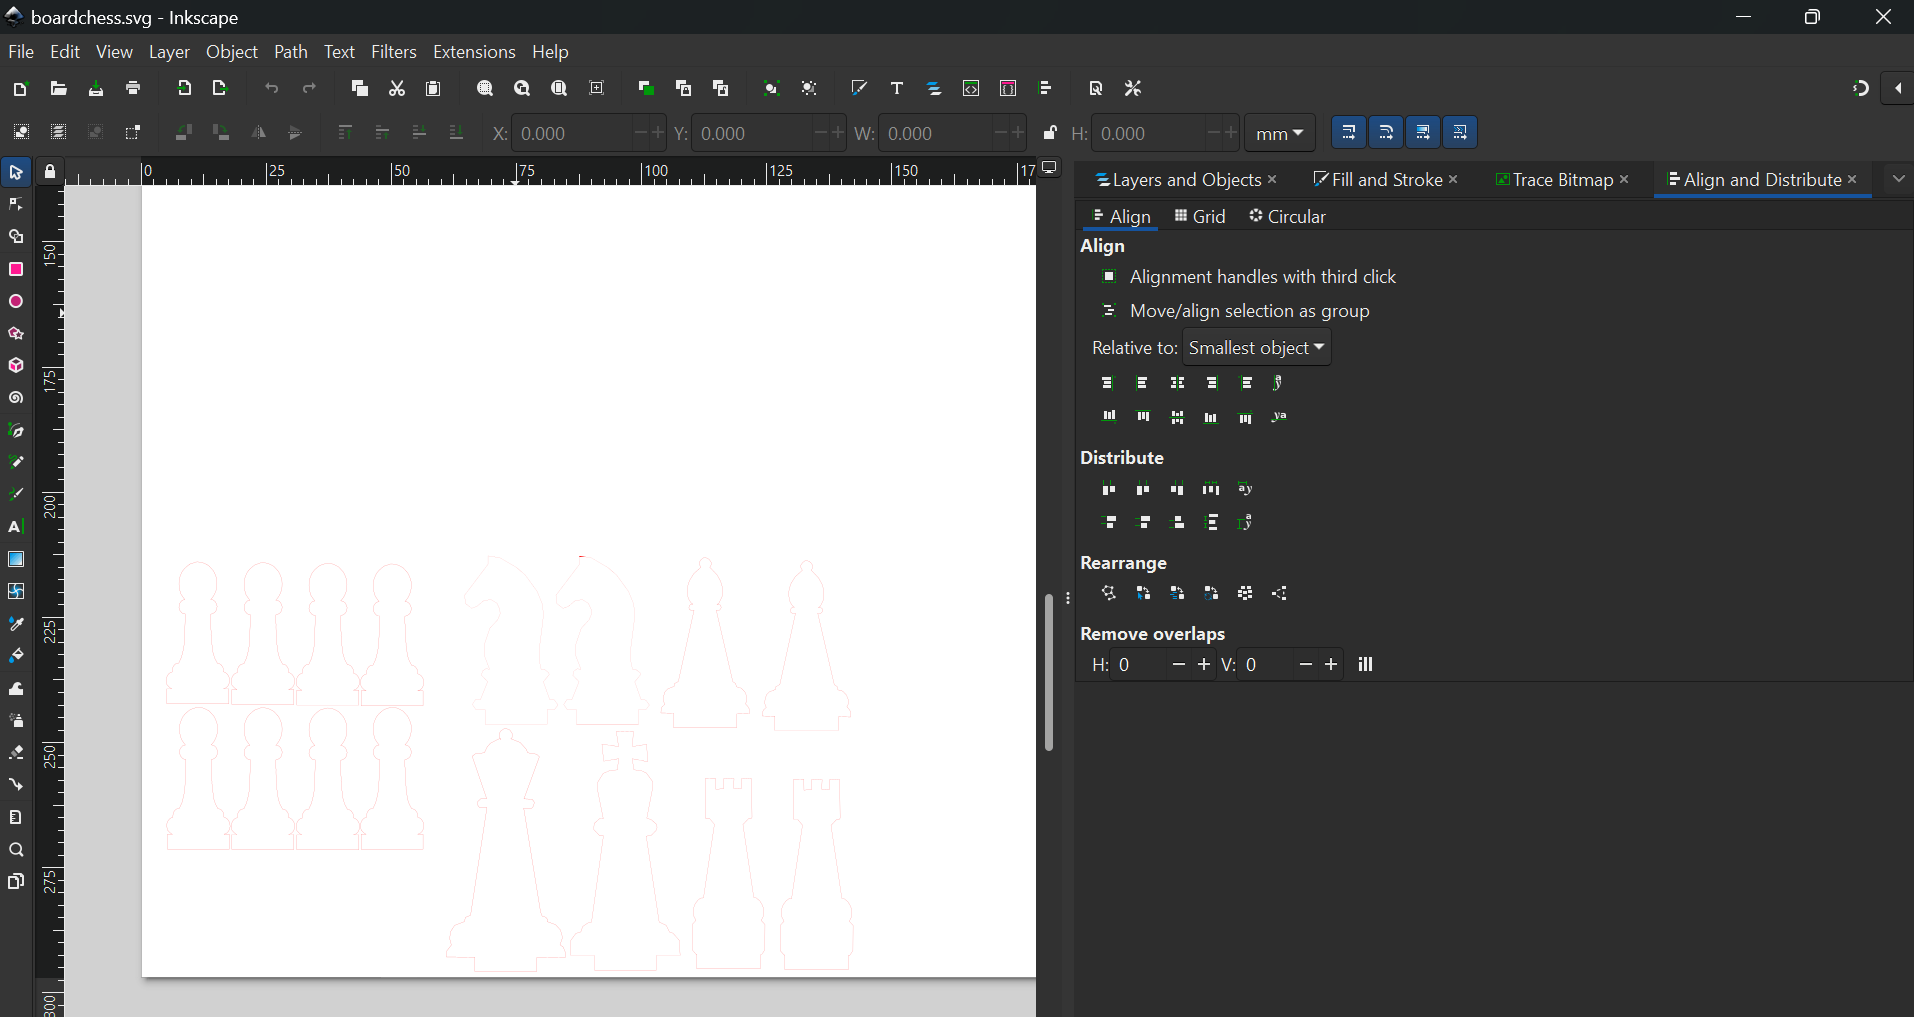
Trace the reference images then adjust according to needed sizes.
Then, create a tab that has the width of the hole minus 0.3 mm. (3 mm is the thickness of the acrylic --- settings may change according to the acrylic you are using).
Next, set the stroke length (the thickness of the tracing) to 0.001 inches (this is according to the setting of the laser cutter).
Save everything as .pdf afterwards
Laser Cutting
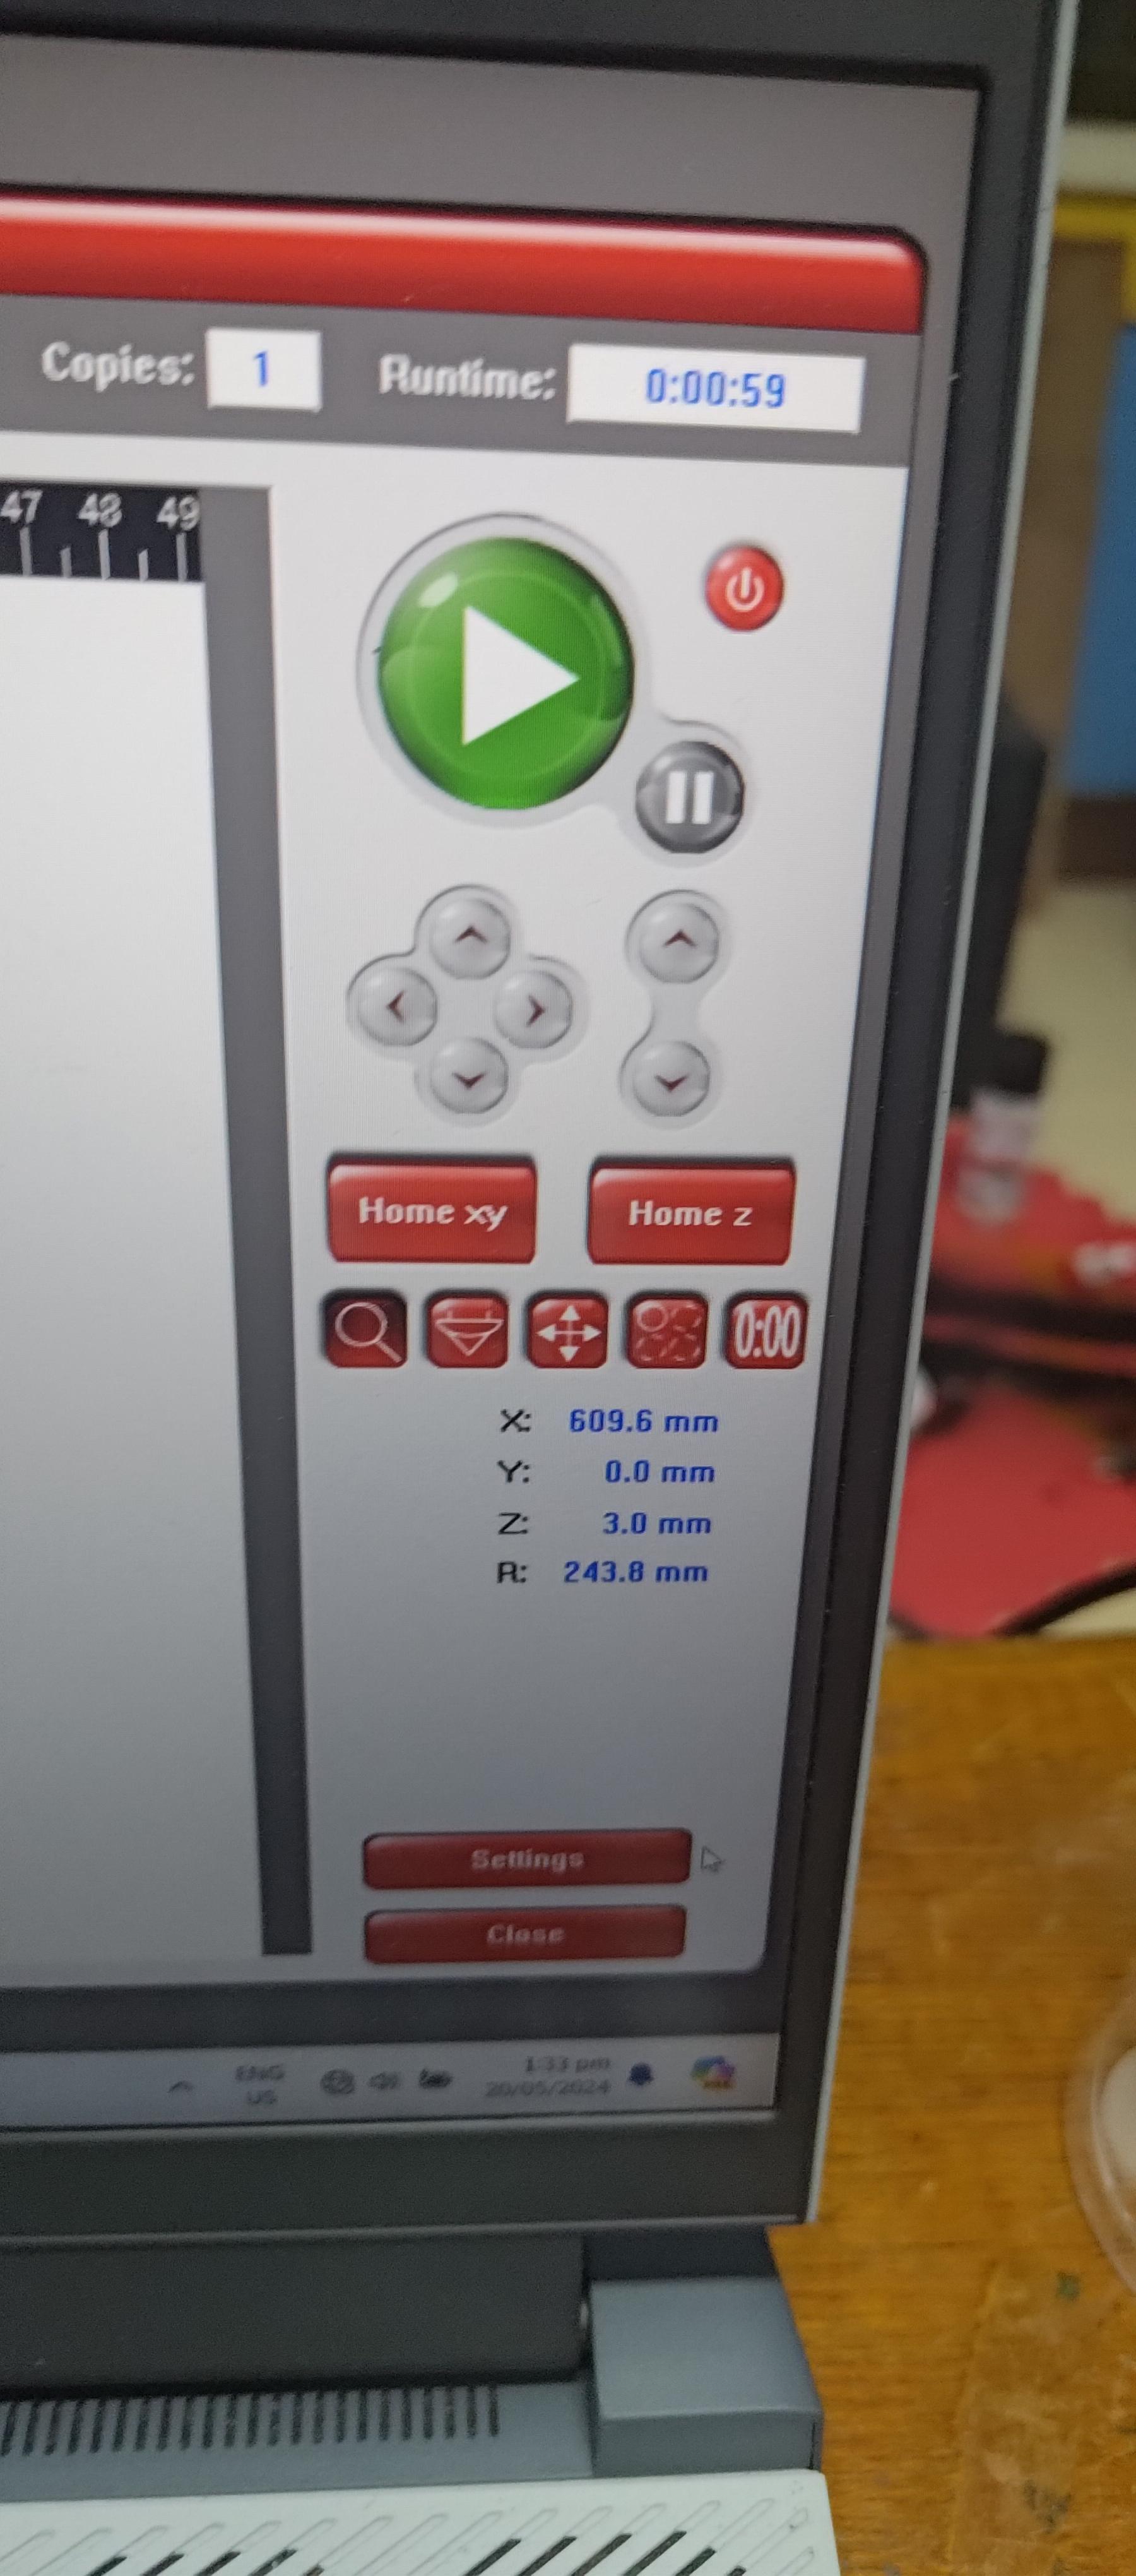
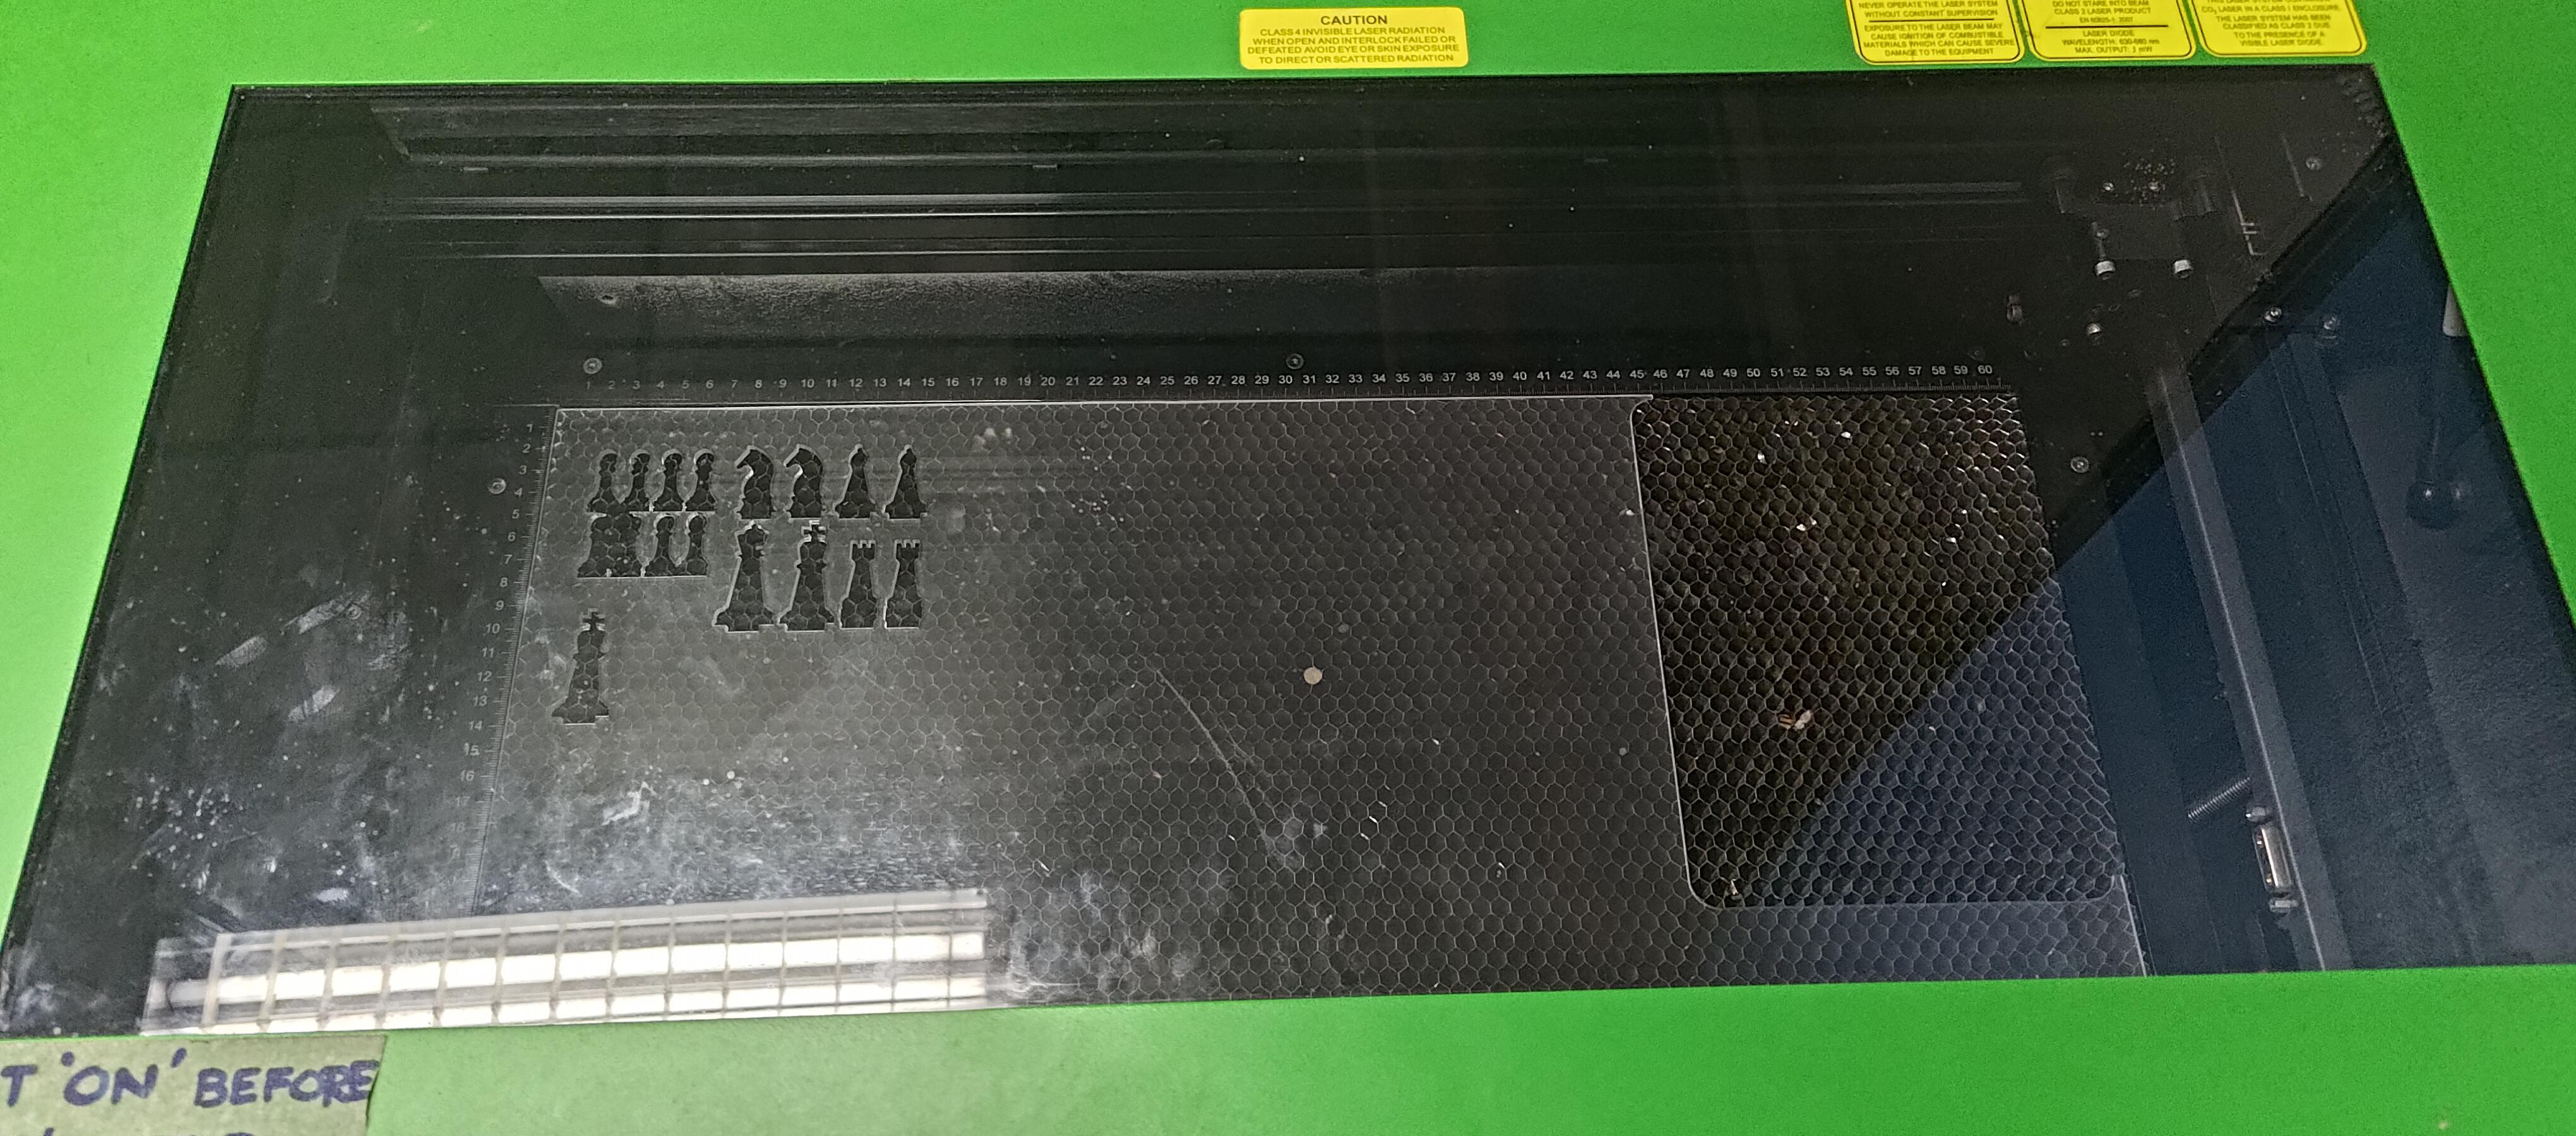

Load the .pdf into Adobe Acrobat and print as pdf using VLS 60/30. This should put it into the laser cutting software.
Load the acrylic into the laser cutter. Adjust the distance between the tip of the laser cutter and the acrylic depending on the thickness of the acrylic.
Adjust the pdf inside the software to be inside the bounds of the acrylic. Attempt to minimize space usage.
Load in the settings for the specific thickness of the acrylic, For our FabLab, a preset for 3mm was used.
Do final checking for all settings. If everything looks proper, press THE BIG GREEN PLAY BUTTON. Then we wait.
Assembly

Once it's finished, assemble it to according to the game you are playing (Standard, Fischer Random).