Laser Cut Cat
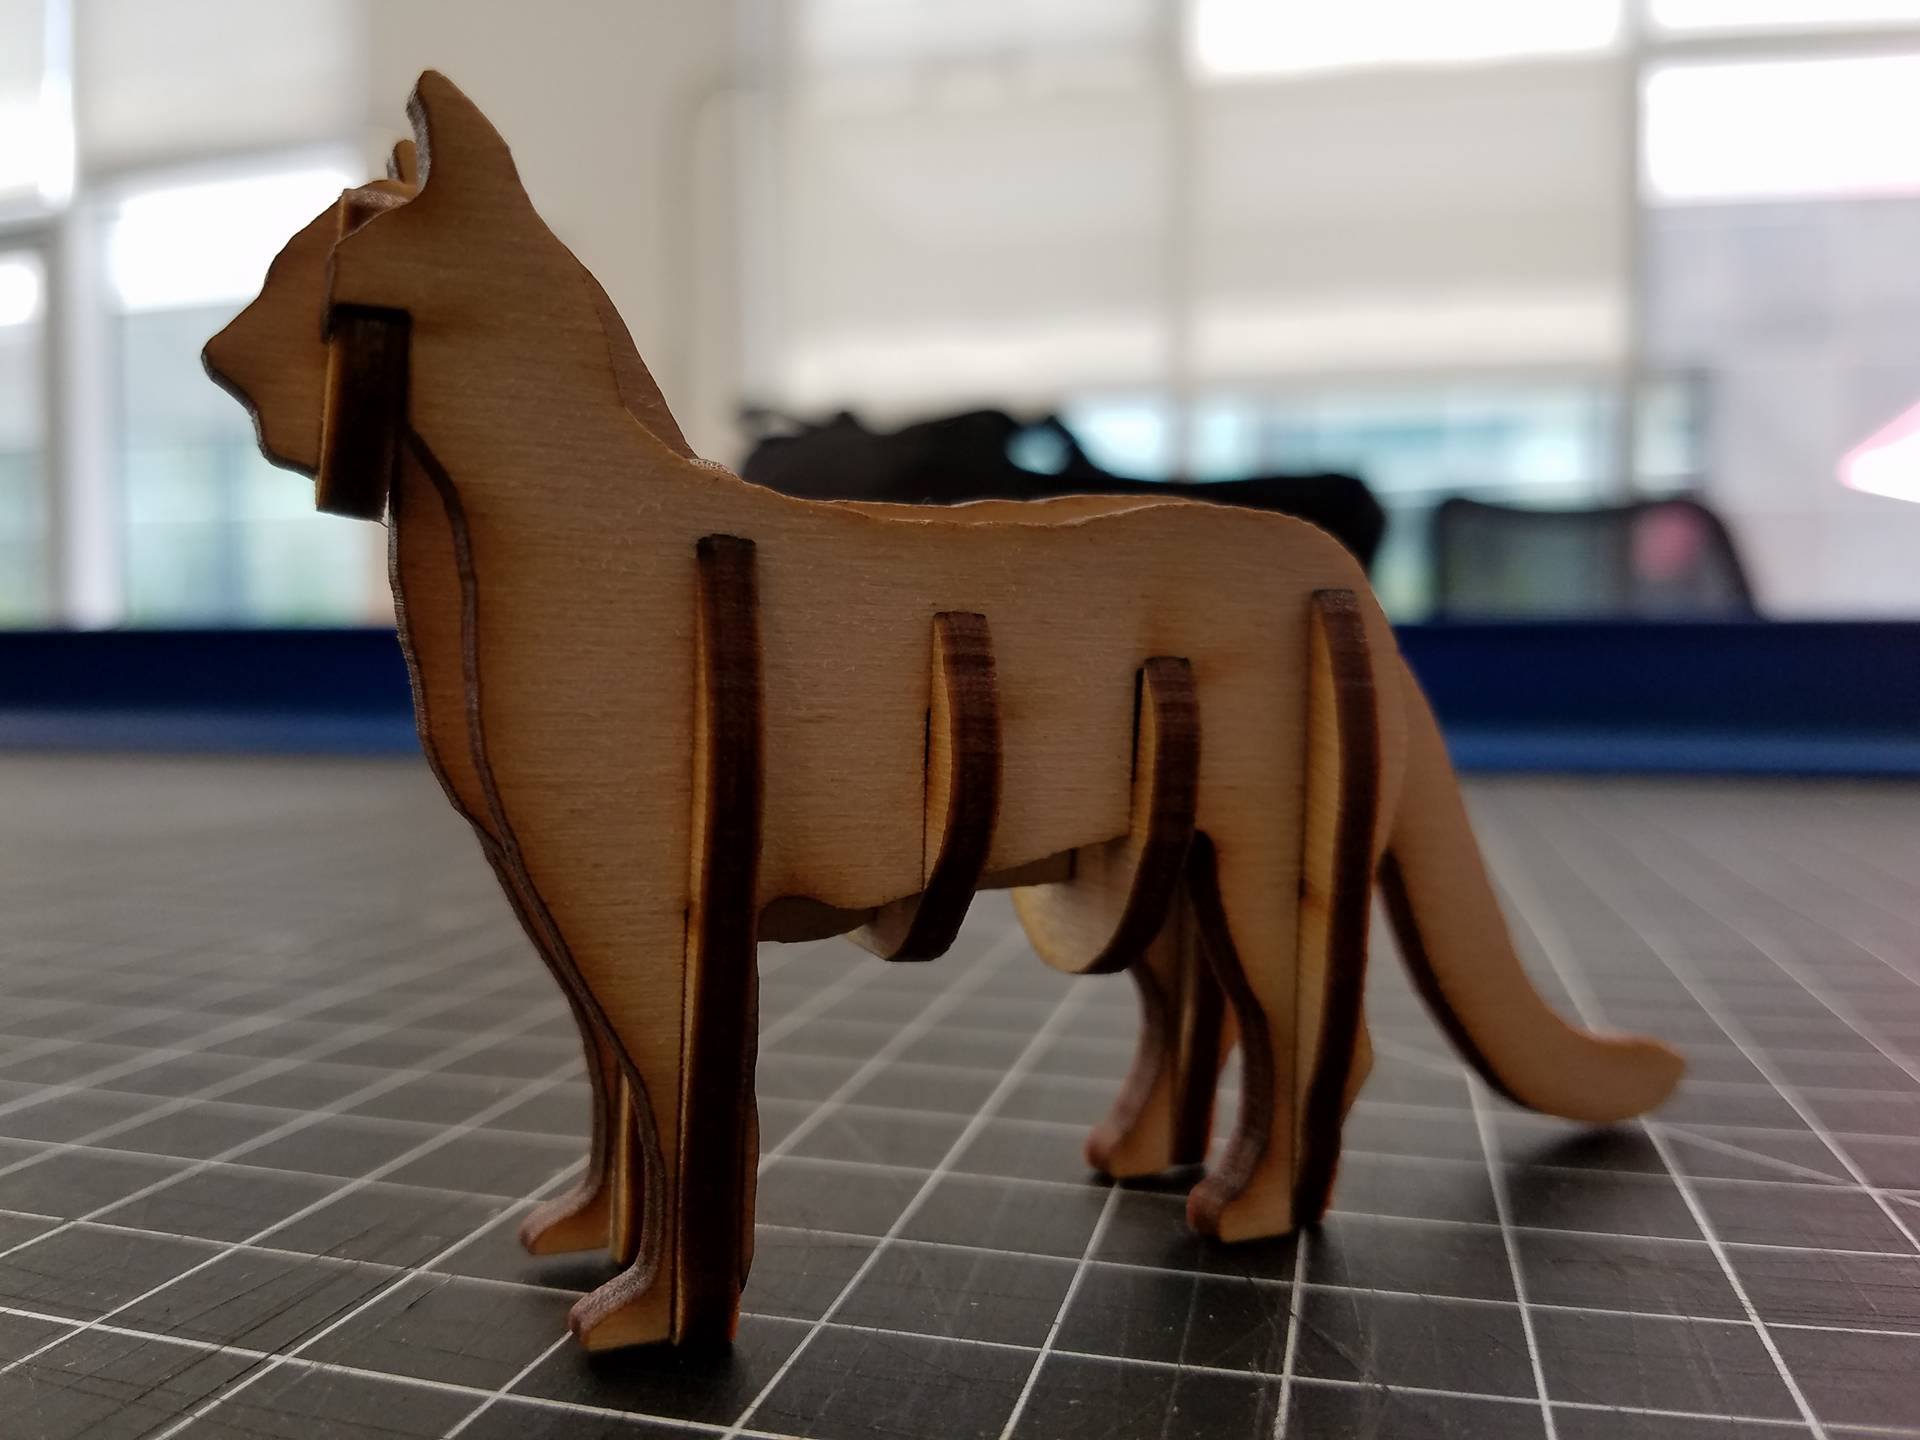
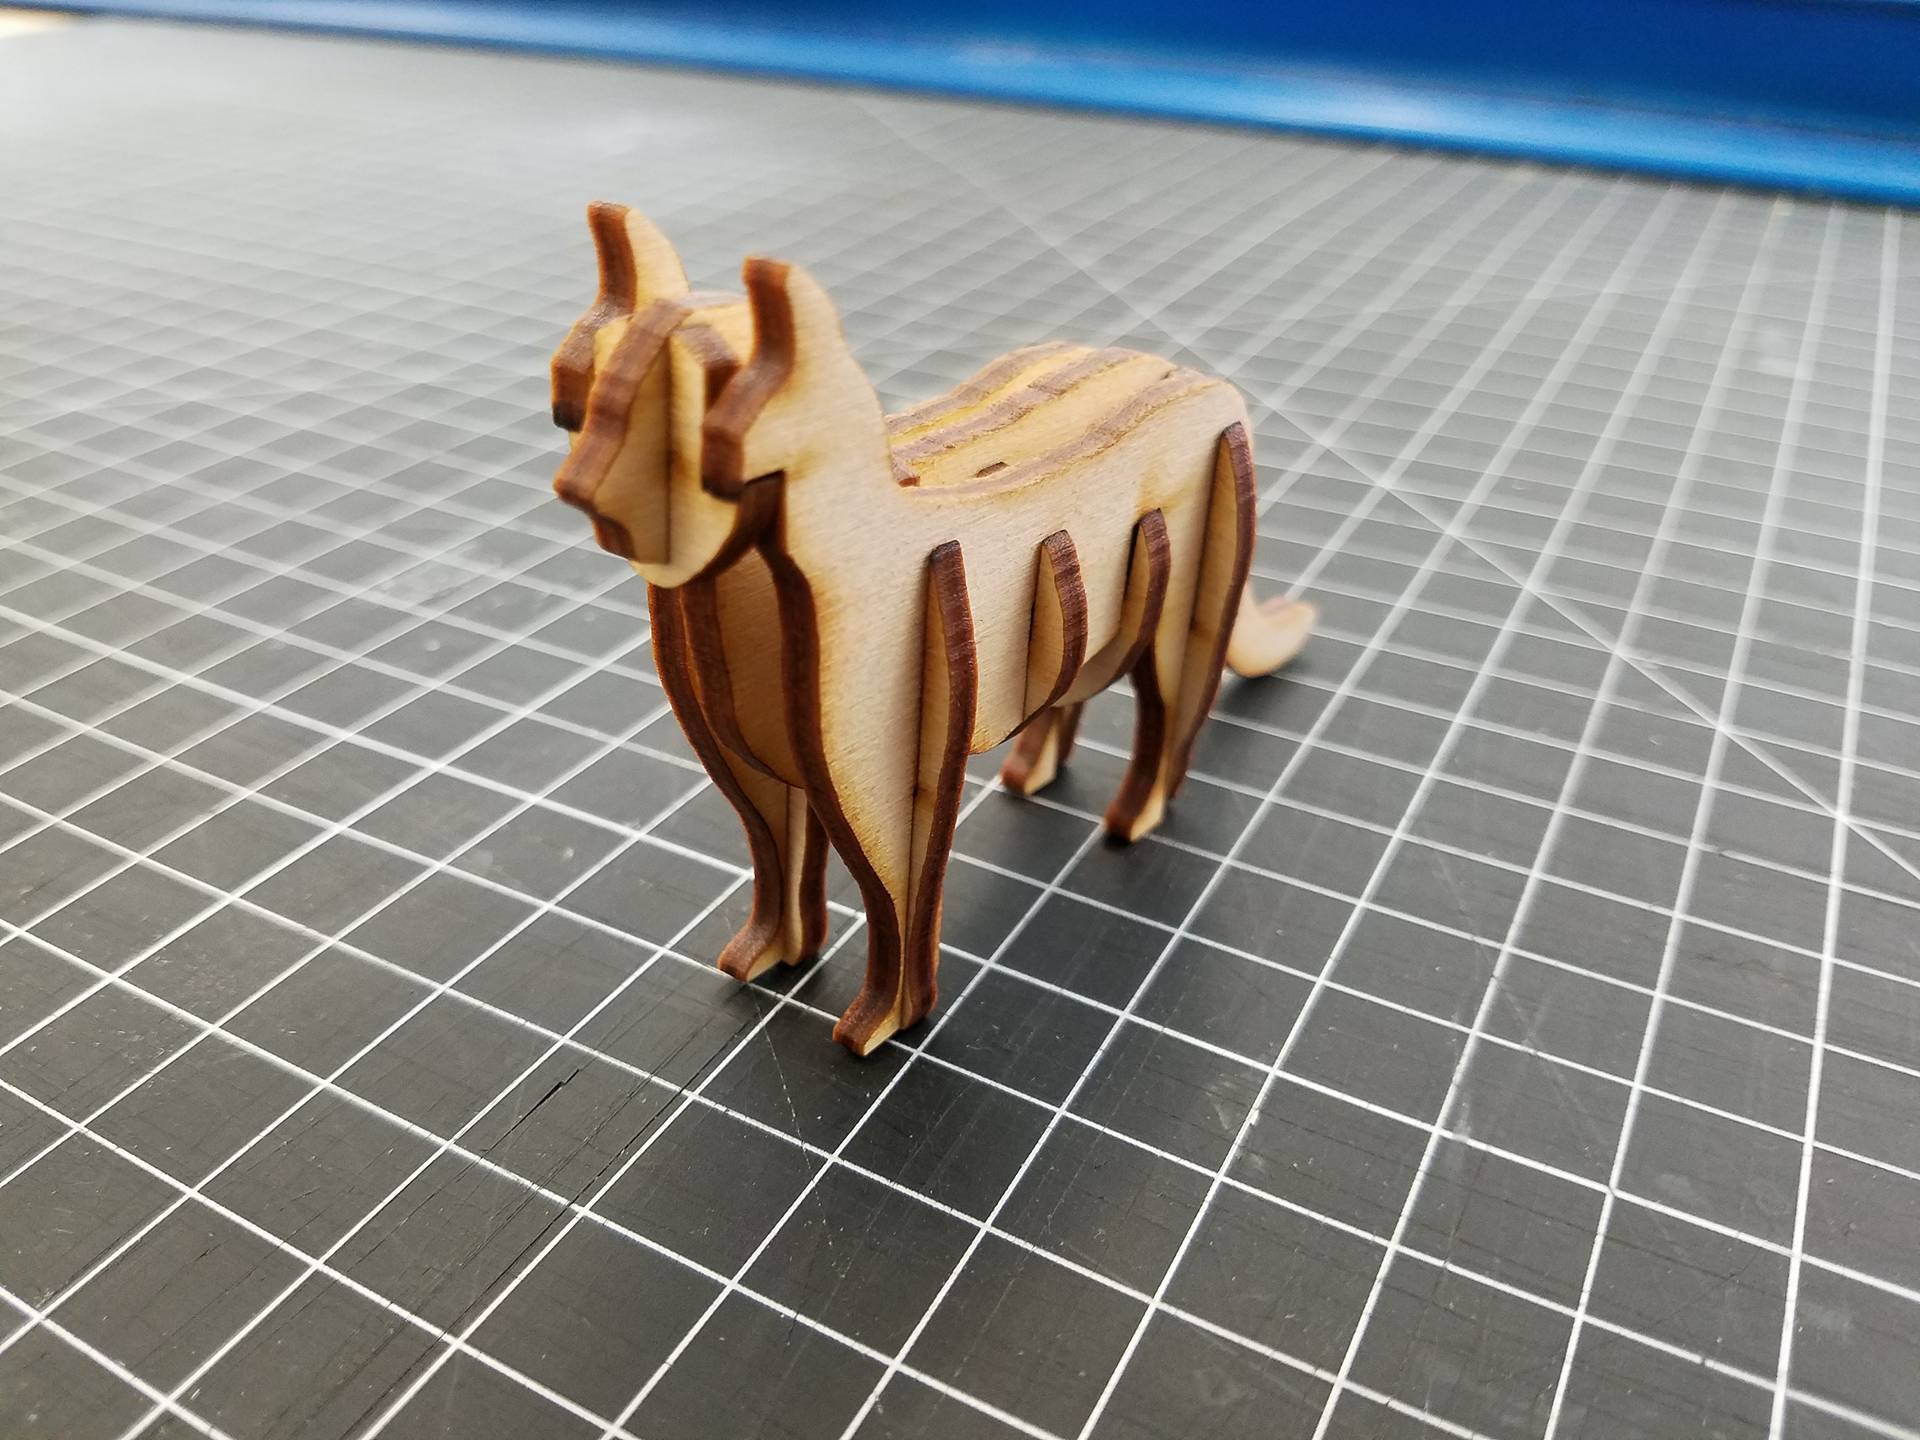
In this tutorial, we will be making a 3D Cat model out of 2D pieces. Please download the attached file 'cat parts' (either the .ai and .pdf file work, depending on your software).
First, I would like to give credit to YahooJAPAN from thingiverse for the CAD model of the cat I used to make the design. It can be found here: https://www.thingiverse.com/thing:182091
The CAD model of the cat was 'waffle-ized' using a software called 123D Make, for those of you interested in making similar projects. It is a free software by Autodesk that can be downloaded here: http://autodesk-123d-make.en.lo4d.com/
I have a tutorial on my profile on how to use 123D Make, so check it out if you are interested in making your own models like this one.
Required tools:
CNC Laser Cutter
Calipers
Required materials:
A piece of 1/8" plywood 6" x 12"
Files:
Preparing Your File
I chose to use a piece of scrap plywood that measured ~.120" thick. It's important to note that the thickness of your plywood will dictate the size of the cat. If the thickness doesn't match up with the size, the slots will either be too small or too big for the pieces to fit together.
Use the calipers to measure the thickness of your plywood.
The file I provided is meant for plywood that is .120" thick. If you use wood of a different thickness, the entire design file will need to be scaled by: (x/.120) * 100, where x is your material thickness. For example, using wood that is .135" thick, my scale factor would be .135/.120 * 100 = 112.5 %. This is a critical step, otherwise your pieces will not fit together.
The method for scaling will vary based on the software you are using. In illustrator, select everything and go to object-->transform-->scale. If you are using a different software with a different laser, I will assume you know how to operate the software and scale the file.
Laser Cutting the Parts
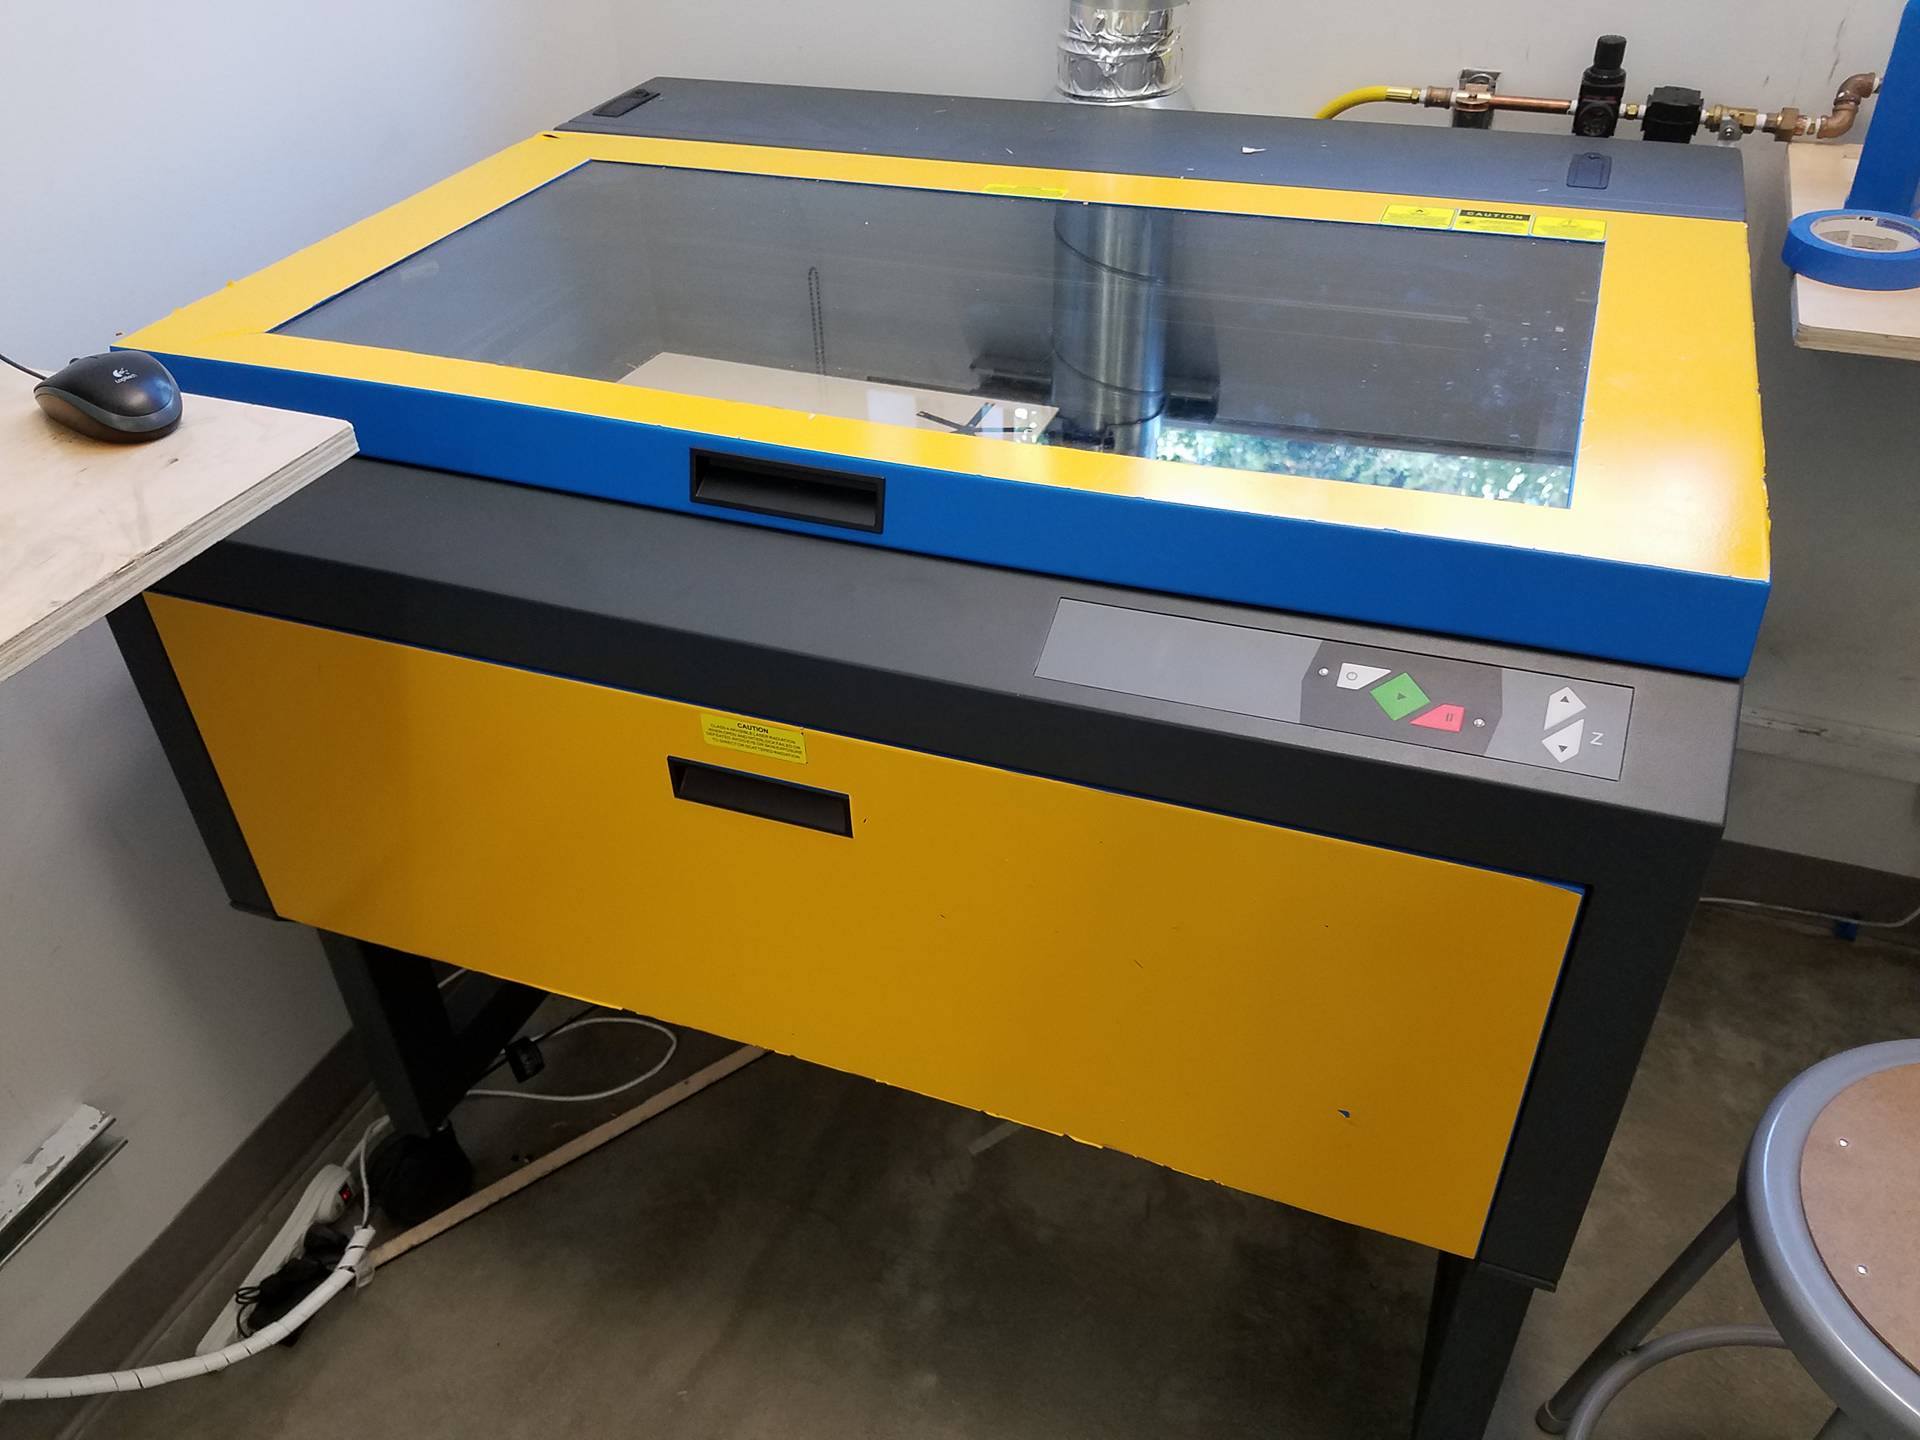
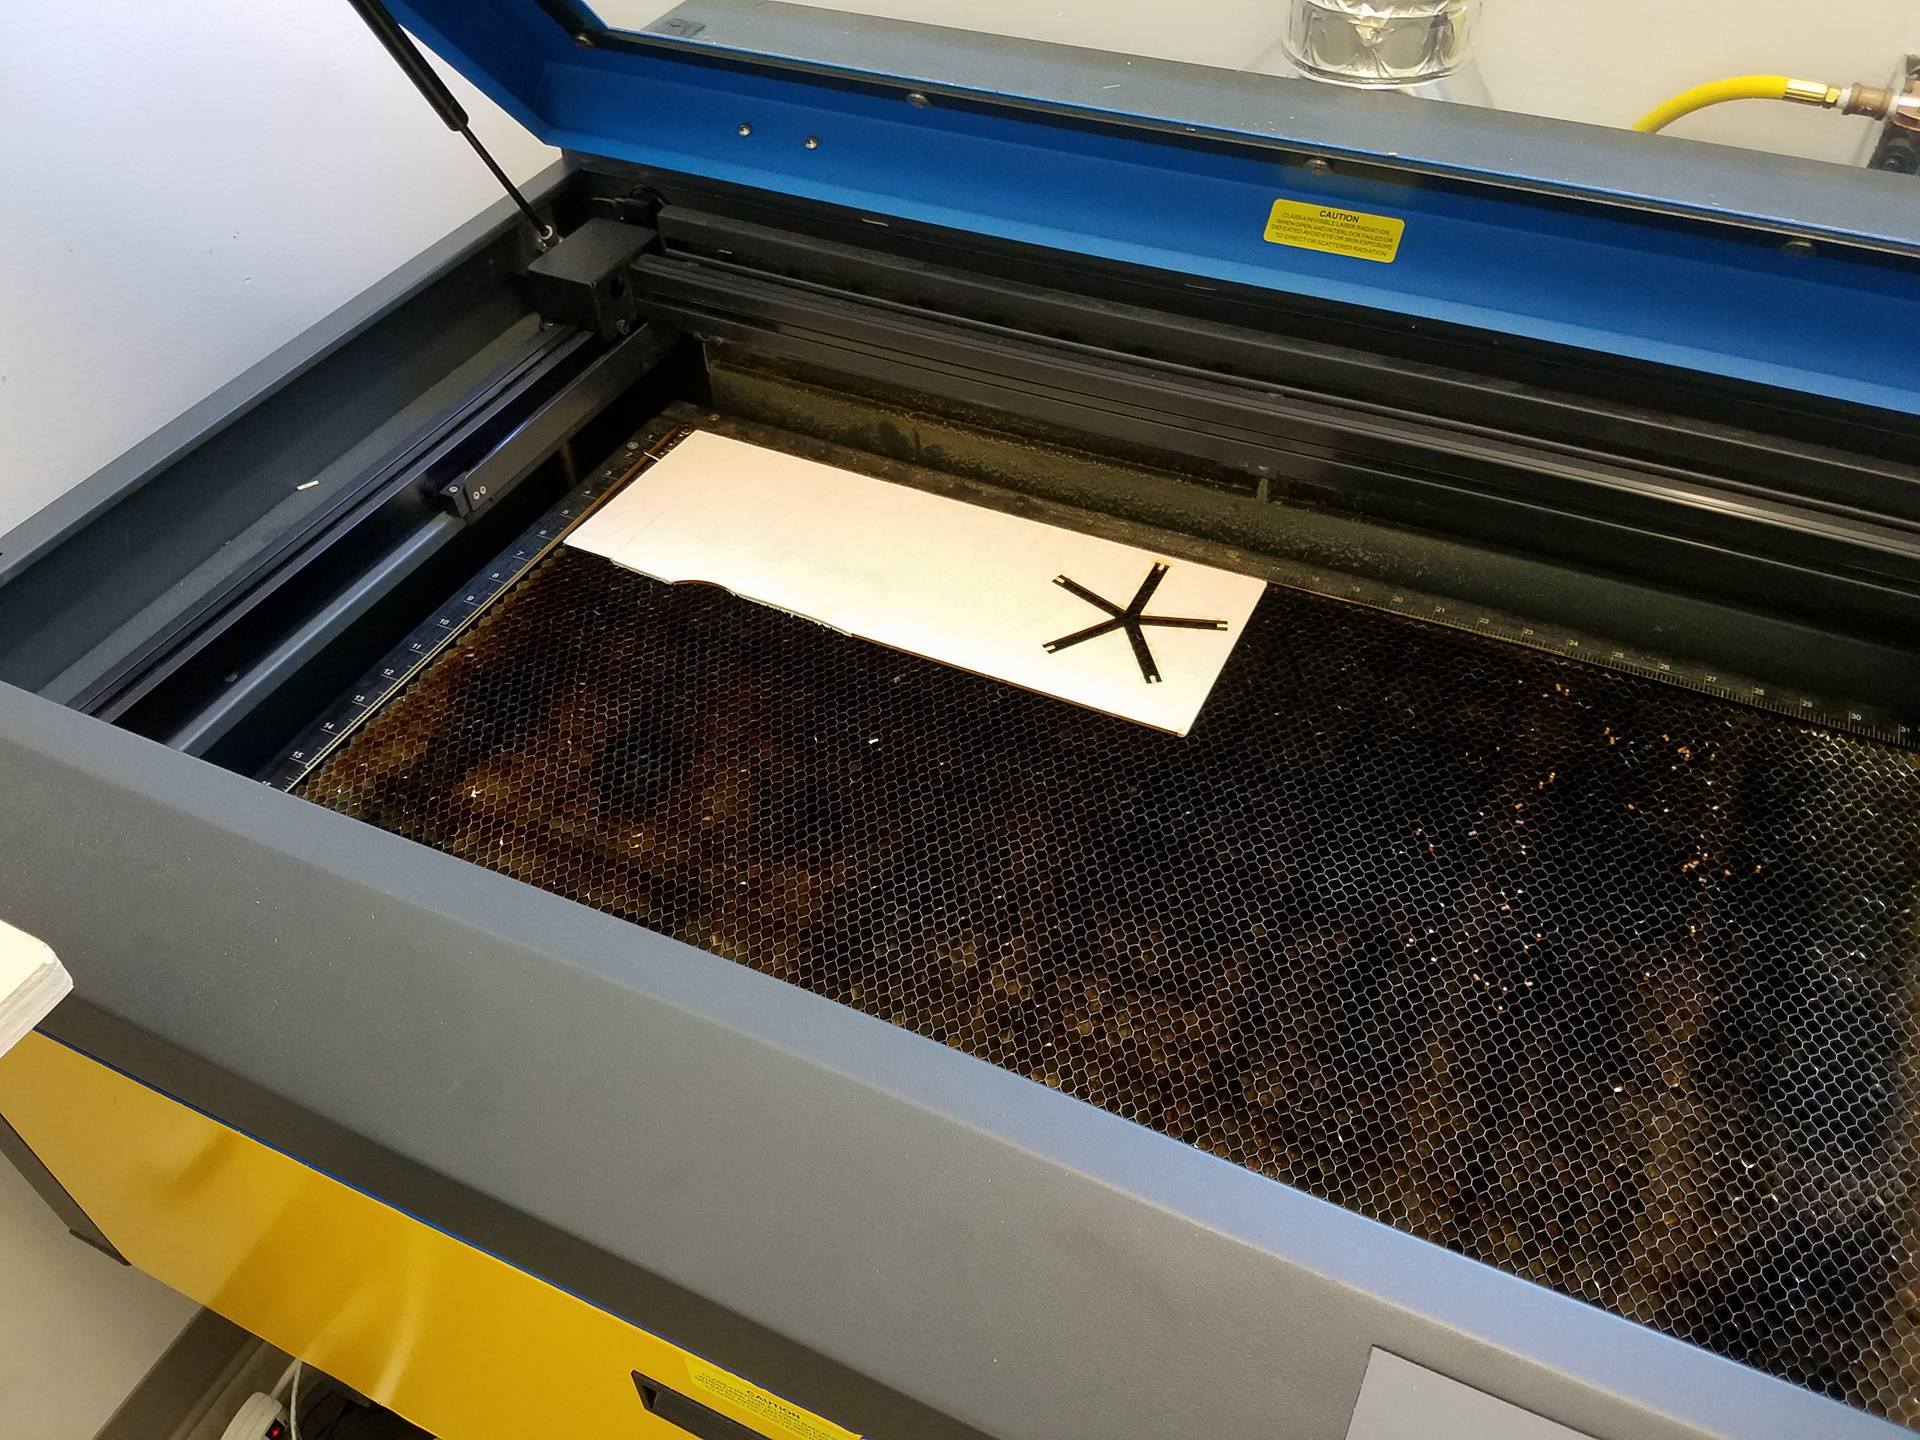
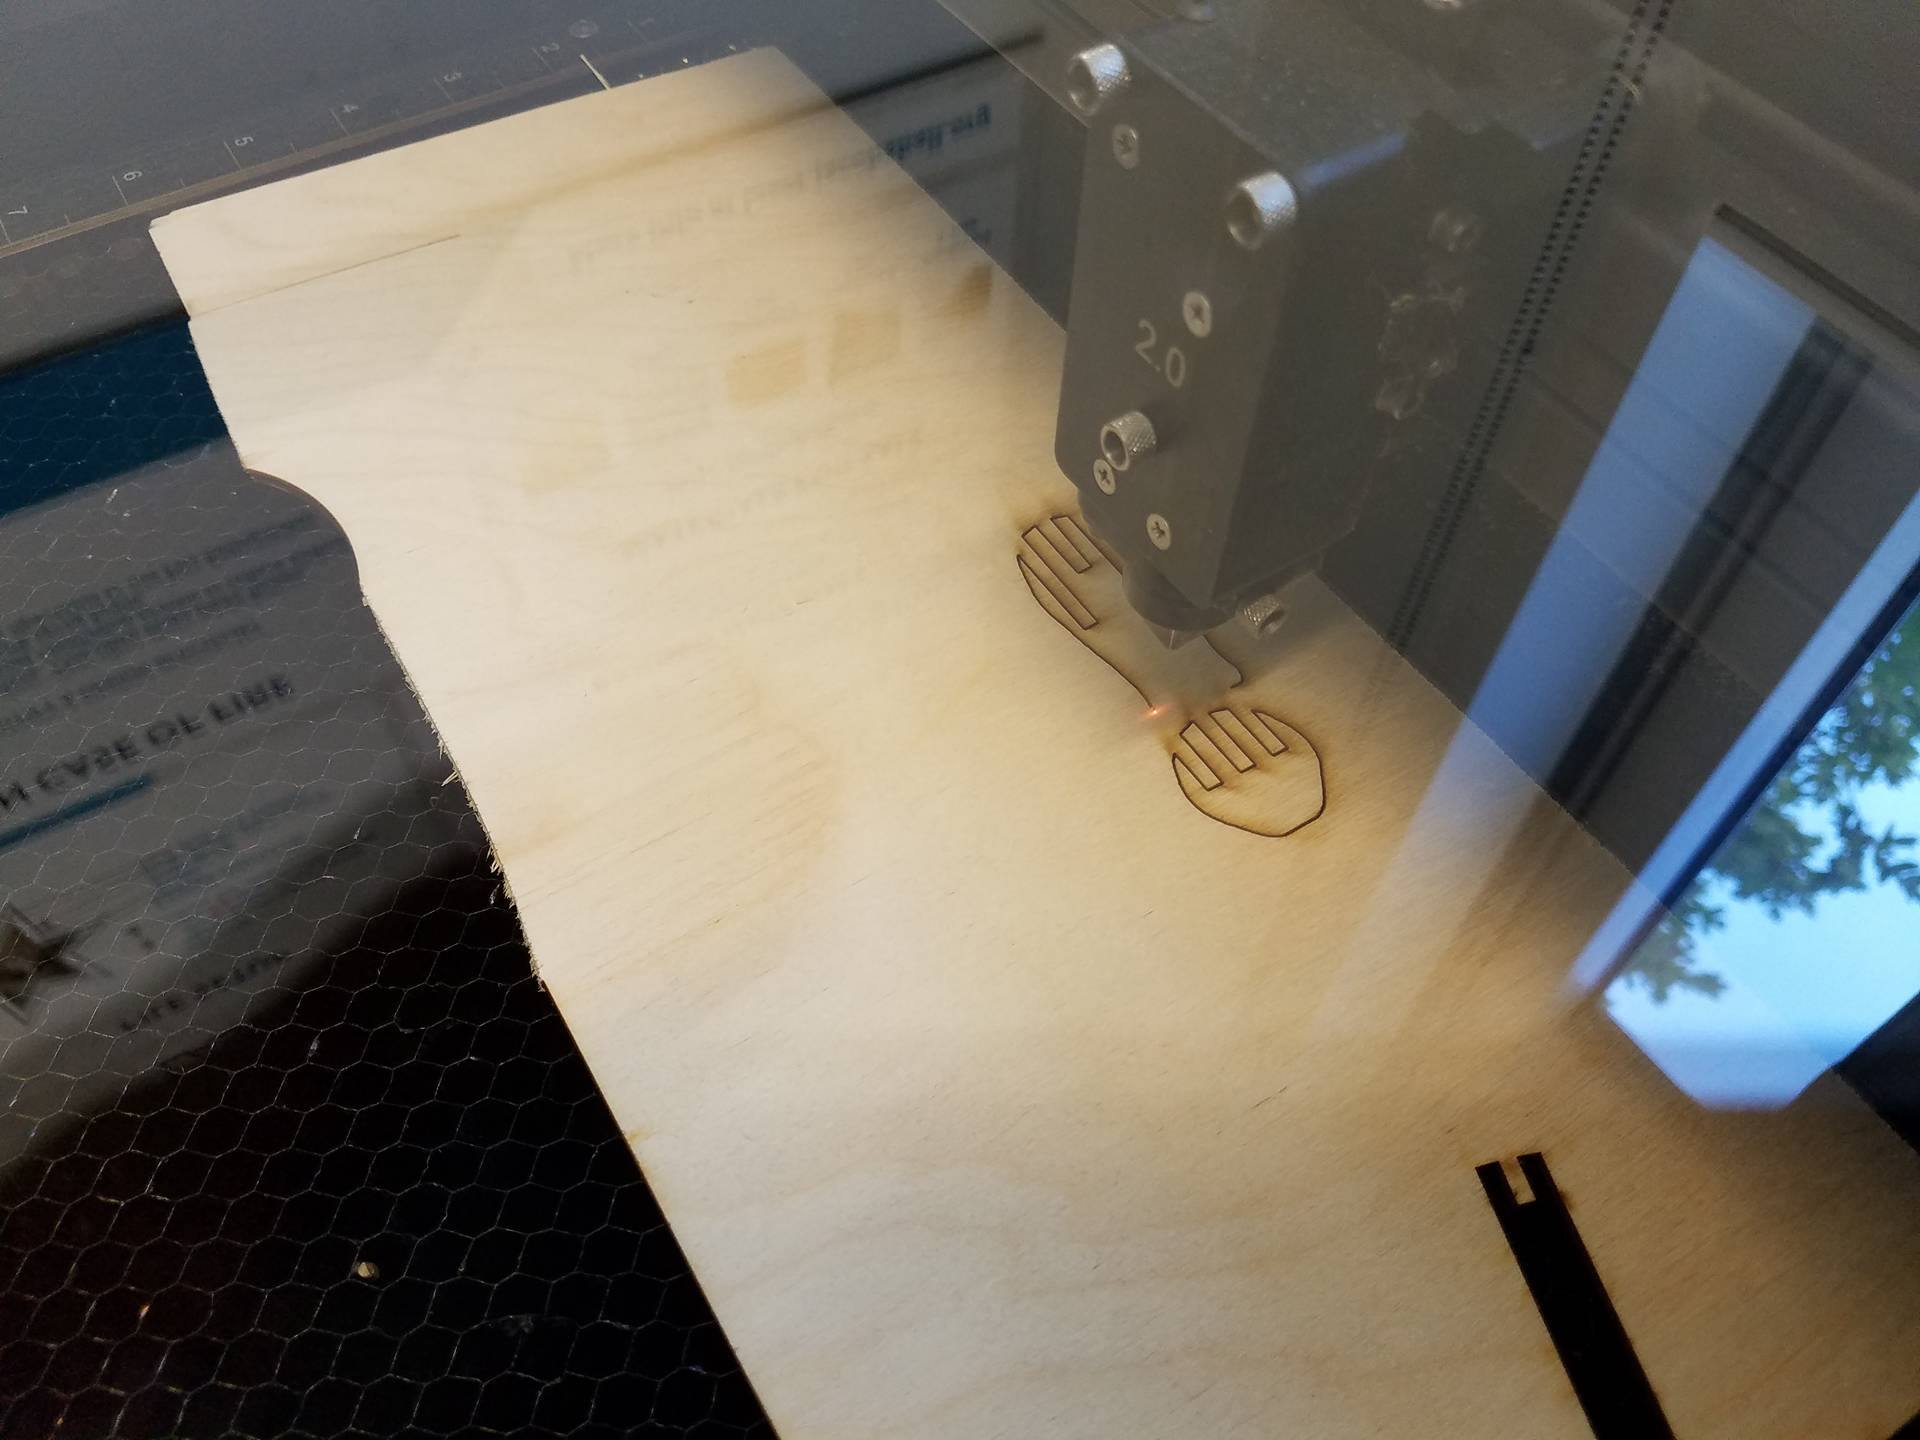
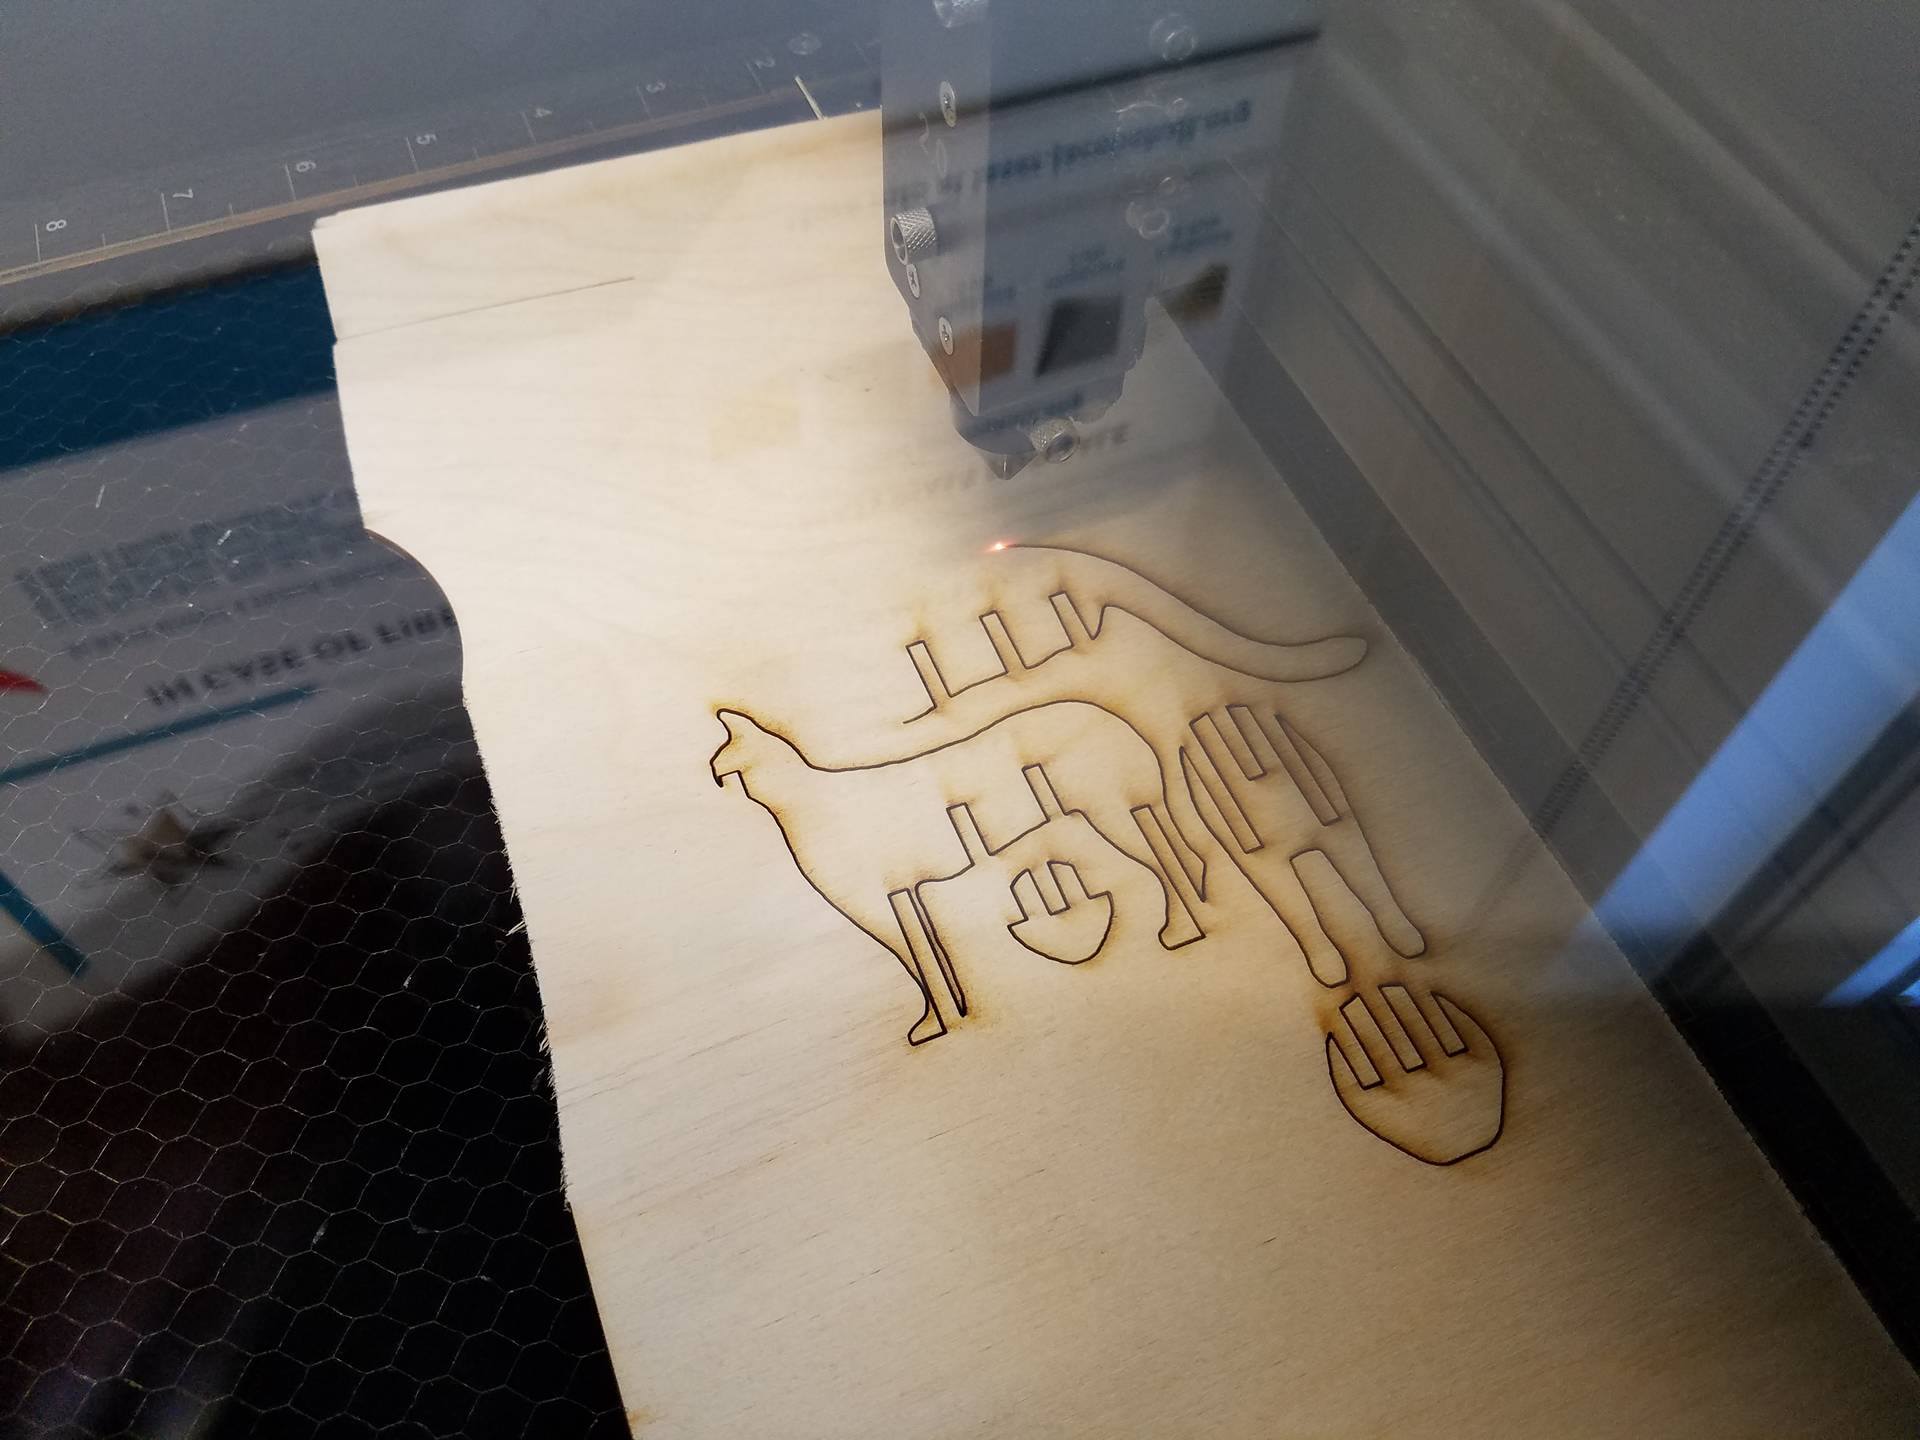
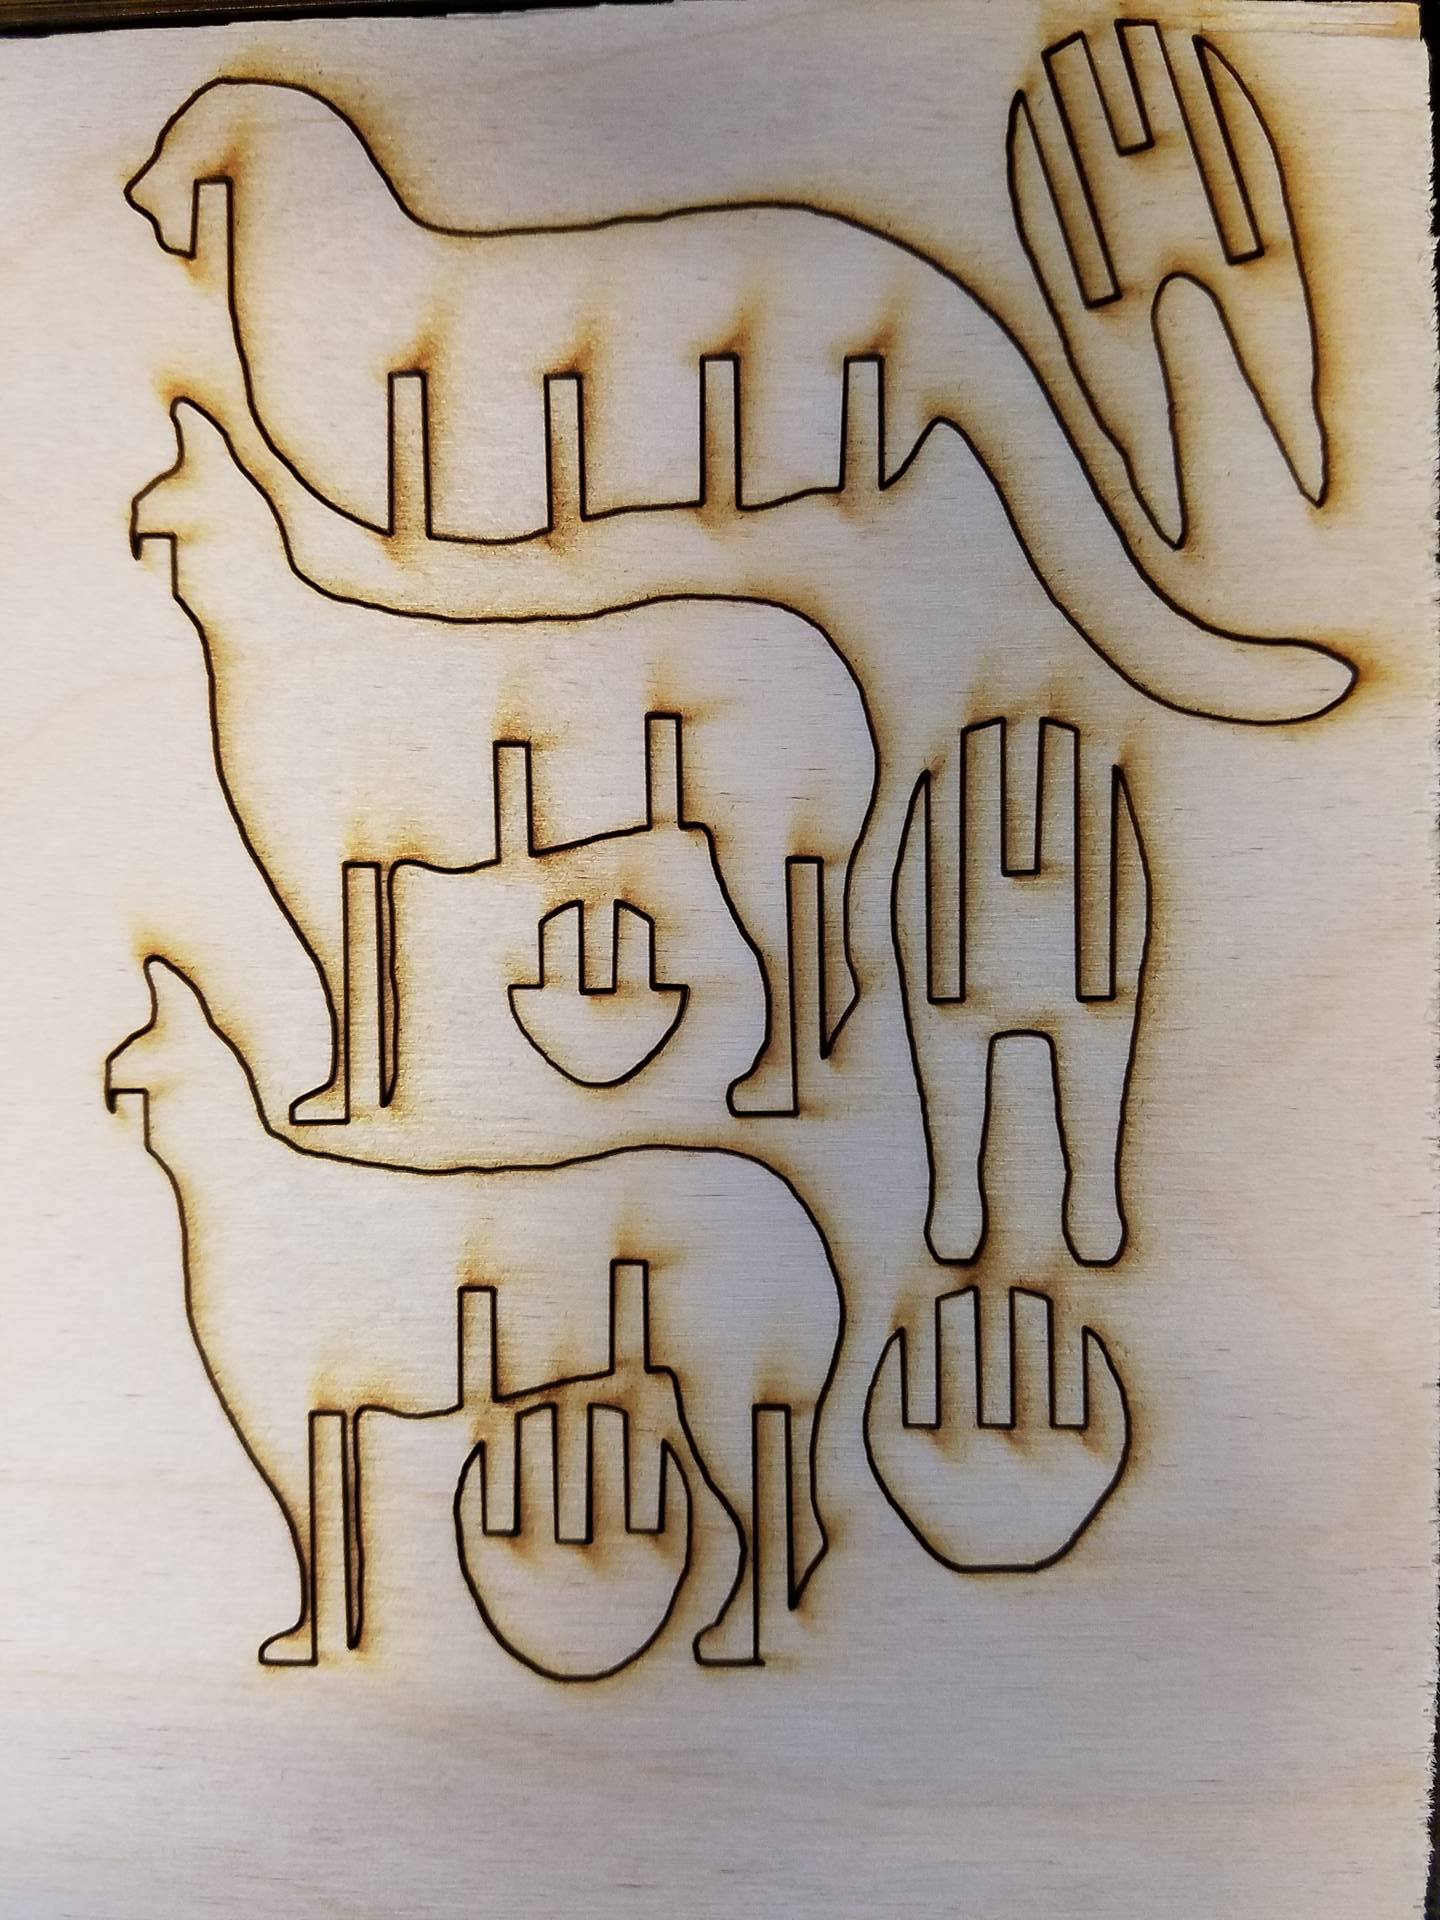
This tutorial assumes you have access to and operator's knowledge of a CNC lasercutter. As each machine's software and interface are drastically different, I'll have to assume that you know how to operate the laser cutter you will be using. The laser I used accepts illustrator files, which is why I uploaded the design as an .ai file. However, I also uploaded the .pdf for people who use a different software. Open the .pdf file in your laser's software, as pdf's are very standard file types and should be accepted by your laser's software.
Note: Each type of laser is different, and yours may use slightly different settings than mine, resulting in a different kerf. This could make the pieces not fit together appropriately. If the pieces are too loose, consider scaling down the file by about 5% and trying again. Likewise, if the pieces are too tight and don't slide together, scale the file up by about 5% and cut the pieces again.
Go ahead and cut out the parts using your laser, and head over to a work able where you can assemble them.
Assembly
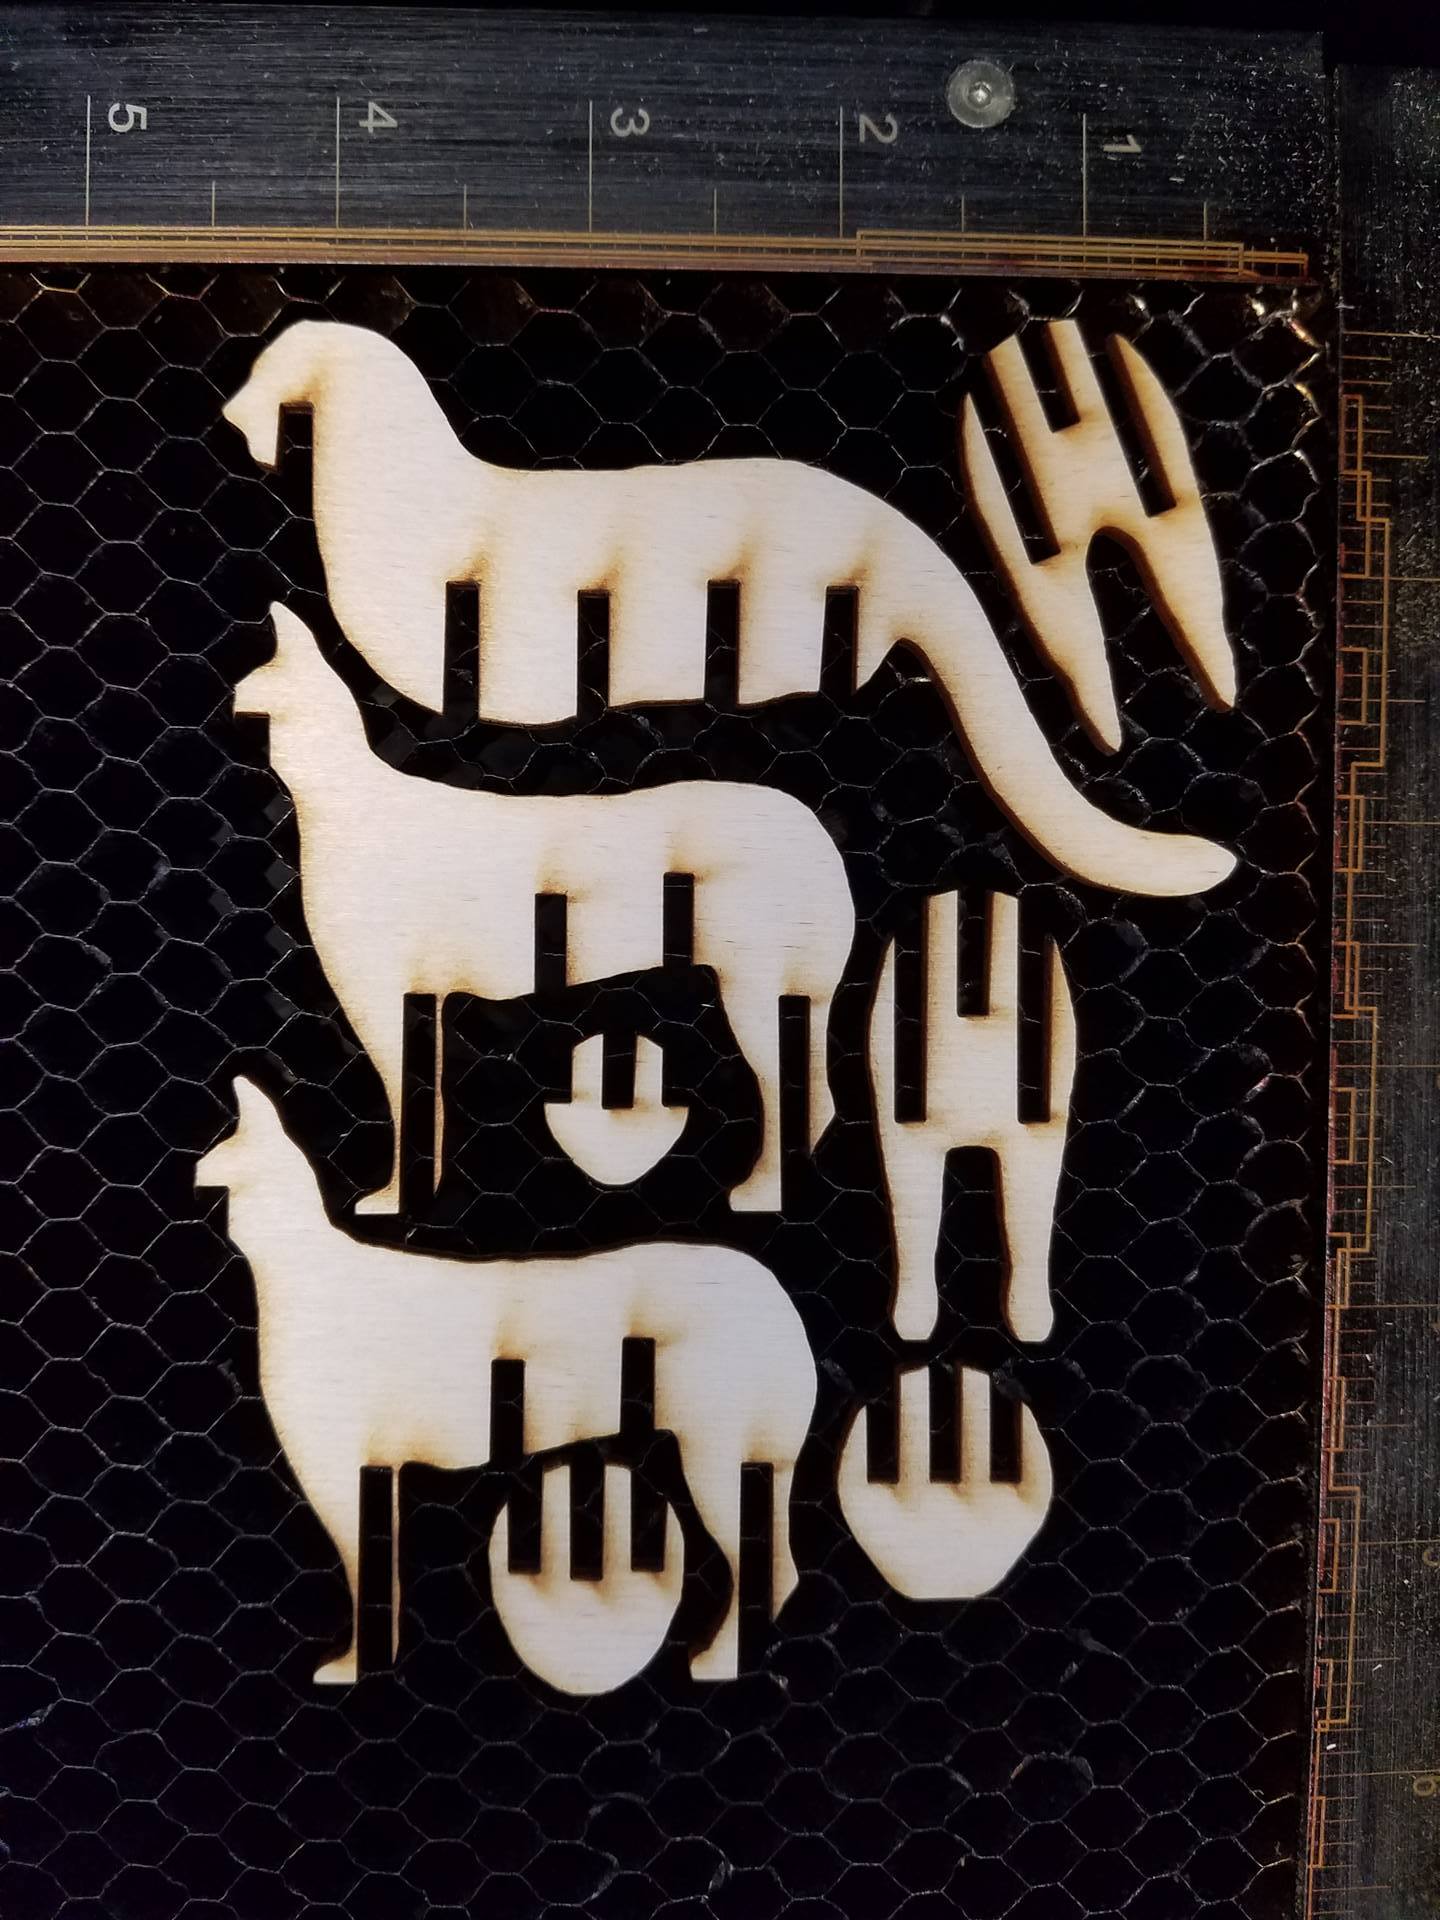
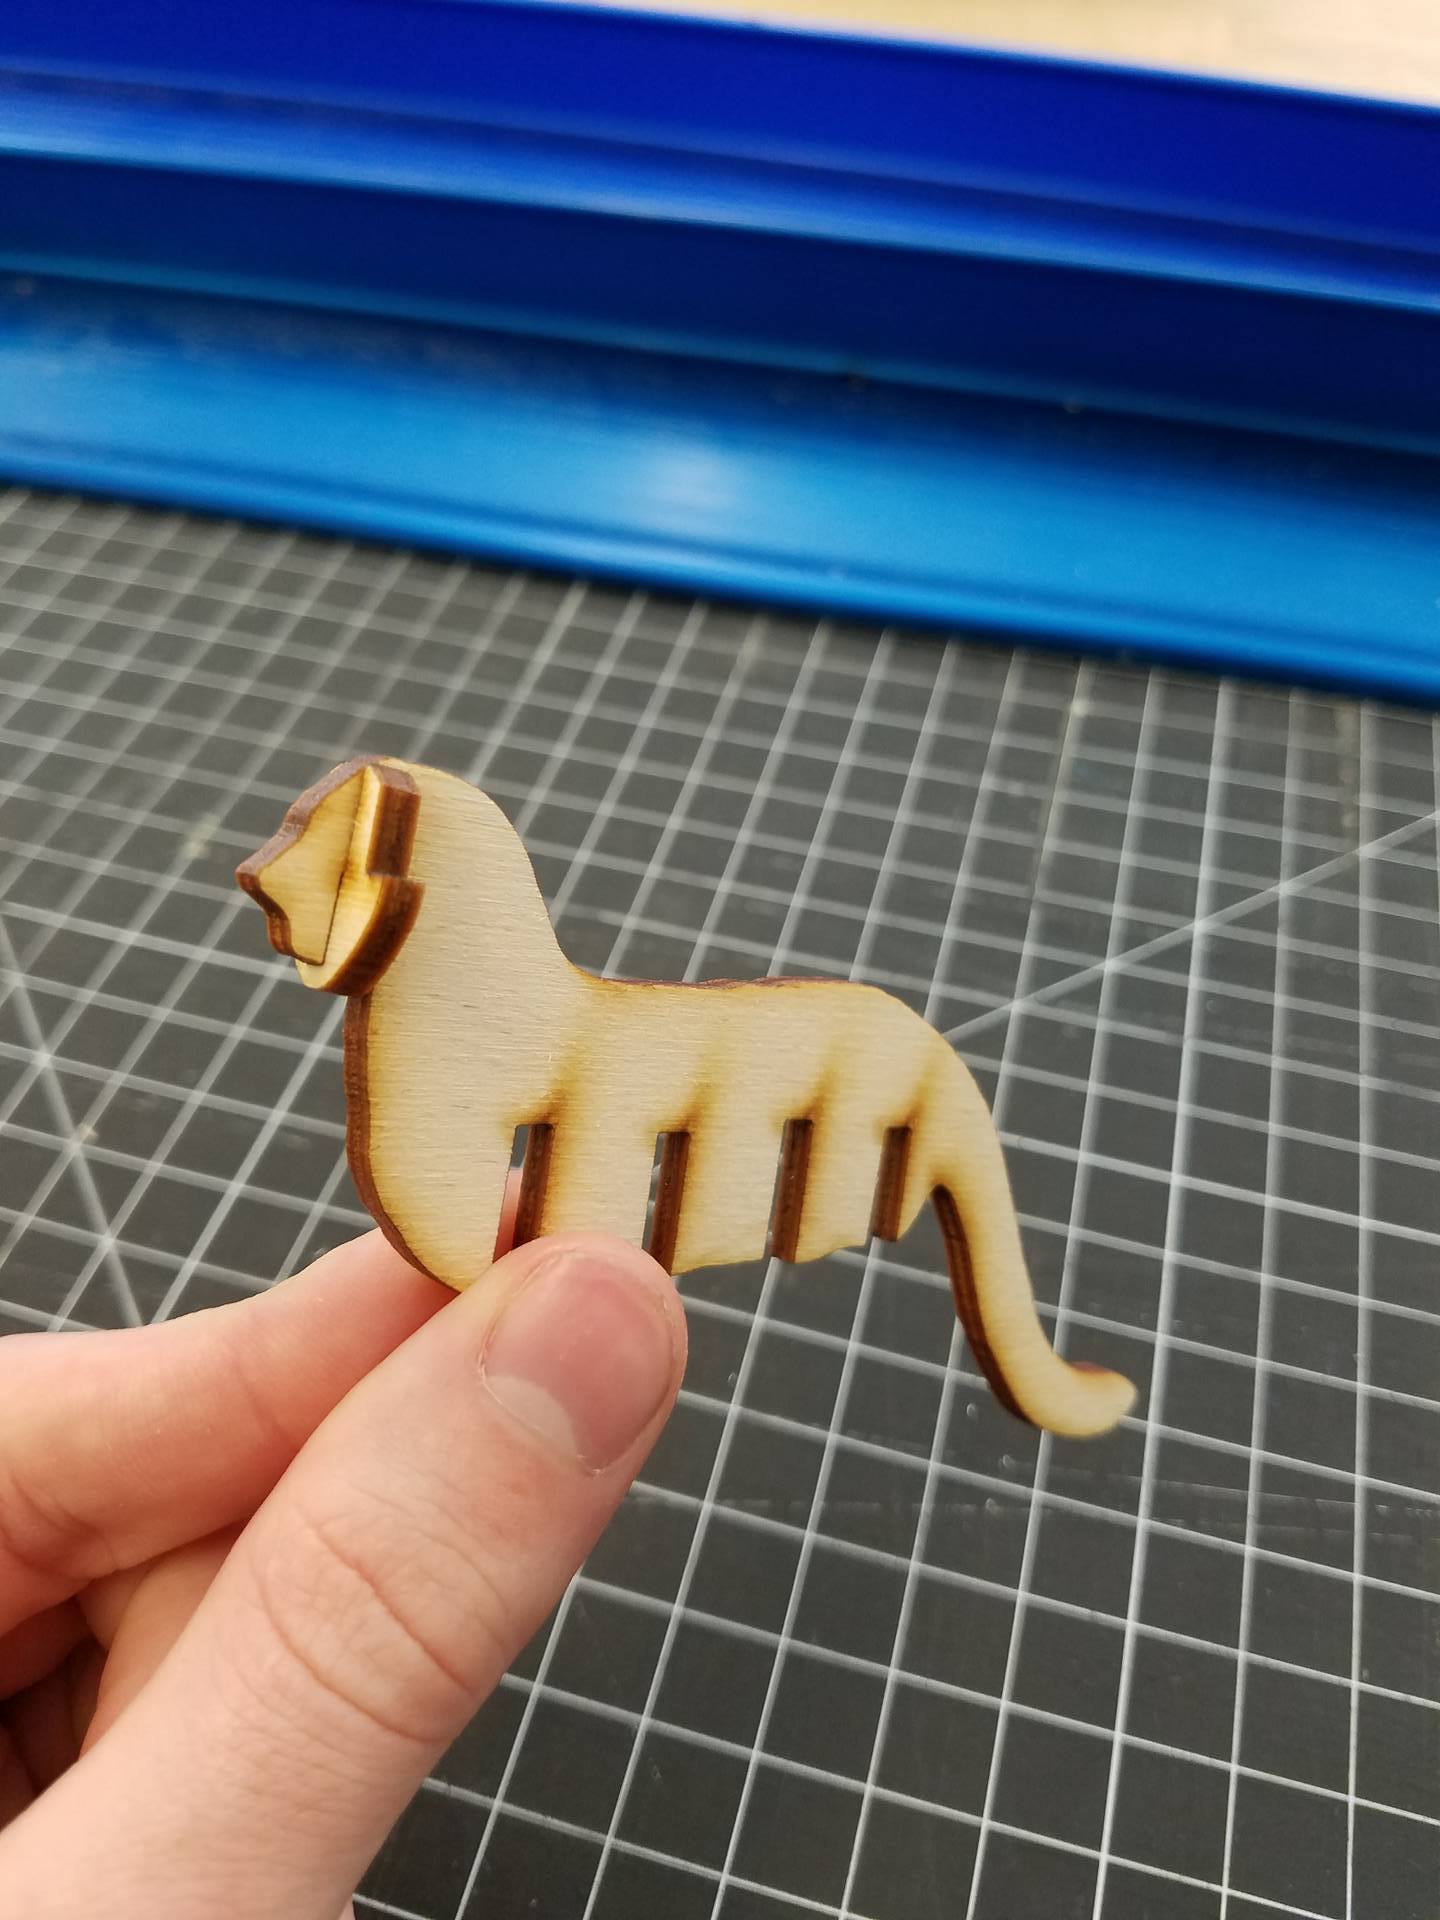
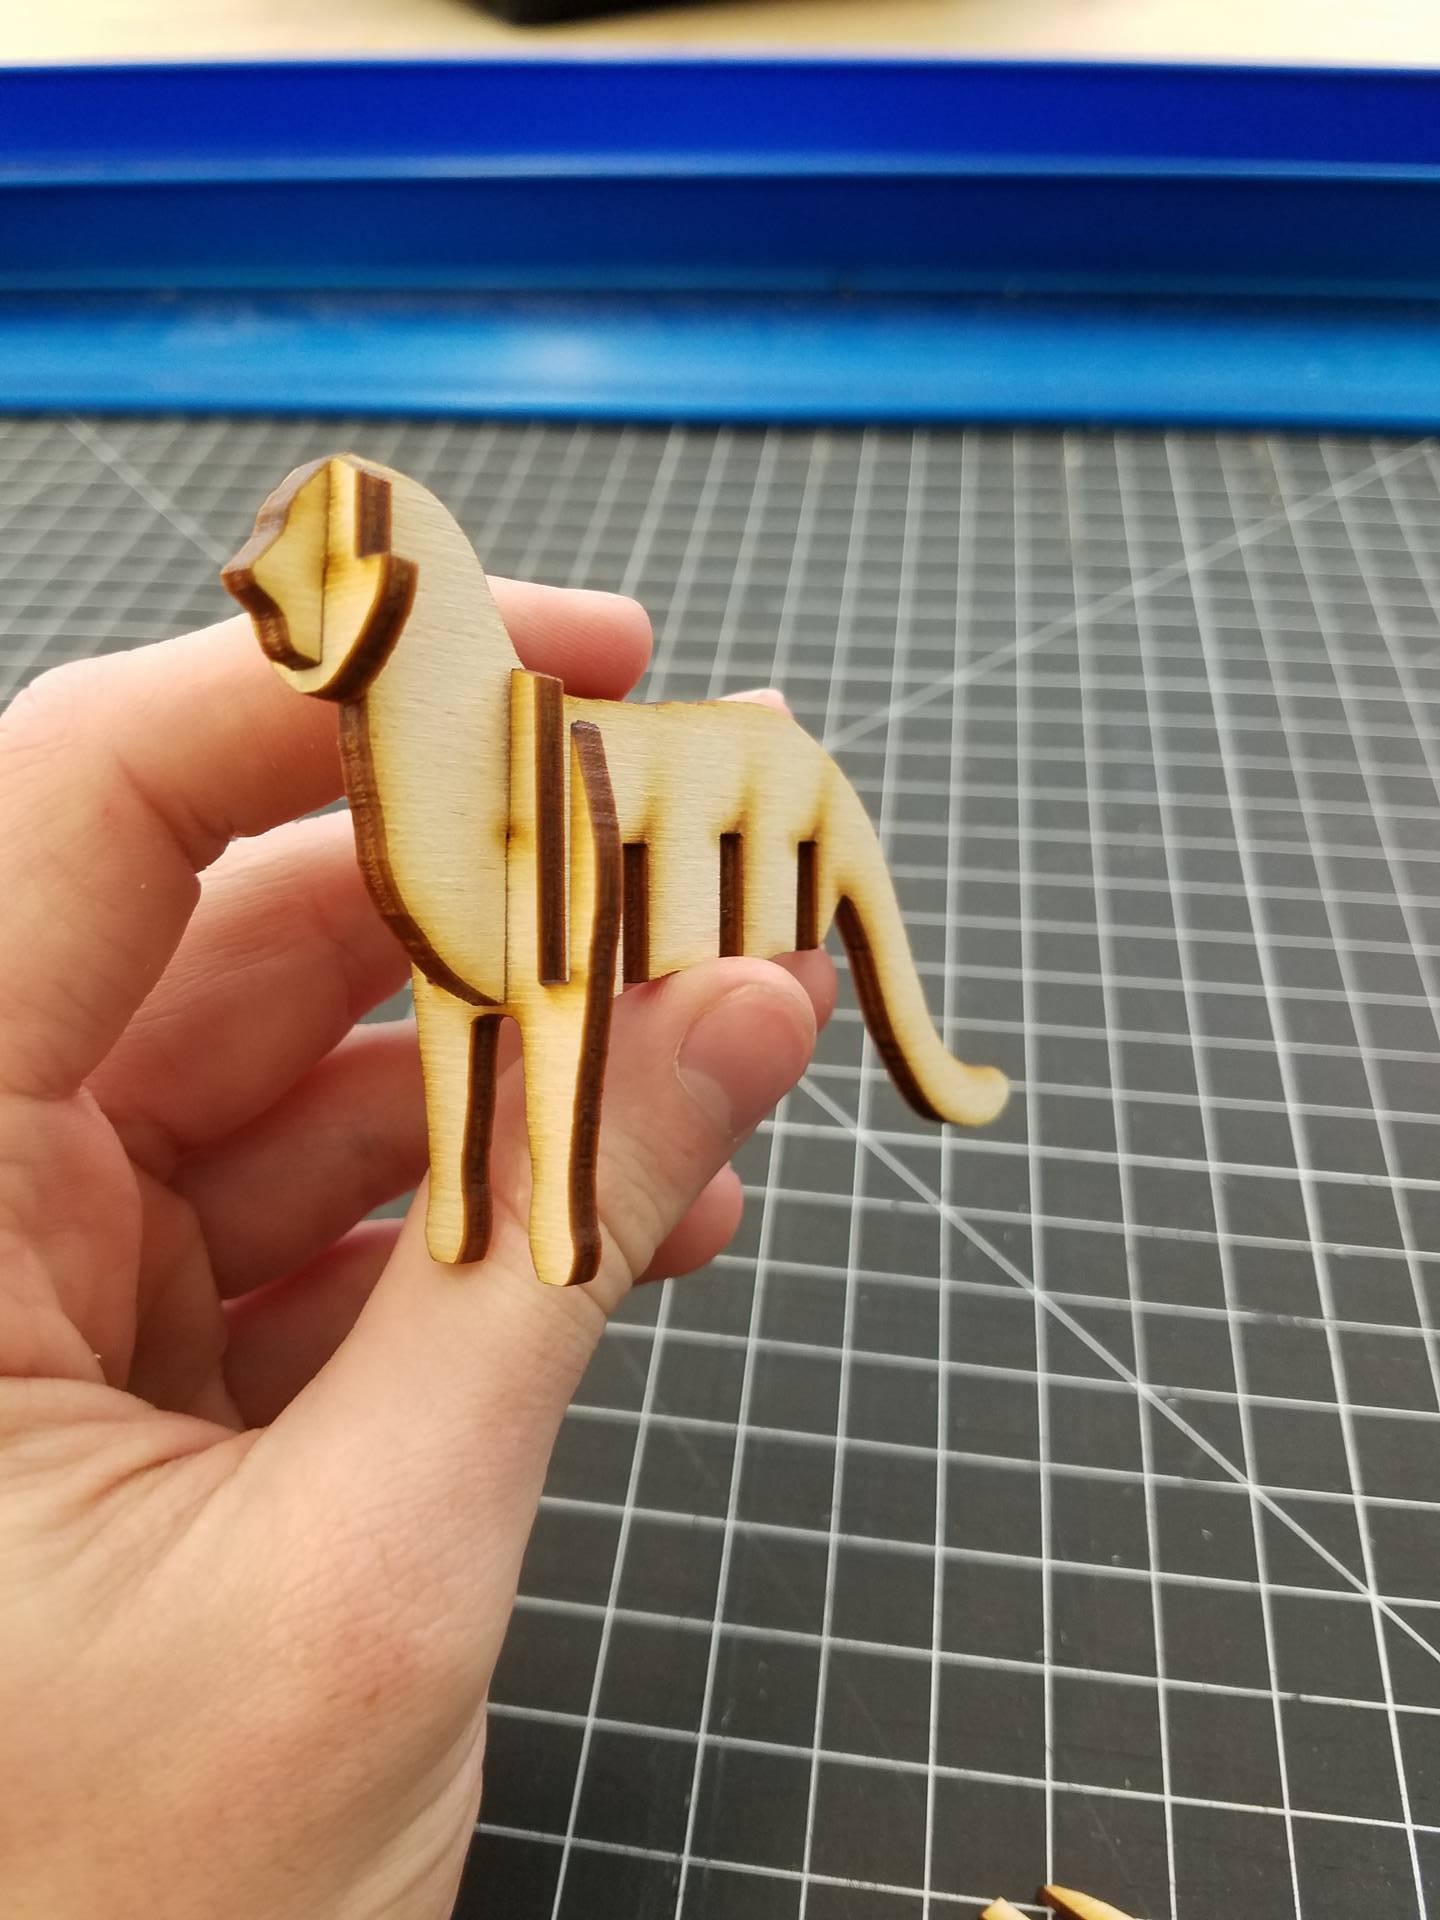
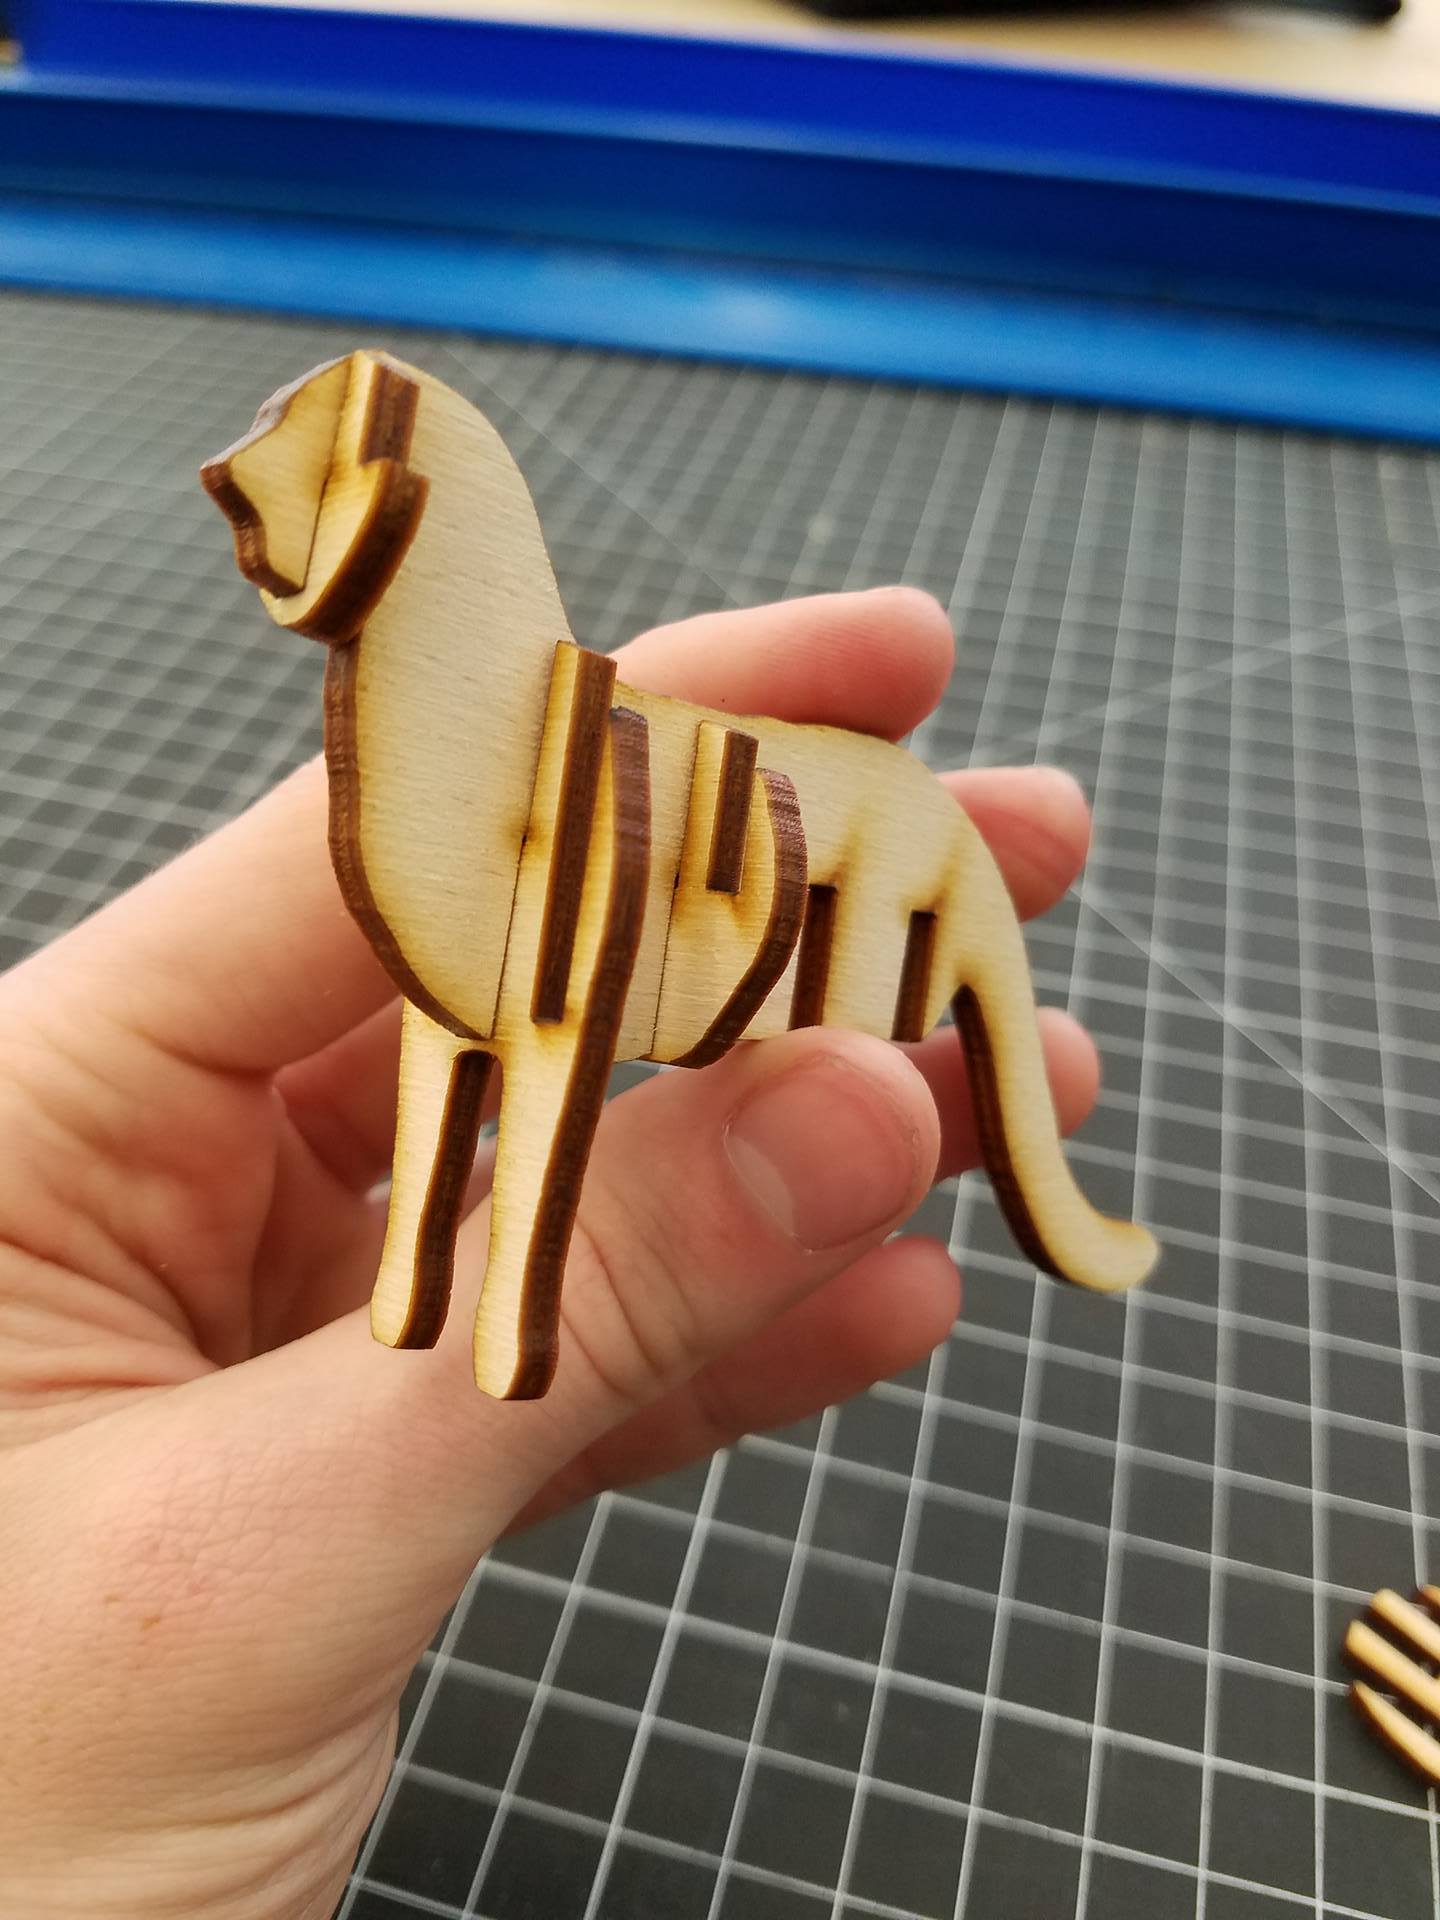
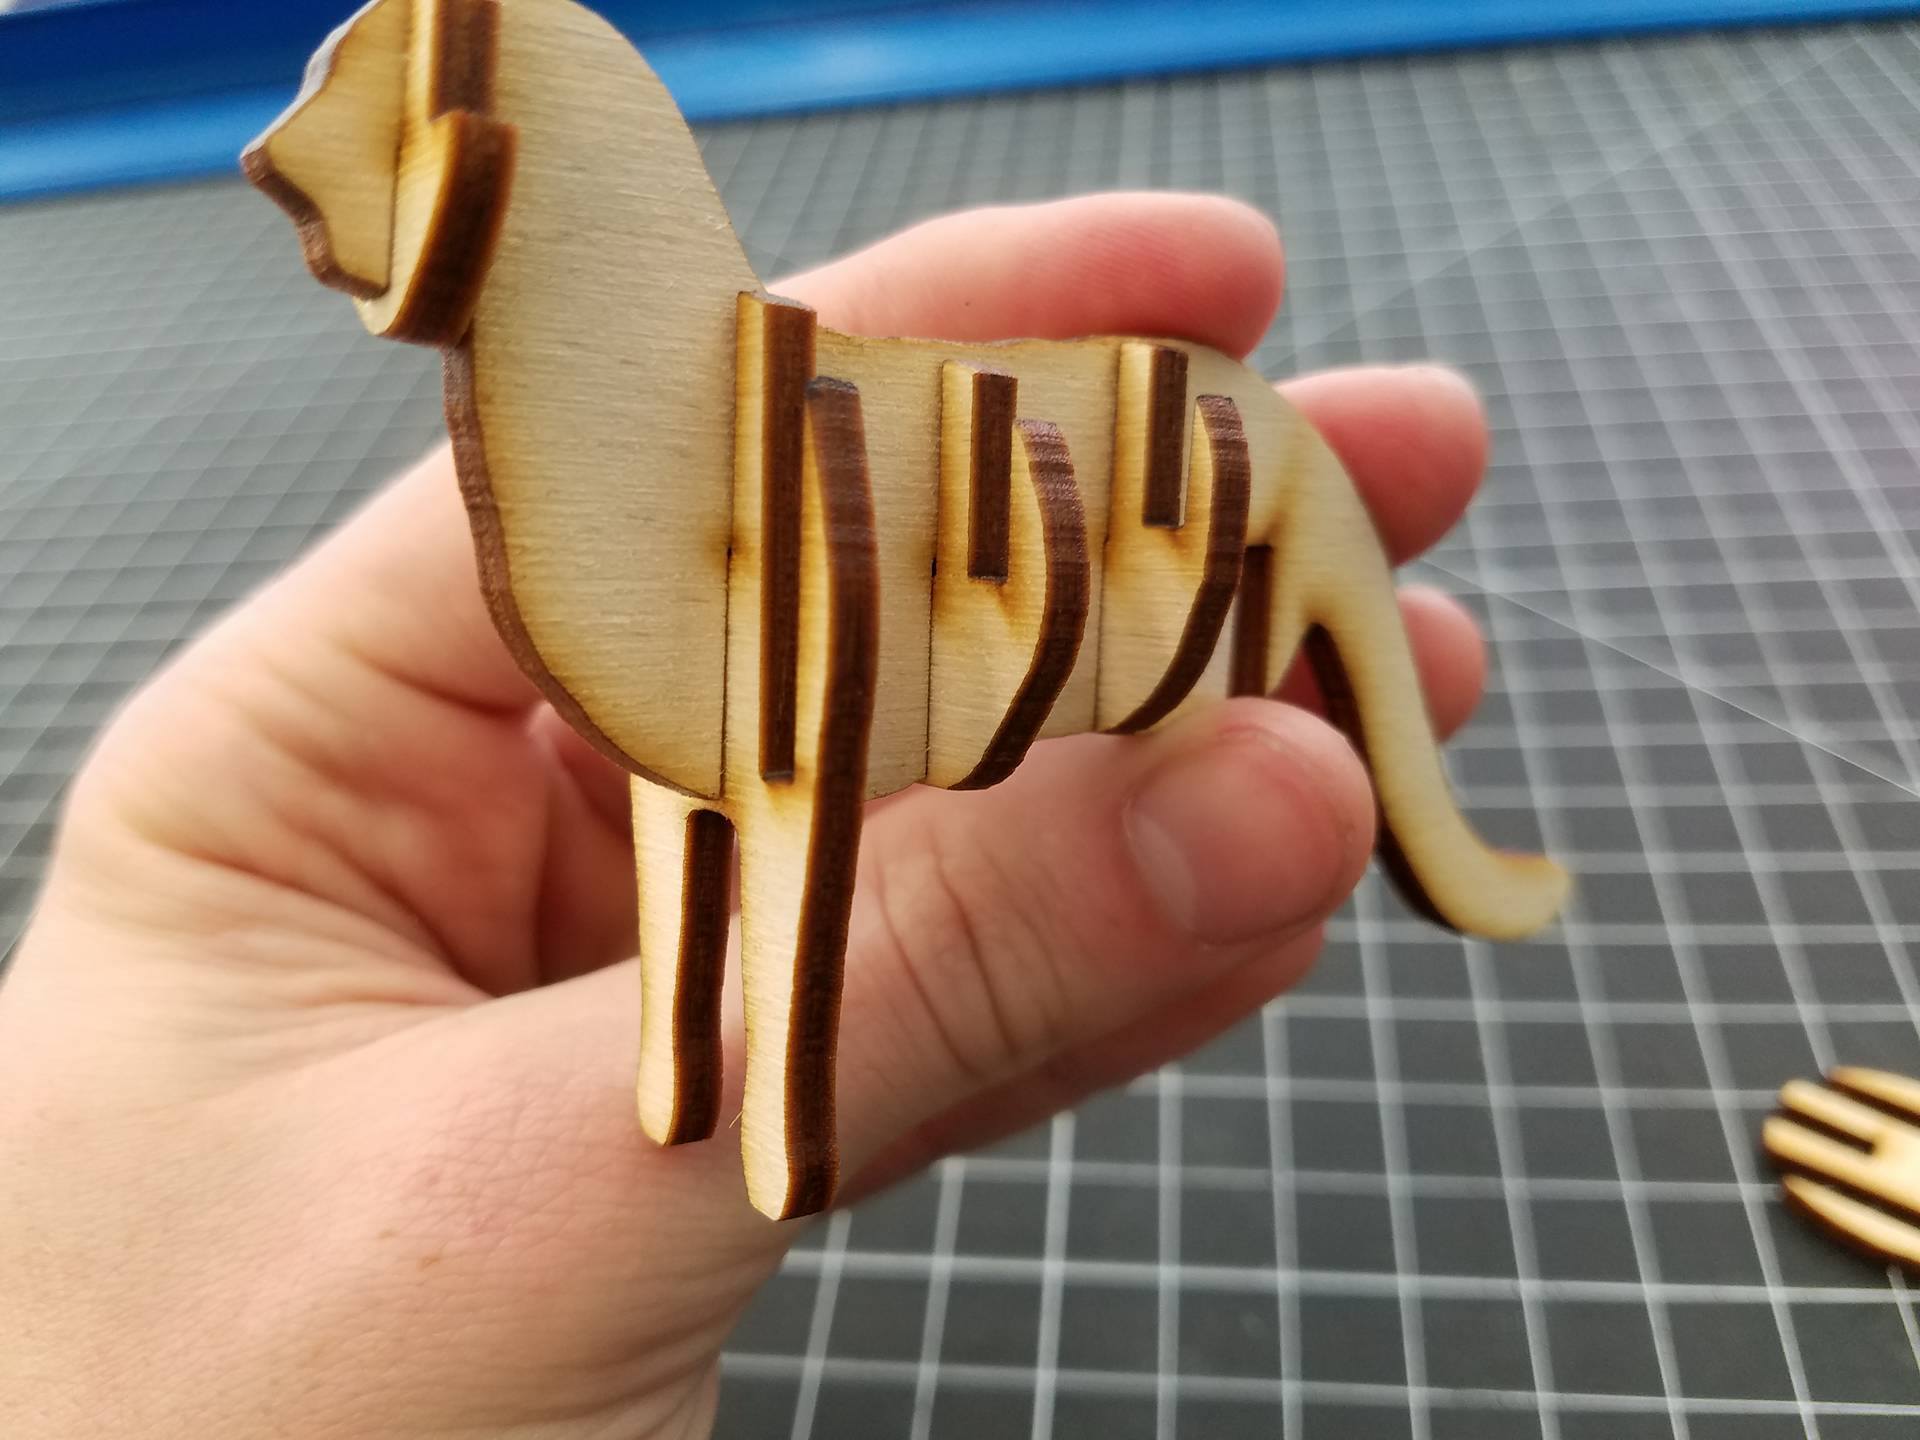
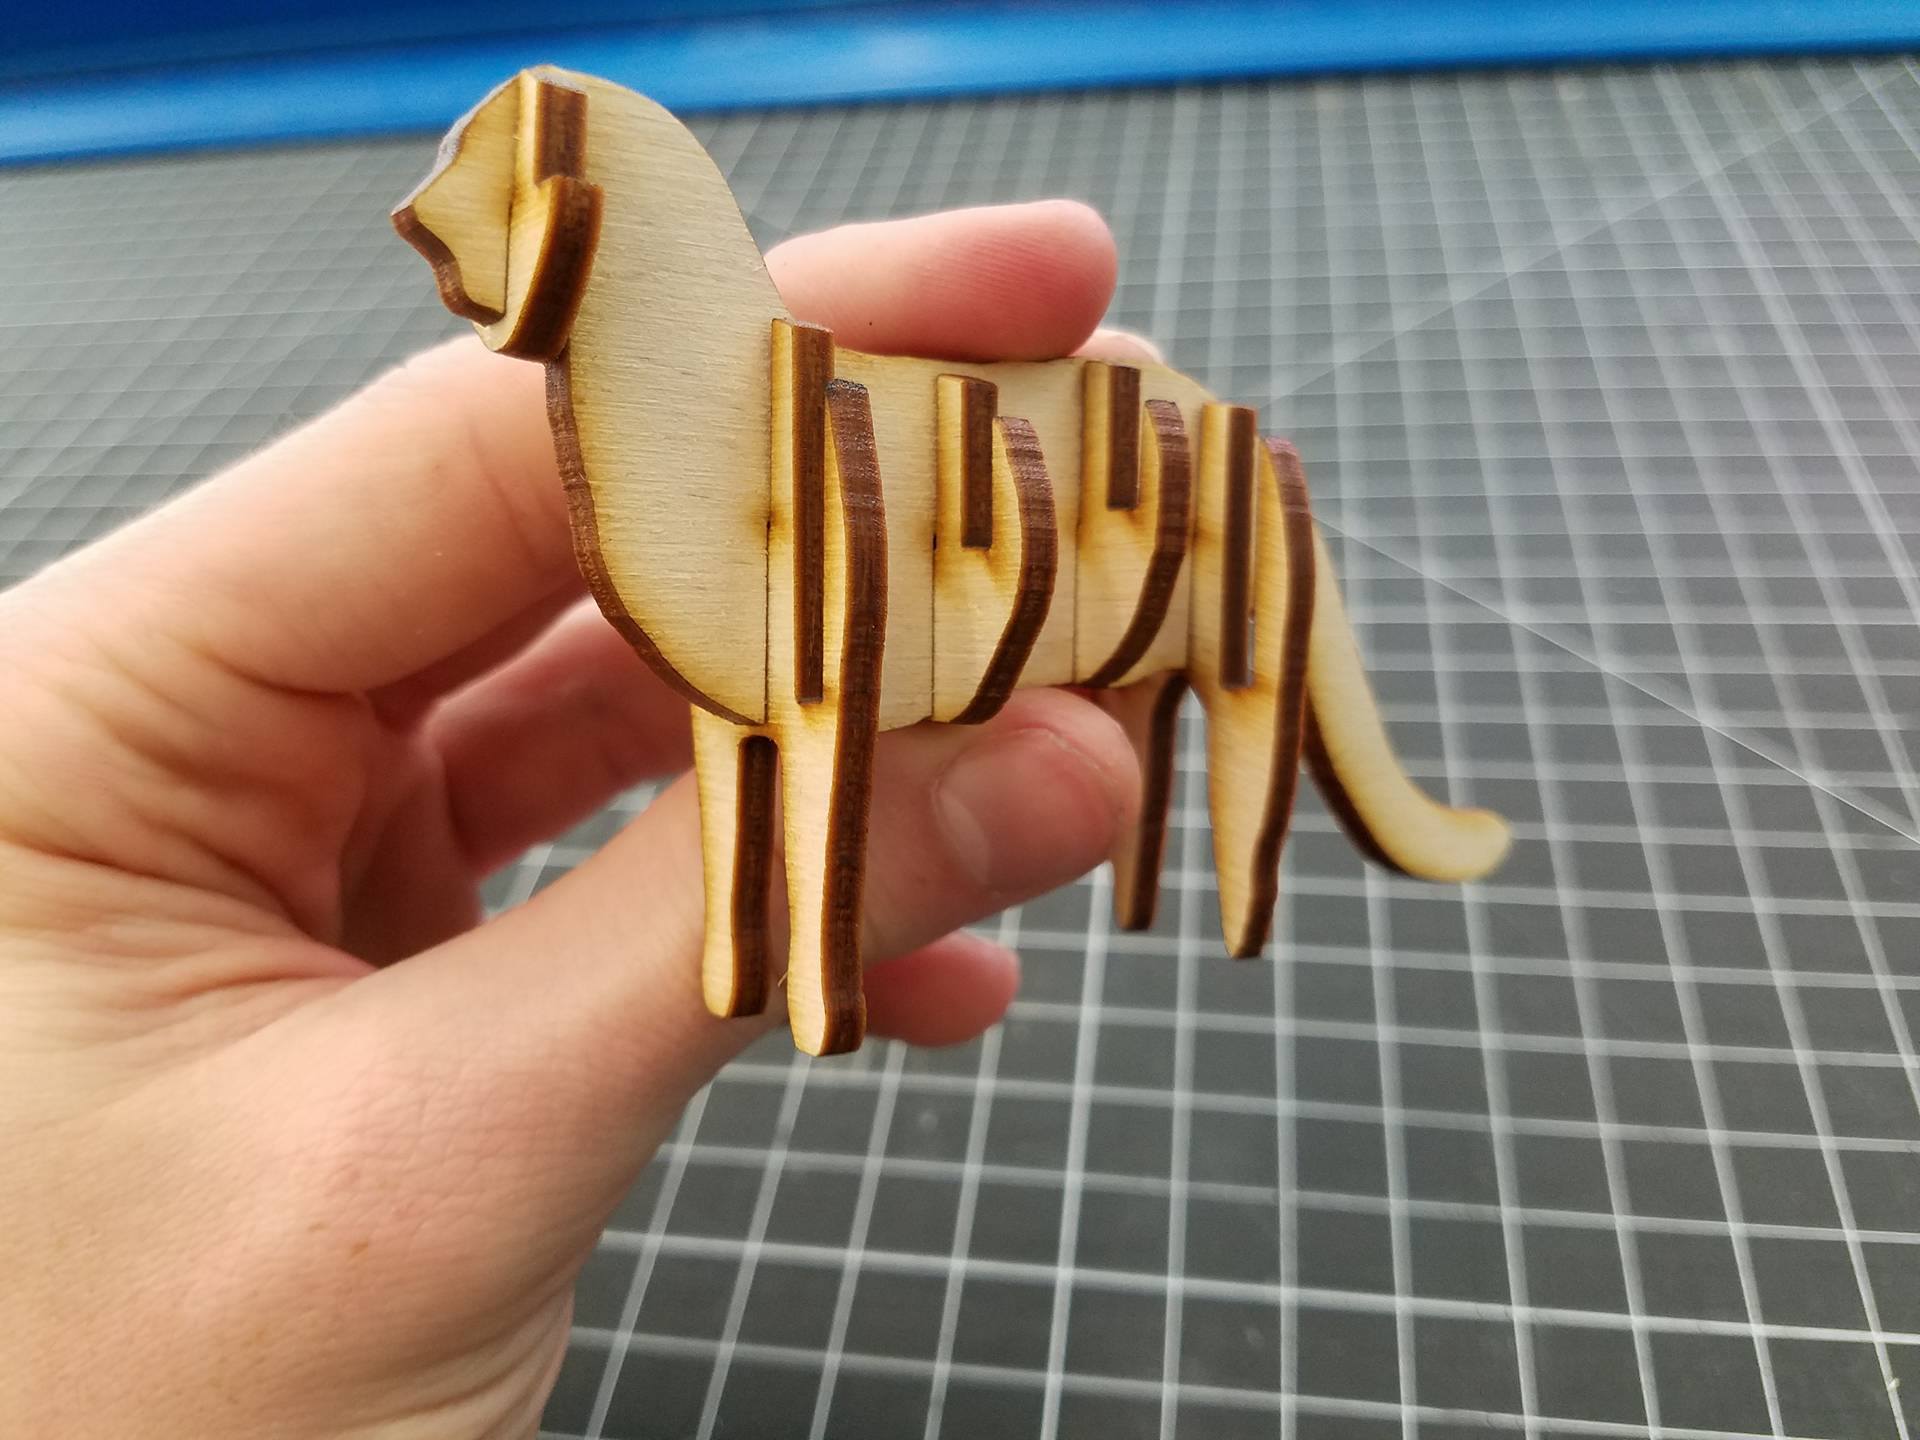
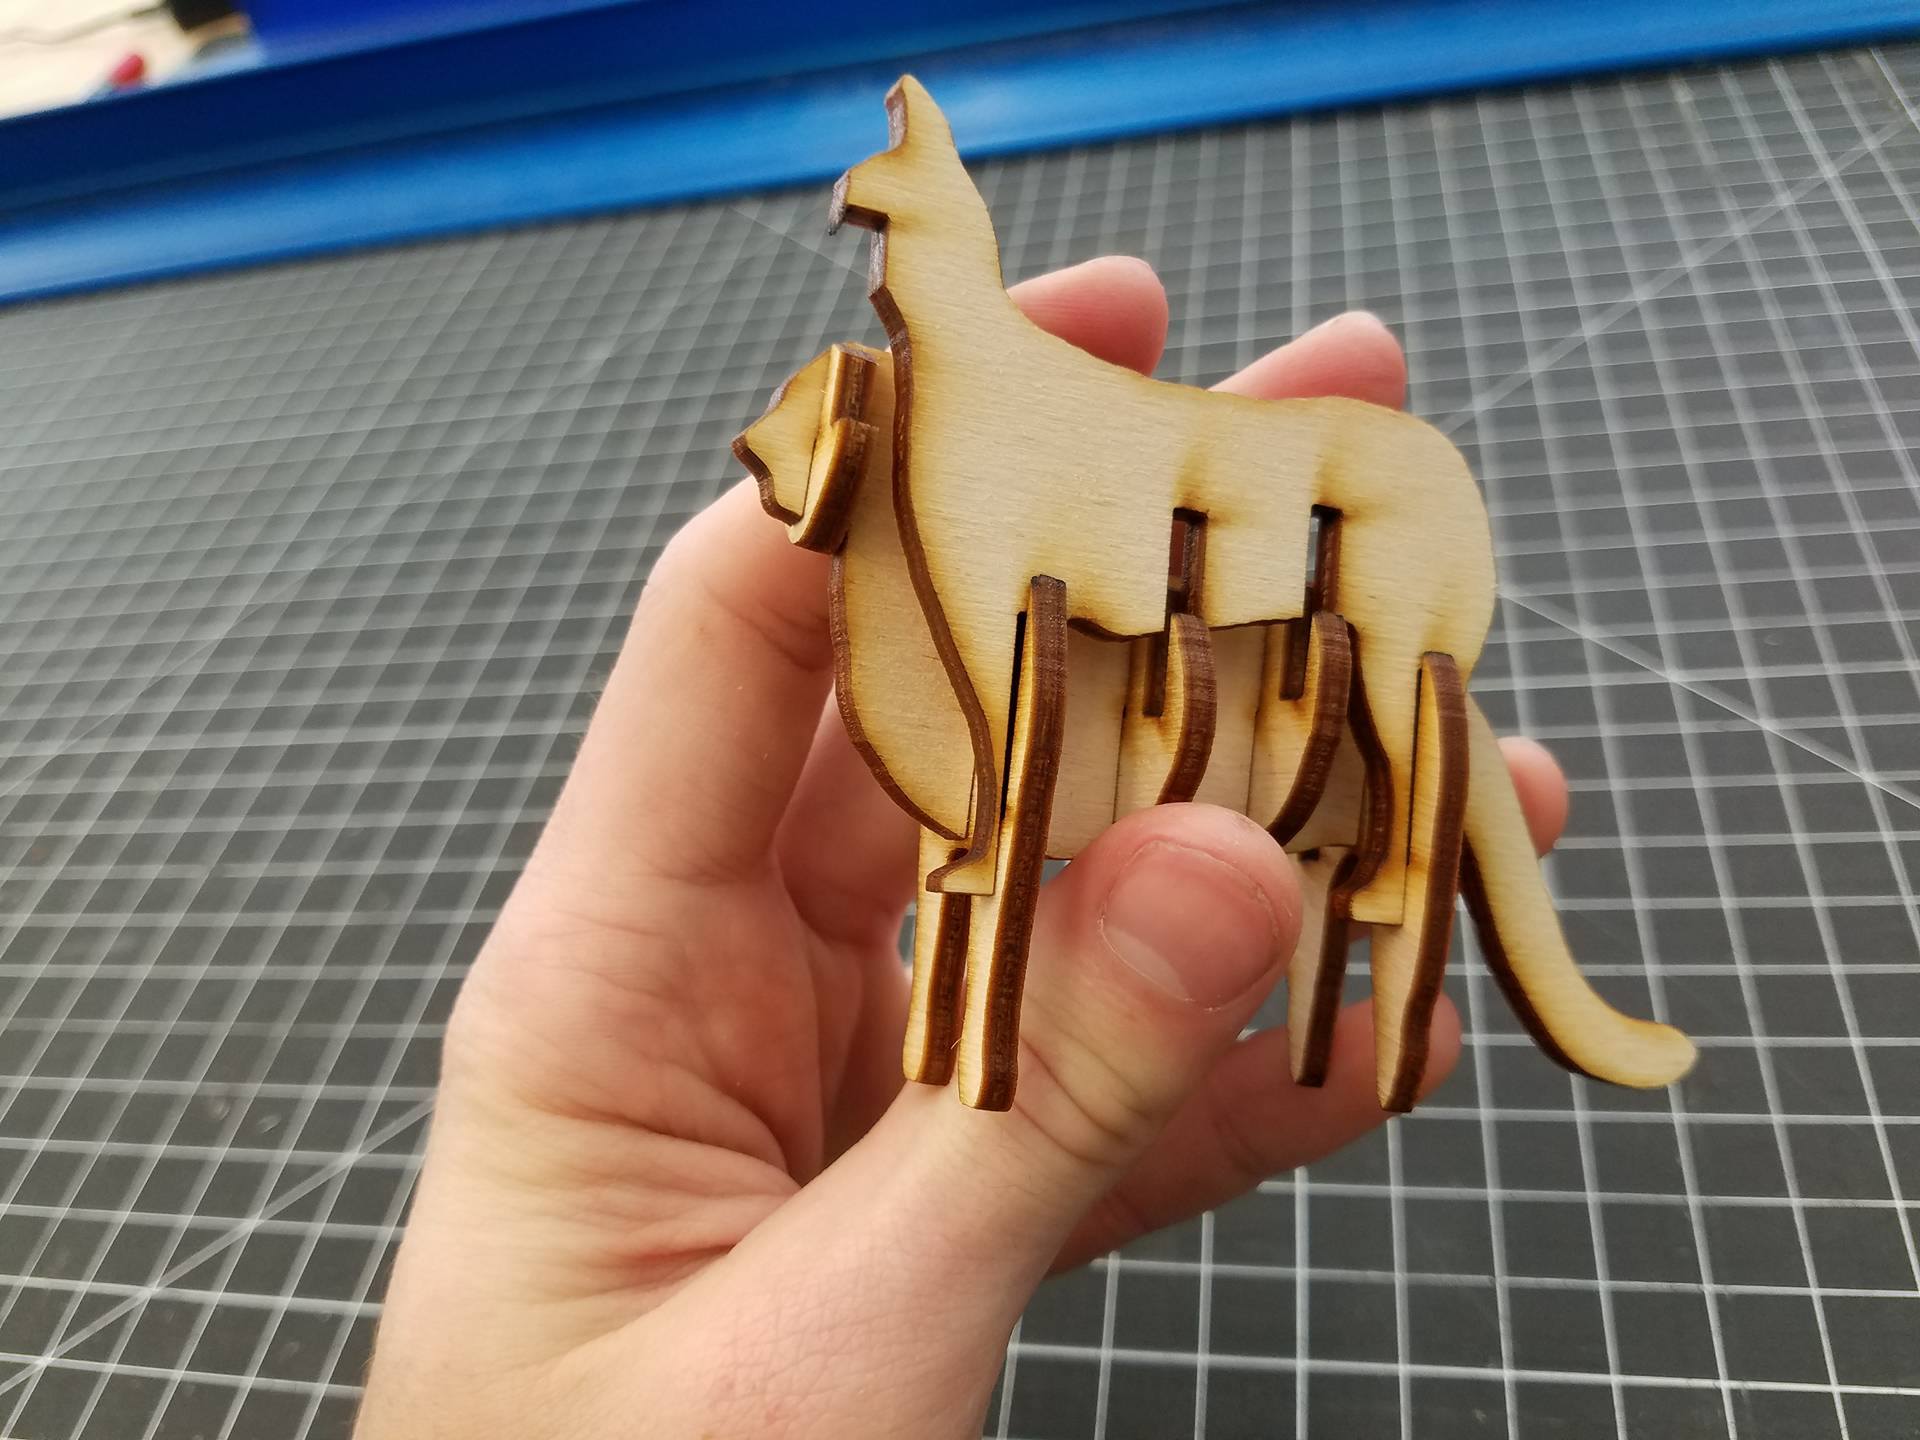
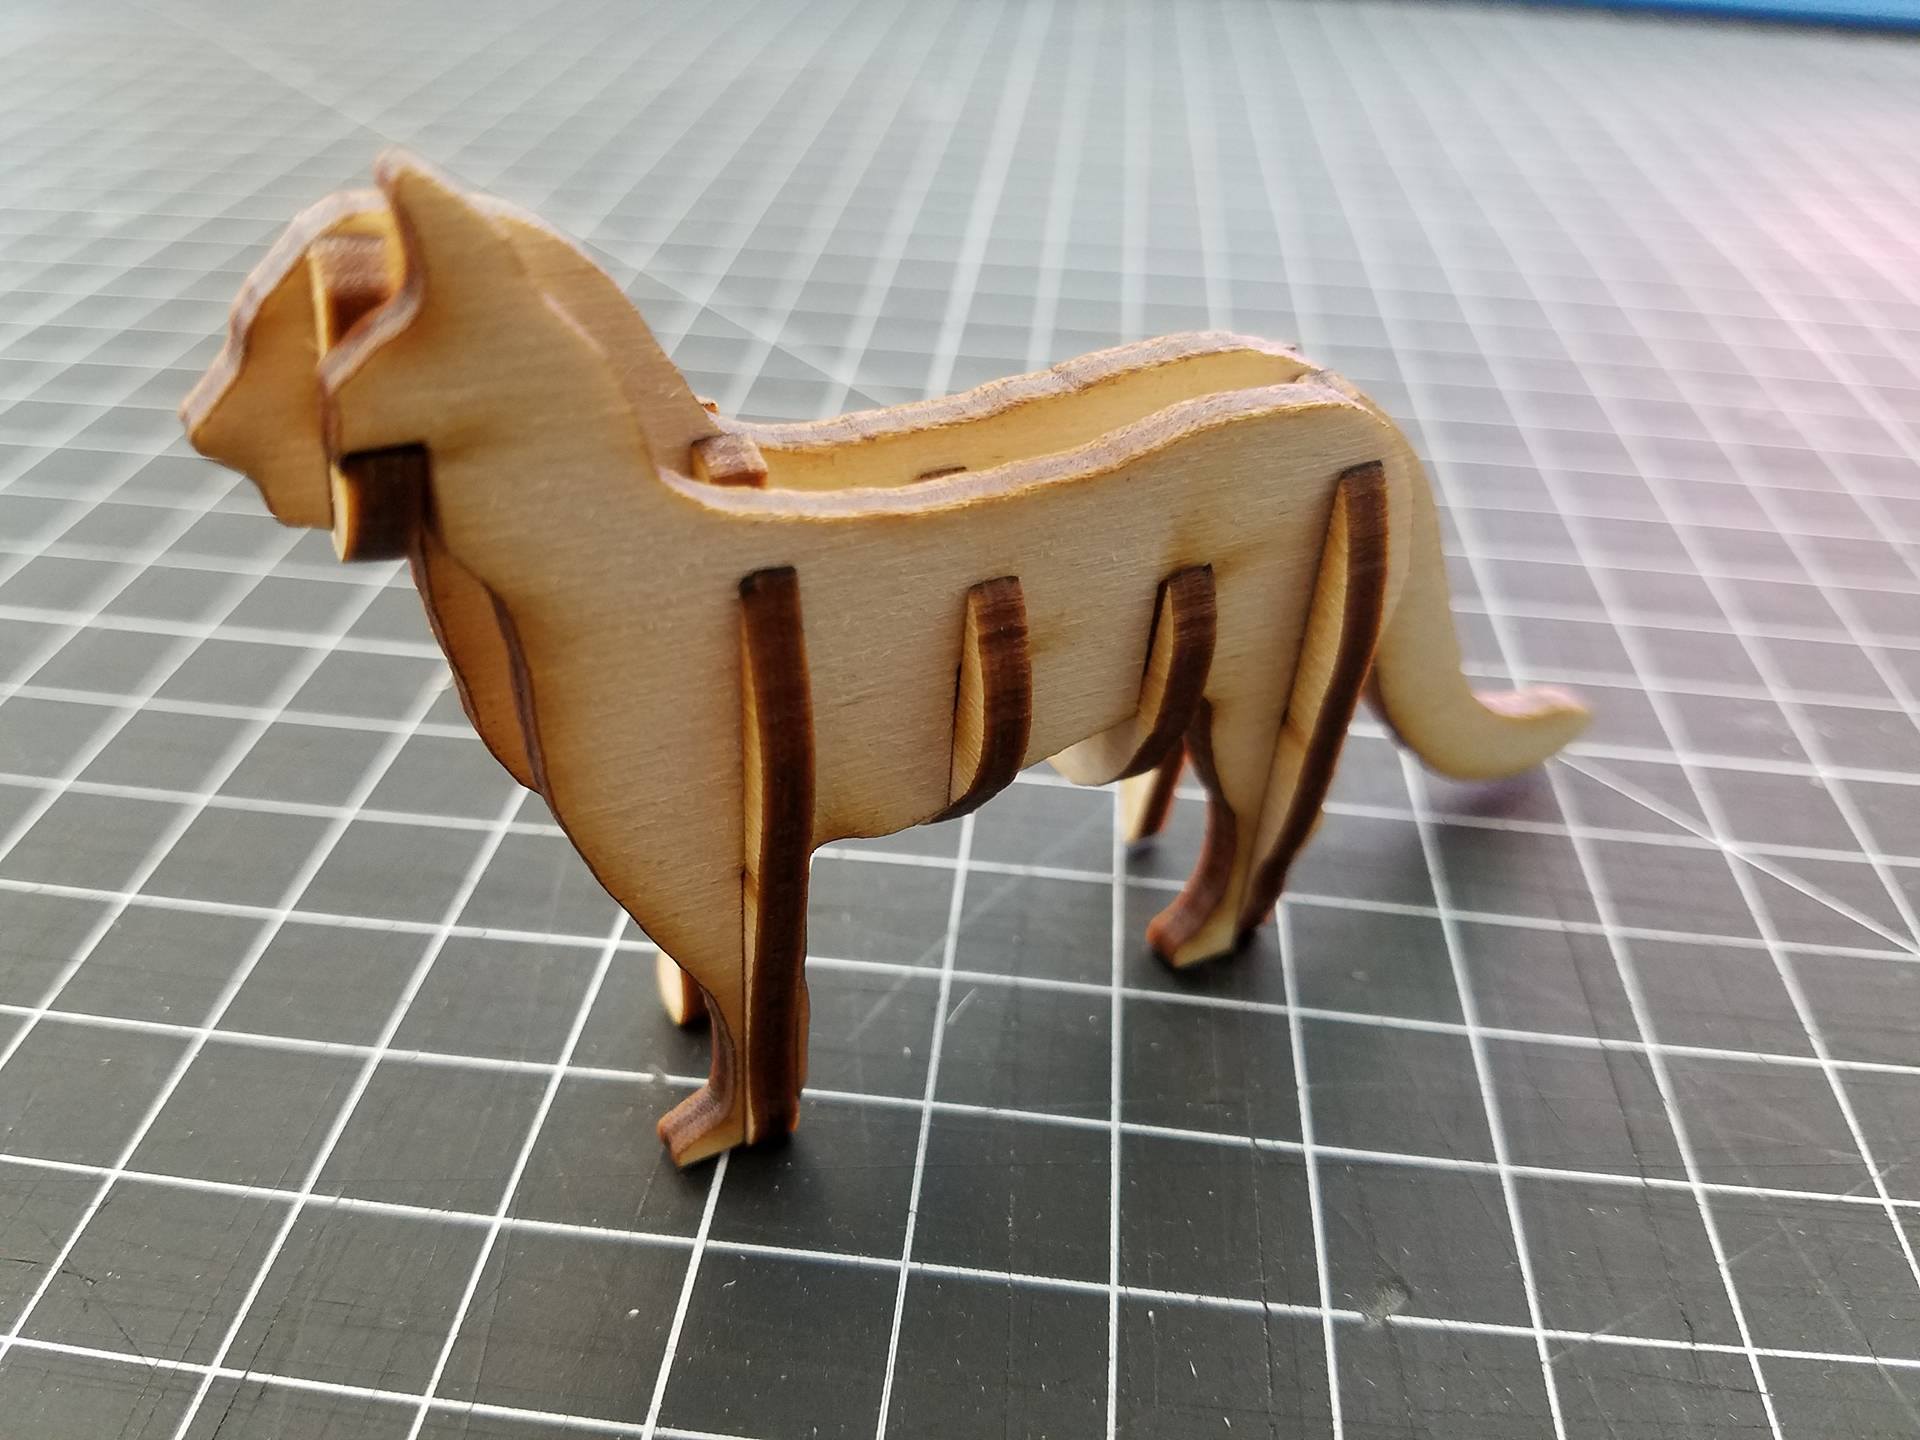
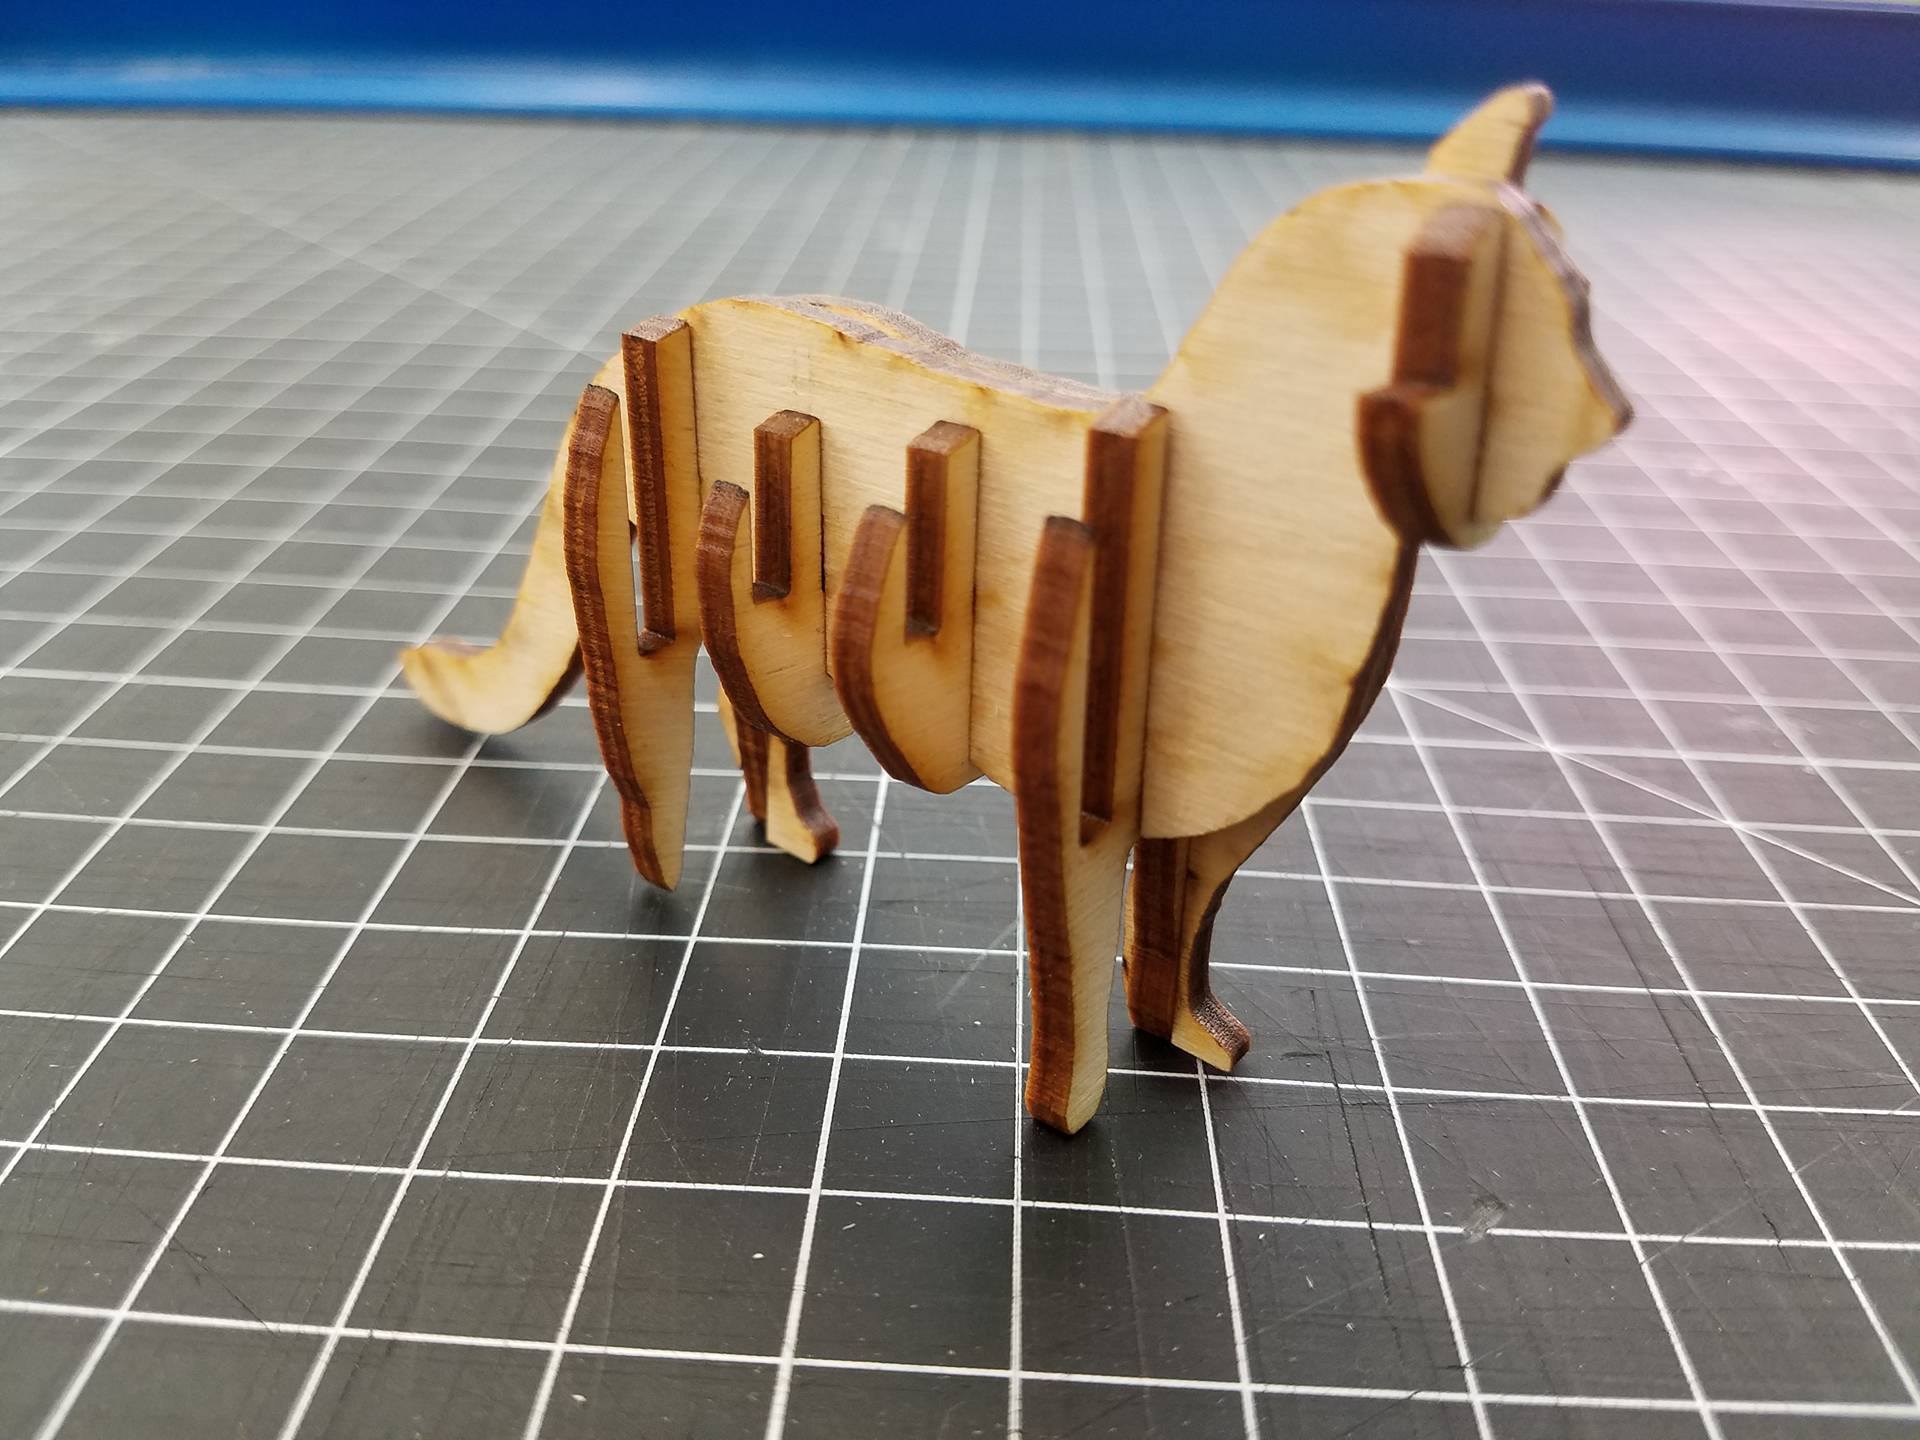
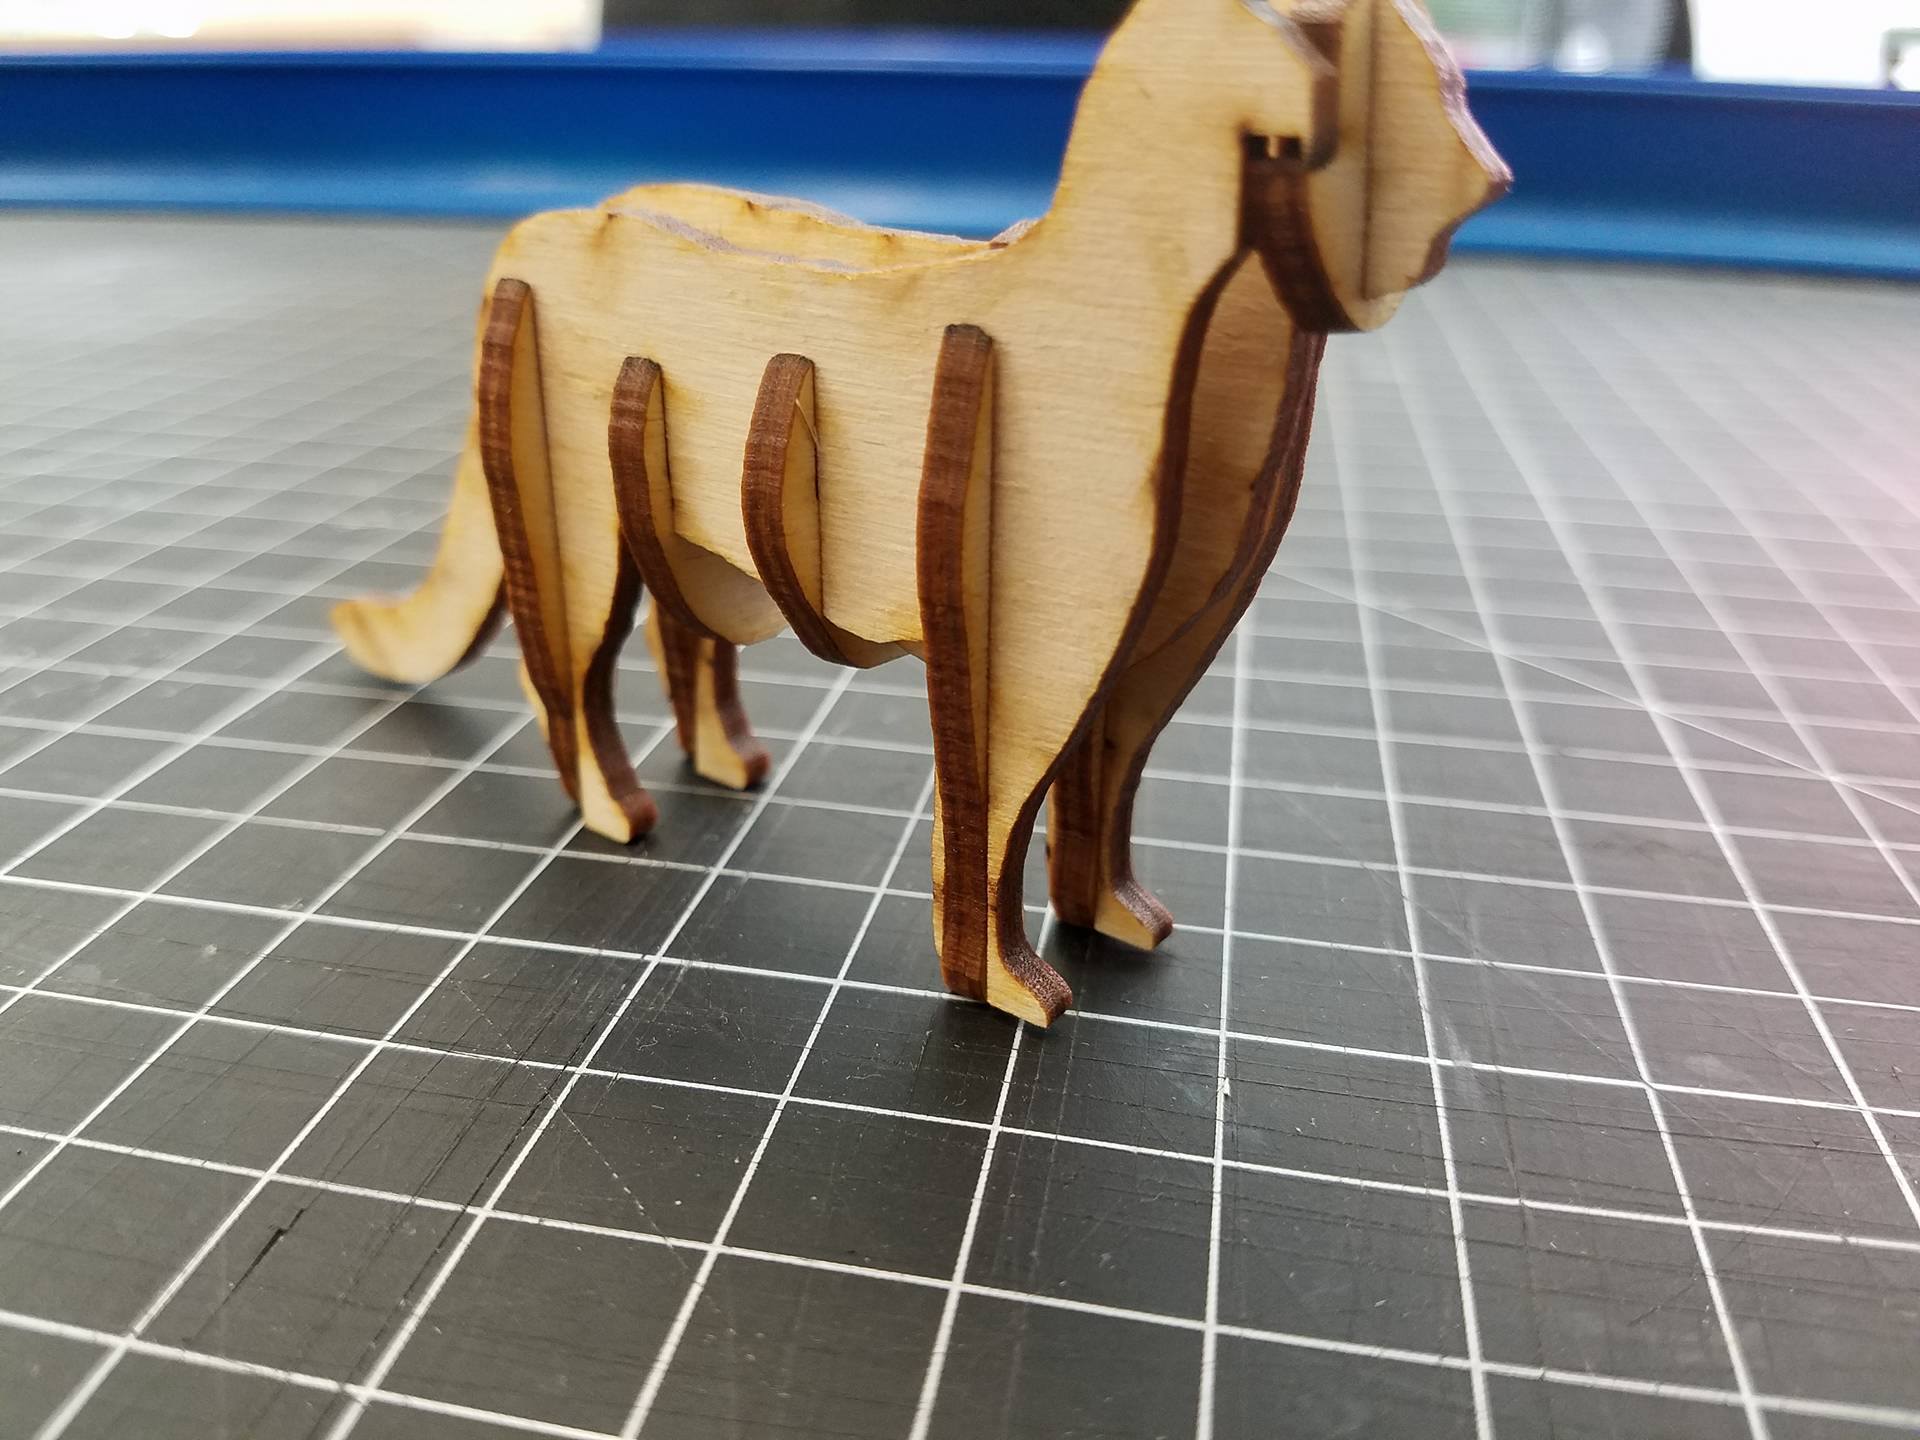
Note: due to this small size of this model, the legs are easy to break. Take care when assembling them. Fortunately the model is small though, so having to recut a leg piece if it breaks won't be the end of the world.
First, take the central body piece, or the one with the tail. Add the front most cross piece (the cat's face). Next, add the front legs carefully. Then slide in the two torso pieces. Next add the rear legs.
Now comes the tricky parts. We are going to slide on the other 2 body pieces (the ones with the breakable legs). Just go slow and carefully, and make sure that the pieces stay perpendicular the entire time and they should go together with no trouble.
Congrats, and enjoy your cat model. If you like this type of model, check out my profile for similar instructables, and feel free to comment if you have a specific animal or object you'd like me to create a waffle model of.