Laser Cut Card Decks
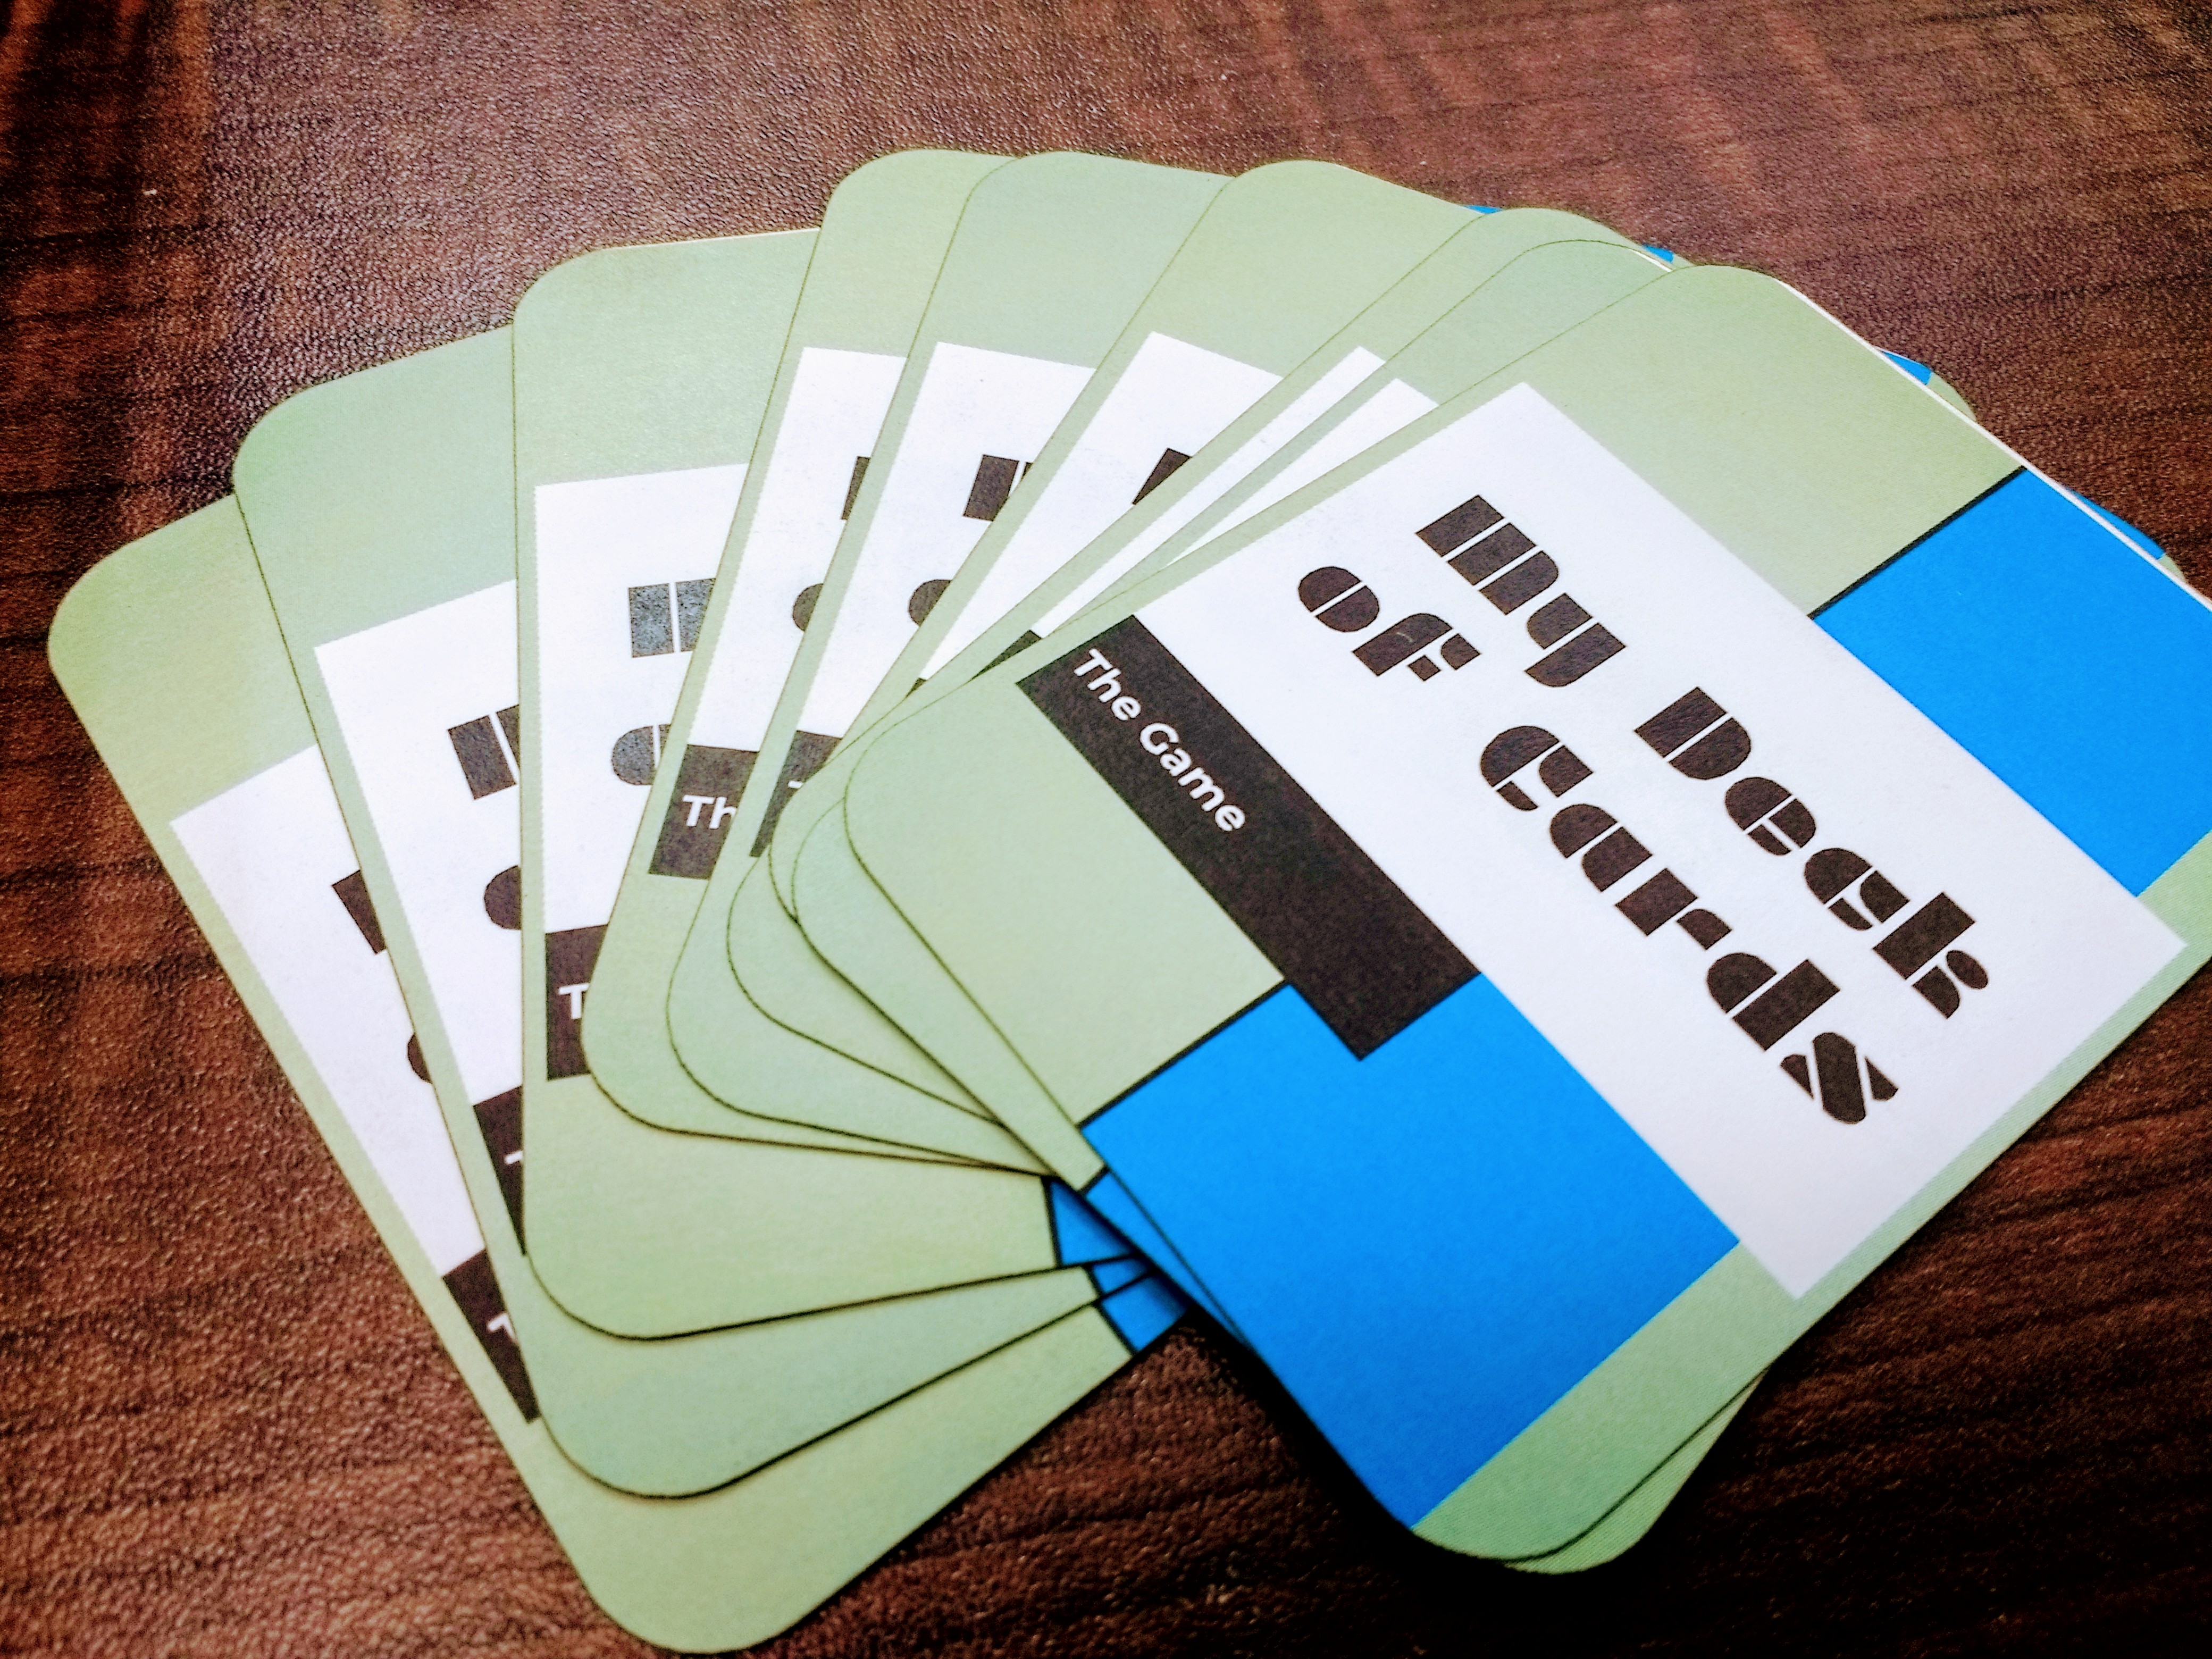
In our Makerspace, we design a lot of games, either to demonstrate a concept or a system that students have been learning about, or for students to teach other students about a concept or system. We have 3D printers to make game pieces and elements, a large format printer to print out game boards, and a laser cutter to cut out and engrave tokens and other game pieces. Lately, we have been making a lot of cards, either as stand-alone games or parts of a game. In order to make our cards look as finished and professional as all the other pieces we make, I came up with a process that uses Google Slides, a laminator, and our laser cutter to make a deck of cards so nice that you can shuffle them!
Design Your Cards in Google Slides
Google Slides is a great platform to design your cards because you can add text, images, colors, etc to create your design and then easily export it as a PDF file. I'm sure you could do this in Powerpoint as well.
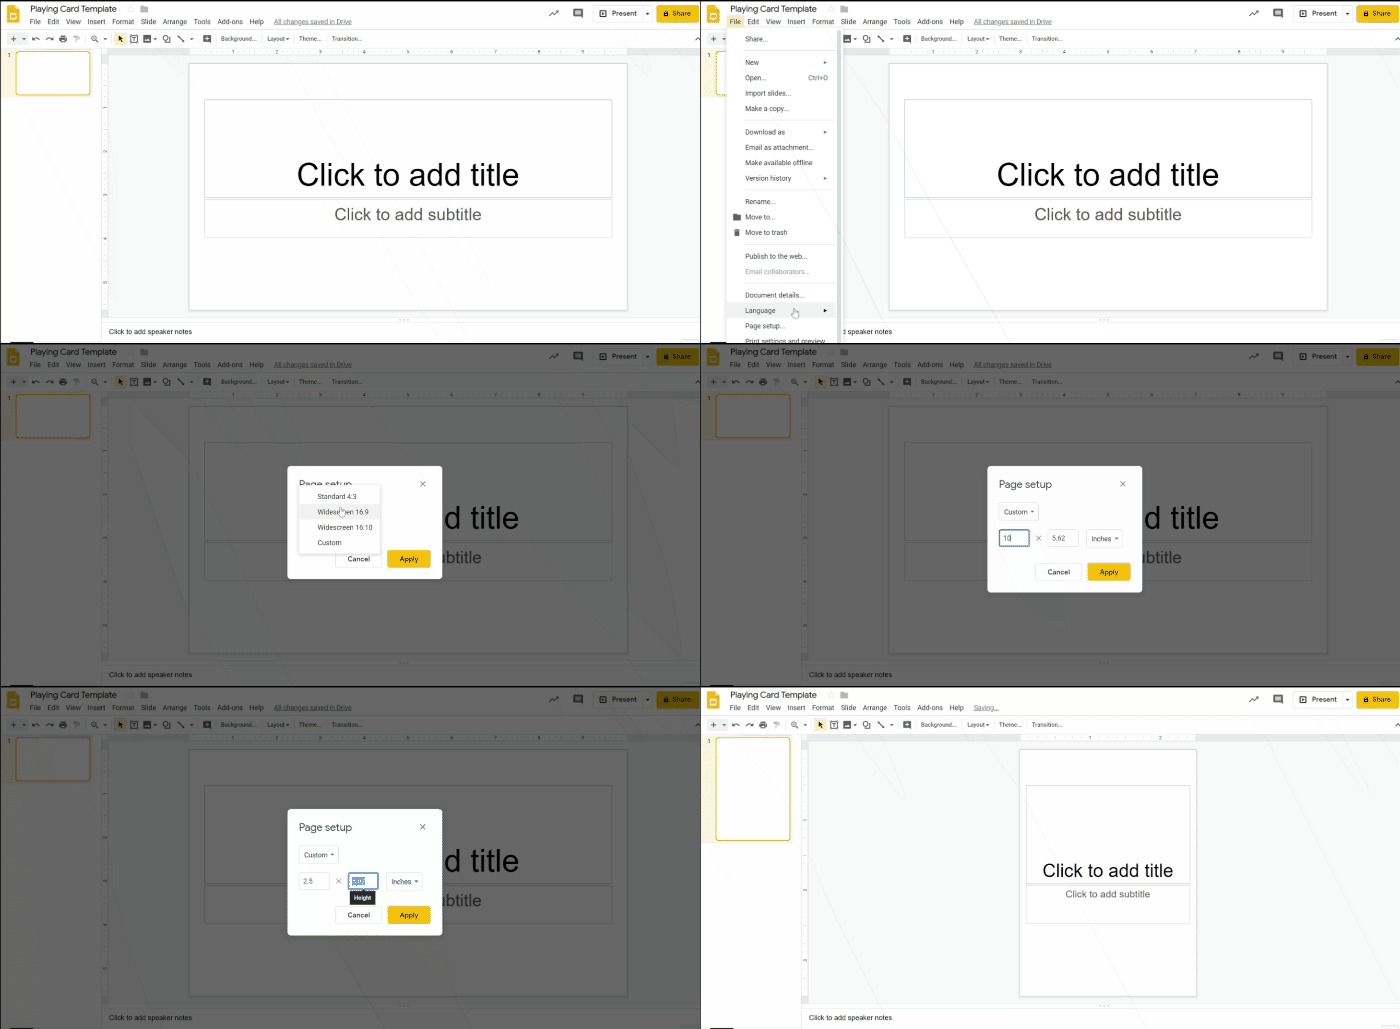
Before you start designing, change the layout size of your Google Slides.
- Start a new Google Slide
- Click on the File menu
- Towards the bottom of the list, click on Page Setup
- Change the format from Standard or Widescreen to Custom.
- Enter the dimensions 2.5W x 3.5H inches
This will give you the shape you need for your card design.
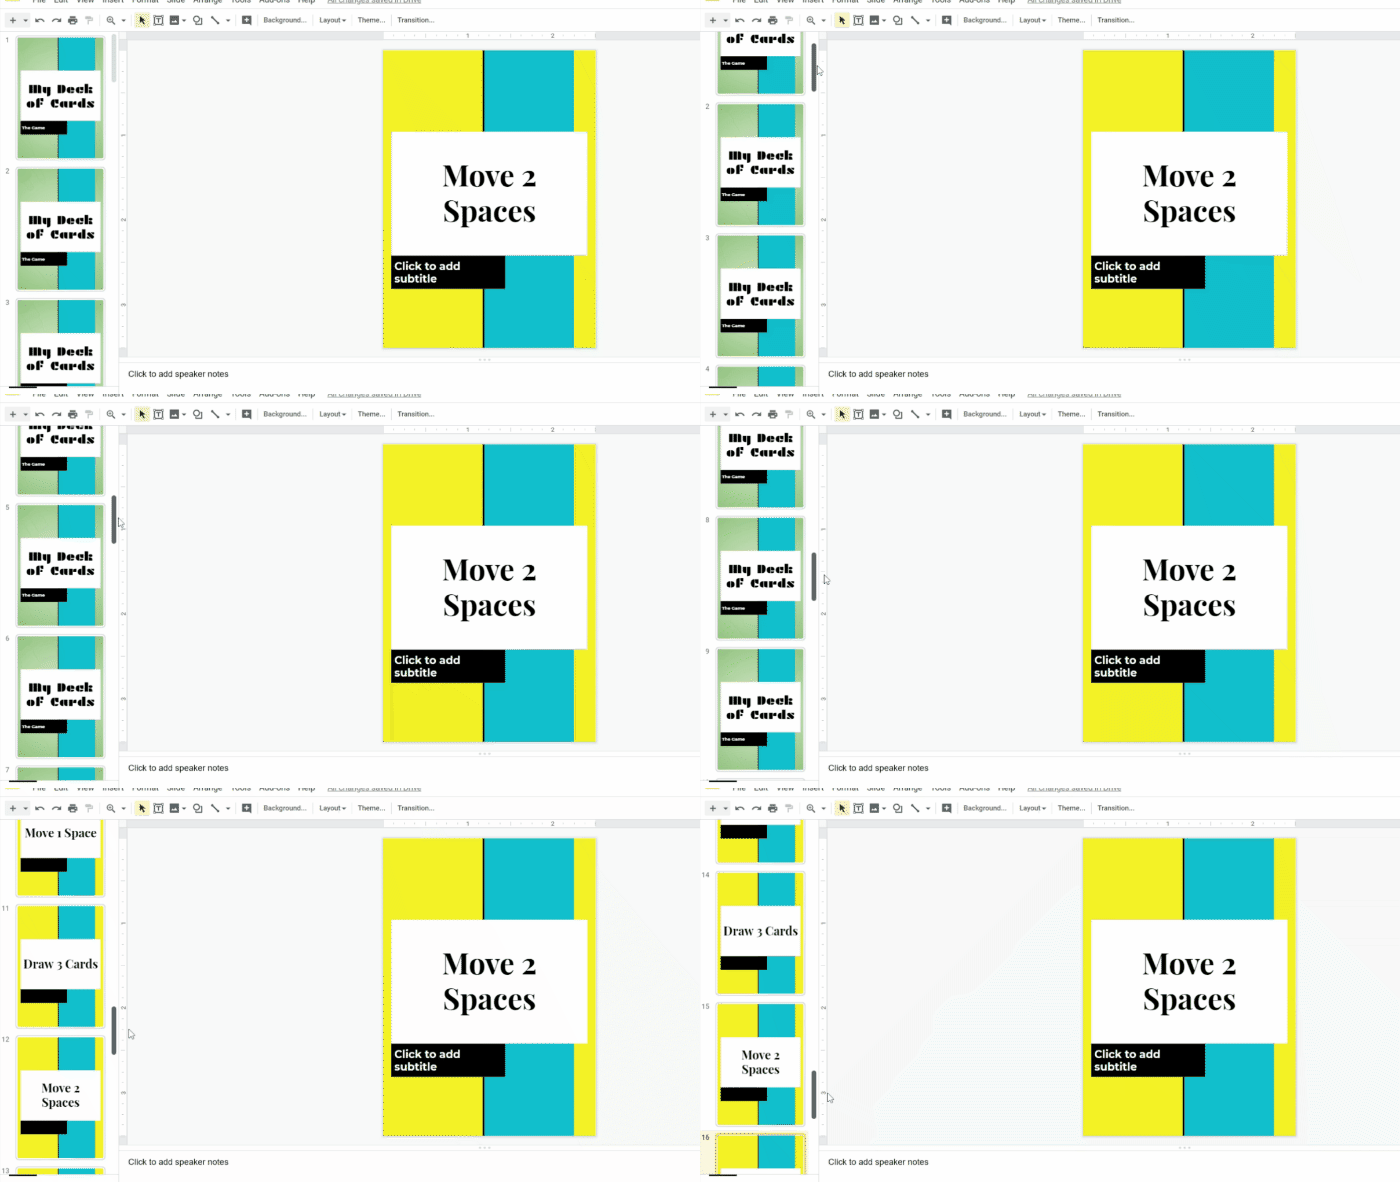
Now you can create your designs. Each deck of cards will need both front and back designs as separate slides. In order to print properly, you will need to create your slides with 9 fronts and then 9 backs (or vice versa). It may be necessary to create blank or placeholder slides to get your slides to print properly.
Once your slides have been arranged in sets of 9, you can download as a PDF.
Print Your Cards
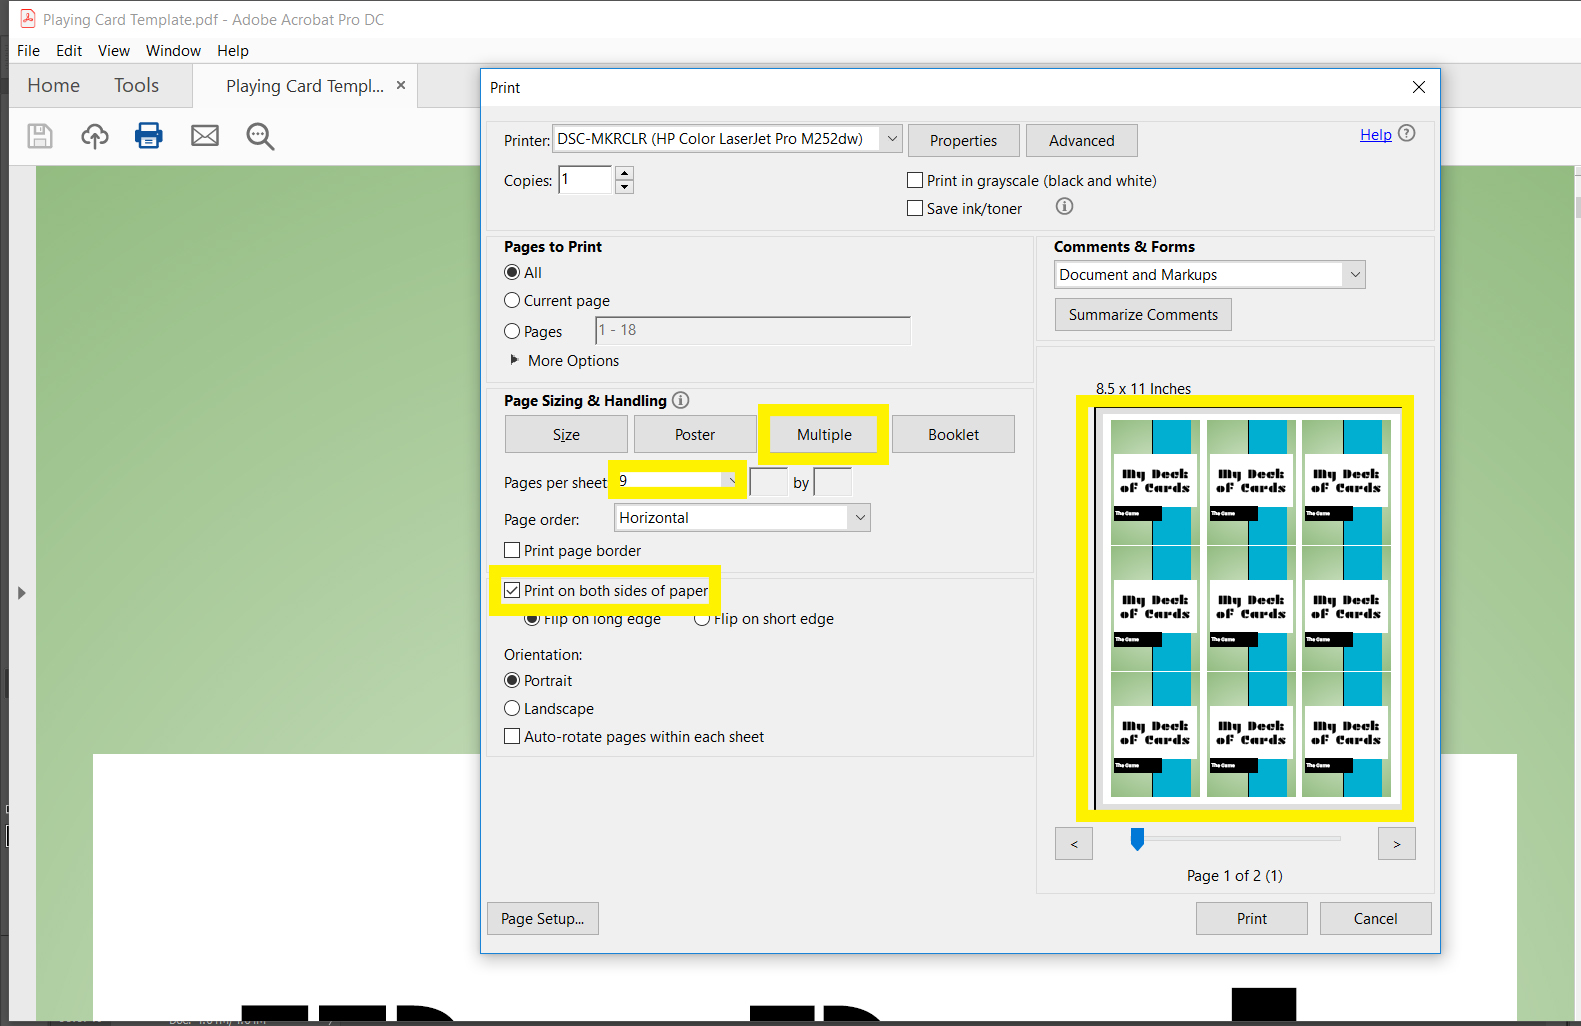
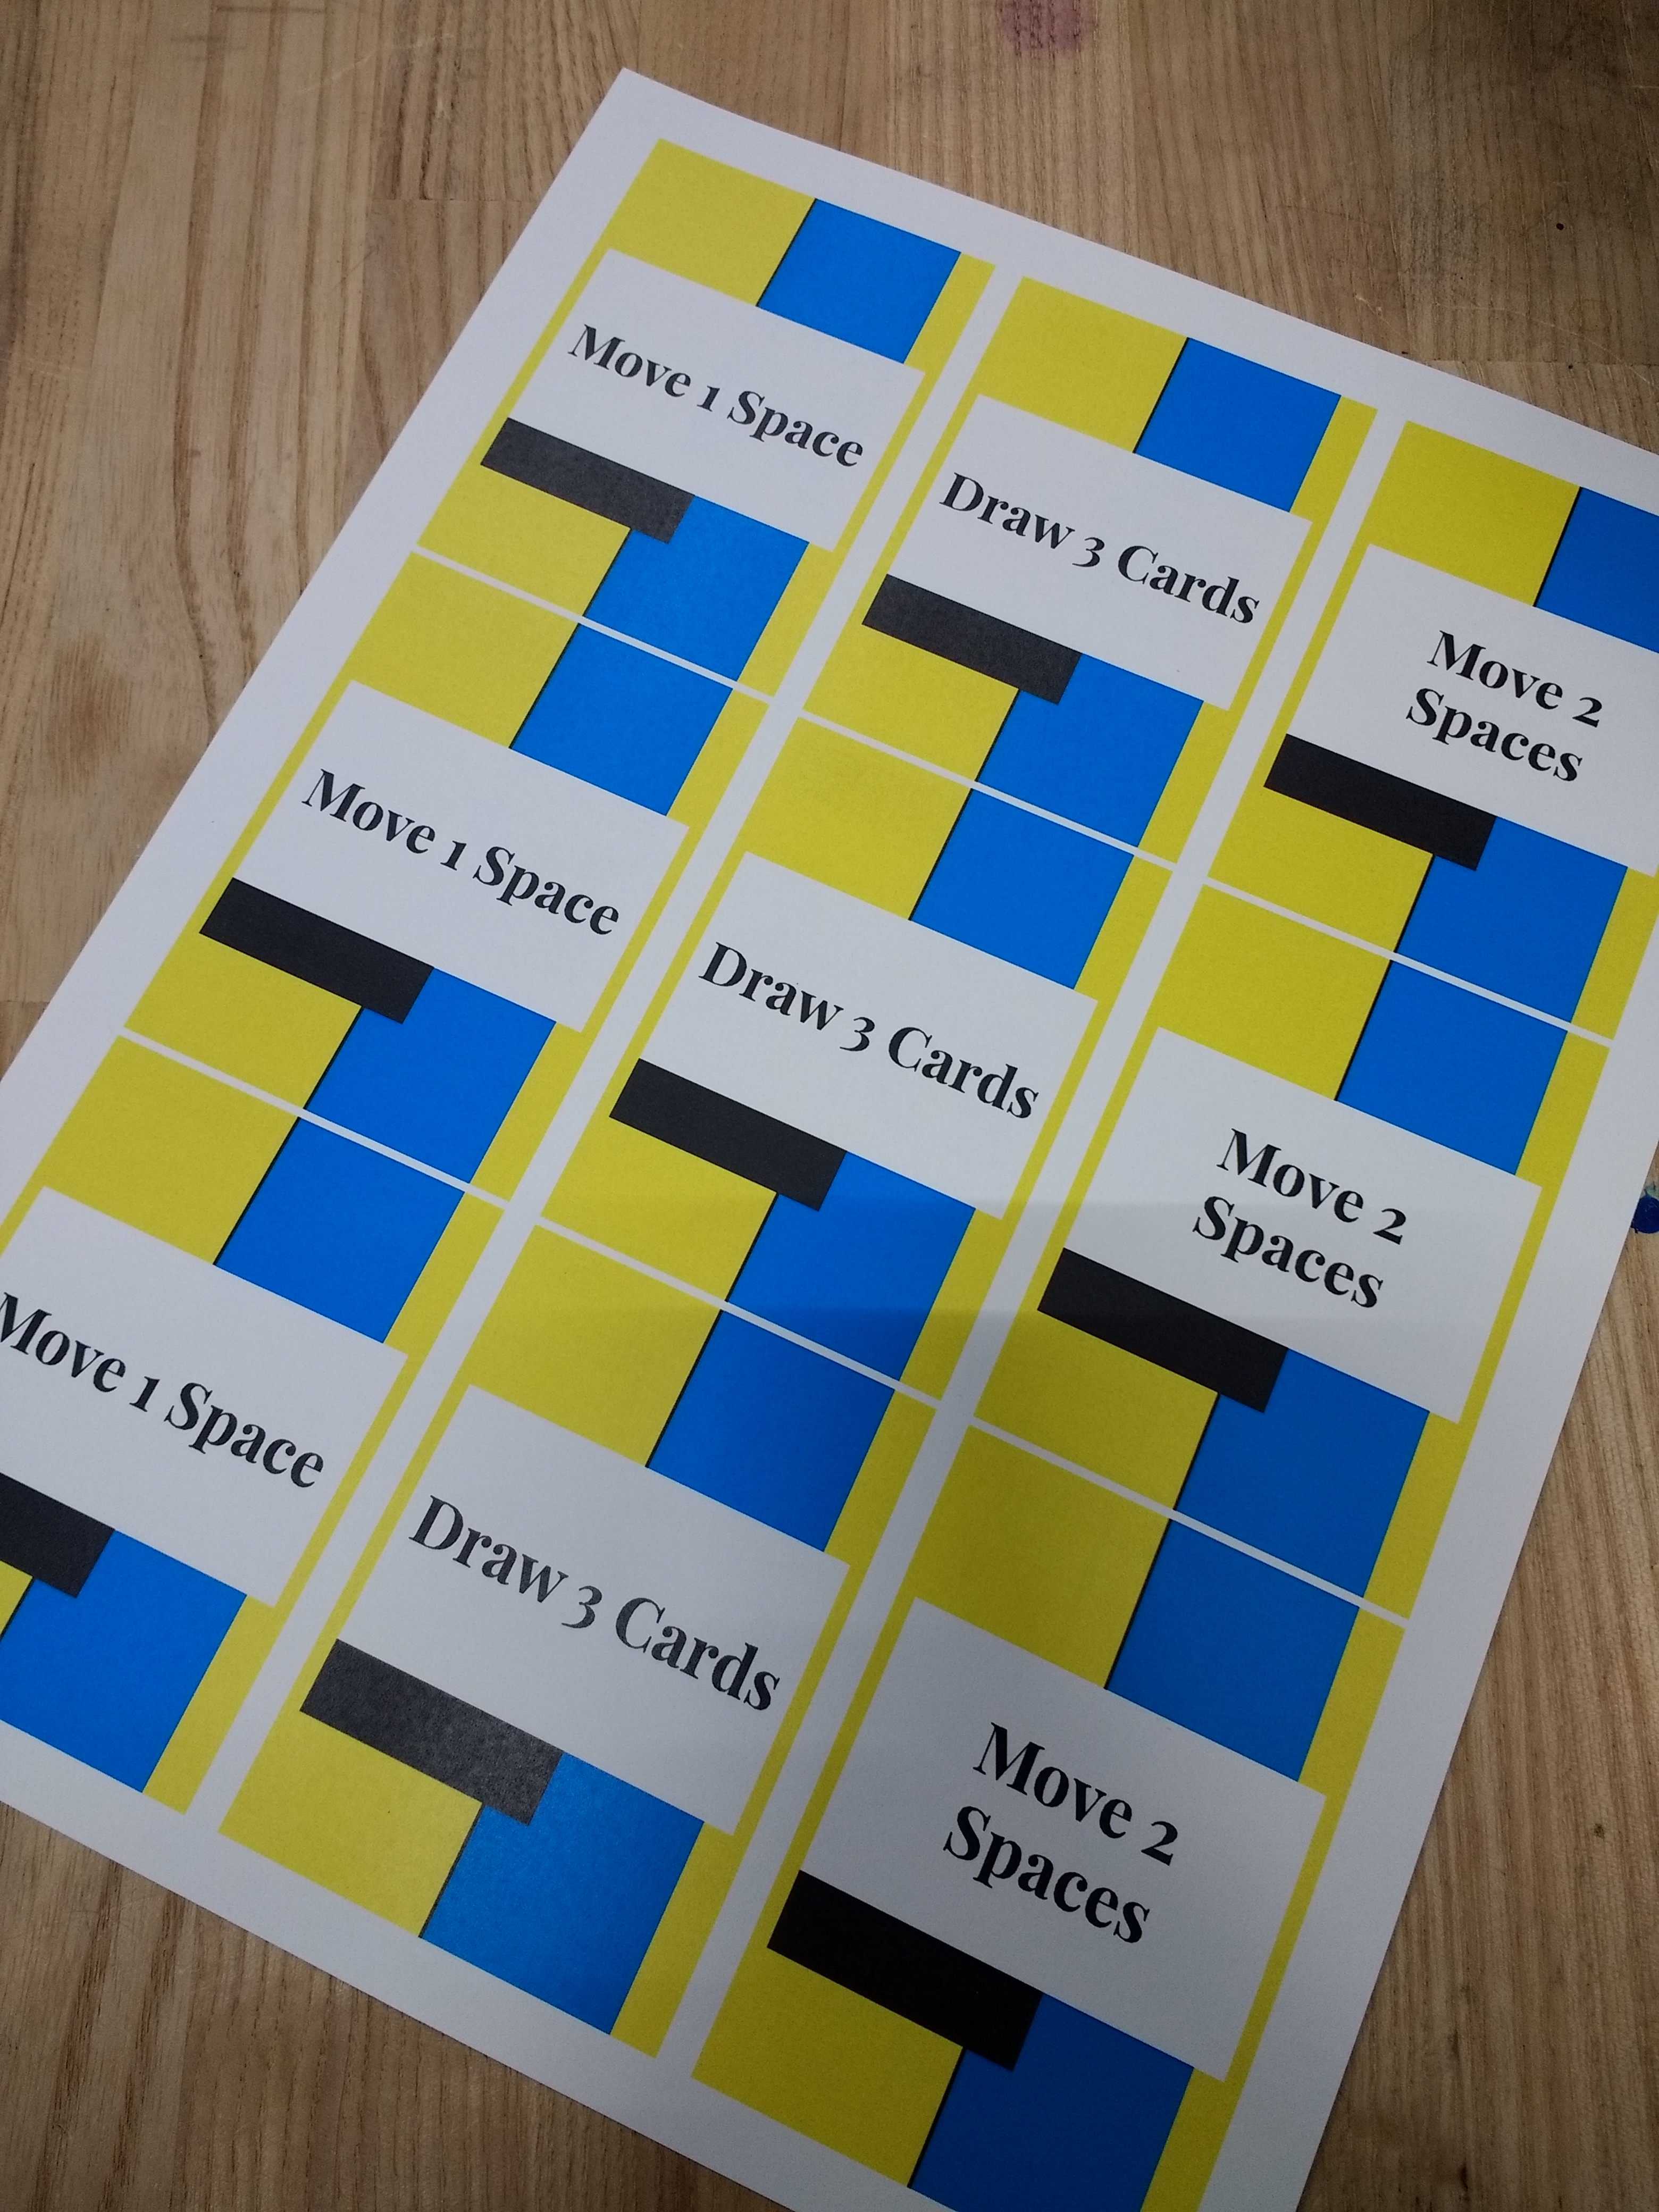
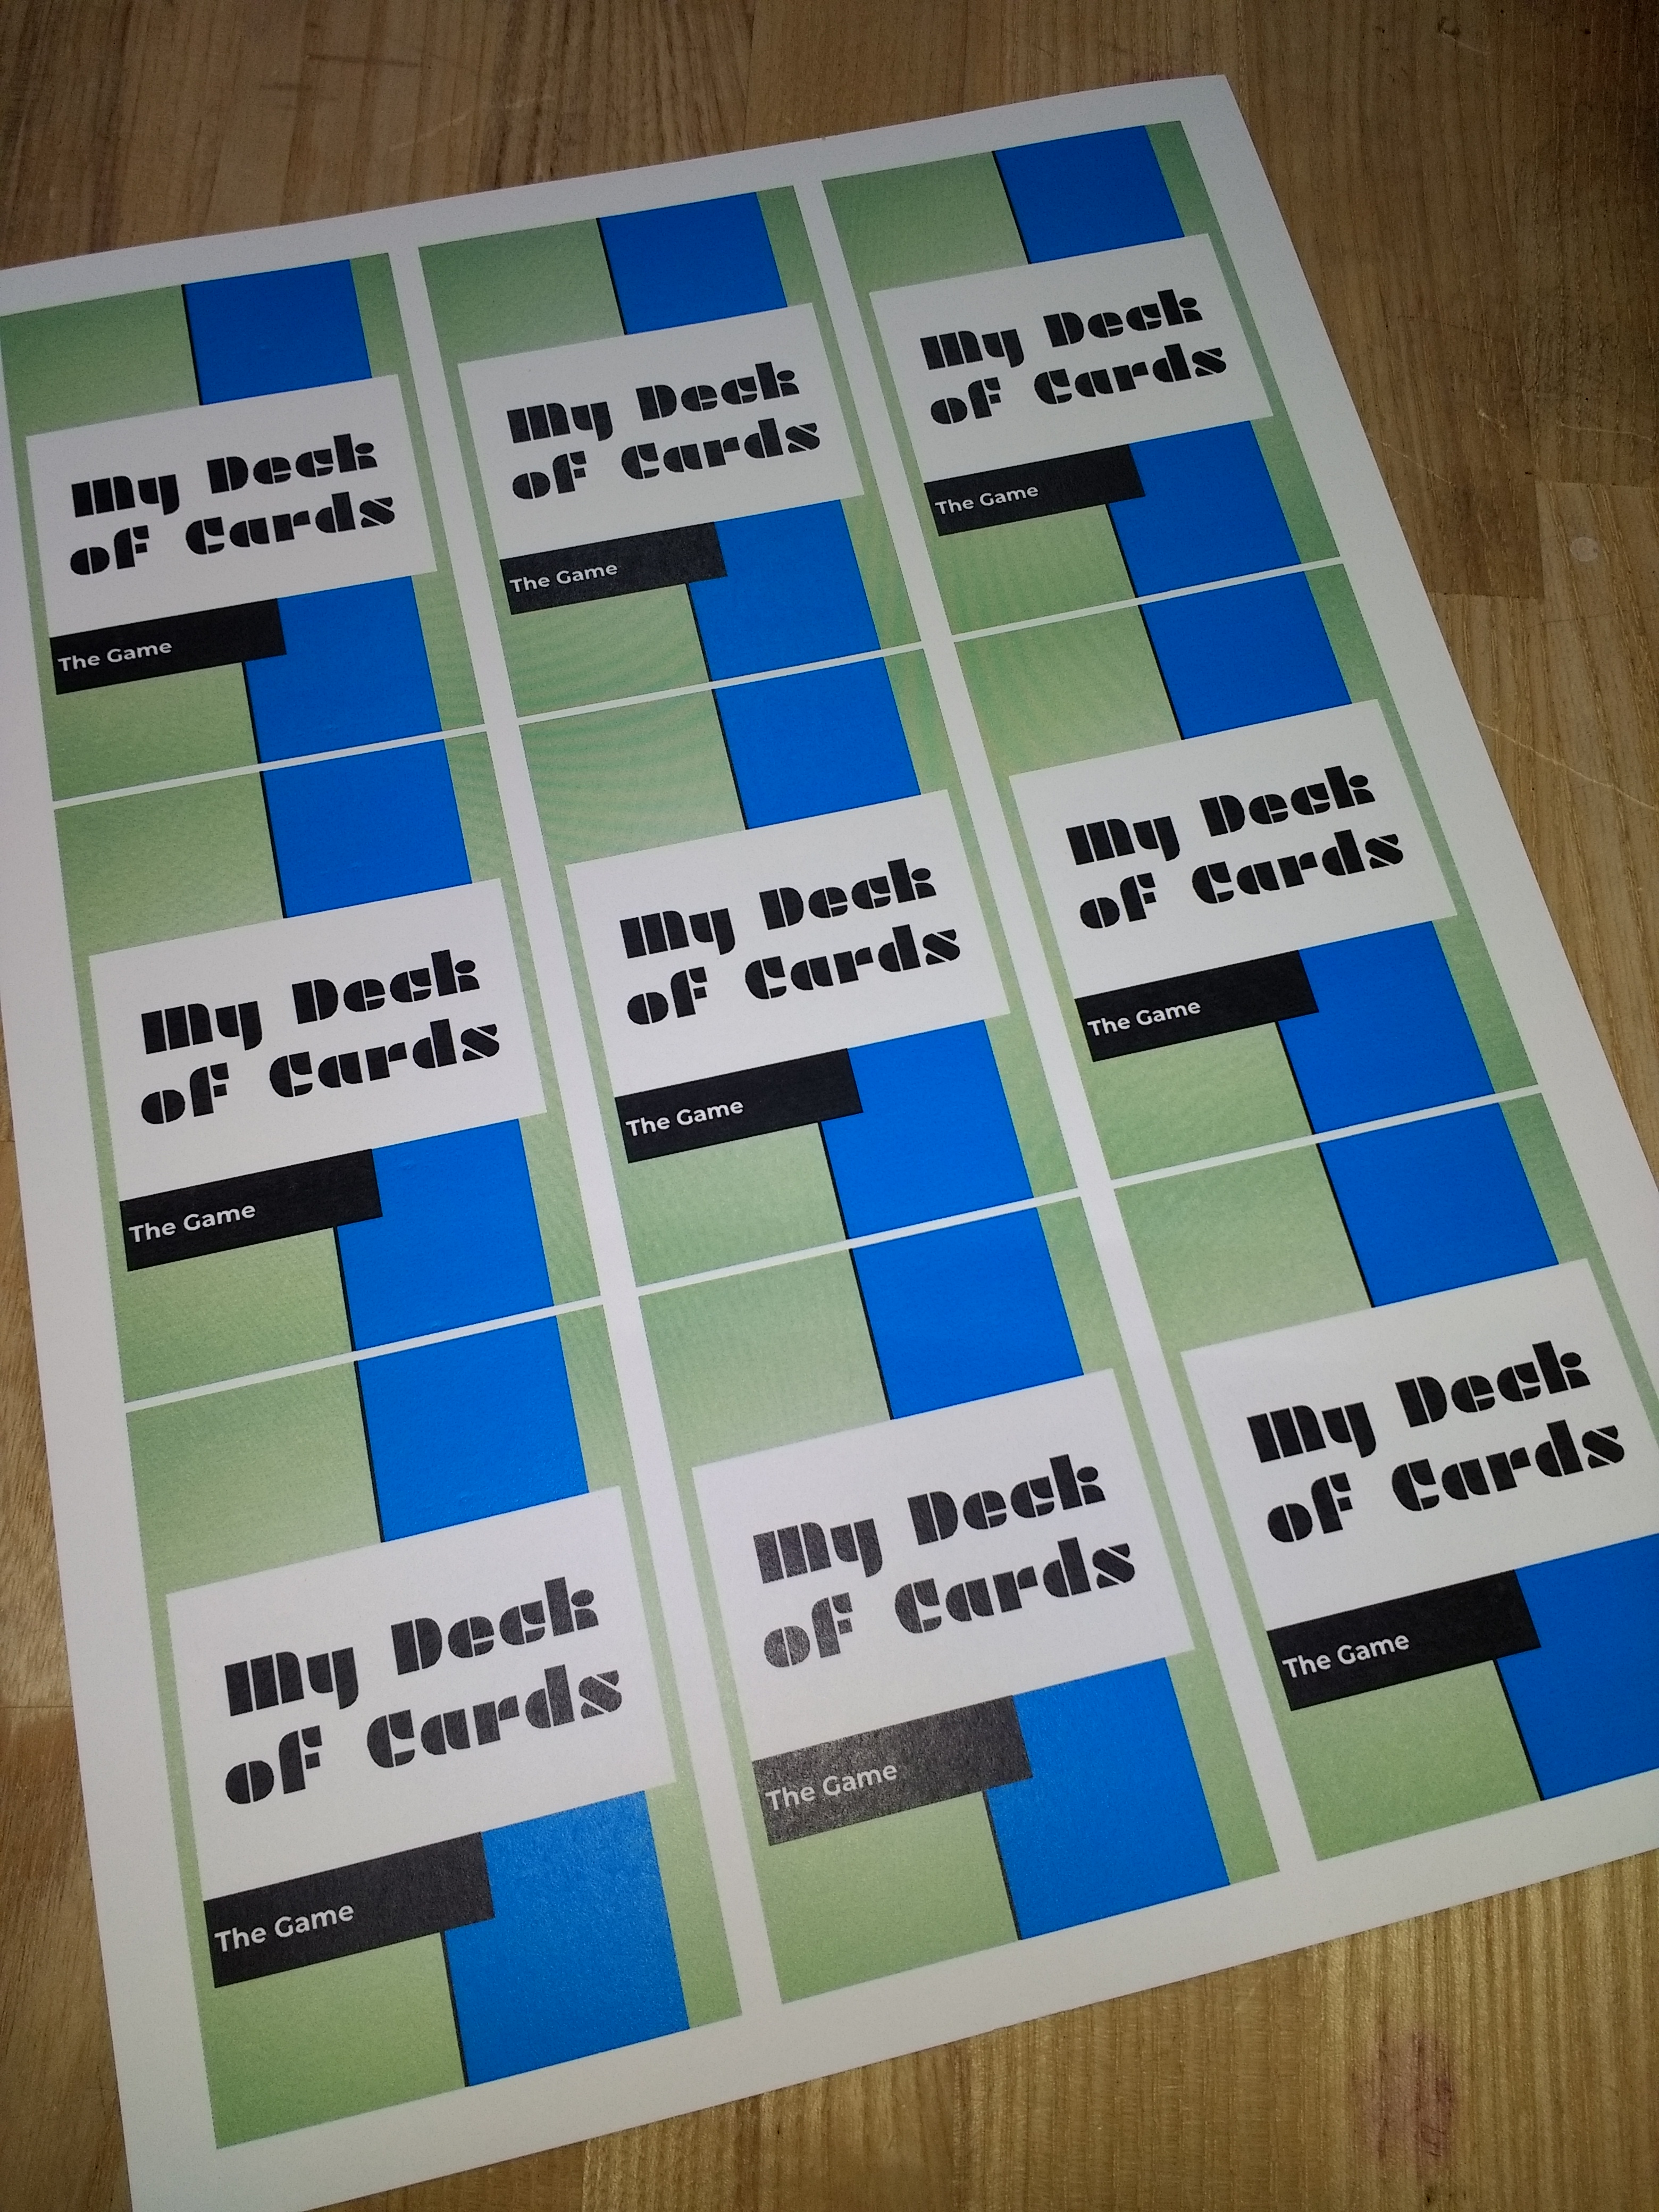
Open the PDF file that you downloaded in Adobe Acrobat and click Print.
Set your printer settings to the following:
- In the Page Size and Handling section, select Multiple
- Under that select 9 Pages Per Sheet
- Check the box next to Print on Both Sides of the Paper
- Check the box for Portrait
- You can check the Preview to make sure that you have 9 fronts and 9 backs per page.
Adjust the settings for your printer for Cardstock and then print your cards. If you choose to, you can laminate your cards before doing the next step, or you can leave them unlaminated.
Laser Cut Your Cards
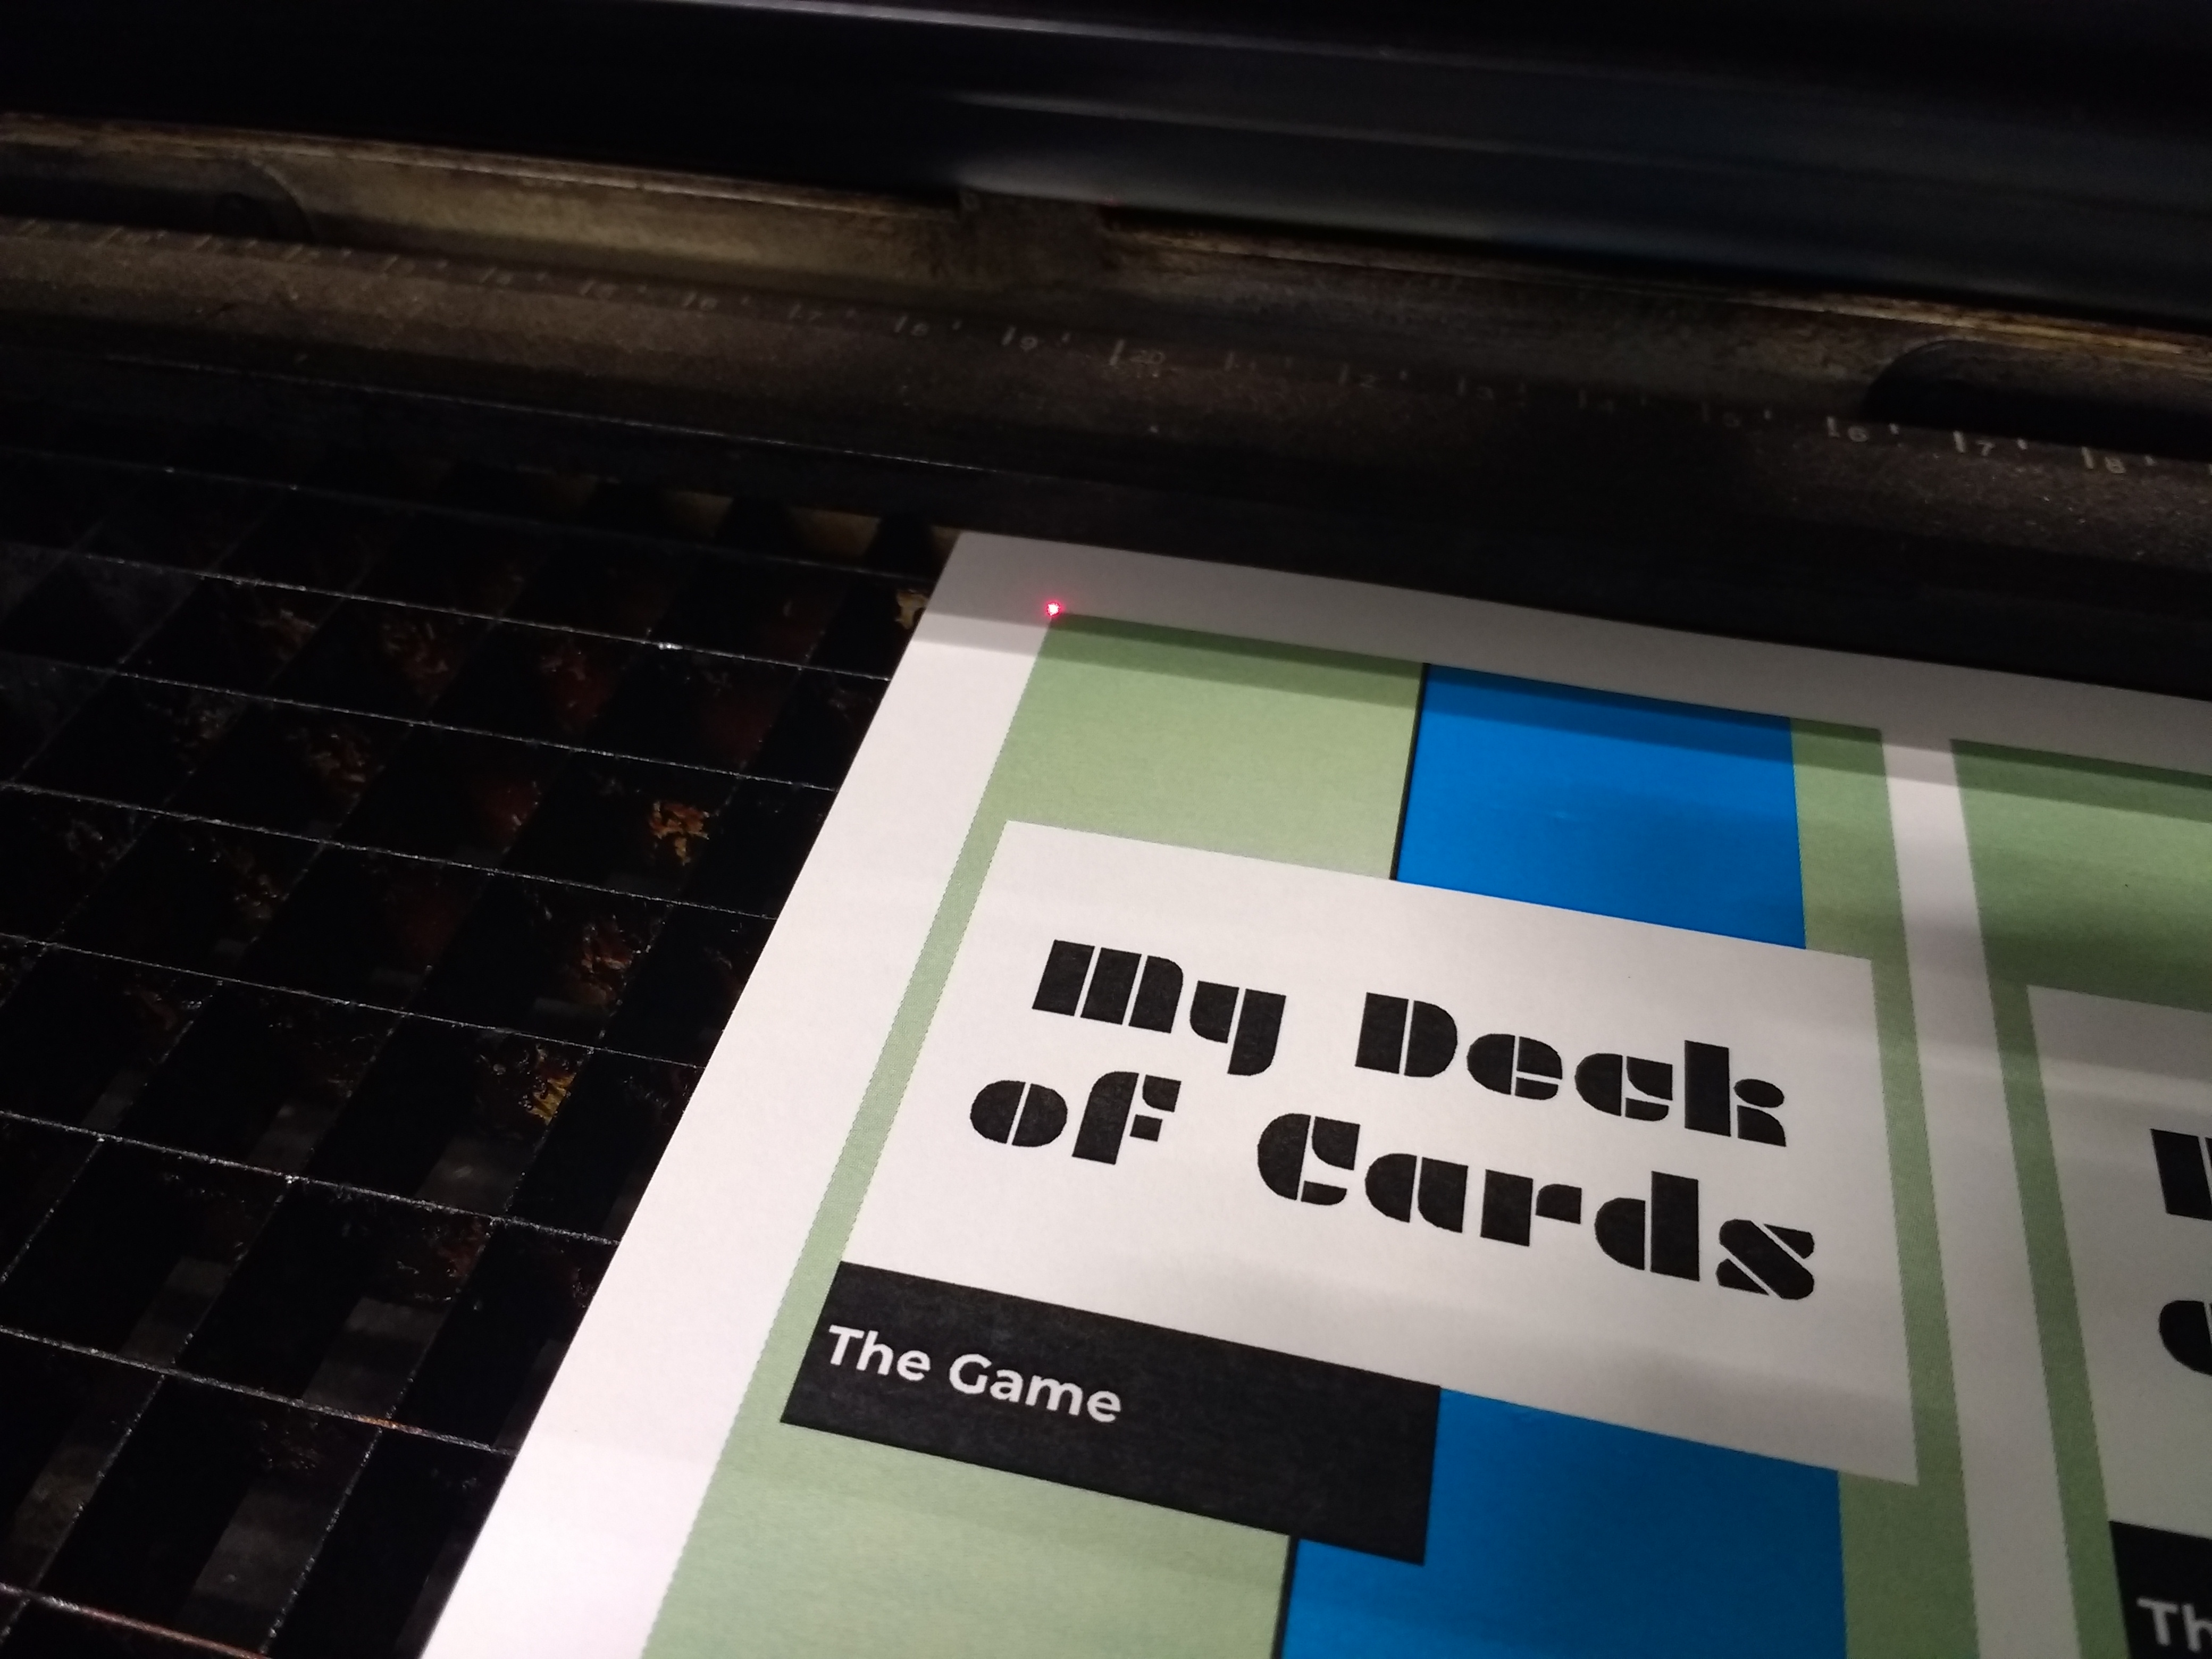
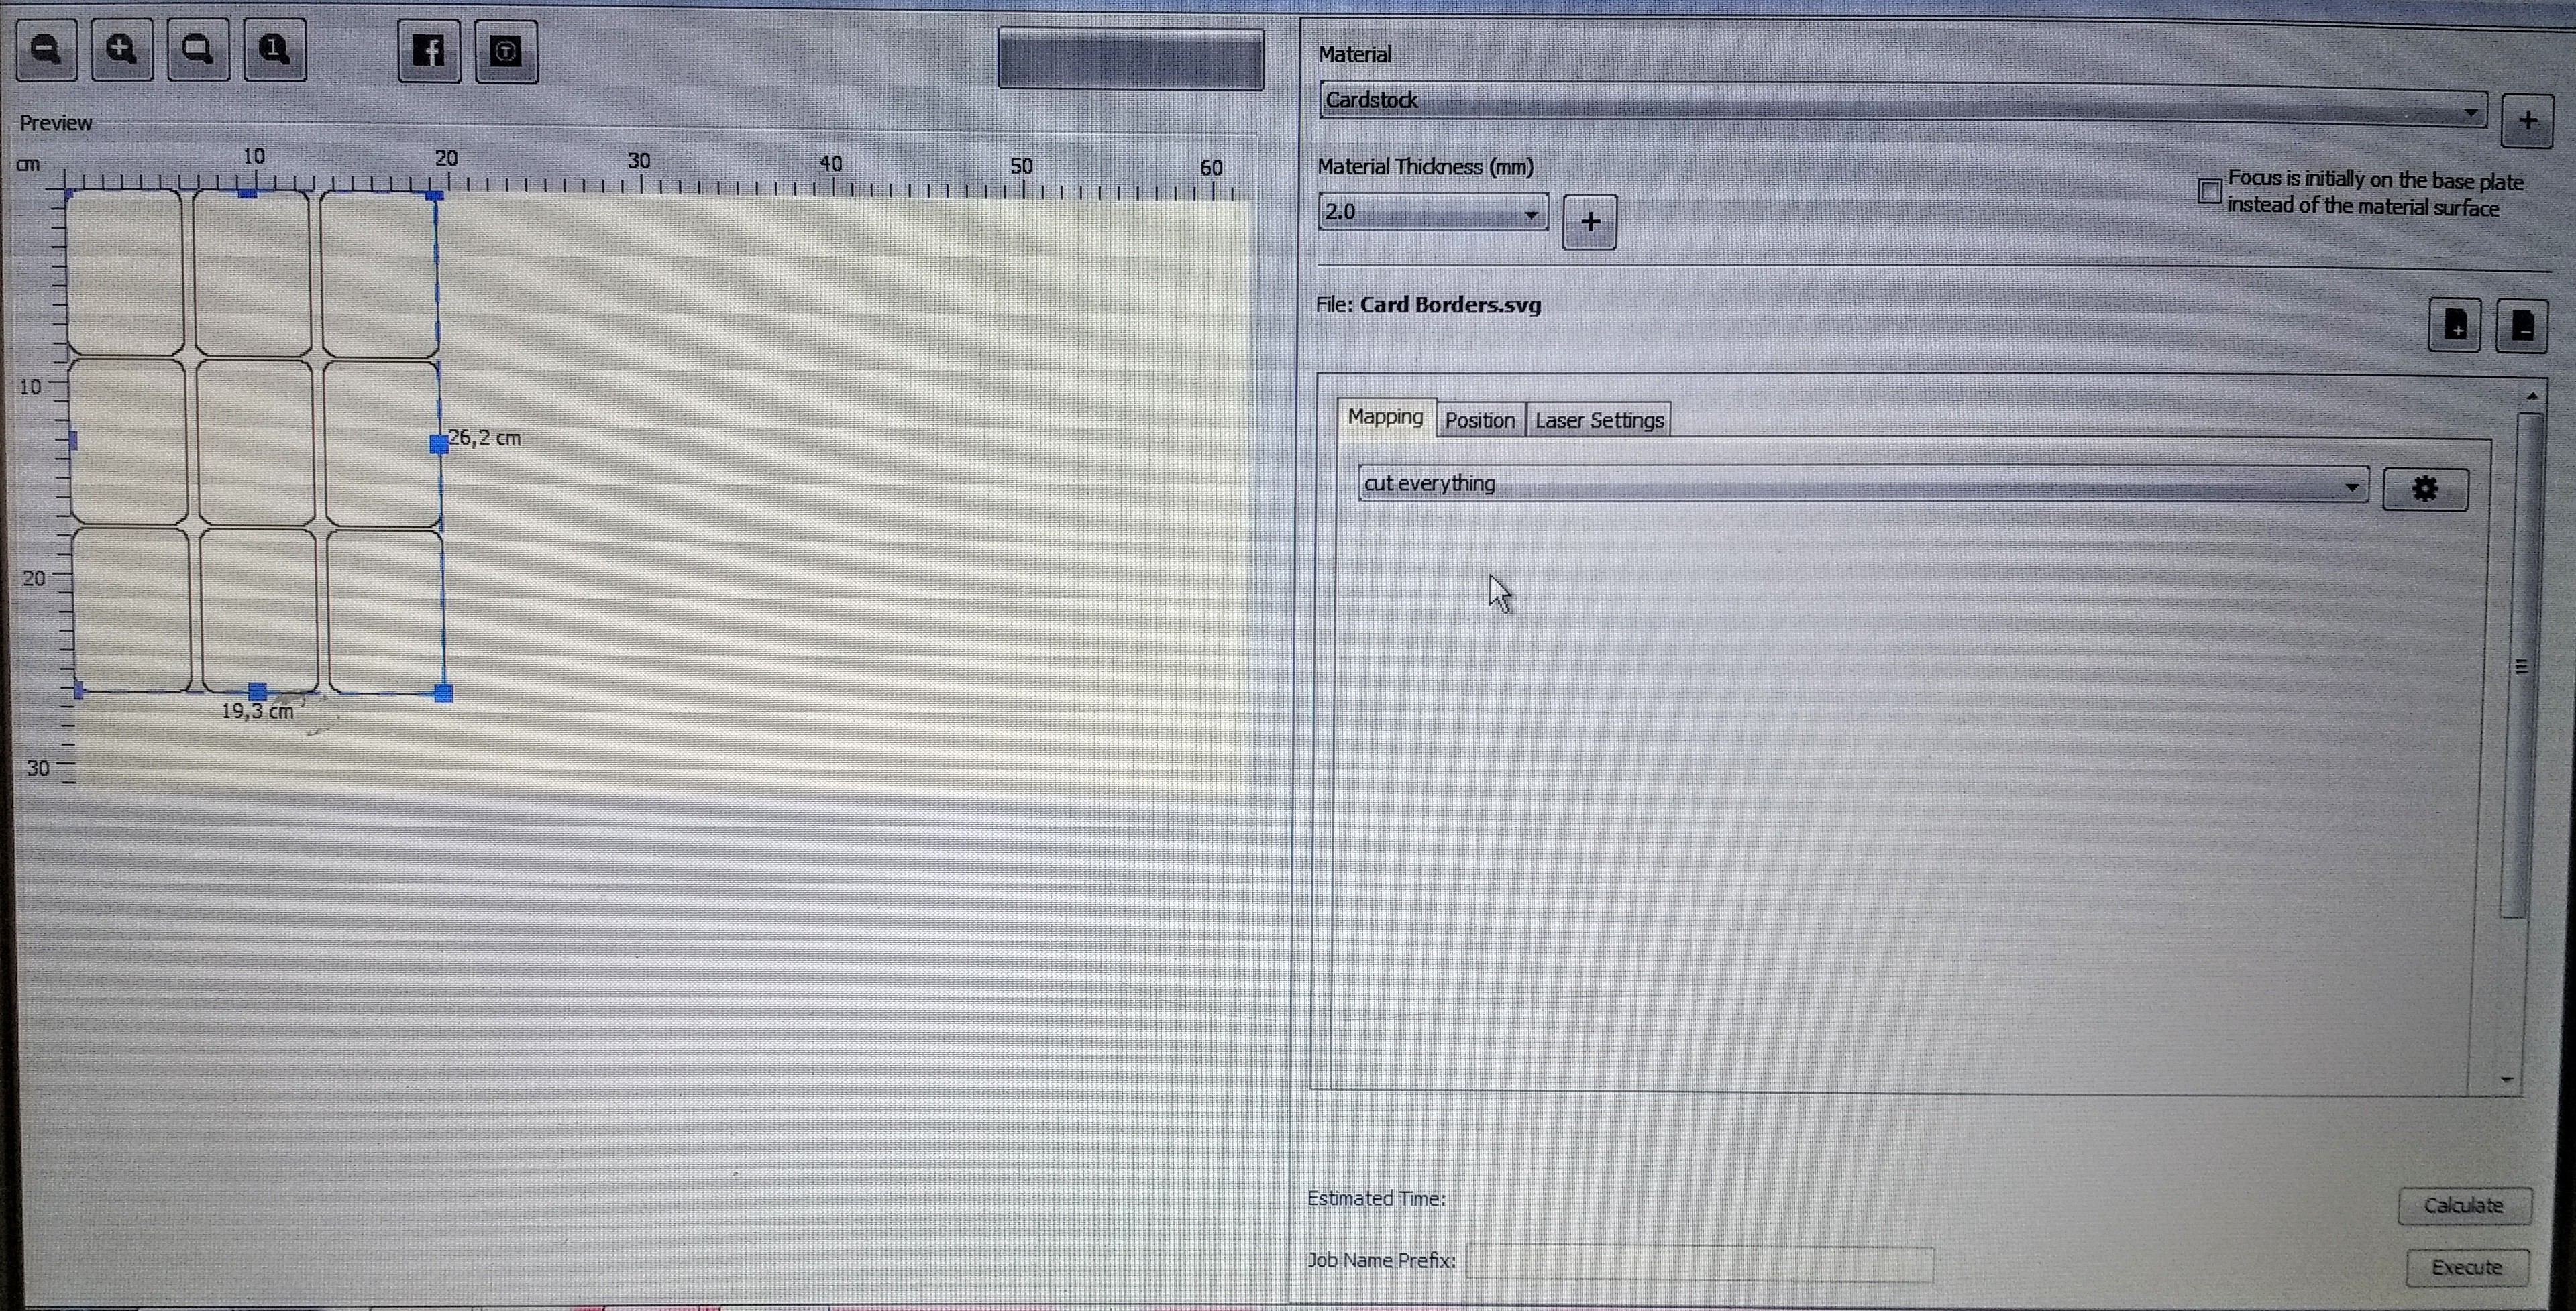
These steps will vary depending on the type of laser cutter you have. We have an Epilog Zing 24 and use the program Visicut to send our print jobs. The provided template may also need to be adjusted based on the printer that you use to print your cards.
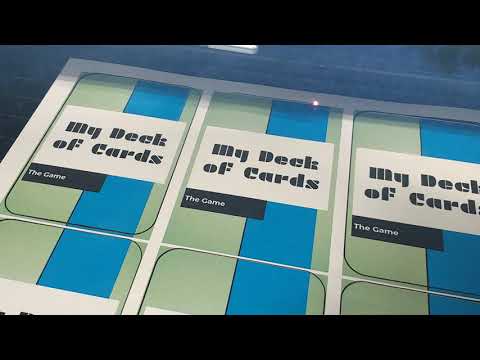
Place your printed cards in the laser cutter. Align your laser to the top left corner of the first card. I have cut 2-3 pieces of cardstock at once, though I have had to use weights on the edge to hold them flat.
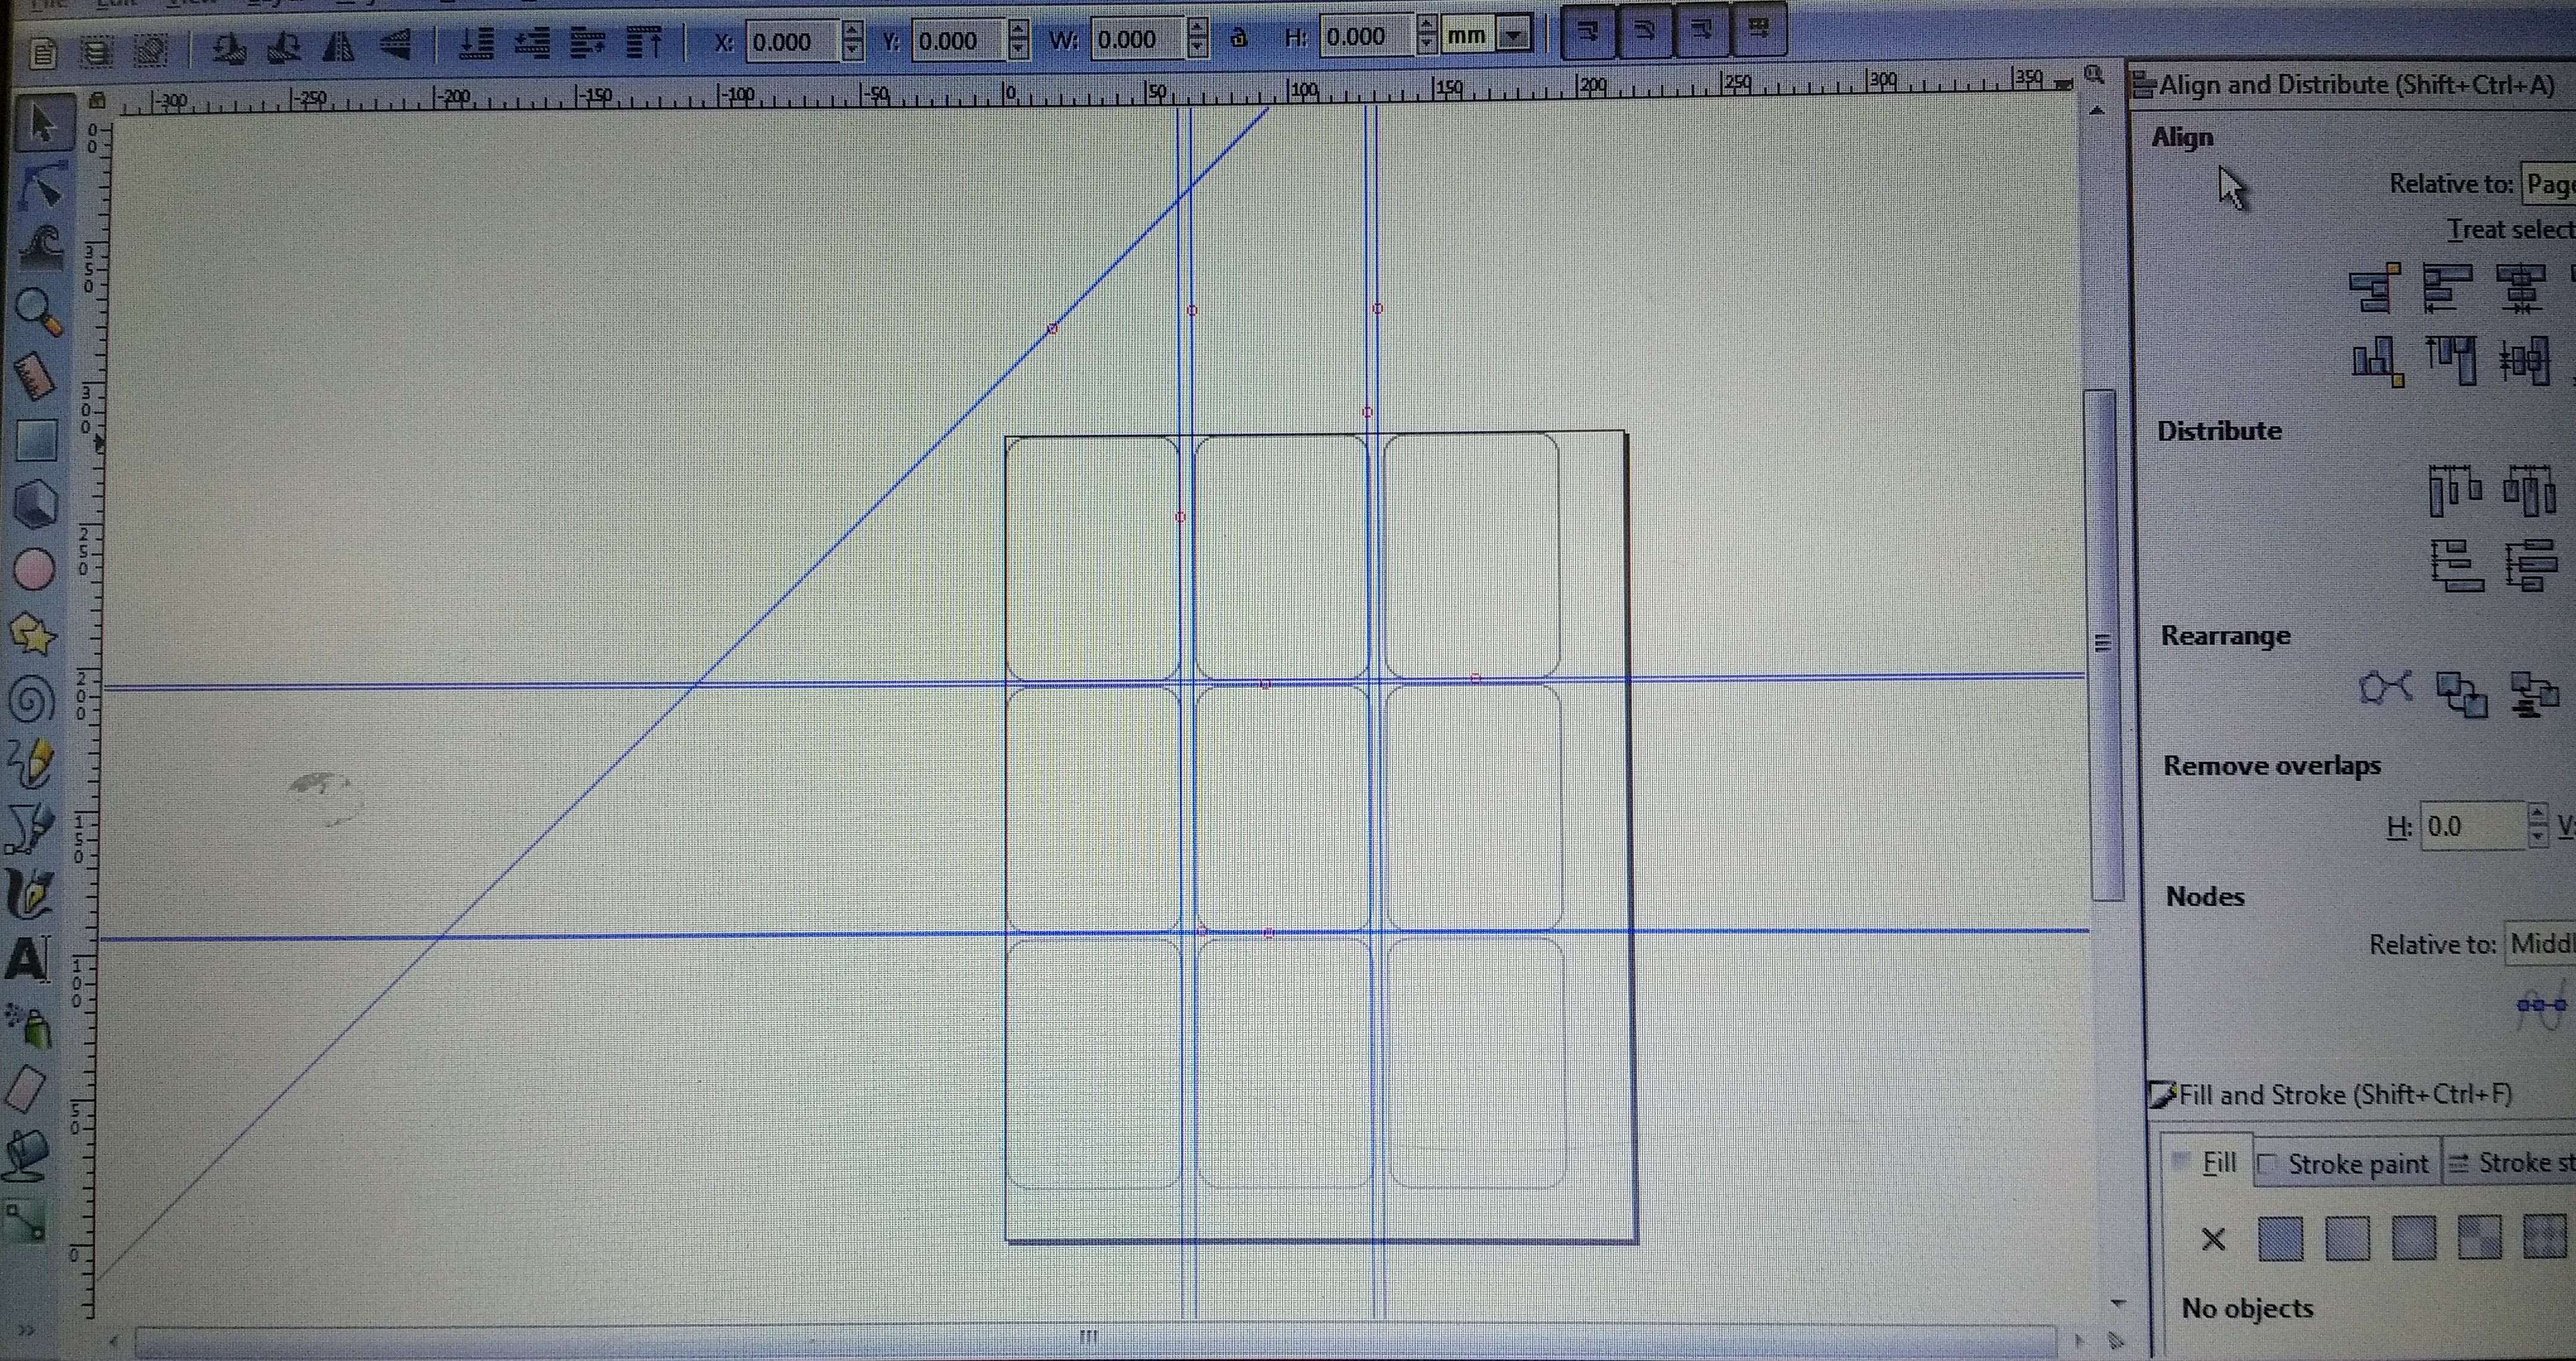
Open the Card Borders .SVG file in Inkscape or whatever vector program you use. These shapes are aligned with the print area of the cards. This may need to be adjusted based on your printer, but once you have the settings down, you can keep using this file.
Set your laser settings for cardstock or paper, start the job and enjoy your cards being cut to perfectly equal shapes!