Laser Cut Bicycle Bottle Cage
by TaylorSharpe in Workshop > Laser Cutting
1479 Views, 7 Favorites, 0 Comments
Laser Cut Bicycle Bottle Cage
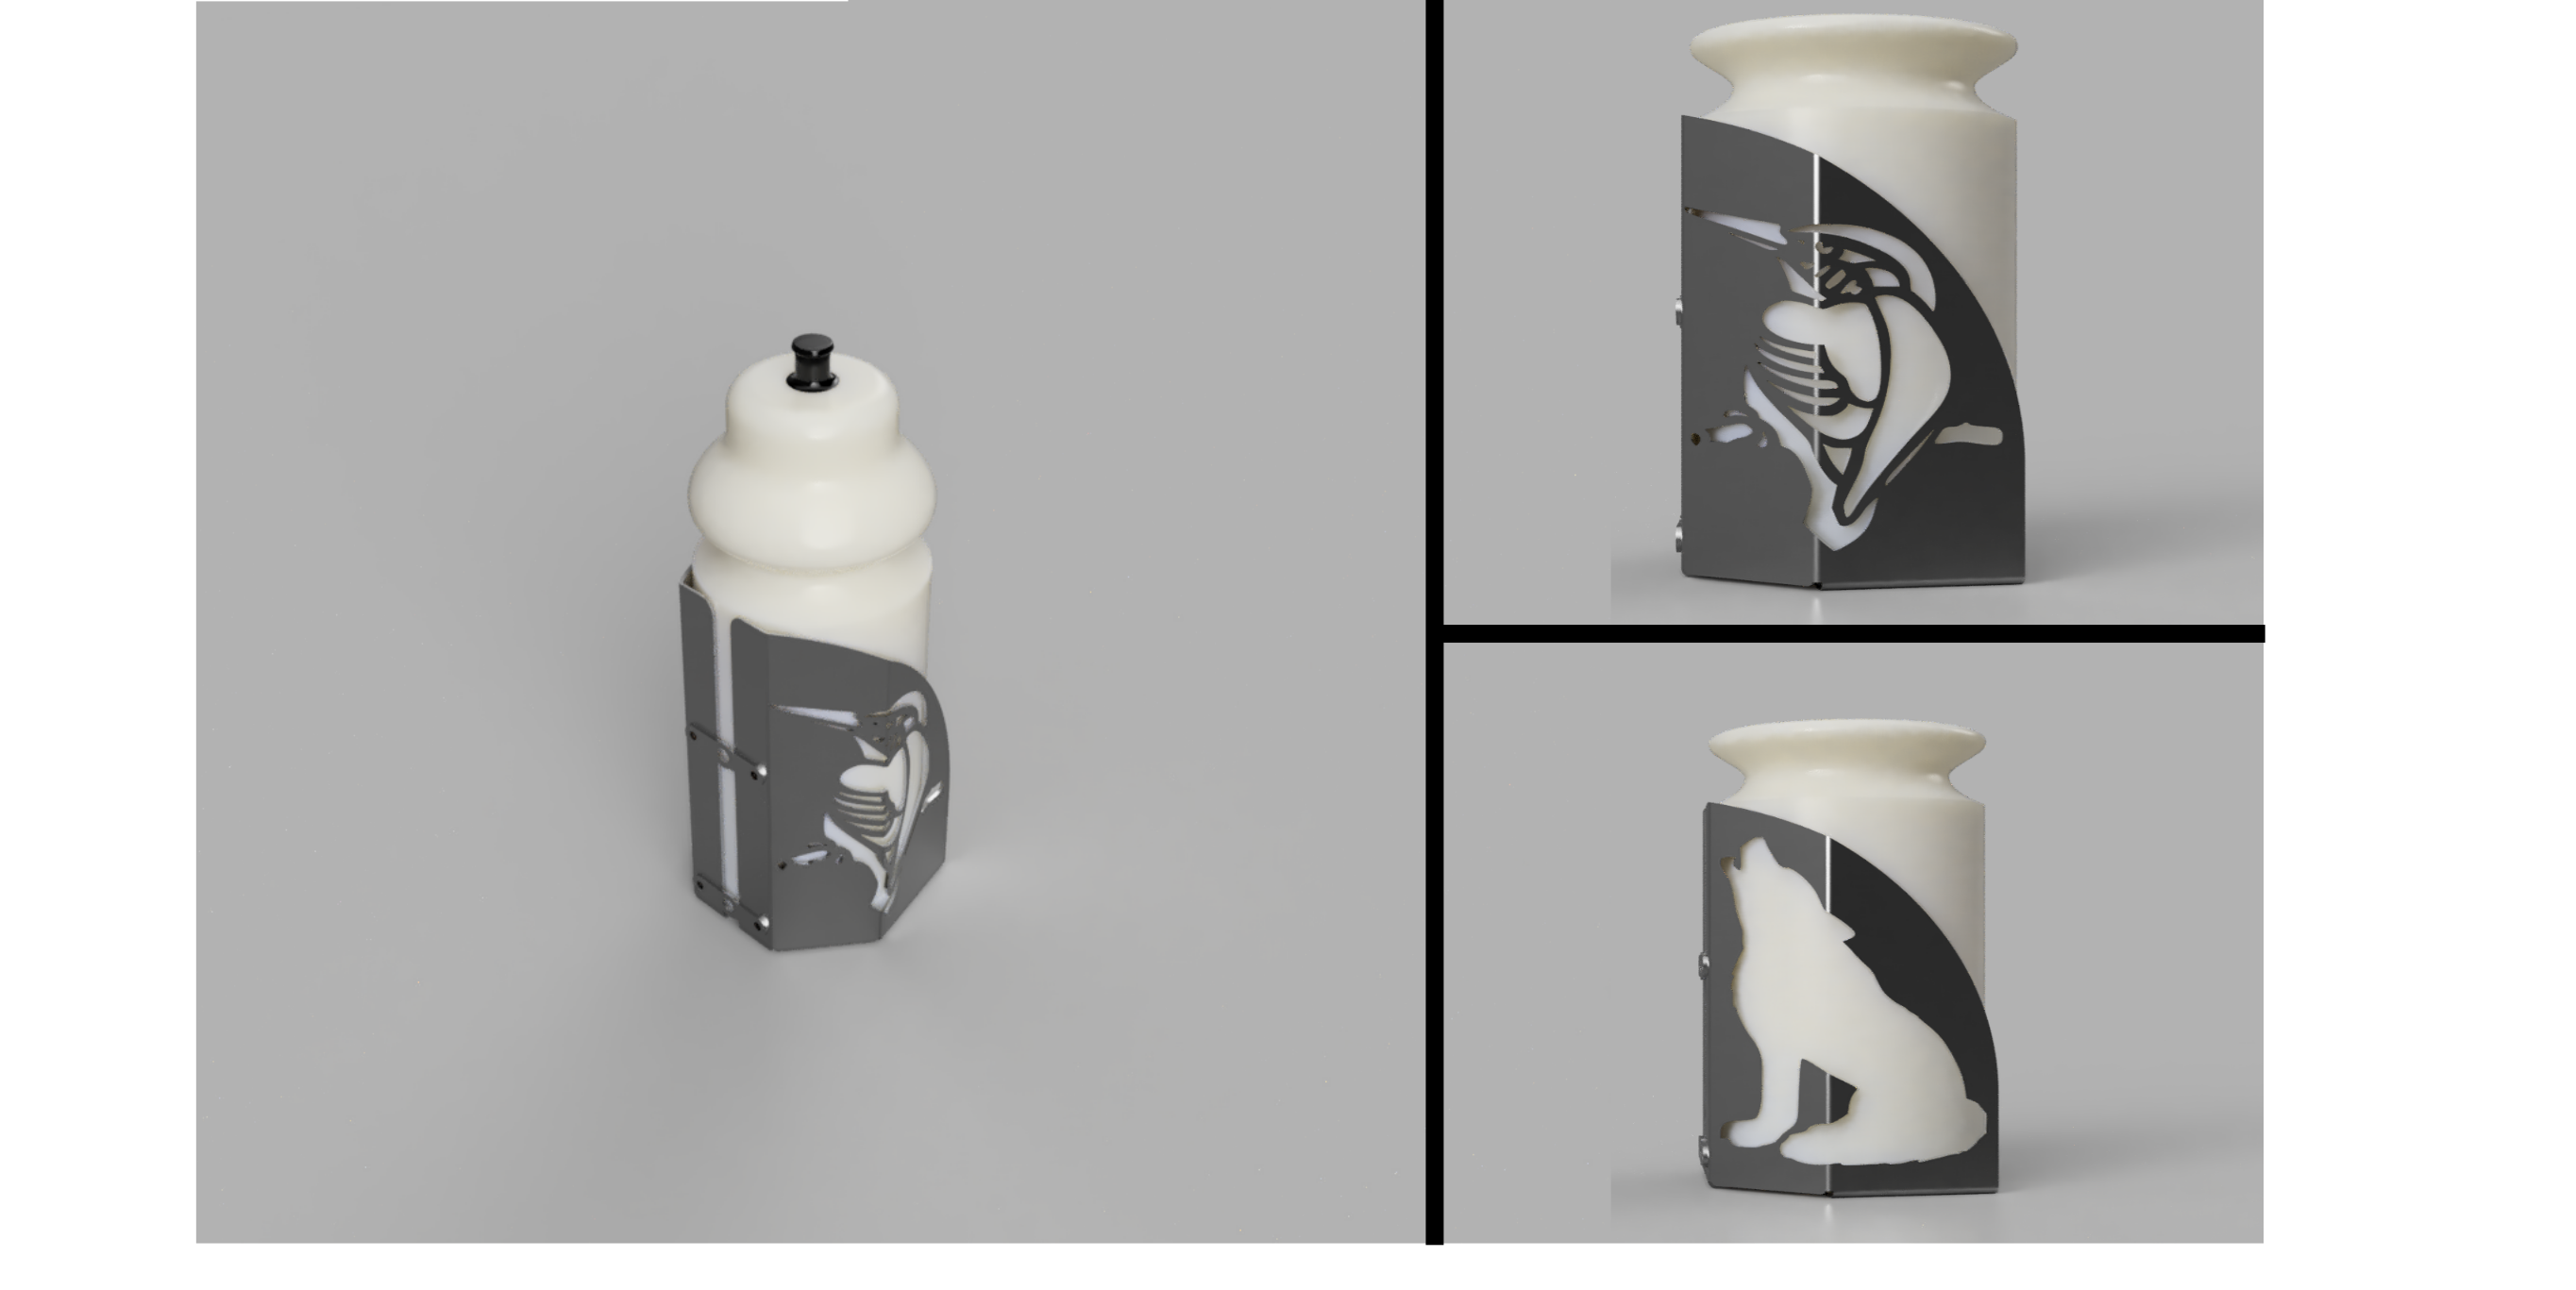
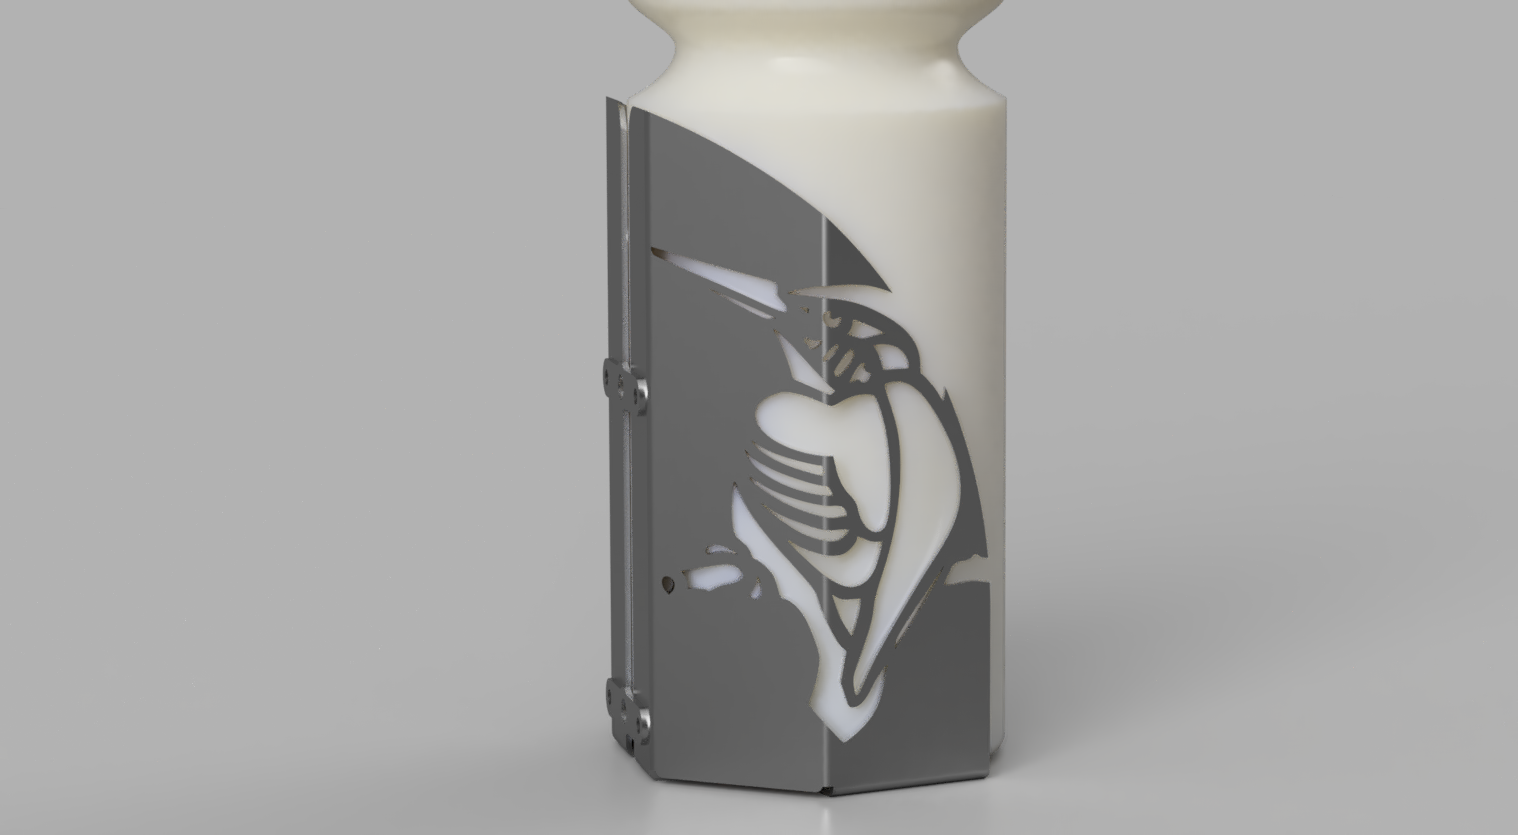
This guide shows how to use Fusion 360's new sheet metal tools to quickly design a customizable bottle cage for your bicycle.
The intention is to laser cut these cages from 1.2mm stainless steel, then bend them into place with a sheet metal break; the four pieces can be attached with stainless steel rivets; and then the assembly can be bolted to a standard bike frame using low-profile M5 bolts.
This Fusion 360 file can be reused many times with a variety of patterns cut into it. Here's the process:
1) Create a mockup water bottle
2) Create one side of the sheet metal cage around the bottle, with movable sketch points for shape control
3) Mirror the cage to create the second side
4) Create two connecting tabs, which rivet to the flanges and also bolt to the bike frame
5) Process any simple silhouette image grabbed from Google Images
6) Import the image and cut it into the side of the cage
7) Export the flat pattern to prepare for laser cutting
Gather Your Software & Tools
Software:
Autodesk Fusion 360
Inkscape (a free Illustrator clone)
A silhouette image of your favorite animal
Tools:
Sheet metal (preferably something like 1.5mm stainless steel)
Rivets (same material as sheet metal)
M5 bolts with low-profile heads to bolt to bike frame
Access to a laser cutter or water jet
Make a Mockup Bottle
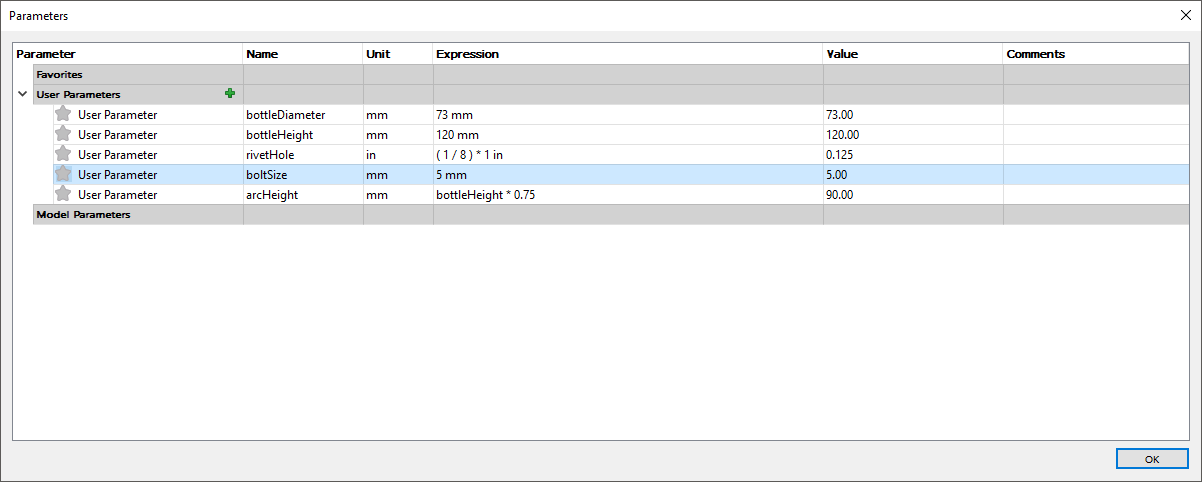
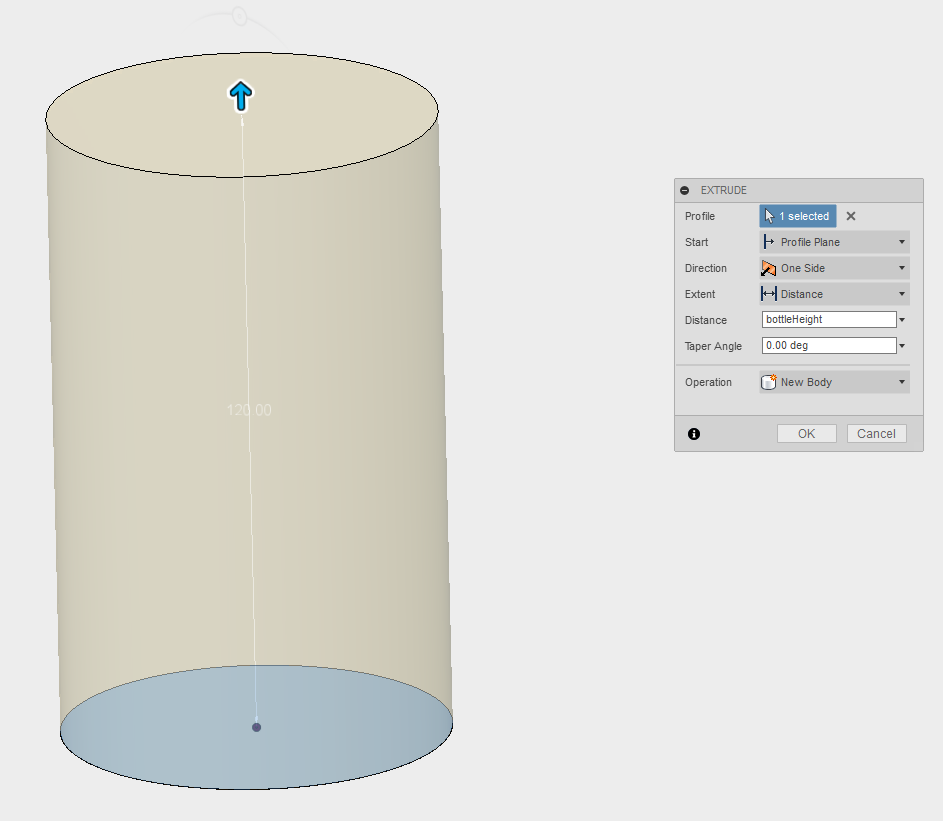
A google search indicated to me that a standard bottle cage is made to fit a cylinder with 73mm diameter and 120mm height. But if we want to make a dynamic cage that can be used for other bottle sizes with a quick change, we should design the smart way: use user parameters!
We'll add parameters for the bottleDiameter, the bottleHeight, the diameter of the rivetHoles, the boltSize for bolting to the bike frame, and an arcHeight that will be used later.
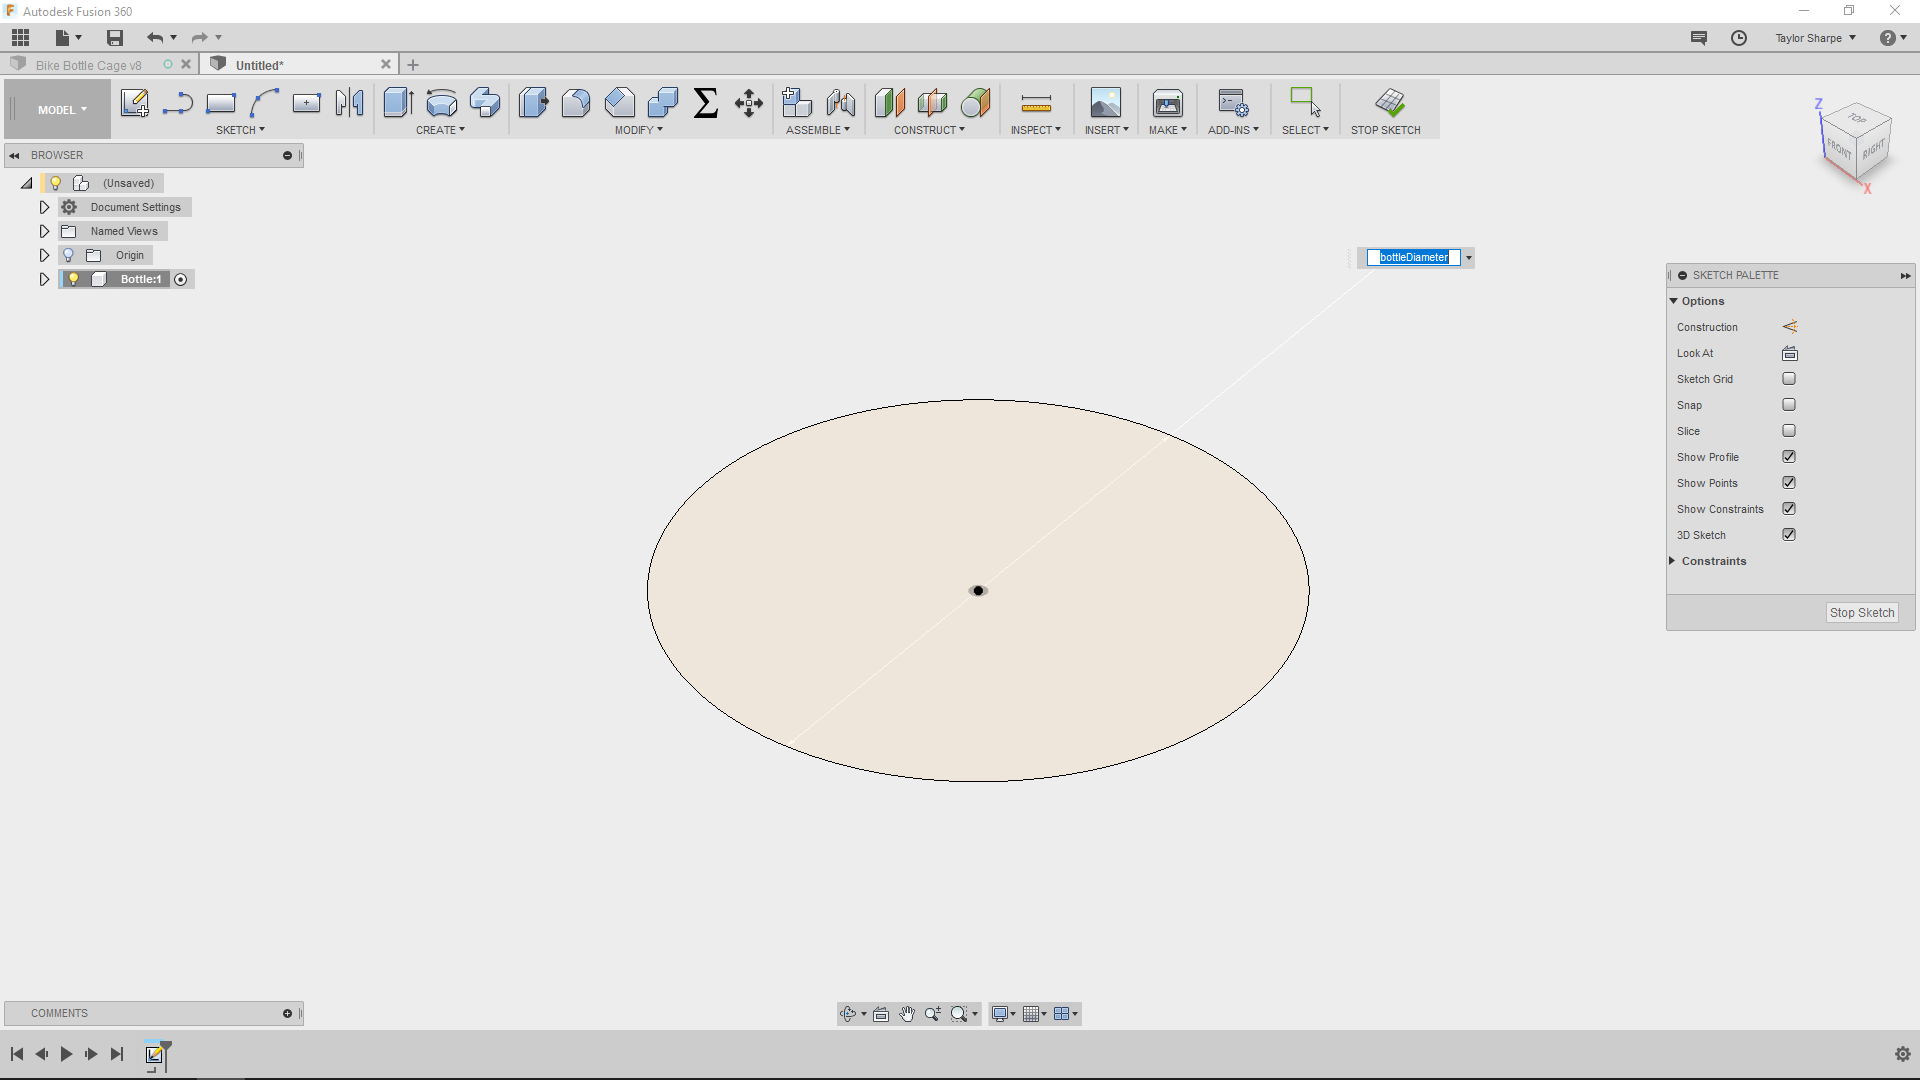
Then, create a new component, named "Bottle". We'll make a simple cylinder on the base plane, with a diameter equal to bottleDiameter and a height equal to bottleHeight. This should be good enough to inform our design, but if you have a water bottle you love, model that instead!
Shape the First Flange
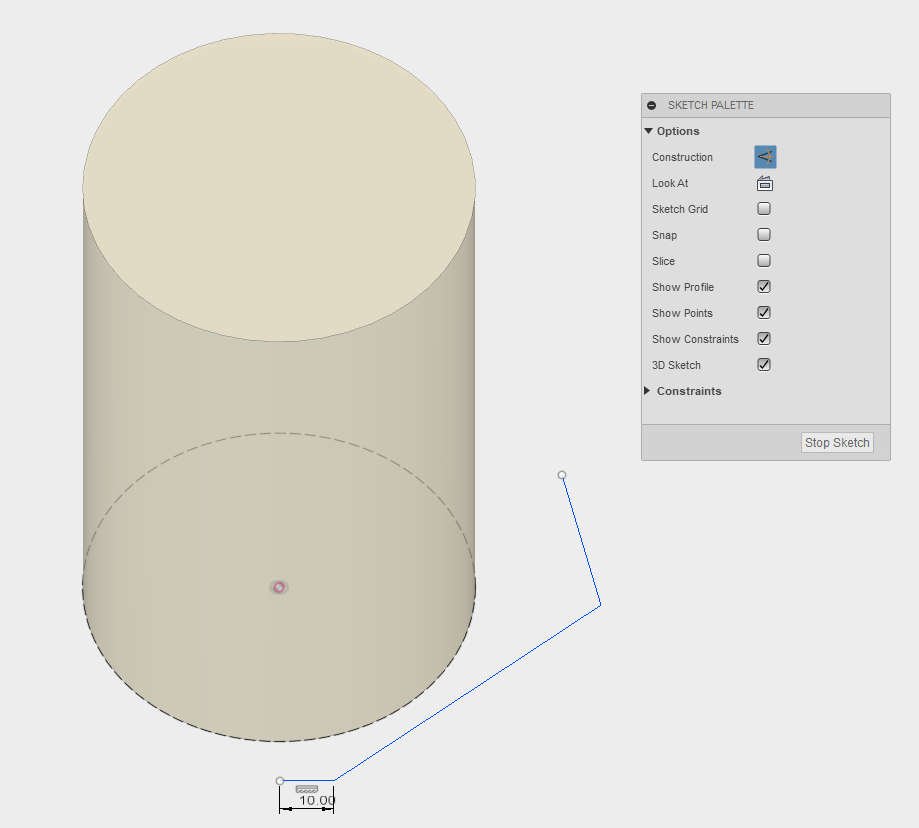
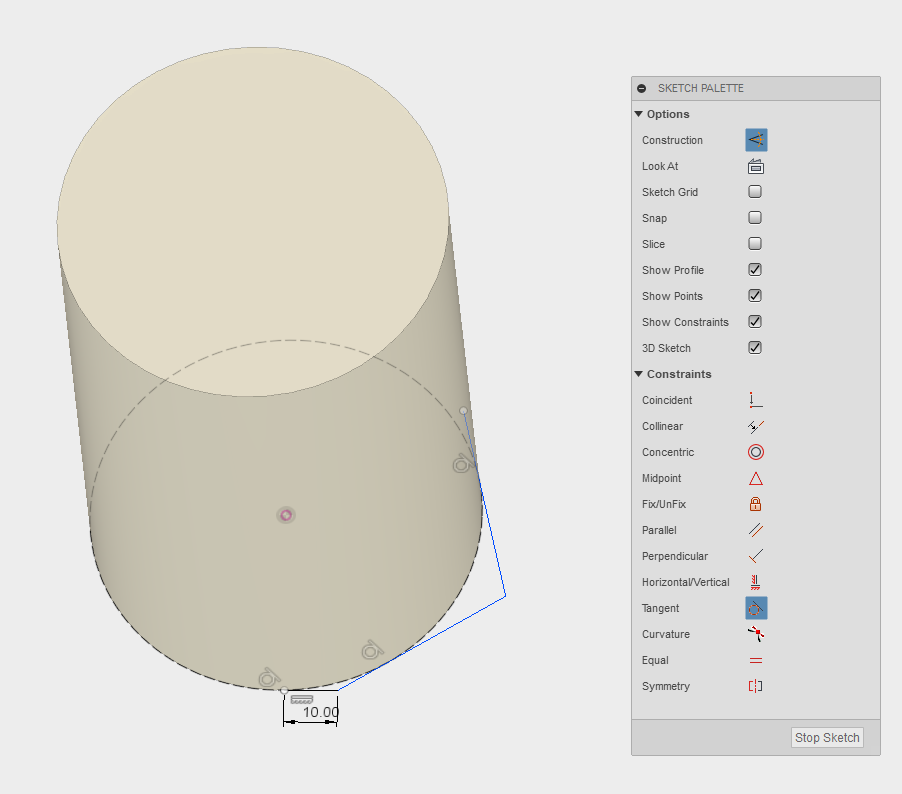
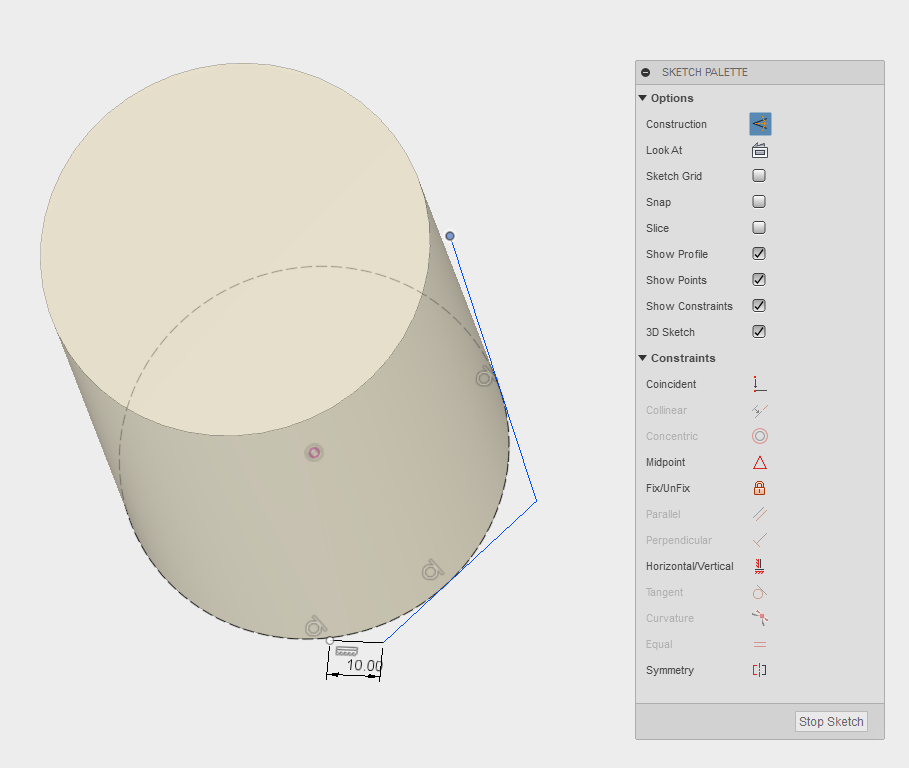
We'll be using a sort of artsy technique to make the overall shape of the holder. The idea is to link the shape to a sketch that isn't fully constrained - you'll be able to grab handles and drag them around, changing the overall aesthetic of the design.
Make a new component, called "Main Flange." Start a sketch on the base plane, which should line up with the bottom of the water bottle. Then project the diameter of the water bottle onto the sketch, and make it into a construction line.
The outline of the flange is just three lines: one that will connect to the other flange using a laser-cut tab, and two that will bend into place to hold the bottle in place. All three of these lines should have tangent constraints to the projected water bottle cross-section. Only the bottom, smallest line should be fully constrained, with a set length, a horizontal constraint, and a tangent constraint.
Check that you can move the two unconstrained points, changing the shape of the three-line segment.
Create the Main Flange
In Fusion 360, the Flange tool in the Sheet Metal workspace lets make a few different types of flanges. We'll make two now.
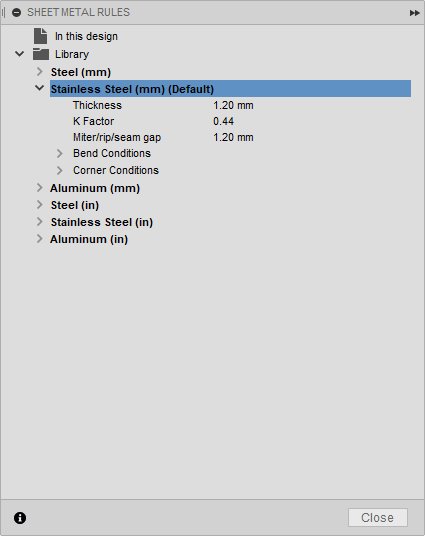
First, tell Fusion what type of metal you'll be cutting and bending. Go into the Sheet Metal workspace, and go to Modify -> Sheet Metal Rules. In my case, I right-click on Stainless Steel and modify the thickness to 1.2mm, since it's the most common metal I work with. Then I right-click on it and set it to Default.
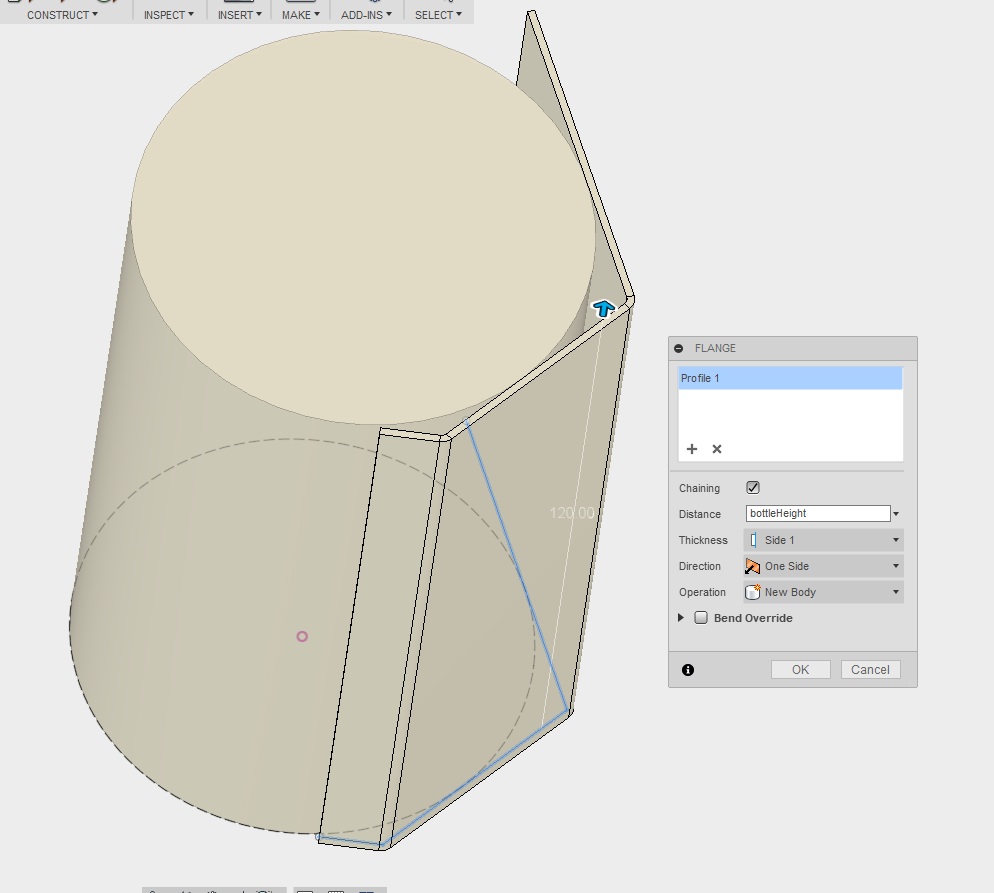
Create the main cage wall by selecting Create -> Flange and clicking on the 3-segment sketch created in the last step. Give the flange a height based on your user parameter, bottleHeight. Then make sure it's creating the flange on the outside of the bottle by selecting "Side 1" in Thickness. Press OK to create the flange.
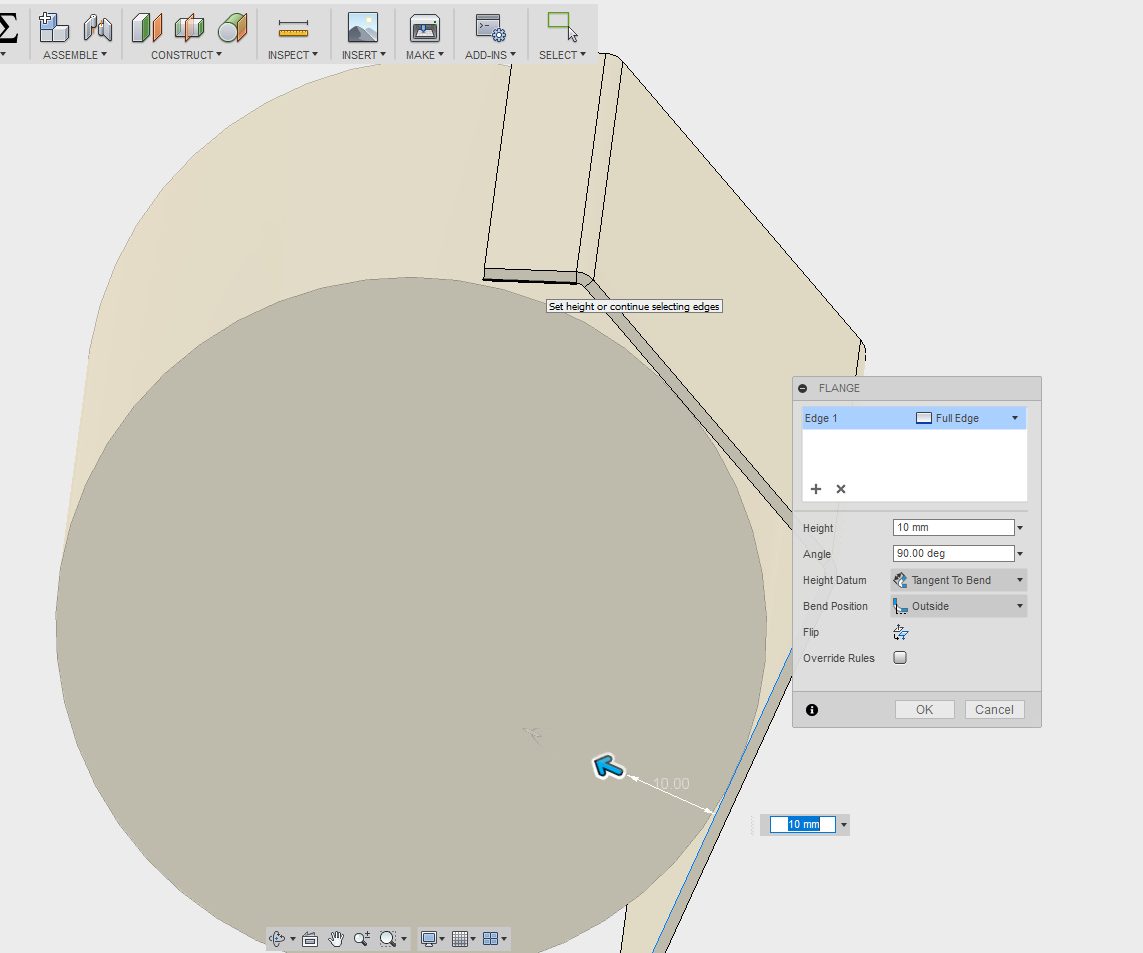
Now, use the Flange tool again, this time by selecting it and then clicking on two of the inner edges at the bottom of the original flange. This will tell Fusion you want to bend two flanges into the part, and it will even add relief cuts (miters) to ensure your part can bend properly!
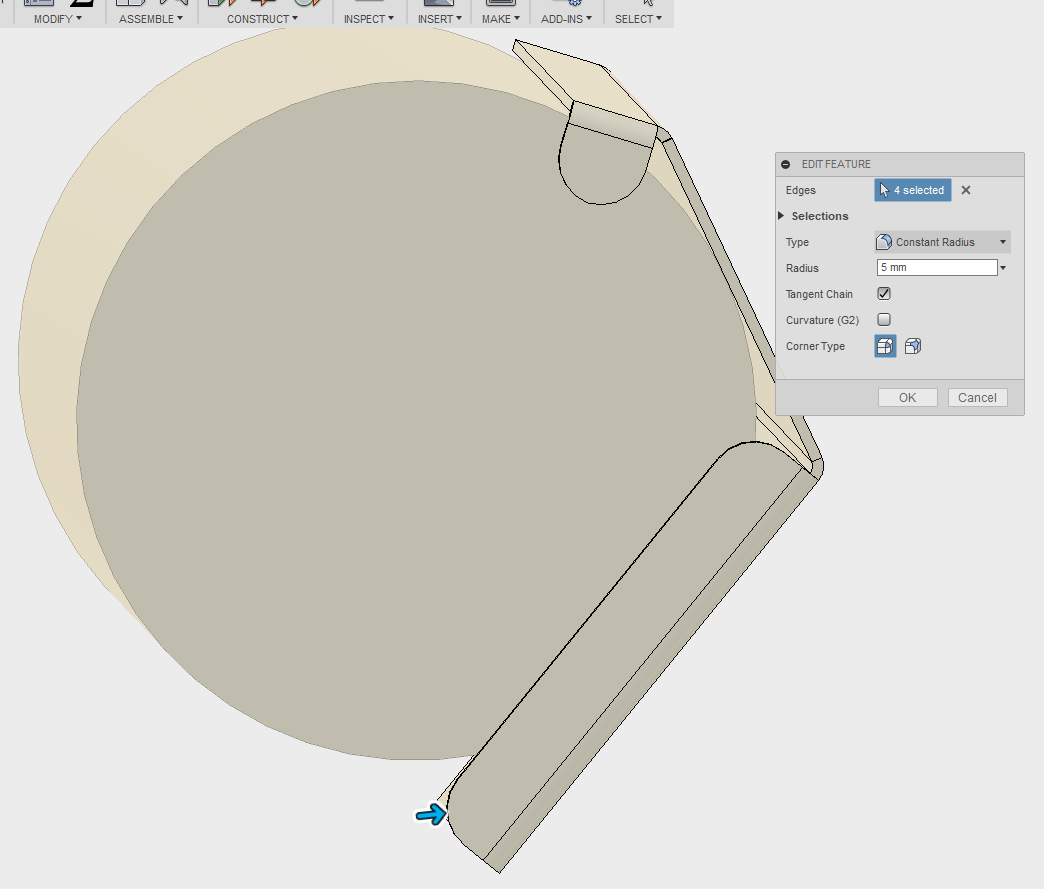
I made these flanges 10mm, but it would be even better to set these up as user parameters. Then I added fillets to their edges, each with a value of 5mm.f
Experiment With the Main Flange Sketch
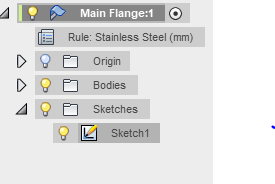
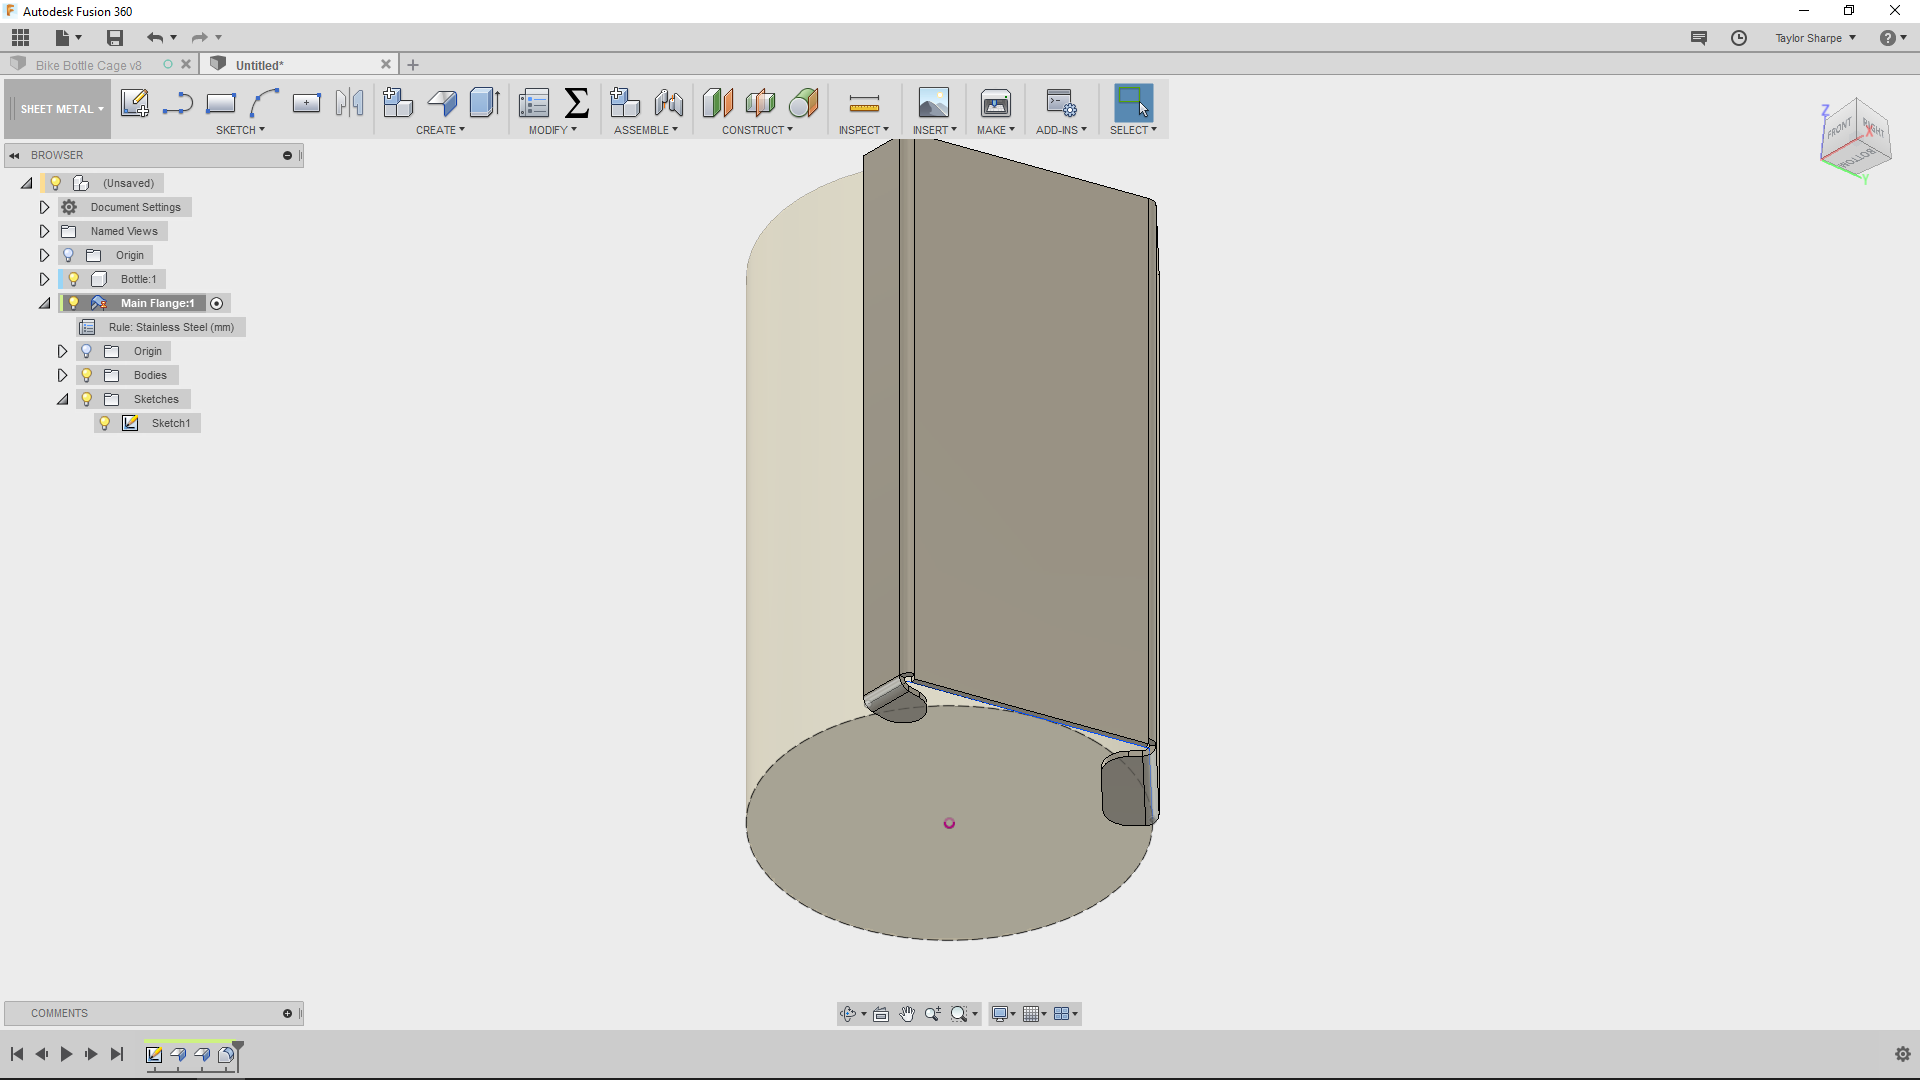
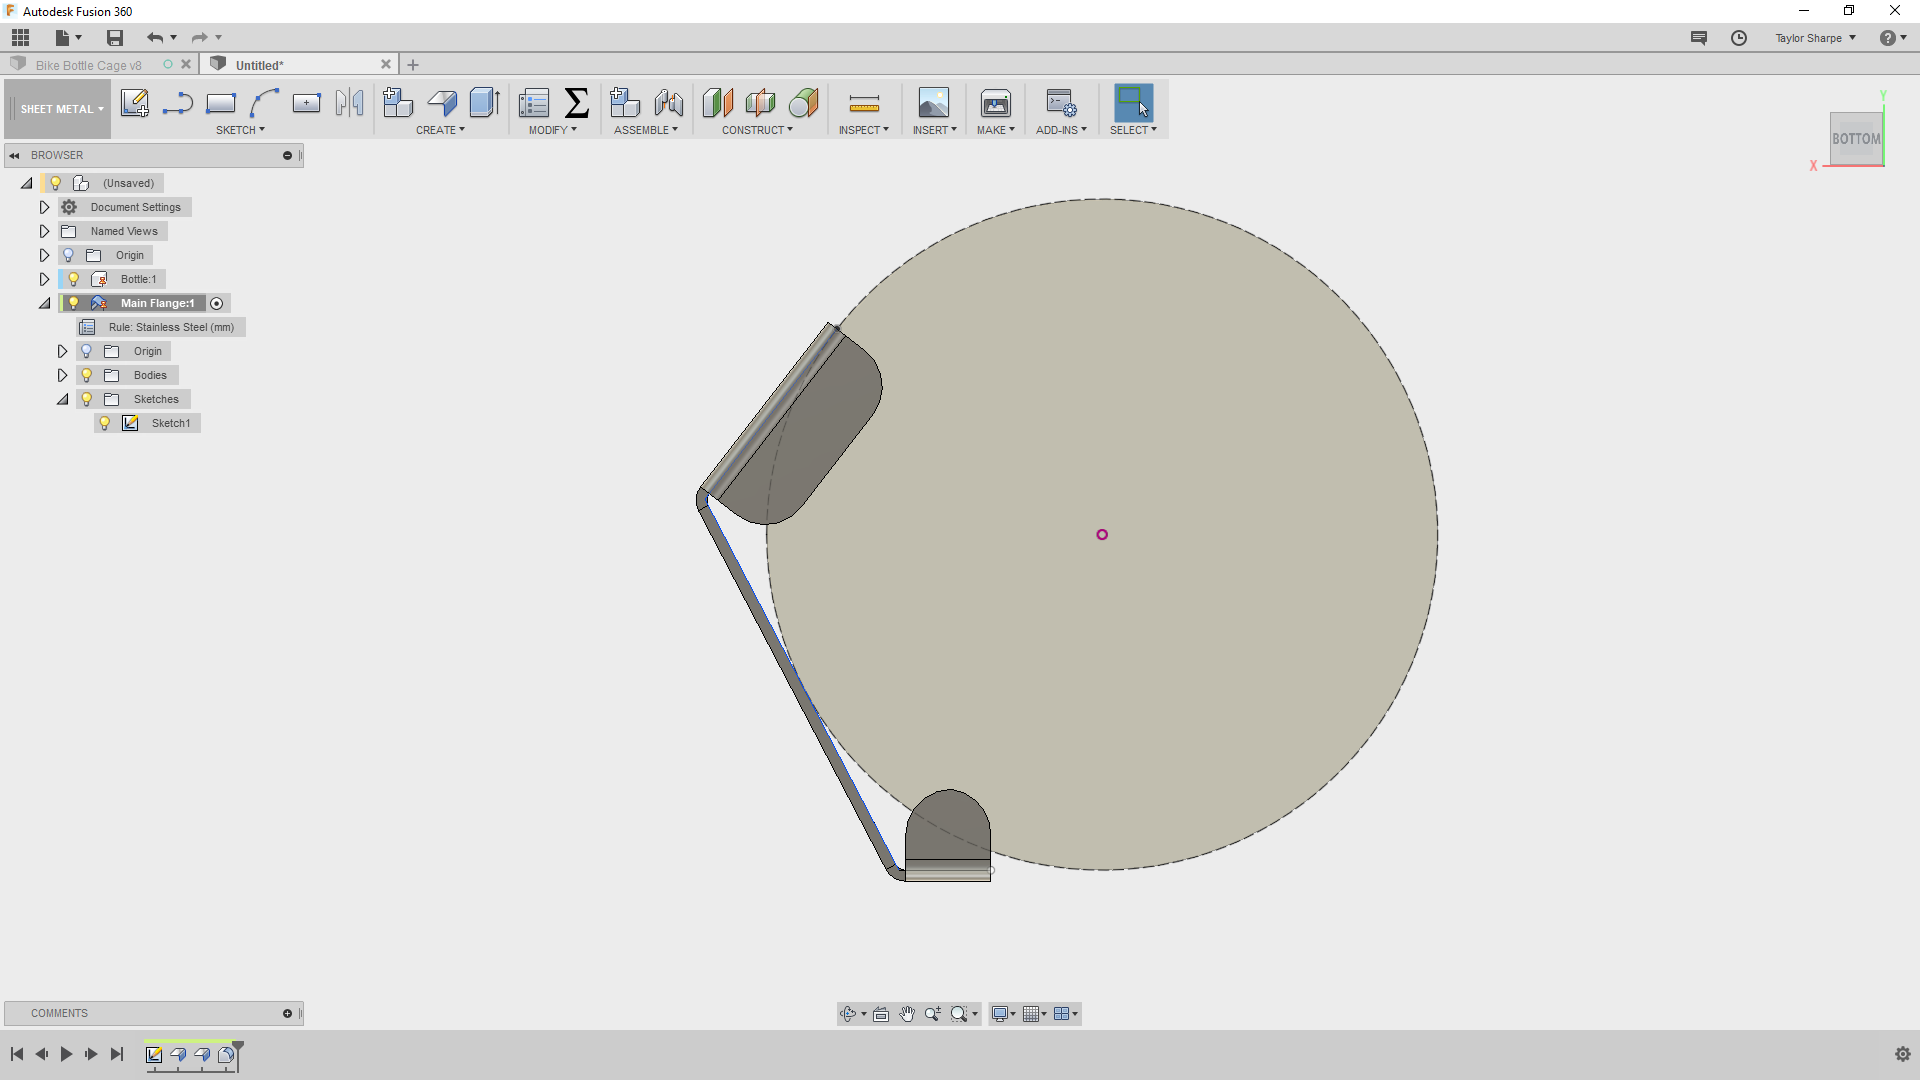
You'll want to do more of this later in the design process, but now is a good time to experiment with the sketch that defined the main flange. Turn the sketch on so that you can see its endpoints, and make sure you can drag them around.
It might be necessary to right-click on the Bottle, and choose Ground. Then do the same thing with the Main Flange.
Add an Arc to the Flange Design
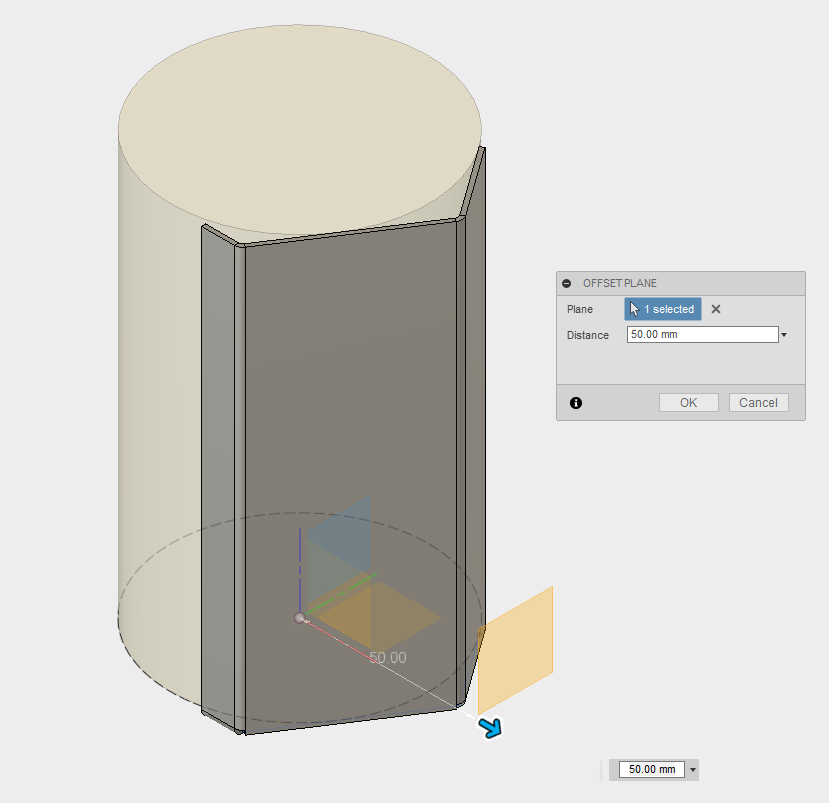
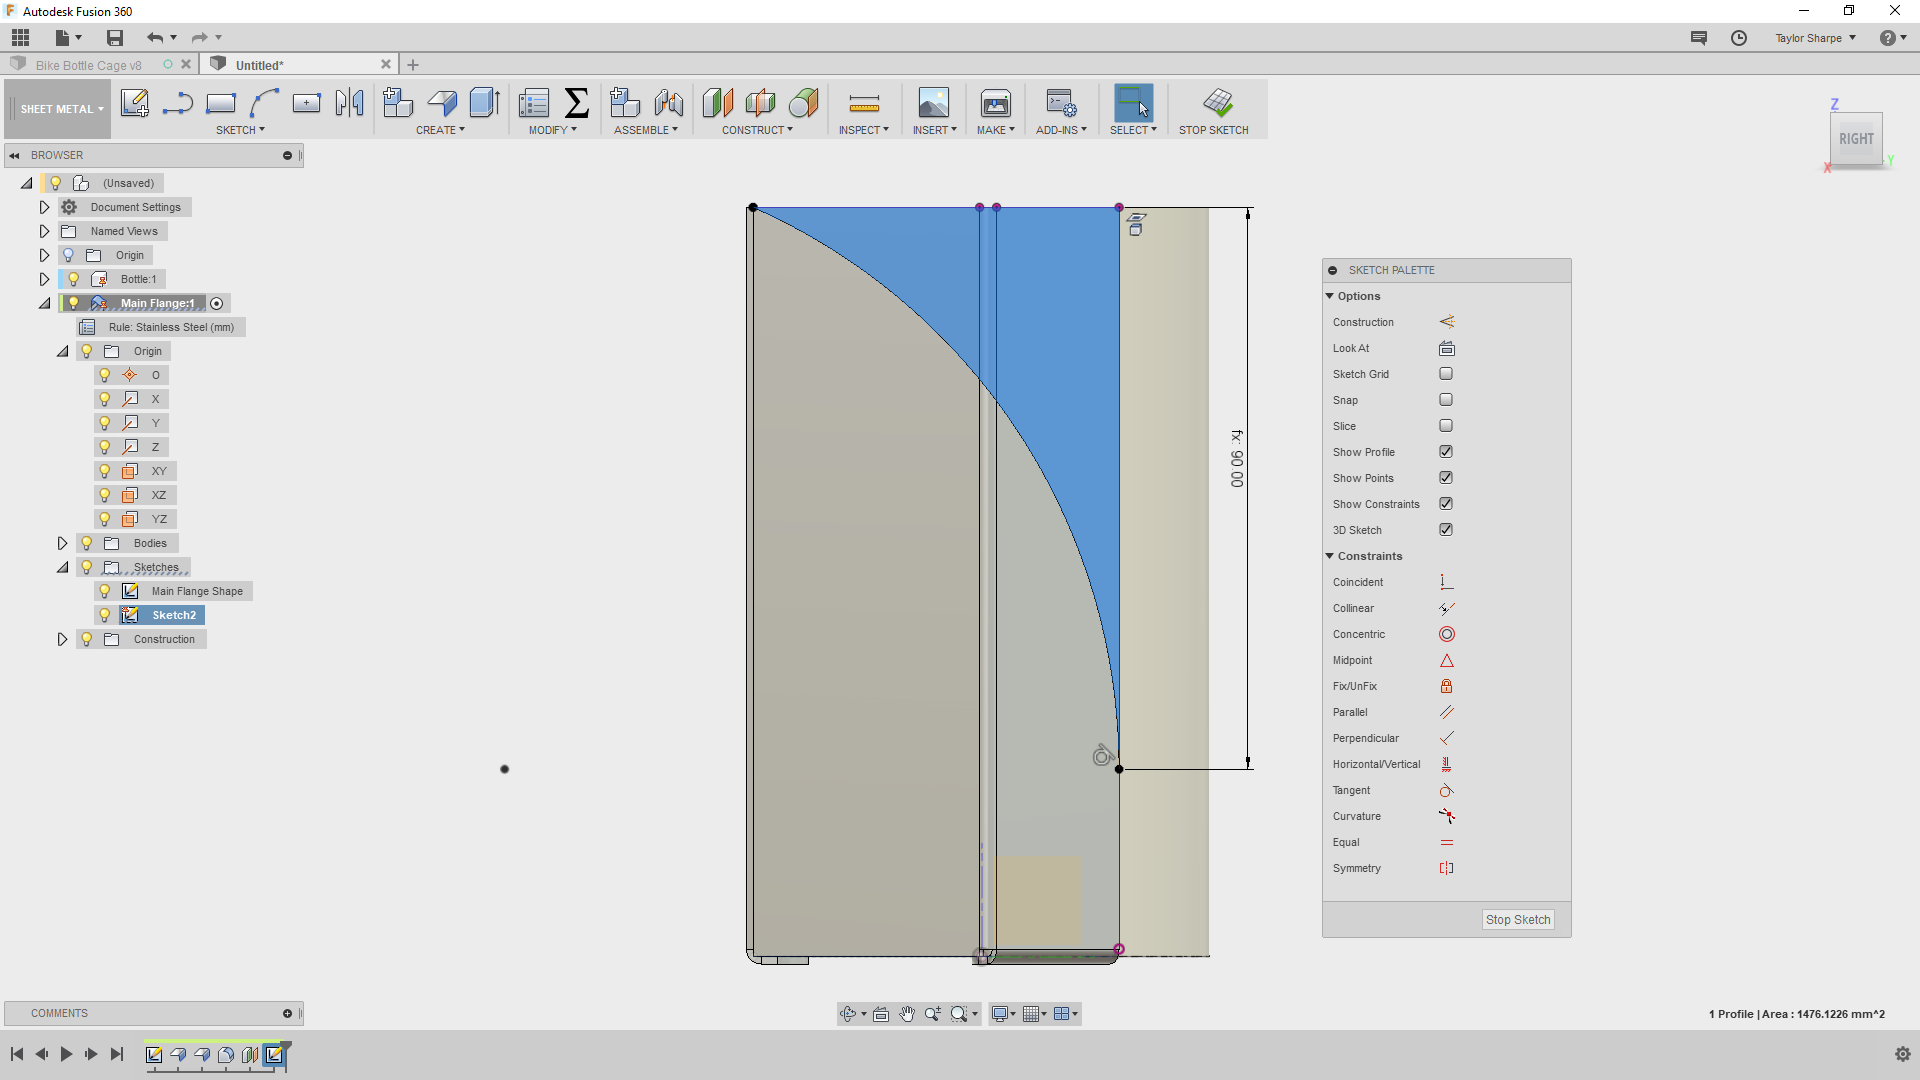
Make sure you have the Main Flange activated. Turn on its Origin, and chose Construct -> Offset plane. Offset a plane about 50mm from the central axis of the design (the YZ plane, if you're following along with my design exactly).
Start a sketch on this plane, and project the top edge and right edge of the Main Flange. Use the Sketch -> 3-point arc tool to make an arc from the upper left of the flange down to the right edge. Add a tangent constraint to the right edge.
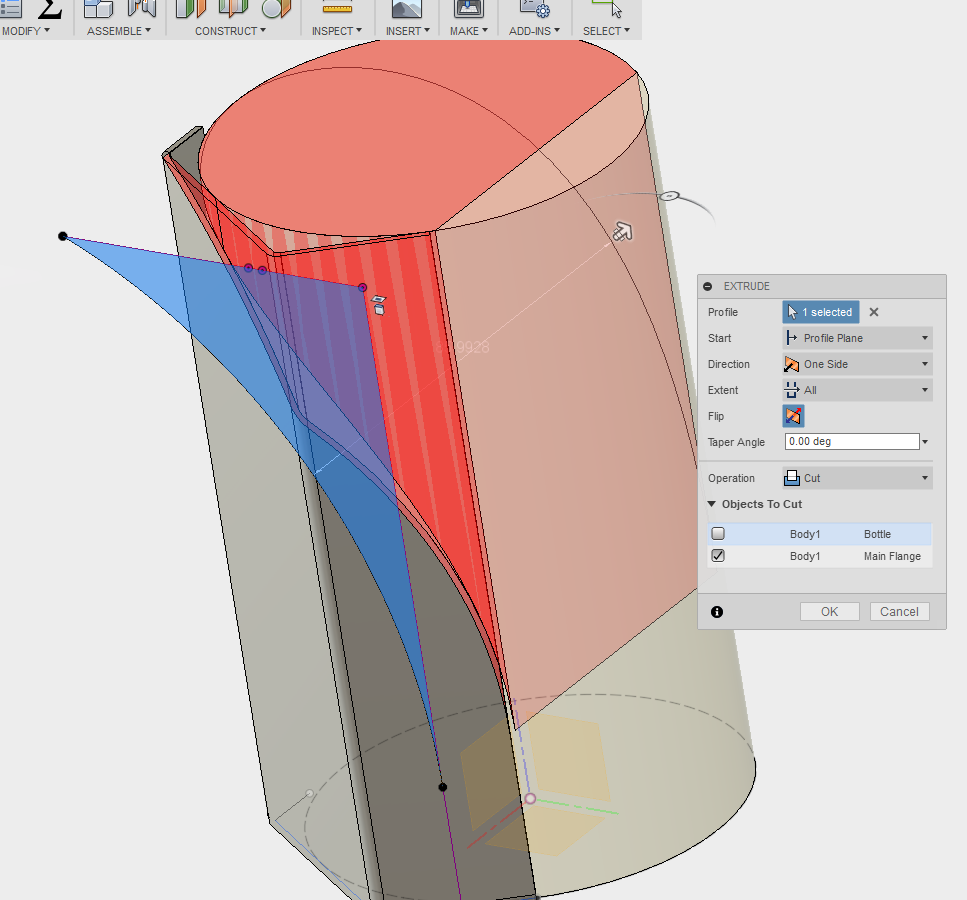
Dimension the arc using the User Parameter you prepped before, arcHeight, which was set equal to 75% of the height of the water bottle. Stop the sketch, and go up to Create -> Extrude. Pull the extrusion into the flange so that it will cut an arc shape. Expand "Objects to Cut" and de-select the Bottle so that only the flange will be cut.
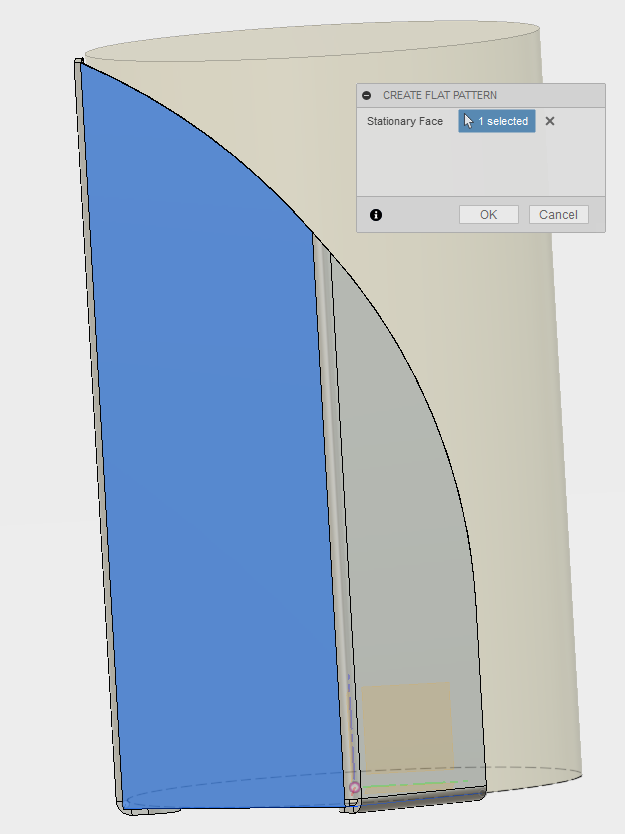
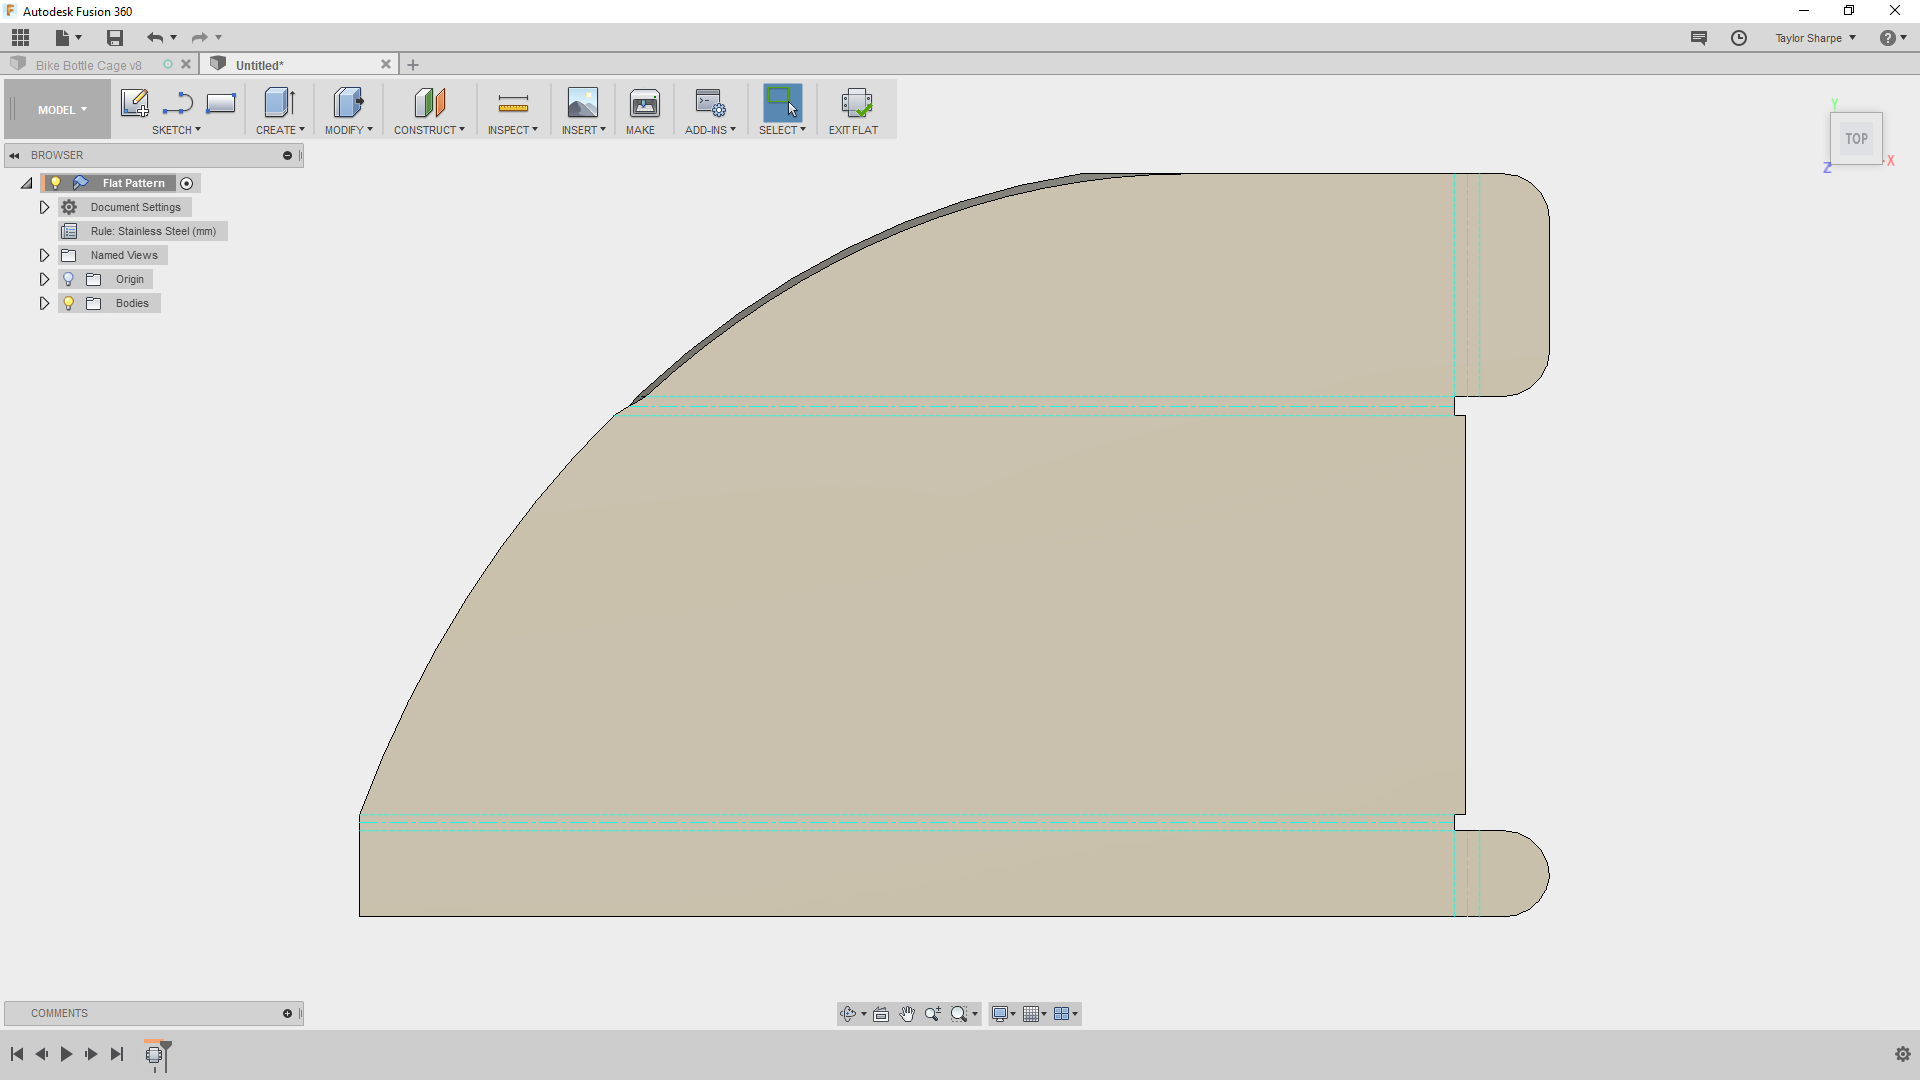
Now's a good time to create a flat pattern for this sheet metal part to make sure nothing has gone wrong. Go to Modify -> Create Flat Pattern, and select the middle pane of the Main Flange as the Stationary Face.
Create a Mirror of the Main Flange
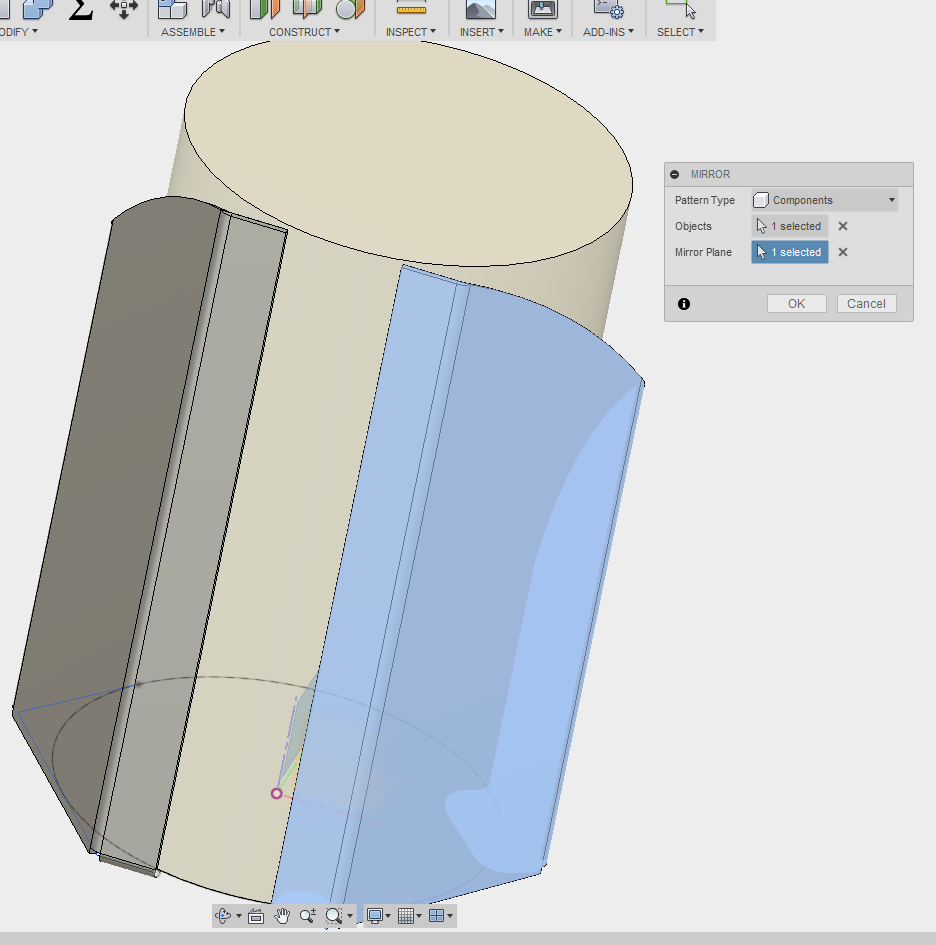
Odds are you'll end up making a different mirrored flange later on in the process, but for now, create a mirror of the main flange so you have something to work off of as you create the tabs that will hold the flanges together and hold the assembly to your bike.
Exit the Flat Pattern, go to the top level of your design, and go back into the Model workspace. Make the origin visible, and use Create -> Mirror to mirror the Main Flange component around the central plane of the water bottle.
Create the Mounting/assembly Tabs
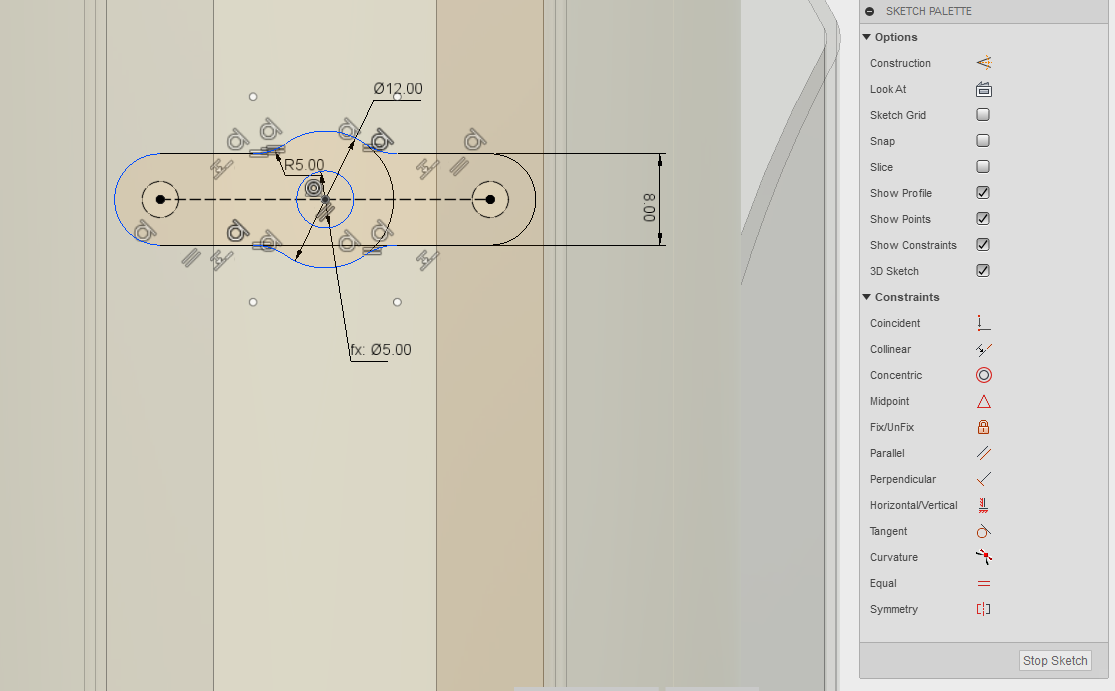
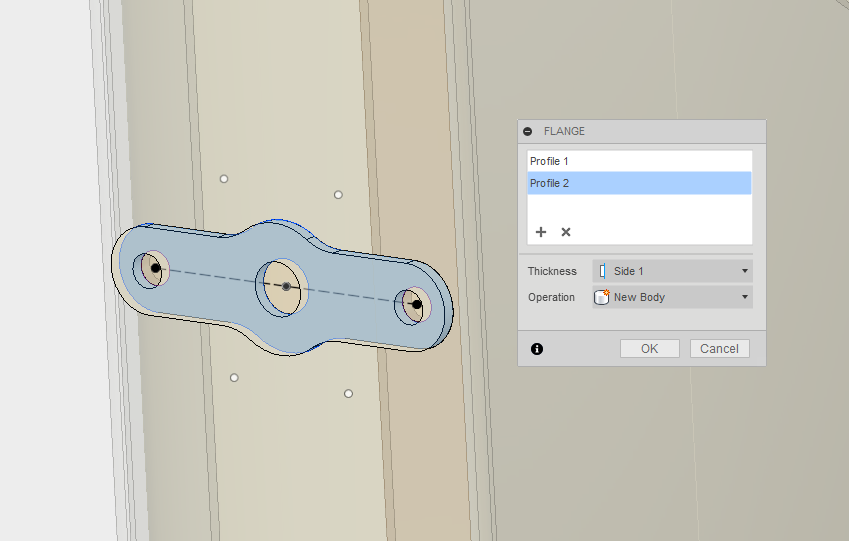
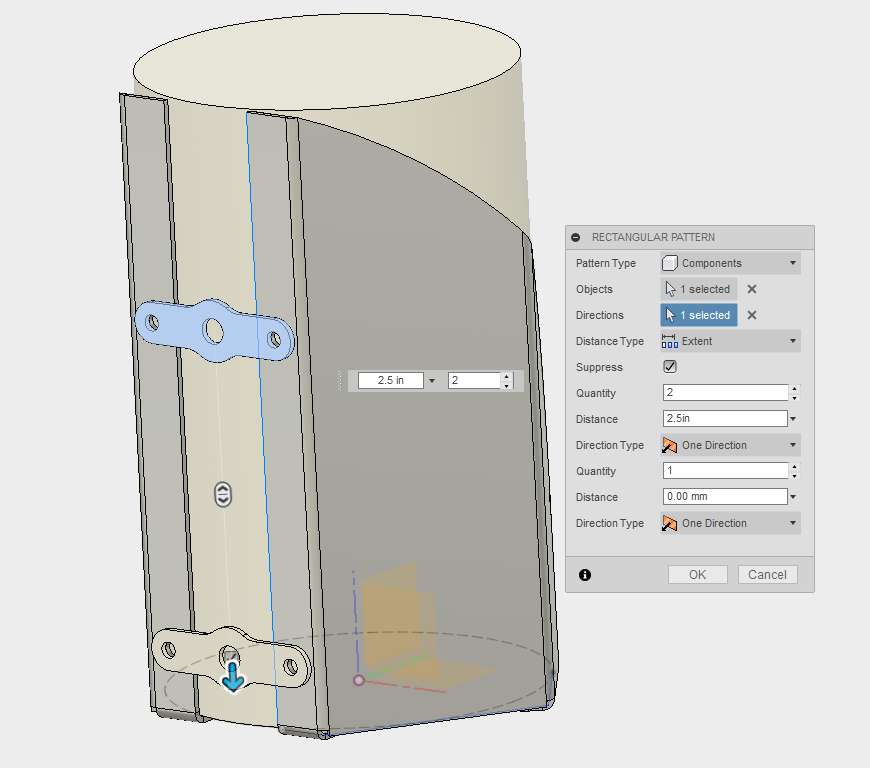
Activate the Main Flange, go to the Sheet Metal workspace, and place two mounting holes by making a sketch on the 10mm flange section.
In the sketch, make a center line all the way down the flange and make it a construction line. Then place two points on it and make them 2.5in apart (63.5mm). I would leave their location unconstrained so you can easily move them later.
Stop the sketch, and use Create -> Hole to add the rivet holes. Fusion should automatically pick up the location of the points in your sketch and make holes on each one. Select "All" for depth, but remember to open up "Objects to Cut" and turn off the water bottle component. Set the hole diameter to the user parameter rivetHole.
When I did this, the holes from my original Main Flange didn't populate over to my mirrored flange. So I delete the mirrored flange and added a new one.
Create a new component, called "Tab". Make a sketch on the surface with the mounting holes, and create a center line between the two mounting holes on the Main Flange and its mirror.
Use Sketch -> Slot -> Centerpoint Slot, select the center of the line, and select one of the hole center points. Give the tab some thickness, and add a central circle for the bolt hole. With some trimming and fillets, you'll end up with a nicely-shaped tab. Add a hole in the very center of the tab with the dimension given by the user parameter boltSize.
Stop the sketch, make sure you're in the Sheet Metal workspace, and use Flange in yet another way: as if you're using the Extrude tool. This will create a Tab, with a center hole of 5mm (the boltSize user parameter) and two outer holes with the diameter rivetHole.
Make a second tab by going into the Model workspace, activating the top of the design tree, and using Create -> Pattery -> Rectangular Pattern to put a second tab in place.
Prepare a .dxf File to Cut Into the Main Flange
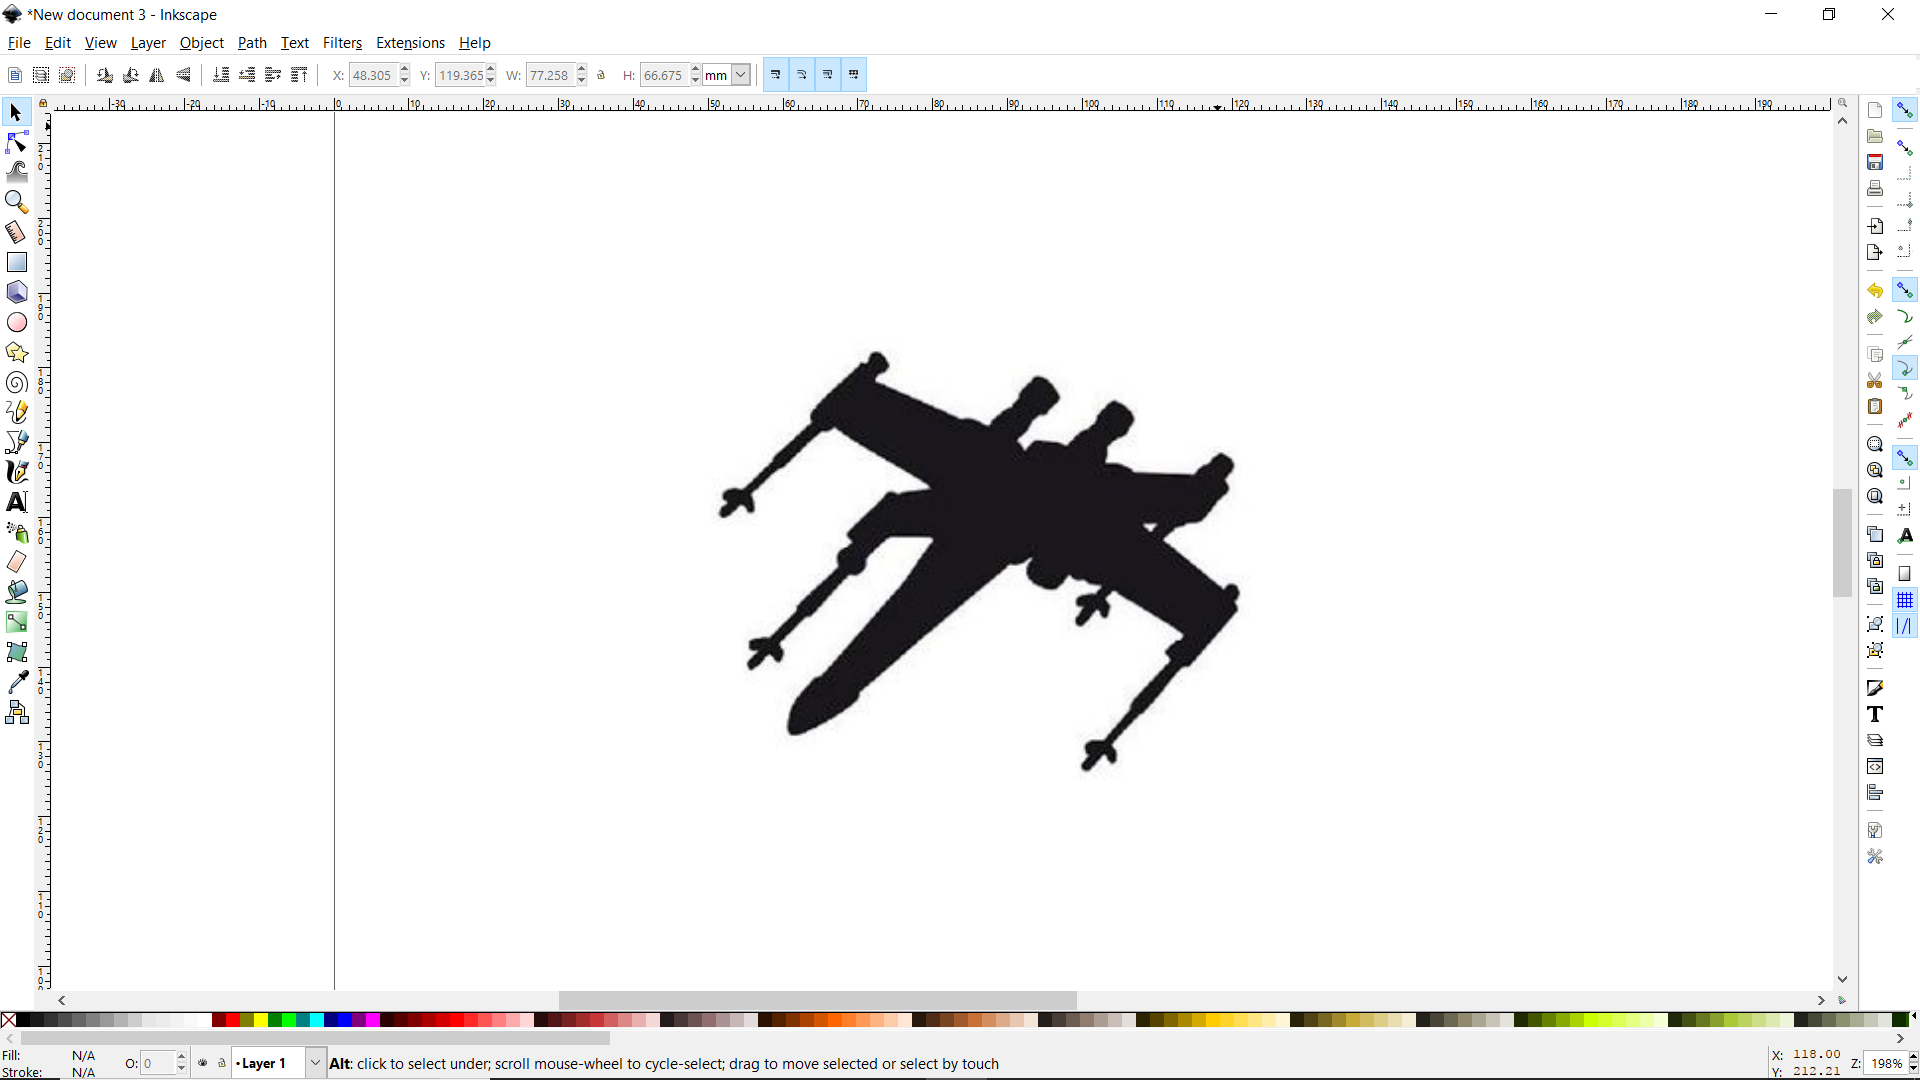
Hop onto Google Images and find a cool-looking but relatively simple outline: a favorite animal, a cool plant, whatever will laser cut with relative ease. You want to look for an image that is fully a black silhouette if possible - we'll extract the outline using Inkscape. A good way to do this is to add "Silhouette" to your search - for example, "King fisher silhouette", or "Darth Vader silhouette".
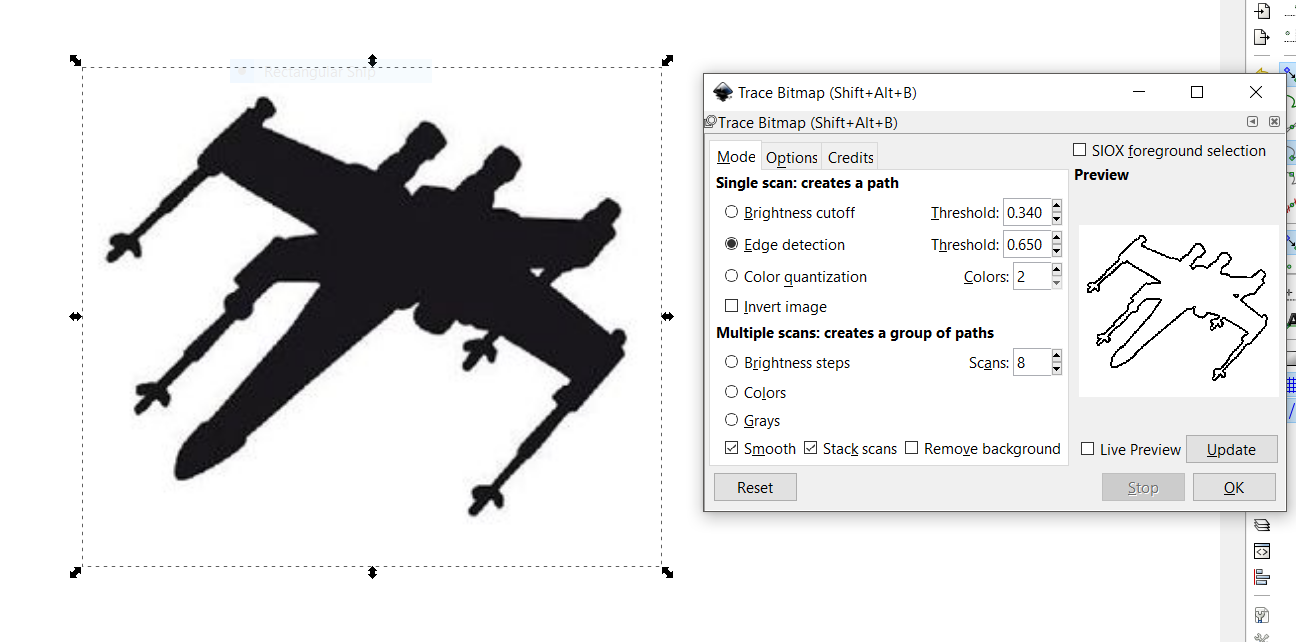
For this example, I typed in "Star Wars Silhouette" and grabbed an x-wing off of Pinterest, assuming there will be no copyright issues down the road (yikes). I just copied and pasted it into Inkscape.
Select the image, and go to Path -> Trace Bitmap... and use the Edge Detection setting to grab the edges of the image. Press "OK" and you can delete the original image. Depending on how complex the image is, you might have to wrestle a little bit with the settings to get this right.
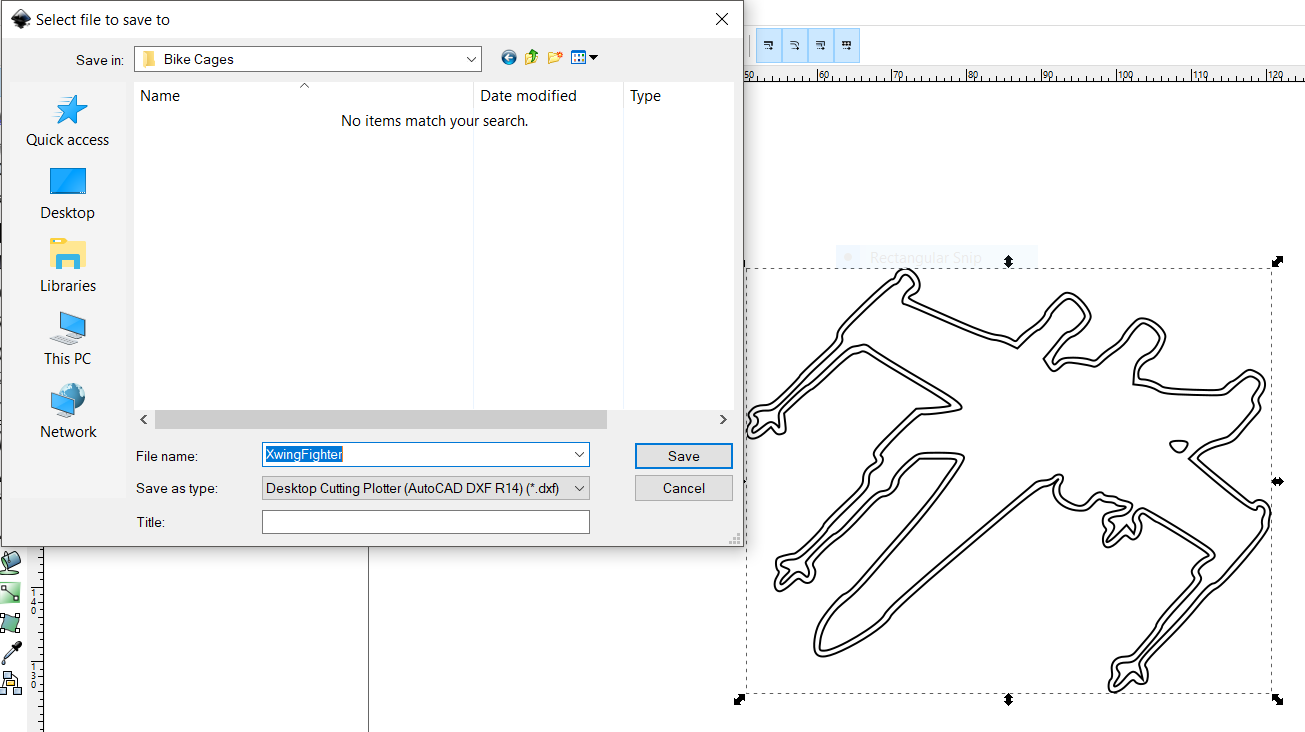
In Inkscape's lower left-hand corner, right click on "Stroke" and choose "Black". Then right-click on "Fill" and choose "Remove Fill." You might end up with two outlines, but you can always deal with that inside Fusion.
Save the file as a .dxf.
Note: You might want to rotate and further prepare the file within Inkscape before porting it into Fusion.
Add a Work Plane and Import the .dxf File
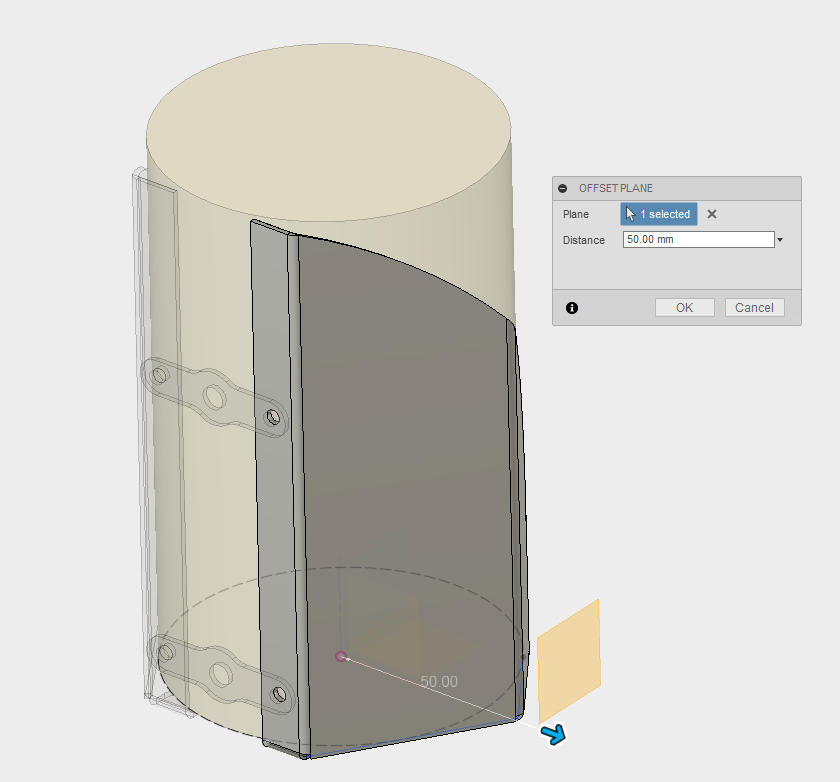
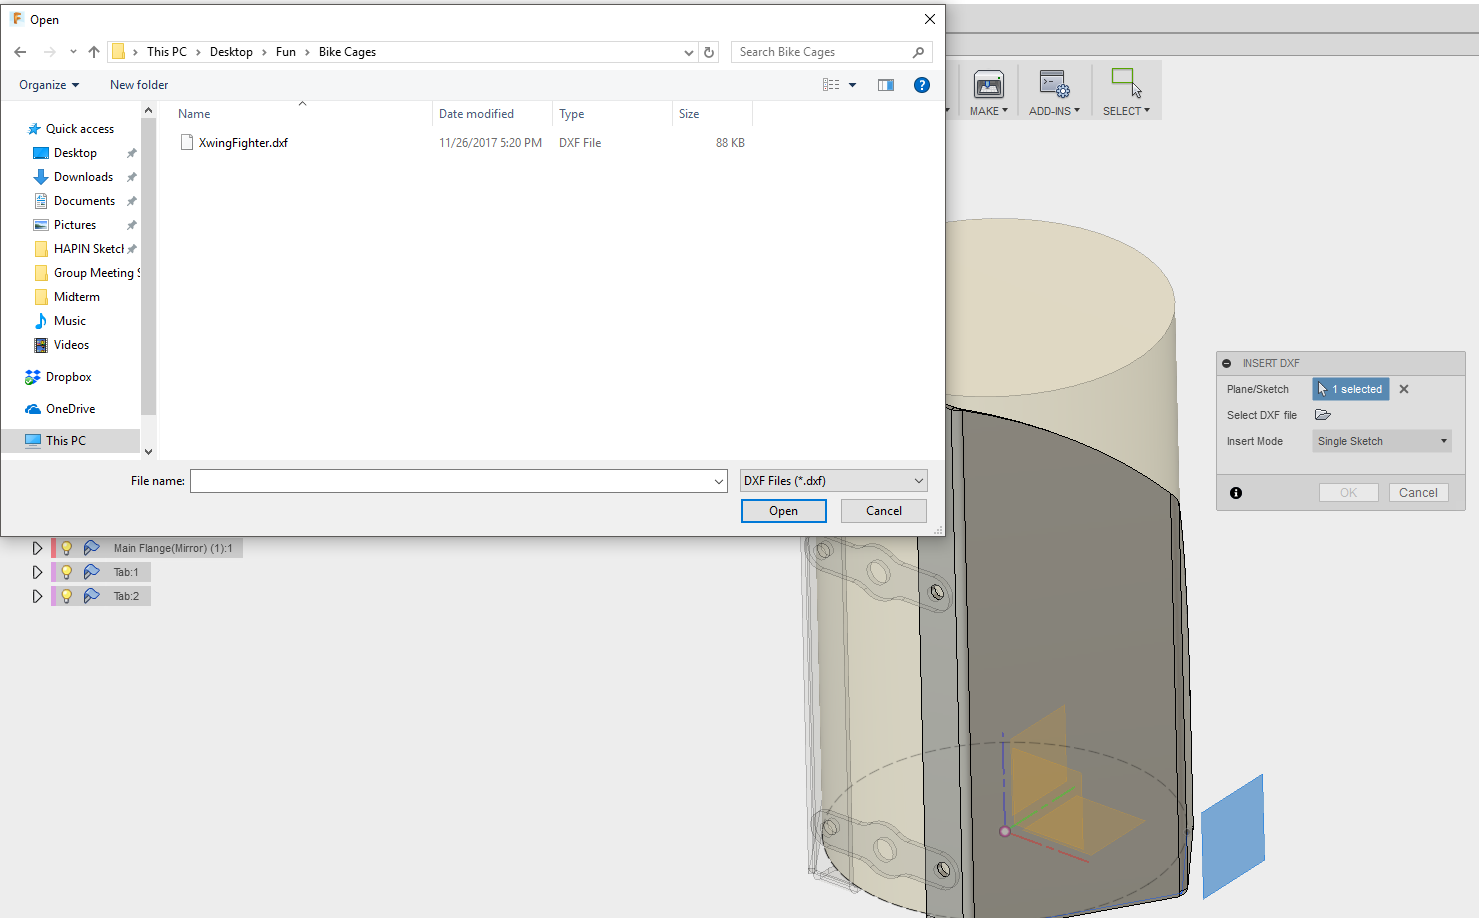
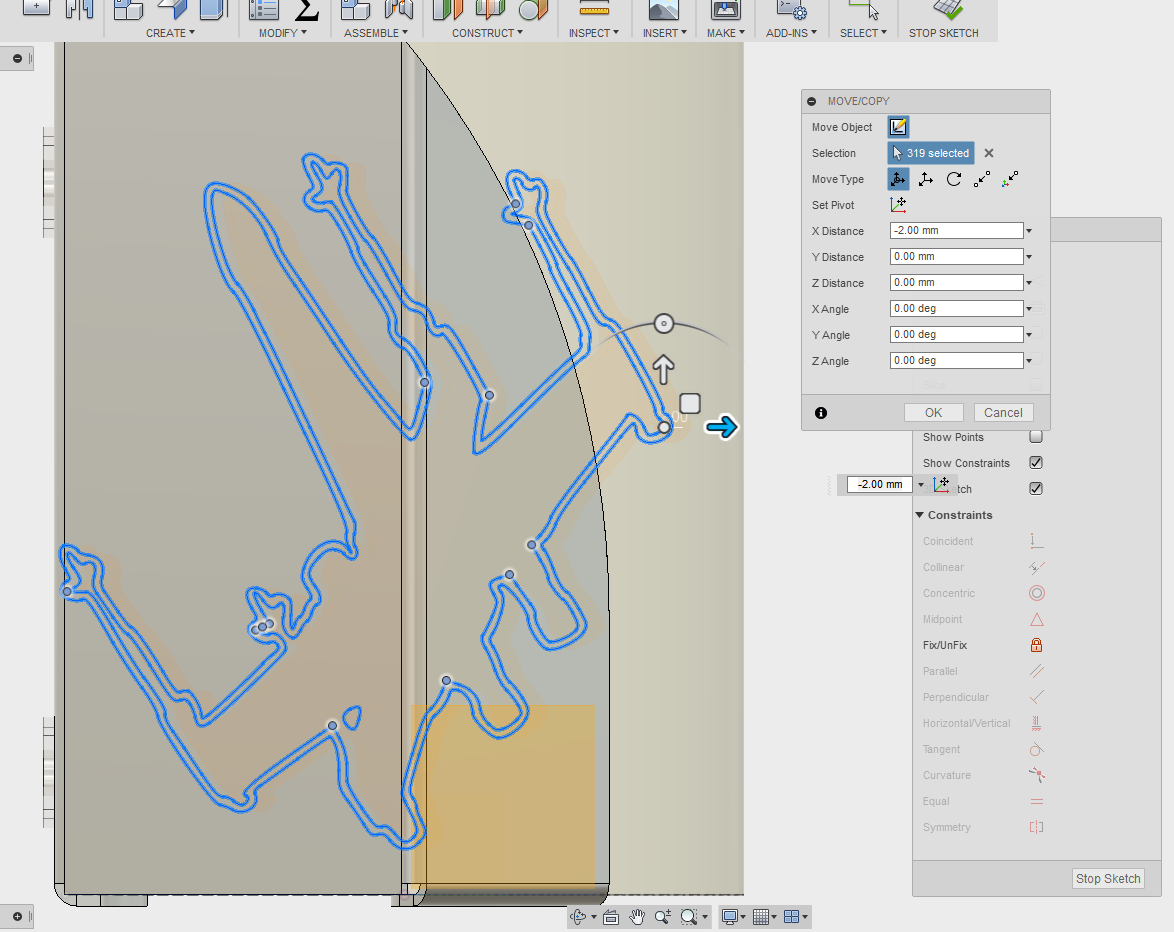
Activate the Main Flange and make sure you're in the Sheet Metal workspace. Add an Offset Plane from the main origin, placing the plane outside of the part. Alternatively, you could use the same plane you already used to cut the arc into that component.
Insert the .dxf file by choosing Insert -> Insert .dxf and specifying the work plane you just created. This will bring the .dxf in as a new sketch. Press OK.
You can now edit the sketch by right clicking on it and selecting Edit. Usually it's useful to select the whole silhouette and use the Sketch -> Scale tool and the Modify -> Move tool to get it into position.
In my case, I really tried to fit the silhouette on to the existing flange, but I just couldn't at the scale I wanted. What to do......?
Adjust the Flange's Original Sketch
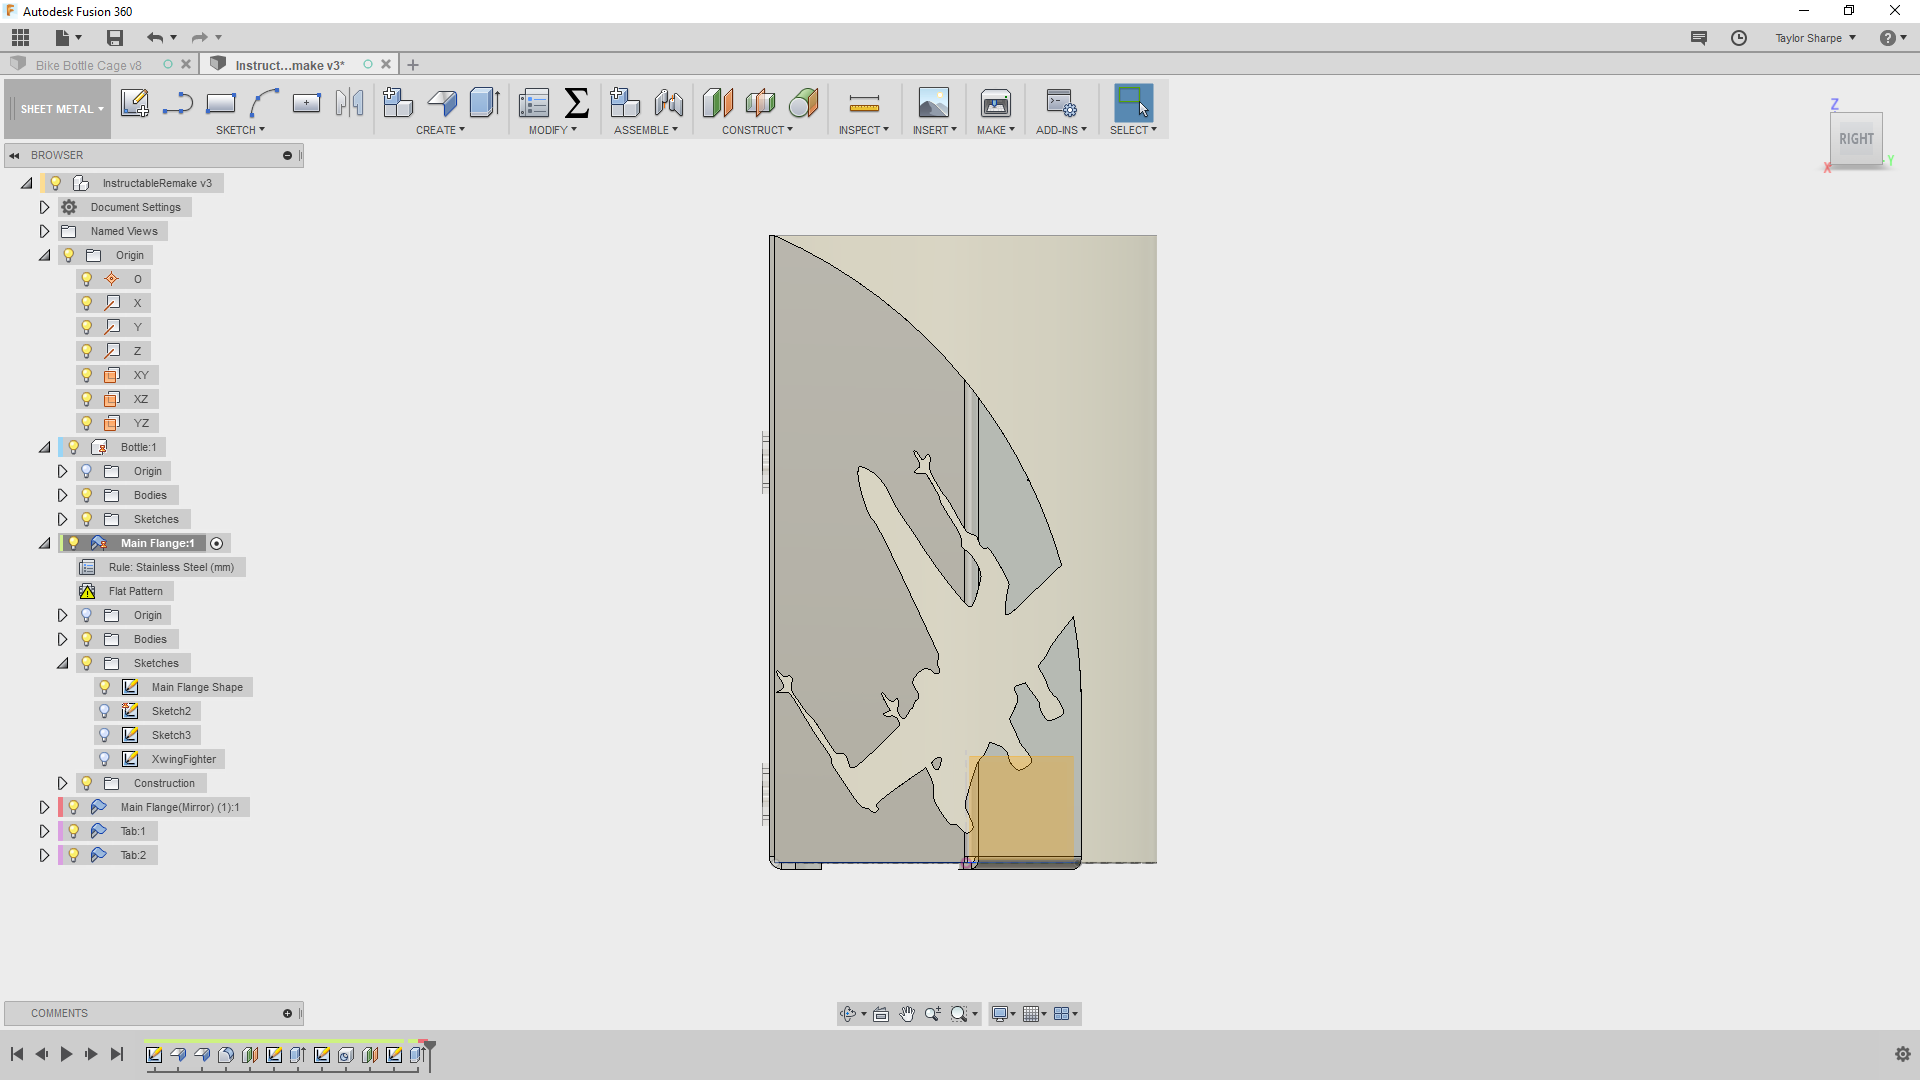
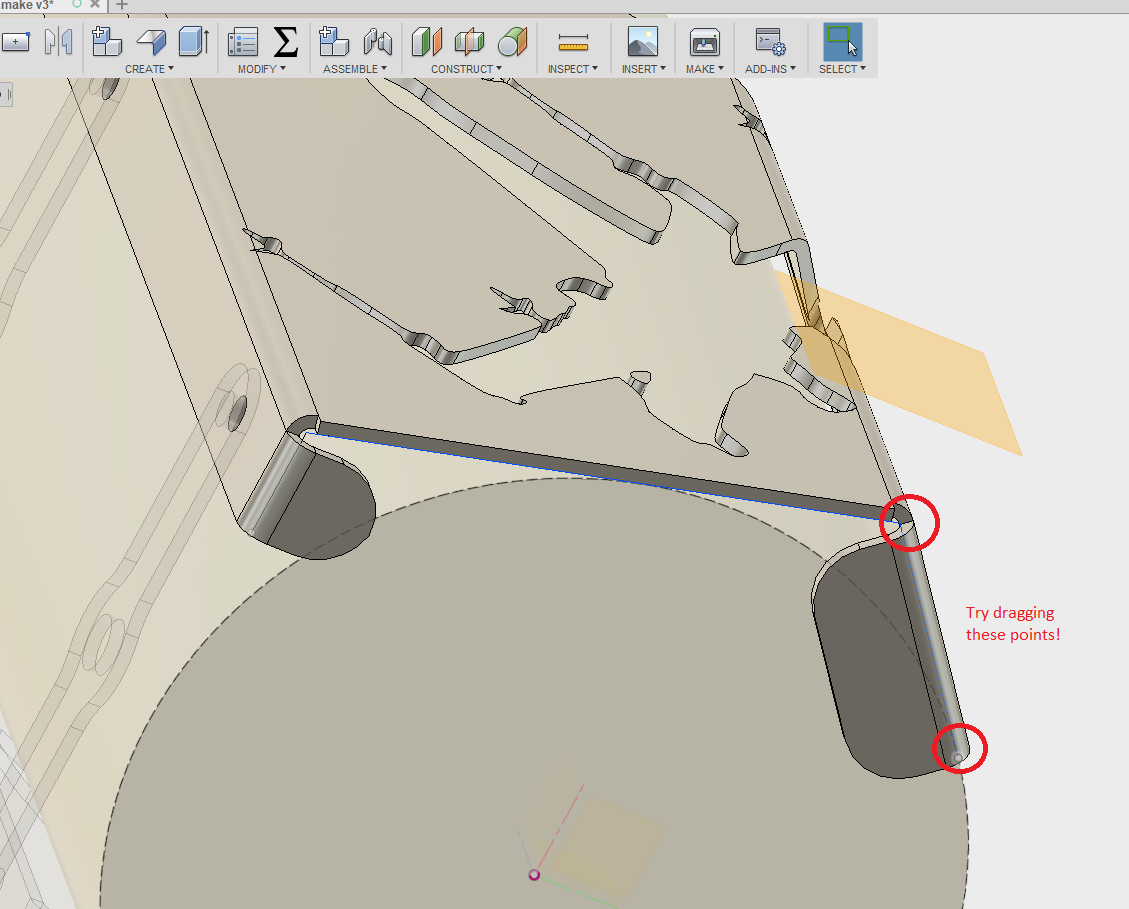
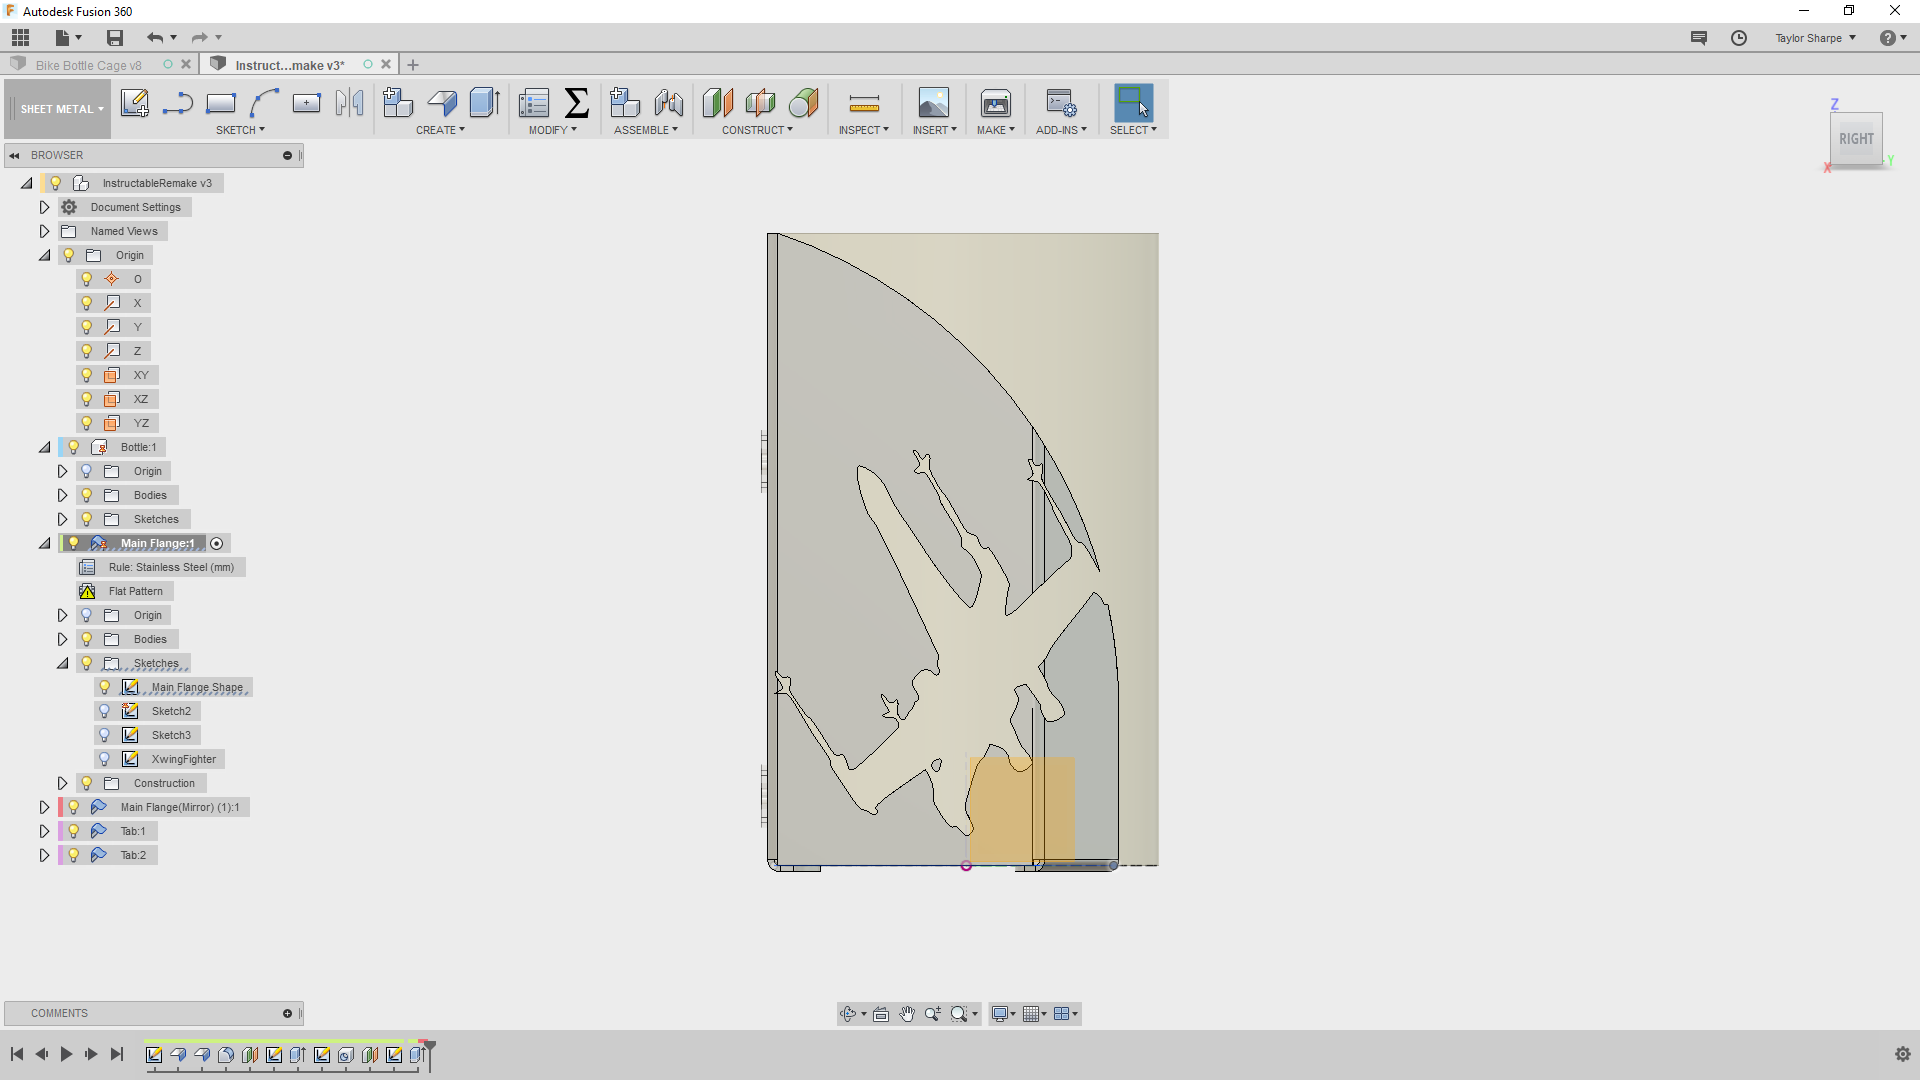
We'll make the flange larger to incorporate the outline of the x-wing.
First, we'll cut the x-wing into through both sides of the flange. Select Create -> Extrude, and cut through all the parts, unchecking the Bottle part so it doesn't get cut.
The result looks like an x-wing, but we can do better: make sure that the original sketch used to make the Main Flange shape is visible, and drag the points a little further down the water bottle.
By adjusting the size and shape of the flange, we can get more of the overall shape of the x-wing. To be clear, this outline really isn't the best shape for something like this - but by tweaking the bottleHeight user parameter, you could get something that looks pretty good and can still hold on to most water bottles. I did exactly that, and made a couple of renders.
Render the Design, Tweak, Rerender, Etc!
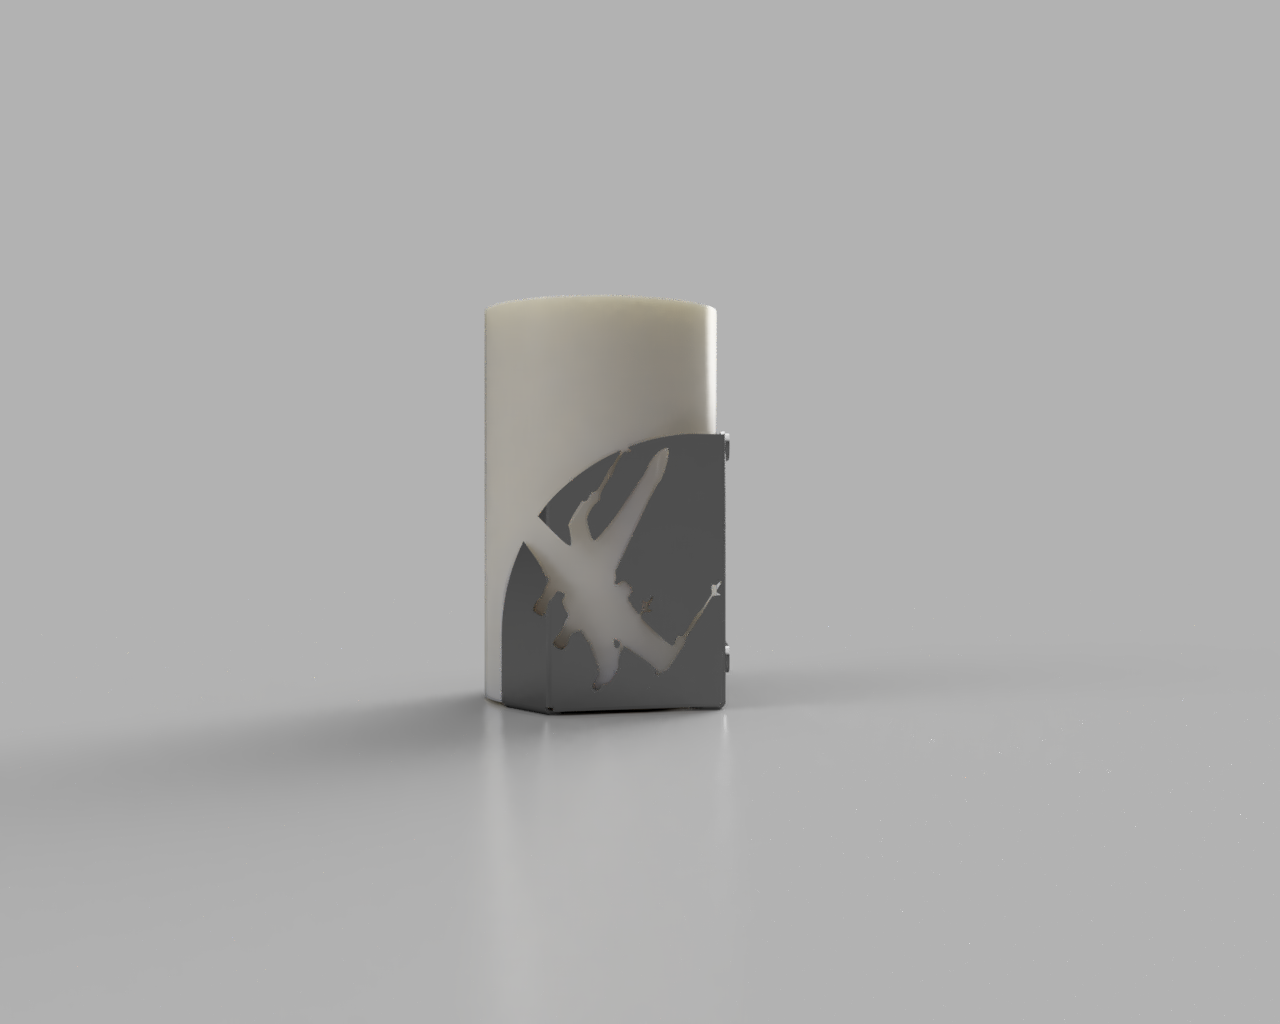
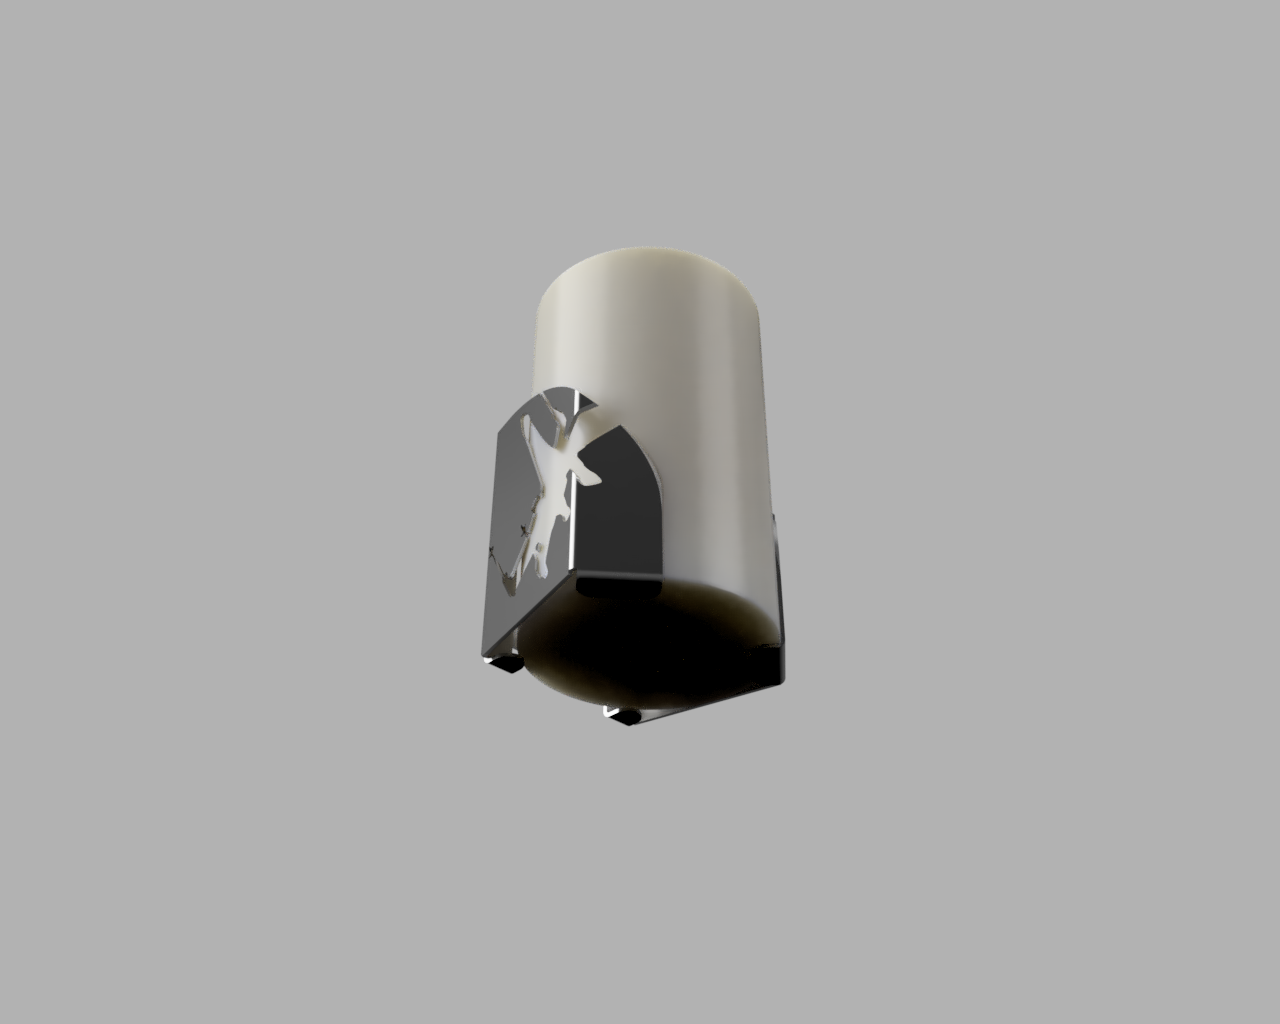

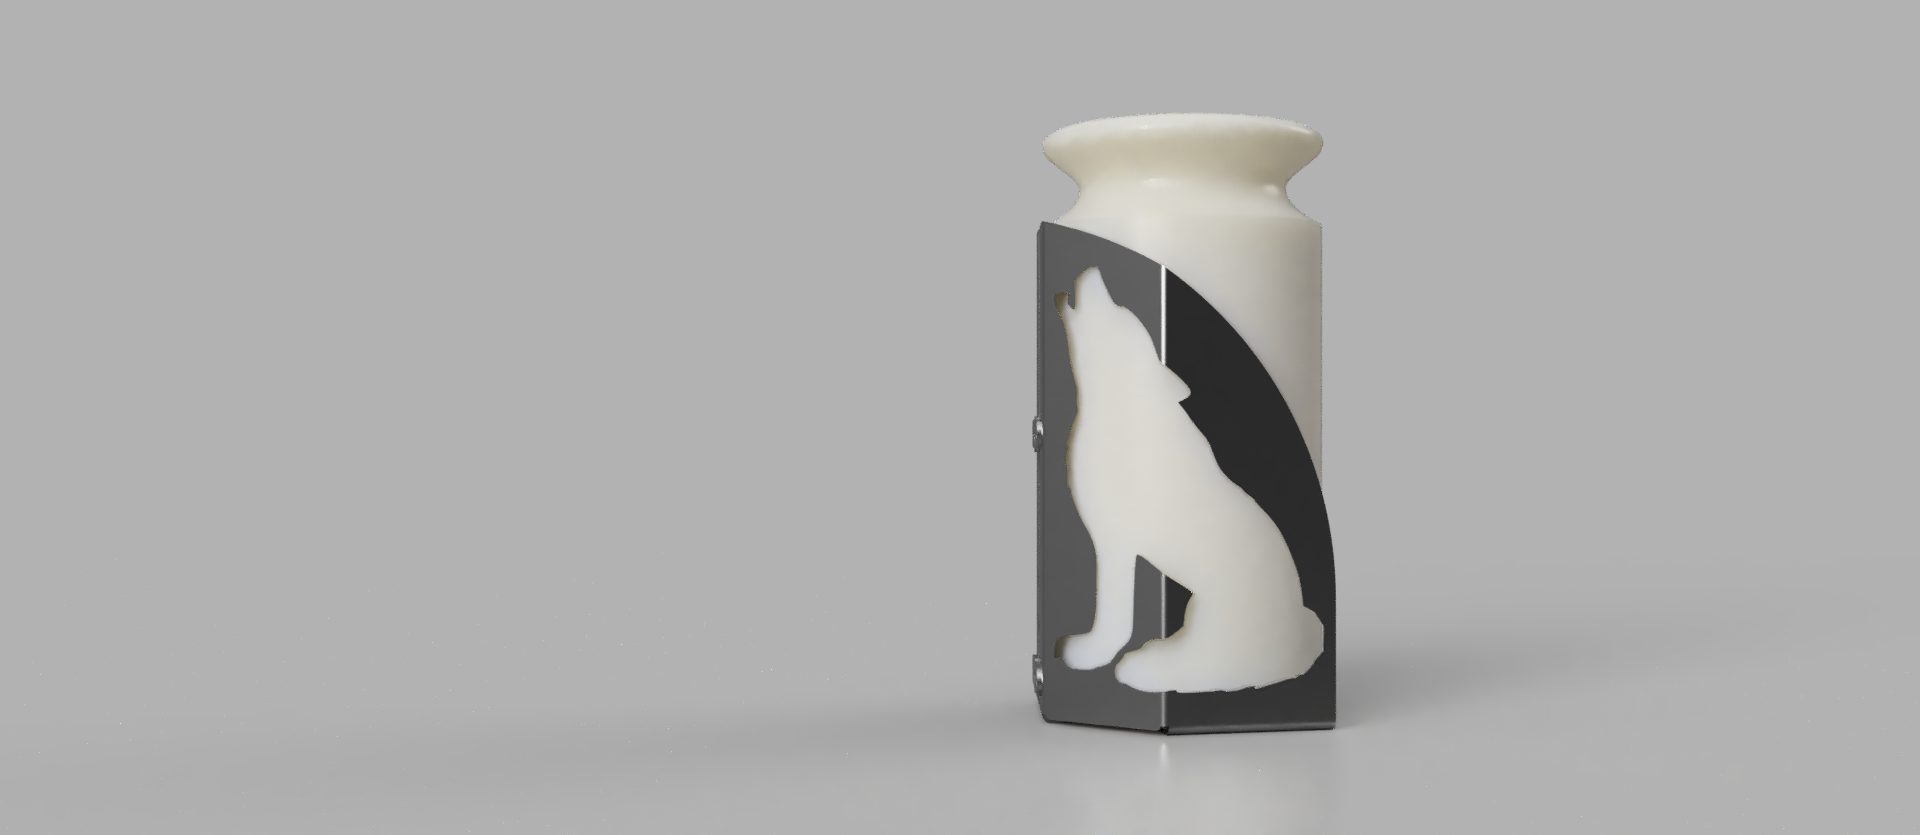
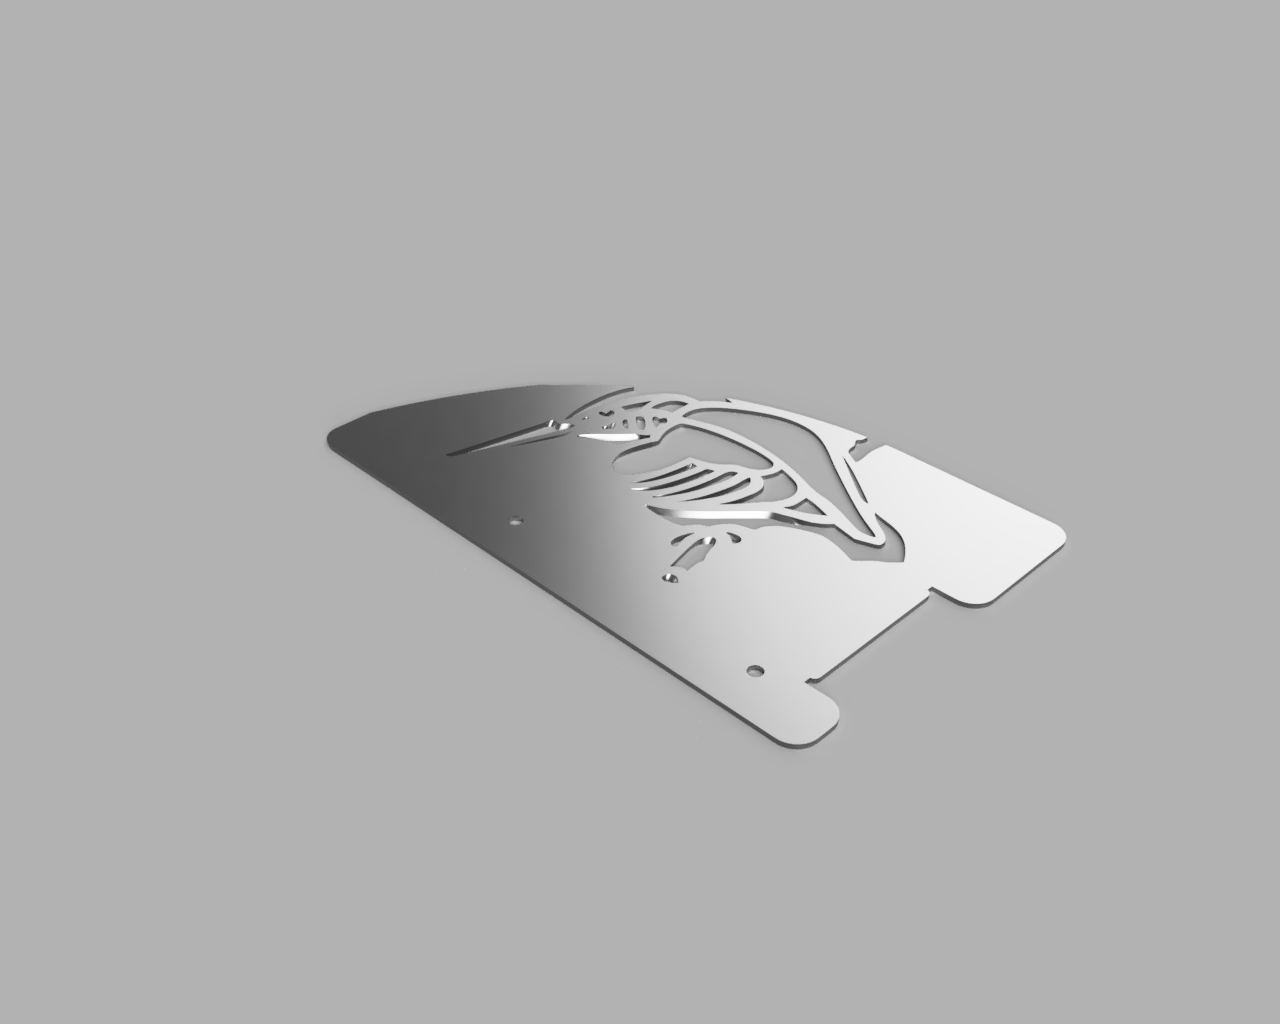
To make sure you like the aesthetic of the part, use Fusion 360's crazy-simple rendering tools to get some still and turn-table views of the design. Once you're happy, send it to the laser cutter, bend it into place, rivet the tabs to the two flanges and you're good to go!
I haven't had a chance to actually cut and assemble one of these yet, but I'll be sure to post photos once I do.