Laser Cut Bear
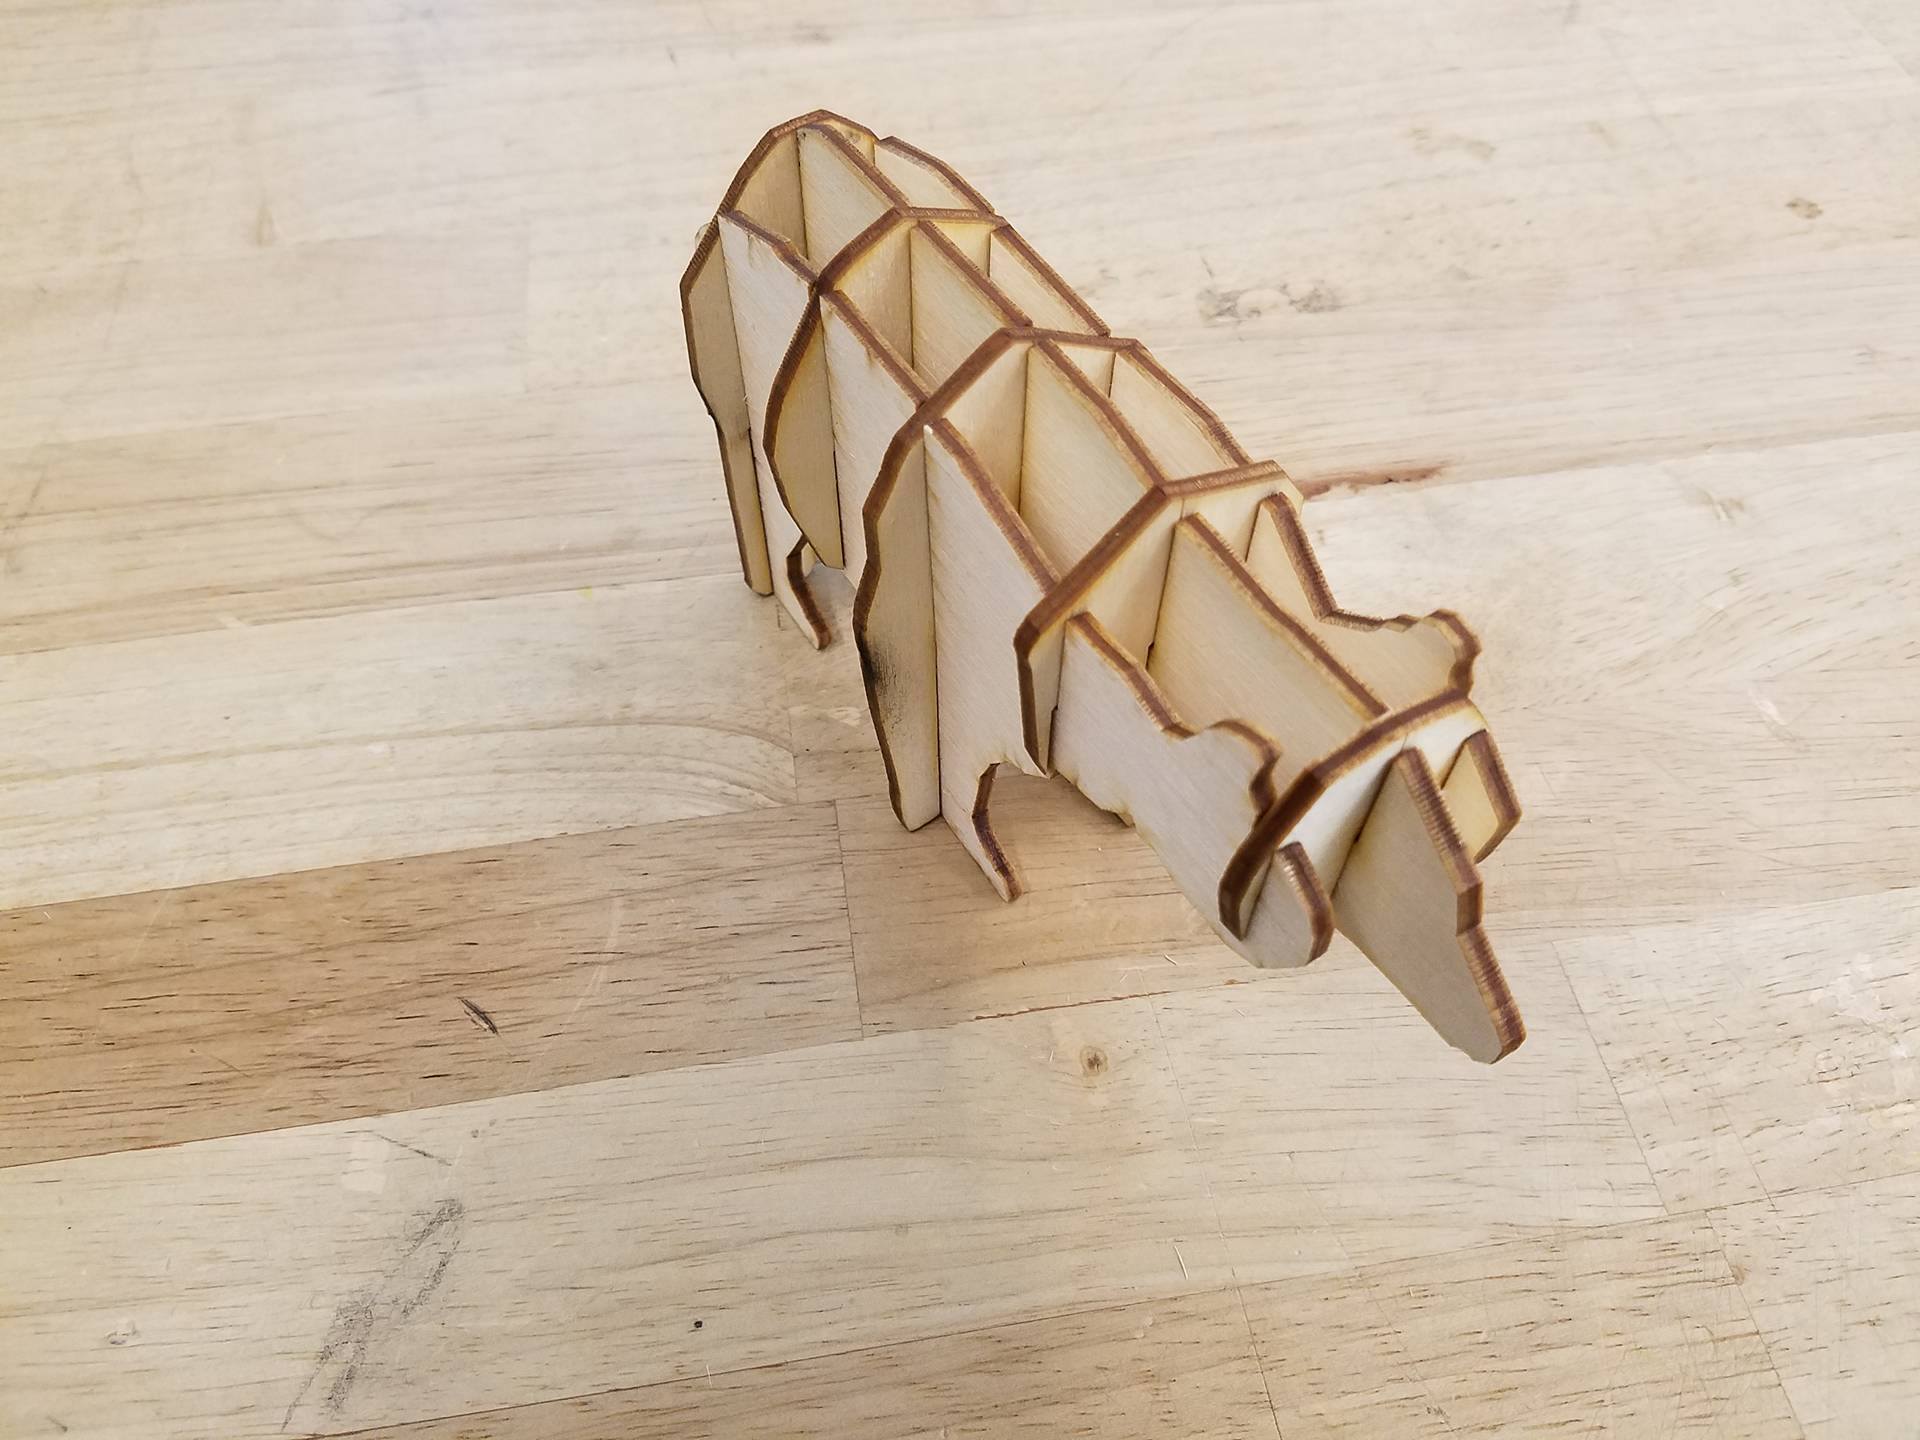
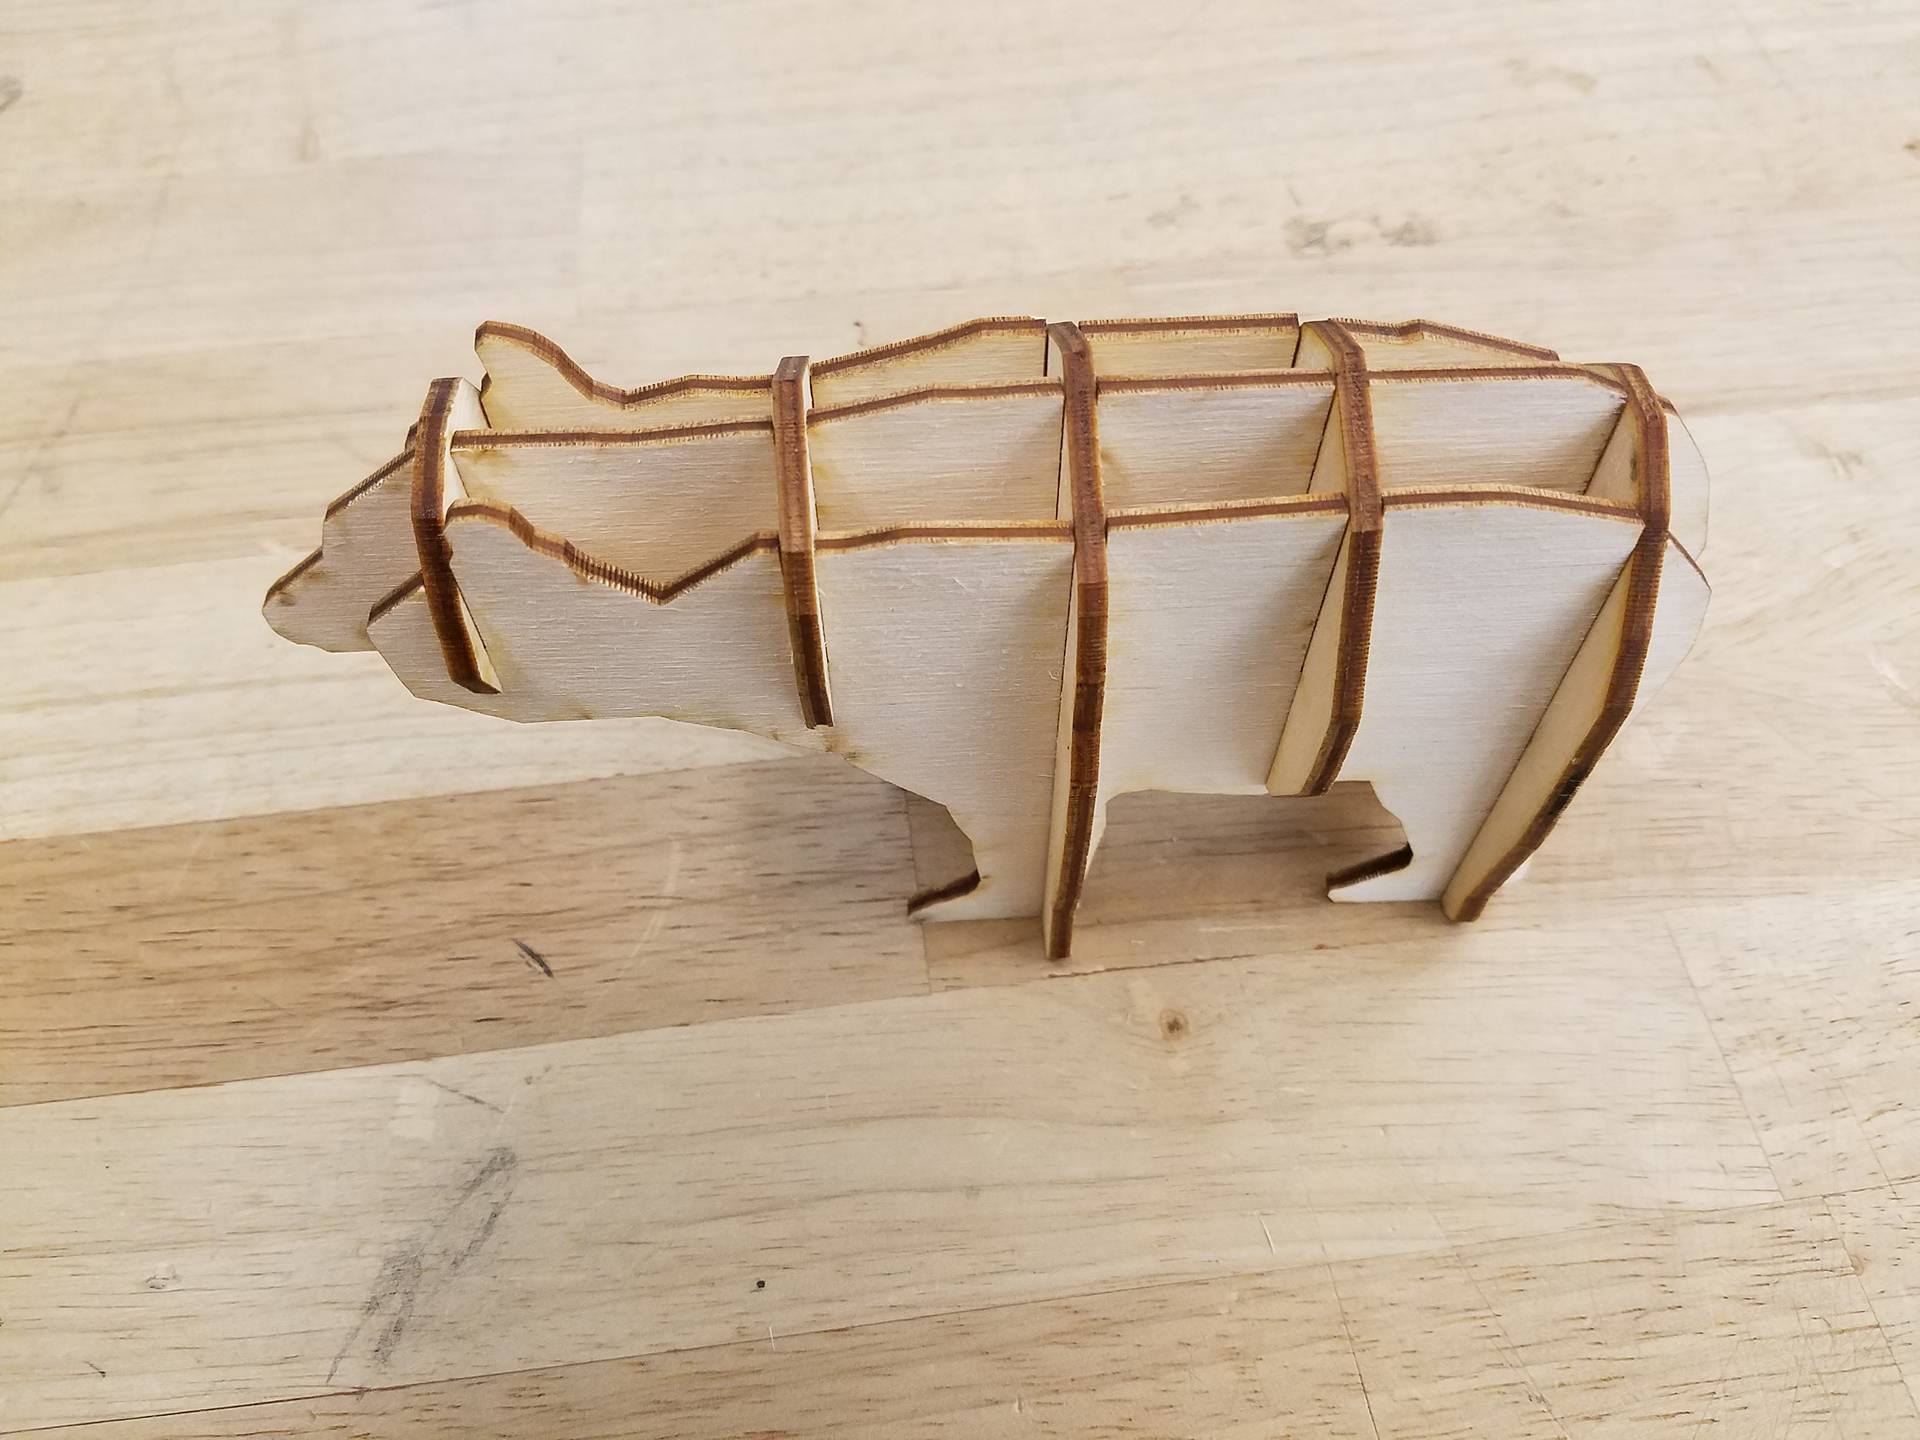
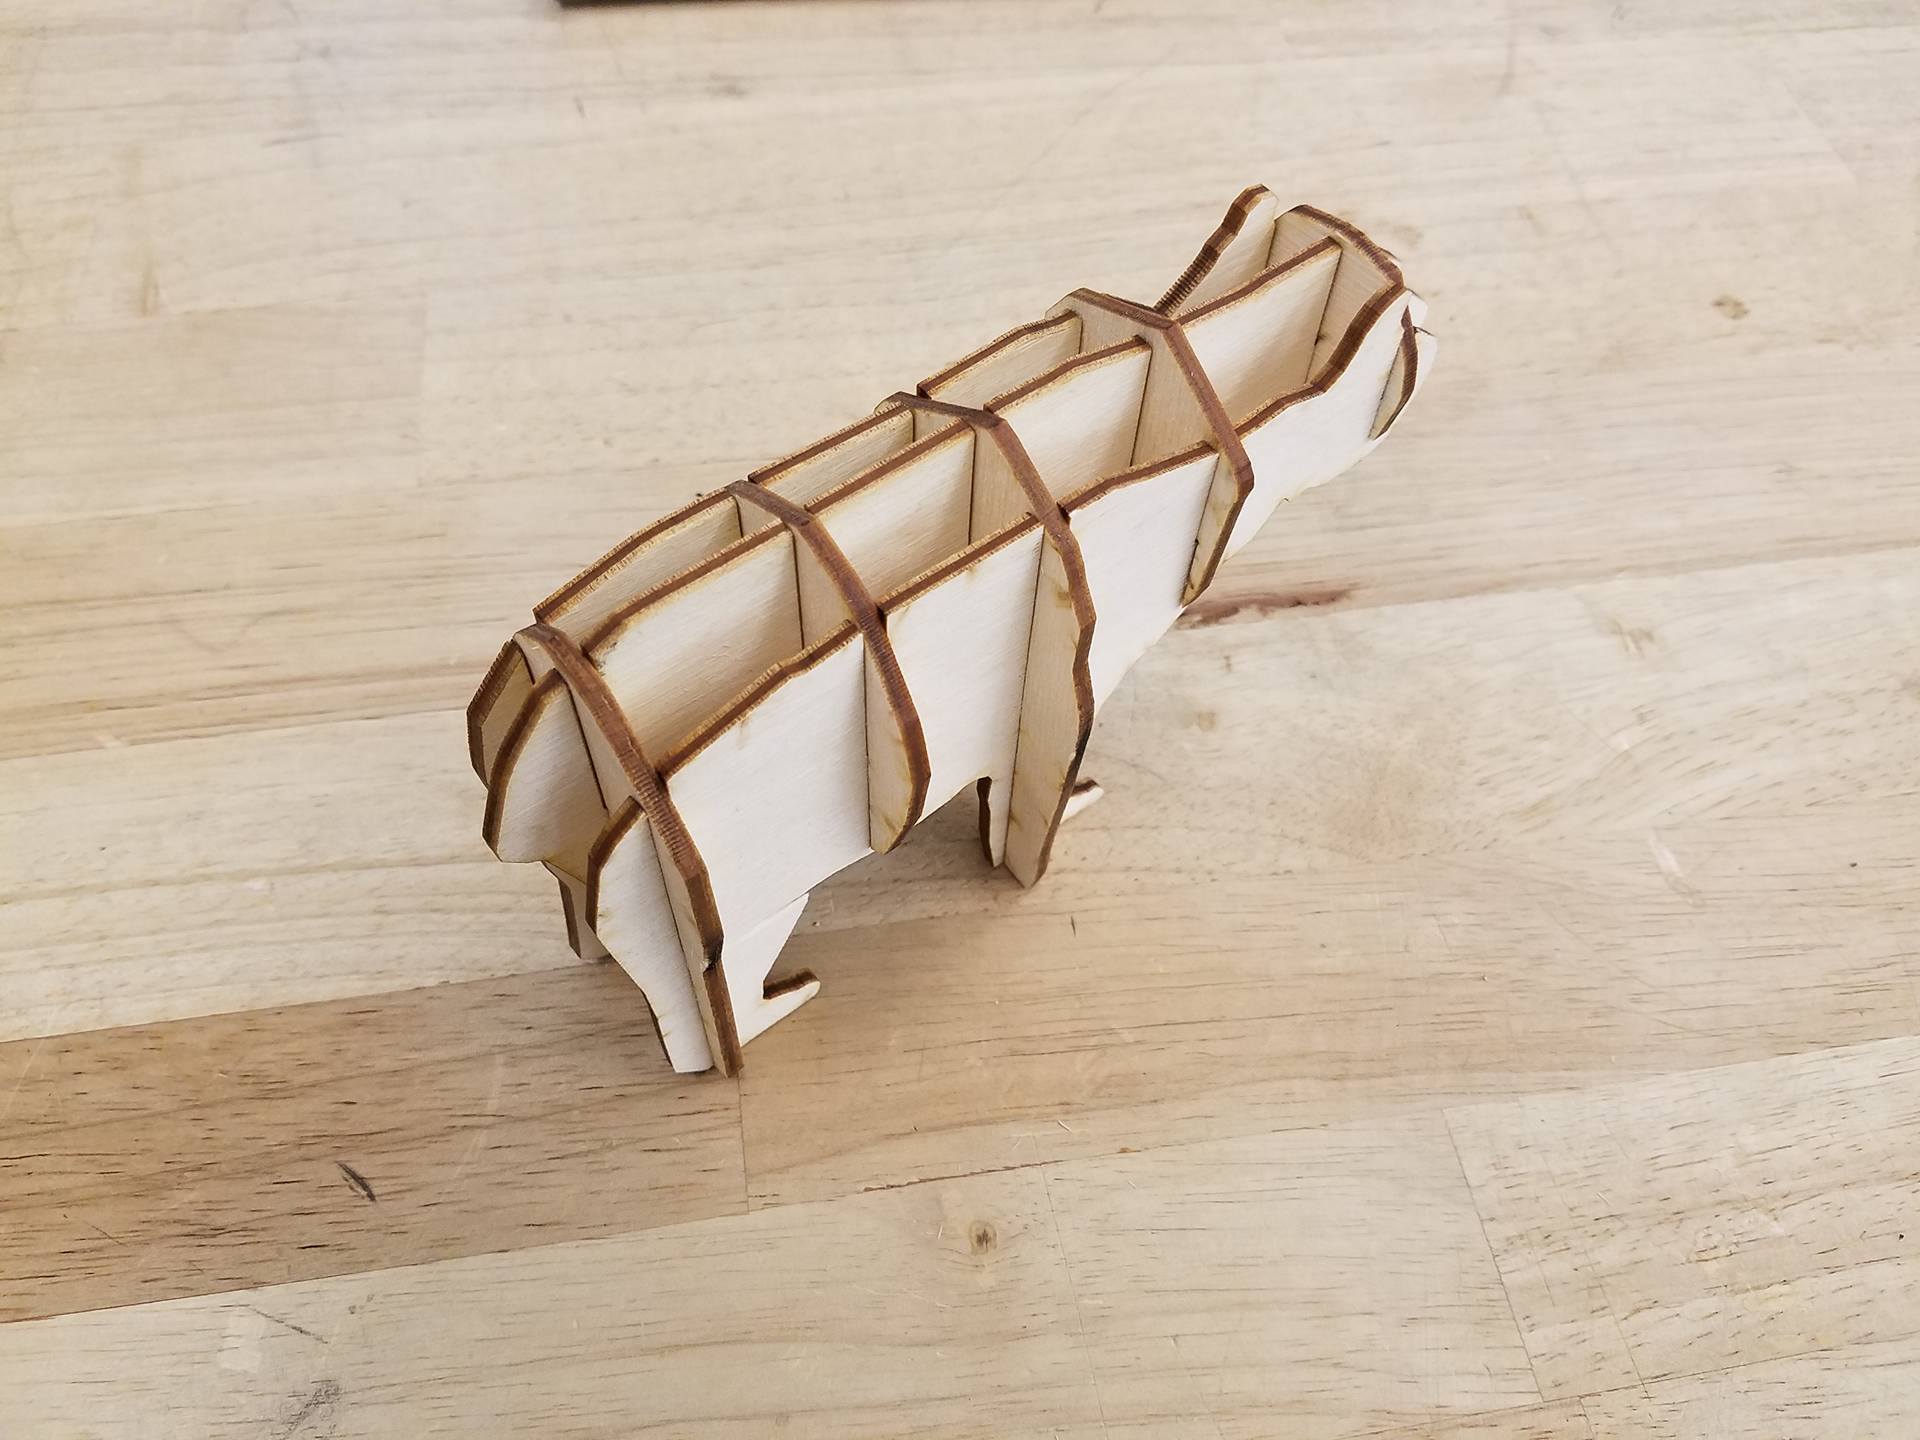
In this tutorial, we will be making a 3D bear model out of 2D pieces. Please download the attached file 'smaller bear revised' (both the .ai and .pdf file work).
First, I would like to give credit to christophecaran from thingiverse for the CAD model of the bear I used to make the design. It can be found here: https://www.thingiverse.com/thing:192392
The CAD model of the bear was 'waffle-ized' using a software called 123D Make, for those of you interested in making similar projects. It is a free software by Autodesk that can be downloaded here: http://autodesk-123d-make.en.lo4d.com/
Required tools:
CNC Laser Cutter
Calipers
Measuring tape or ruler
Marker or pencil
Required materials:
A piece of plywood, (dimensions are dependent on thickness, see step 1)
Files:
Preparing Your Material and Design
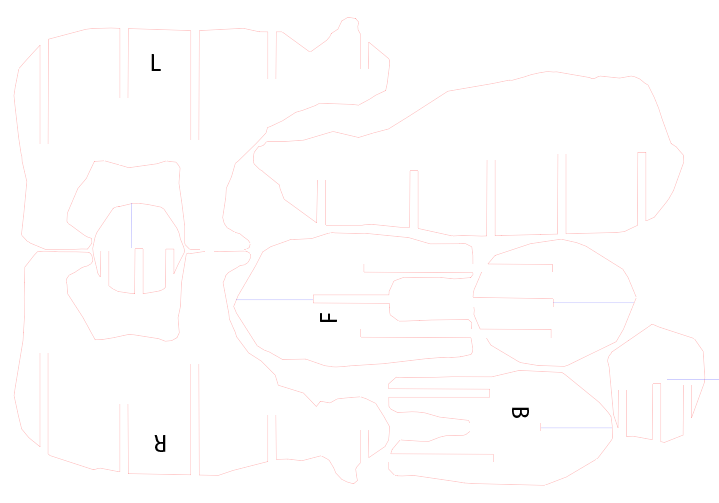
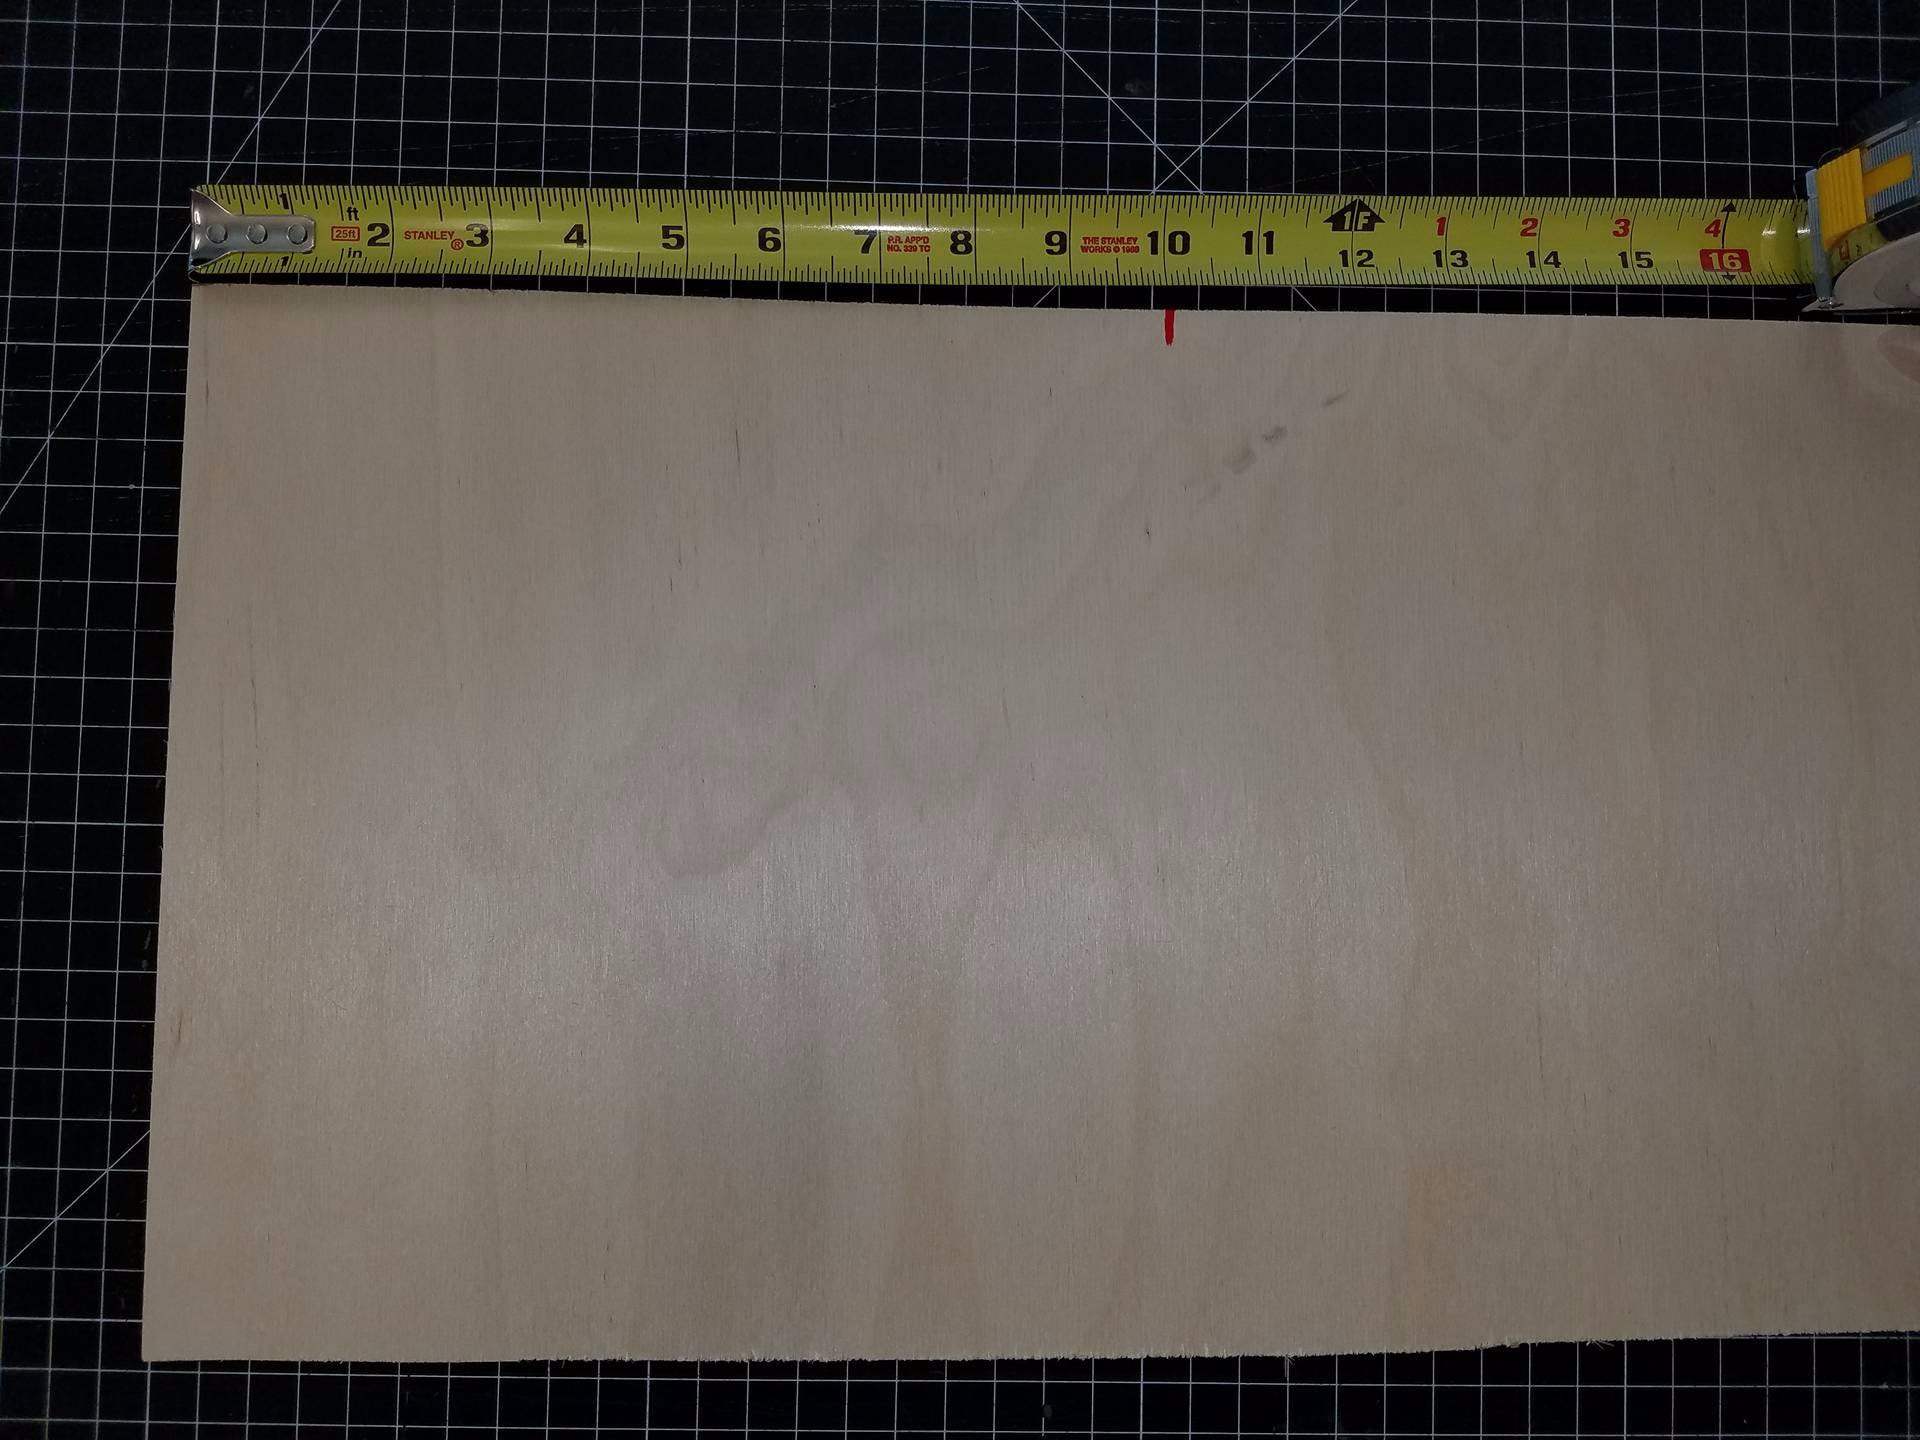
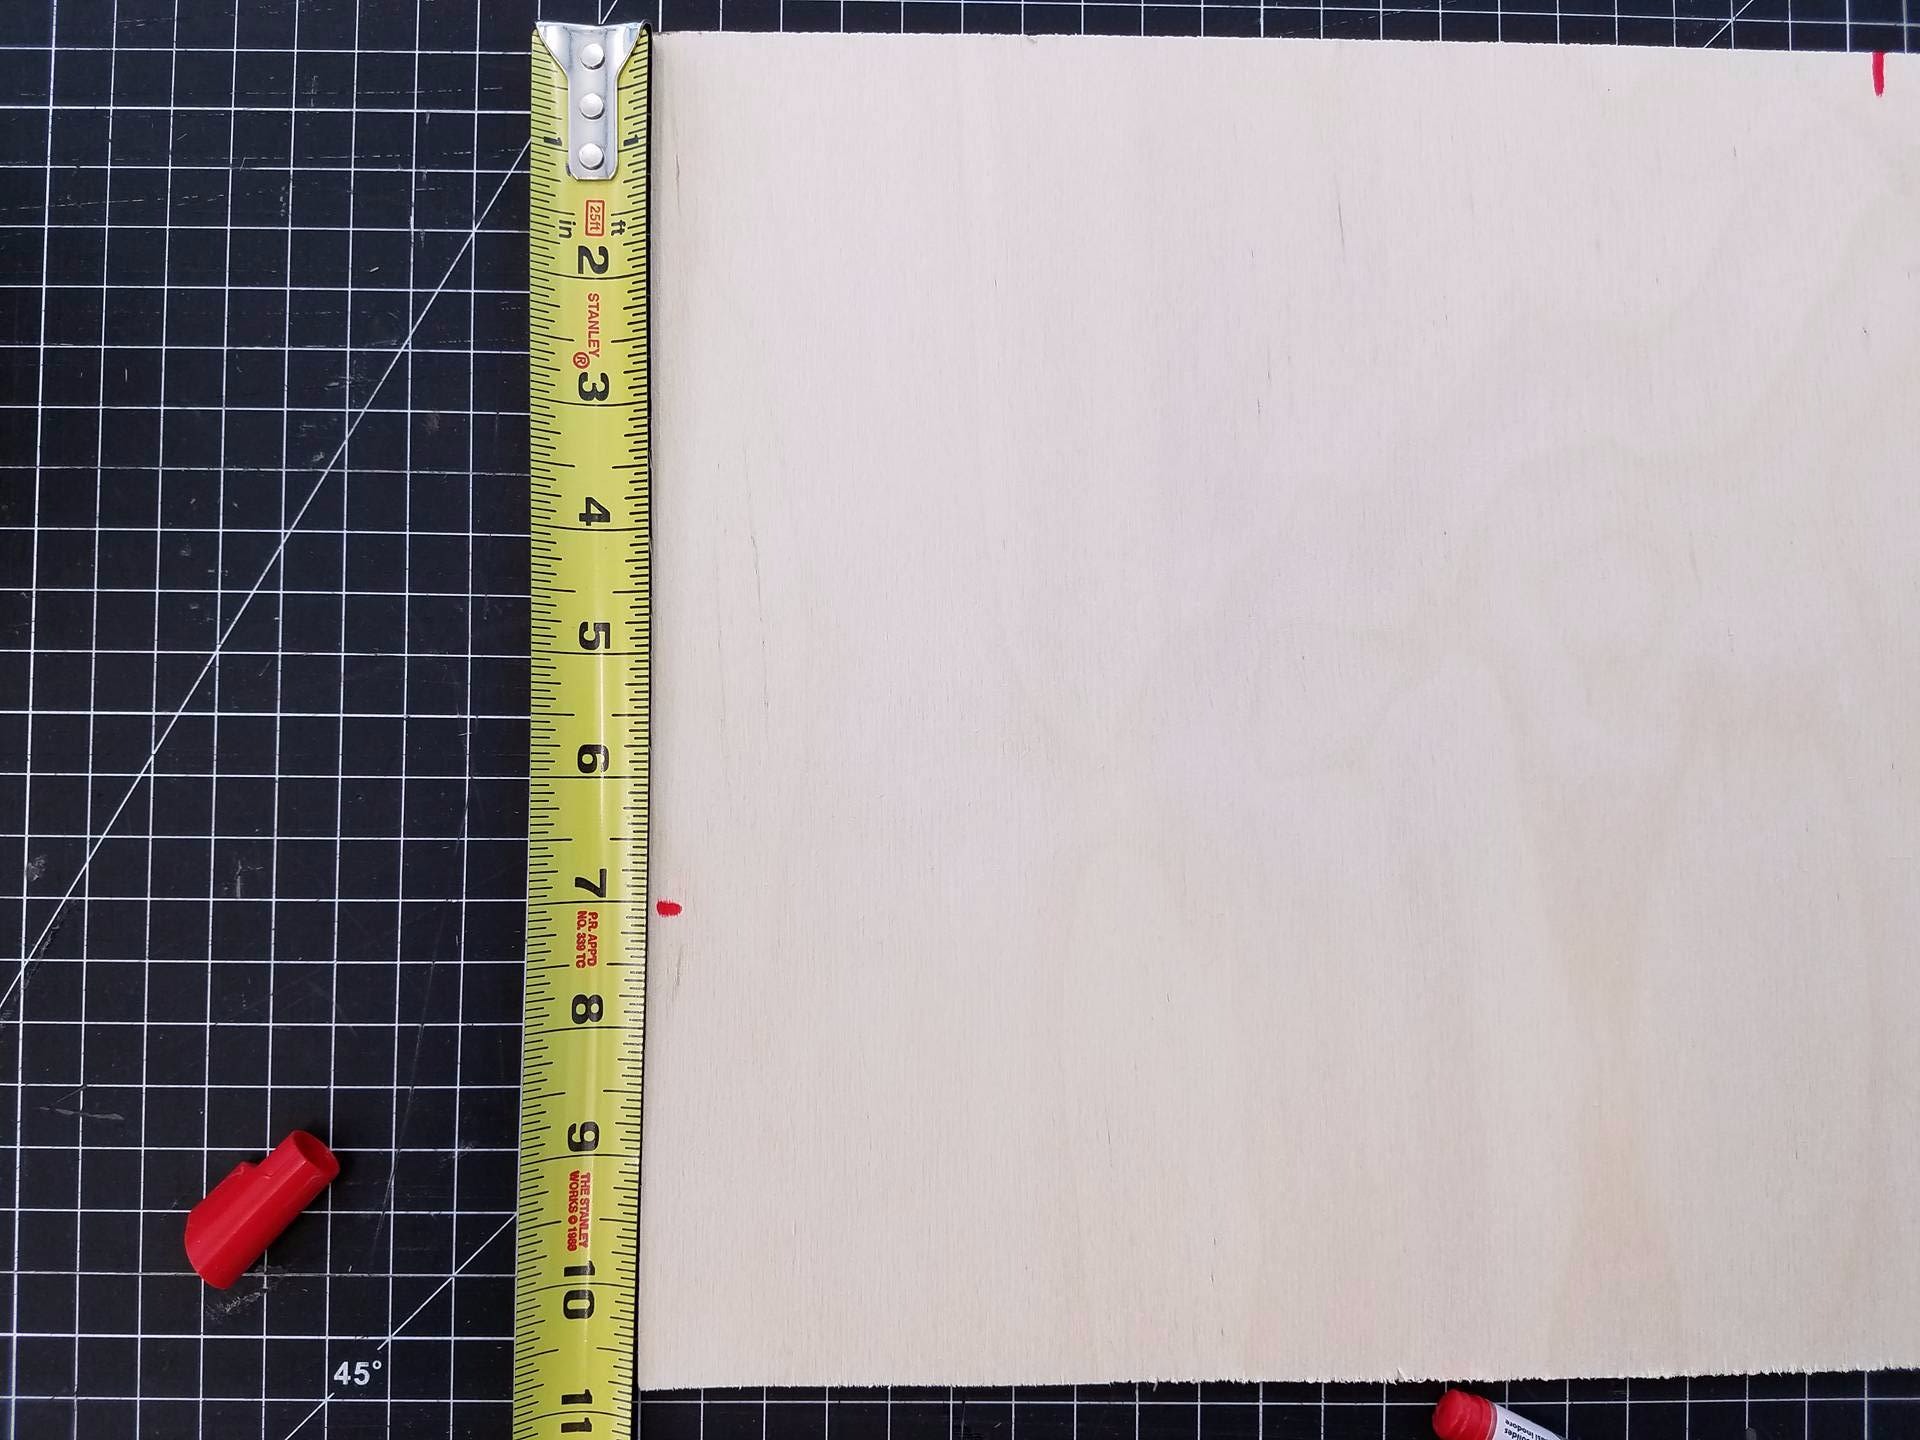
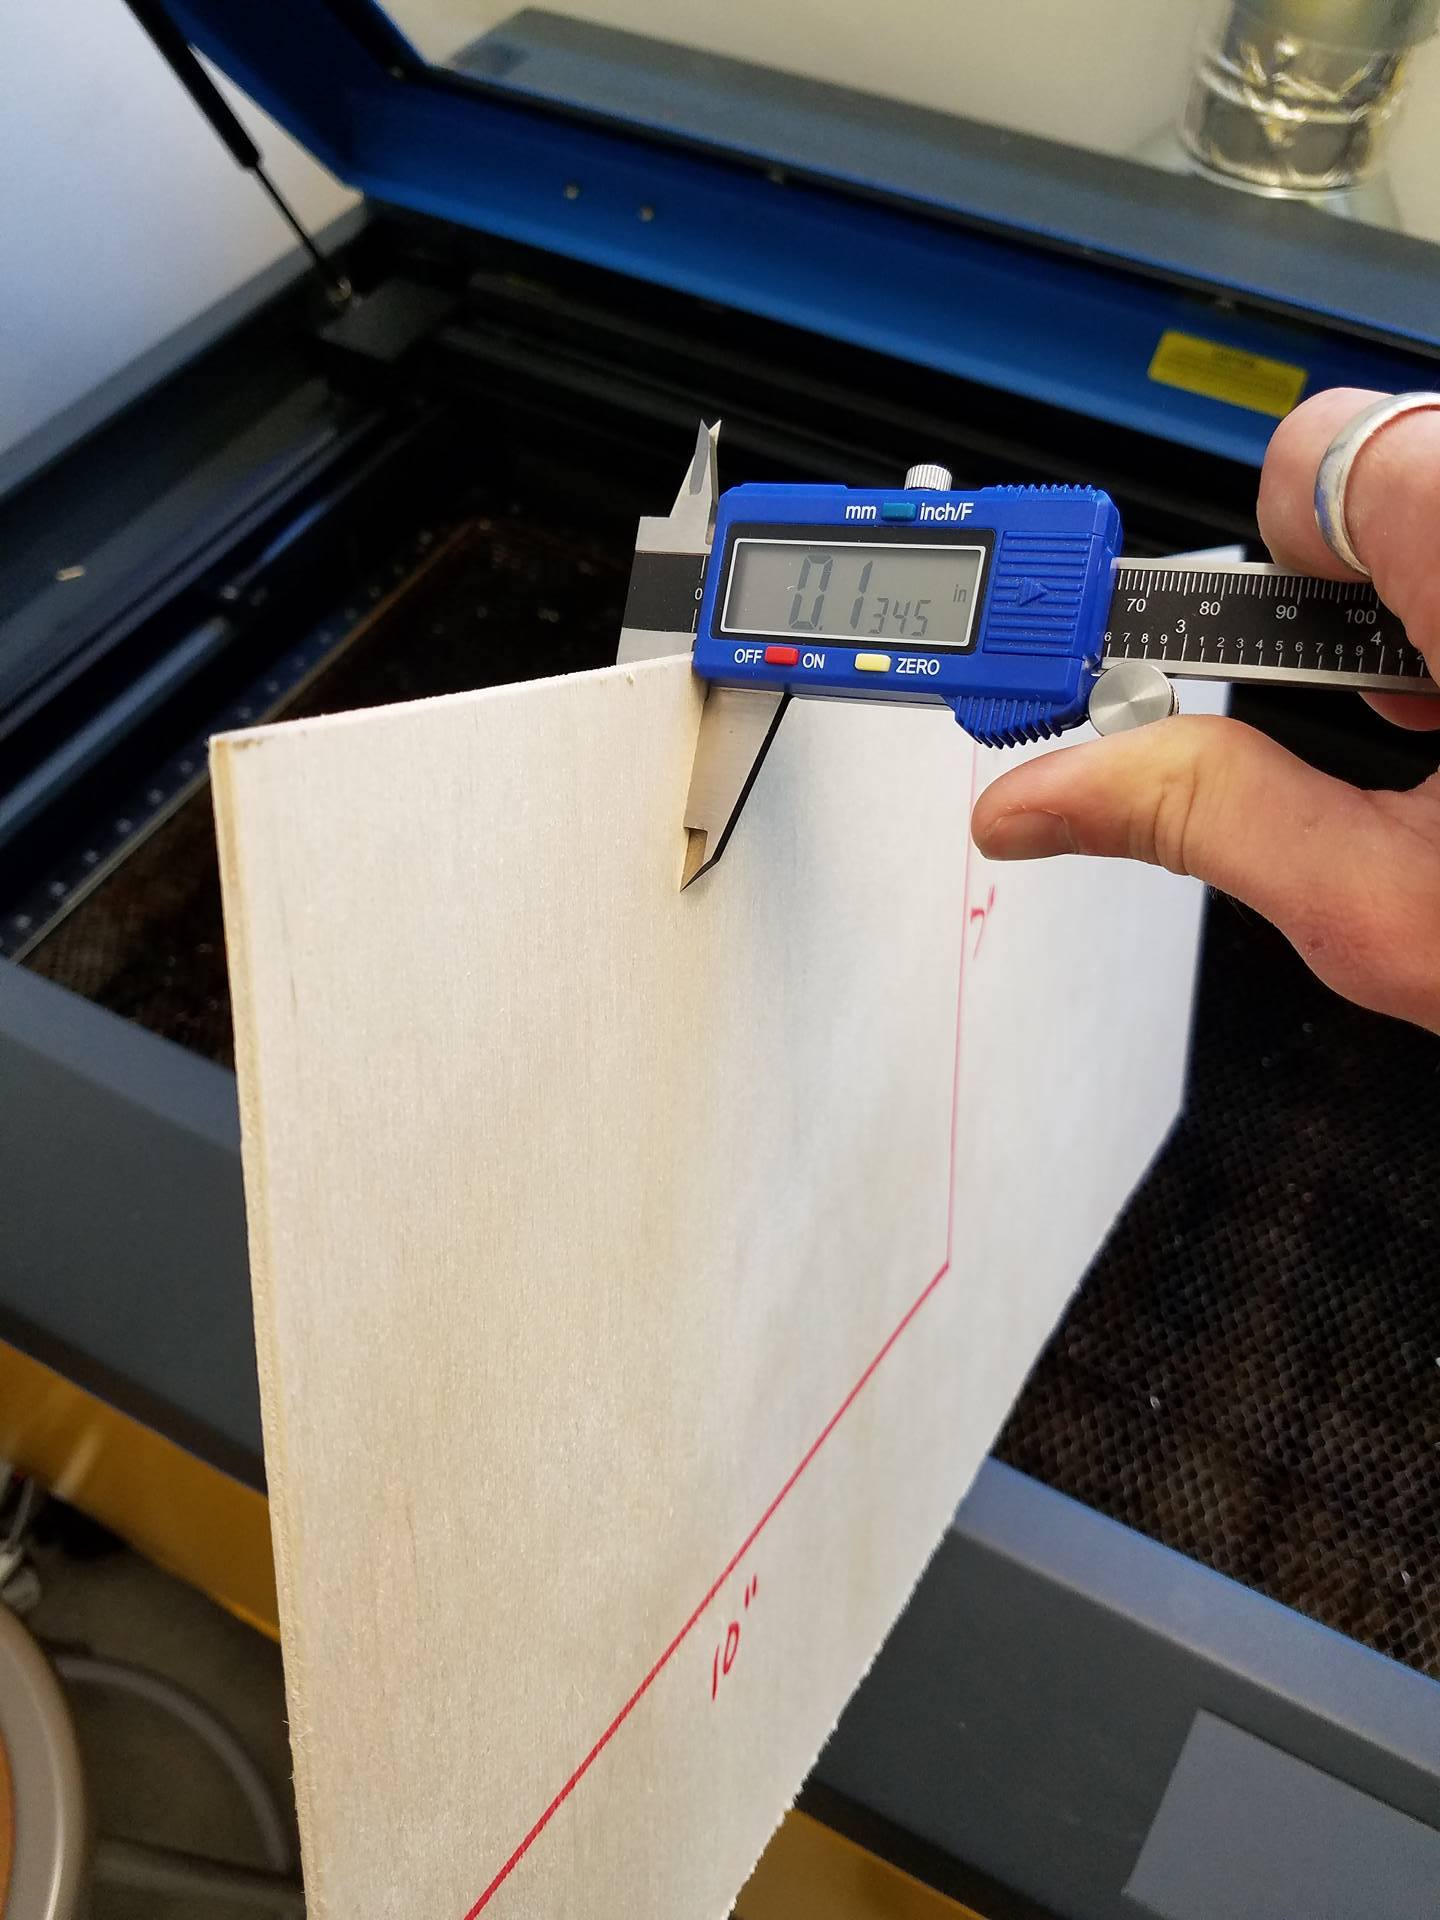
I chose to use a piece of scrap plywood that measured ~.135" thick. It's important to note that the thickness of your plywood will dictate the size of the bear. If the thickness doesn't match up with the size, the slots will either be too small or too big for the pieces to fit together.
The file I provided is meant for plywood that is .120" thick. I chose plywood that is .135" thick to demonstrate how to accomodate other sized wood.
The entire design file will need to be scaled by: (x/.120) * 100, where x is your material thickness. Since I am using wood that is .135" thick, my scale factor will be .135/.120 * 100 = 112.5 %. This is a critical step, otherwise your pieces will not fit together. The method for scaling will vary based on the software you are using. In illustrator, select everything and go to object-->transform-->scale. If you are using a different software with a different laser, I will assume you know how to operate the software and scale the file.
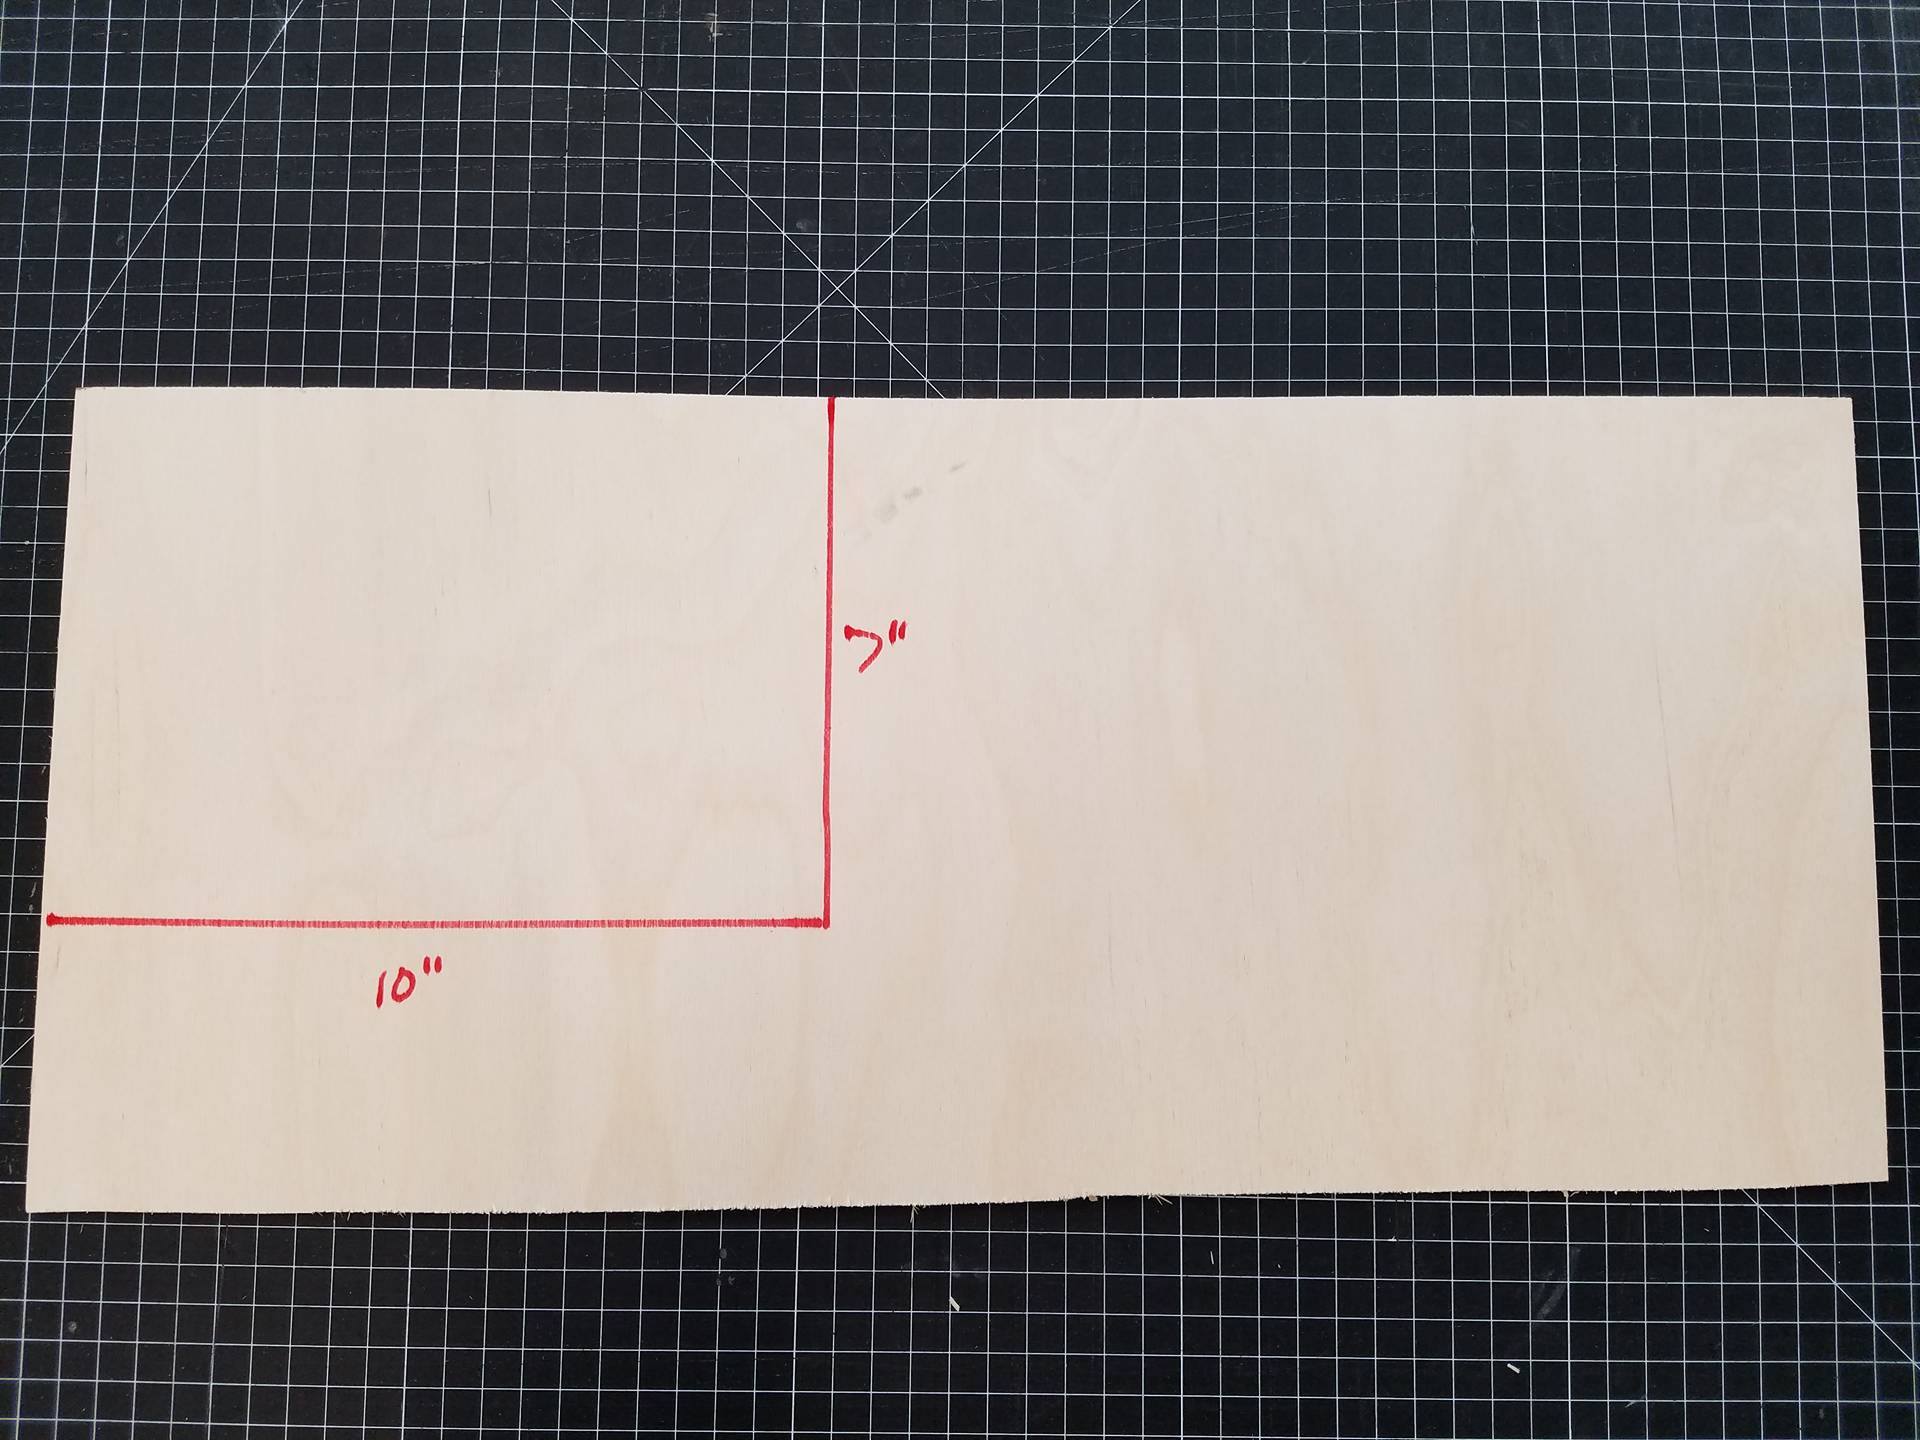
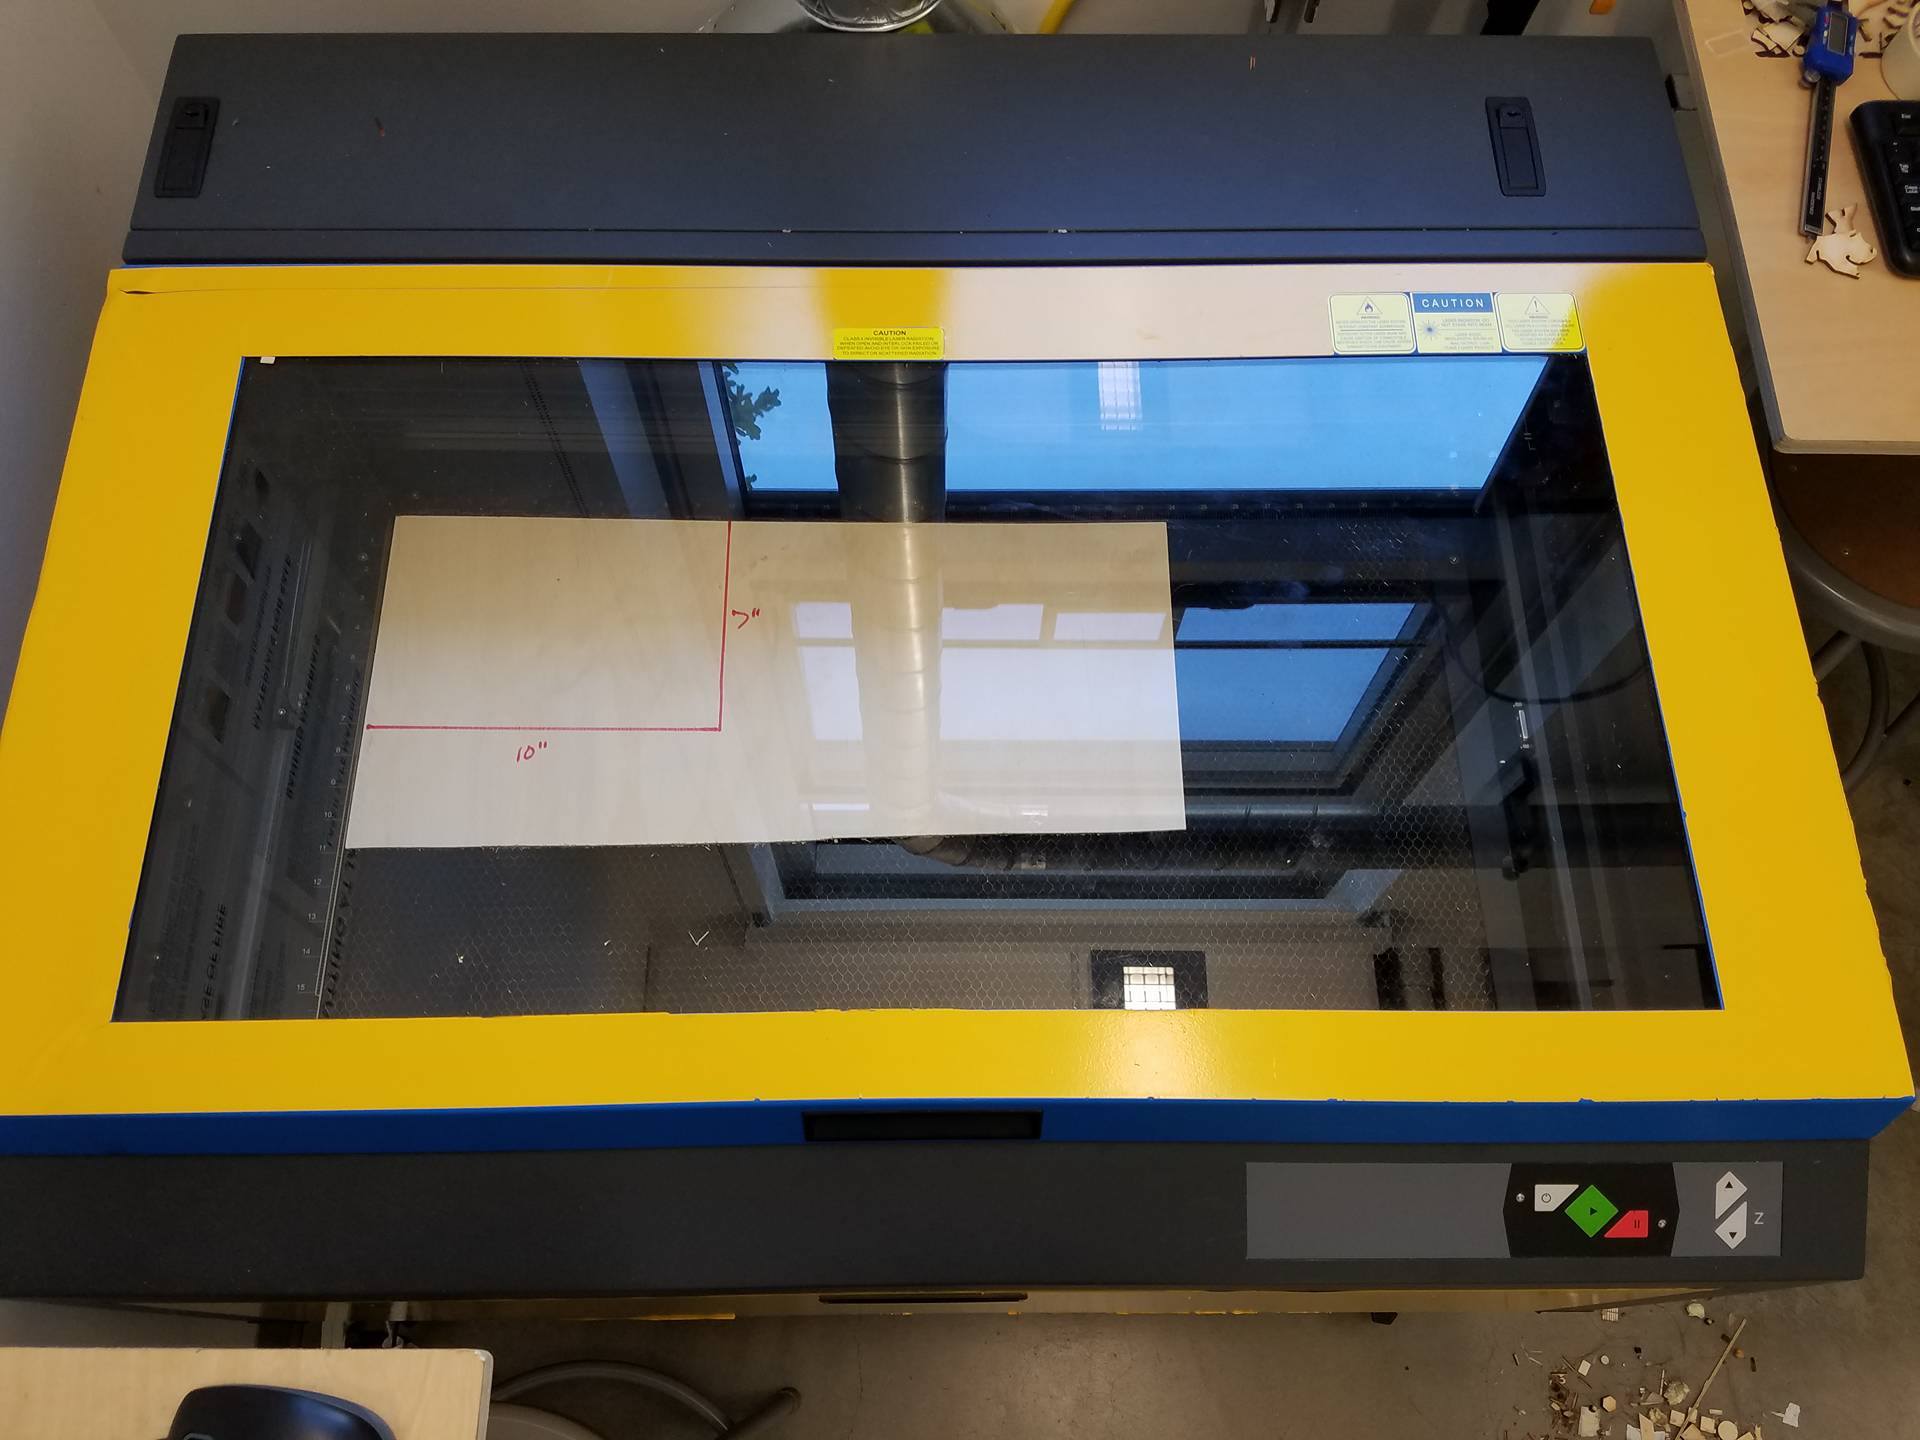
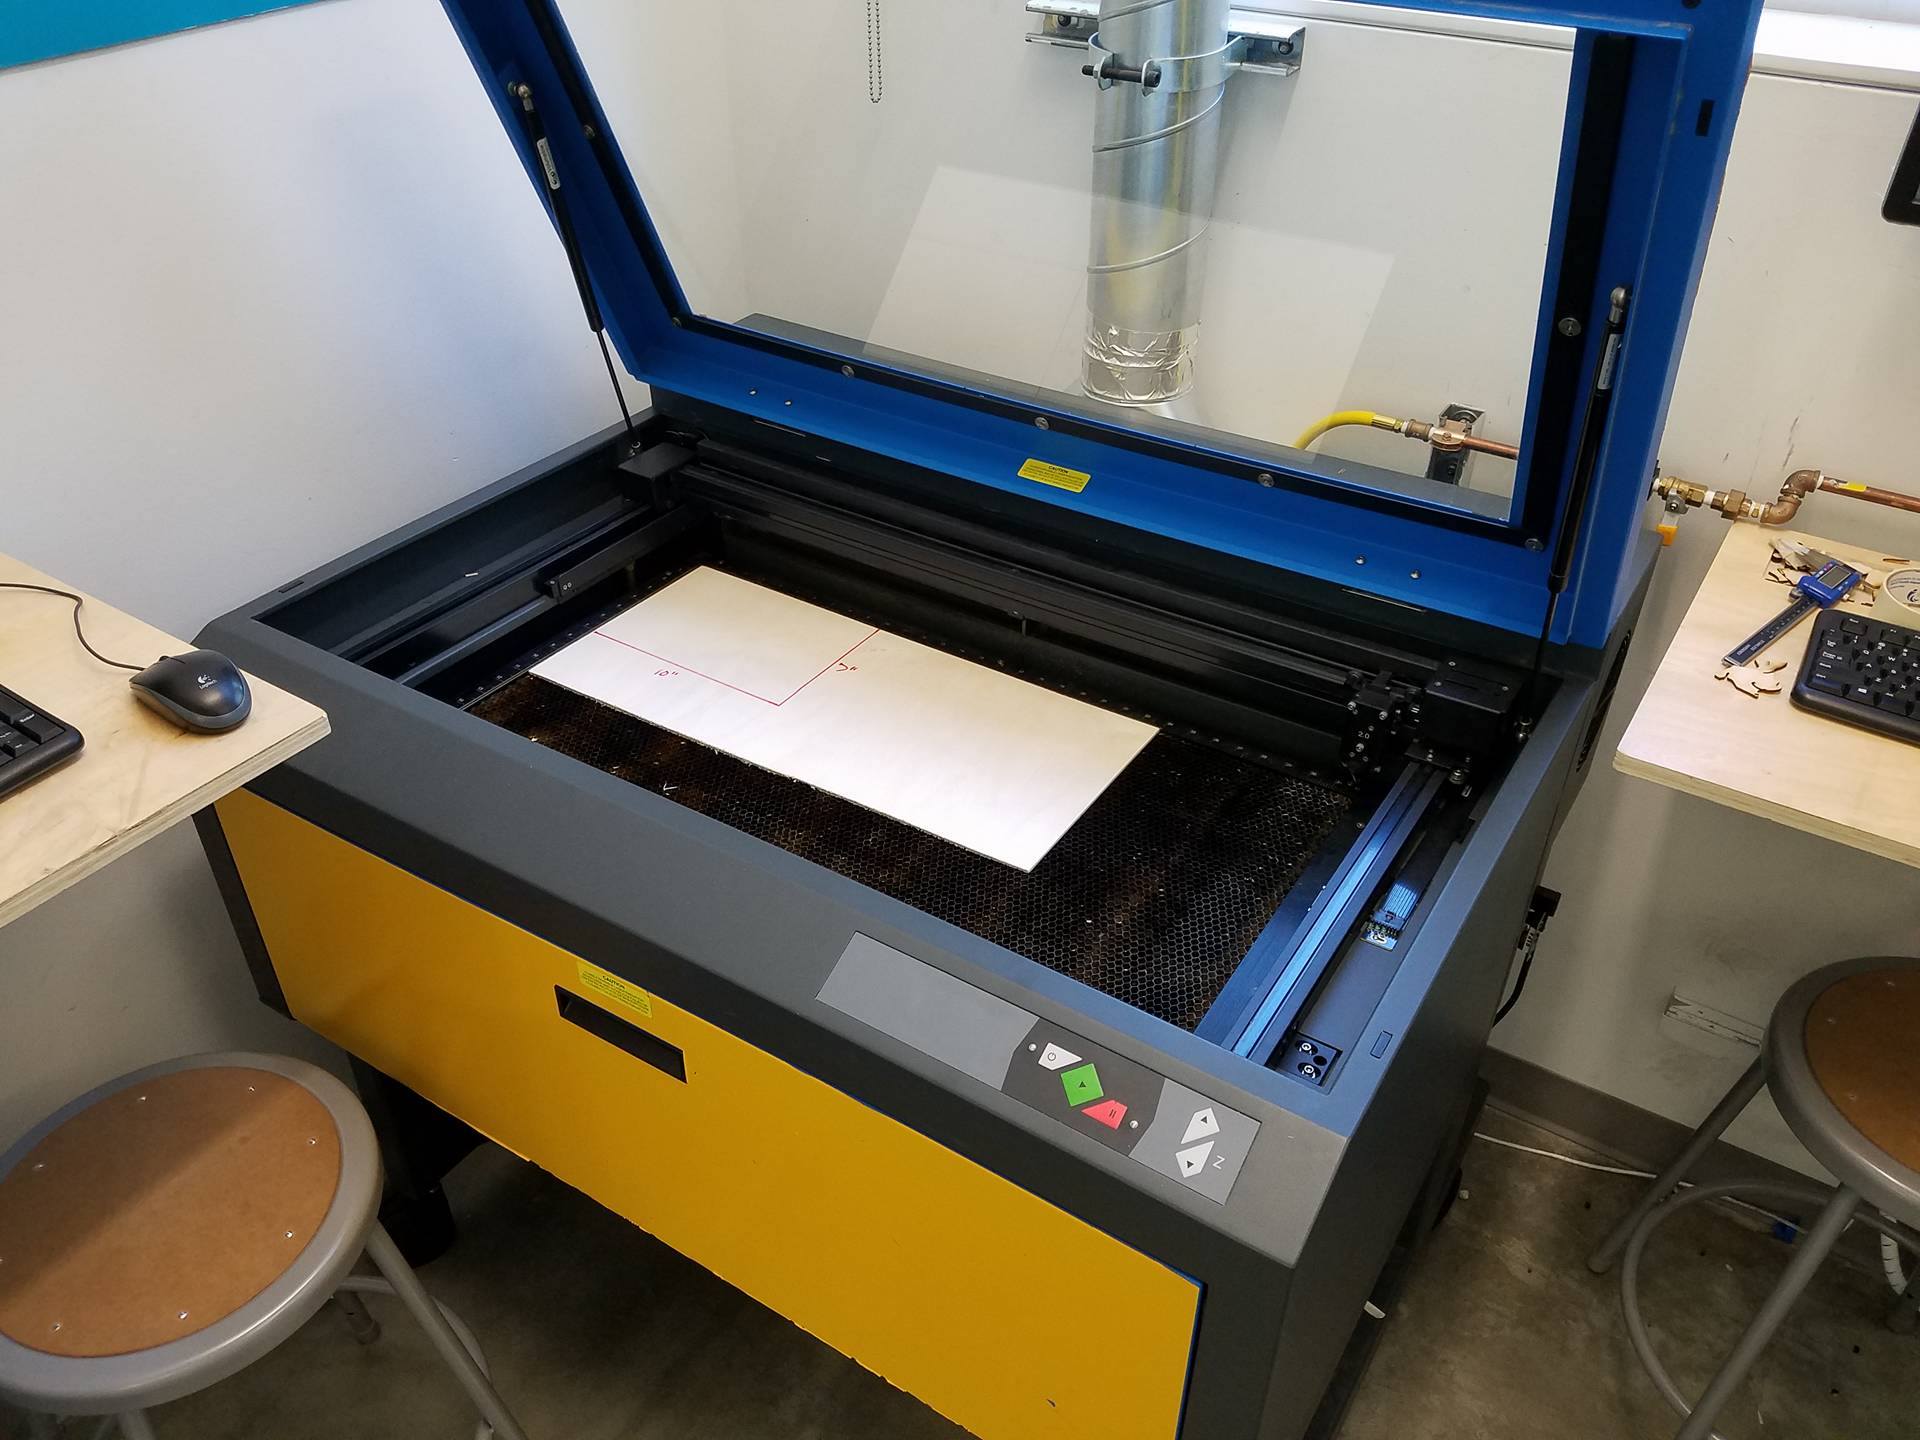
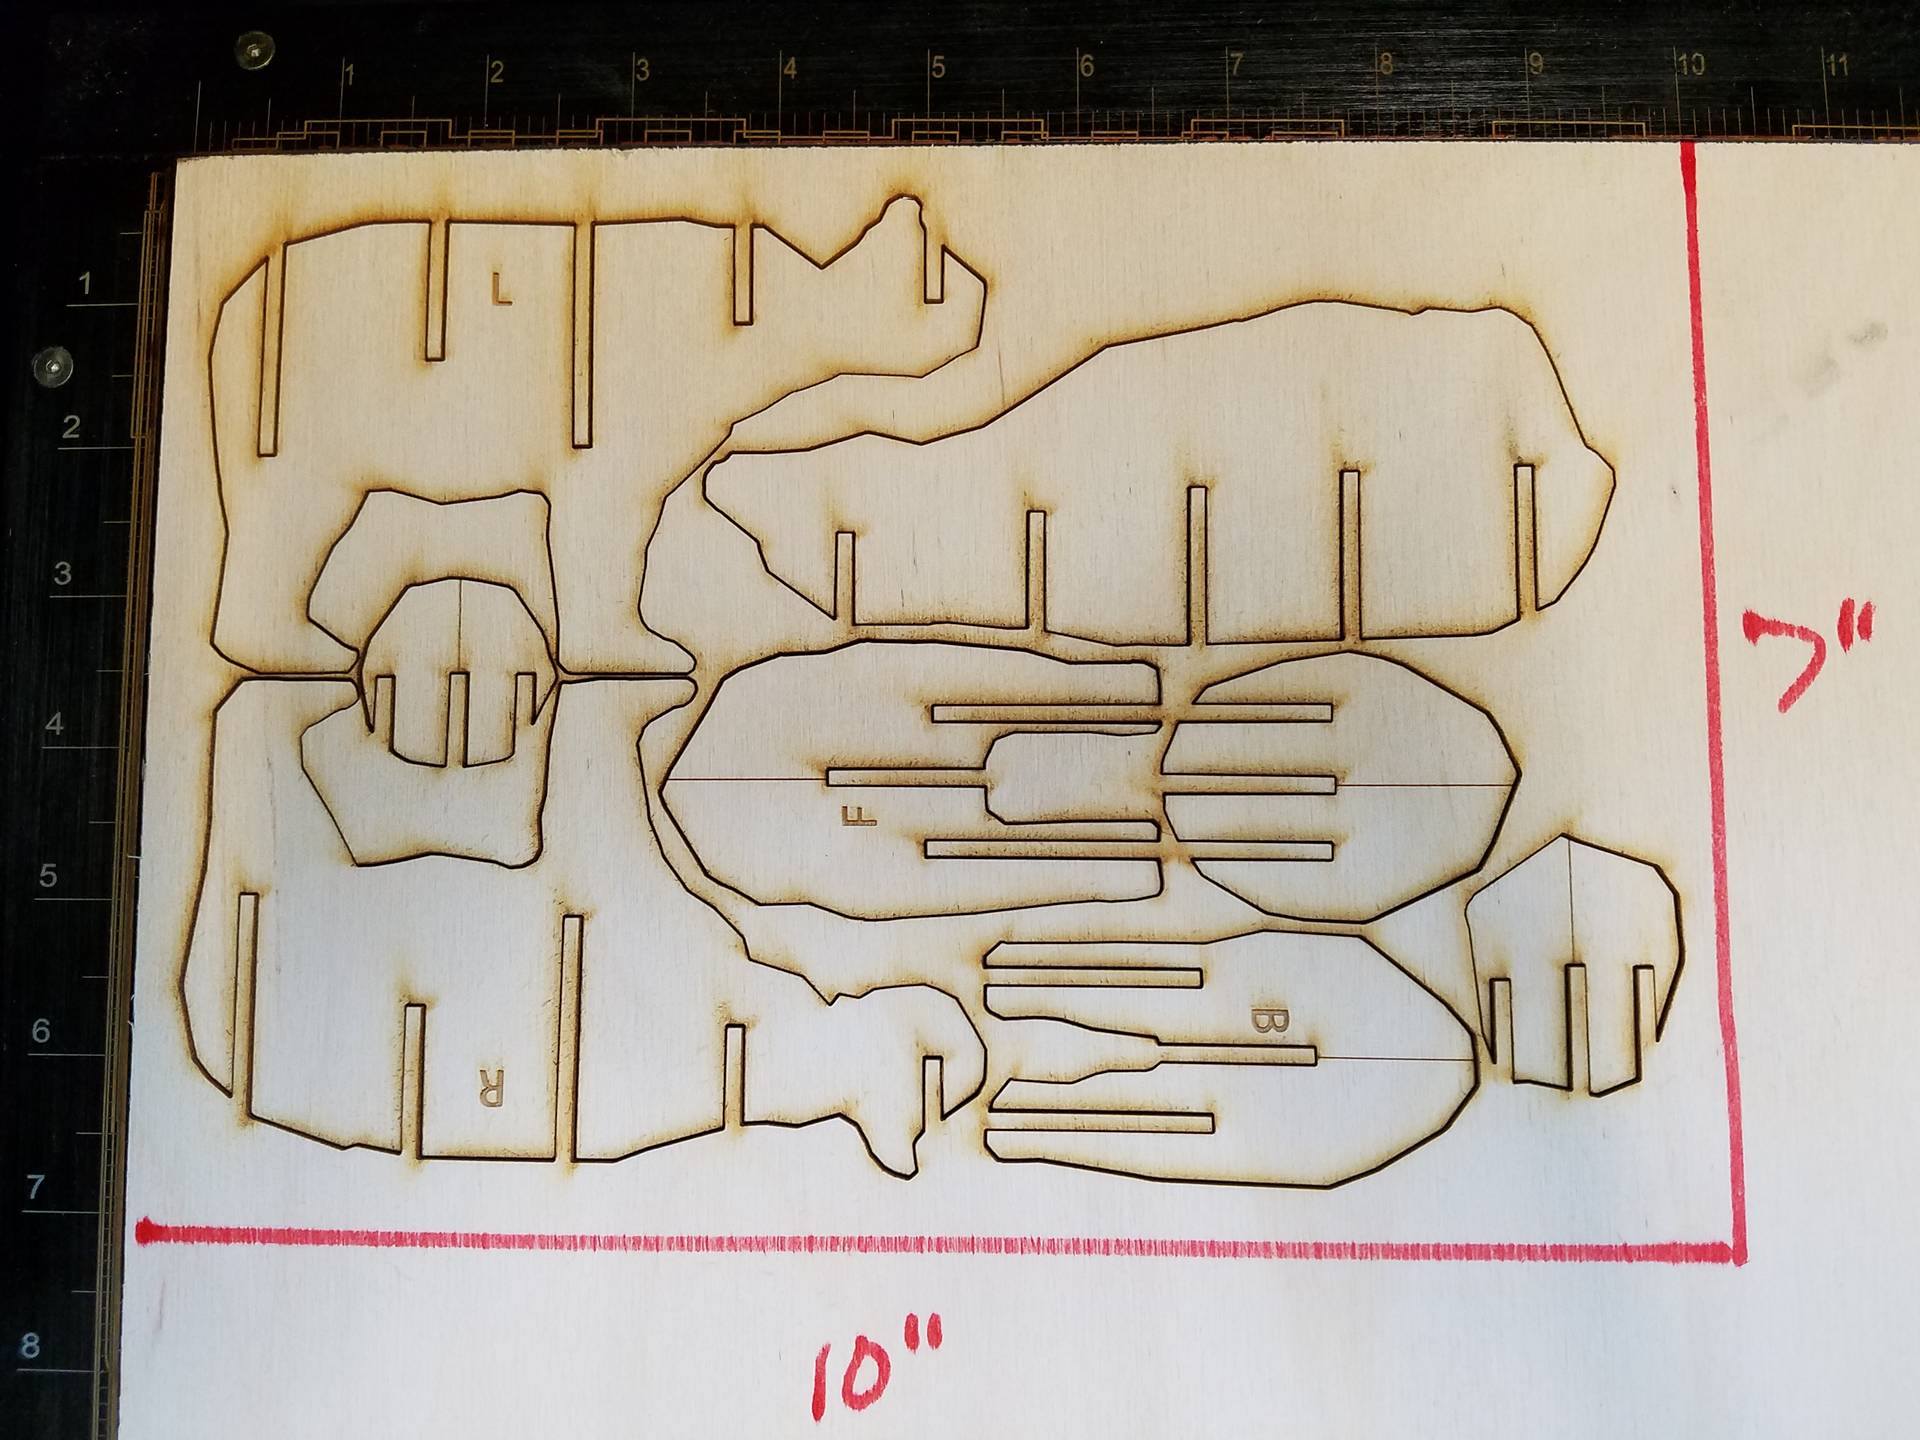
After my file is correctly sized, I like to make sure it will fit on my piece of wood. My file measured ~7" x ~10", so I measured my piece of wood to make sure the entire design file would fit. As you can see in the image, the entire file will fit in the upper corner of my piece, so my material is good to go.
Cutting the Pieces Out
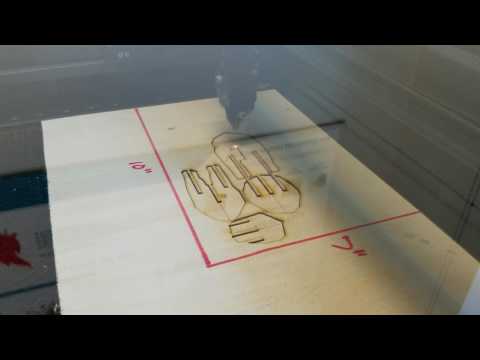
This tutorial assumes you have access to and operator's knowledge of a CNC lasercutter. As each machine's software and interface are drastically different, I'll have to assume that you know how to operate the laser cutter you will be using. The laser I used accepts illustrator files, which is why I uploaded the design as an .ai file. However, I also uploaded the .pdf for people who use a different software. Open the .pdf file in your laser's software, as pdf's are very standard file types and should be accepted by your laser's software.
Some tips: make sure you tell the laser the correct material type and correct thickness if it is autoleveling and has a materials database. If you have an older laser, make sure to focus it based on the material height and to set the power, speed, and ppi settings correctly for the plywood you are using.
After your cut is done, remove the 8 pieces and head over to a table or somewhere you can assemble them.
Assembly
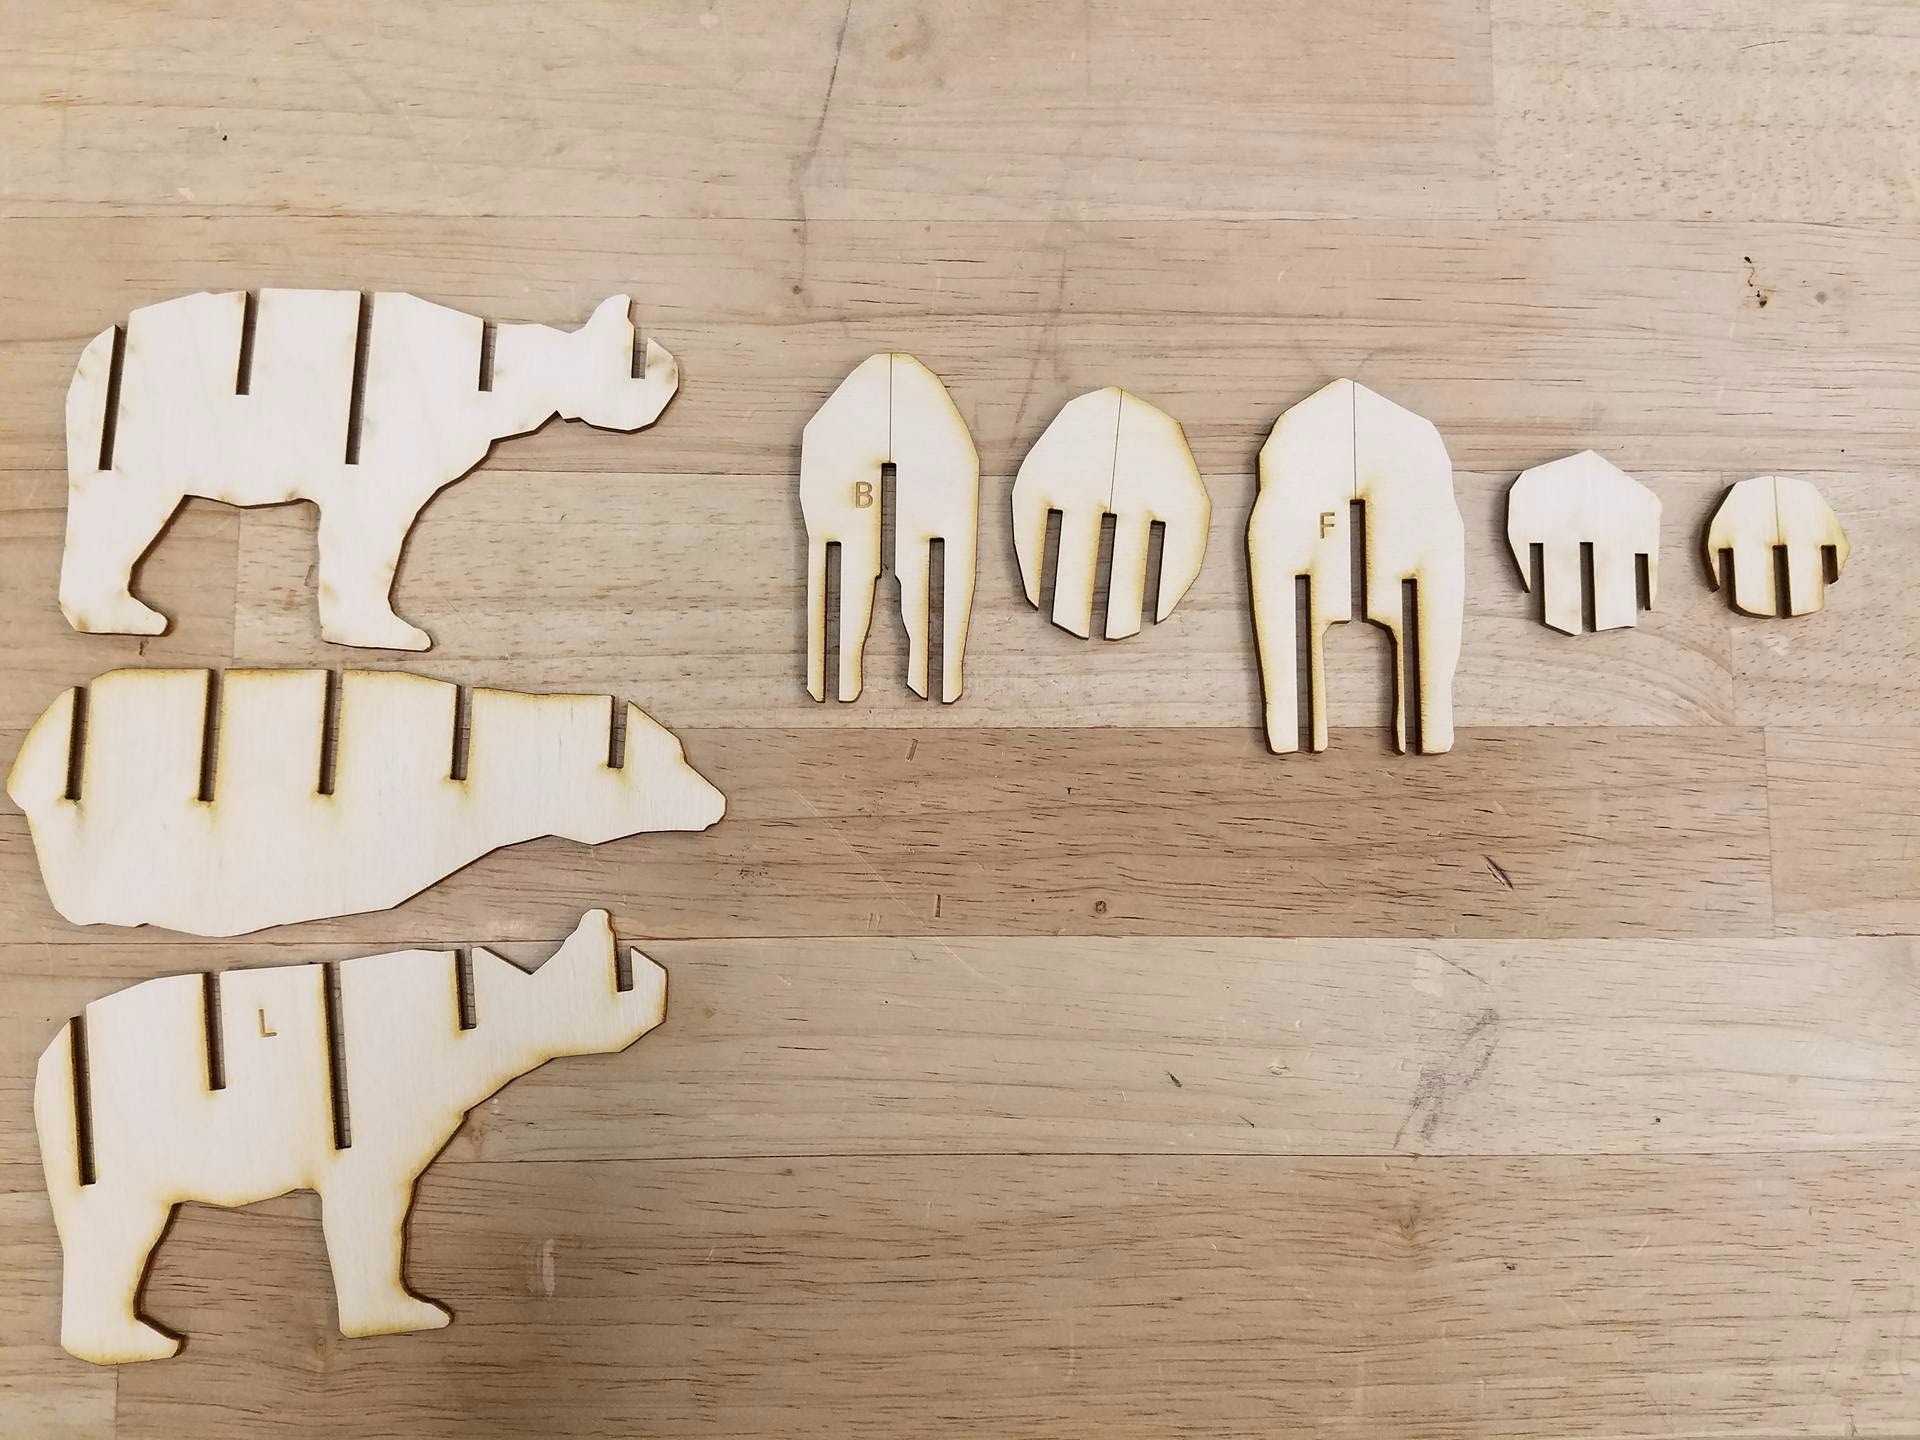
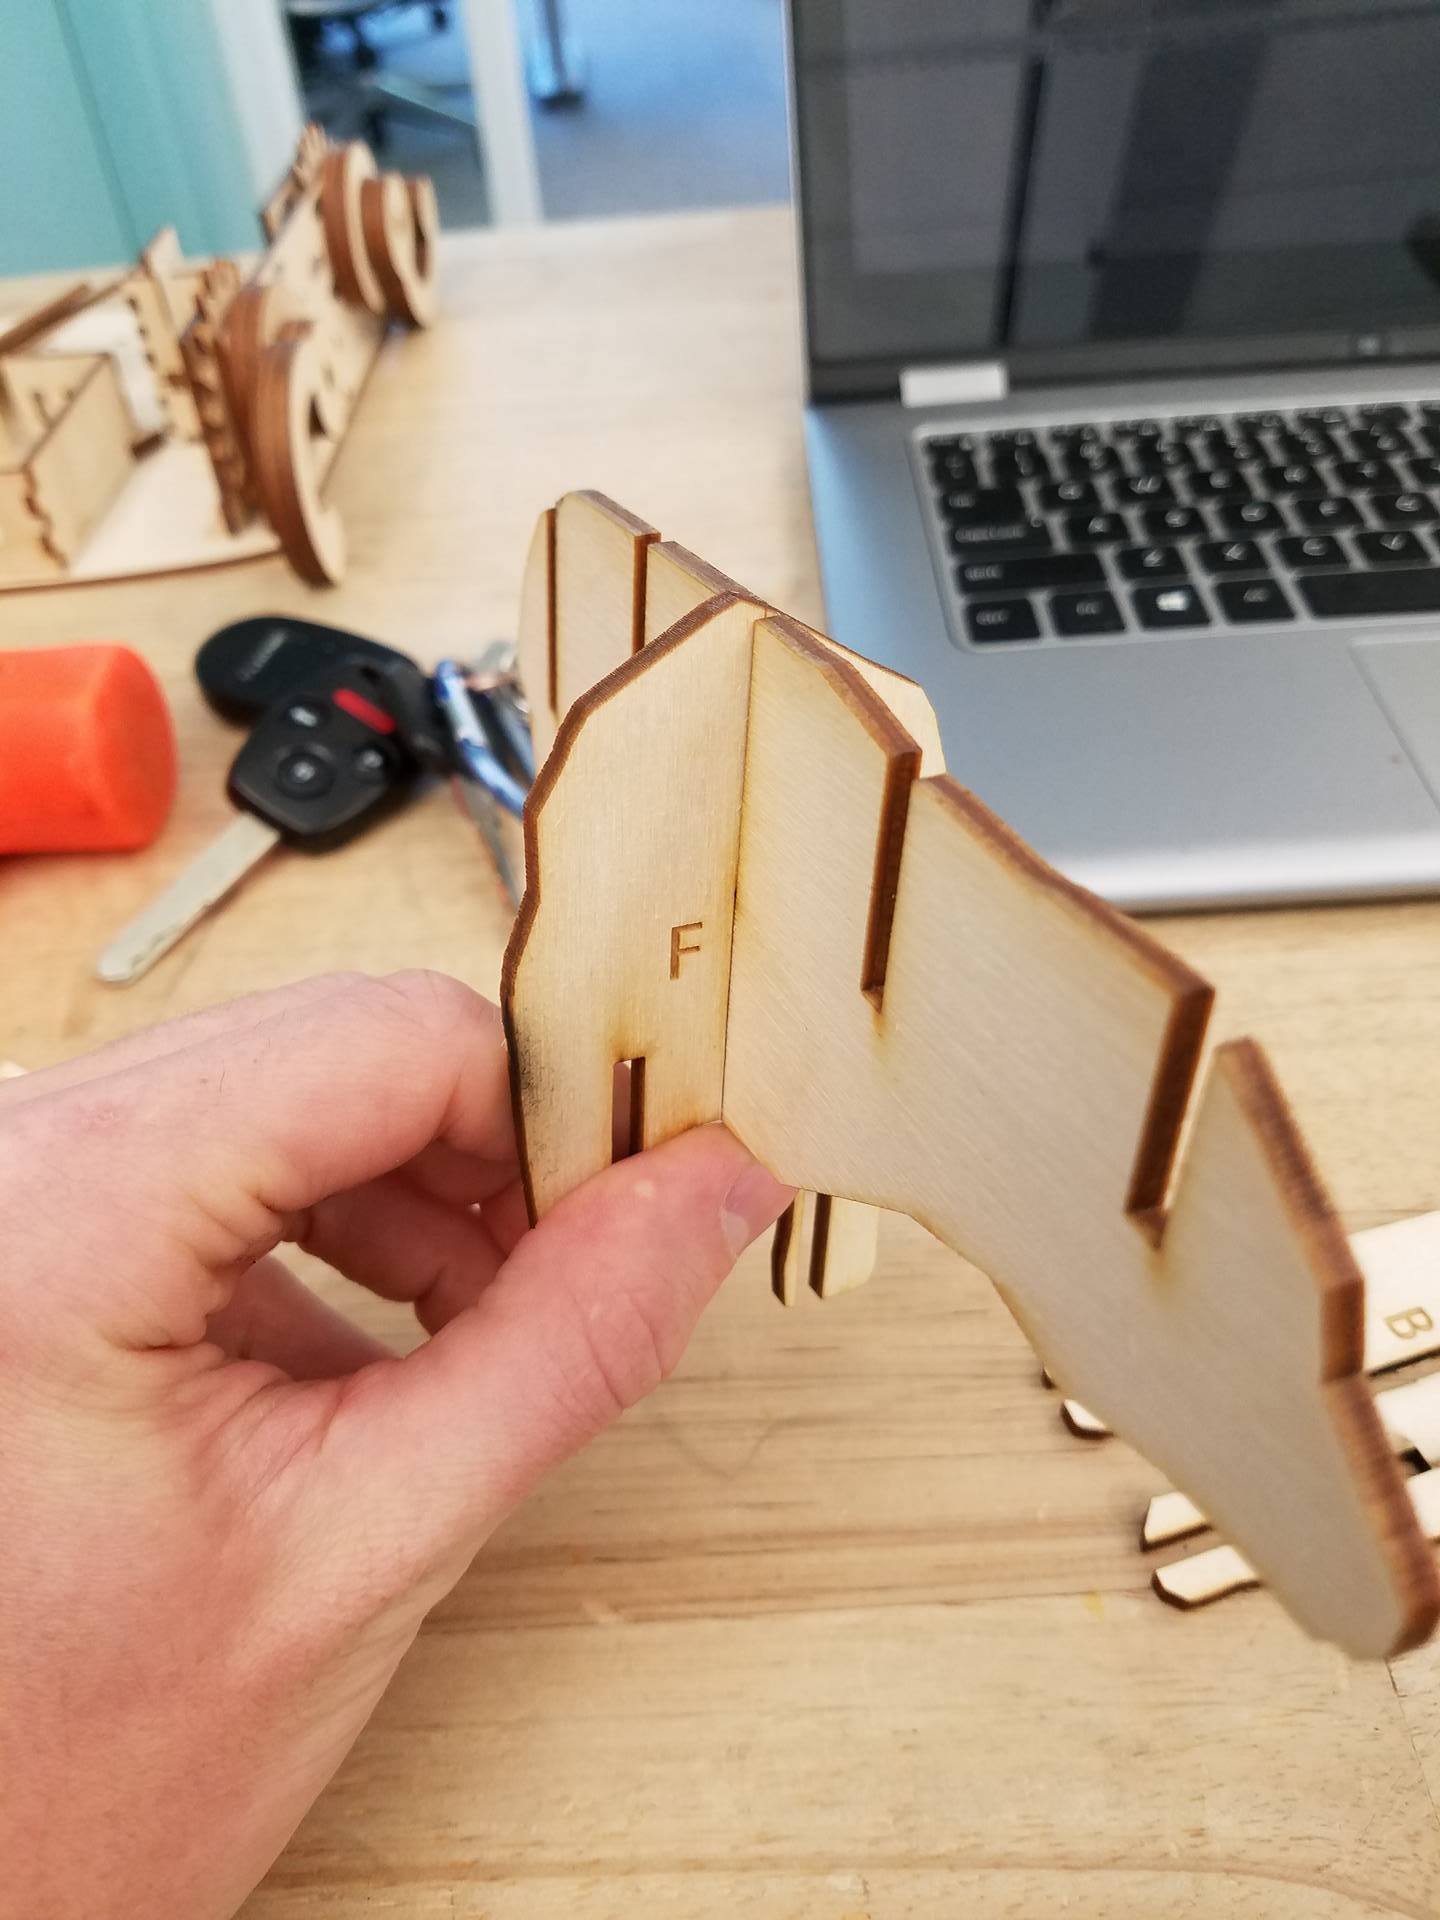
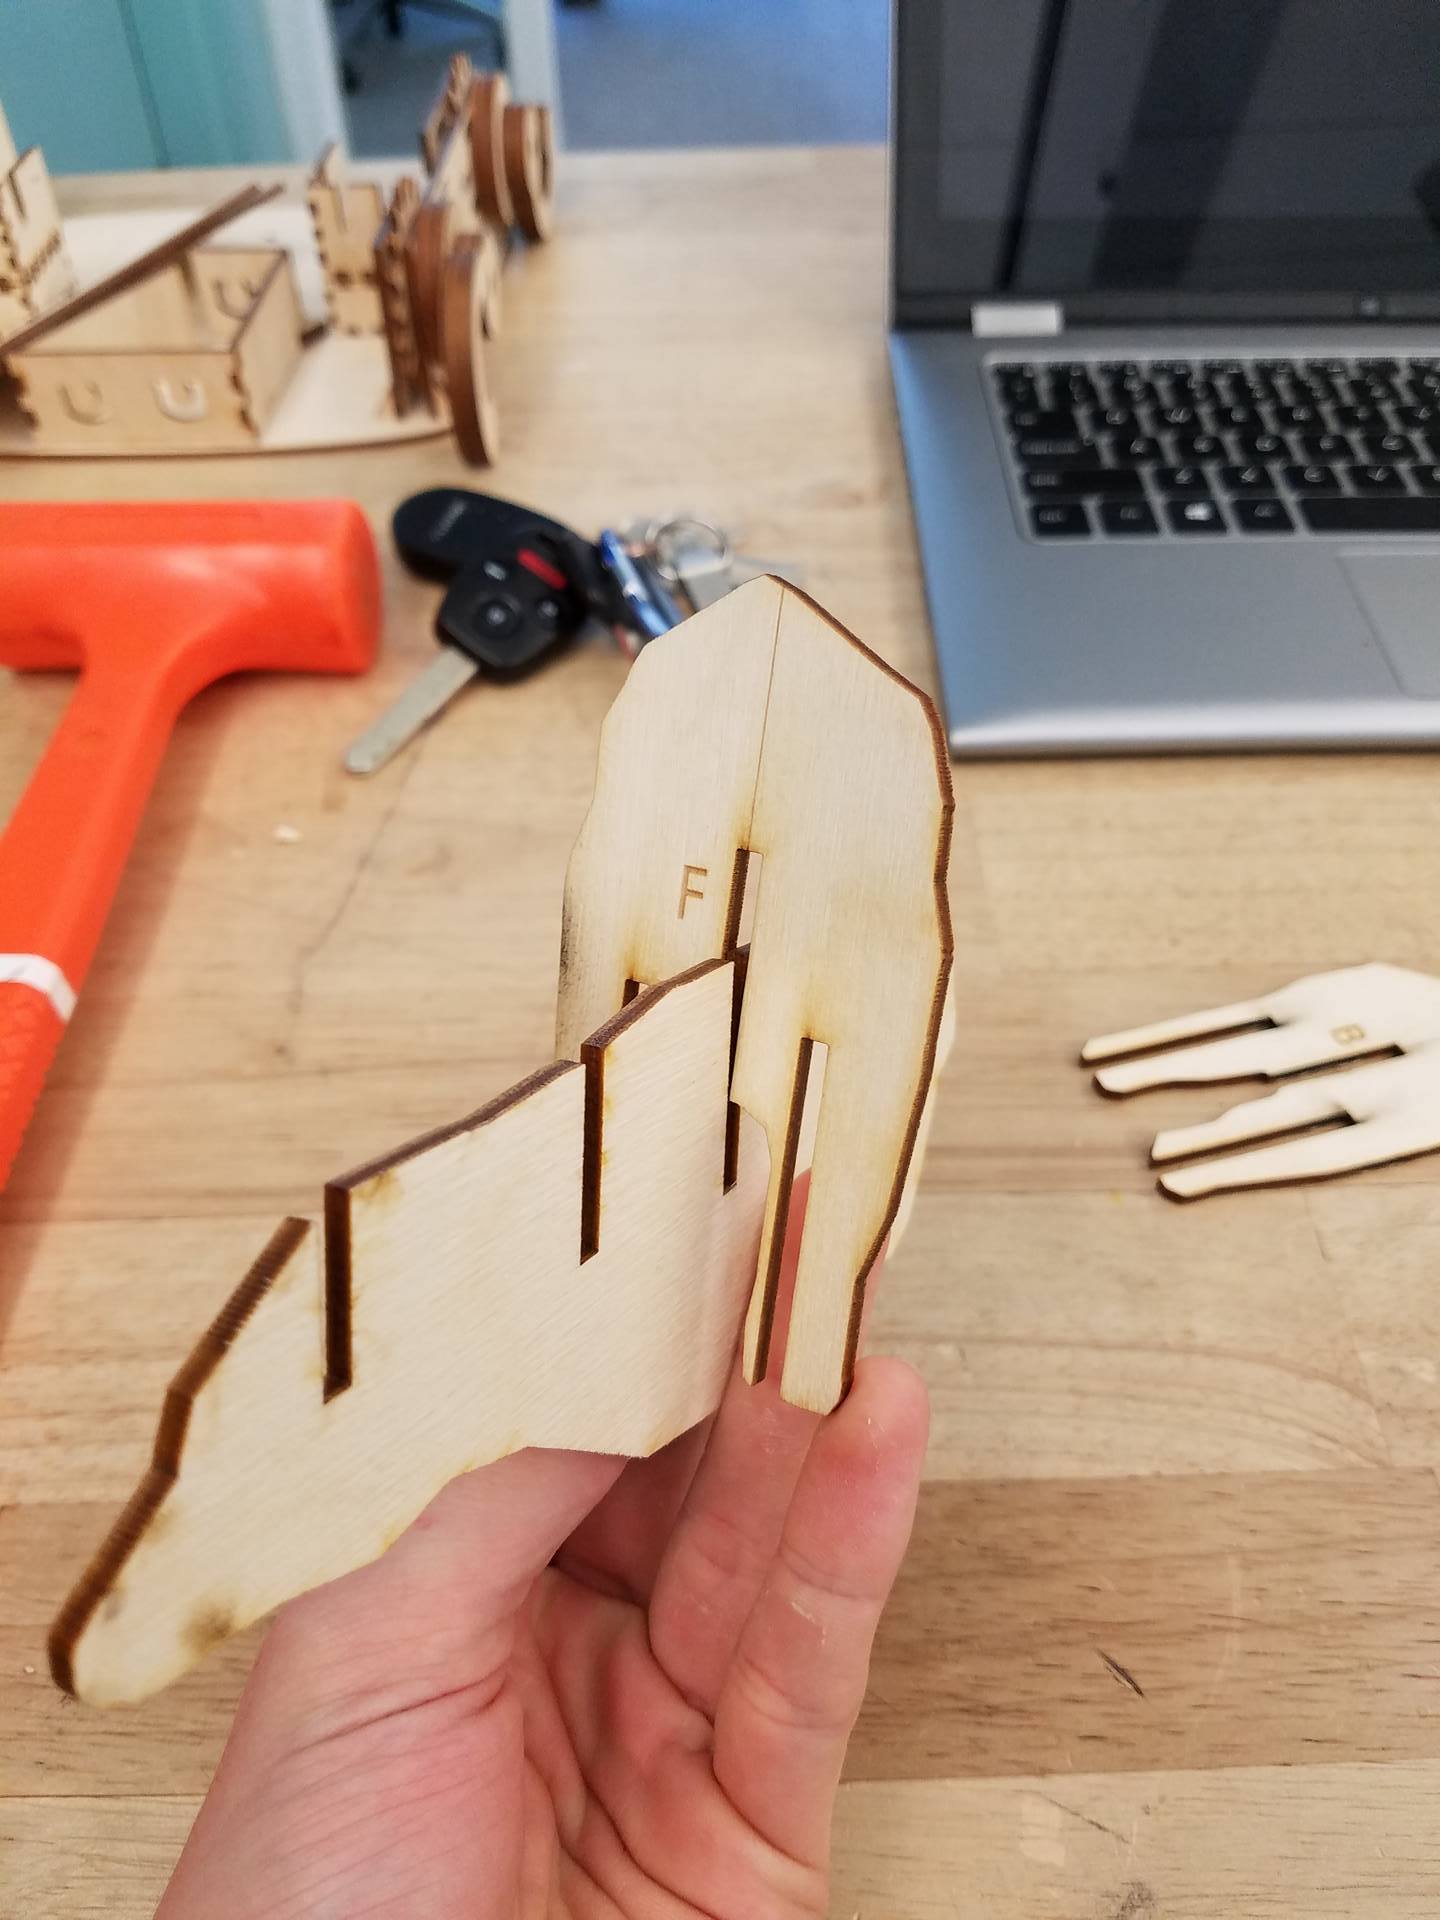
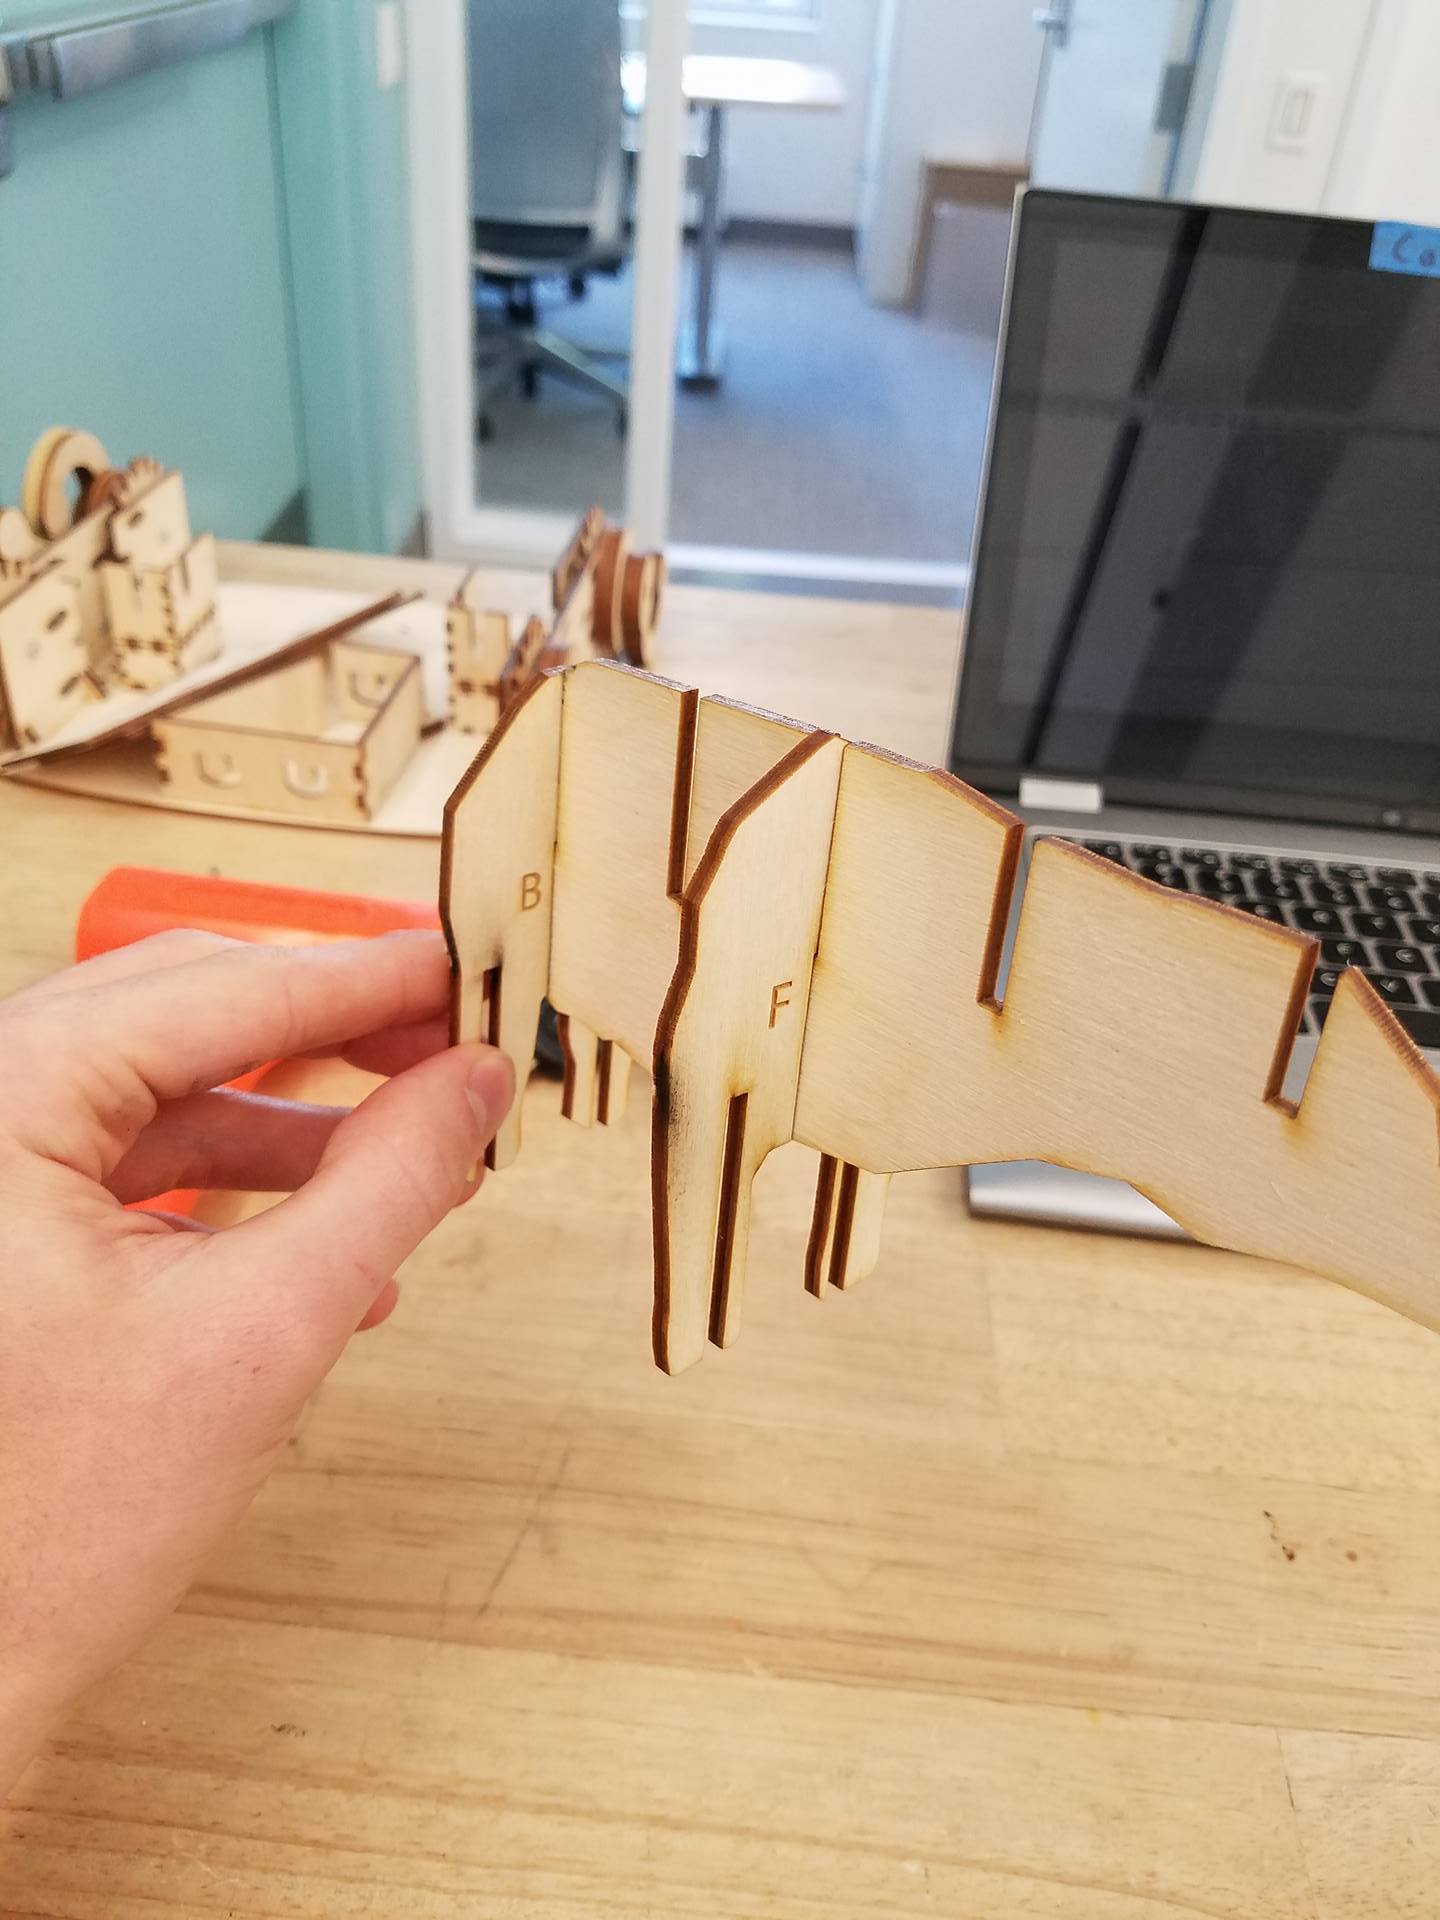
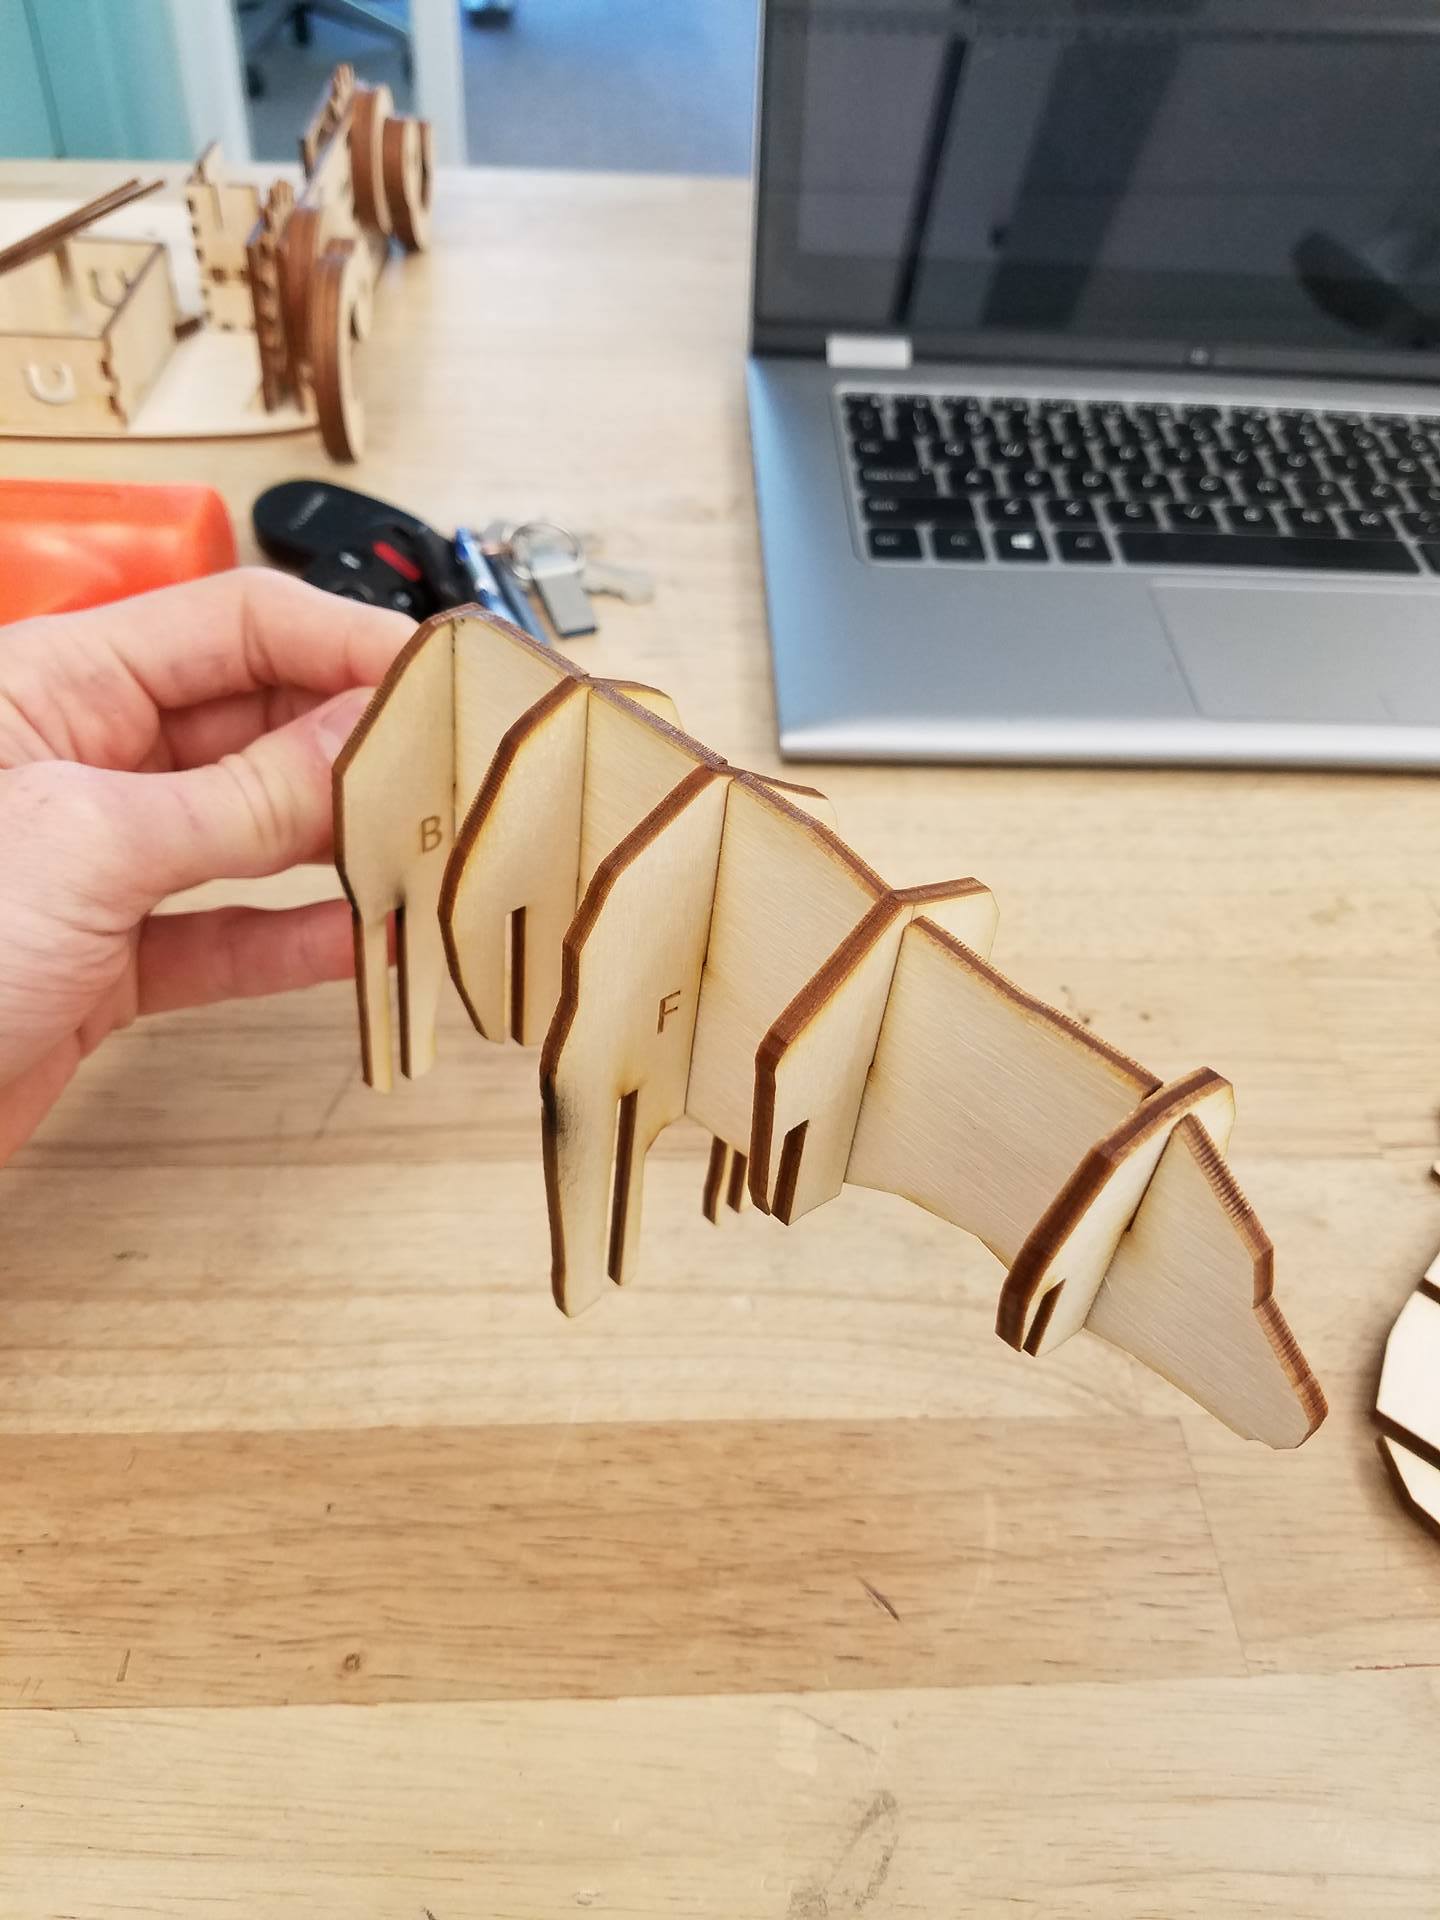

There are 3 vertical pieces and 5 horizontal pieces. The front legs are labeled 'F', the back legs are labeled 'B', the right side is labeled 'R', and the left side is labeled 'L'. (The left and right are from the bear's perspective). Also, there is a scored line going down the side that faces towards the front of the bear.
First slide the front legs into the middle piece of the body. Note how the scored line faces towards the front of the bear. Next, slide in the back legs in the same manner.
Then, slide in the remaining horizontal pieces based on the picture above.
Finally, slide in the left side onto the bear's left side, and the right side onto its right. These may take a bit of patience to get all the slots lined up, but trust me it fits :)
You're done! Enjoy your new bear model, great as a desk ornament or gift.