Laser Cut Baby Mobile
by jocomakerspace in Workshop > Laser Cutting
5323 Views, 38 Favorites, 0 Comments
Laser Cut Baby Mobile
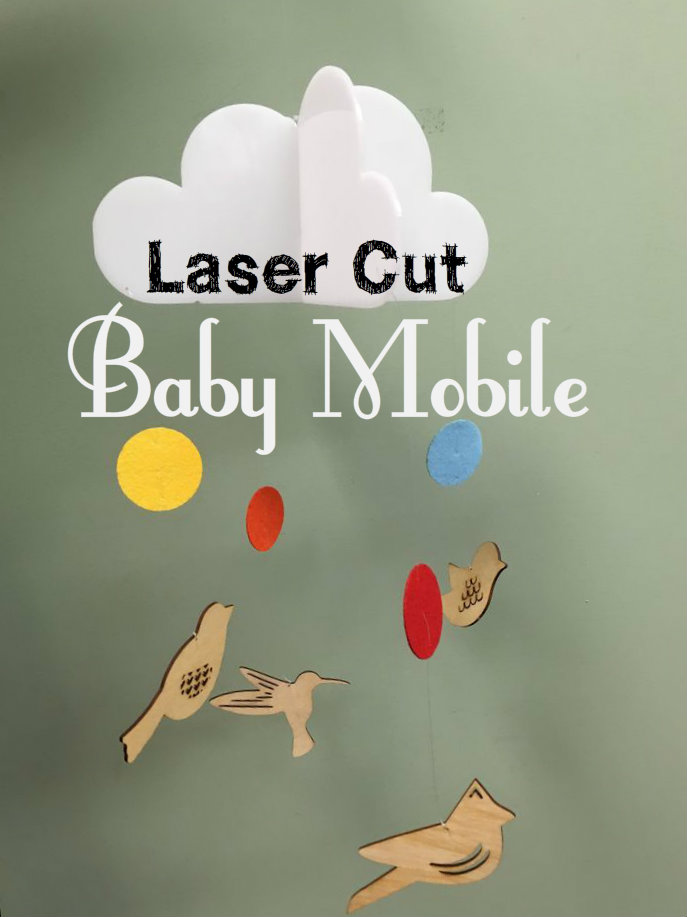
There are only a million and a half baby mobile tutorials on the Internets, so what's one more? I made this simple mobile using an Epilog Zing 40w laser cutter available at the Johnson County Library MakerSpace in Overland Park, KS. Bring your own materials, but use the cutter for free!
Tools and Materials
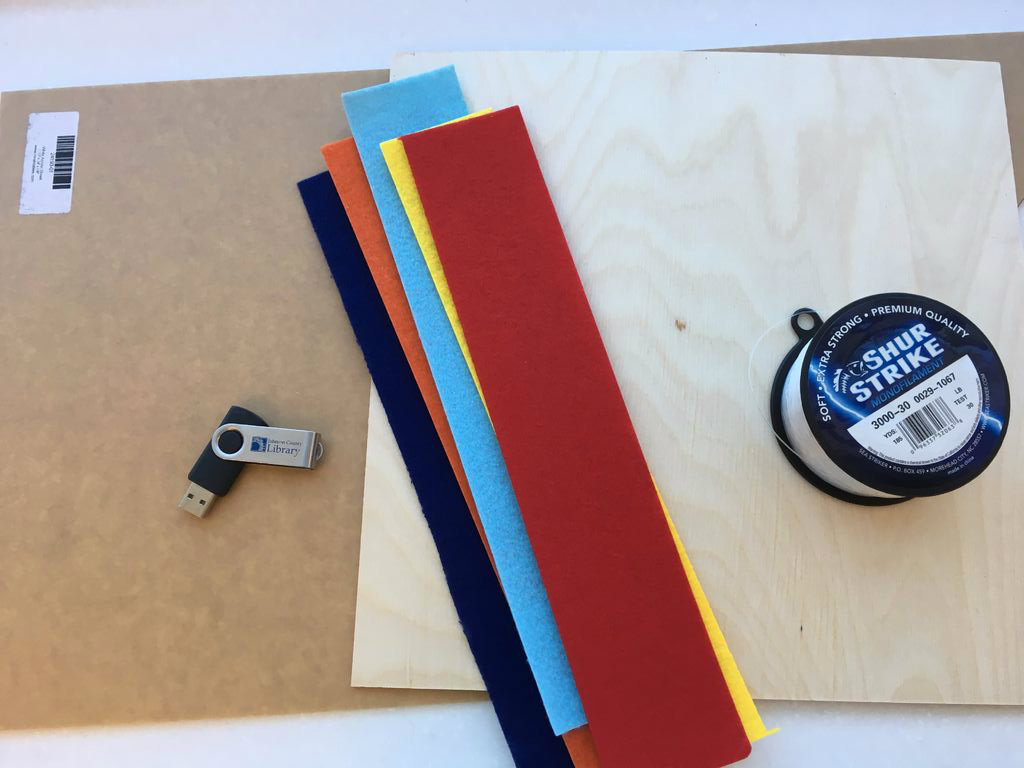
You can use a number of materials for this project, but most people use acrylic or wood on the laser cutter. I used a combination of three materials, but you can use one or two or all three.
Stuff you'll need to bring with you:
- Image files of the items in the mobile.
- Wood, acrylic, and/or felt. (I used a 12x12" sheet of acrylic purchased online, a 12x12" sheet of 1/8" birch plywood, and some leftover stiffened felt.)
- Fishing line or clear thread (colored yarn, wire, or twine would also work).
Stuff you'll use at the library:
- Digital calipers
- Computer with Corel Draw
- Epilog Zing 24 - 40w
- Chipboard/cardboard
Create Your Cut Files

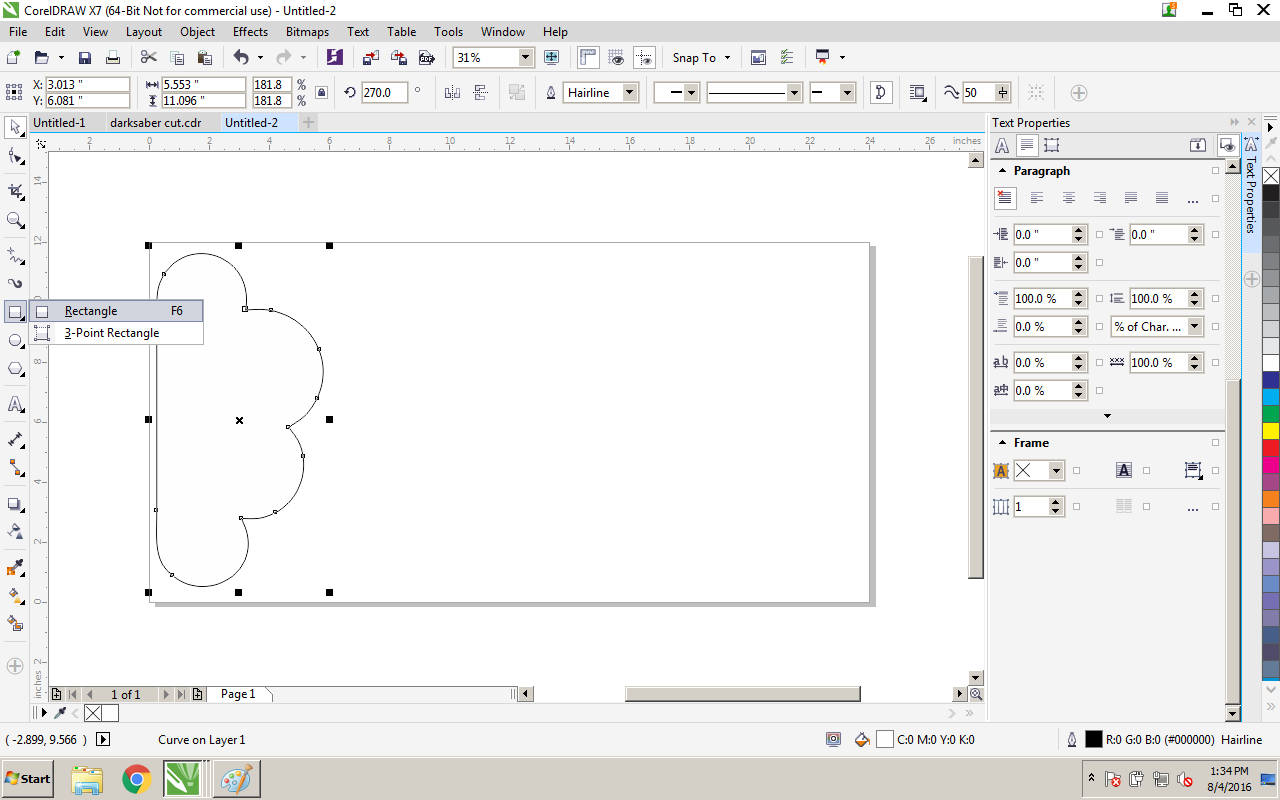
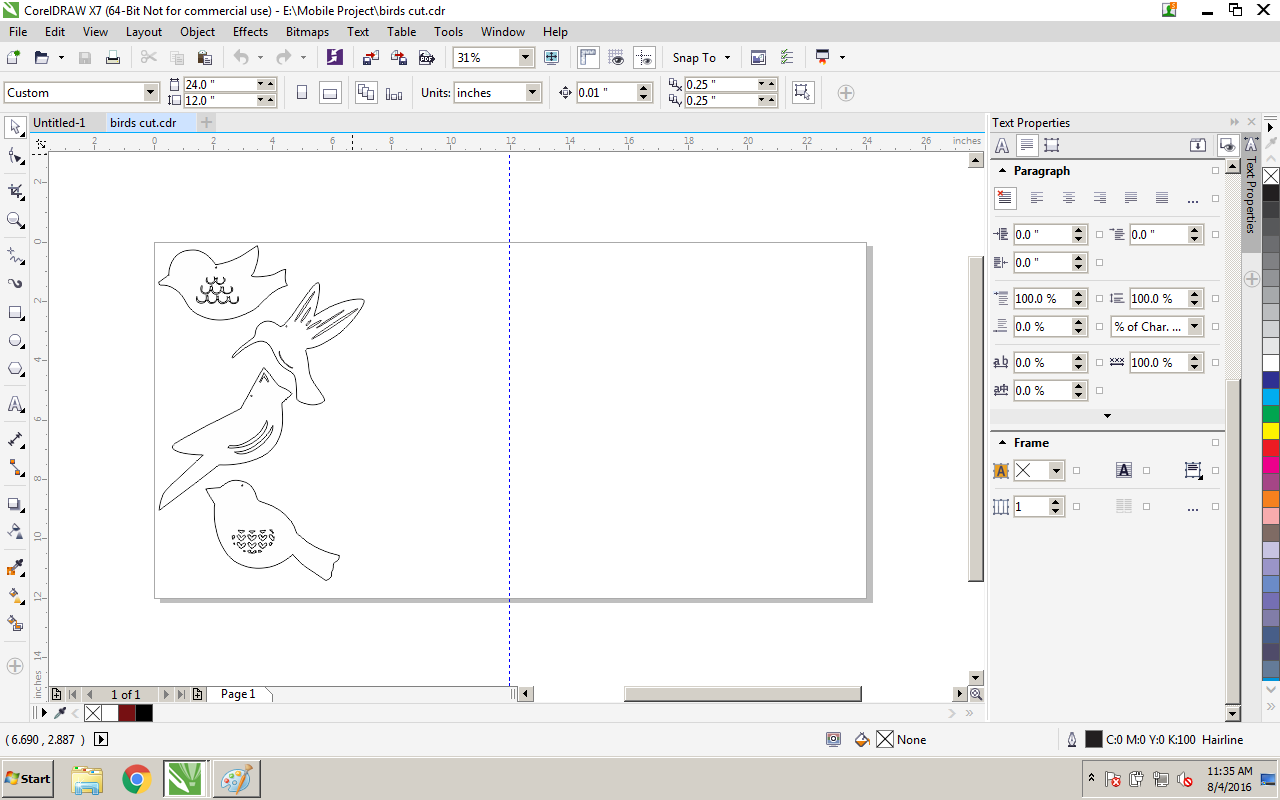
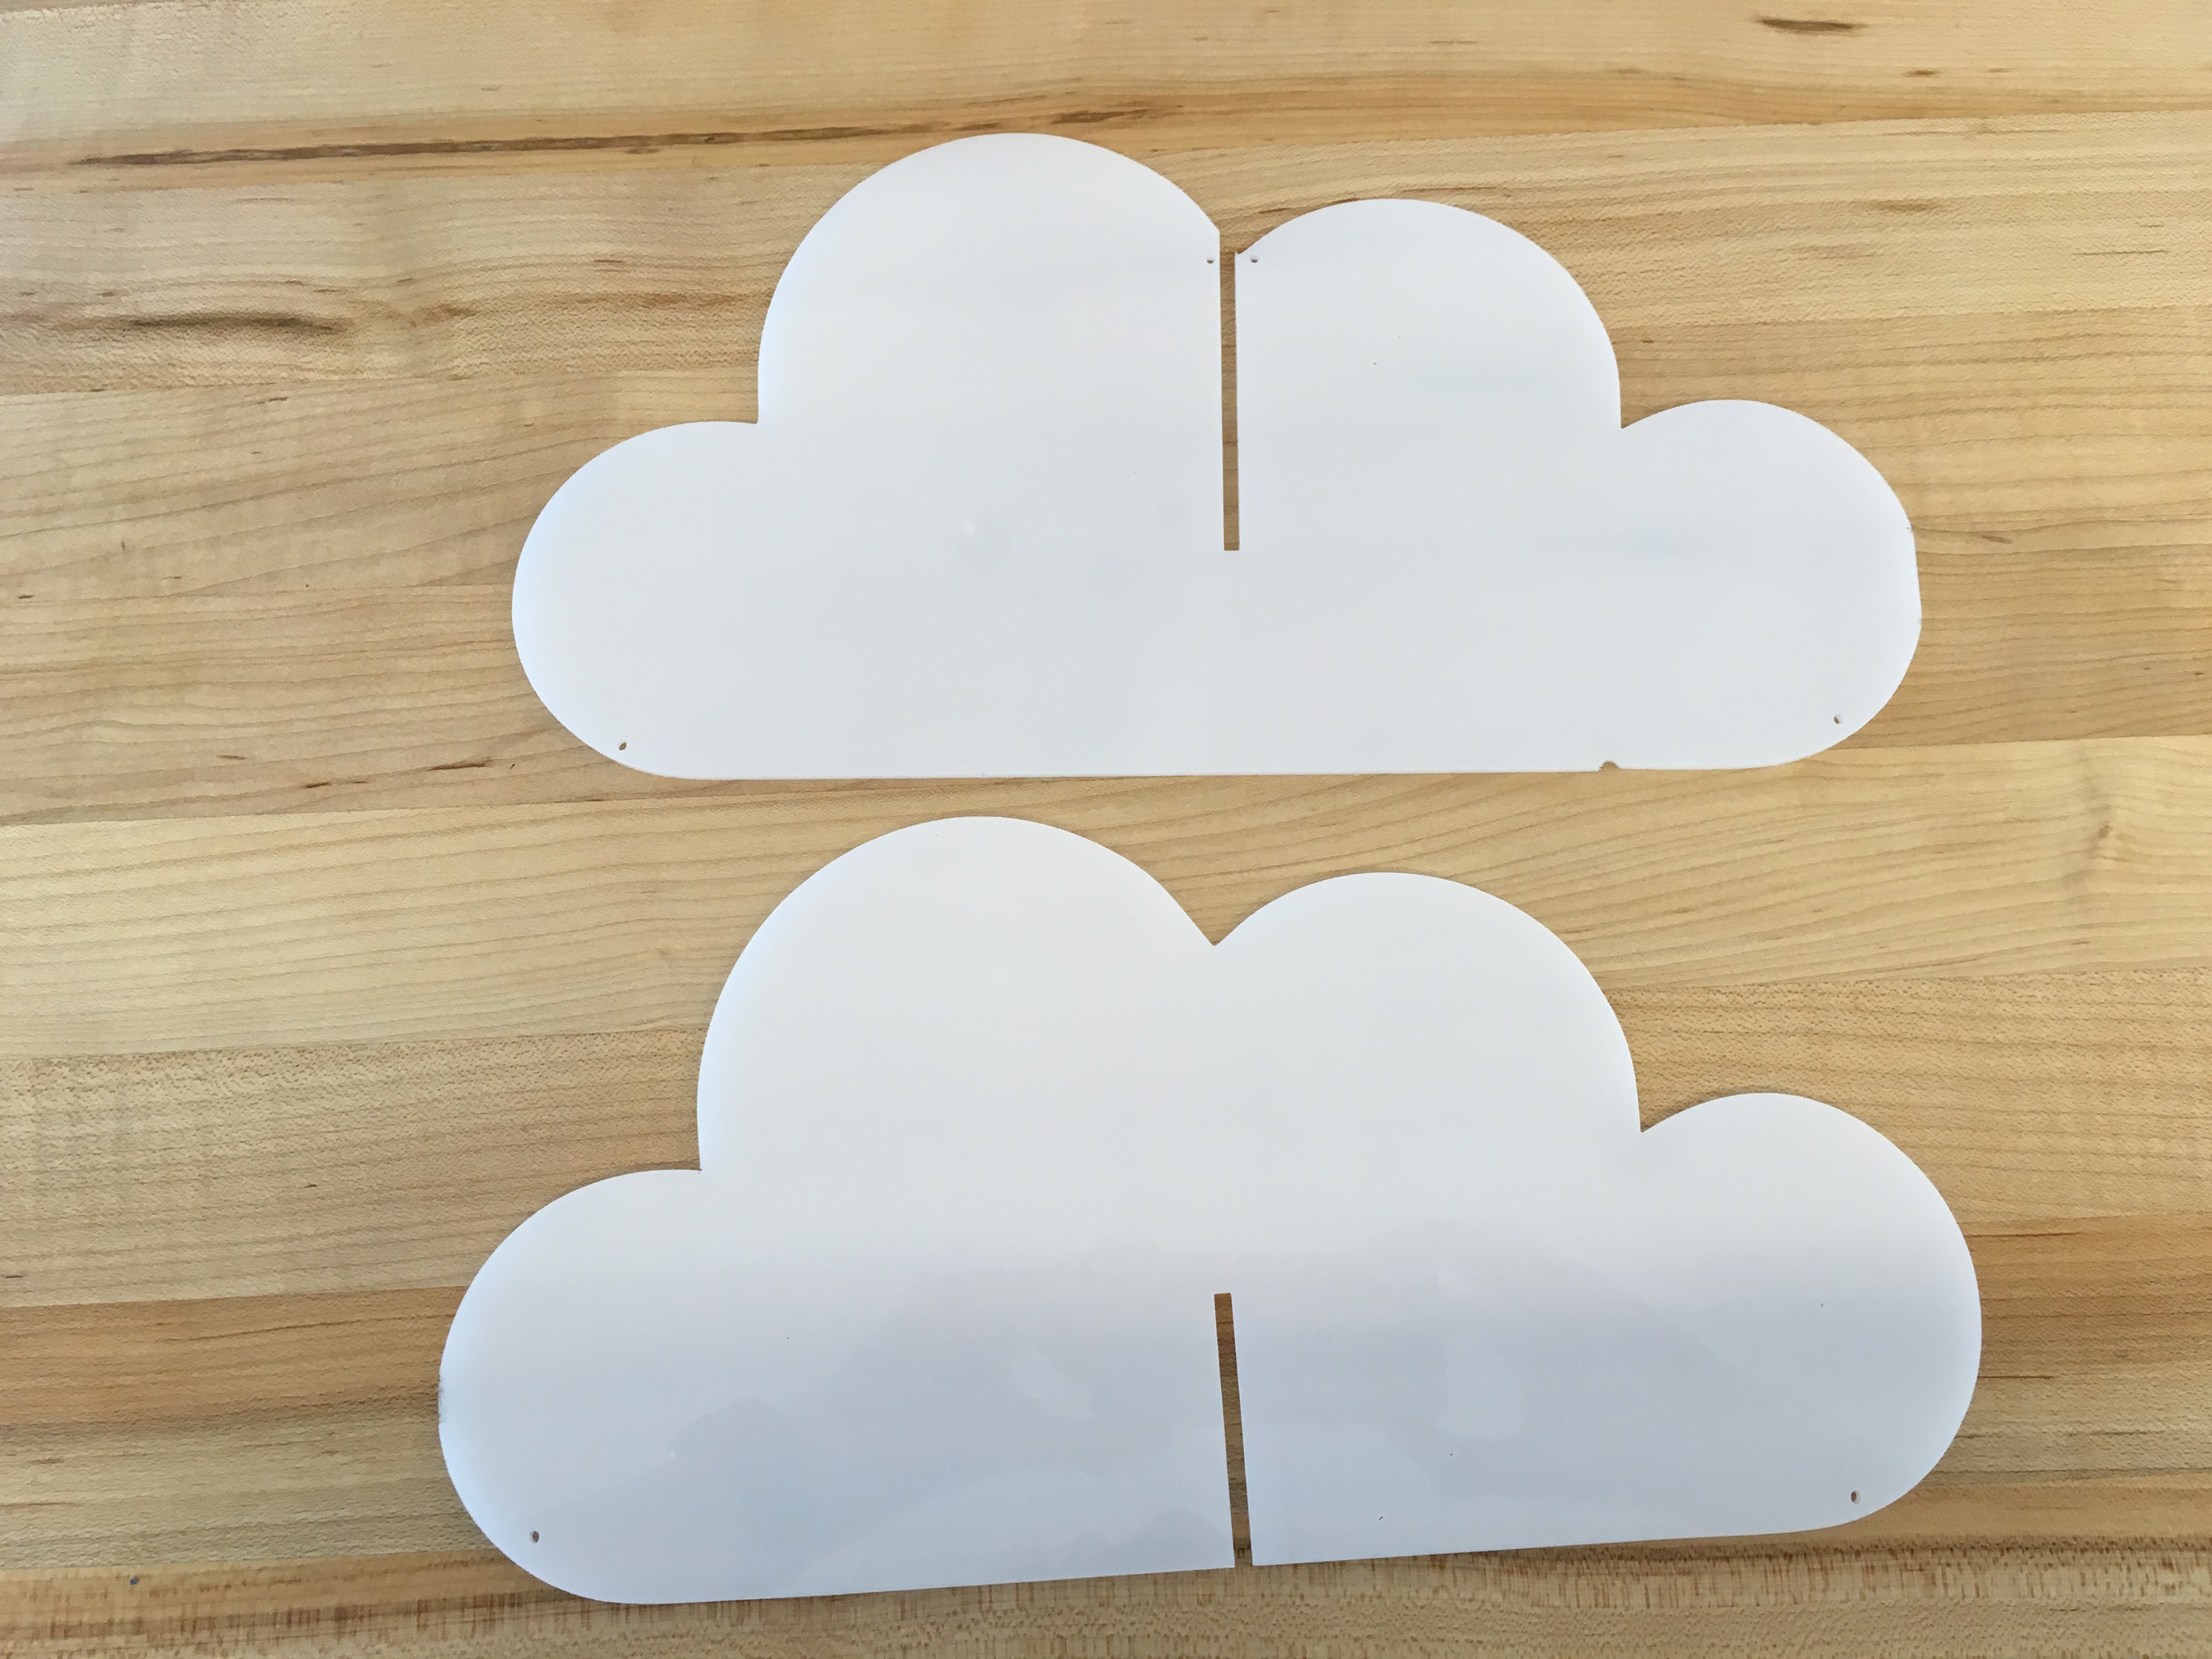
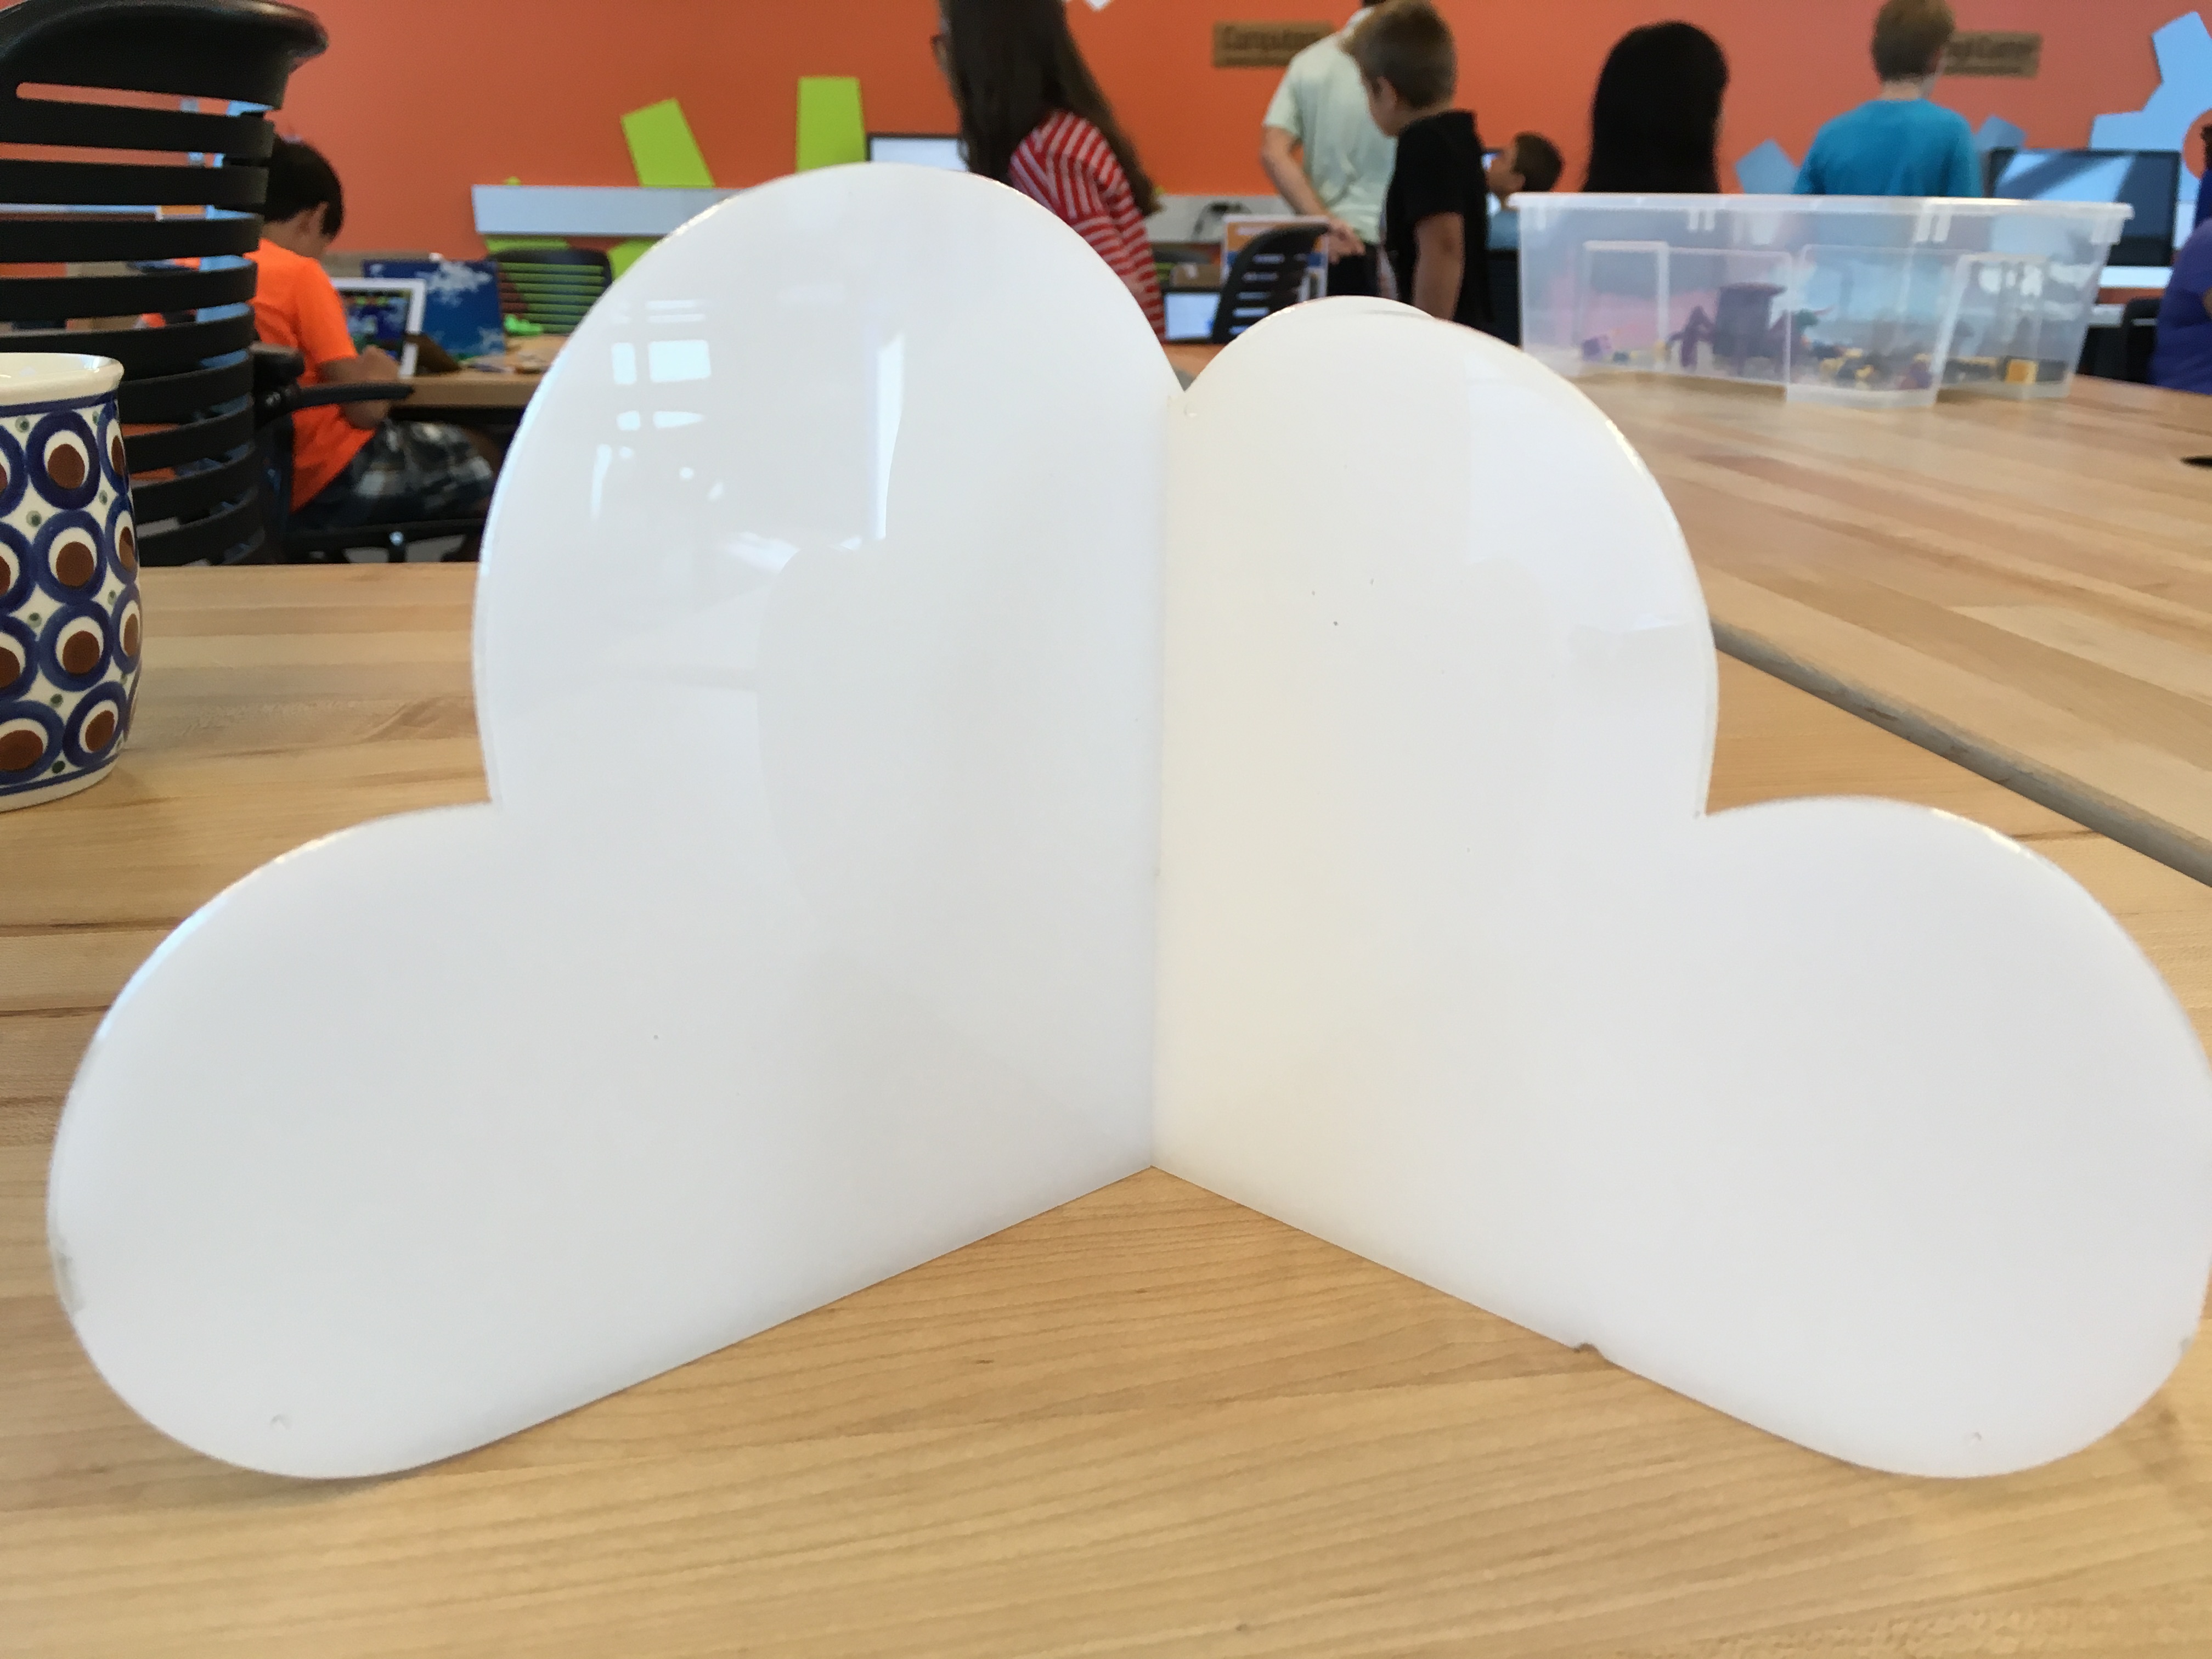
So...I chose birds. There are many ways to hang a mobile including rings and plain wood with a simple joint. I decided to make a cloud with a joint as the top piece of the mobile. You can choose any theme you want and put it on any material you want. The hard part is creating the files.
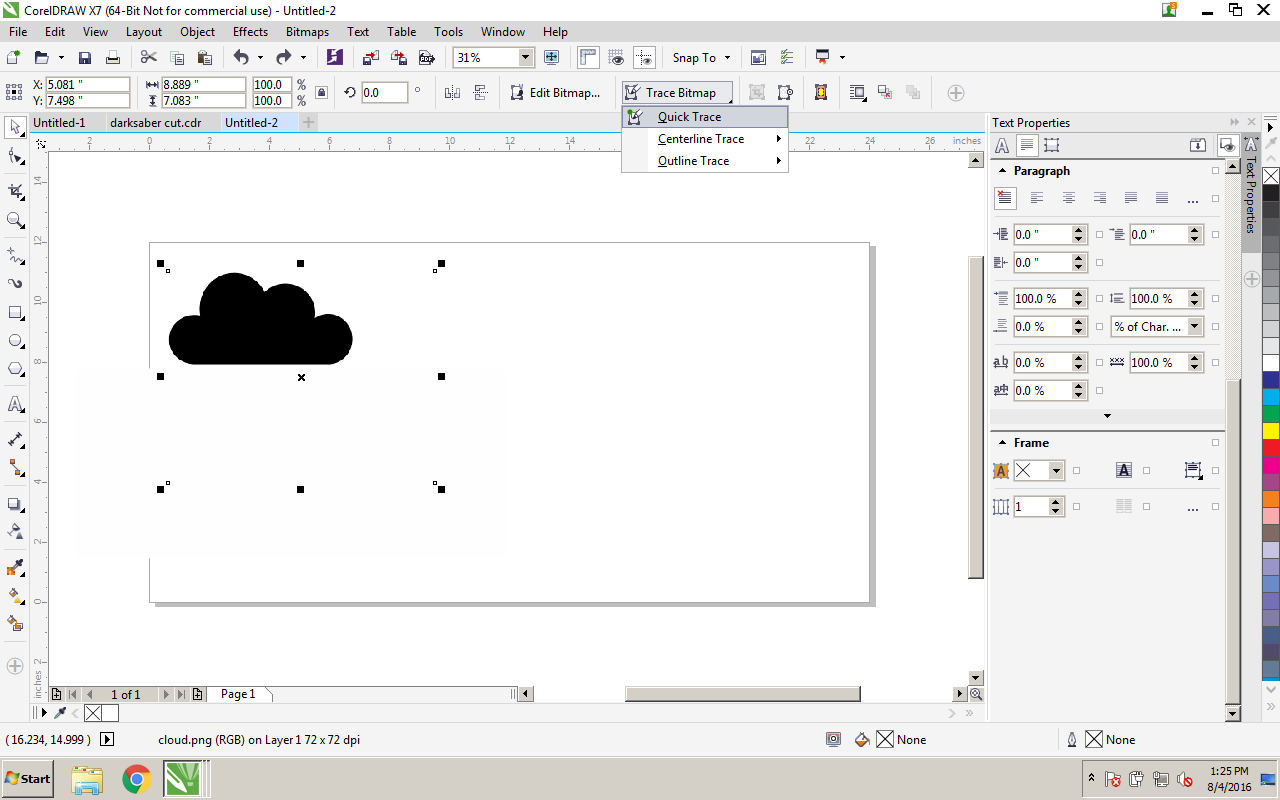
- Find some image files of what you want to do. Vector files are best, but PNGs, PDFs, and others can be traced. You'll have an easier time of it by choosing silhouettes.
- On a MakerSpace computer, open CorelDraw and import those images into a new document.
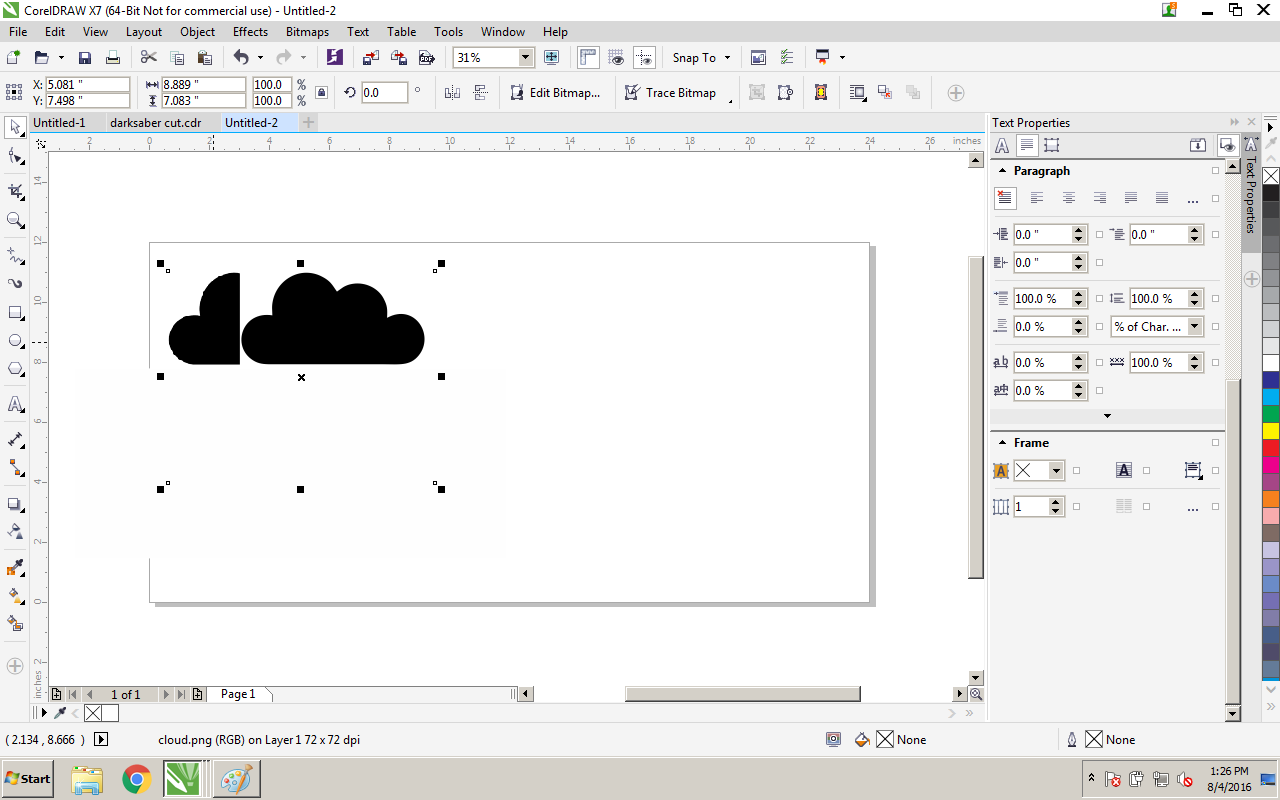
- If your image isn't a vector file, you can change it to one in a couple of steps. Click on Trace Bitmap at the top of the screen.
- Once it's a vector file, you don't need the original. Pick up your new image and delete the old one. If there are several images, you'll want to go to Object > Group > Ungroup all objects.
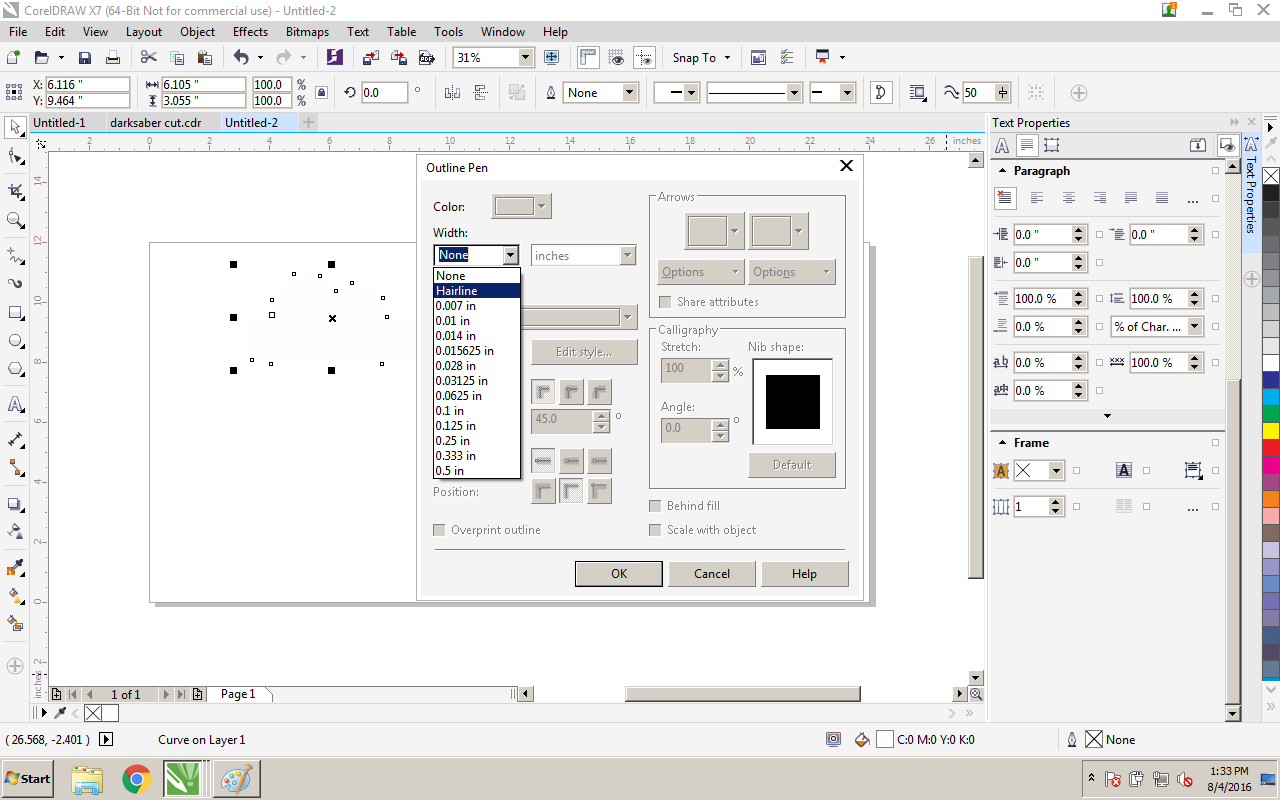
- Now that you have your base image, you want to tell the laser where to cut. You'll need to remove the fill and add a stroke with a Hairline width. See the pictures for instructions on how to do this.
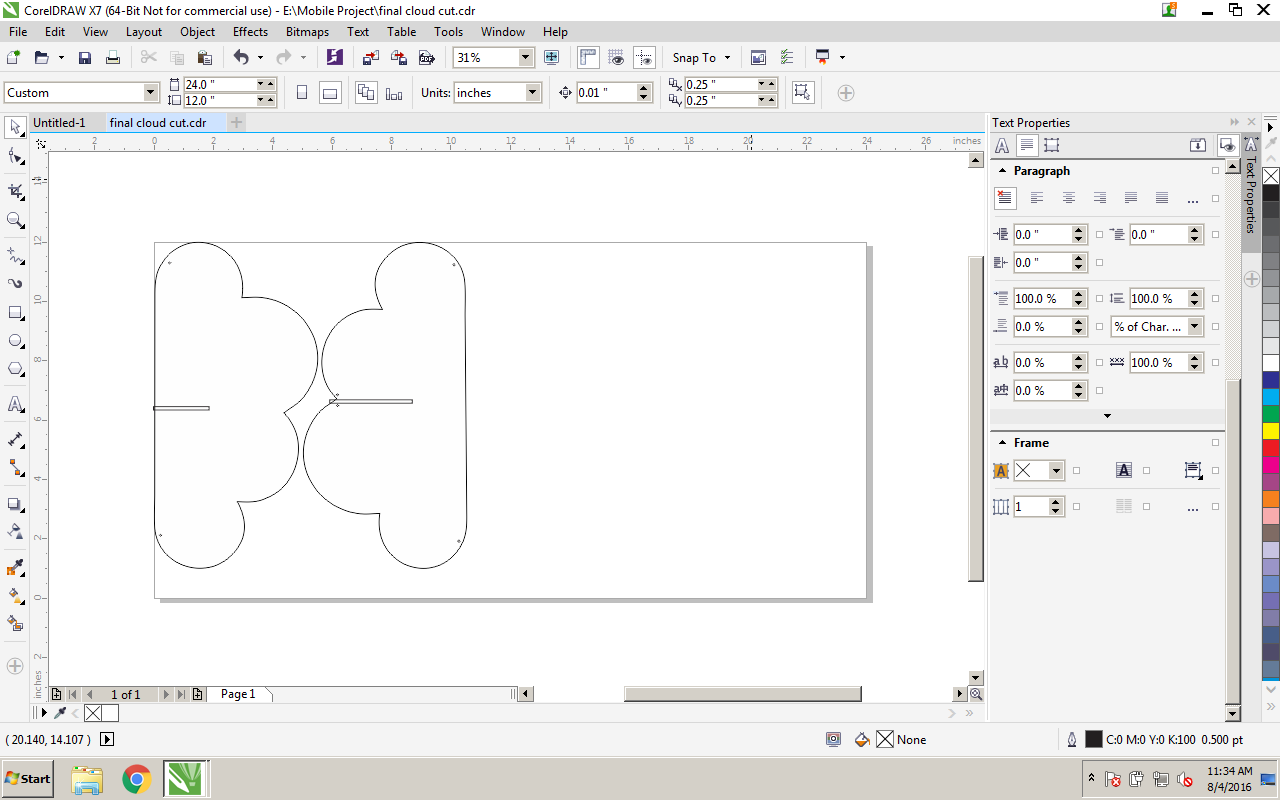
- Manipulate the image to the size you desire and duplicate it.
- Create the fitting to make it 3D! Just draw a box the width of the material you are using and place it in the center.
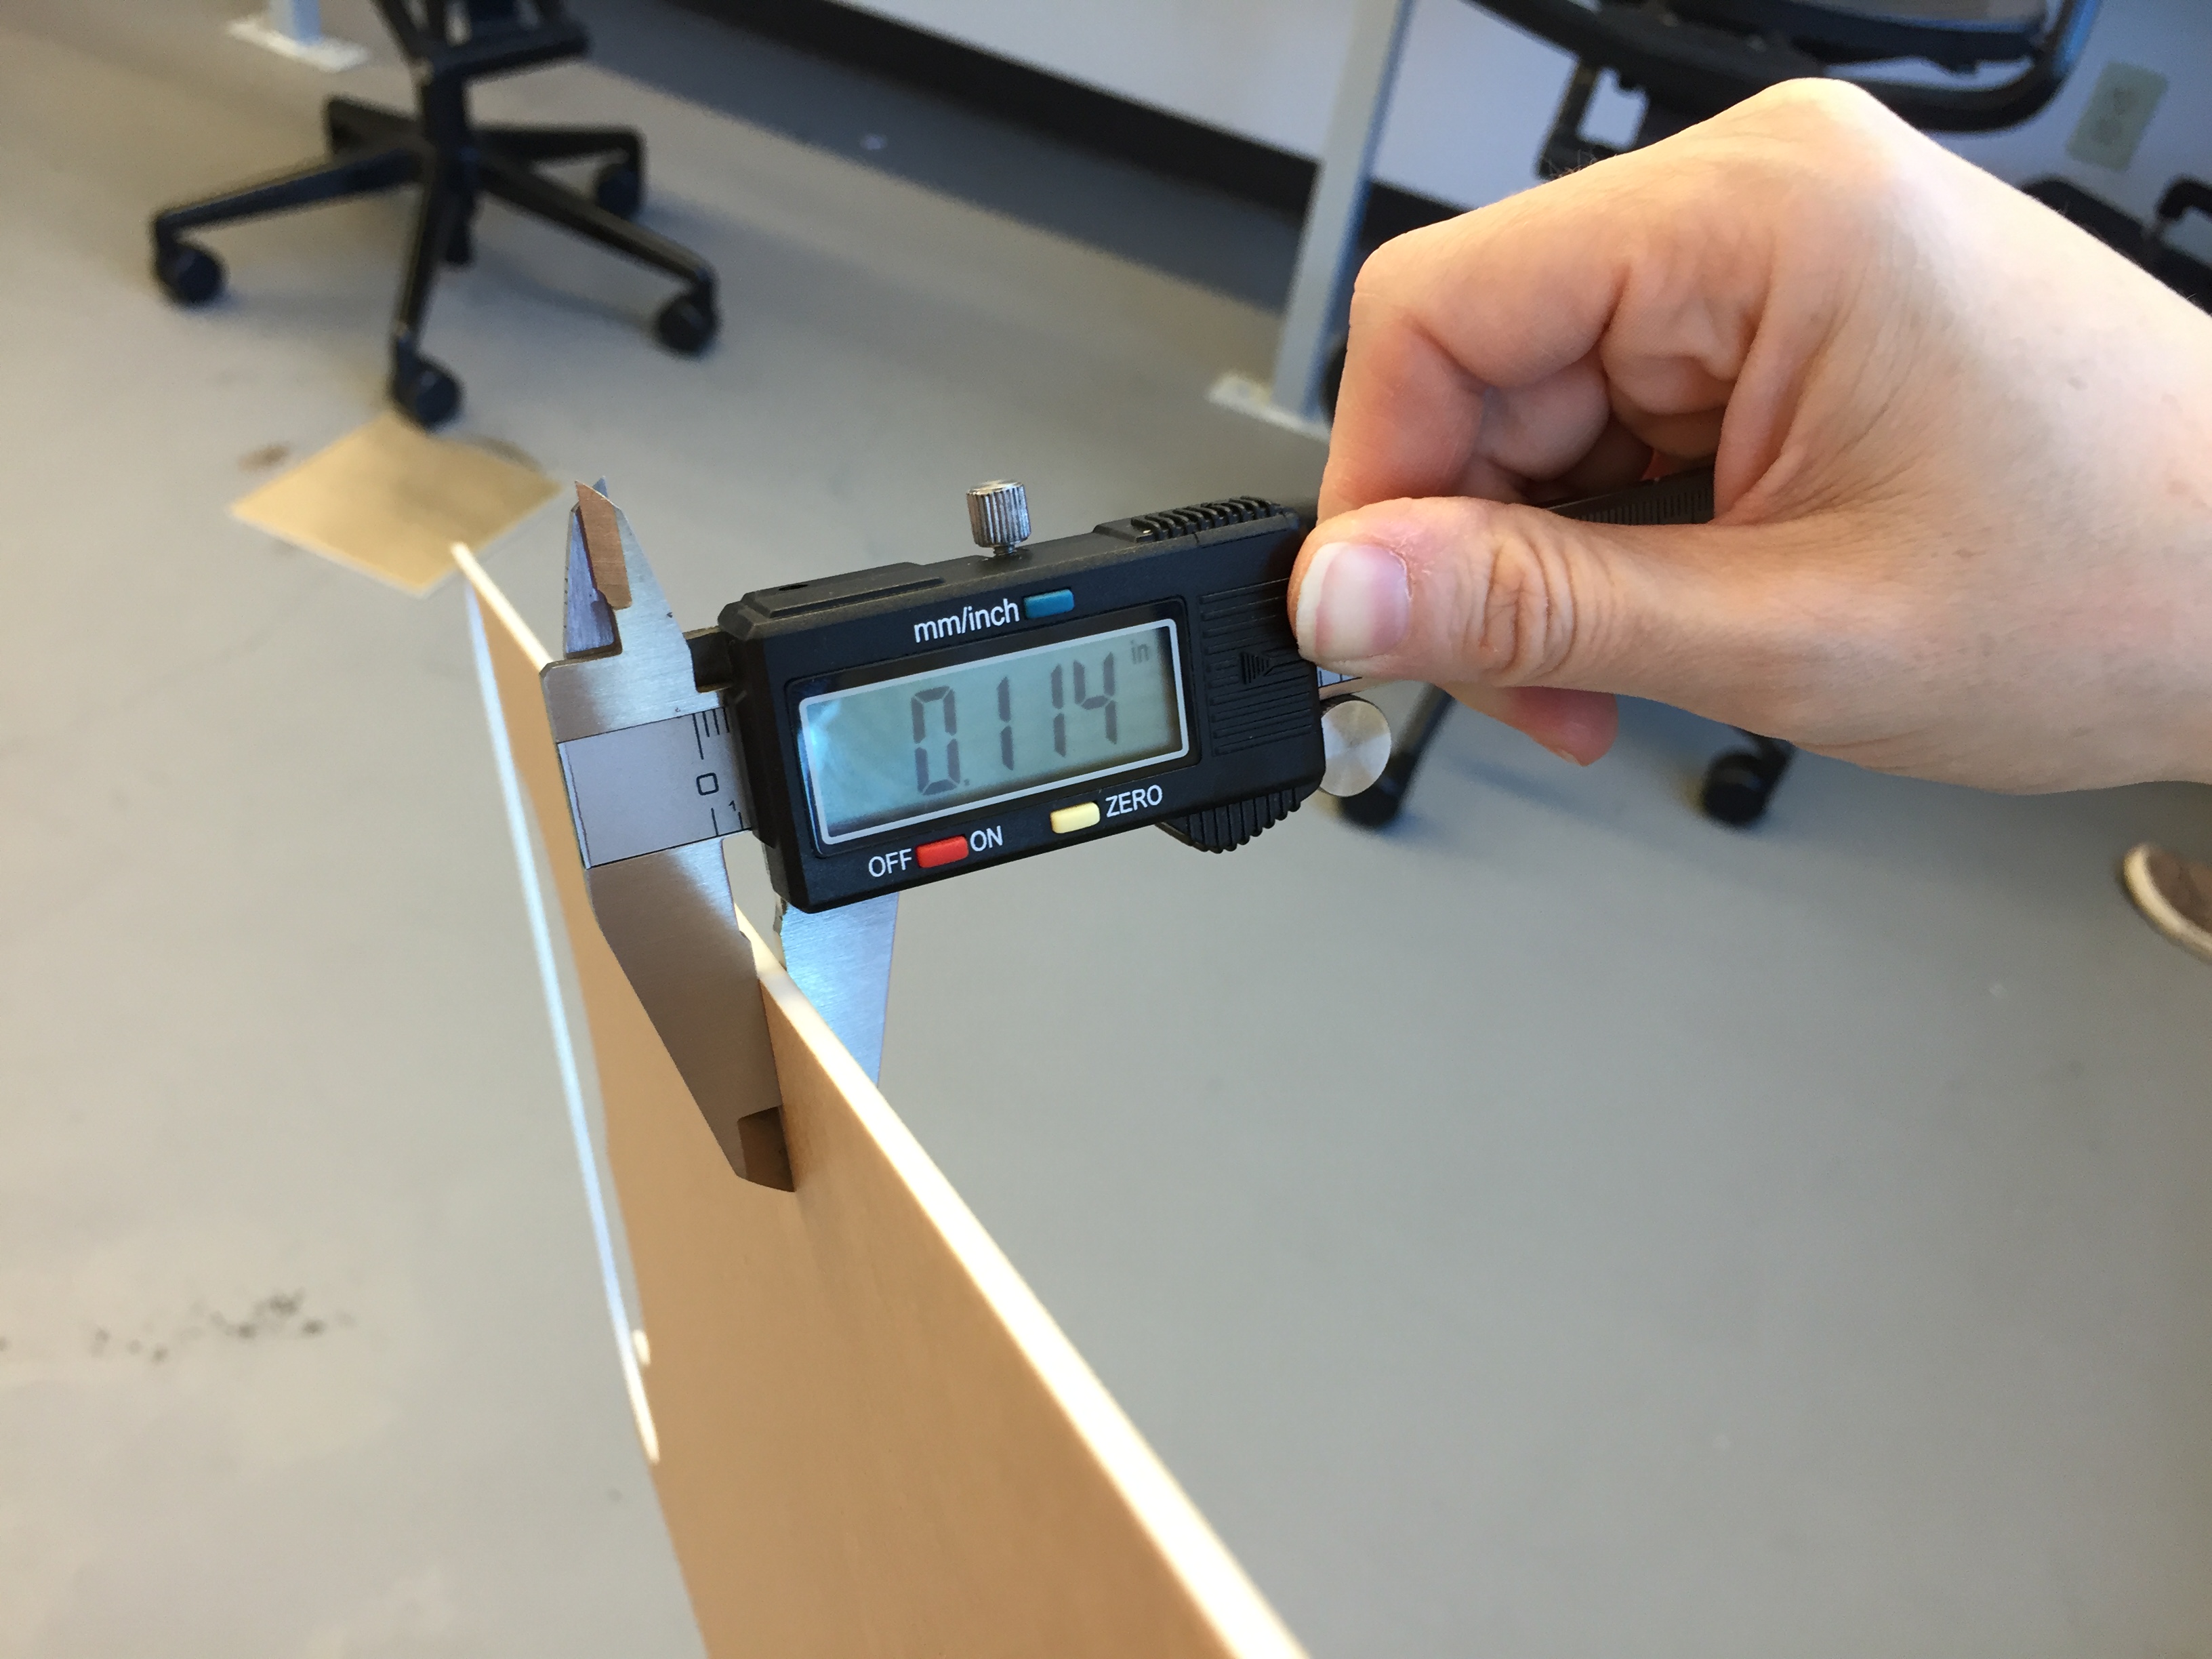
- Use the calipers to find the width.
- Drag a box. Change the dimensions.
- Getting the length of the fitting right can be challenging. Make use of scrap materials to get it right. In this case, I made the two cuts the same (longer) length. And then made them both shorter. I ended up needing one of each.
- Add holes to hang your other pieces from.
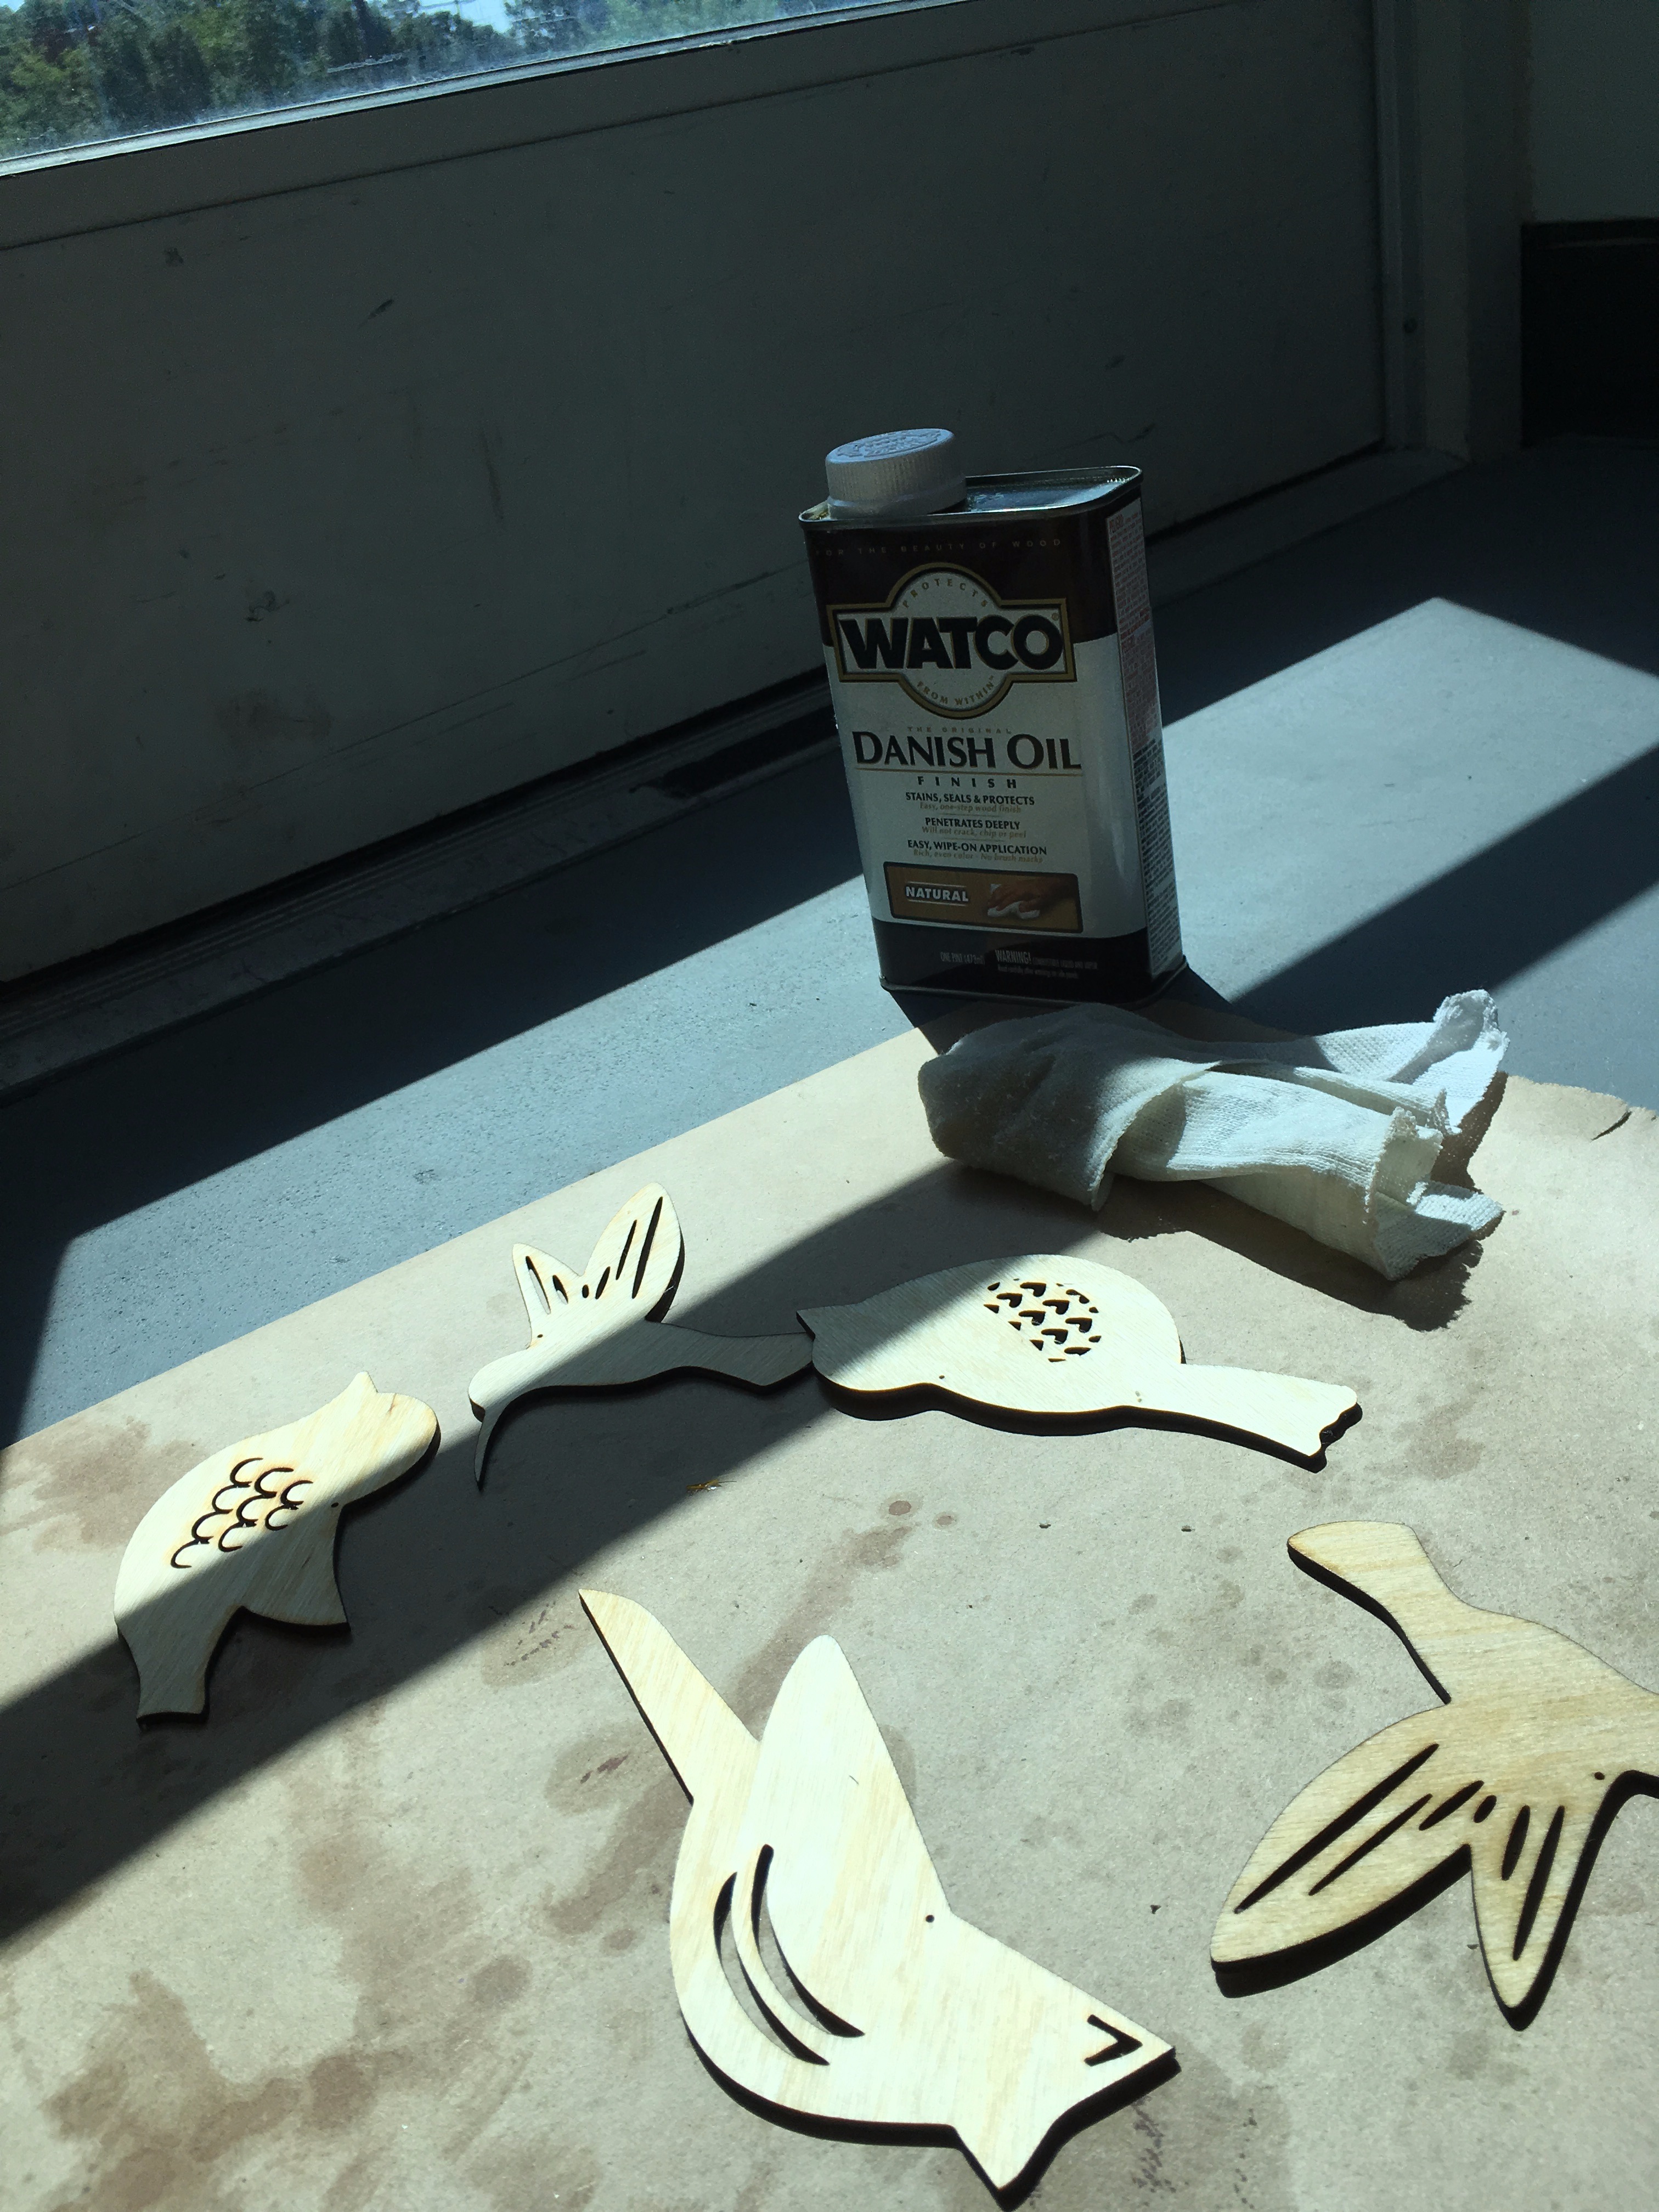
- Create files for other pieces (same process as above. In my case, birds and felt circles.)
Cut Your Materials
Once your files are complete, CUT!
- Position your items in the laser cutter.
- Focus the machine:
- hit the 'Focus' button
- make sure dangly bit barely touches item
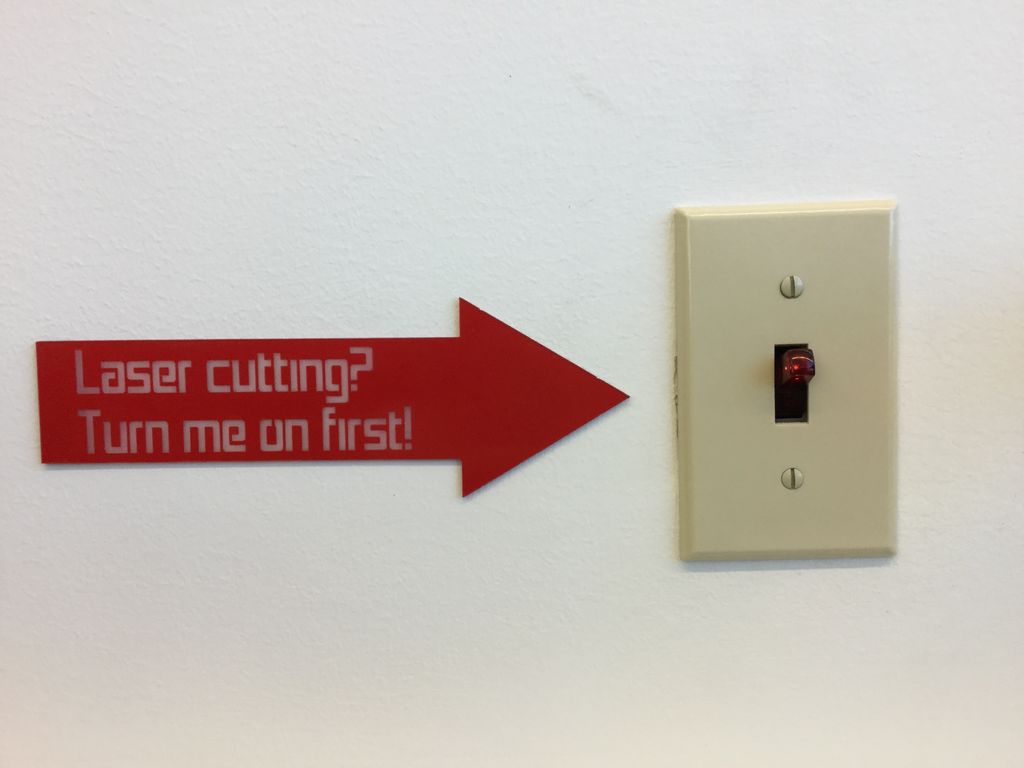
- Turn on the ventilation fan!
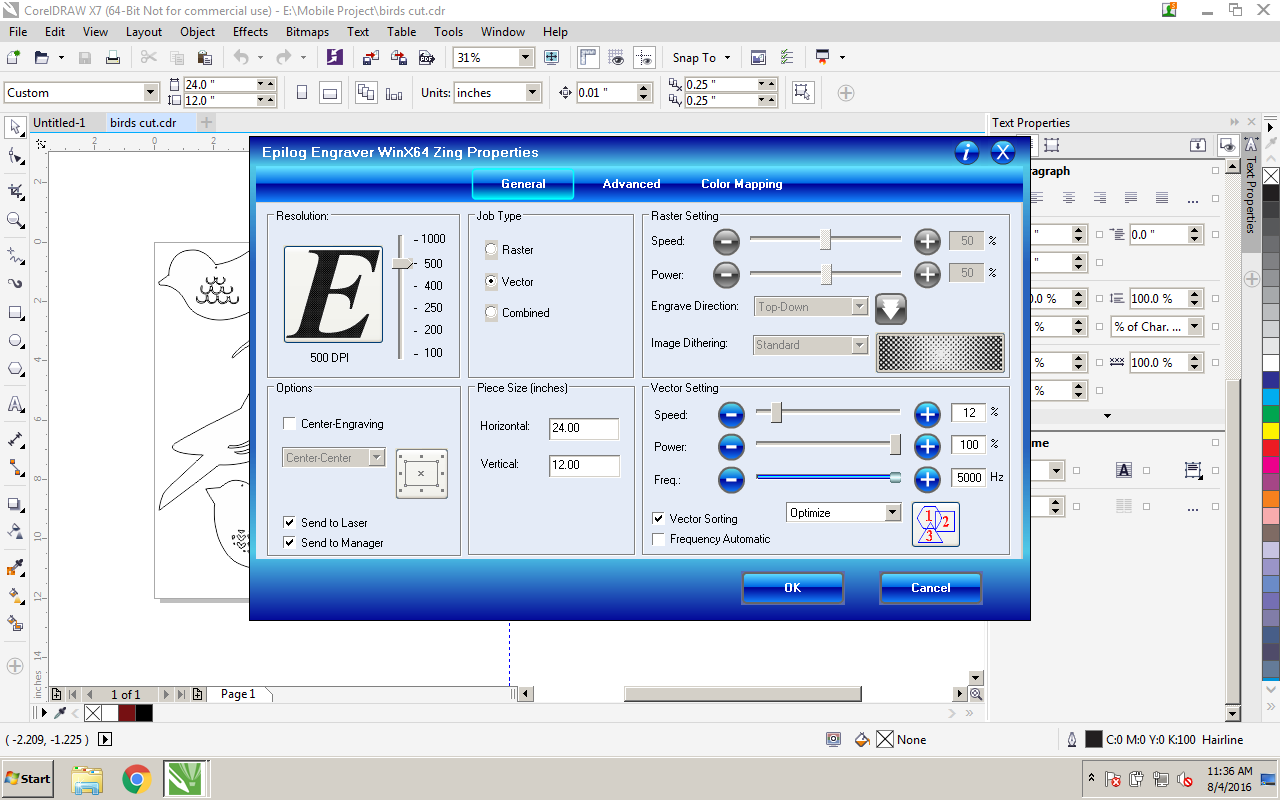
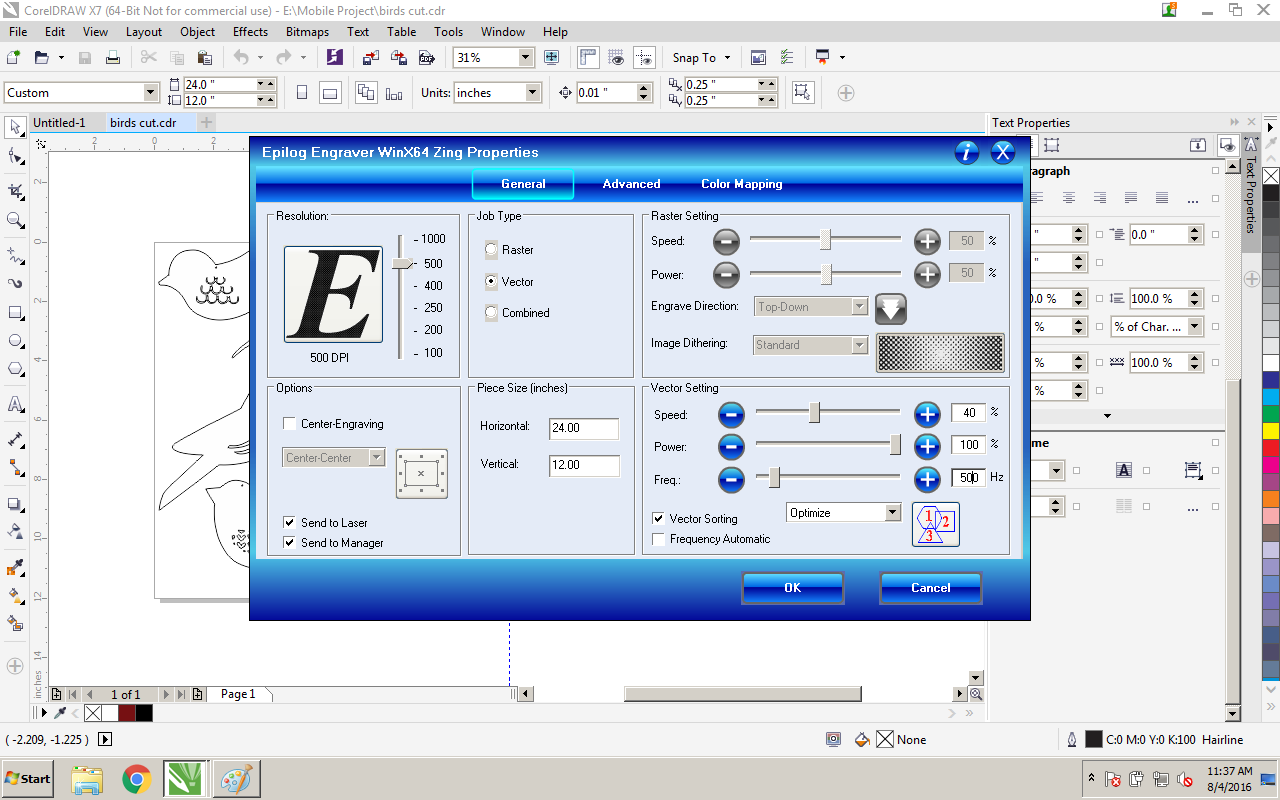
- Send your job to the cutter:
- Click File > Print
- Select Preferences
- Change based on your material type (see pics)
- When the laser is done, prep your final materials (peel off acrylic backing, finish your wood, etc.)
Assemble!
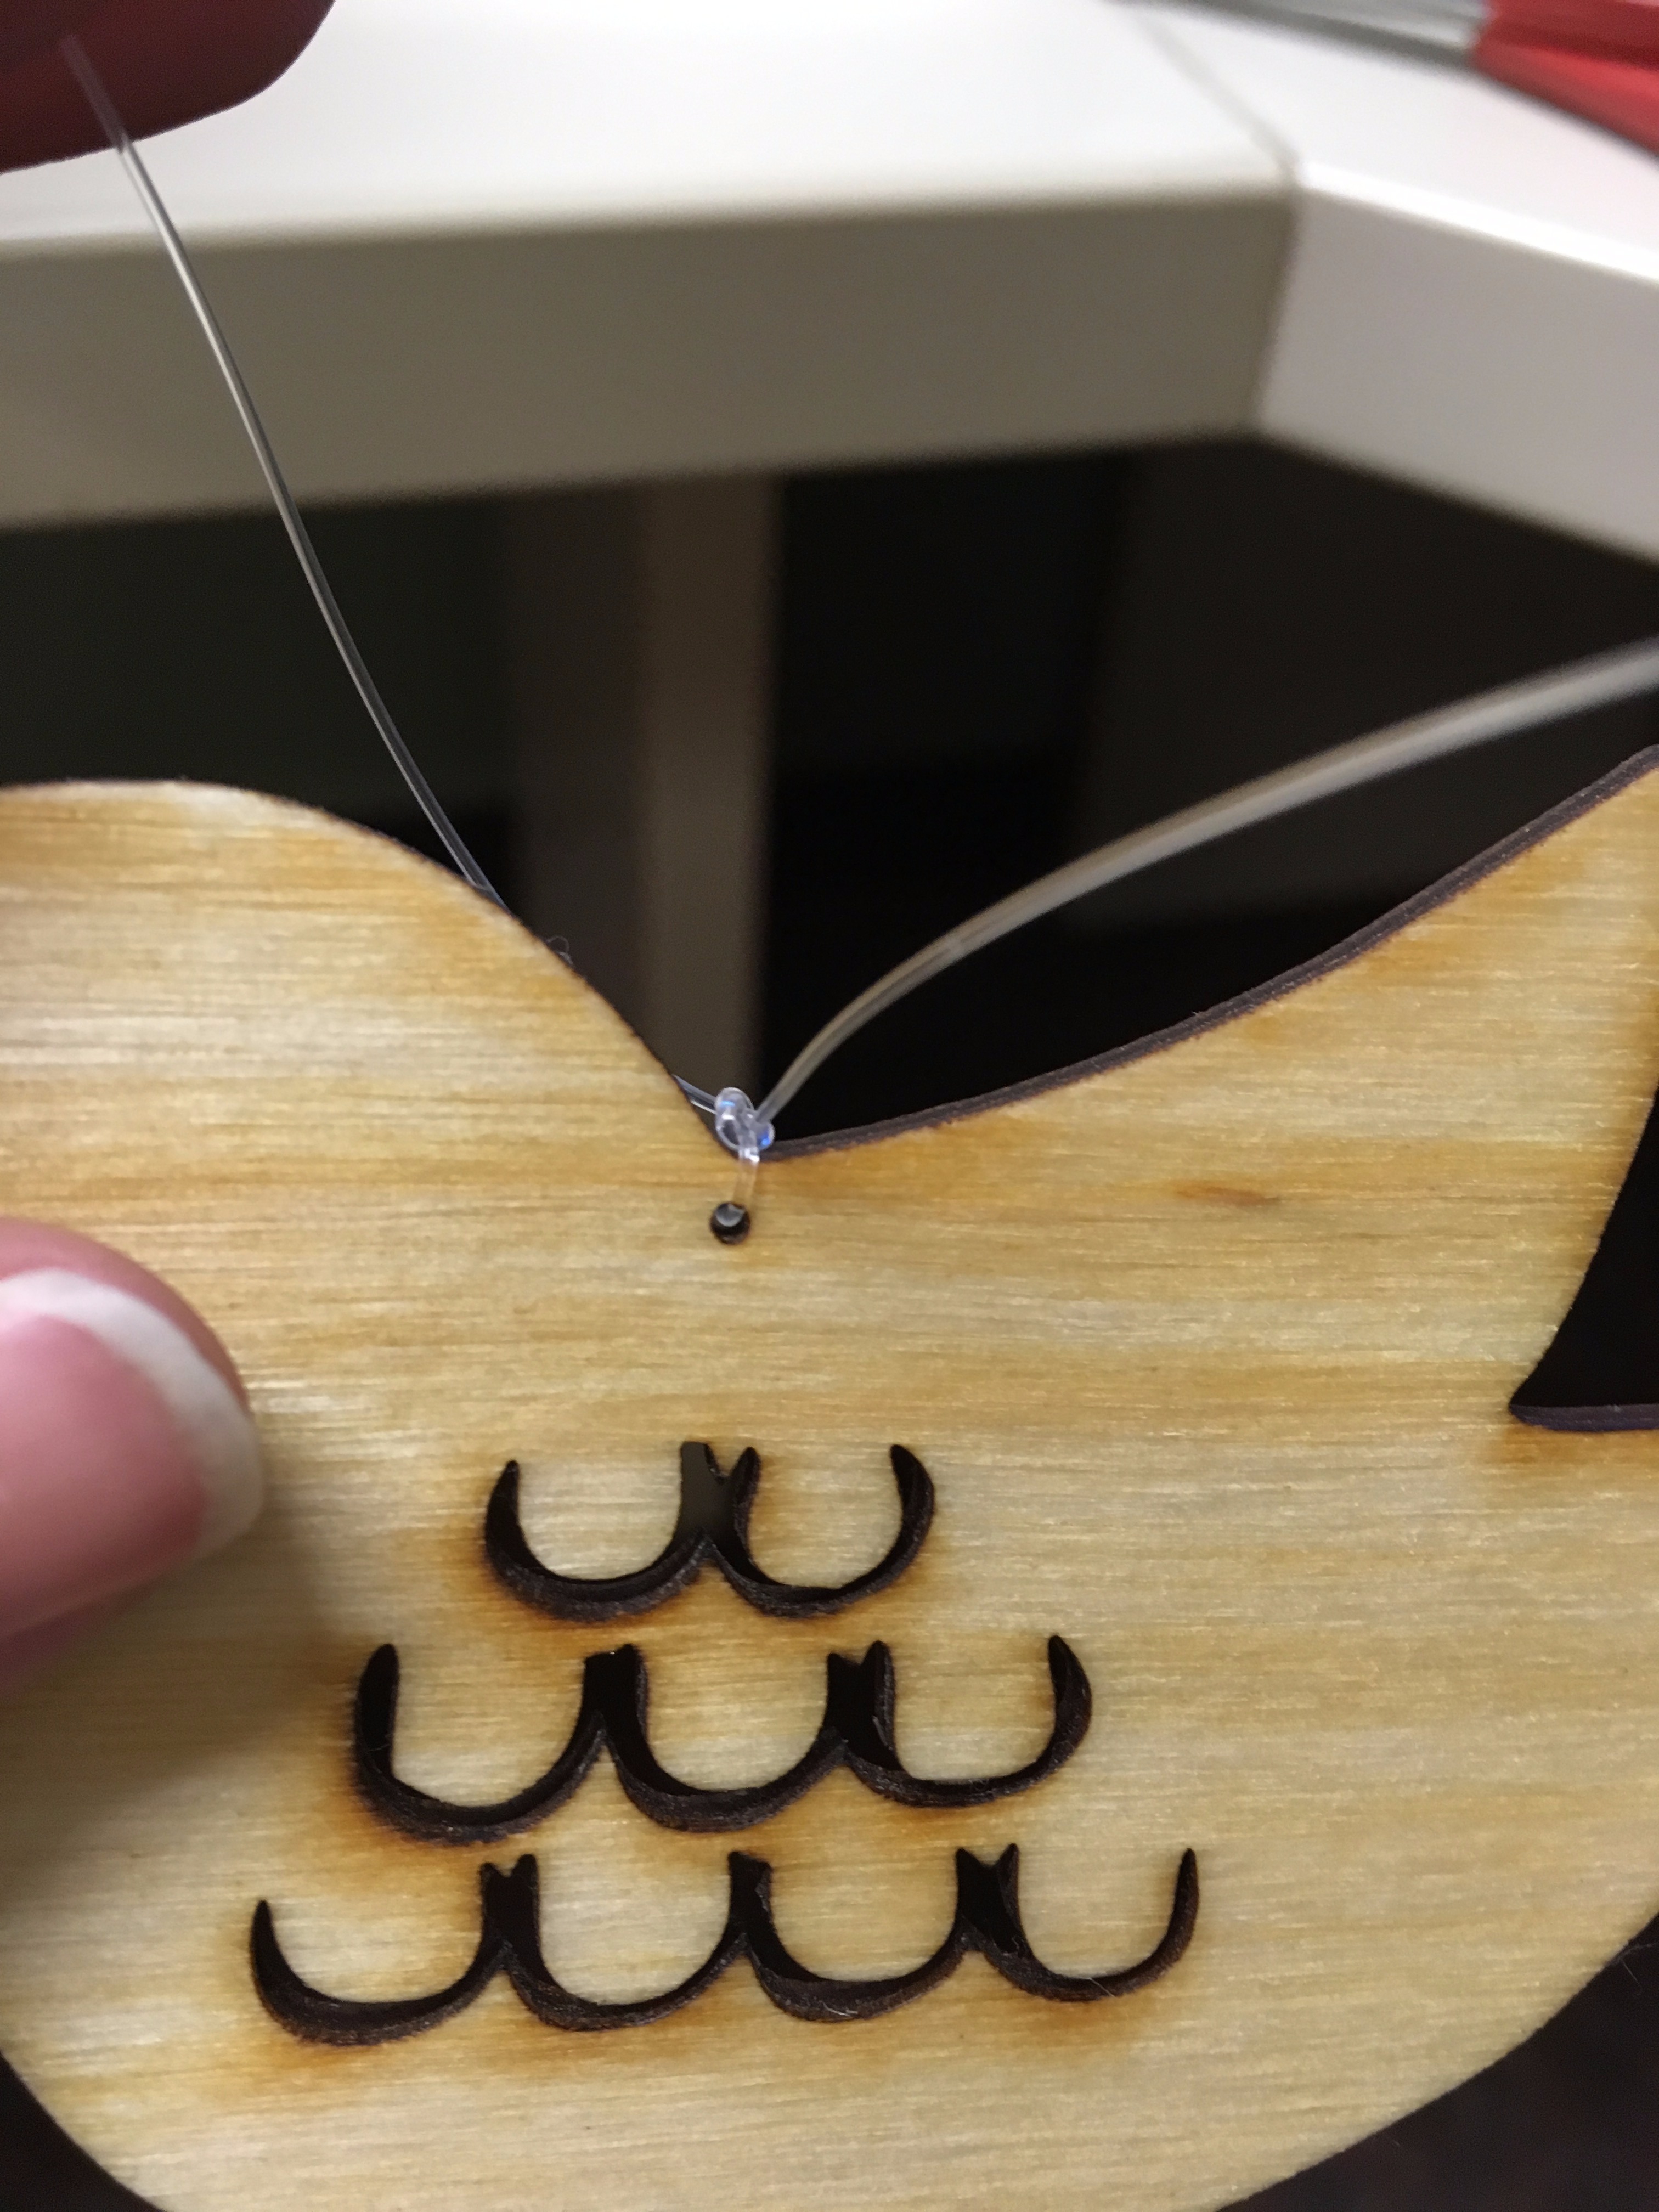
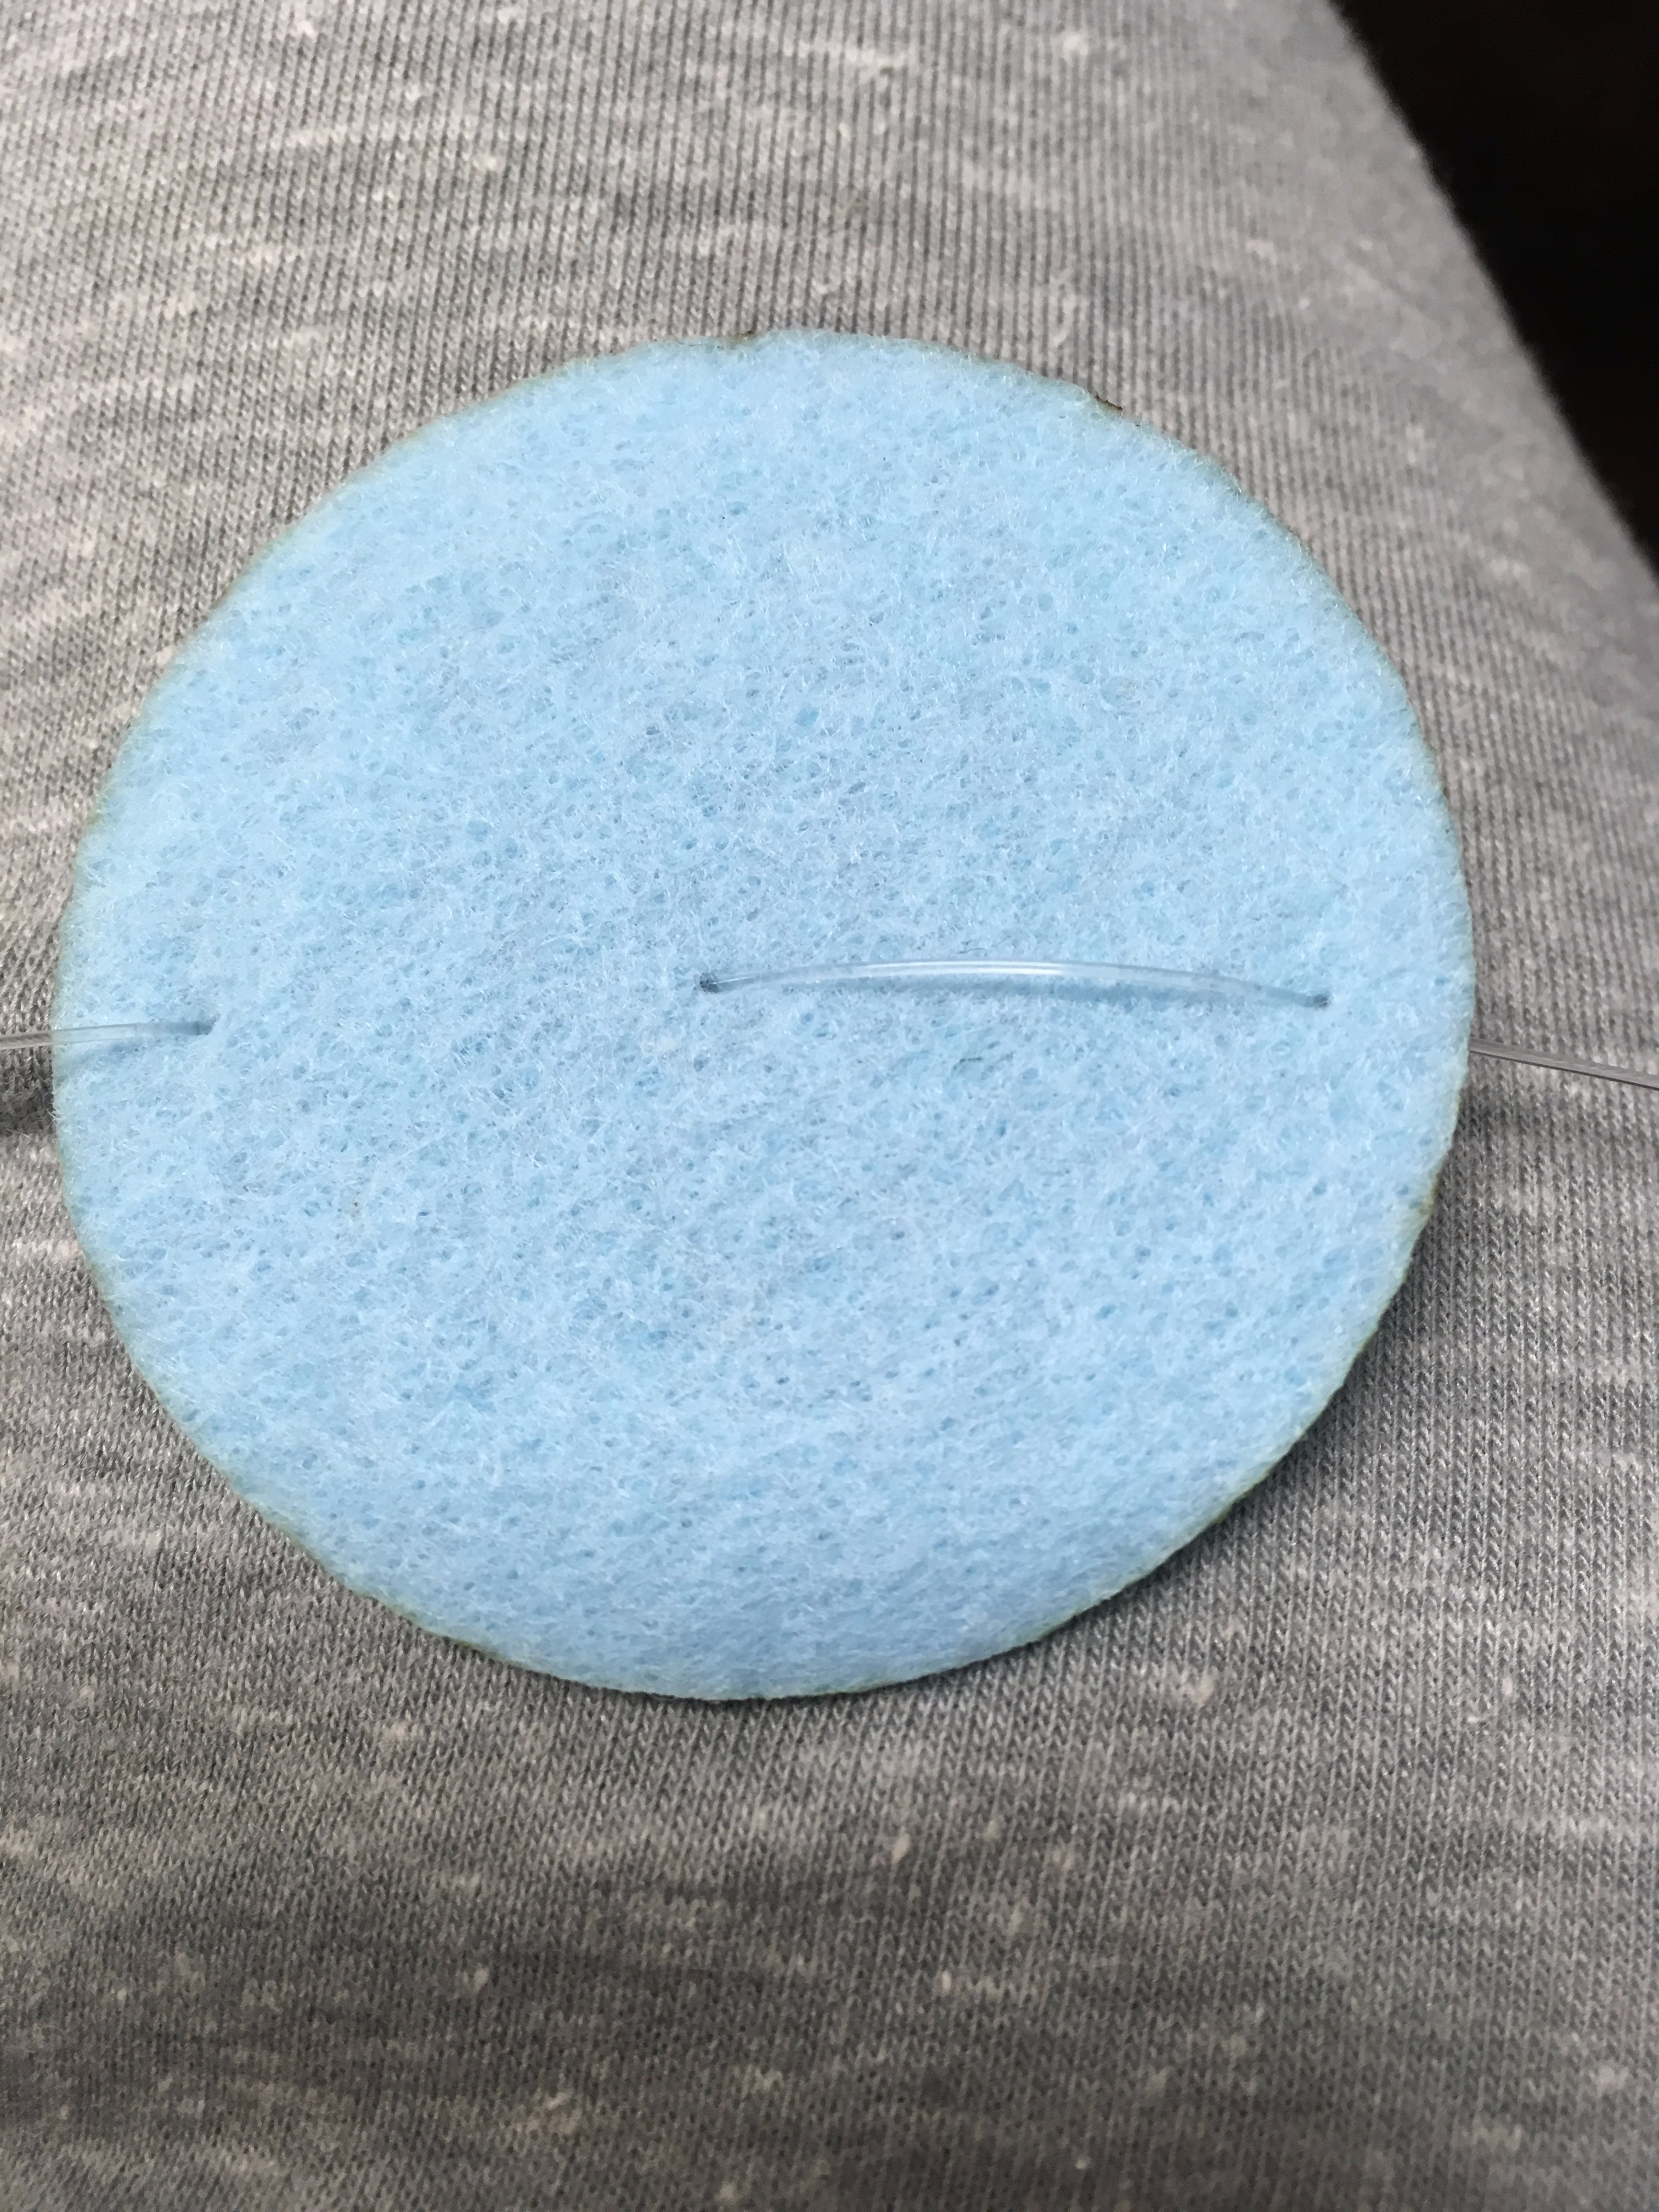
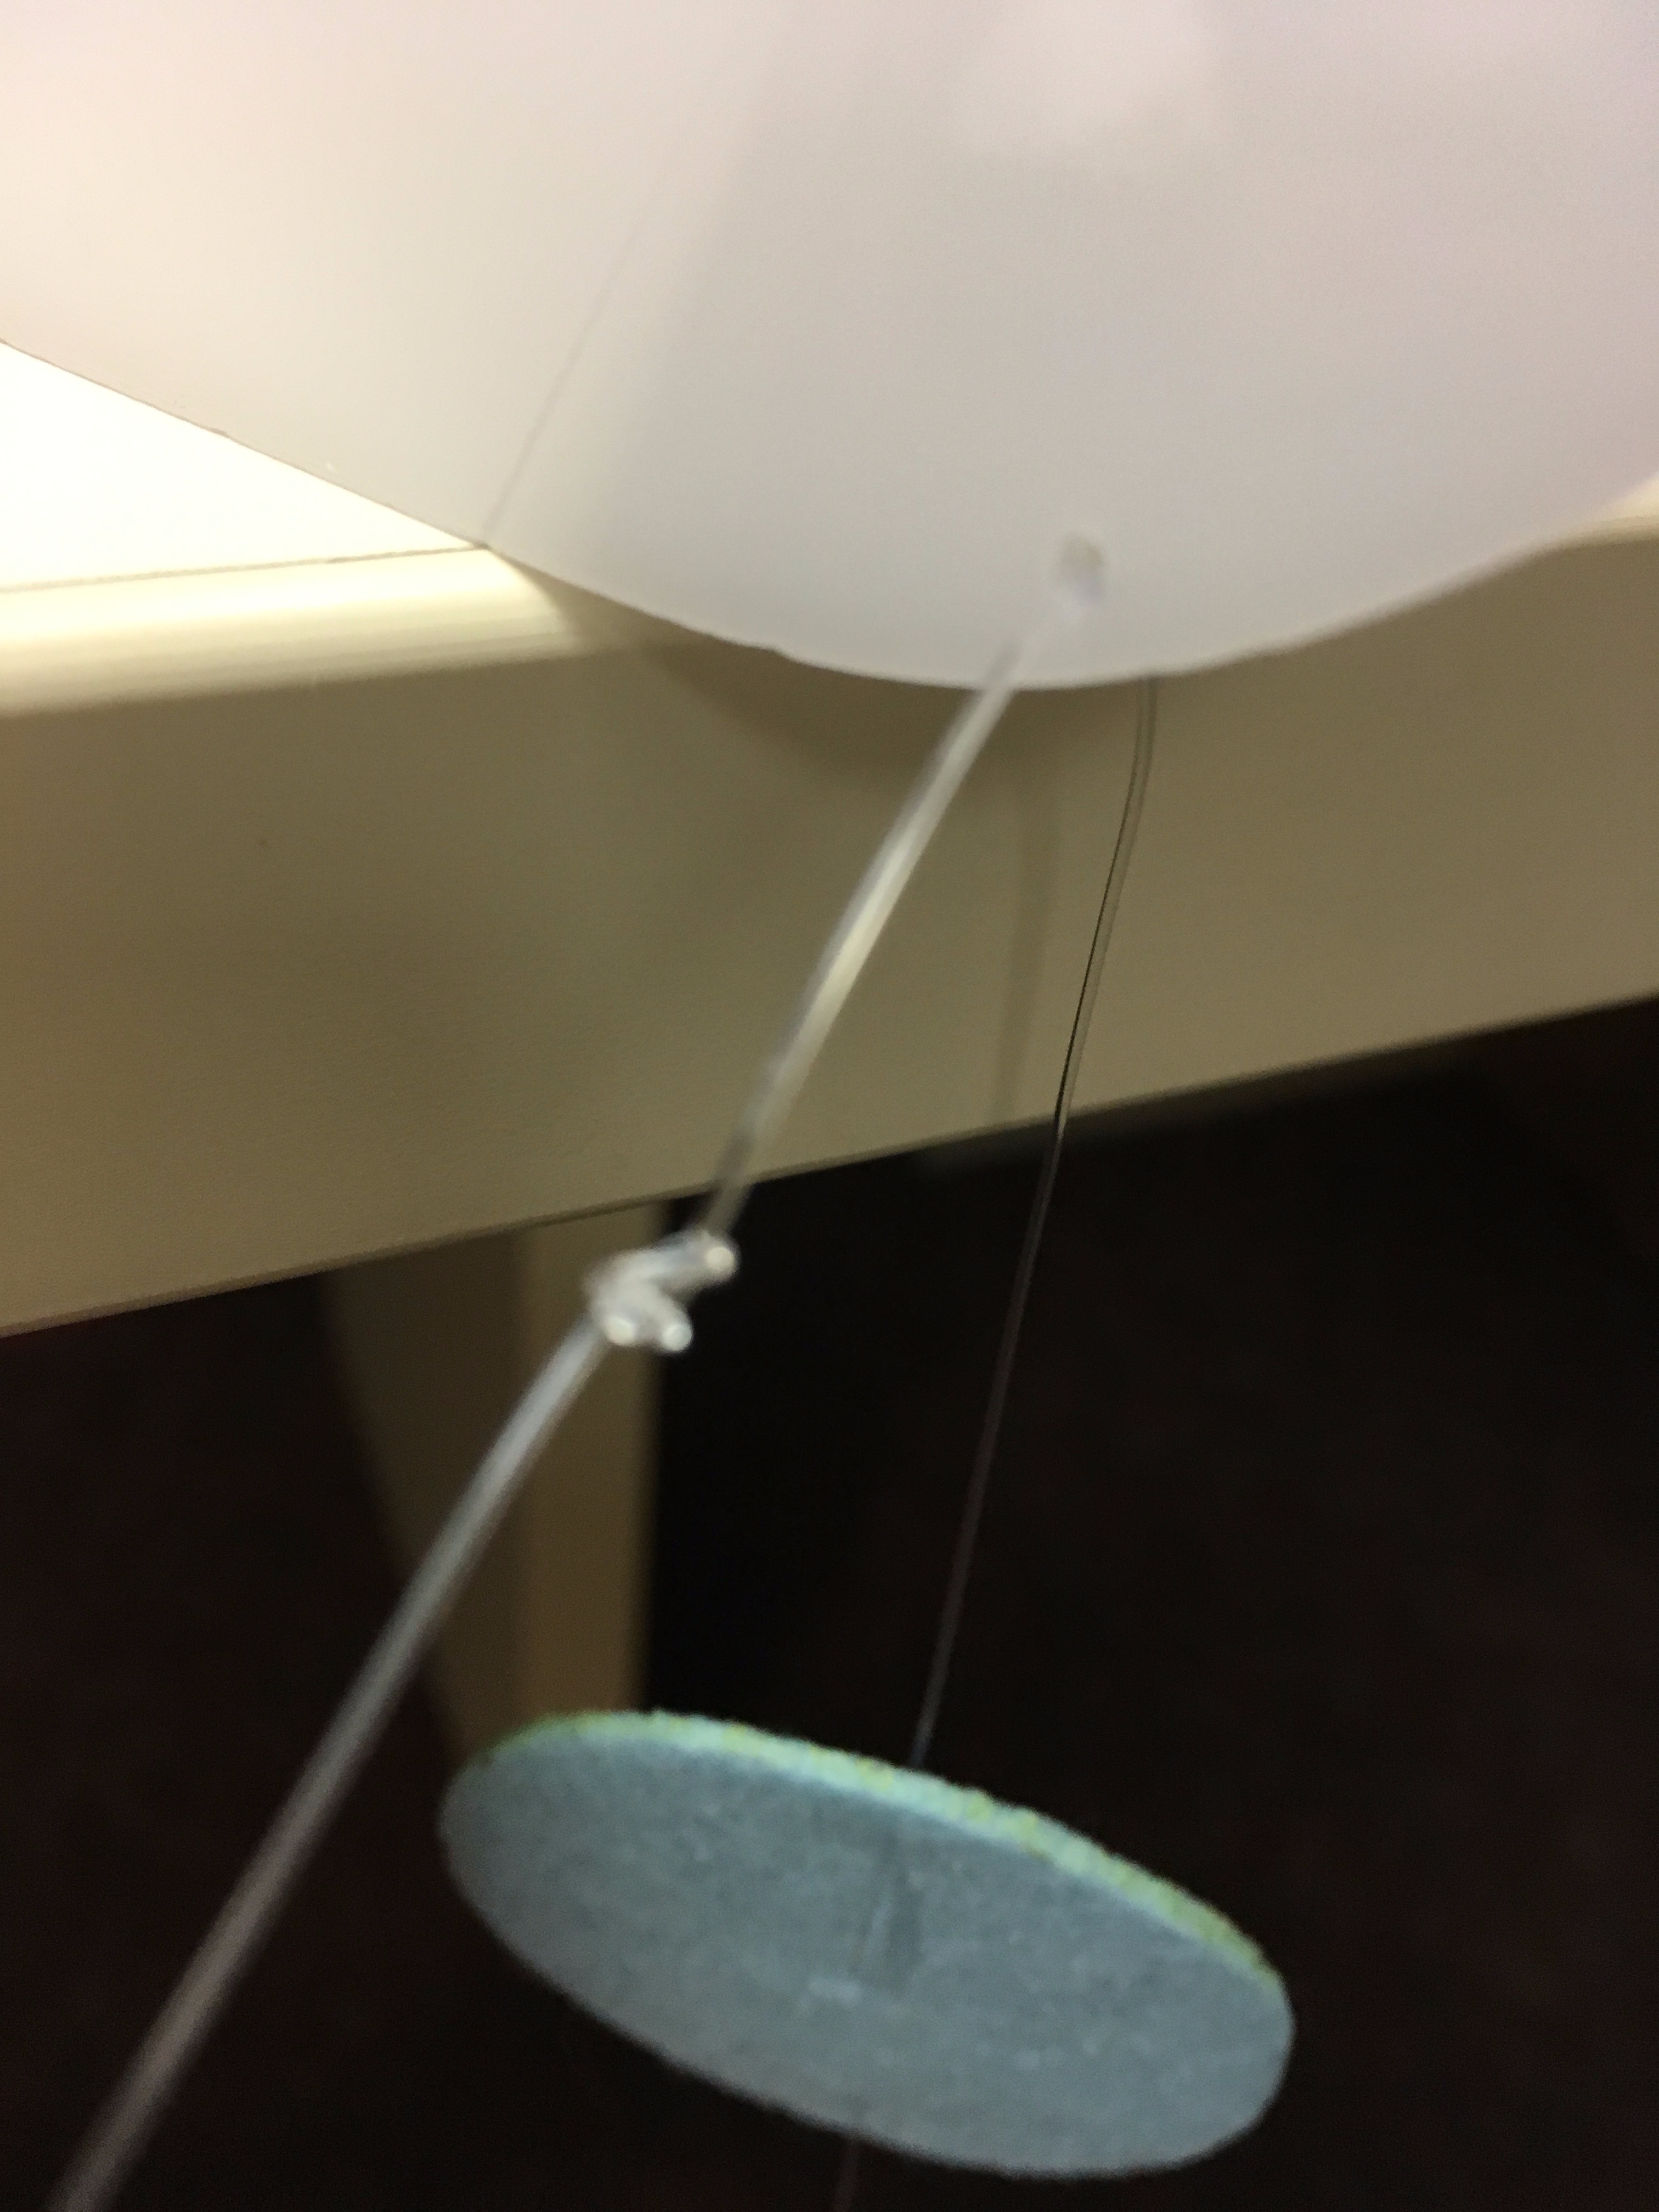
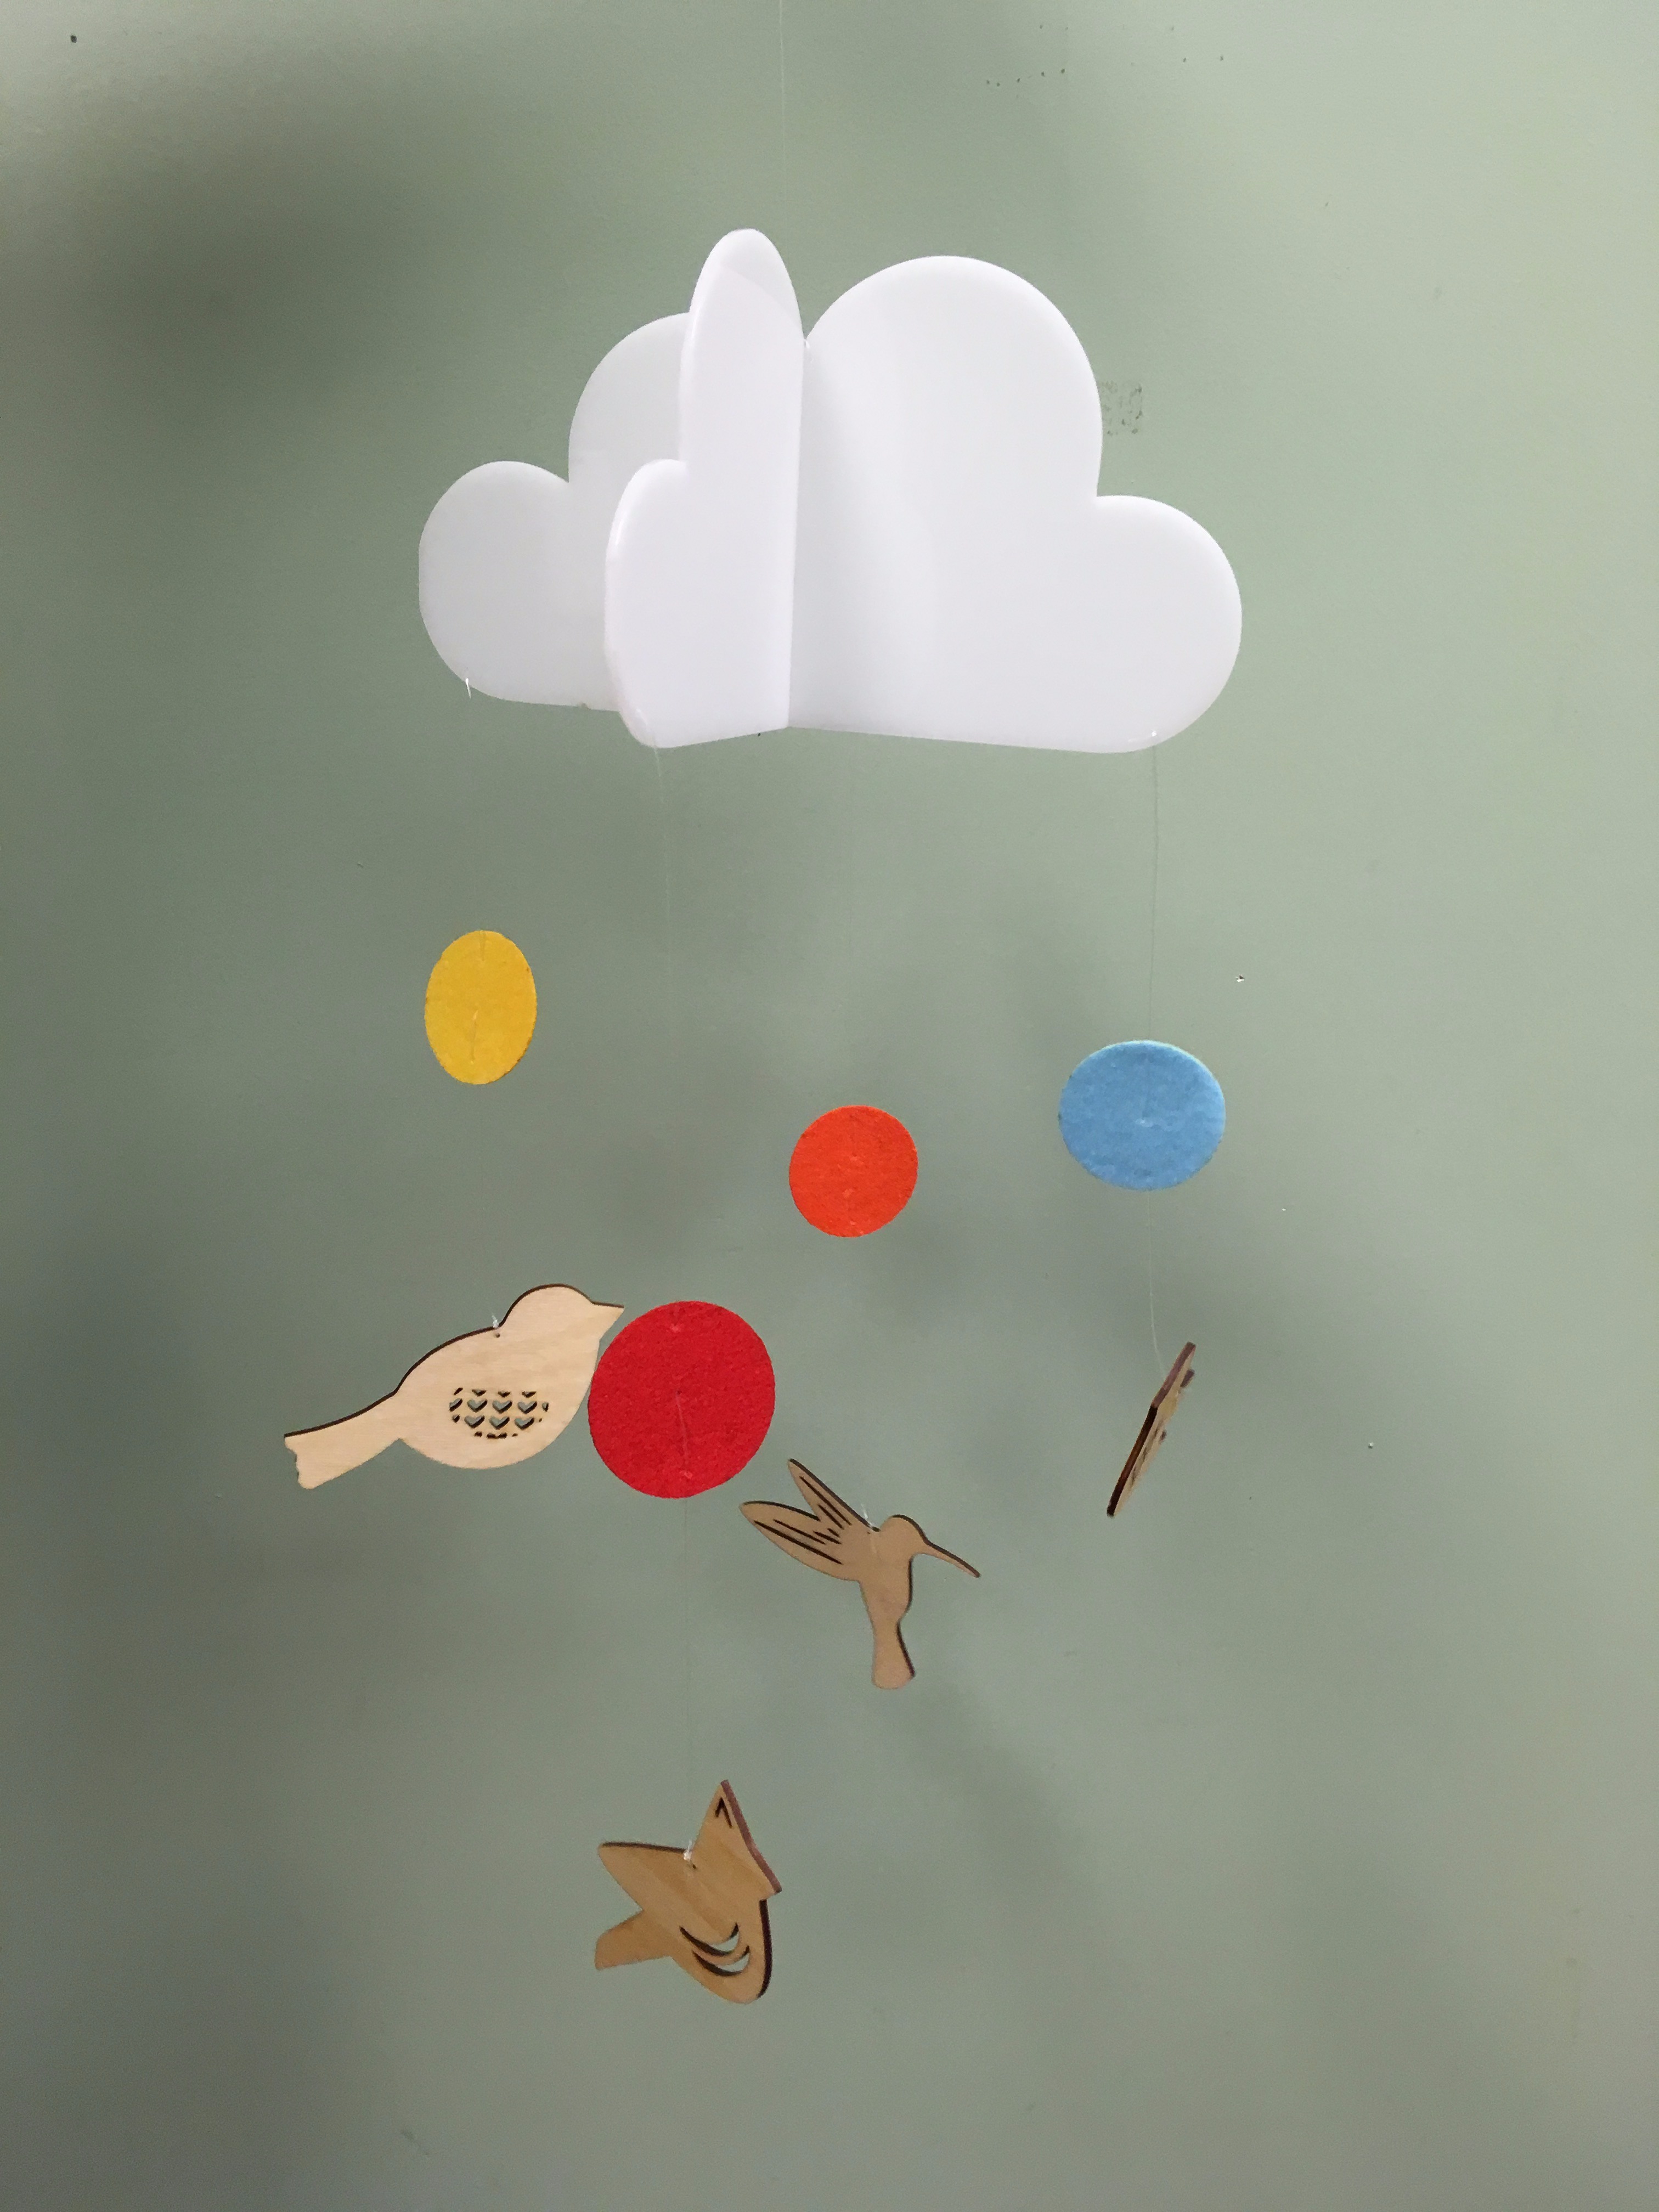
So...this is the easy part. Use the fishing line to connect the pieces together. I just double knotted everything. I used a needle to poke holes in the felt and pass the line through. Be sure to create nice, tight knots - falling parts on baby would be less than ideal.
Hang (or gift-wrap) it up and you're done!