Laser Cut Air Force Emblem
by tincherf in Workshop > Laser Cutting
5103 Views, 50 Favorites, 0 Comments
Laser Cut Air Force Emblem
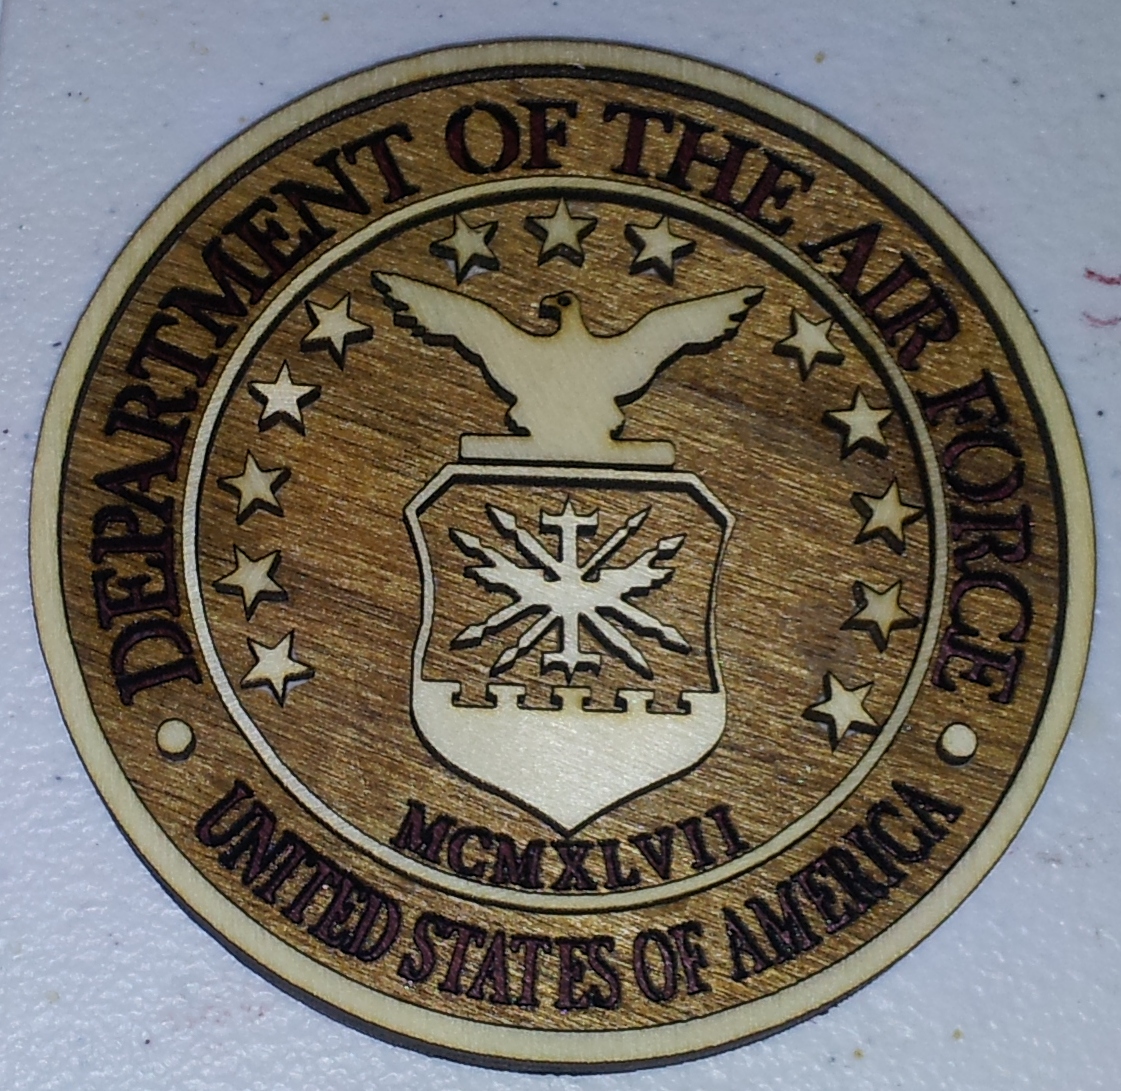

As a veteran of the Air Force, I remember looking for items that were of good quality to display in my home and office and I still do. And now that I have the ability to make such items I want to share in this instruct able how to make one. They make great gifts for those that are or were ever in the military. Normally they are made to be about 18 inches in diameter, but this small 4 inch emblem makes for a great desk decoration.
During this instructable I will walk through the instructions of for the US Air Force emblem, although I use the same method for each service.
After deciding which service emblem to use, I had to find a good picture of it. Because military service emblems are free use, you can find them pretty much any where, but you need to find one that is large enough and clear. The best picture use with the laser engraver is a black and white vector graphic. I found my service emblems at http://www.defense.gov/multimedia/web_graphics/ , here there is all the services and the esp. graphics are perfect.
Making the Graphic Into a Laserable Image
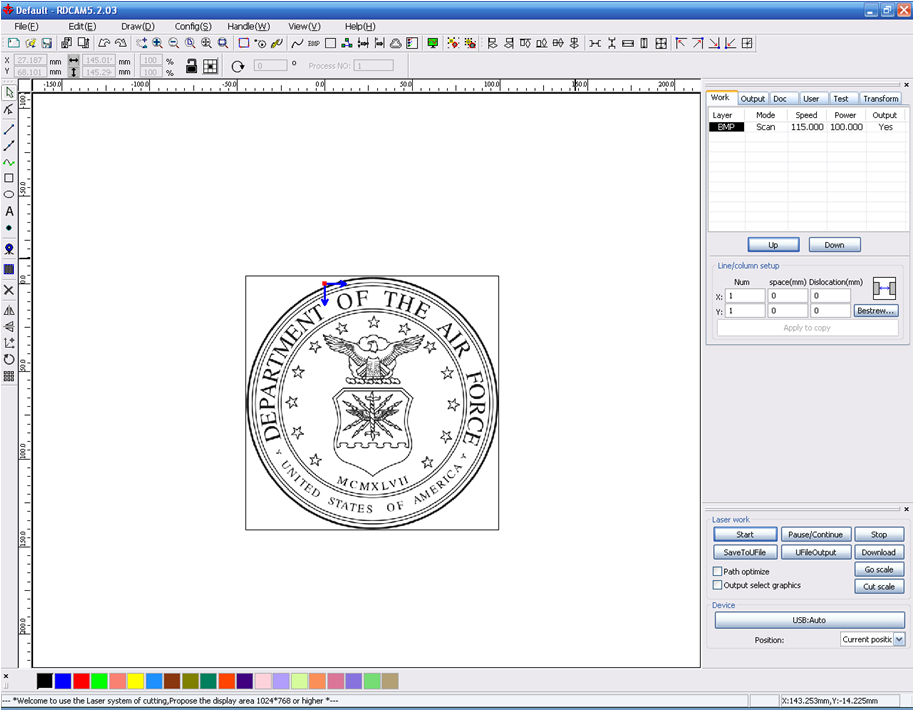
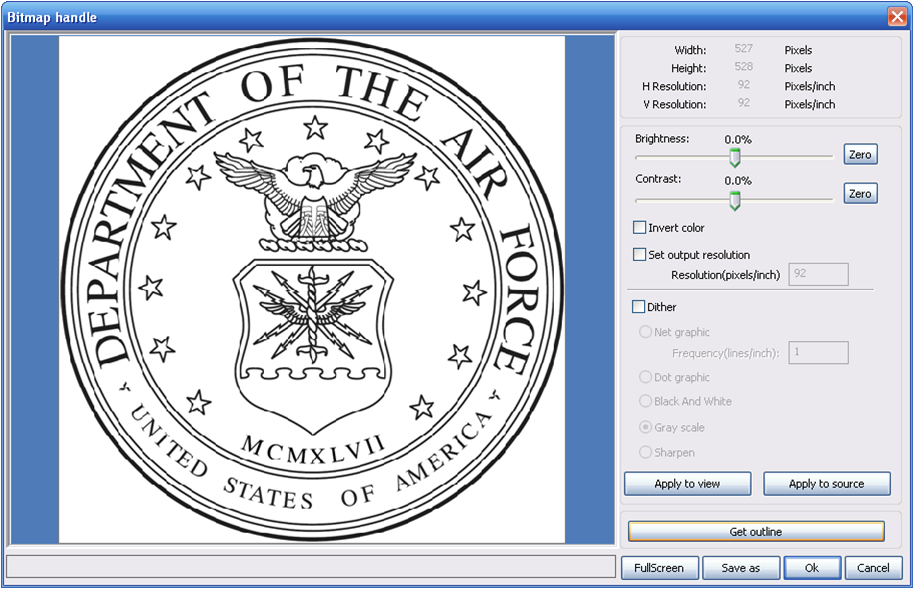
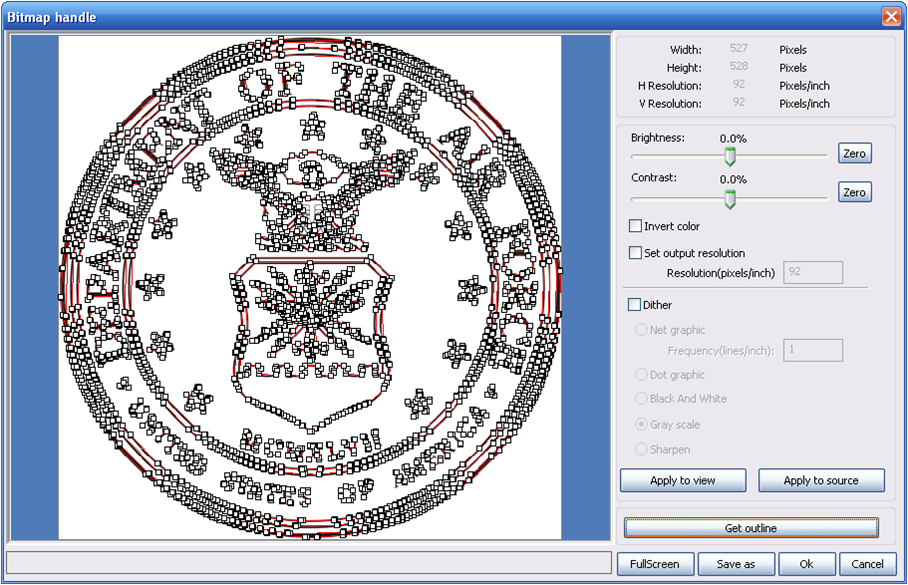
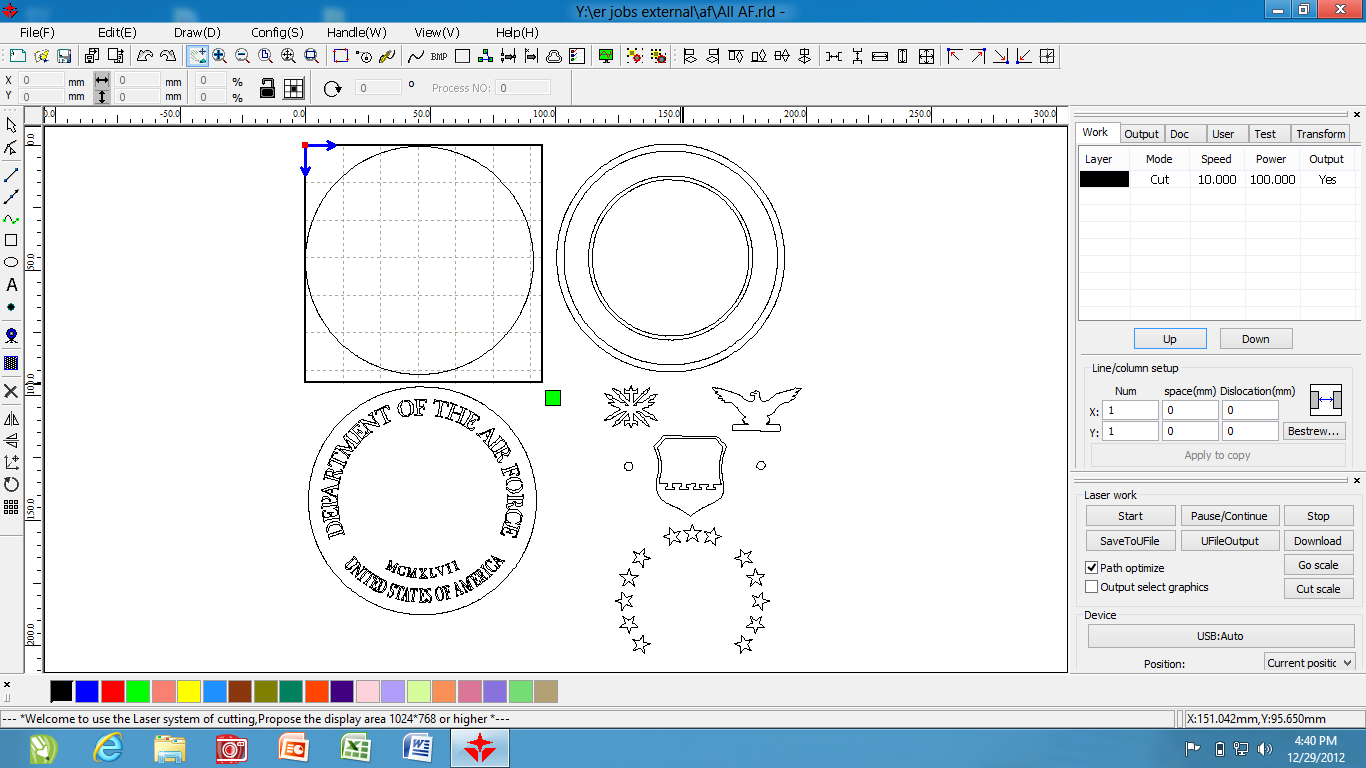
Now that I have the graphic I will use, the next step is to make it laserable, and in this case since I will be cutting the pieces out, I need to make it workable. Using the laser woks software that came with the laser (eBay model). For this example I will be setting the size so that the emblem will end up being 4 inches in diameter.
First, I set the work area up in millimeters, because the software does not work in standard measurements only metric. After setting the 4-inch work area you the next step is to import the graphic. Now, because the graphic is quit larger then the 4 inch area, I have to use the mouse wheel to scroll out. Once the graphic is center and filling the entire screen and I can see the whole graphic I click on it to highlight it and then chose handle from the top menu bar, then “Bitmap handle”, this is where I will get the outline drawing of the graphic.
Once the window is open for “bitmap Handle” I set the resolution to where I want it (1000 dpi) this allows for a sharp line with little straight edges on the curves. Next I click on the option “Get Outline”. After a second the outline is then overlaid on the original graphic, clicking OK to close the window and taking me back to the main screen where I can edit and fix any imperfections in the software trace of the graphic. Usually I will spend a couple of hours fixing lines and straightening line to allow for a perfect image.
To change the line or fix them, I use the tool that allows me to move the nodes of the lines around, this is what actually changes the shape or length of a line. Because this software is not the best such as CorelDraw it does not make a perfect outline, so I need to spend the time to ensure a good clean image and cut.
Because there are three layers of this graphic and also three colors, I need to separate out the parts that will be cut on the different shades of wood.
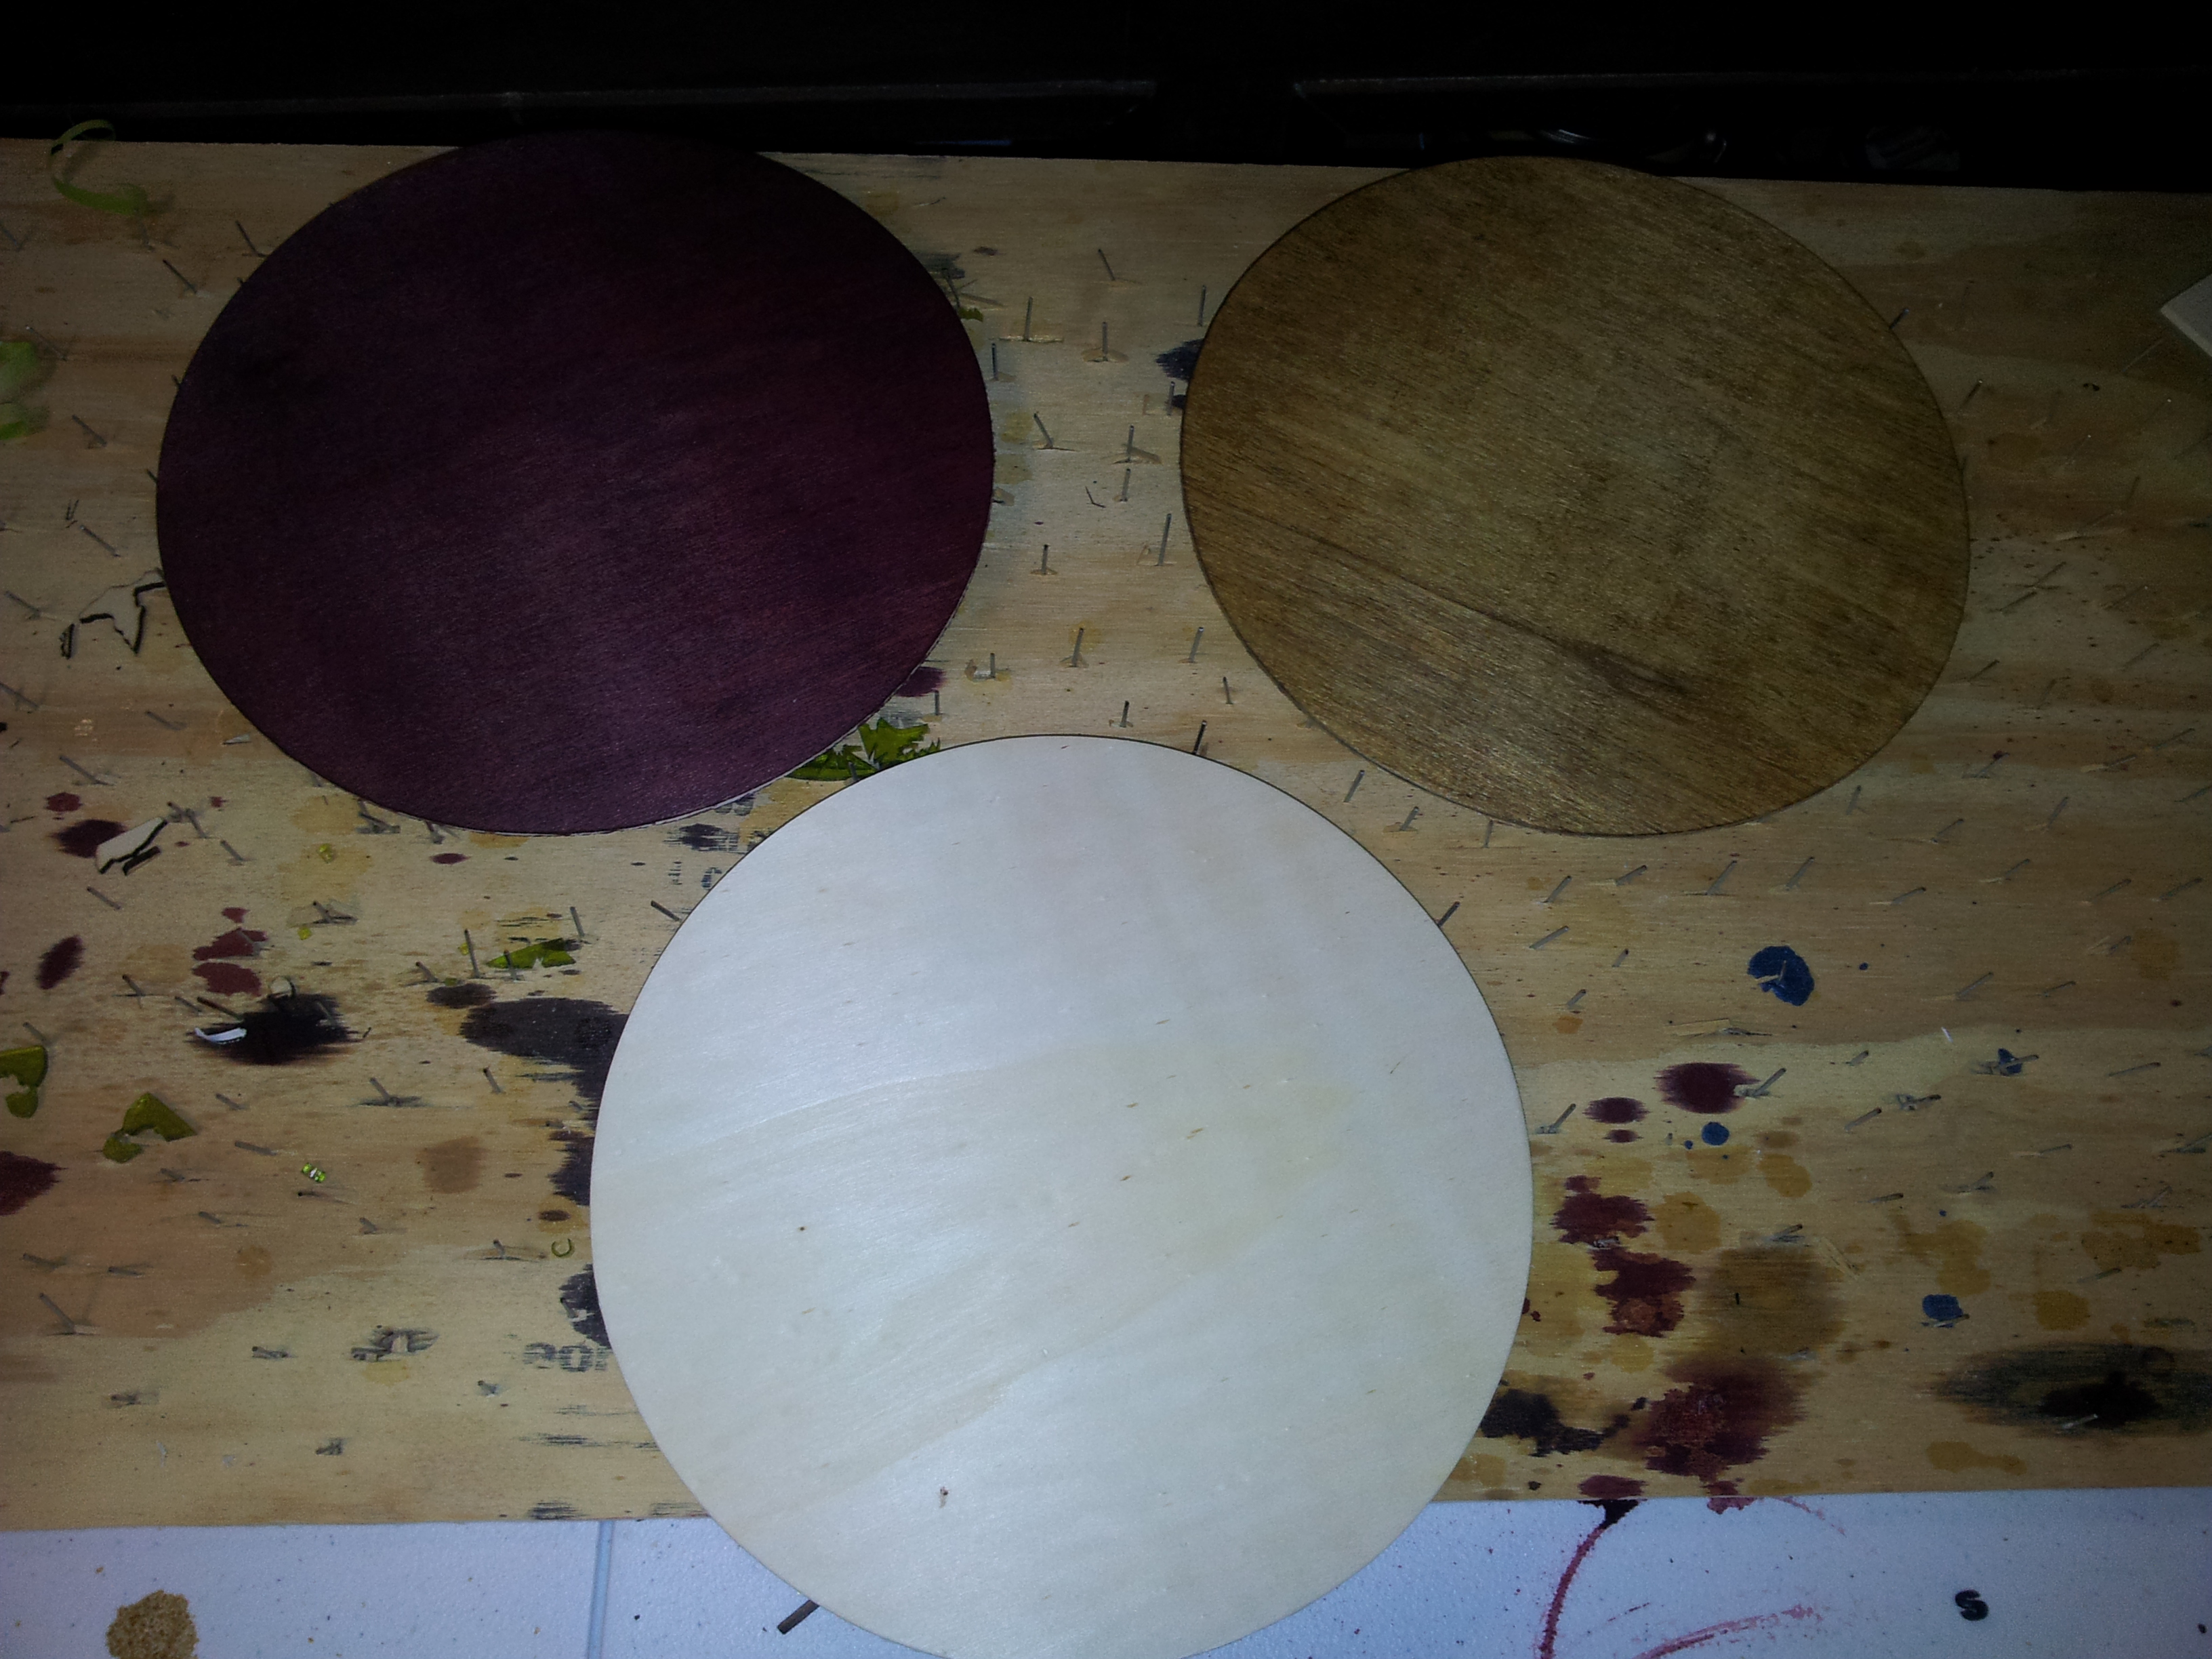
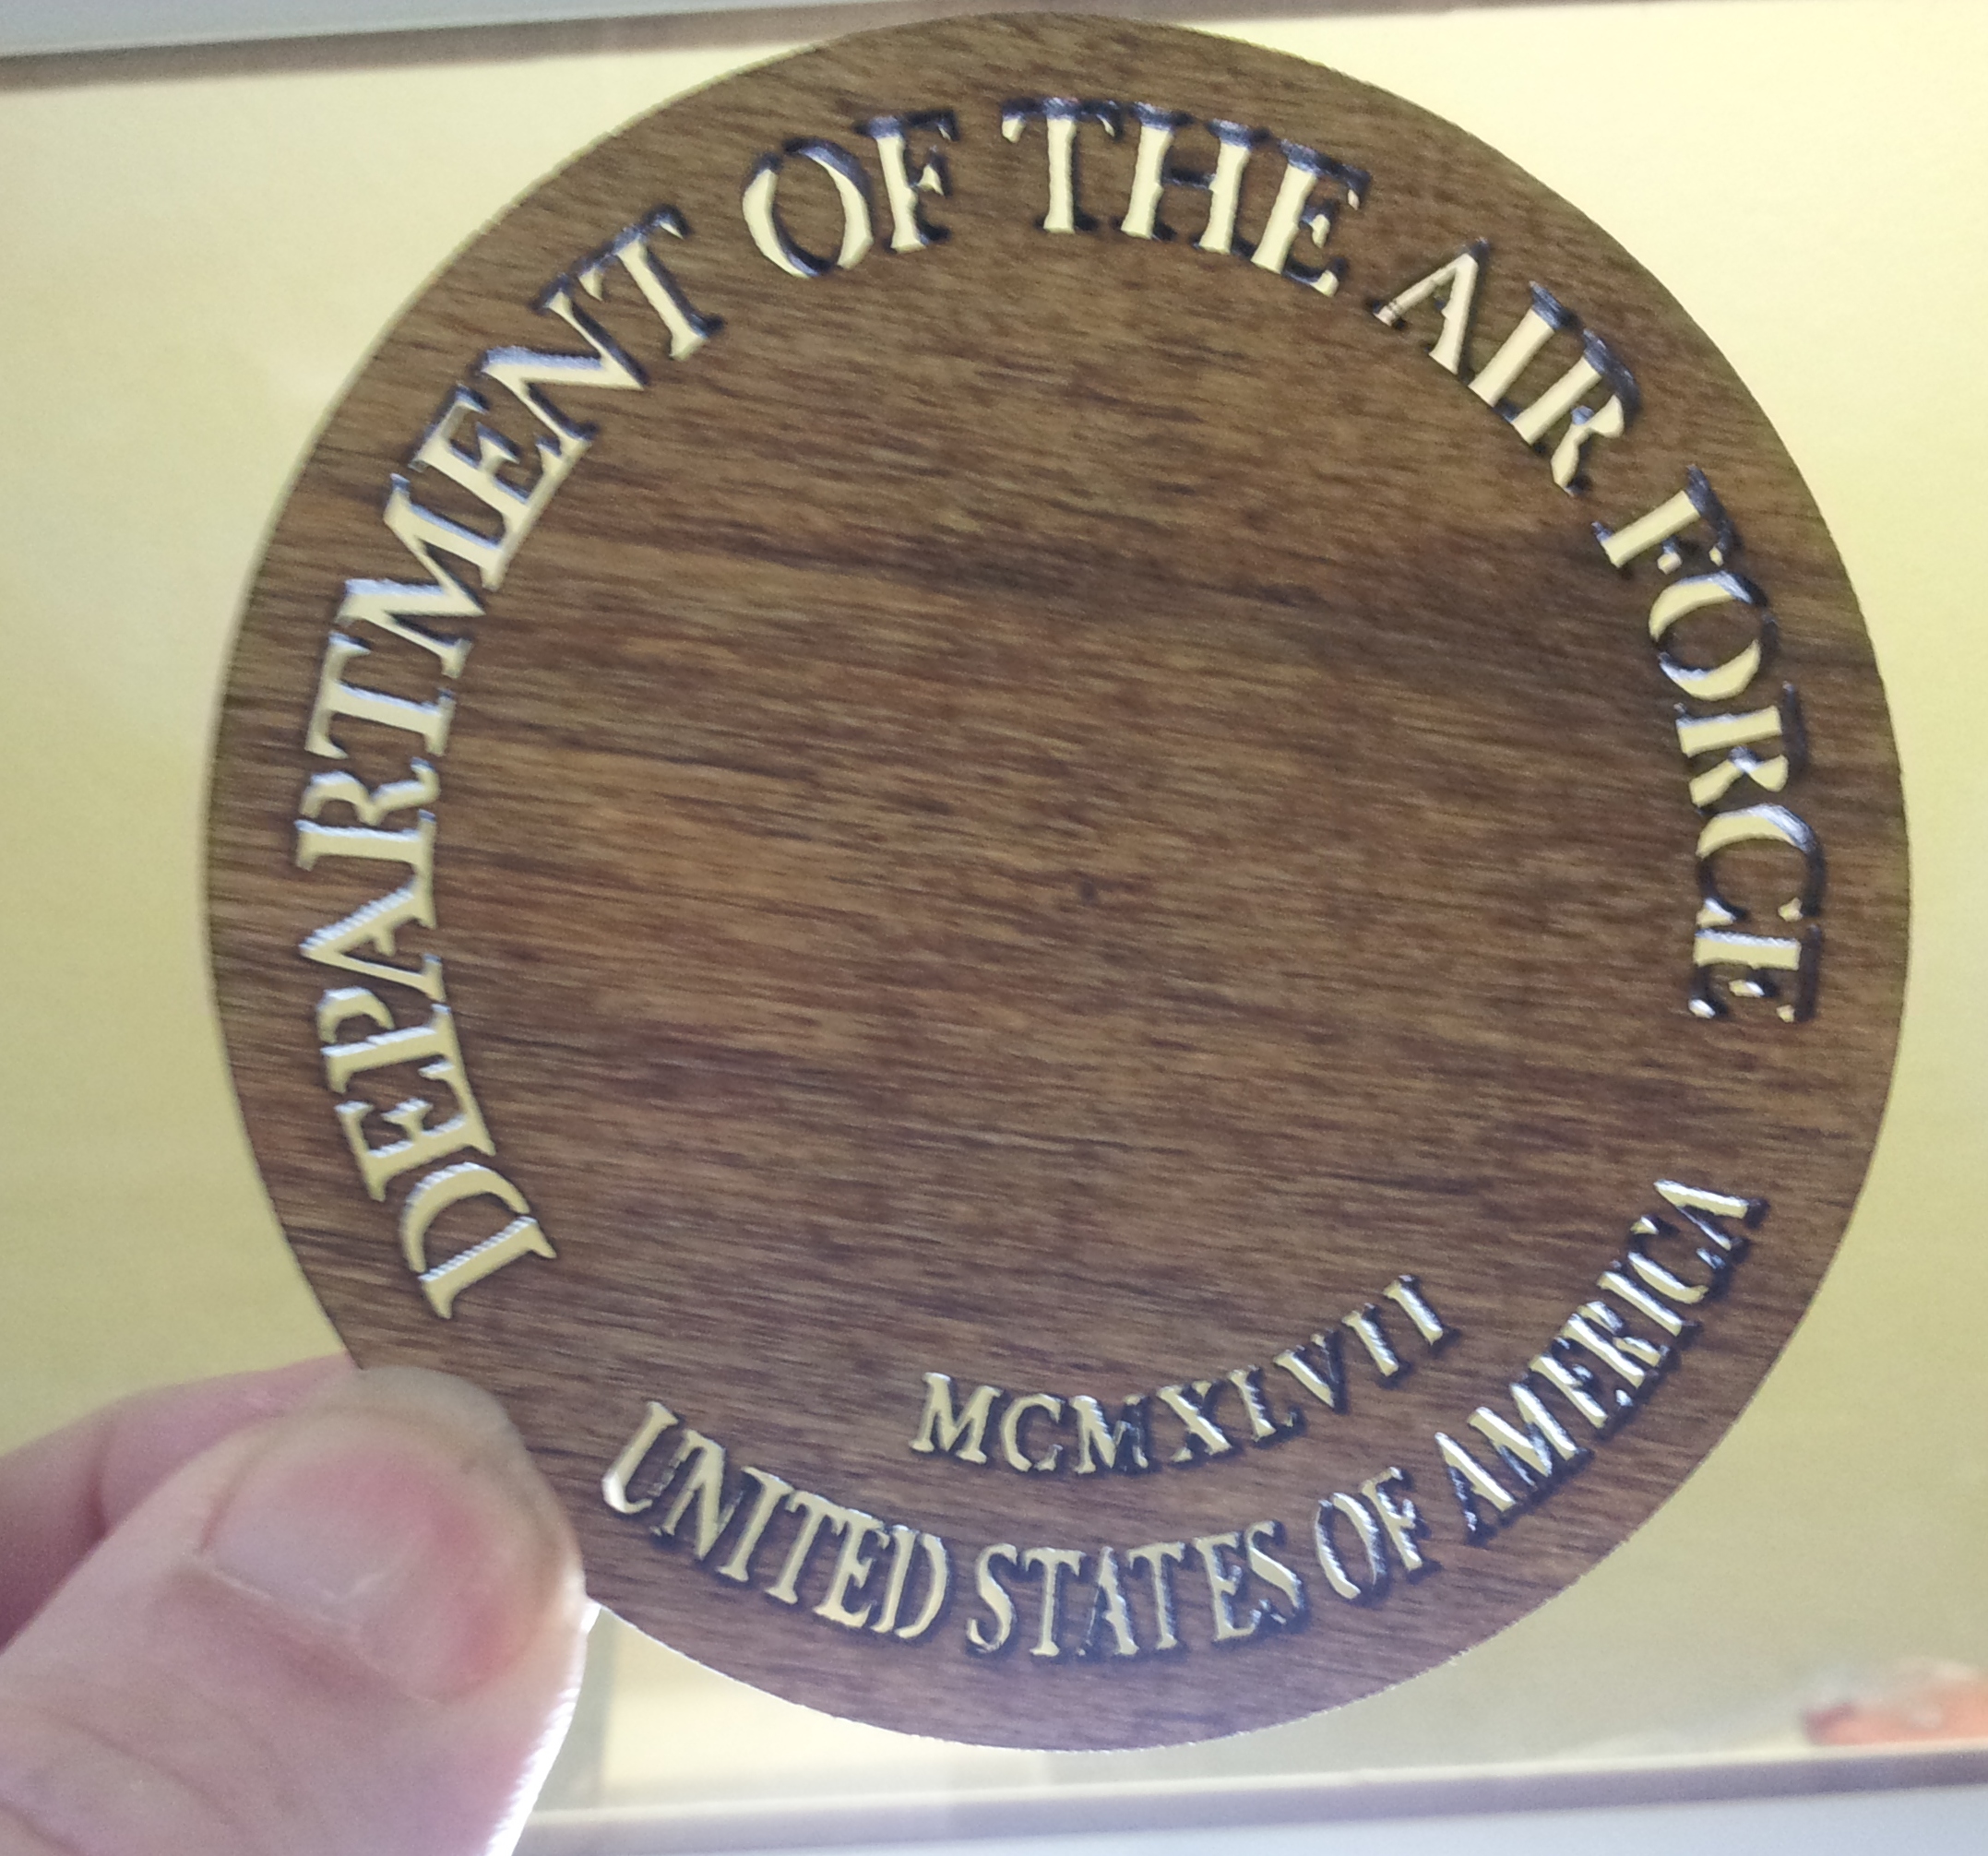
For example in this emblem the base is the darker wood stained with cabernet colored, the second layer is for the lettering and is of a medium color stained with golden oak. Finally is the third layer consisting of the accent pieces (stars, outer and inner circle and eagle and shield) will be used with a natural wood color.
The wood being used here is stained 1/8” craft plywood. I used this because it allows for a good strong finished product, which does not warp after being stained because of the thinness of the wood.
Laser Cutting the Pieces Out
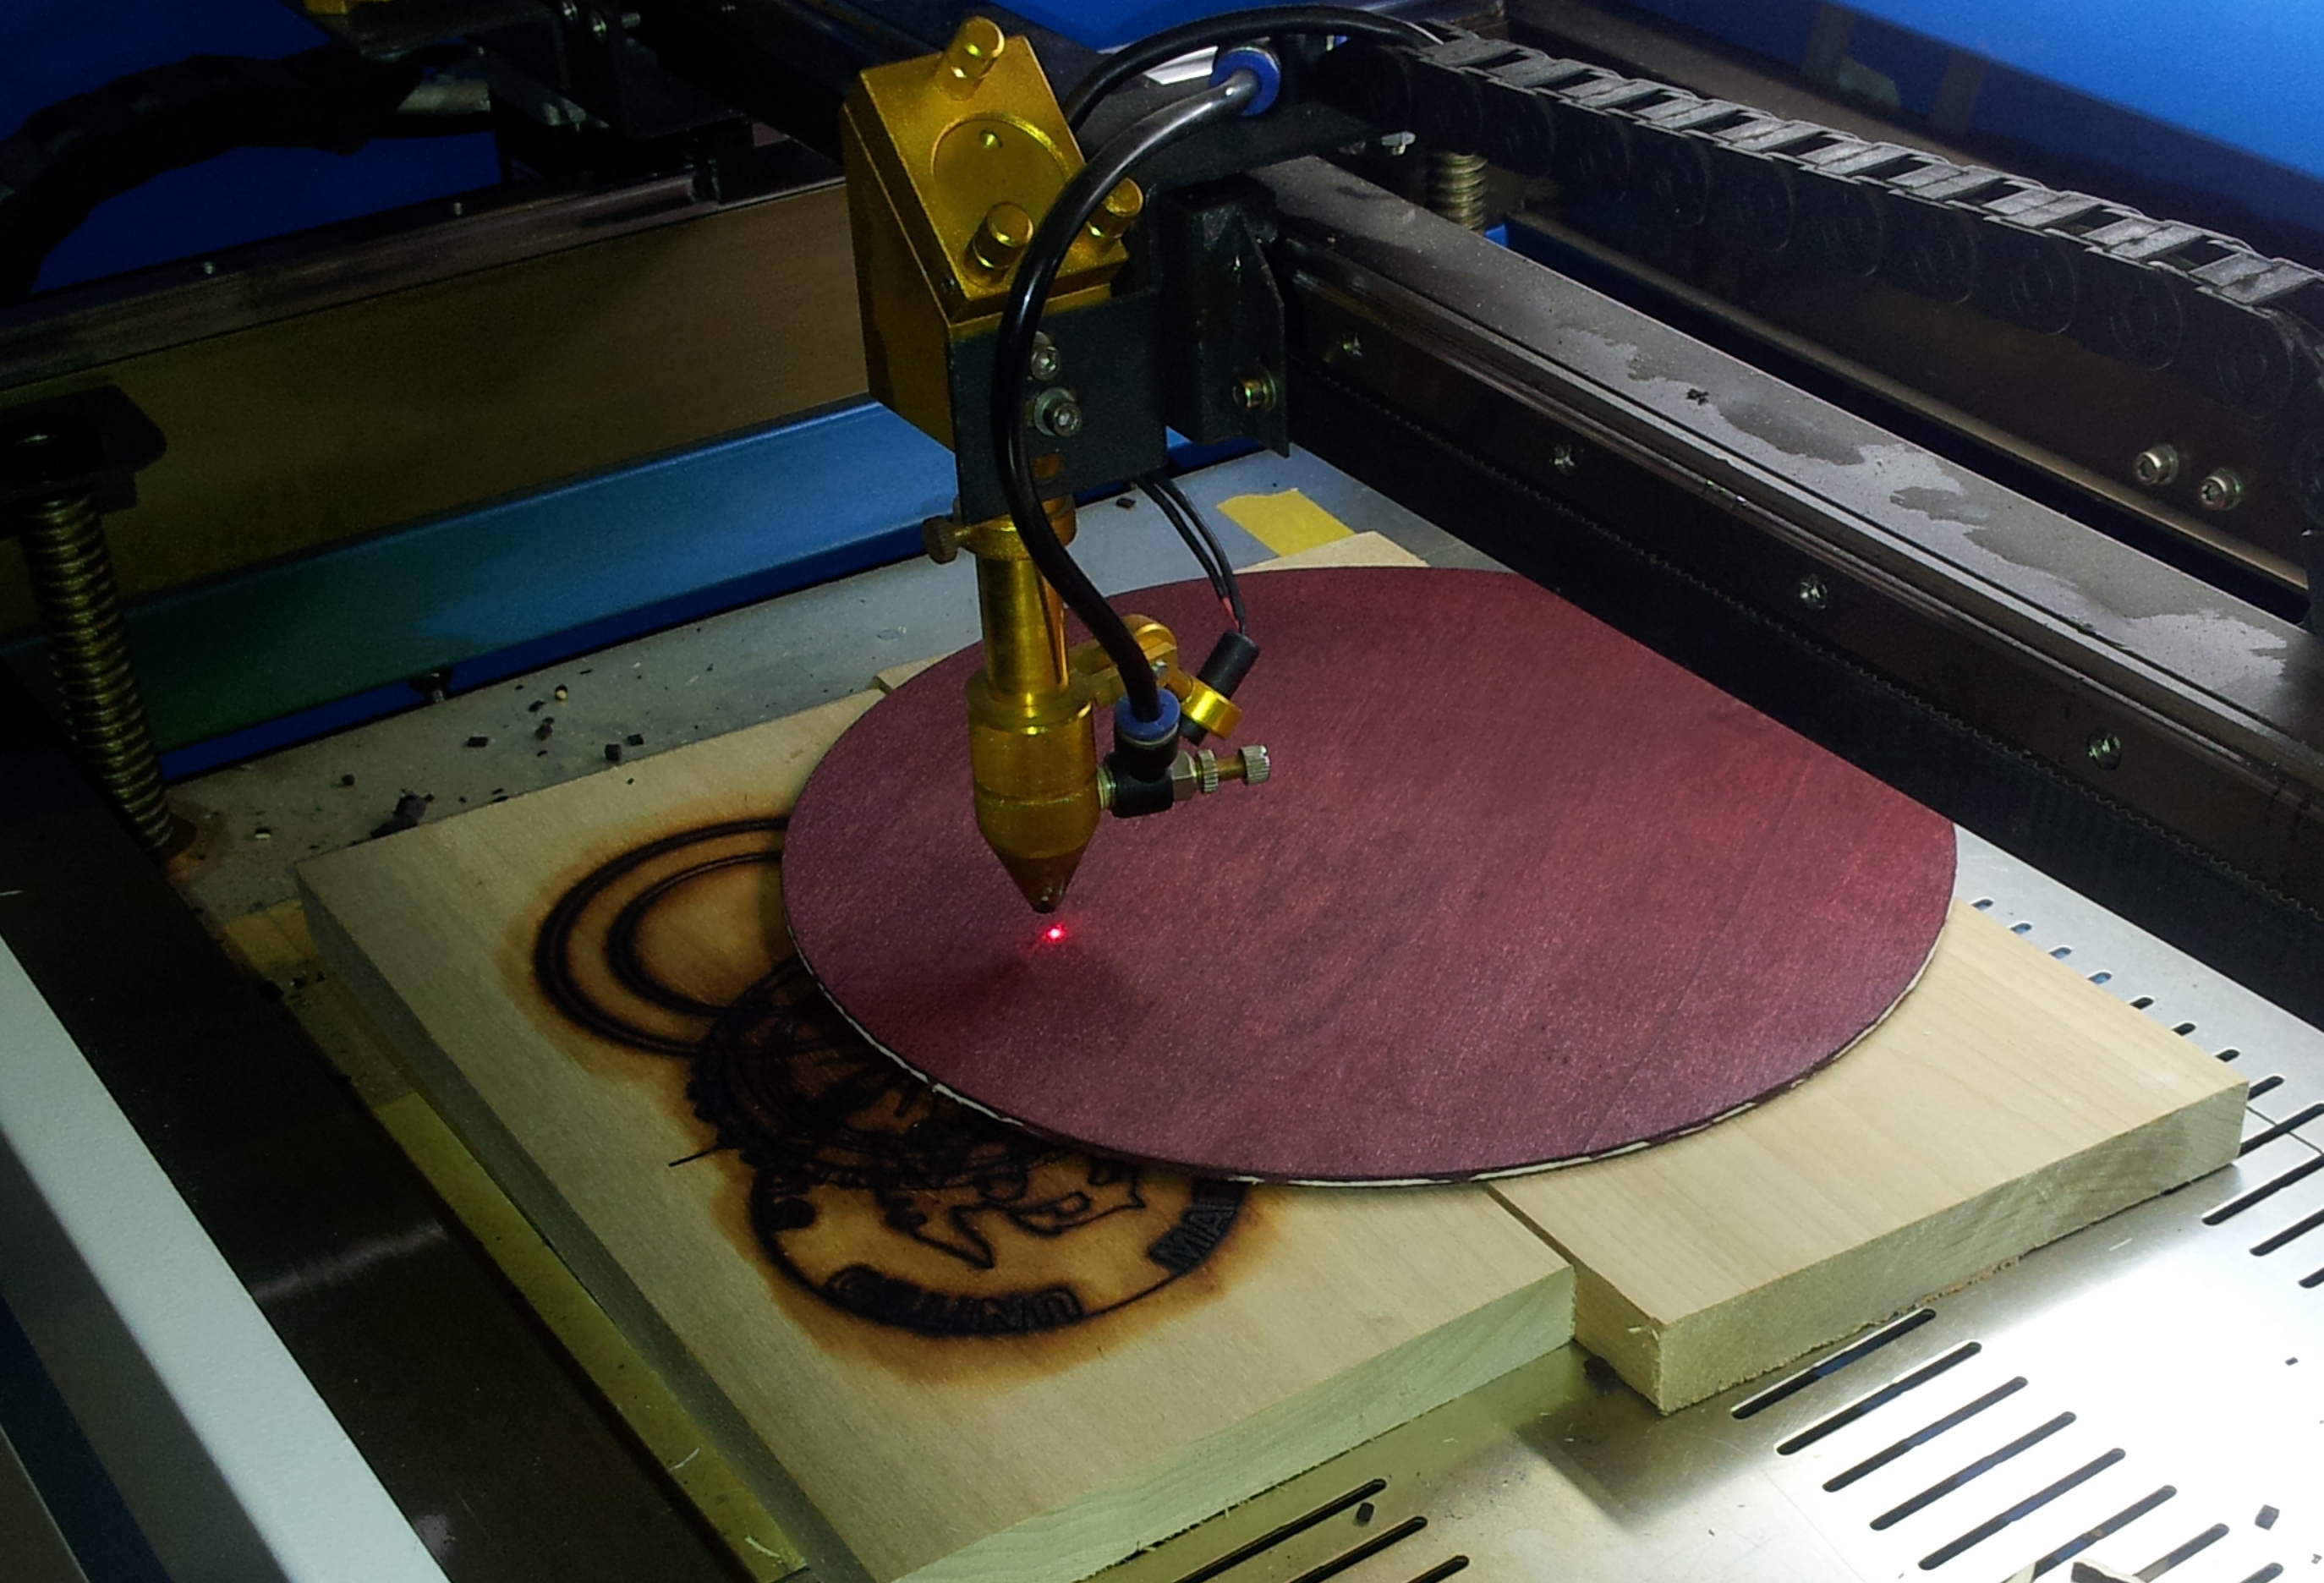
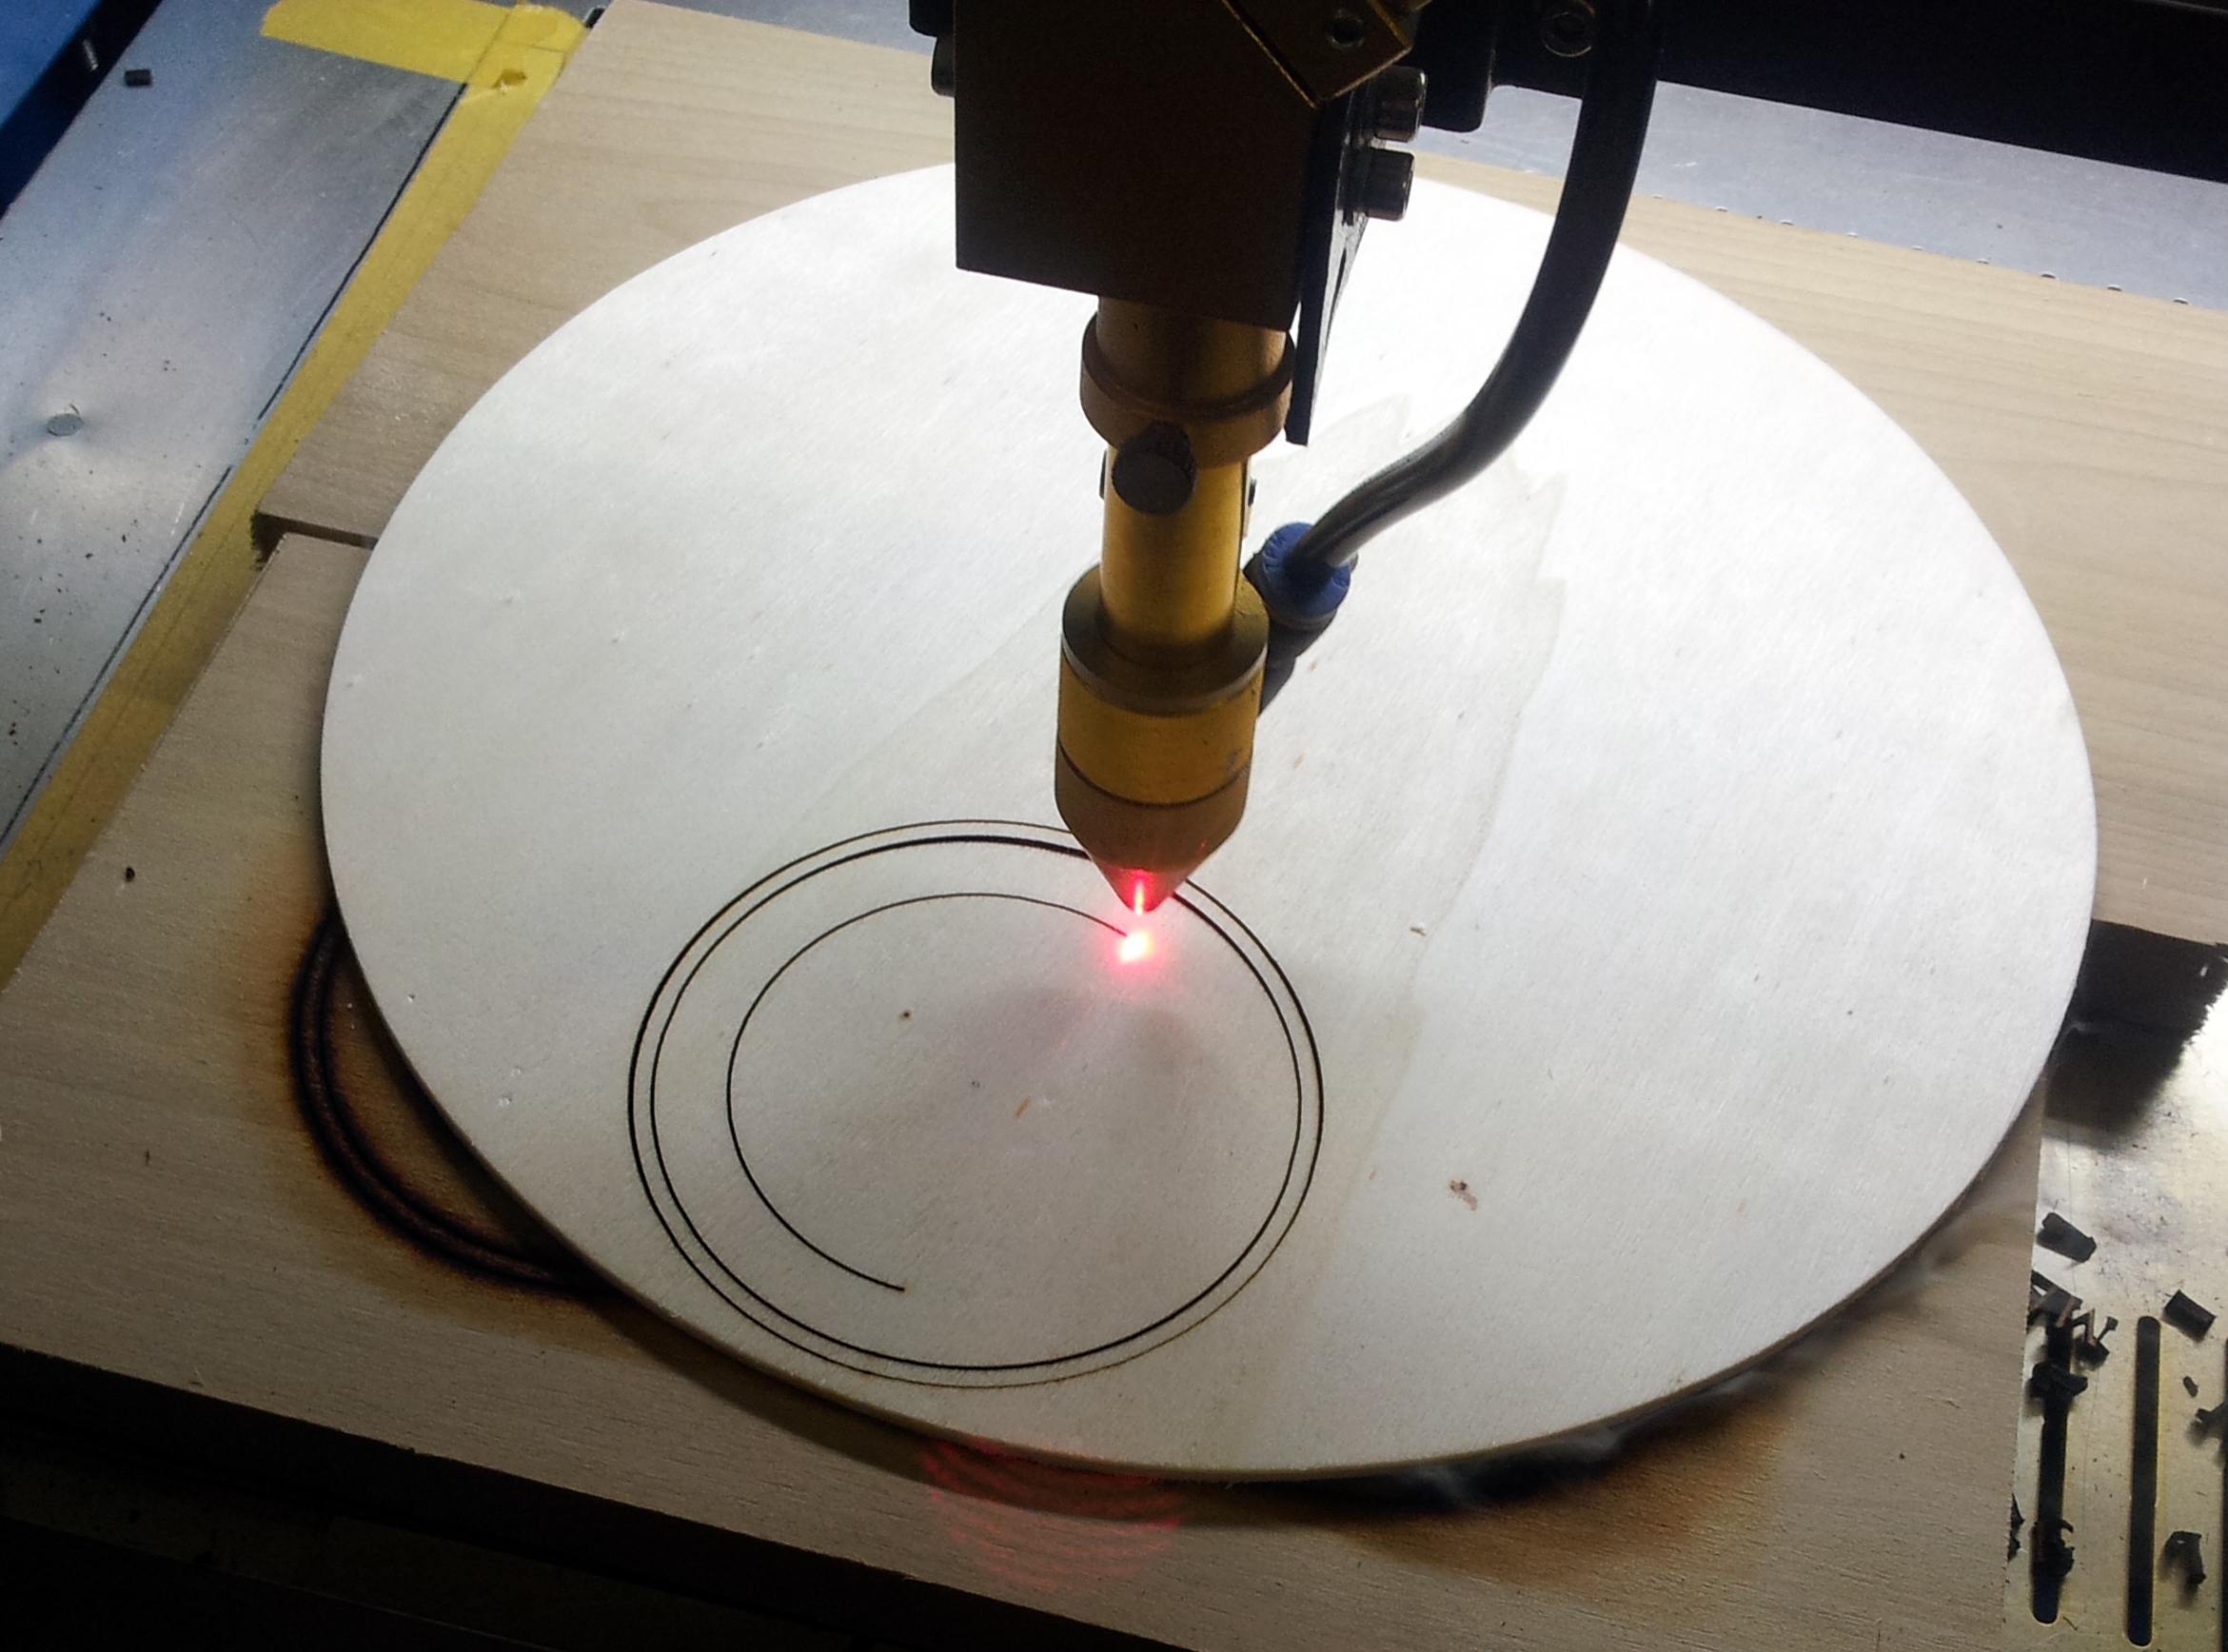
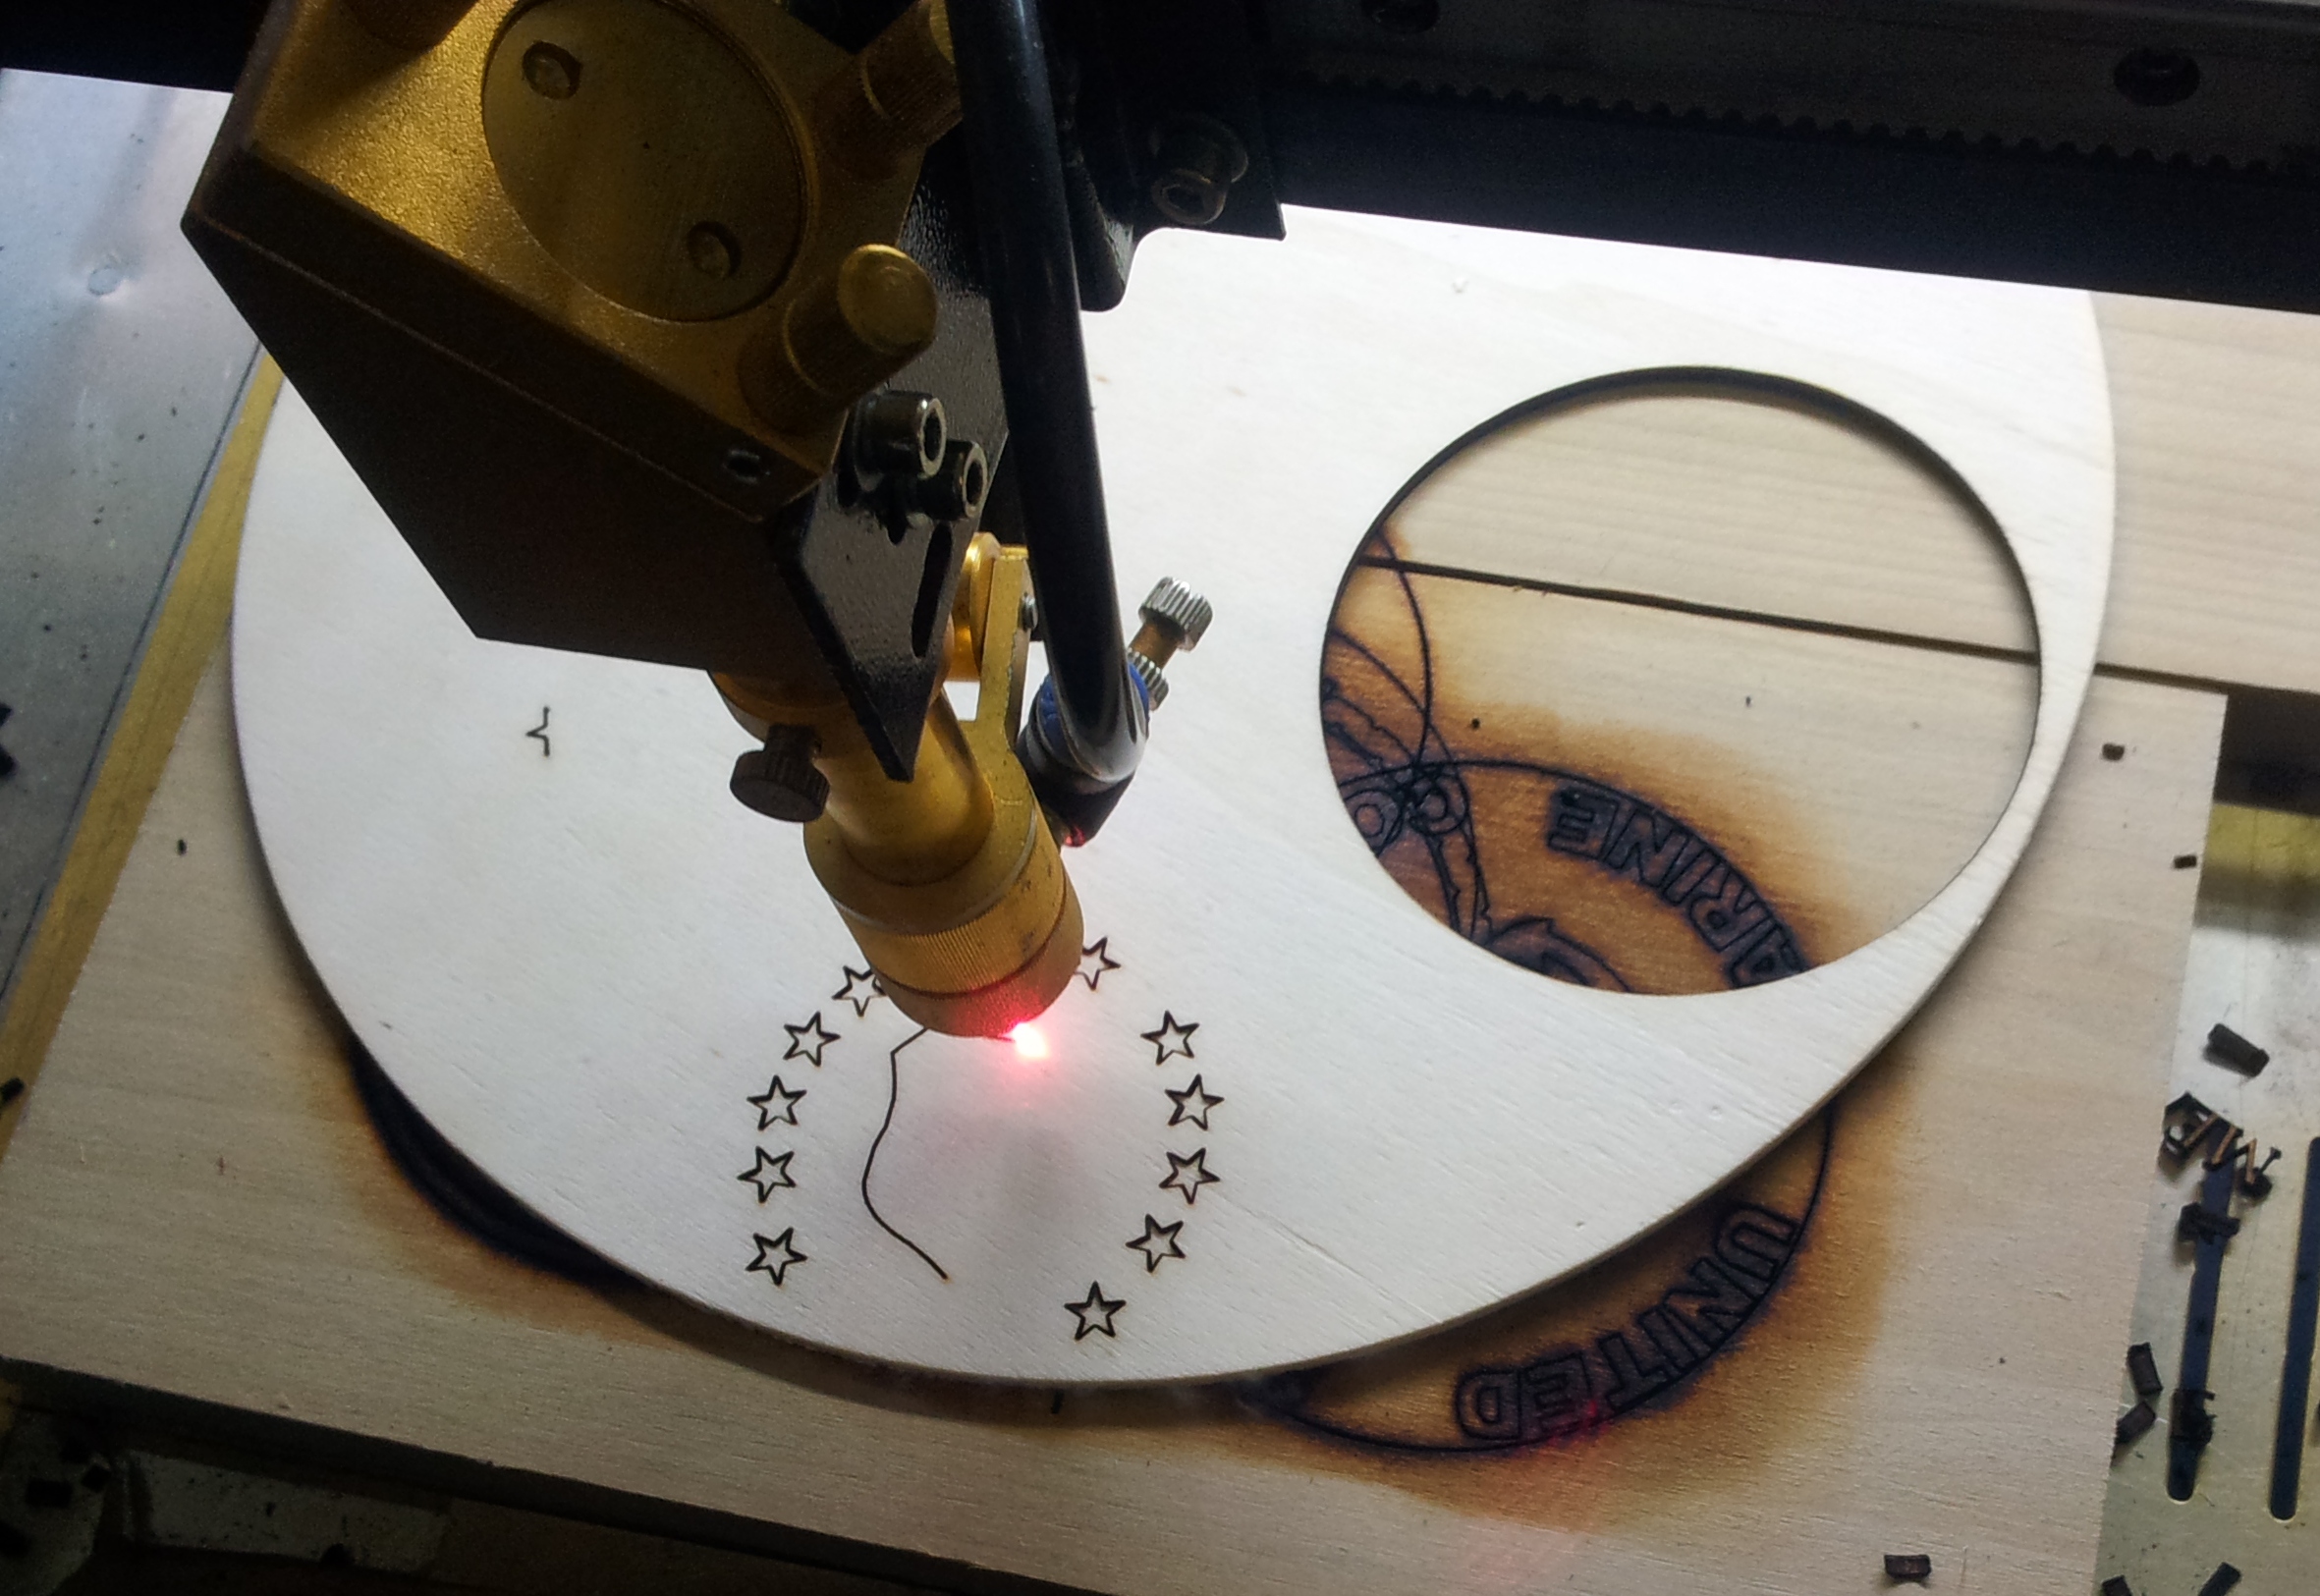
Now that the graphic has been prepared for laser cut out, I can begin to laser each section of the graphic. To ensure that each piece is cut out of the entire wood and to alleviate the possibilities of a miss cut, I find the center of the prepared wood by measuring diagonally and dividing the measurement by two and making a mark to align the laser pointer (sight).
To being I place a piece of ¾ inch poplar on the laser table, this will be the platform in which I will cut the other wood against. It allows the piece being cut not to fall, if I were using a honeycomb table (very small pieces) and I can not just put the wood on the regularmetal table because the laser would cut through the wood and reflect of the metal and char the under side of the piece I want to use.
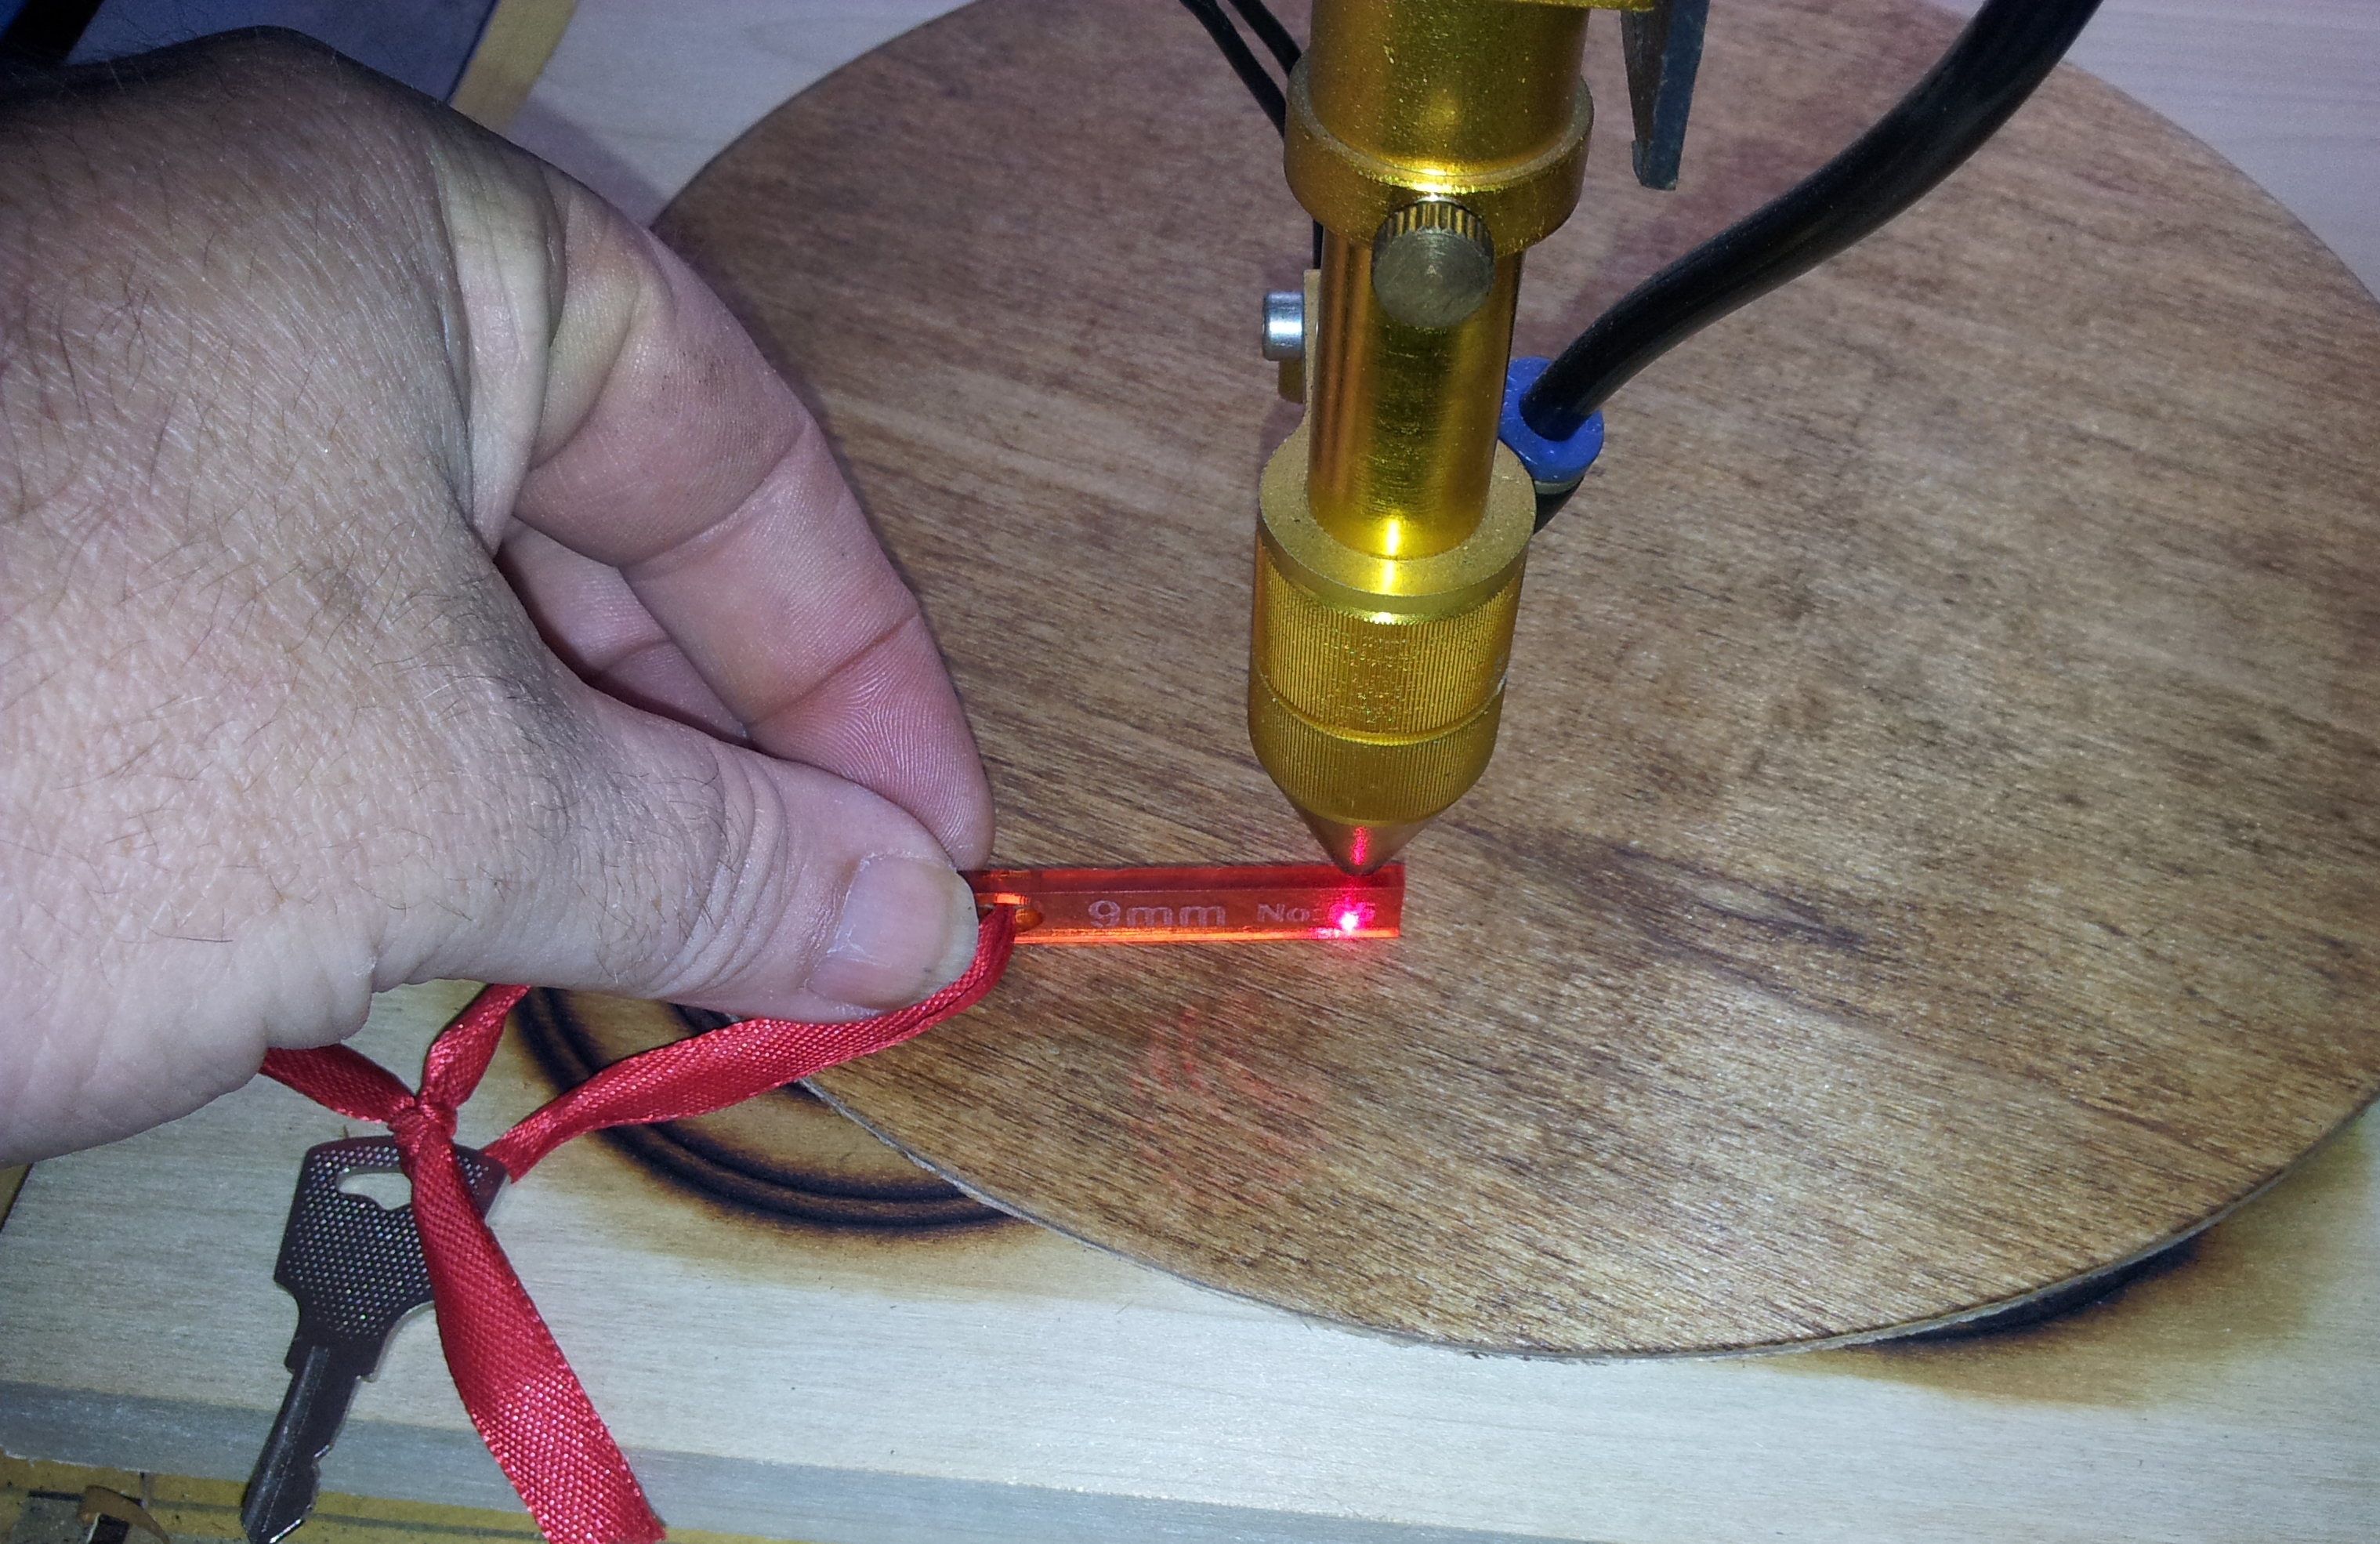
After the back wood is in place I lay the first piece to be cut on top of it and then move the laser head tell the red dot point is pointing at the center mark I had already made. Using the focusing shim (9mm) I raise or lower the table to ensure the laser is focused on the project wood. If this is off, the cut will not be clean and it could damage the wood to be used.
Now it is time to start cutting the pieces out. After the wood is set up and the laser head is focused, I set the speed and power of the laser. Because the wood is 1/8 inch thick, my laser is set to a speed of 10 and the power is 100. I cut out each layer from bottom to top.
Assembling the Pieces to Complete the Gift
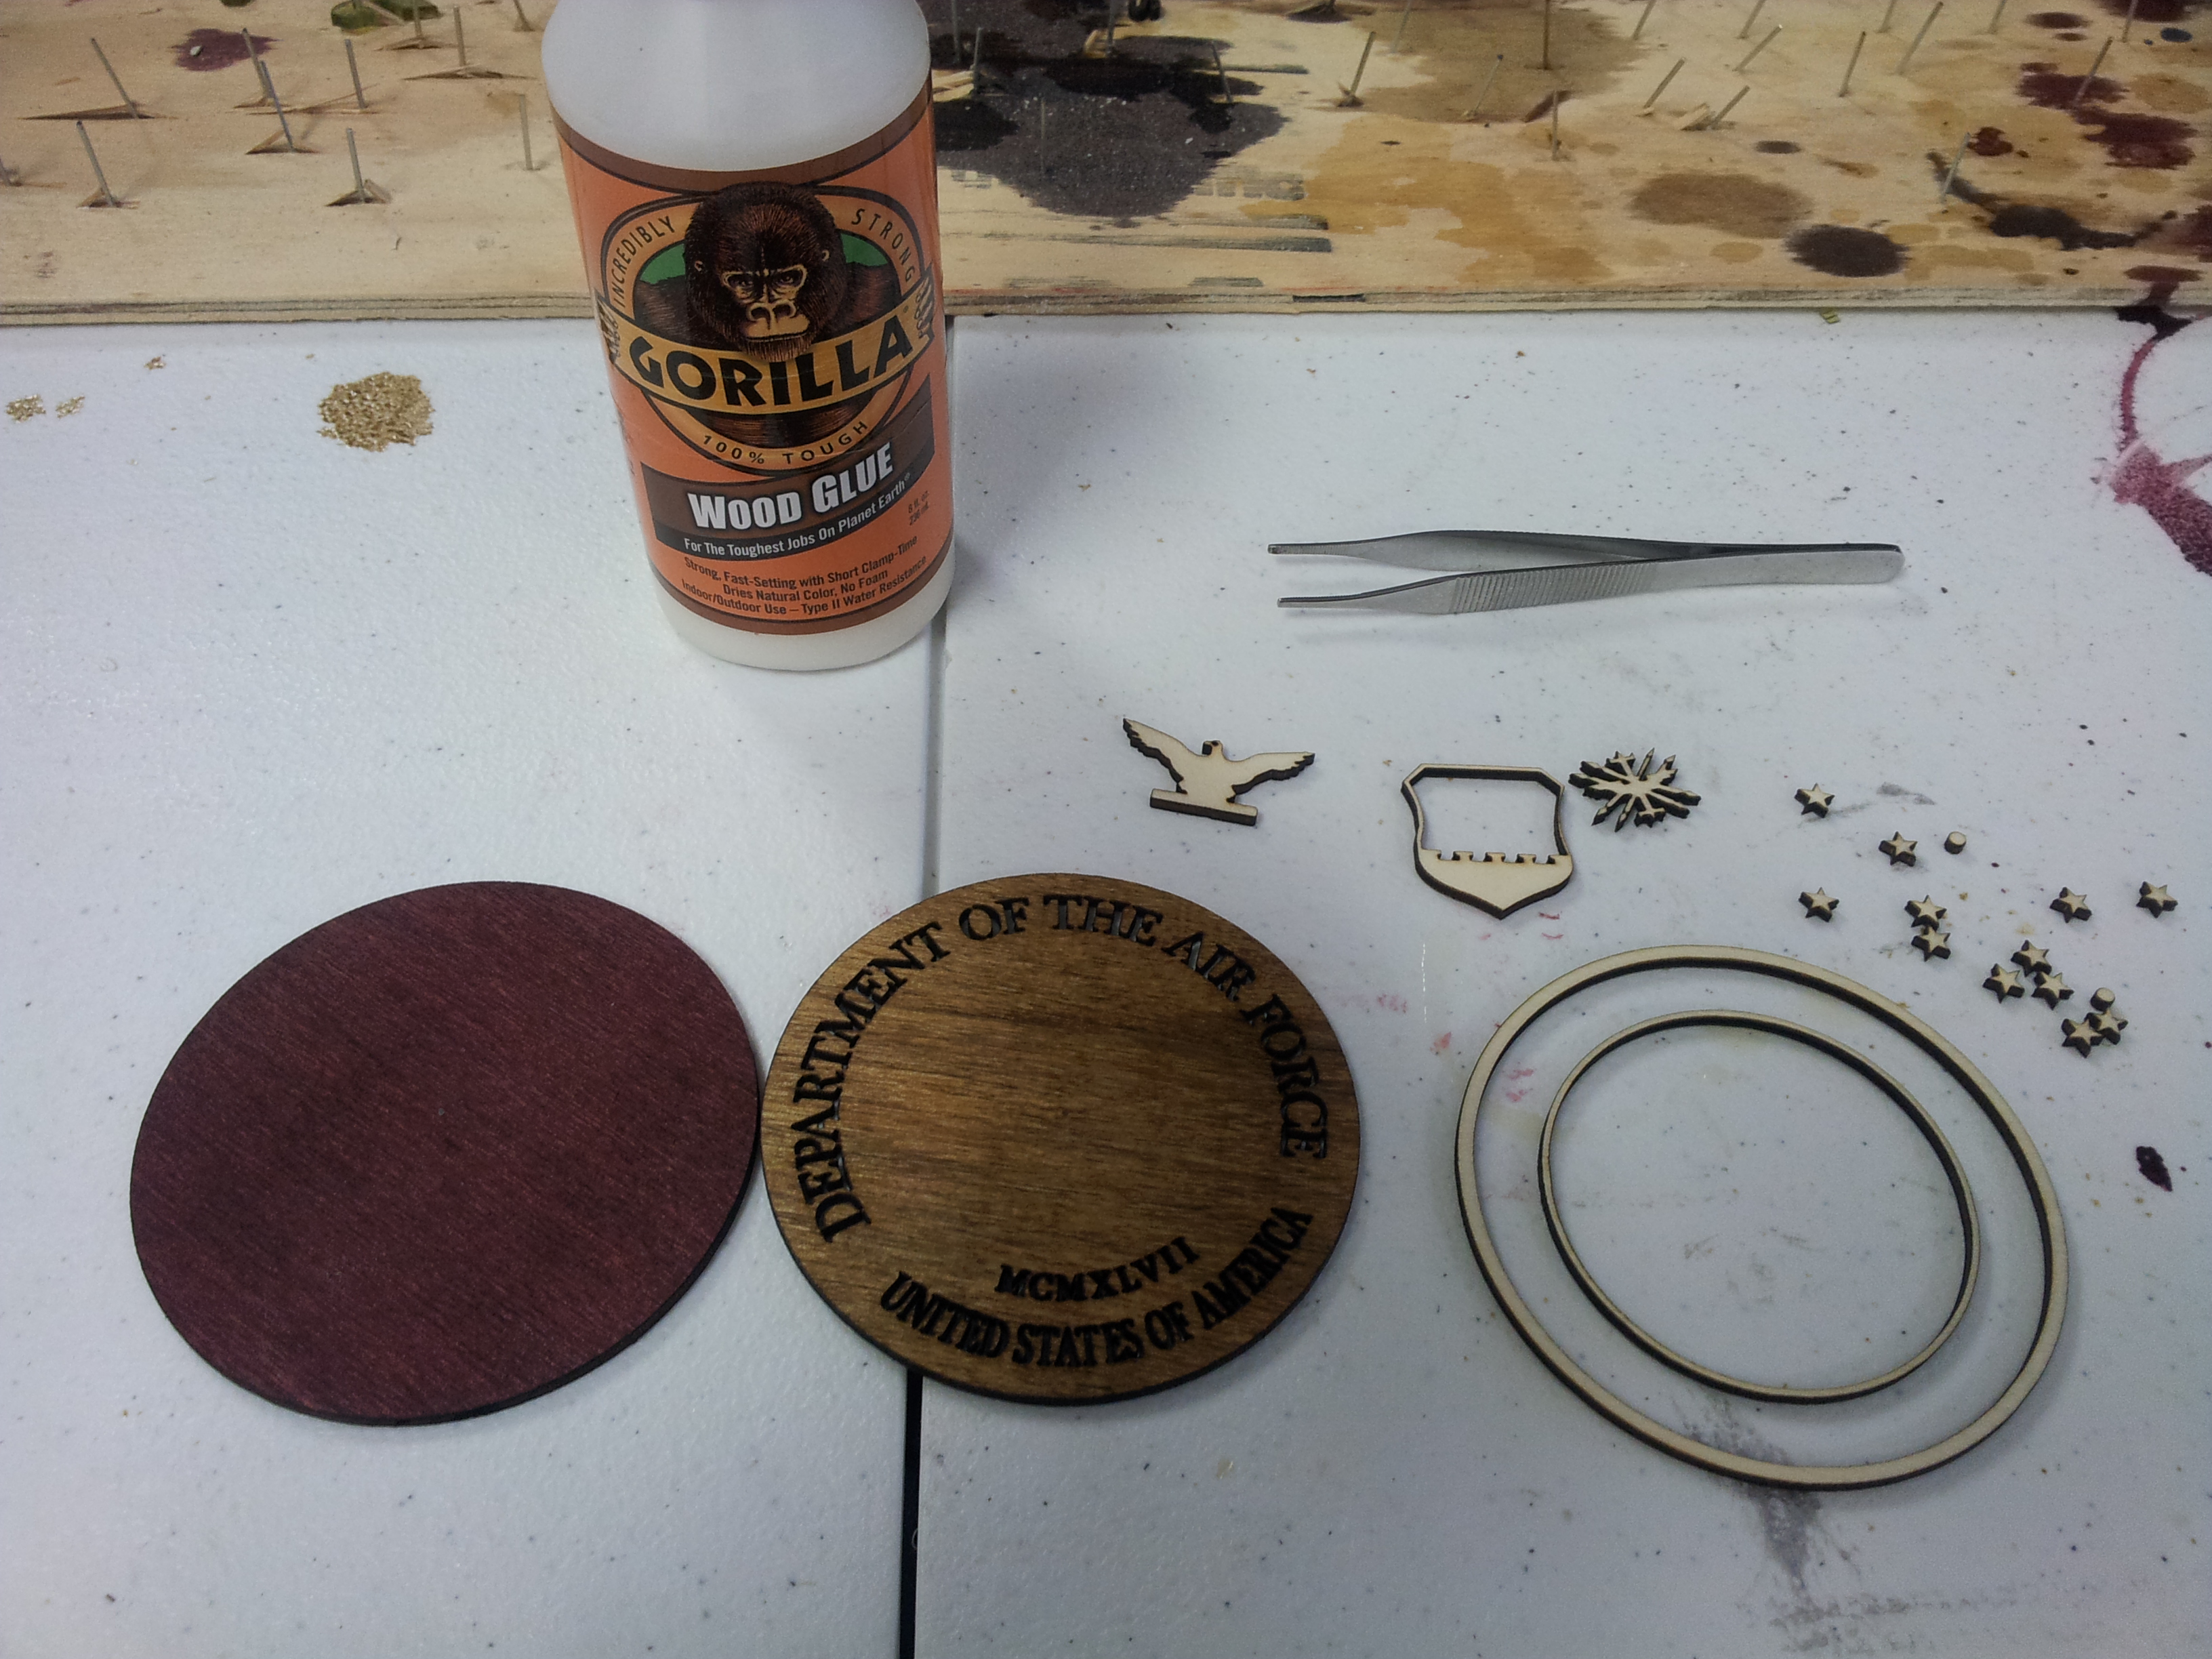
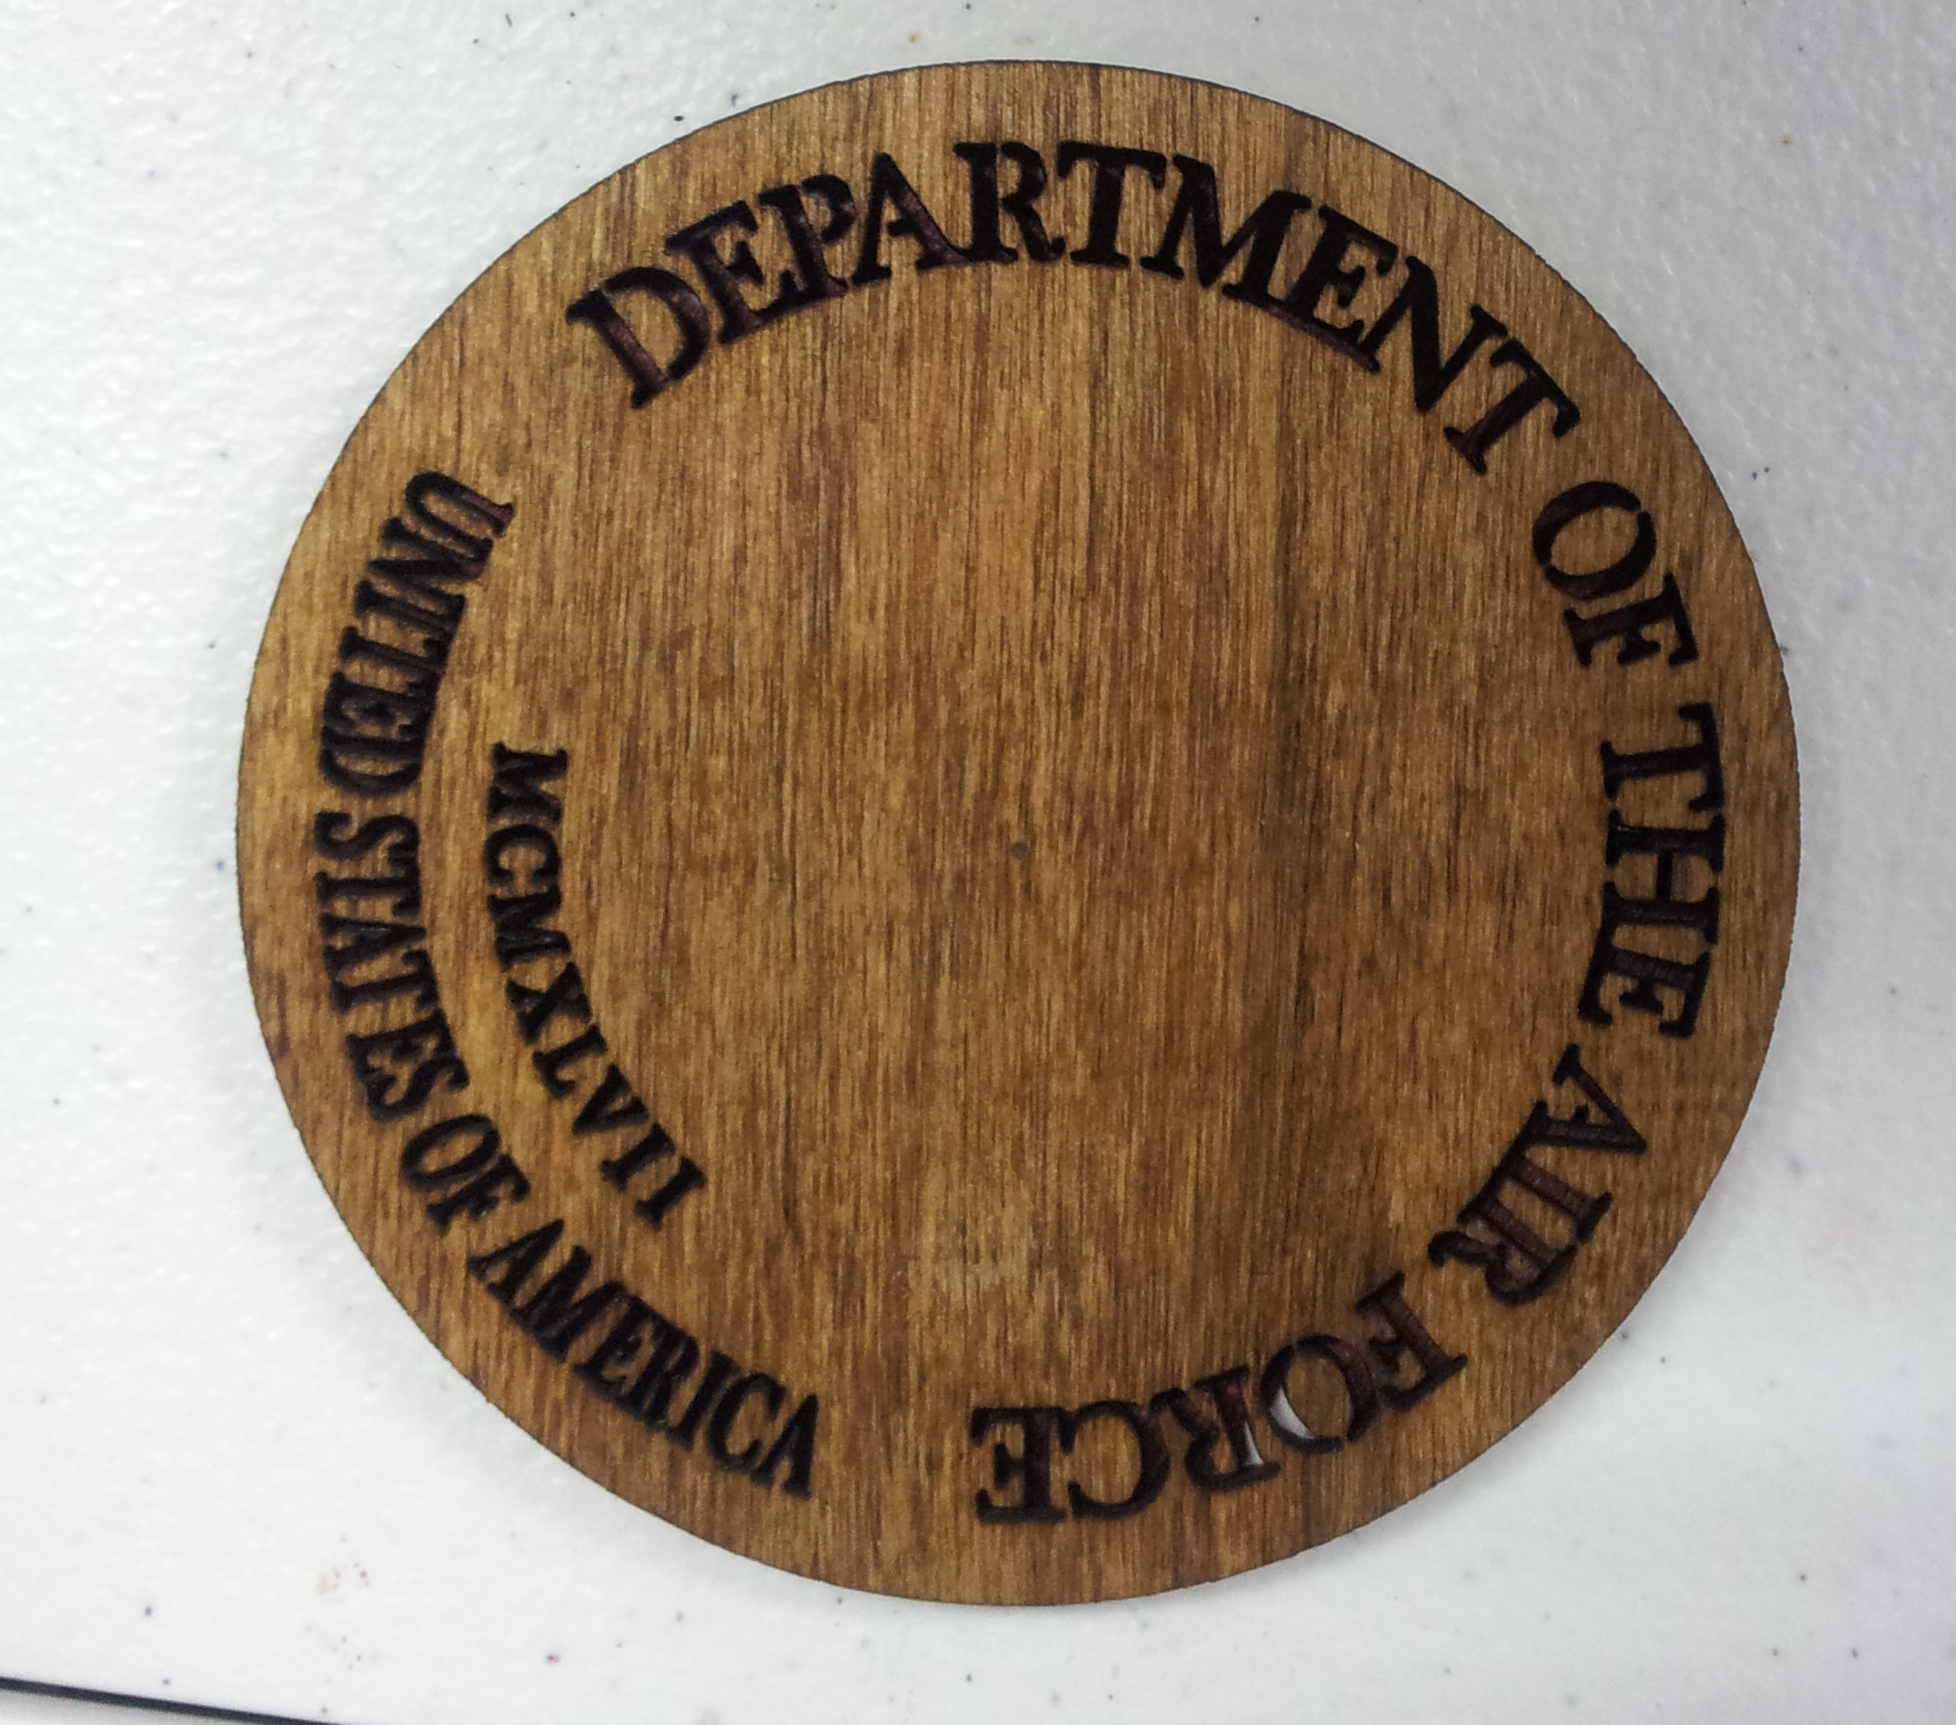
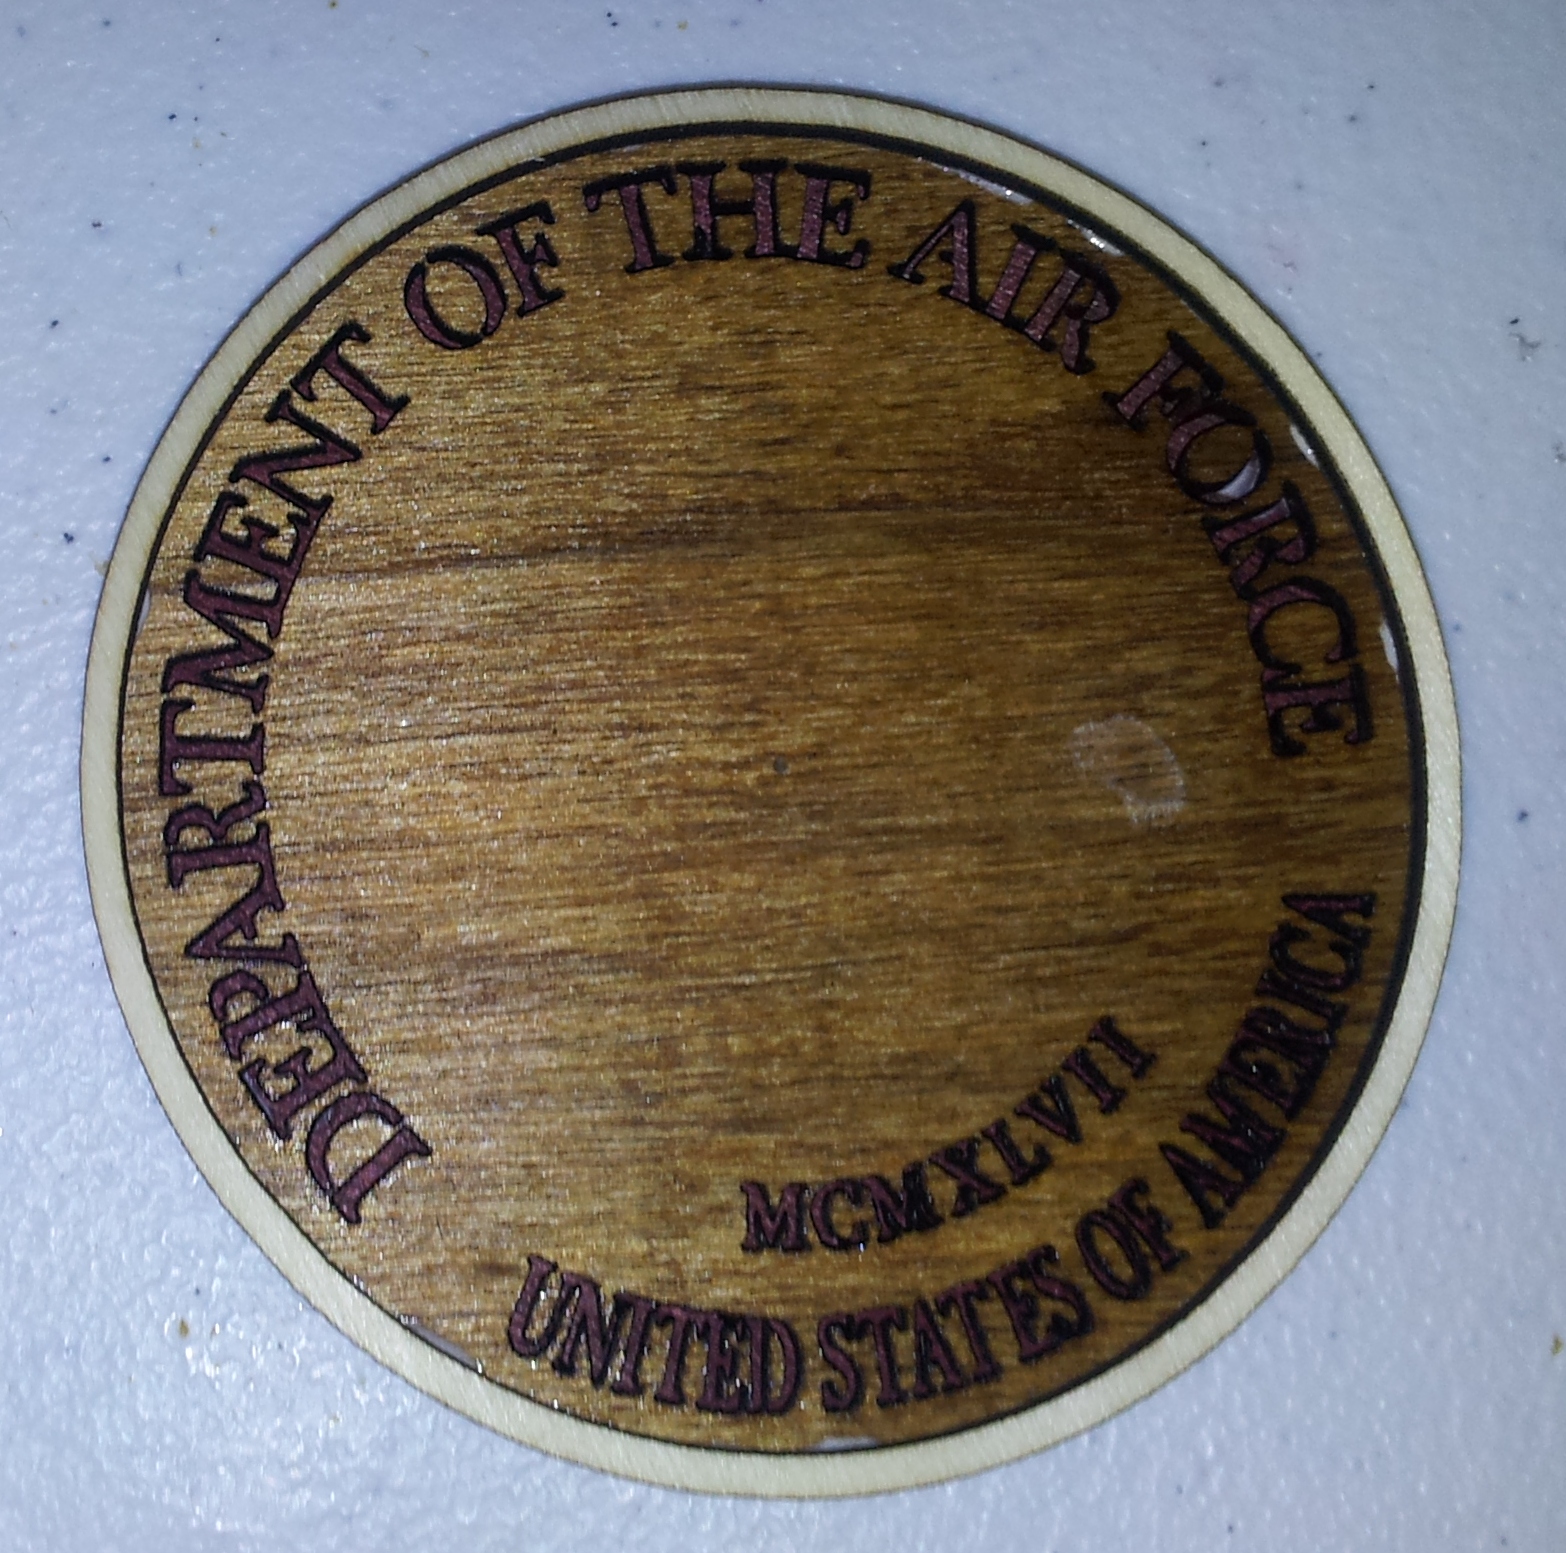
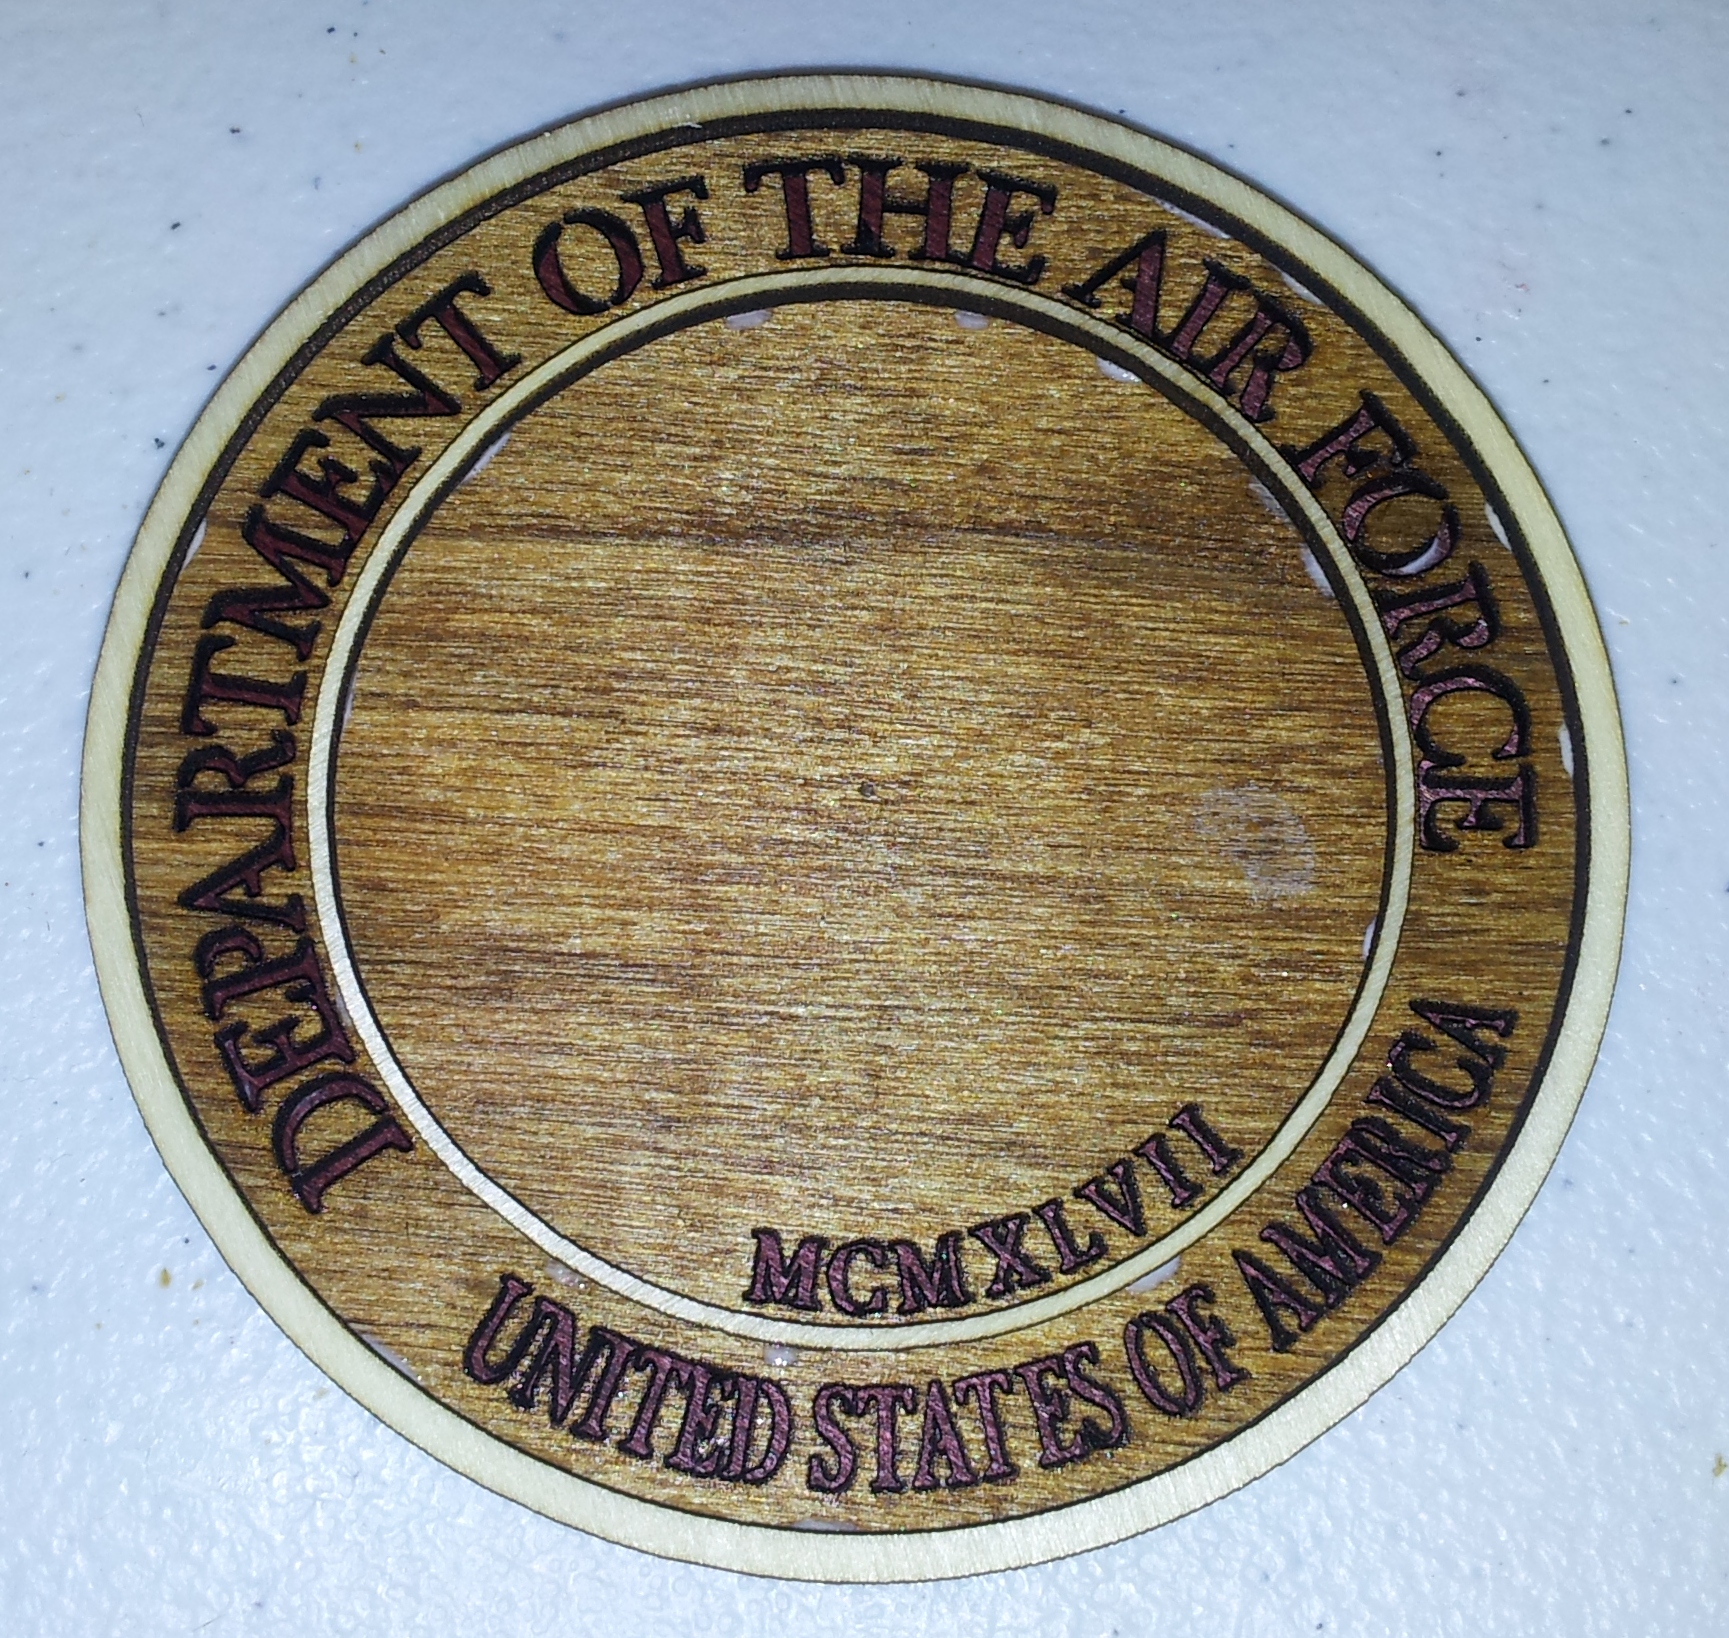
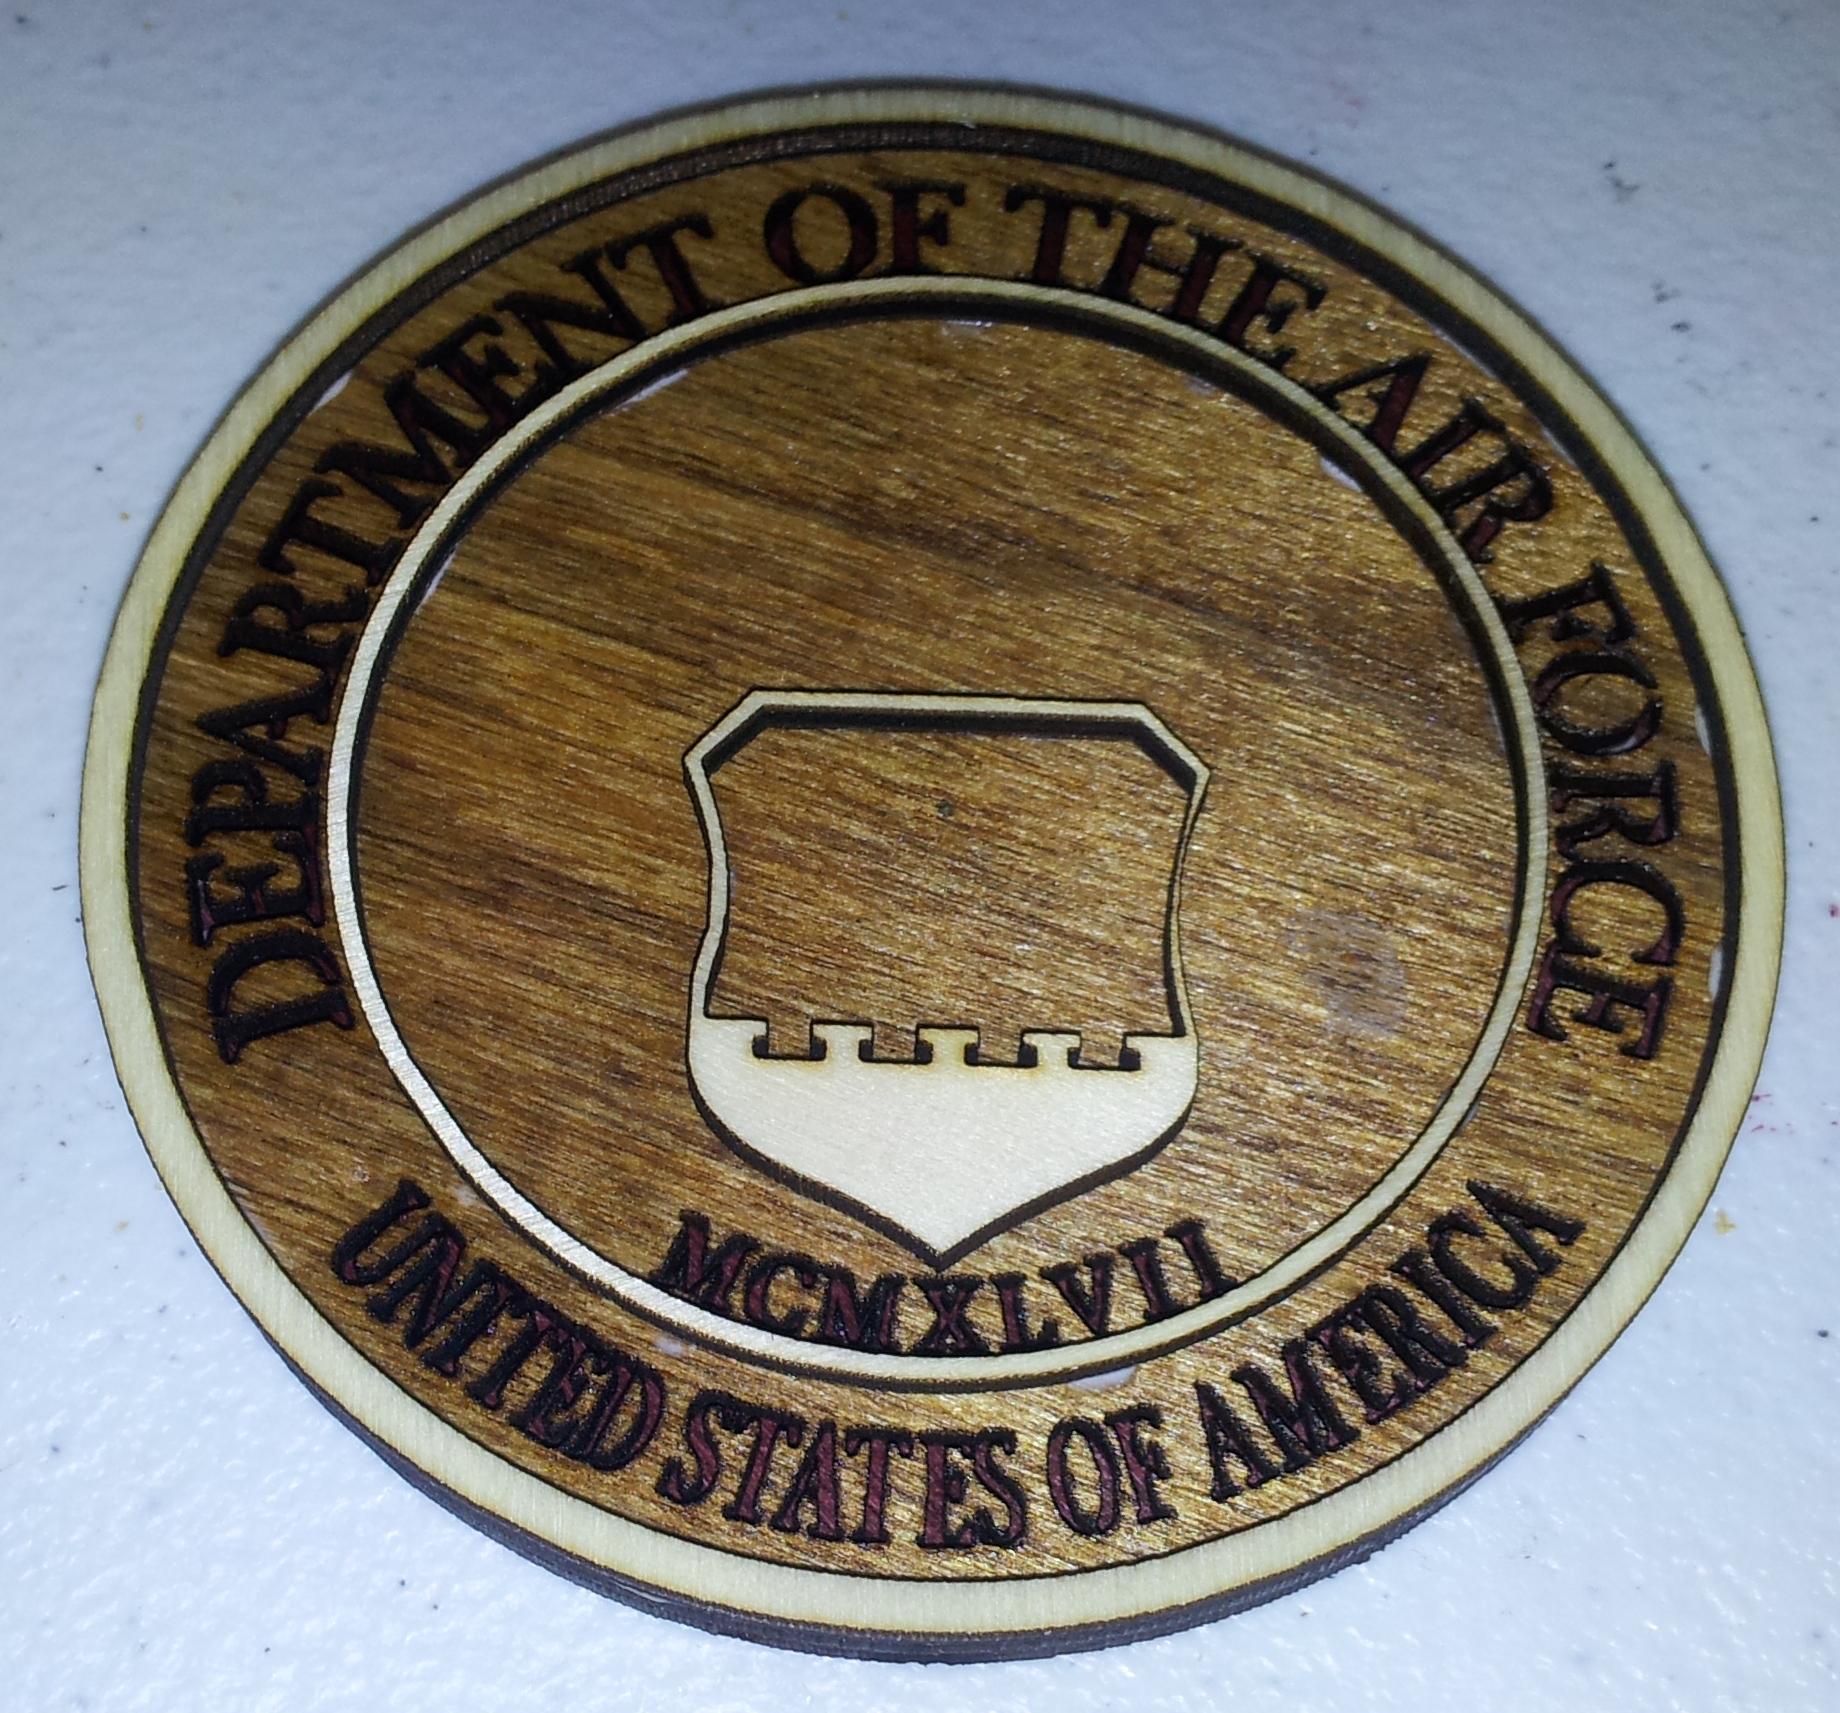
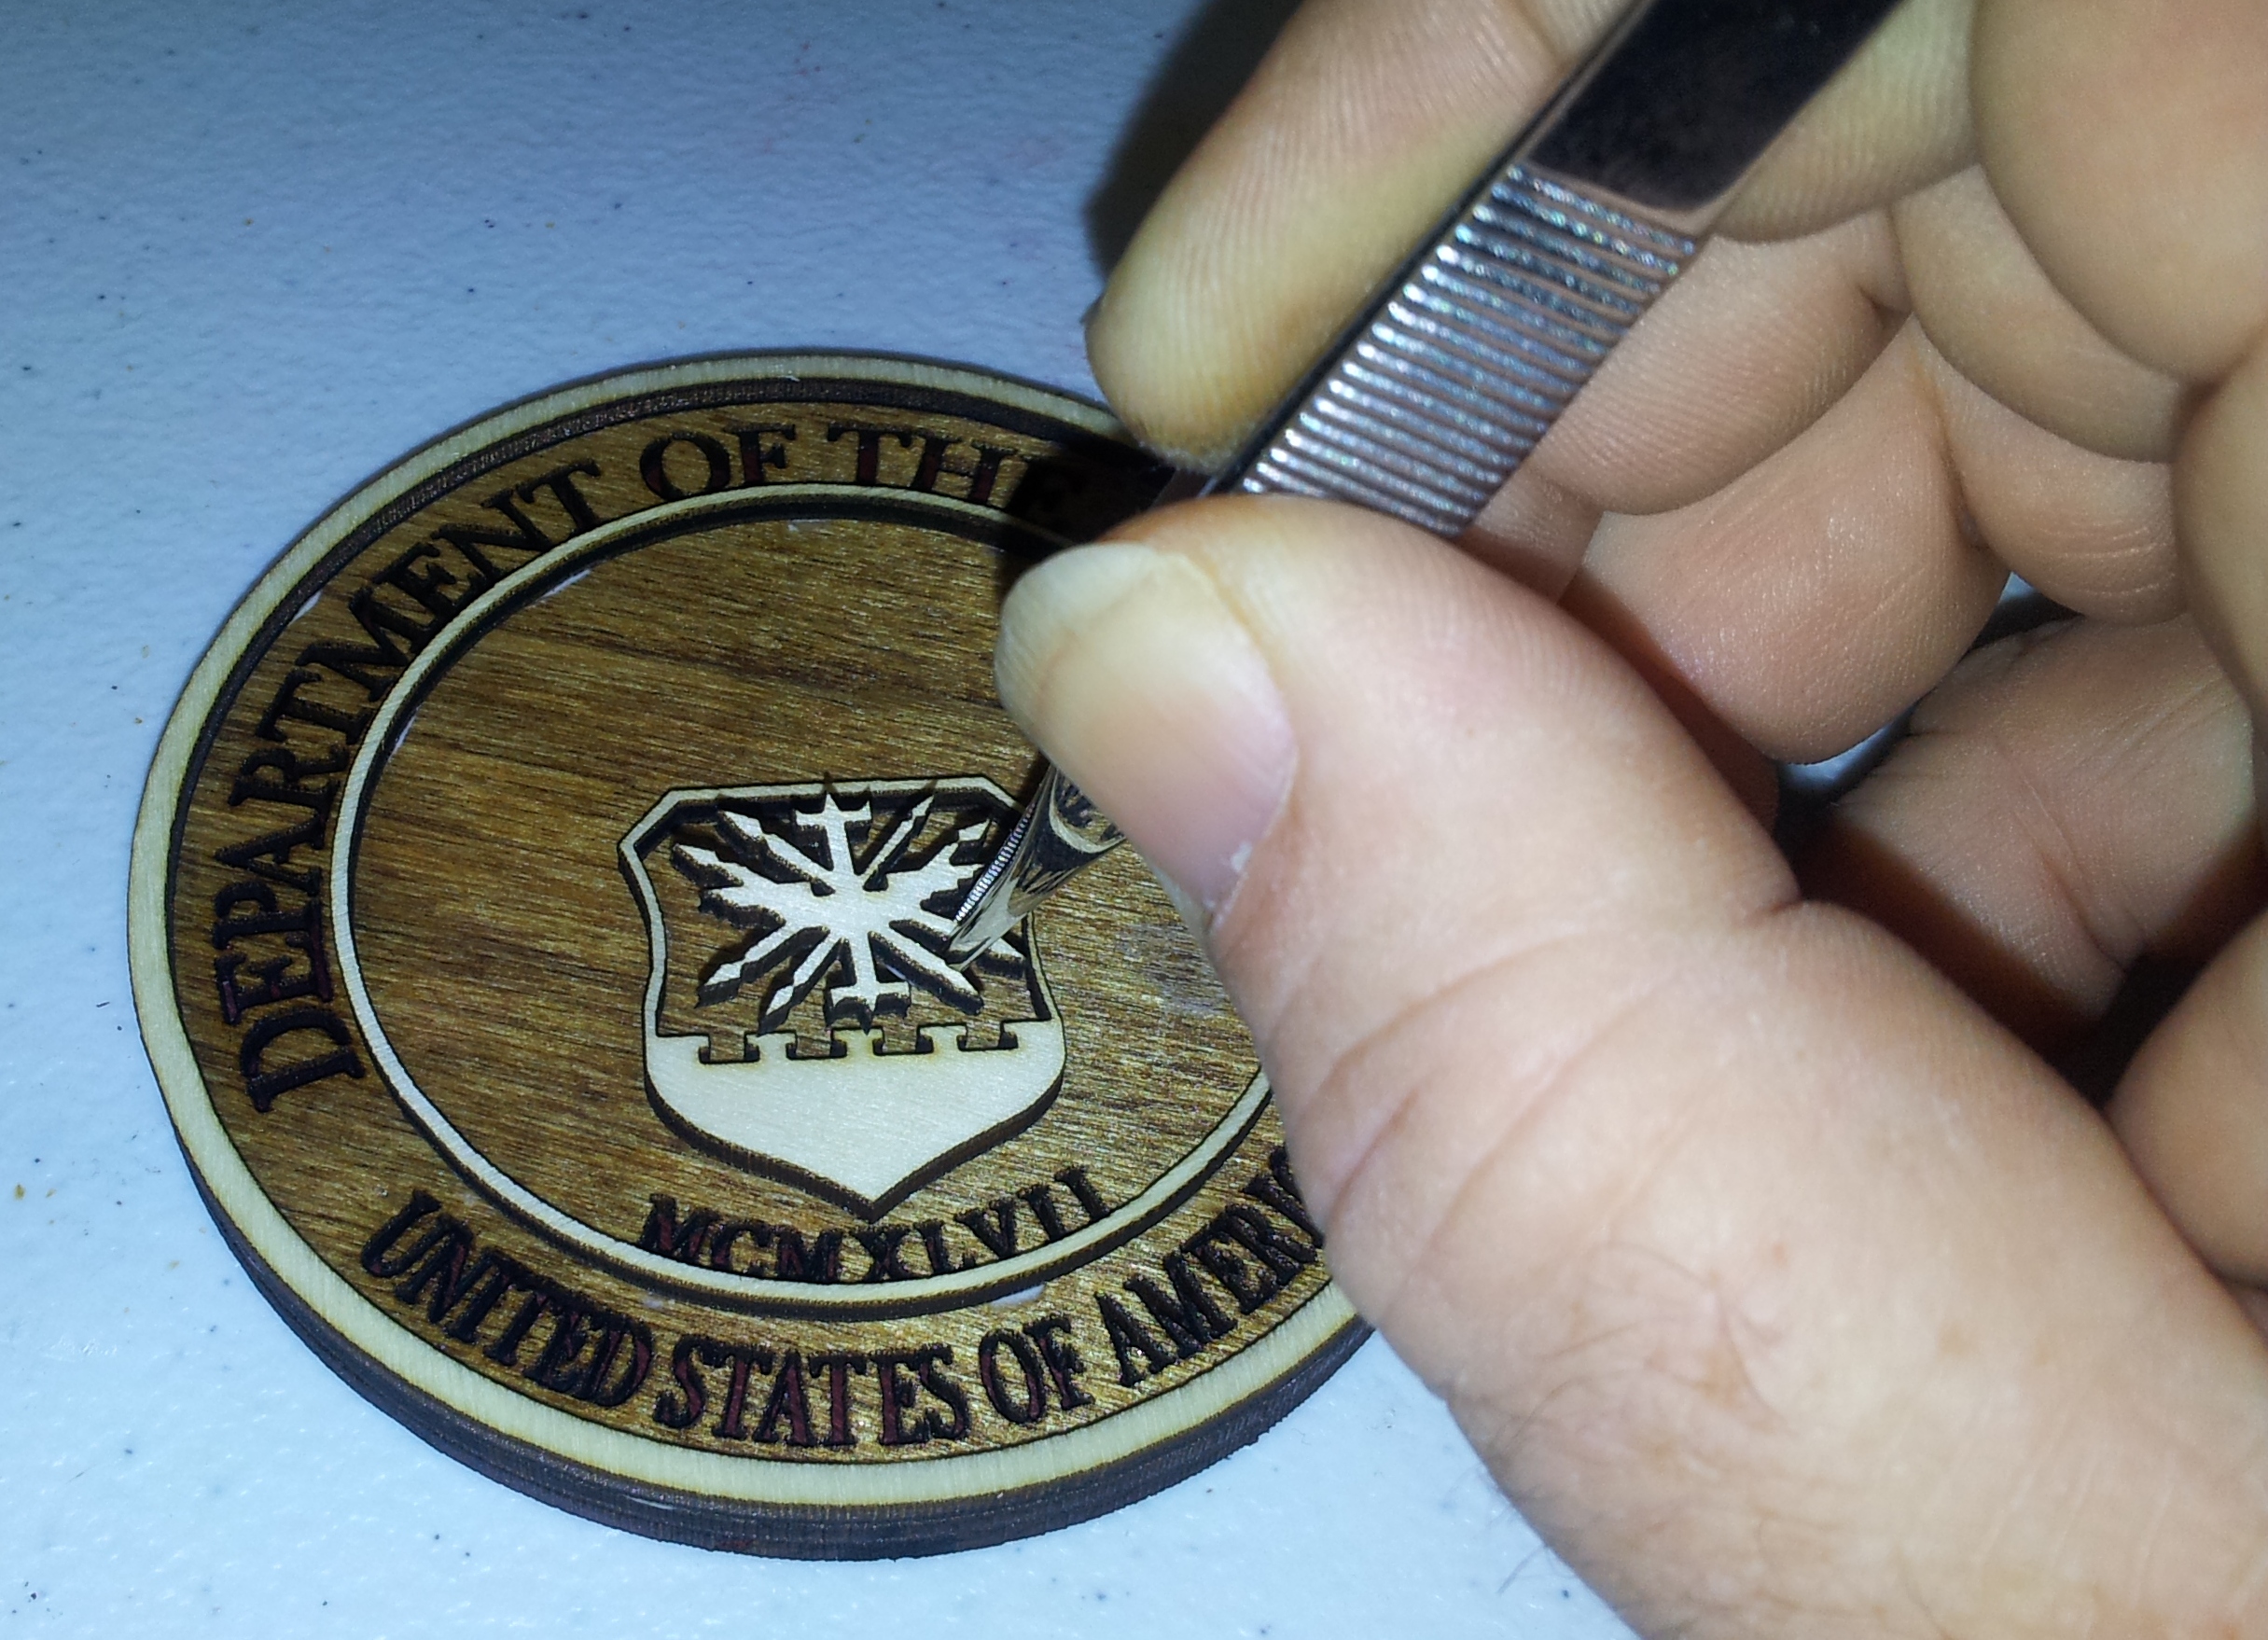
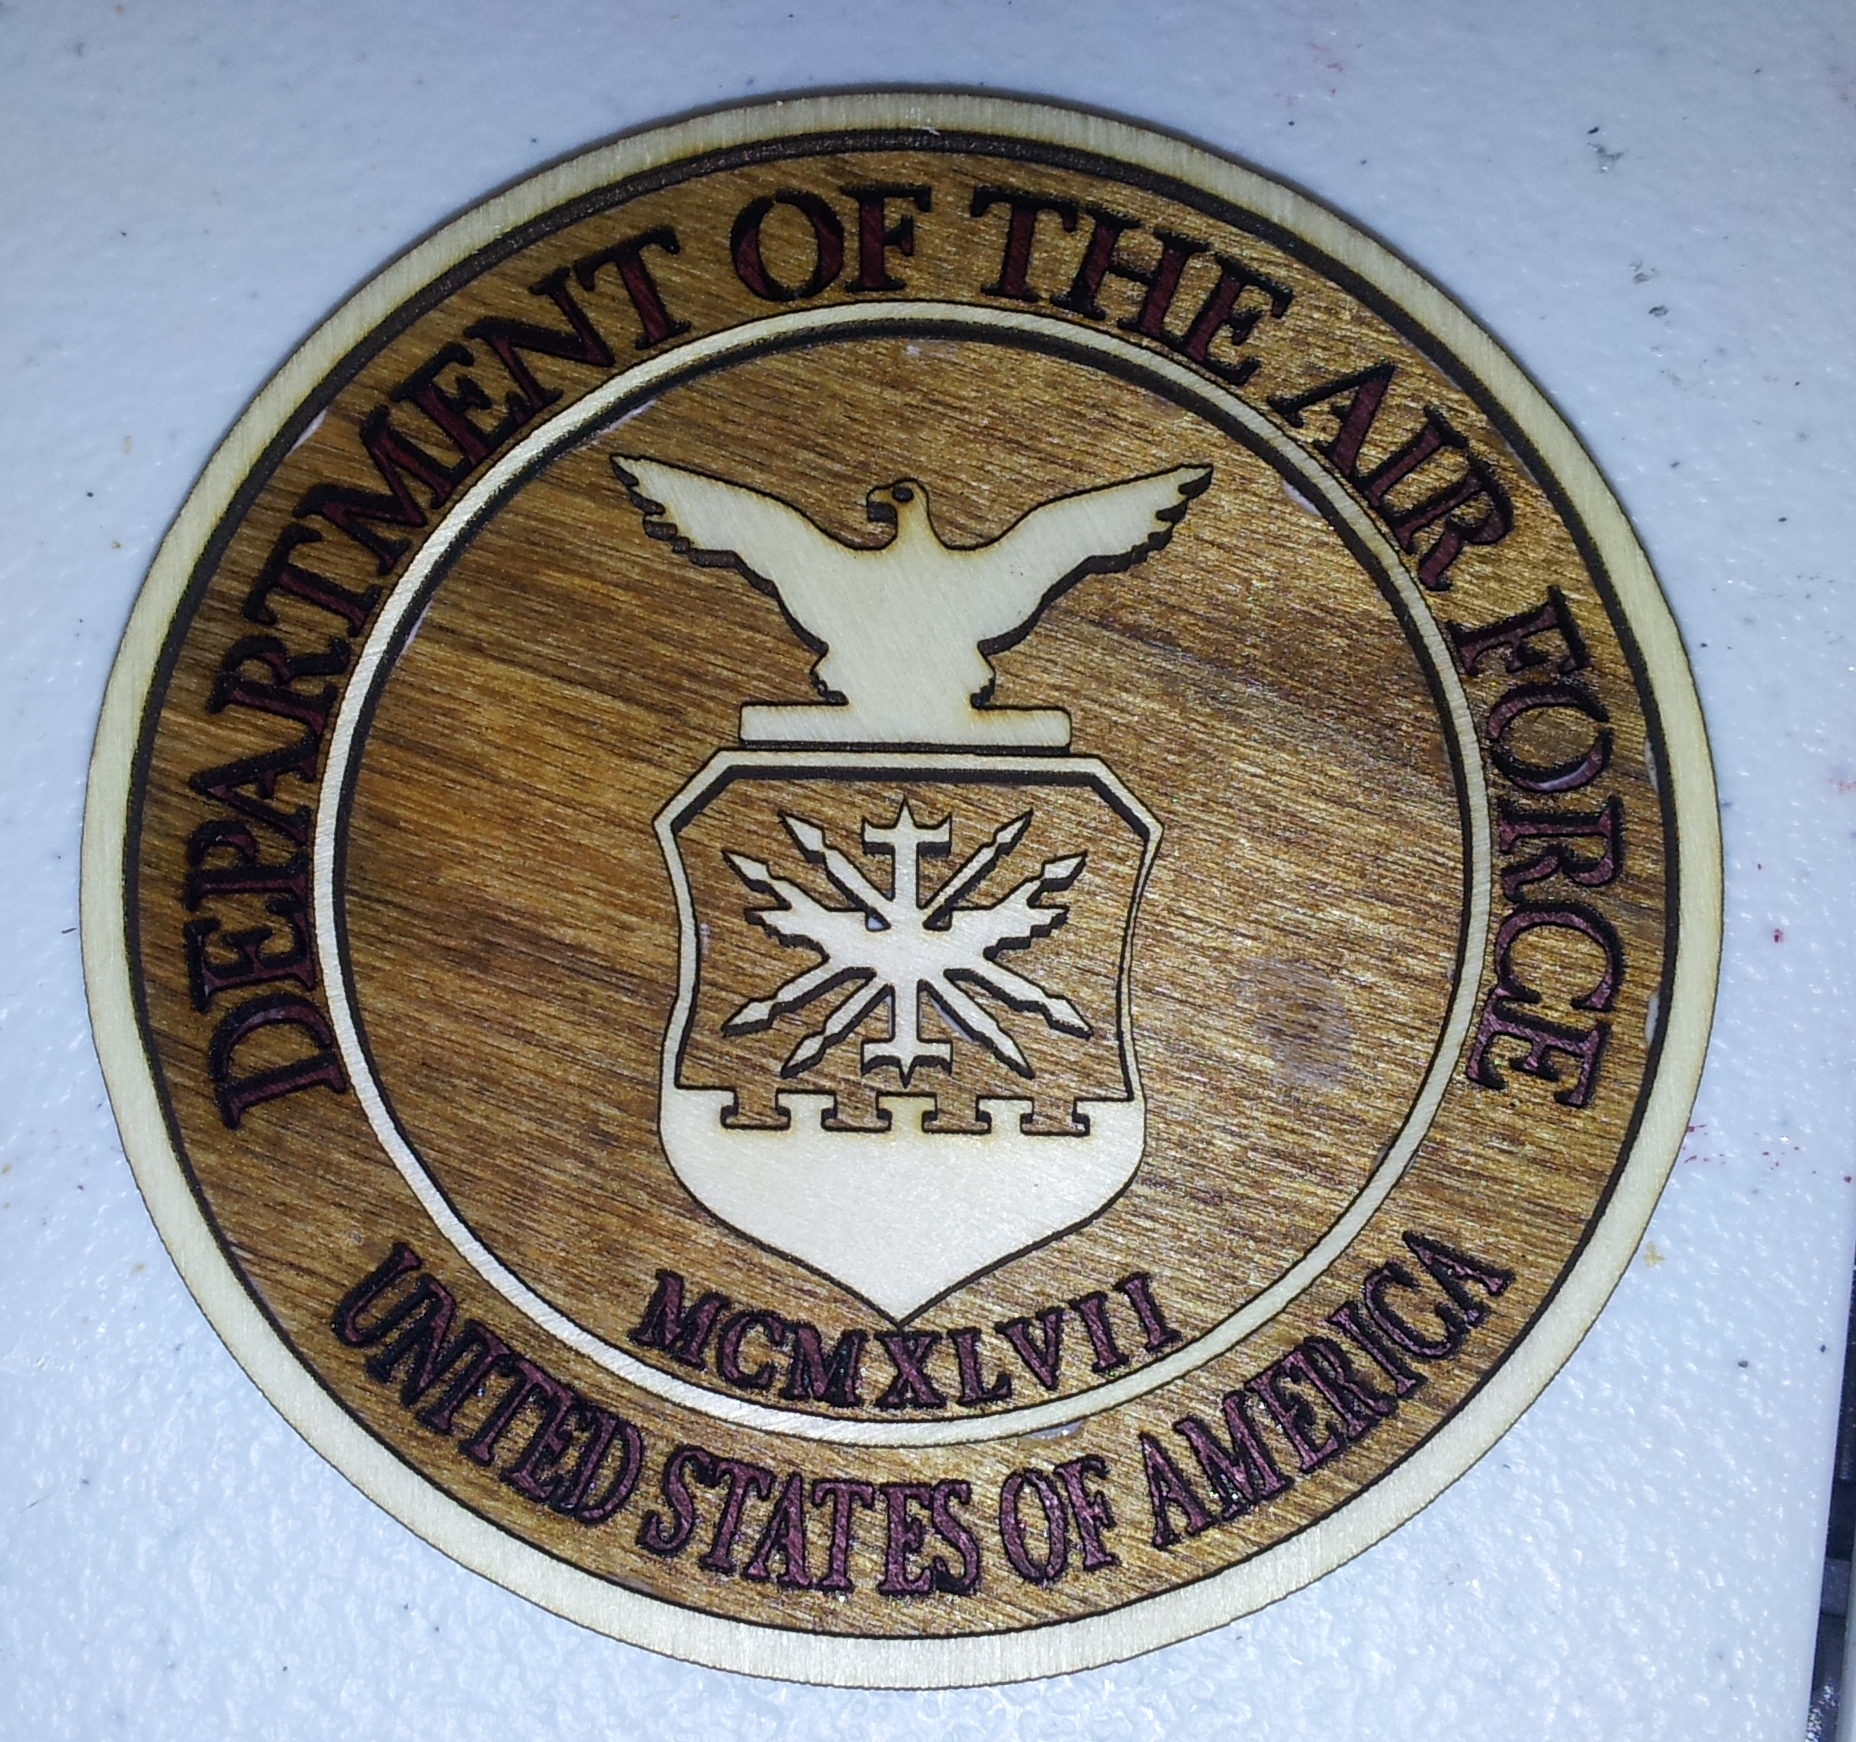
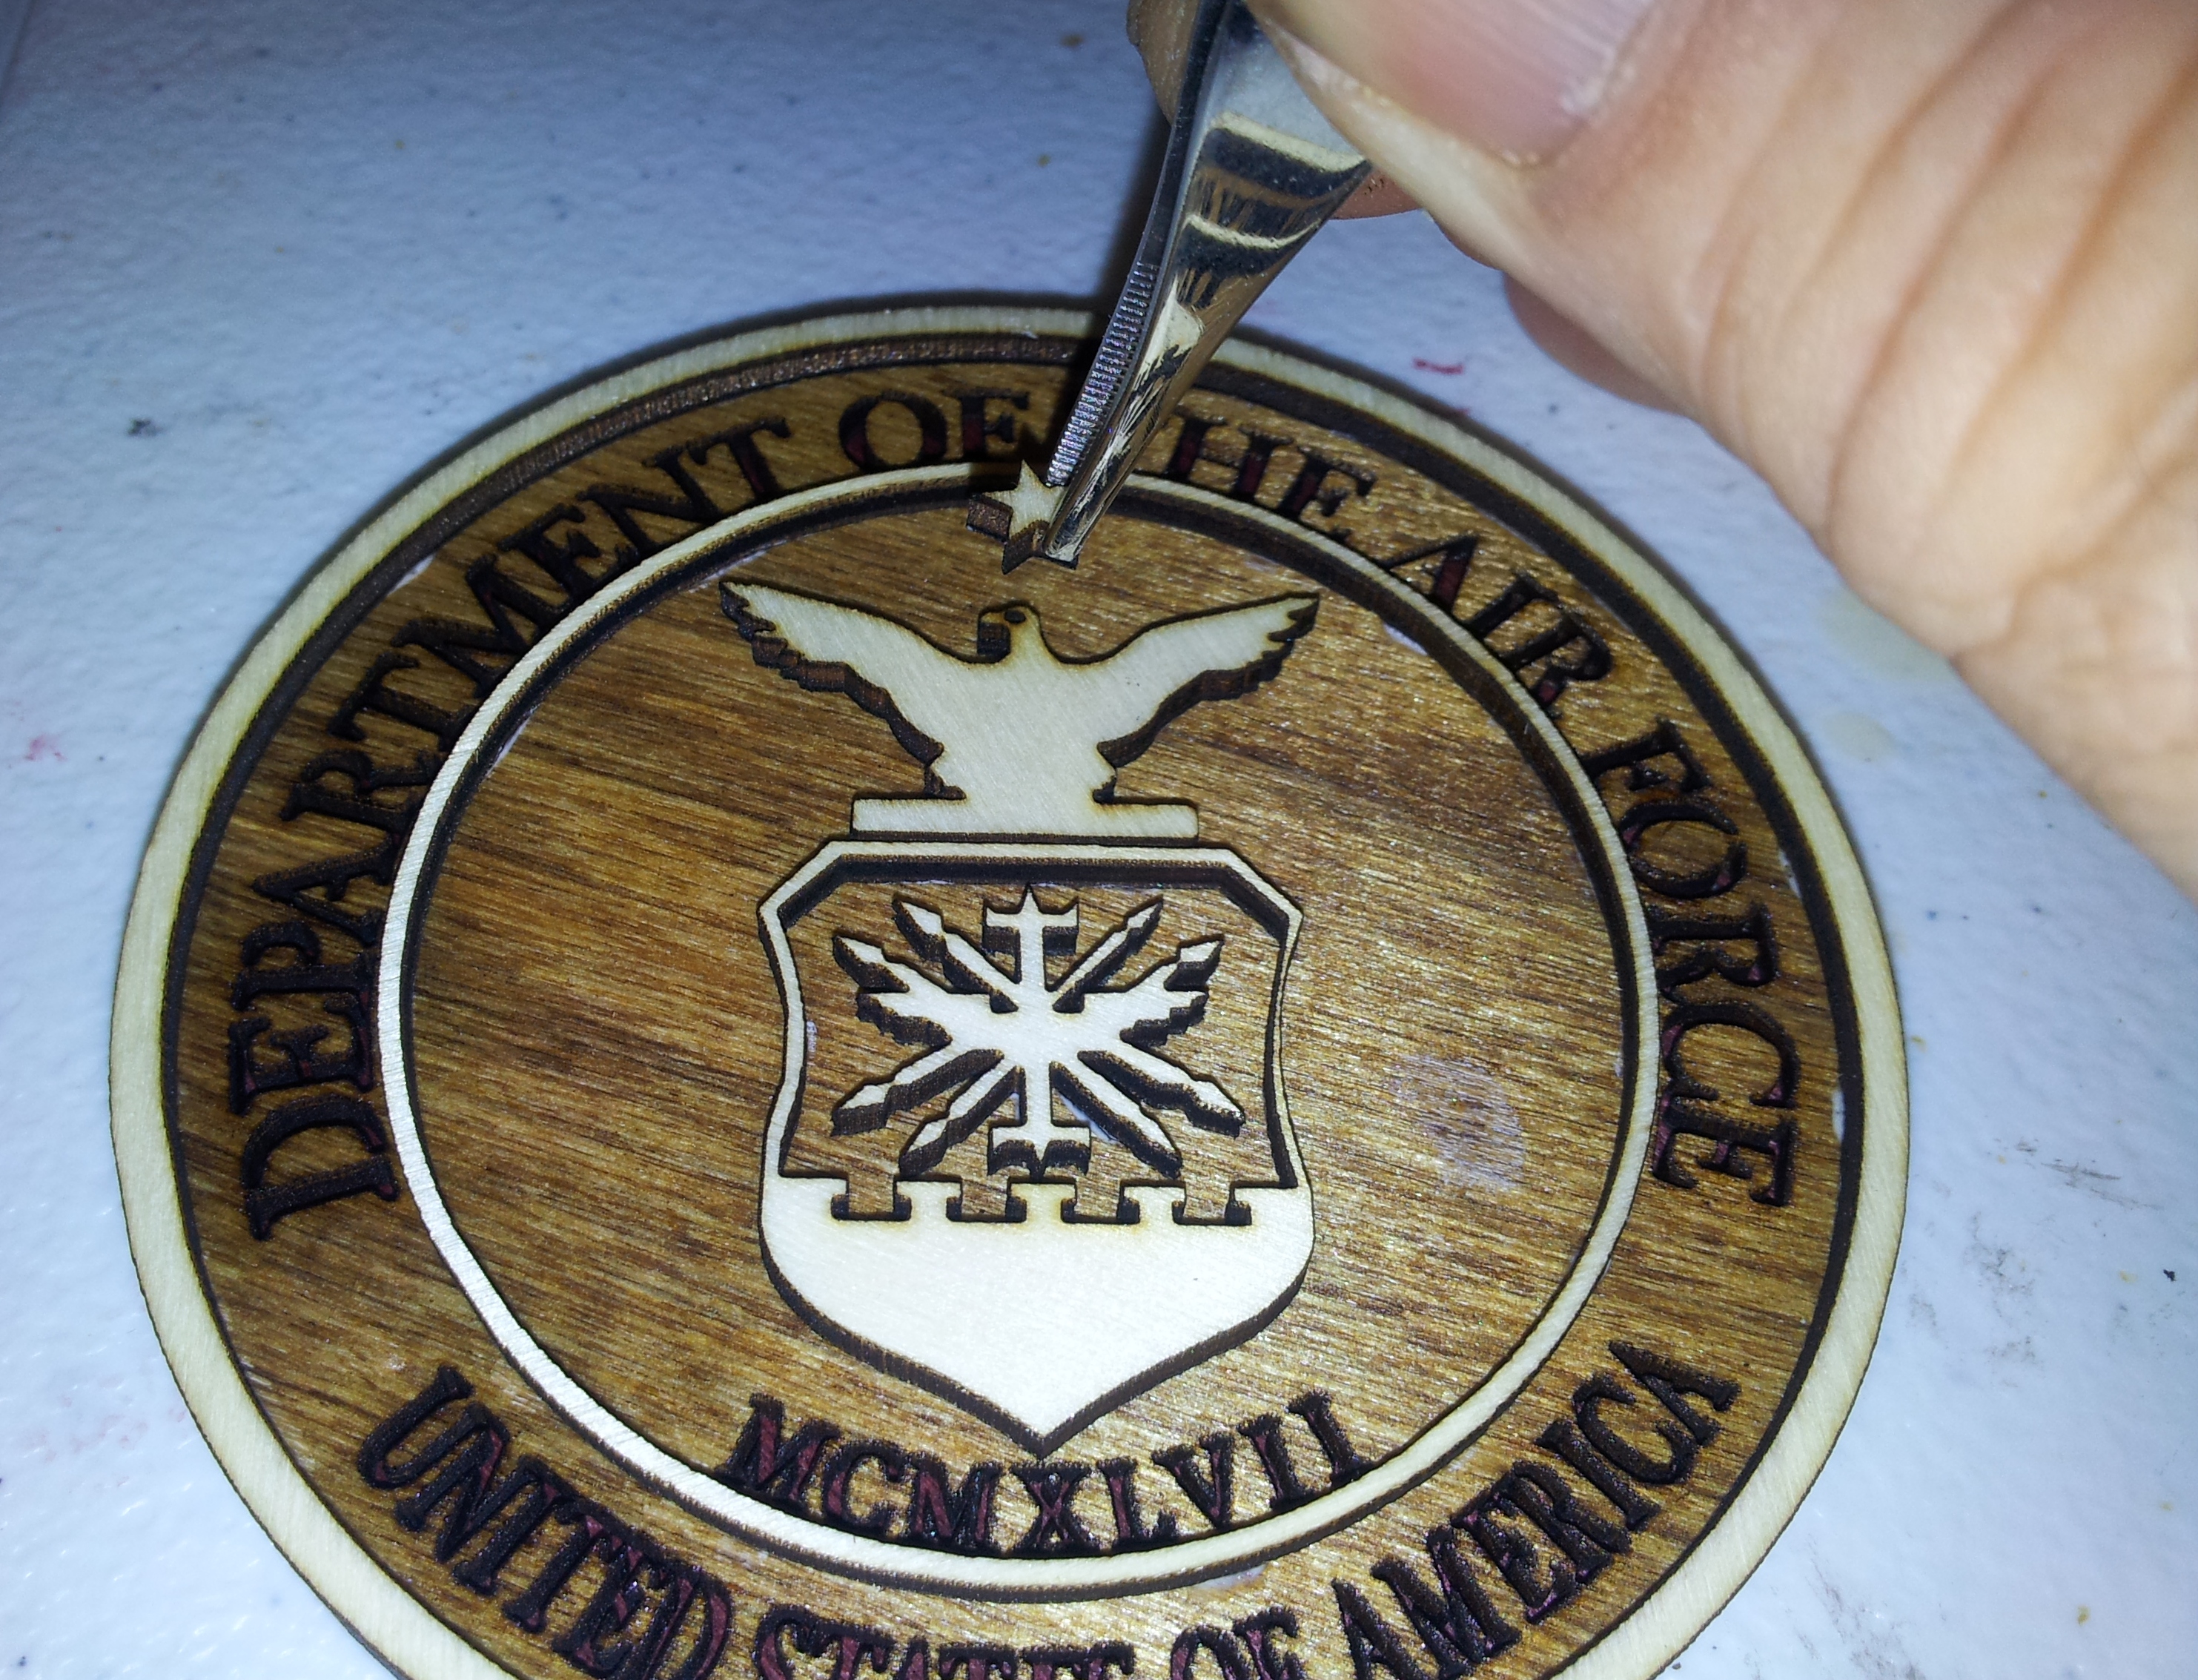
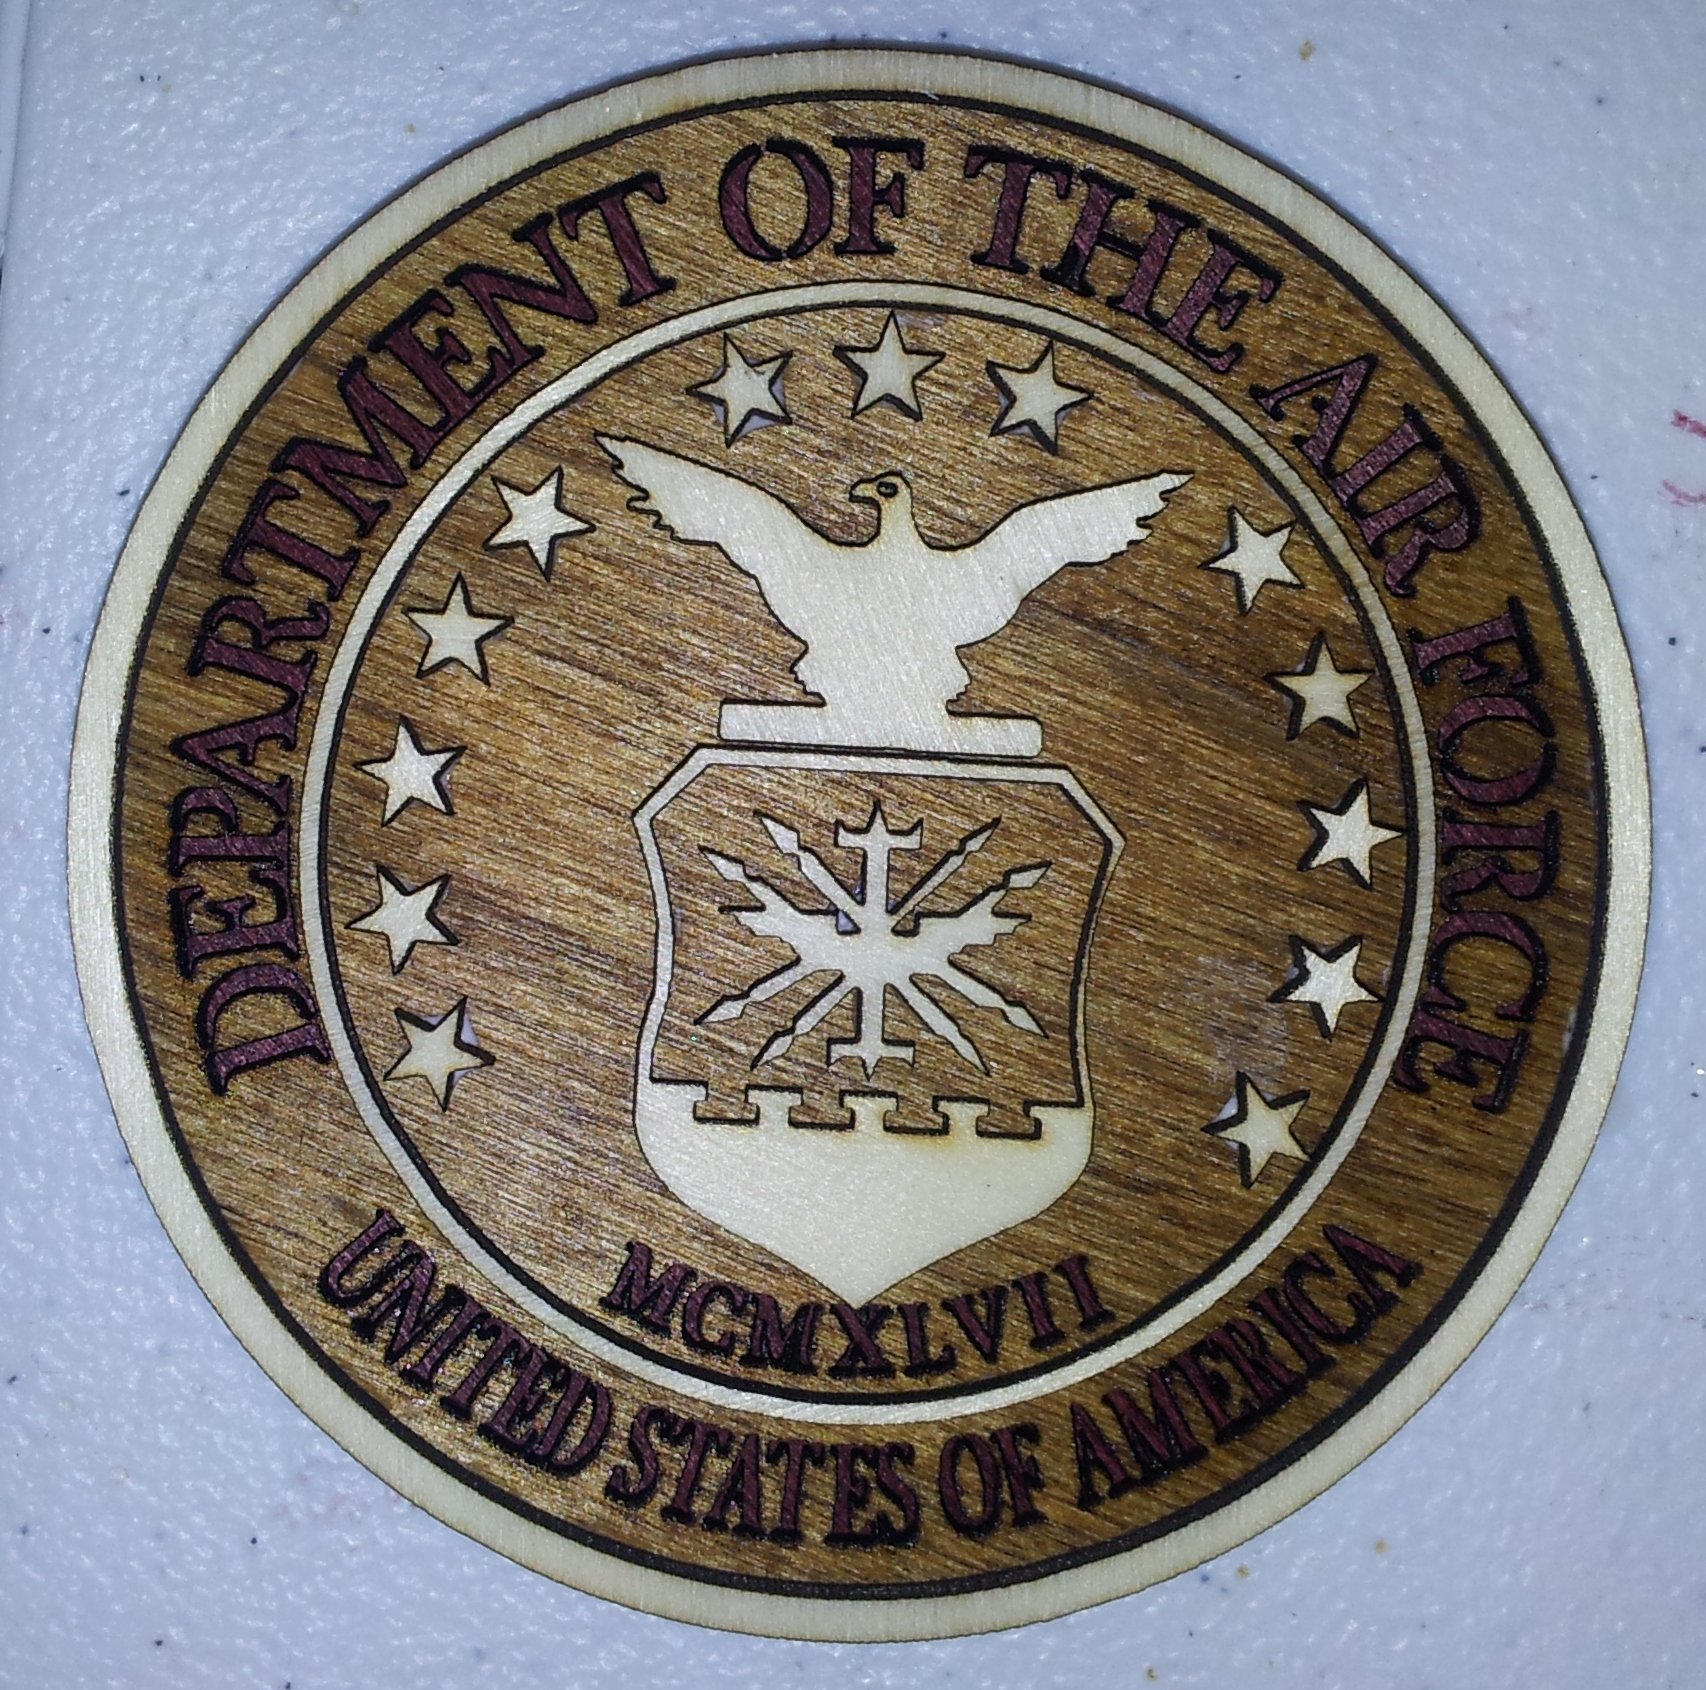

After all the pieces are cut out and placed on a flat surface it is time to assemble the emblem. Using a pair of tweezers and Gorilla wood glue, I begin the building process. First placing the dark bottom piece on the table, next the middle shade piece with the wording and then the natural colored wood accent pieces.
Once the glue dries to a clear finish, the emblem is complete and can be enjoyed by whom ever it was made for. I made this a 4-inch, but it can be as big or as small as the laser can cut the pieces and still see it.
Thank you for reviewing my project and I hope you have enjoyed reading it as much as I have enjoyed making it.