Laser Cut 3D Map of a State
by Wood in Blossom in Workshop > Laser Cutting
7032 Views, 99 Favorites, 0 Comments
Laser Cut 3D Map of a State
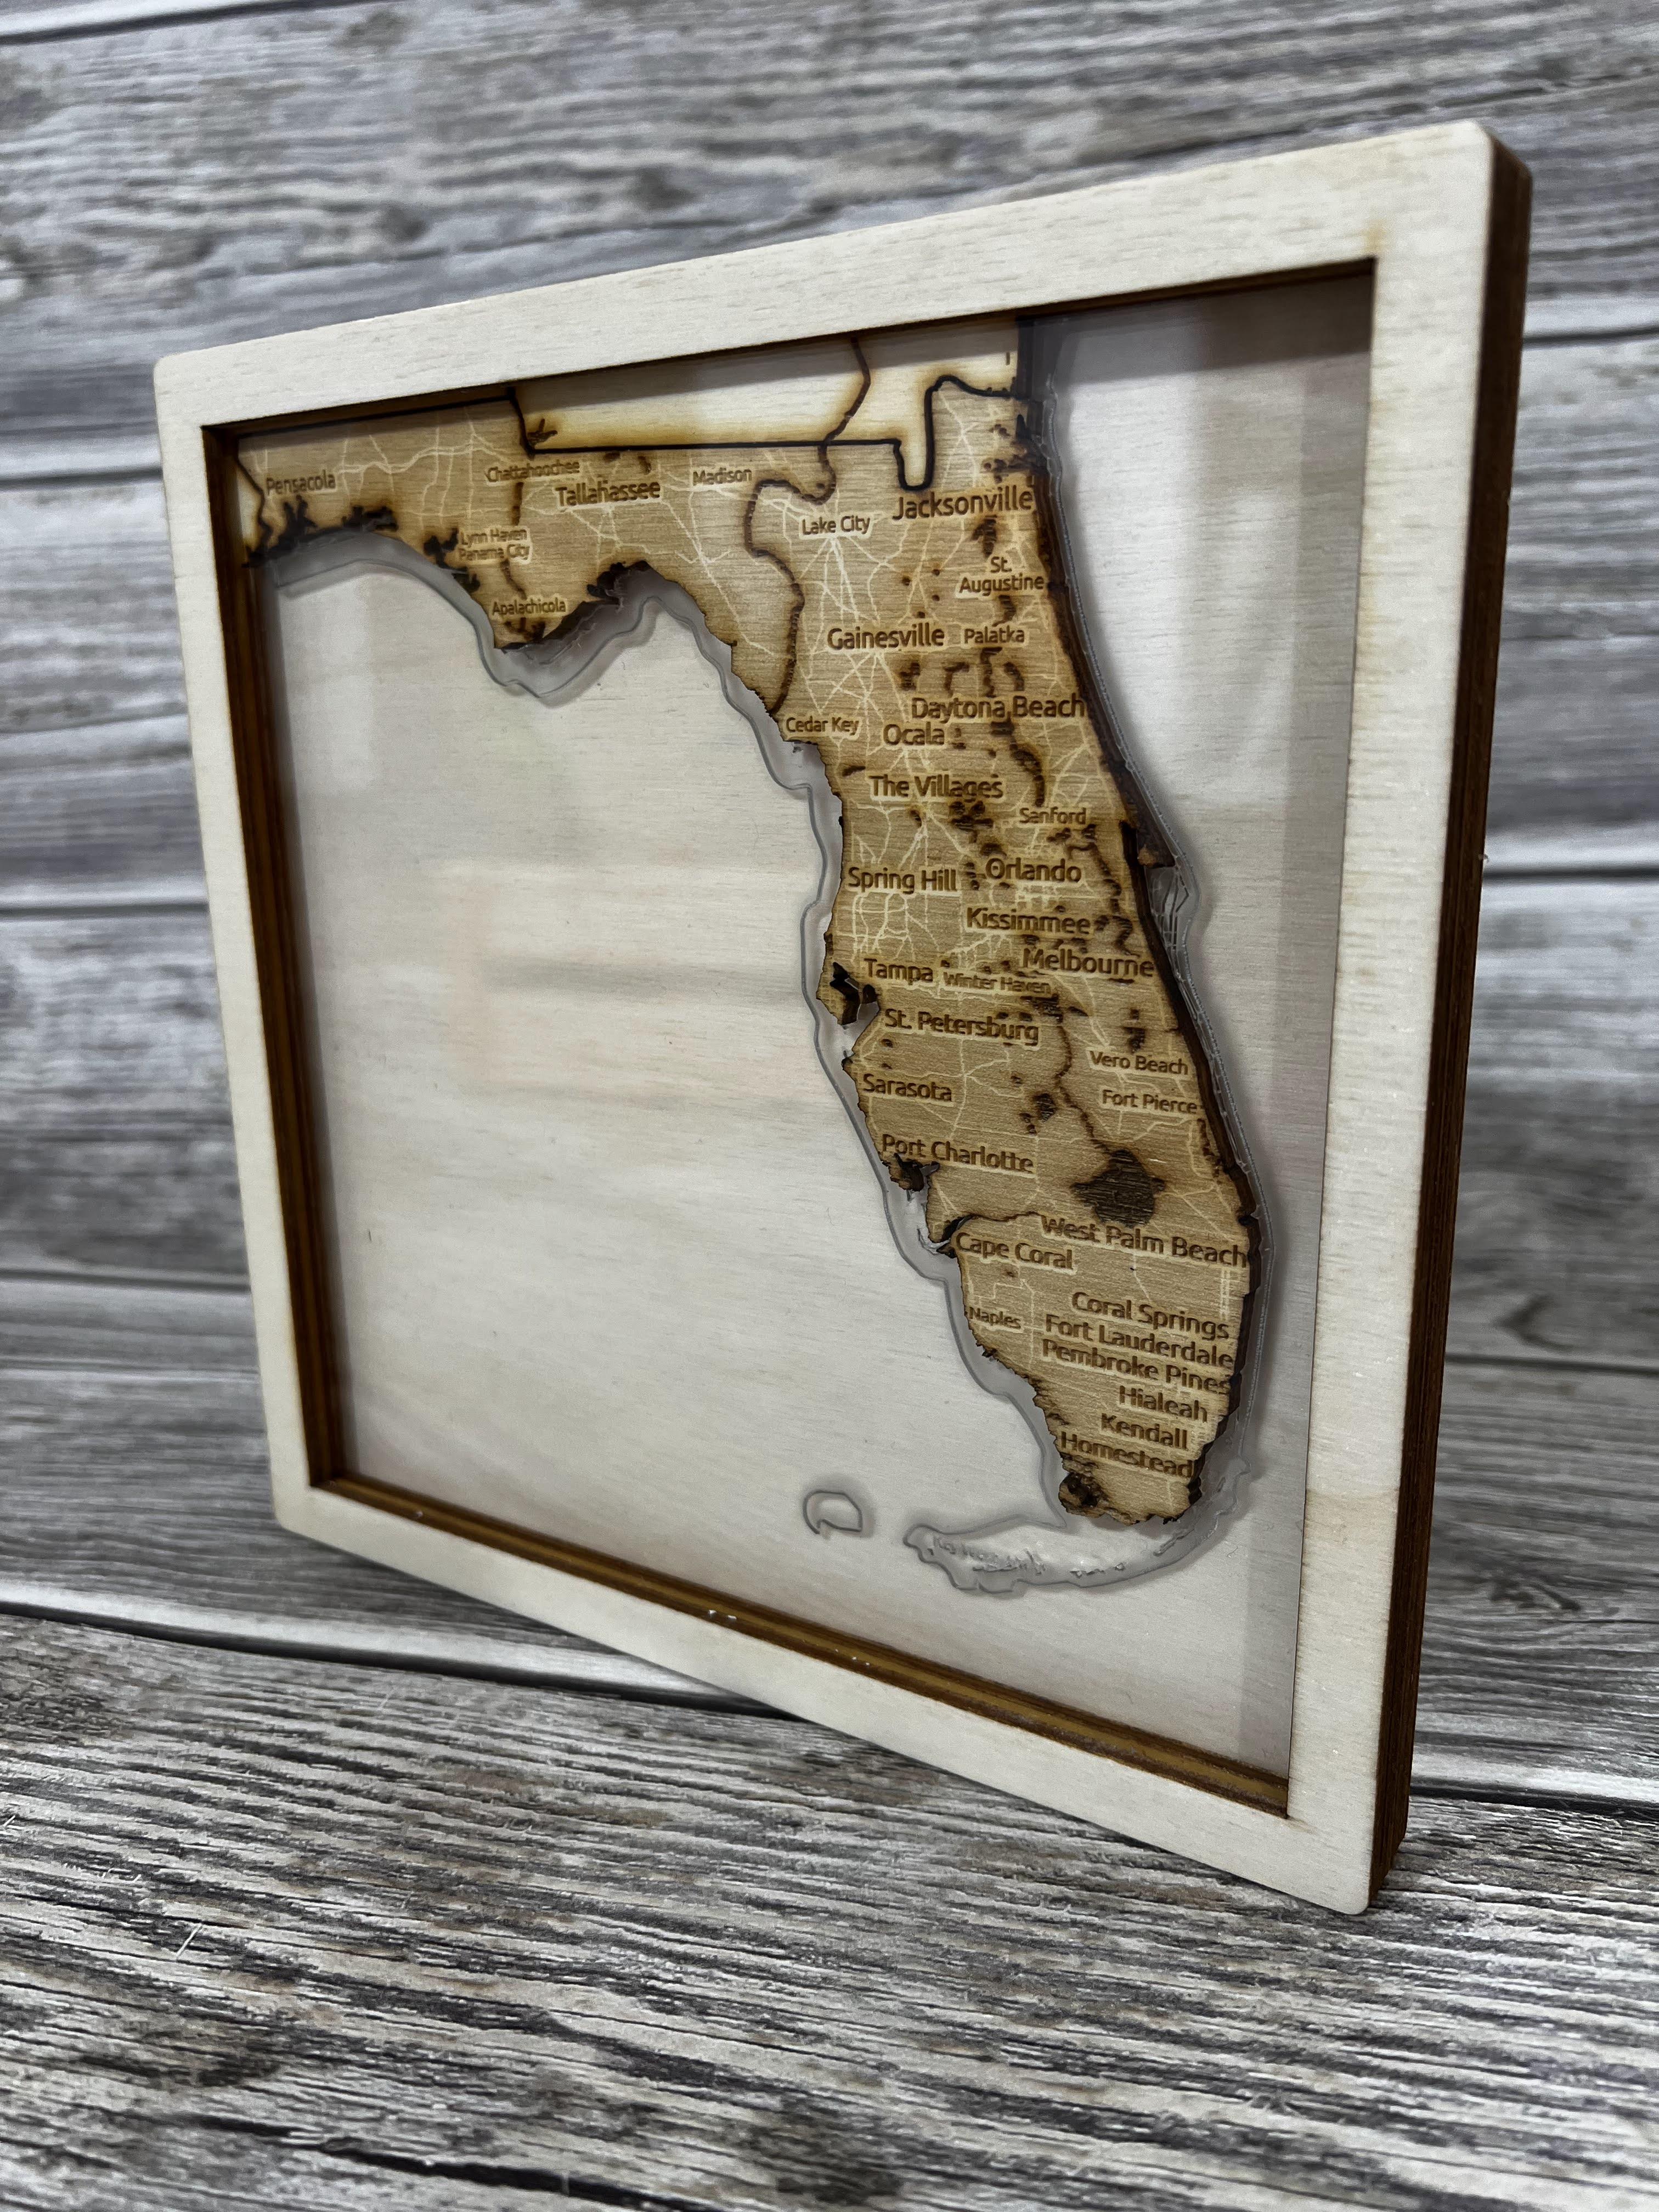
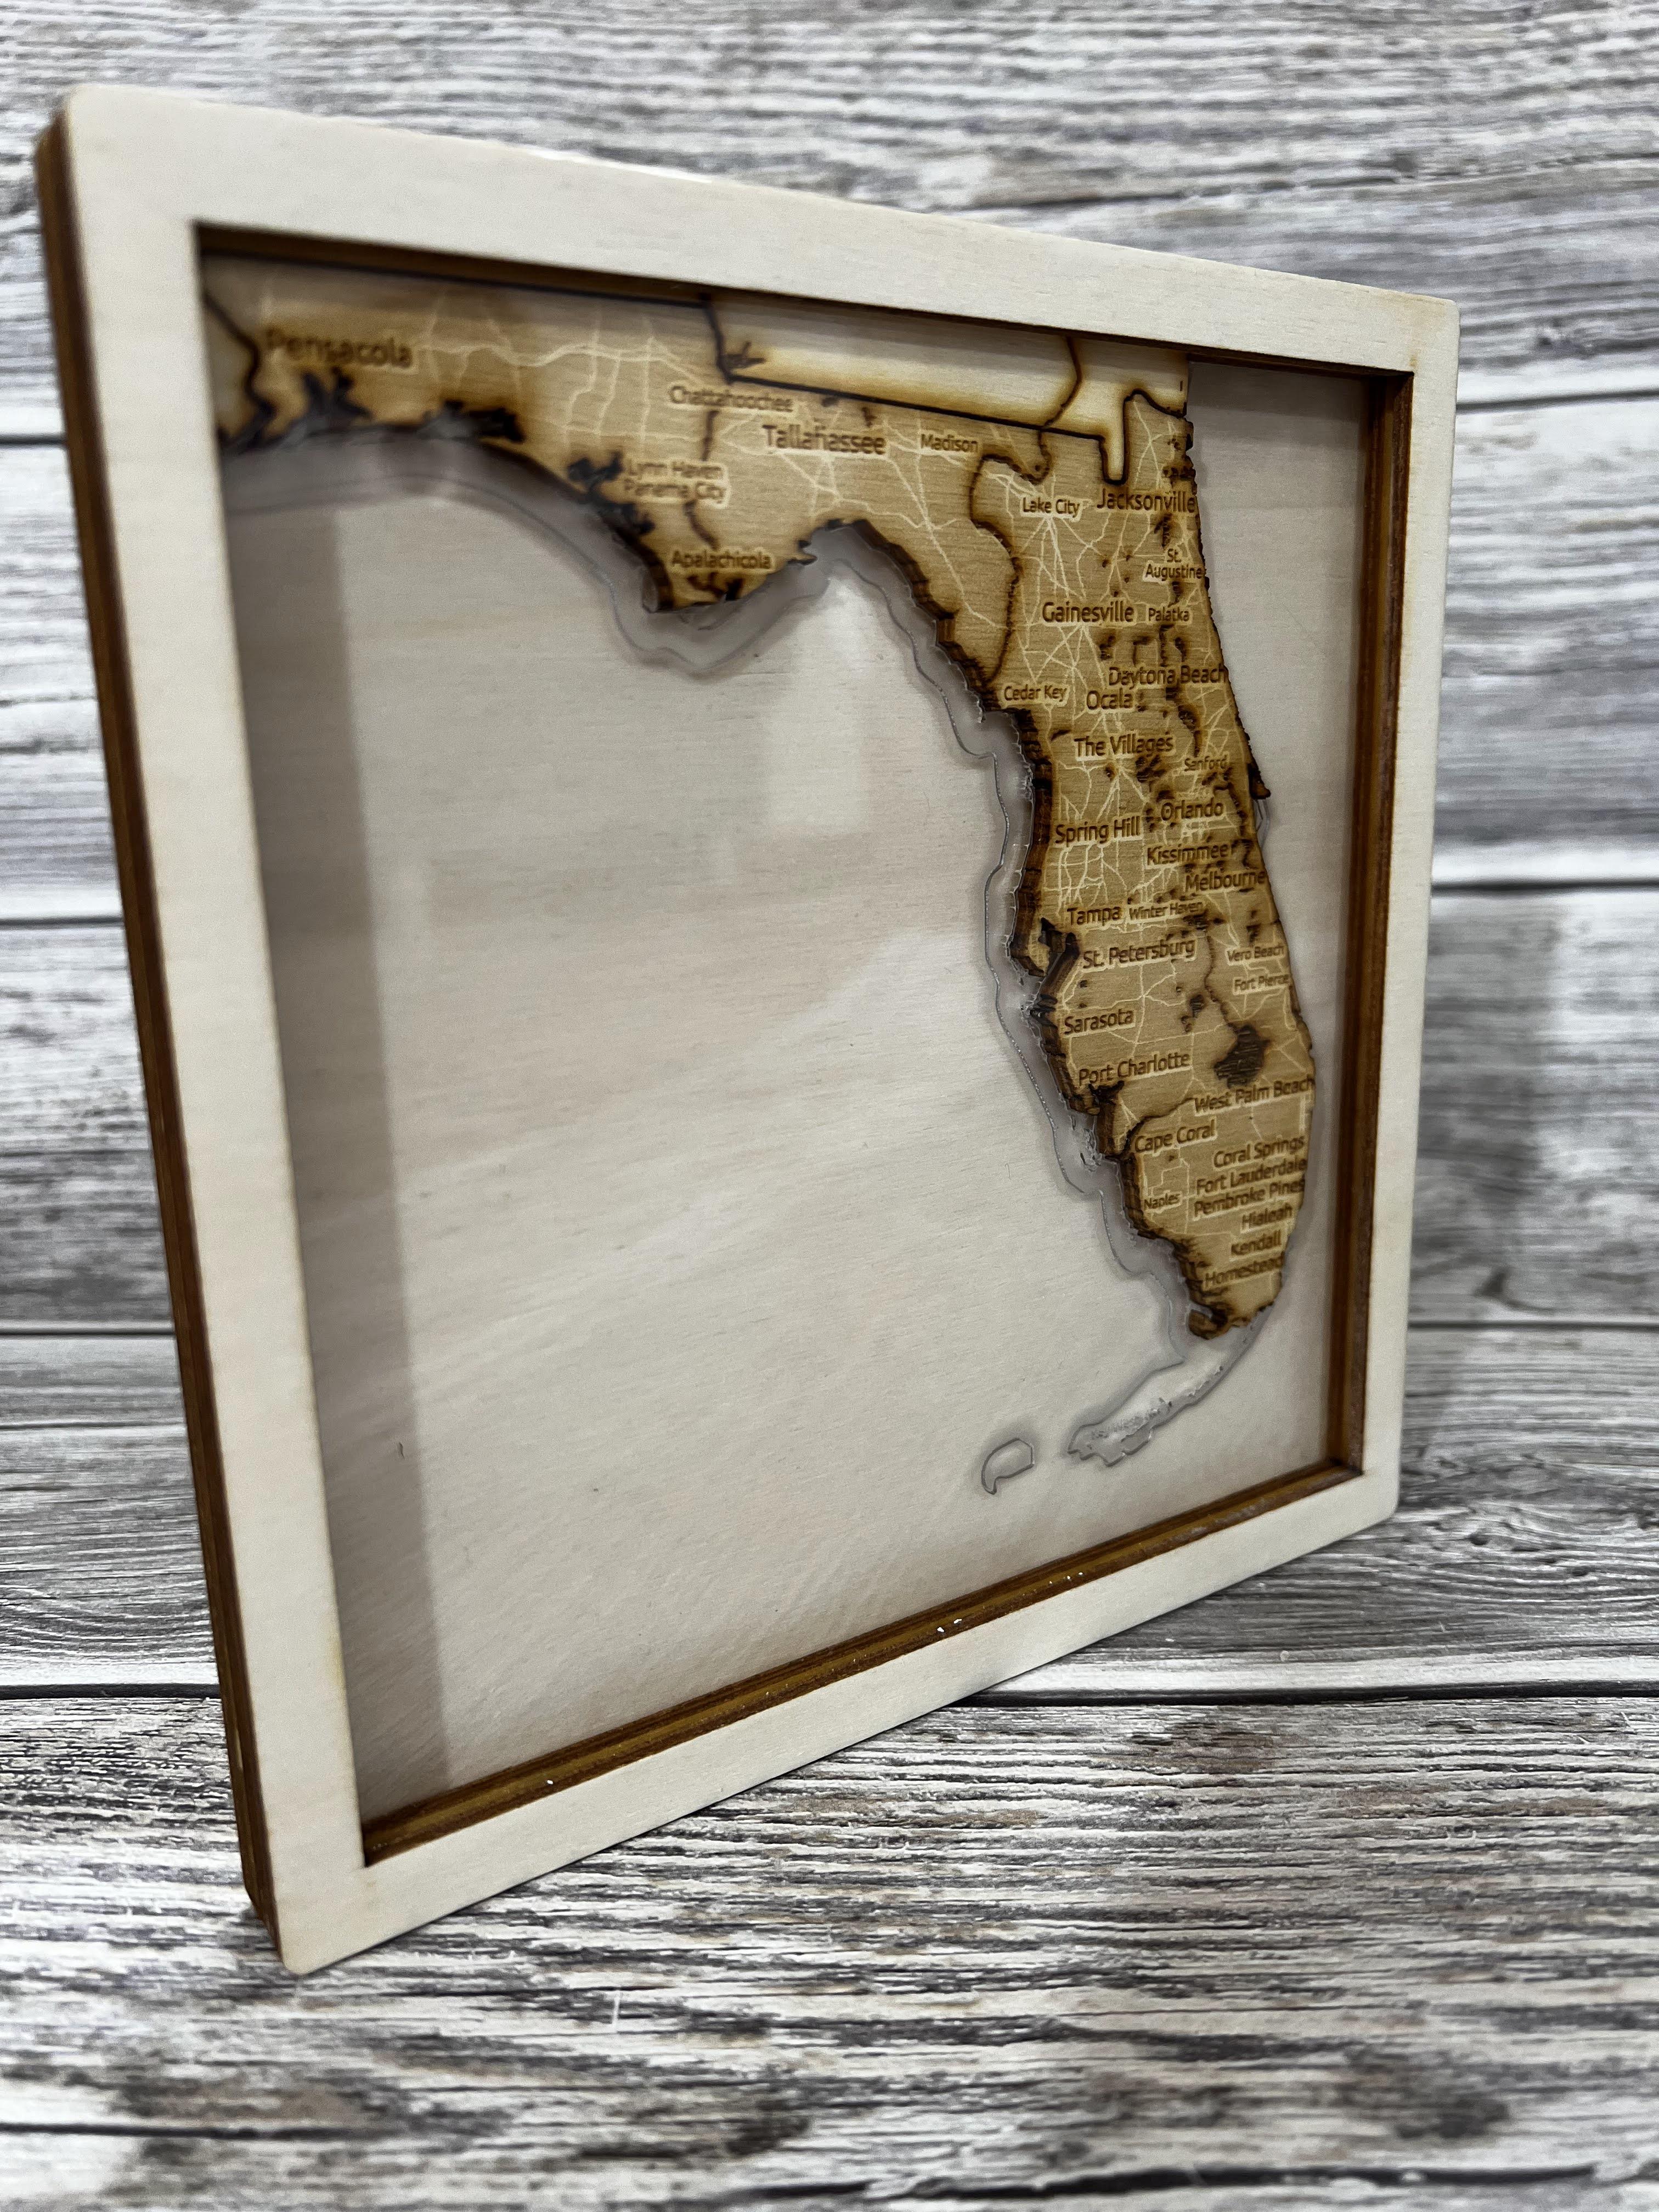

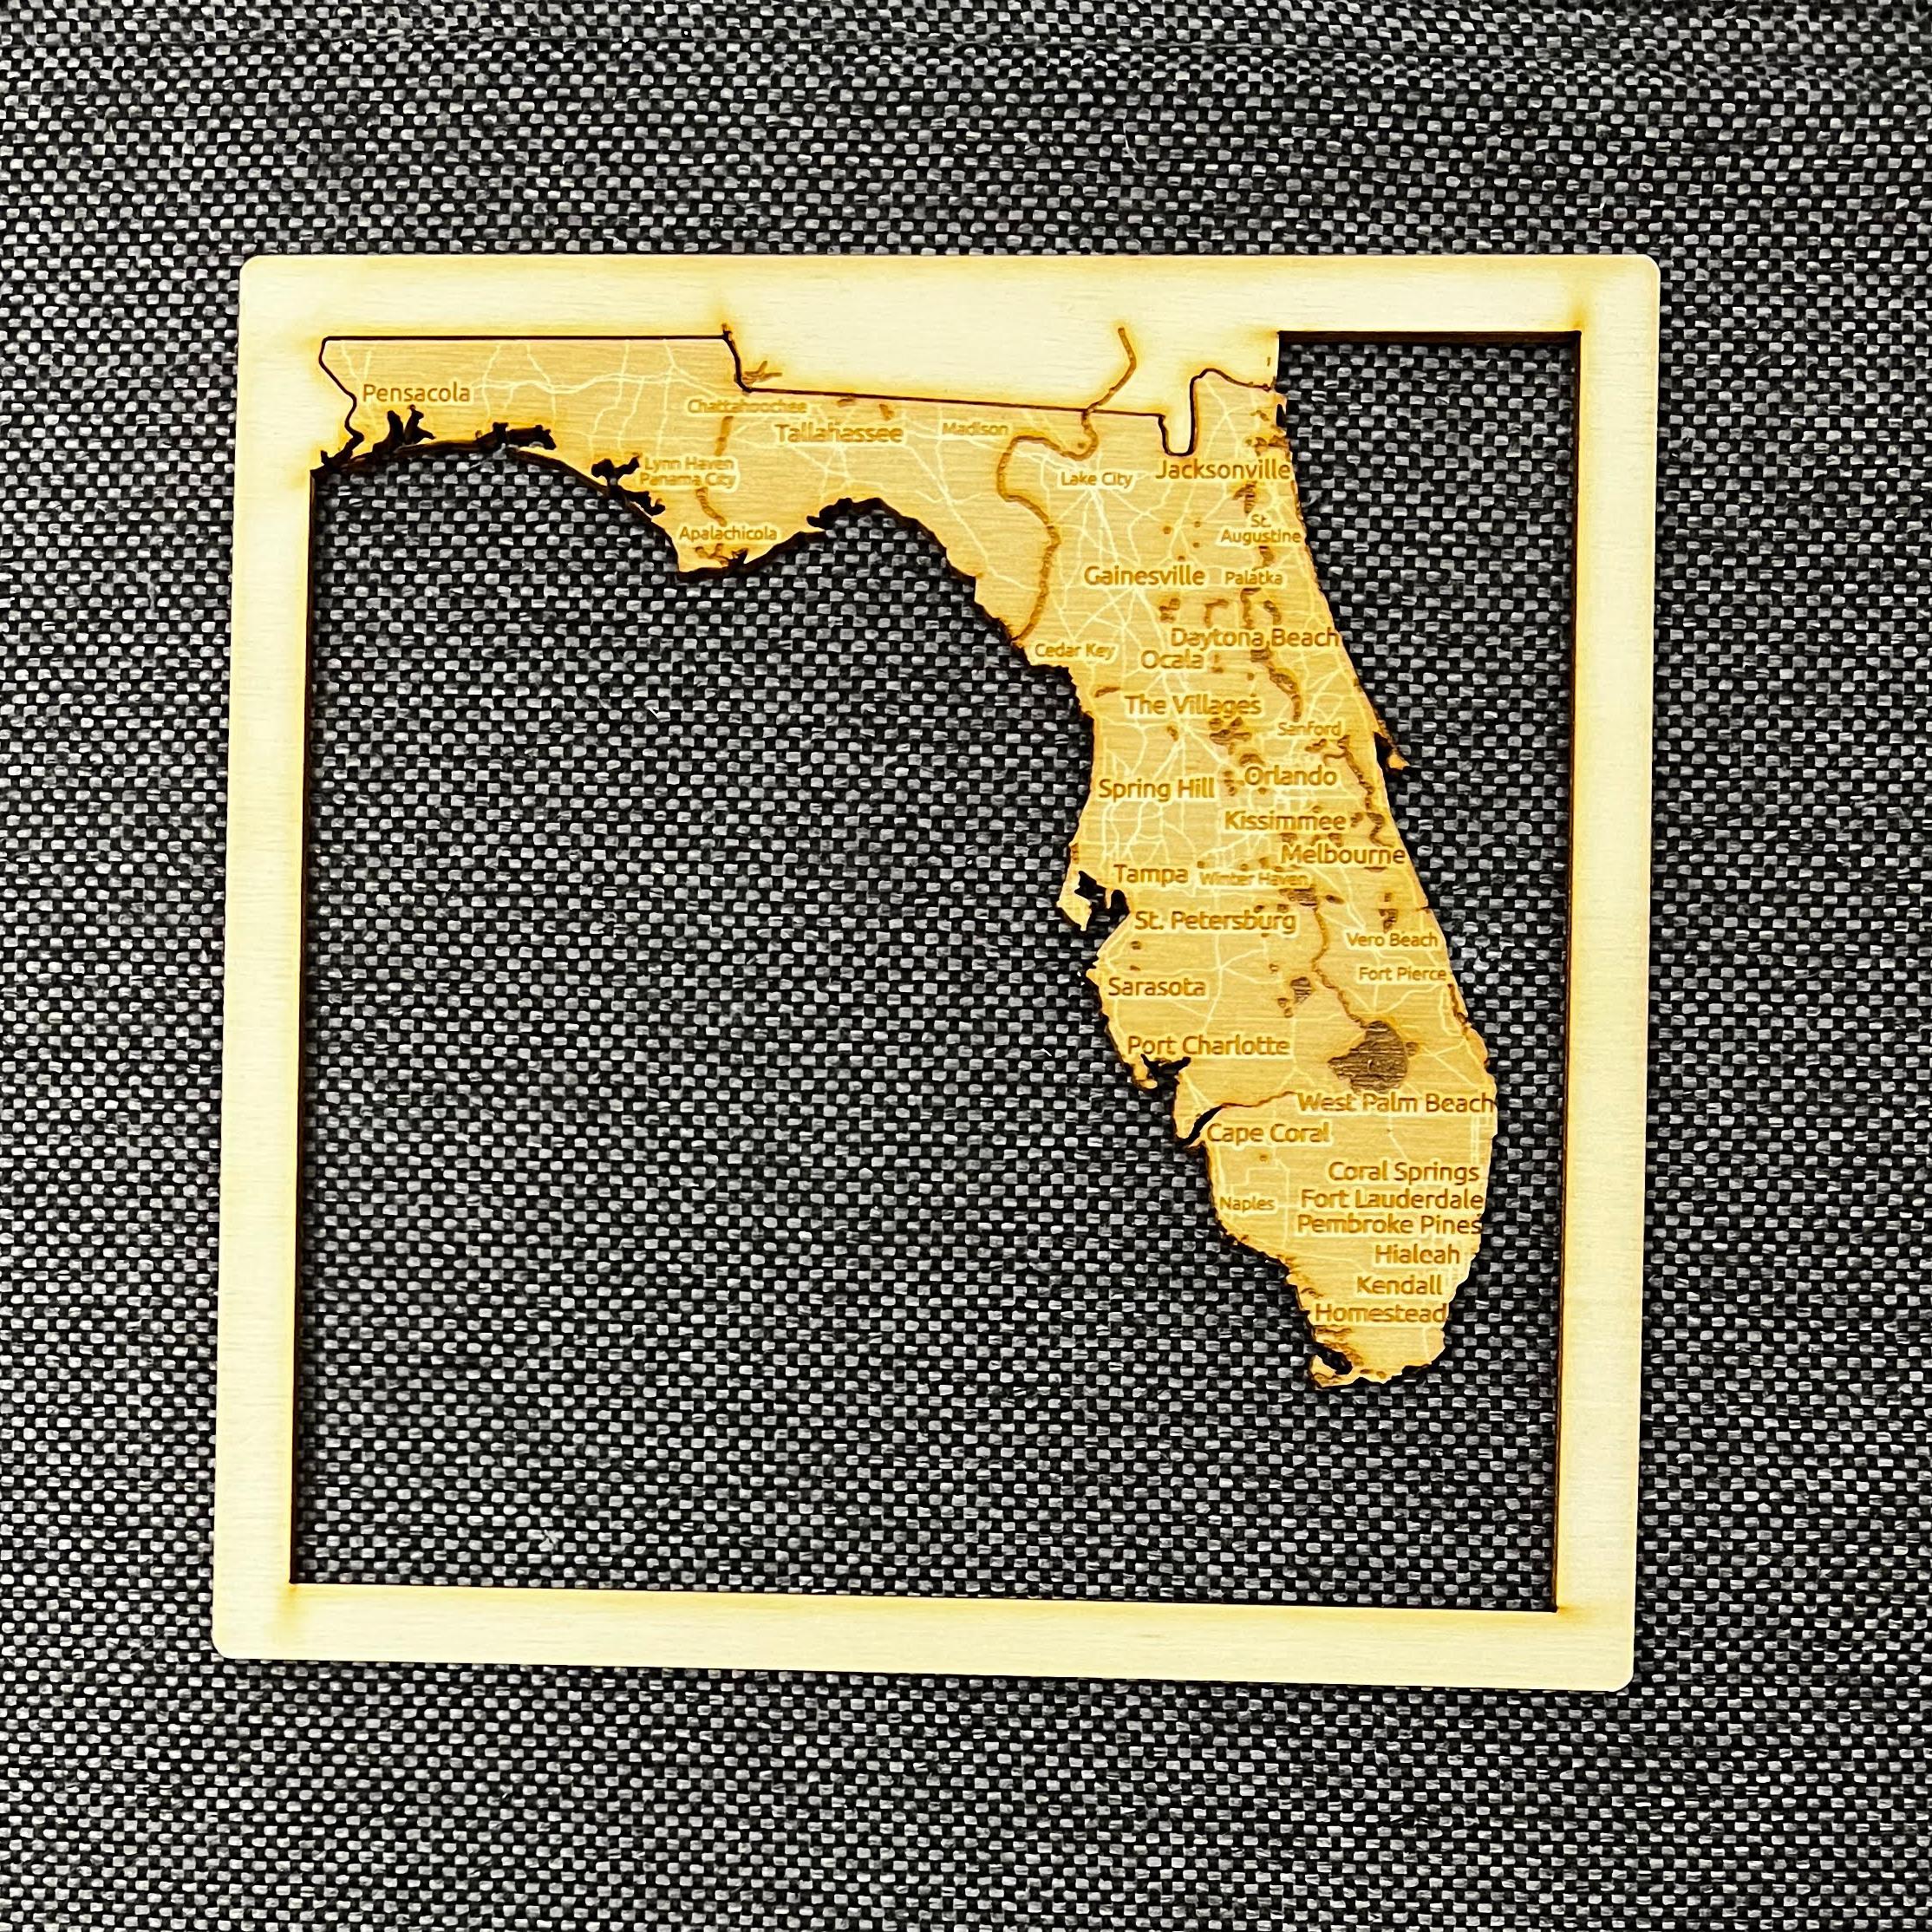
I made this wooden 3D map of Florida as a Christmas gift for my sister and her husband. When thinking about the gift, I was looking for something personal. I searched the Internet and discovered 3D maps of cities and came up with the idea - they met in Florida and this state is very special to them. Unfortunately I could not find any 3D map for the whole state. So I created this one on my own. My plan is to create a world map for my wall in the future and this project is a nice preparation for it.
I made short interesting videos of my previous projects on YouTube.
Supplies
- 3mm plywood (I used two 500x400 mm boards)
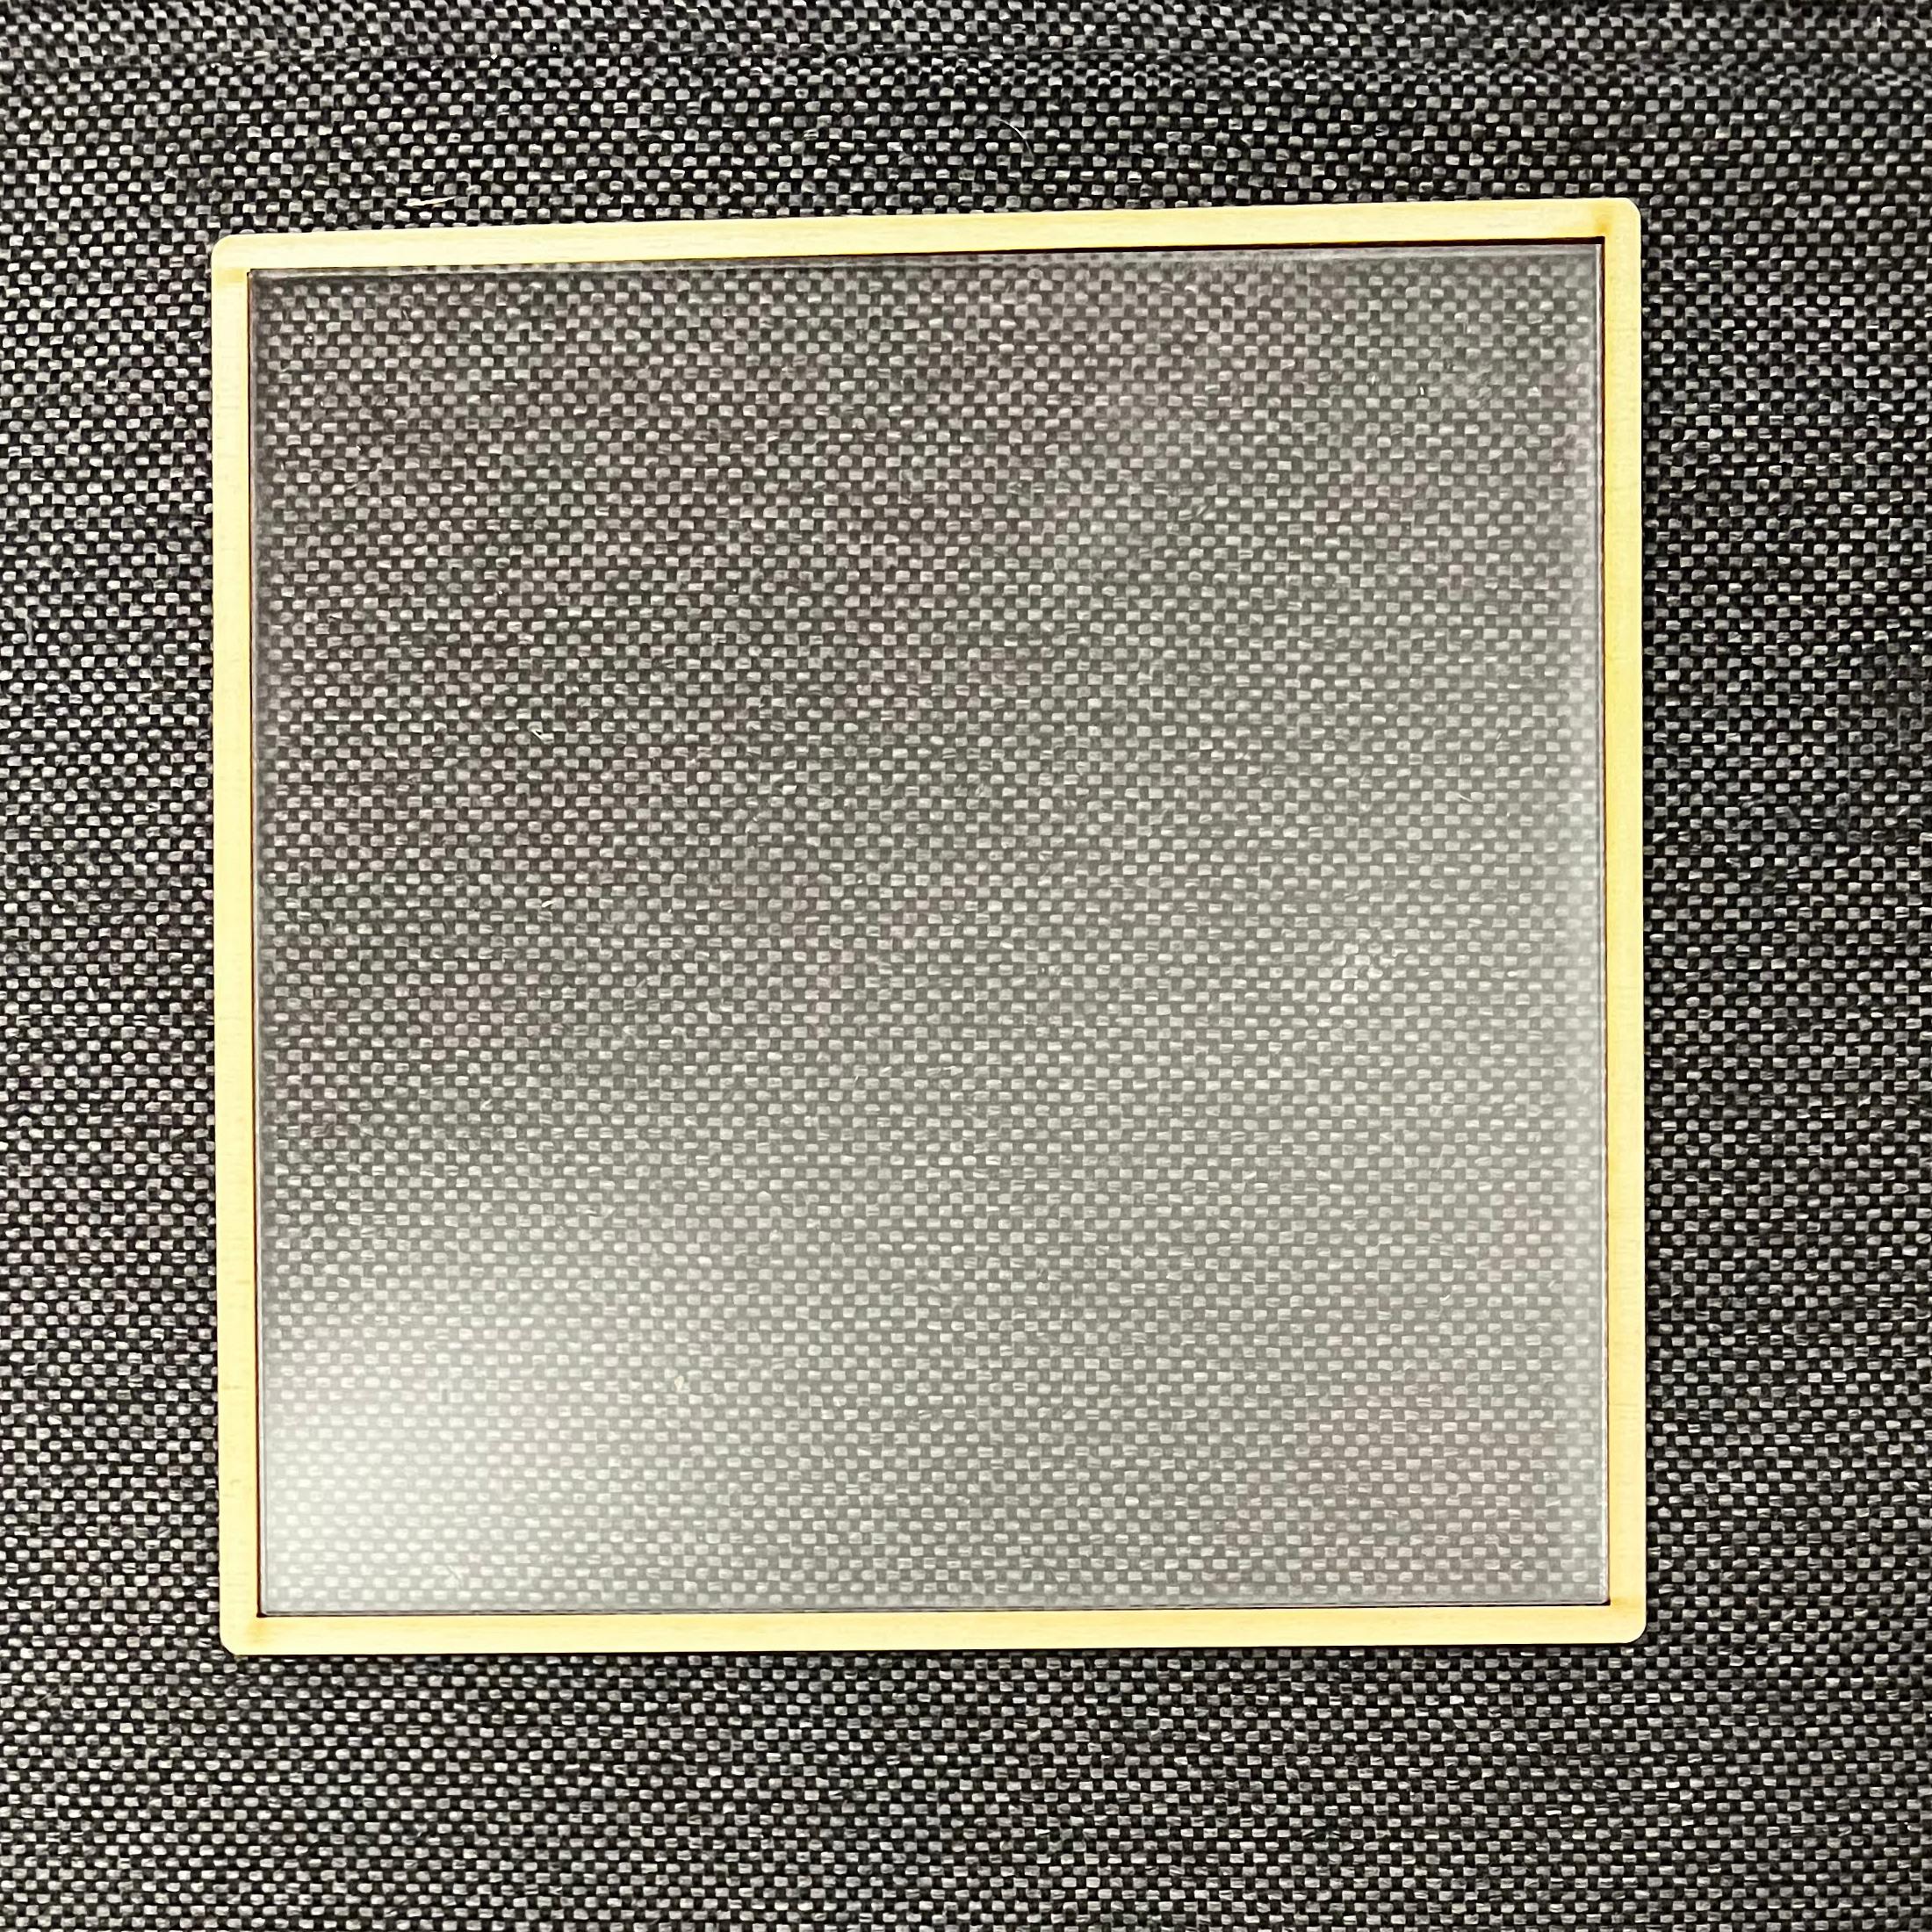
- 3mm acrylic glass (I used one 500x400 mm board)
- Wood glue
- Laser (I used Speedy 400 at my local FabLab)
Source Data
The most time consuming part of the project was data preparation. Primarily because I didn't know which tools to use and in what way. I hope that my description will help you to speed up your own project.
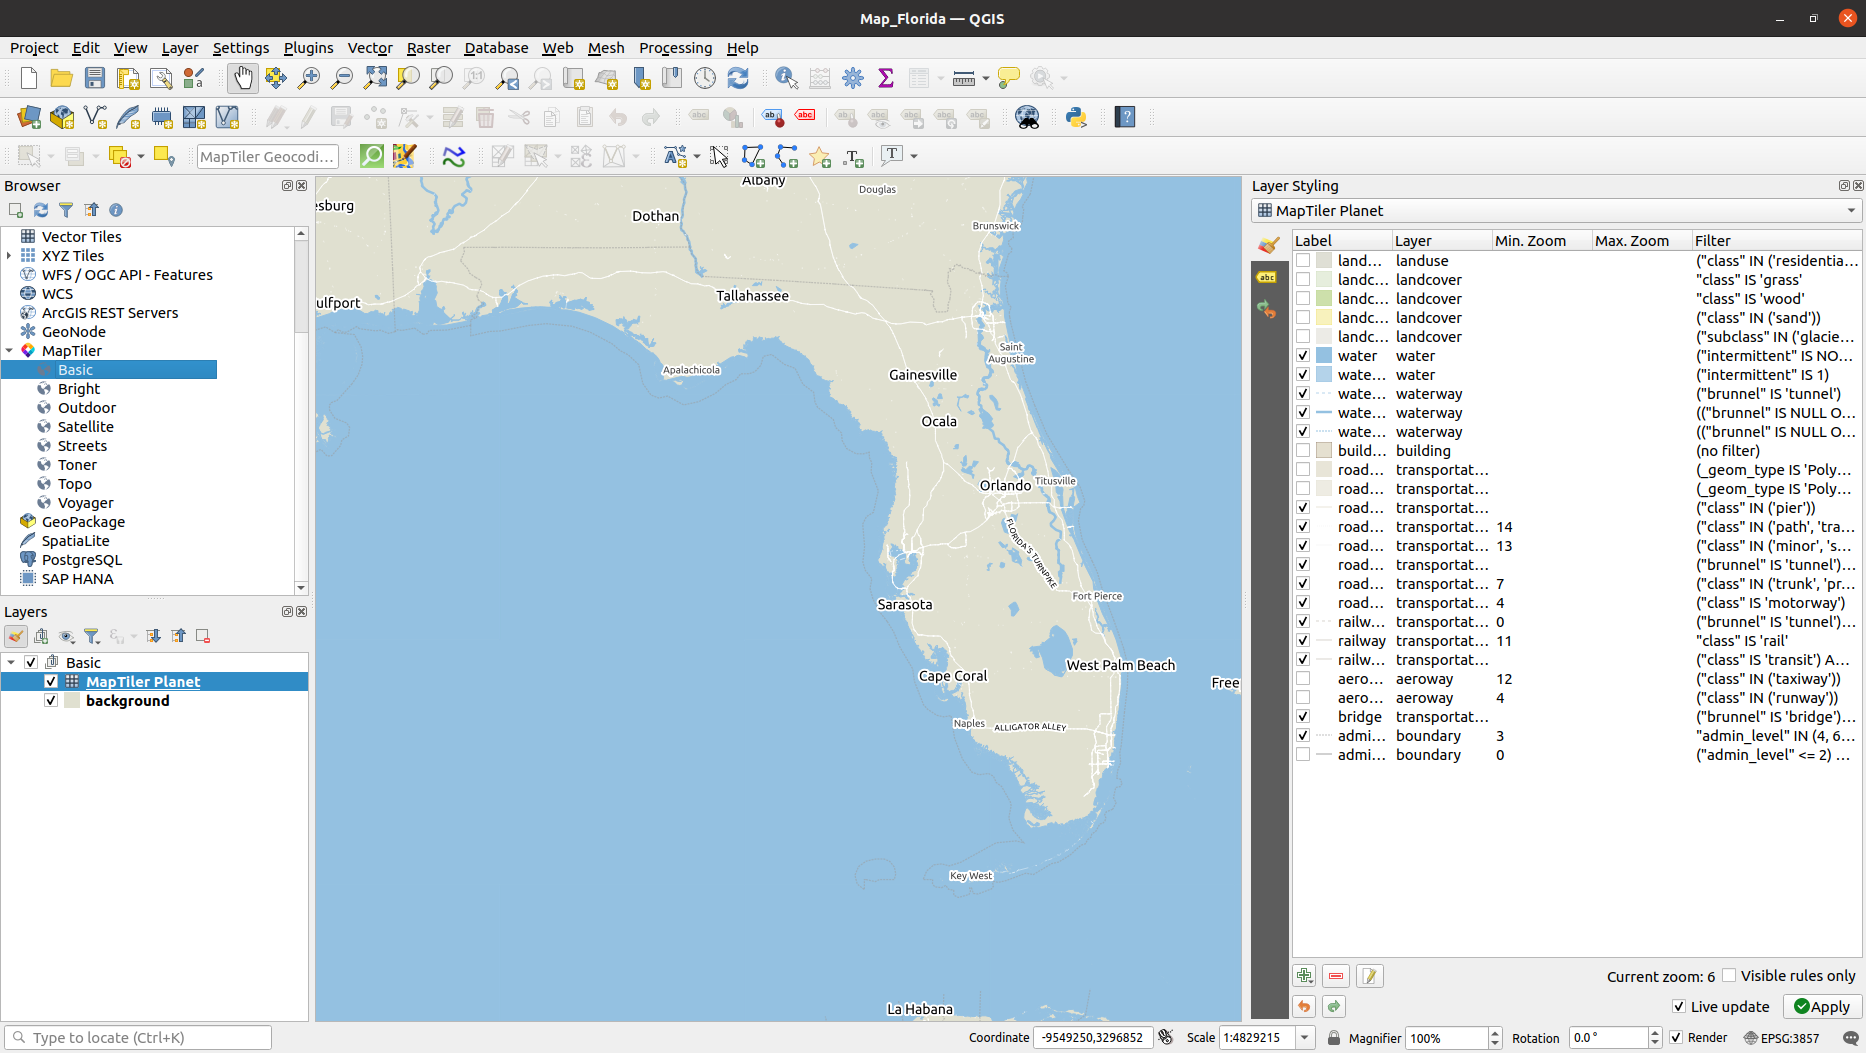
For my map data I used QGIS Desktop, which is a free and open source software. I installed the MapTiler QGIS plugin into it, created a "Basic" map and hid some features in "Layer Styling" (see settings on the image). I thought that the best approach would be to export the map as a vector, change the colours in the Inkscape and send the data to the laser. Unfortunately, the map had a lot of features, so the vector file was very big and the laser was not able to handle it. At the end I used the vector information only for cutting and scoring and I converted the engraving from vector to PNG with 1000 DPI. Next time I would change the colours in "Layer Styling" to greyscale and export the PNG directly from the QGIS, which would be faster than handling large vector files in the Inkscape.
Find the Best Parameters for Your Laser
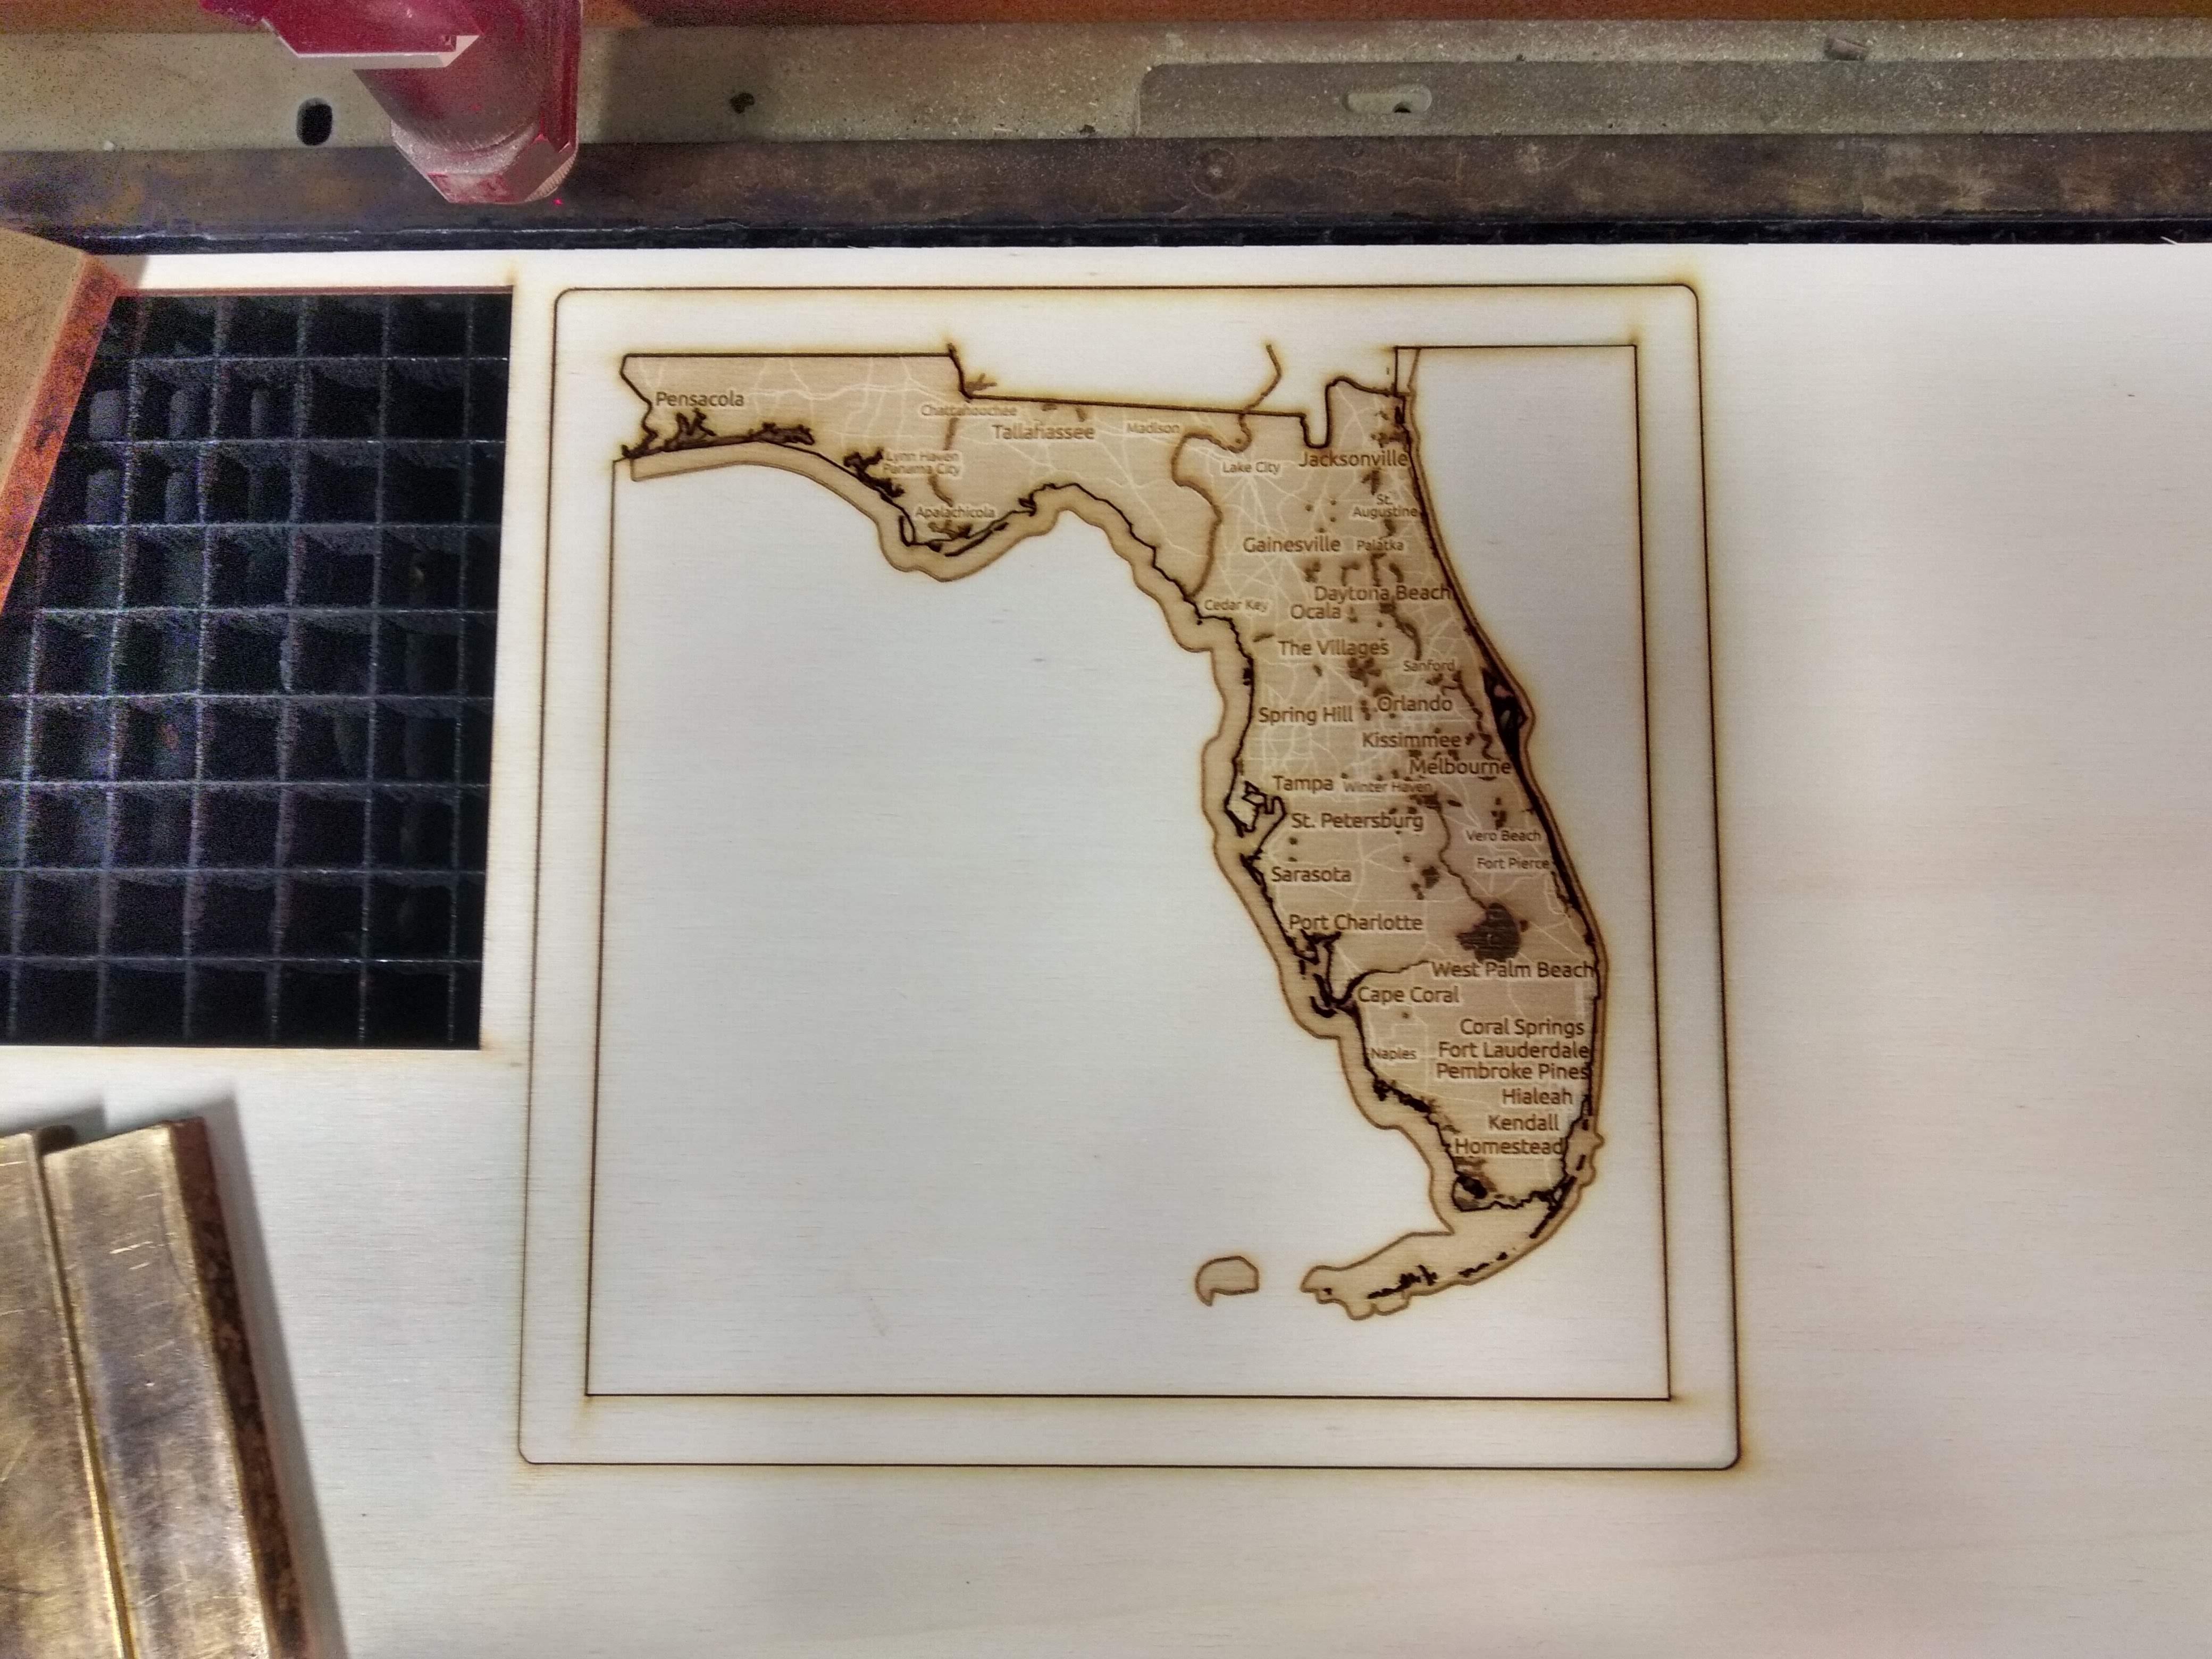
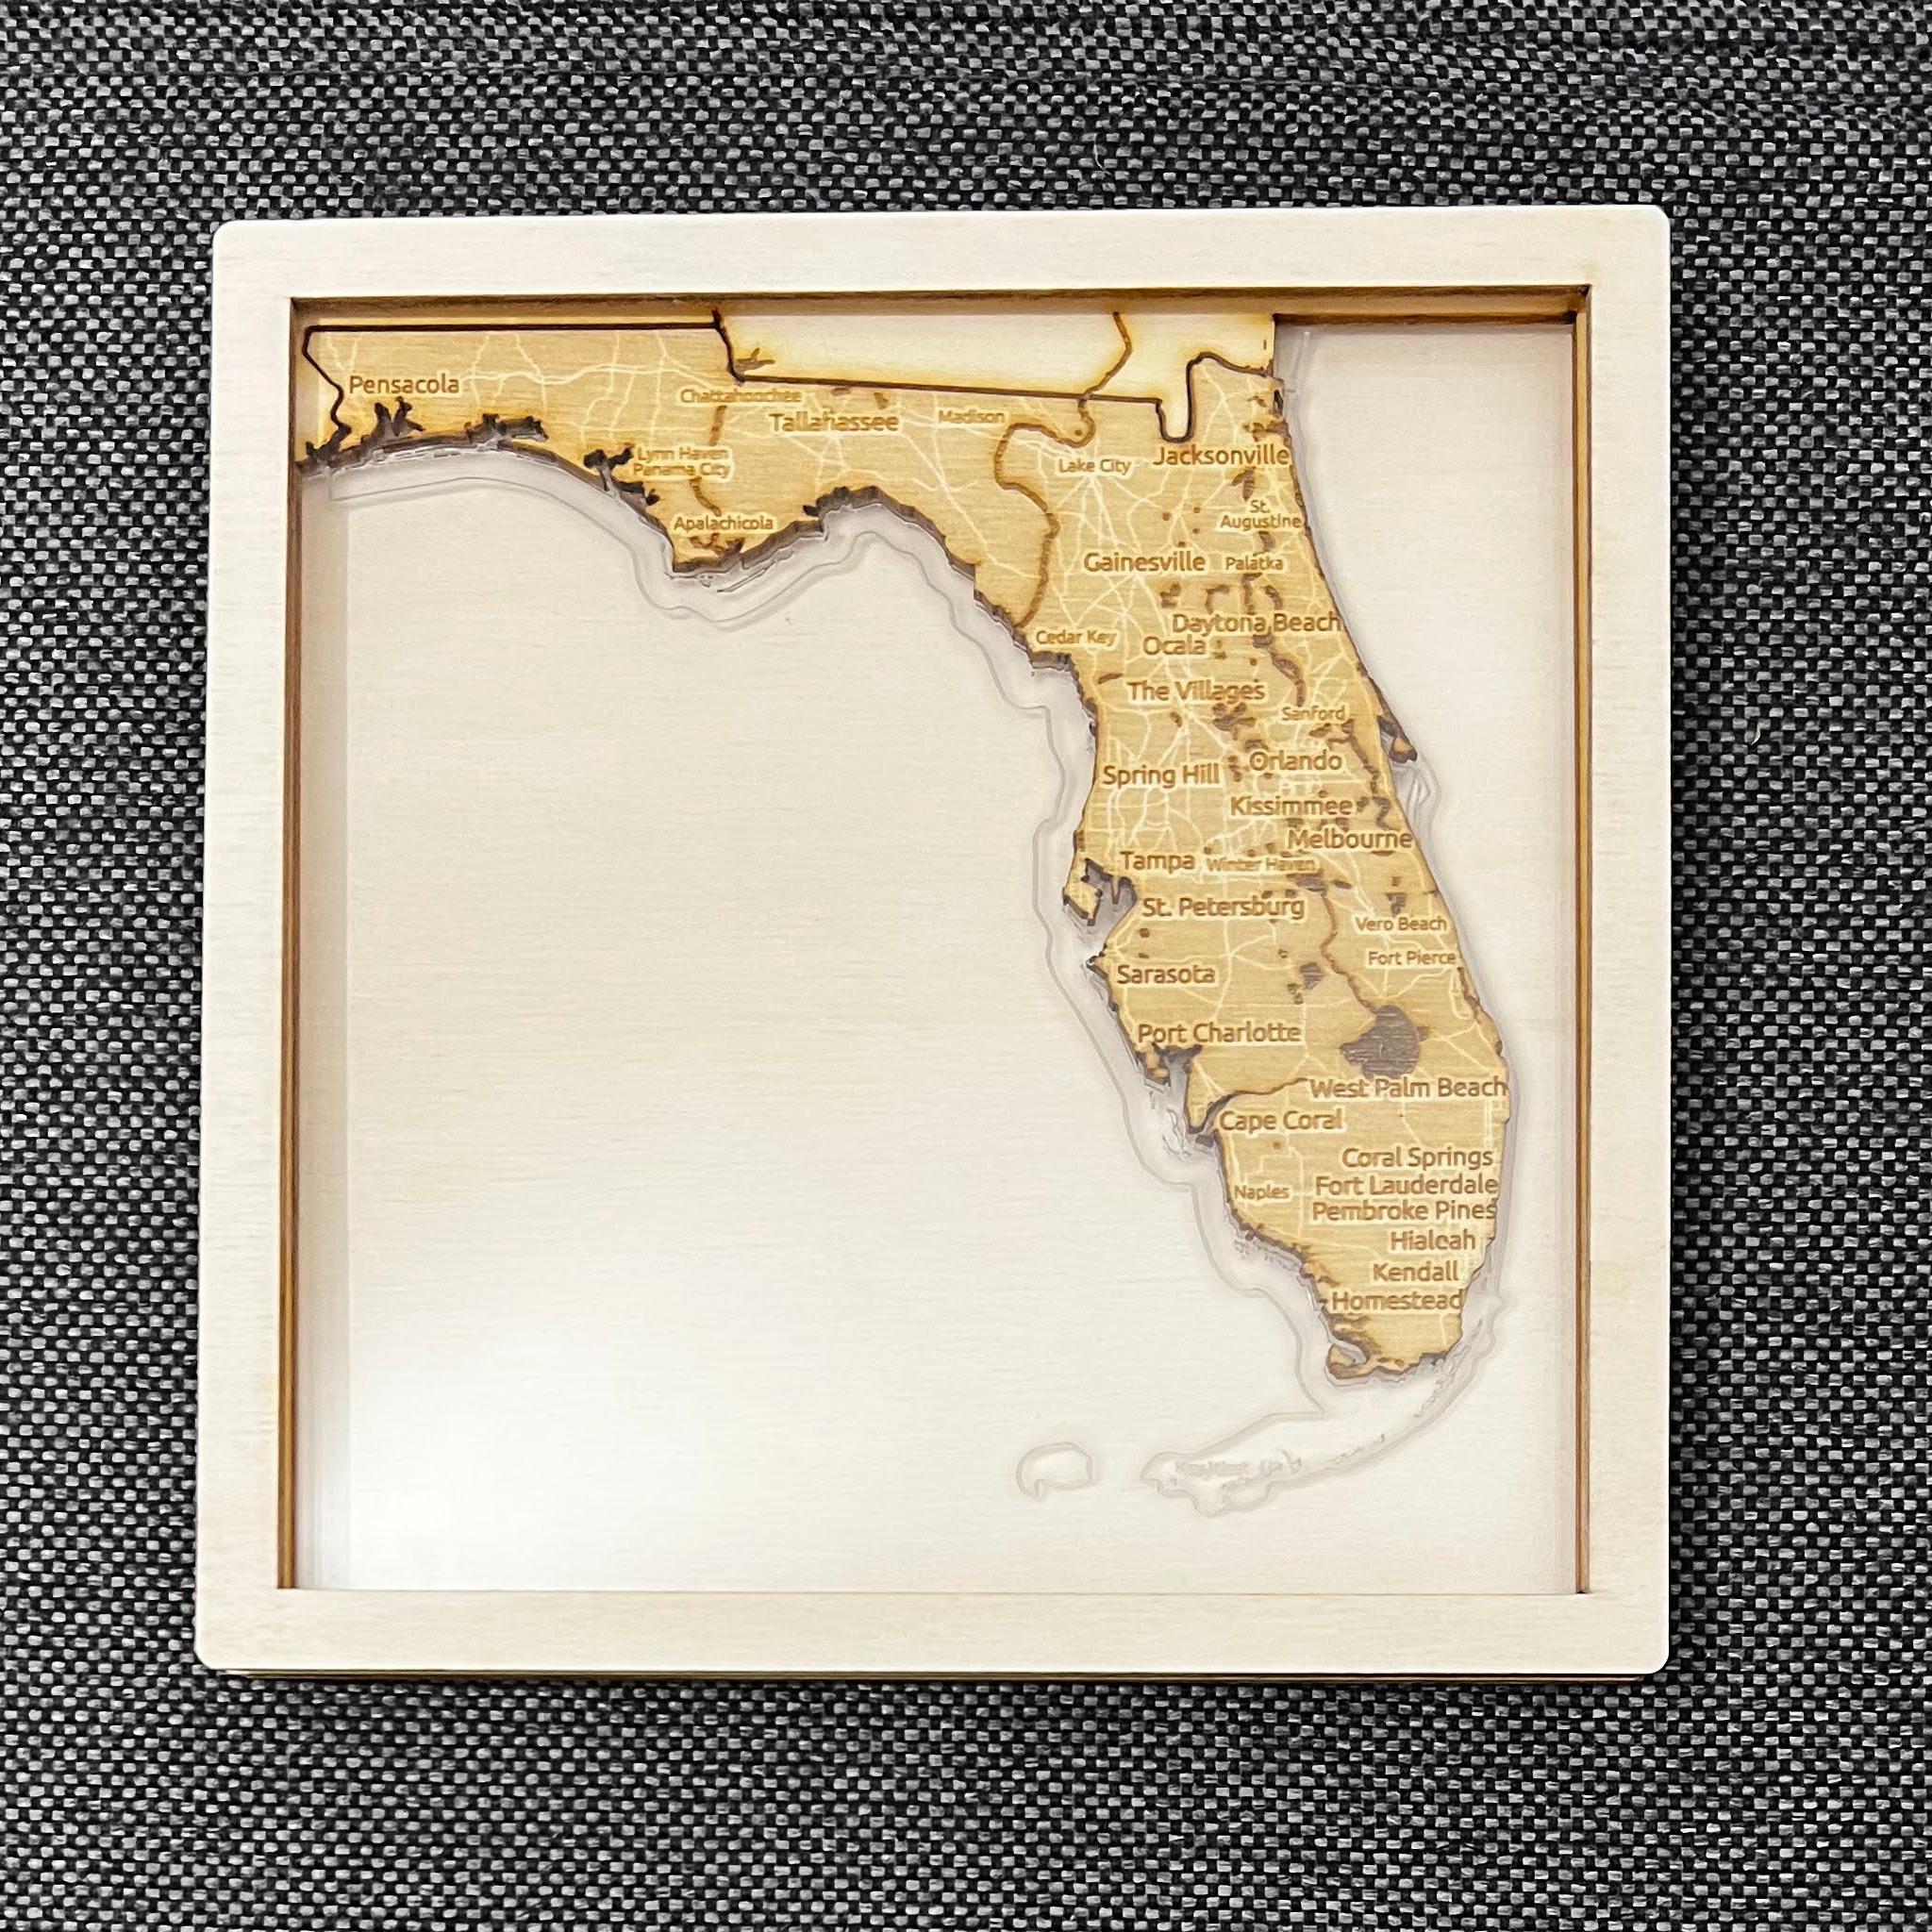
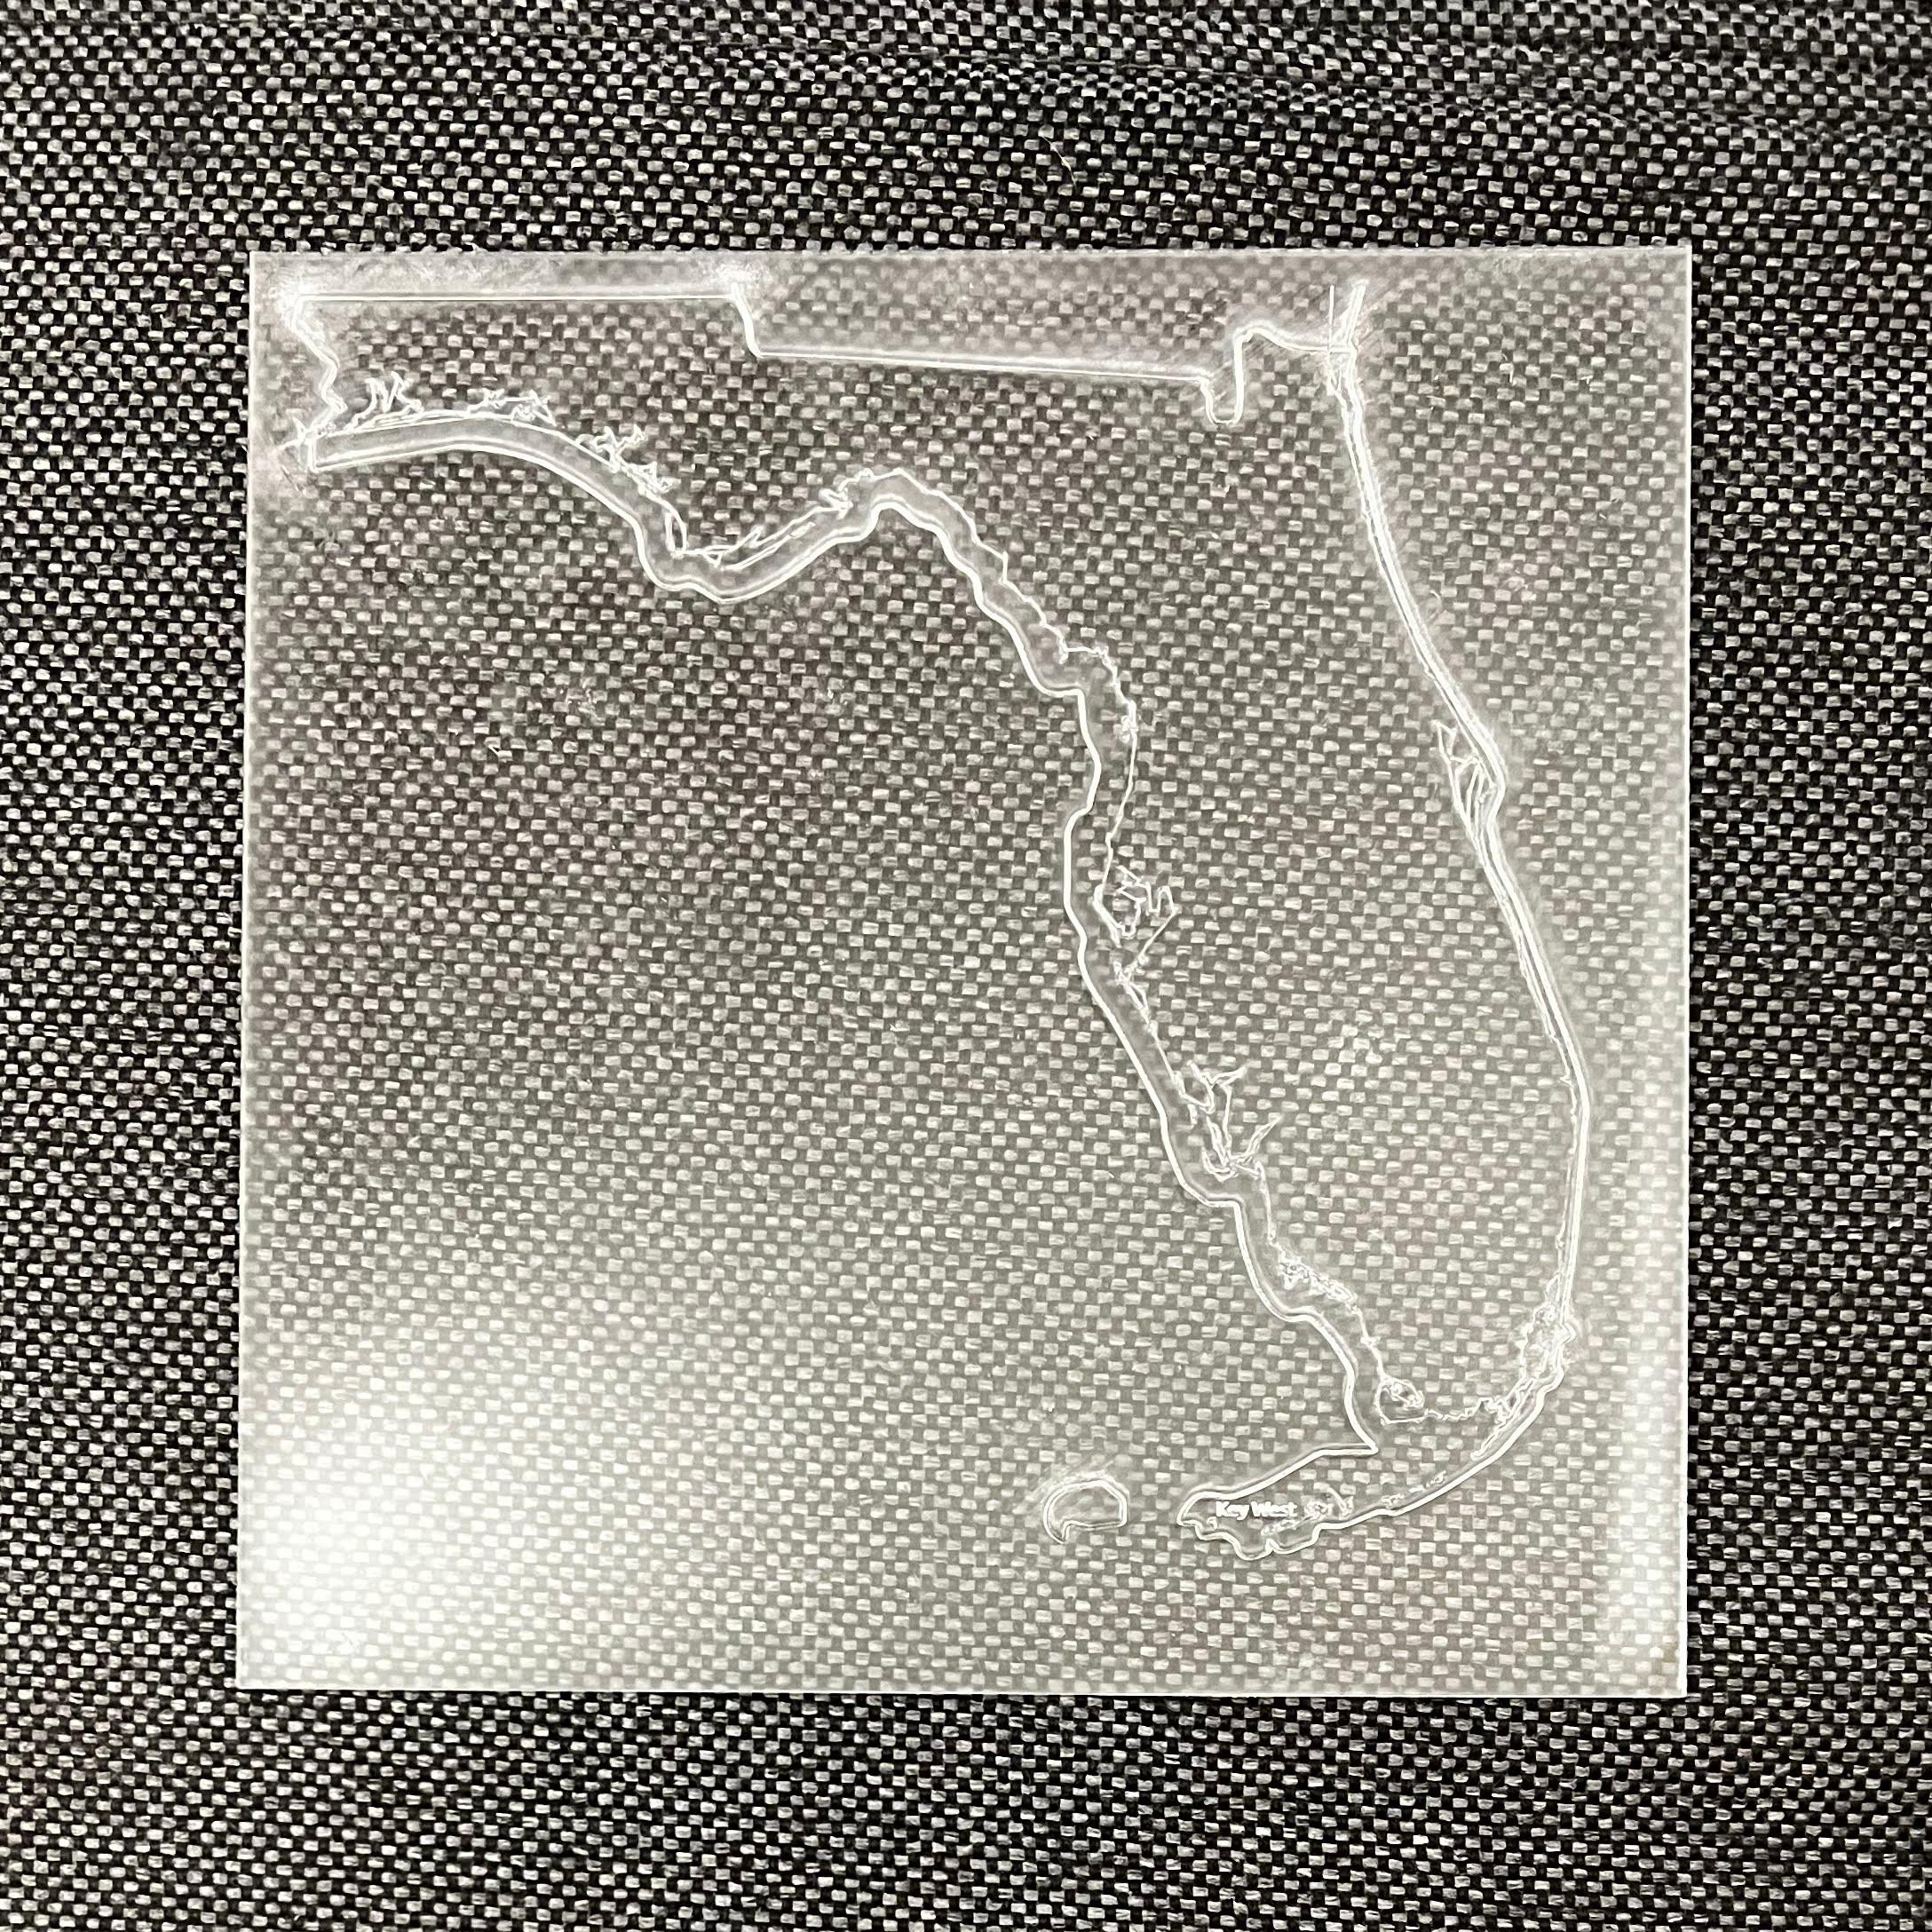
My goal was to have lakes and rivers as deep as possible and the roads and highways to stand out. I liked the default design of the names in QGIS (black font with white border) so I didn’t do any adjustments to it.
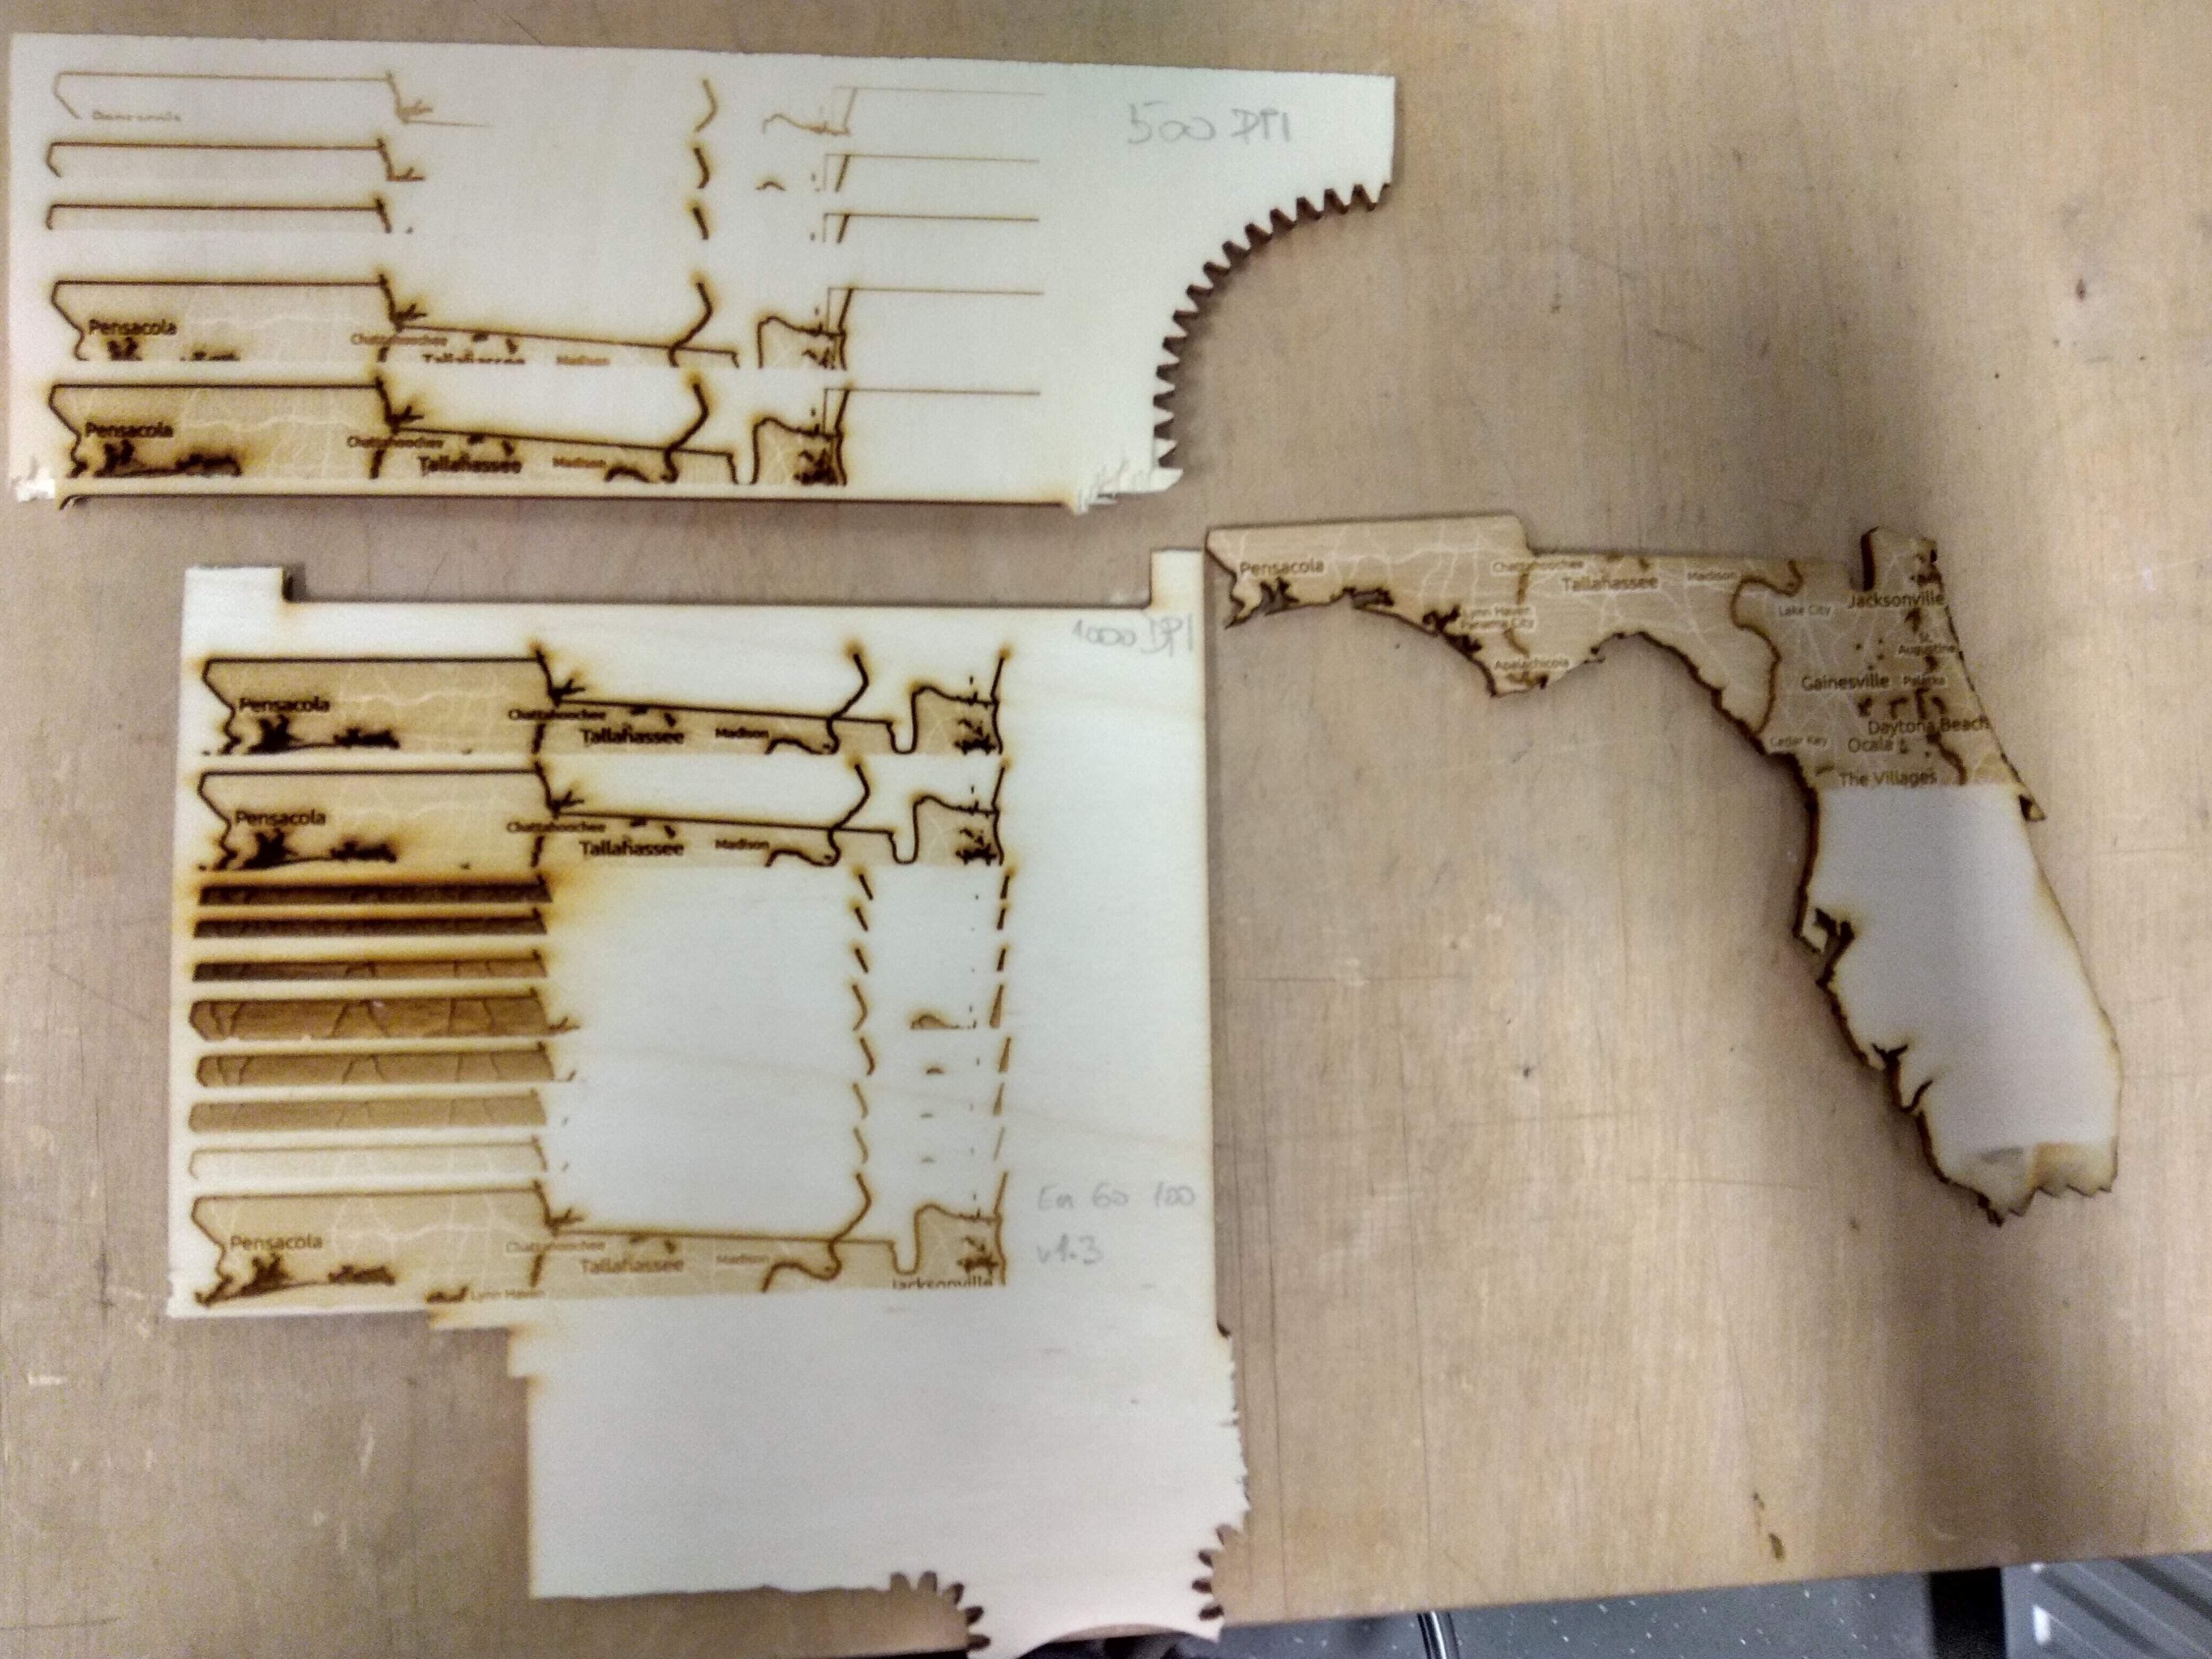
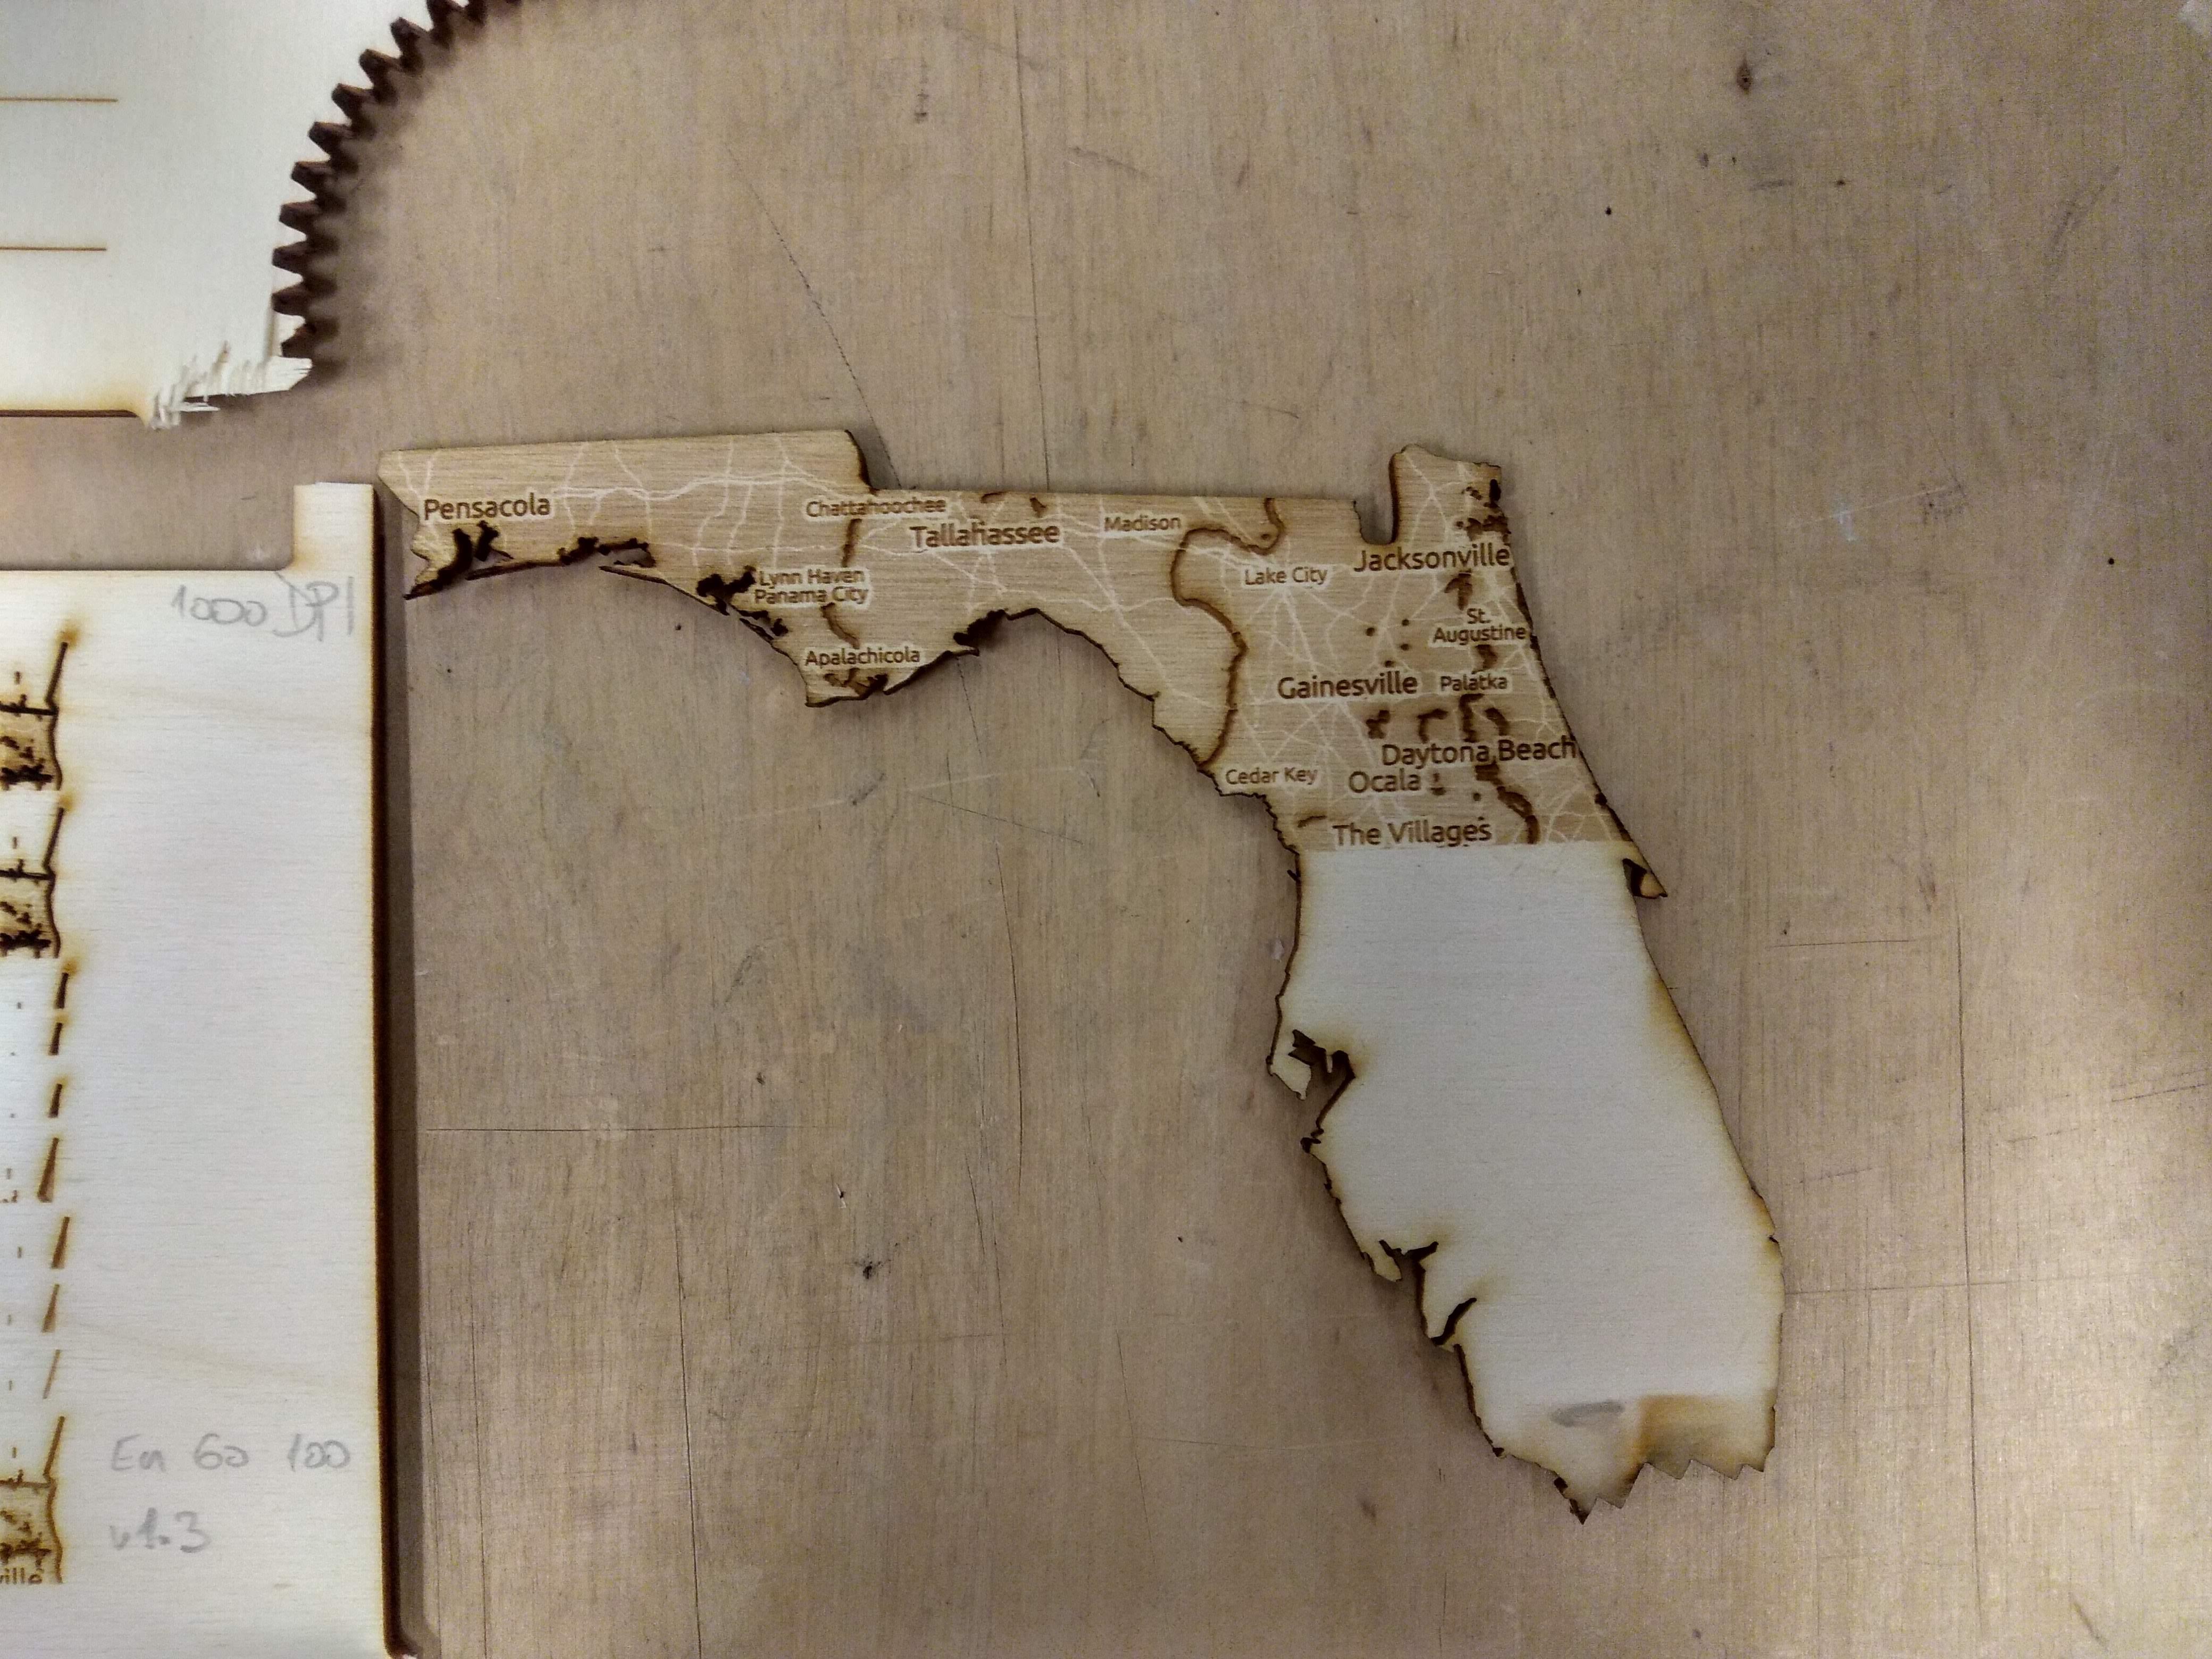
I tried different settings on my laser and always engraved only a half or one centimetre height, interrupted the job and checked the outcome. I tried different power settings and resolutions. When the settings seemed alright, I tried to engrave a larger part of my map on a piece of scrap plywood. It turned out to be as expected, so I ended up using these settings. And then I did my first assembly test which went fine.
You can use my values as a starting point and change them to your needs. Values which worked best for my Trotec laser Speedy 400 (120W):
PNG image for engraving (1000 DPI):
- Lakes and rivers: #000000
- Borders: #666666
- Land: #dedede
- Roads and highways: #ffffff
- Font colour: #000000
- Font border: #ffffff
Laser settings for 3mm plywood:
- Engraving: Power 60%, Speed 100%
- Cut: Power 80%, Speed 2.0%
Laser settings for 3mm acrylic:
- Engraving: Power 100%, Speed 60%
- Scoring: Power 100%, Speed 60%
- Cut: Power 100%, Speed 1.2%
I attached my working SVG files only for inspiration. You can not use them just like that for different states or countries but it should give you the idea how to do it.
Downloads
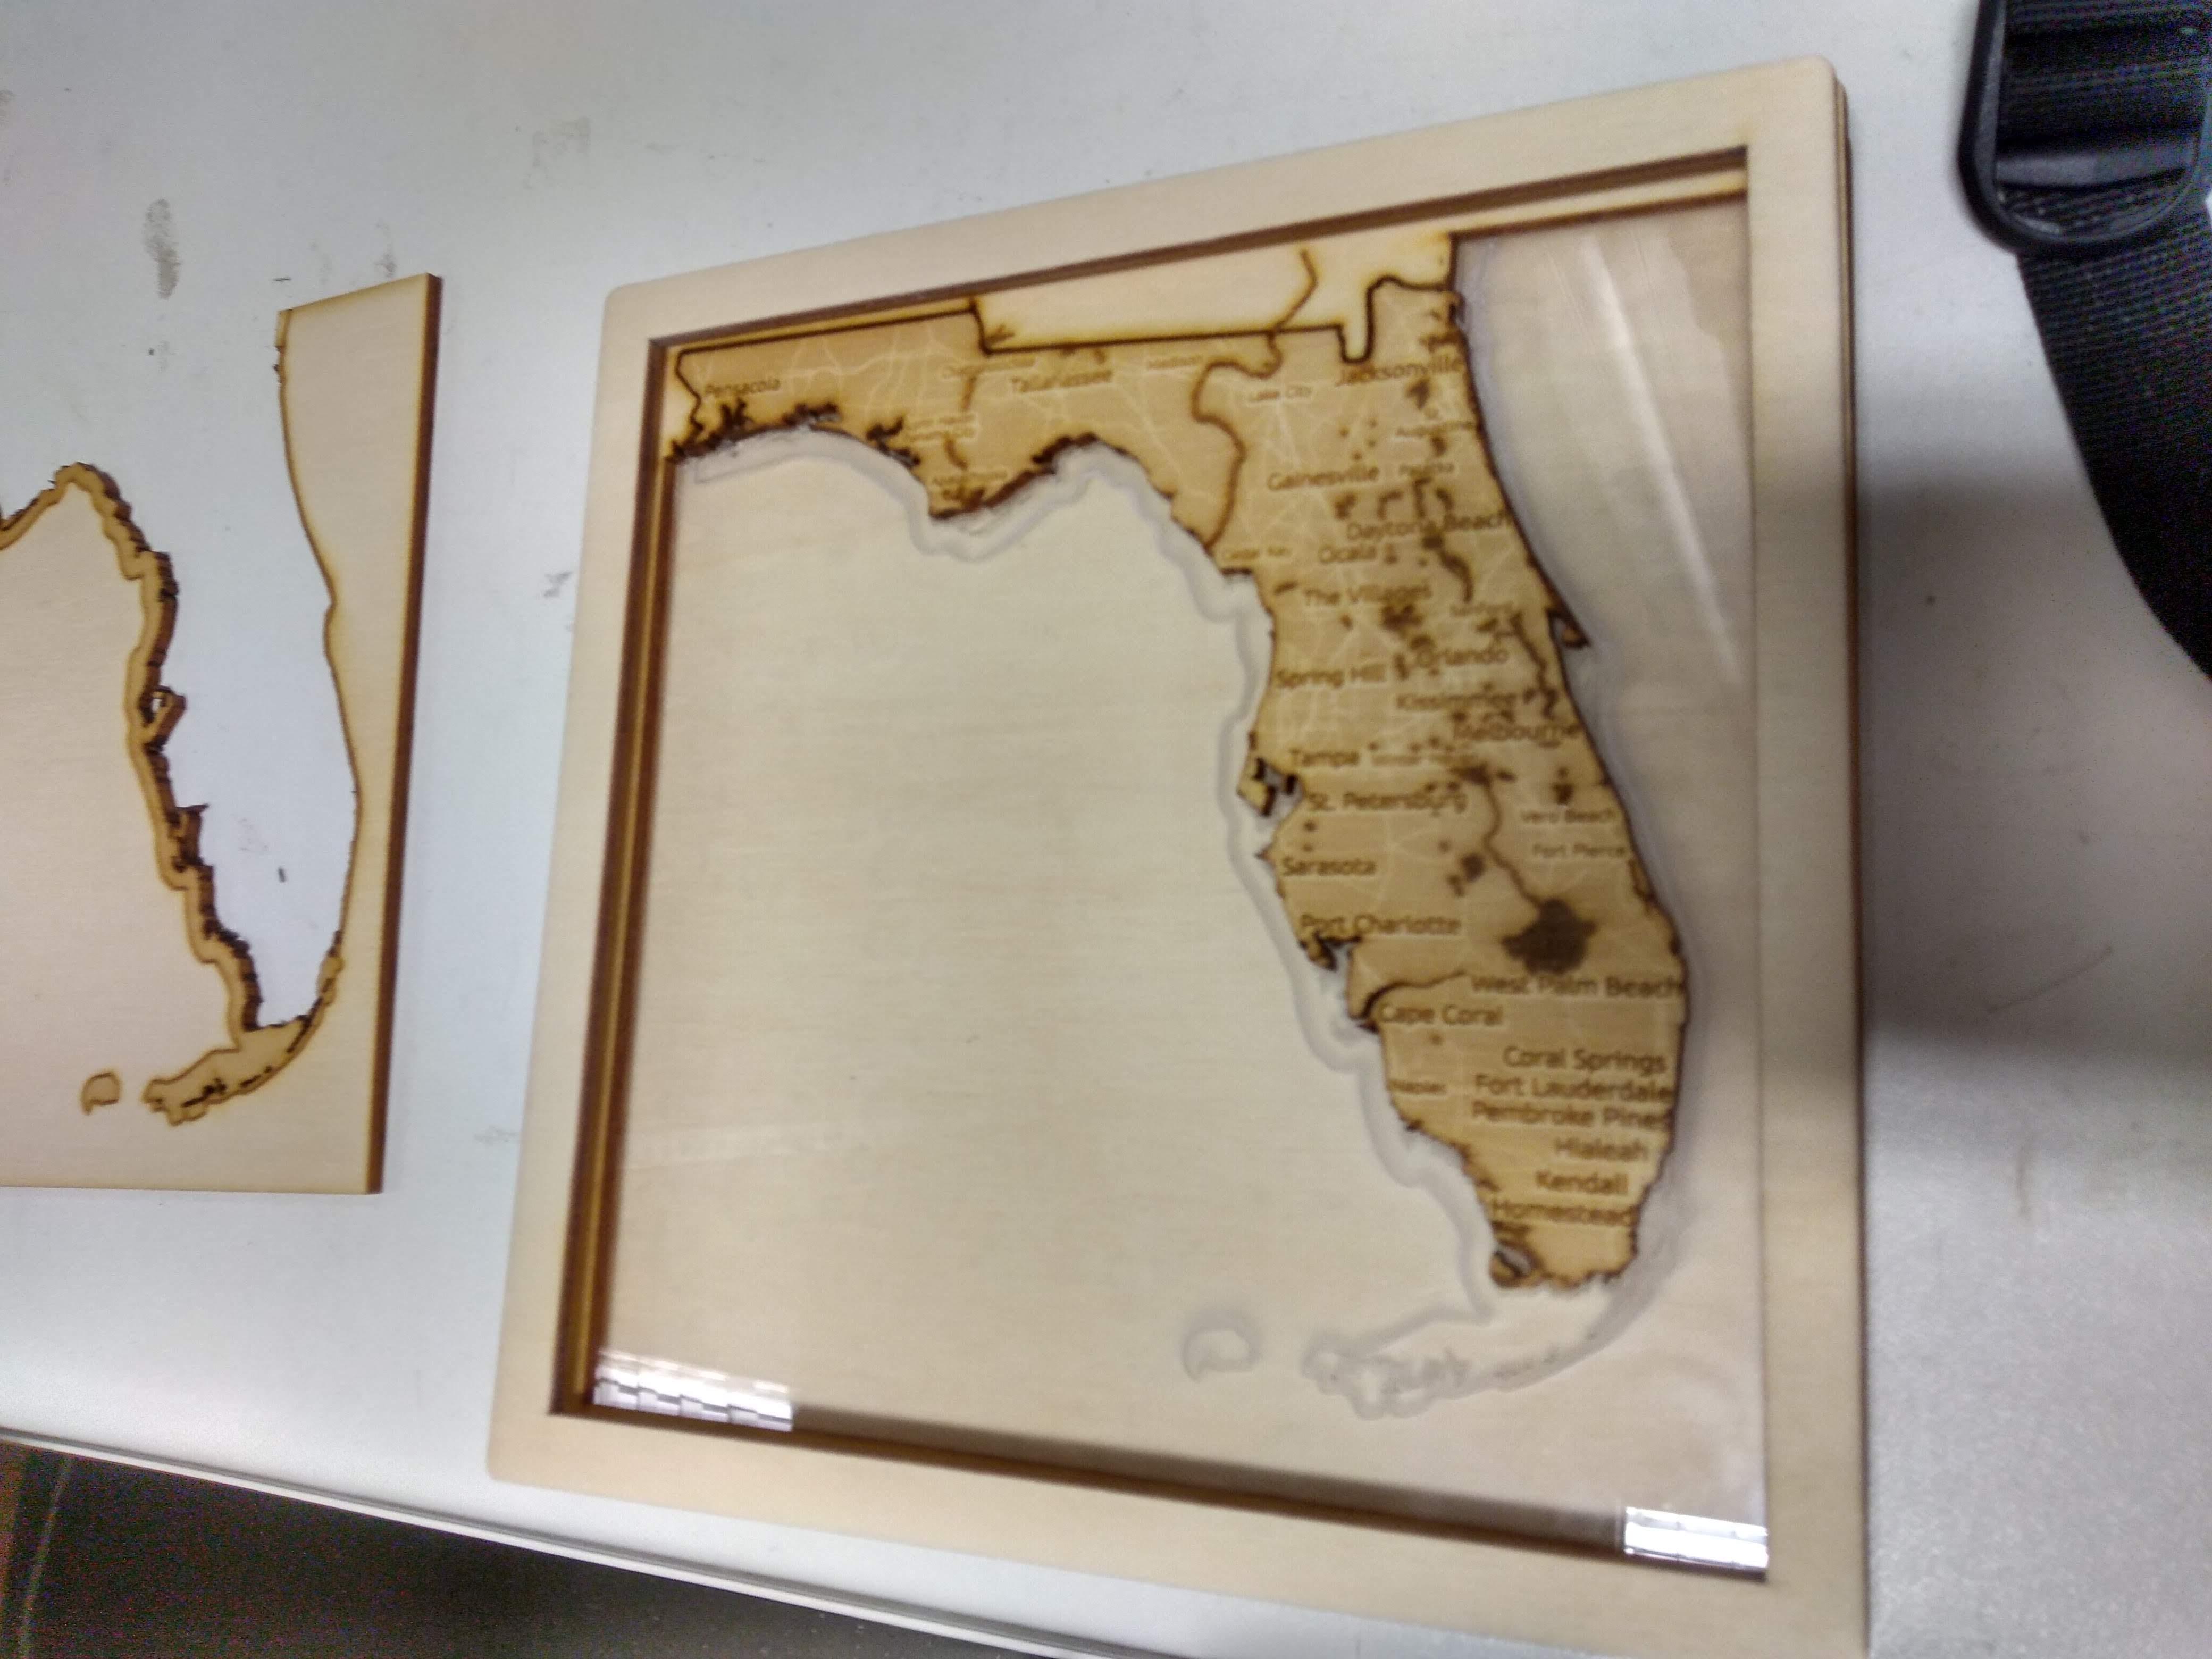
Assembling and Glueing

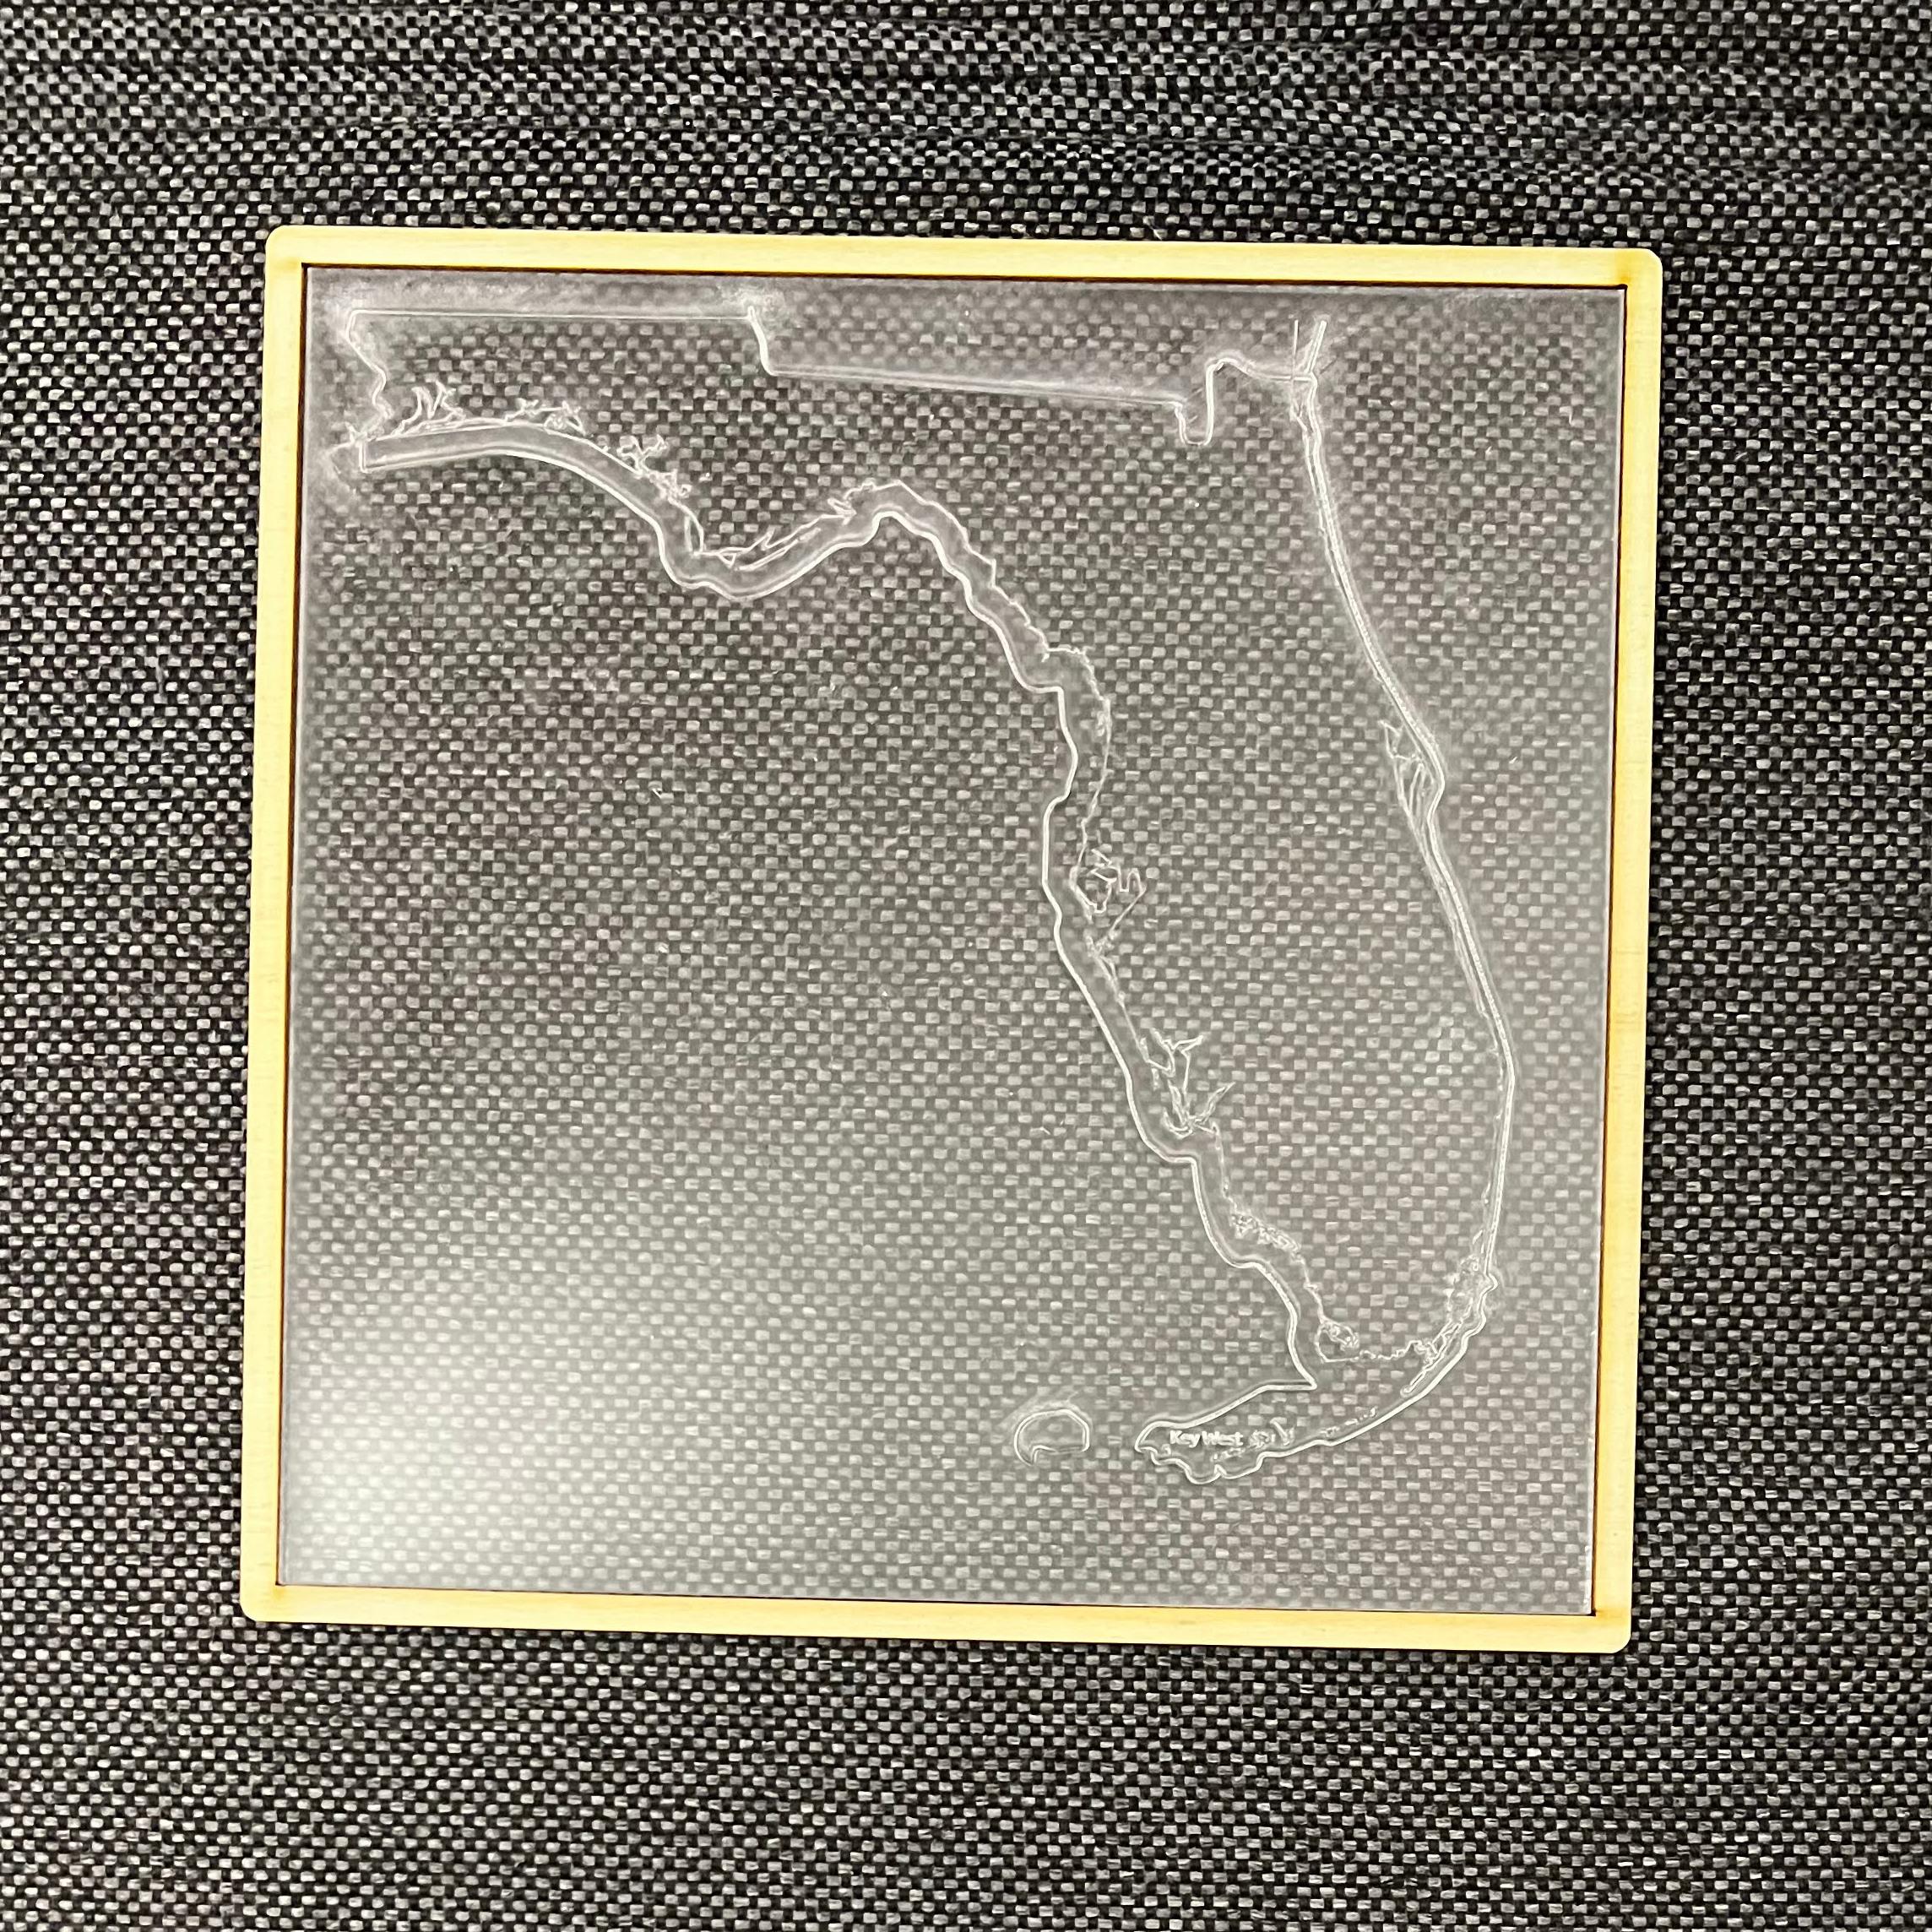
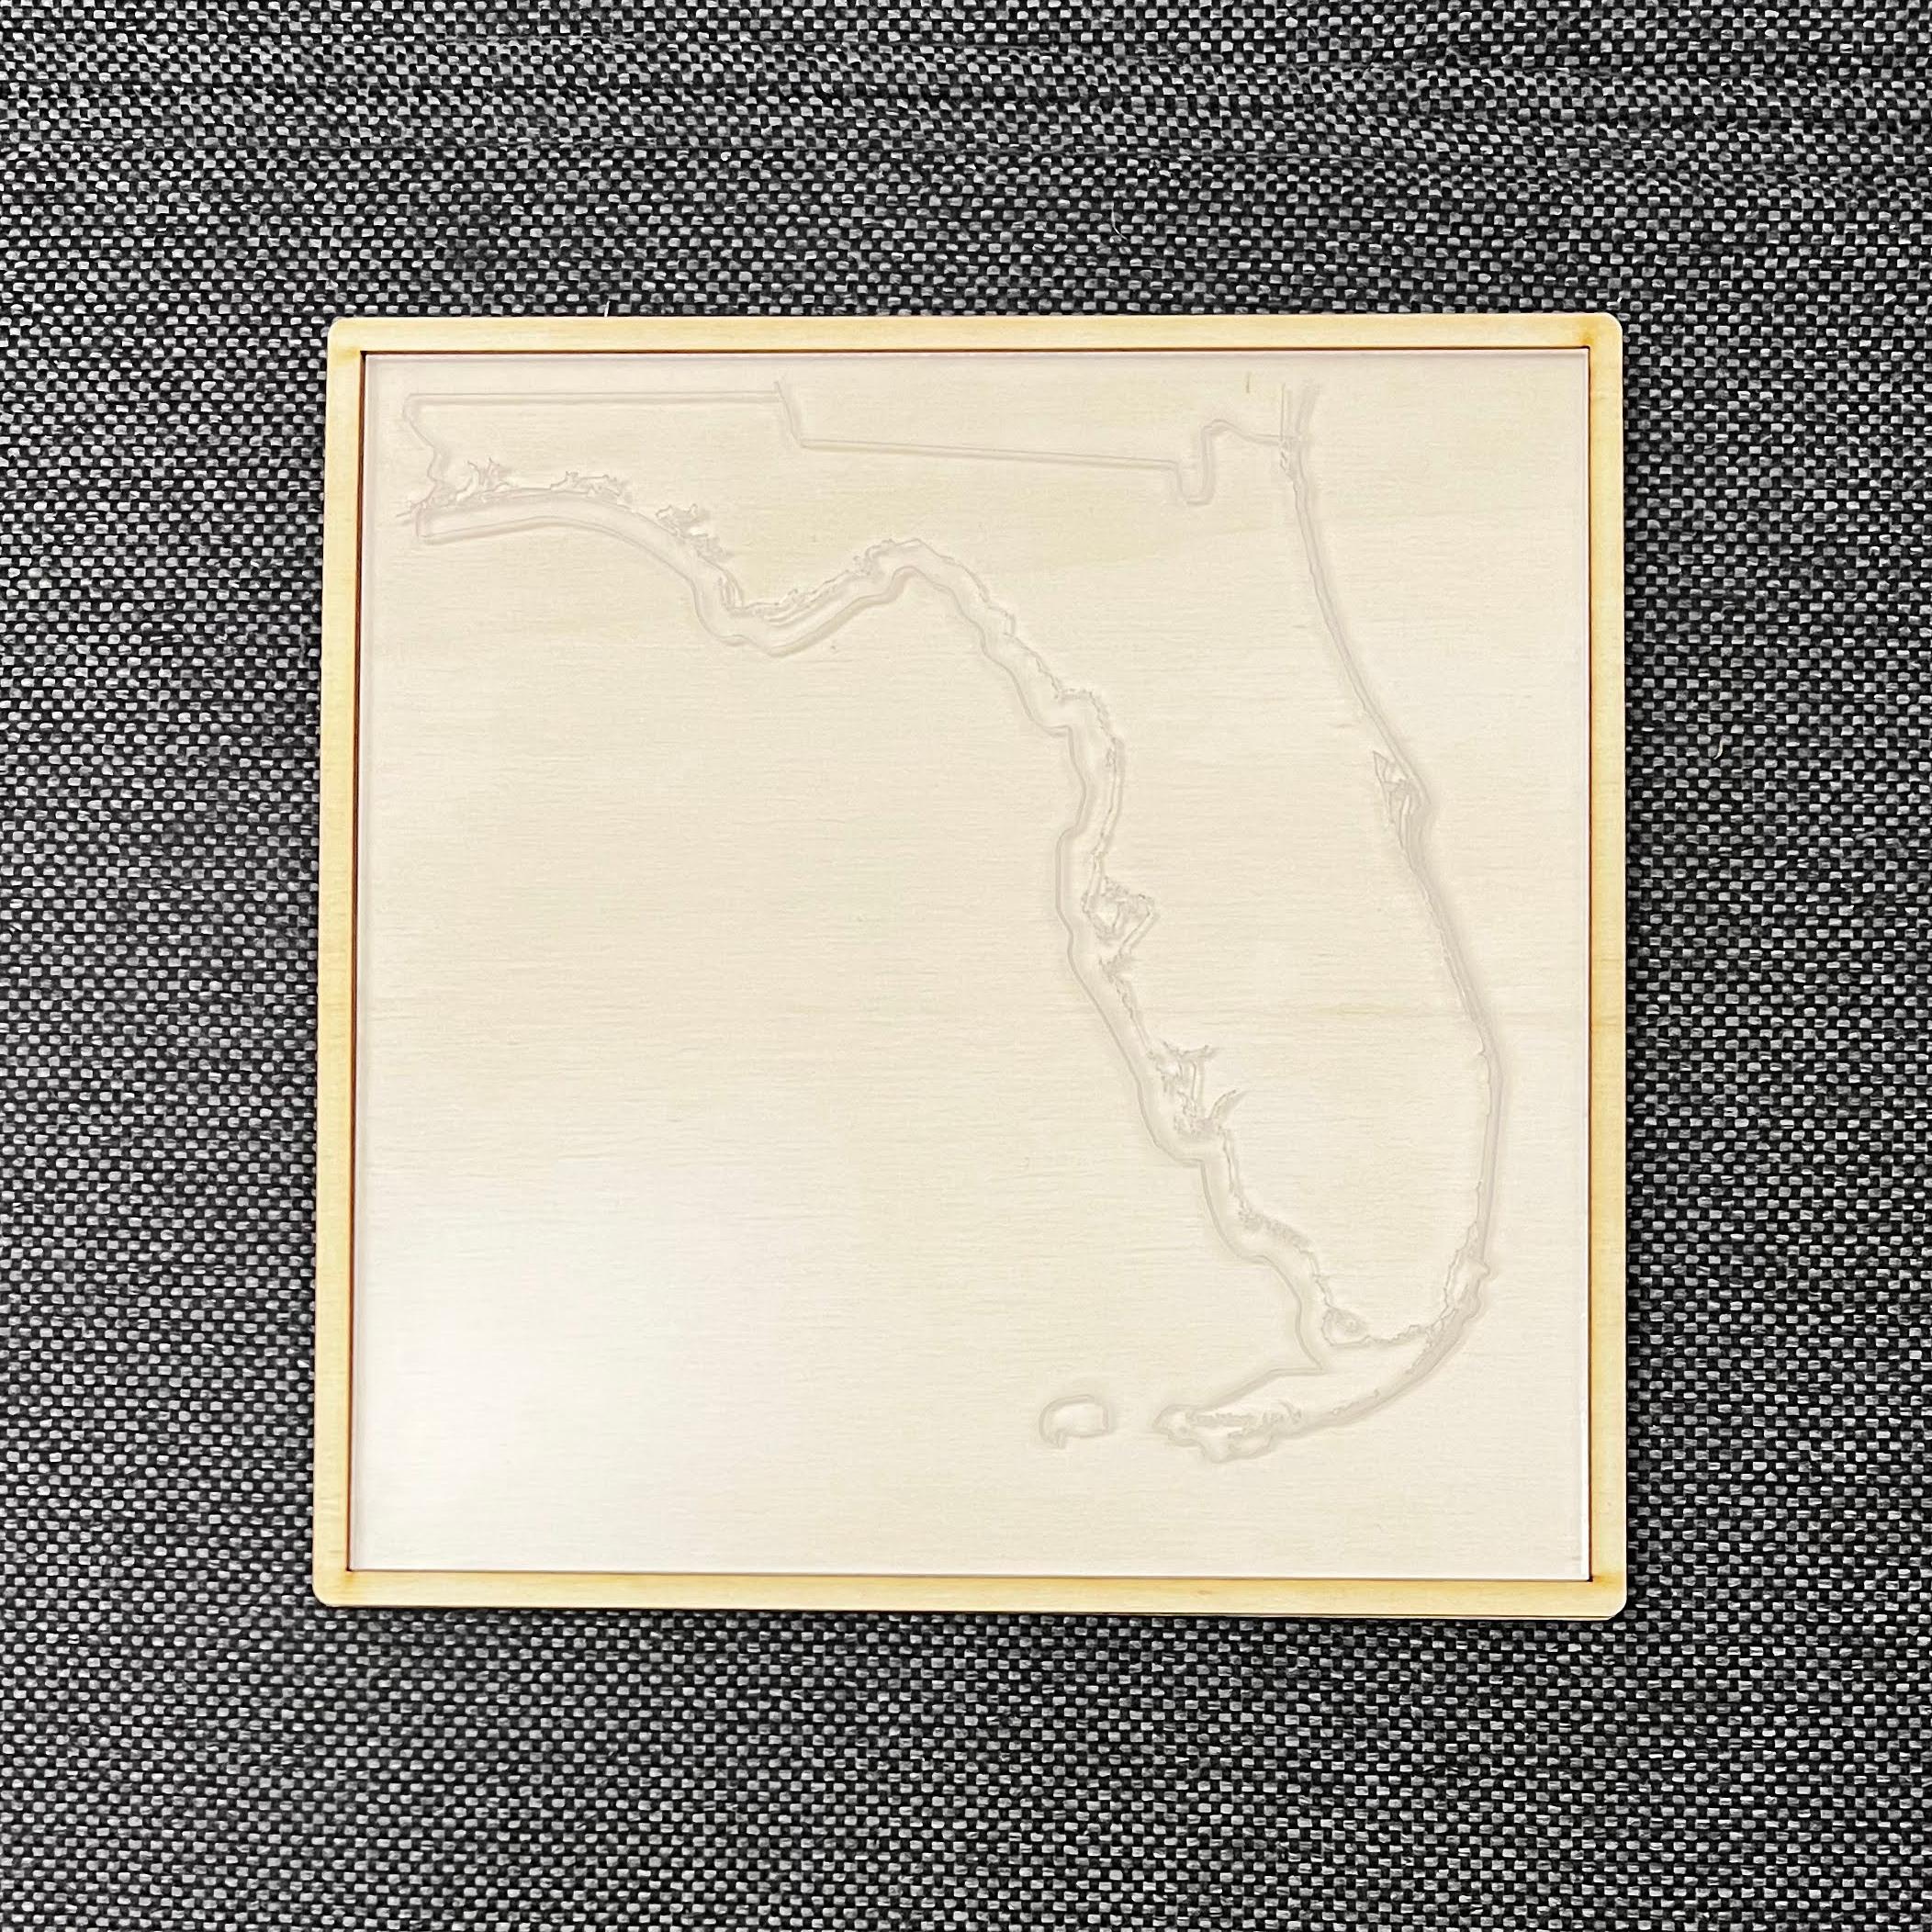
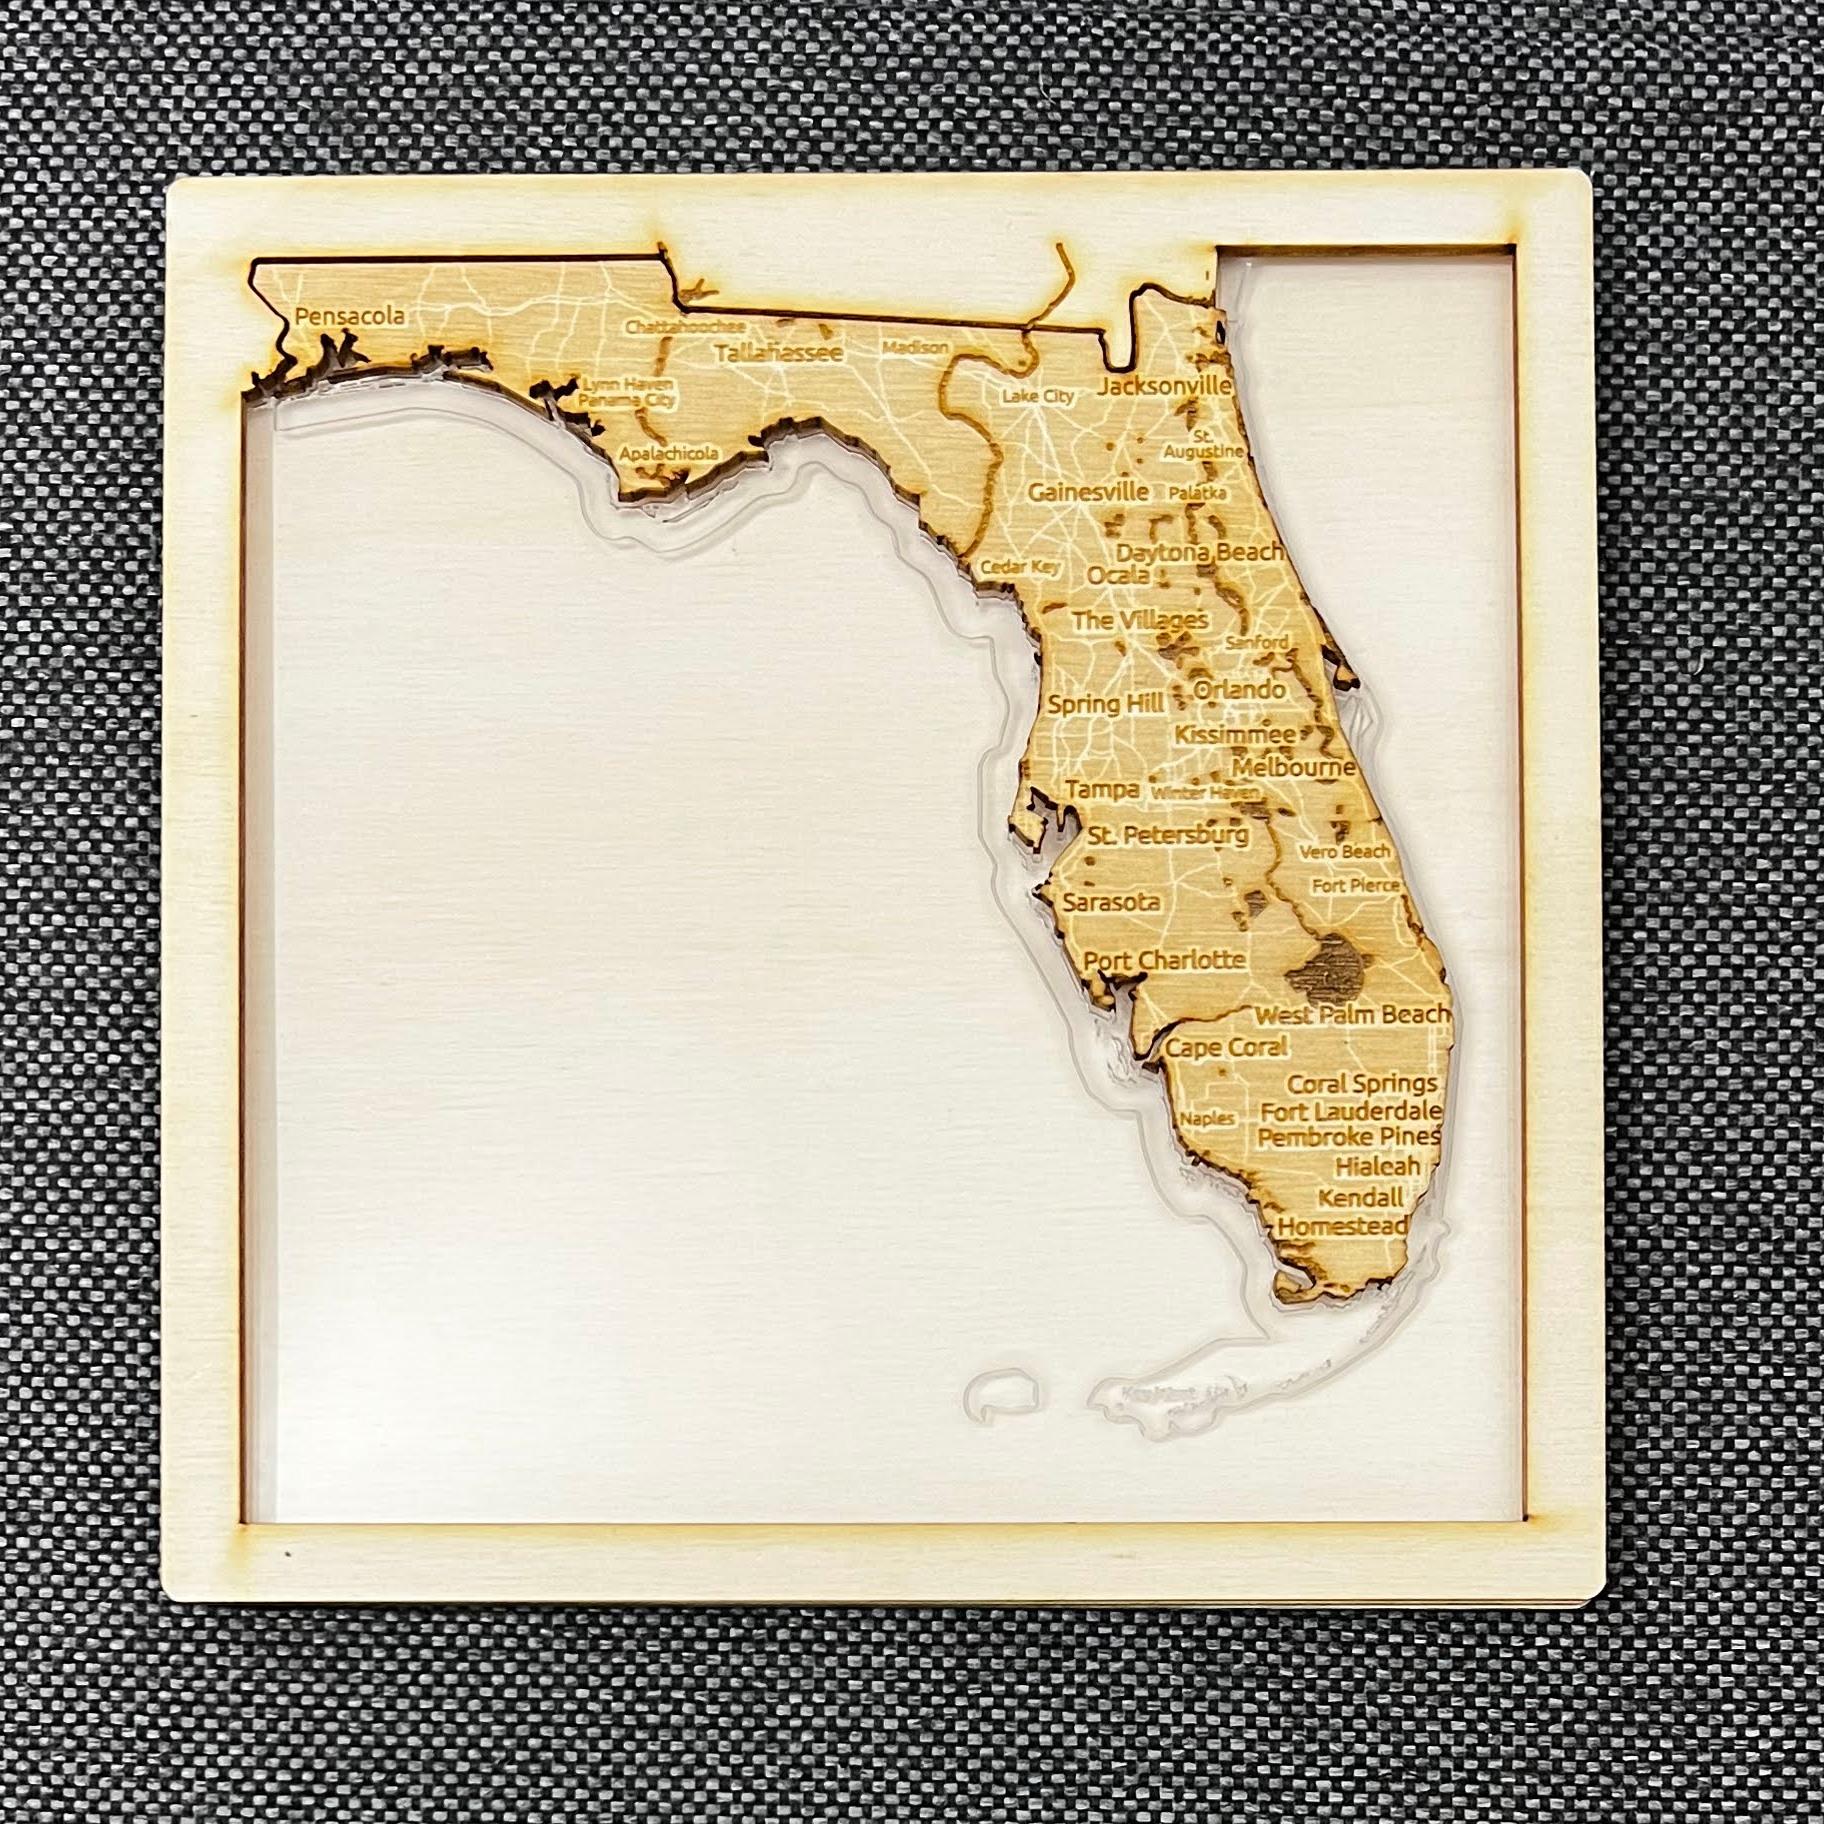
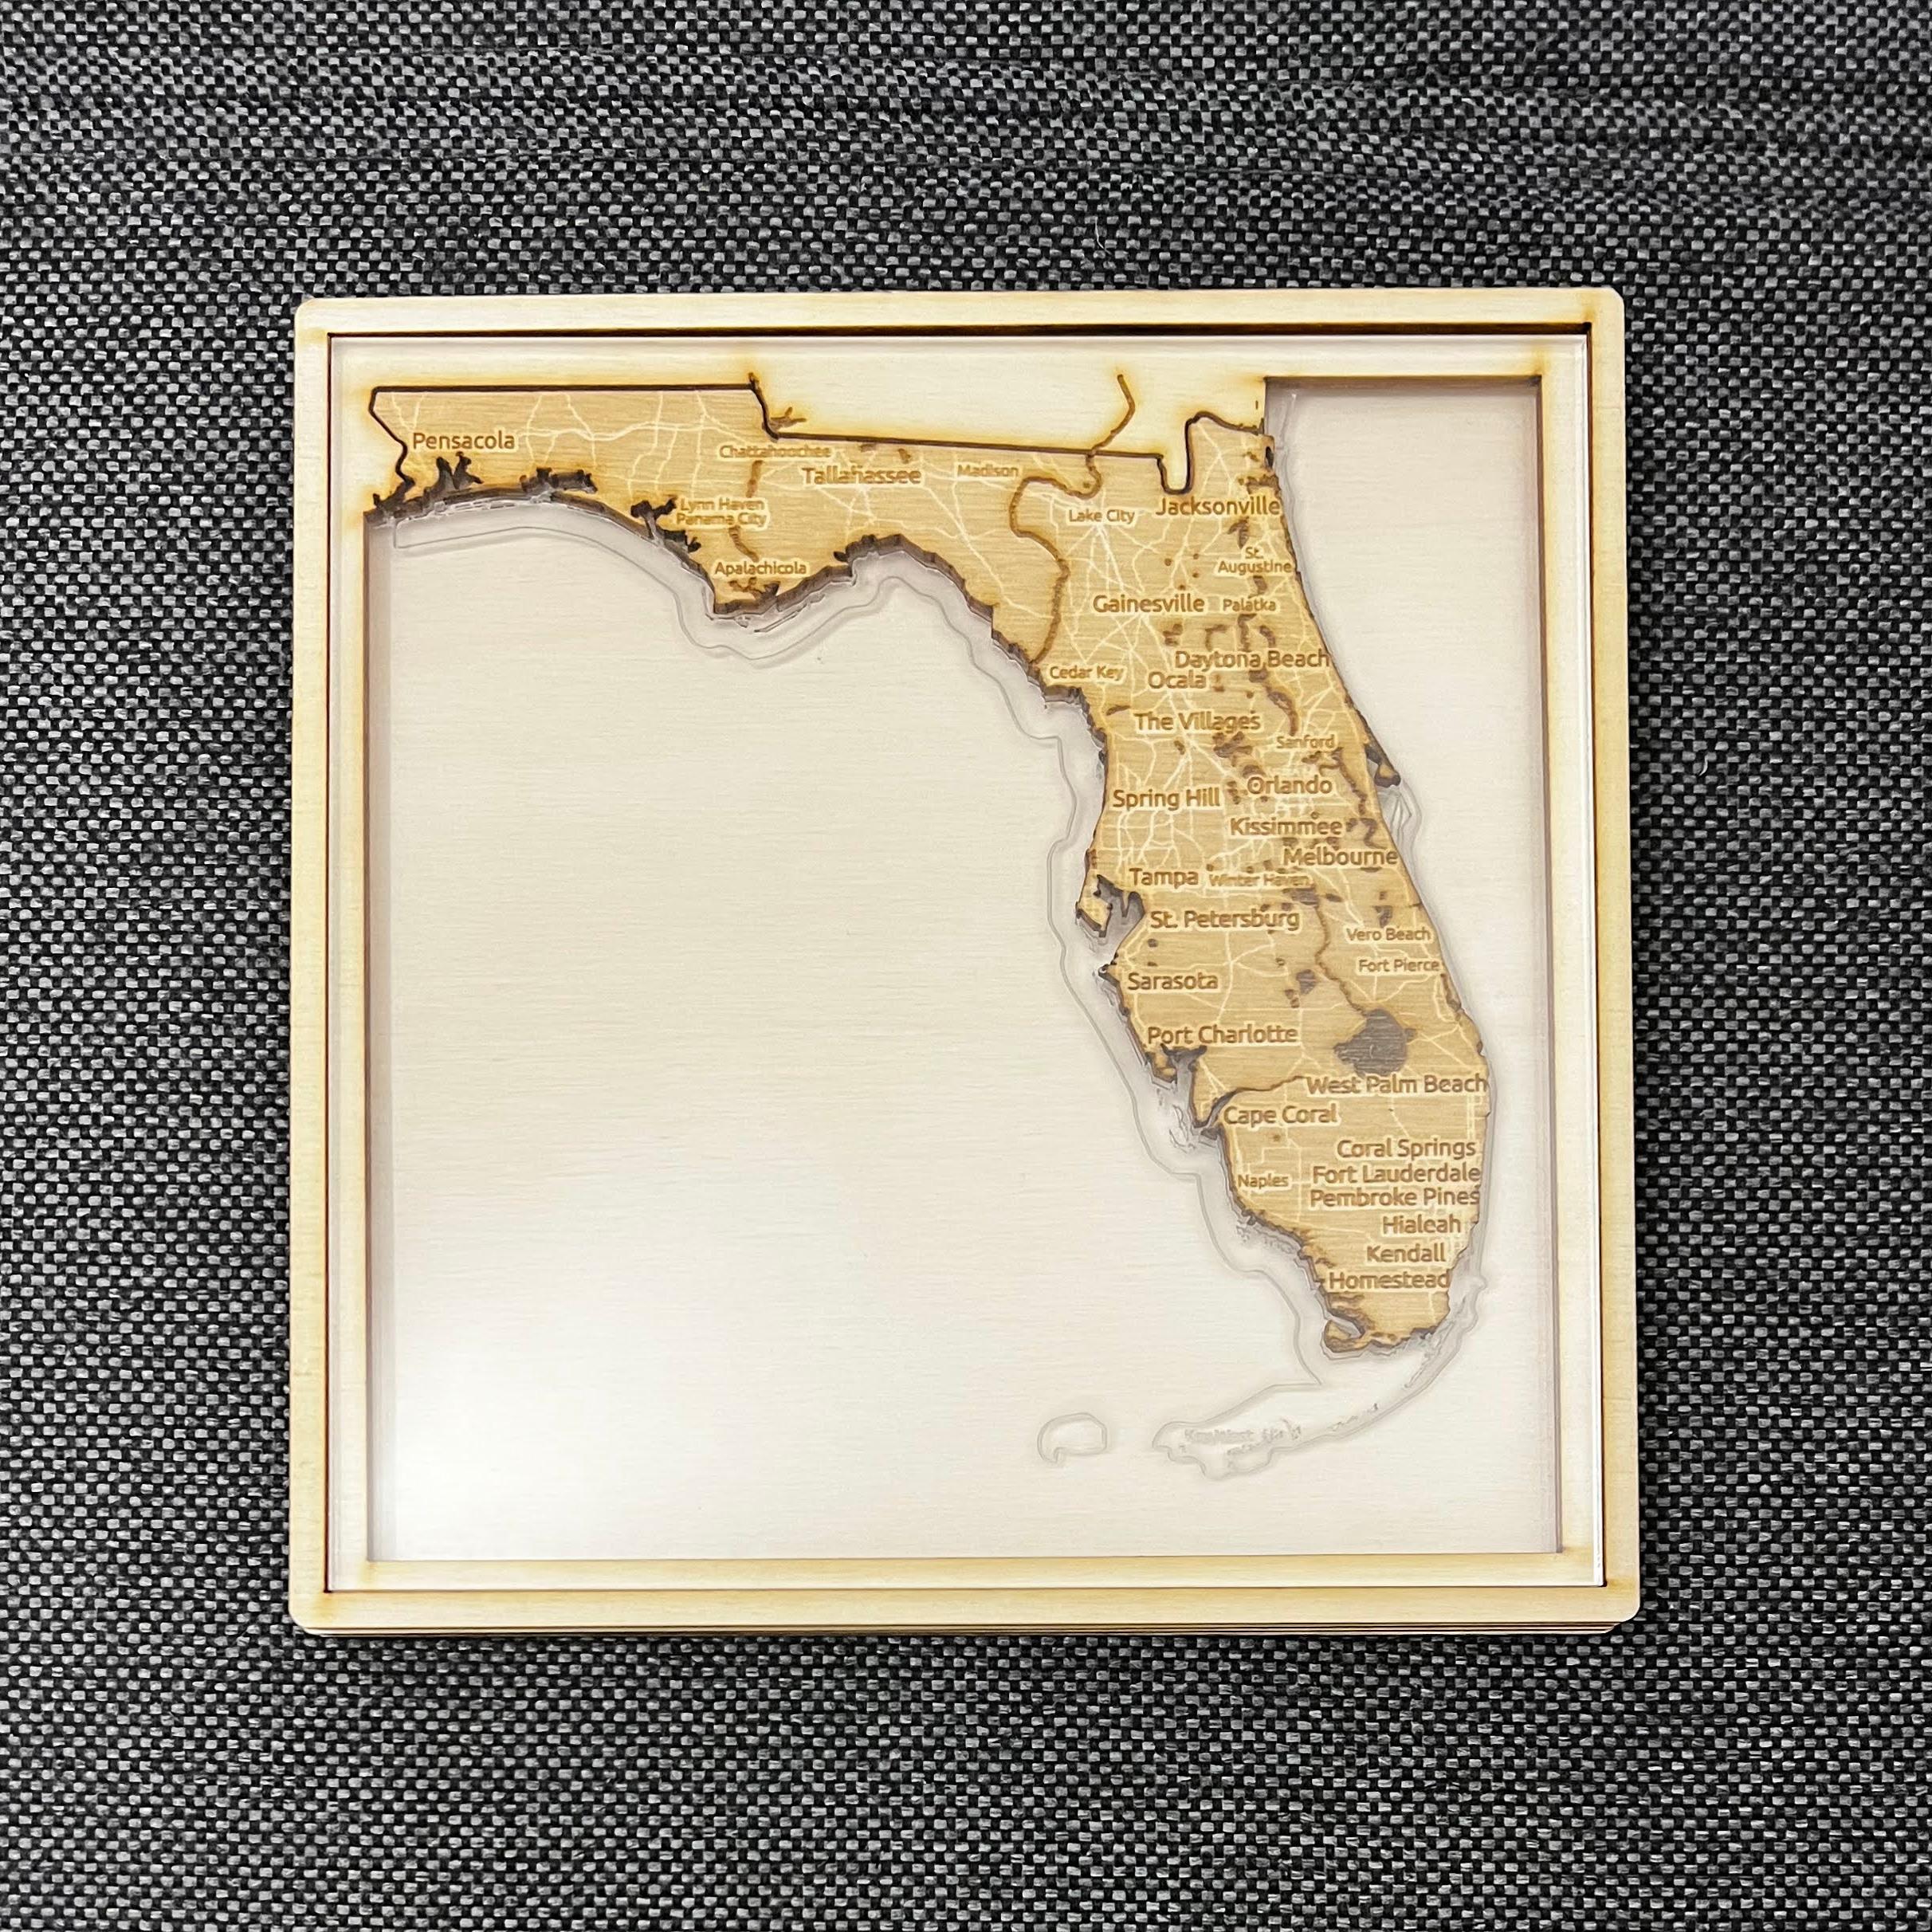

I engraved my logo on the back. Assembling and glueing is straight forward. You can see it in images.