Laser Chess Board

For those who have too much time on your hands and want a new acrylic chess board.
Modeling
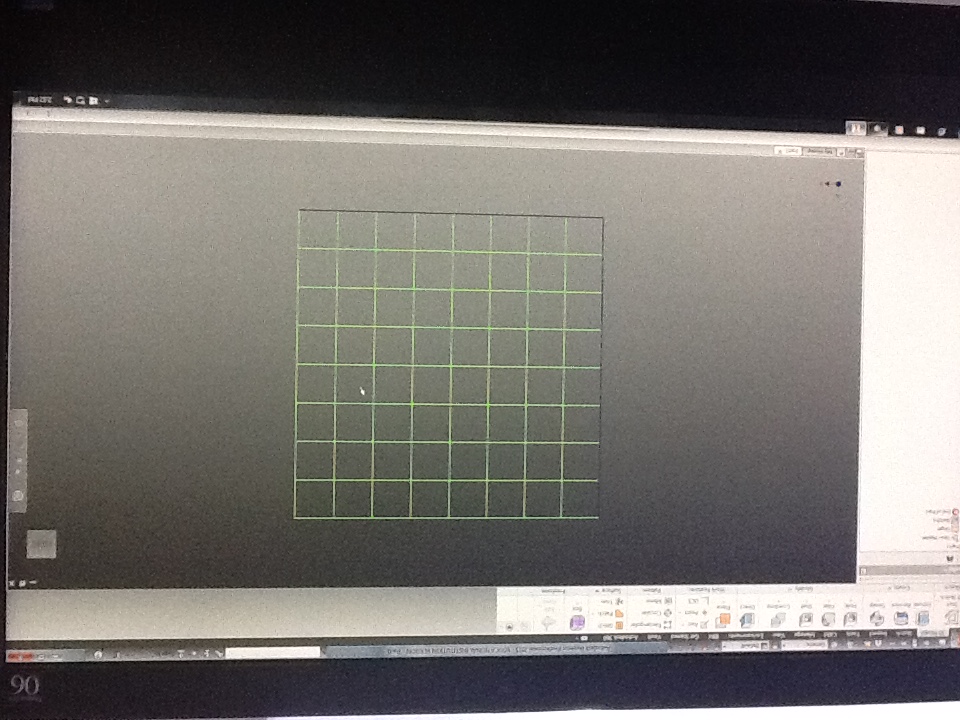
The first step in making an acrylic chess board is to come up with a sketch. Once done then save.
Tip: To make the inner squares you must remember that a chess board is 8x8 and therefore must be adjusted accordingly with your wanted overall stock dimension.
Pre Printing Part 1
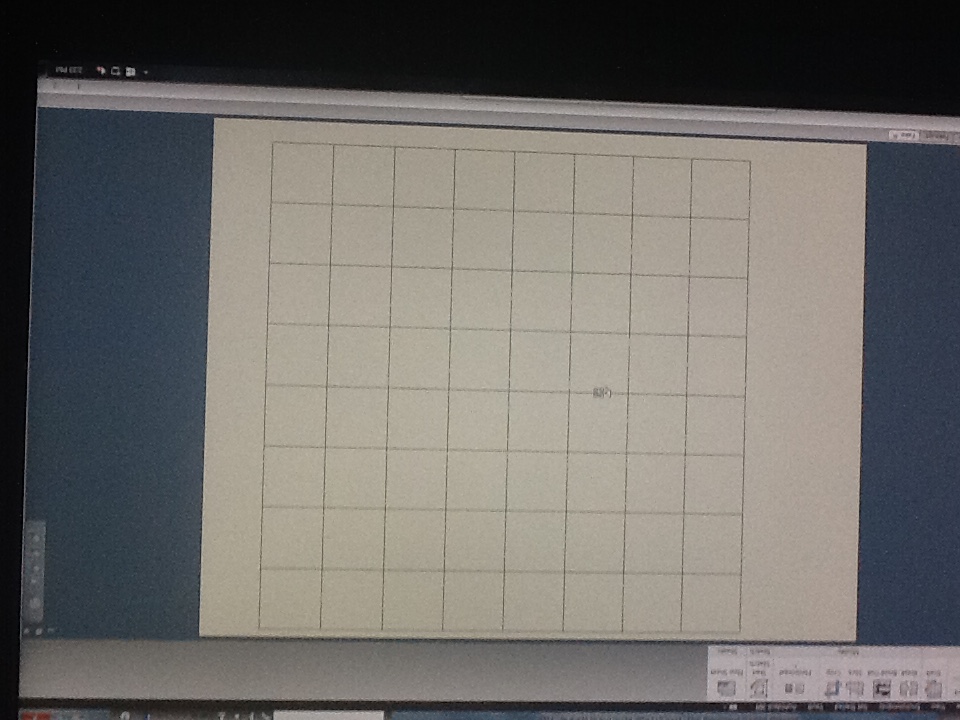
Create a drawing file with the sheet size the size of the laser bed available to you. Open your sketch onto the drawing file and change the outside border to the preferred color (red recommended) by right clicking the sketch and selecting properties. A menu will pop up allowing you to select the color. This color will be your cut path on the laser.
Tip: If the inner lines are selecting as well then ignore step one and make your sketch onto the drawing file. And then proceed with step 2.
Pre Printing Part 2
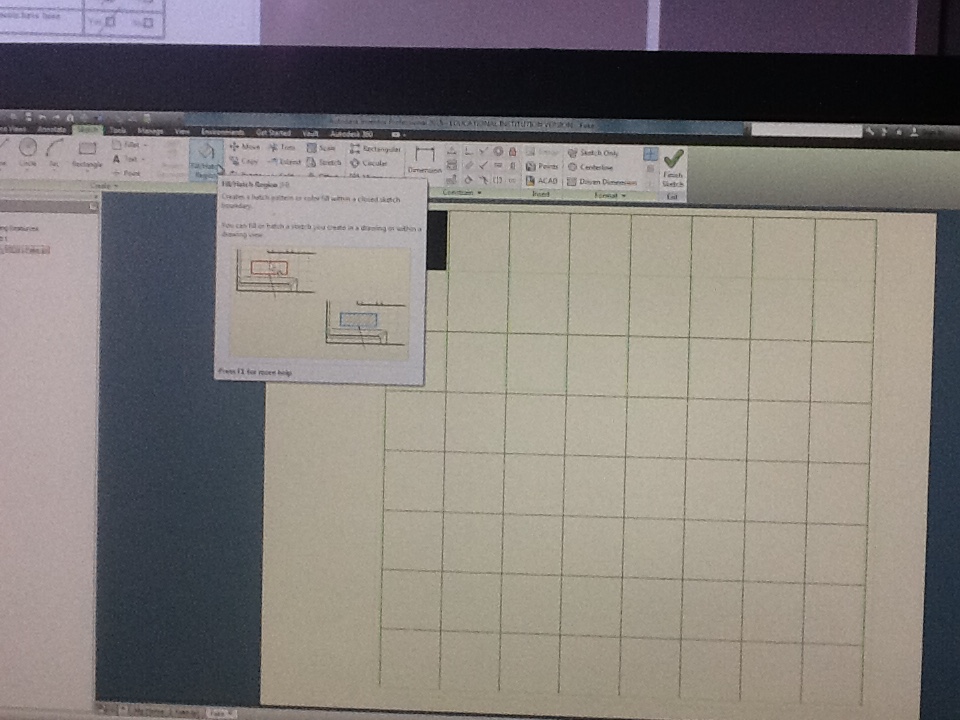
Next step is to hatch your squares to achieve alternating color on board. The hatch function is located in the sketch mode. Choose preferred hatching style (solid recommended) and chose alternating boxes. The hatch will be black and that represents the etching done on the laser. Make sure lines inside the chess board are black as well. Once done save.
Acrylic Set Up
Choose your acrylic and place it in the laser. Turn on the laser. Zero the laser to achieve best cutting results.
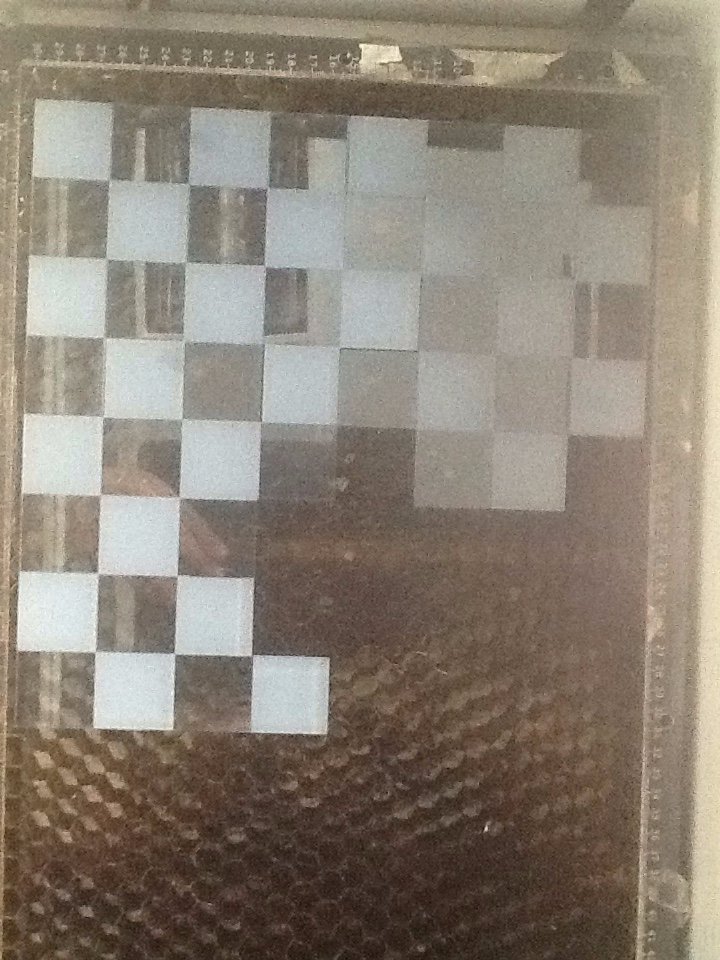
Pre Job Print
.jpg)
From your drawing file print to your laser. Then go to your laser page. Drag and drop your printing job onto the laser bed sheet (make sure the laser is connected to the computer: check the program).
Check Sheet Material Settings
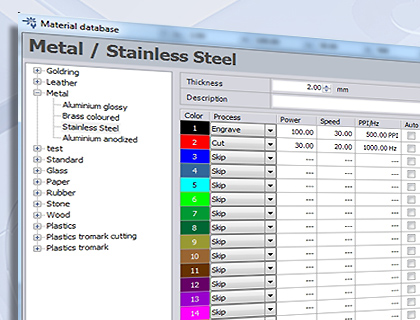
Adjust colors to your cut path and etching. Adjust your speed, power, etc. according to finish wanted.
Tip:
For acrylic etching try
Power:100
Speed: 95
For acrylic cut try
Power: 100
Speed: 0.30
CUT!!!
Click print, turn on the fan, and wait for the job to finish.