Laptop Hinge Repair | Asus Fx504
by Jovian_Dsouza in Workshop > Repair
6243 Views, 4 Favorites, 0 Comments
Laptop Hinge Repair | Asus Fx504


Hello , In this Instructable I will show you how to repair any laptop hinge. Specifically the ASUS FX504 laptop.
I have been using this laptop for more than 2 years and it has descent specs but very bad build quality. Their hinge design is so bad that a number people, face the same issue of a broken hinge. Sadly, My warranty period had expired and going through the service center for repair was very expensive.
Although, through trial and error and simple engineering , I was able to repair my laptop hinge. Trust me, going to ASUS for repair would have costed me 10 times as much money as this method.
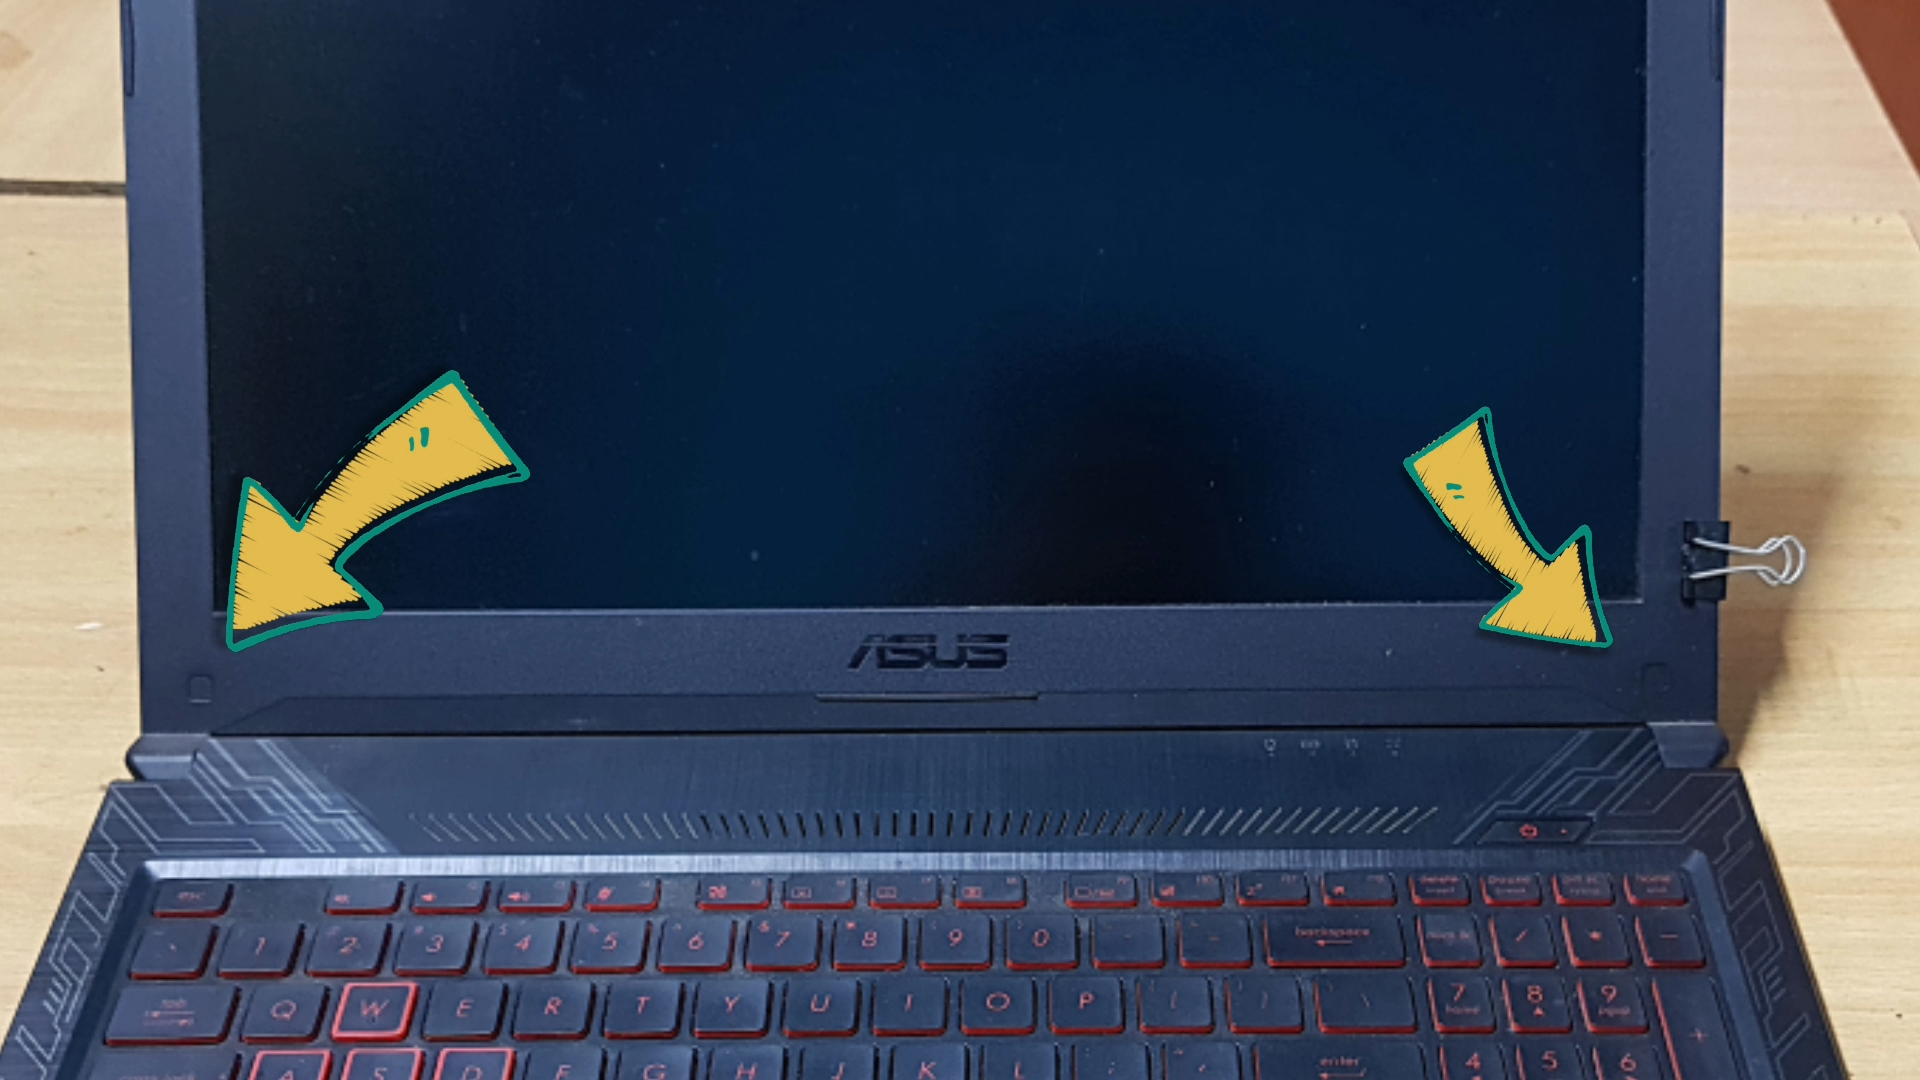
As you can see, currently my laptop is in very bad condition. When I try to open and close the lid of my laptop, the front and back plastic of my screen literally separates. I was so worried that my screen would break that I would never close my laptop lid and always keep my laptop open with screen held with a binding clip.
Supplies
For this method you need
1) An Epoxy (I am using JB weld Original) the ordinary epoxy doesnt stick well to the plastic used in laptops and hence I would recommed you go for JB weld
2) A phillipes screw driver
3) A 10ml syringe (Cause we have to give the laptop an injection)
YouTube Video

Checkout the YouTube Video to get an idea about the laptop repair
If you like my videos, consider subscribing to my channel. Subscribe
It really means a lot to me and helps me make more content.
Remove the Bezel

The Asus Fx504 comes with two screws that hold the bezel. These screws are hidden under the plastic caps.
If you have a different laptop I strongly suggest you to watch a tear-down or disassembly video for your laptop.
But here is where I ran into my first technical difficulty, the screw would turn but wouldn't come out. Bascially , this is because the brass insert nut would breakout from the plastic and would not allow the screw to come out.
I was unlucky ,but if you manage to remove all the screws , carefully pry the casing and remove the plastic bezel .
Fix the Hinge


First we need to prepare the adhesive
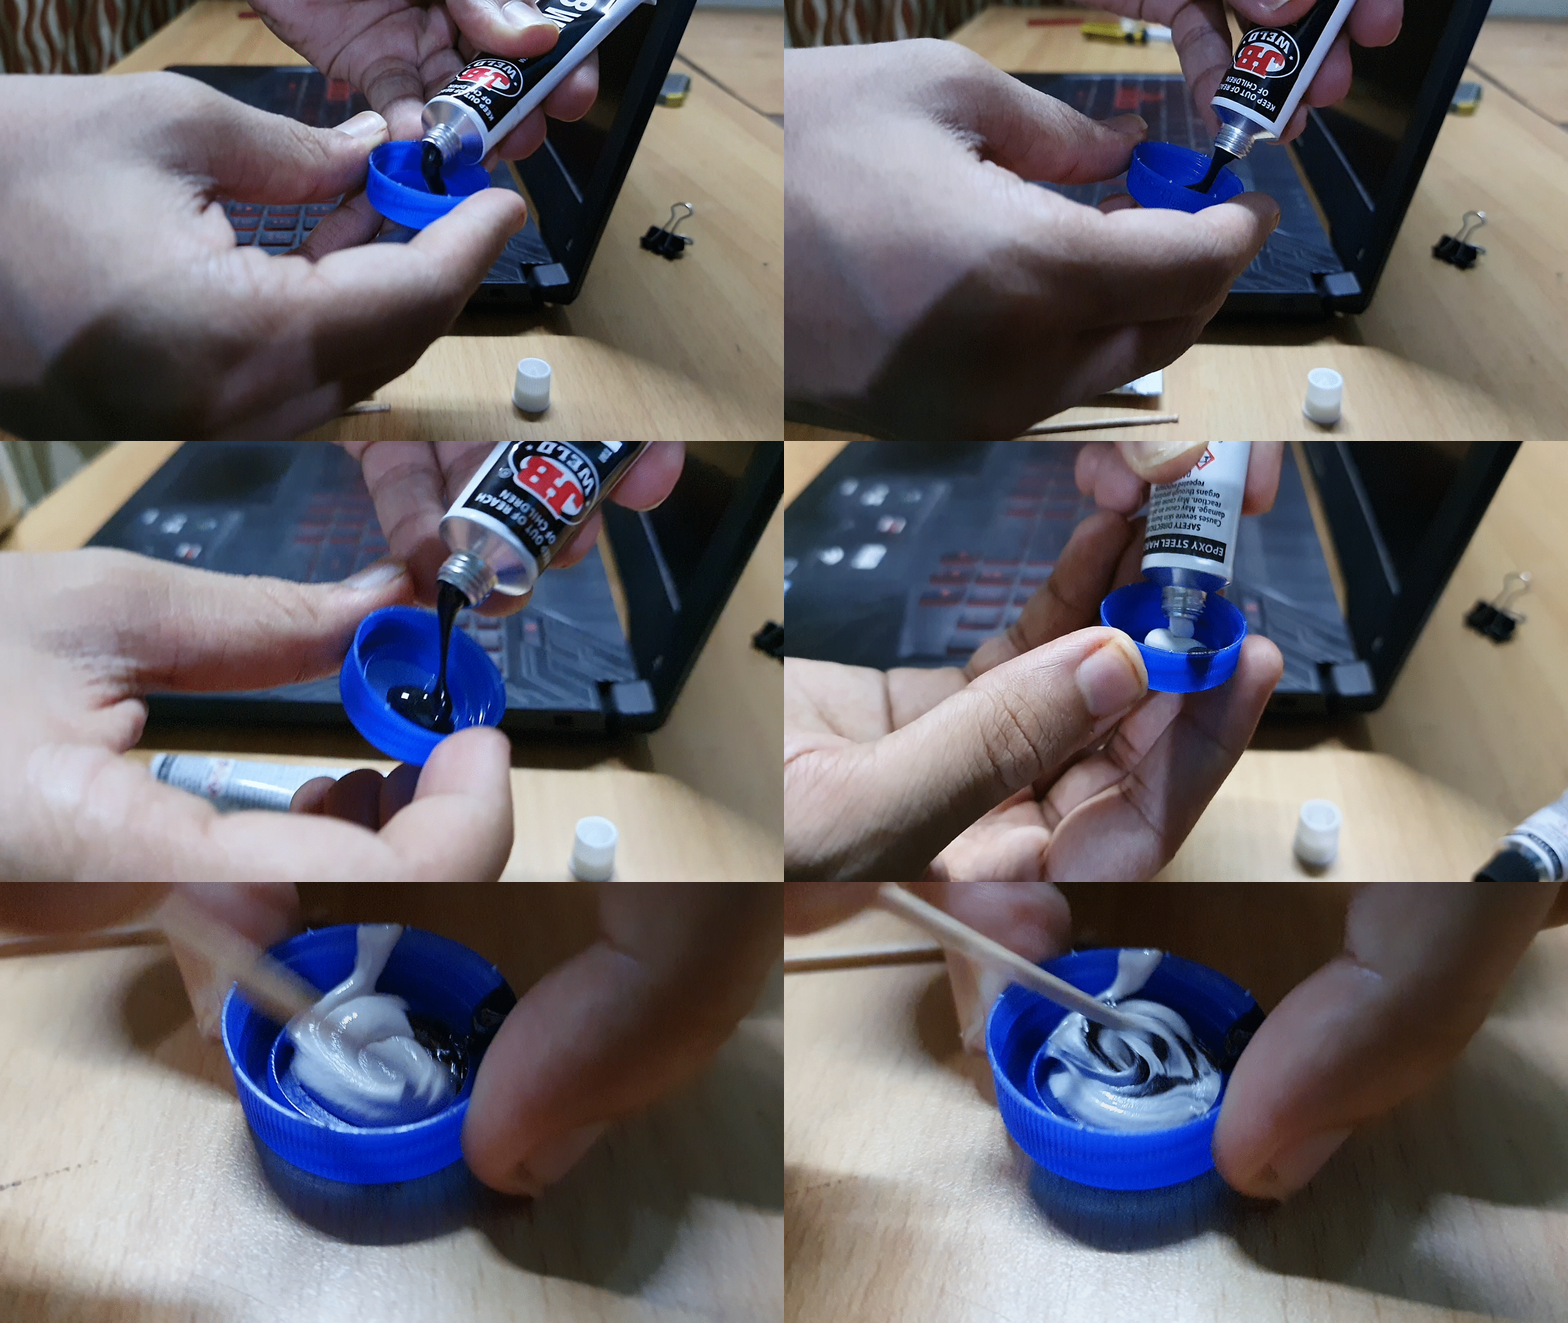
Pour equal quantity of the the epoxy and the hardner into a disposable container
Stir the mixture a couple of times.
Then open the open the bezel casing and apply the epoxy to it. For this you can I either use something like an toothpick but it would not do a great job in pushing the adhesive inside.
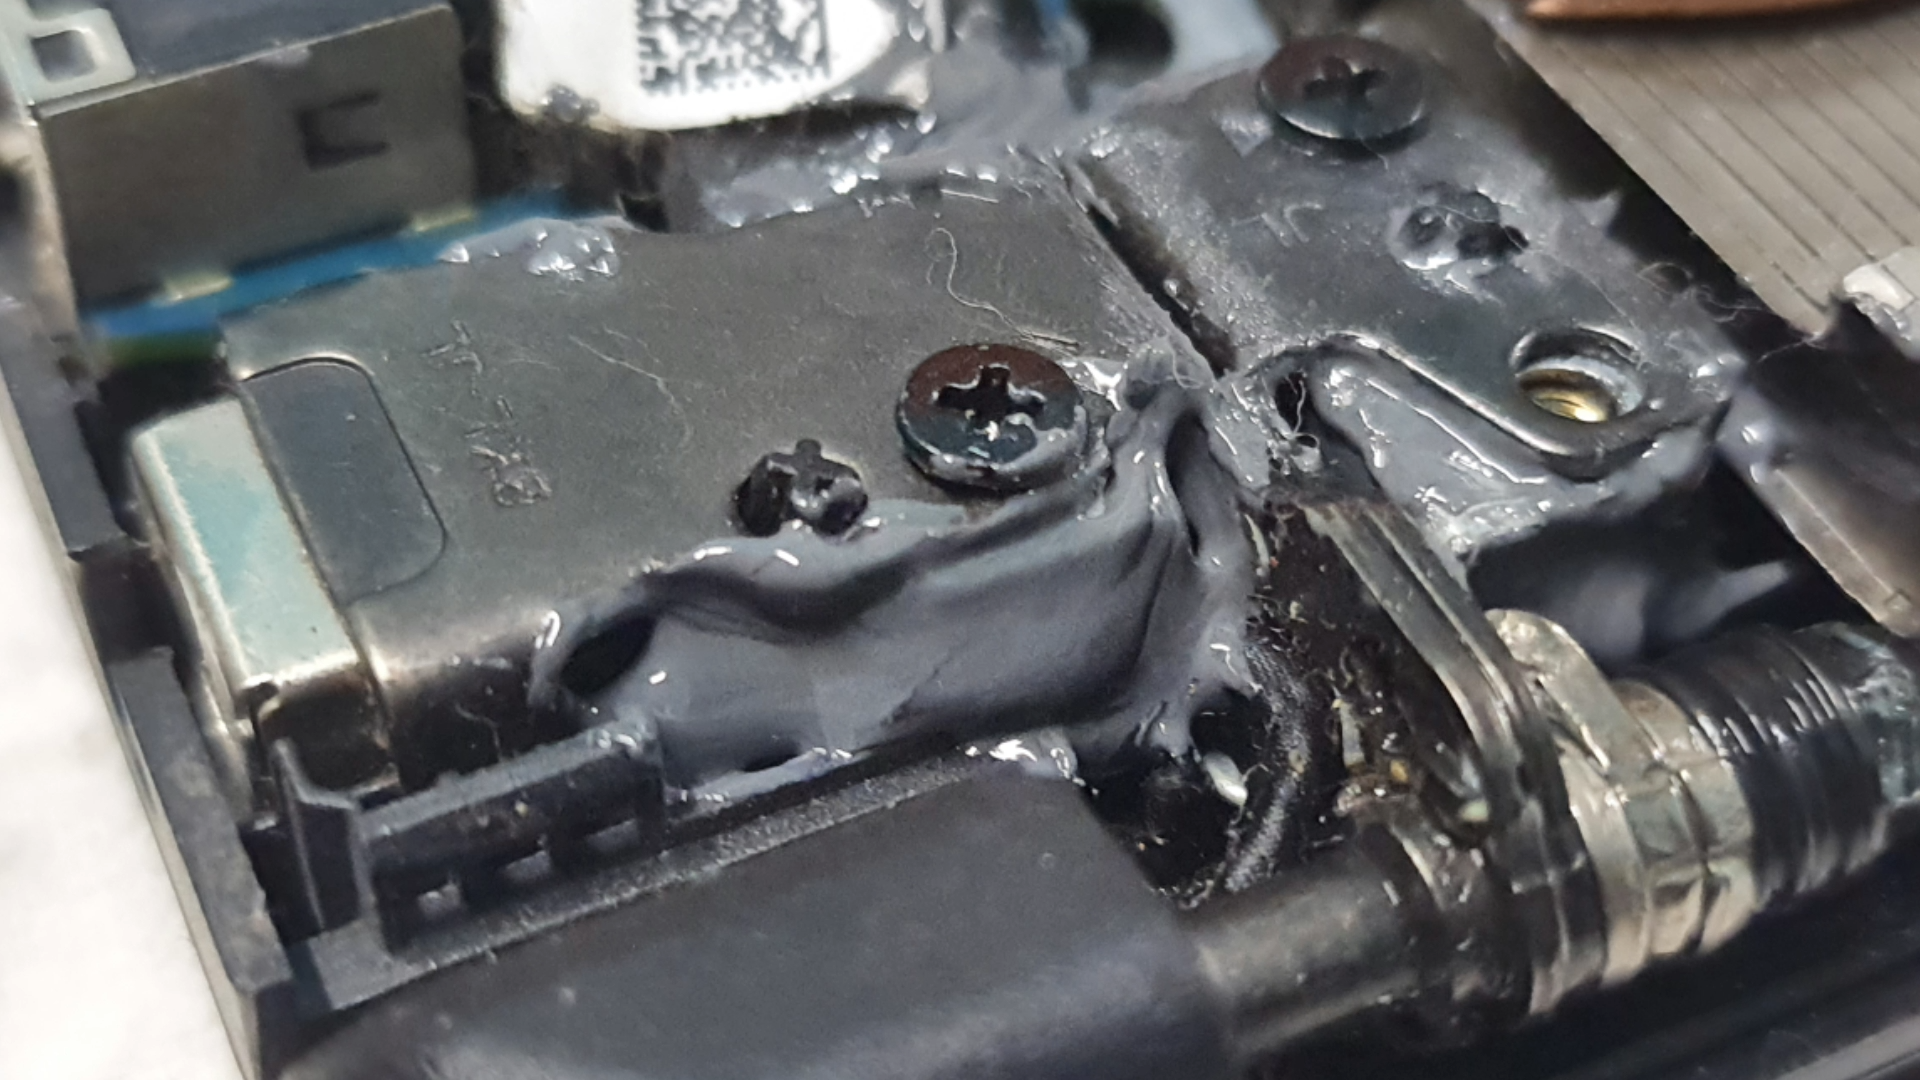
So instead , I filled the syringe with the adhesive and blew the hinge with it, I did this a couple of times Until I had enough of adhesive in the hinge.
Pro Tip : Since the epoxy mixture is a bit dense , it is bit trouble getting the epoxy into the syringe. Instead you can prepare the epoxy in the syringe itself. Simply pour equal quantity of the epoxy in the syringe and stir it using something like a pen refill.
Then place the syringe in between the plastic opening and with a great push, jam the epoxy into the hinge.
Once I had enough epoxy pushed , I simply cleaned the extra epoxy outside of the case and attached a binding clip to hold the hinge.
Then leave the laptop untouched for 24 hours, Actually the JB weld epoxy takes 6 hours to set and 15 hours to dry. but I kept it for 24 hours just to be safe.
Loosening the Hinge


Now, After 24 hours ,
I tested the lid and to my surprise it holds up pretty good. Far better than I was expecting. But the tension in the hinge didn't feel right, it was very tight and perhaps this might have been the reason, the hinge had come out.
I wanted to fix this , so I opened the back panel of my laptop. To remove the back panel we have to unscrew these six screws and carefully pry the casing, using some flat object like a old credit card.
Once I opened the case I noticed another problem. The plastic supporting the hinge was broken. Its the same problem I had for the laptop lid. Lol, ASUS TUF series isn't that TOUGH after all.
Okay, so First I loosened the hinge using a Nose Plier , basically we have to loosen these lock nuts that provides the tension to the hinge. Just loosen it a bit , don't over do it. I also applied WD-40 , which is popular lubricant to the smoothen the hinge.
Then to fix the hinge to plastic case, I pretty followed the same steps.
Preparing the Epoxy in the syringe and applying enough of it to support the hinge. But you have to be careful that you don't spill the adhesive on the turning mechanism of the hinge. That why use something like a tape to cover the mechanism when applying the epoxy to the hinge. Once your done simply remove the tape.
I then left the epoxy to dry for another 24 hours and finally screwed the back panel.
Conclusion


Finally, I was able to repair my laptop and use it more like a laptop rather than a desktop PC.
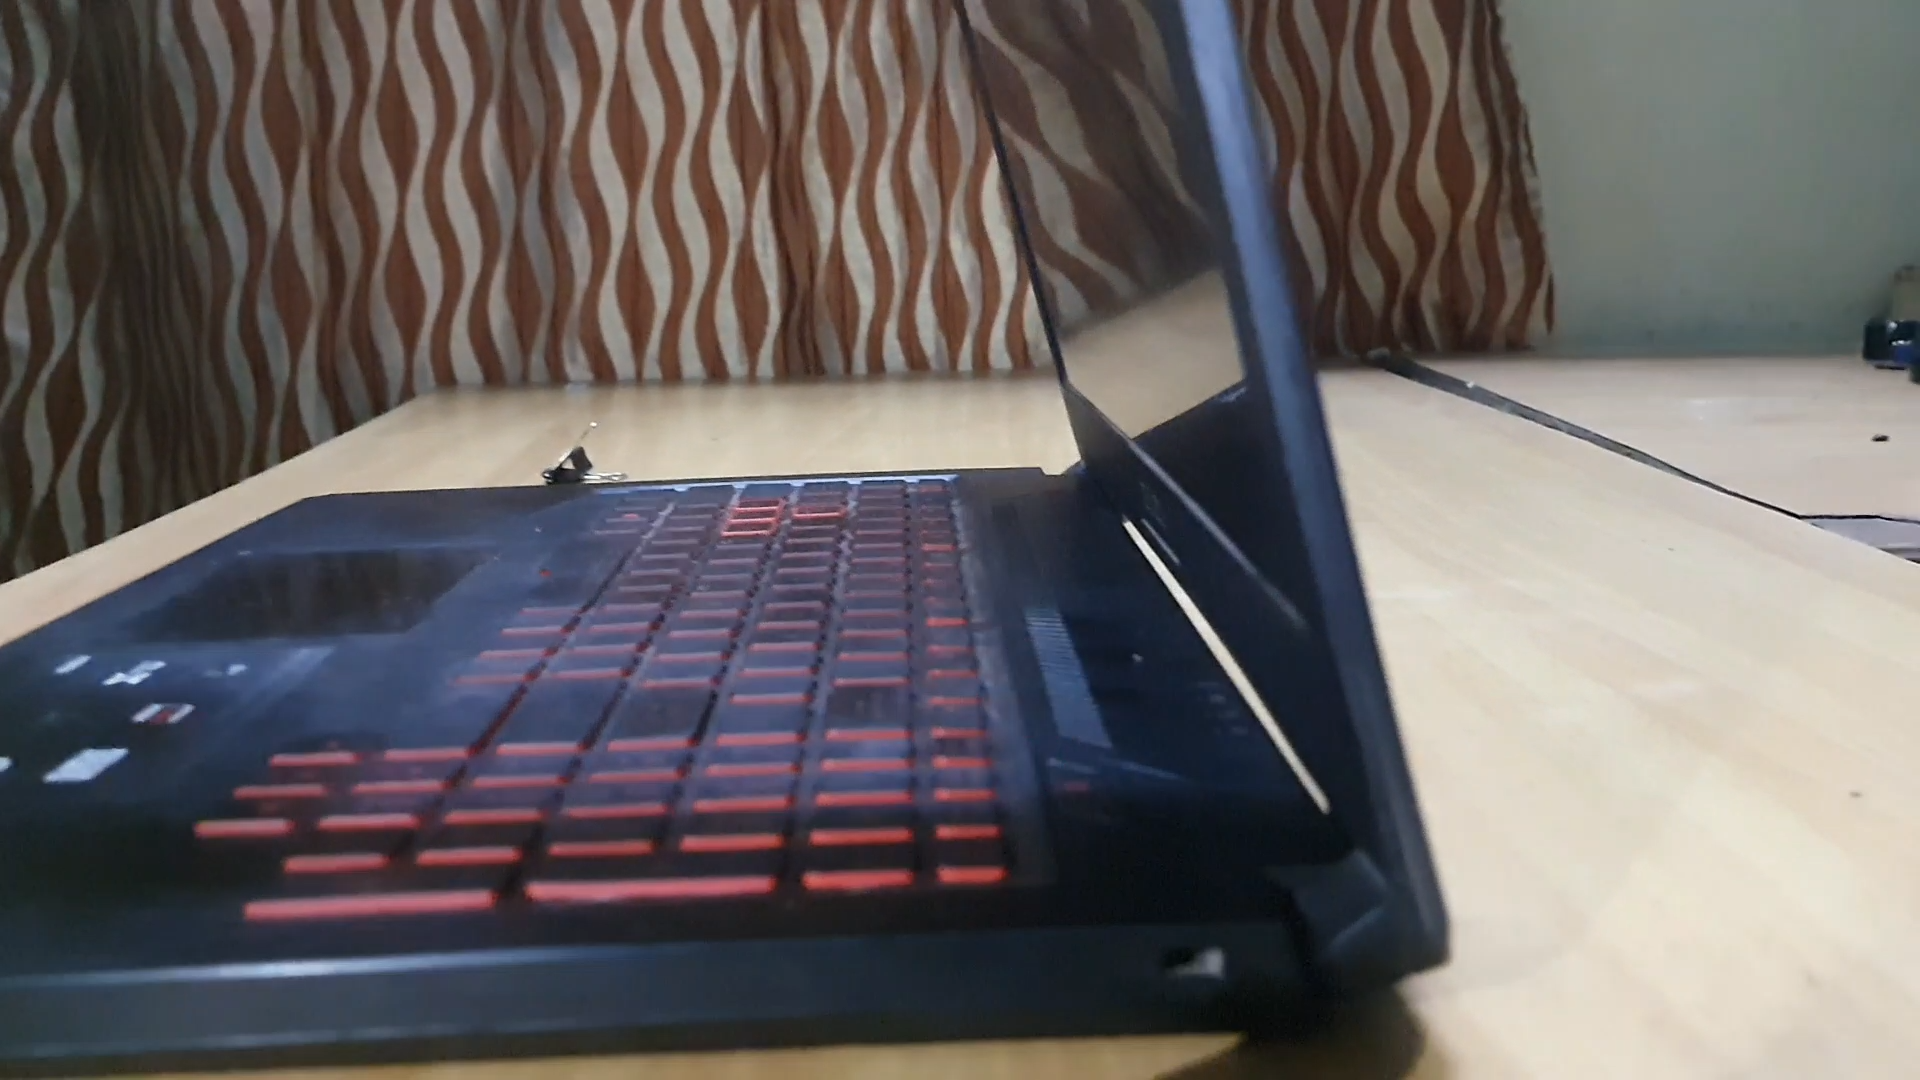
As you can, see there isn't any flex in the plastic anymore and the lid opens and closes properly. Mission Accomplished !!
In fact, the hinge mechanism so good that even passes the one finger lid test. Great.
In conclusion, it wasn't very difficult to repair the laptop hinge and can be done using basic tools. I saved a lot money not going to the service centre. In hindsight , I could have loosen my hinge early before it broke from the plastic. Nevertheless I was able to fix it. If you too are facing the same issue , this a good method to try if your out of warranty
That's all from my side, if this Instructables helped you , comment and share your experience with your laptop repair. I will be more than happy to solve any doubts.