Lap Stopwatch With ATmega328 Microcontroller
by bgyroscope in Circuits > Microcontrollers
10467 Views, 9 Favorites, 0 Comments
Lap Stopwatch With ATmega328 Microcontroller
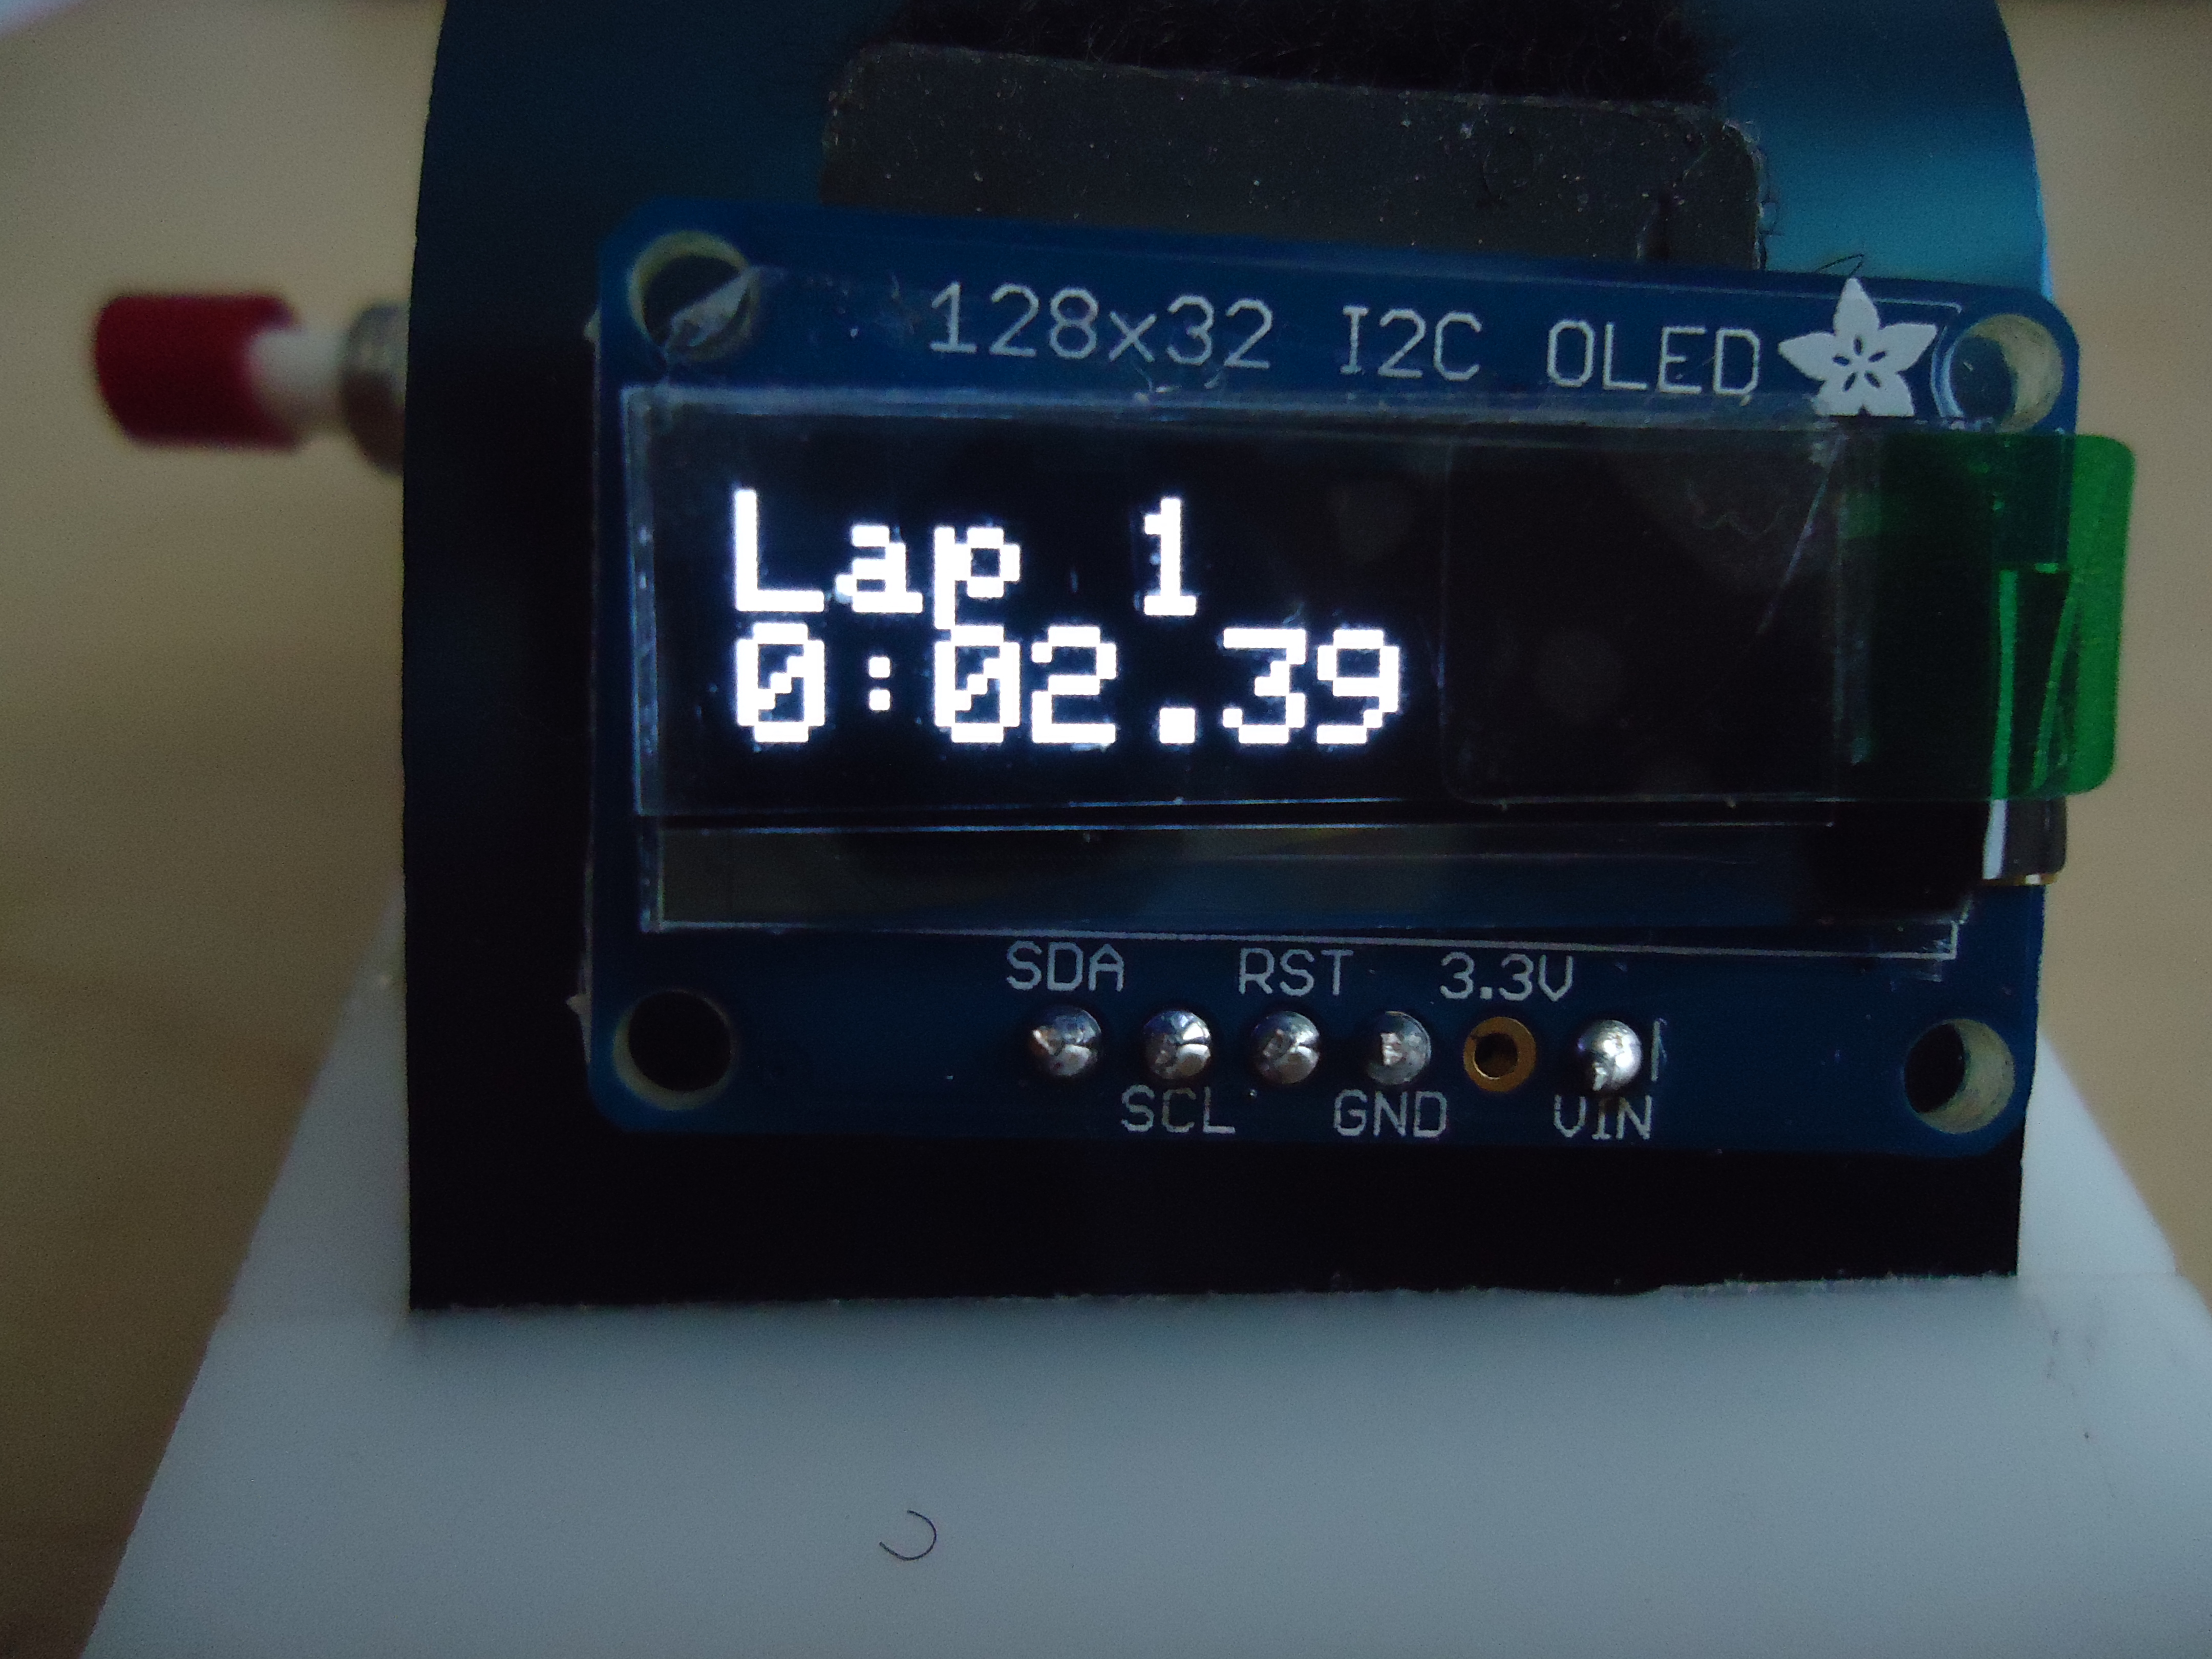
This instructable will show you how to build your own stopwatch to record multiple splits using an ATmega328 programmable microcontroller. When one presses the start button (or slaps the metal band in my watch), the screen displays the last lap for a second then continues the time on the next lap. It’s great for all you runners out there doing an interval workout.
Downloads
Gather Materials
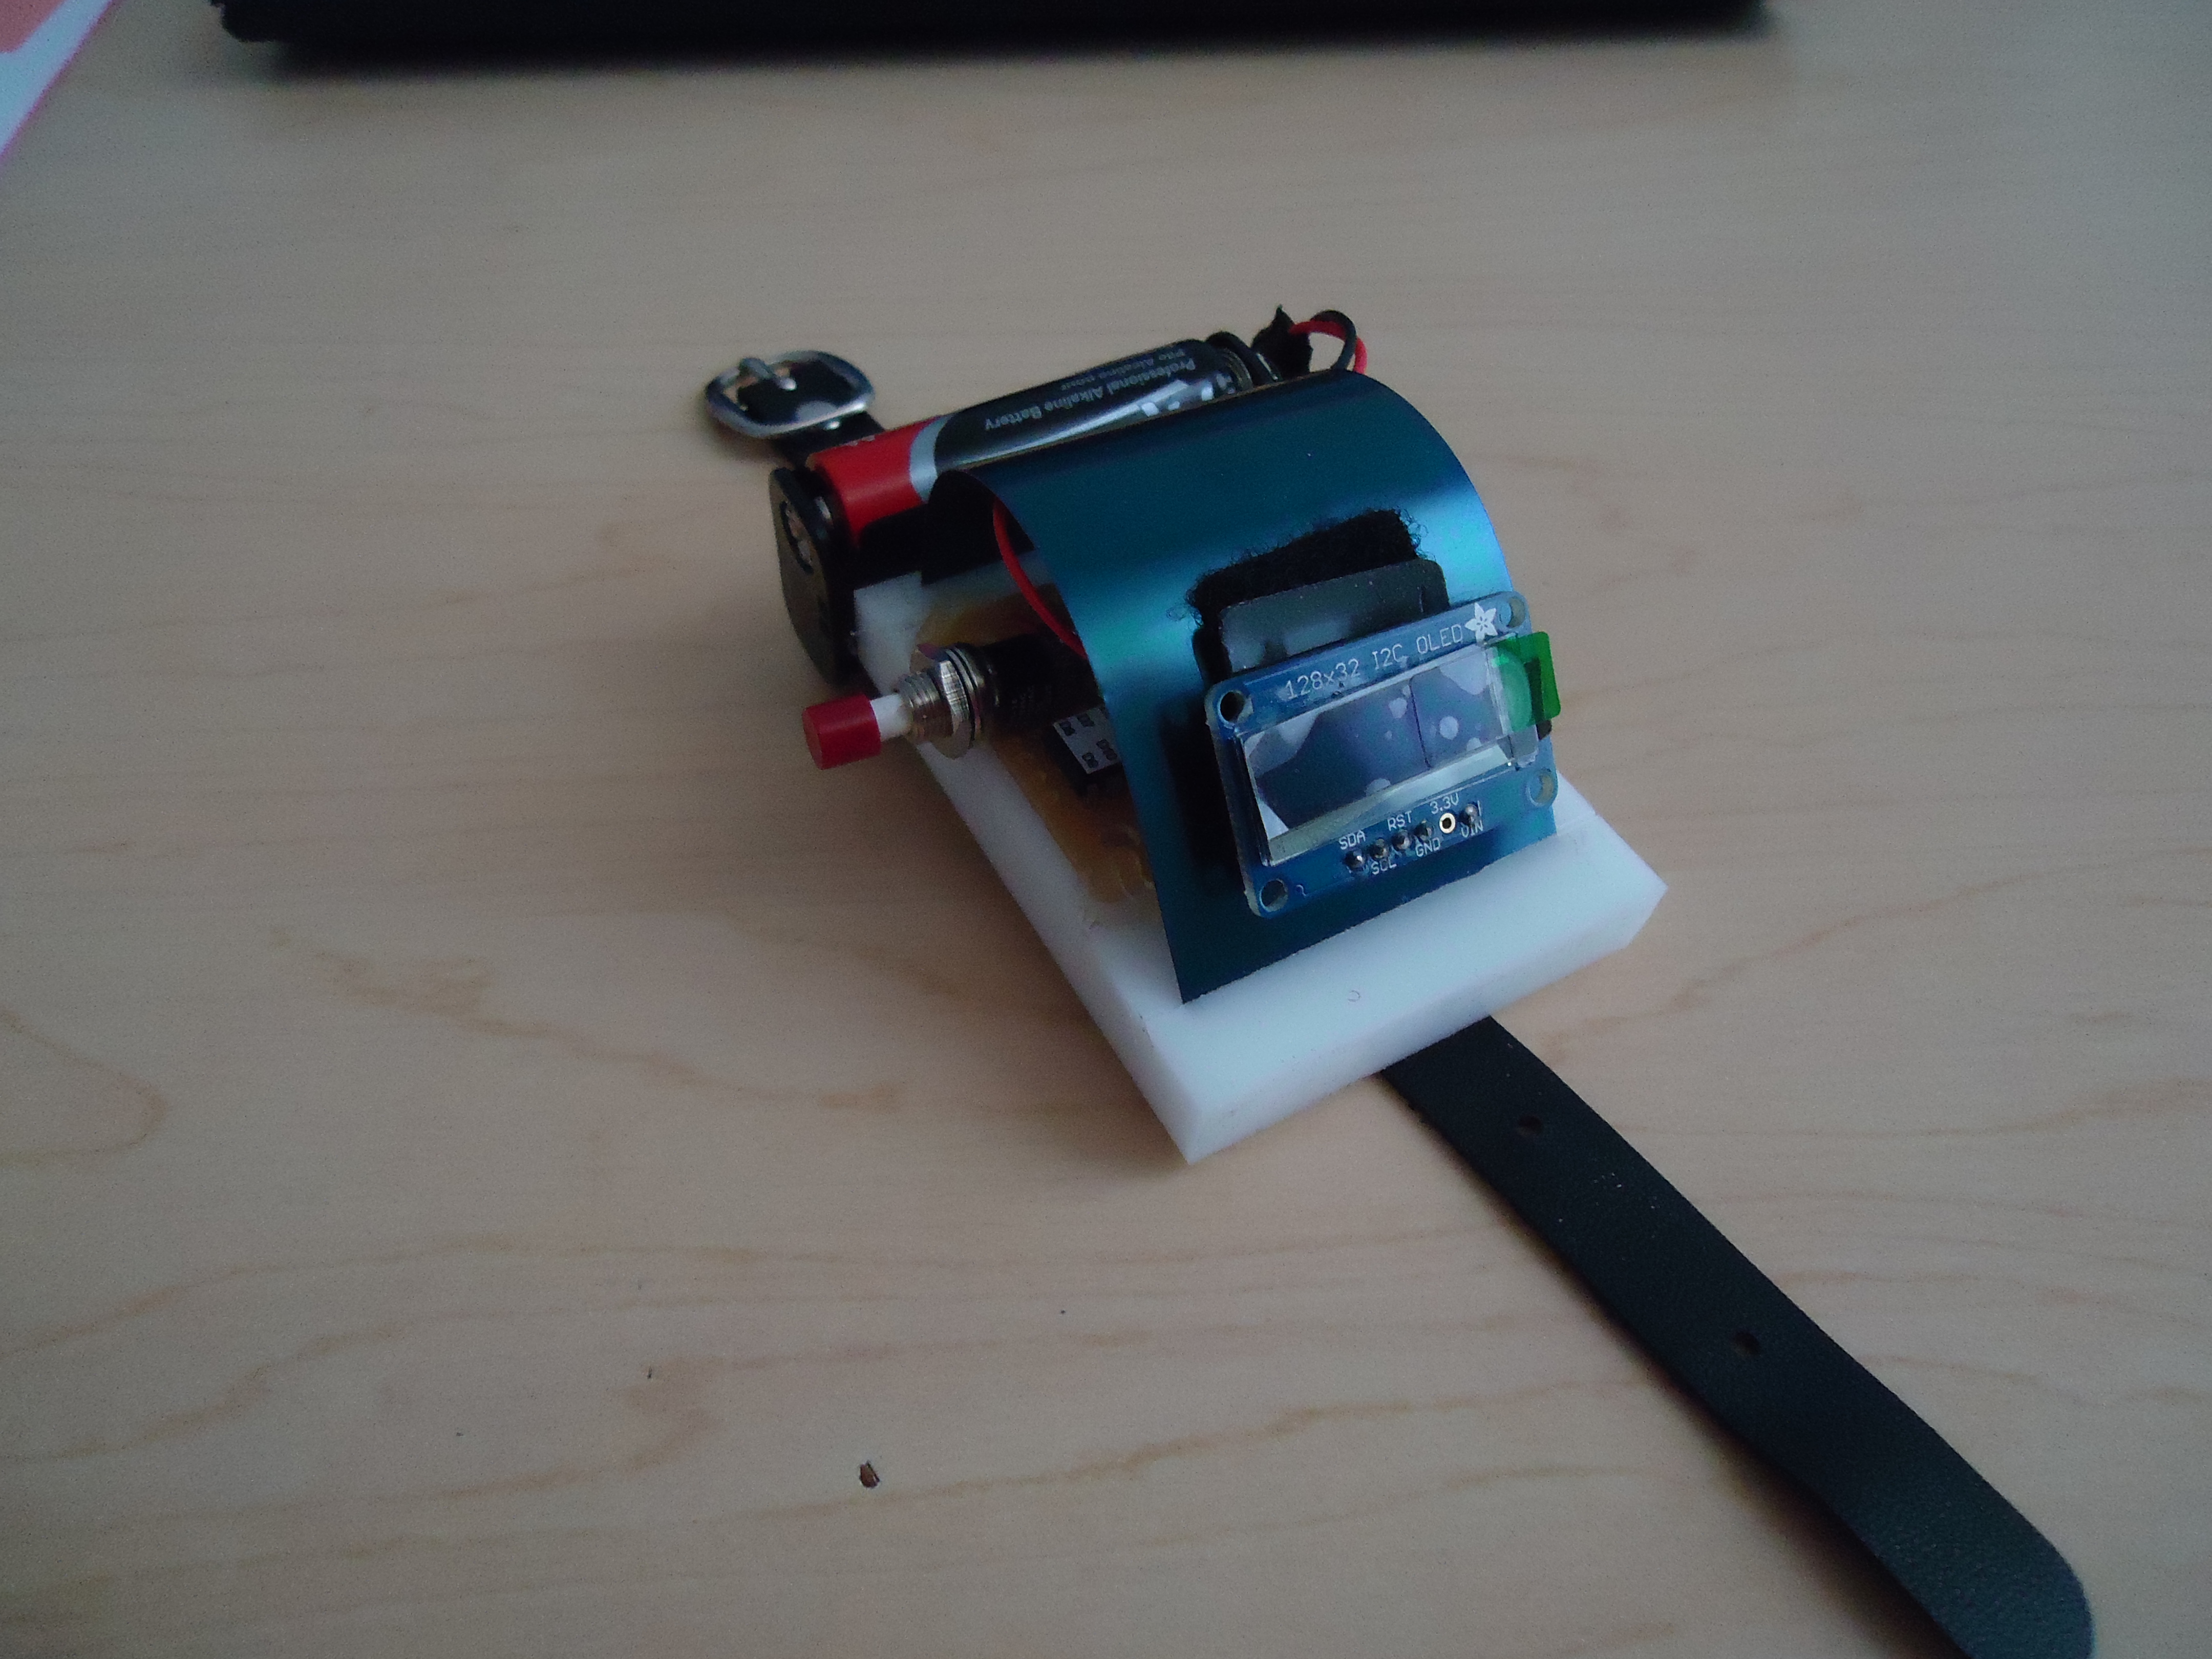
Needed Materials:
• Arduino Uno or Duemilanove
• ATmega328 microcontroller
• Computer to use Arduino
• breadboard
• Three buttons
• A switch
• Three resistors*
• 16 MHz crystal oscillator
• Two 22 pF capacitors
• Adafruit SSD1306 128X32 LCD screen**
• Two AA batteries**
• Soldering iron and soldering board
• Wires
• Wristband
• Encasing
Optional but Useful:
• Hot Glue gun
• Super glue
• Wire strippers
• Multimeter
• Acetal Polymer
• Blue tempered spring steel
*I used 10 kΩ, but the value doesn’t matter too much, as it is just used to stabilize the voltage so it drops quickly when the buttons are no longer pressed.
**I realized later on that this lcd screen needs 20mA of current, but a regular coin battery that can only provide .19 mA, so I had to use two AA batteries to meet the current demand. I would suggest looking for a more compact battery that can provide at least 3 V but less than 5V and more current such as some camera batteries. Either that or try to find a different lcd screen, but then the code will need to be modified. As of now, this lcd can be bought at (https://www.adafruit.com/products/661).
Download the Code
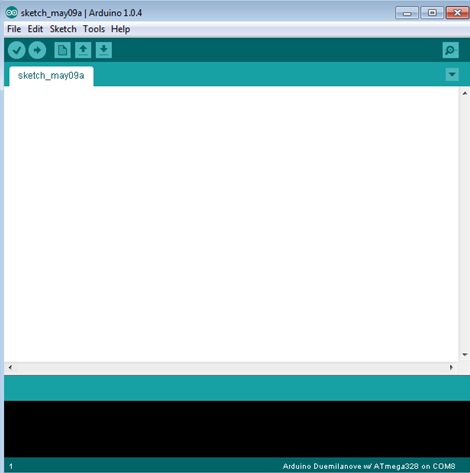
Once you have the arduino, go to http://arduino.cc/en/Main/Software and download the arduino software for your operating system. The software should look something like the phot (in windows).
Be sure to pay attention to where the arduino software is on your computer. There now should be an Arduino folder somewhere on your computer.
Next, download the code from this instructable called watchcode.zip. Extract the zip file. You should see three folders. Then, in your Arduino folder, which should have been created during installation, but it depends on where you placed it, place the watch_simple folder that contains the watch_simple.ino file. This is the actual code that runs the microcontroller. I wrote and documented this as clear as I could, but please feel free to comment if you have any questions. The basic idea is the chip determines if a button is pressed by checking the digital pin which is connected to a button from the Vcc, which is supplied from the battery and is high. If the button is pressed, then the button connects the path, so the pin reads the high and completes the instructions.
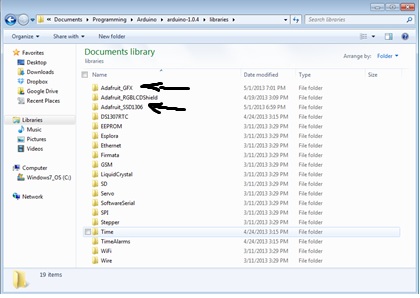
Important! This code uses some open source libraries from adafruit. For this code to work, the two libraries Adafruit_SSD1306.h and Adafruit_GFX.h must be added to the libraries folder in the Arduino folder in their own folders as shown in next picture. To do so, simply move the two folders Adafruit_SSD1306 and Adafruit_GFX to the libraries folder that is within the arduino folder.
There cannot be any non alphabetical or numerical symbols (other than "_") such as “–“ in the library folder names (I don’t know why, but it doesn’t work if that is the case). These libraries are also provided in this instructable, but they can also be downloaded from link provided by the adafruit website. As of now, https://github.com/adafruit/Adafruit_SSD1306 is the link. If you download the software from adafruit, however, one must declare the lcd screen is the 128 X 32 and not the 128 X 64 by an edit of the Adafruit_SSD1306.cpp file as described by in the readme file.
If you decide to use a different lcd screen you must edit the code for your specific lcd screen. This should mainly be cosmetic changes of code used to display the messages on the screen. The code I have provided works only for this specific lcd screen.
Downloads
Program the ATmega328

Once you have the arduino software and libraries installed, you are ready to program your ATmega328 chip.
I suggest now test out your arduino by plugging it in and uploading a simple program like blink (which is preinstalled and blinks the onboard led). This is done by file>open and then in the pop-up menu selecting your arduino folder> examples>01.Basics>Blink>Blink.ino. Once you have selected the file you should see the code in the white box of the arduino software. Then select your board by tools>board and then your board, such as the UNO. Then click the upload button, which is the right arrow. It should say at the bottom of the arduino environment "Done uploading".
If the led blinks on and off every second, then you have correctly installed the arduino software. If you get an error that looks something like “avrdude: stk500_getsync(): not in sync: resp=0x00” then you have some connection issues. Often to resolve this issue you might have to quit the arduino software and unplug and replug the arduino. Else, you should double check you have followed step two correctly.
Now, open the watch_simple code. Upload this code. If it says upload complete then you should continue to the next step.
Test the Circuit
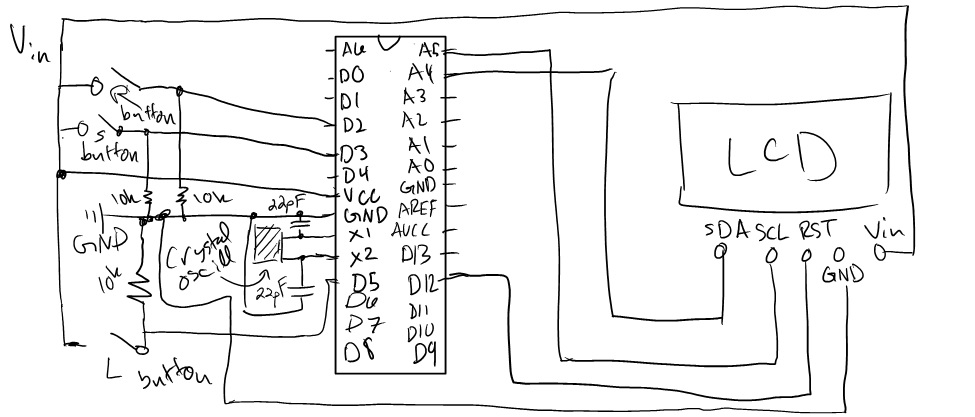
Now, you should test your circuit in a breadboard.
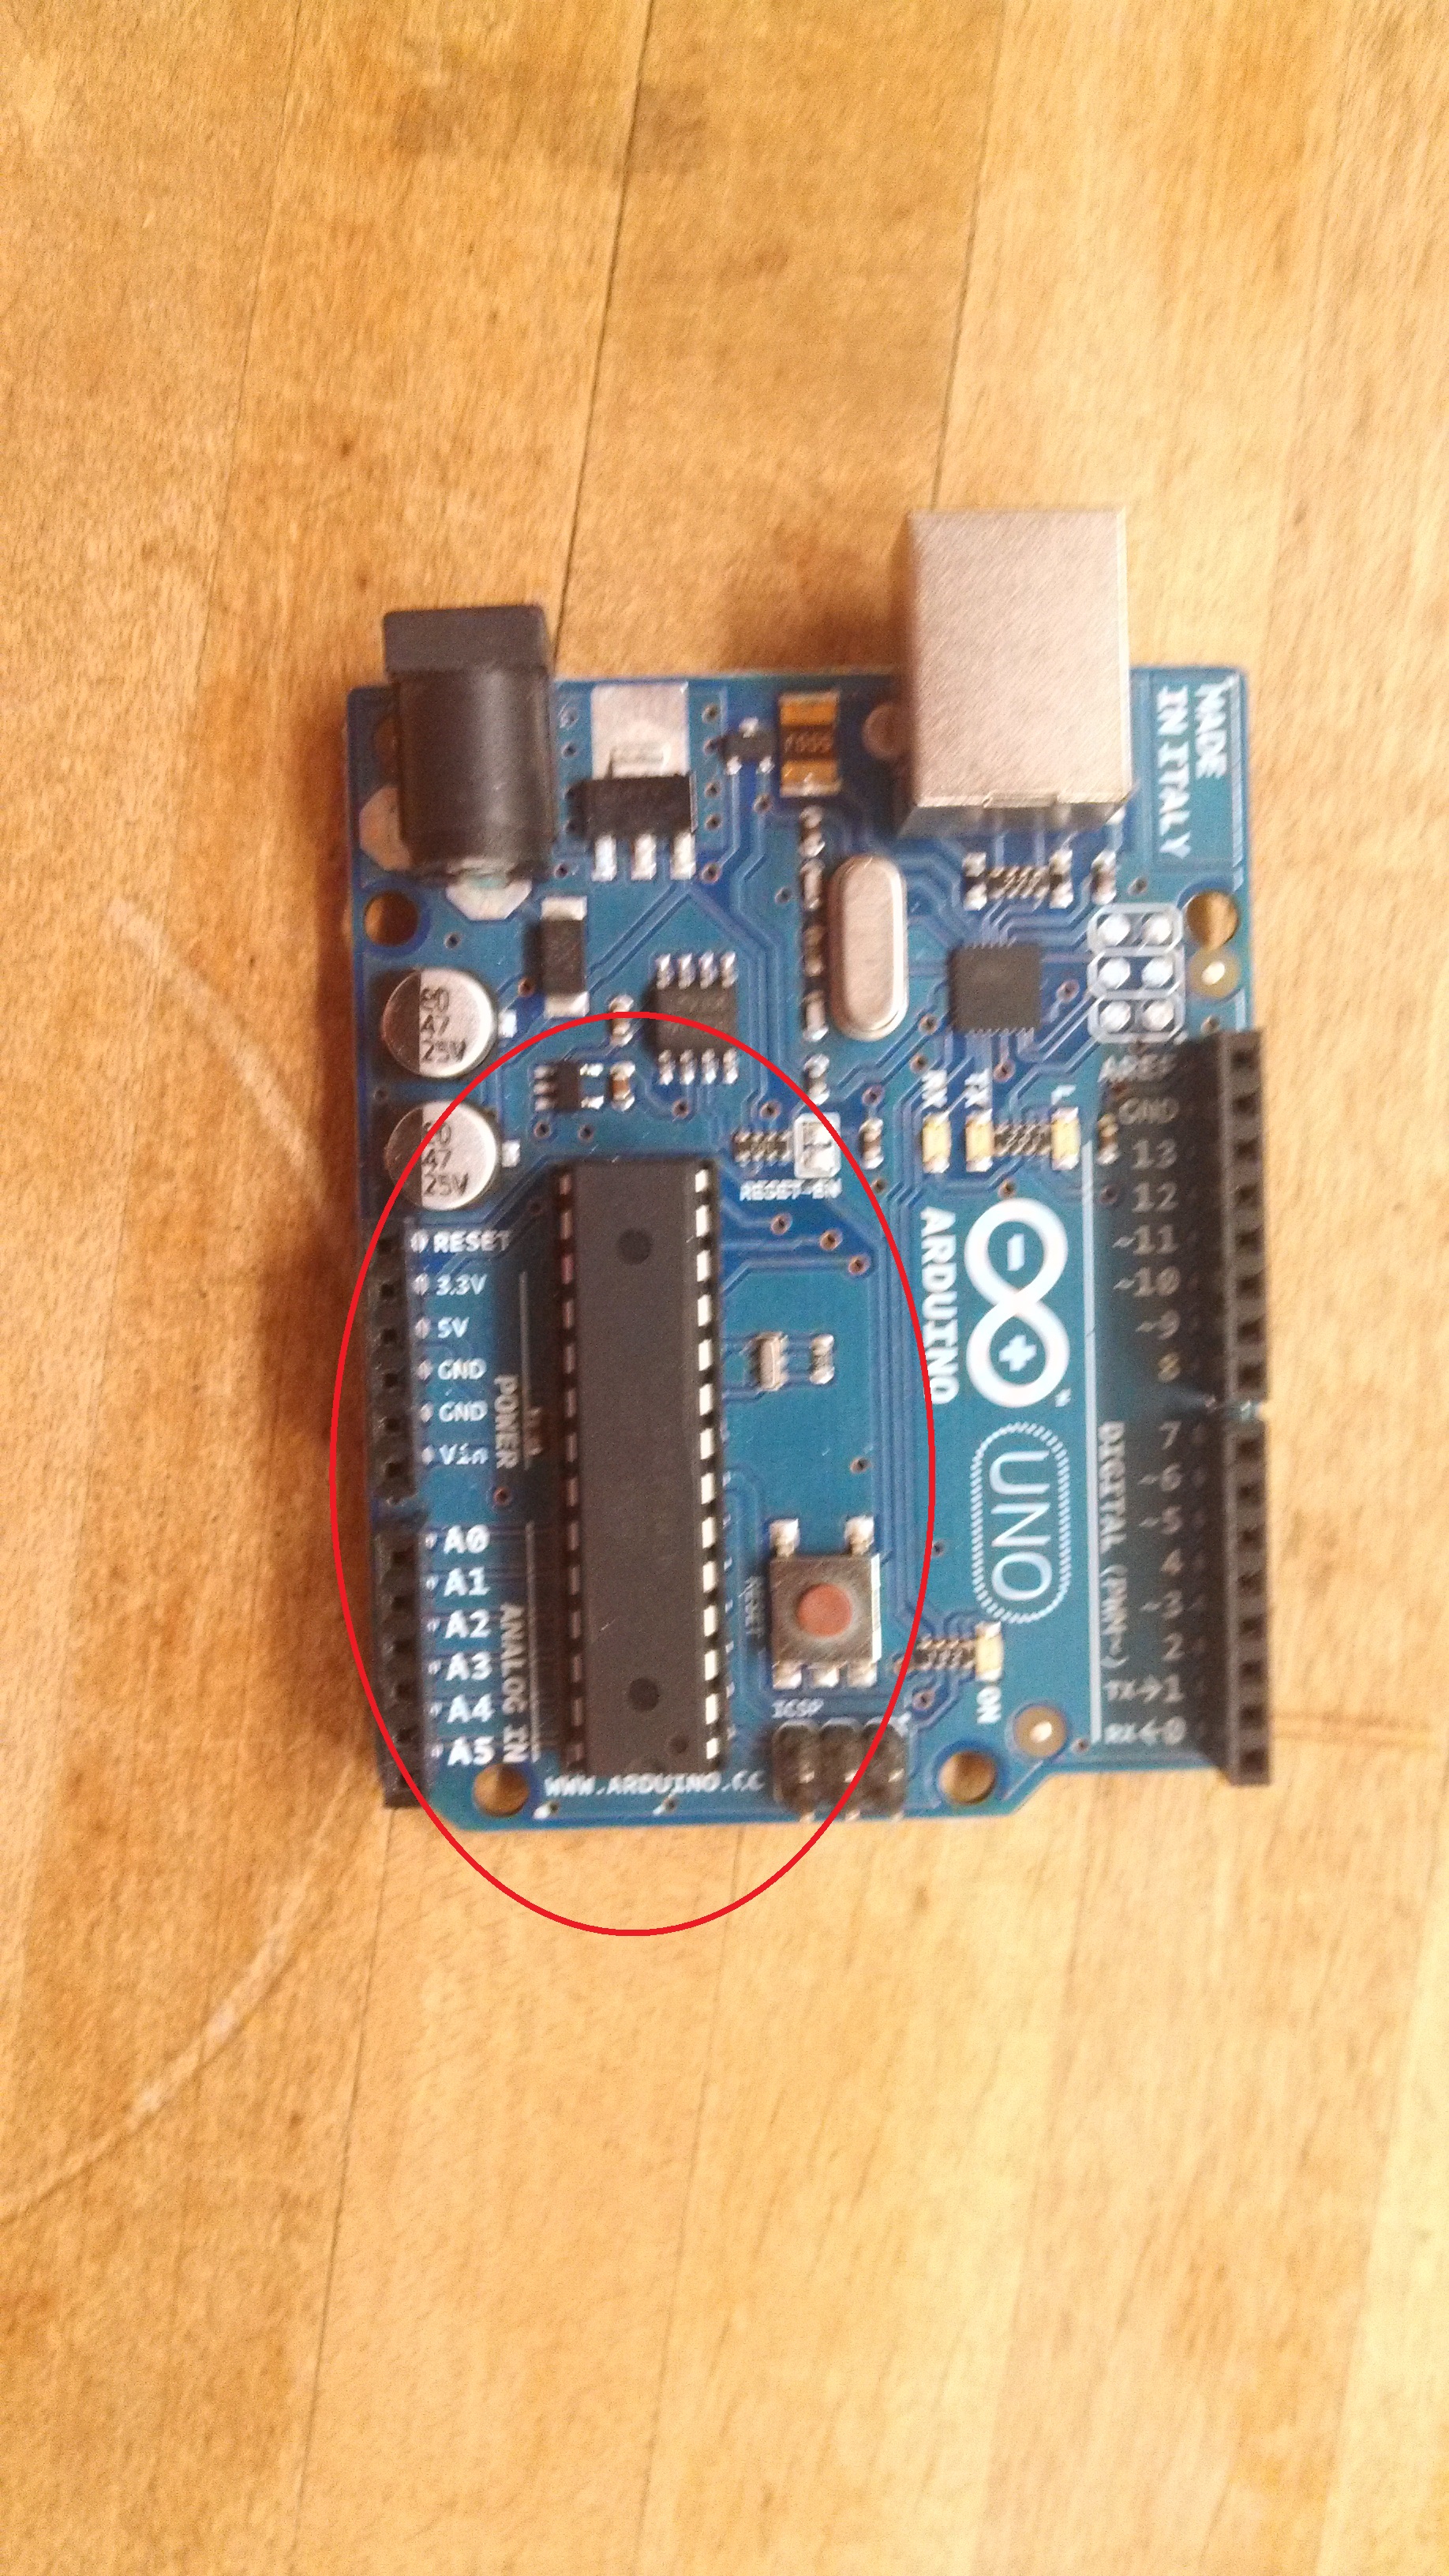
Important, be careful when removing the ATmega328 chip from the Arduino as the pins can bend making the chip useless!
The chip you are removing is found in the first image.
Once removed, place in breadboard and use the pin mapping ( http://arduino.cc/en/Hacking/PinMapping168 ) and the circuit diagram in this instructable to be sure everything works. Note that the chip has a small notch on one of the ends. You should be able to have a fully functioning lap watch. Be sure your power source is between 3 and 5 V and can provide enough current to turn on the lcd screen. Two AA batteries should work, but as mentioned above, these are not ideal as they are quite large.
After the initial start up, you should be able to record splits by pressing the start button. Each lap will be recorded by pressing the start button again. To stop, press the left button. From this menu you should be able to go through splits with the left and right buttons. If you hold both the left button and right button down, you should be able to save your laps in the ATmega328’s EEPROM memory. If you turn off and then turn on the ATmega328 and hold the left button, you should be able to restore the laps and go through them. If there is an error, you might have to re-upload code. The multimeter might be useful here to be sure your connections are correct.
Solder the Circuit
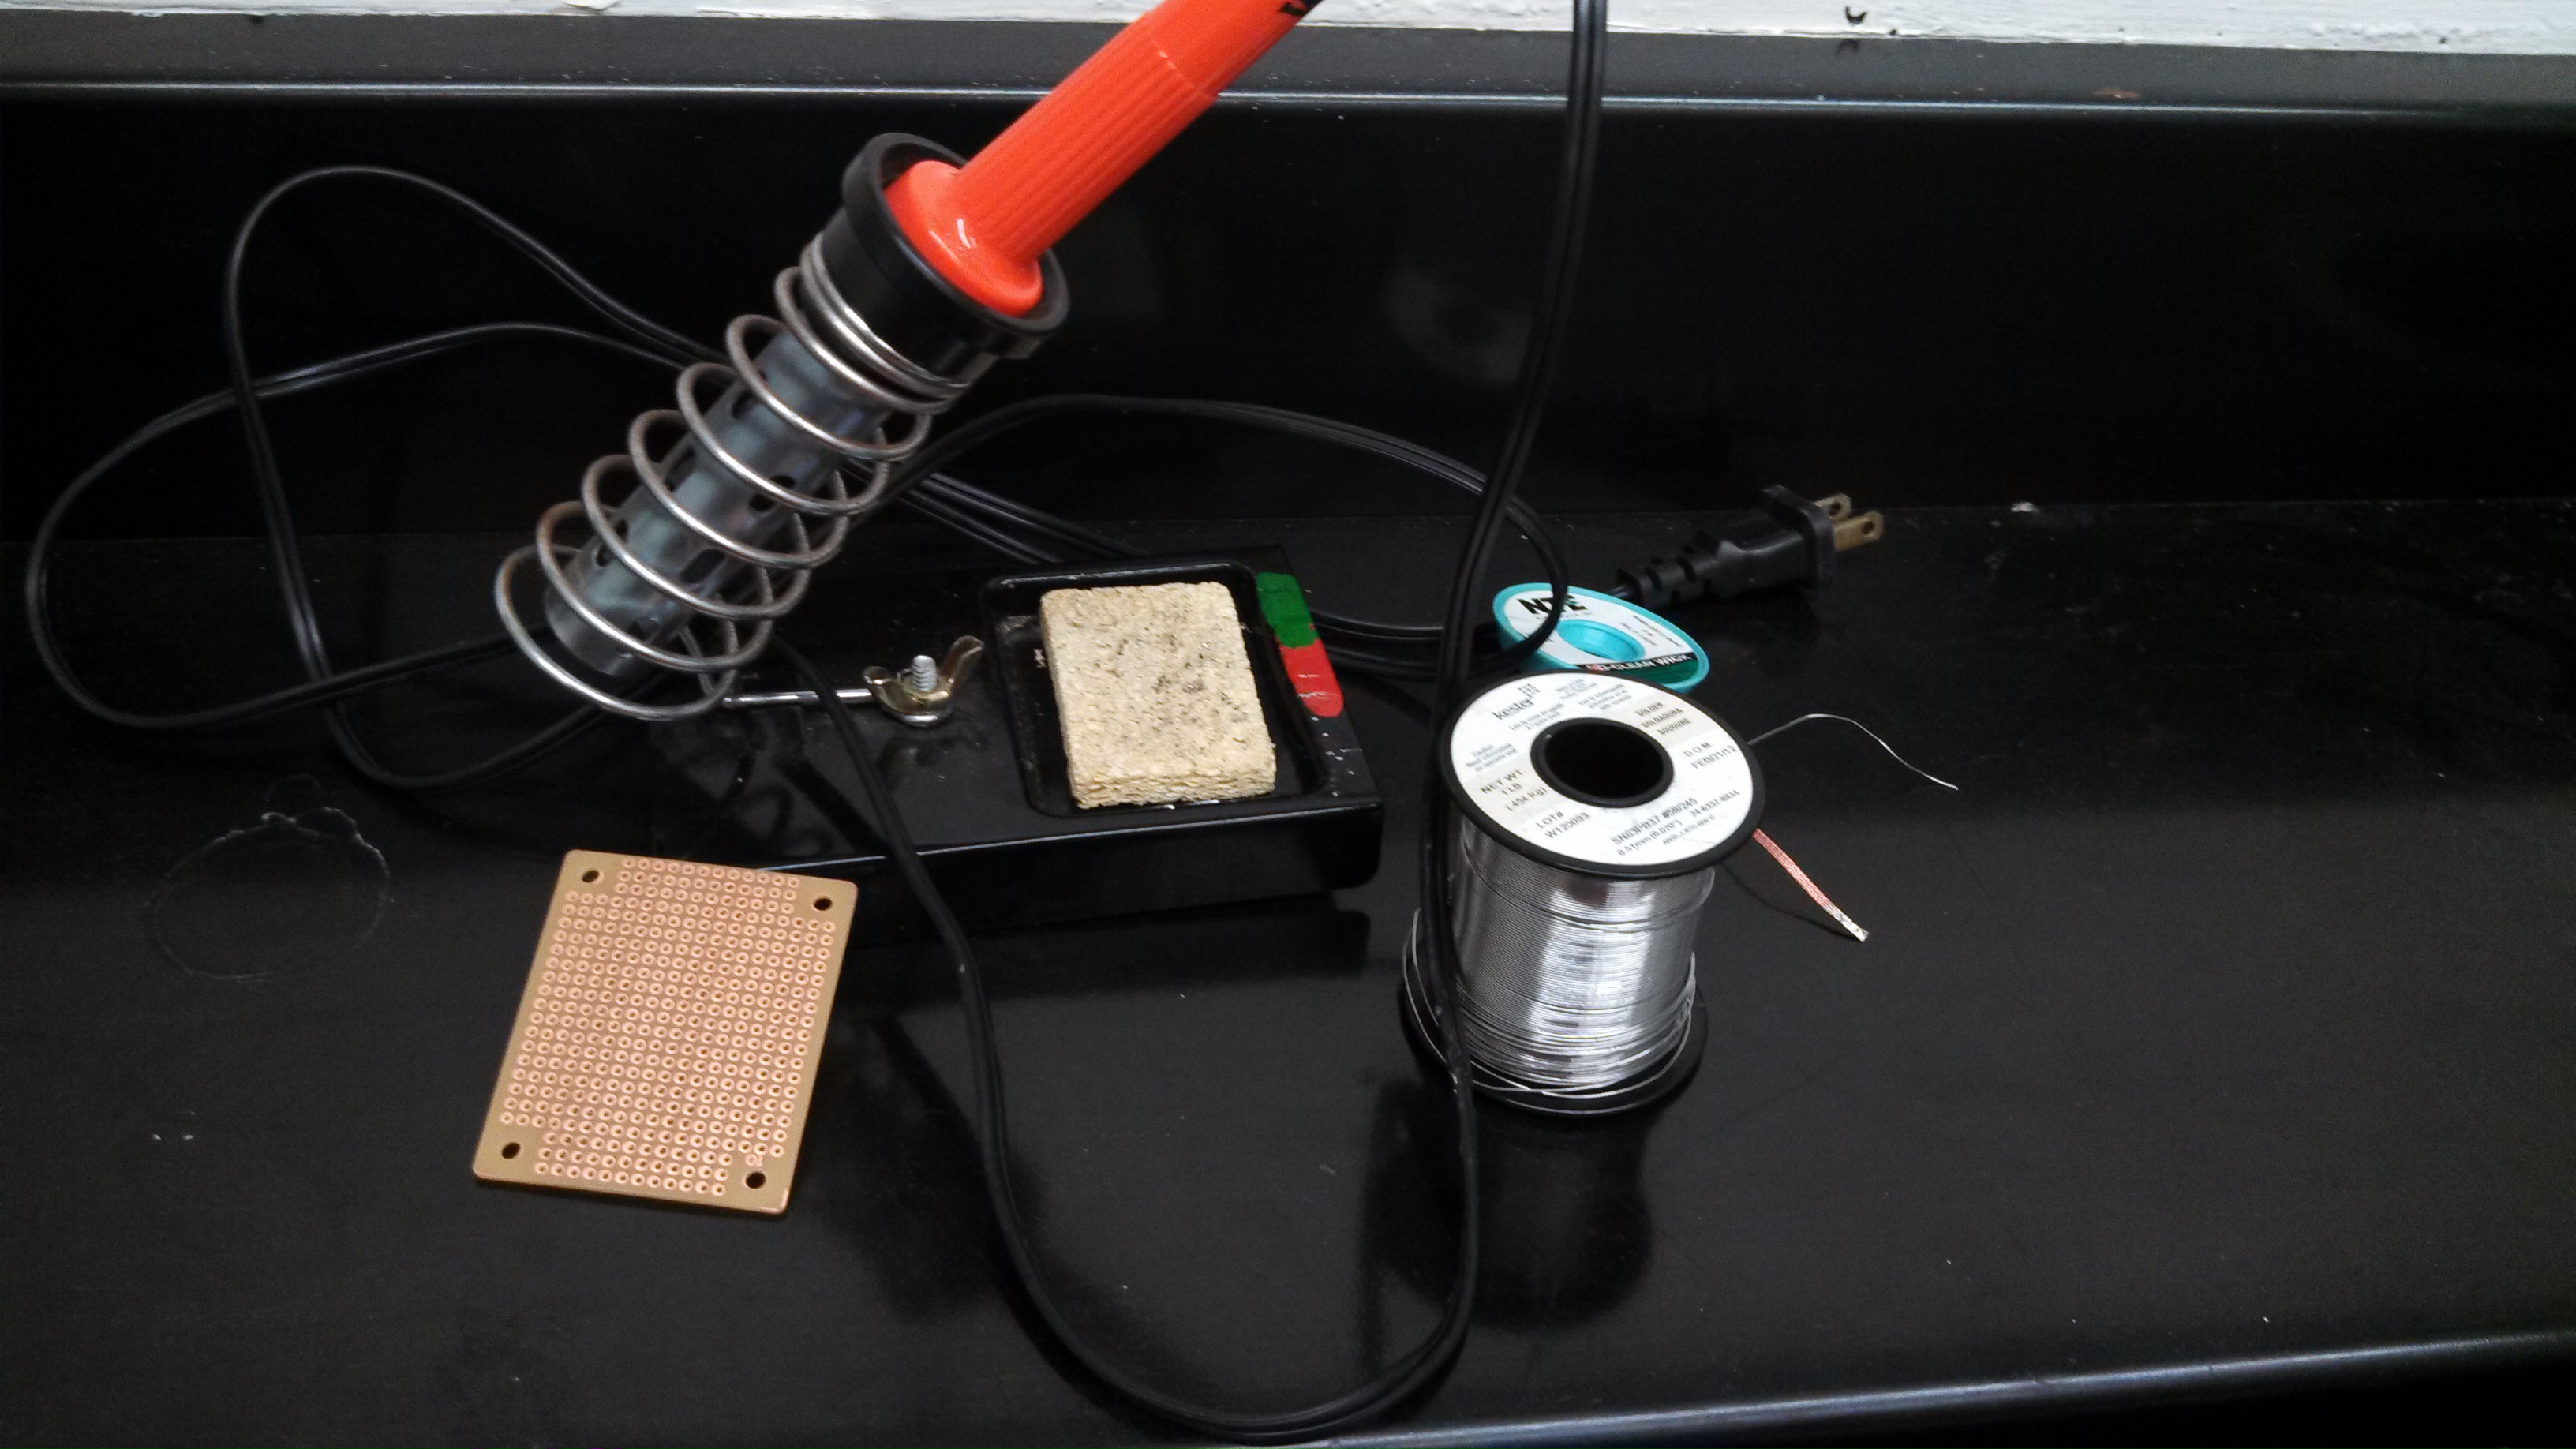
Only after you are satisfied with the functioning of your watch, you are now ready to solder the circuit. Solder the circuit on to the chip. Be sure to condense the circuit to have as small of a watch as possible. As many leads connect to the ground and positive terminal, I suggest you have one row for ground and one row for the positive terminal on your soldering board.
Be sure to be careful about the hot tip and lead-tin fumes that are associated with soldering.
The hot glue gun can be useful to glue on the buttons and to insulate possible connections. For example, when I was making my watch, I had issues with the start button being short circuited. I was able to put in some hot glue and that did the trick.
Put on the Finishing Touches.
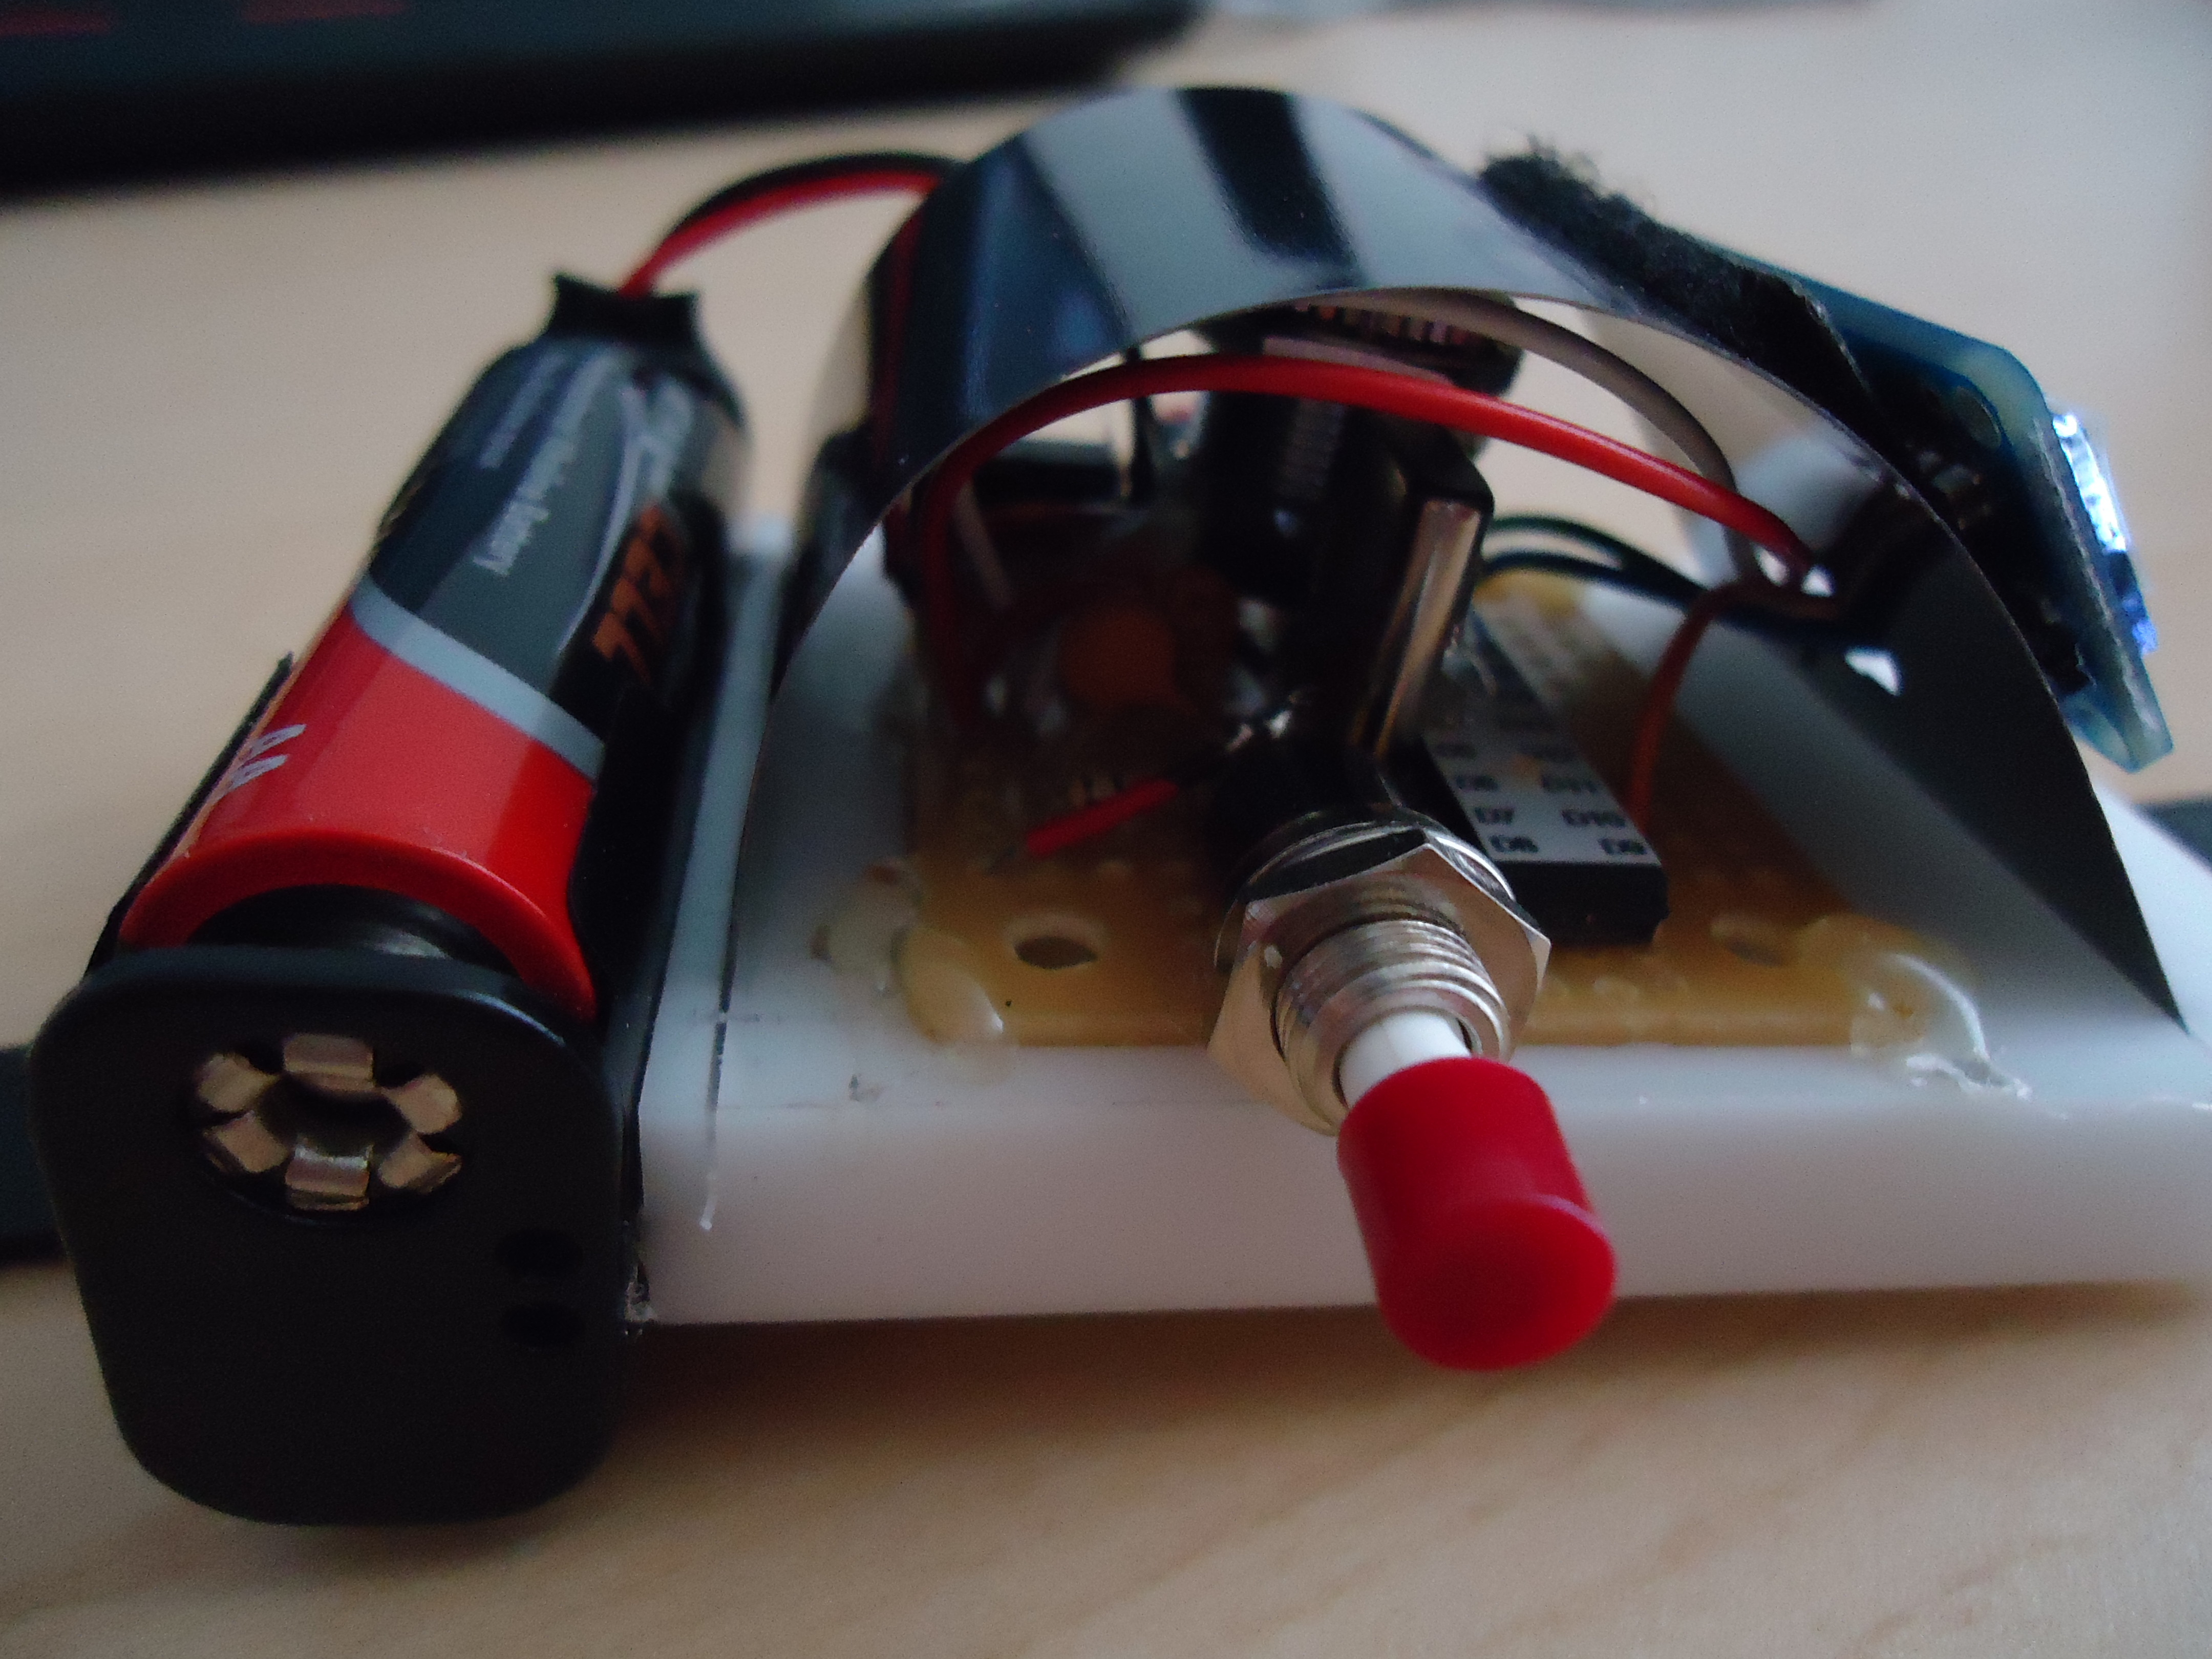
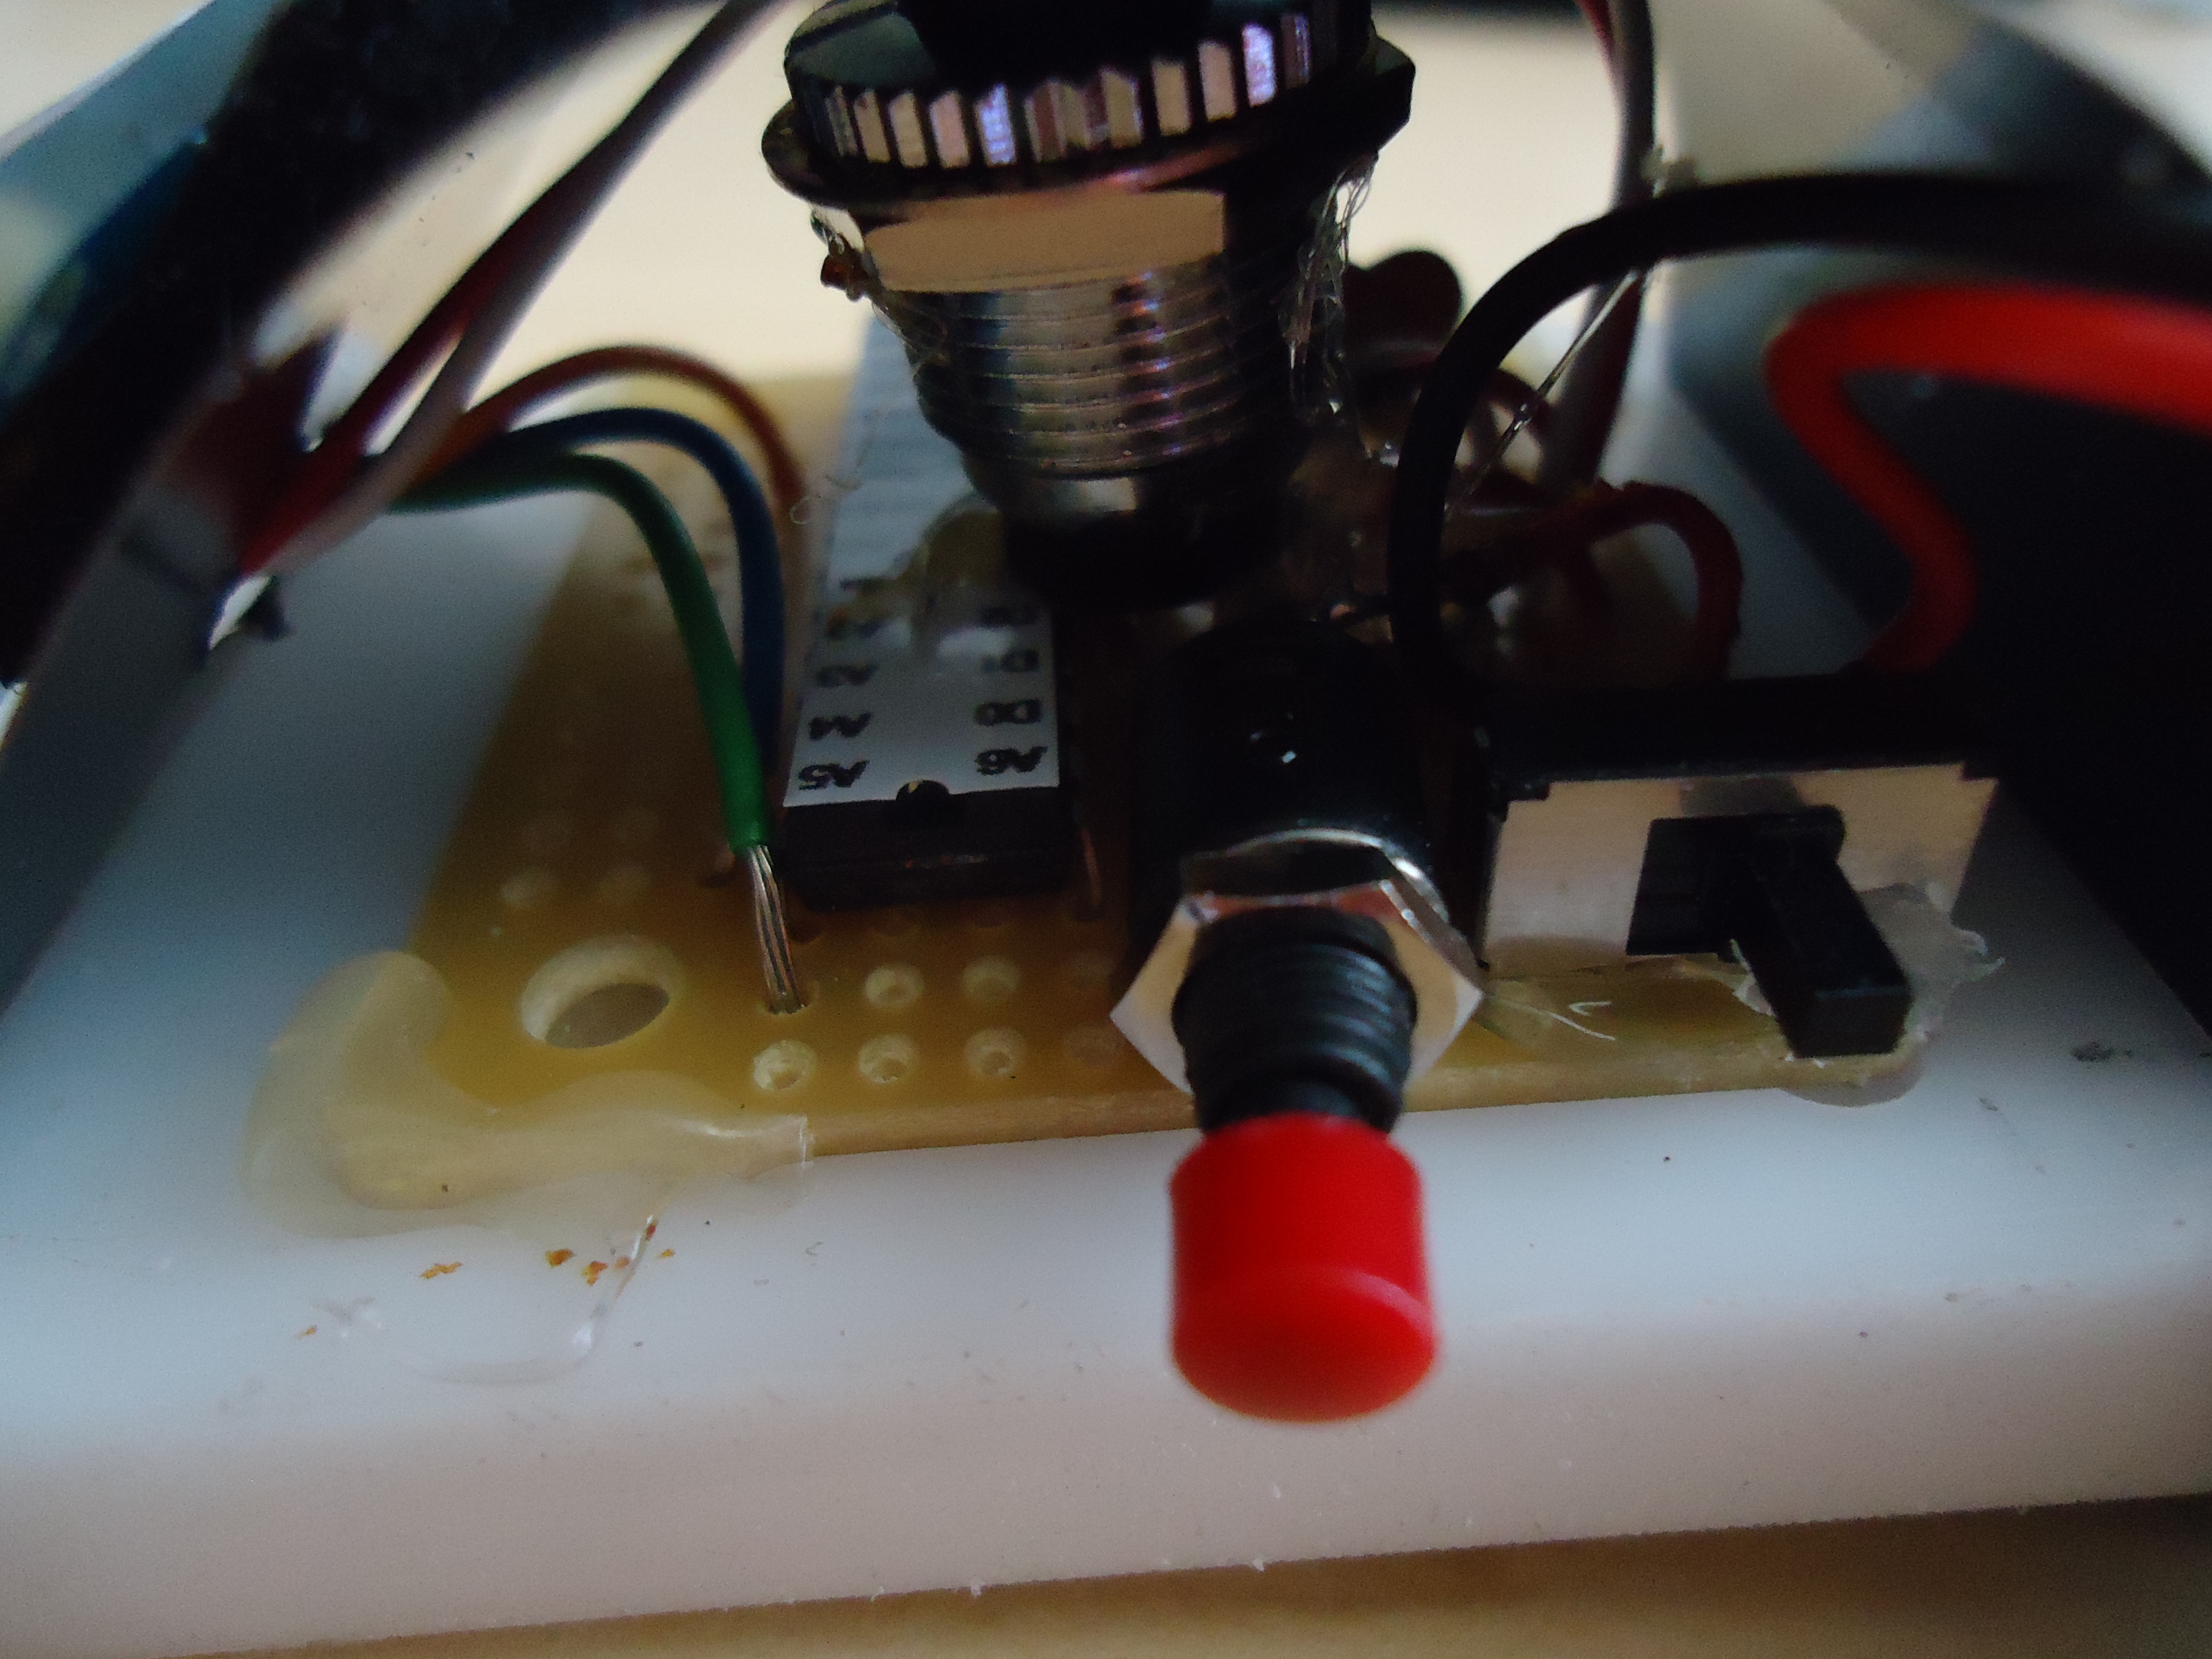
Now that you have your small watch on the circuit board, you are ready to add the finishing touches. I machined a base out of an Acetal polymer and then put the blue tempered blue steel over the button, so I can just slap the watch to have it work. I also then added a luggage tag I had for a wrist band.
Be creative and resourceful for your enclosure.
Have fun with your new stopwatch!
Be creative and resourceful for your enclosure.
Have fun with your new stopwatch!