Lace Wallet


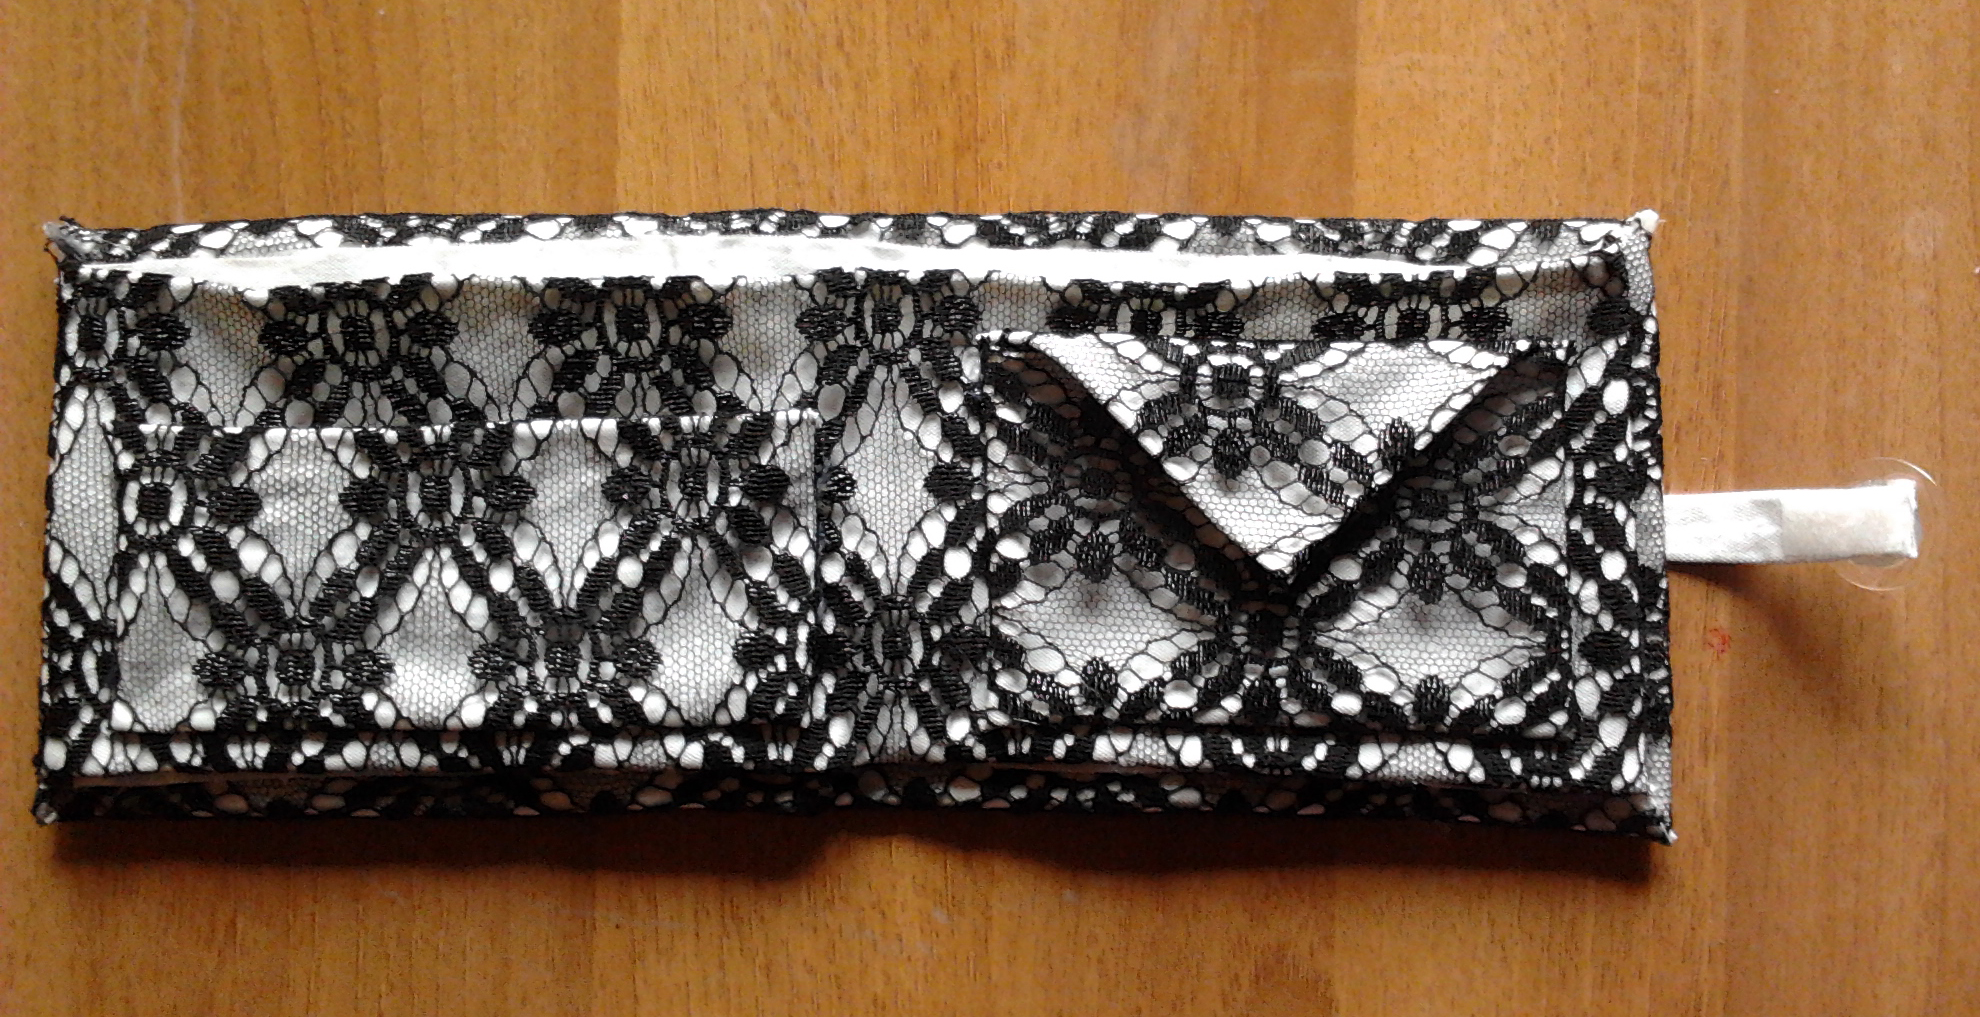
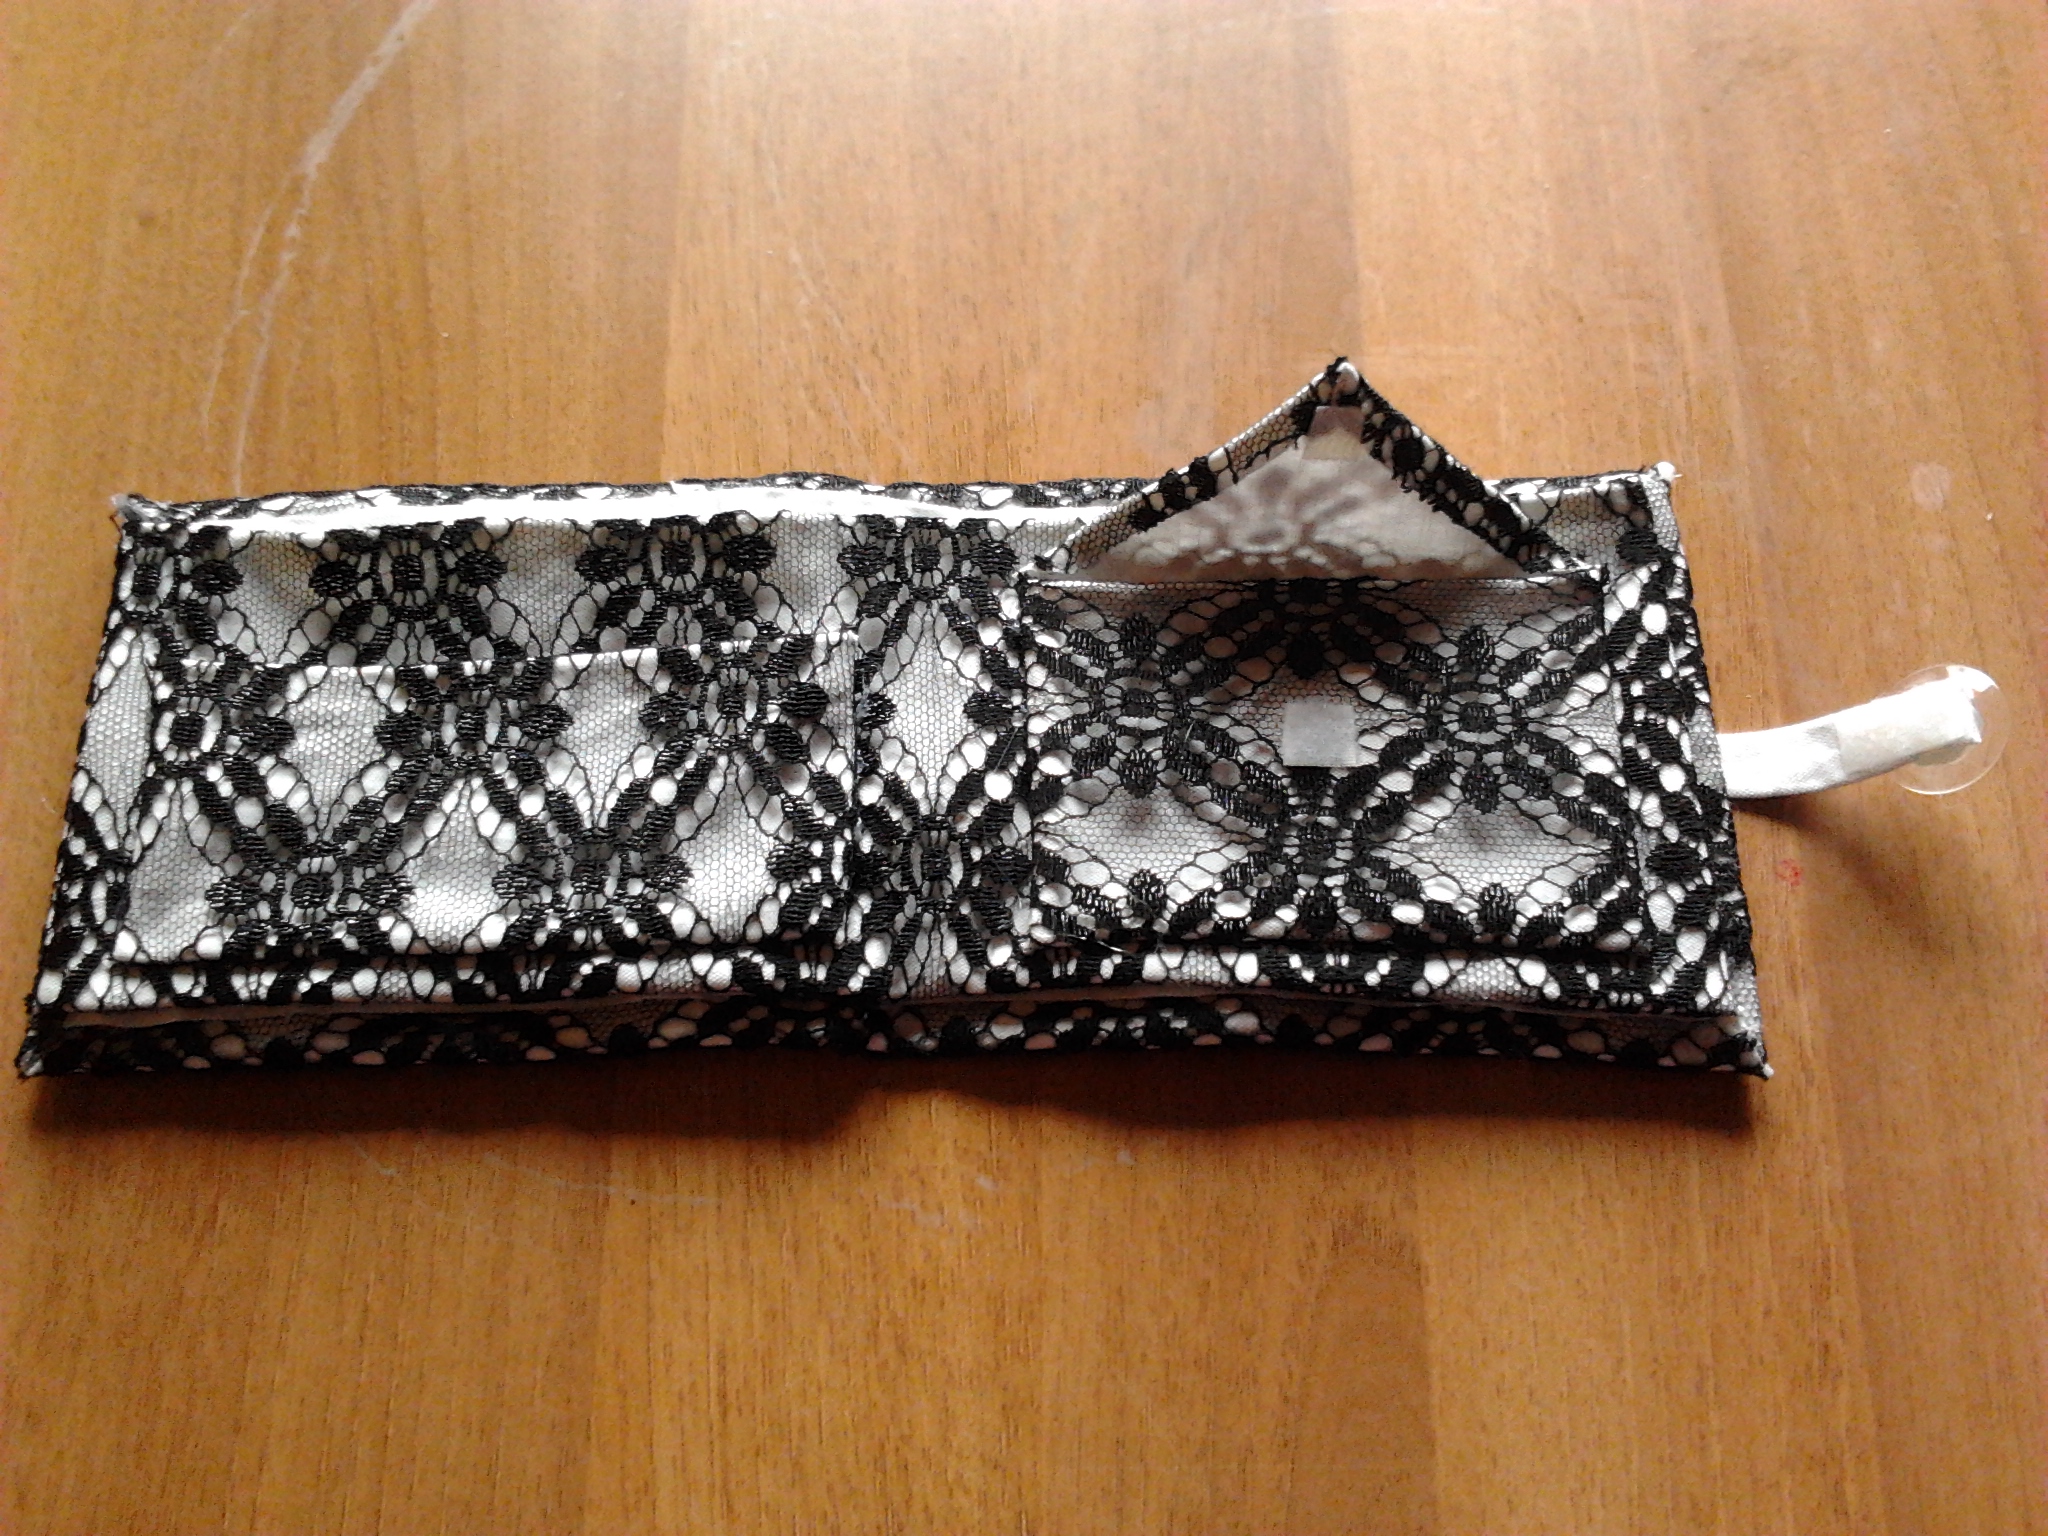
I am not able to sew so this lace wallet is completely made with glue and anybody can do it!
It is pretty easy to make and it would be perfect as a Valentine's Day gift for your girlfriend/wife! :)
It is pretty easy to make and it would be perfect as a Valentine's Day gift for your girlfriend/wife! :)
What You Need
- white cloth
- black lace
- wadding
- velcro
- super glue
- hot glue
- scissors
- button


Take your piece of white cloth and cut a 12x30cm rectangle (4.72 x 11.81 inches).
Do the same with your piece of lace.
Put the lace you have just cut on the cloth rectangle and glue the sides together with super glue.
Do the same with your piece of lace.
Put the lace you have just cut on the cloth rectangle and glue the sides together with super glue.


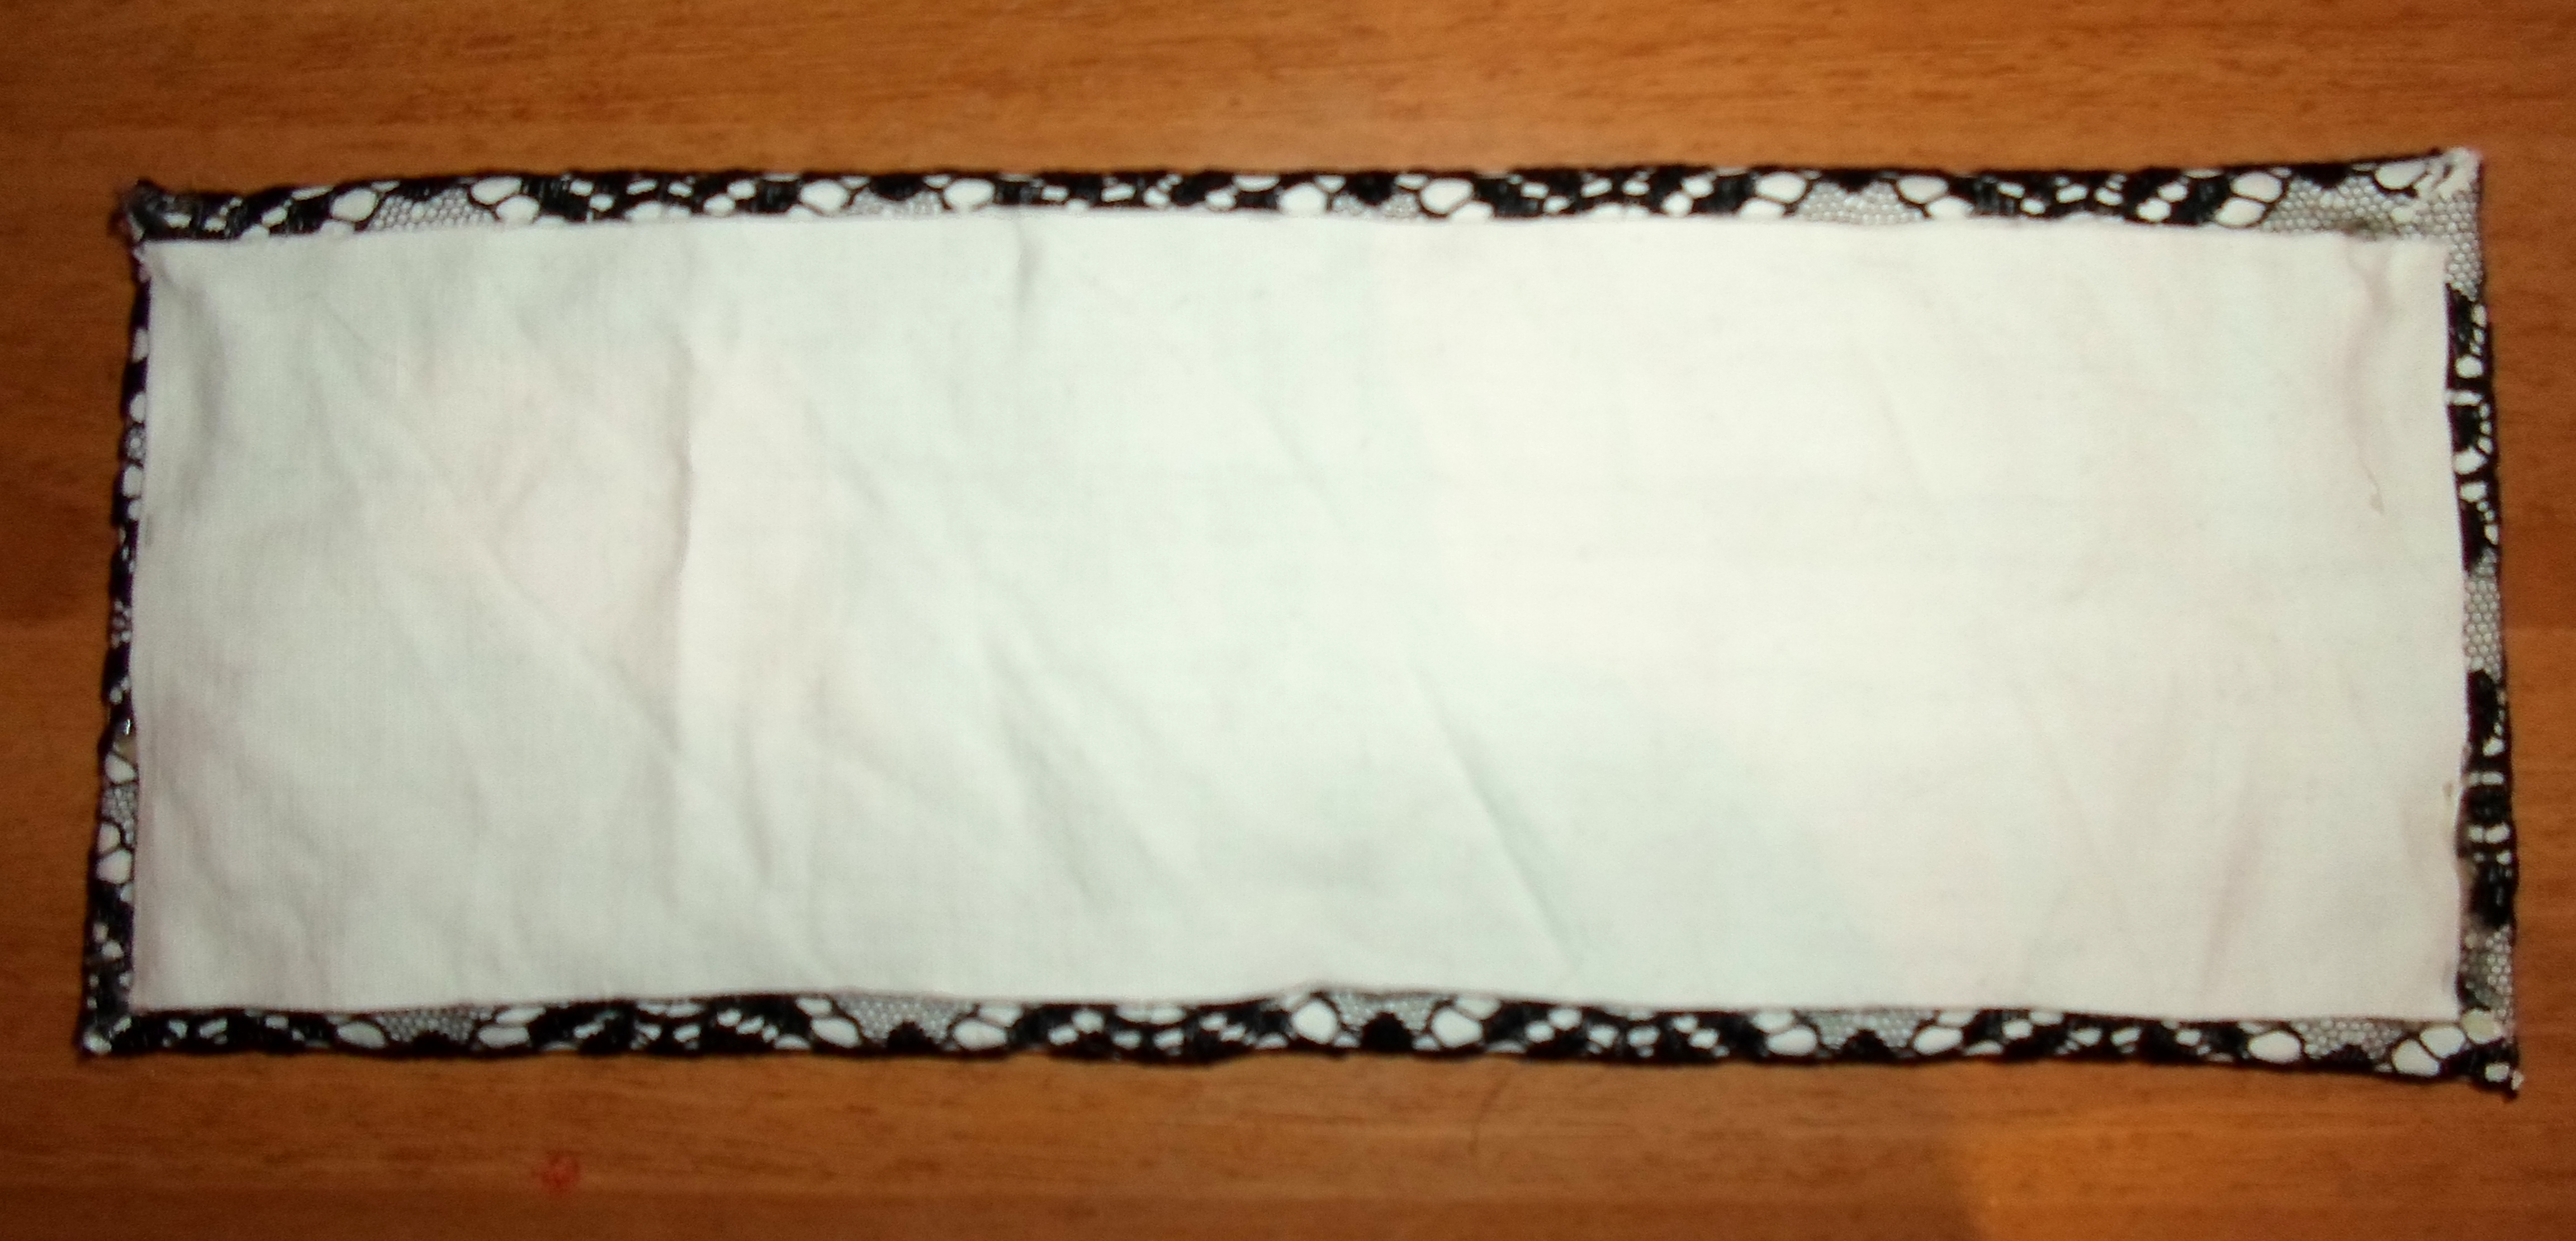
Now turn it upside down (white part on the front) and put a thin layer of wadding on it (about 5mm thick - 0.19 inches) leaving about 1 cm (0.39 inches) from each side free.
Trim corners to reduce bulk and fold all 4 sides creating a "frame" around the wadding. Glue with hot glue.
Put it aside for a minute. Meanwhile cut a 9x27cm (3.54 x 10.62 inches) rectangle out of the white cloth.
Glue this new rectangle on the frame around the wadding using hot glue to close it.
The base of your wallet is done! Now it's time to make pockets!

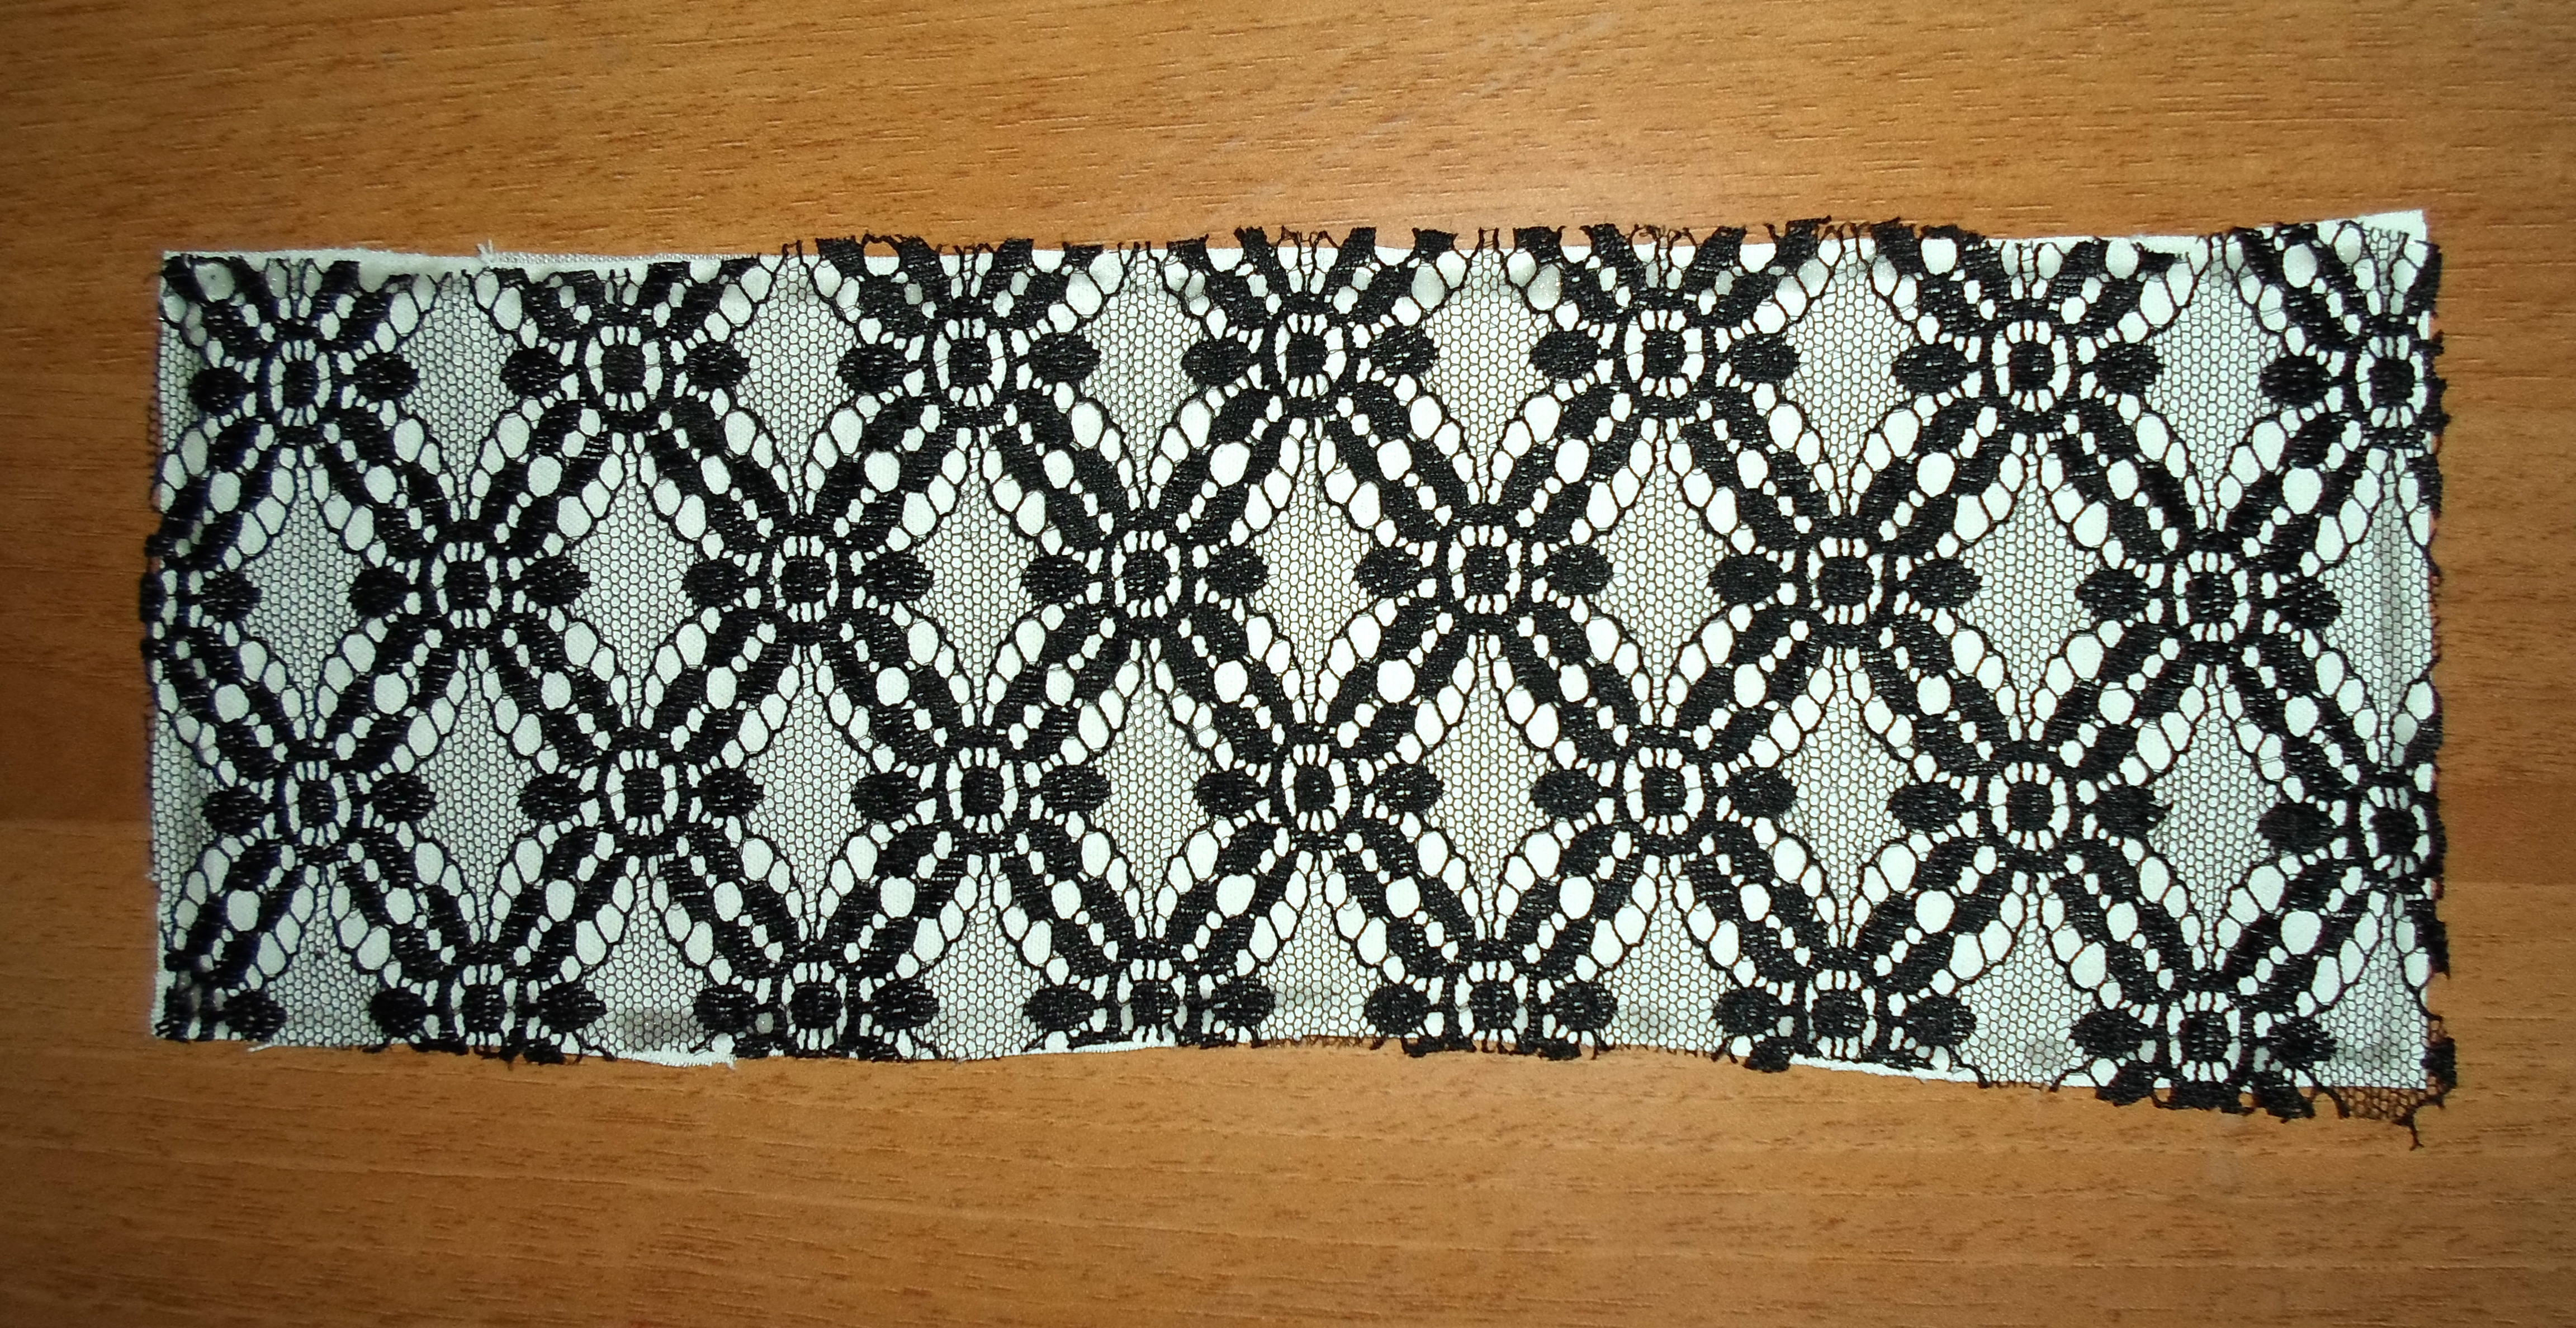

Cut two rectangles 11x29cm (4.33 x 11.41 inches): one from the white cloth and one from the lace.
Put the lace on the cloth and glue the sides together with super glue, just like you did previously.
Trim all 4 corners.
Put the lace on the cloth and glue the sides together with super glue, just like you did previously.
Trim all 4 corners.

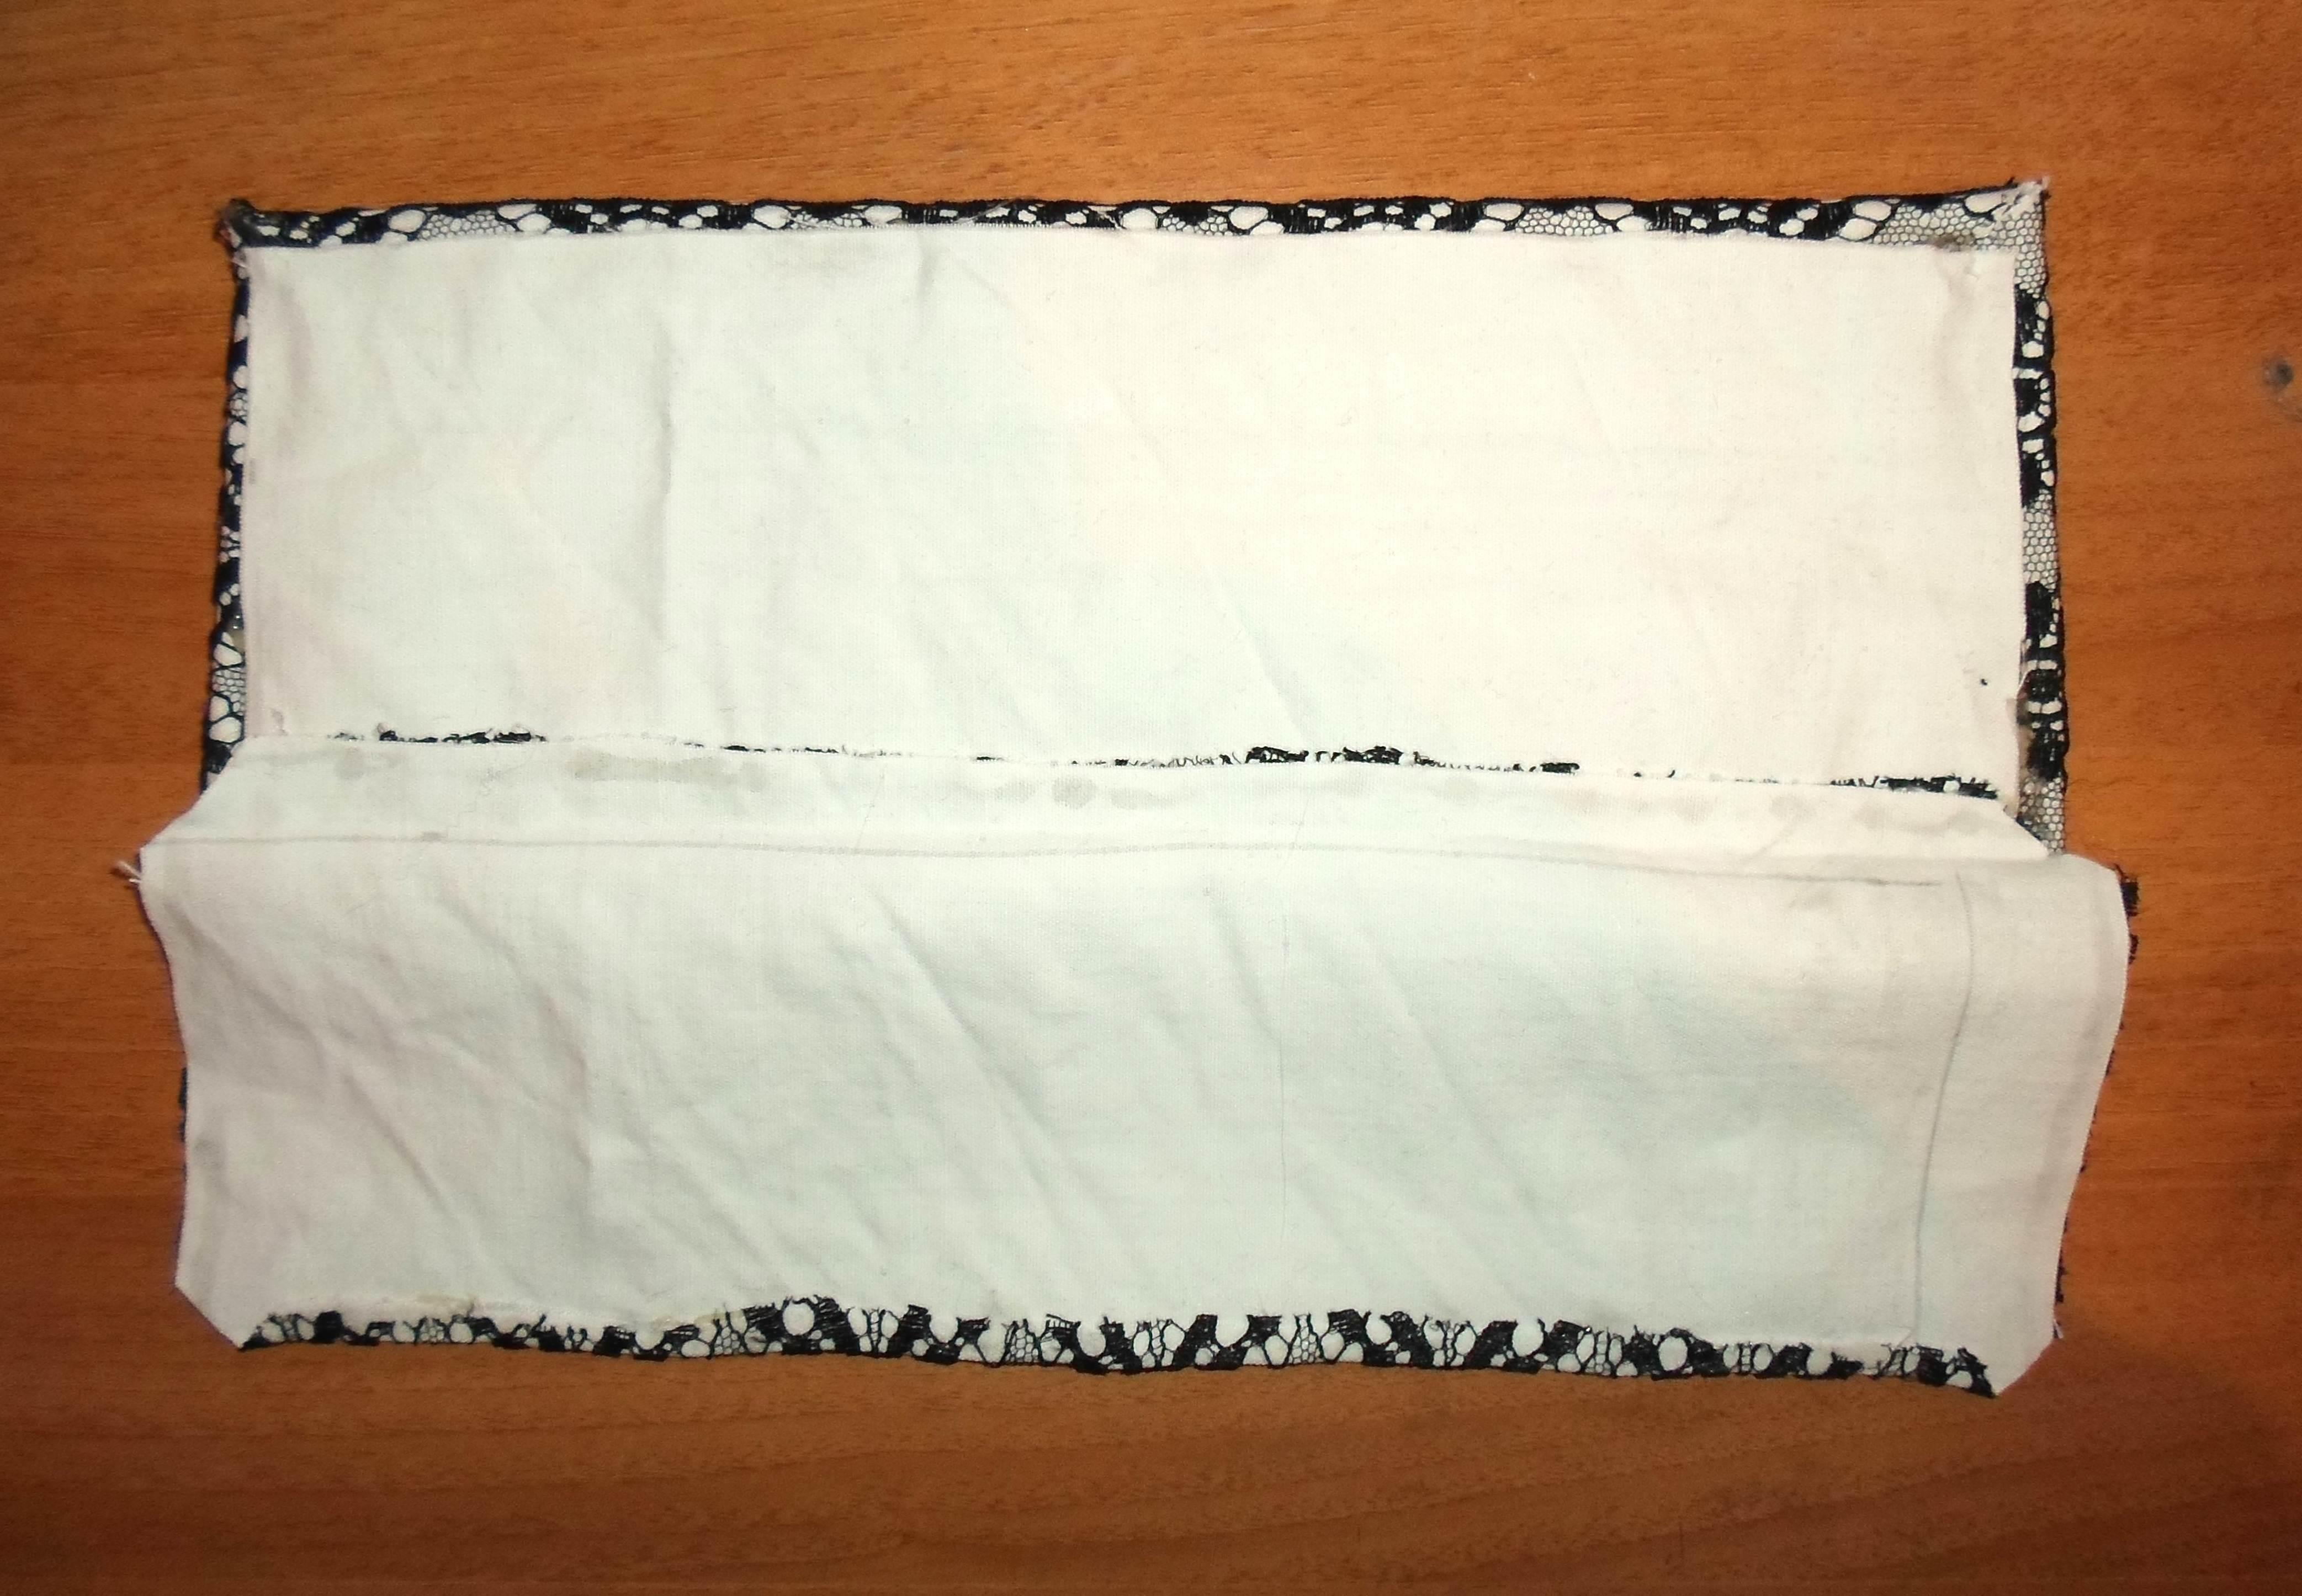


Turn it upside down with the white side on the front.
Fold one of the longest sides (about 1cm - 0.39 inches) and glue it with hot glue. This will be the opening side of the pocket at the top.
Now fold and glue the remaining sides to the wallet. Glue the bottom first, then the 2 sides. Remember that the white part must be the inside of the pocket. (Take a look at the pictures, it's much easier to understand that way!)
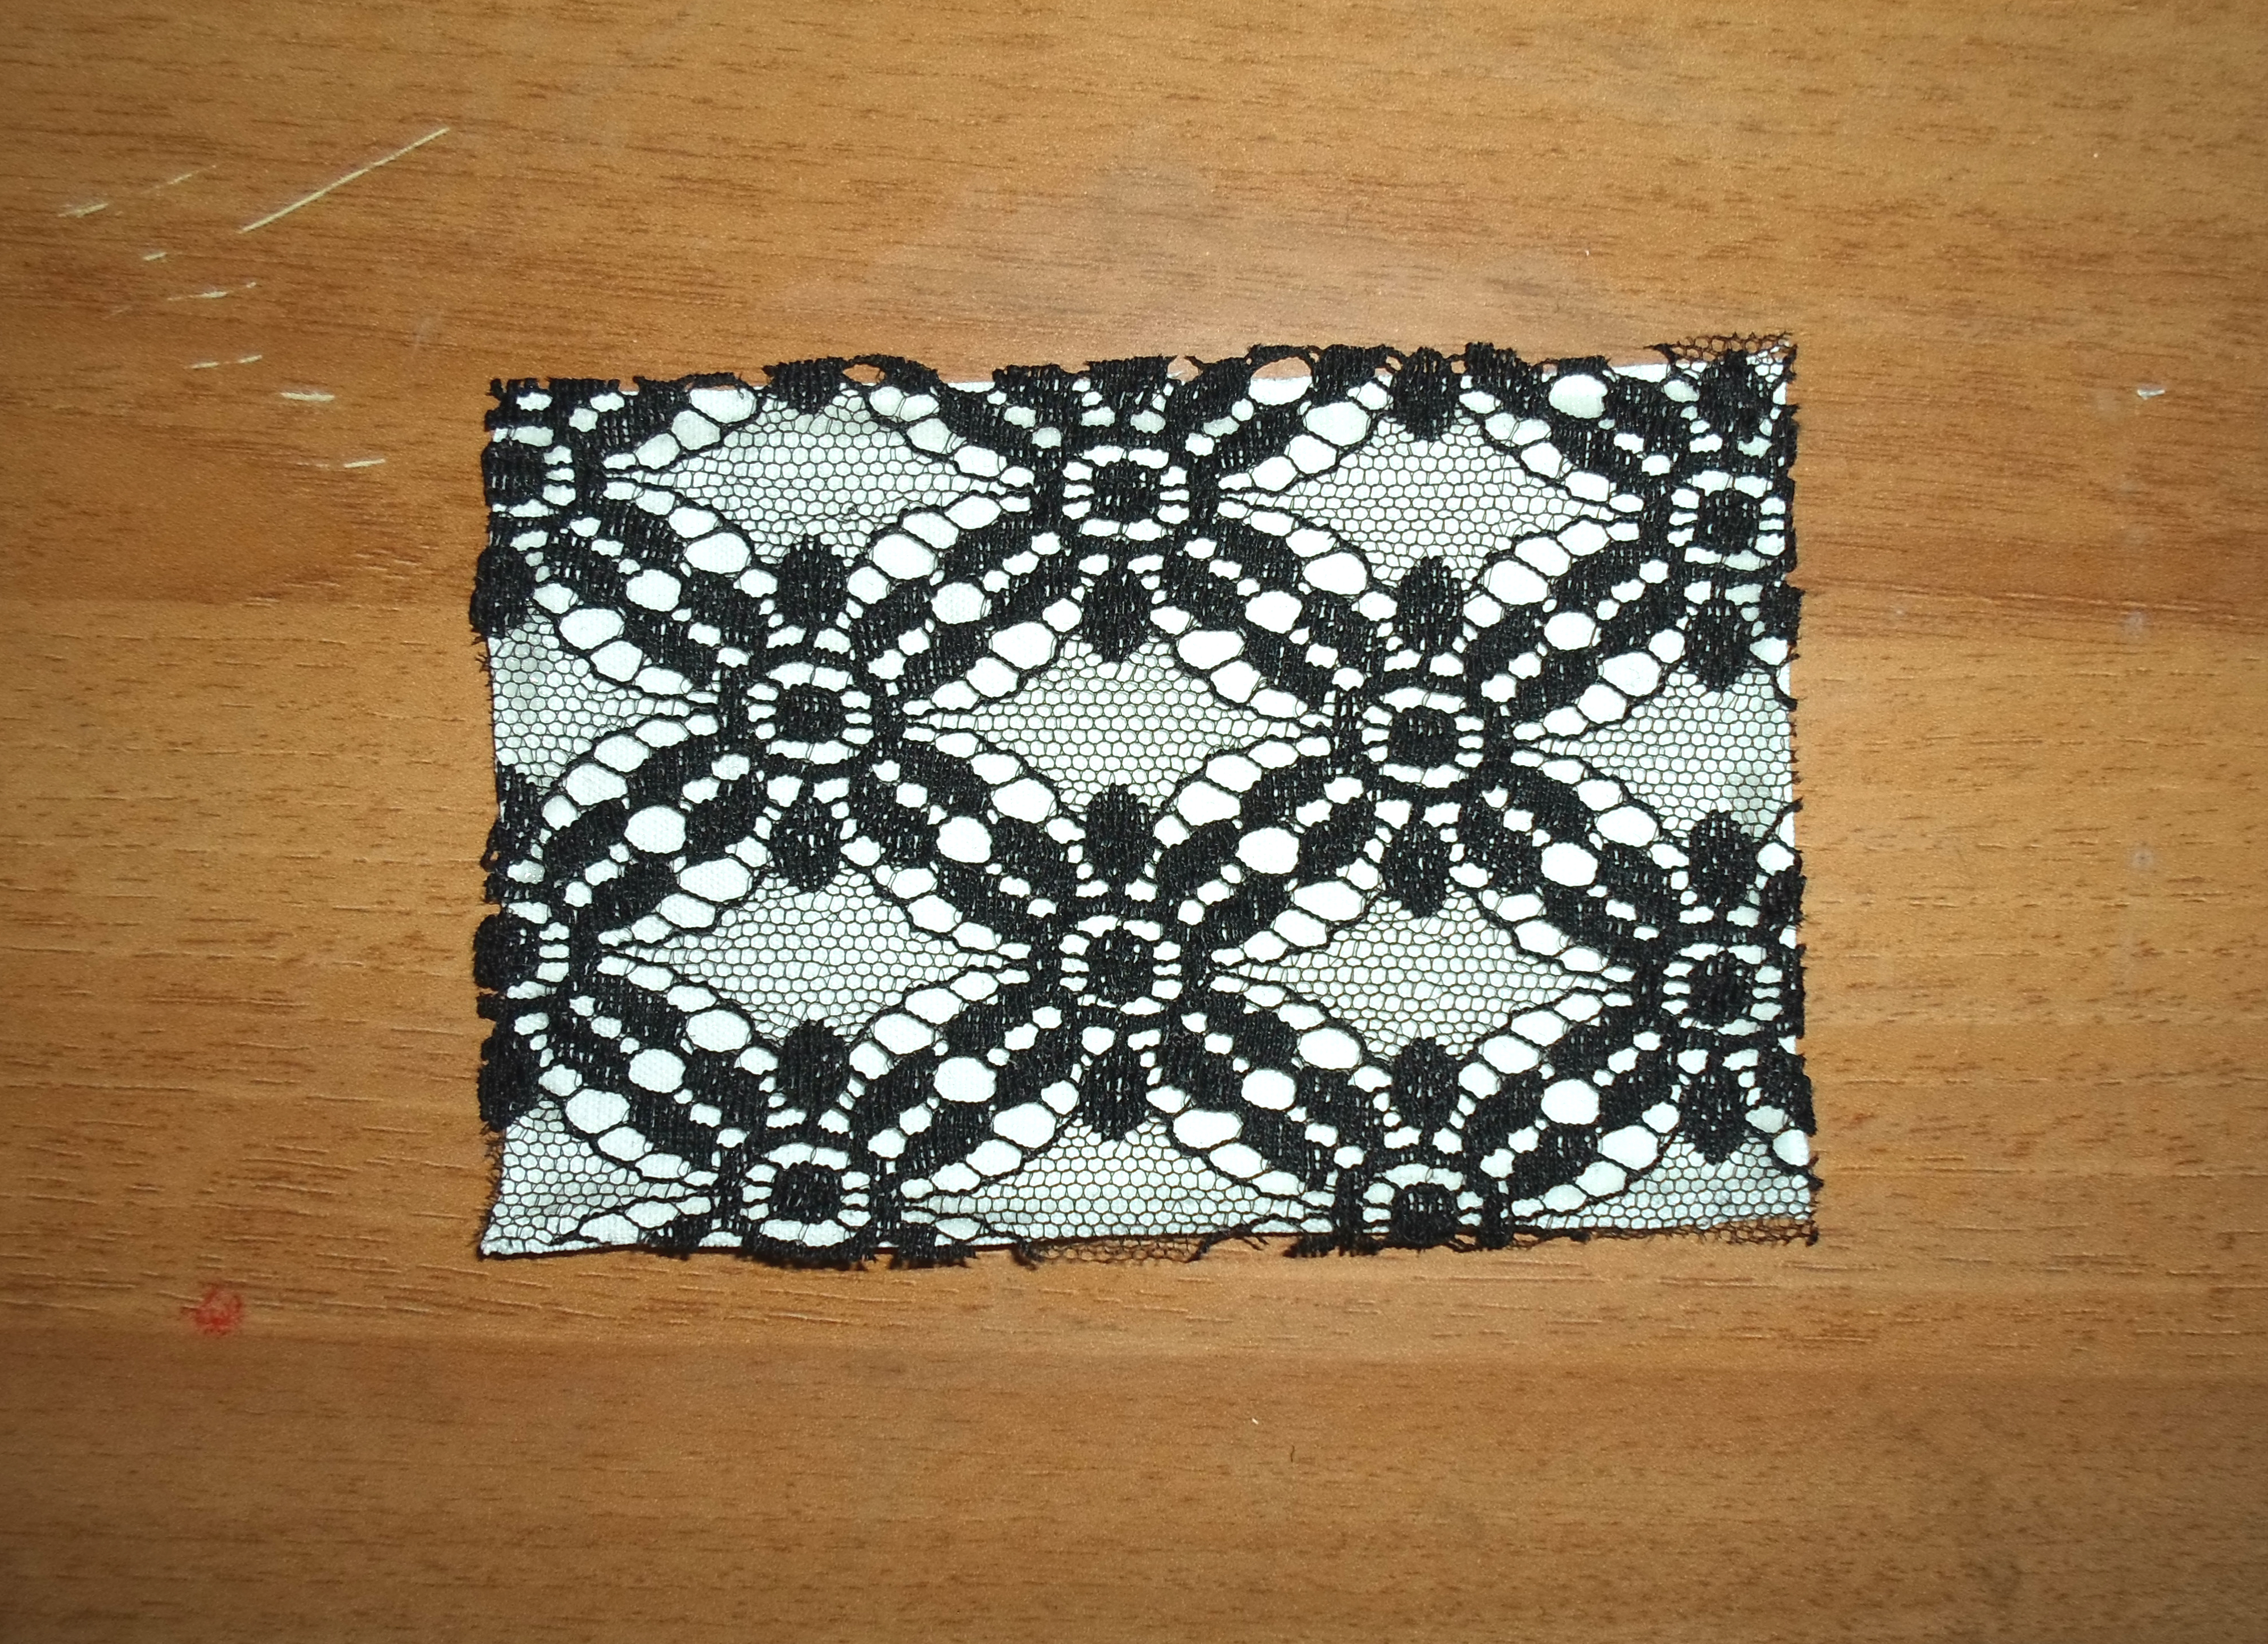

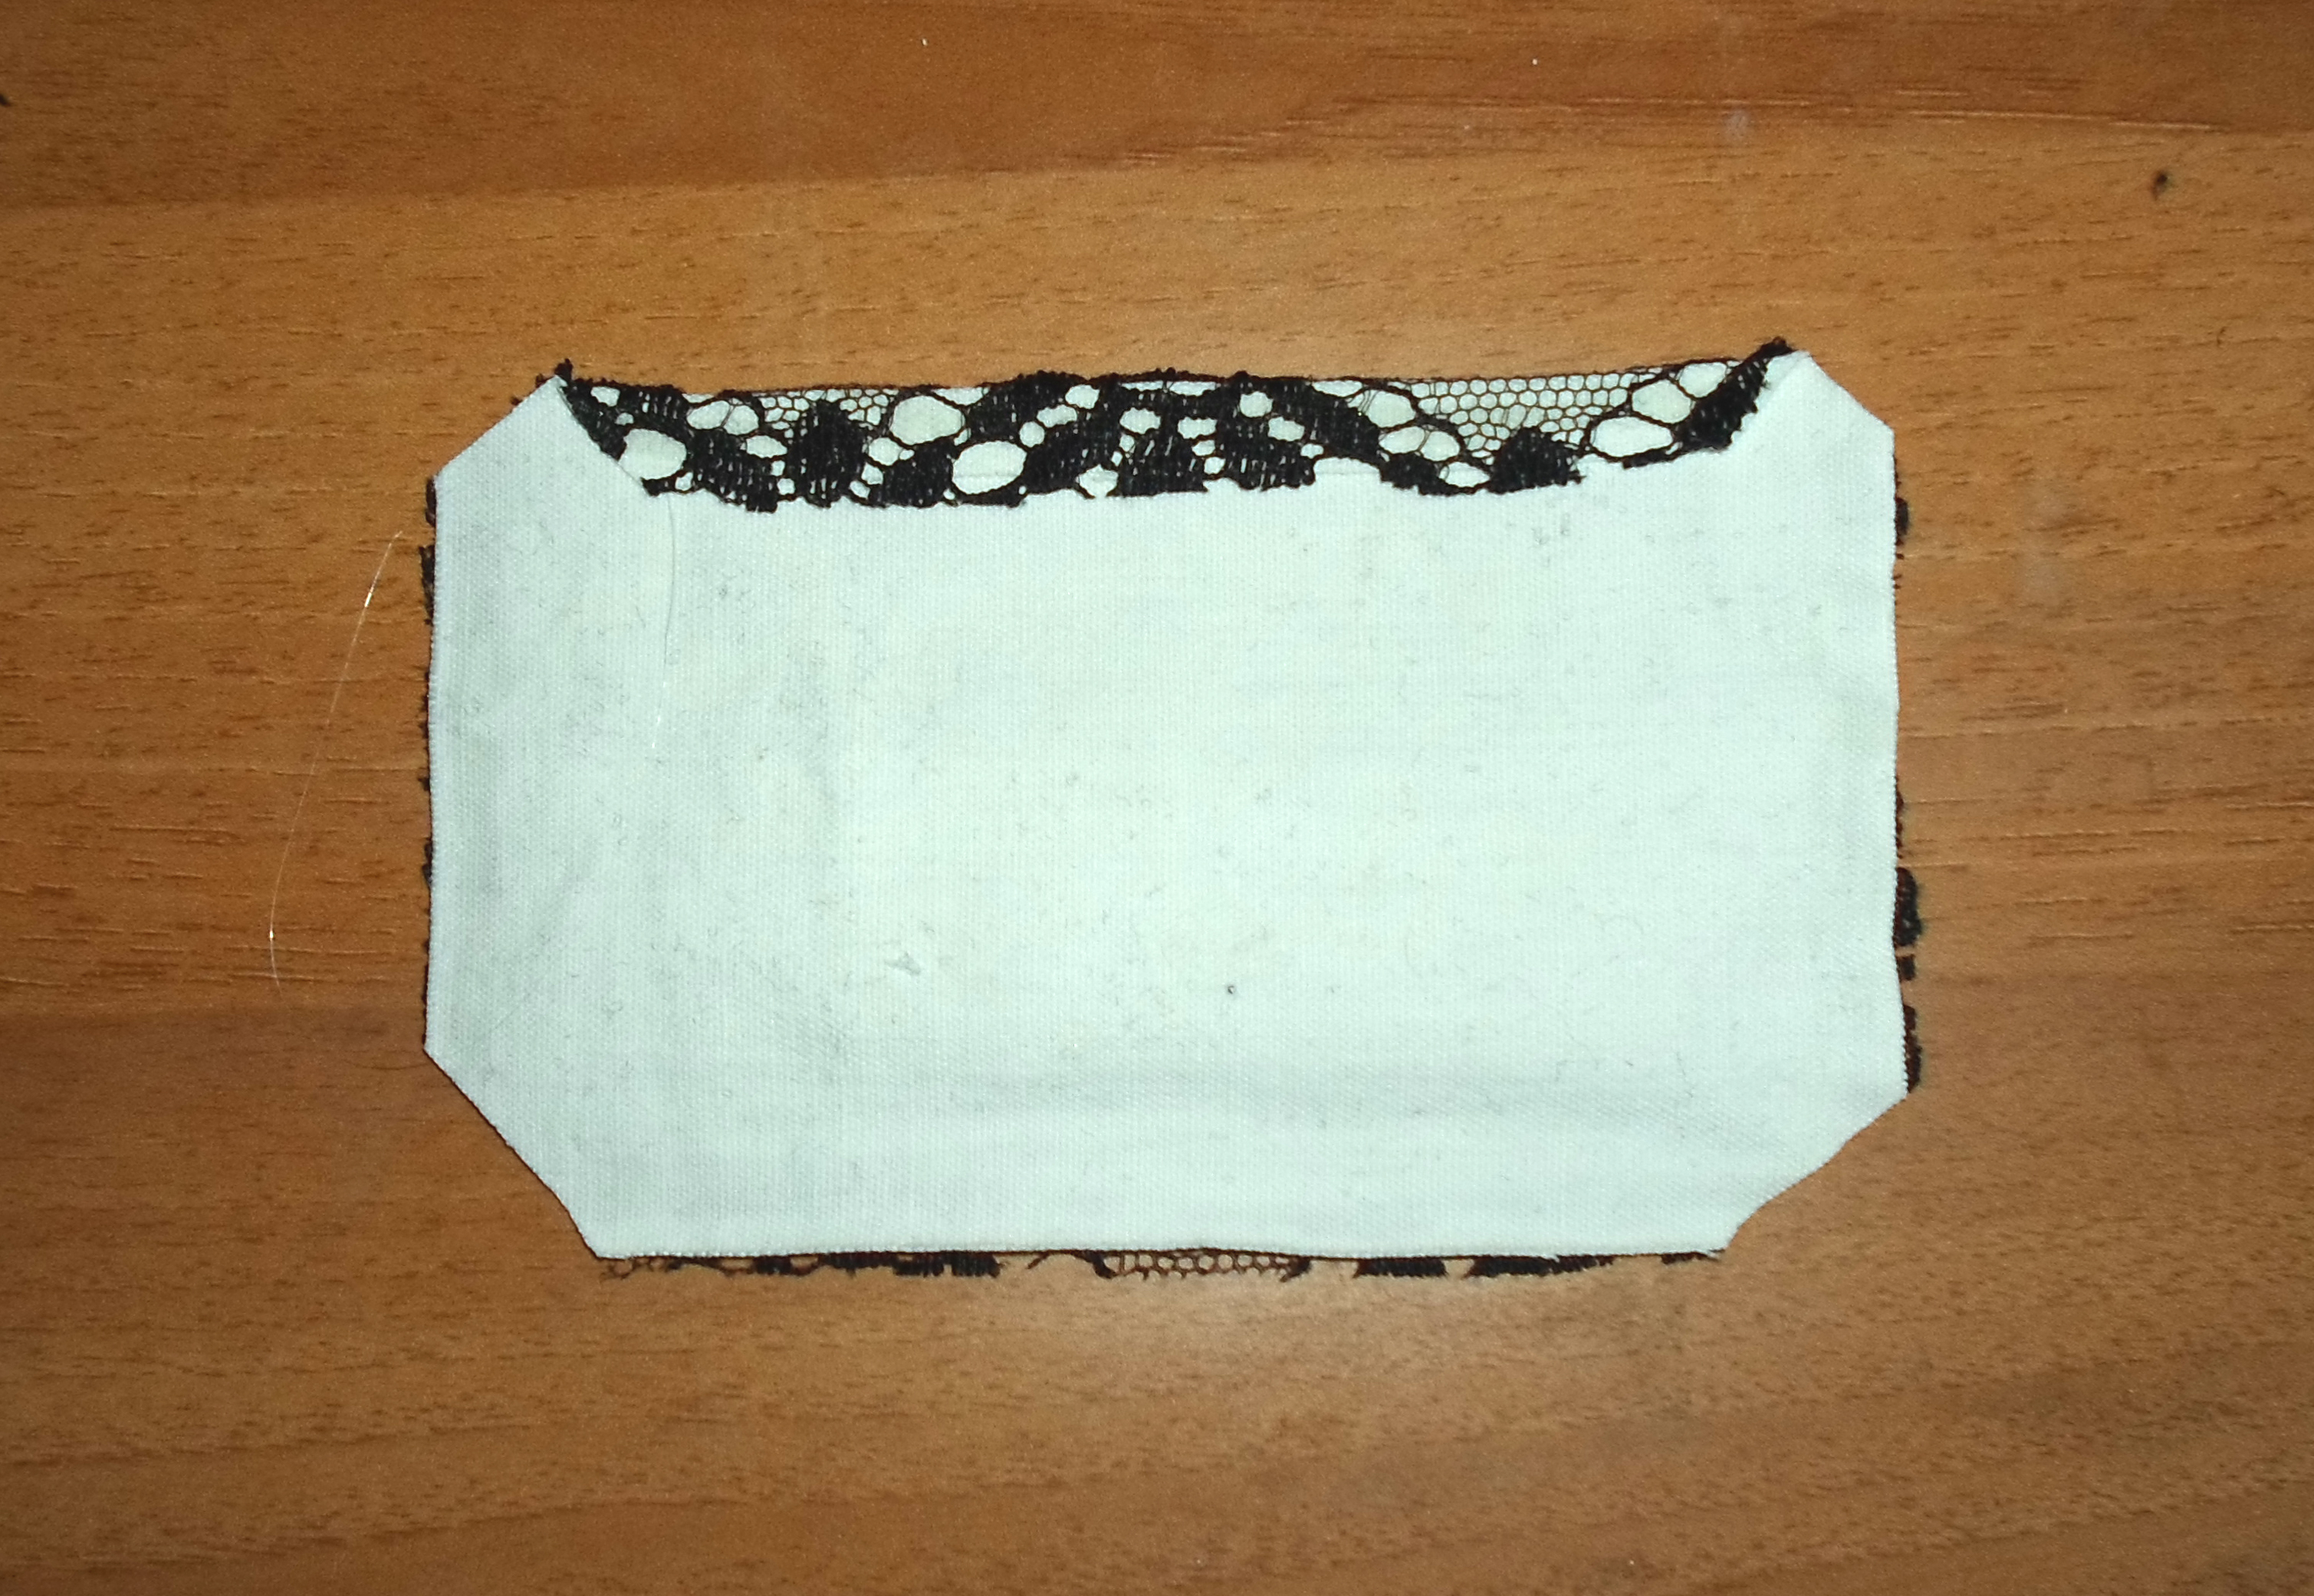


Now cut 2 identical rectangles, one from the cloth and one from the lace. They must be 8x12cm (3.14 x 4.72 inches).
This will be a smaller pocket for coins.
Proceed like you did for the biggest pocket, and glue it on the right side of the wallet.
This will be a smaller pocket for coins.
Proceed like you did for the biggest pocket, and glue it on the right side of the wallet.


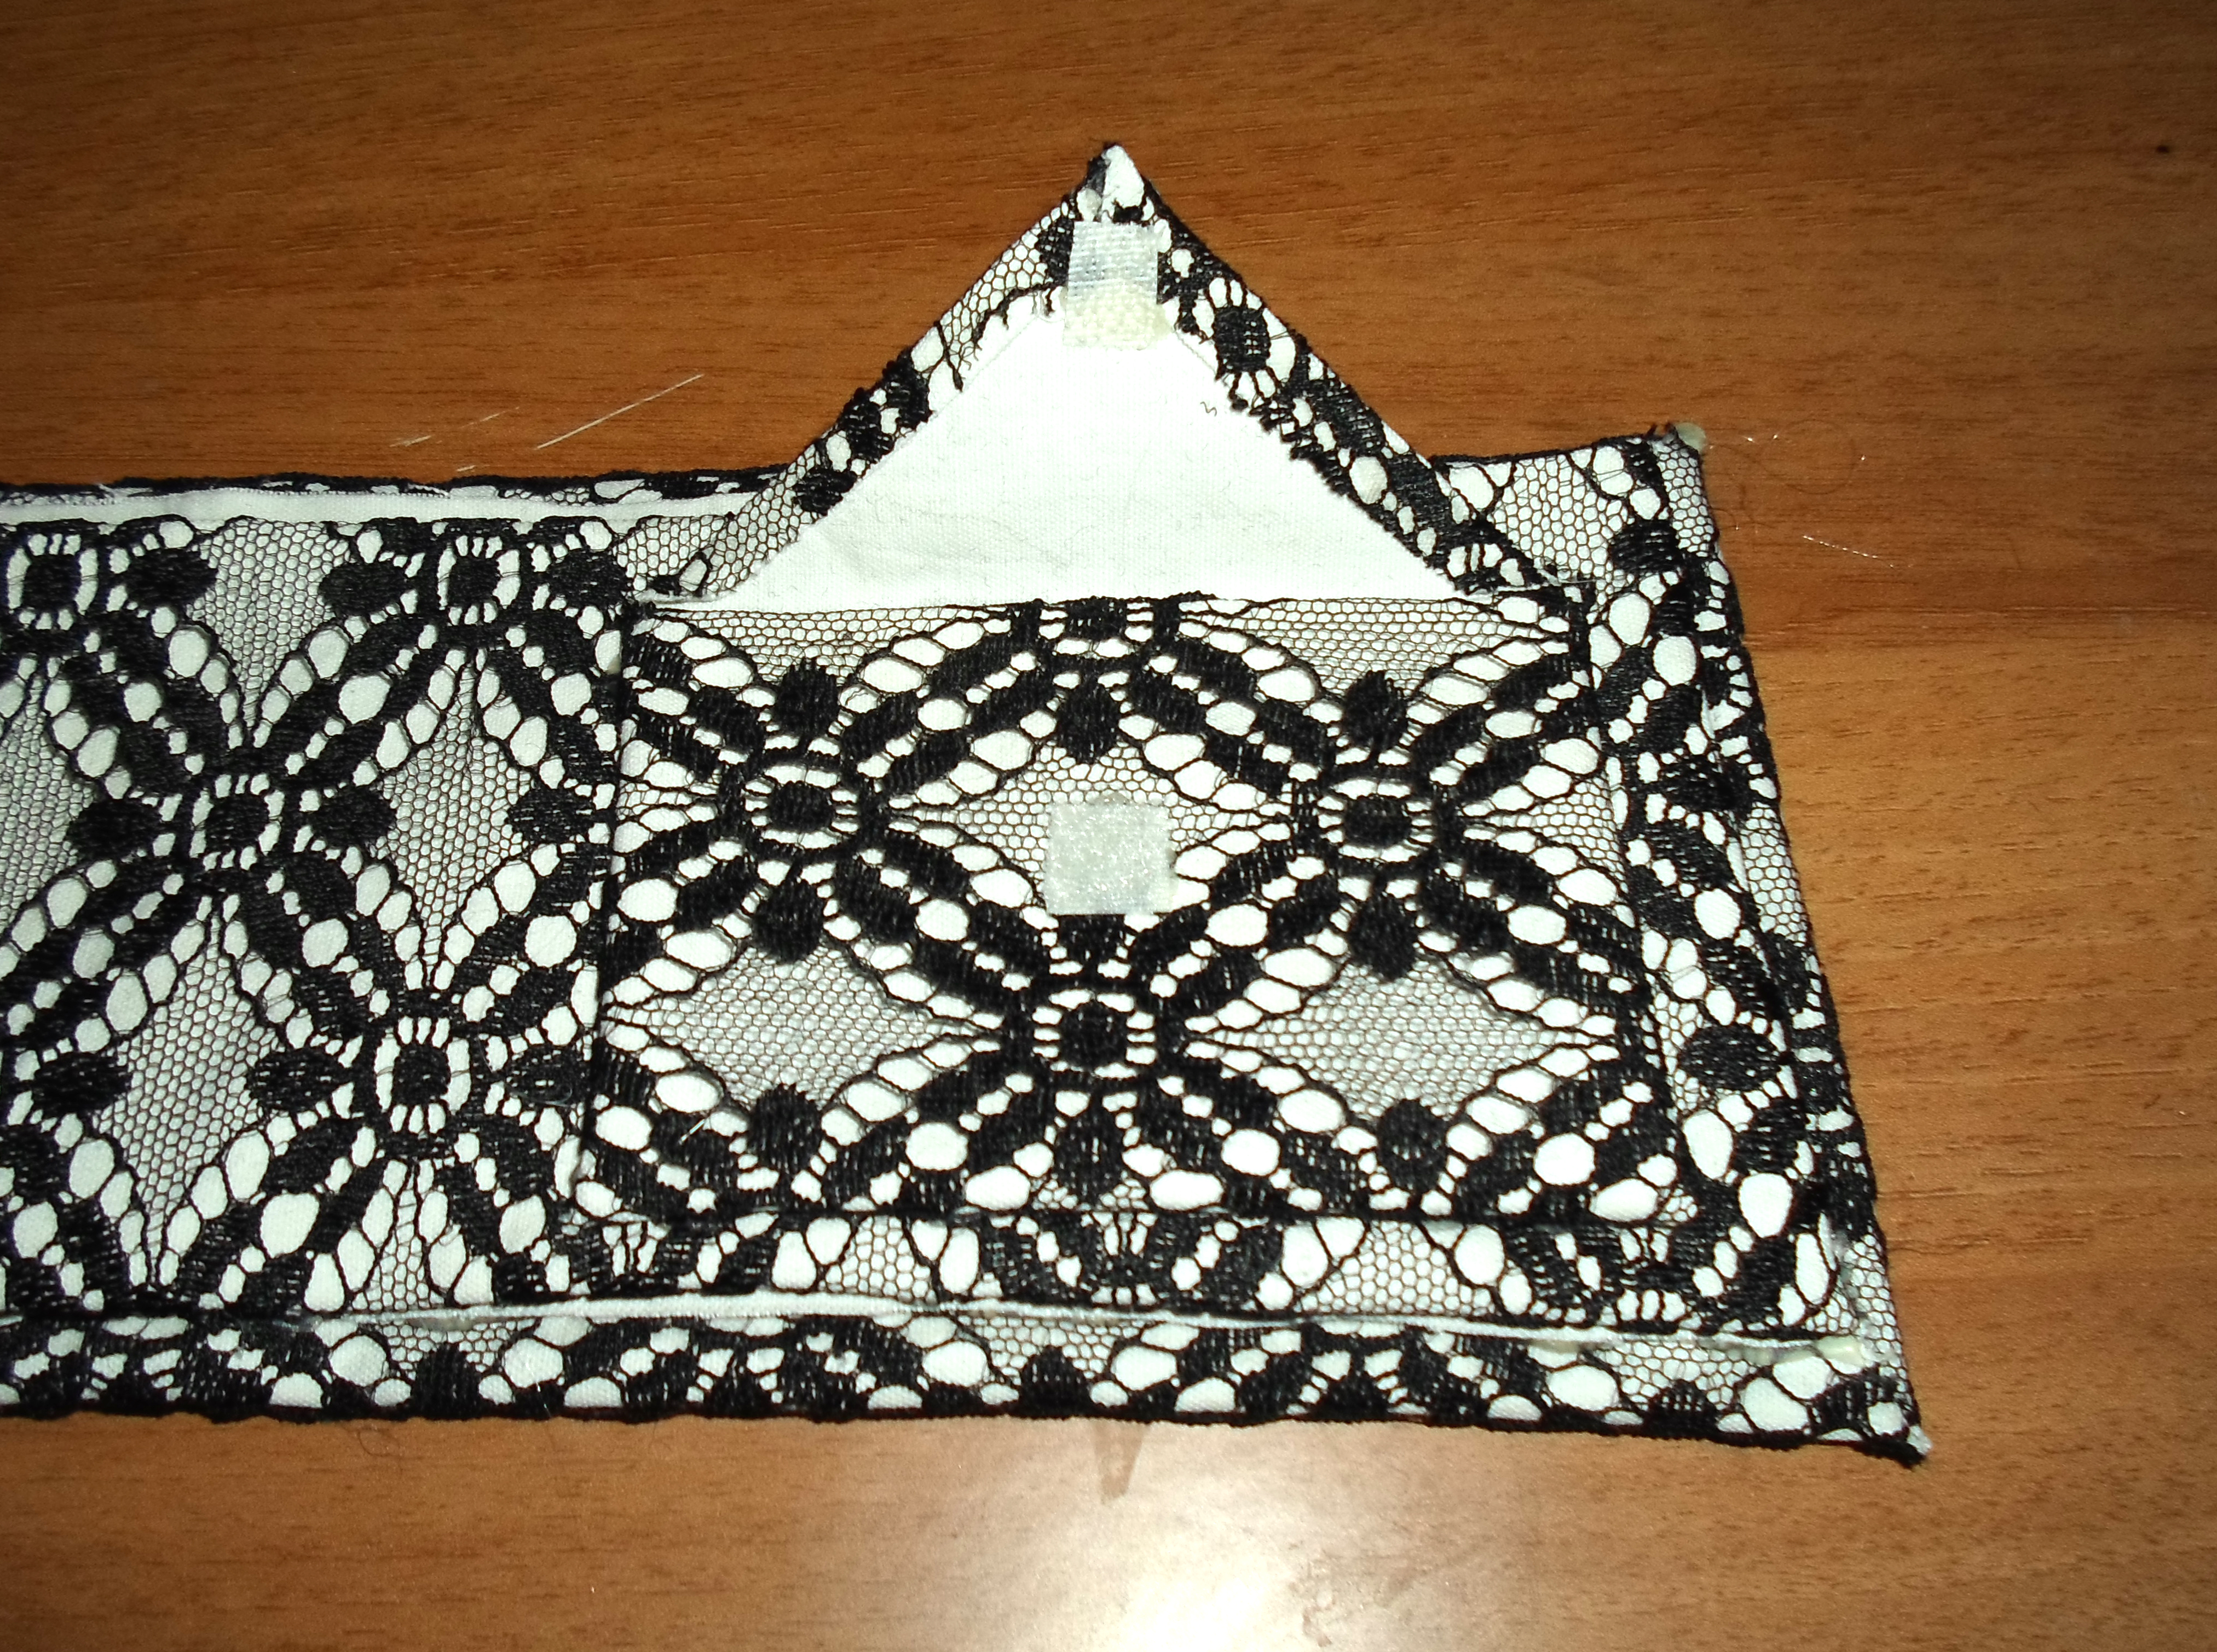
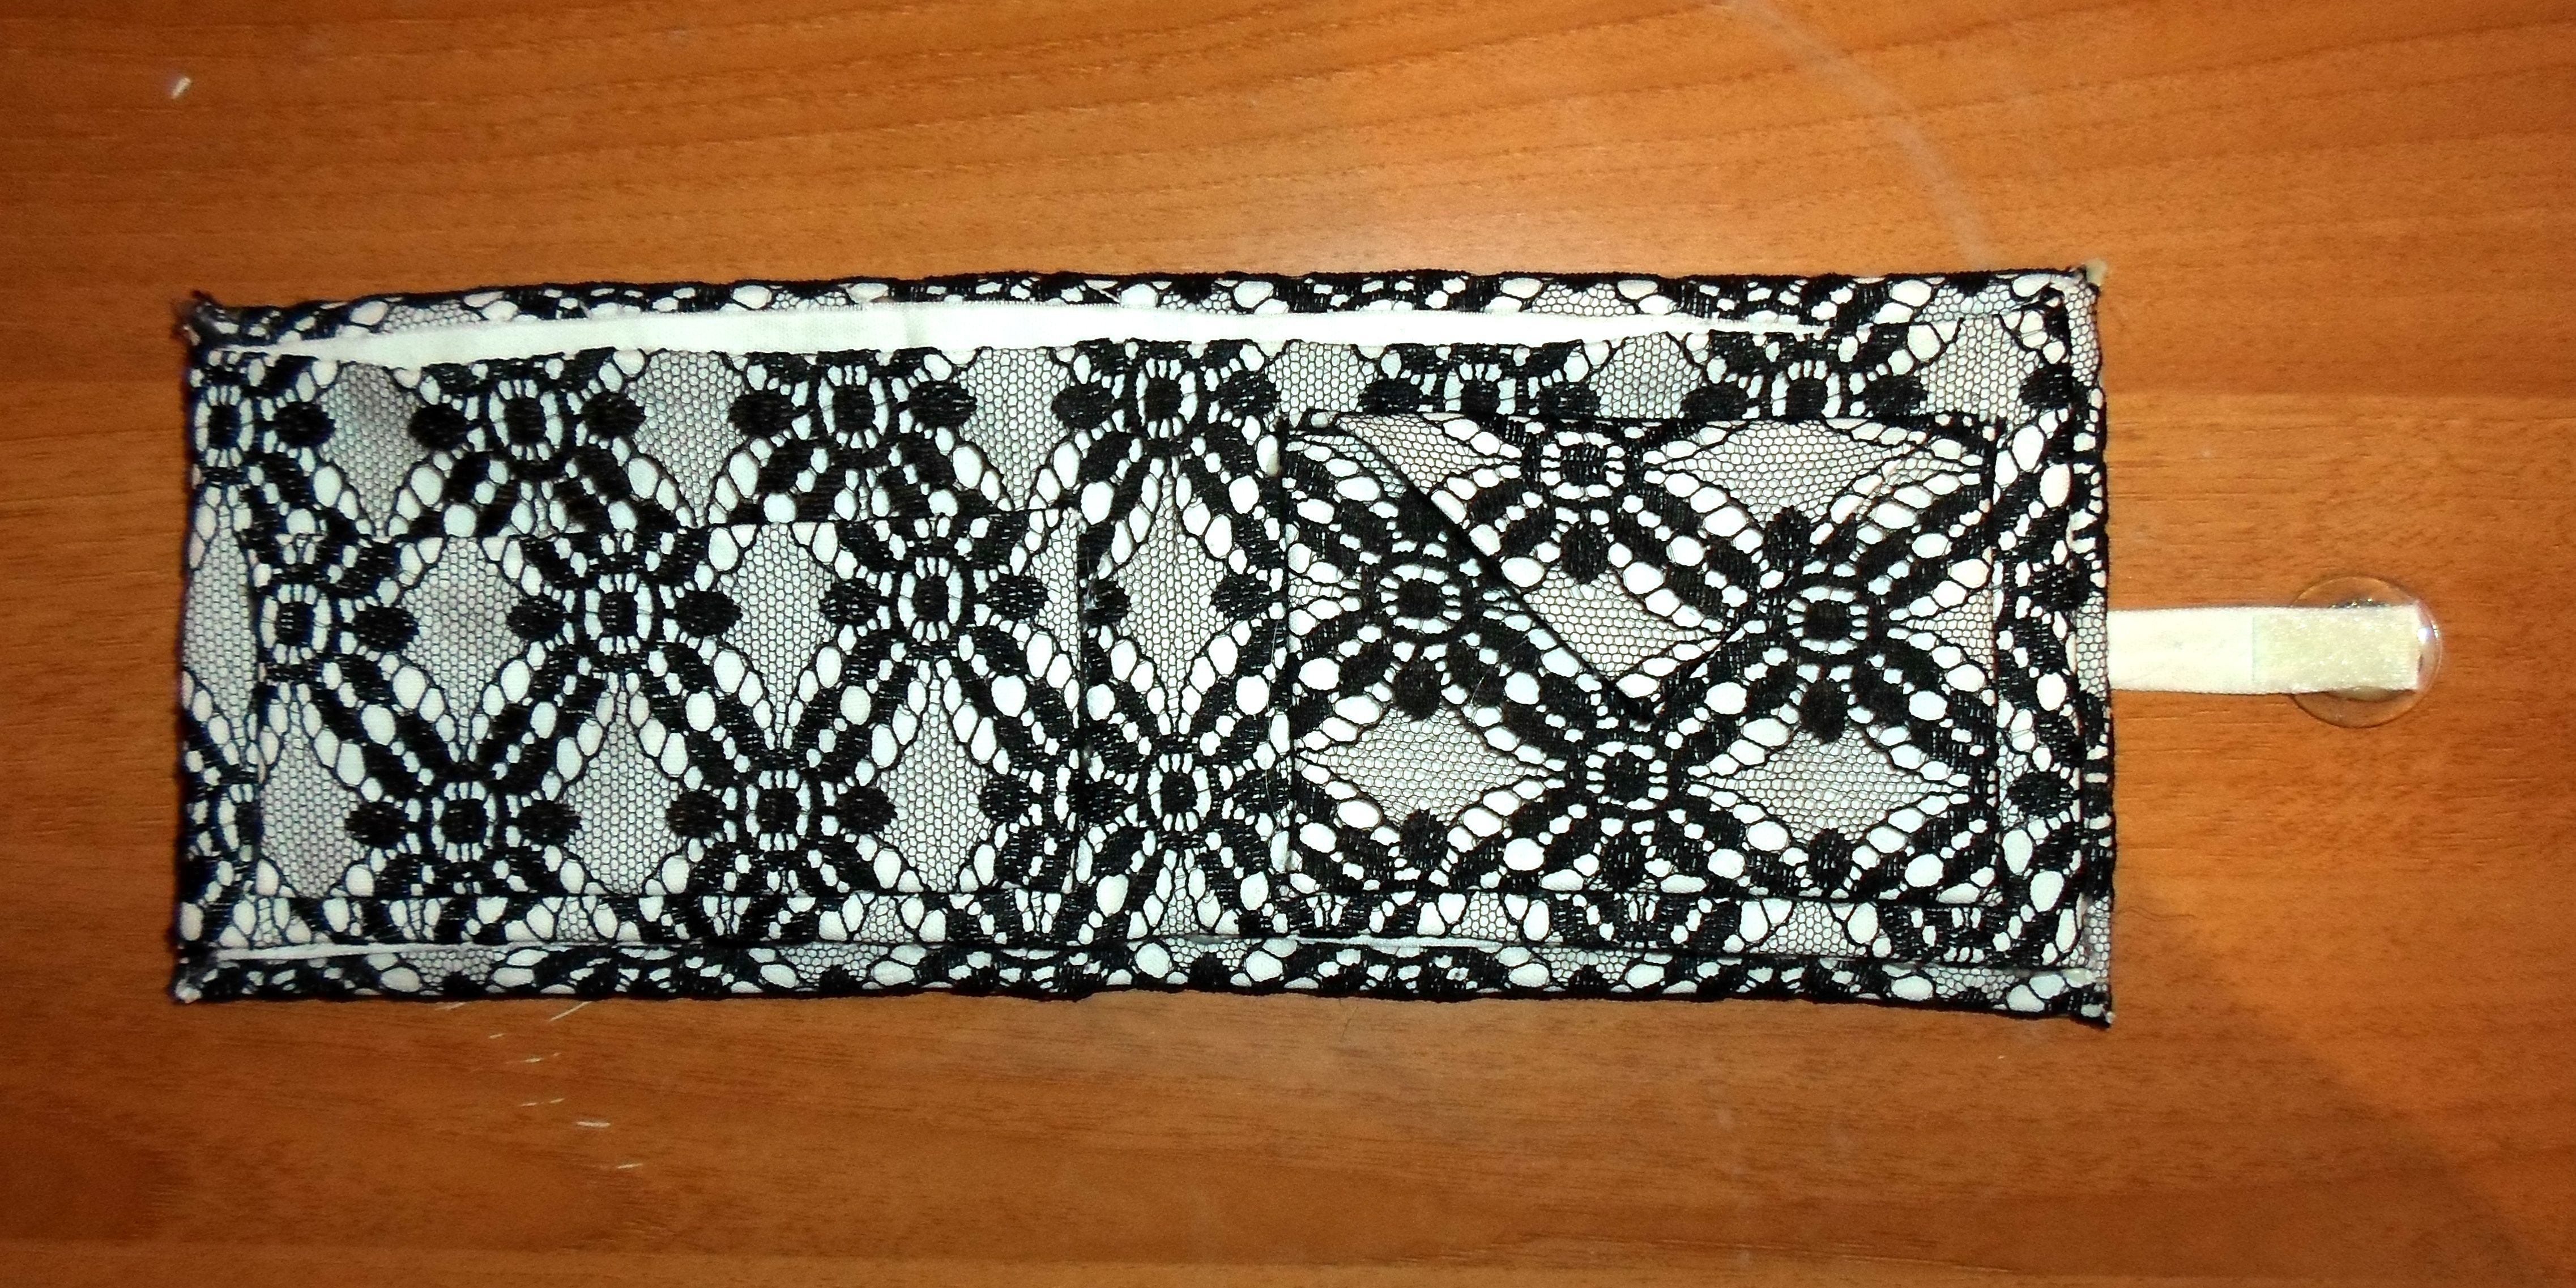
I wanted this pocket to be able to close so that I won't lose coins.
Draw a triangle on the white cloth: first of all trace a 13 cm (5.11 inches) line and starting for the half of it, draw a 6cm (2.36 inches) perpendicular line. Connect them on each side to create a triangle.
Now that you have your triangle, cut it and cut another identical one from the lace.
Put one triangle on the other and glue their sides together, like you did previously.
Trim corners, turn it upside down then fold and glue the 2 shortest sides.
Fold the other side and glue it under the opening side of the pocket, as you can see in the picture.
Get a little piece of velcro. Glue one side under the tip of the triangle and the other side on the pocket, exactly on the point where the 2 meet when closed.
The pocket is done!
I made another small one on the other side, using the same technique I used for all the other pockets. Once you understand how to make one, you can make as many as you want! :)
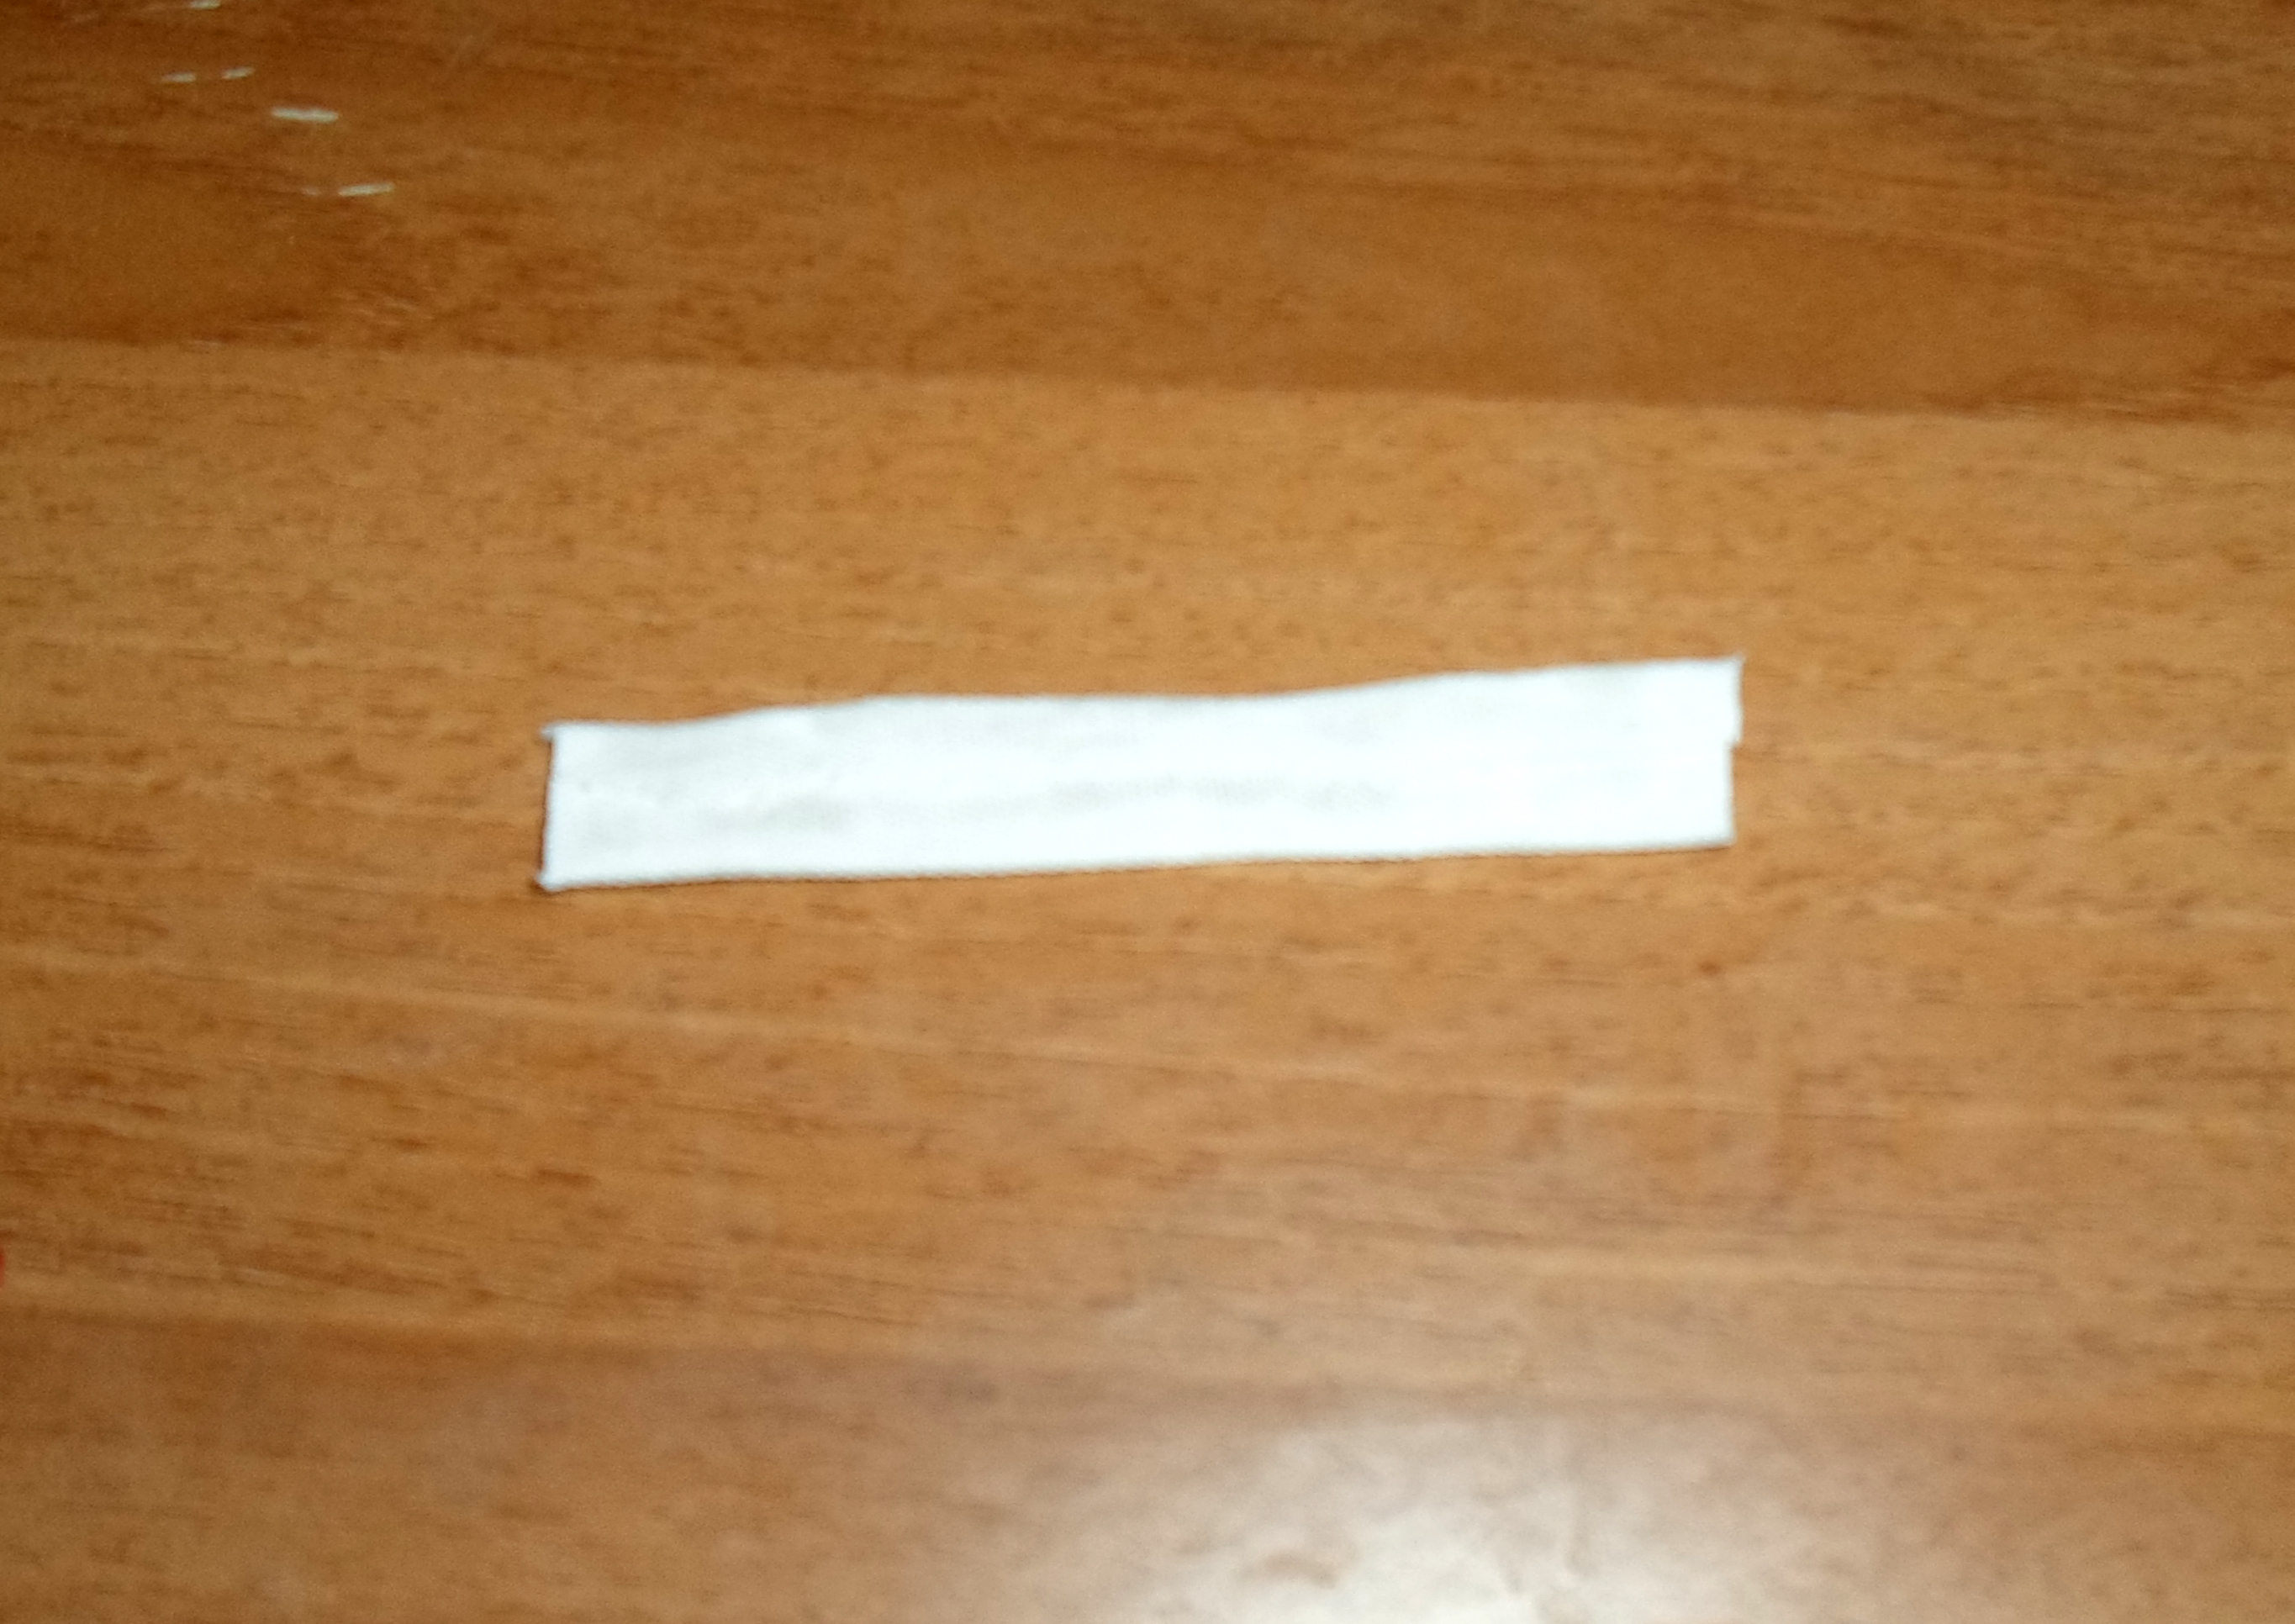


Fold the wallet in 2: all you need now is something to keep it closed!
Cut a little rectangle from cloth, about 7x3cm (2.75 x 1.18 inches) then fold and glue the 2 longest sides.
Take another small piece of velcro and glue one side on one of the tips of your strip and the other side on the front of your wallet, near the opening side on the right.
Glue the other tip of your strip behind your wallet, near the opening side on the left.
Glue a button on the front tip of your strip as a decoration.
Finally your wallet is ready to be used!