Lab Centrifuge Fidget Spinner
by Matlek in Workshop > Science
27411 Views, 102 Favorites, 0 Comments
Lab Centrifuge Fidget Spinner
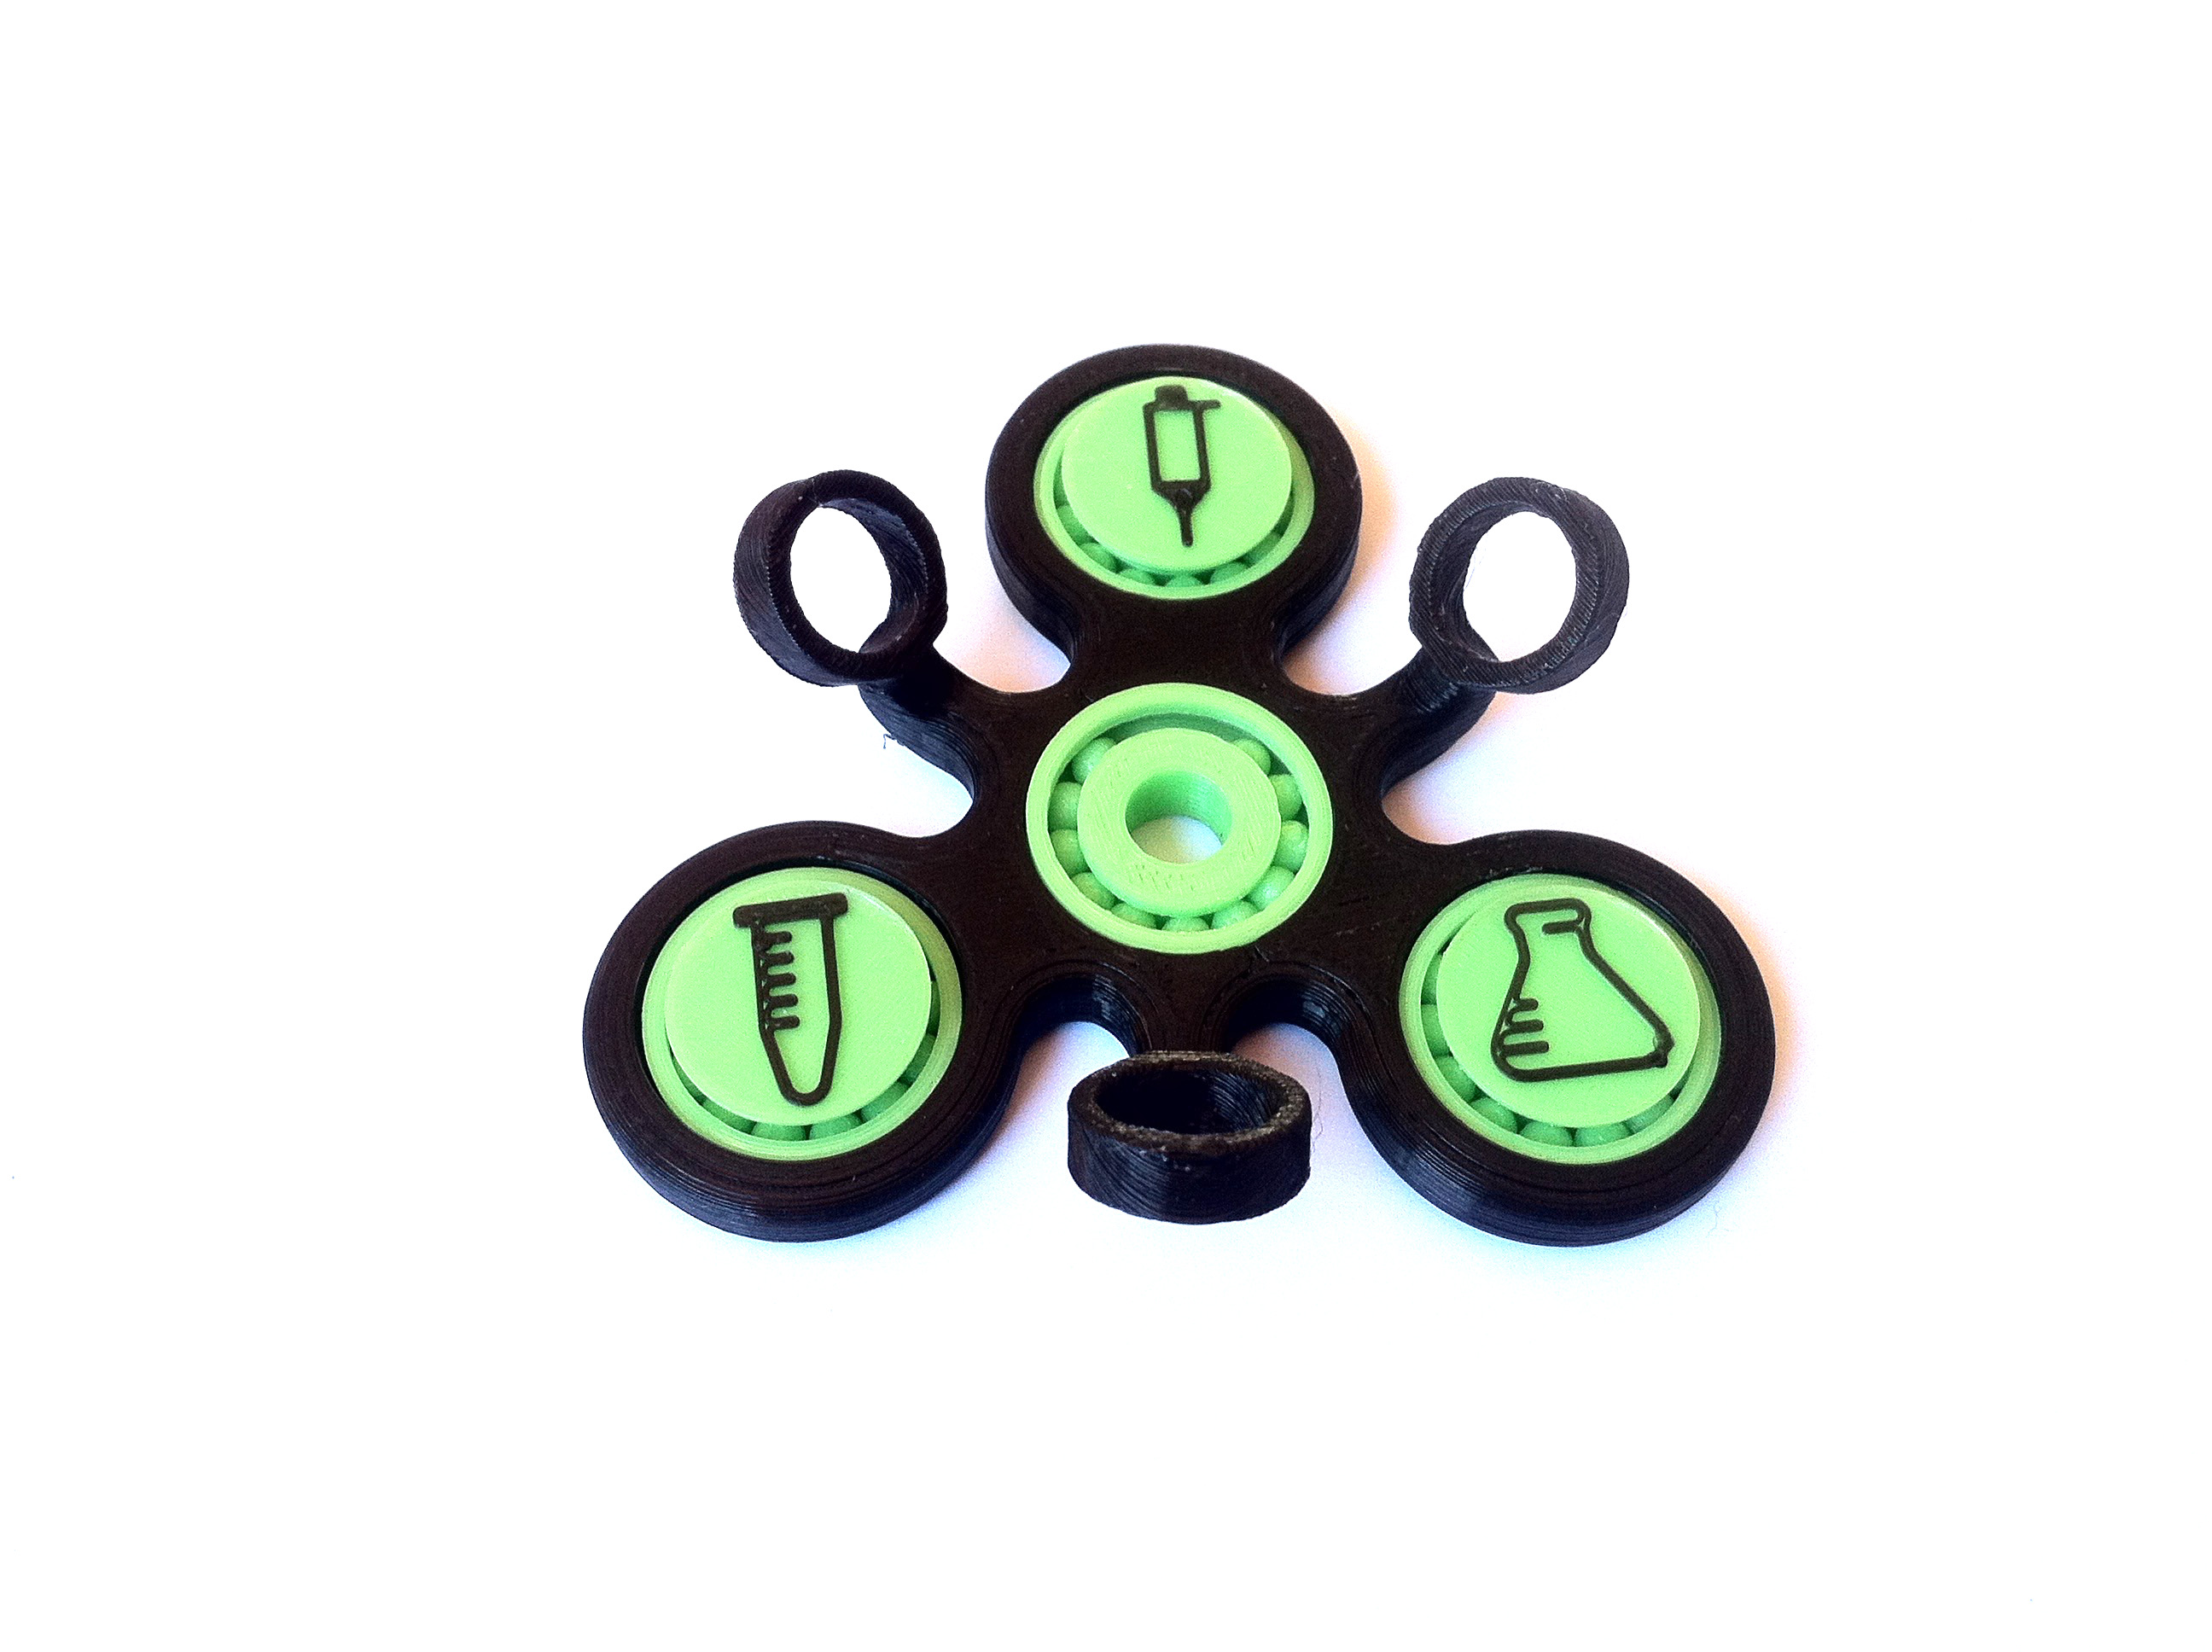
Hi guys,
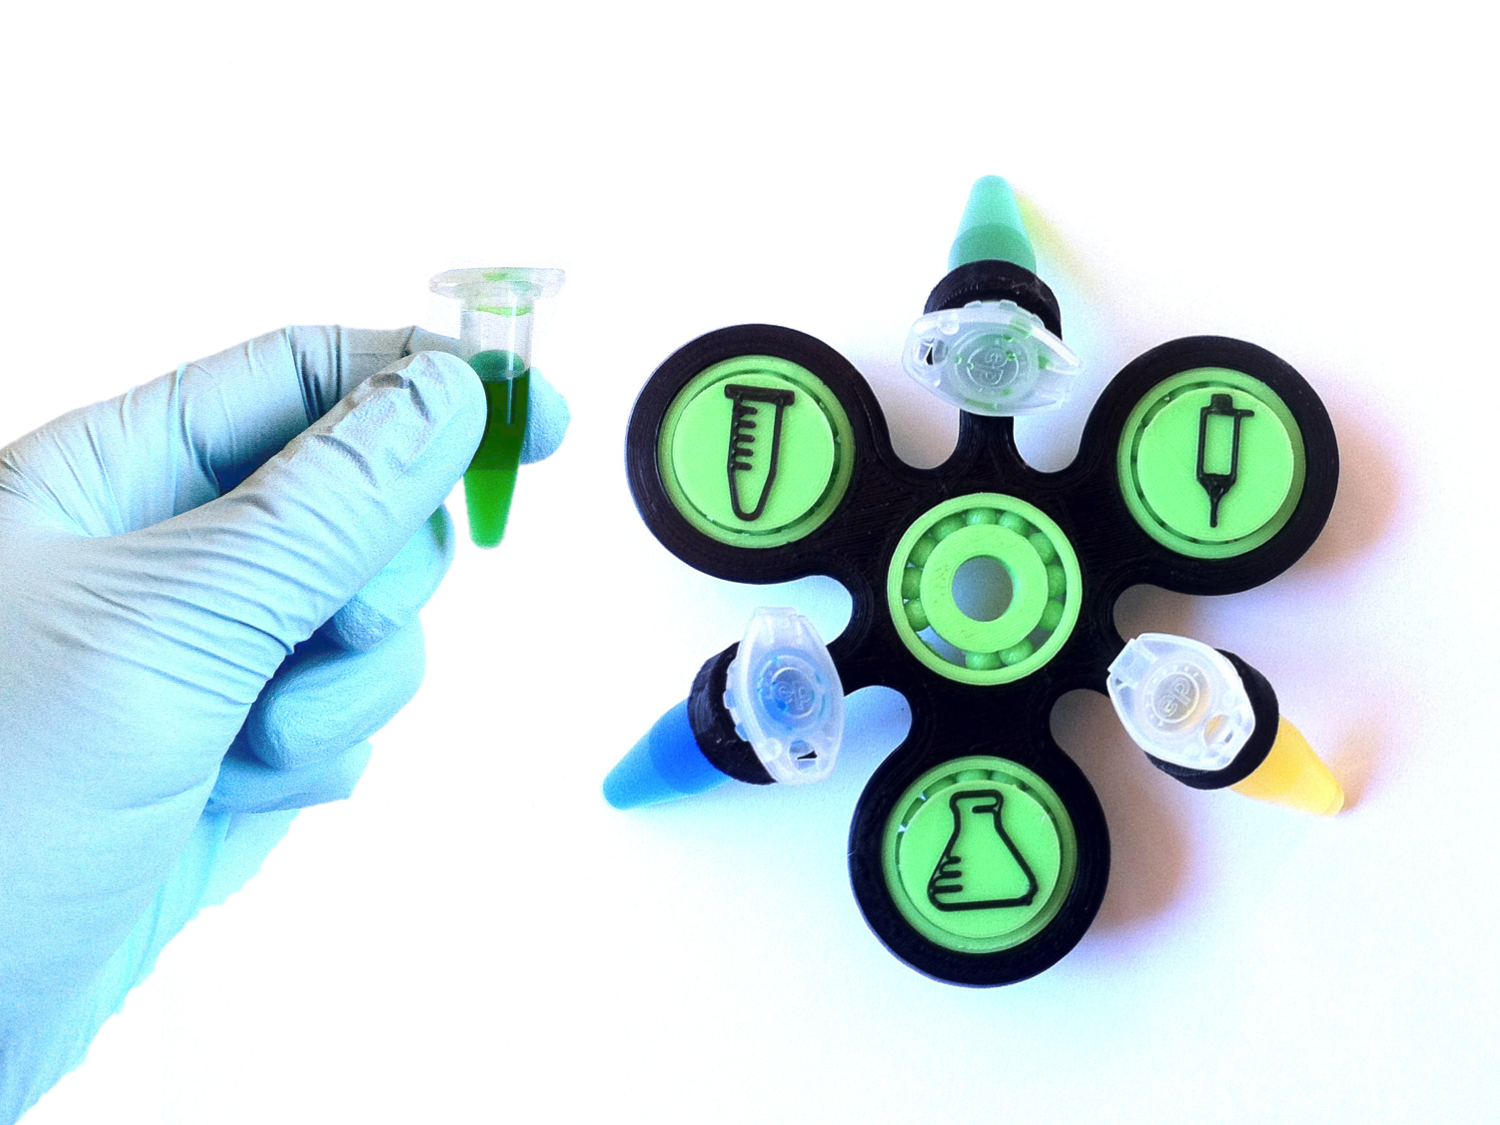
In this article you will find how I made this special fidget spinner that can be used as a centrifuge for lab experiments!
Here are all the steps:
- Centrifuges. Why do we use them?
- Requirements. Few things you need to have or need to know.
- Designing the spinner. The main steps on Fusion 360.
- The bearing caps. Here you will find a tip to make 2 colors prints.
- Adapters for smaller tubes. If you want to work with 500µL tubes.
- Files and More. Because I love you all.
I have also entered the "Fidget Spinner Design Contest", if you want to have a look!
Centrifuge
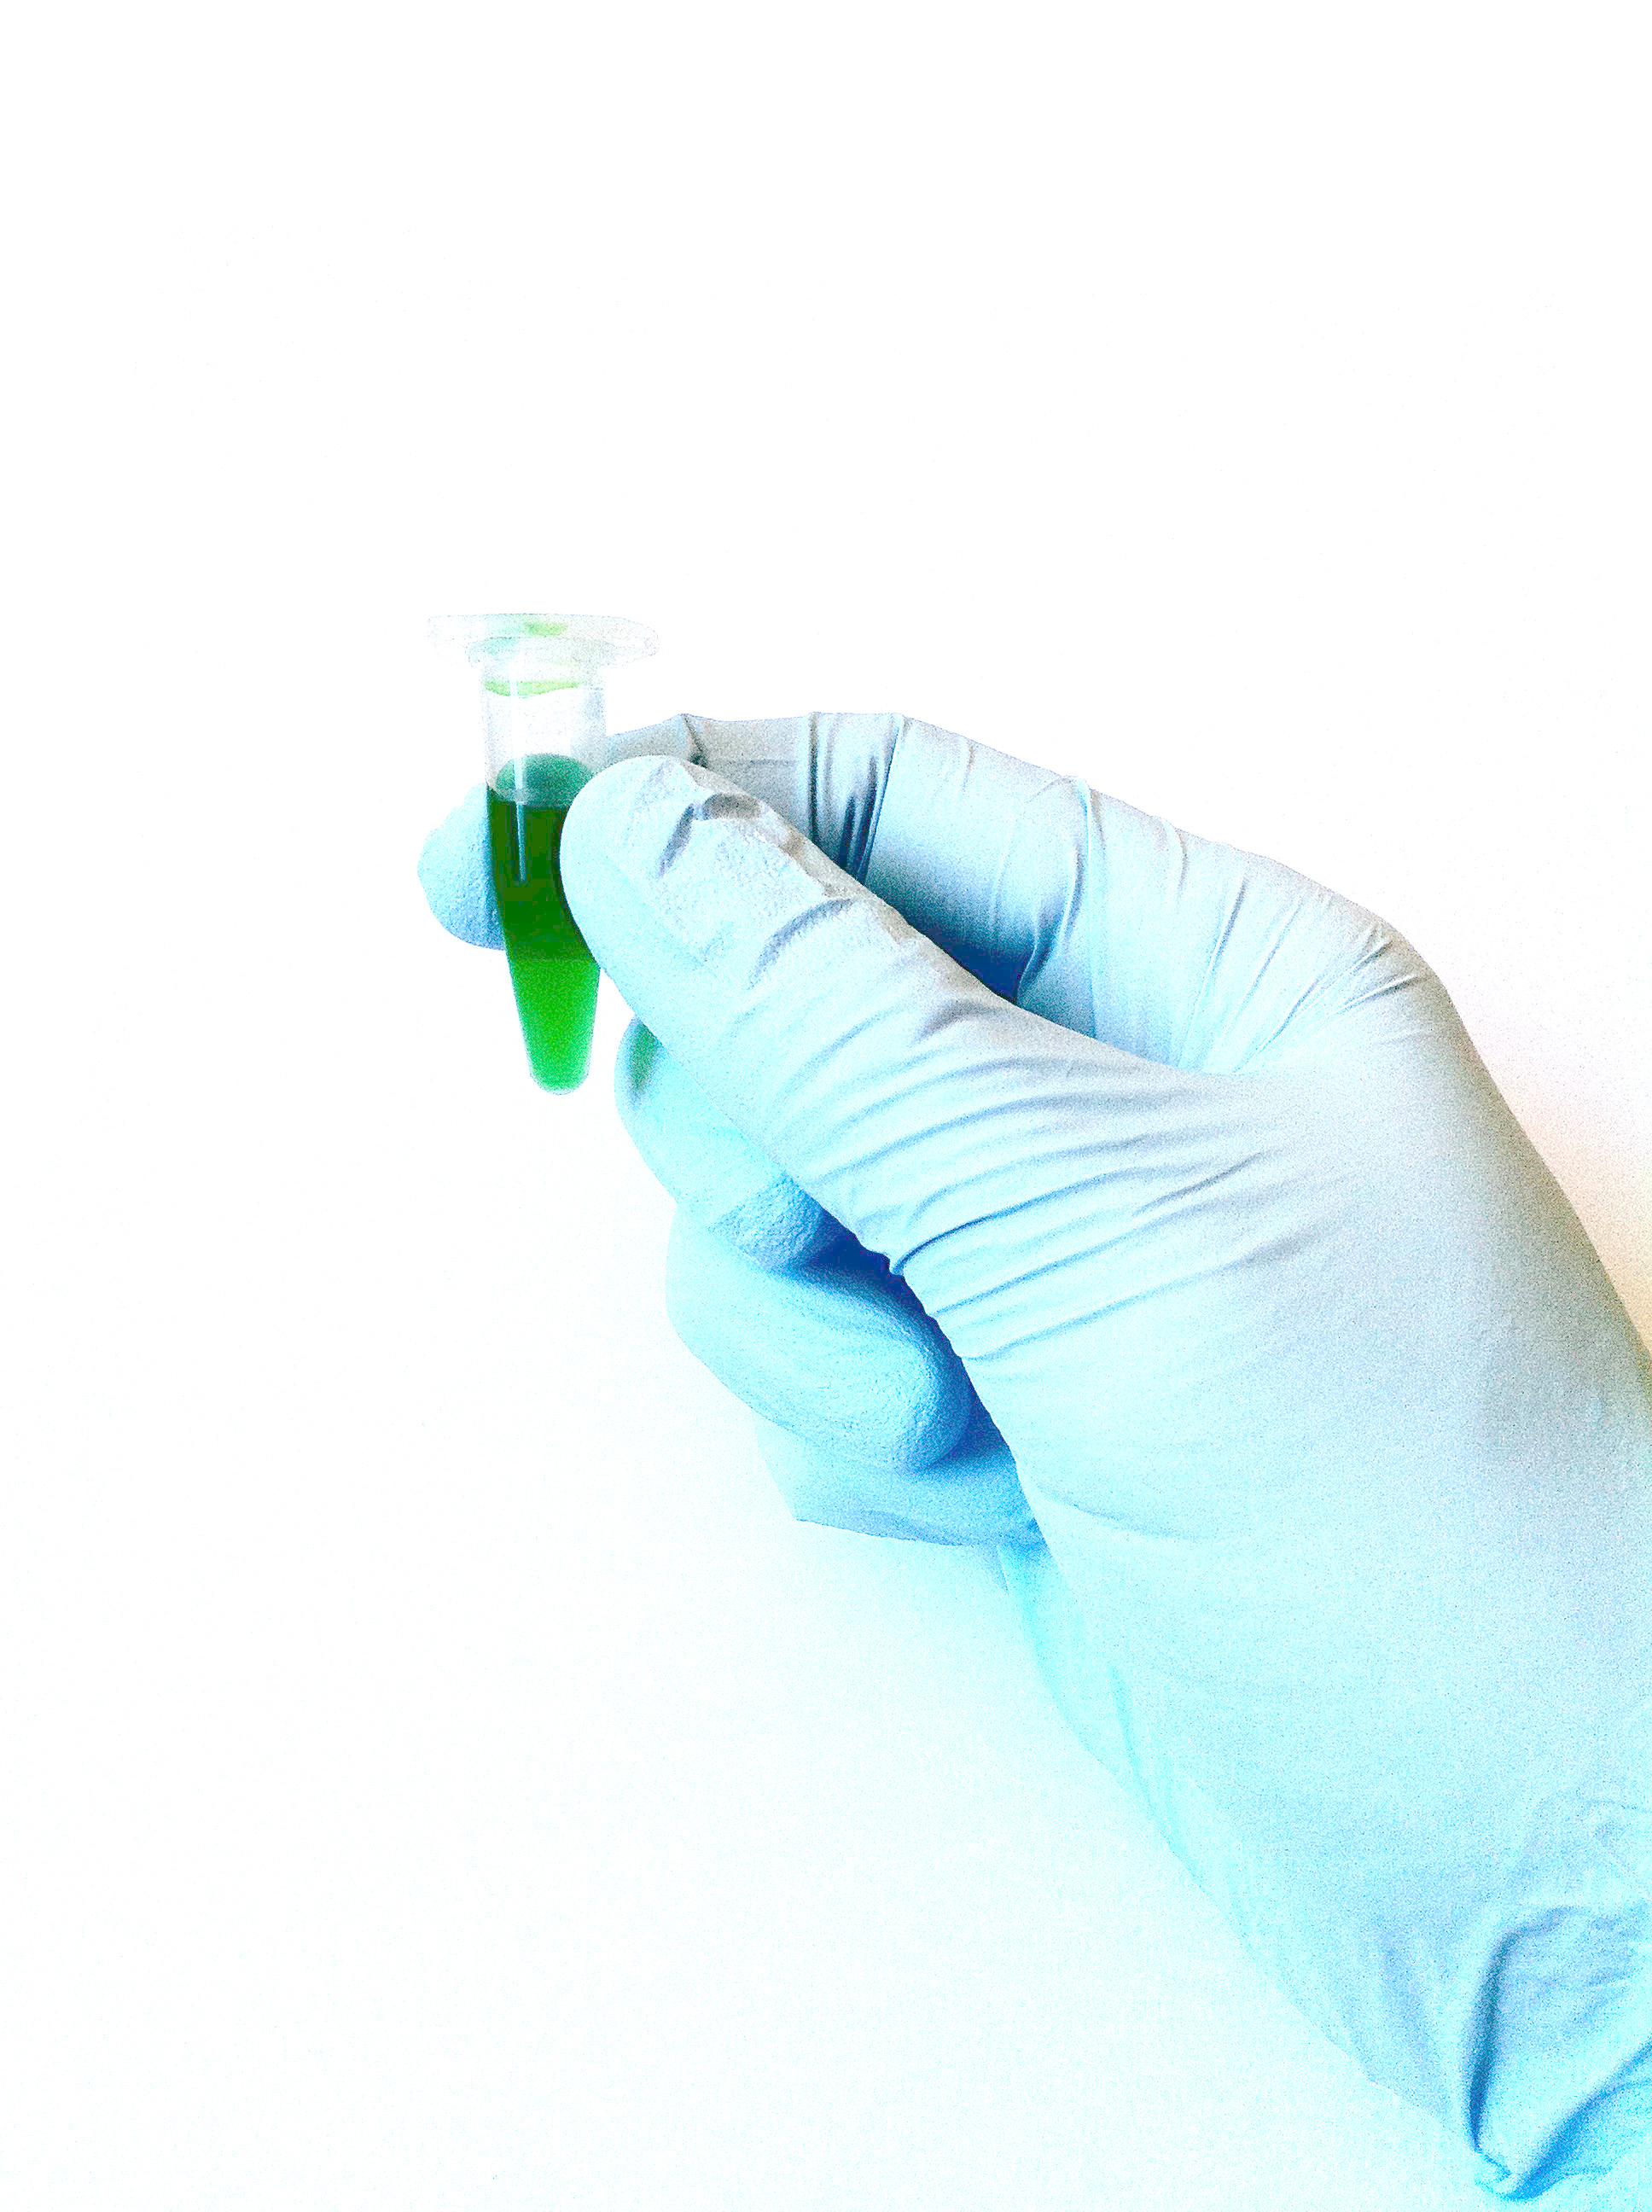
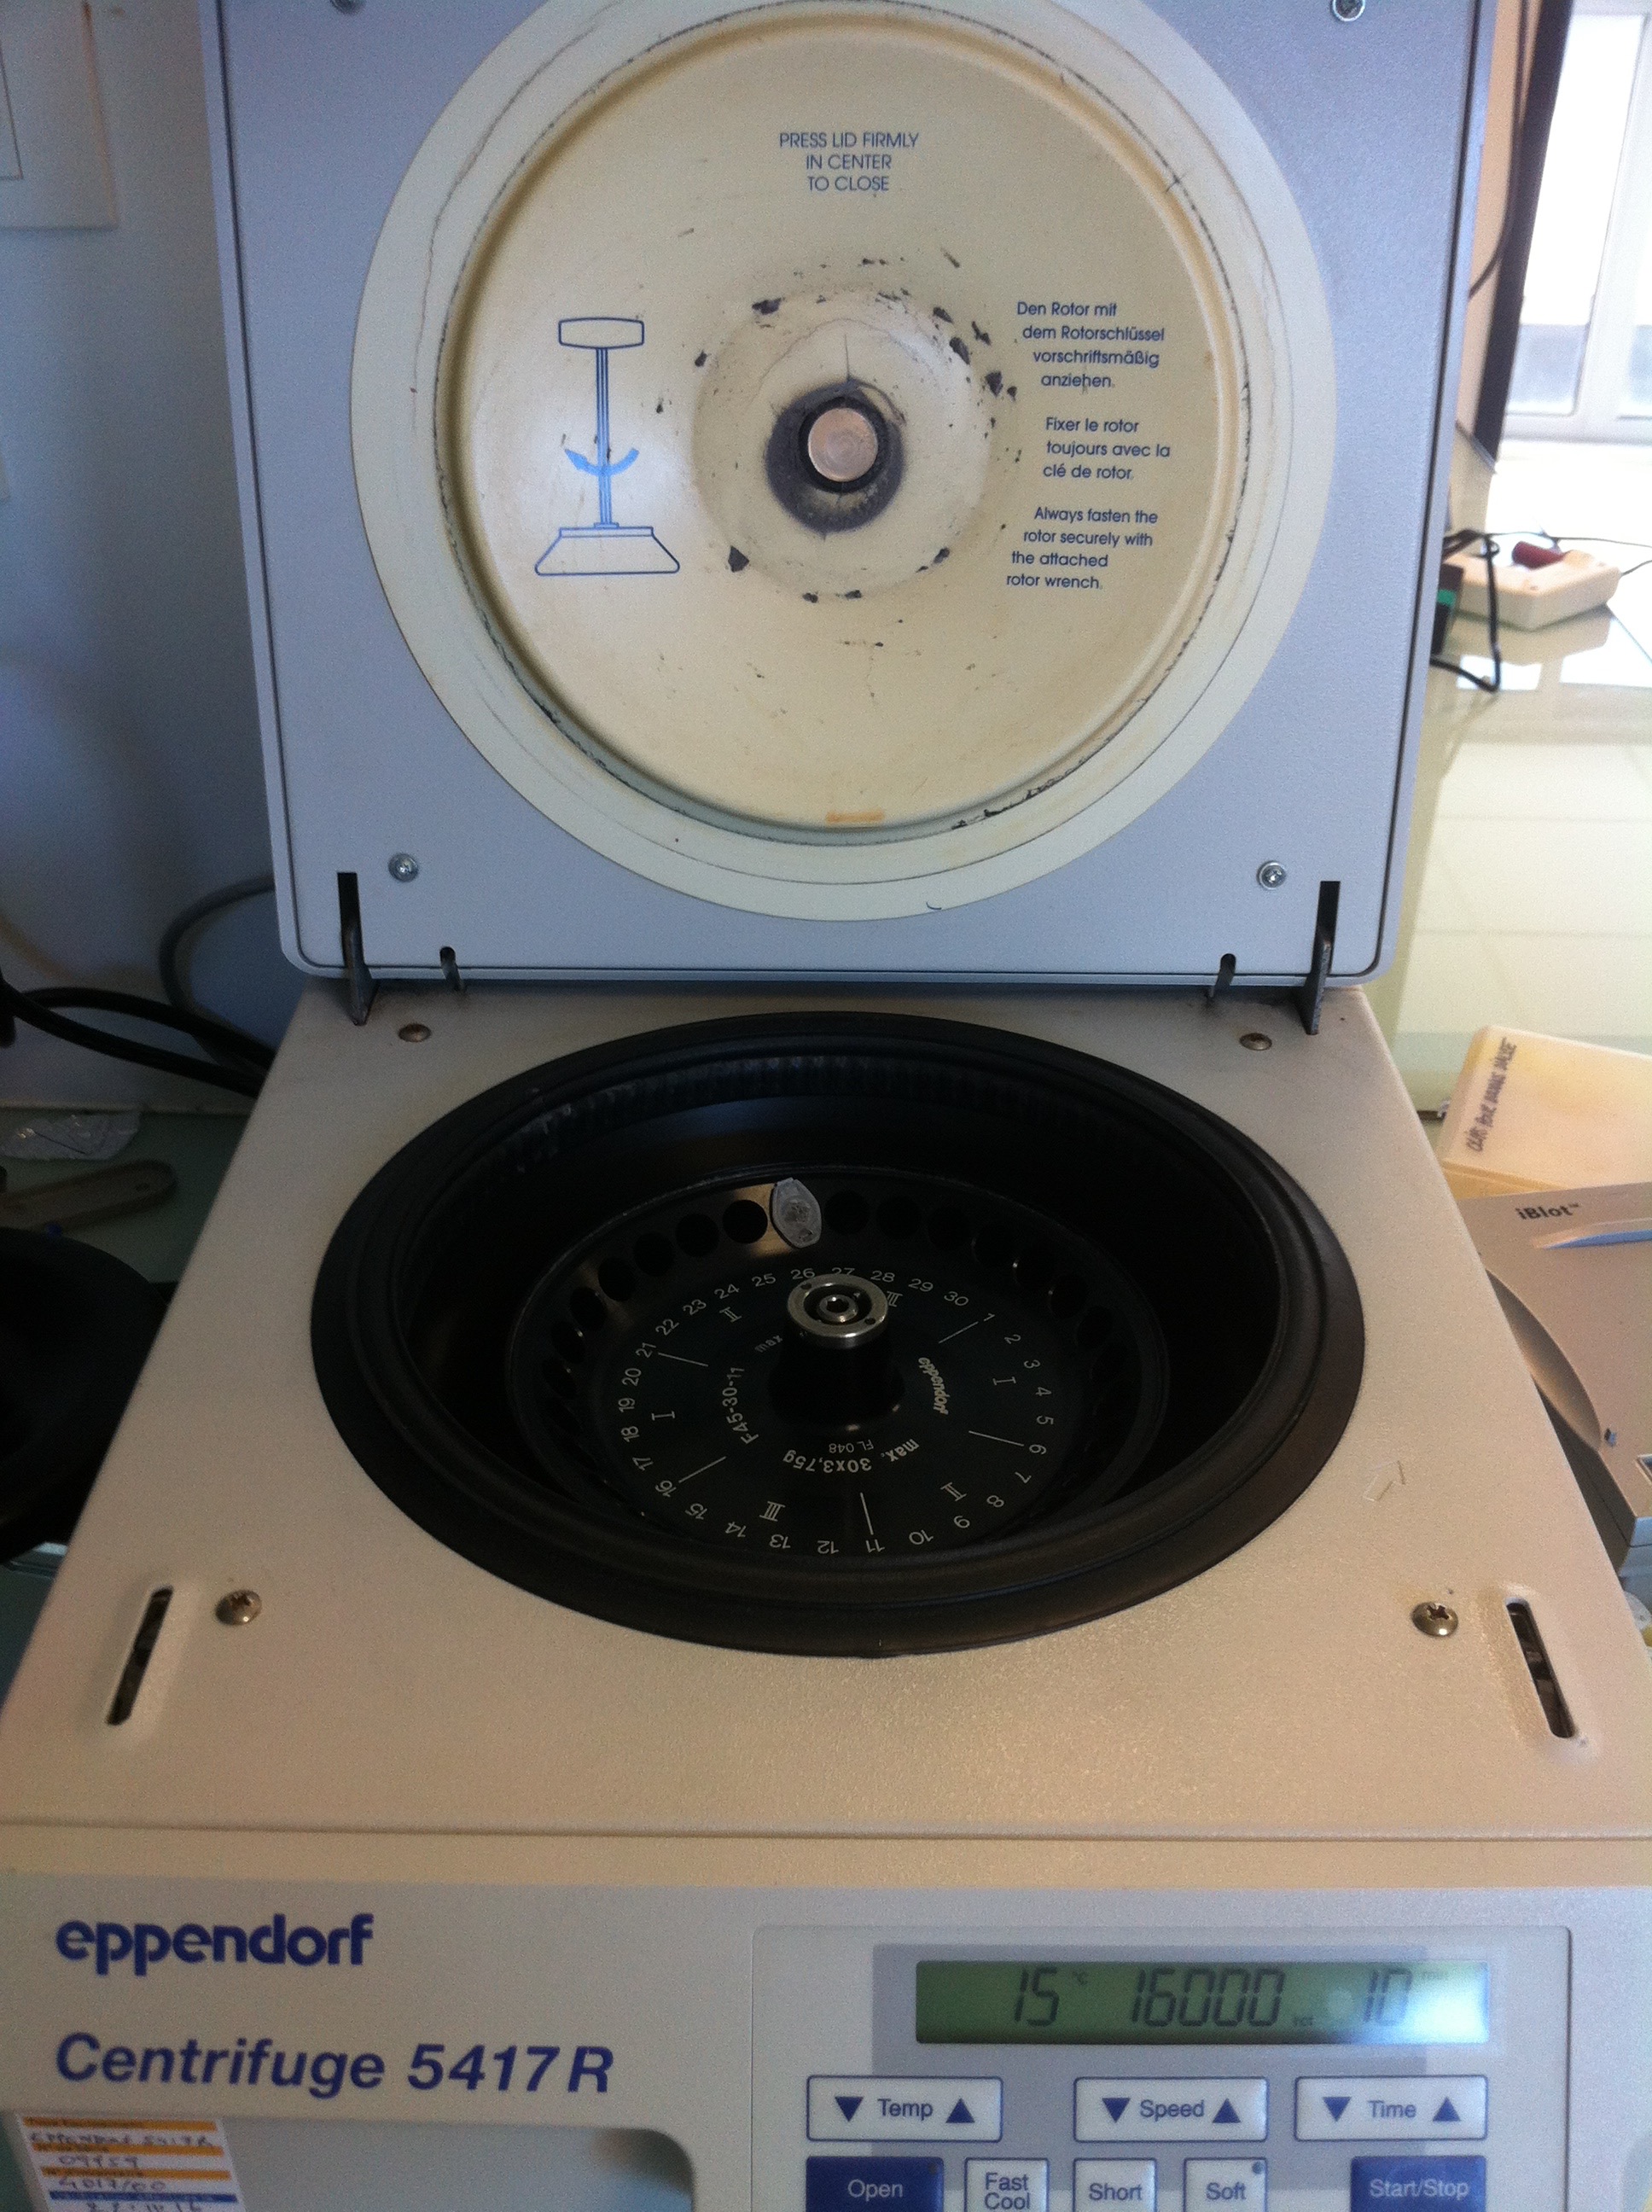
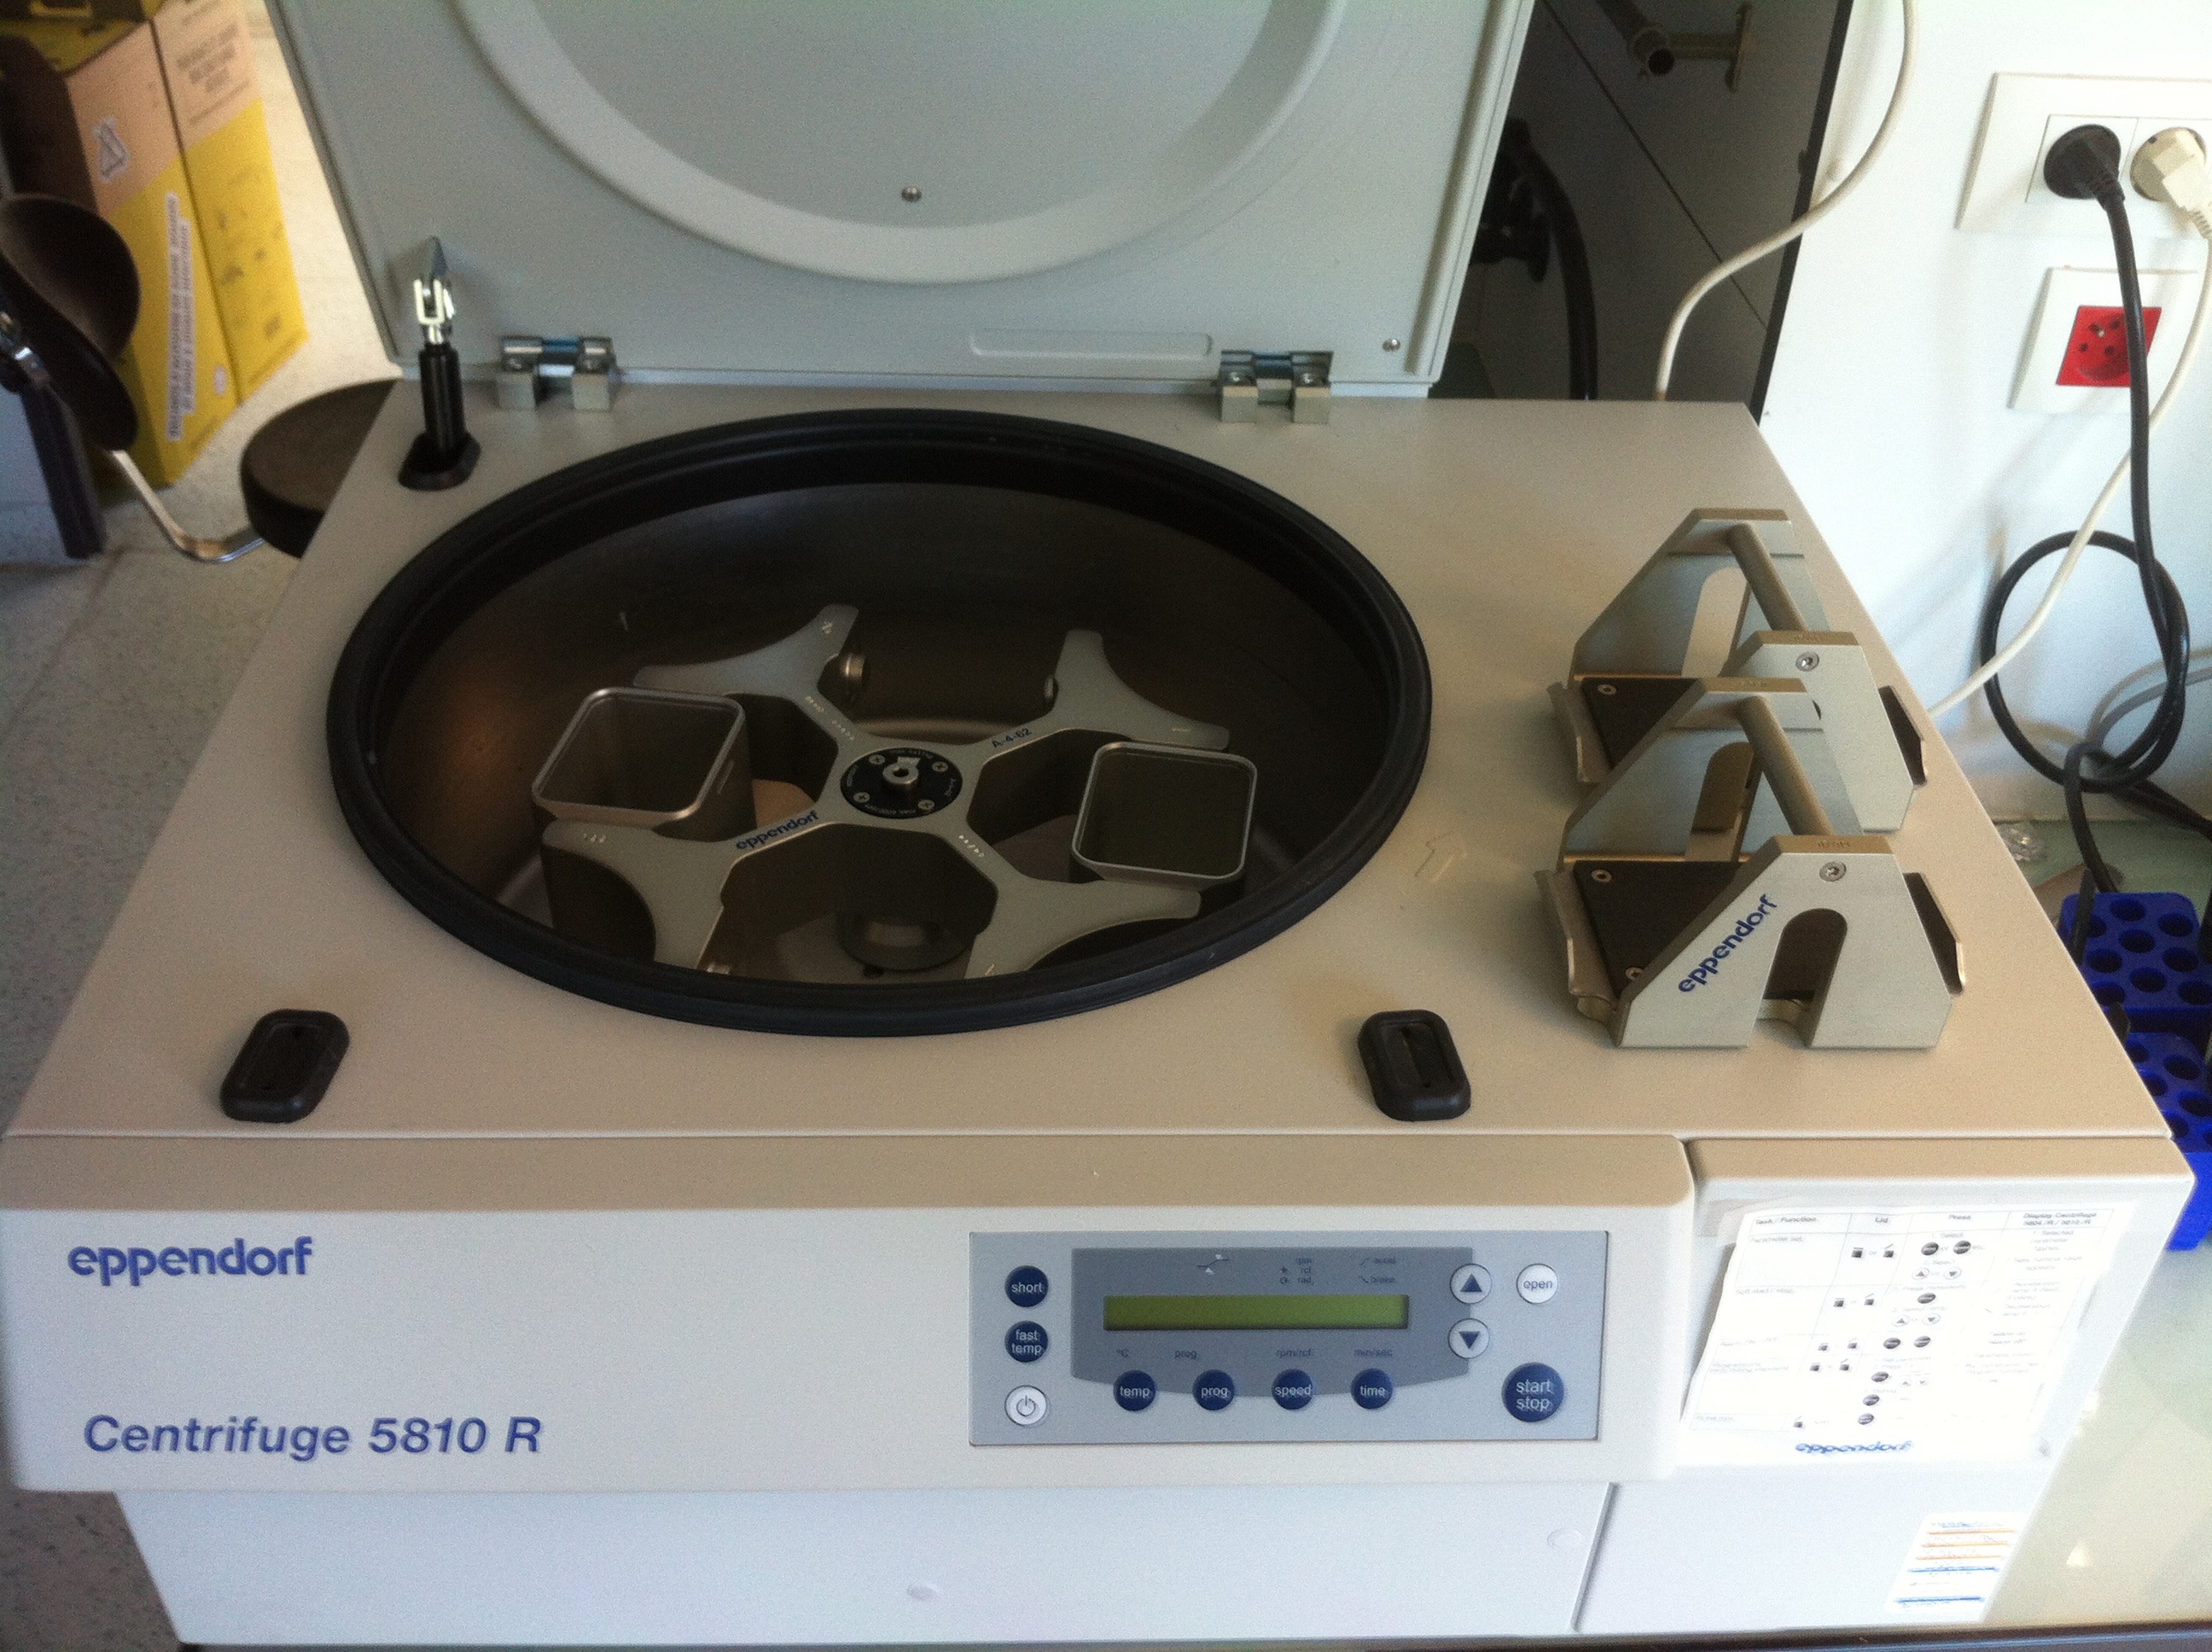
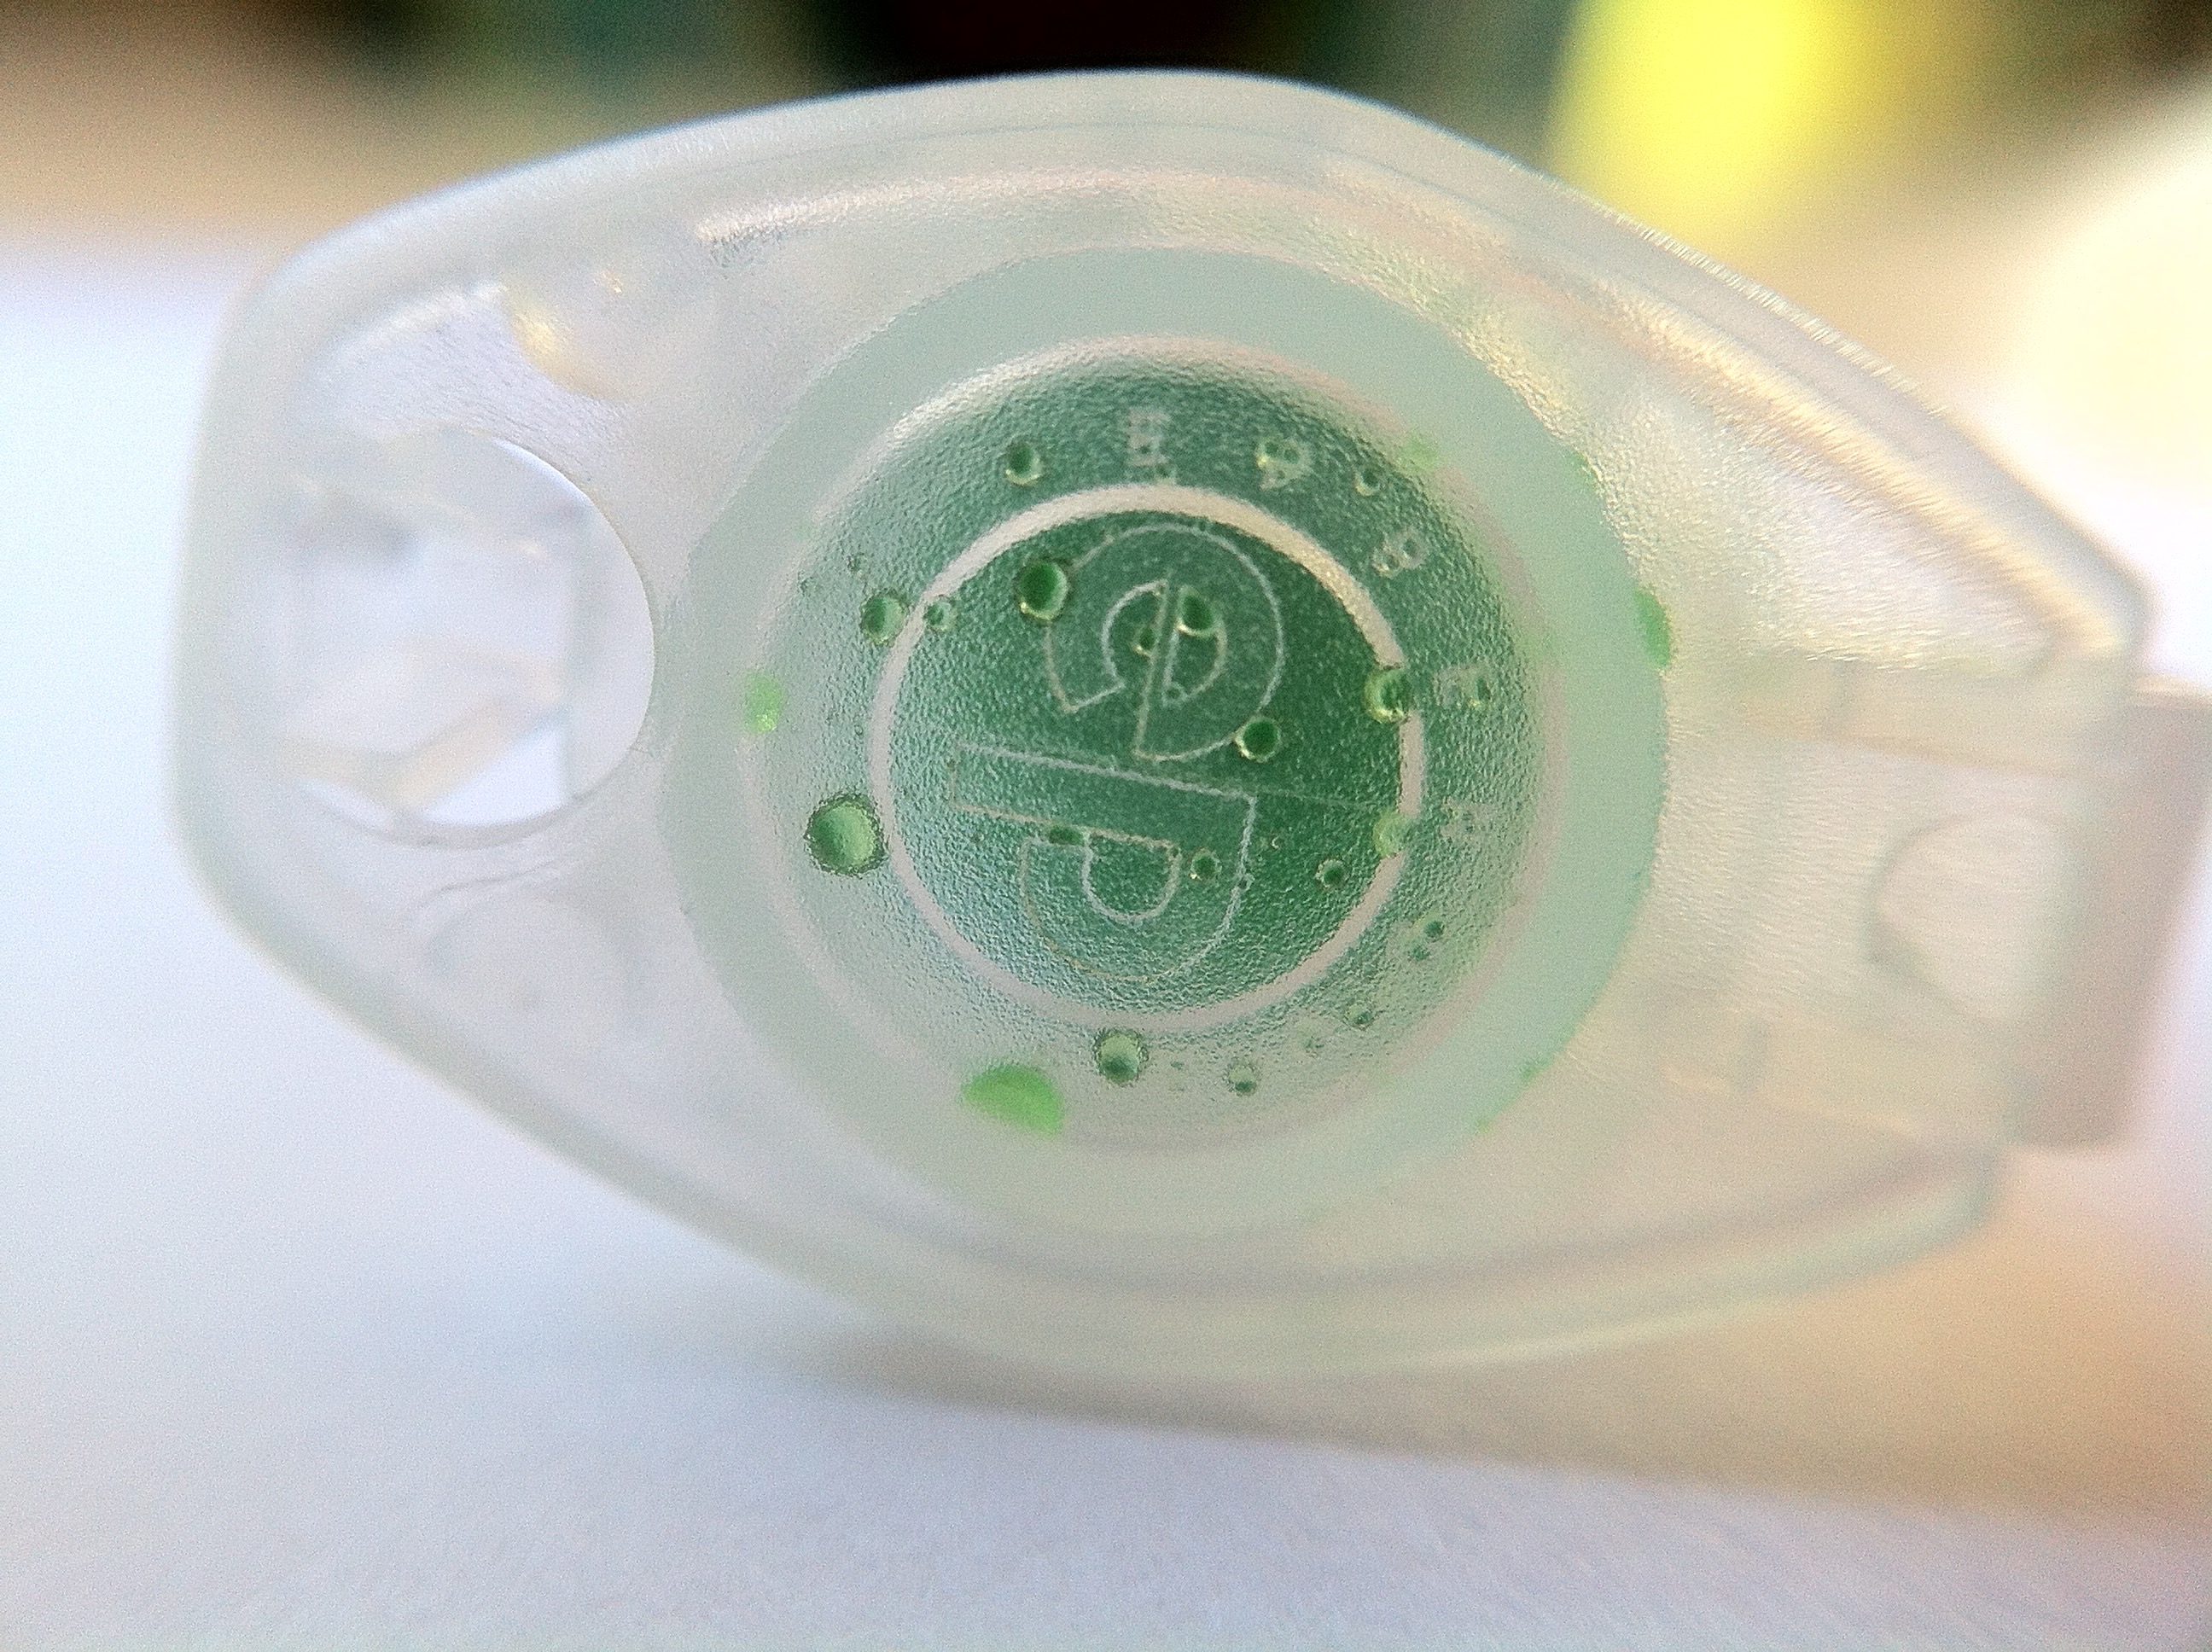
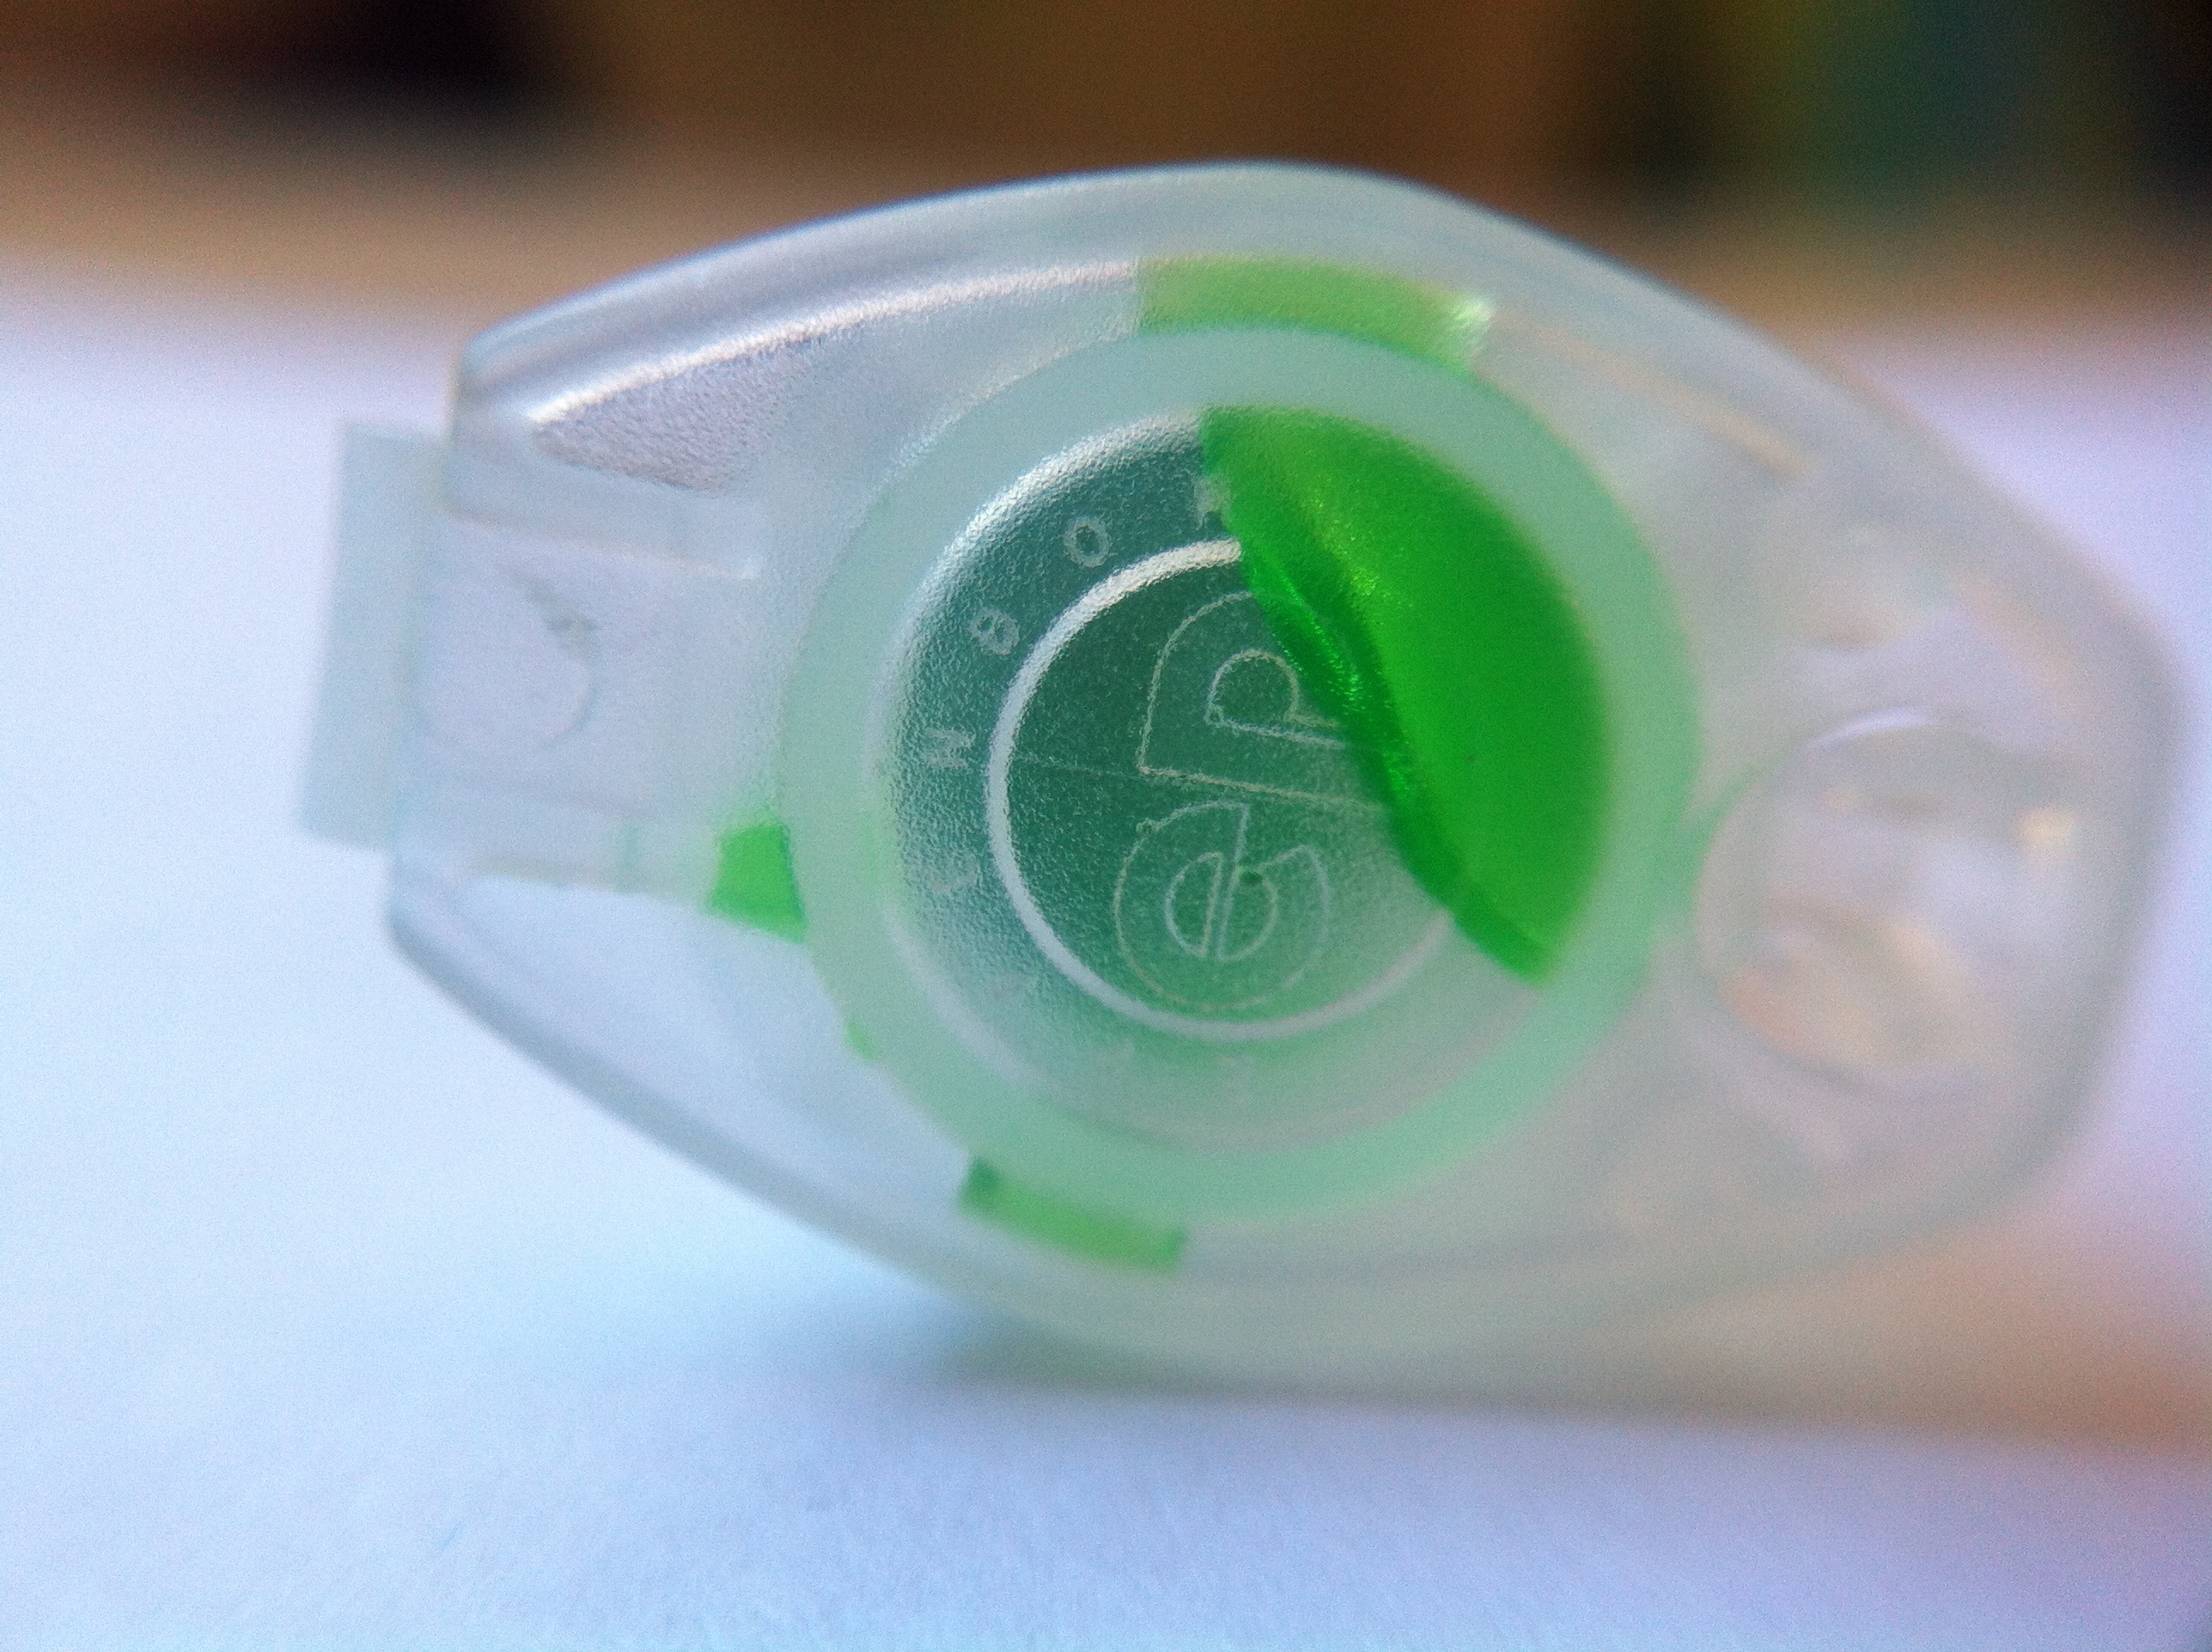
Basics about centrifuges
Nowadays centrifuges are everywhere in wet labs such as biology, chemistry, and I guess they are one of the most common and important devices you can find there.
It is mainly used to separate different components from solutions. When it is spinning, the centrifugal force "pushes" the heavier particles to the bottom of the tubes (it is called the pellet), while lighter particles will stay on the top of the solution (it is called the supernatant).
For example it is possible to separate components from the blood like cells, but also smaller particles like different proteins in the same solution, nucleic acids, etc...
Usually many parameters can be changed on a centrifuge:
- Temperature. This is important if you are working with biological material that need too be kept at a certain temperature.
- Magnitude (in RPM (rotations per minute) or in RCF (relative centrifugal force)).
- And duration.
If you want to know the force (RCF or g-force) acting on the particles with a certain speed in RPM, just use the following formula:
RCF=11.18 x r x (RPM/1000)^2
With r the radius of your centrifuge (or your fidget spinner!), and RPM the speed in rotation per minute.
The weight has to be equivalently distributed around the axis, otherwise the centrifuge does not spin correctly and it might break. That is why we have to add counterweights: when you add a tube in the centrifuge, make sure to add another one with the same weight on the opposite side of the axis.
If you want to read more about centrifugation, check this link.
Why using a fidget spinner as a centrifuge?
Here I do not claim to make component separation with this spinner... Yet, centrifuges are also sometimes used at low speed, for quick duration. Here is an example: sometimes the solution is sticking to the lid of the tube. This is a problem because in these conditions any tiny drop is really important. Indeed we are often working with microliters (or µL) which correspond to 0.000001 L (this is really small!). As a comparison a drop of water is about 50µL. Anyway, if the drop is sticking to the lid of the tube, and you open the tube, you might lose it, or forget to take this drop with your pipette... In this case it is important to centrifuge for few seconds the tube so there are no drops sticking to the lid. And this is why I made this lab spinner. Quickly and manually centrifuge tubes to clear the lid before usage.
Requirements
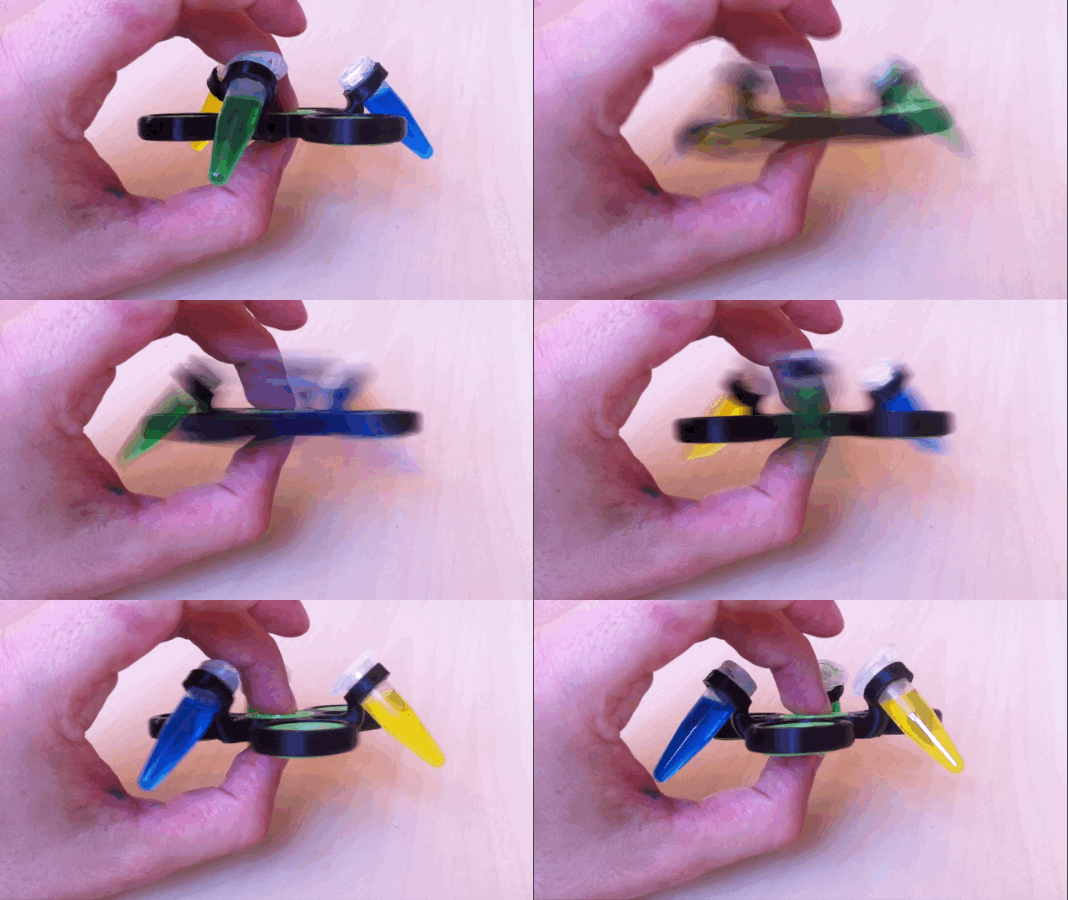
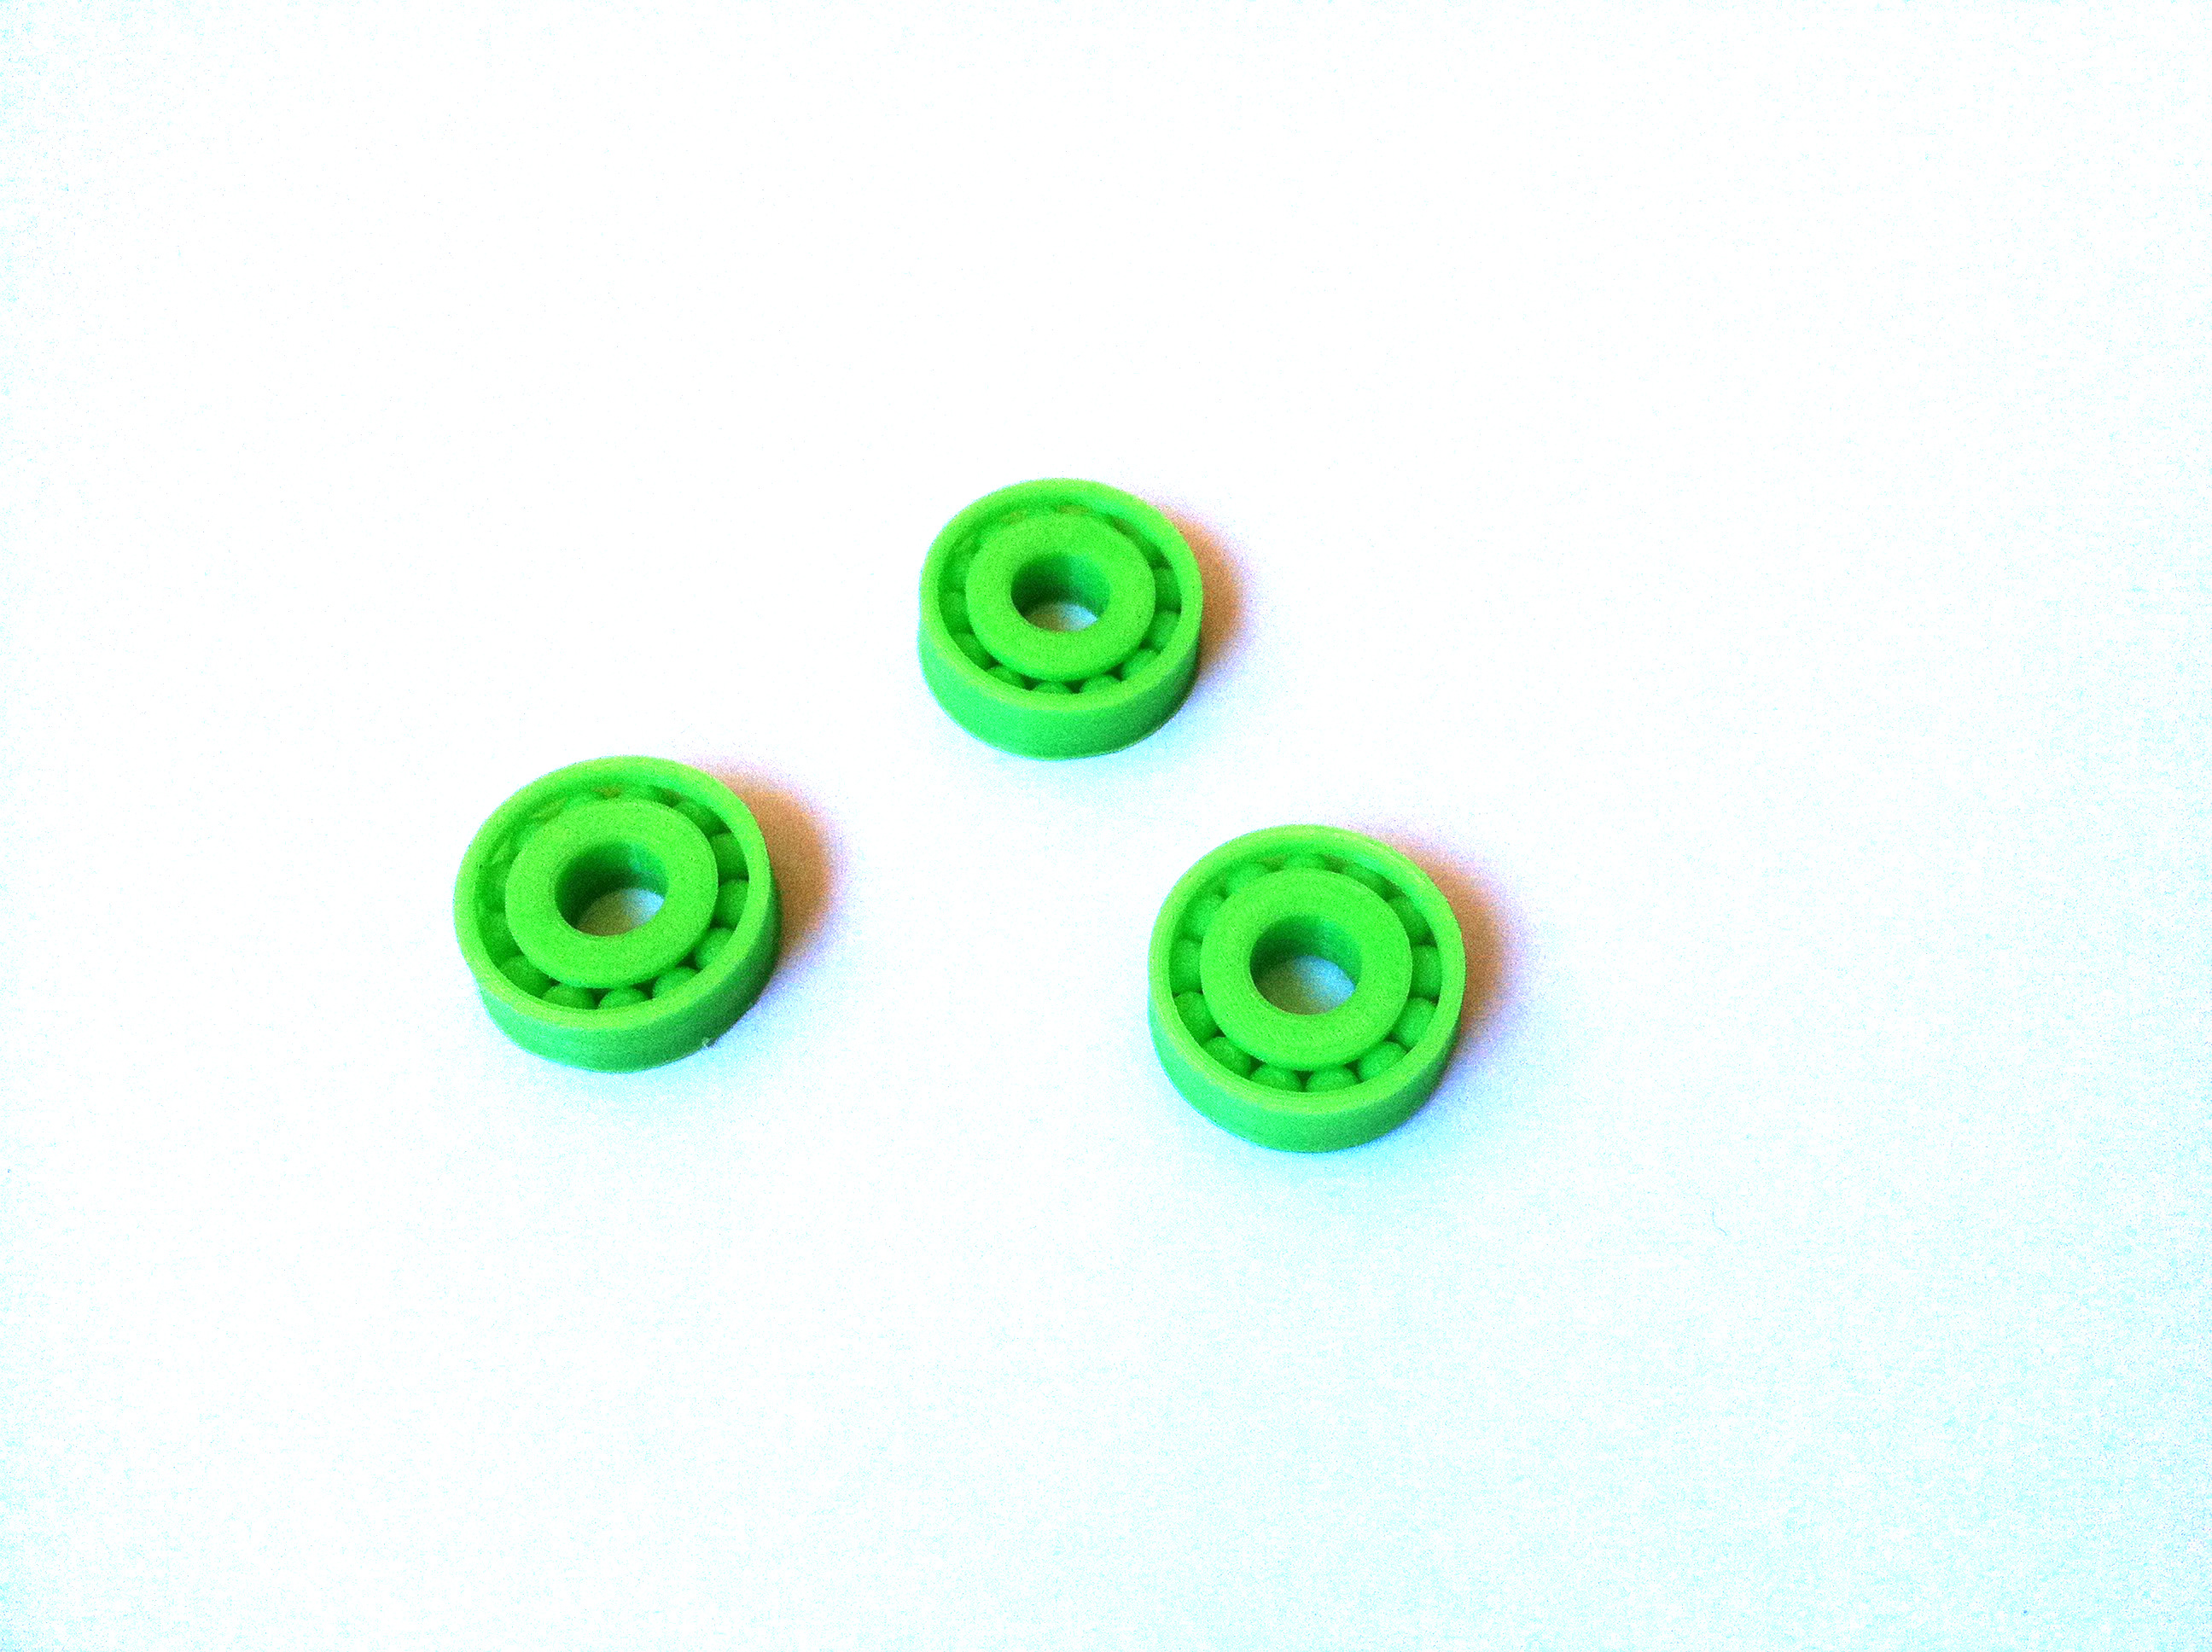
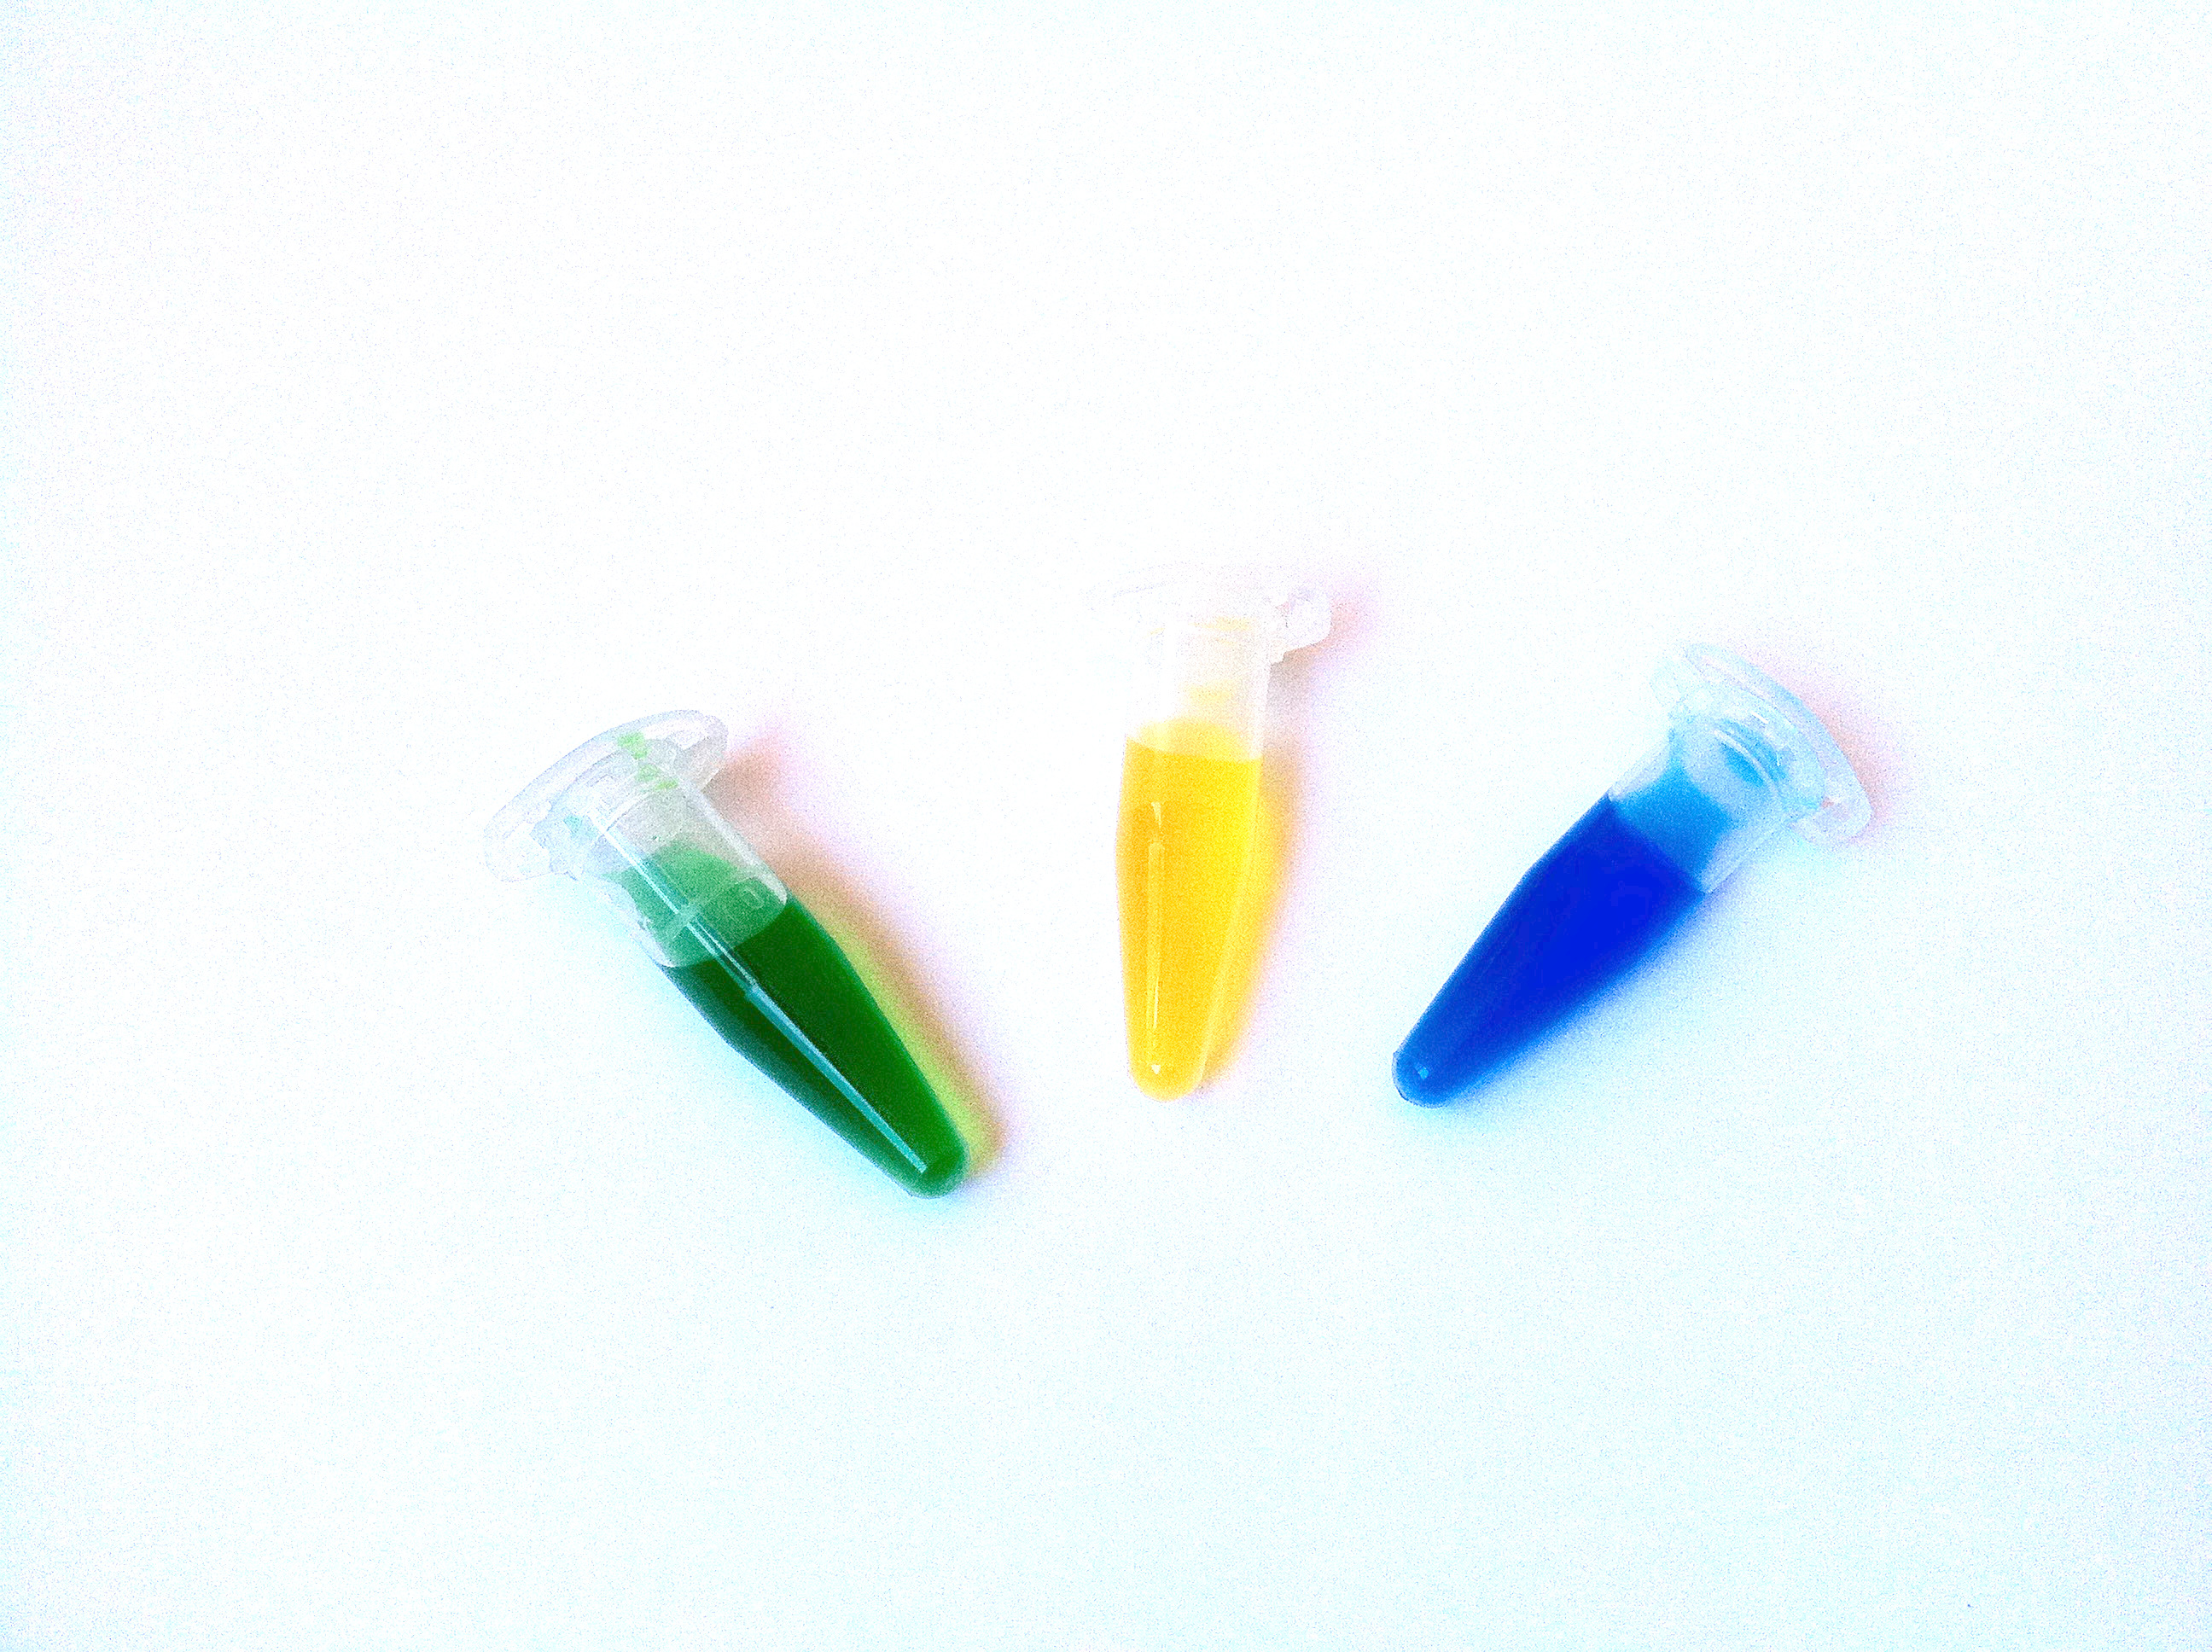
You can use this fidget spinner with 2mL and 1.5mL tubes. If you don't have these tubes, it works anyway, but it is a bit useless...
If you have no bearings, you can download some (here for example), and print them! That is what I did!
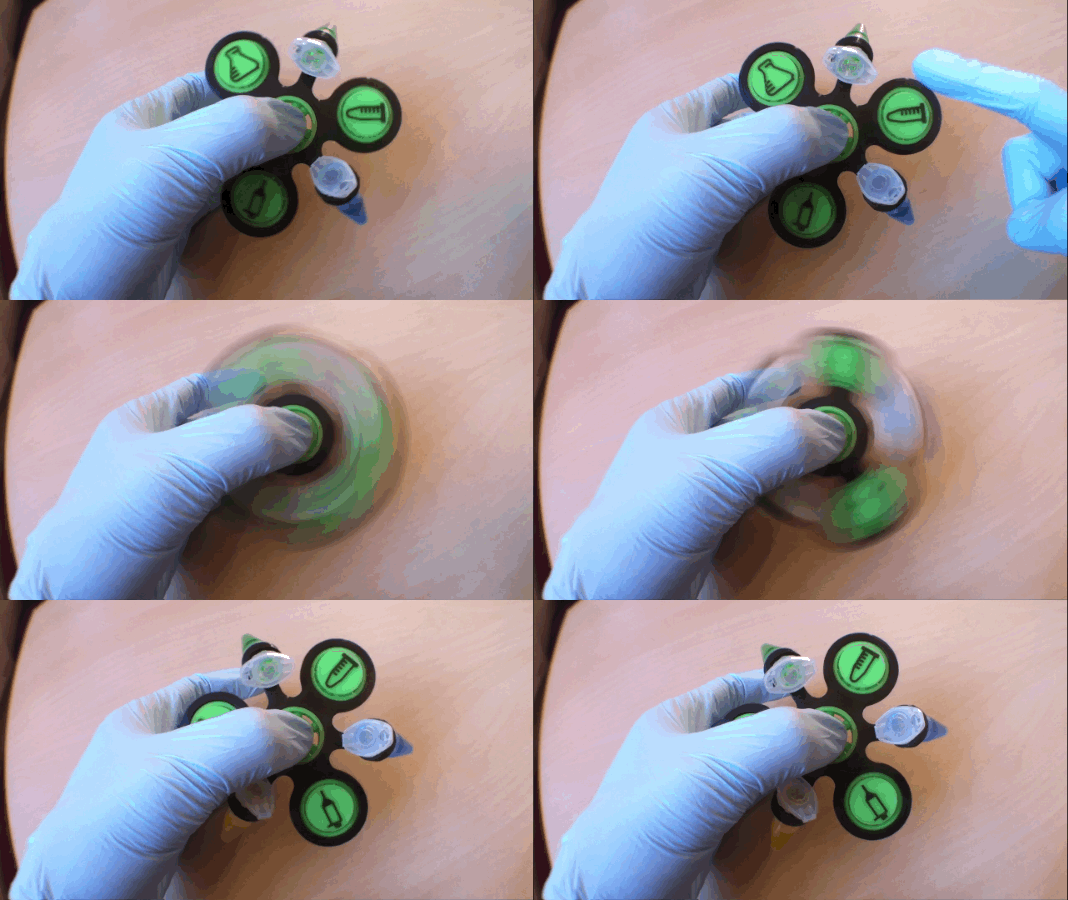
And I have also designed the spinner making sure the tubes can pass between my fingers when spinning (see the gif).
Designing the Spinner
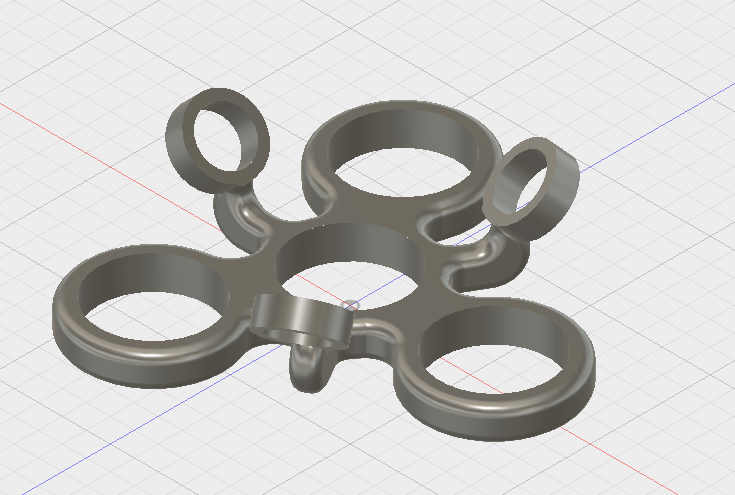
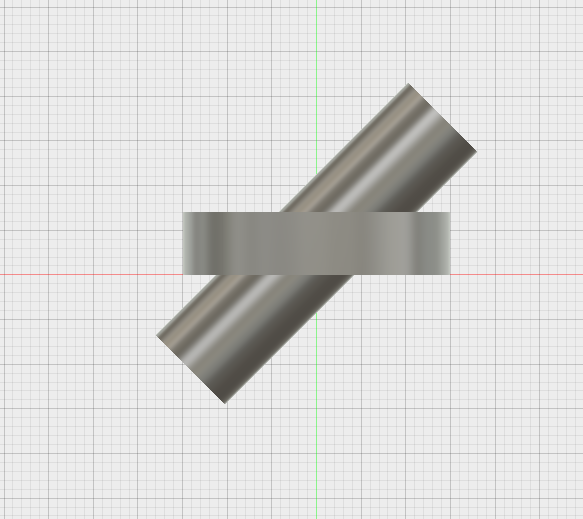
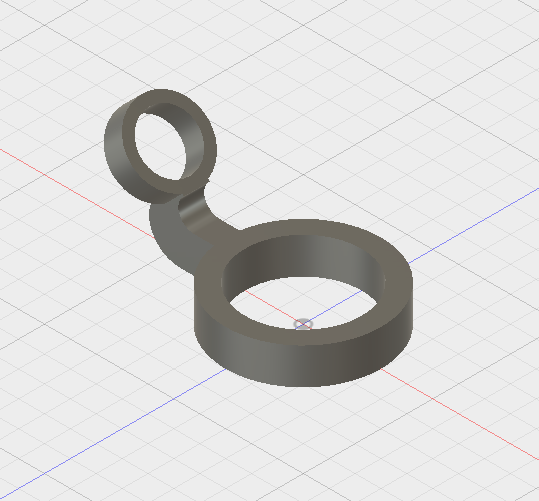
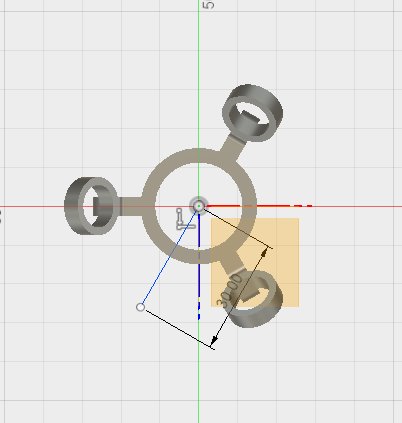
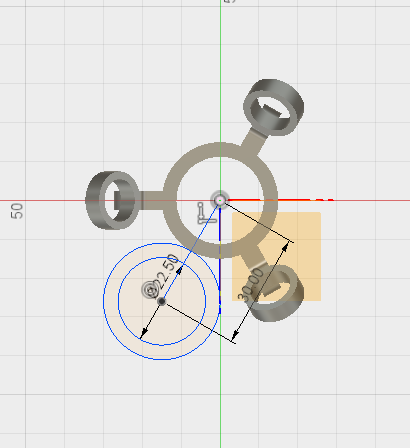
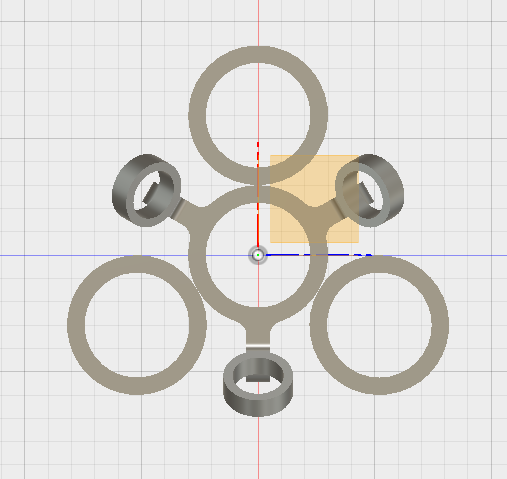
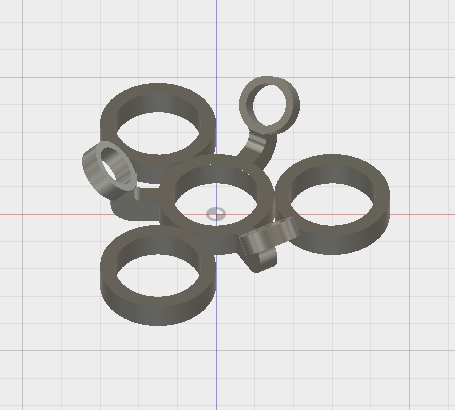
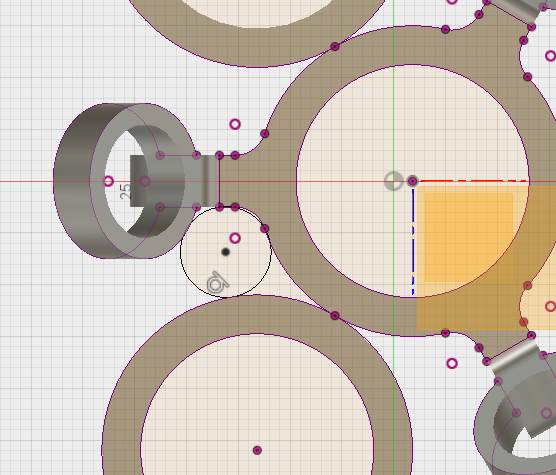
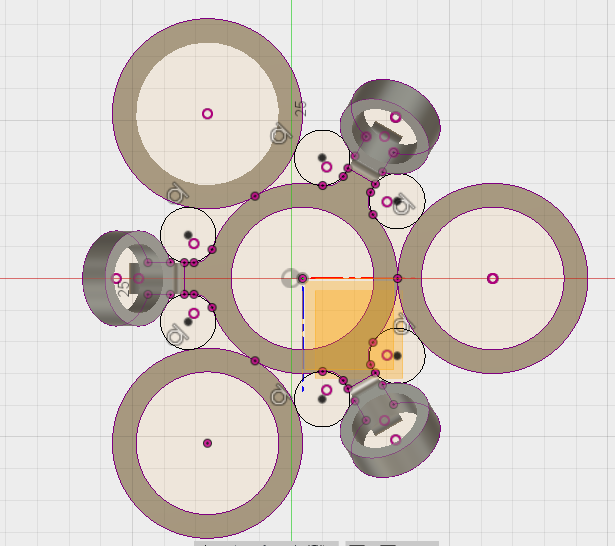
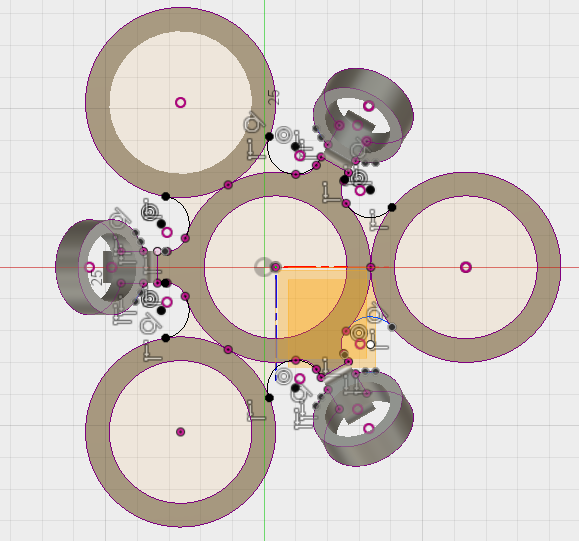
Here I will briefly describe how I made the design.
The main point here is the technique I call Copy/Paste/Rotate (see the gif). In this design, I have designed only one branch of the spinner, then copy/pasted it and rotated it around the central axis of the spinner with 120°, and I done this twice. Just like this:
- Create the branch around the centrale axis
- Once it is done, copy/paste it
- Select the object, then click move (or M)
- In "move type", select "rotate"
- Select the central axis of the spinner
- Add 120°
- Done
- Repeat for the third branch
- Then select the 3 objects and combine them!
And here are the detailed steps, related to the images:
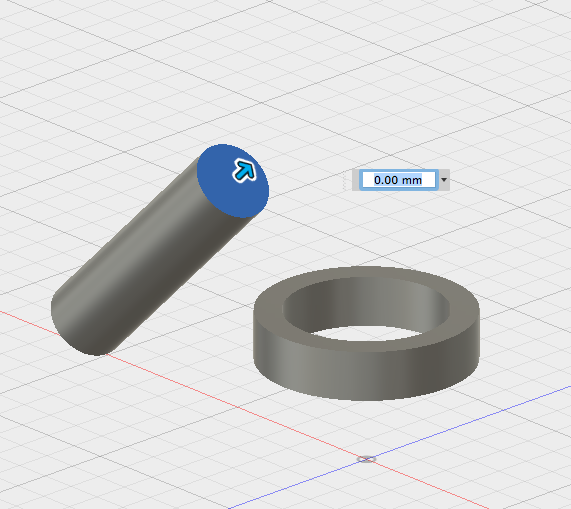
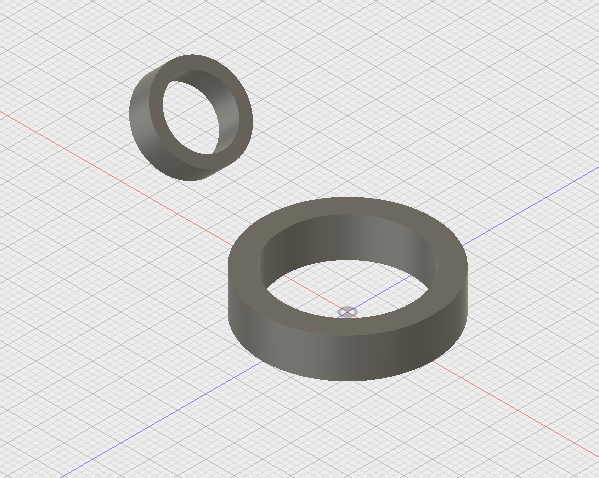
- First I have made the central ring that will receive the bearing. I made it with a diameter of 22.5mm, the walls have a width of 3.75mm and the height is 7mm.
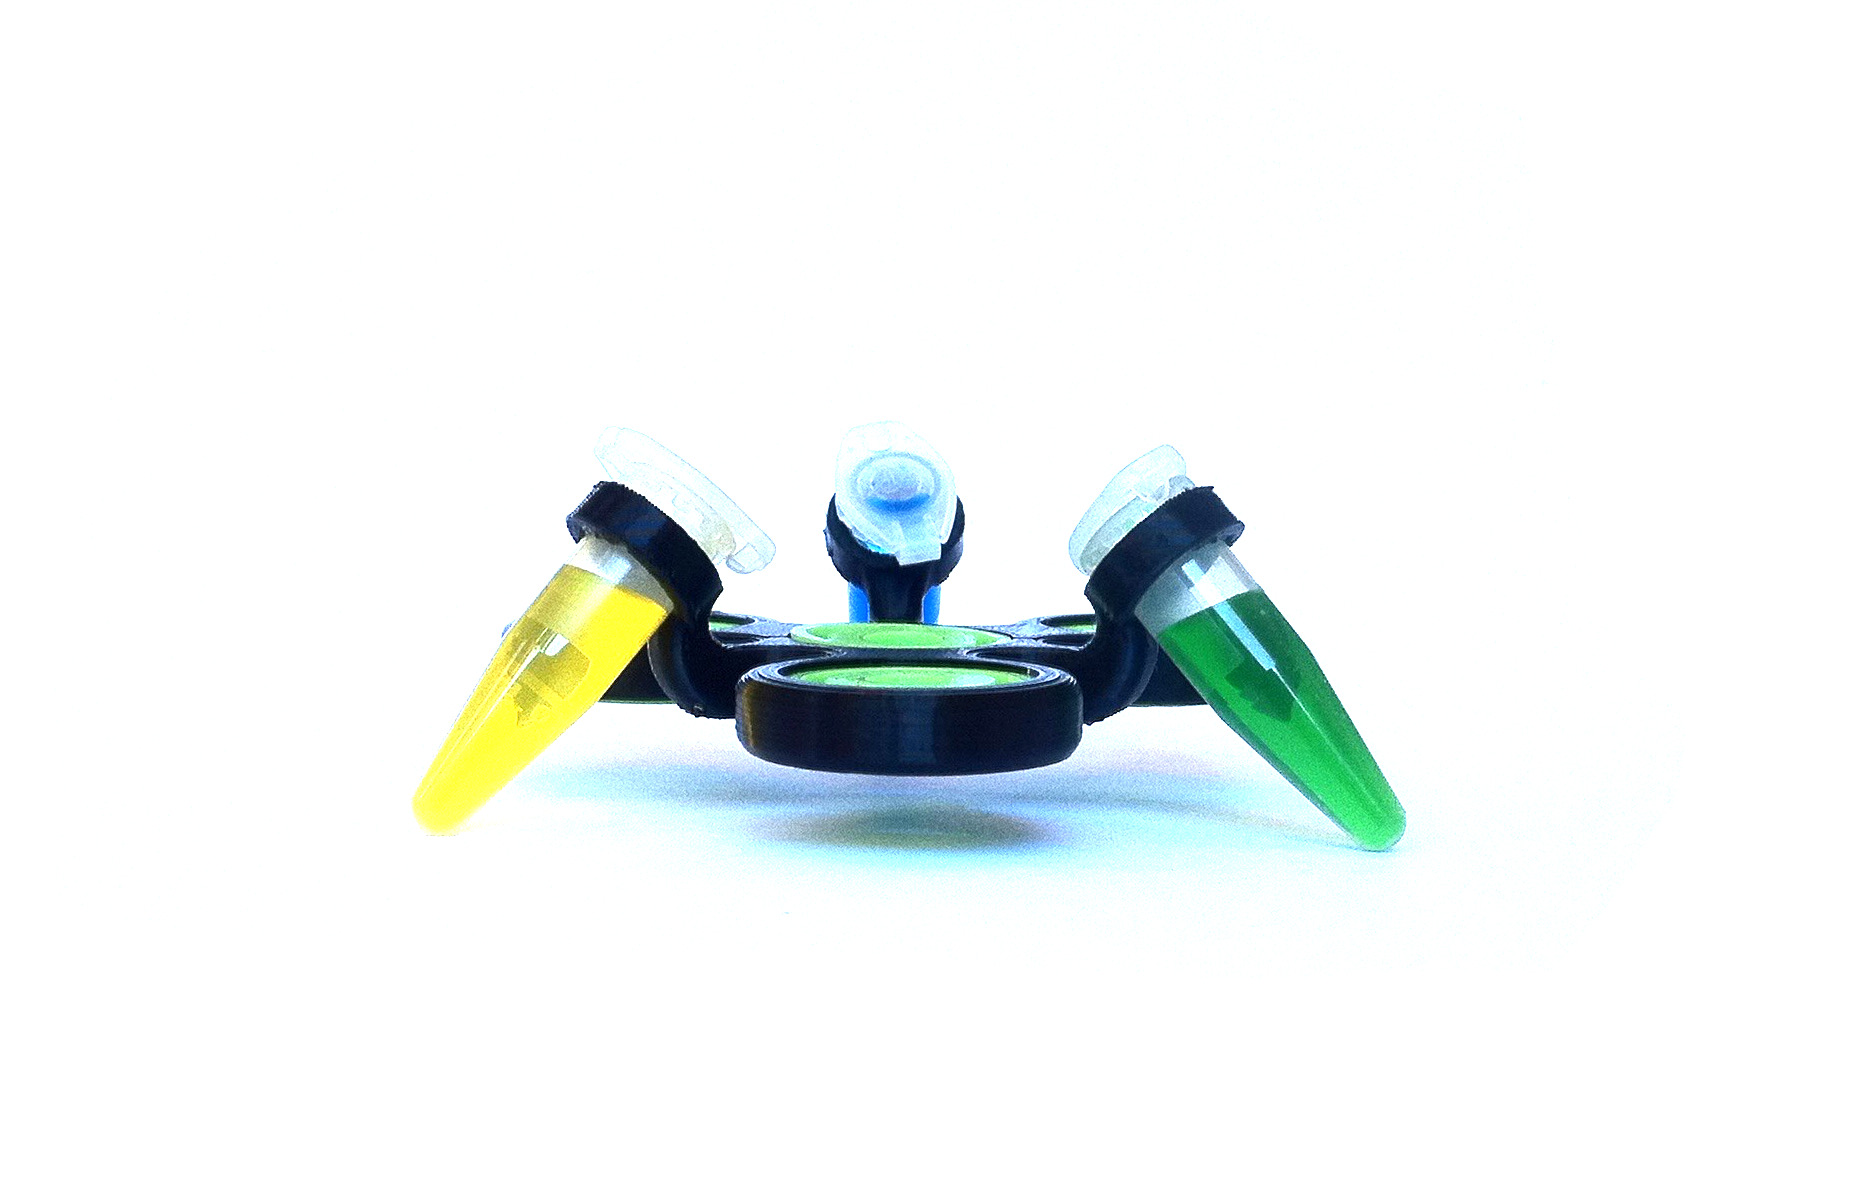
- Then I have made the tube that we use in centrifuge. Basically they are 40mm long and they have a diameter of 10.5mm. I have placed it in the center of the first ring with half of the tube above, and half below. This is very important because the tube has to pass correctly in your hand when the spinner is spinning! I have also tilted it for the same reasons, and also because it is much more convenient to centrifuge like this. I have moved it 40mm away from the center. To finish, I have create a ring around the tube, with 2mm width.
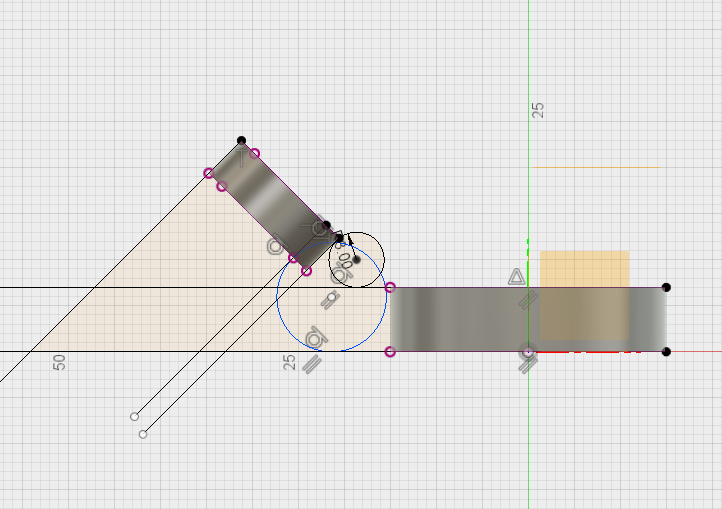
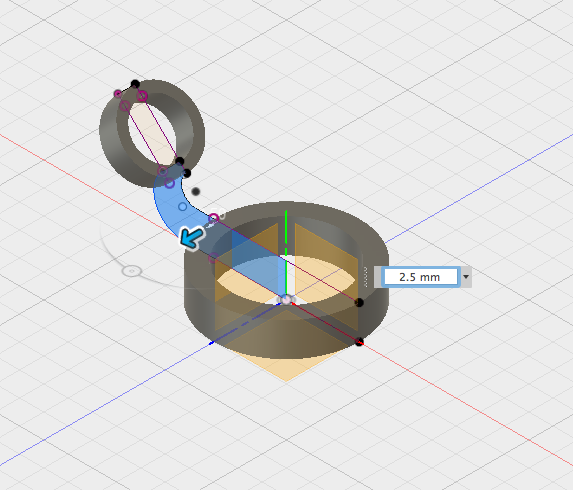
- Then I have create a plan passing through both ring axis. And in the sketch mode I have projected the rings, and connected them to create nice round shapes using circles. To finish the connexion I have extruded this sketch of 2.5mm on each side of the plan and I made sure there were no parts protruding into the rings.
- Here I have used the copy/paste/rotate technique to create 3 branches.
- Then on a new horizontal plan I have create a line of 30mm from the axis of the central ring to one of the small rings outside. I have rotated it up to 60°. Then I have created a similar ring as the central one. And again used the copy/paste/rotate technique.
- To connect all the rings together I have created a horizontal plan, and designed some circles between all the branches created above. And I have extruded these parts.
- To finish, I have used the fillet tool on all the edges I wanted to fillet, and used 2mm.
The Bearing Caps
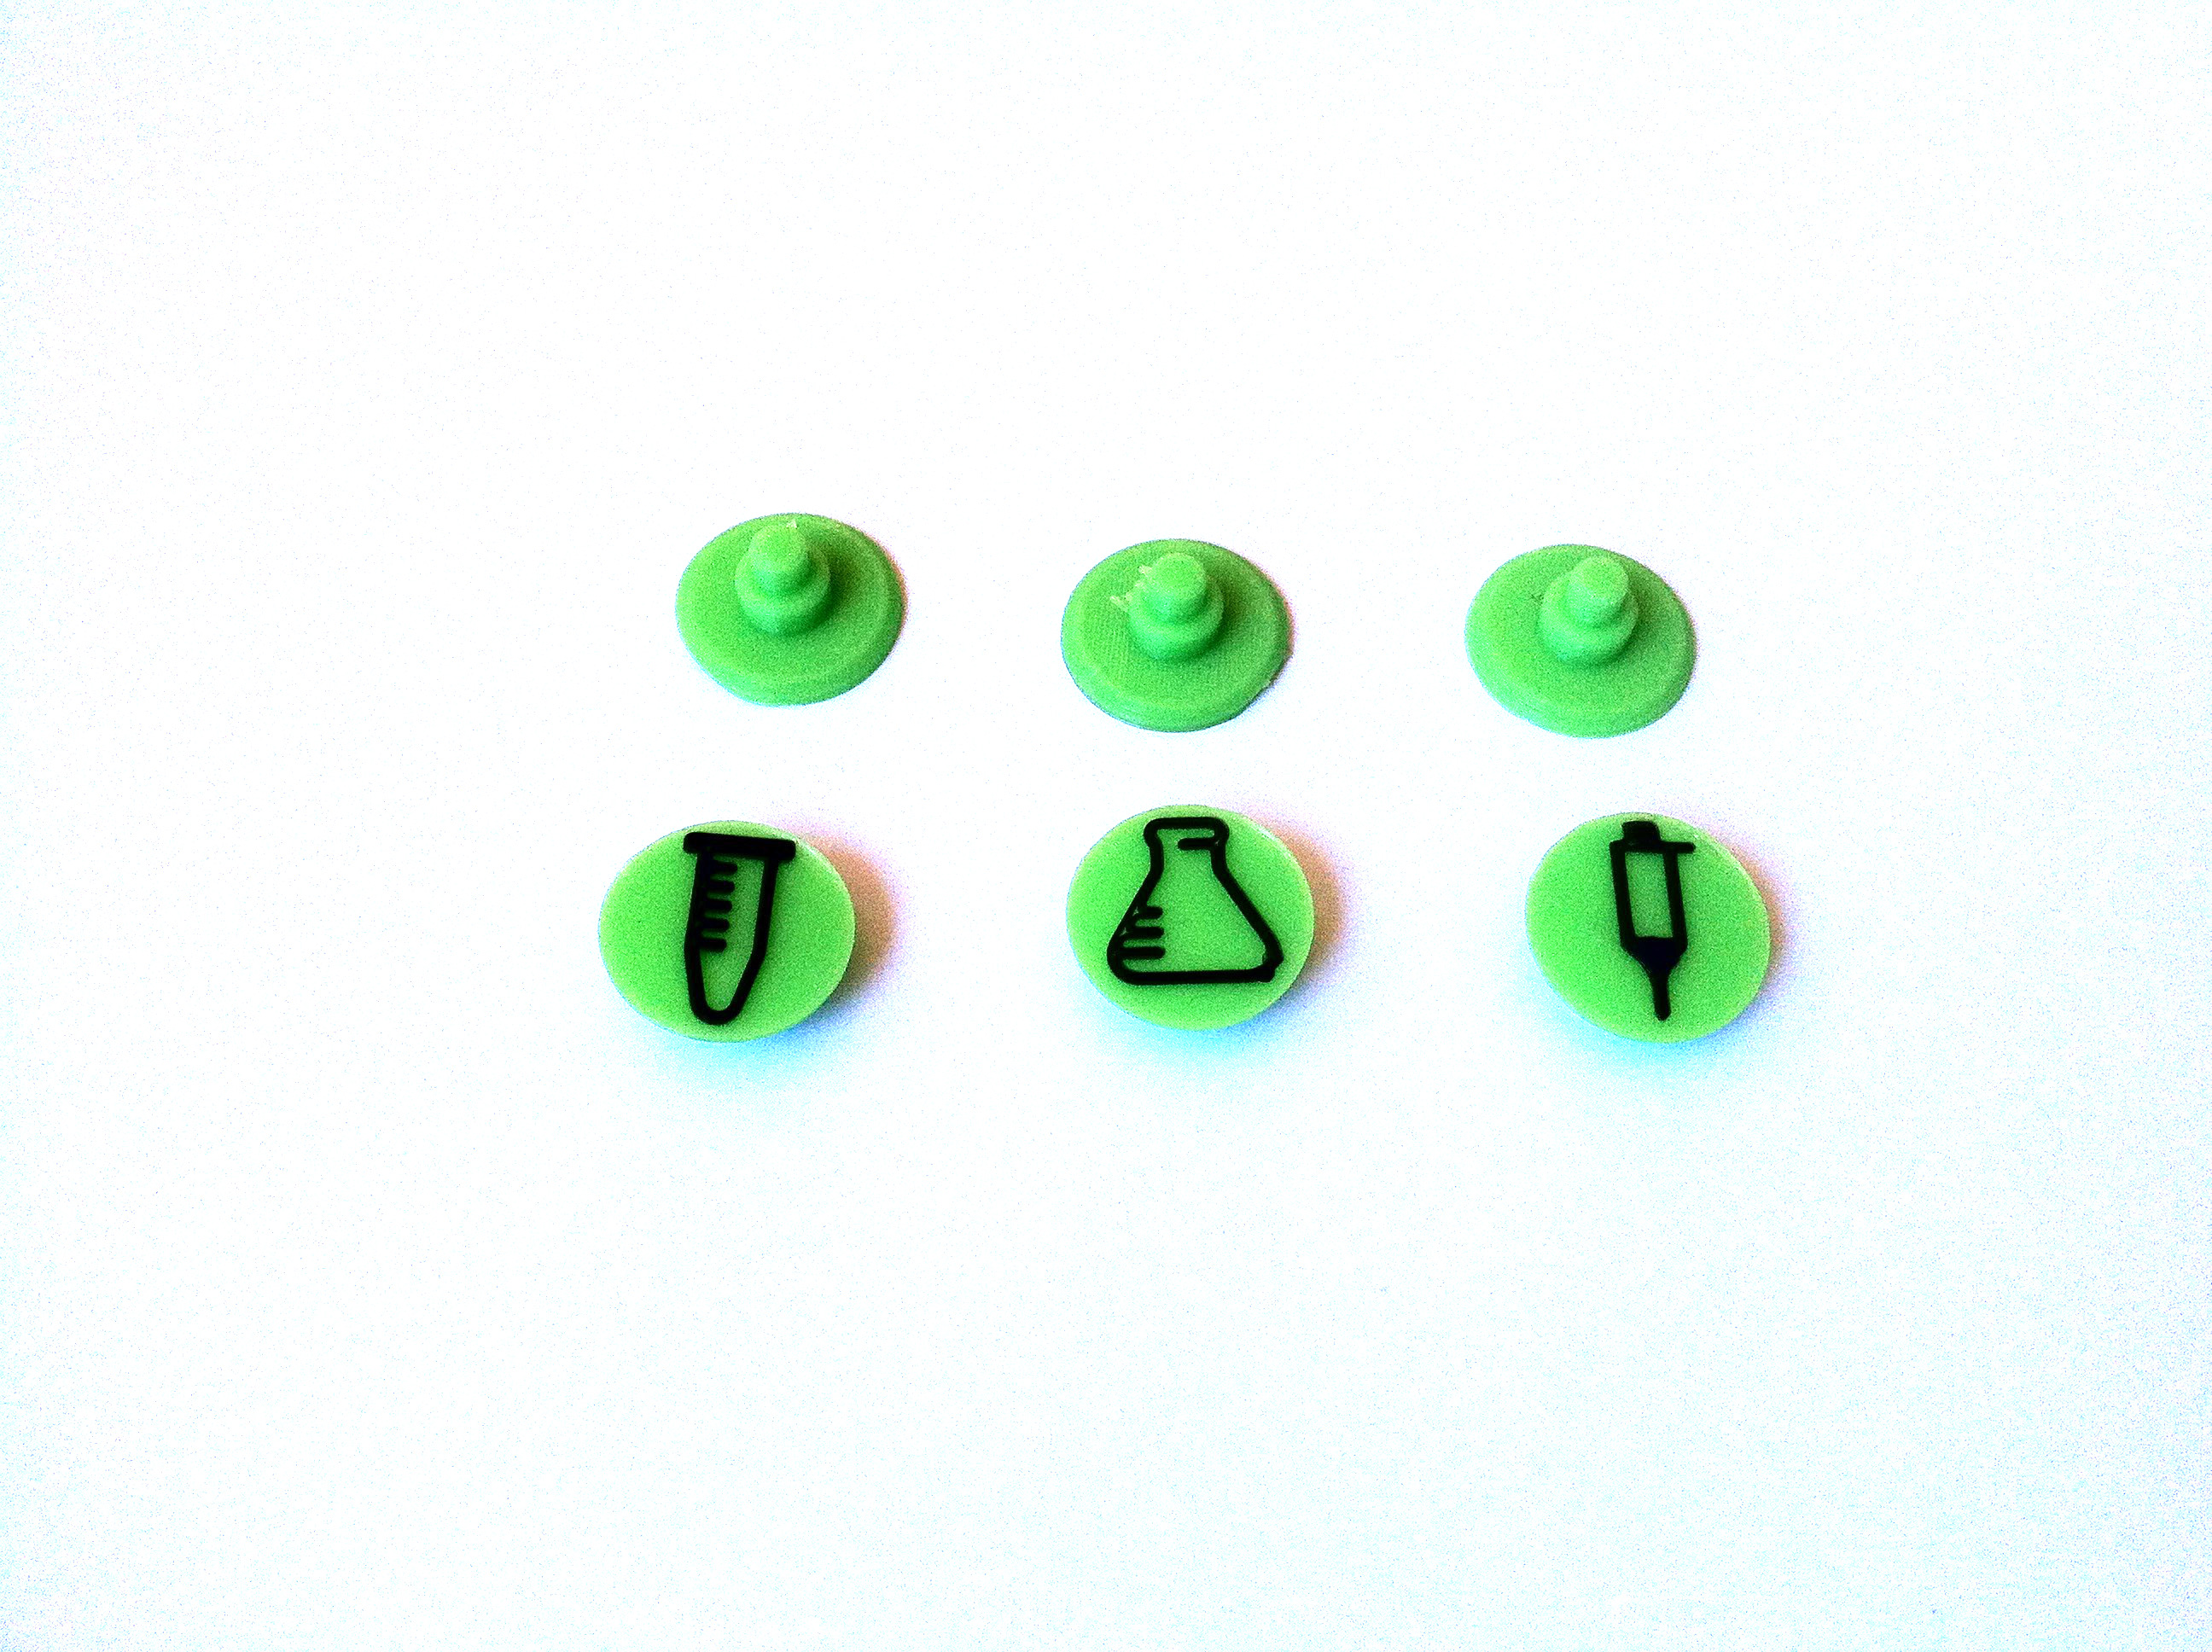
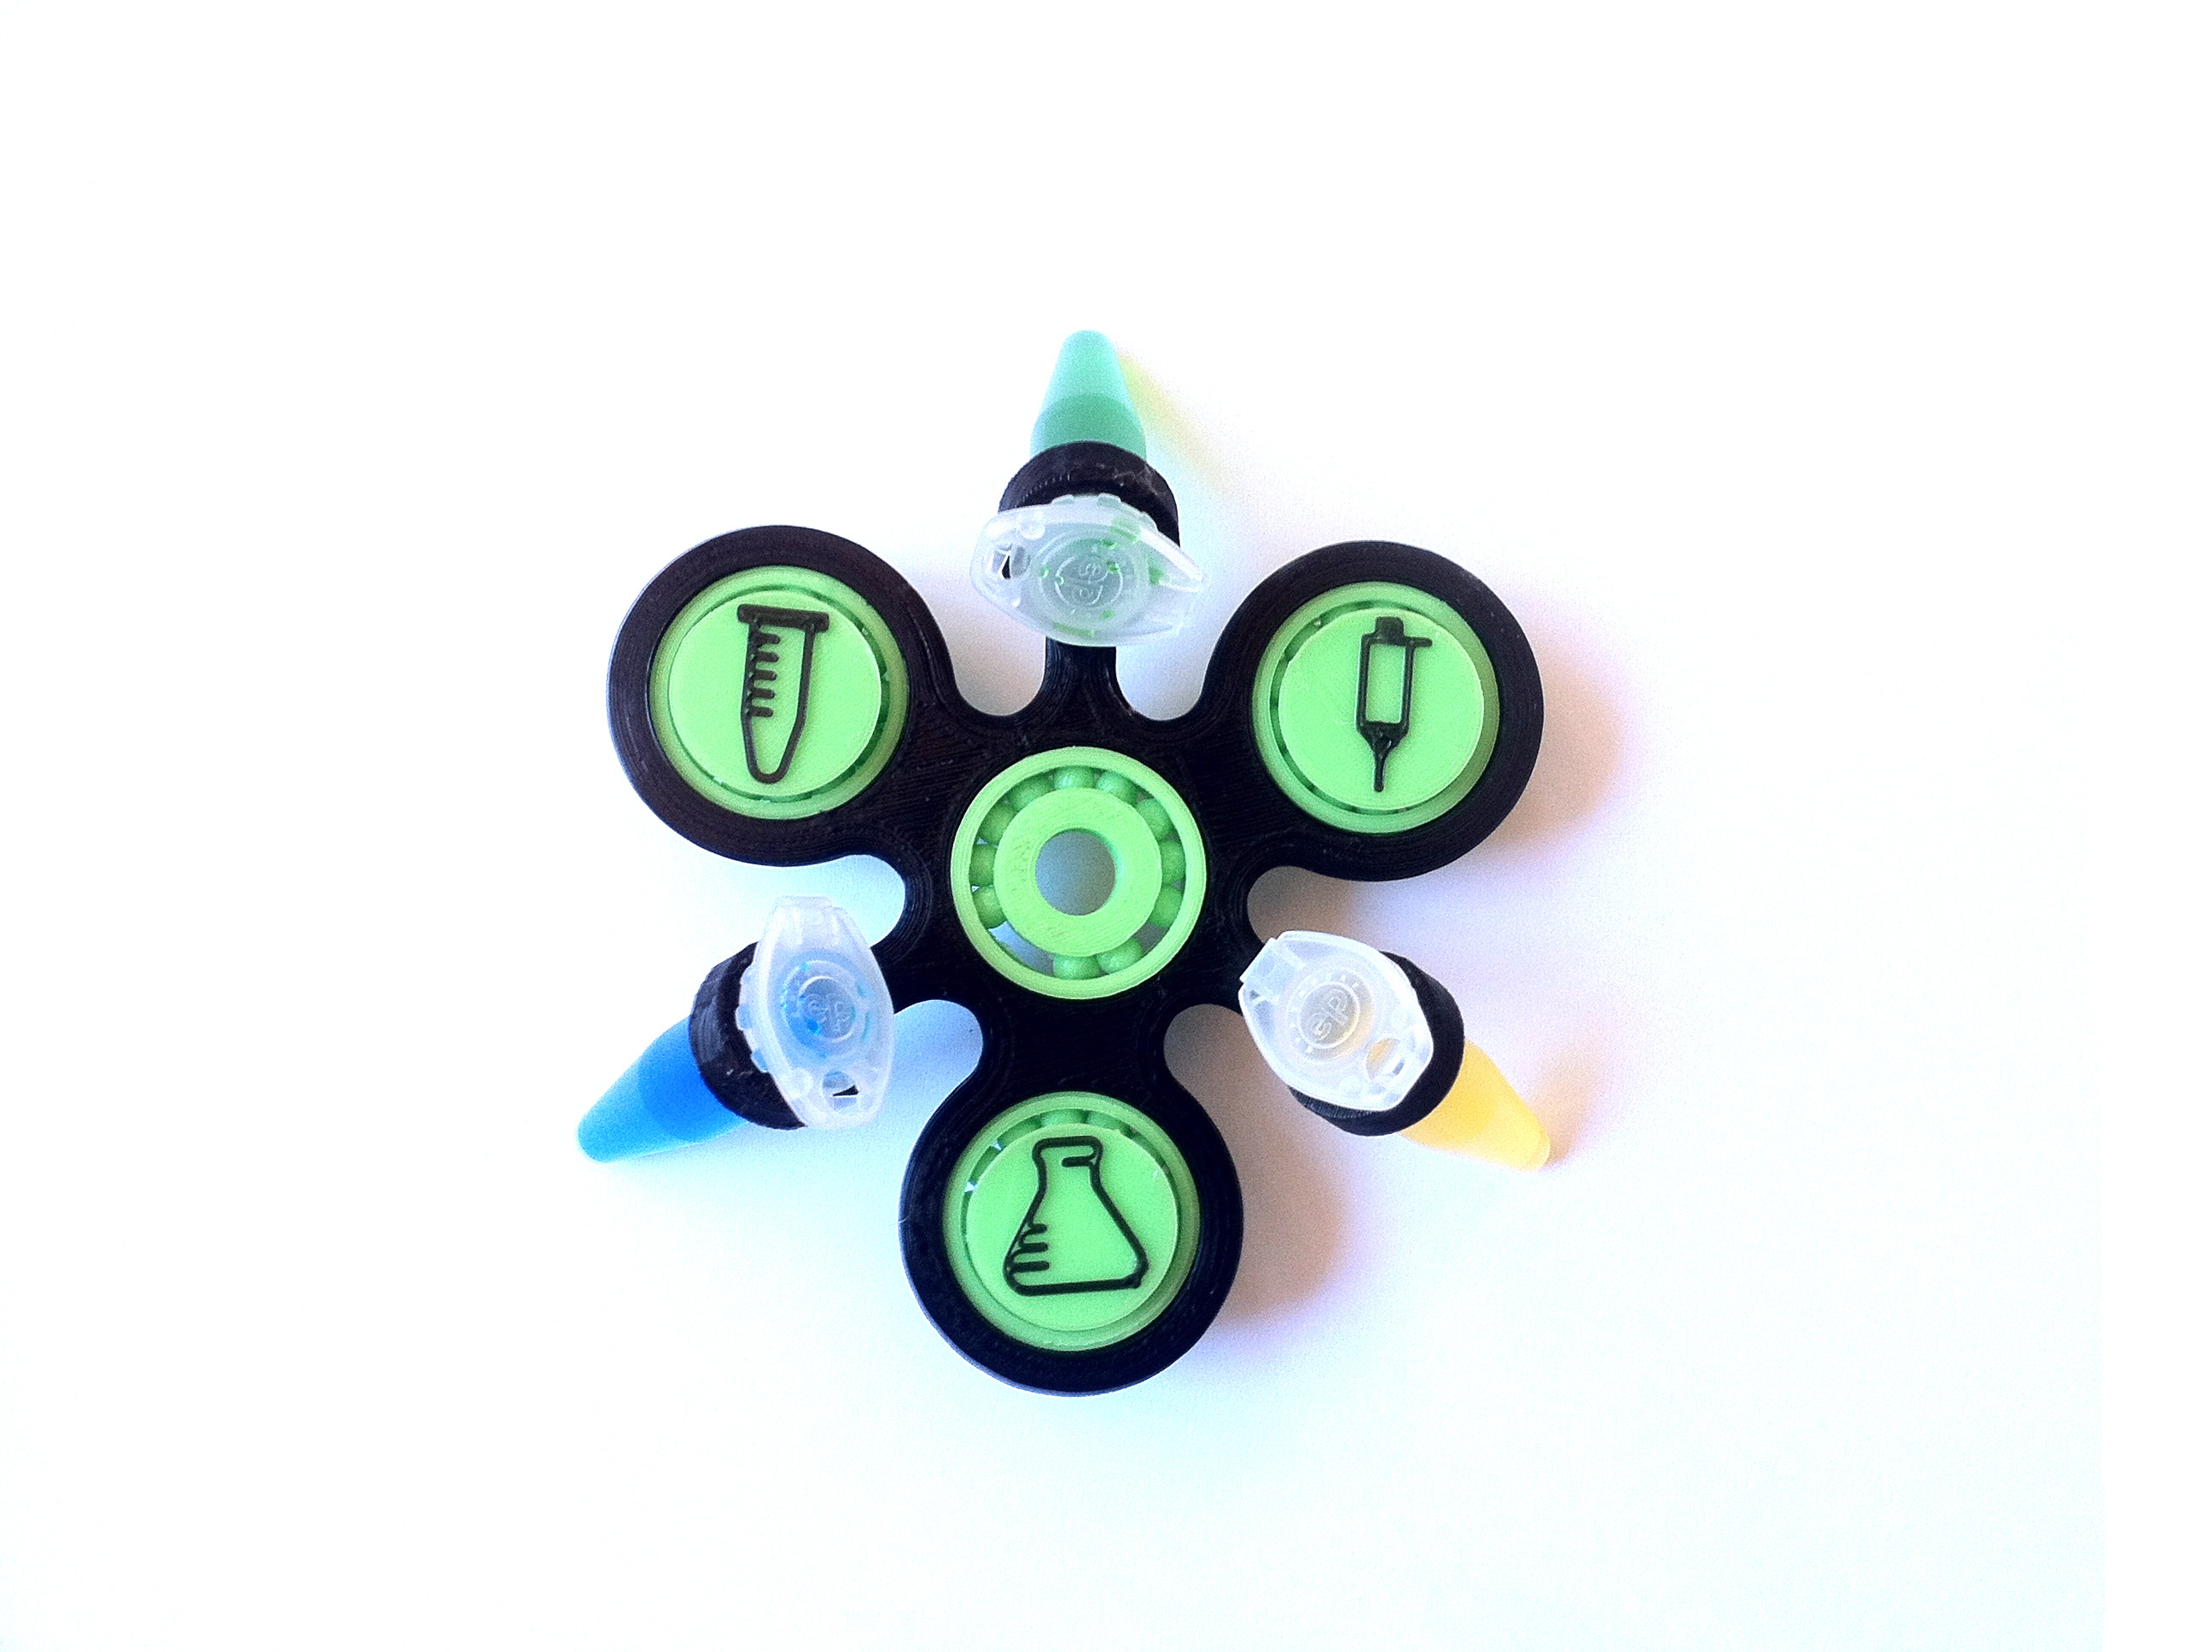
I have used caps that I found on thingiverse here. And I have added 3 different designs of objects you can find in many labs:
- An Erlenmeyer flask
- A tube
- A pipette
I will not go in the details in this step. Basically I have open the caps file as mesh, then design in "sketch mode", and I have combined the design with the cap.
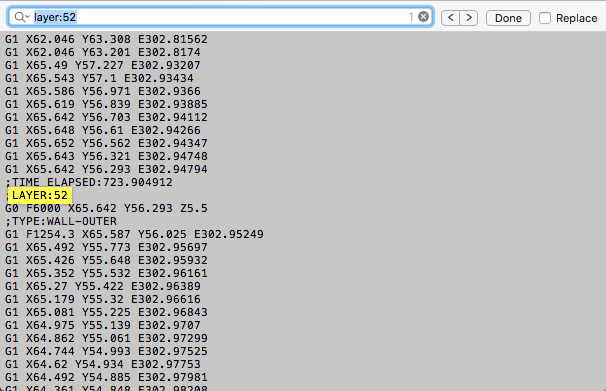
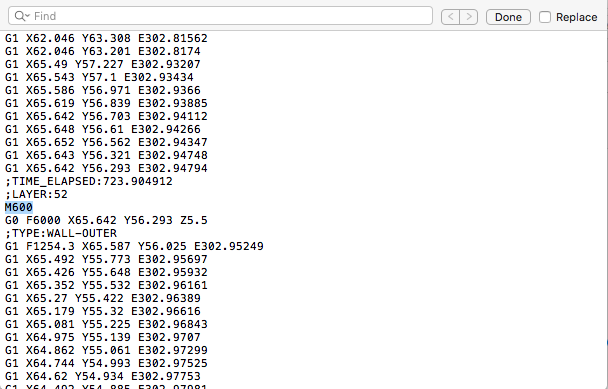
Also you can notice on the pictures that I have printed them with 2 colours. Actually I have printed the first part in green, then paused my 3D printer, changed the filament to black, and finished the object. You can pause your printer manually when it reaches the good layer, but it means you have to stay close to you printer which might be a bit long... So I have used the following automatic technique (it will work on any printer using Marlin firmware):
- Go to your slicer and check the different layers and where you want to change the filament.
- Export the .gcode as usual
- Then open your .gcode with a text editor
- Find the layer you want (ctrl+F for windows or cmd+F for mac). For example, type "layer:52".
- Then type "M600", which is a command that pauses your printer so you can change your filament. And save it.
- Launch your printer with this .gcode.
- Change your filament when the printer is paused.
- Then continue your print.
Adapters for Smaller Tubes
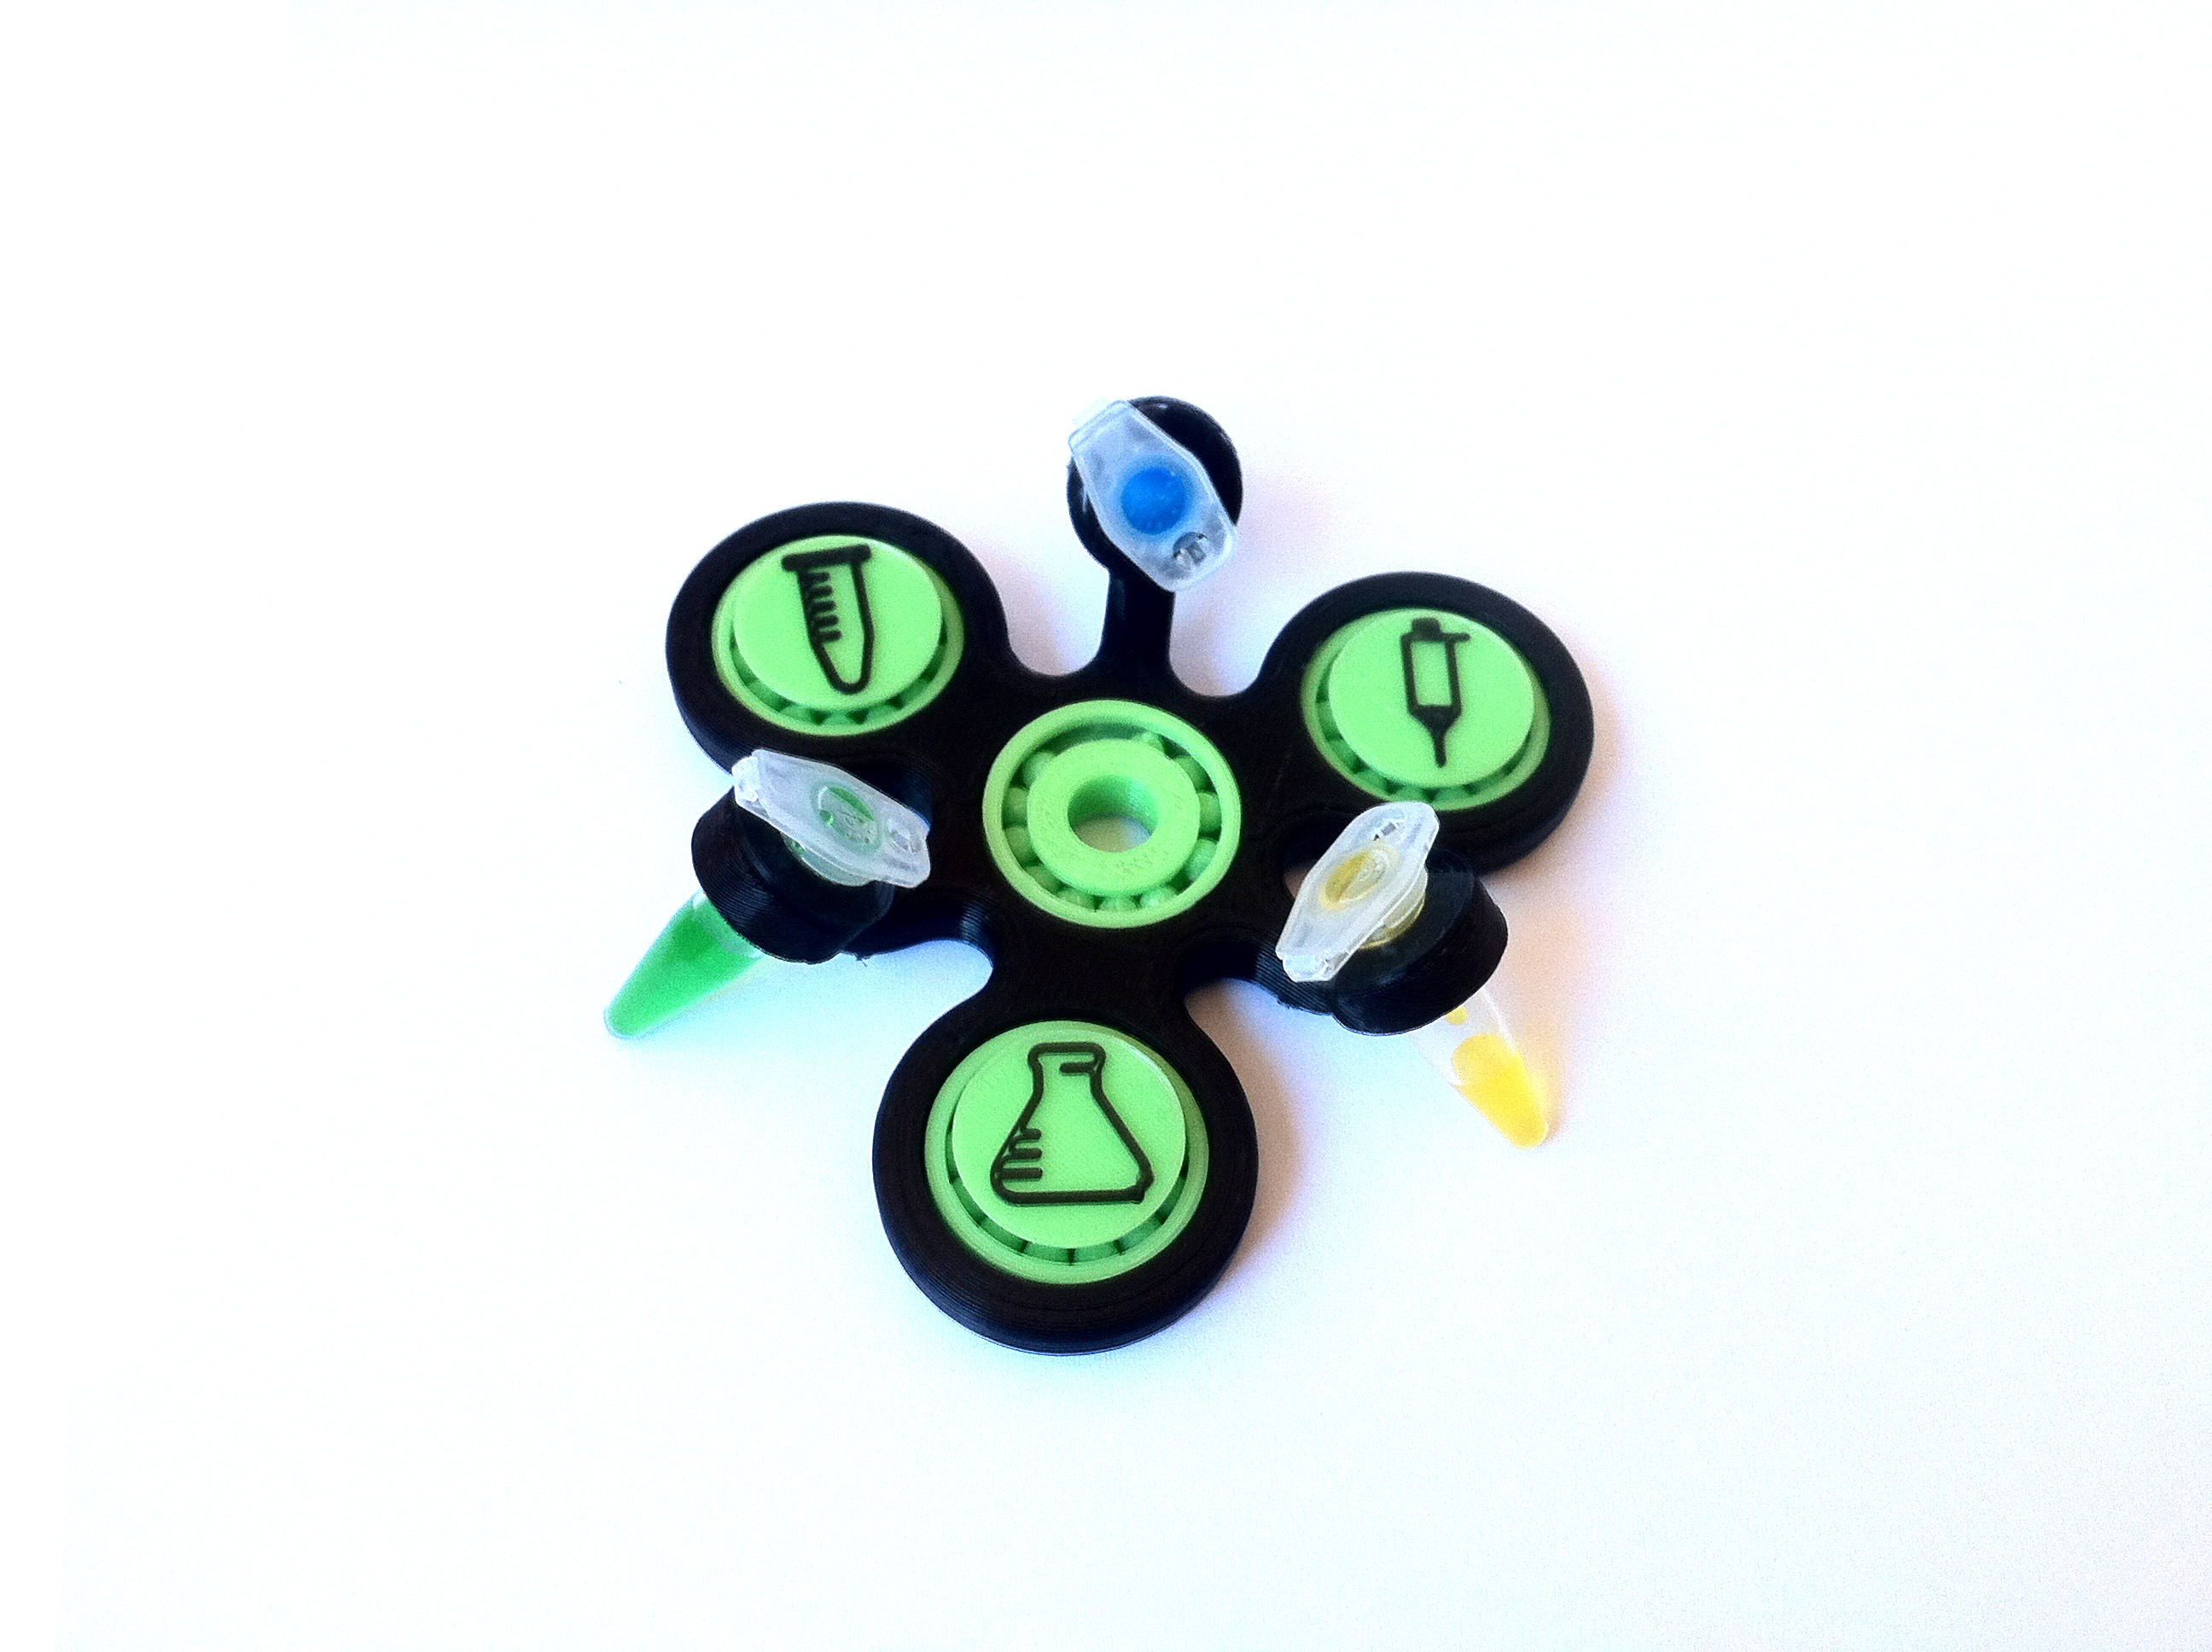
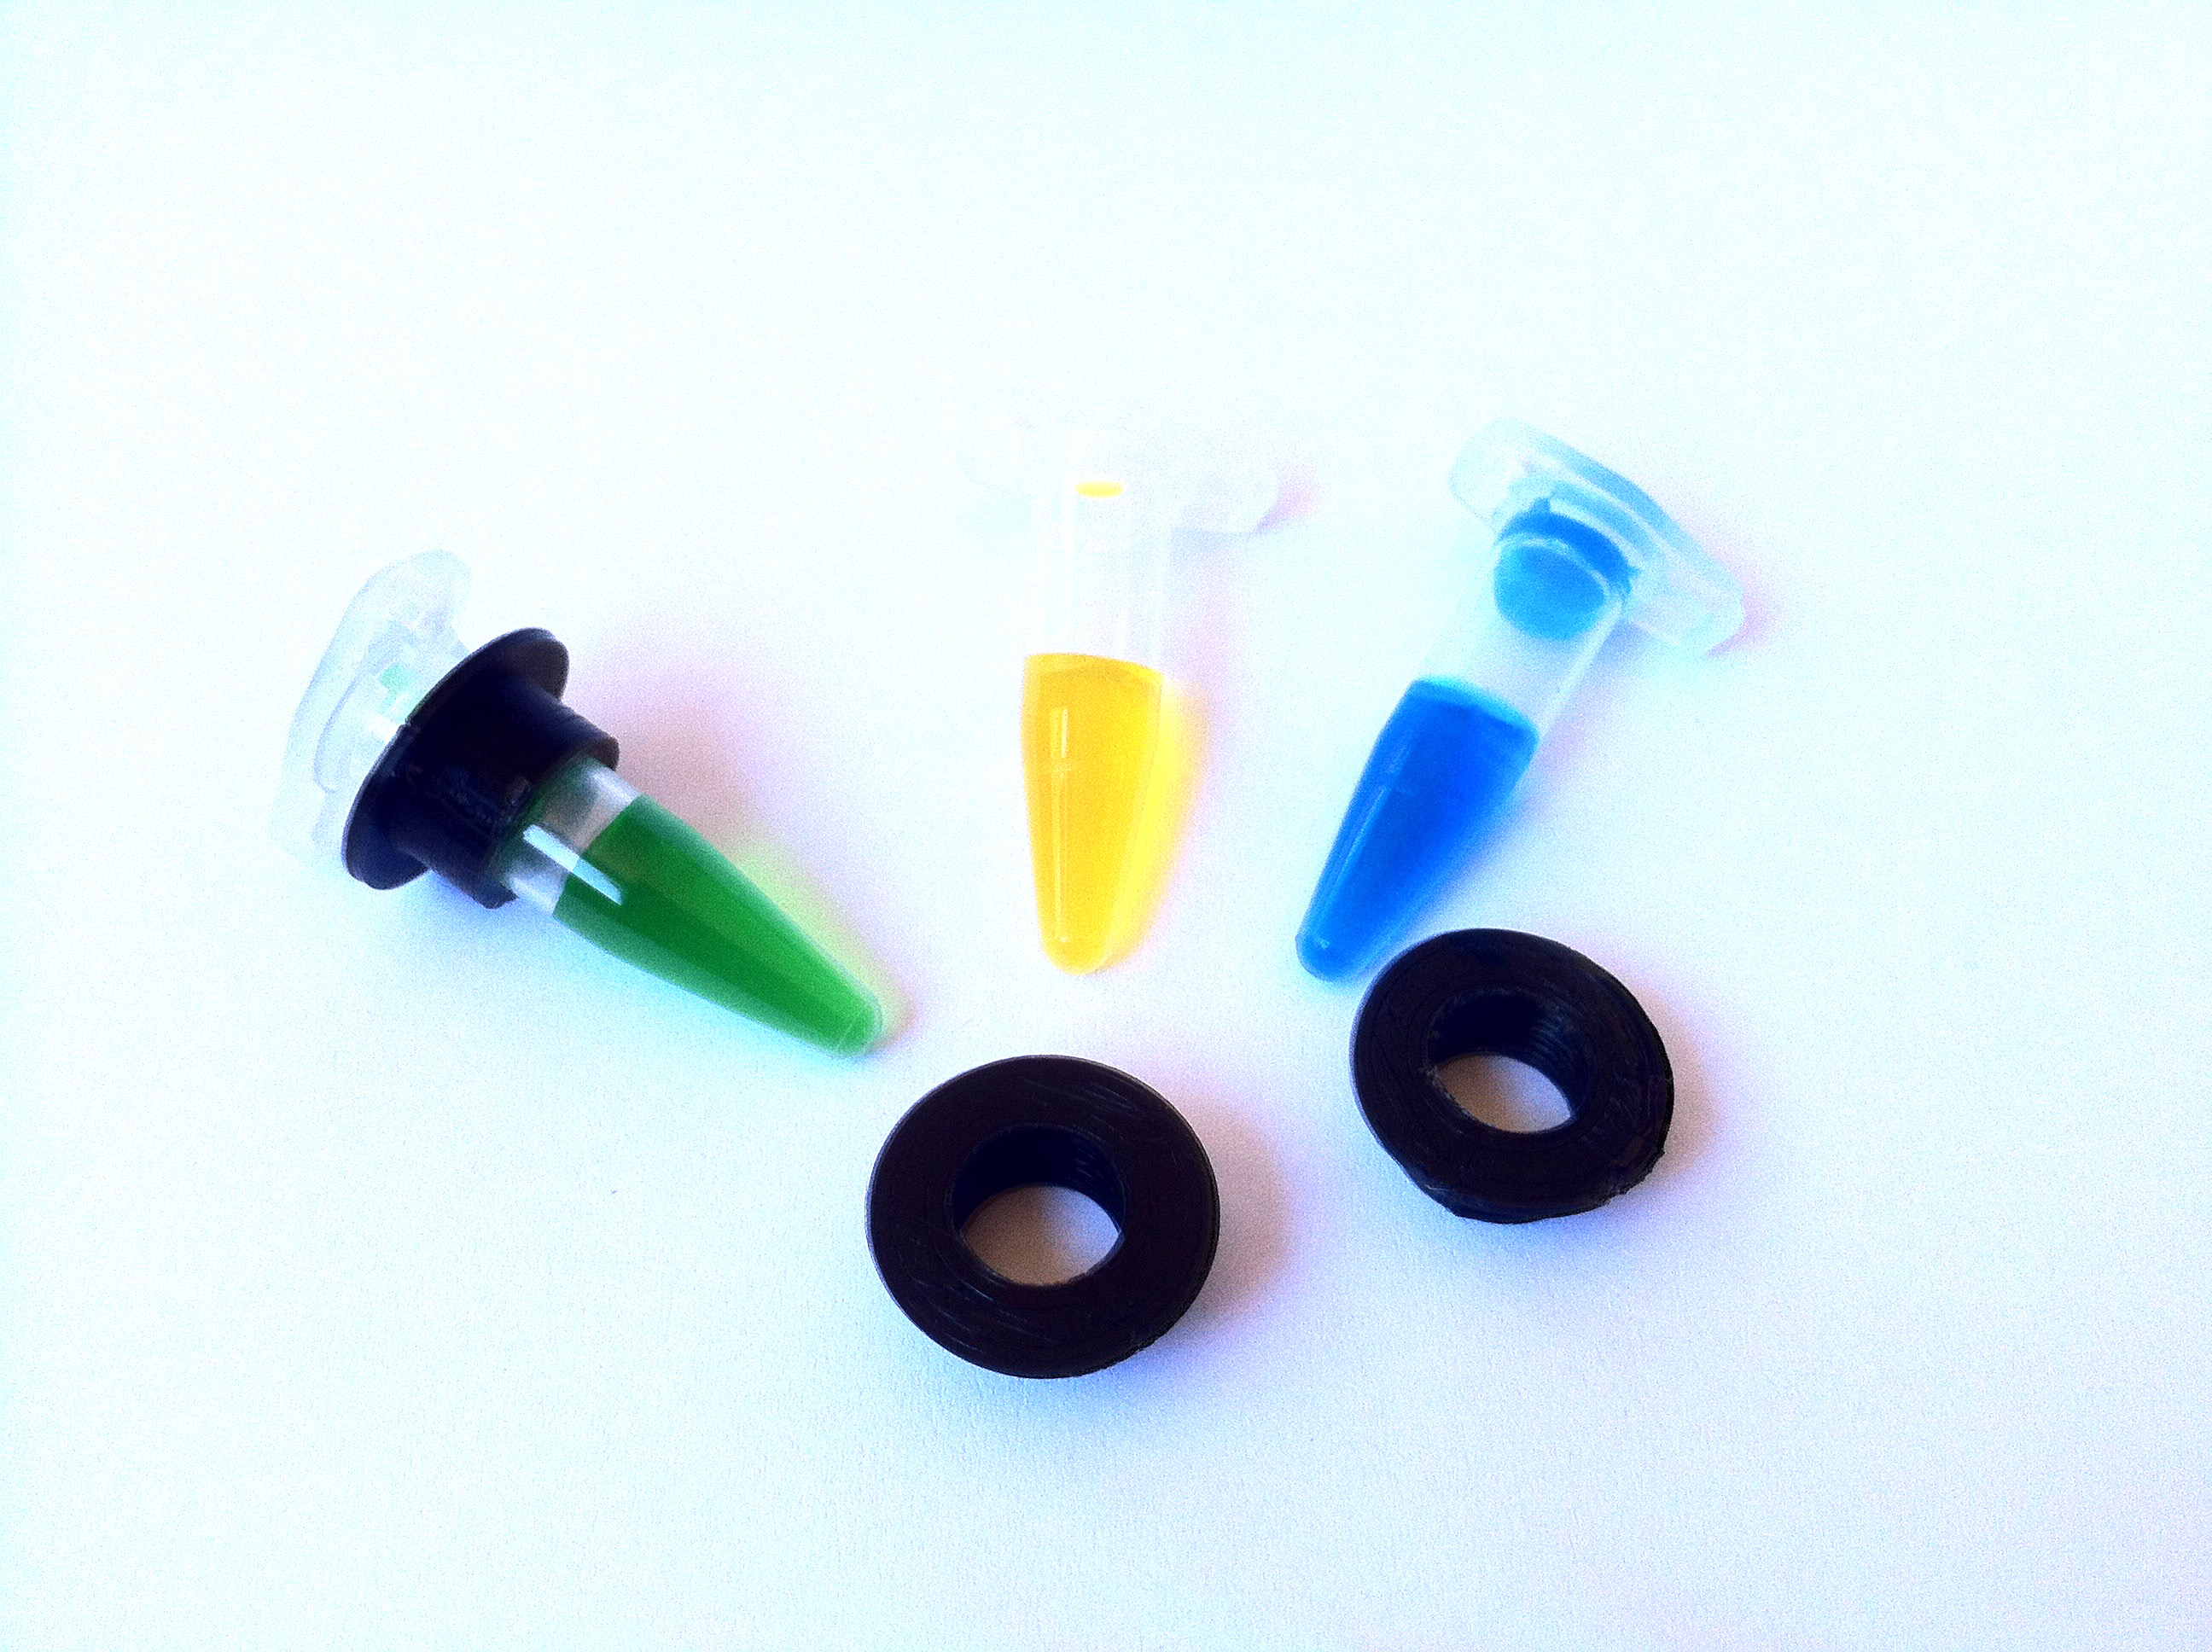
I made this spinner for 2mL and 1.5mL tubes... But if you want to centrifuge 500 microL tubes, you can use this adapters!
Downloads
Files and More
Here you can download the file to print the fidget spinner.
Don't forget to visit my thingiverse account here!
And you can also go check my entry for the fidget spinner contest here.
Feel free to comment, I'd be glad to hear what you think about it, if you want to try it!