LPG Gas Leakage Detector Using Node MCU With Blynk Application
by Technoesolution2020 in Circuits > Arduino
12220 Views, 2 Favorites, 0 Comments
LPG Gas Leakage Detector Using Node MCU With Blynk Application
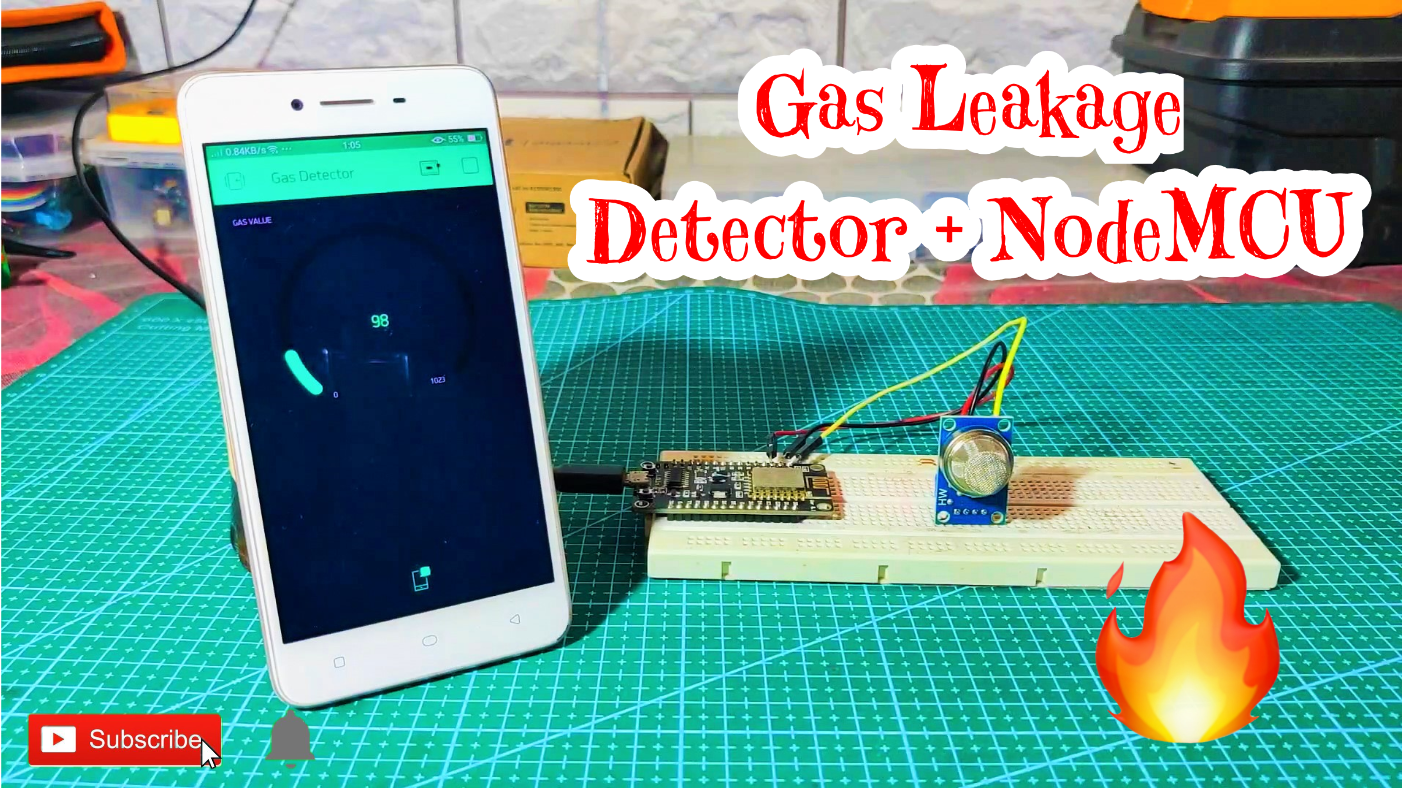
Hello, friends welcome back to Techno-E-Solution, In this tutorial, I'll show you How to make a gas leakage detector Using an MQ-2 Gas sensor with a Node MCU ESP8266 wifi development board. We also use the Blynk application to Display the gas value in the form of Gauge, it also shows the notification when gas will get detected. This project is very useful to avoid accidents in homes & Industries.
How It Works:-
Here we use an MQ-2 gas sensor that detects the LPG, Alcohol, Smoke, etc, gases. If there is a gas in the air the resistance between two electrodes of the gas sensor gets increased according to the gas presence. We use node MCU as a microcontroller or a wifi development board that reads the analog values from the gas sensor. In the code, we set the gas value [200]. The node MCU sends these analog values to the Smartphone to the Blynk application. when the gas value gets increased above 200 the app shows the notification "Gas Detected".
So without wasting any time Let's make it.....
Wait....Wait... Wait if you not subscribe to our youtube channel yet, then subscribe to it for more interesting projects.
Follow me on:-
| YOUTUBE | INSTAGRAM | FACEBOOK | INSTRUCTABLES | DAILYMOTION | HACKSTER |
MATERIAL REQUIRED
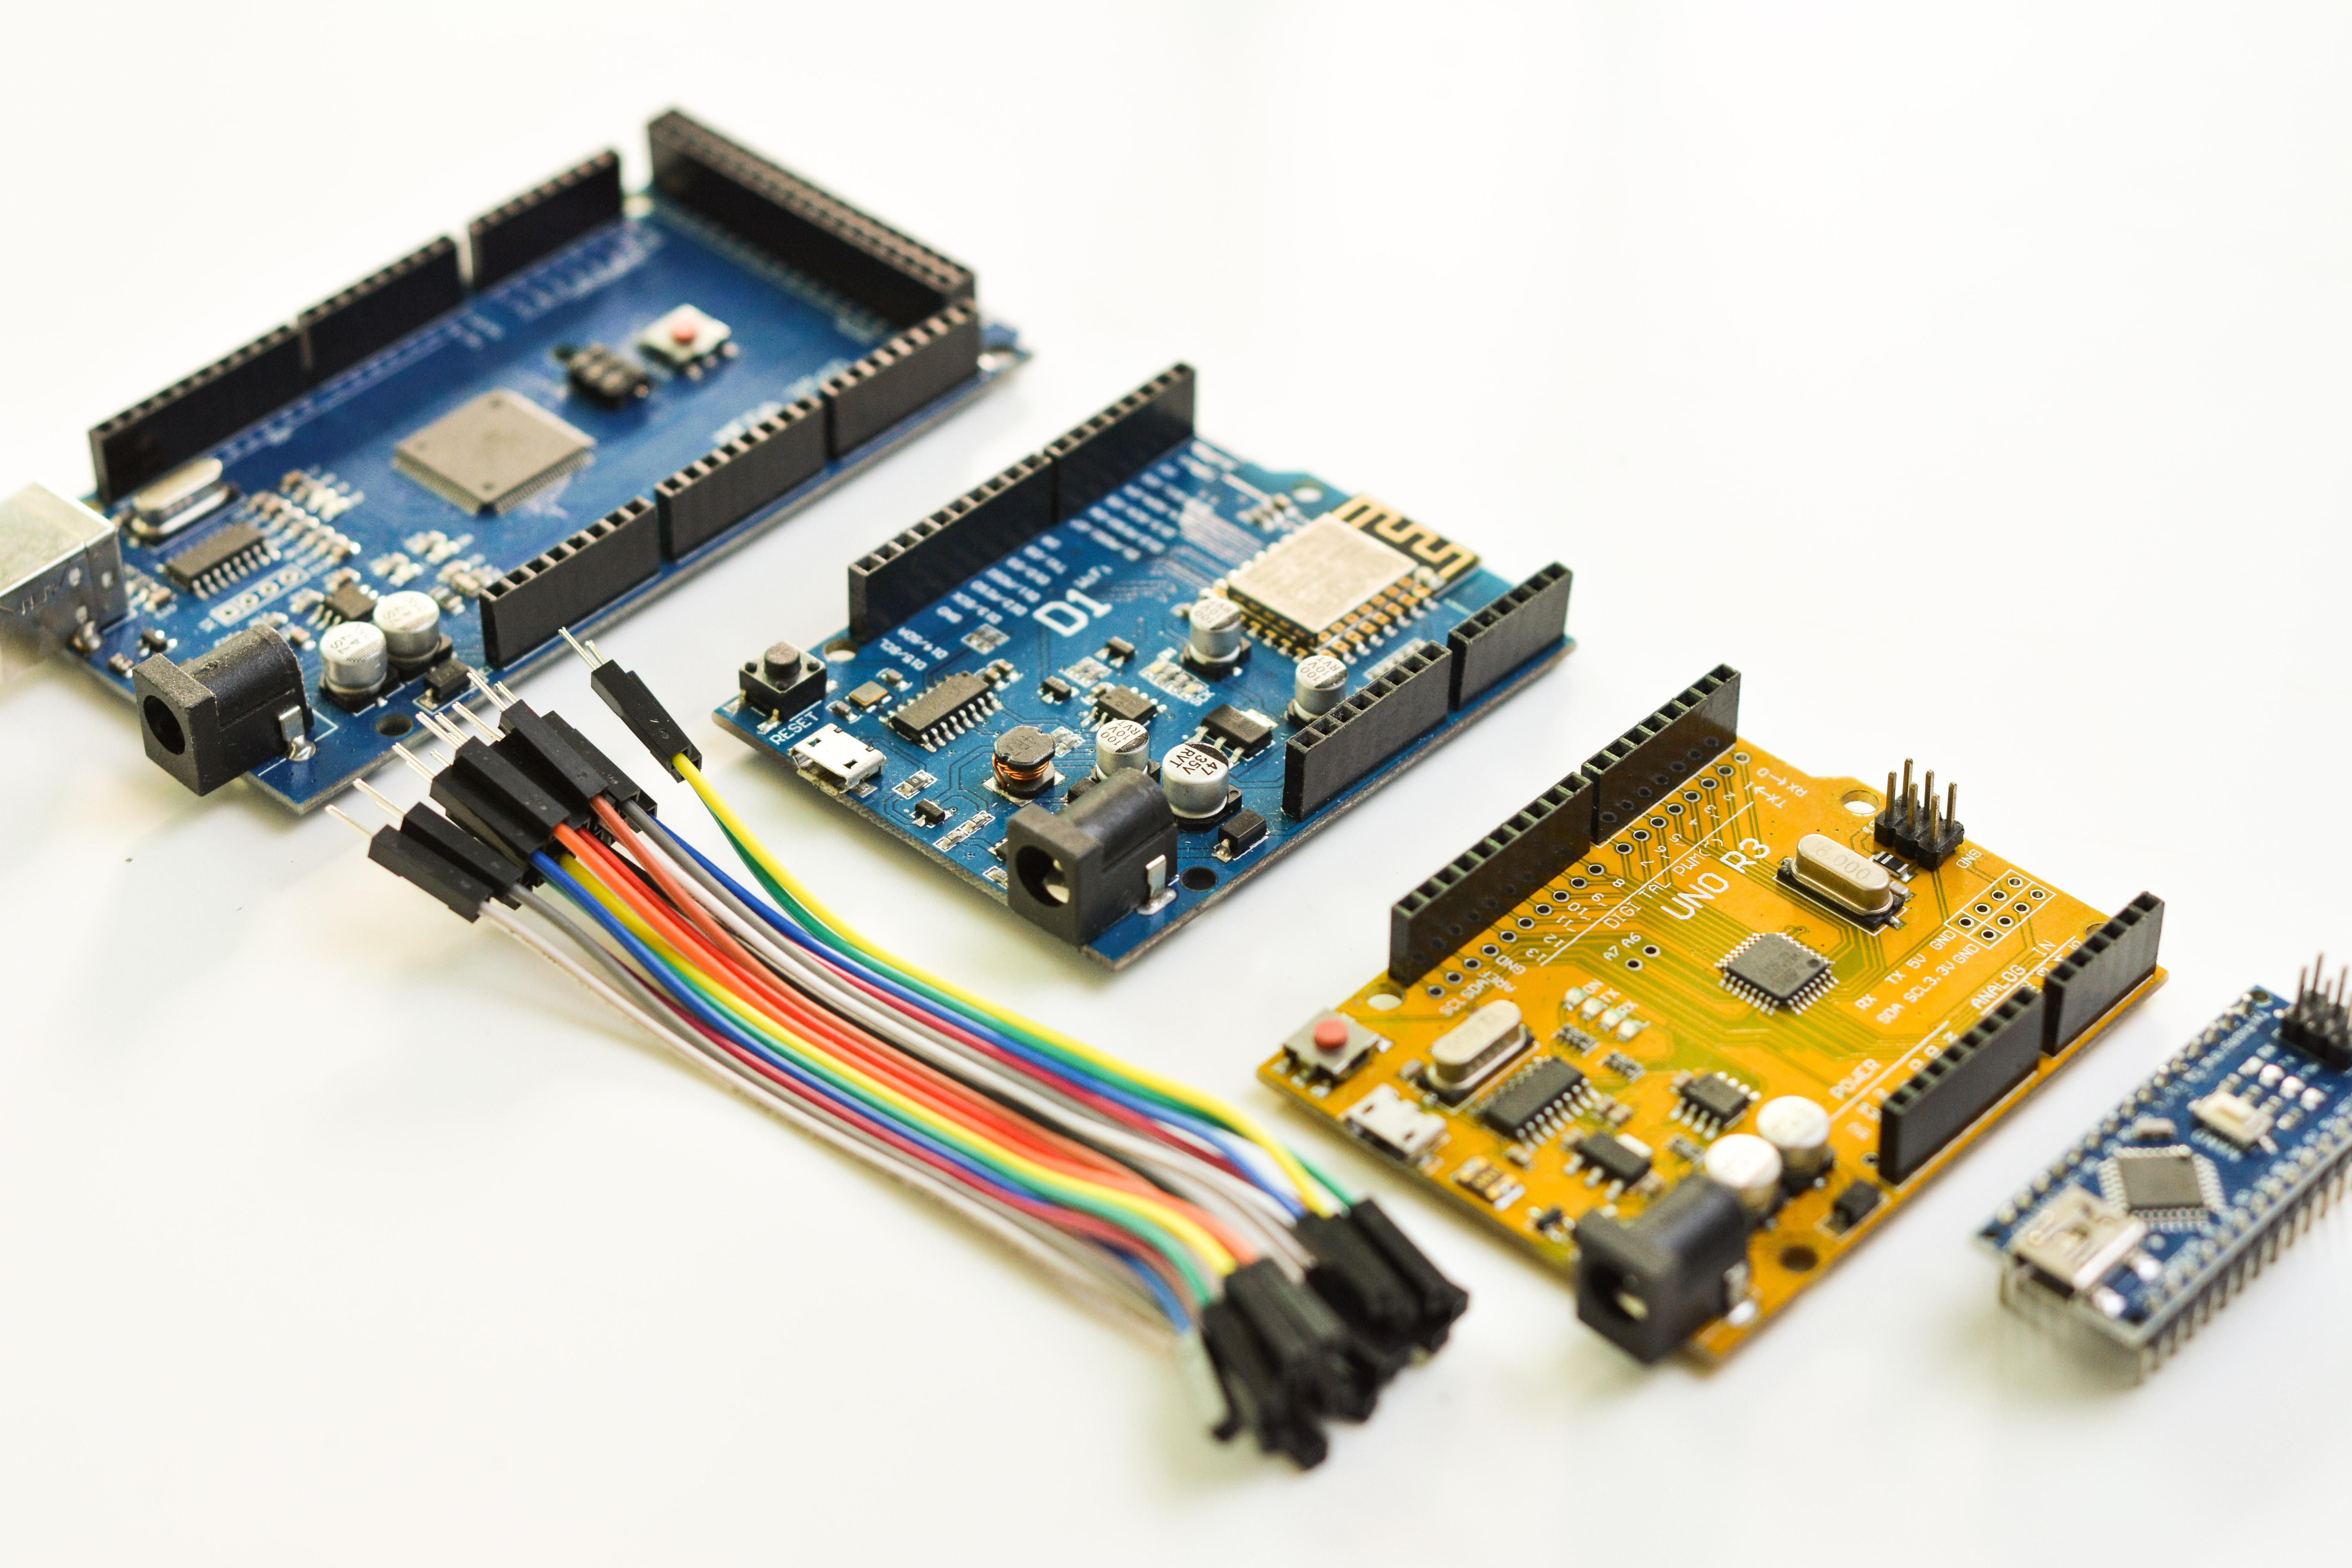
To make this project we need some components (Best Buy Links are Provided):-
[ Above link are affiliated if you buy from the above link, We got some bonus from it. ]
CIRCUIT DIAGRAM
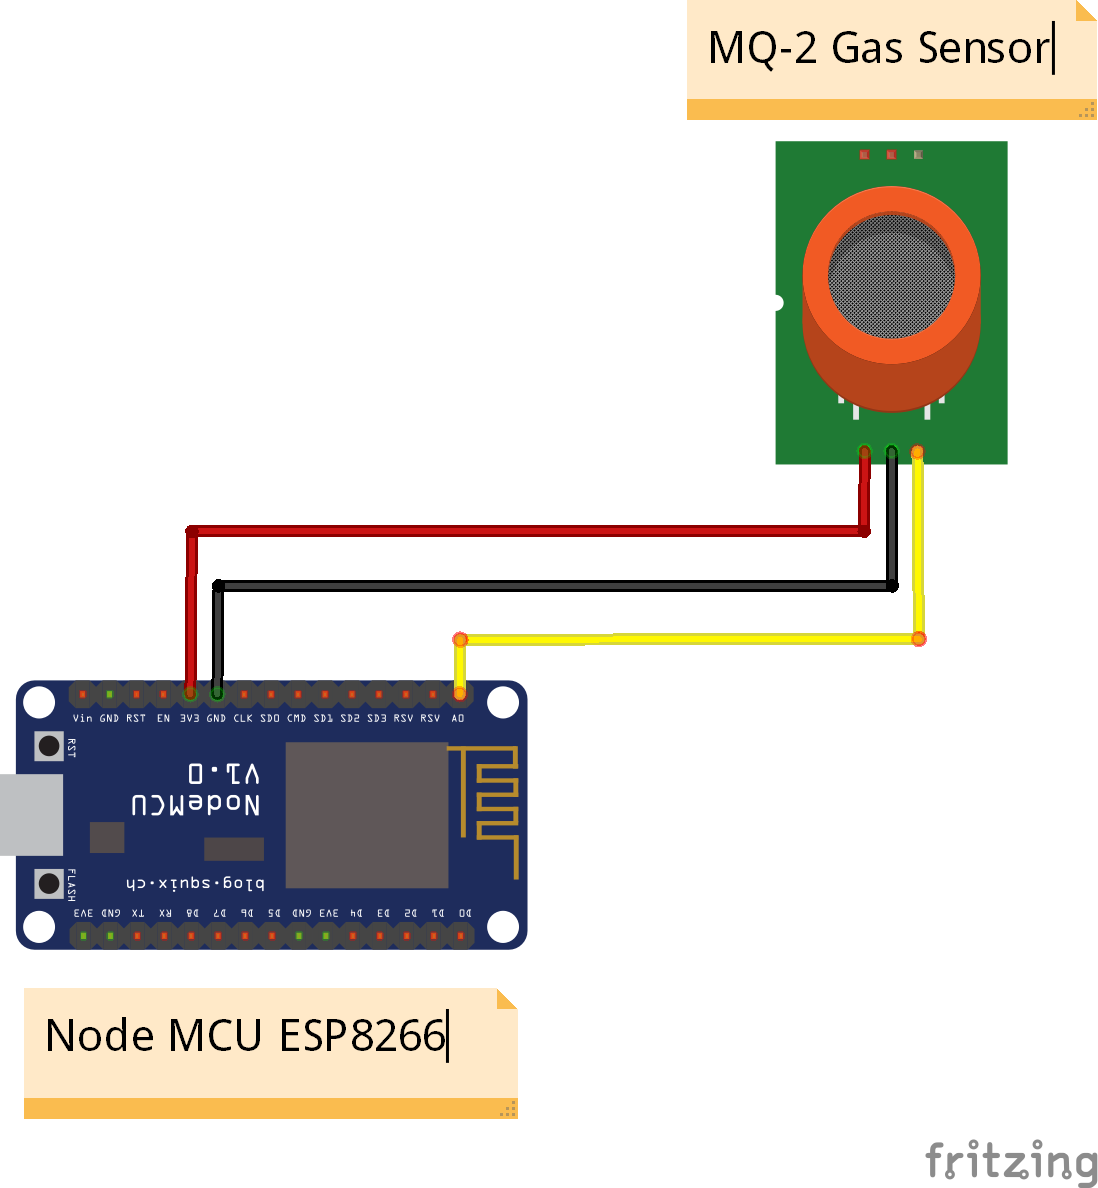
Refer to the above circuit diagram to make a connection
NodeMcu ---- MQ-2 Sensor
A0 >> A0 (Analog Pin)
G >> GND
3v3 >> VCC
Next PCB
NextPCB is a high-quality PCB Manufacturer. With professional PCB manufacturing capabilities, our PCB engineers with more than 10 years of experience will double-check your engineering files.
NextPCB is certified by IATF16949, ISO9001, ISO14001, UL, CQC, RoHS and REACH; more importantly, we handle the whole process including the PCB prototype, PCB manufacturing, PCB assembly, testing, and final shipment. We are capable of assembling BGA, Micro-BGA, QFN, and other leadless package parts. We also have an online parts shop, you can choose any parts you need.
If you are want to make PCB go through the NEXTPCB
BLYNK APP INSTALLATION & SETUP
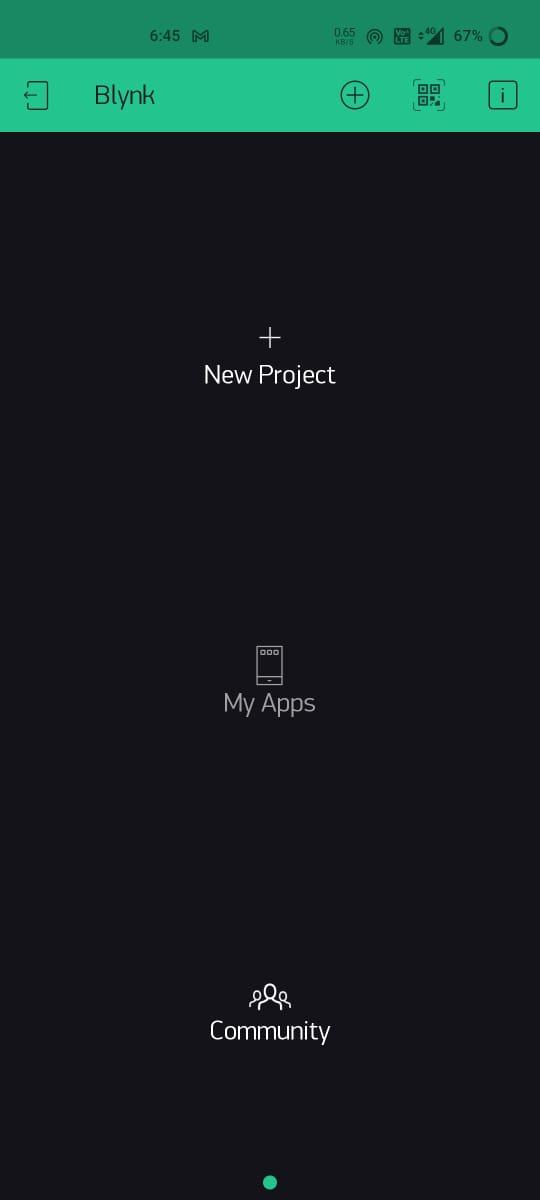
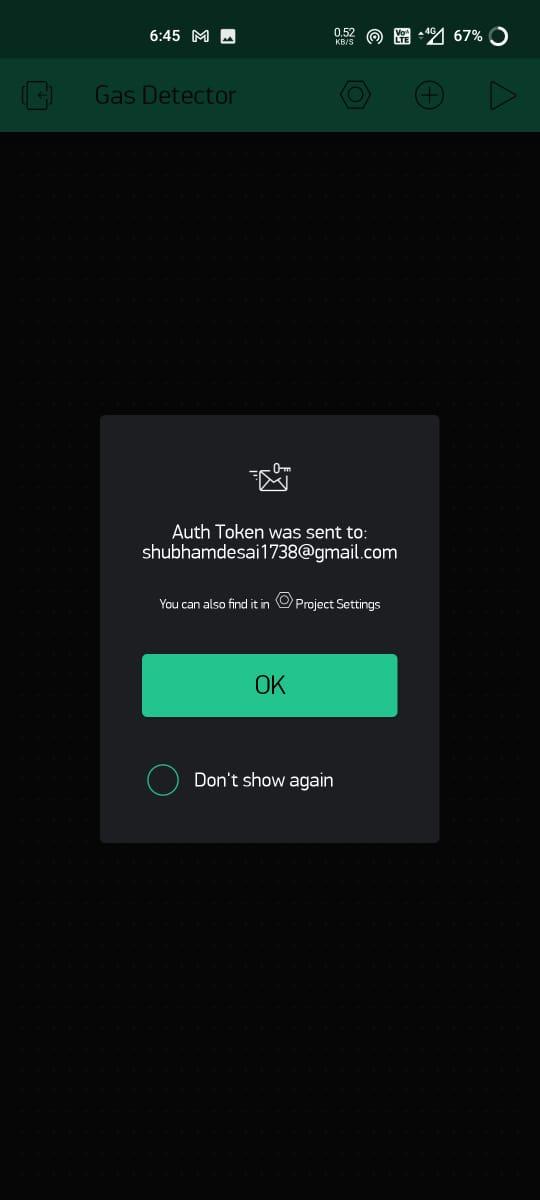
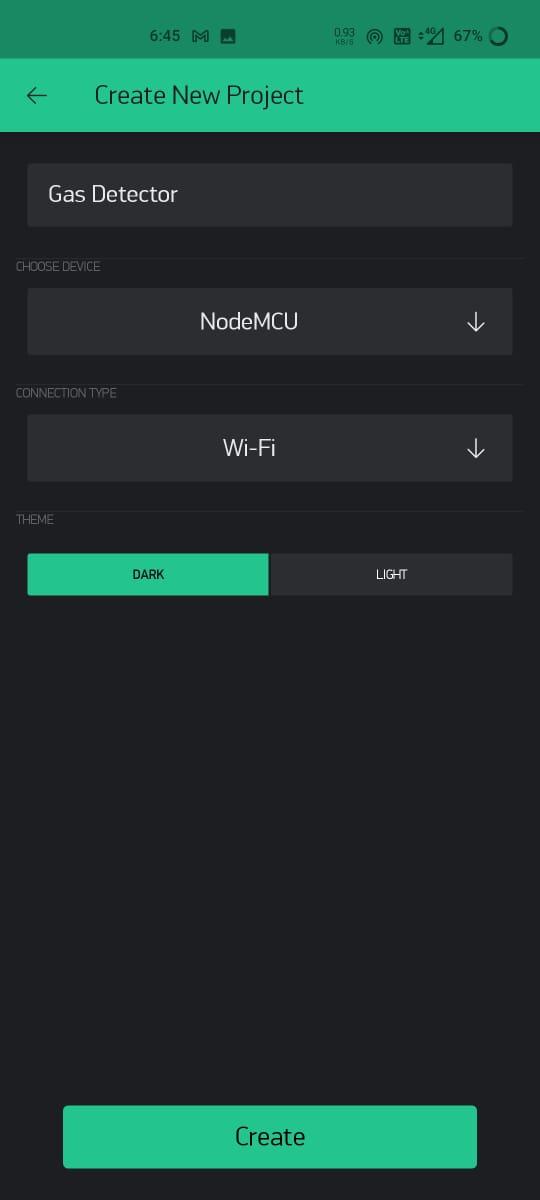
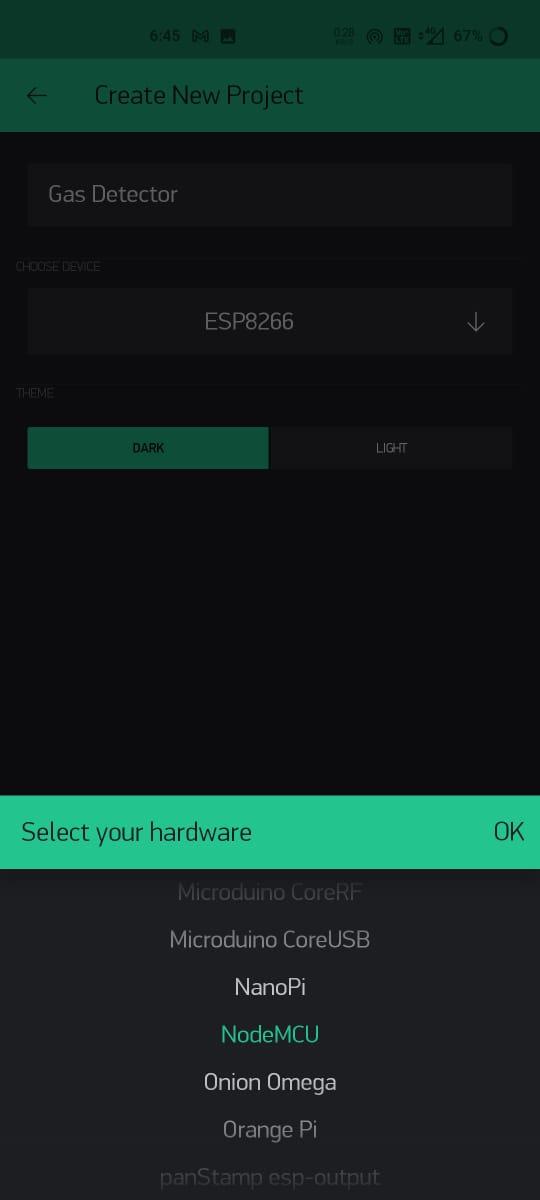
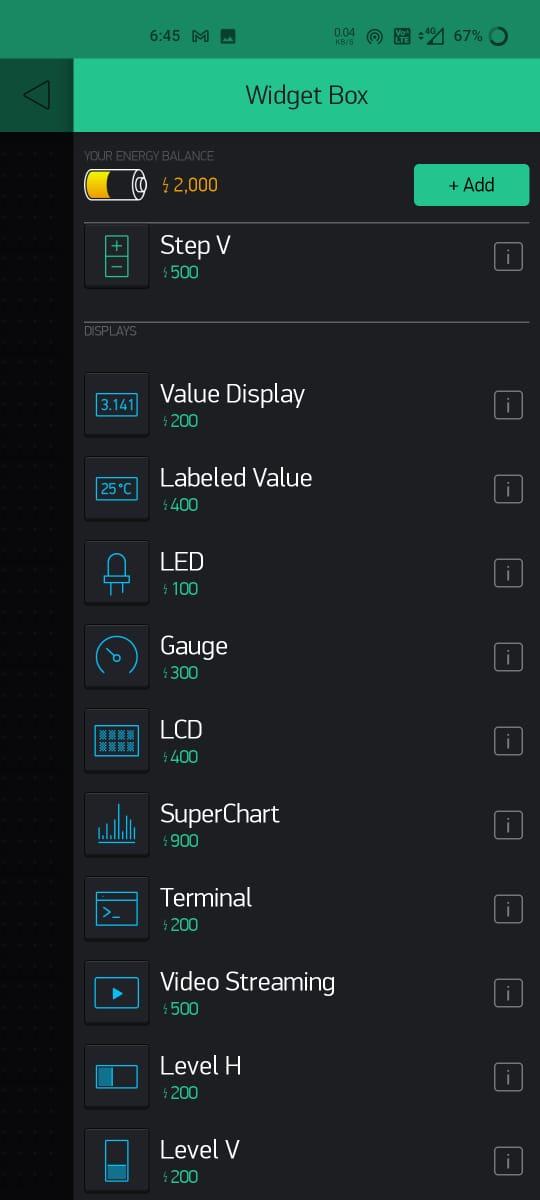
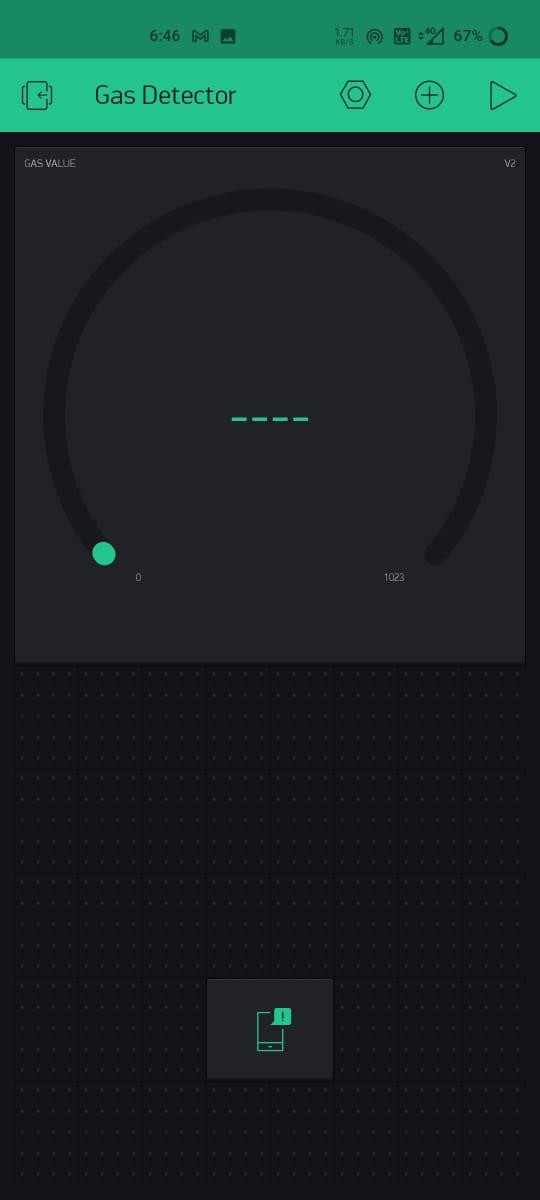
Let's Setup the BLYNK app:-
- Install Blynk App from google play store.
- Create Account On Blynk.
- Create New Project.
- You will get Token on your E-Mail.
- Give Name to Project.
- Select Hardware (NodeMcu) & Connection Type (WIFI)& click on Create Button.
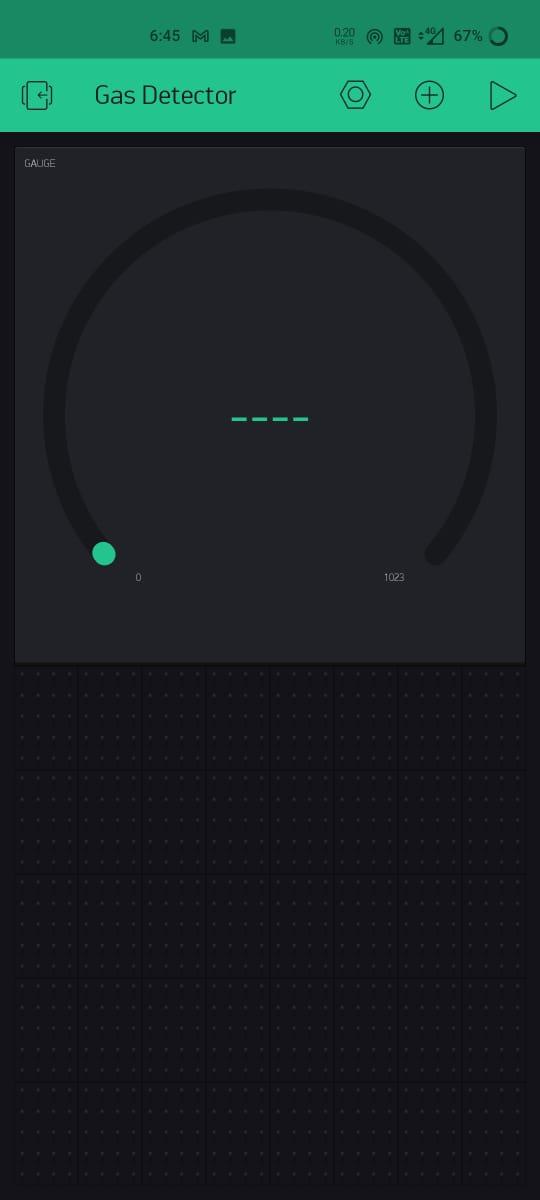
- Add gauge using Widget Box.
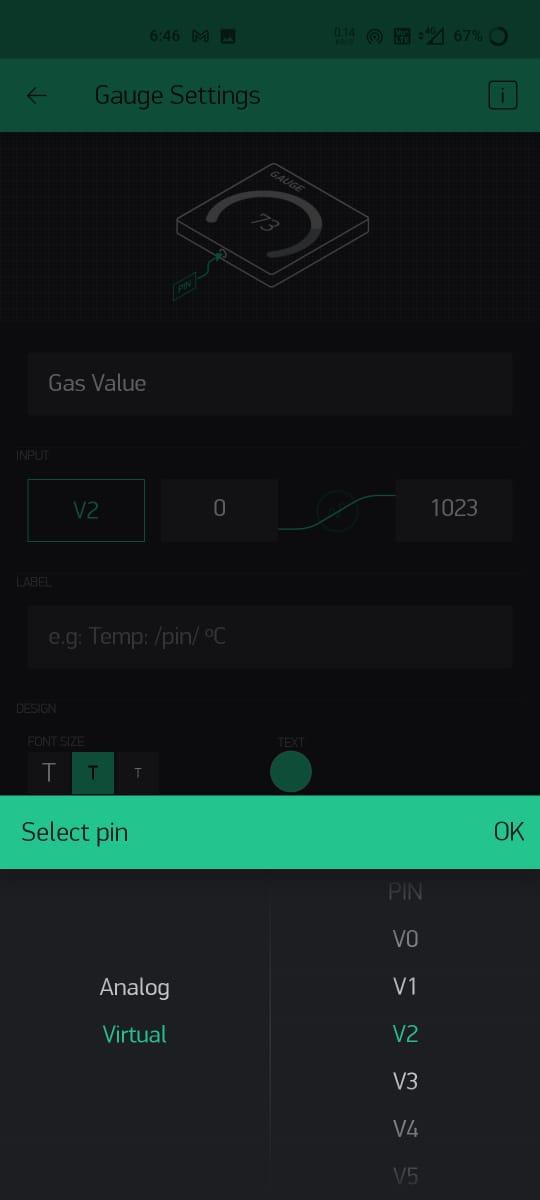
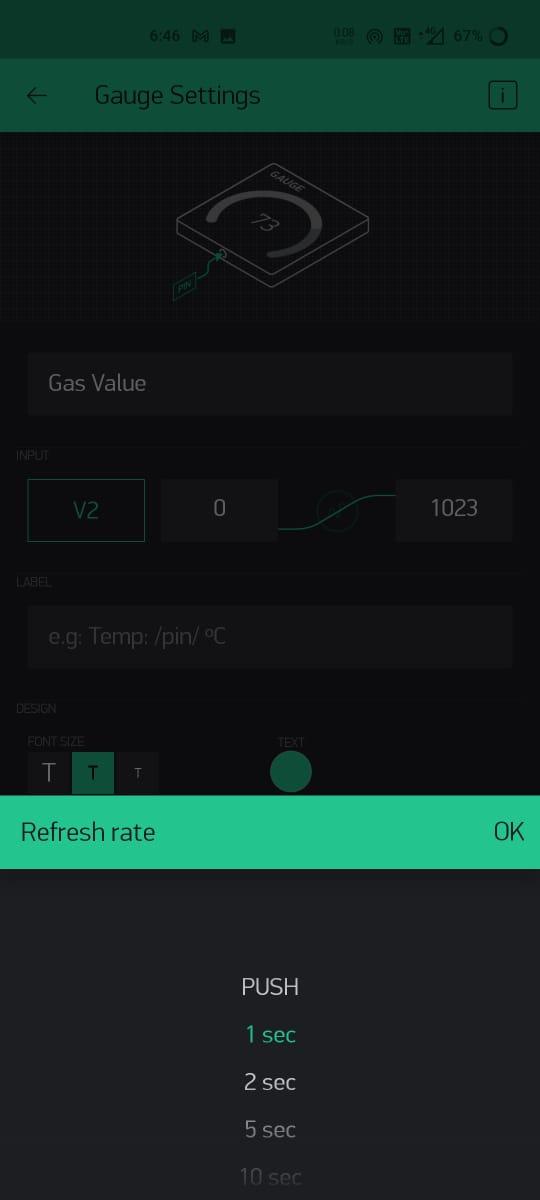
- Gave name to the Gauge as "Gas Value", Select Pin > Virtual > V2, Push > 1Sec.
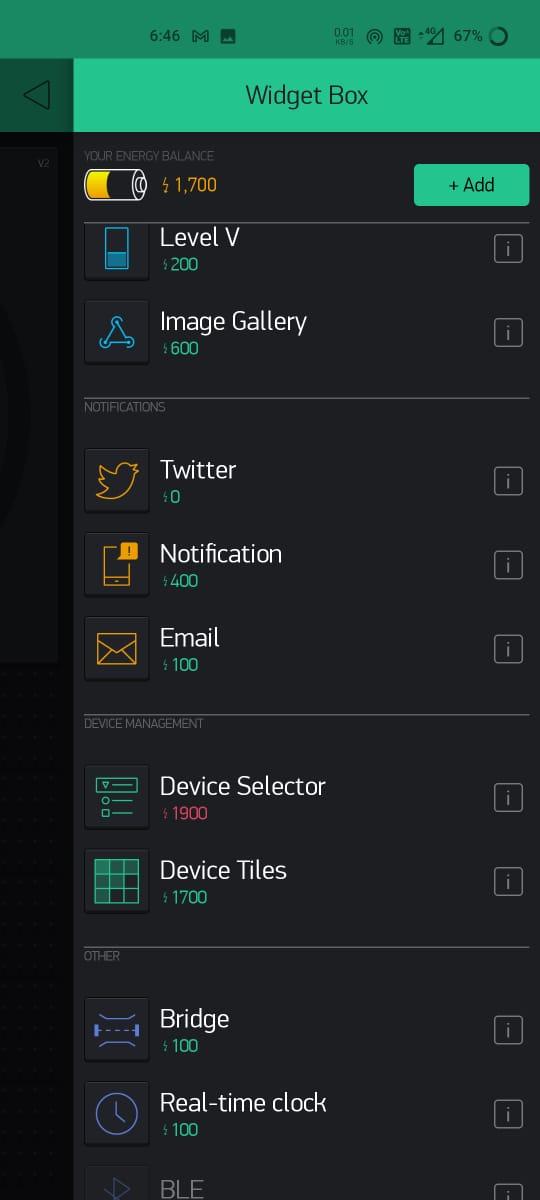
- Add Notification using Widget box.
- Now Application Setup is done.
ARDUINO CODE

- Add Blynk library in your Arduino IDE as well as NodeMcu library.
- Sketch-Include Library-Manage libraries-Type Blynk-Install [Same For another Libraries]
- Copy Following code & Upload to Arduino Nano
/*
 * Hello, welcome back to Techno-E-Solution
 * Here is the arduino code for the Project
 * Add following libraries in your Arduino IDE
 * Here is the complete Project making video :- https://youtu.be/m2QufB-bap8
 */
#include <ESP8266WiFi.h>
#include <BlynkSimpleEsp8266.h>
BlynkTimer timer;
#define BLYNK_PRINT Serial    // Comment this out to disable prints and save space
char auth[] = "Auth Token"; //Enter Authentication code sent by Blynk on your regested email


char ssid[] = "----------"; // Enter WIFI Name Here
char pass[] = "----------"; // Enter WIFI Password Here


int mq2 = A0; // smoke sensor is connected with the analog pin A0
int data = 0;
void setup()
{
  Serial.begin(115200);
  Blynk.begin(auth, ssid, pass);
  timer.setInterval(1000L, getSendData);
}

void loop()
{
  timer.run(); // Initiates SimpleTimer
  Blynk.run();
}

void getSendData()
{
data = analogRead(mq2);
  Blynk.virtualWrite(V2, data);

  if (data > 200 )
  {
    Blynk.notify("Smoke Detected!");
  }

}
Downloads
WORKING & TESTING
If you like this project then subscribe to our youtube channel for a more interesting project.