LEGO Train - Track Switch Automation
by Lowa-4DBrix in Living > LEGO & K'NEX
12695 Views, 3 Favorites, 0 Comments
LEGO Train - Track Switch Automation
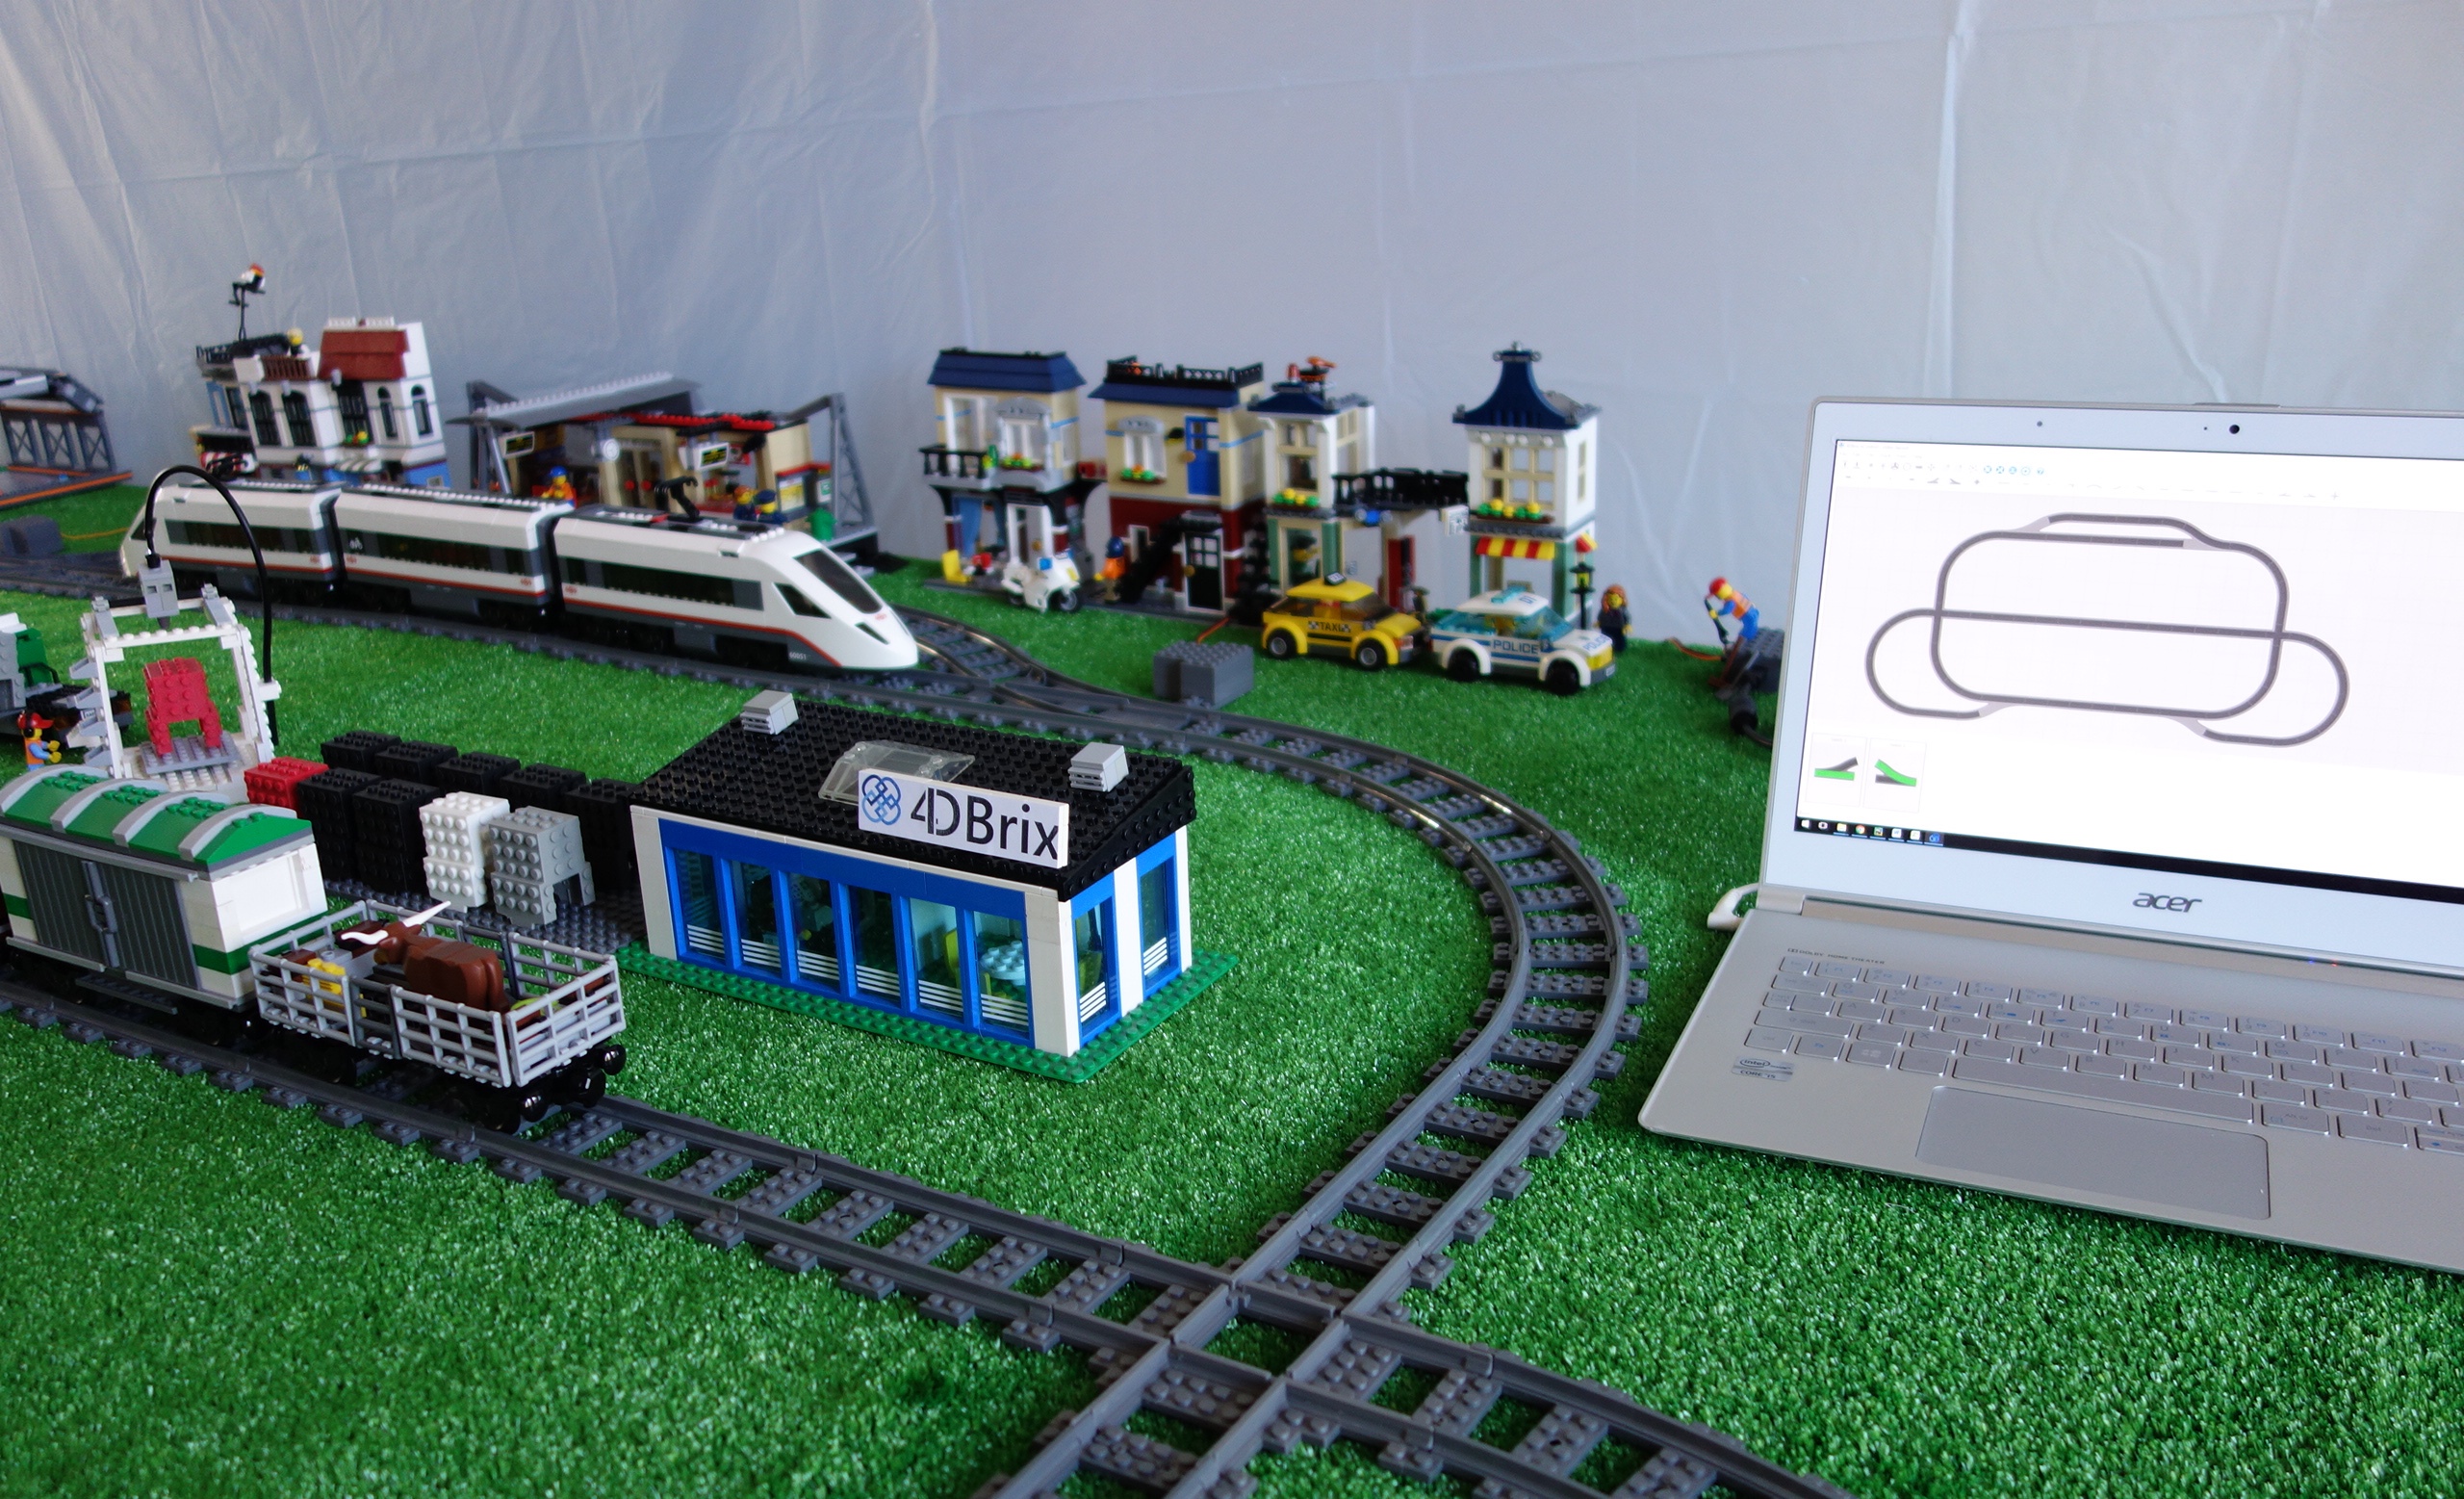
This project shows how you can automate the switches in your LEGO train layout with off-the-shelf components. This solution does not require any modification of the switches nor a profound knowledge of electronics or programming.
The objectives are:
- Motorizing the LEGO track switches
- Controlling the switches with a computer program
Step 1: What You Need
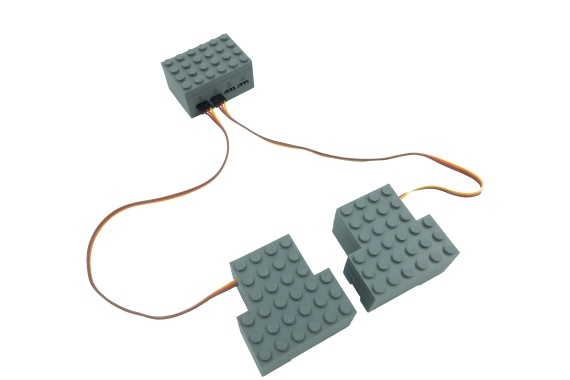
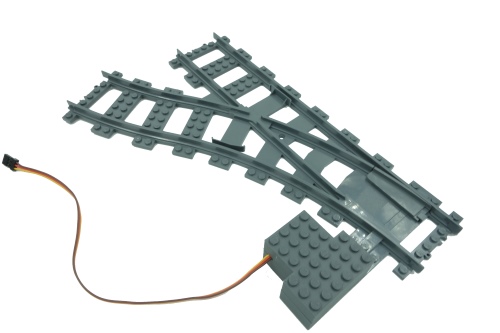
LEGO components:
4DBrix components:
- a Track Switch Motor for every track switch you want to motorize
- a Quad Switch Controller
- the nControl train automation software (free!)
Additional components:
- a computer running Windows
- a powered USB hub (highly advisable)
- hobby servo extension cables (optional, if needed)
Step 2: Connecting the System
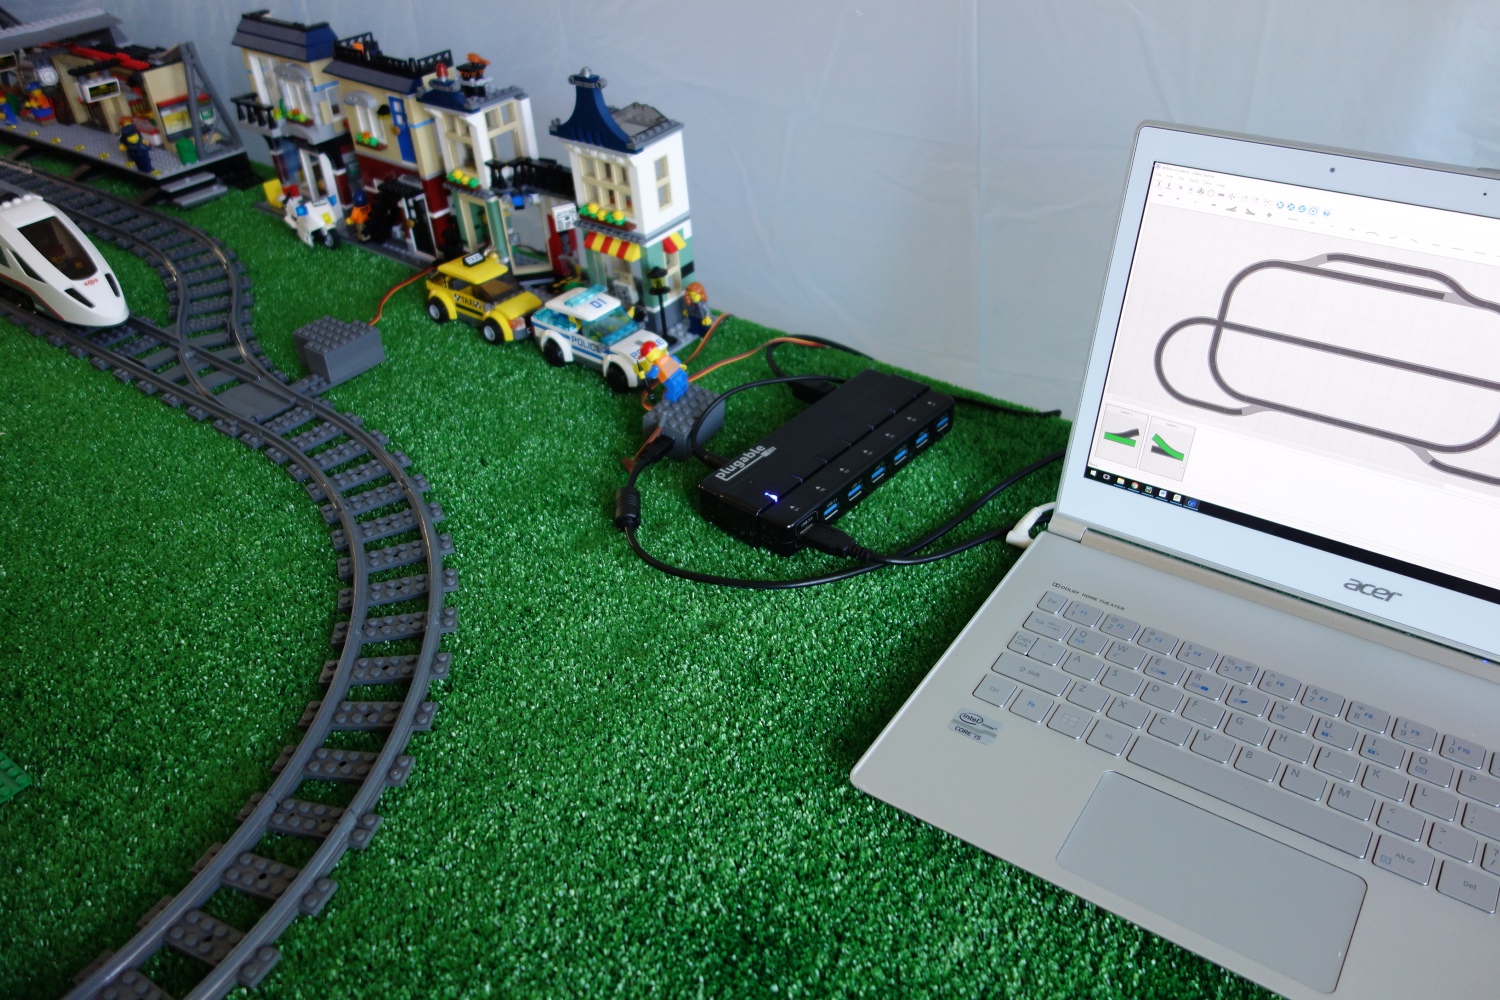
Let’s assume your LEGO train layout is built. To install the automation system, you need to:
- Flip the switches to the ‘turn’ position and remove the yellow levers from the switches.
- Place the Track Switch Motor on the LEGO switch; push it down so the motor locks itself firmly onto the studs of the track switch.
- Connect the track switch motor to the Quad Switch Controller; use servo extension cables if the switch is too far away from the controller. The connector of the motor cable has two skewed edges; make sure these edges are facing upwards when connecting the cable (it you hold the connector upside-down it won’t fit into the controller).
- Connect the controller to a power USB hub with the cable that comes with the controller. The use of a powered hub ensures that the controller gets sufficient power to actuate the Track Switch Motors. Make sure you use a hub with over-current protection so in case of an accident e.g. a drink spill on your layout, etc. you computer is protected from short circuits. In case you want to extend the USB cable, make sure to use a 24/28 AWG cable. Those are cables with heavier power lines than the standard USB cables.
- Power the USB hub and connect it to your computer.
Step 3: Installing the NControl Software
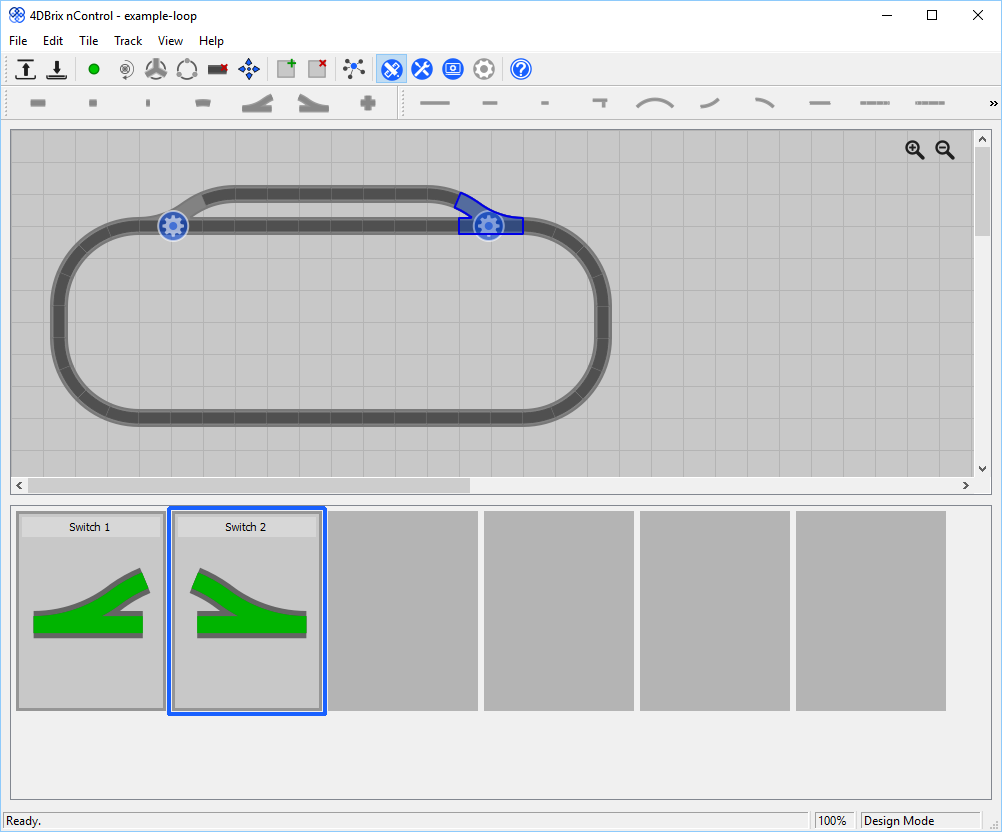
nControl is a free software that allows you to automate and control your LEGO train layout.
- Download nControl from the 4DBrix website
- Make sure you download nControl version 2017.1 or newer.
- Install the program like any other Windows application
Step 4: Model Your Train Layout
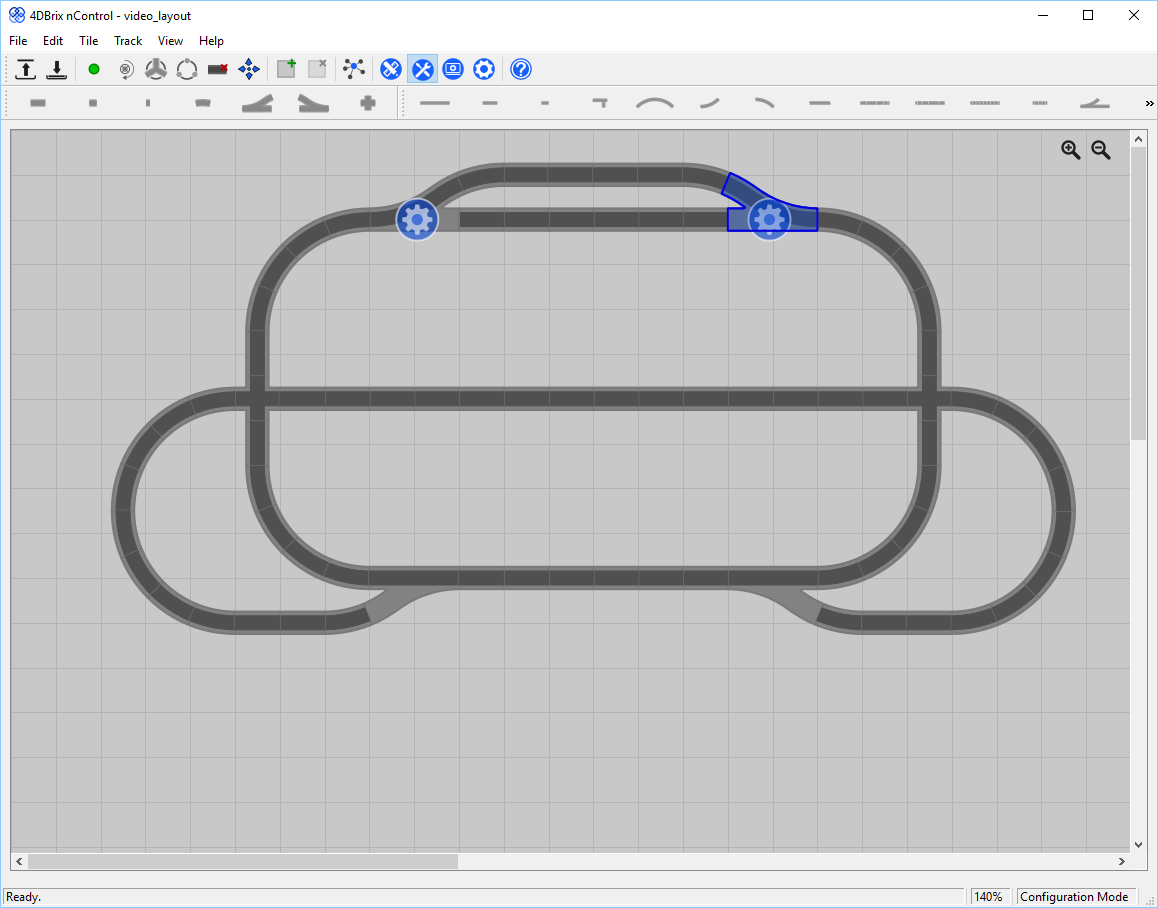
With nControl you can actuate the track switch motors but also monitor the state of all your switches. The video above should get you up to speed with modeling LEGO train layouts in nControl.
If you don’t want to model your whole layout, just add a switch segment for each track switch that you want to motorize. You can do this by:
- Select Track > Start New Track in the main menu
- Move the red cursor to the desired location in the grid and click there. You should see a green dot in the selected location.
- Click on the left or right switch icon of the toolbar to add track switches.
Step 5: Configure the Track Switch Motors
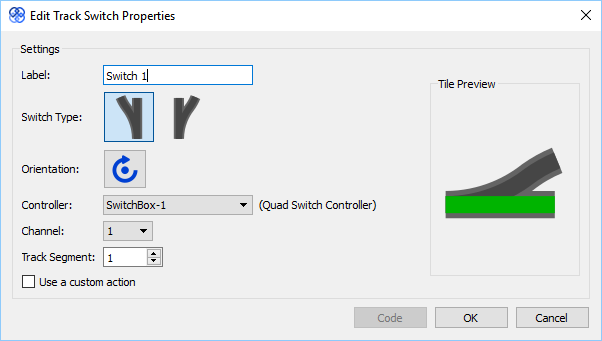
In nControl, the track switch motors are controlled with tiles: you click on the tile to flip the switch. You need to create and configure a tile for each motor that you want to control. The Configuring Track Switch Motors page on the 4DBrix website gives detailed instruction on how to create and configure track switch tiles in nControl.
Step 6: Flip Your Switches!
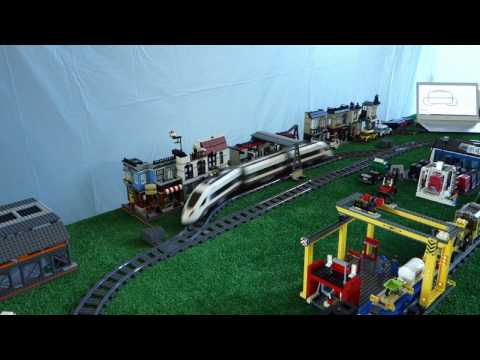
You are all set! You can go to the Operational Mode by clicking on the button in the toolbar. Now click the track switch tiles, that should activate the motors and flip the switches both in your layout and on your screen.
Have fun!