LED Traffic Light Module Tutorial
by mybotic in Circuits > Electronics
12639 Views, 3 Favorites, 0 Comments
LED Traffic Light Module Tutorial

Description:
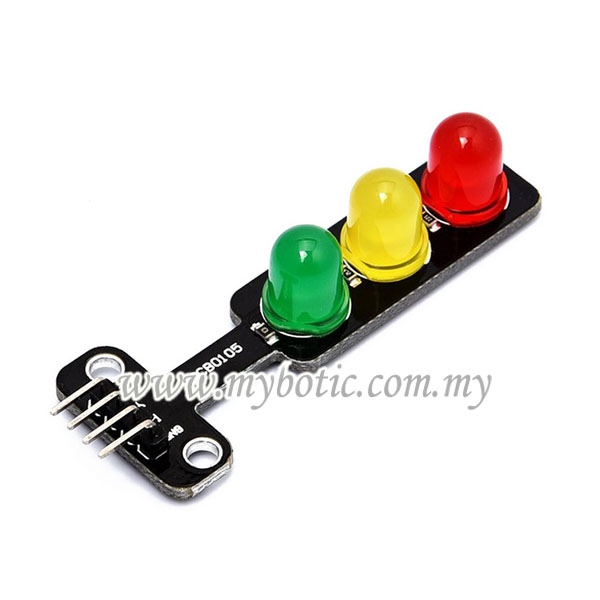
This is a mini-traffic light display module, high brightness, very suitable for the production of traffic light system model. It is featured with its small size, simple wiring, targeted, and custom installation. It can be connected PWM to control the brightness of the LED.
Features:
- Small size.
- Simple wiring.
- Targeted.
- Custom installation.
Items Preparation


Before you are getting started, prepare all the item needed:
- Arduino UNO
- LED traffic light module
- Jumper wires
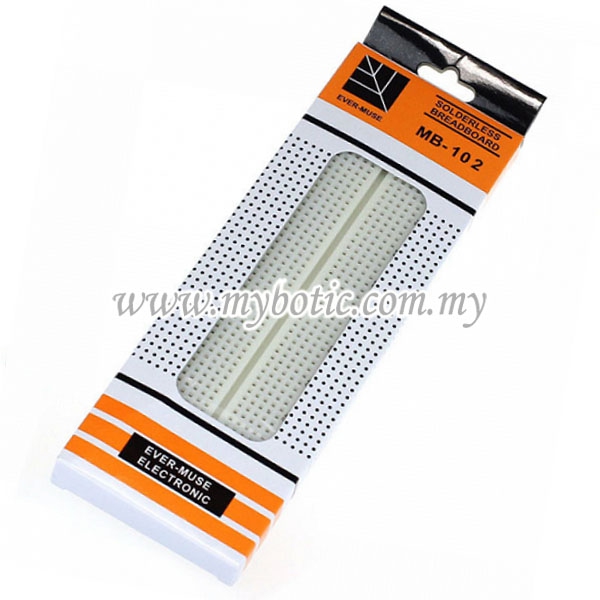
- Breadboard
Connection Setup

Follow the connection as shown above.
Sample Code
Download this sample source code and compile it in your Arduino IDE.
Downloads
Uploading

After open the code in Arduino IDE, go to the [Tools] --> [Boards Manager] --> select [Arduino/Genuino UNO] as we using Arduino UNO in this tutorial.
Then connecting the Arduino UNO to PC, after that select the correct port (go to [Tools] --> [Port] --> Select correct port for Arduino UNO).
Next, compile and upload the code into your Arduino UNO.
All Done!
![20190109_145017[1].jpg](/proxy/?url=https://content.instructables.com/F6W/QWN0/JQMOF2EA/F6WQWN0JQMOF2EA.jpg&filename=20190109_145017[1].jpg)
