LED Sheep "Baa" Light (Made in Fusion 360)
by Charles Projects in Circuits > LEDs
2374 Views, 10 Favorites, 0 Comments
LED Sheep "Baa" Light (Made in Fusion 360)
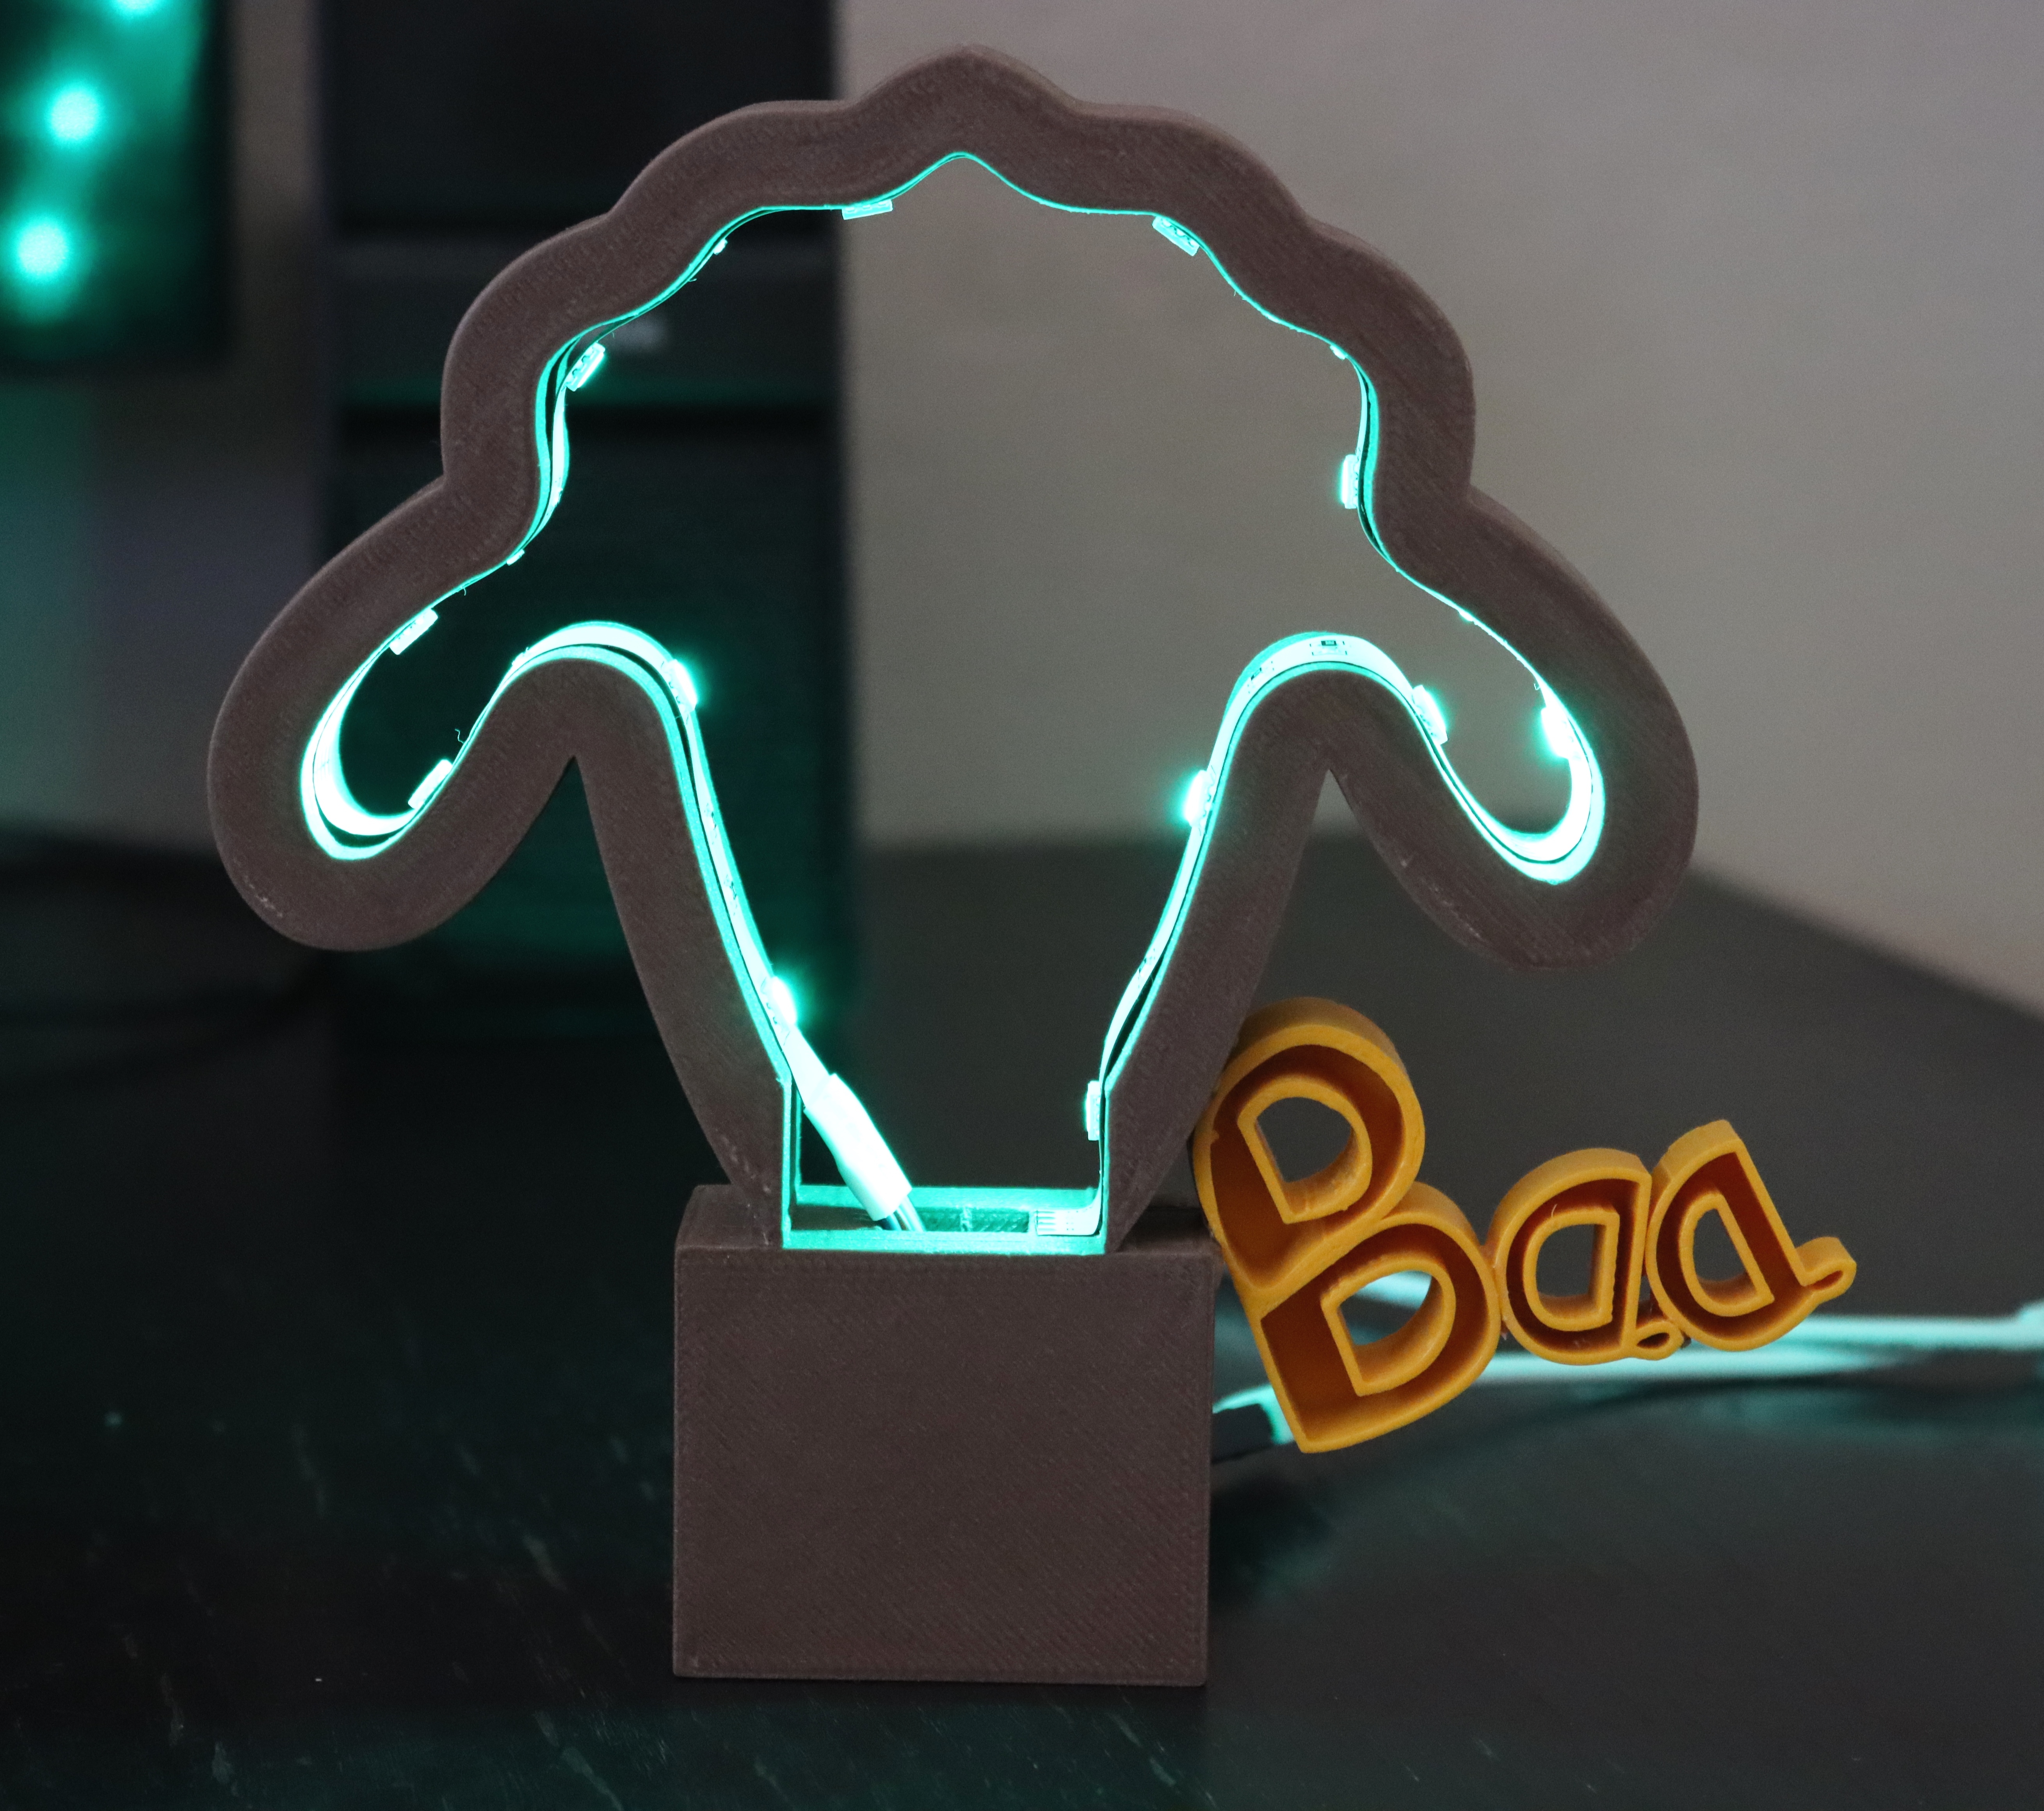
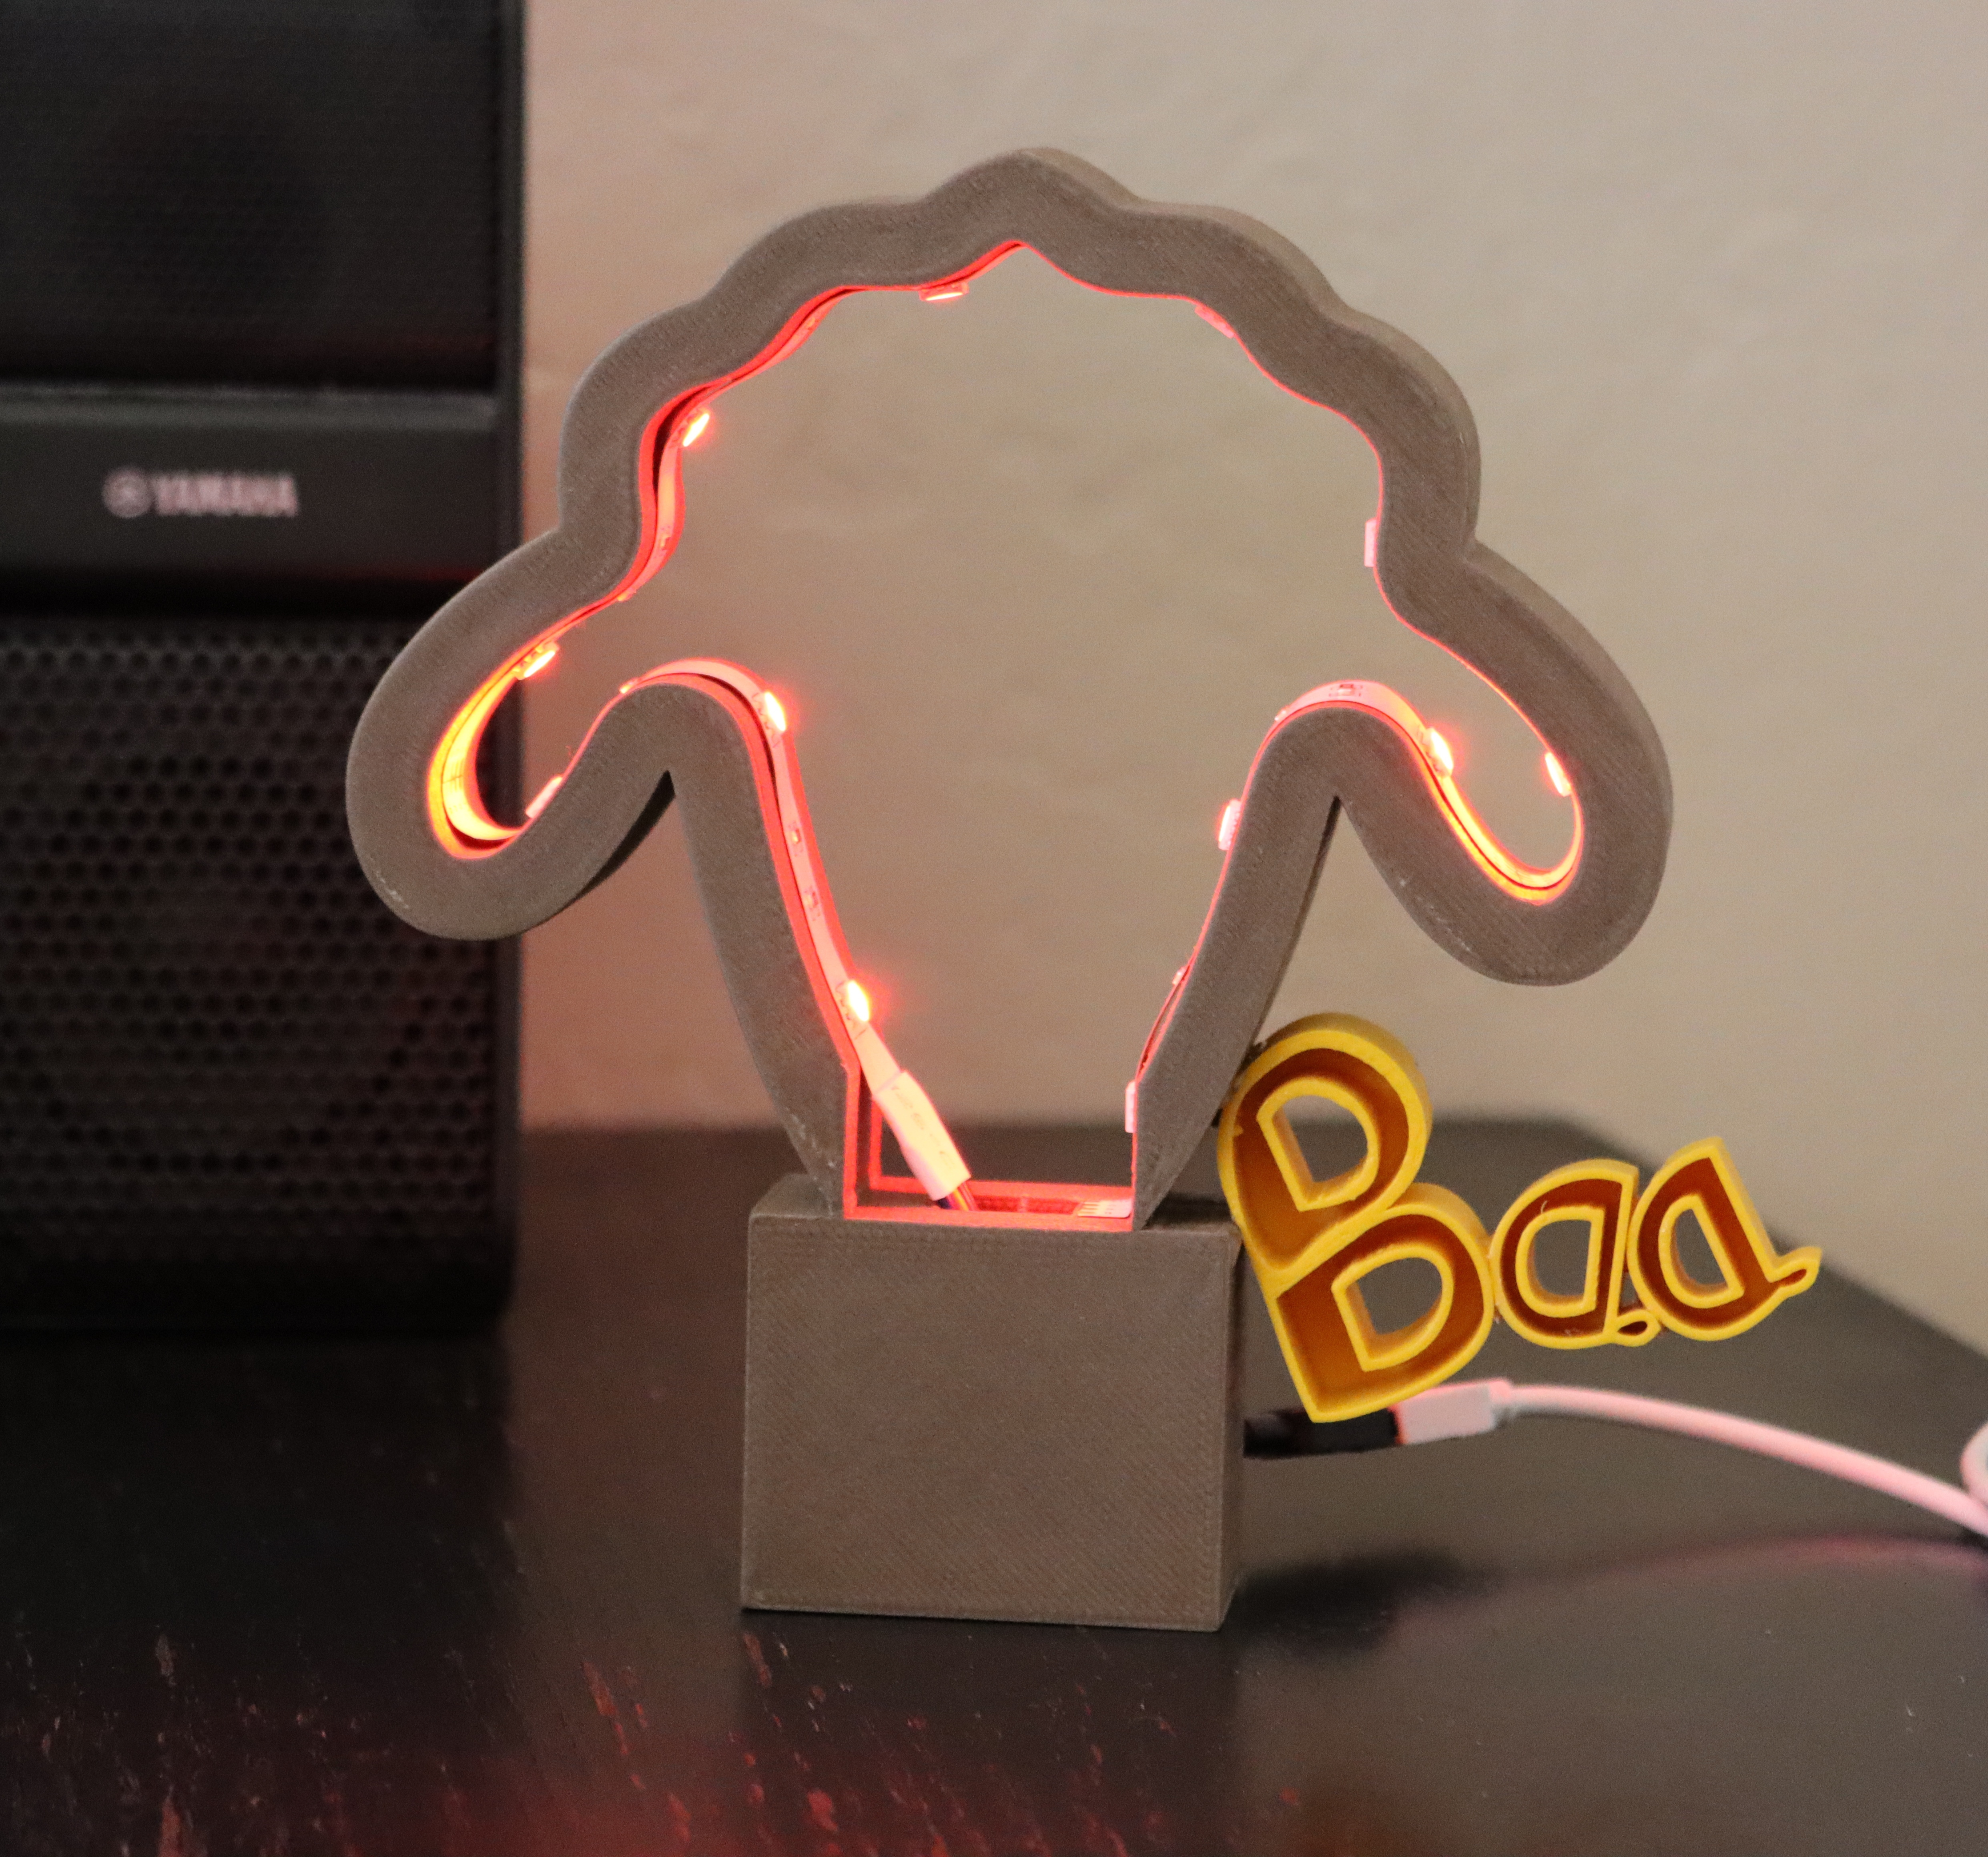
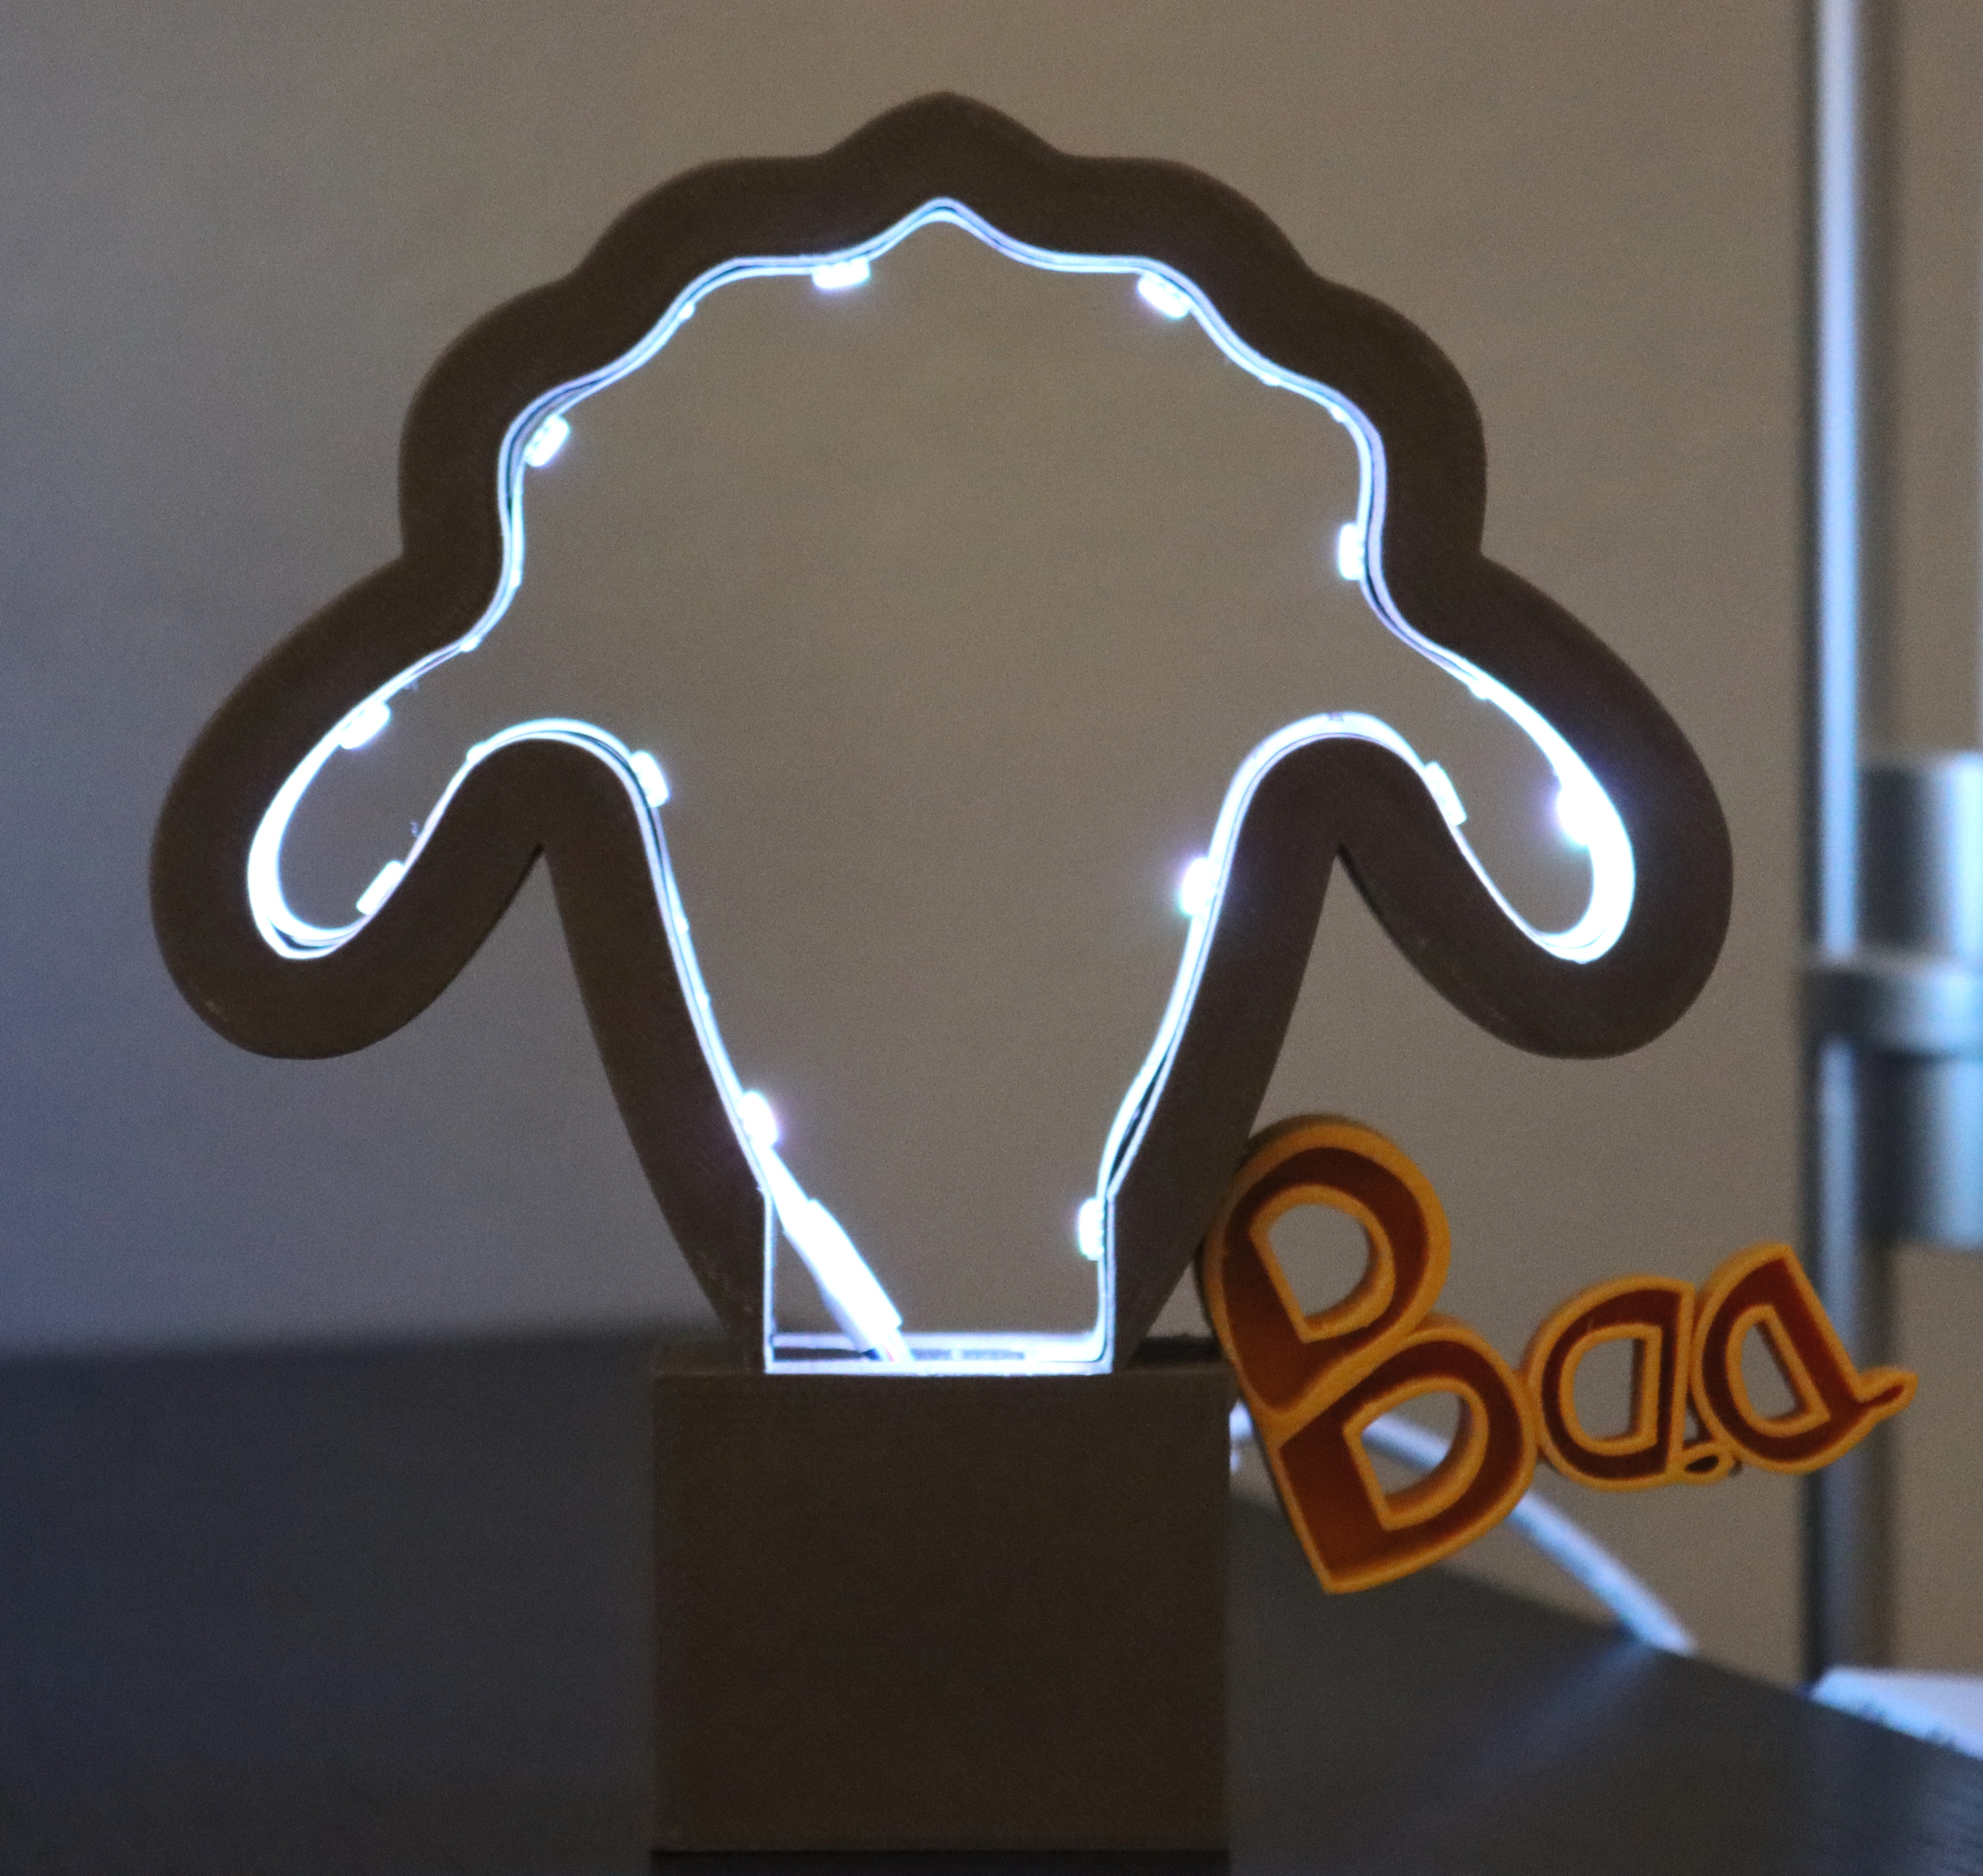
I always fascinate with LED lighting and fond of sheep. After thinking and thinking, why not combining my favorites into one project? Therefore, I design this project with lots of passion. It is very easy project to make, especially for the beginner who wants to make a homemade LED desk light.
Moreover, I have a best friend that I admire most. She inspires me with my project. So I dedicate this project to her. Her name is Brittliv. She is also one of the incredible authors in Instructables. I hope she like this project.
You can find my design in Thingiverse, Cults3d or myminifactory.
Disclaimer:
This LED Sheep "Baa" Light is only for a fun project. Be careful when installing and cutting the LED strip. Follow the instructions in the LED strip that you bought. Every LED strip is different from each other. The author is not responsible if you have encounter injury from this project. Proceed with caution. This project is not suitable for children.
Supplies
Fusion 360
3D Printer and Slicer software
PLA Filament (Dark wood and yellow)
2D printer to print the sheep's head
Paper
Hot glue
Sandpaper
Lip Balm
Alcohol Prep Pad
30 cm (or about 12 inches) LED Strip Light
1 Control Box and adapter
Black Sharpie marker
Preparation
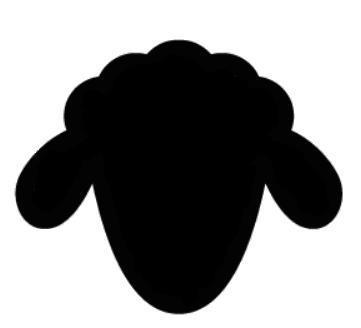
To make sheep's head, I searched on google. I use this link. Just be patient if you cannot load it. It takes a longer time to load. If it cannot load, you can take mine. Save it to .jpg file. Print and color it black by using a black Sharpie marker. Make sure all the sheep's head is black and keep the background as white as possible, otherwise, when you import to Fusion 360, it will turn imperfectly. Take a picture and transfer it to your computer. Convert it into .svg file. Click here for the website.
Frame-1
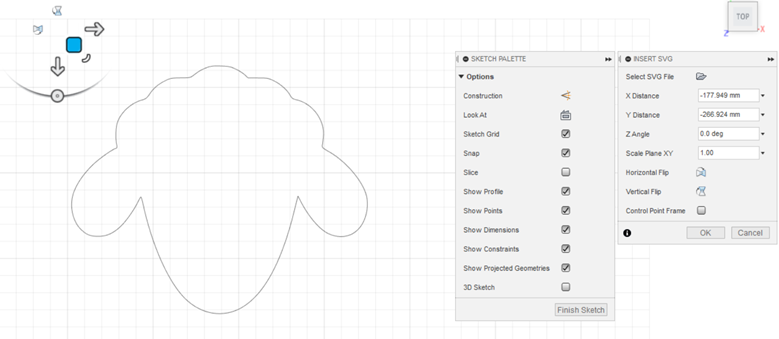
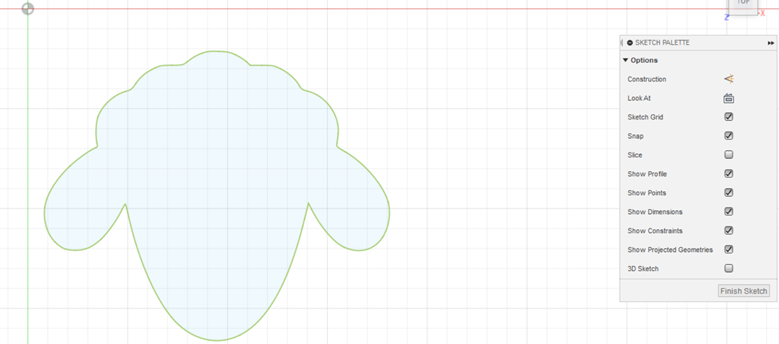
Import the sheep's head SVG file that you already converted in the previous step to Fusion 360. Click ok. You will be in the area of the sketch. If you are already satisfied with your importing sketch, finish the sketch.
Frame-2
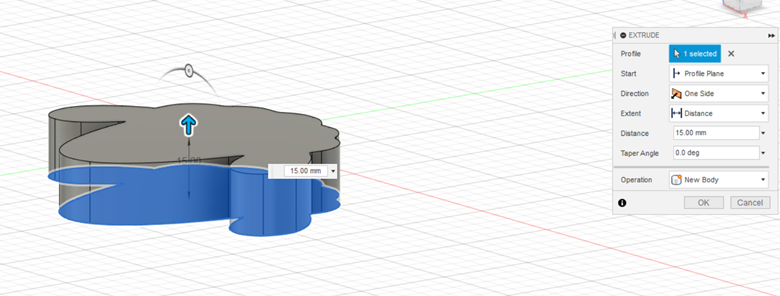
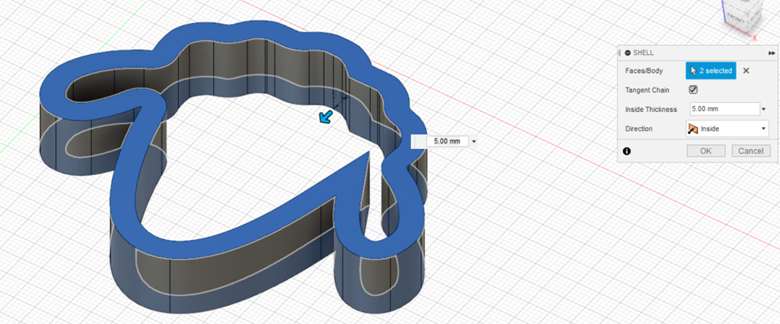
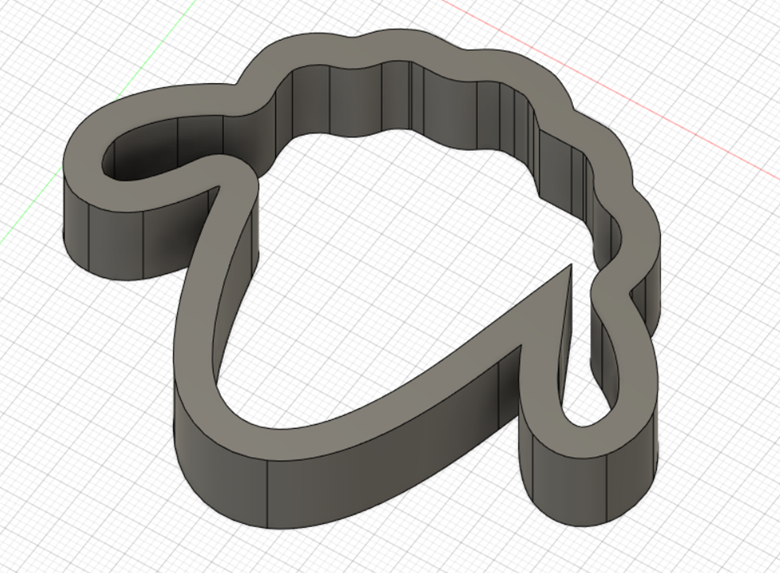
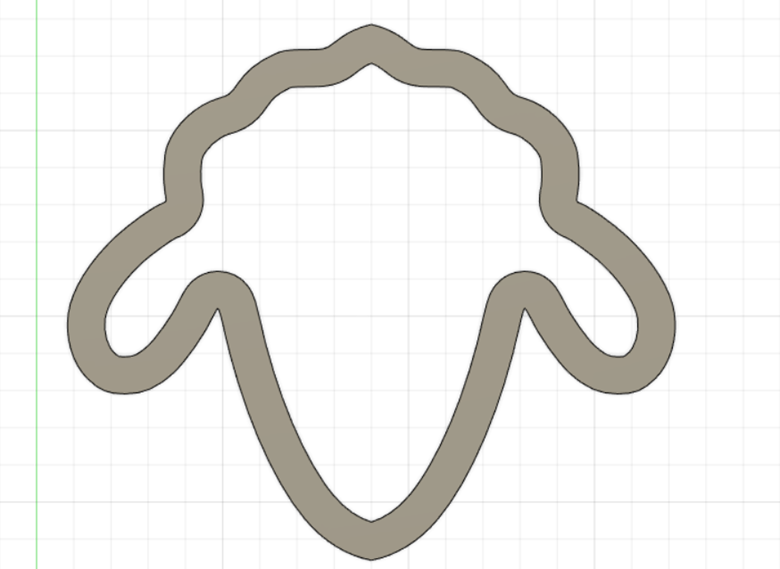
Extrude the sheep's head with the distance as you desire. Shell the sheep's head by entering the inside thickness value.
Hole for the Cables
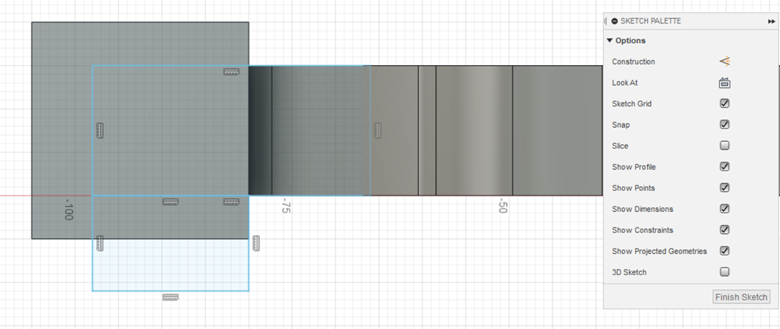
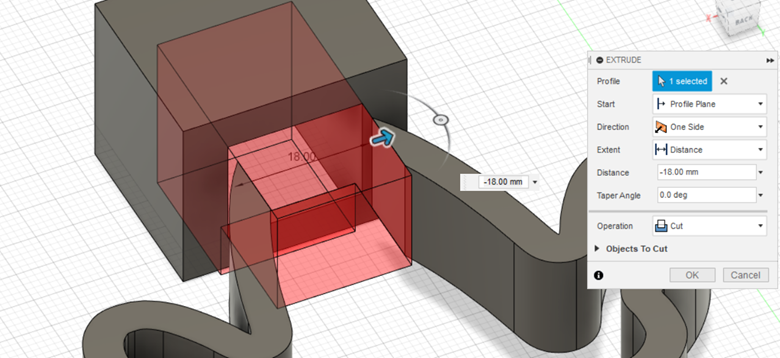
Because I will use LED strips for the project, I make the hole for the cable's path. For doing this, use sketch by drawing a rectangle with a 2-point rectangle. Measure it wisely. Just remember, the hole should fit precisely for the LED strip cable. Extrude the rectangle by using operation cut.
Details-1
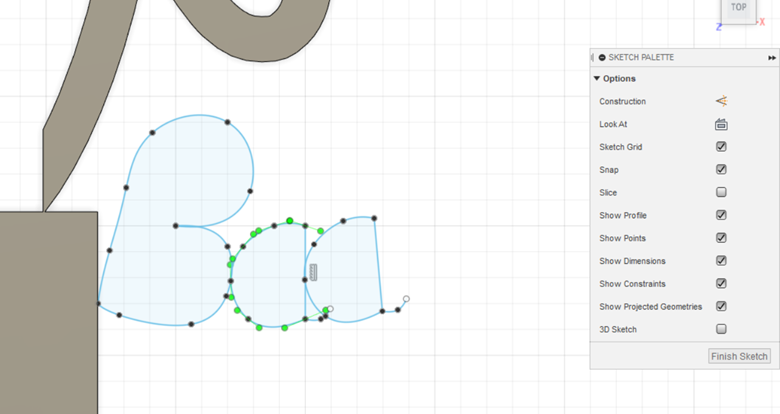
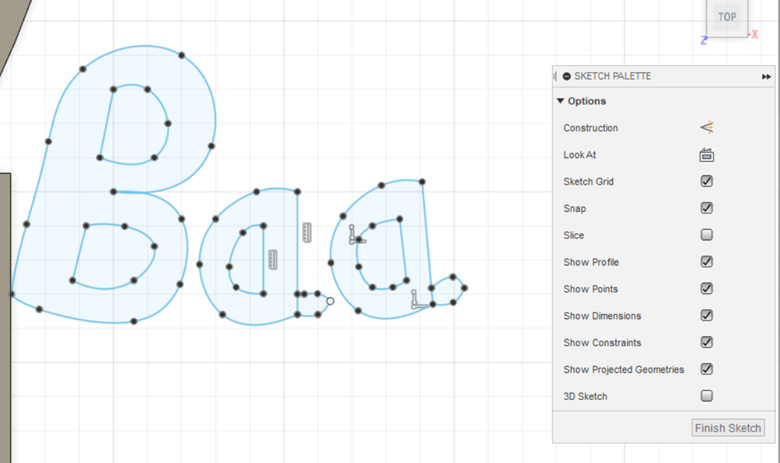
I add some details for my sheep lighting. I made a word of sheep's sound "Baa". For making this, just use the fit point spline in the sketch. It is up to you to make the form of the letter. For alternatives, if you do not want to use the freeform style of the letters, you also can use text in the sketch tab and type the words.
Details-2
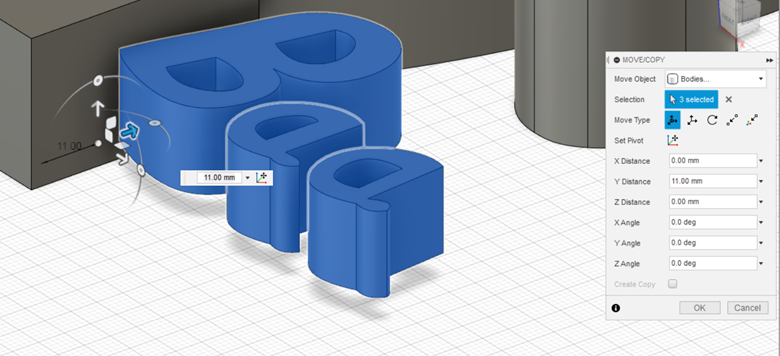
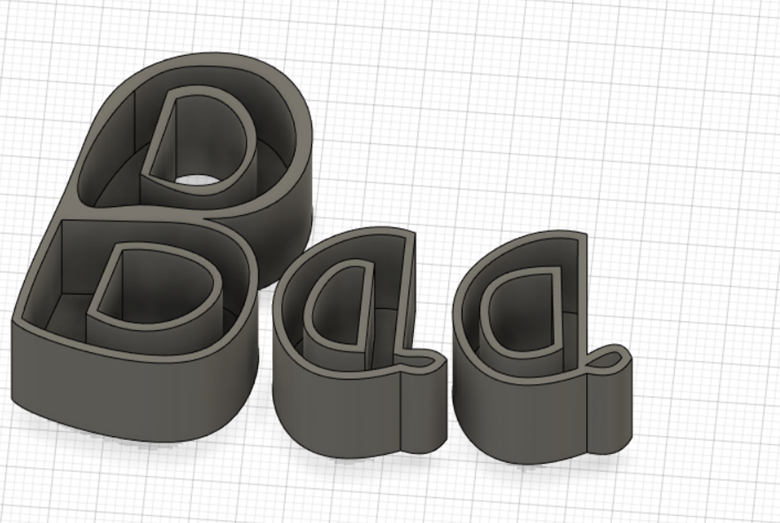
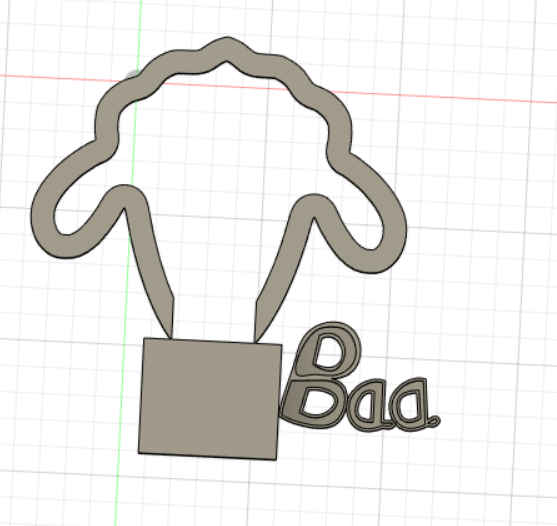
Extrude the words and shell it, so the top of each letter in the word "Baa" will be faceless. Arrange the letters as you like.
Rendering
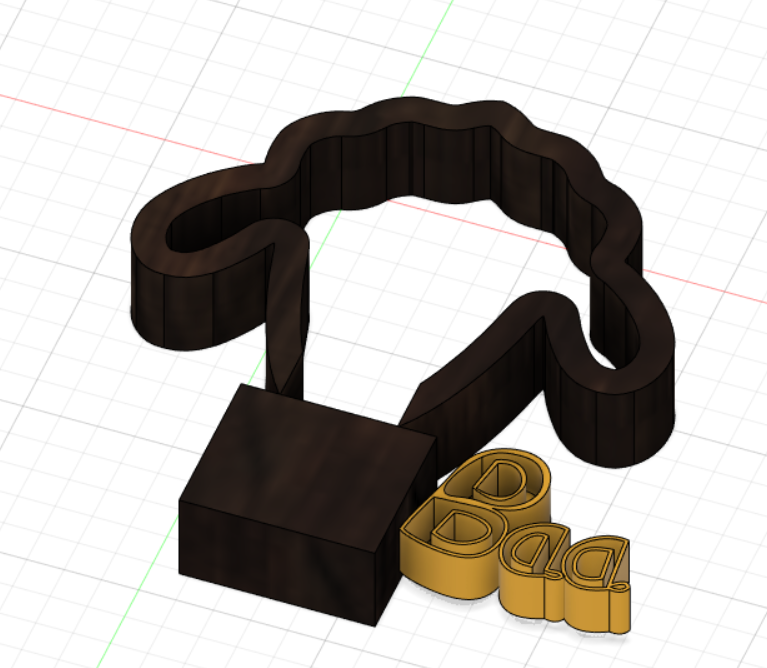
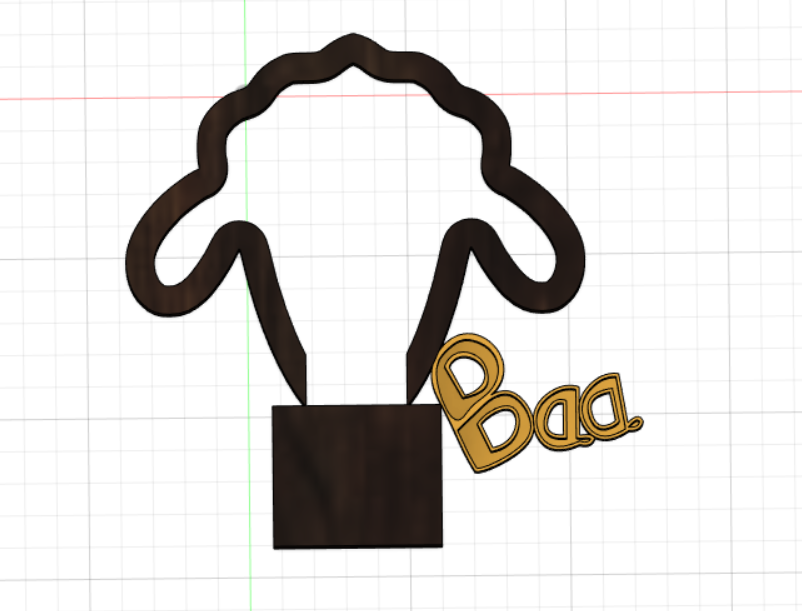
Render your design with the materials as you desire. Take a screenshot. It will be your guide for assembling the printing later.
Printing
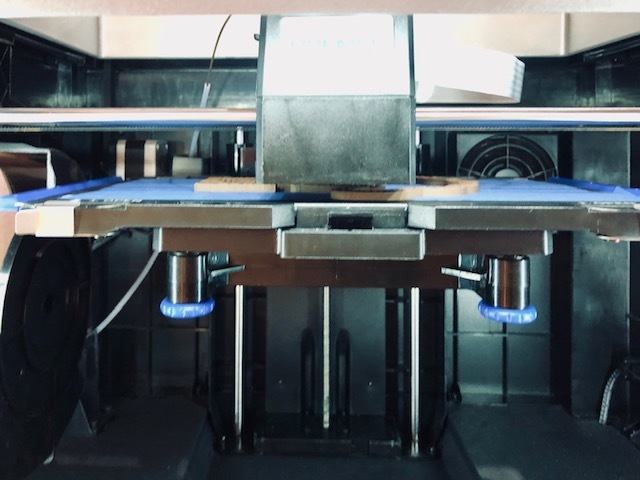
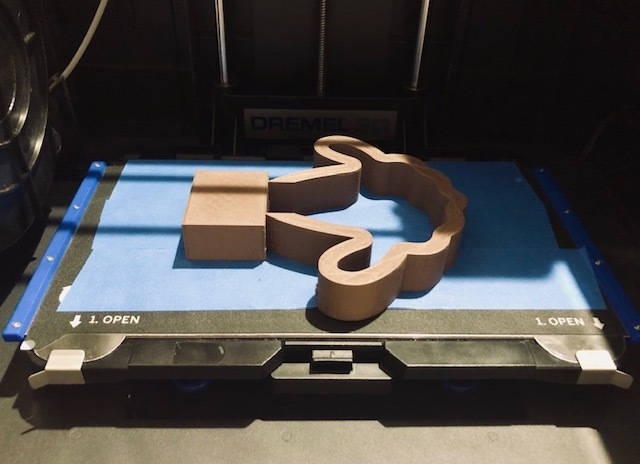
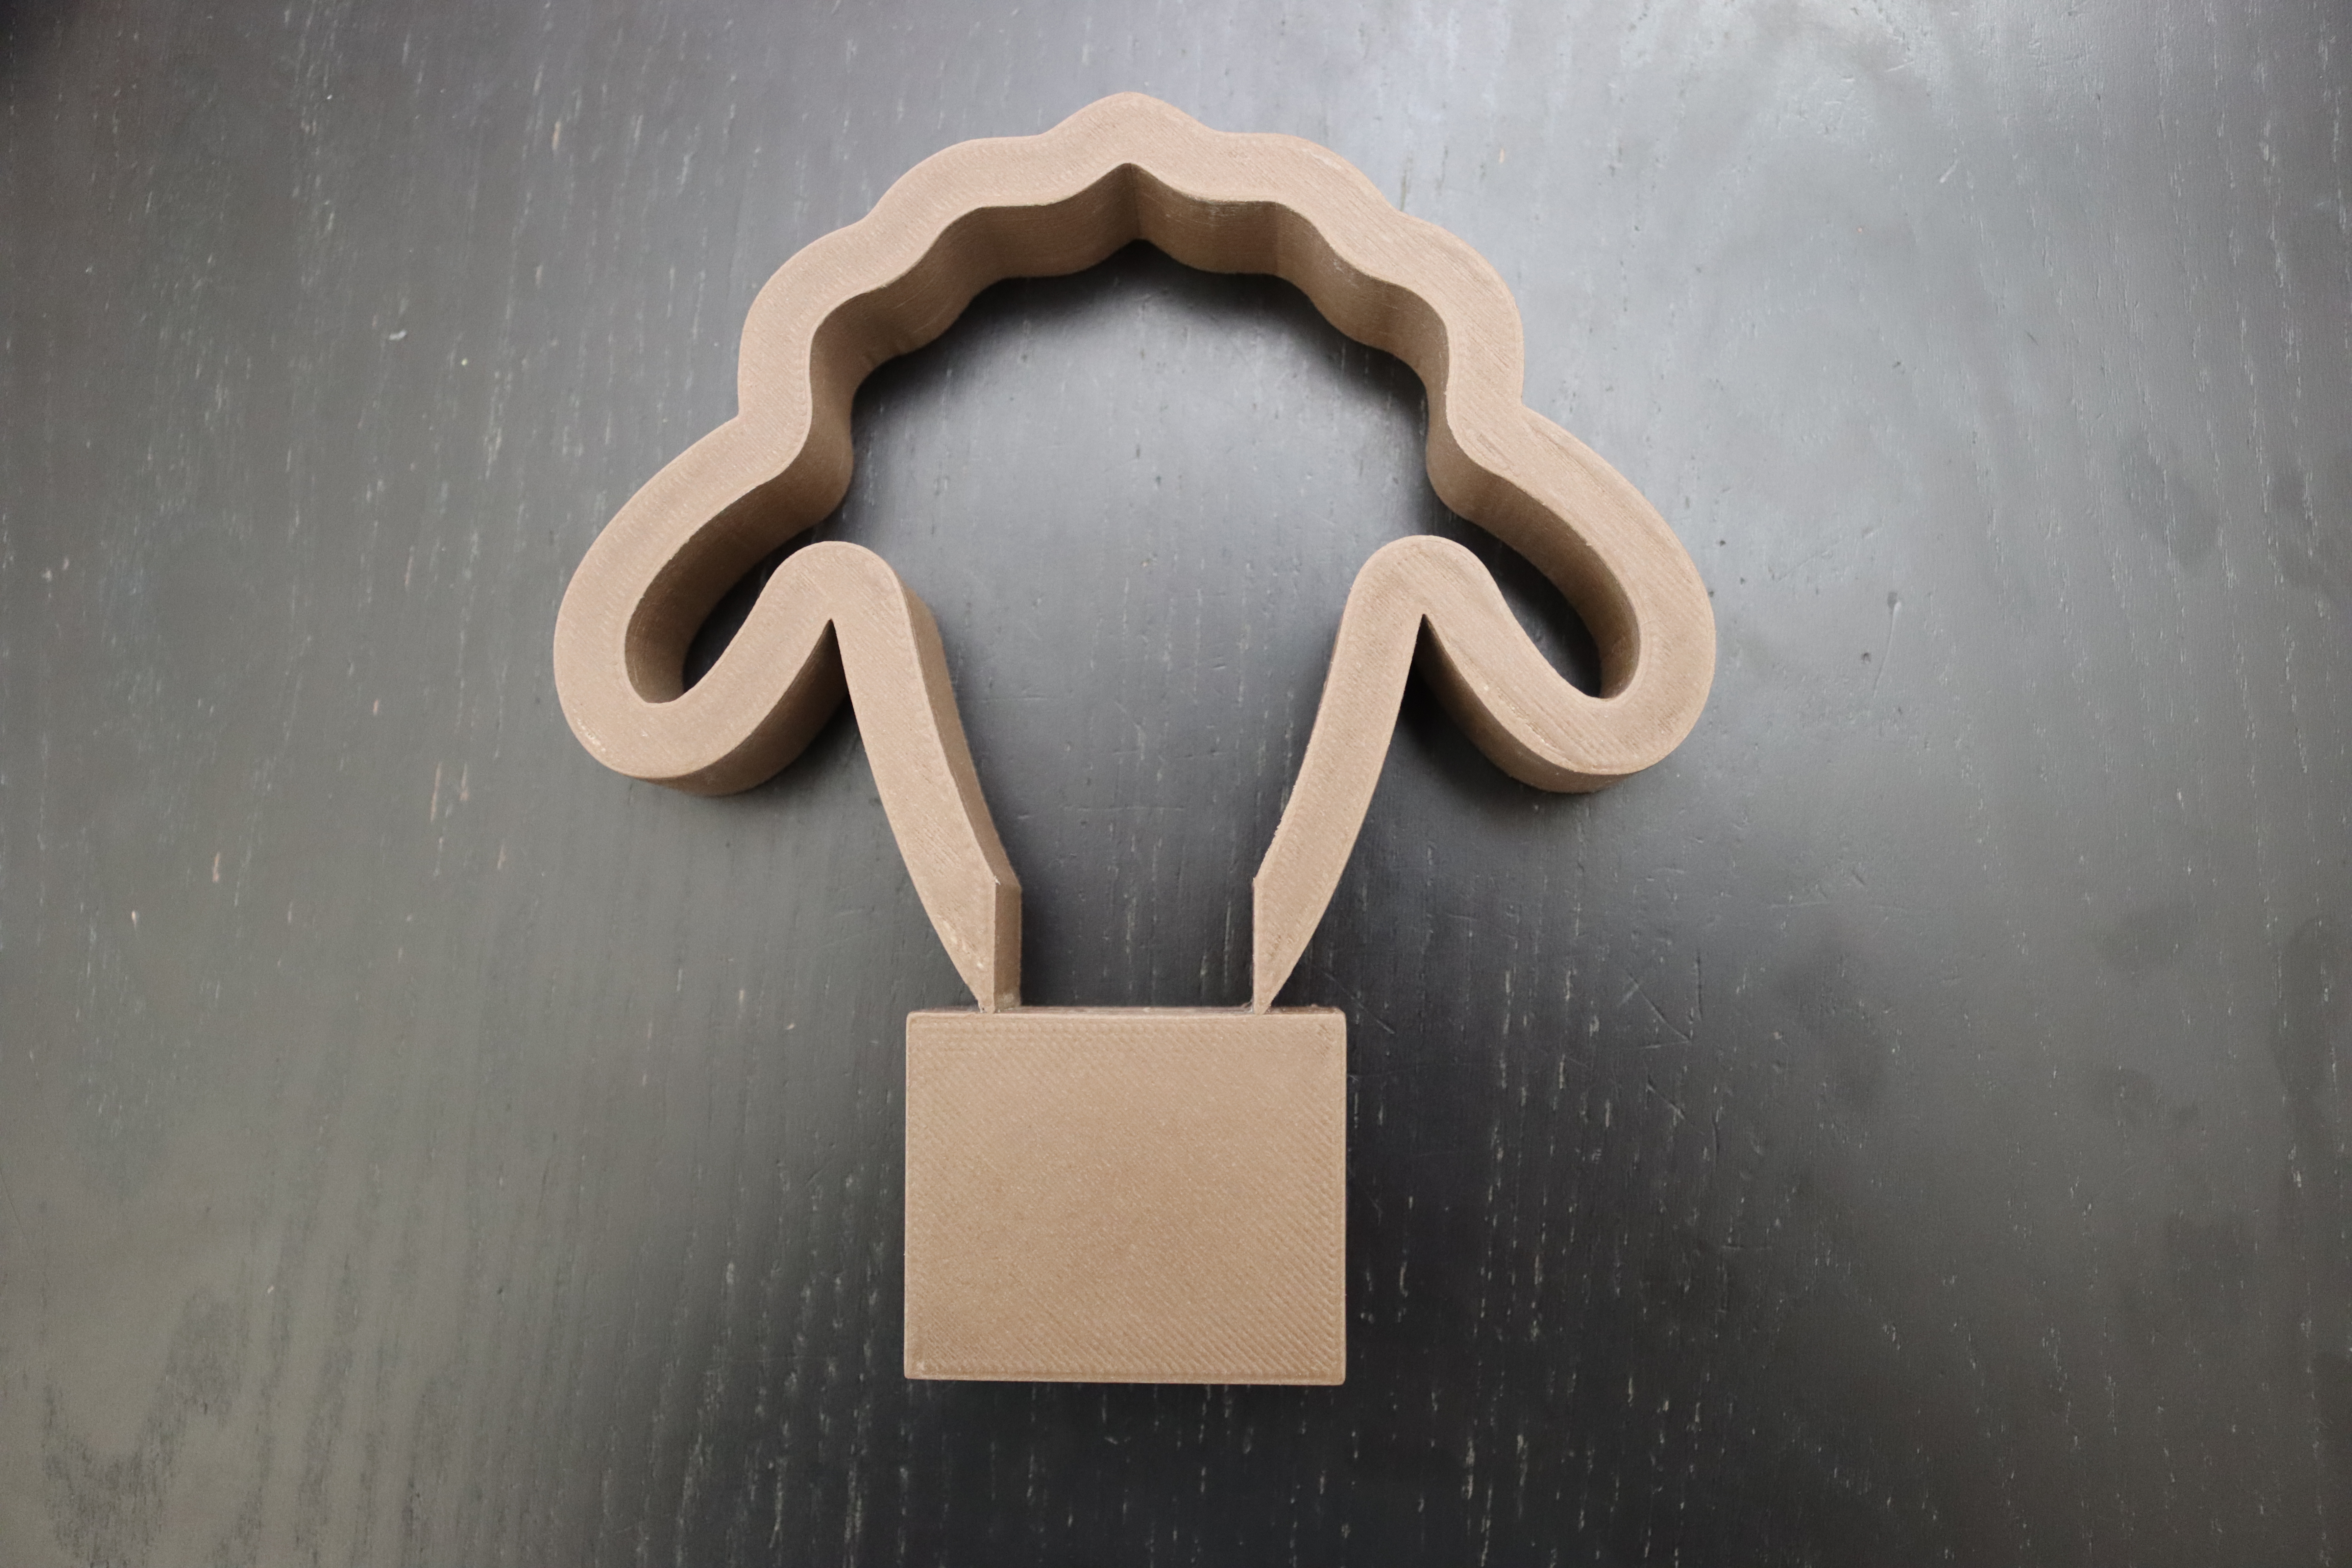
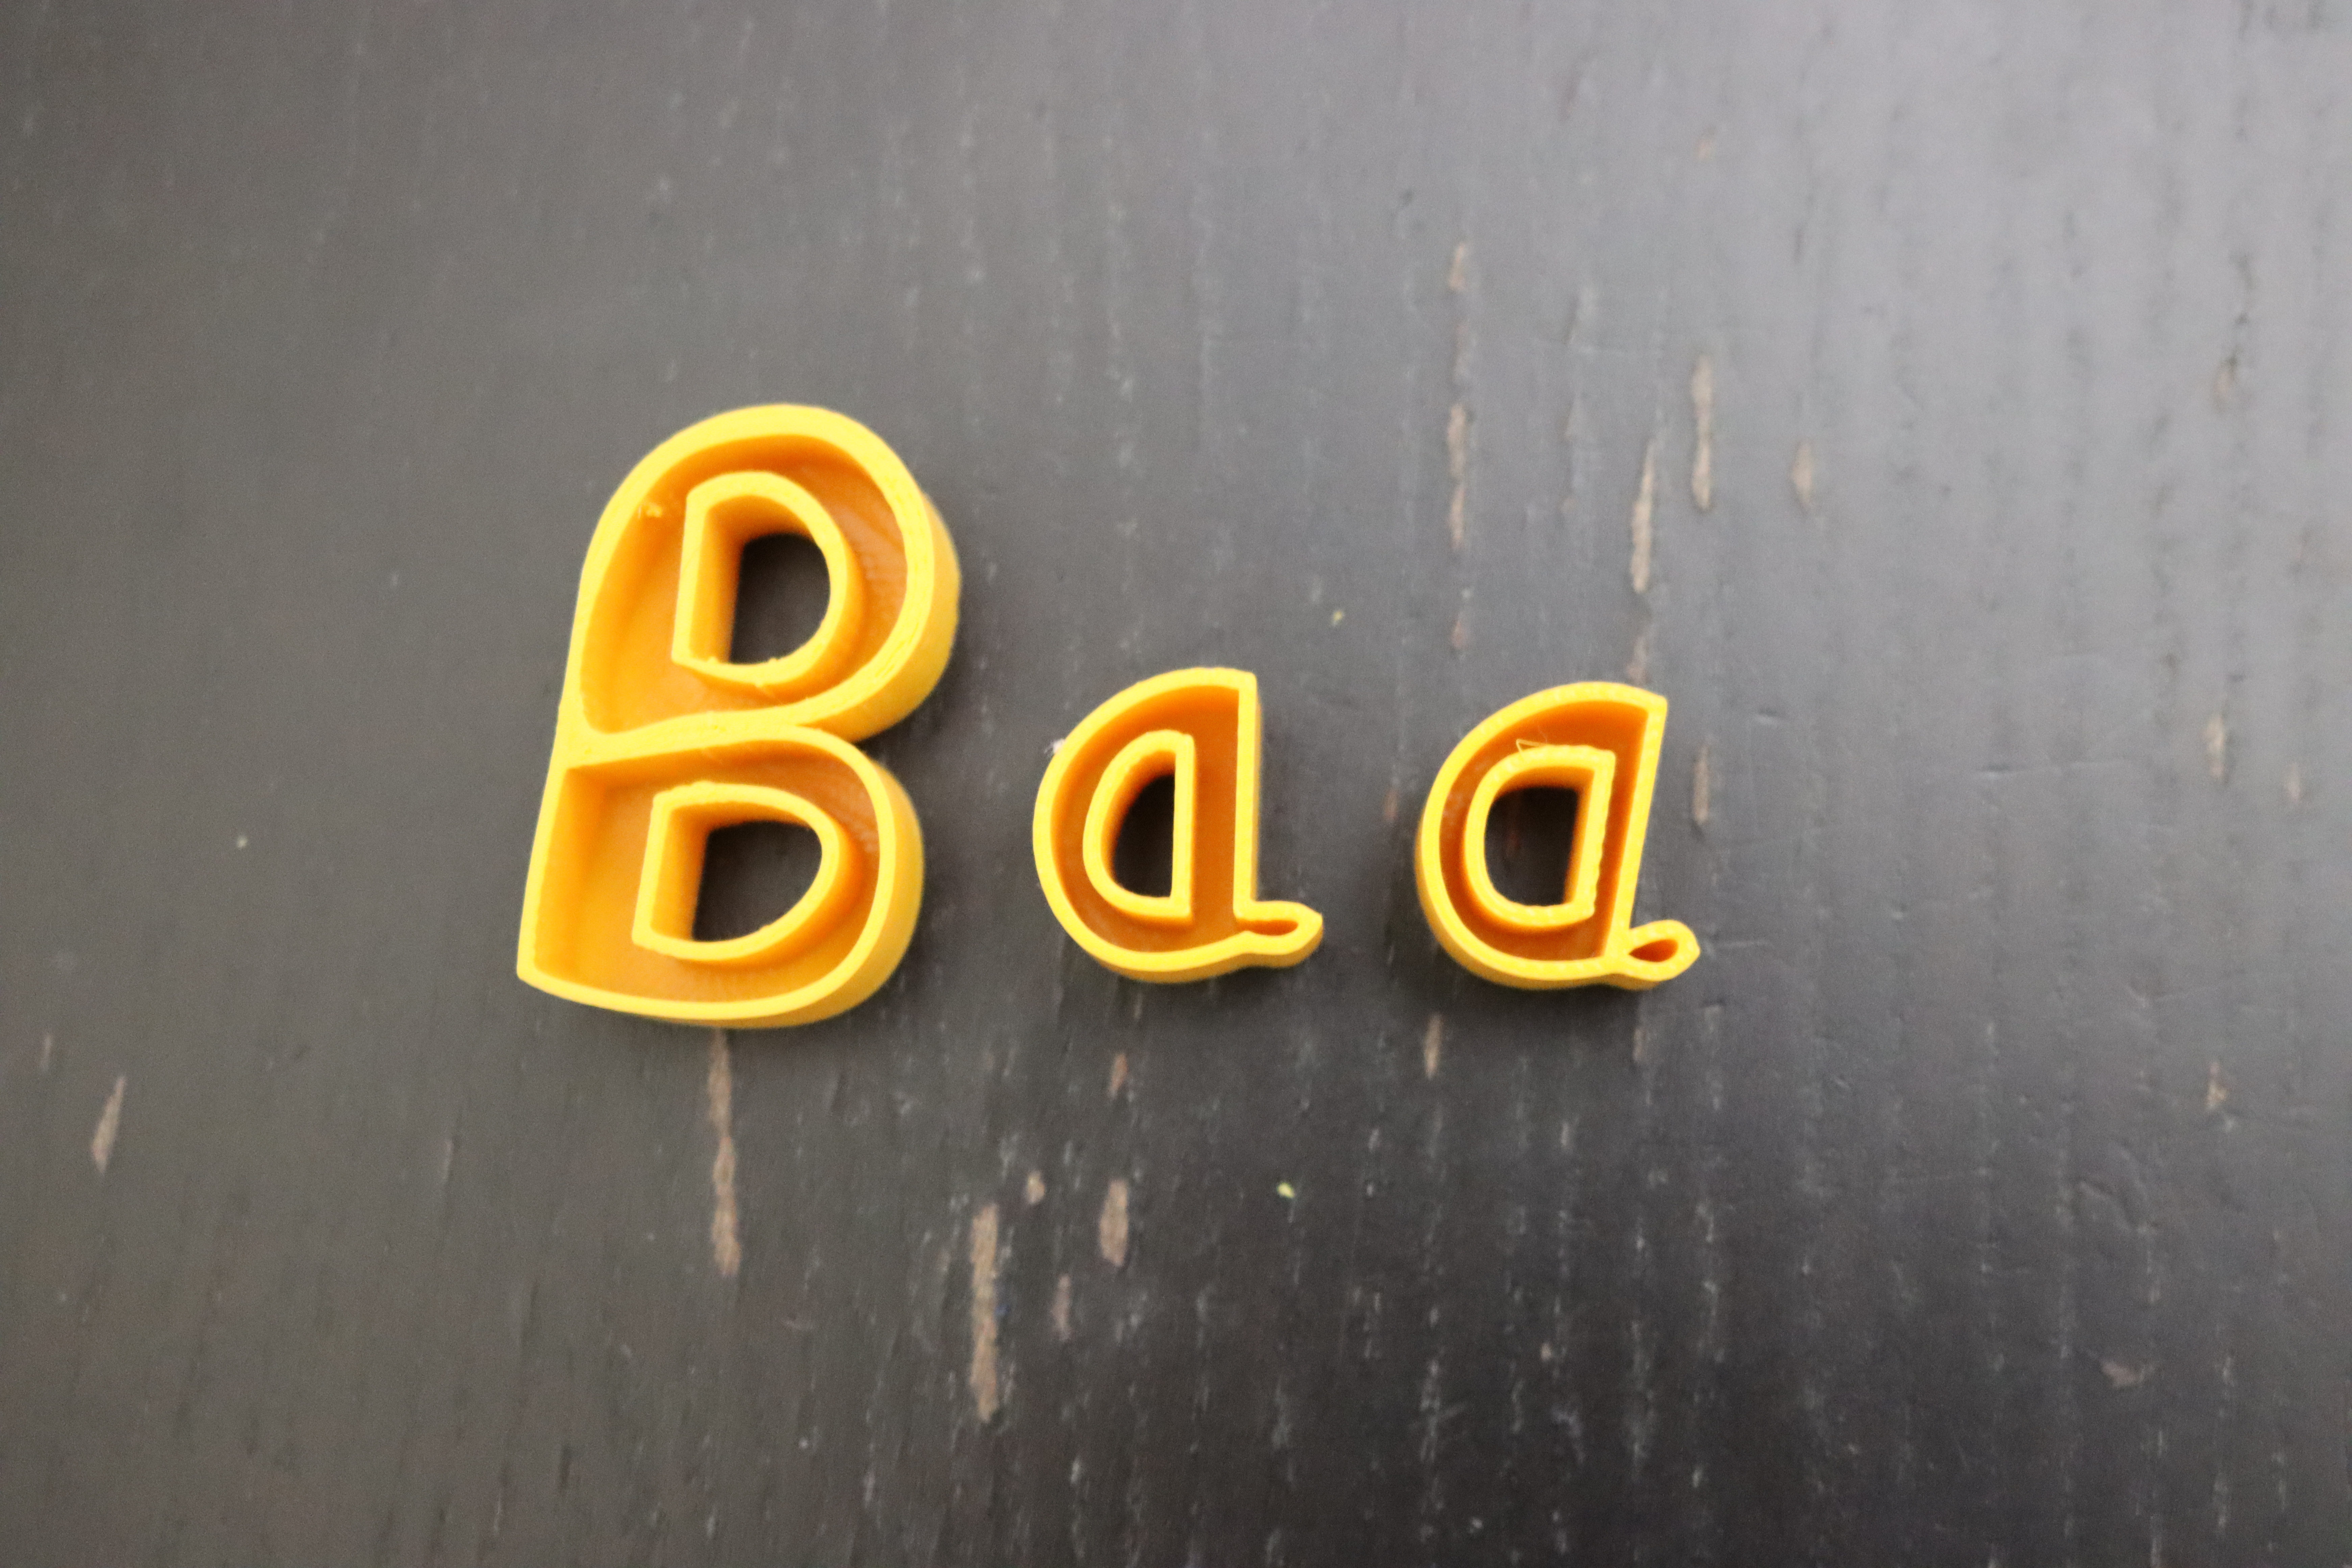
Save all the design to .stl file. Make sure the word "Baa" is exported to .stl file one by one. For sheep's frame, I use option: 20% infill, no raft, with support, and 0.2 mm of layer height. For the word, I use option: 20% infill, no raft, without support, and 0.2 mm of layer height. Total printing is about 6 hours and 15 minutes and spent about 26.38 meters long of PLA filament. I used dark wood PLA filament for printing the frame and yellow PLA filament for the words.
Polishing the Printing
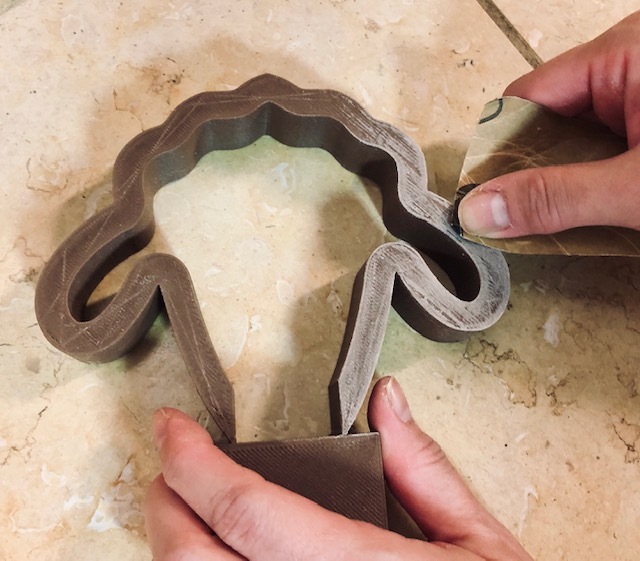
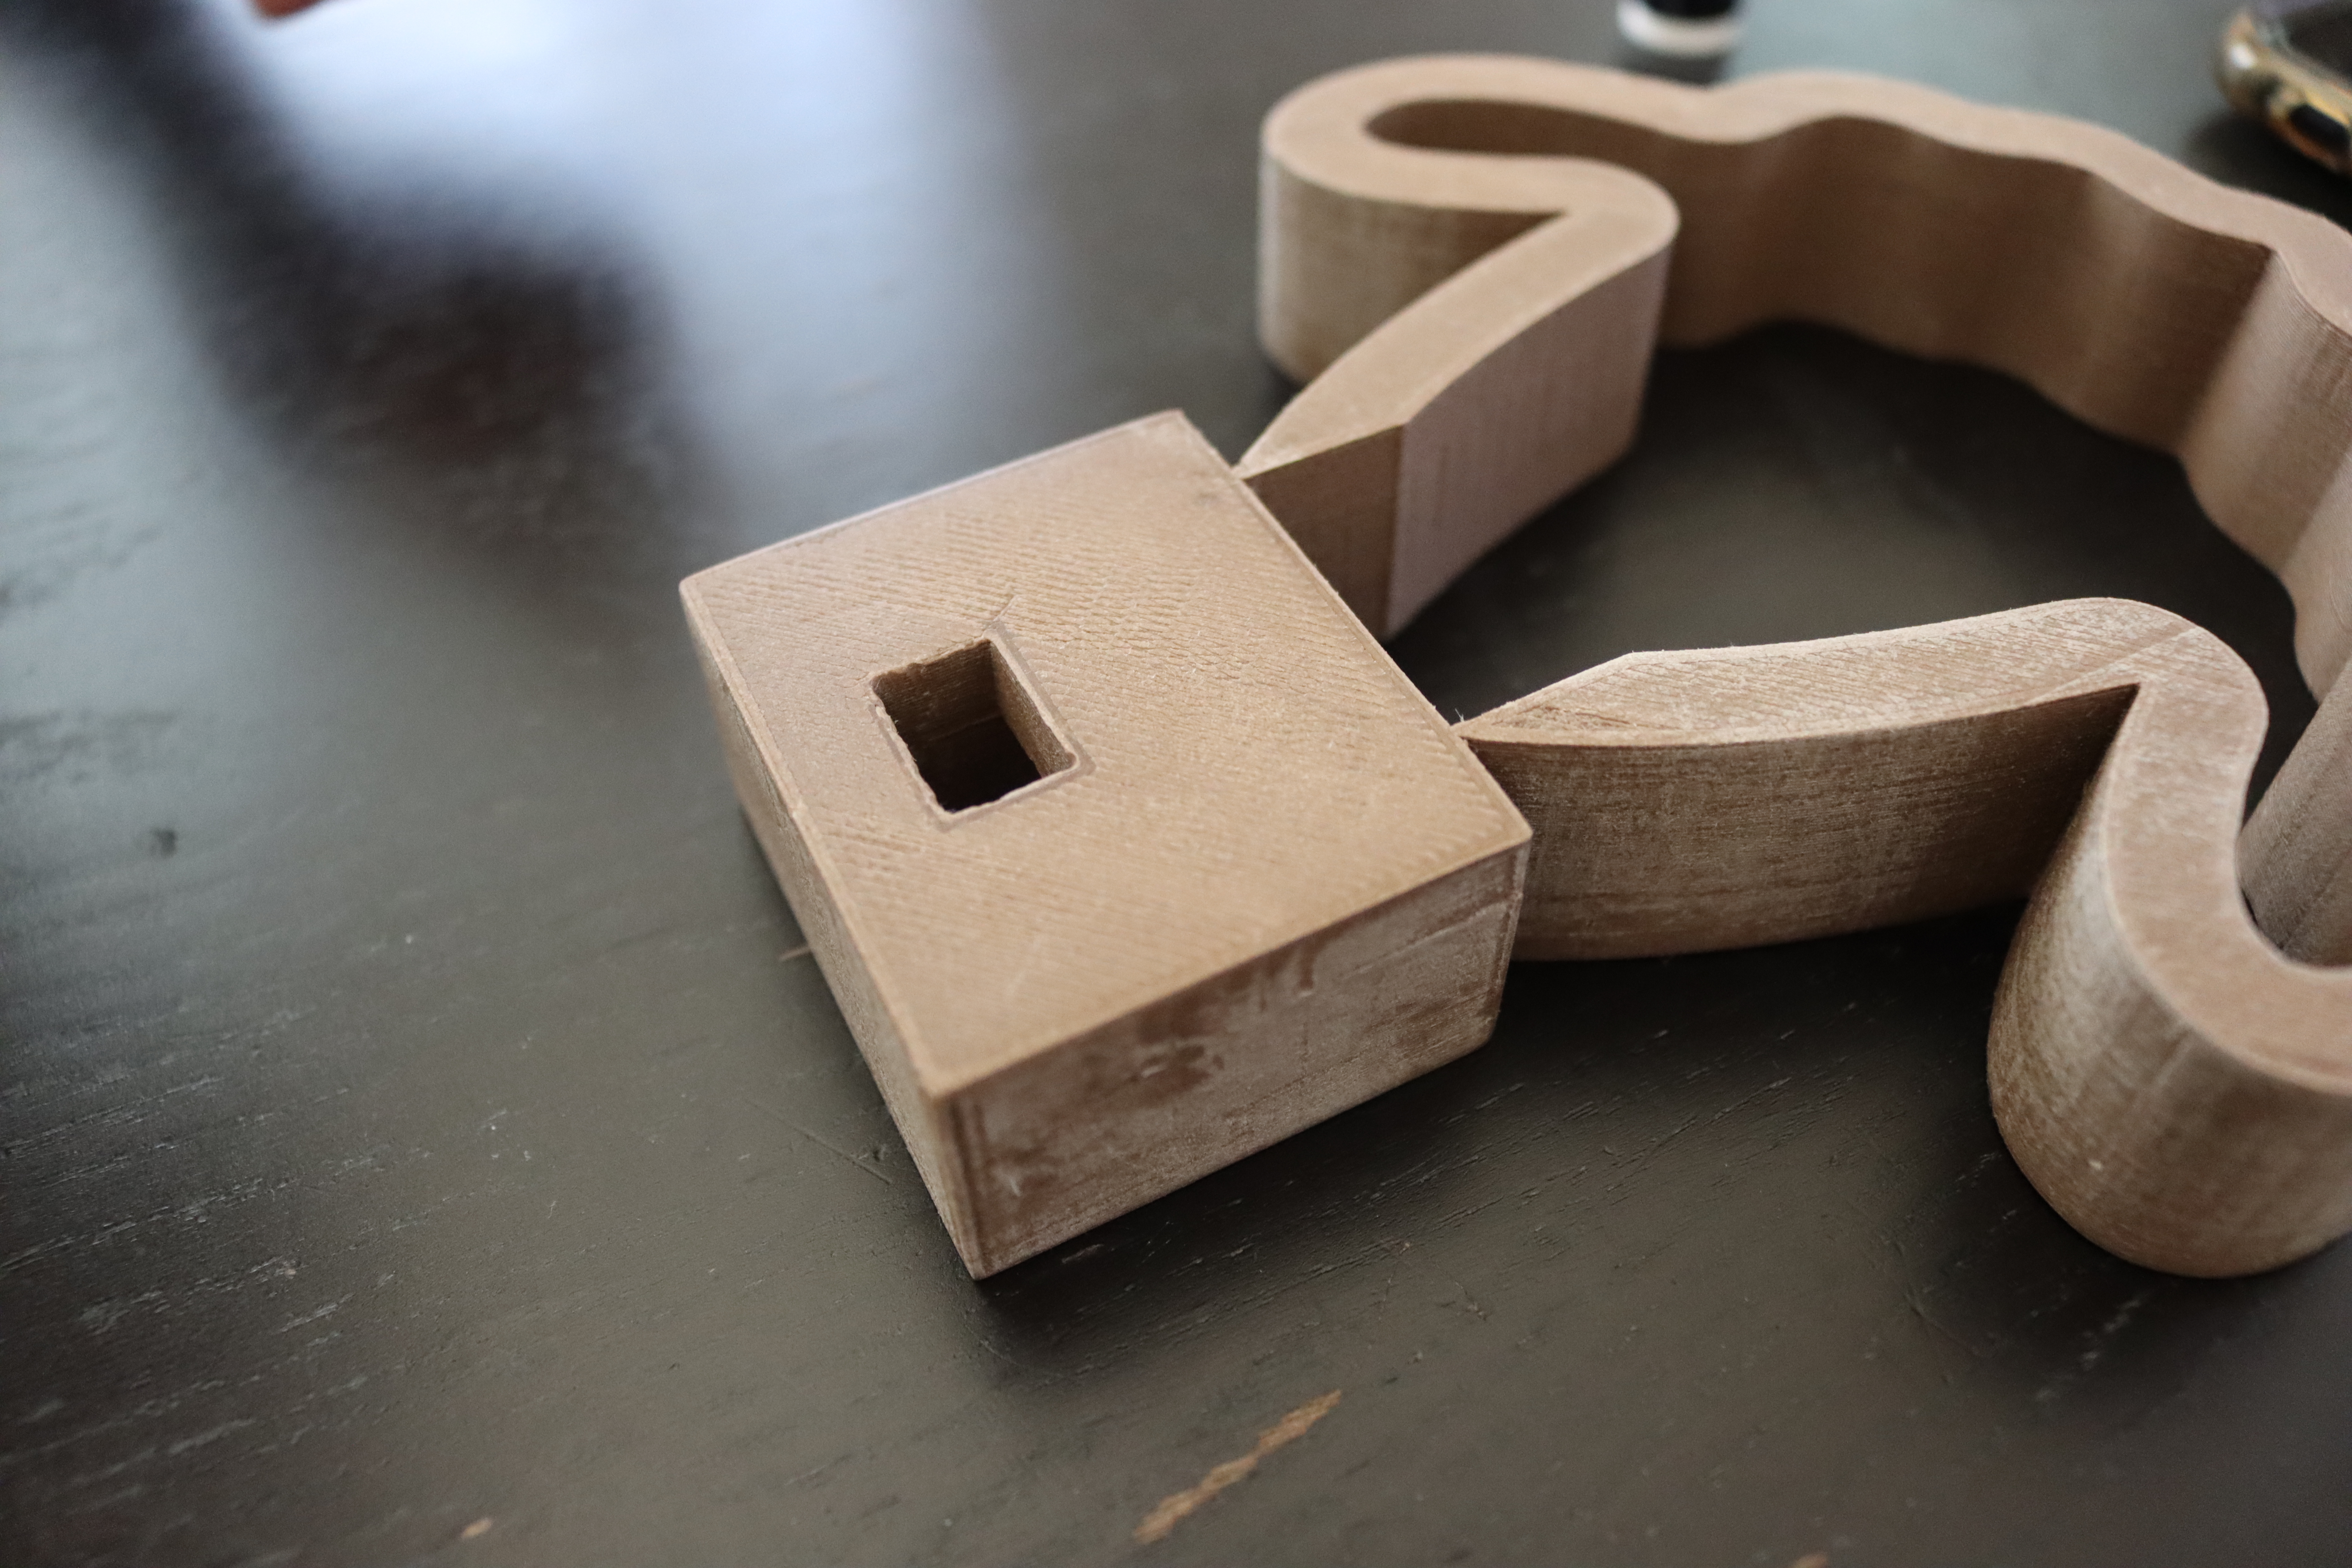
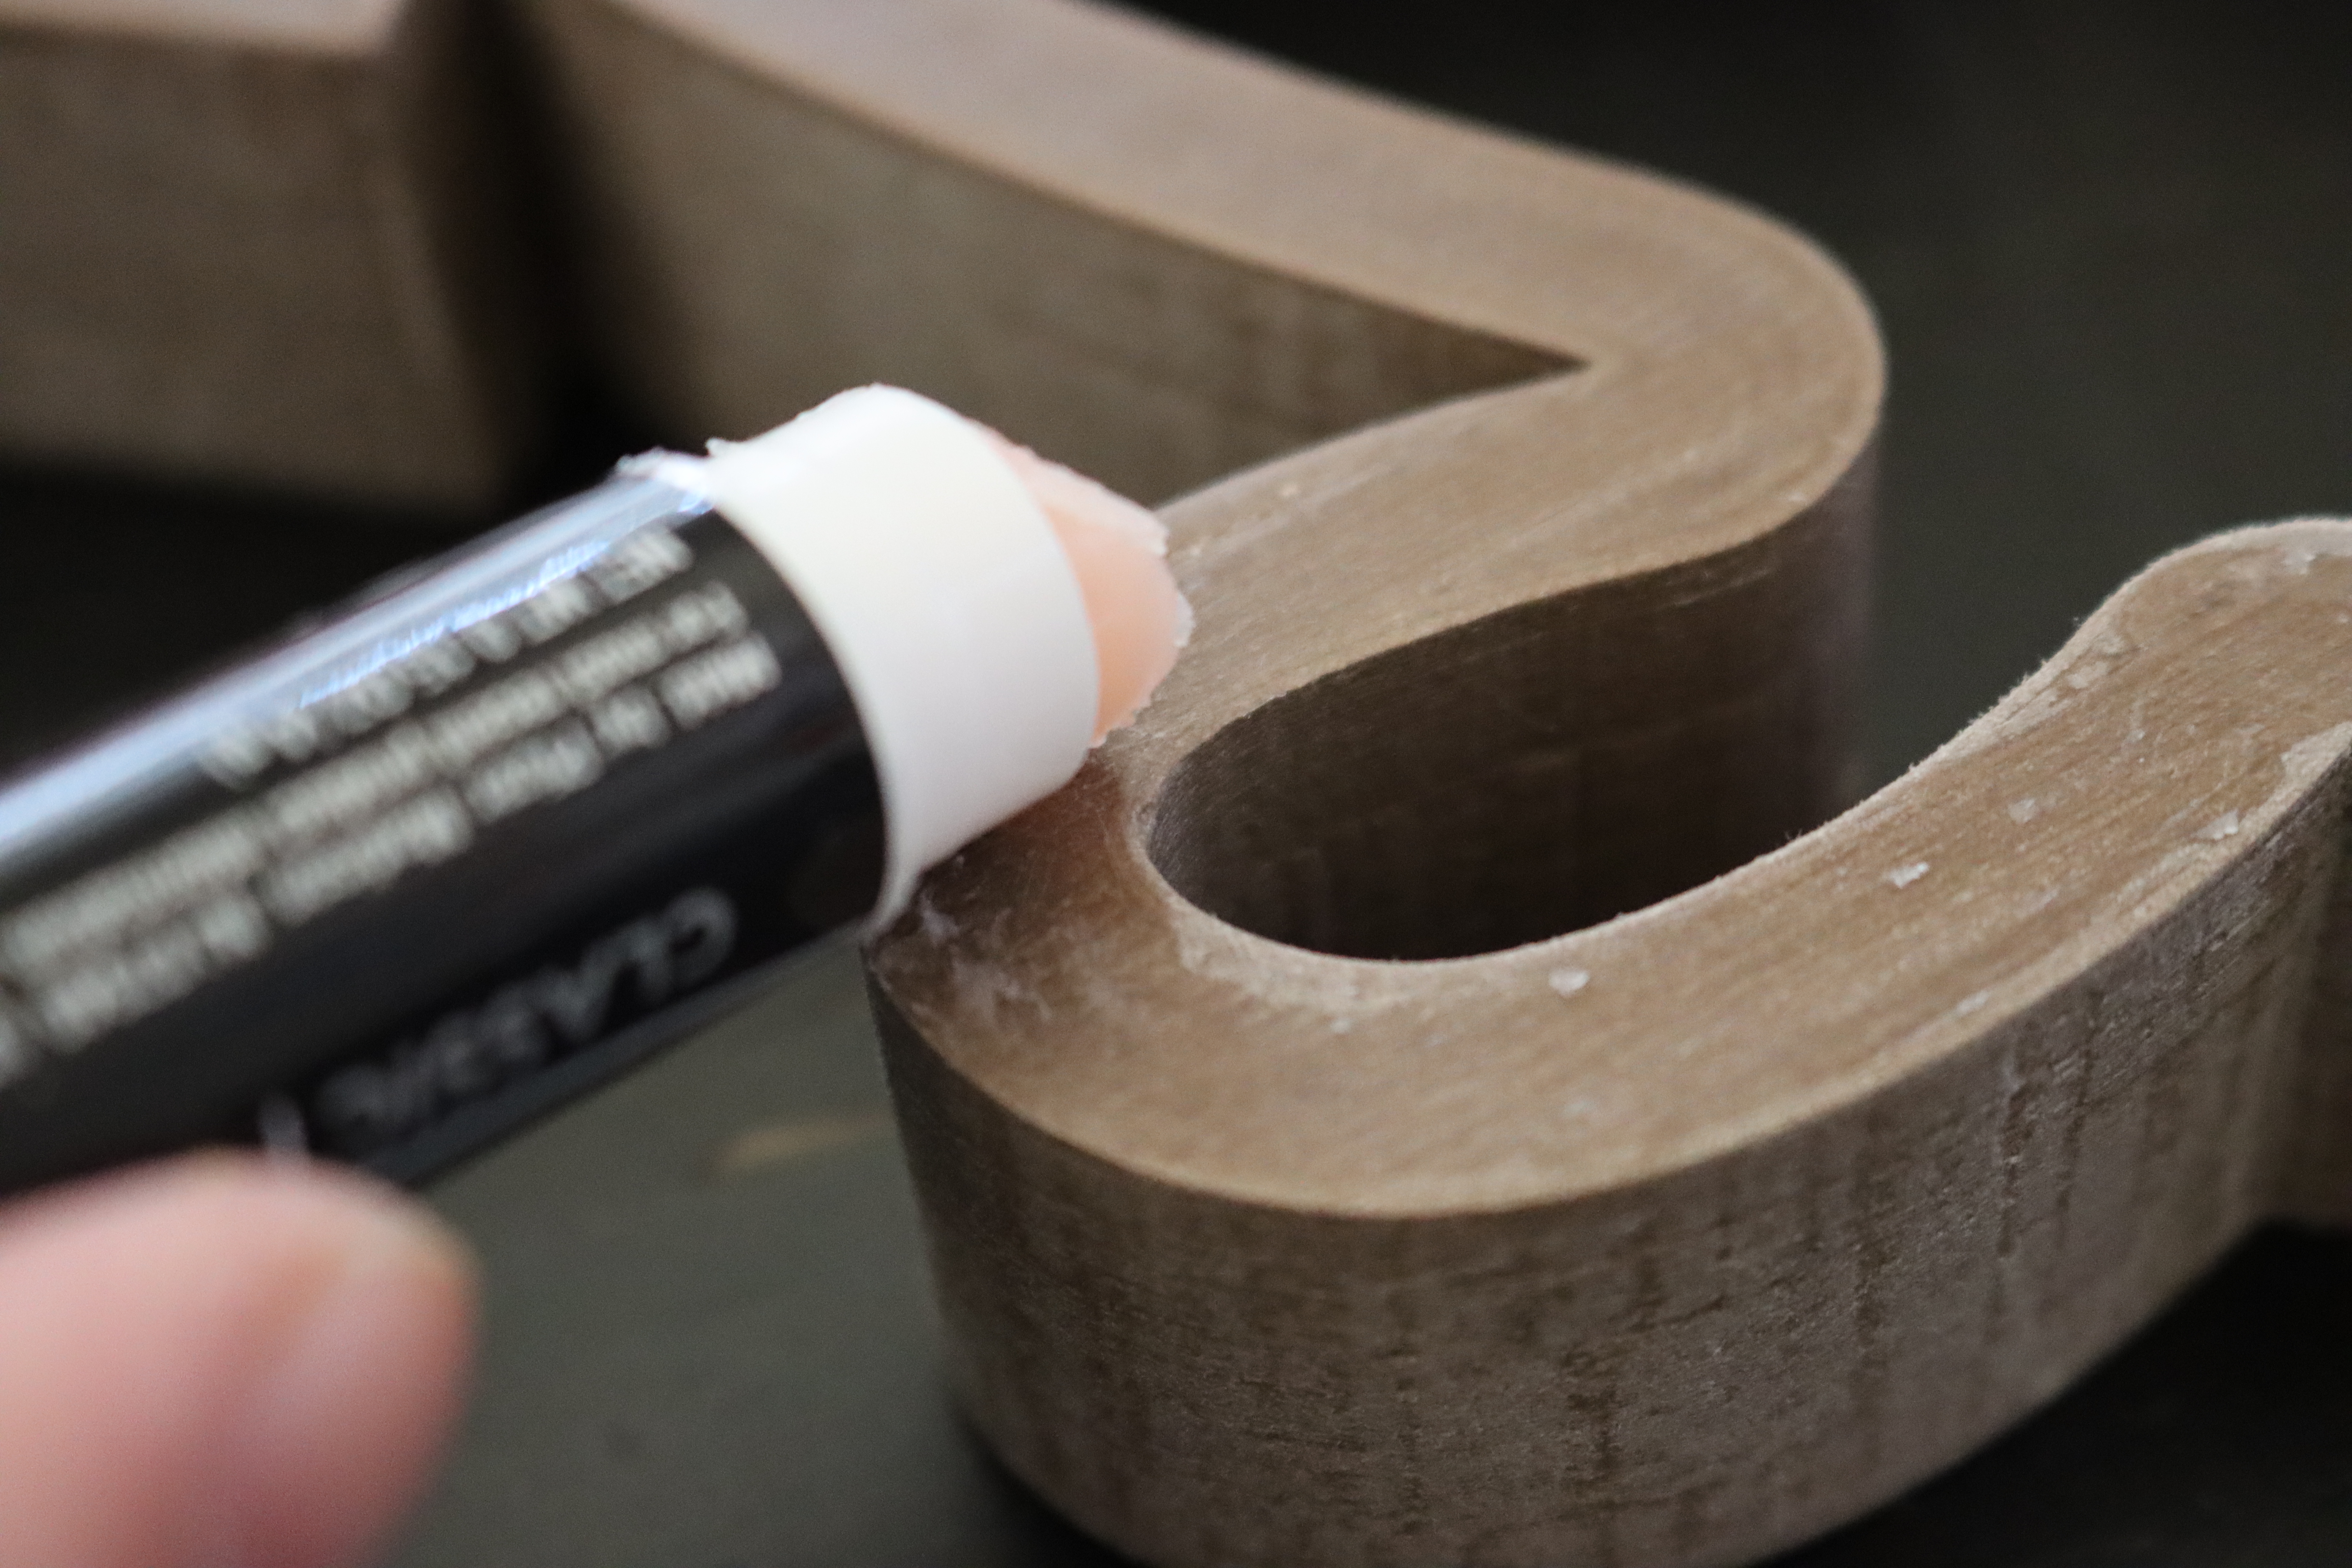
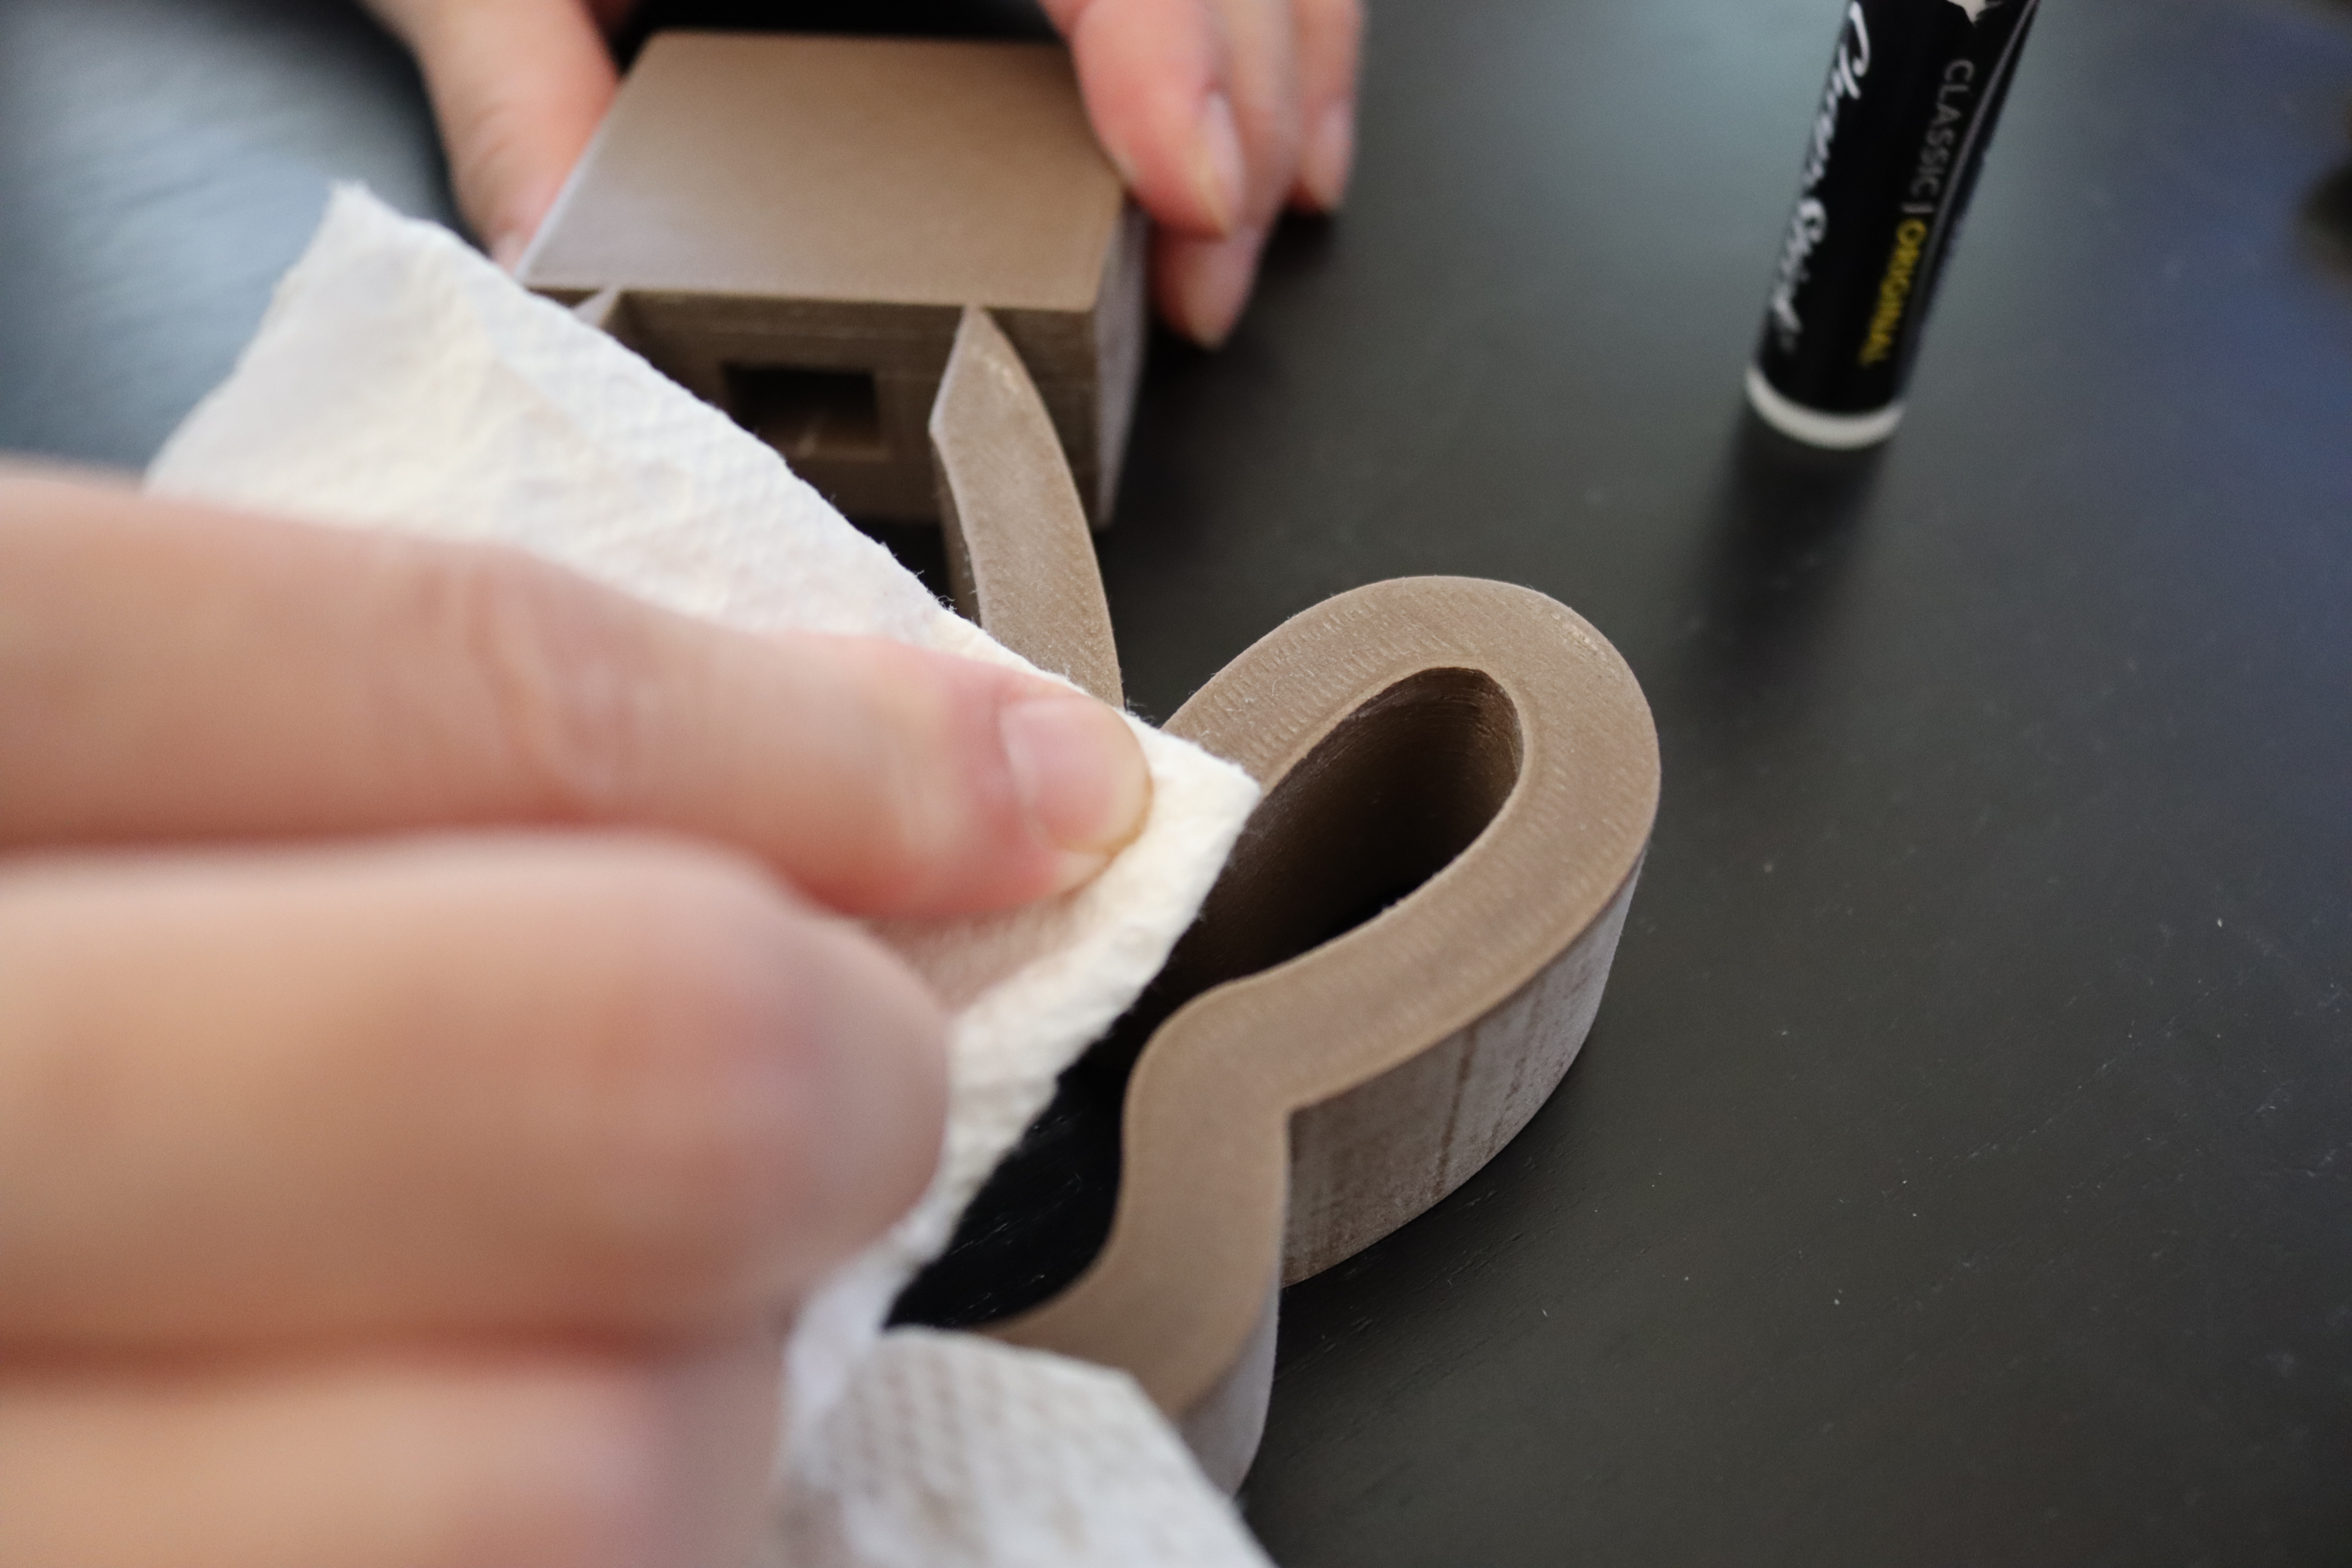
Remove the support of the sheep frame. Unfortunately, I forgot to take a picture when removing support. We should be patient when smoothing 3D models. Sand them in a circular motion by using sandpaper from no. 240, 300, 400, 600, 800, 1000, 1200, 1500, and 2000 respectively until you get the smooth surfaces. After sanding, apply lip balm to the sheep, so it will make the scratch disappear and shinnying the printing.
Mistake in Printing
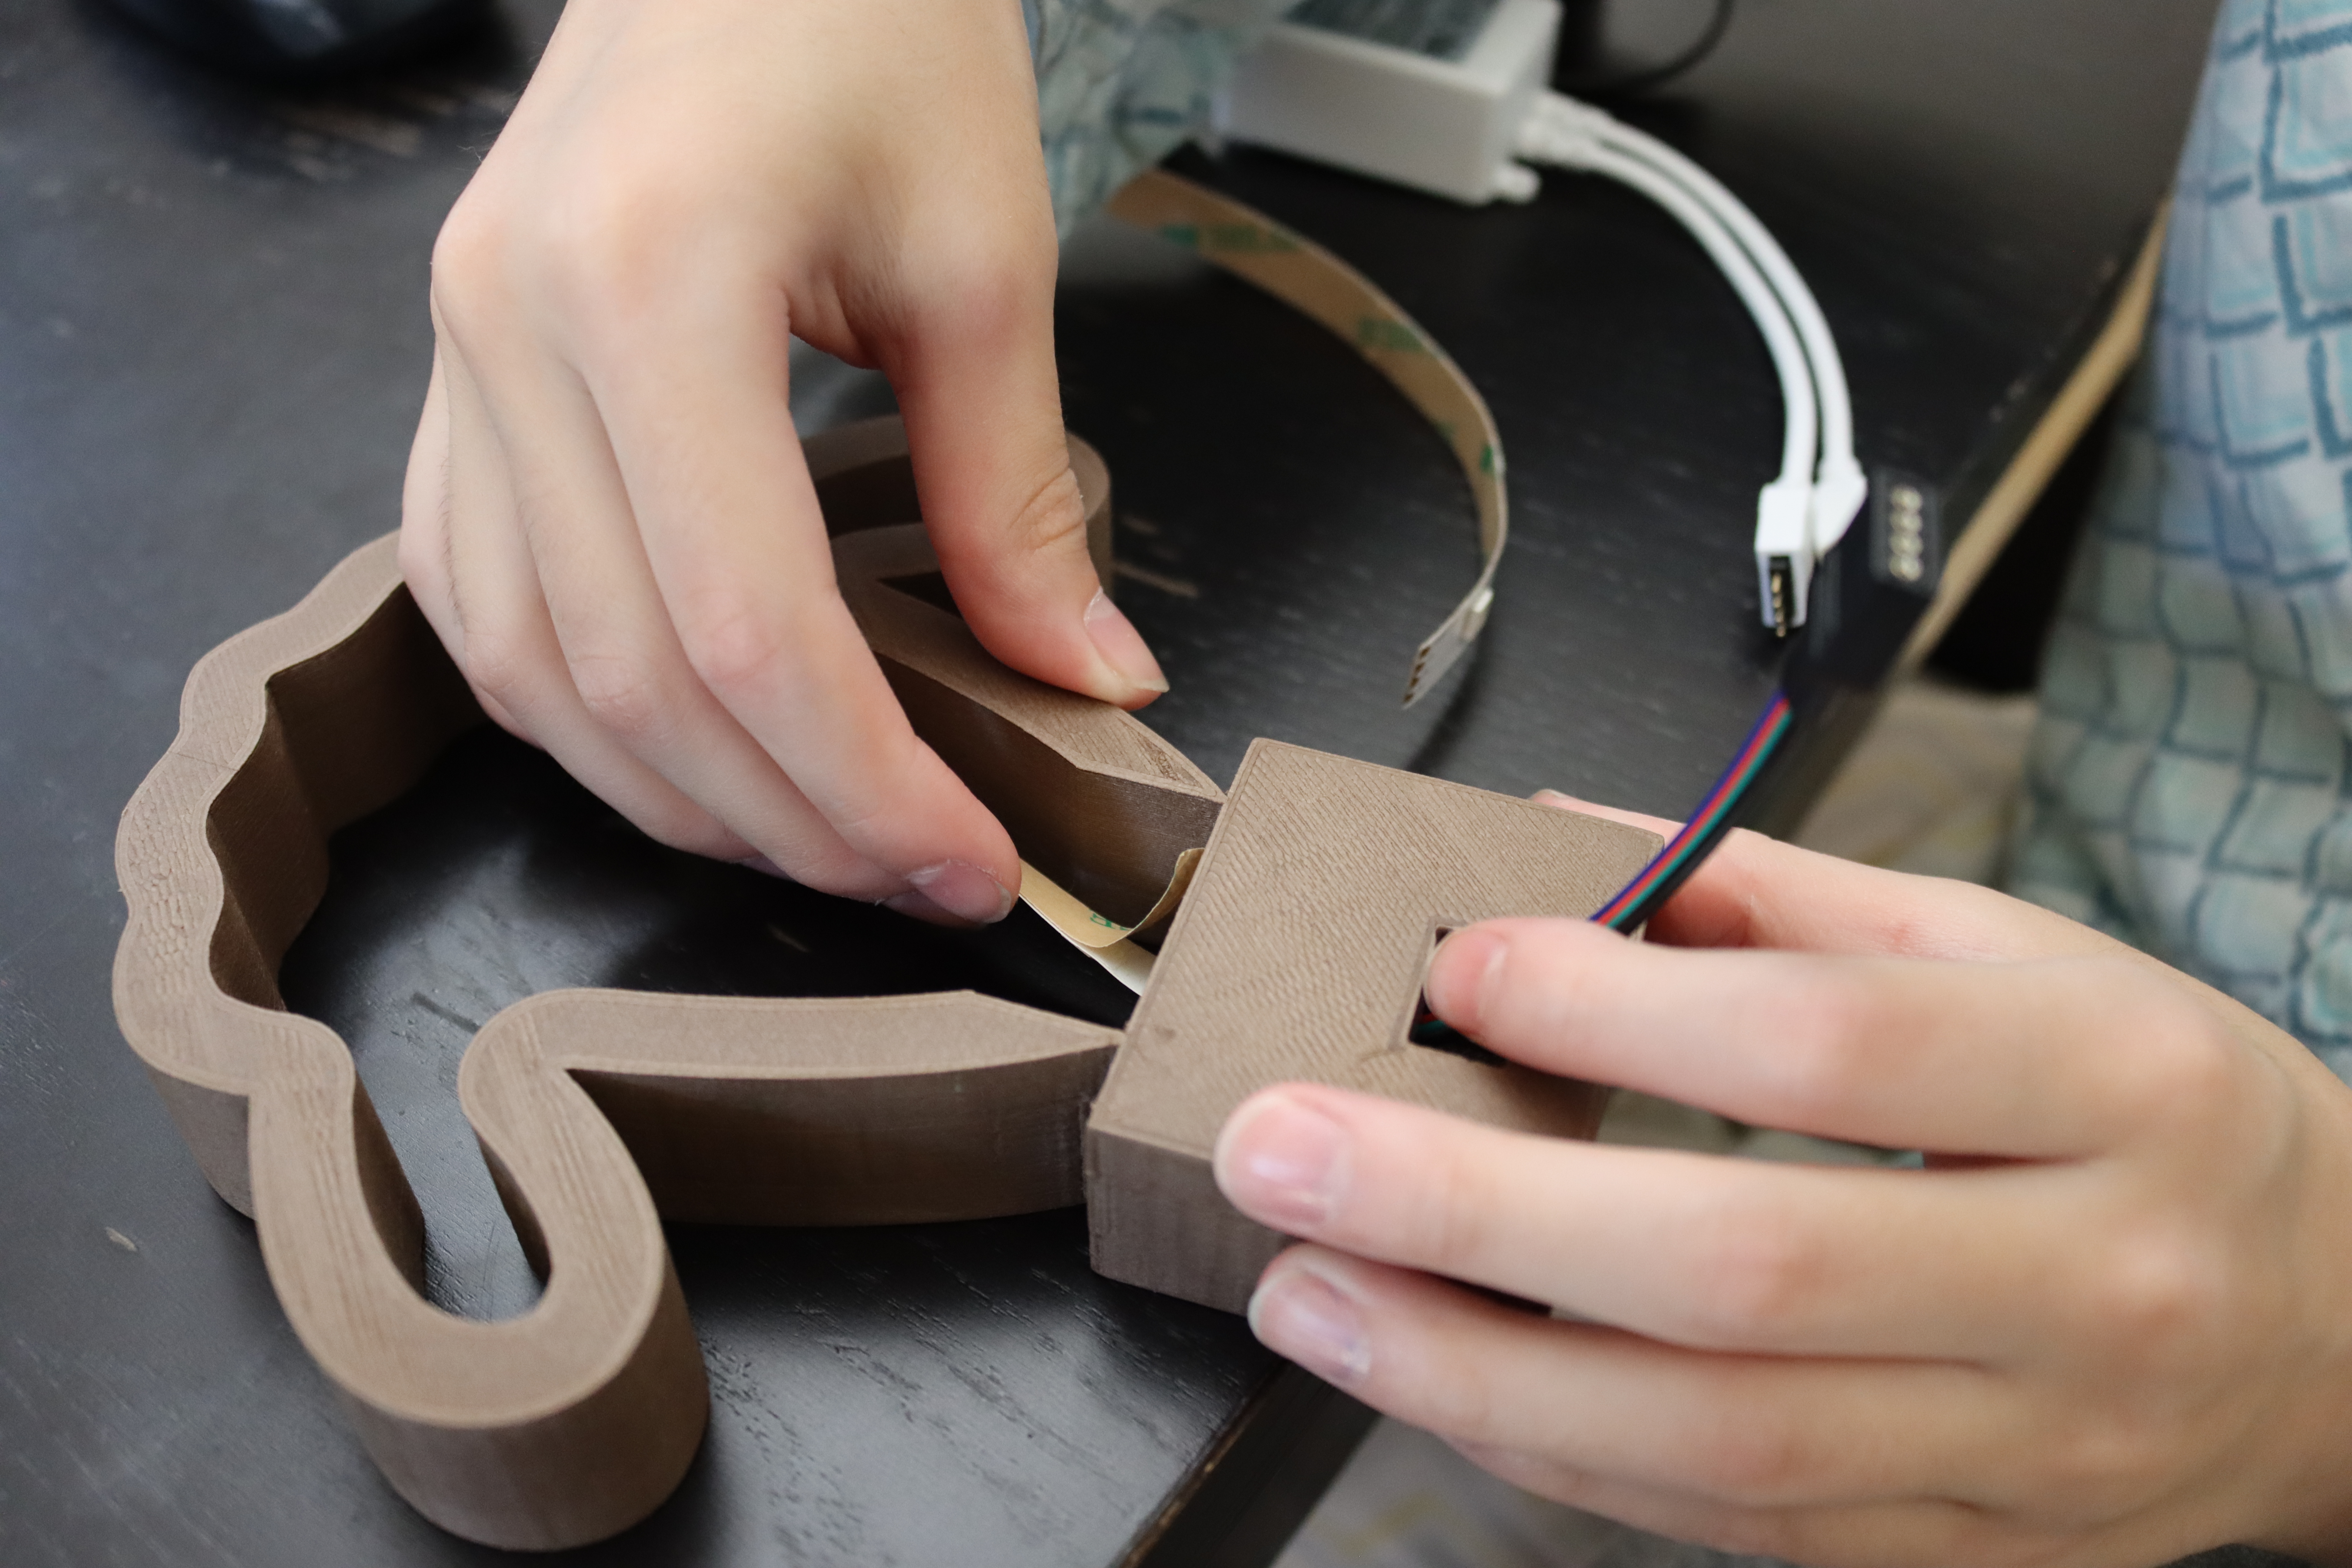
I made a little mistake in my printing, which is the hole that I made before, is too small to insert the connector of the LED strip. Actually, I want to stick the LED strip first in my frame, then insert the connector to the hole. Because the hole is too small to do it, I alternate my step in installing the LED strip. Therefore, I measure how long the LED strips that I want to use roughly. I cut the LED strip and start to install.
Install the LED Strips

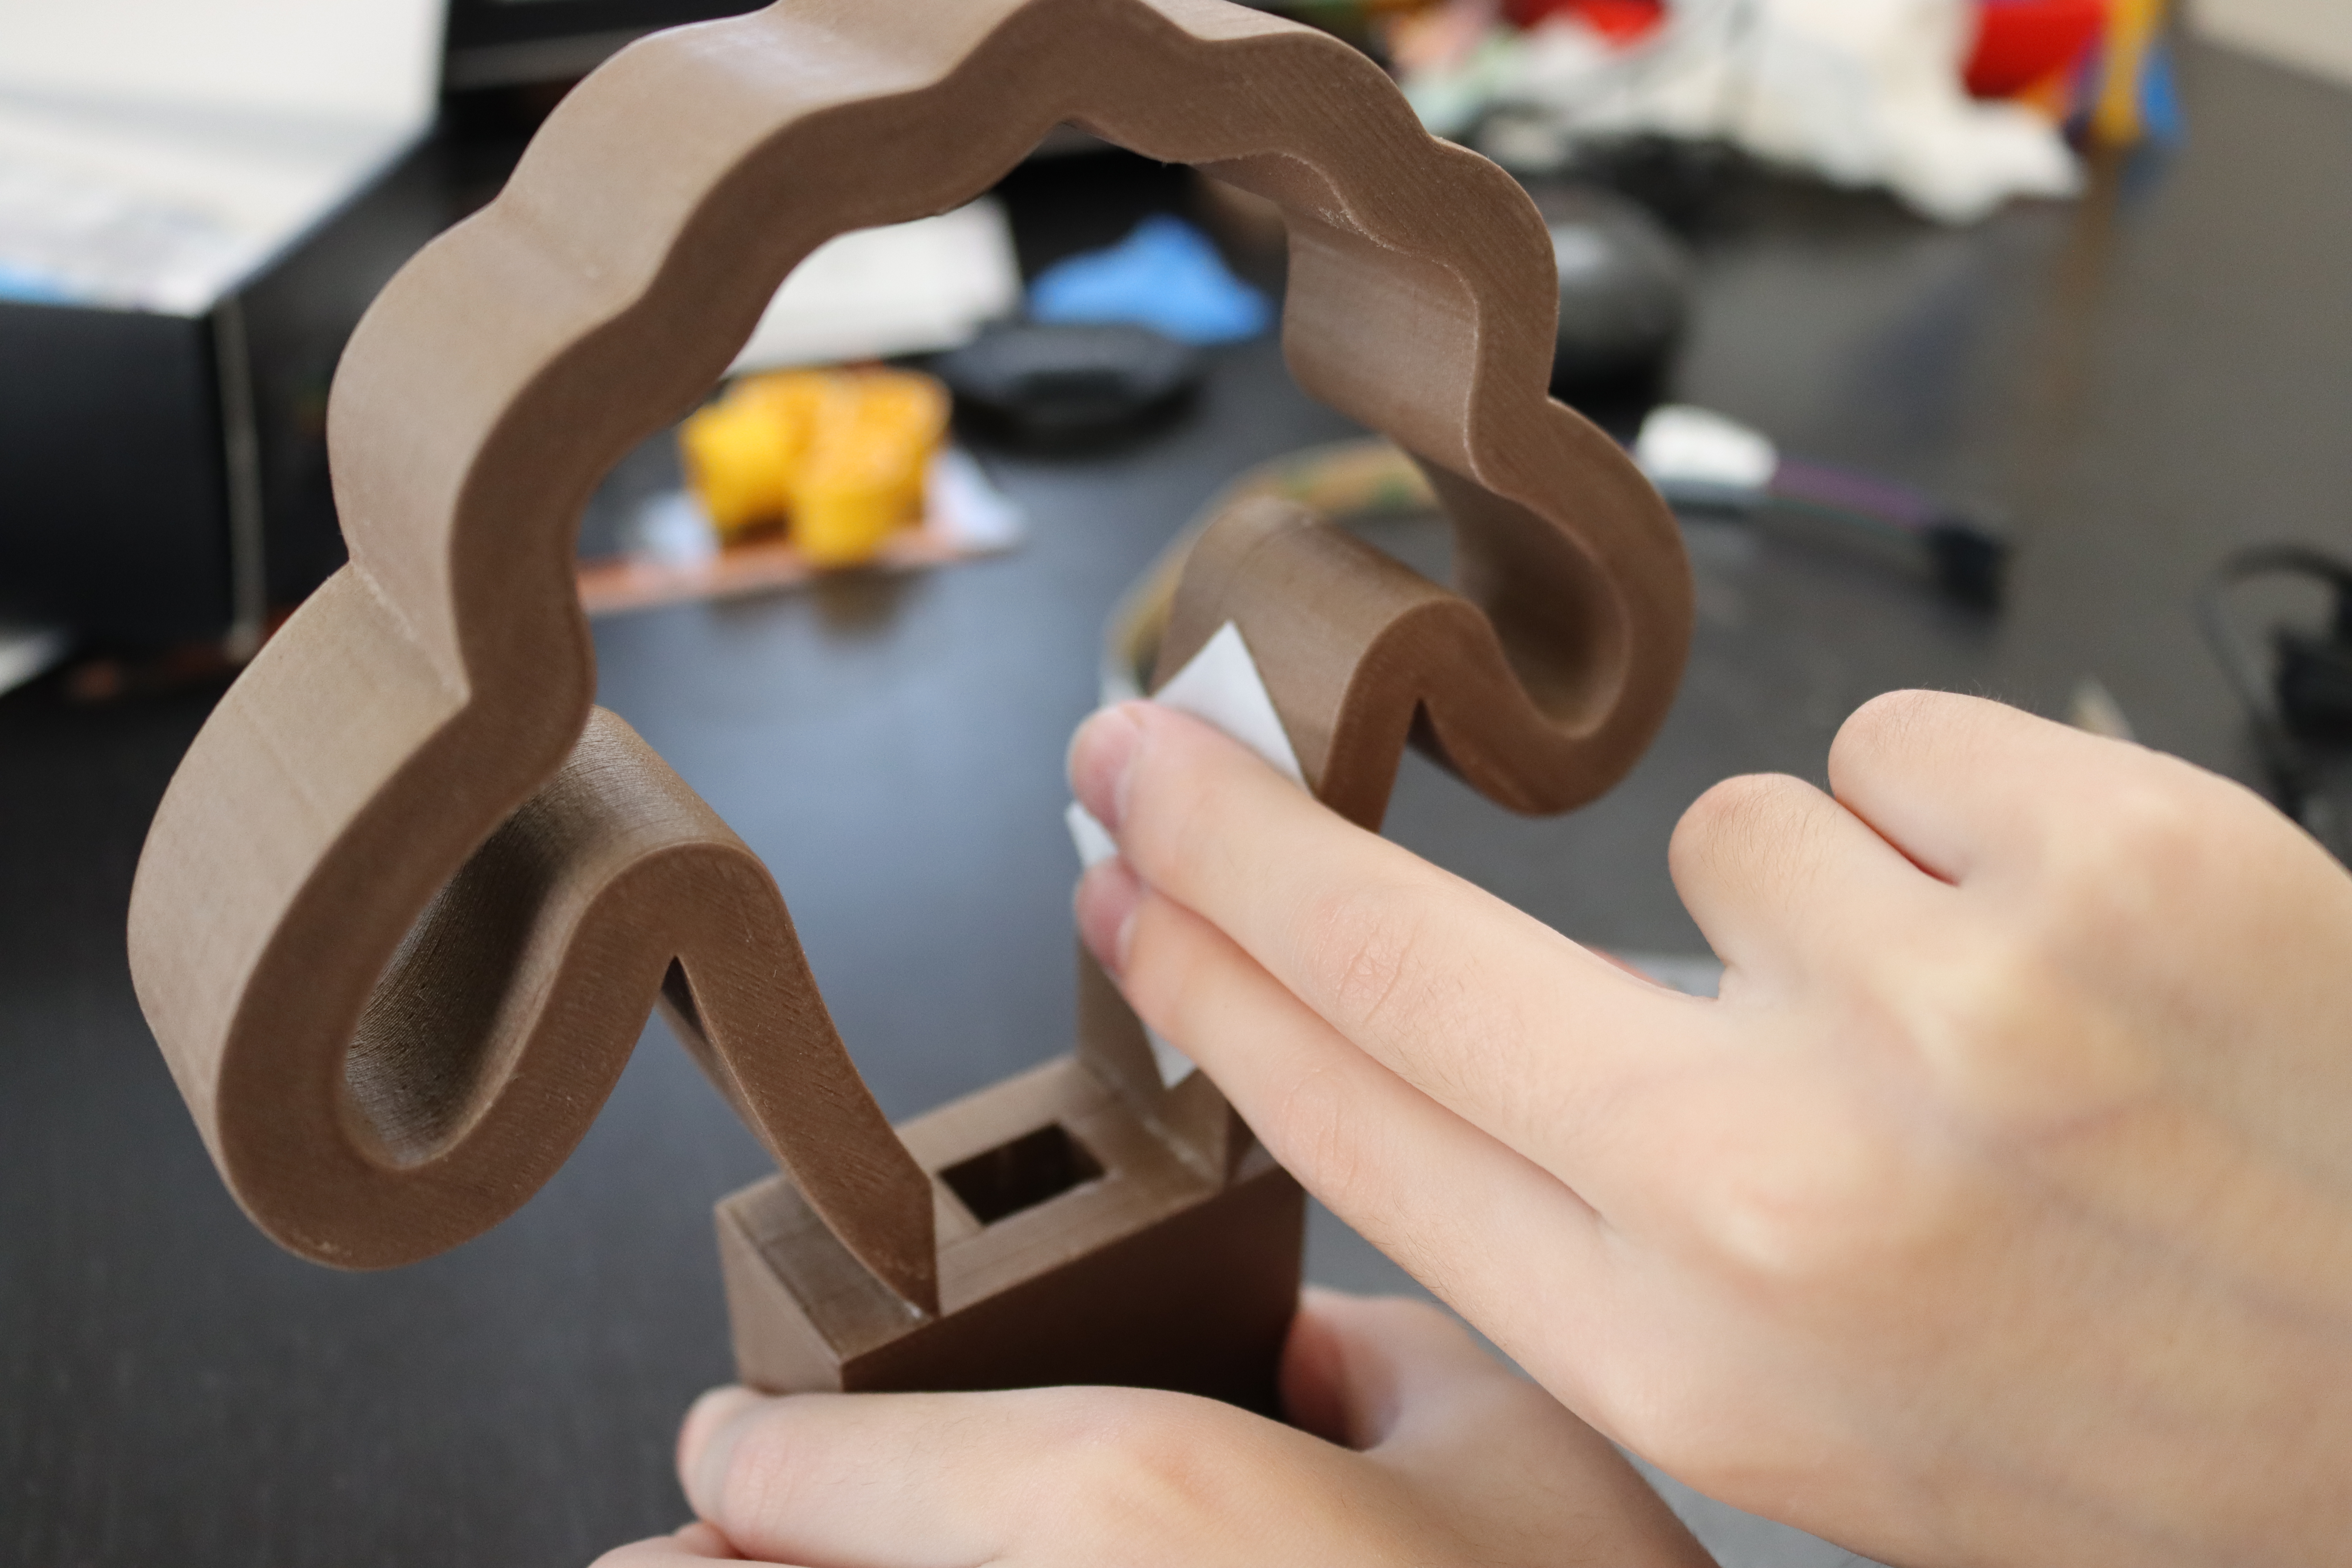
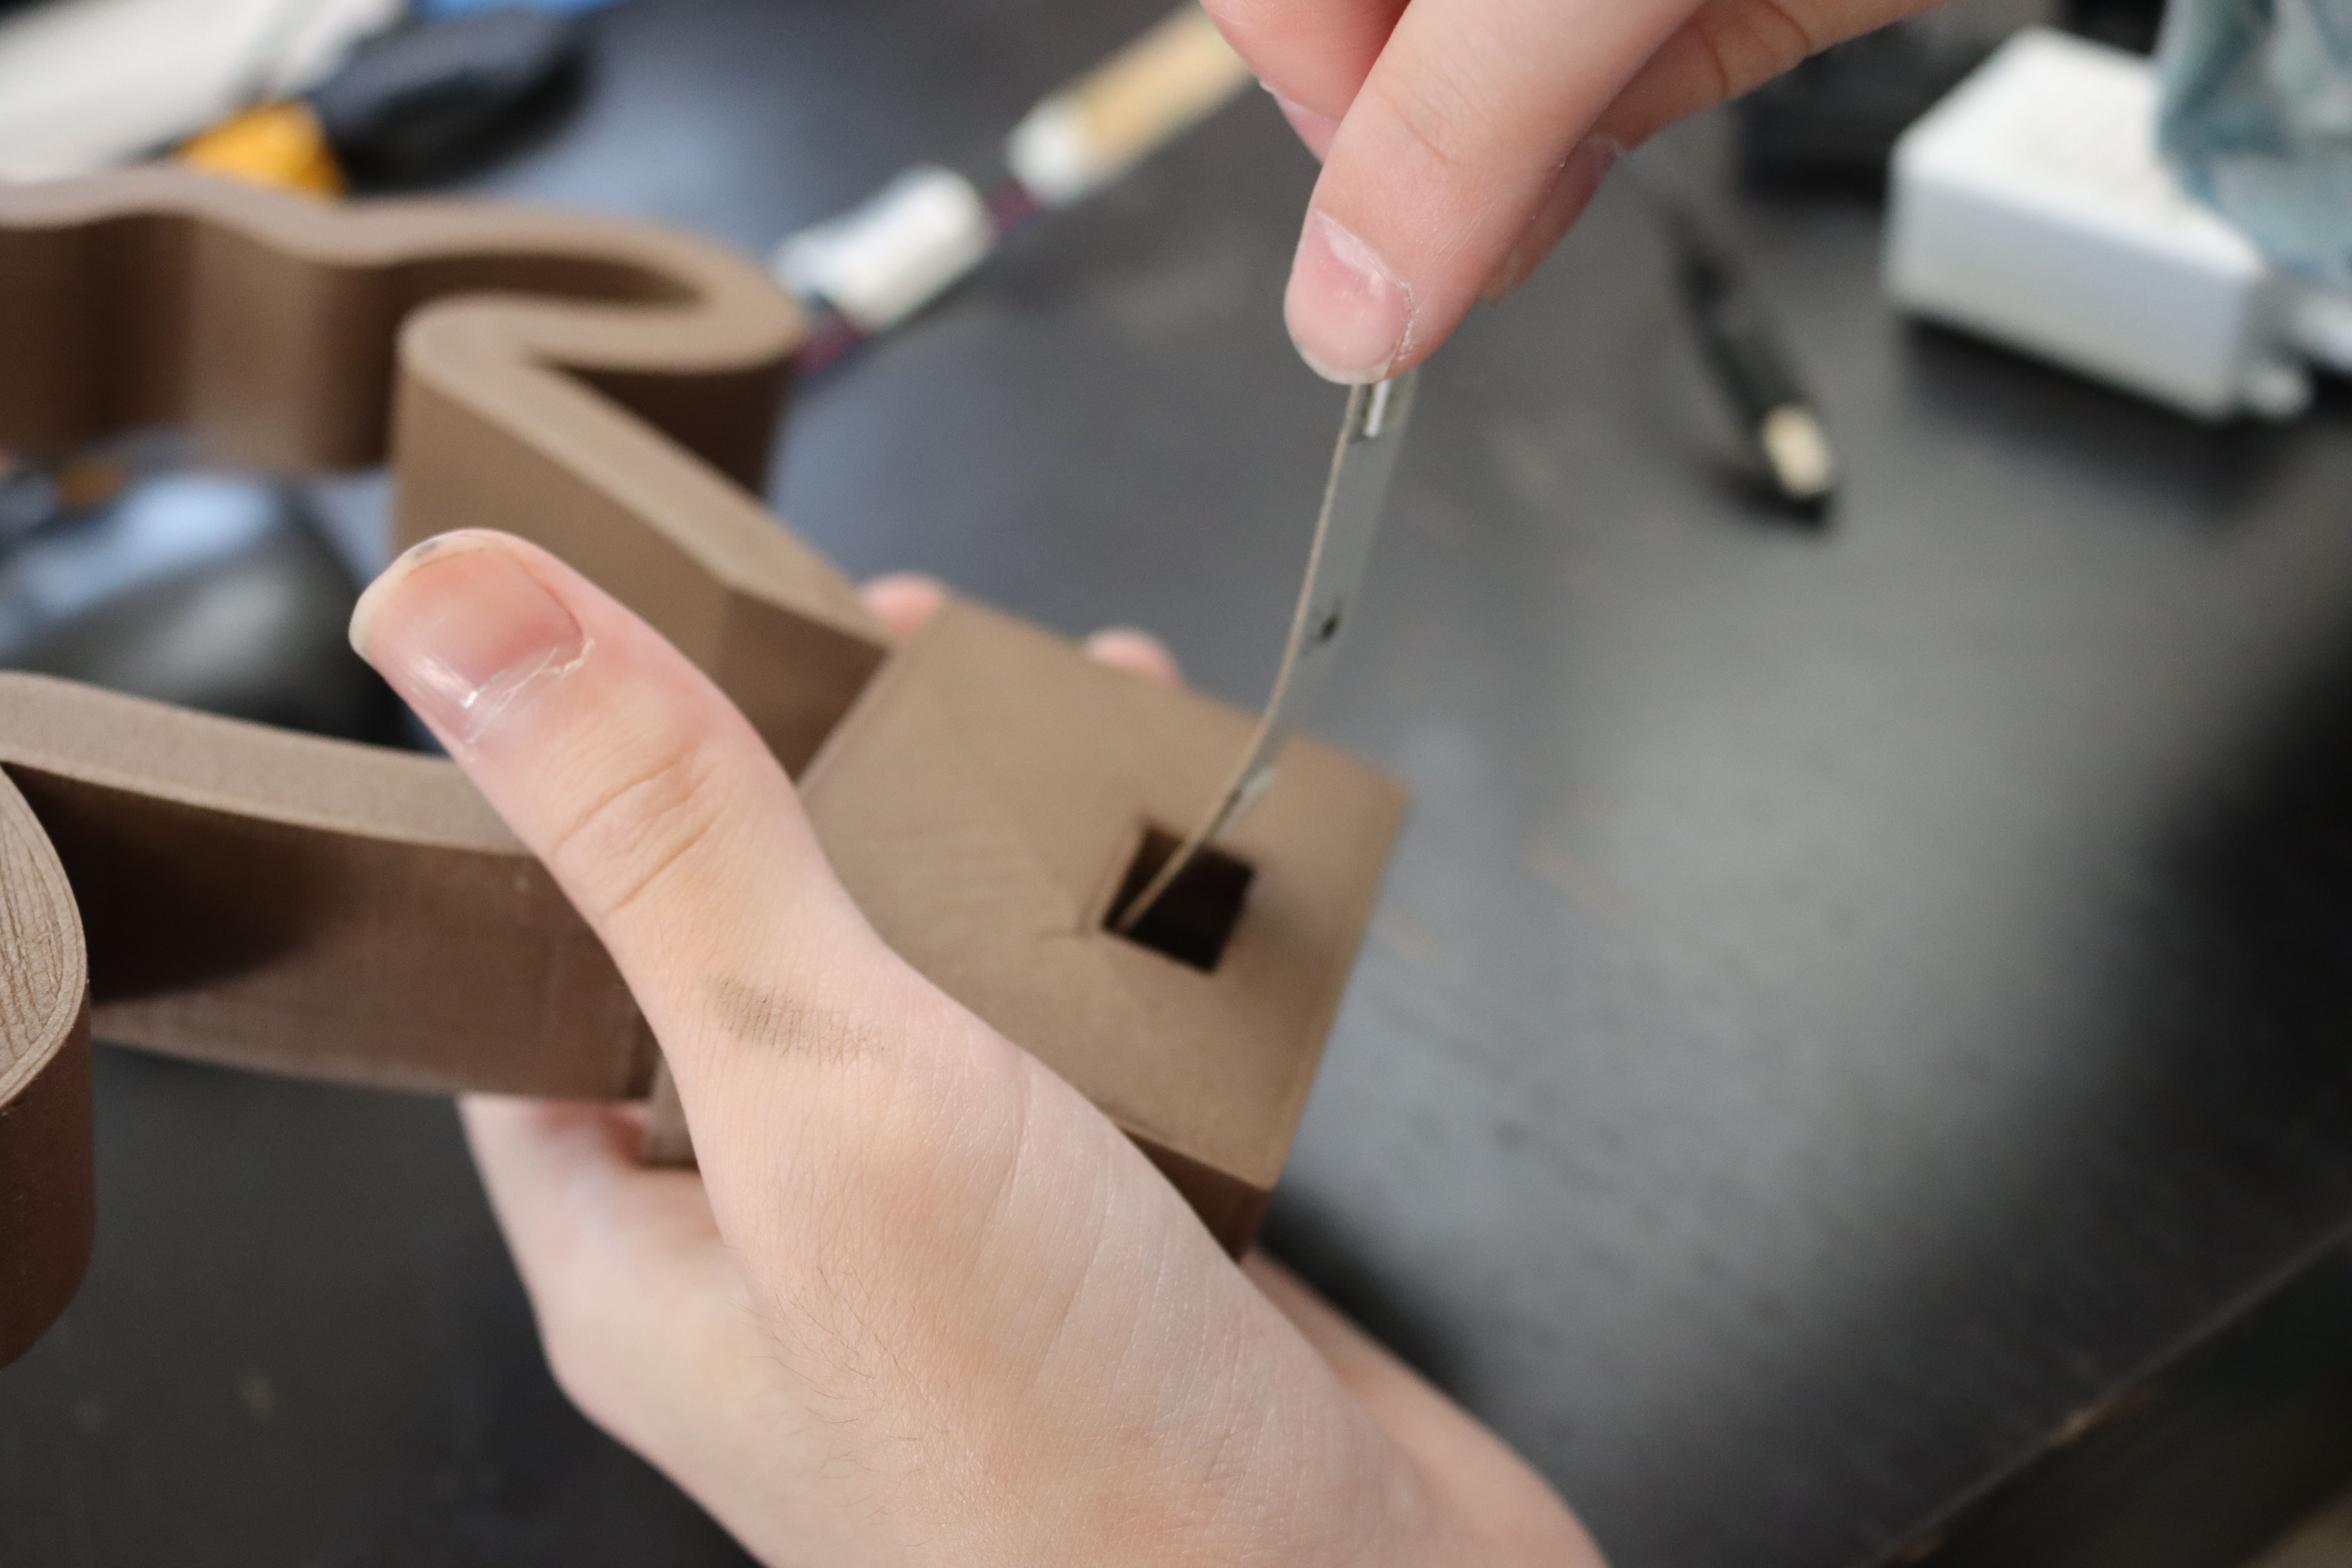
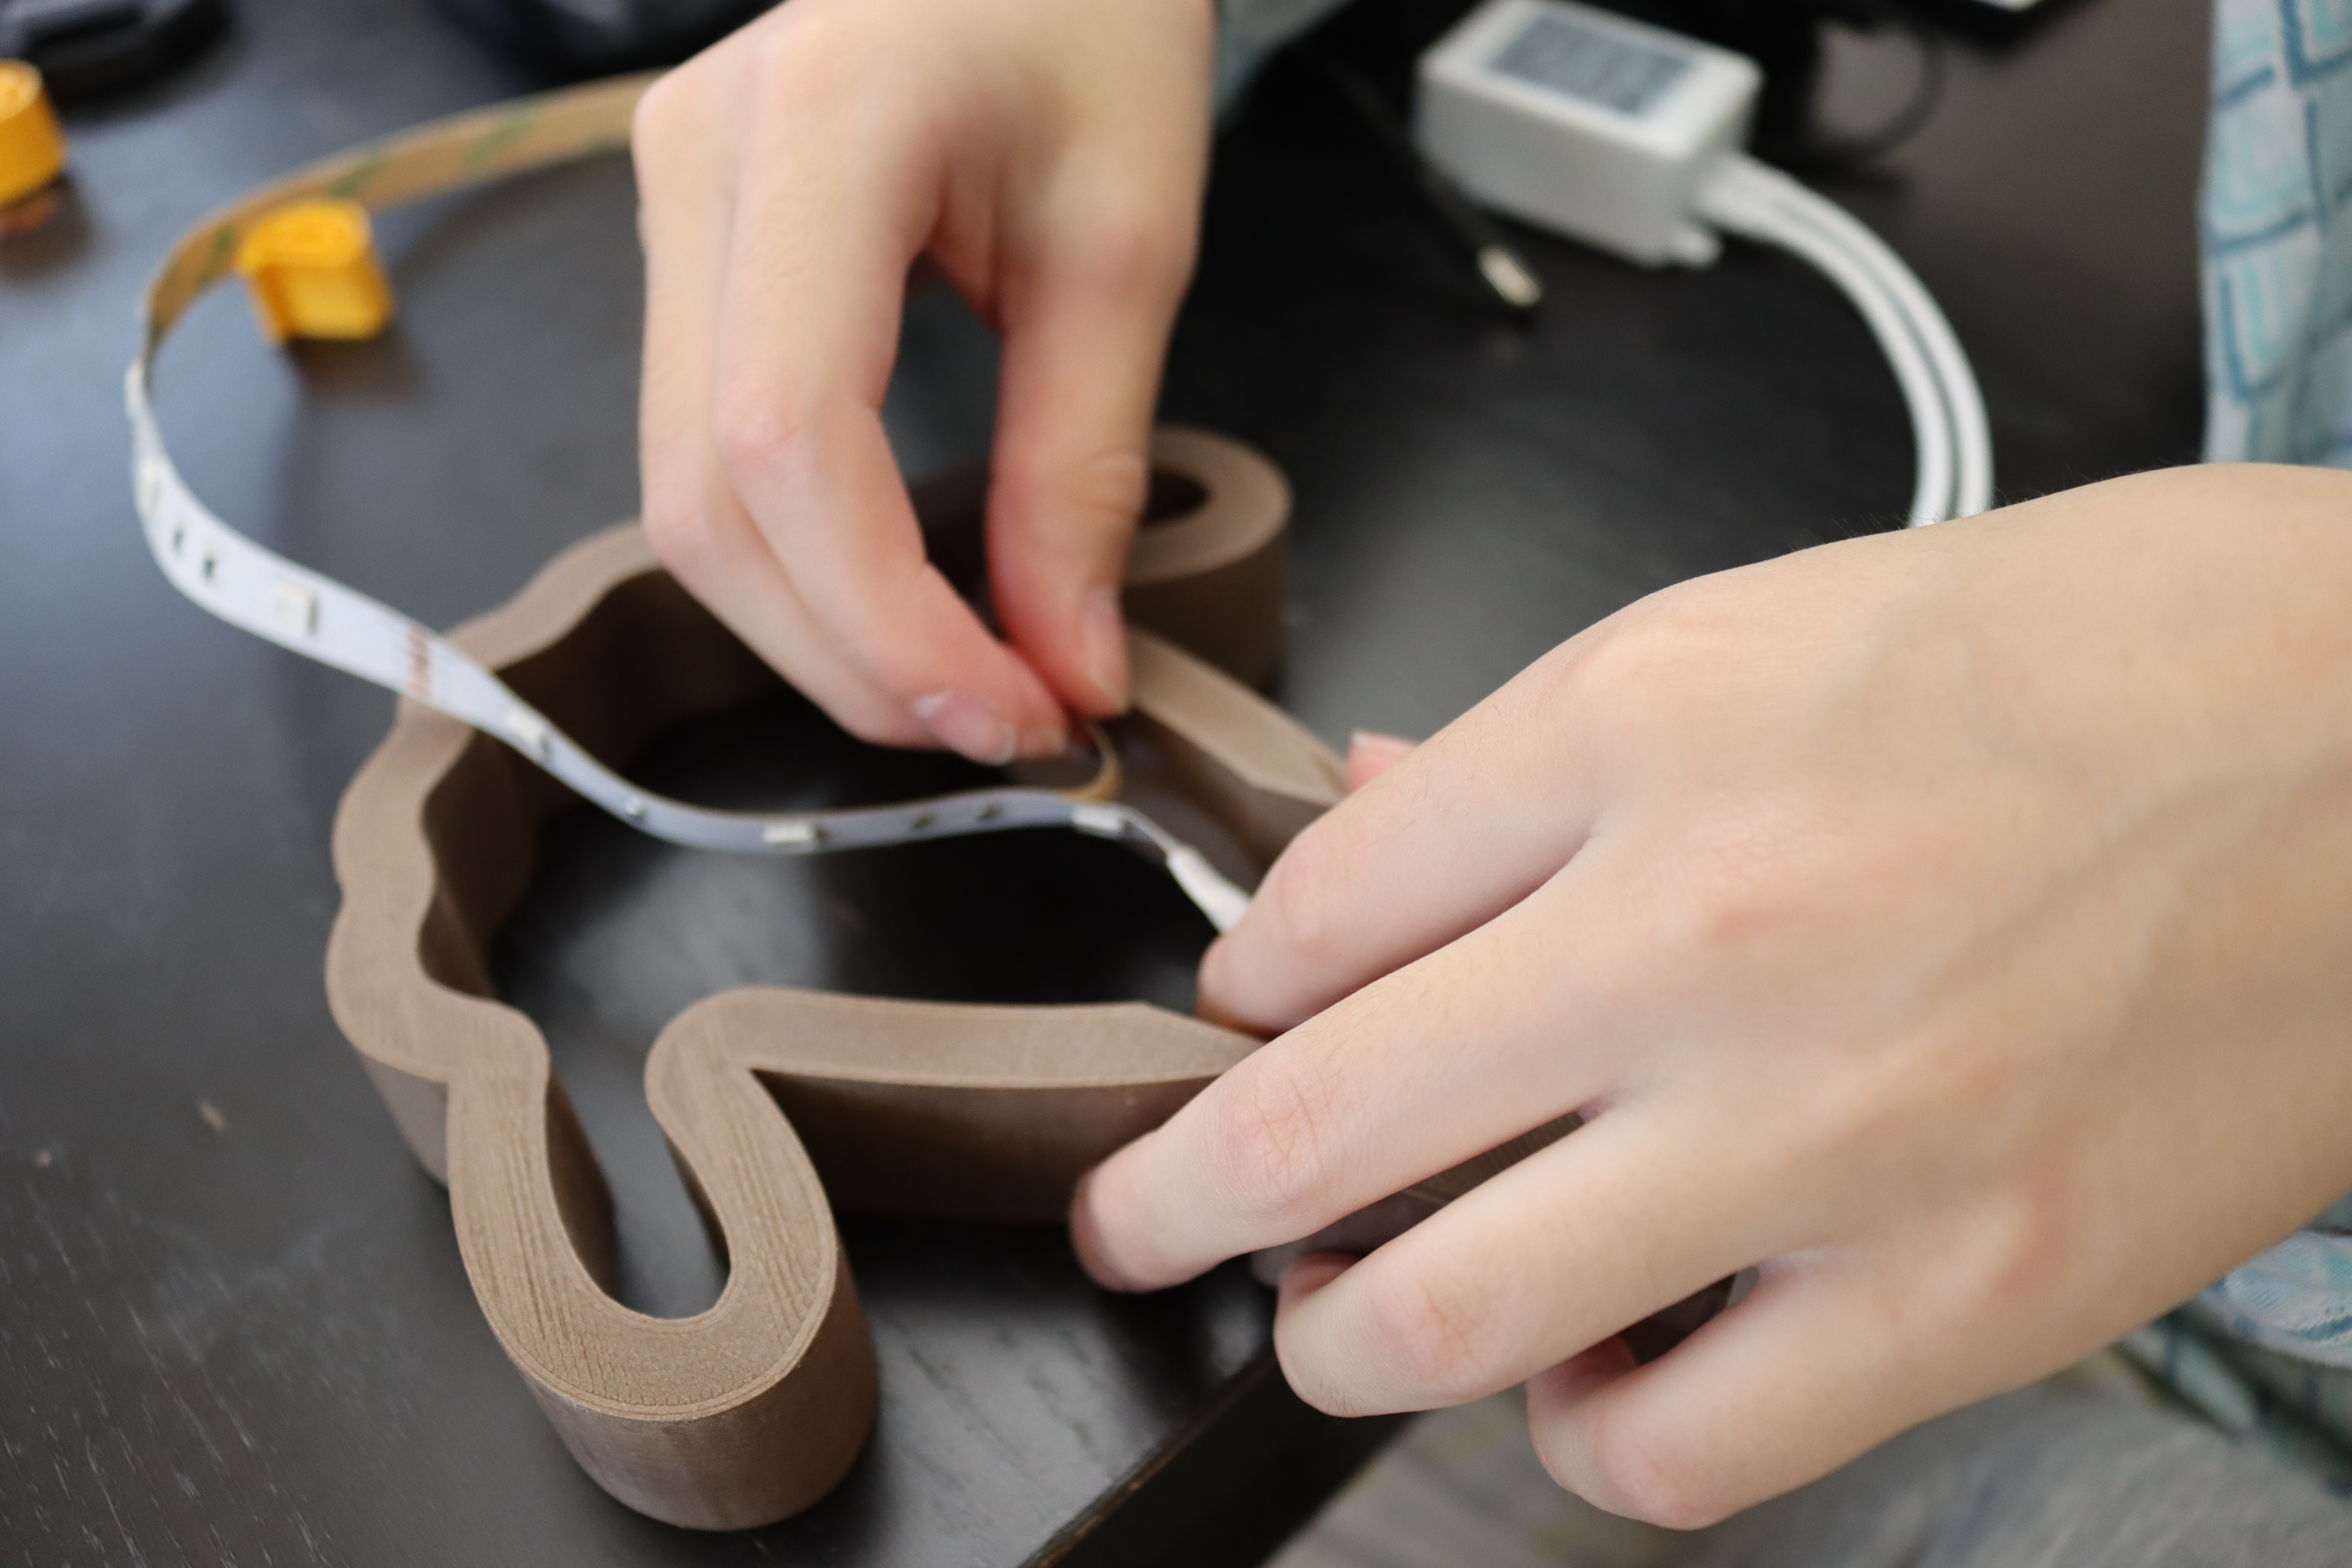
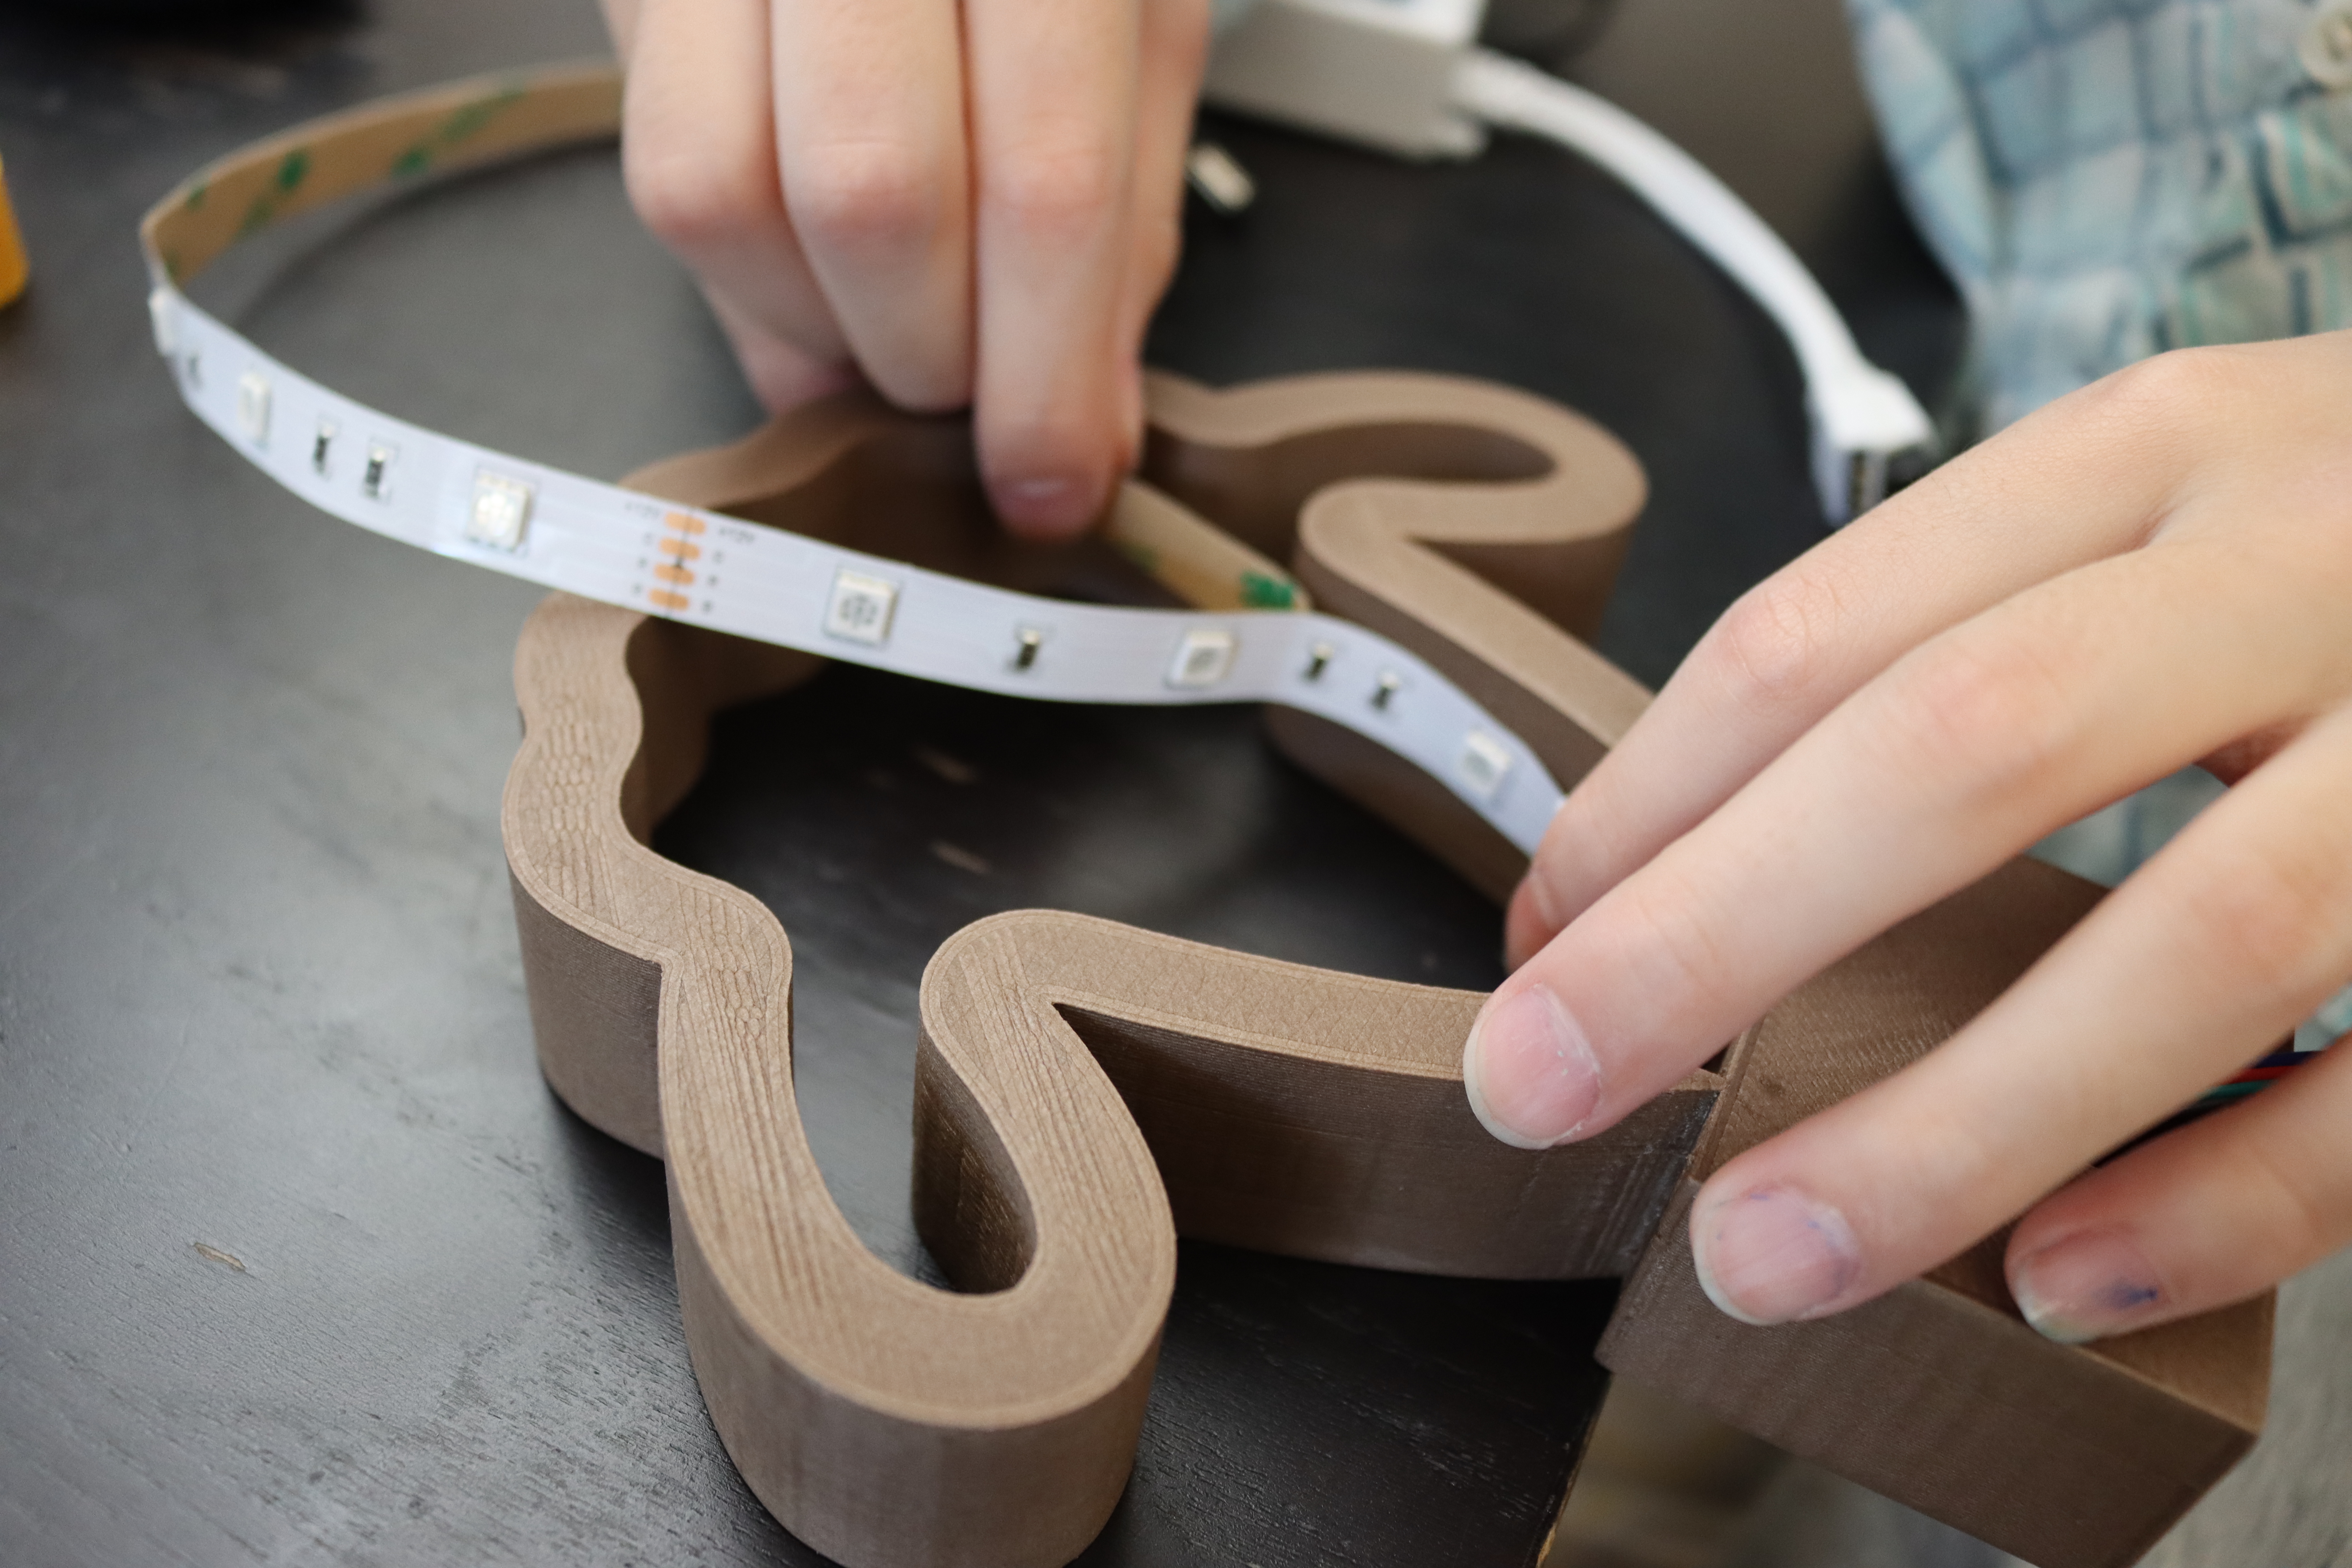
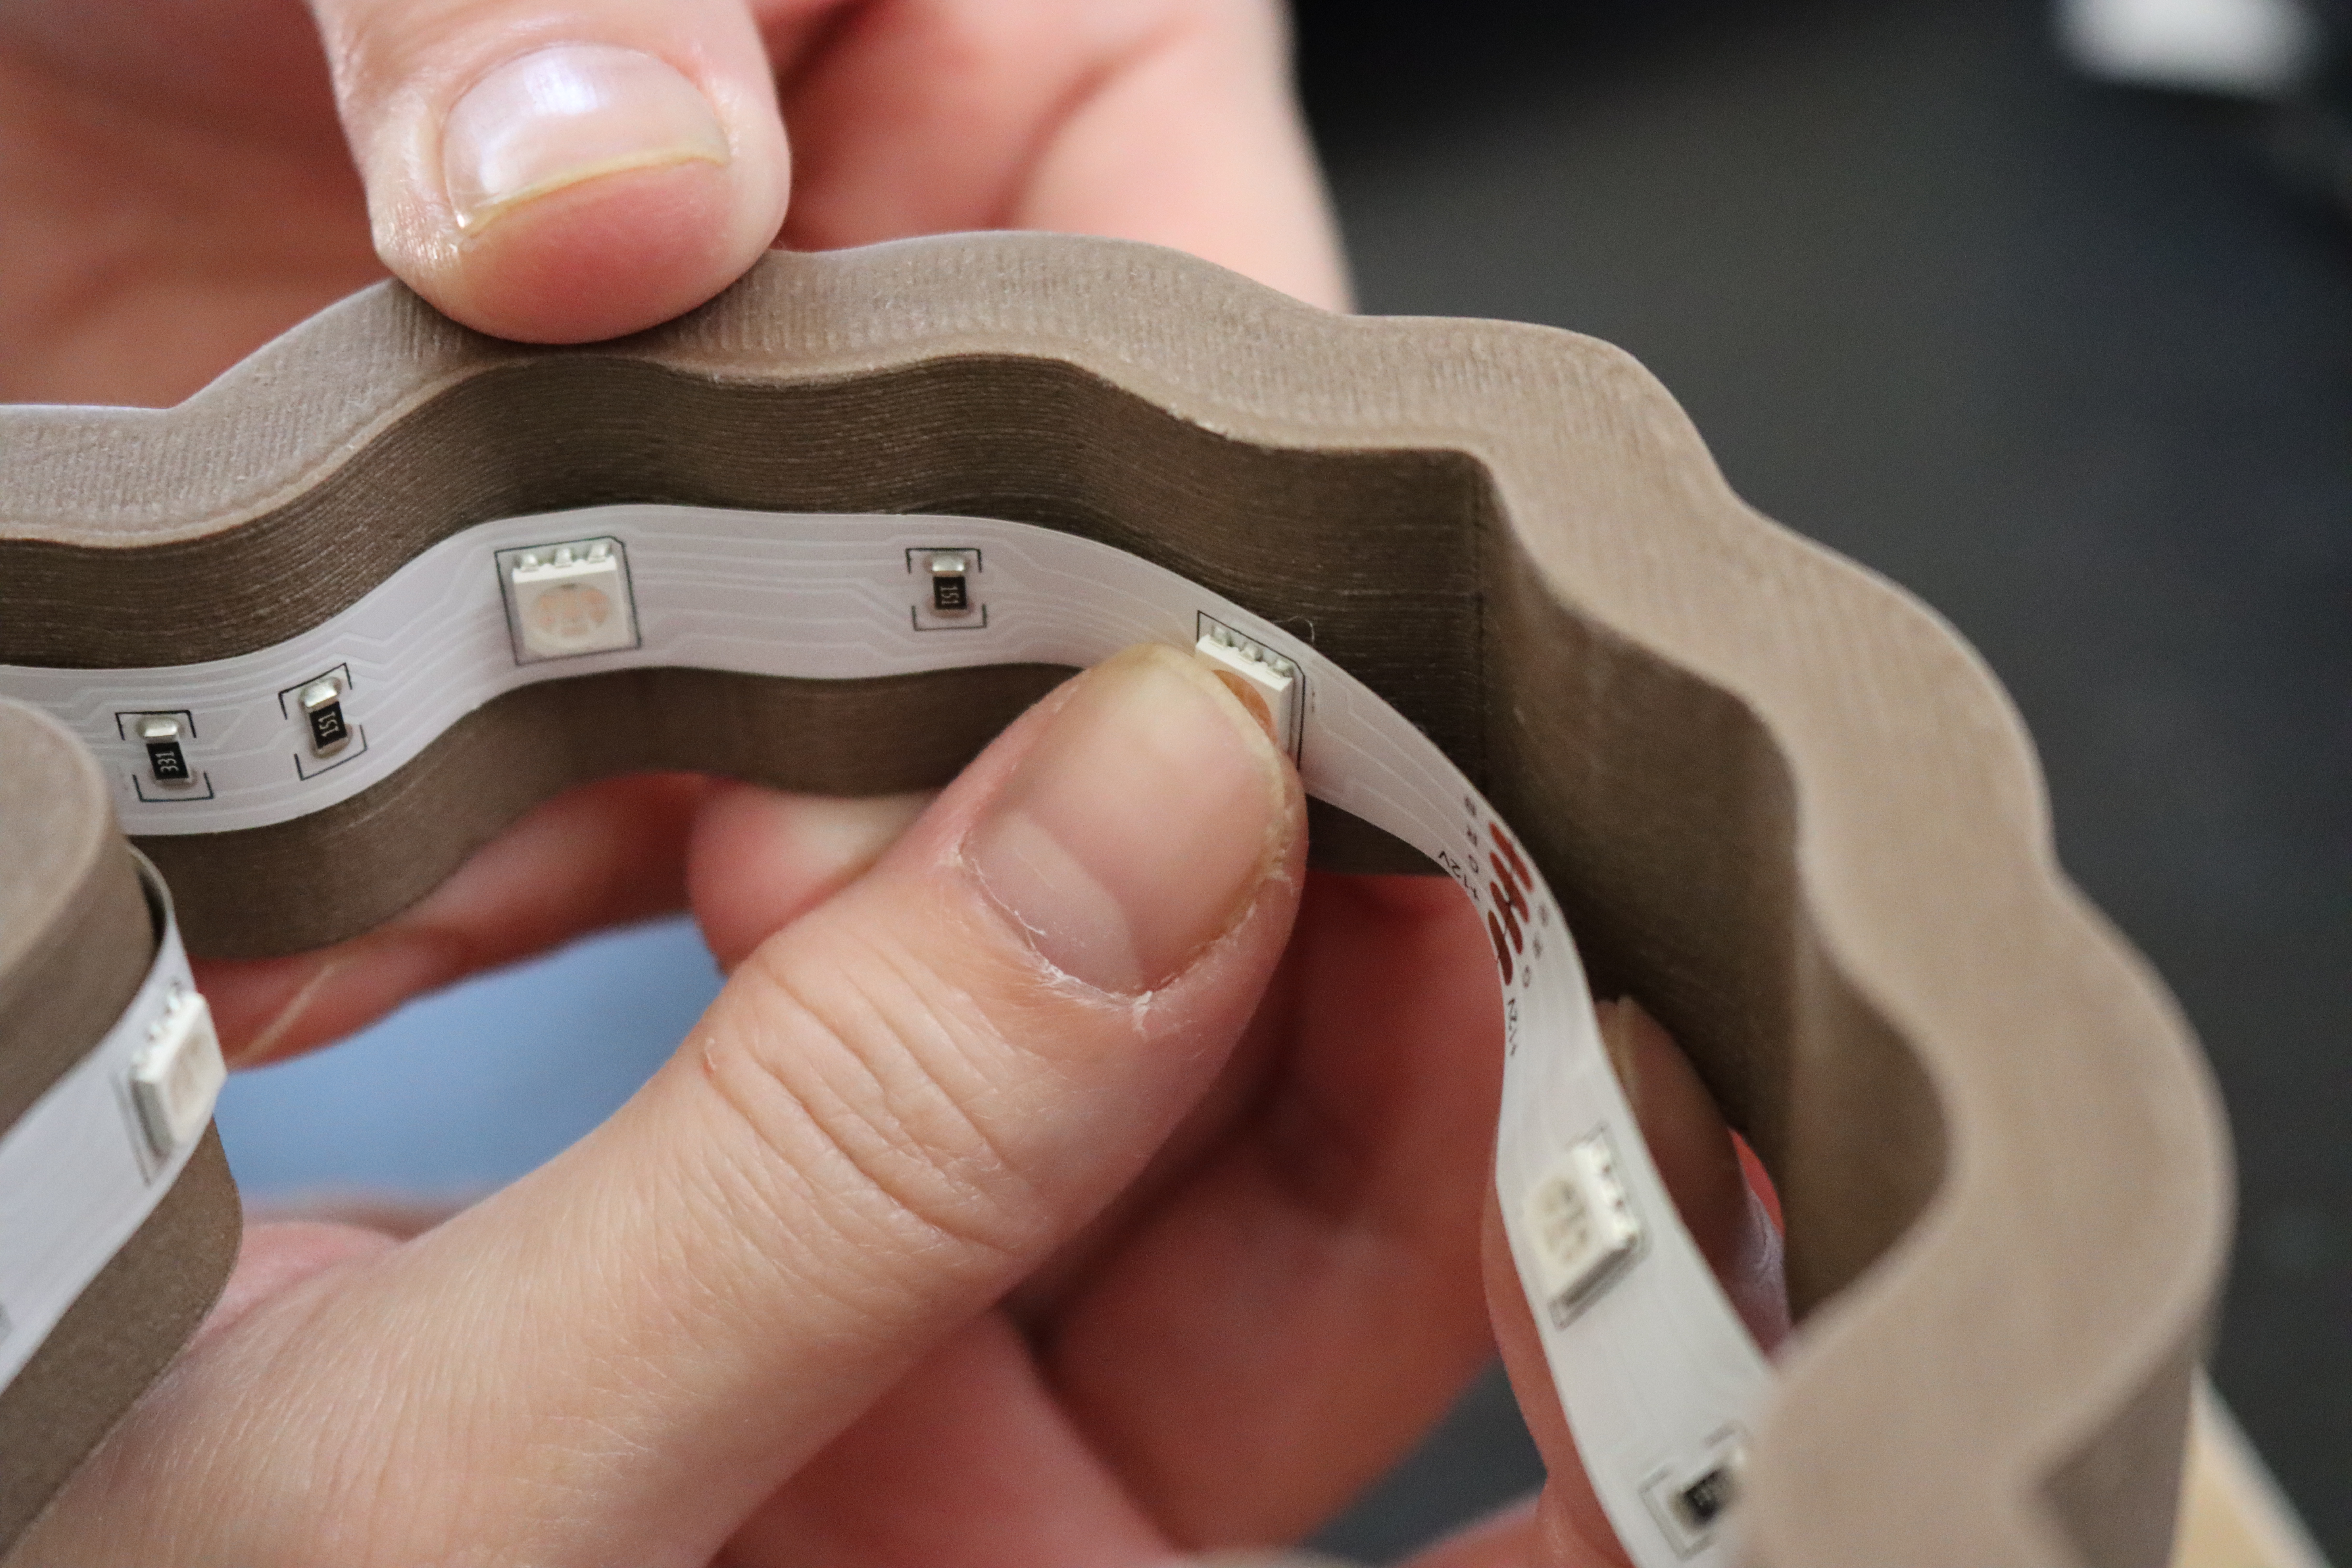
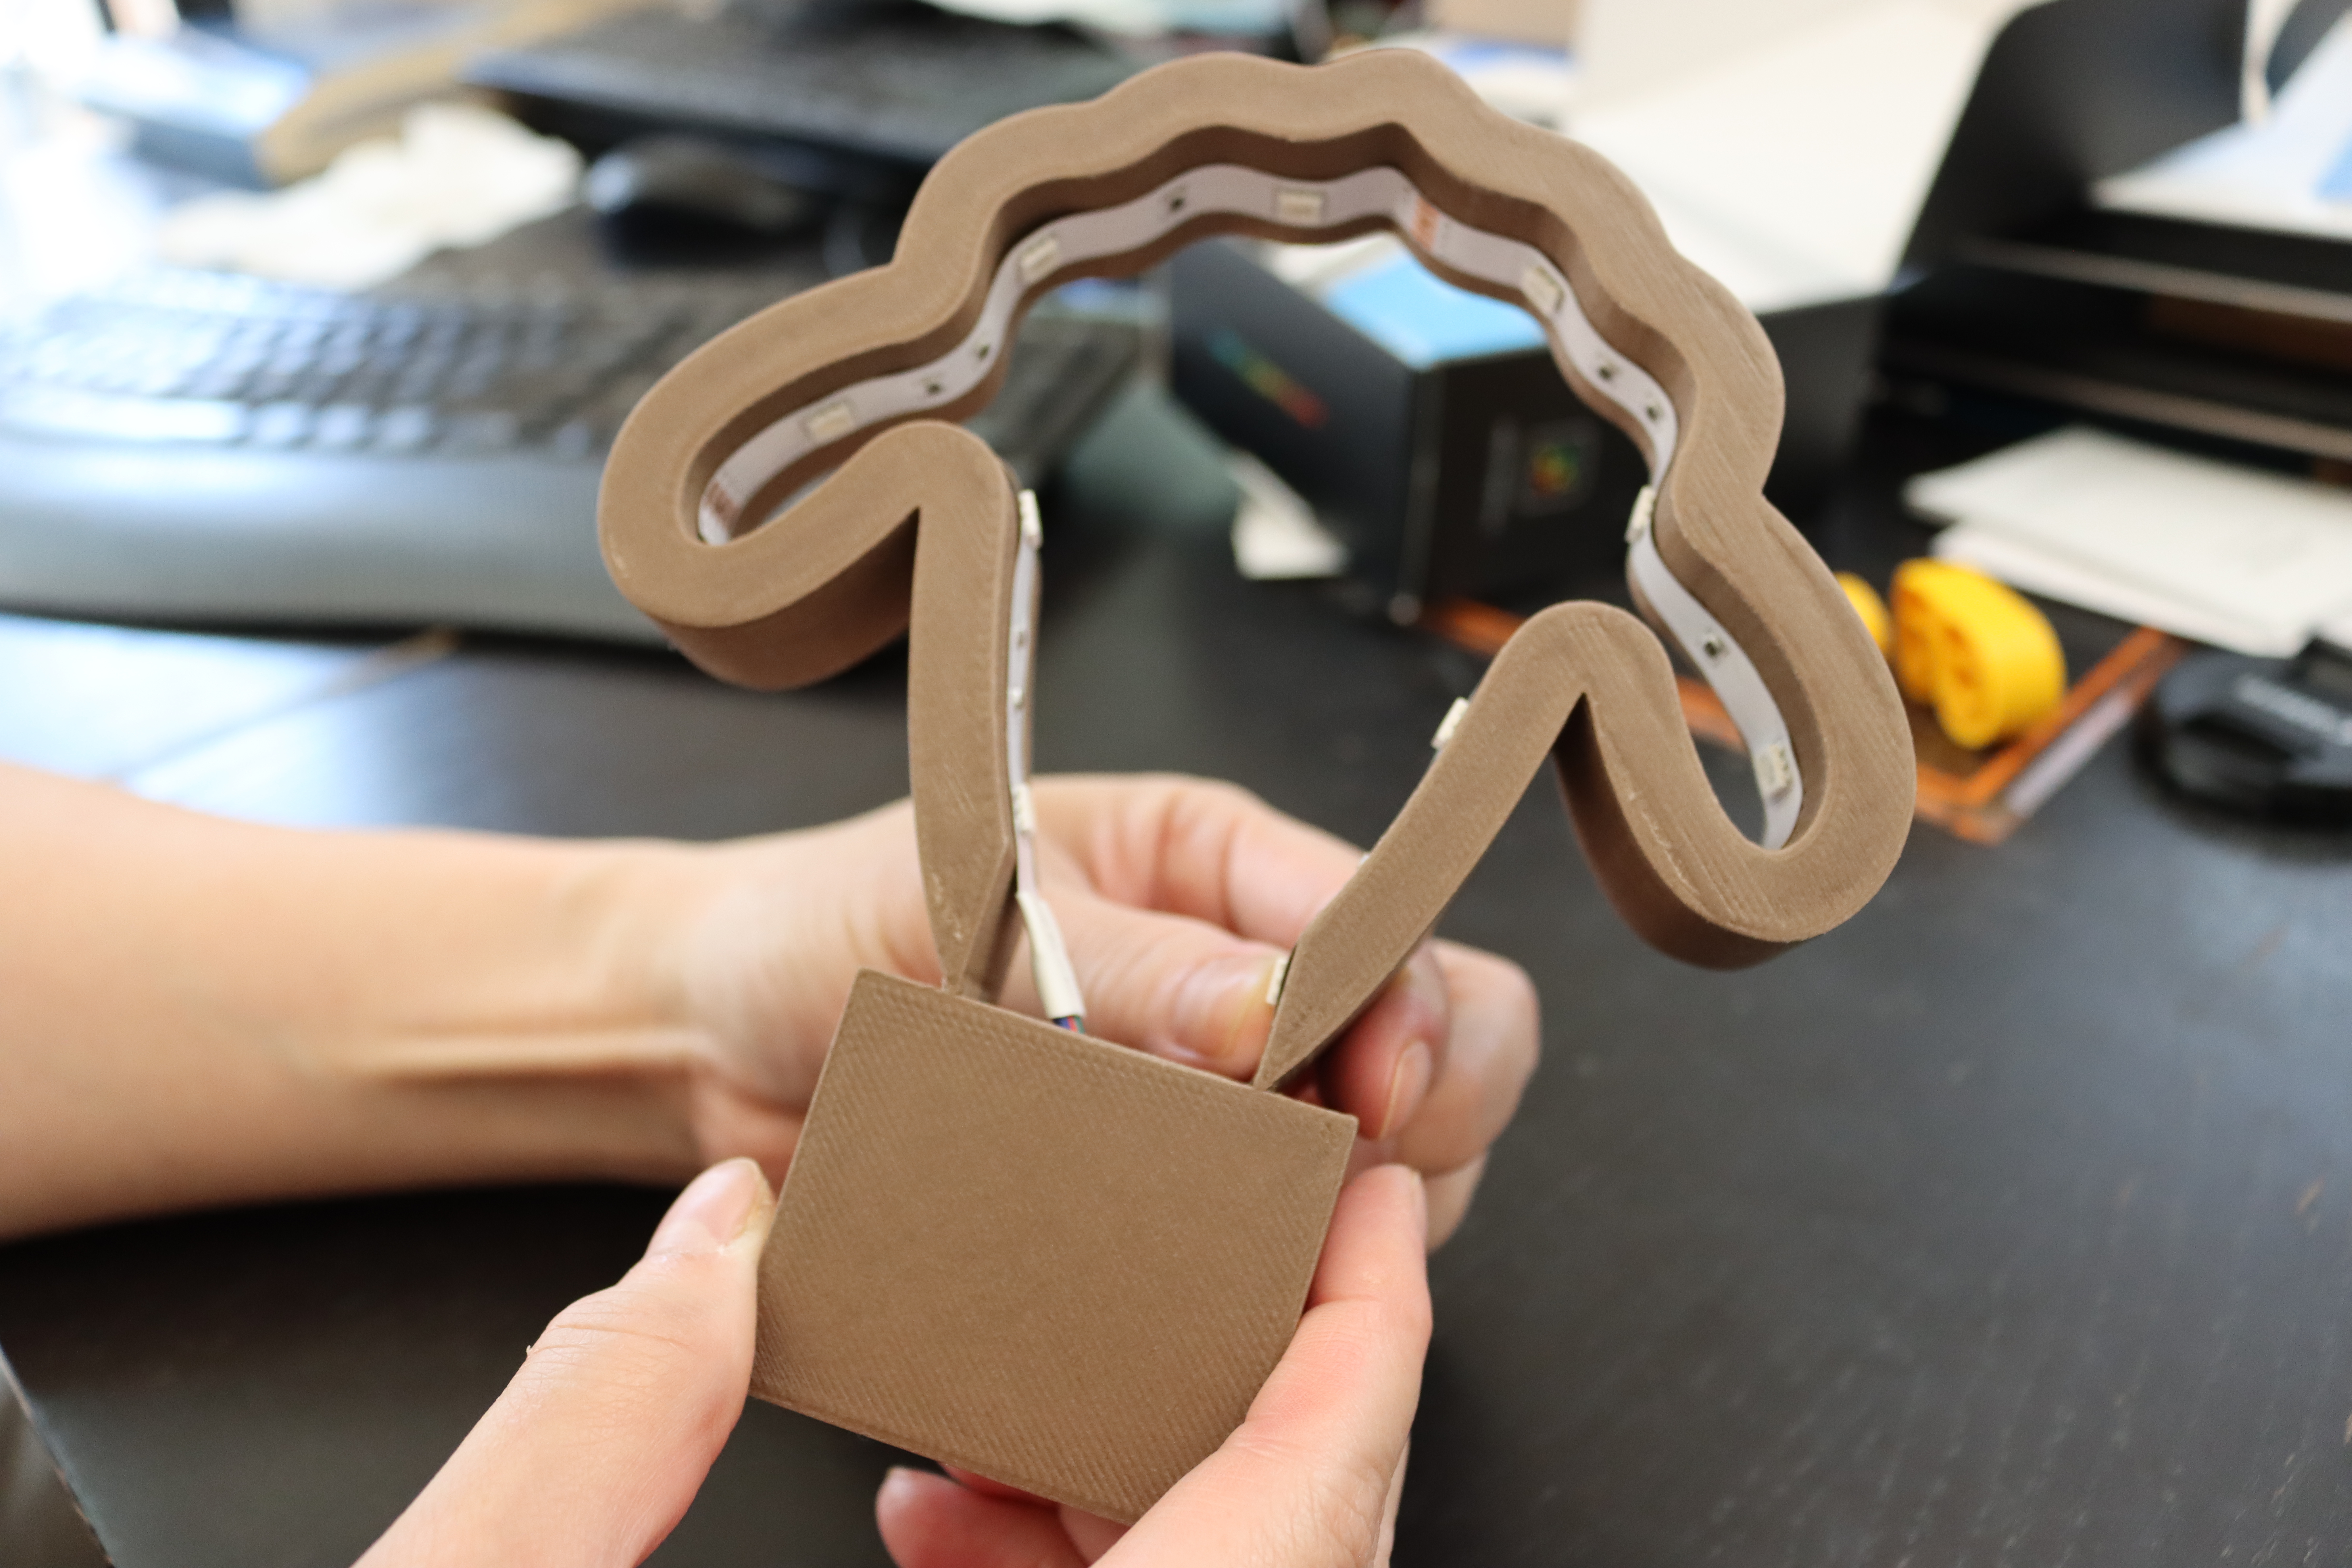
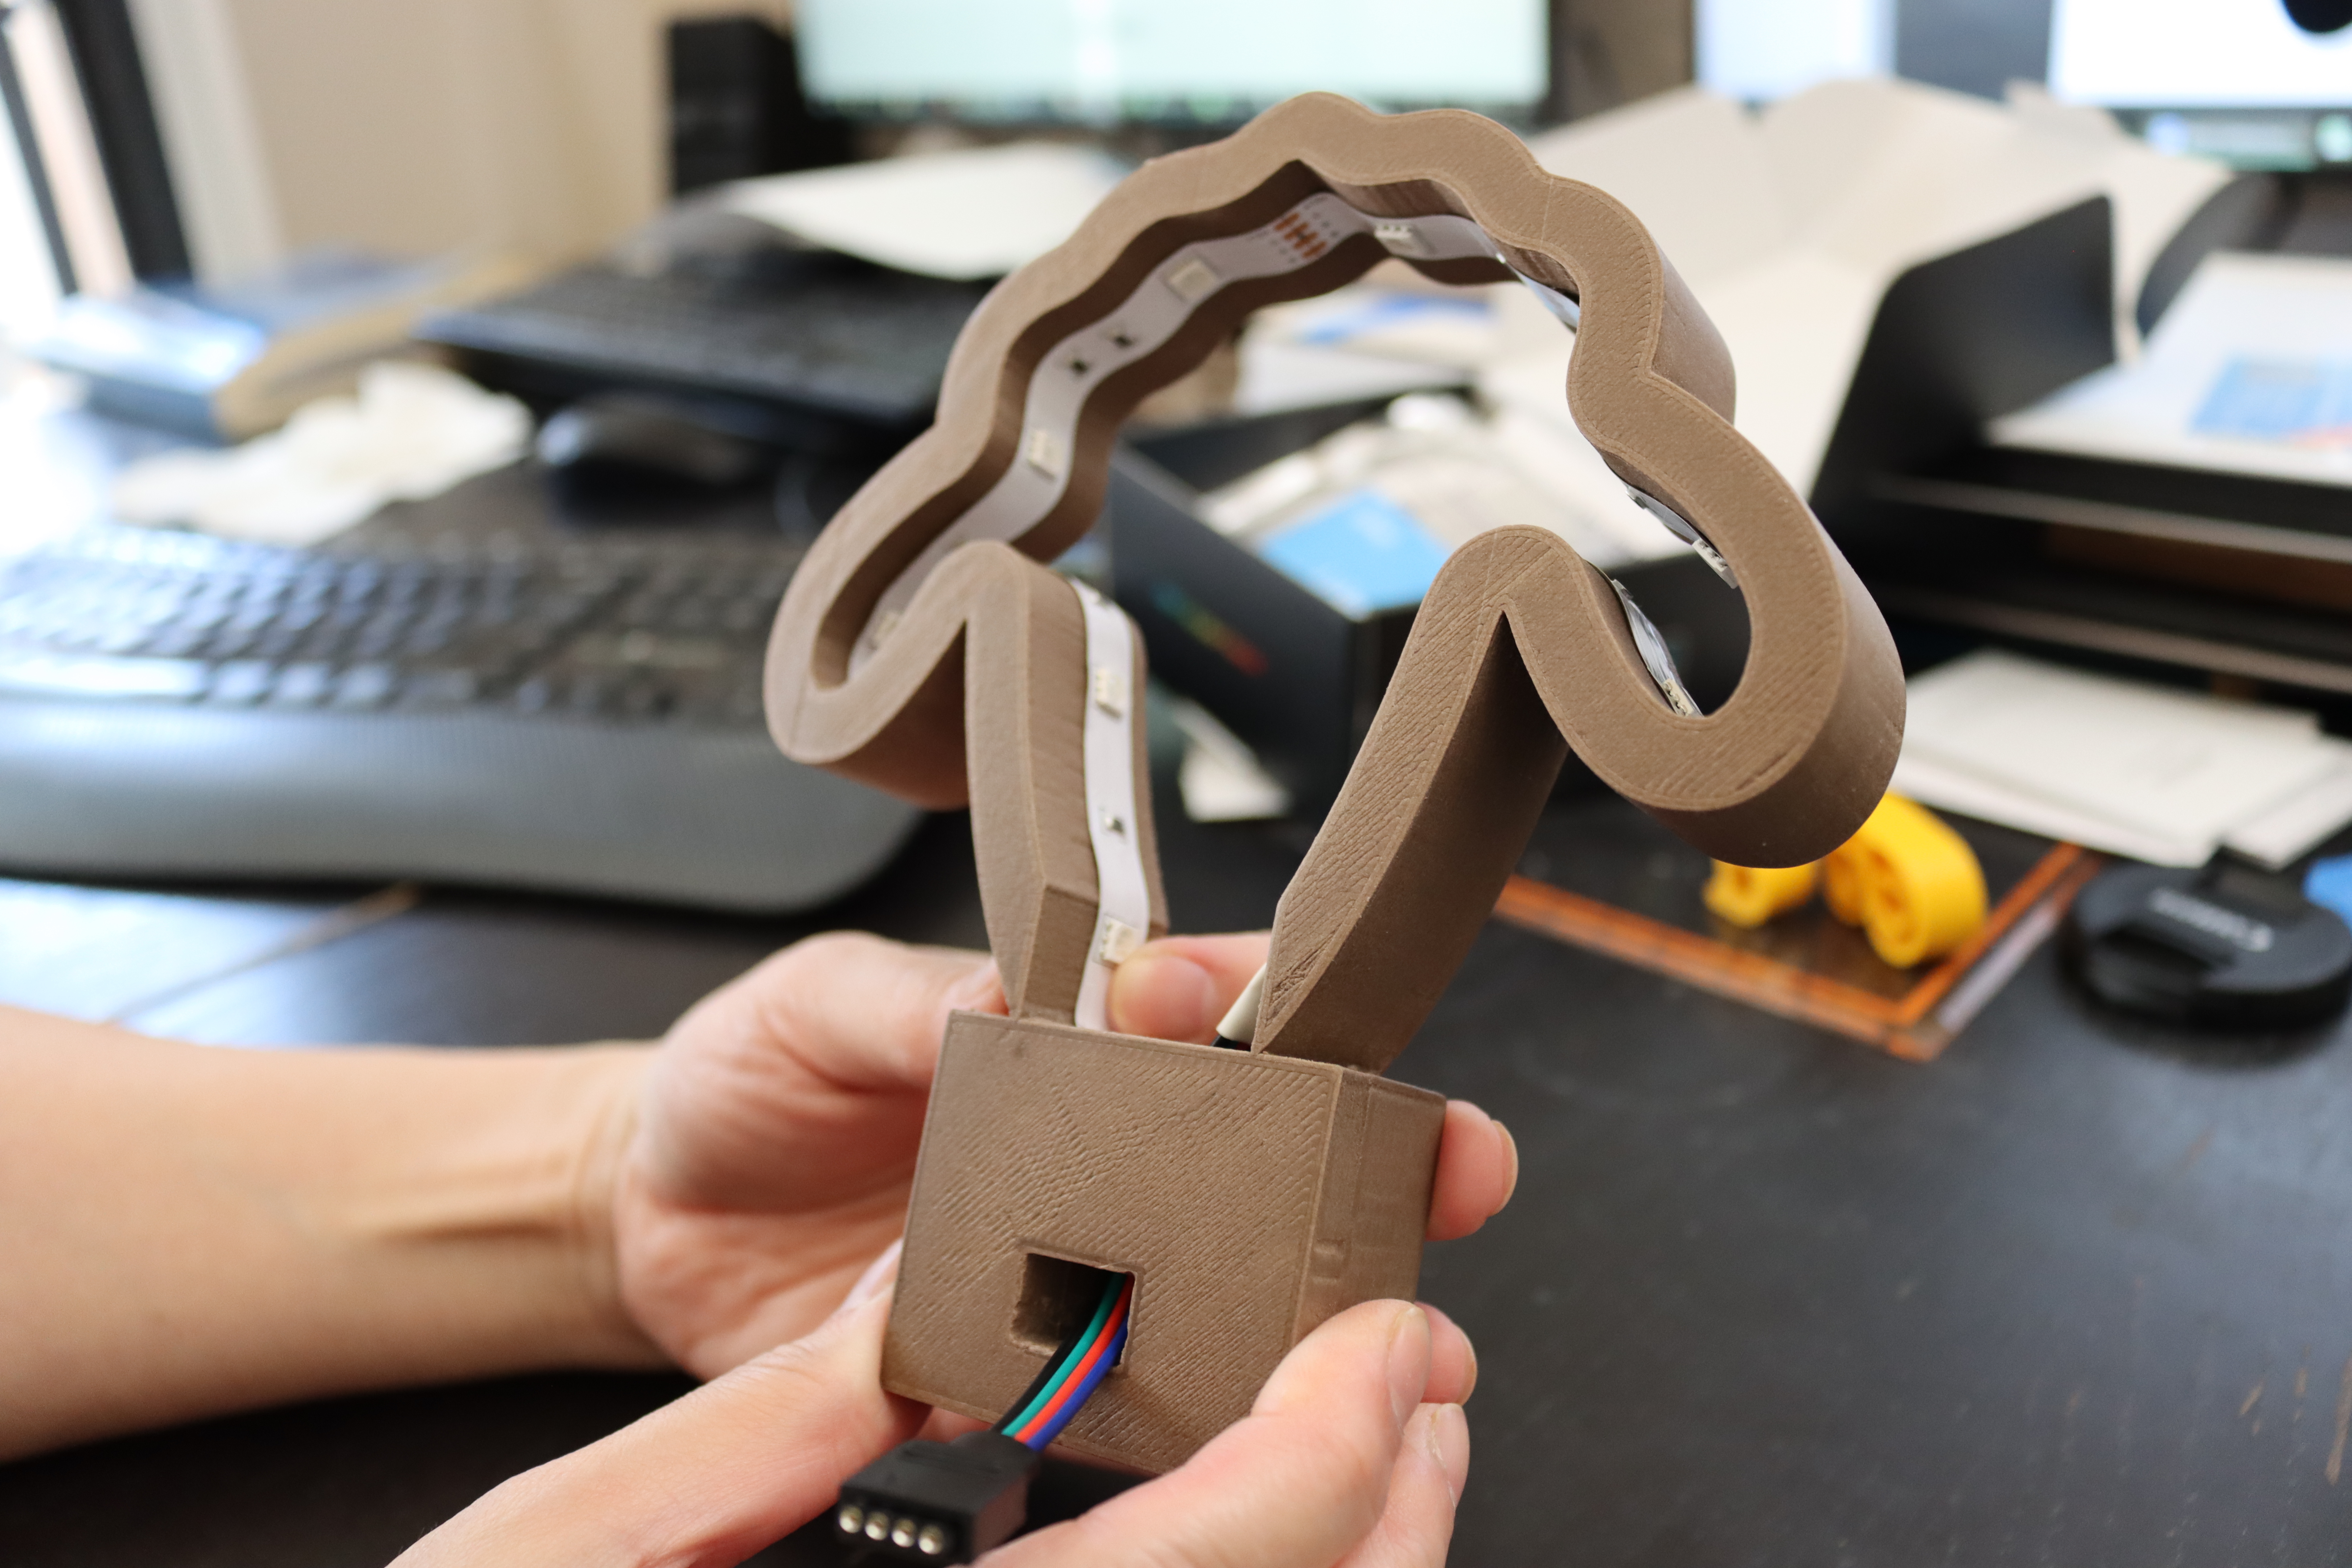
After solving the mistakes previously, it is time to install the LED strip. Use an alcohol prep pad to clean the surface of the sheep frame and make sure there are no dusts, so the LED strip will stick perfectly to the frame. Let the alcohol dry for about 1 minute. Insert the LED strip parts to the hole. Peel off the LED strips tape slowly and press it to the sheep light, so it will stick tightly. Do it until all the LED strip stick to the frame.
Assembling
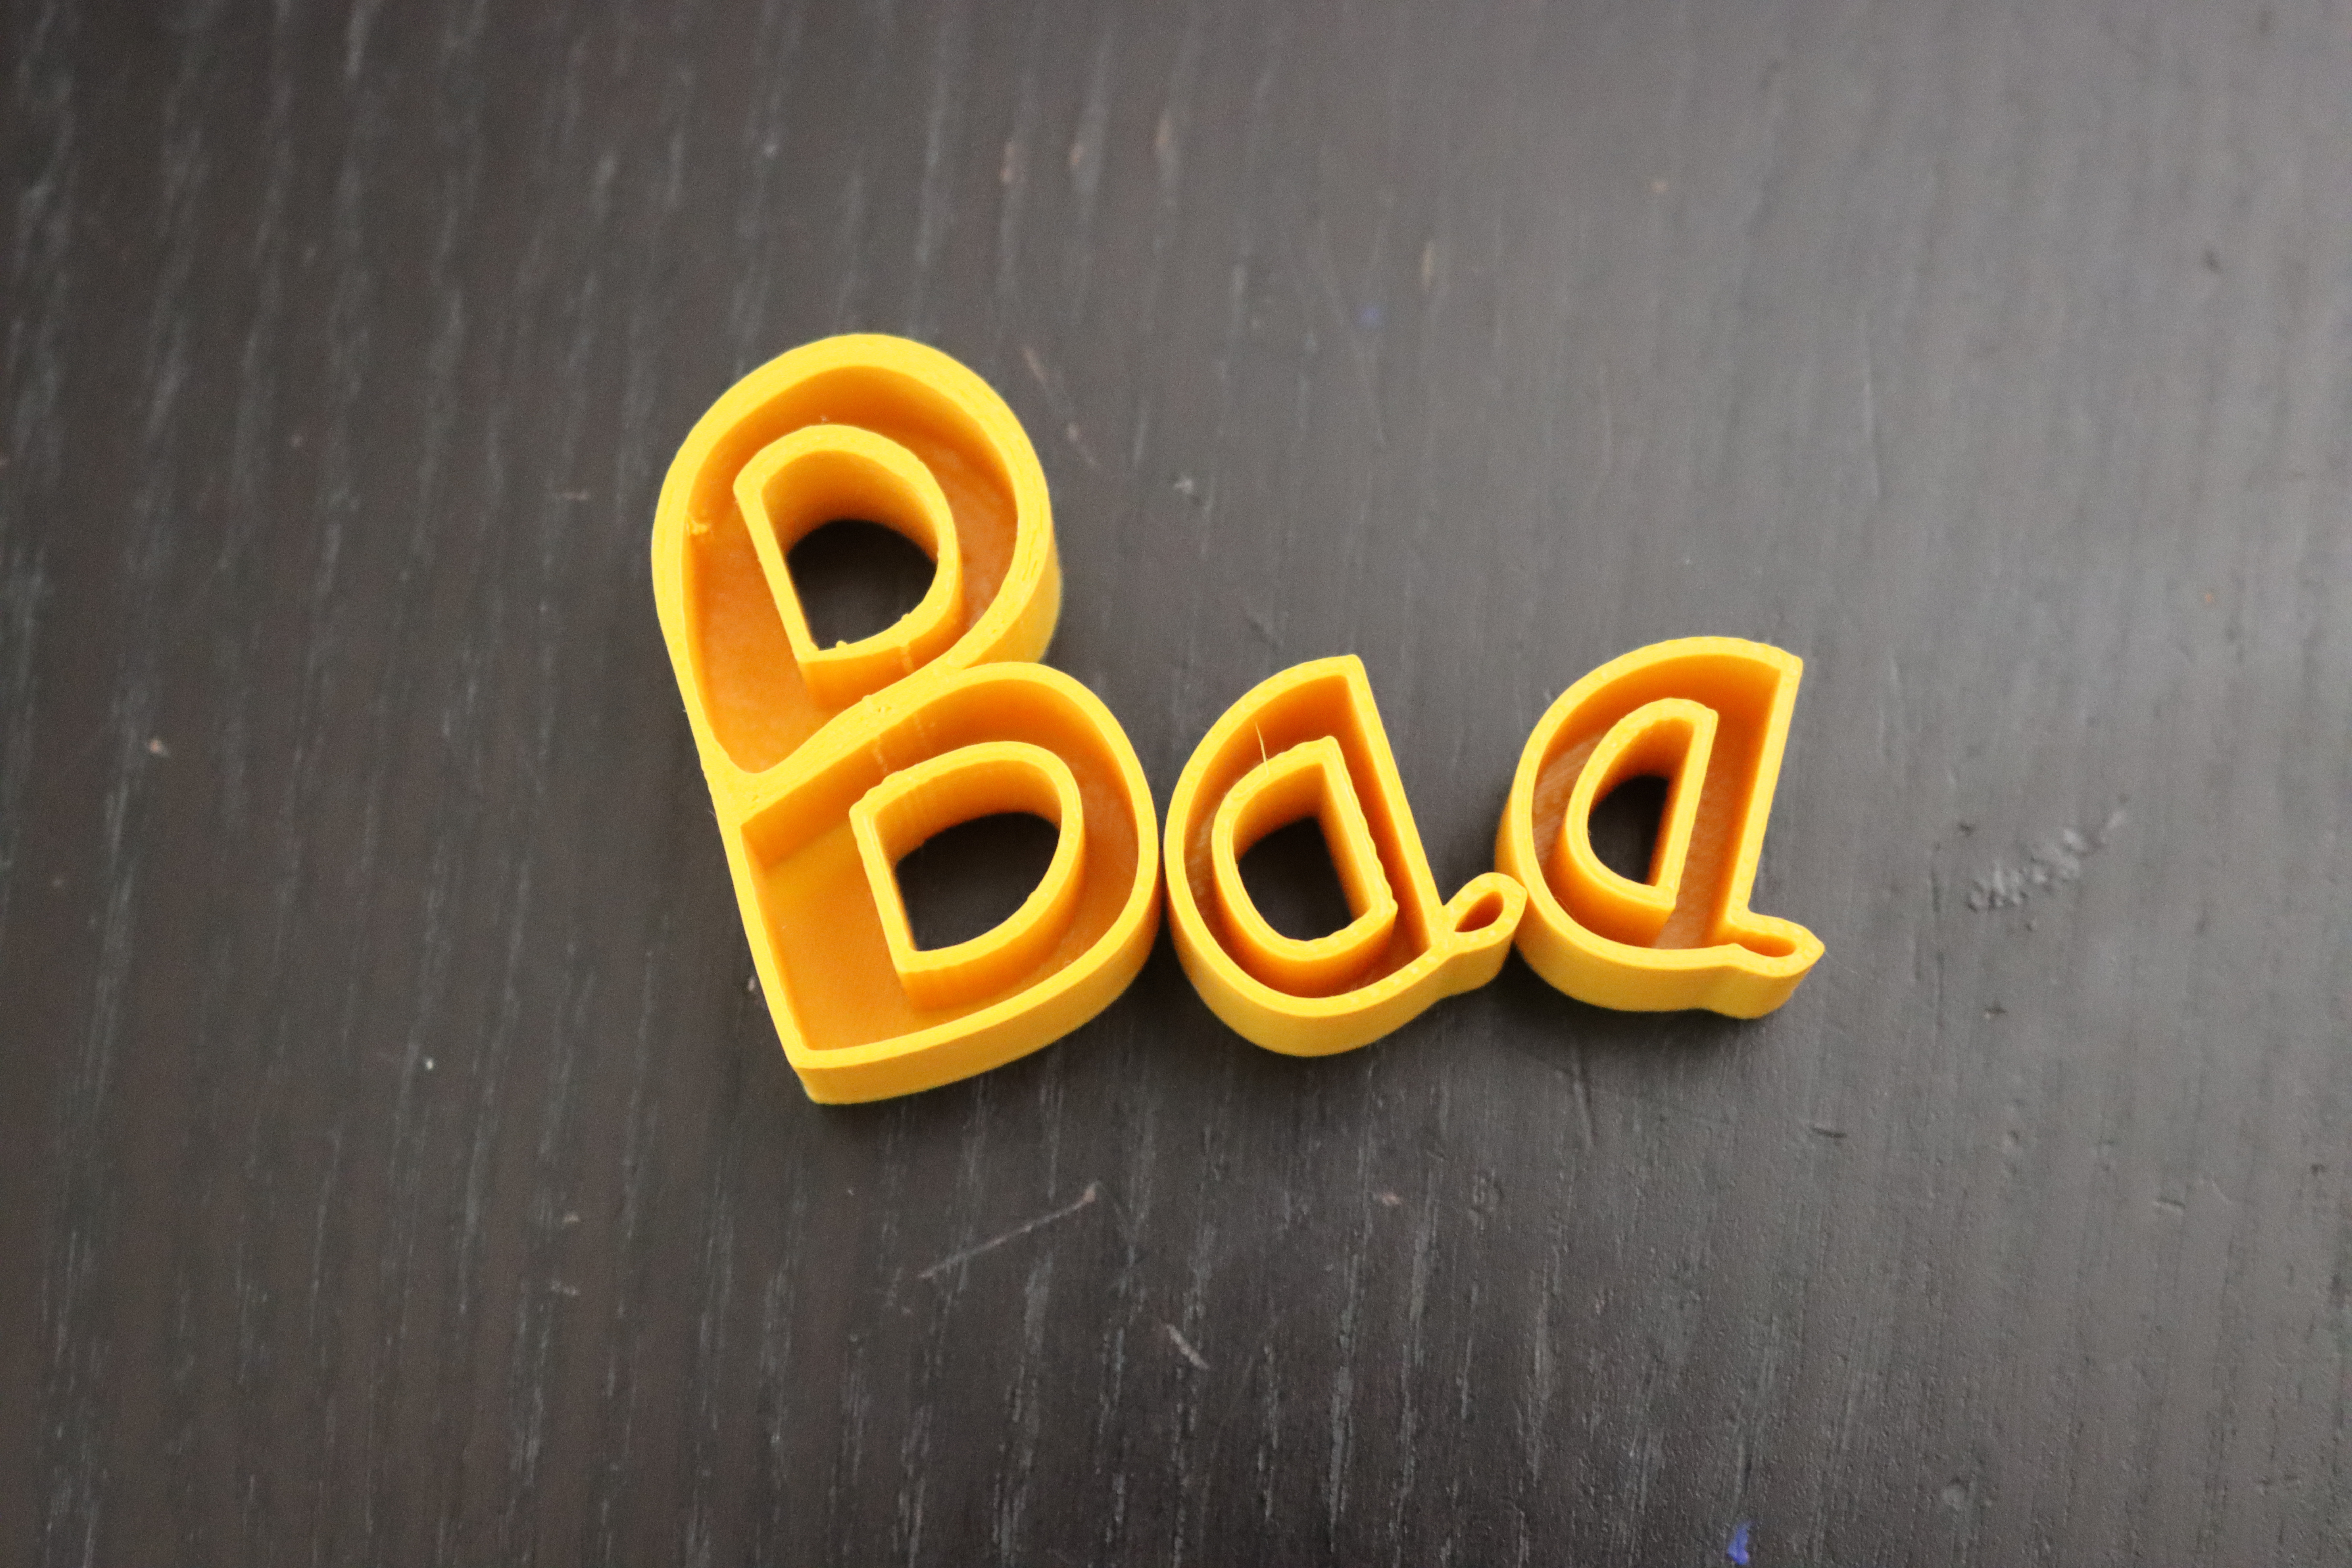
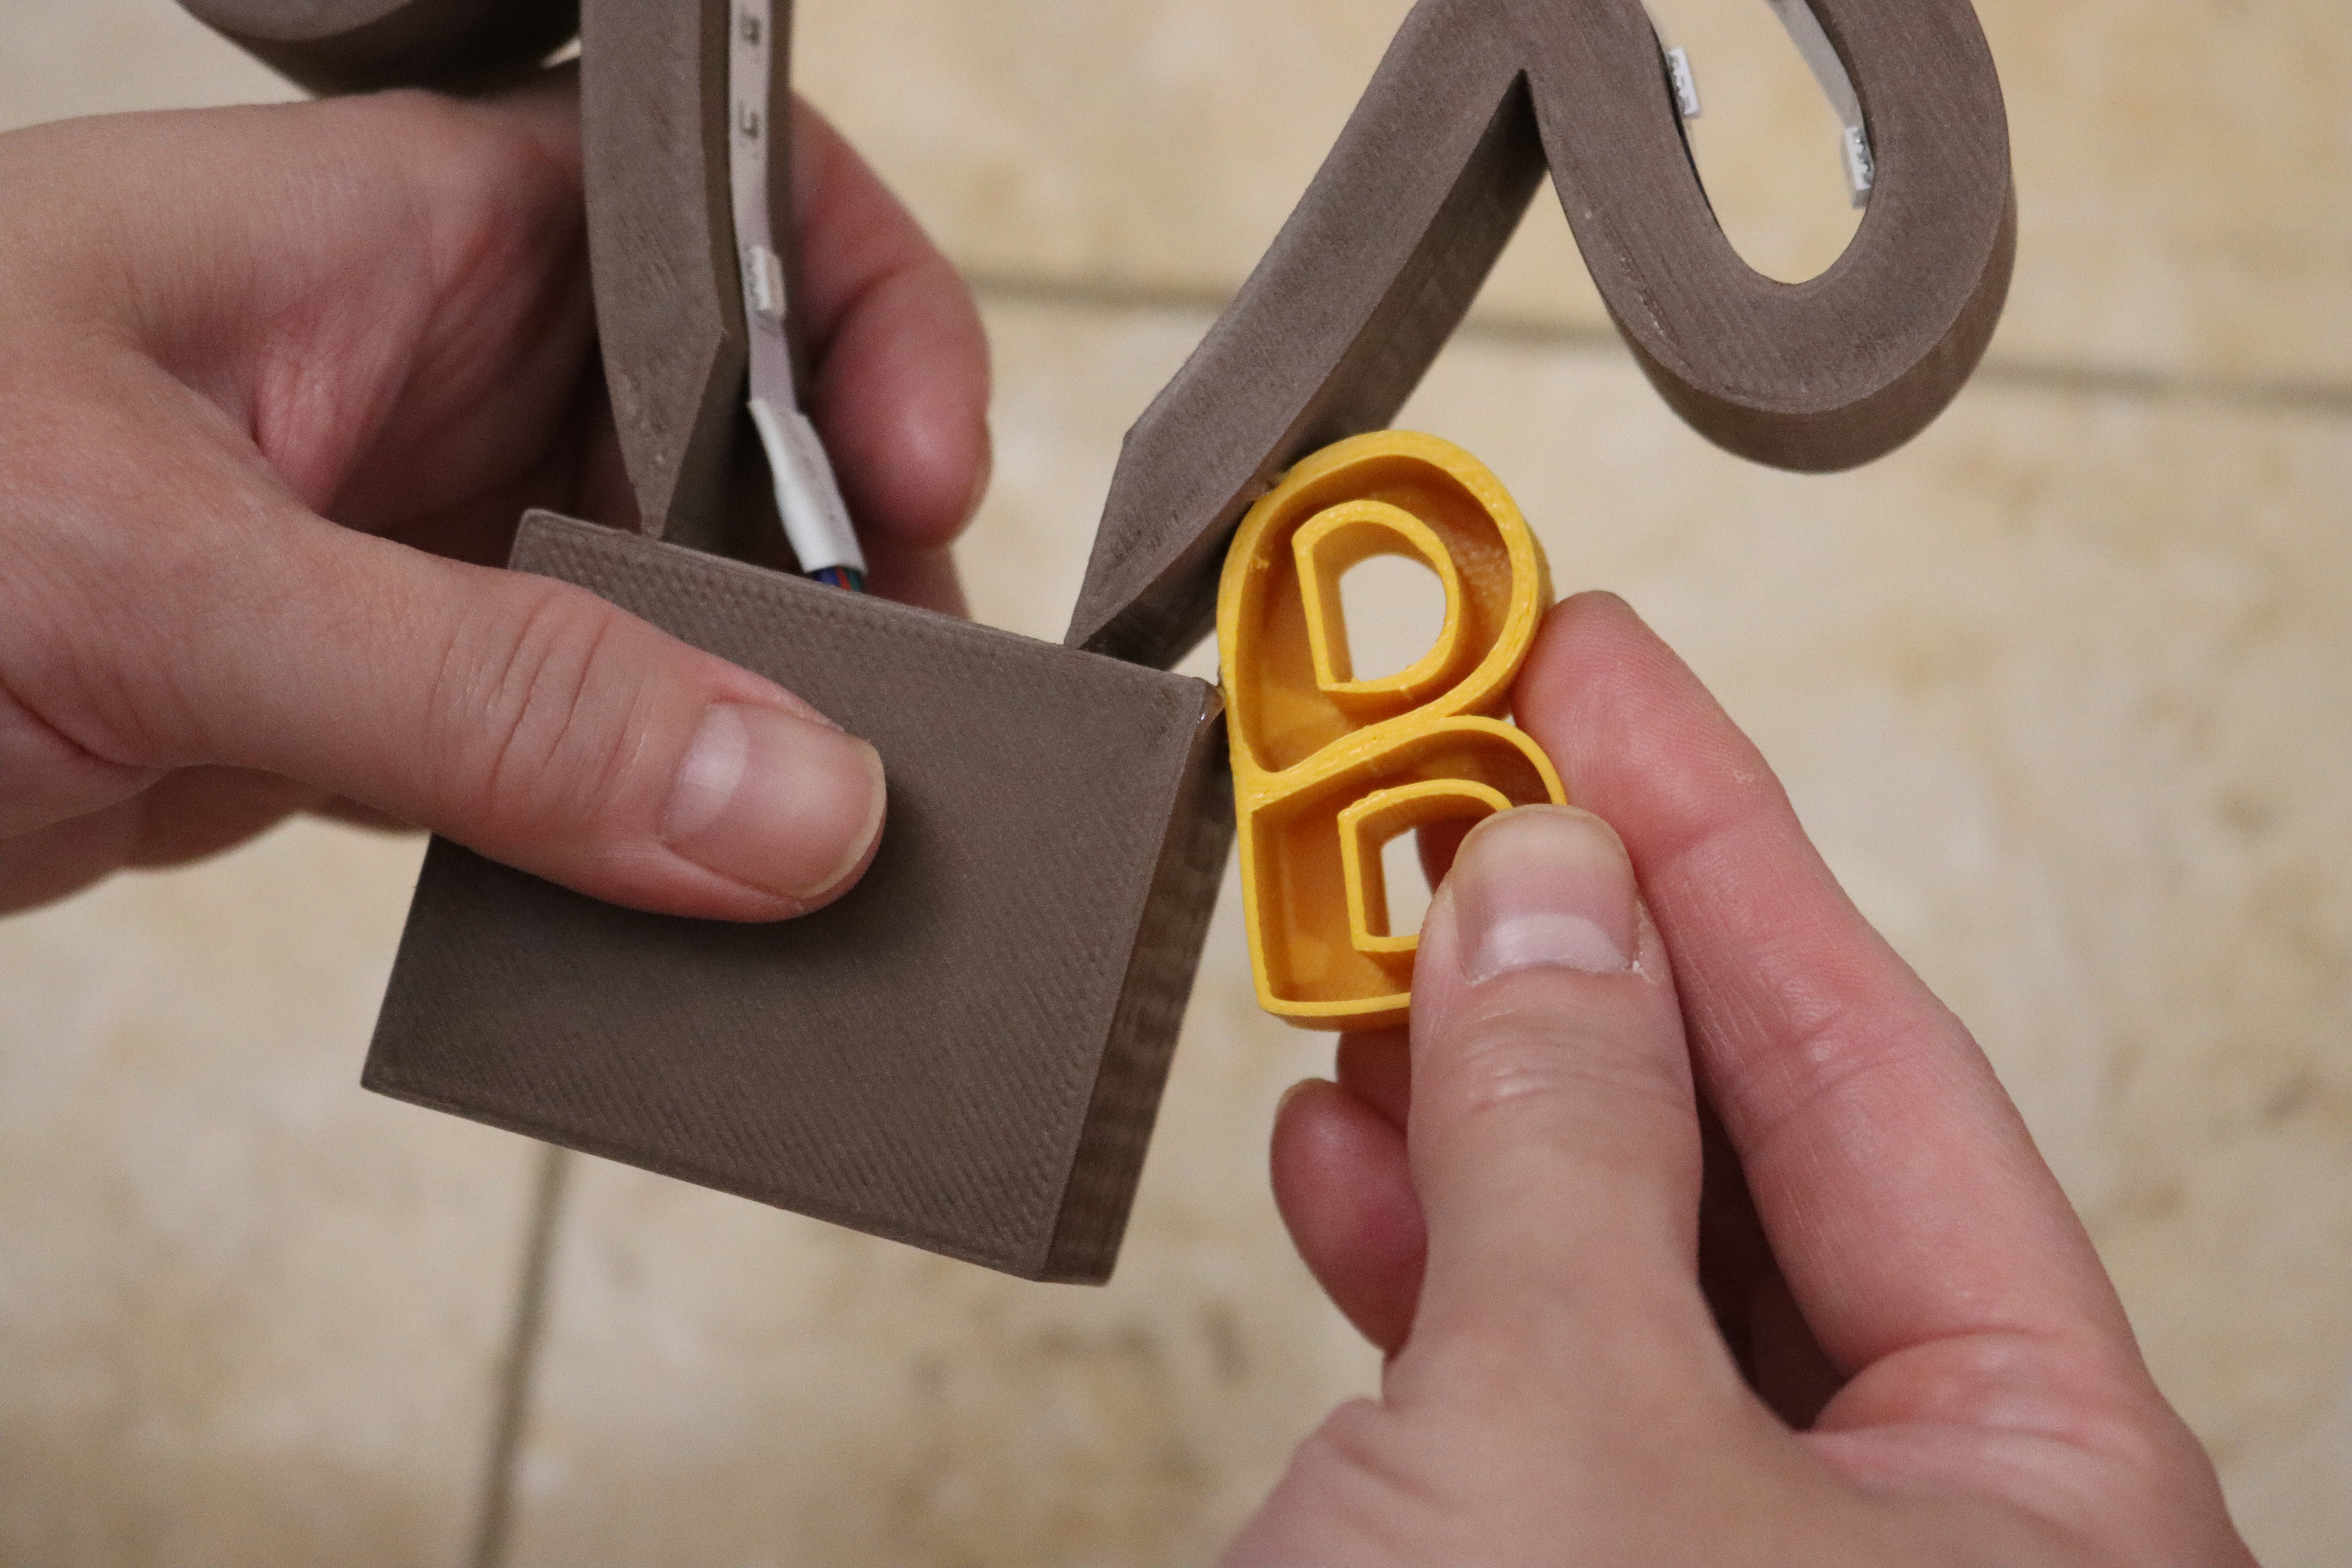
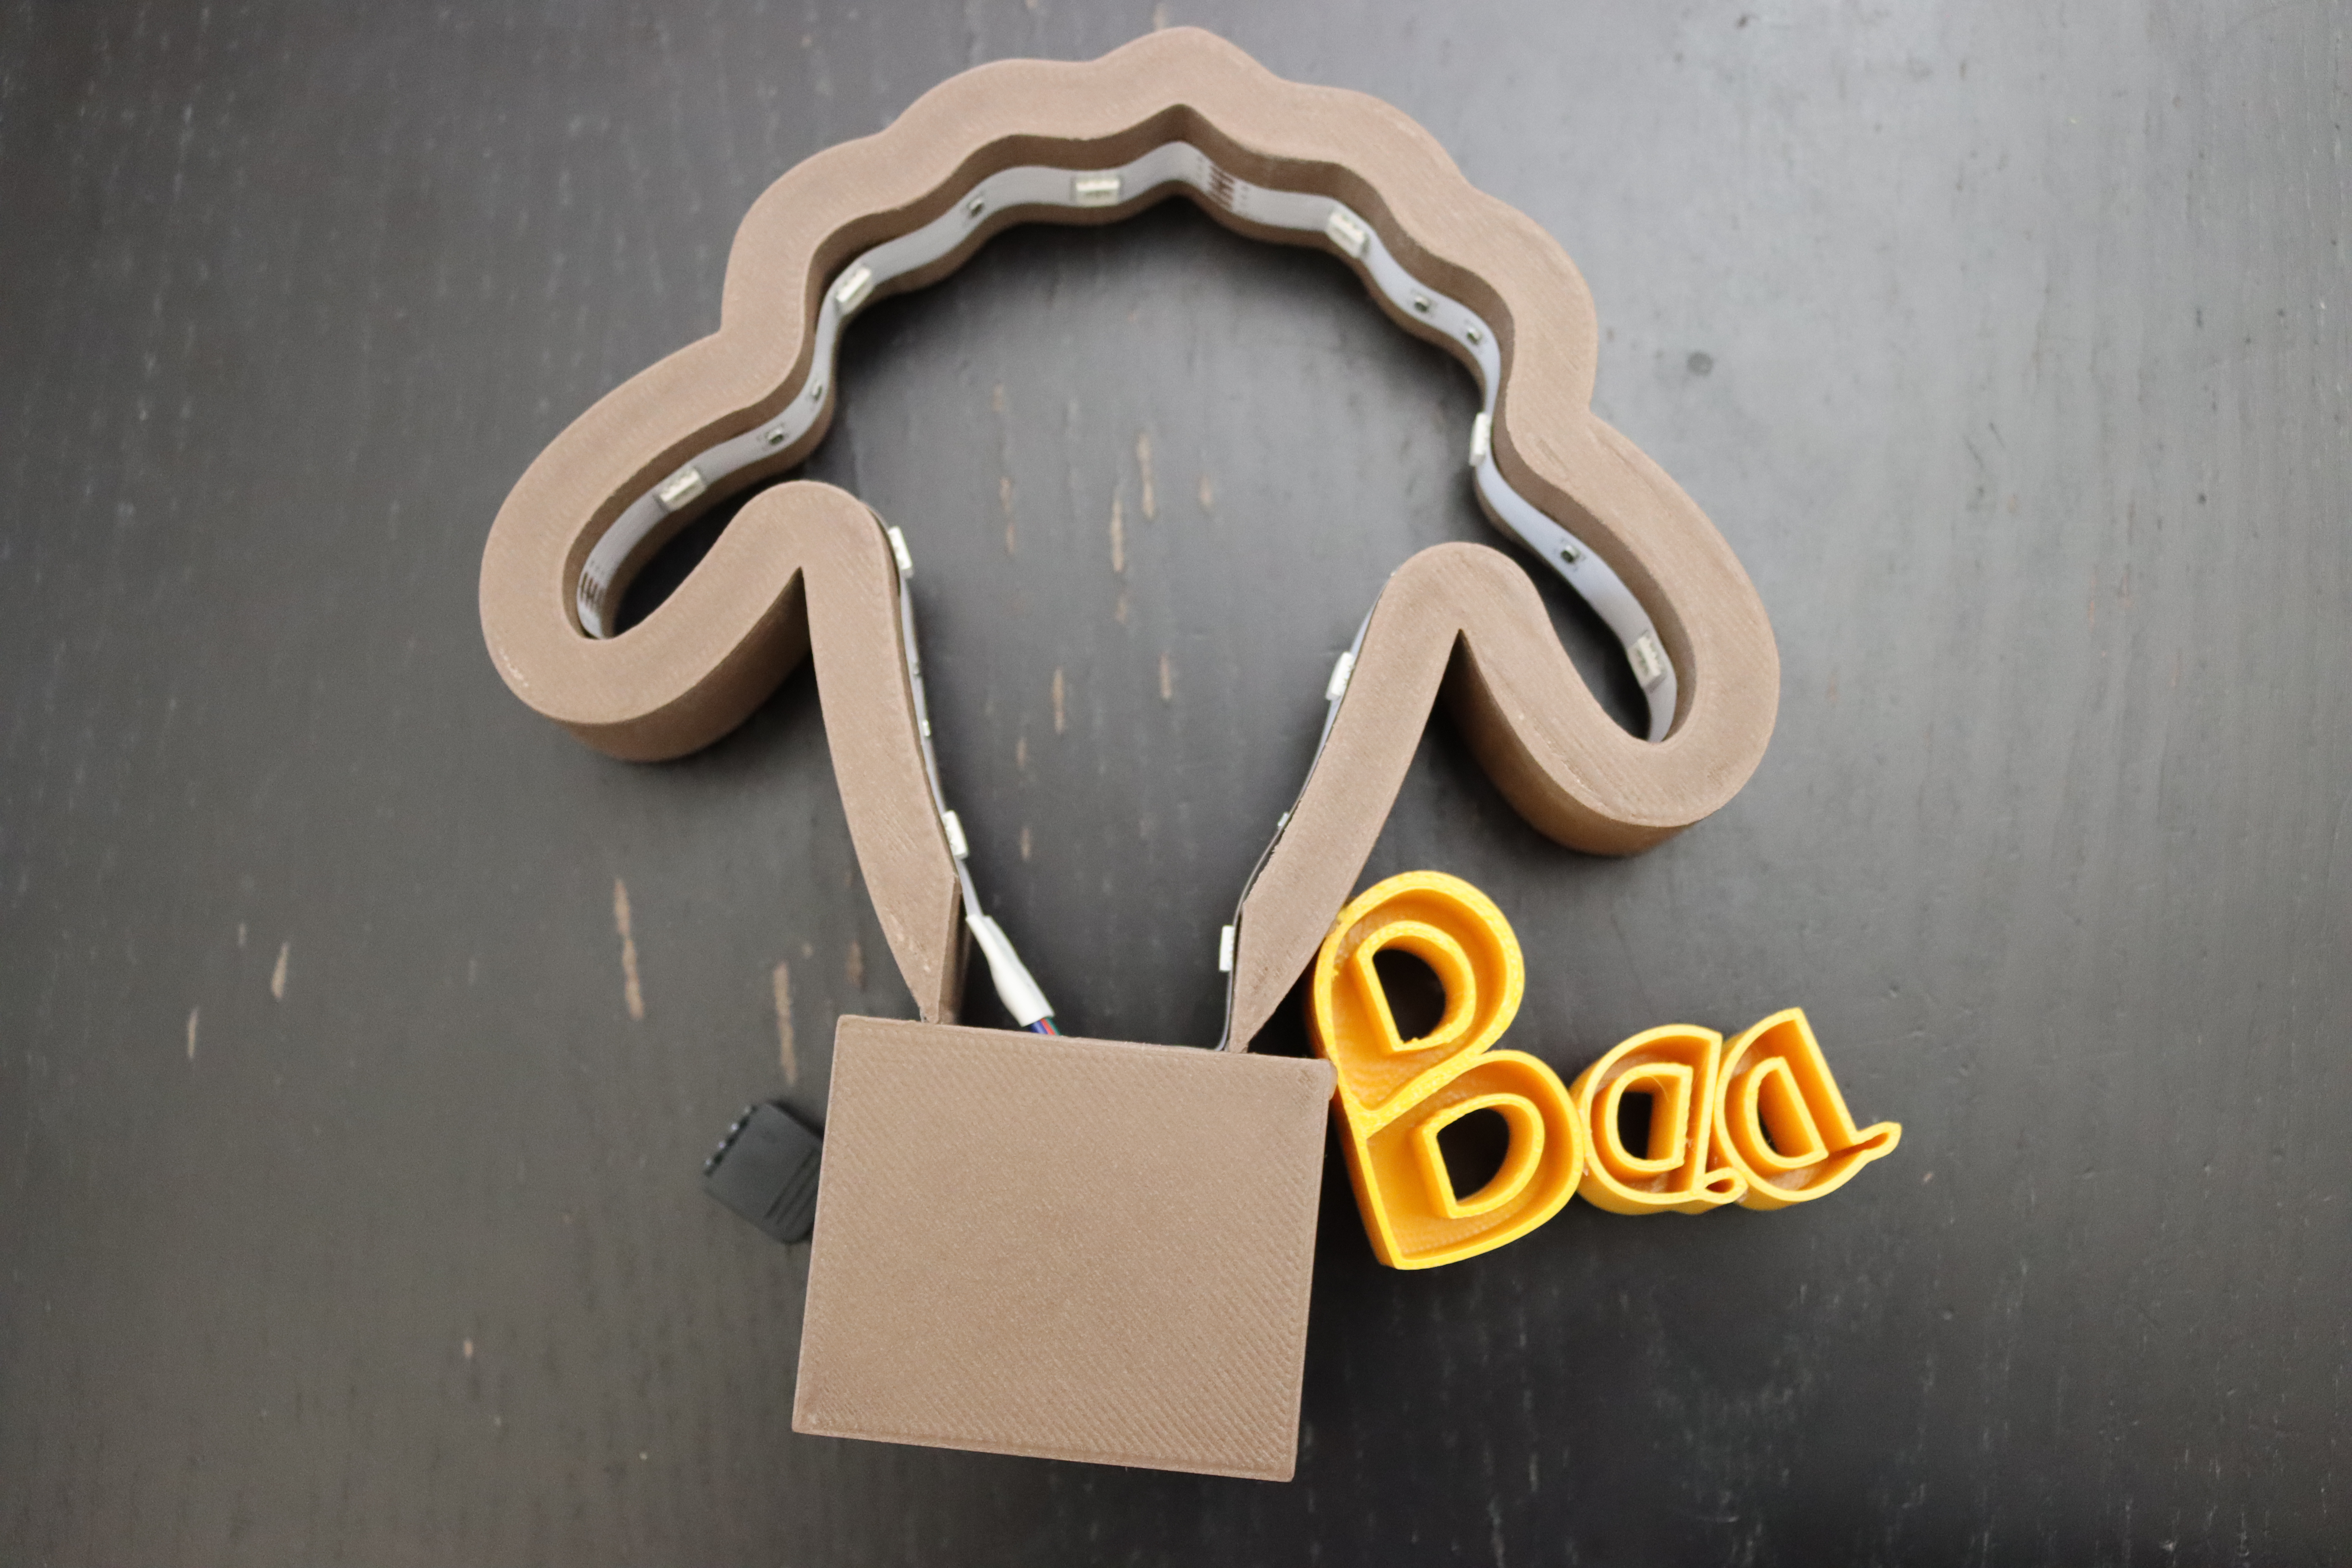
Before connecting to the electricity outlet, glue the word "Baa" to the sheep frame by using hot glue. You can use super glue for this. It is entirely up to you. Arrange them like in your previous design in Fusion 360. The overall size is about 16 x 16 x 3 cm.
Connecting
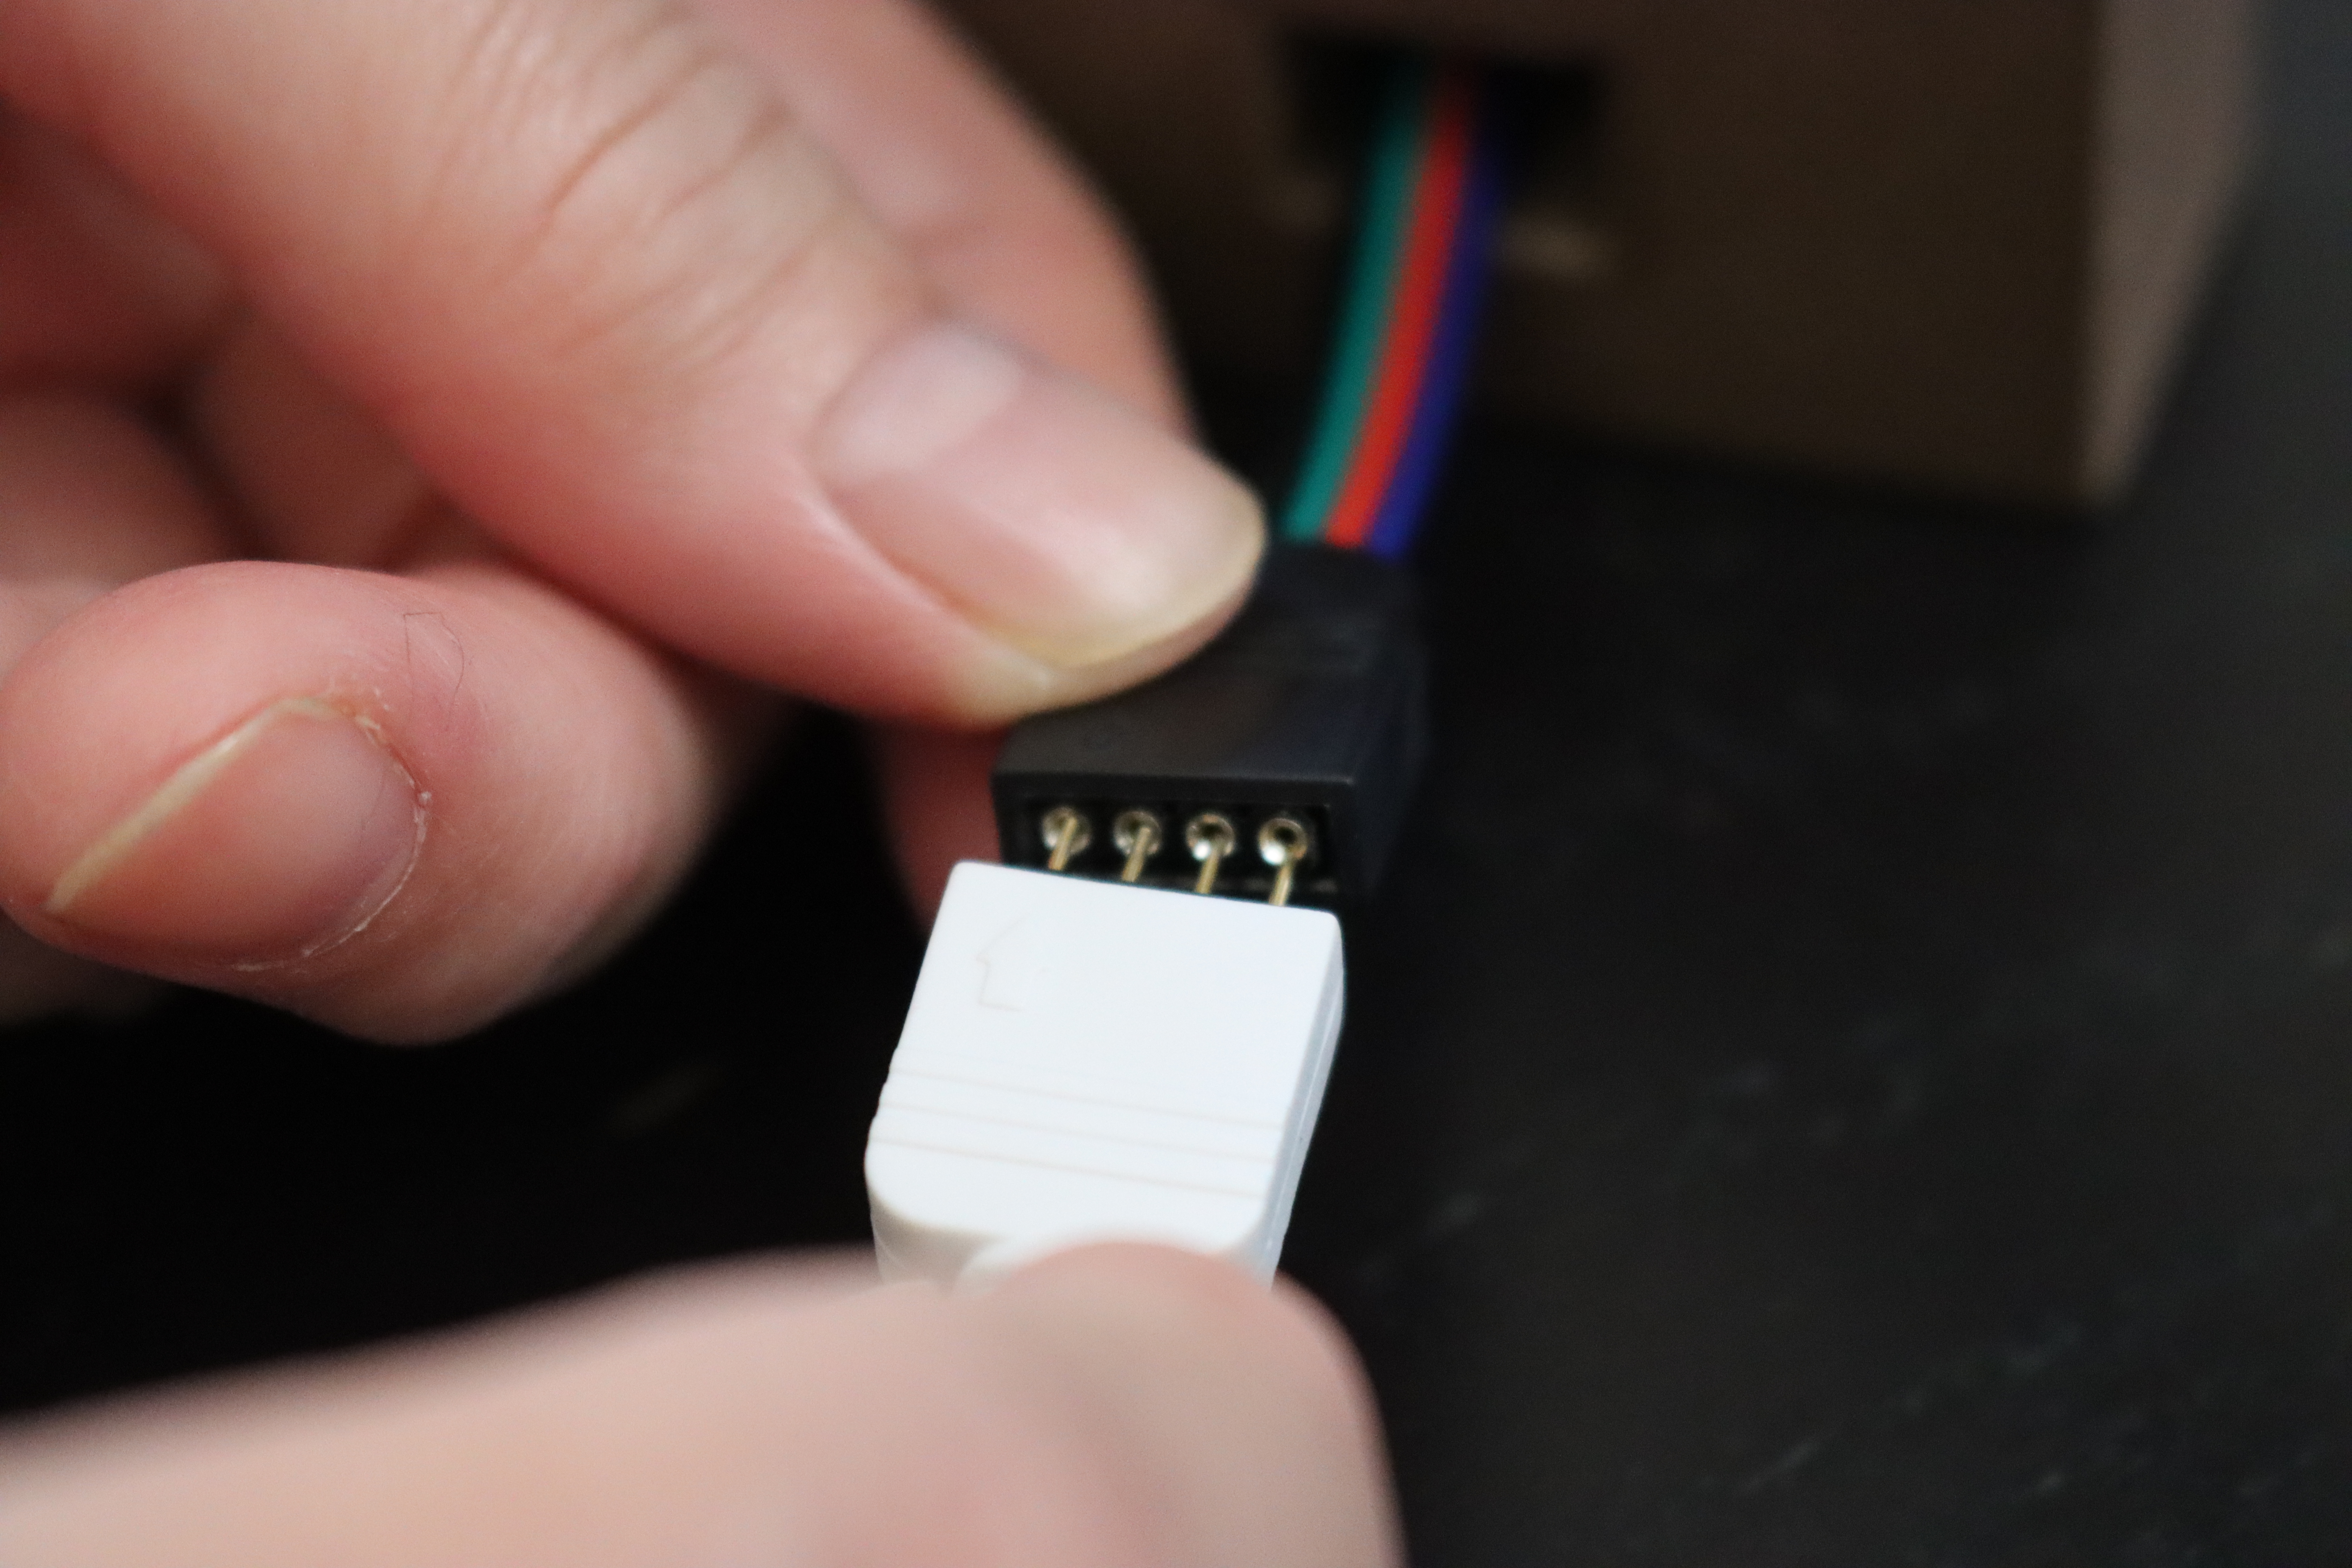
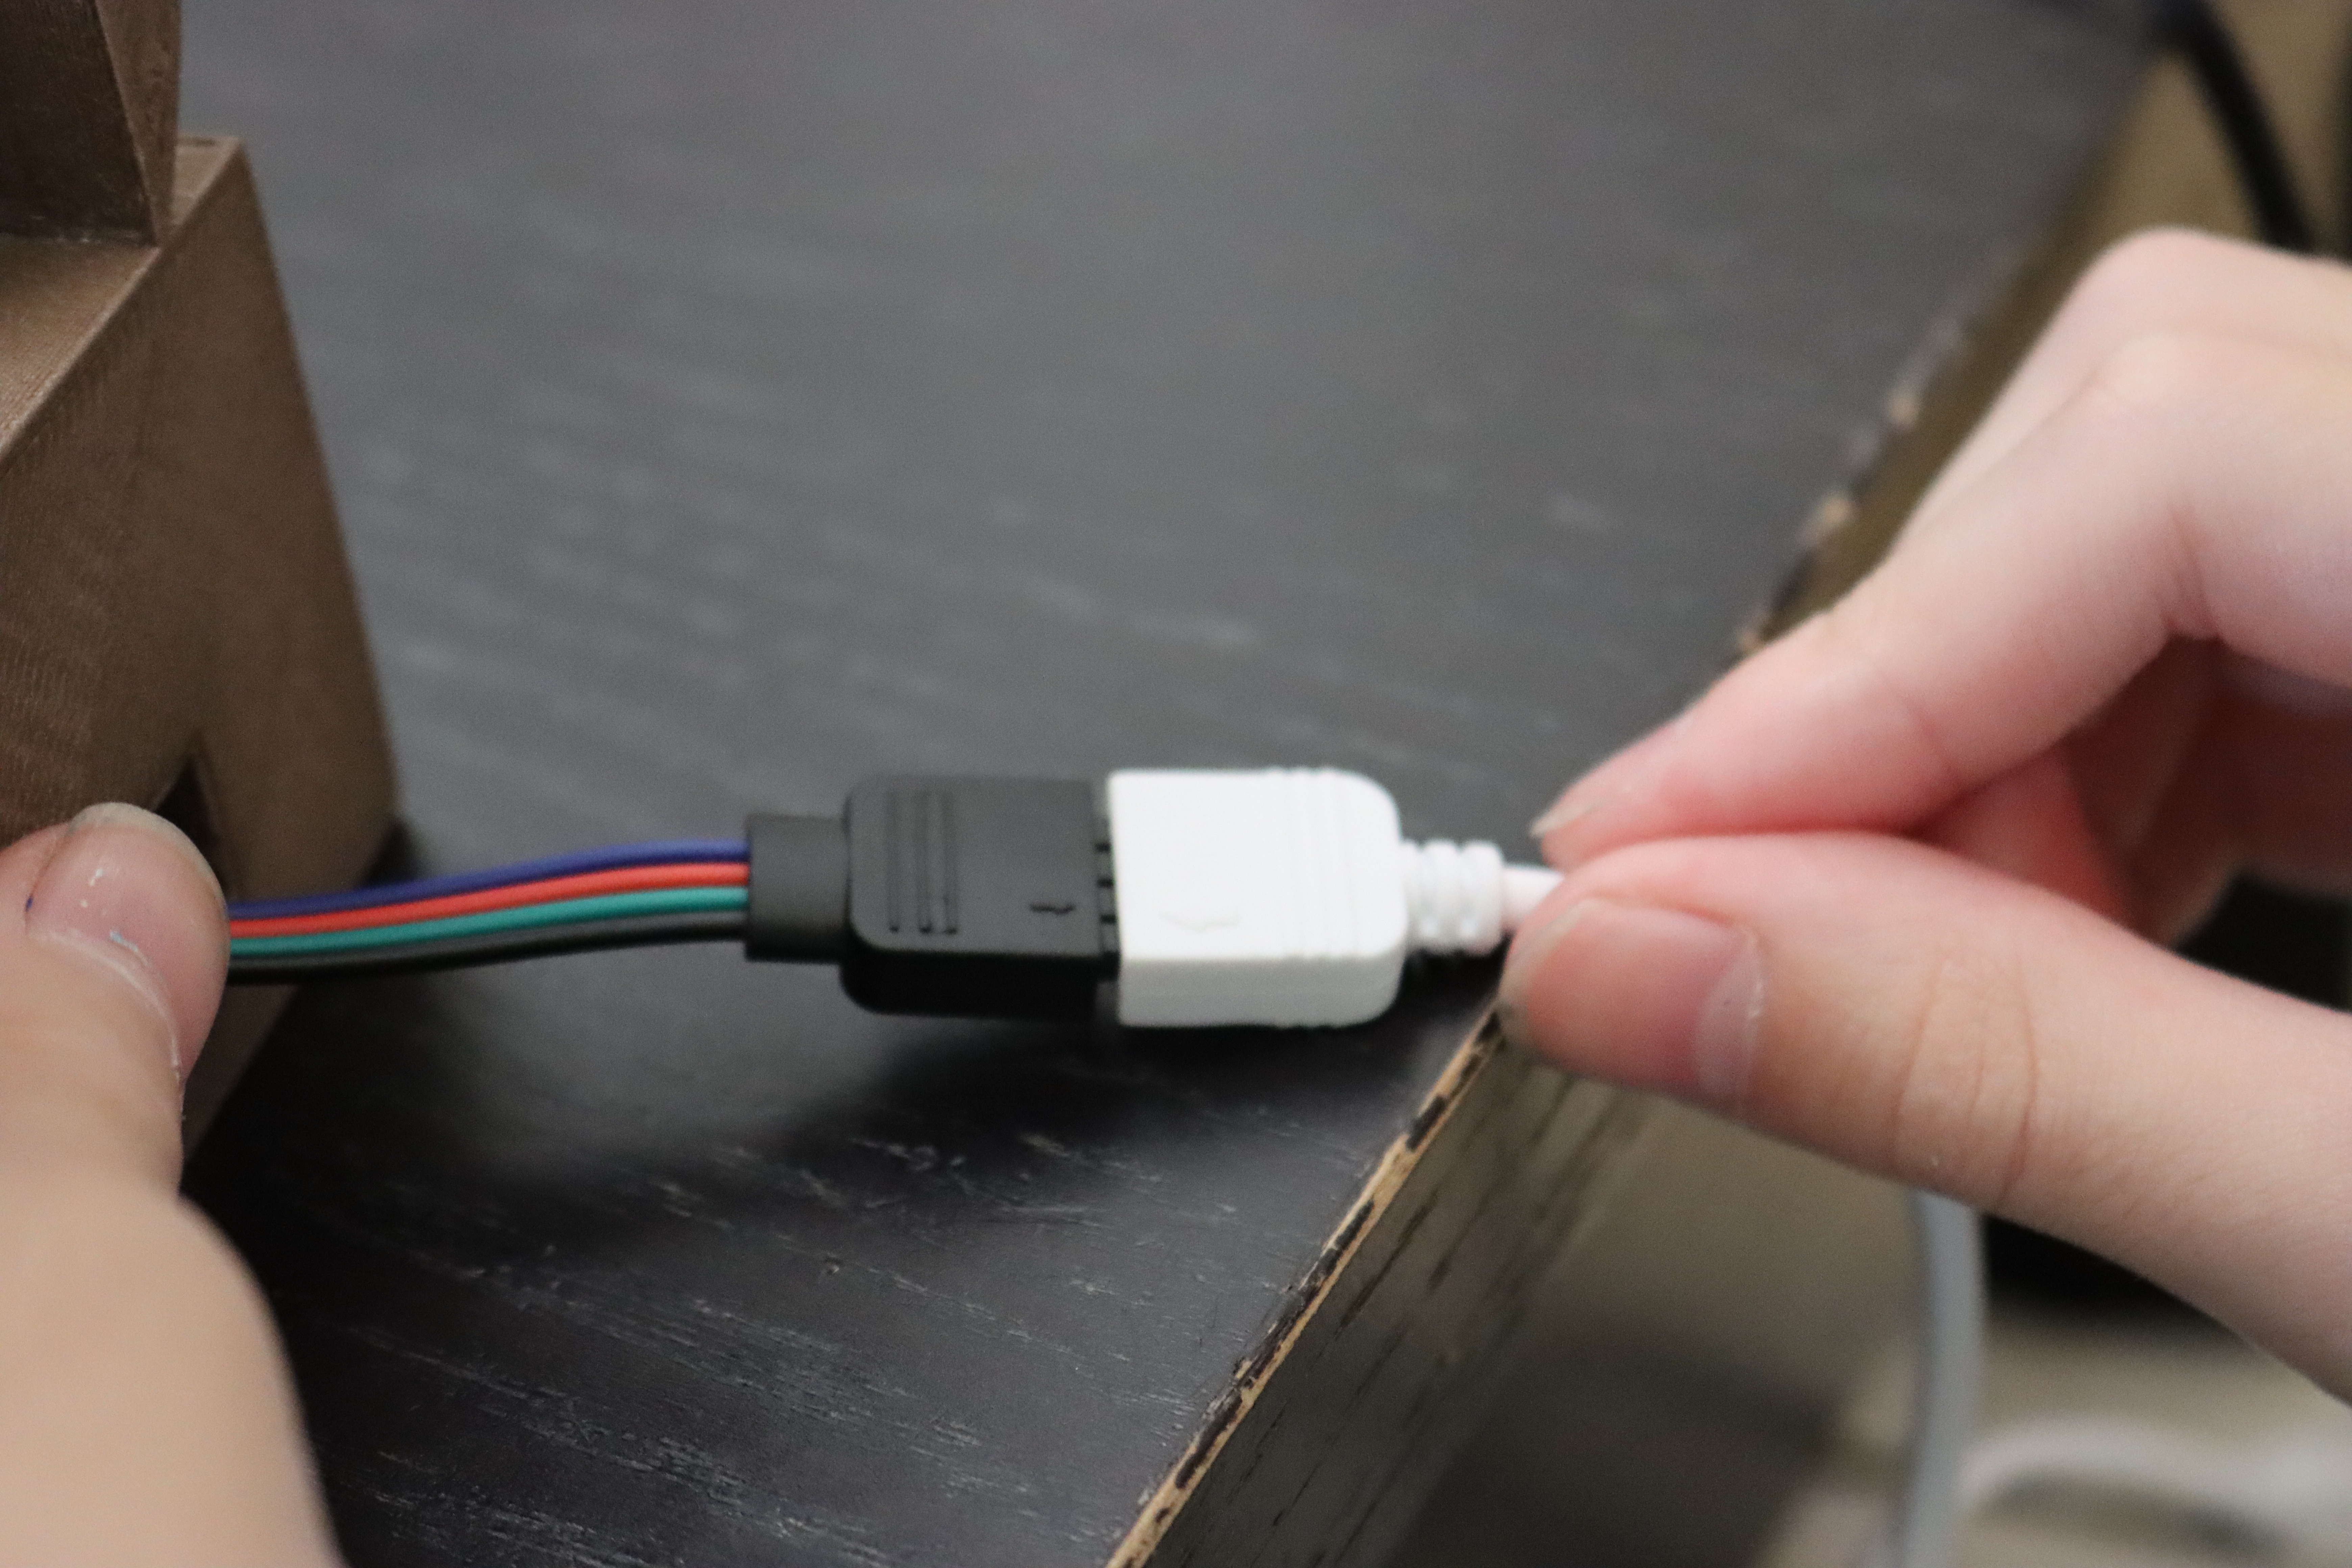
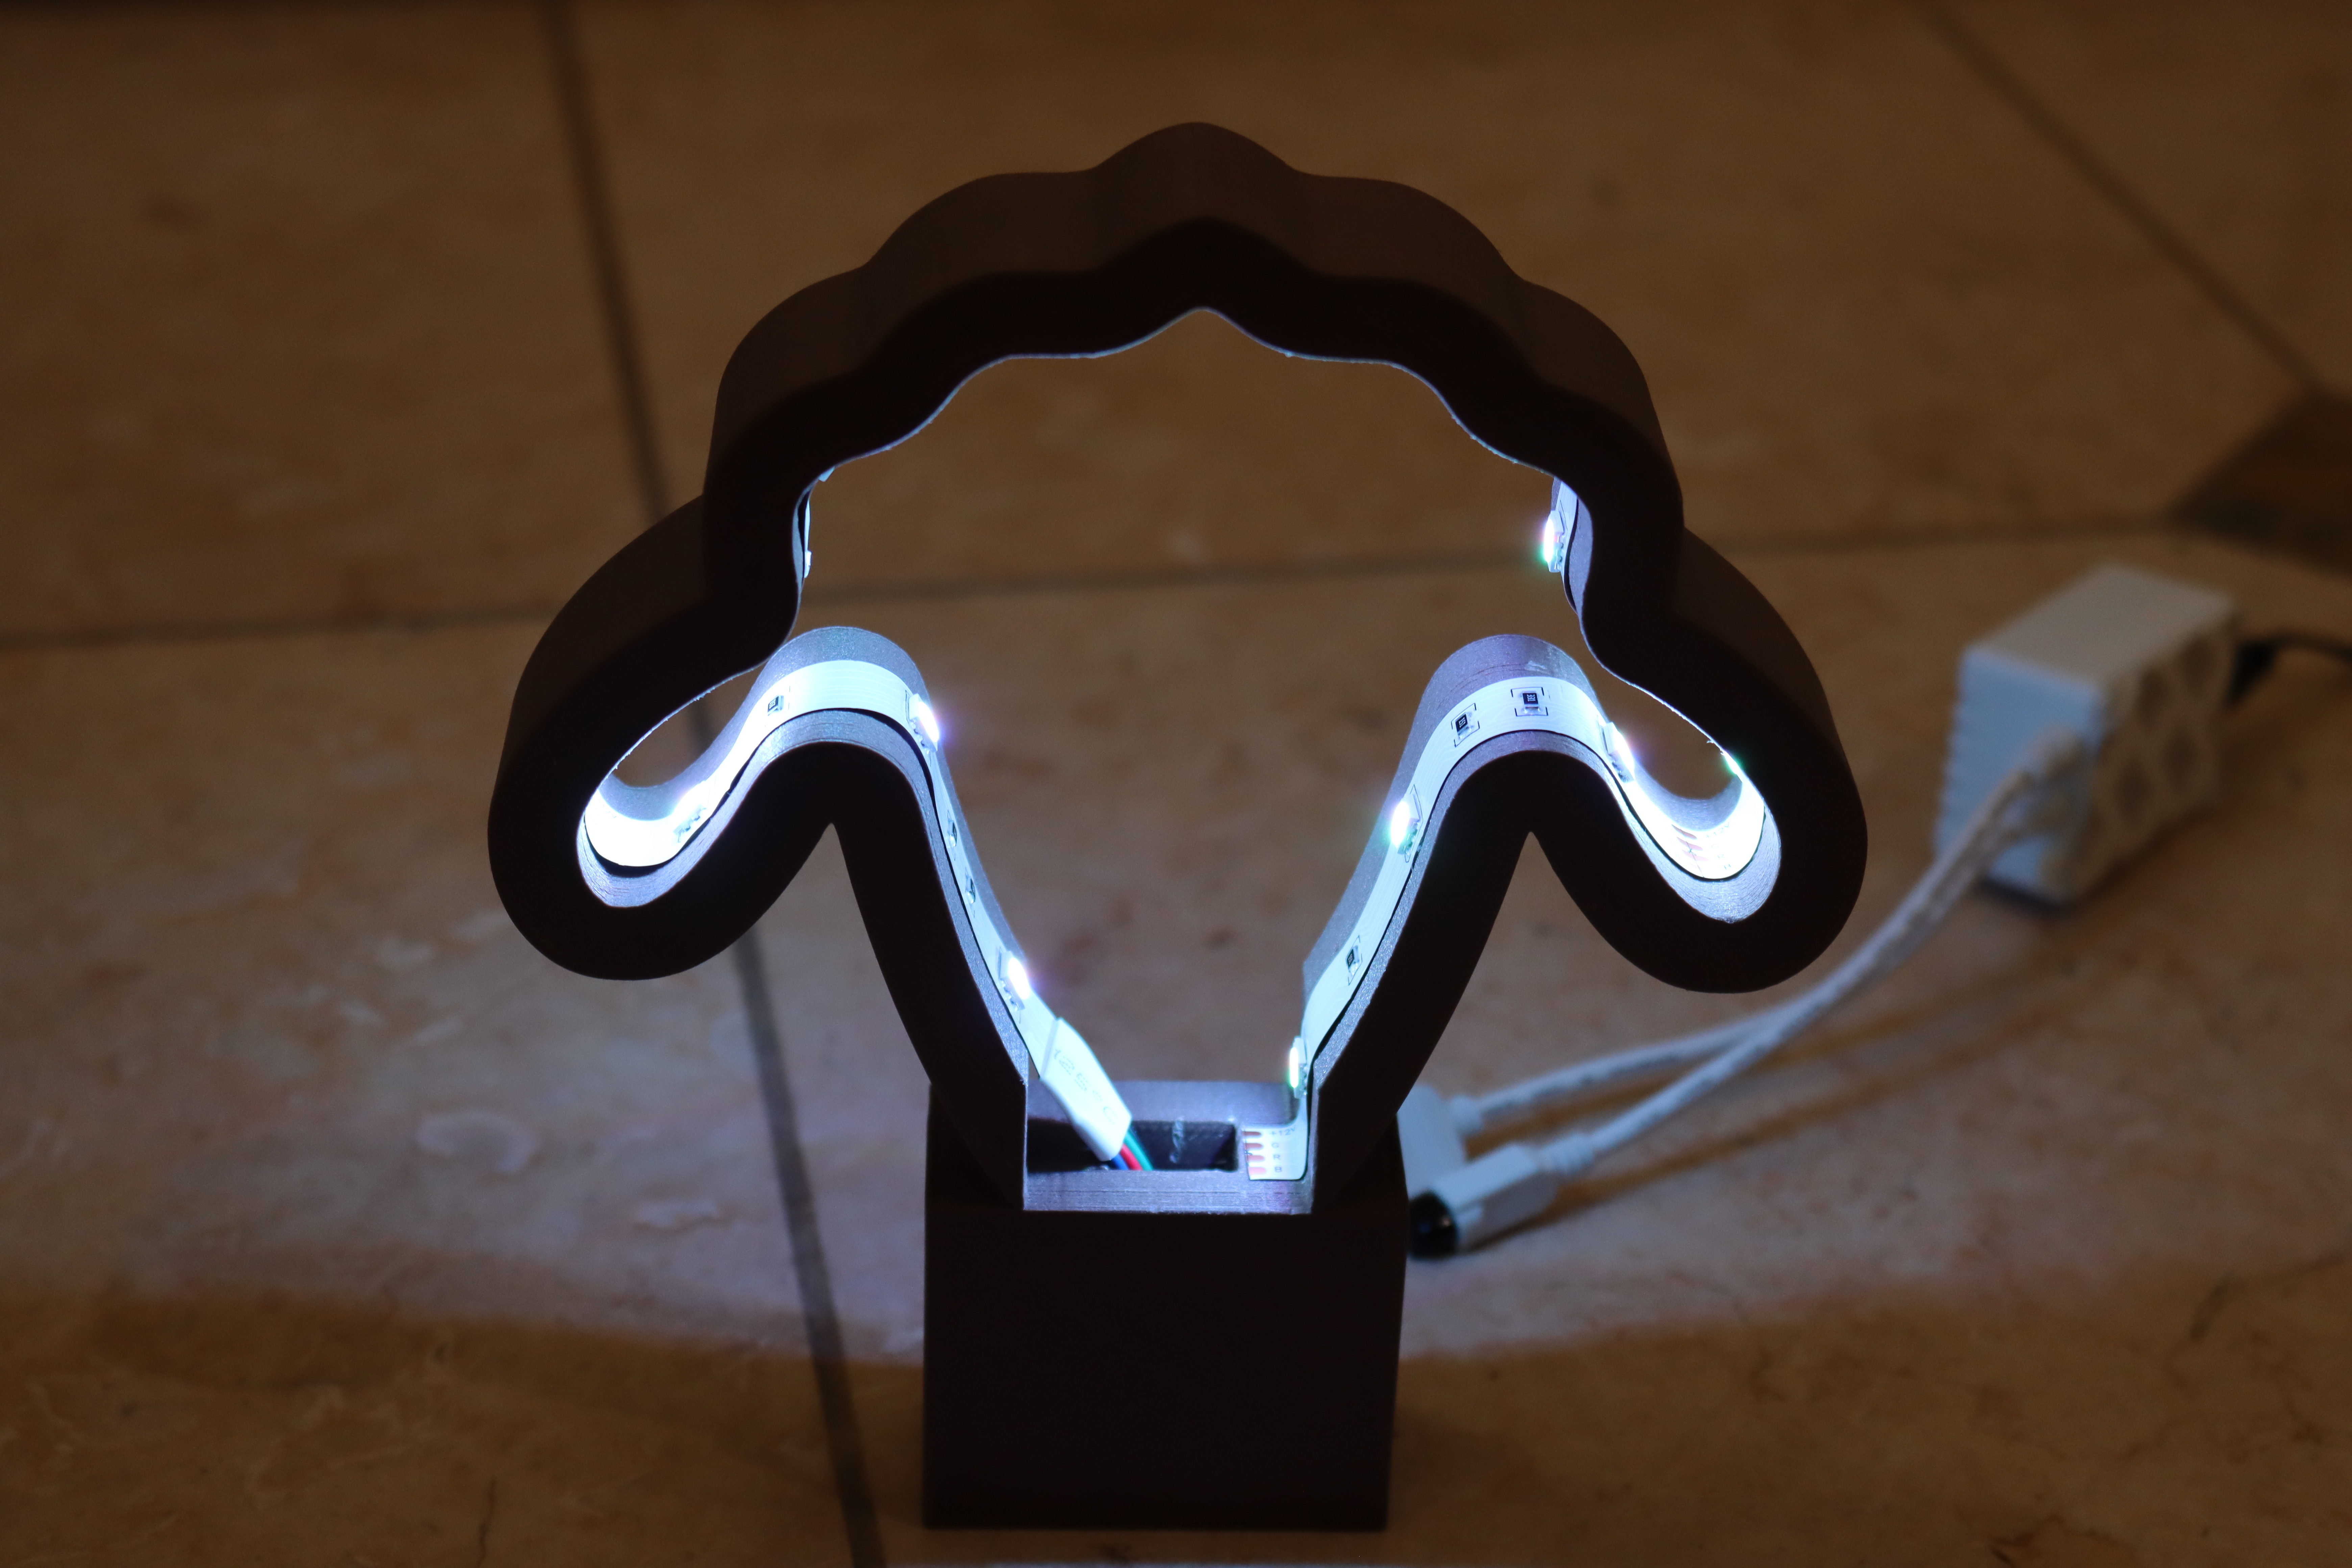
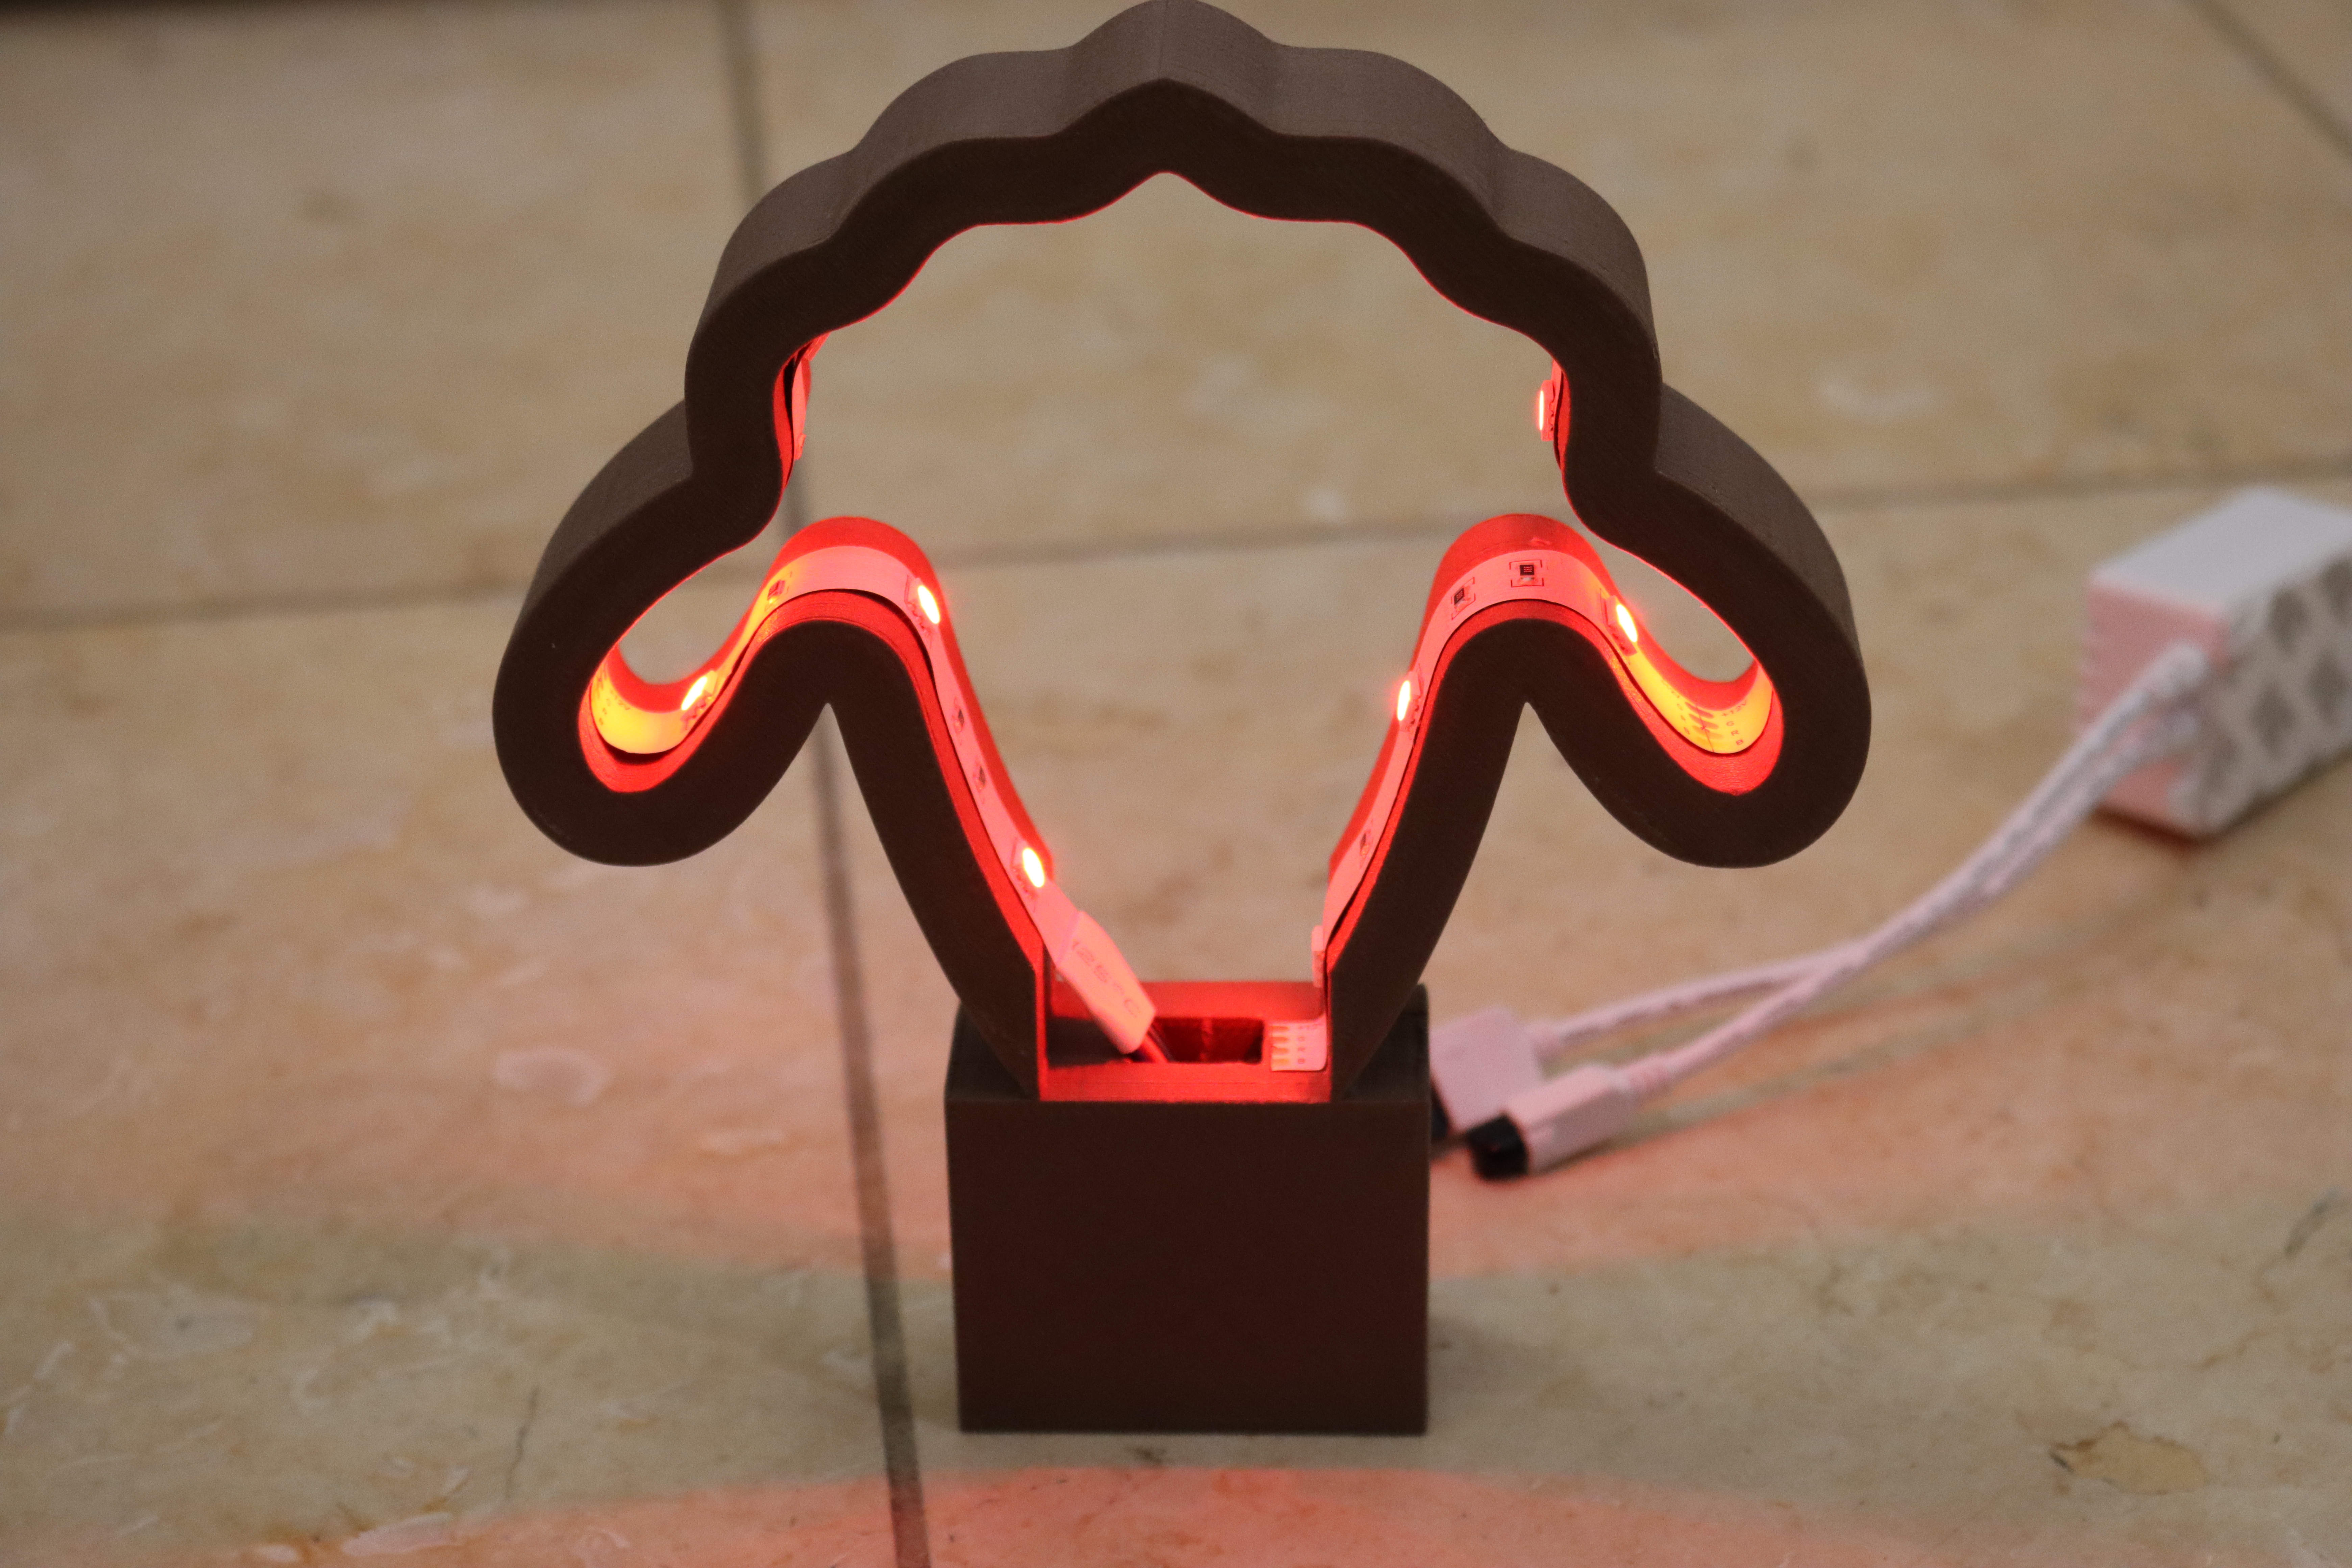


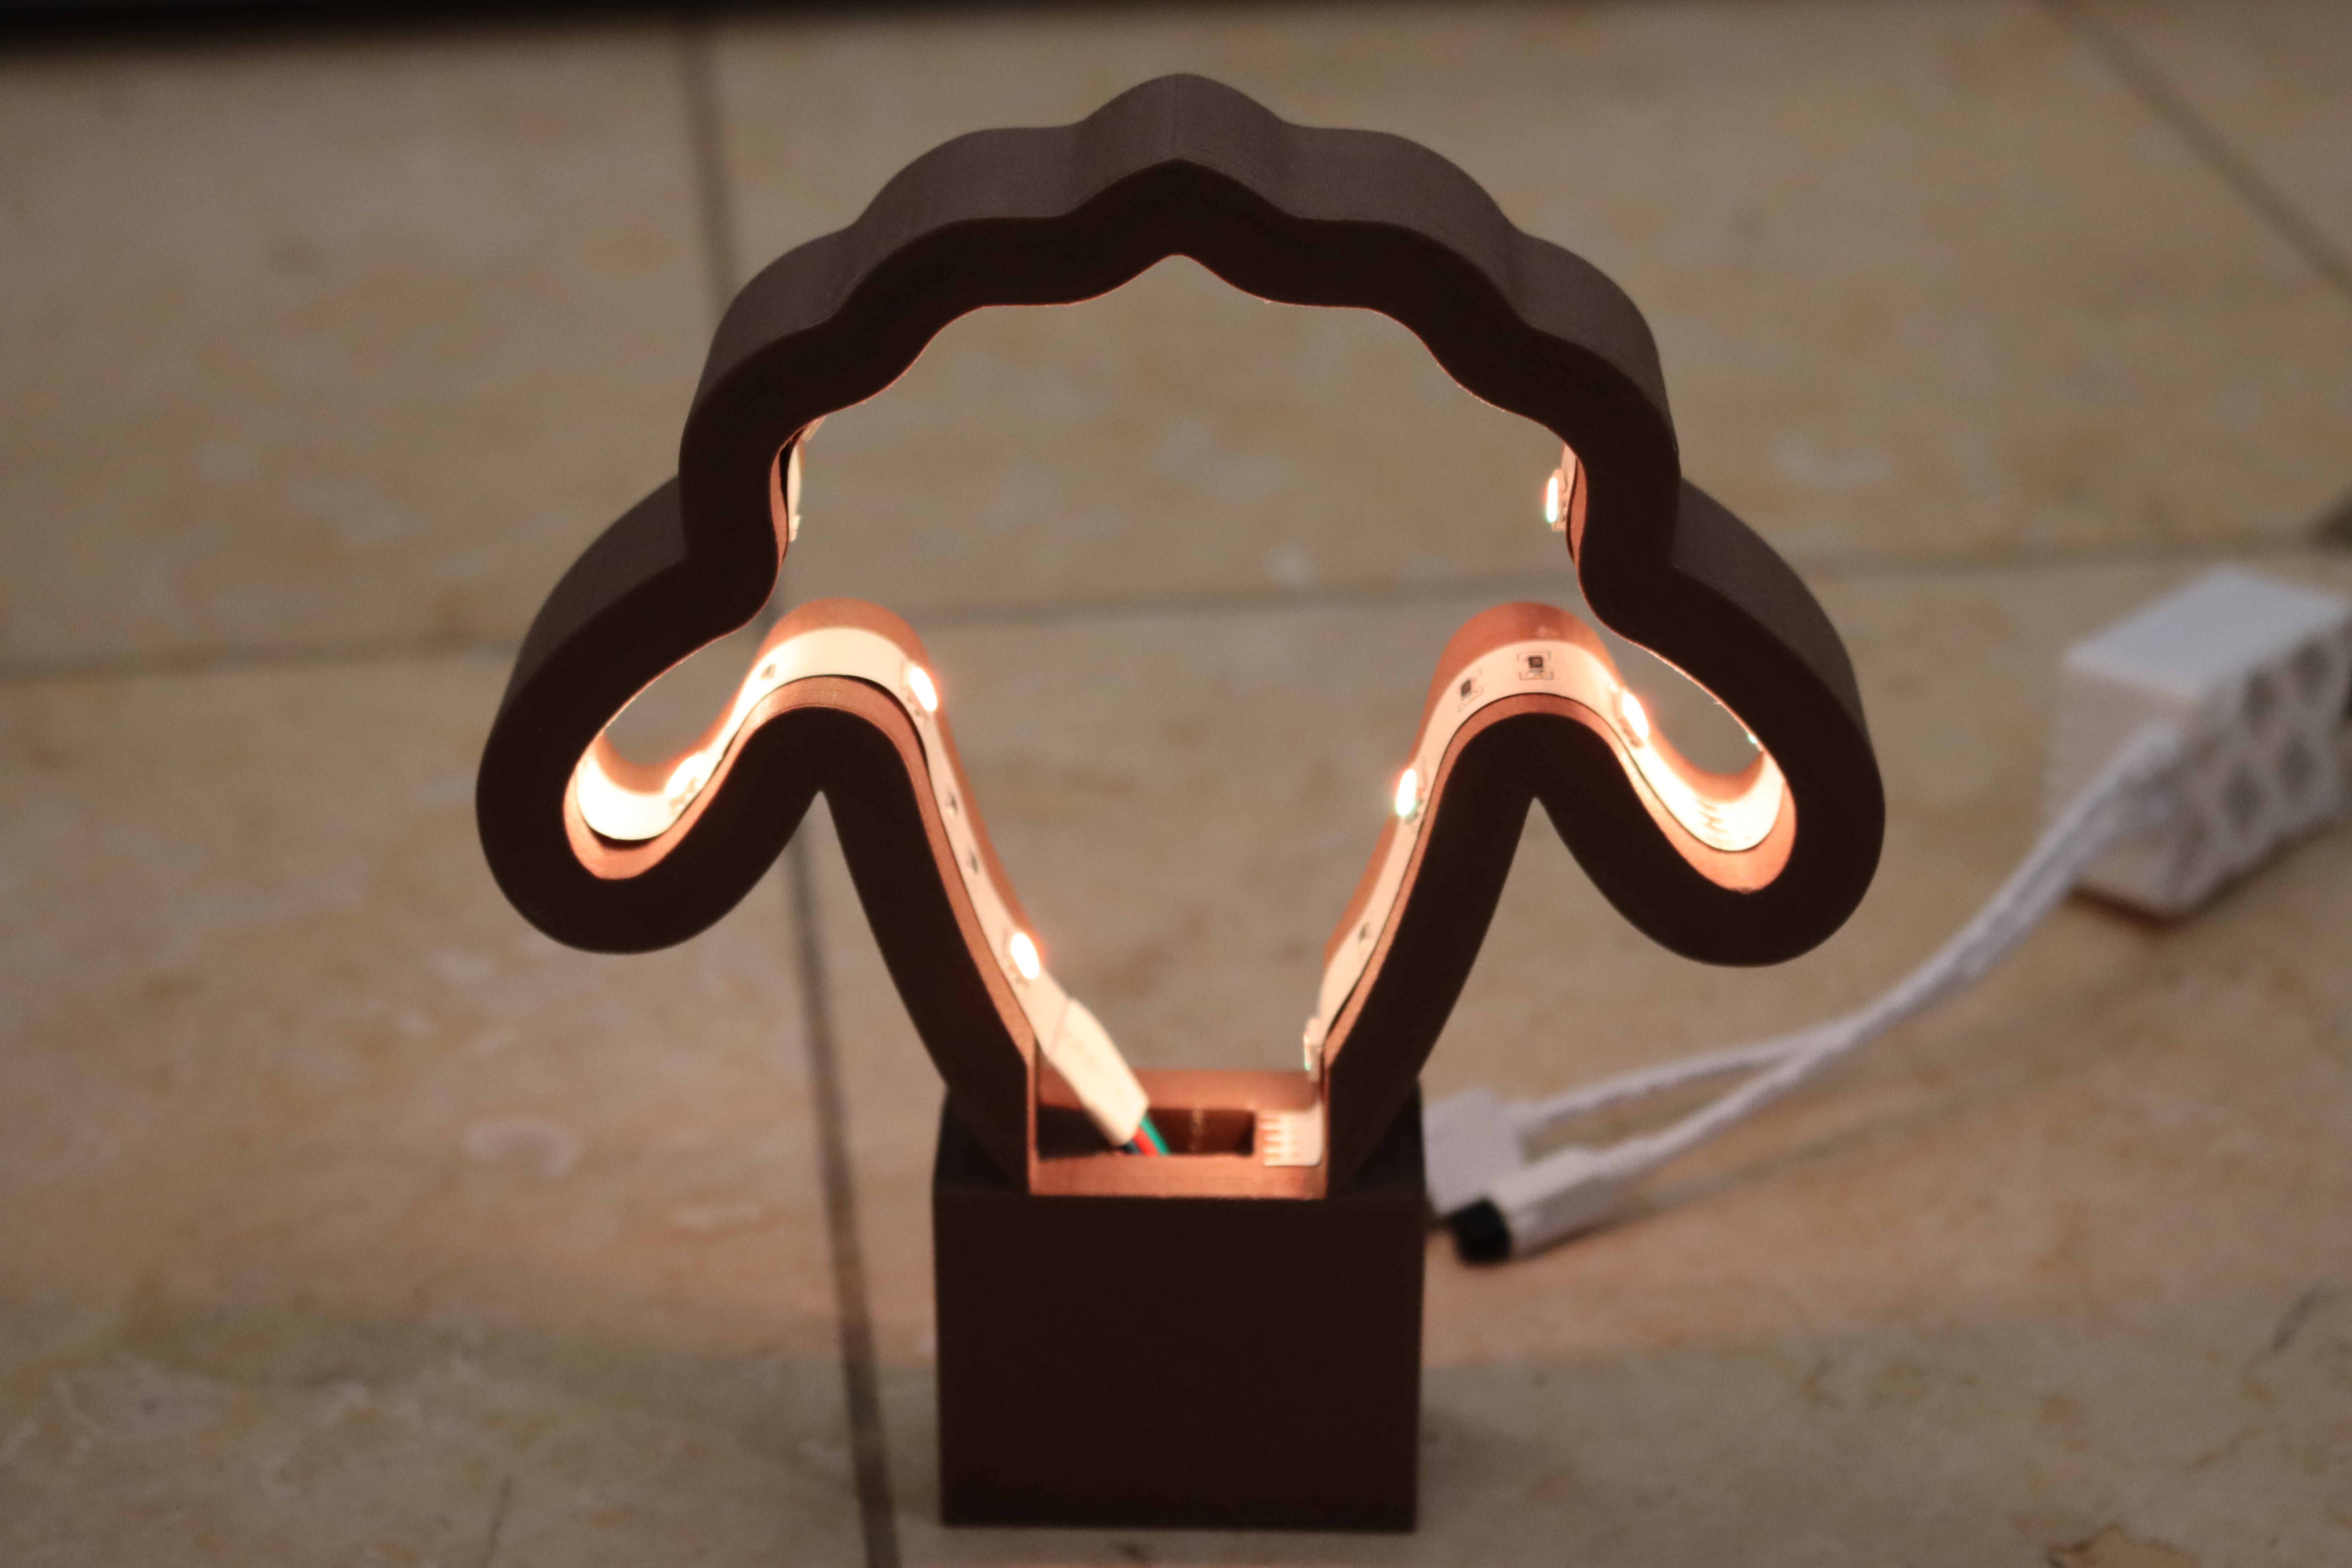
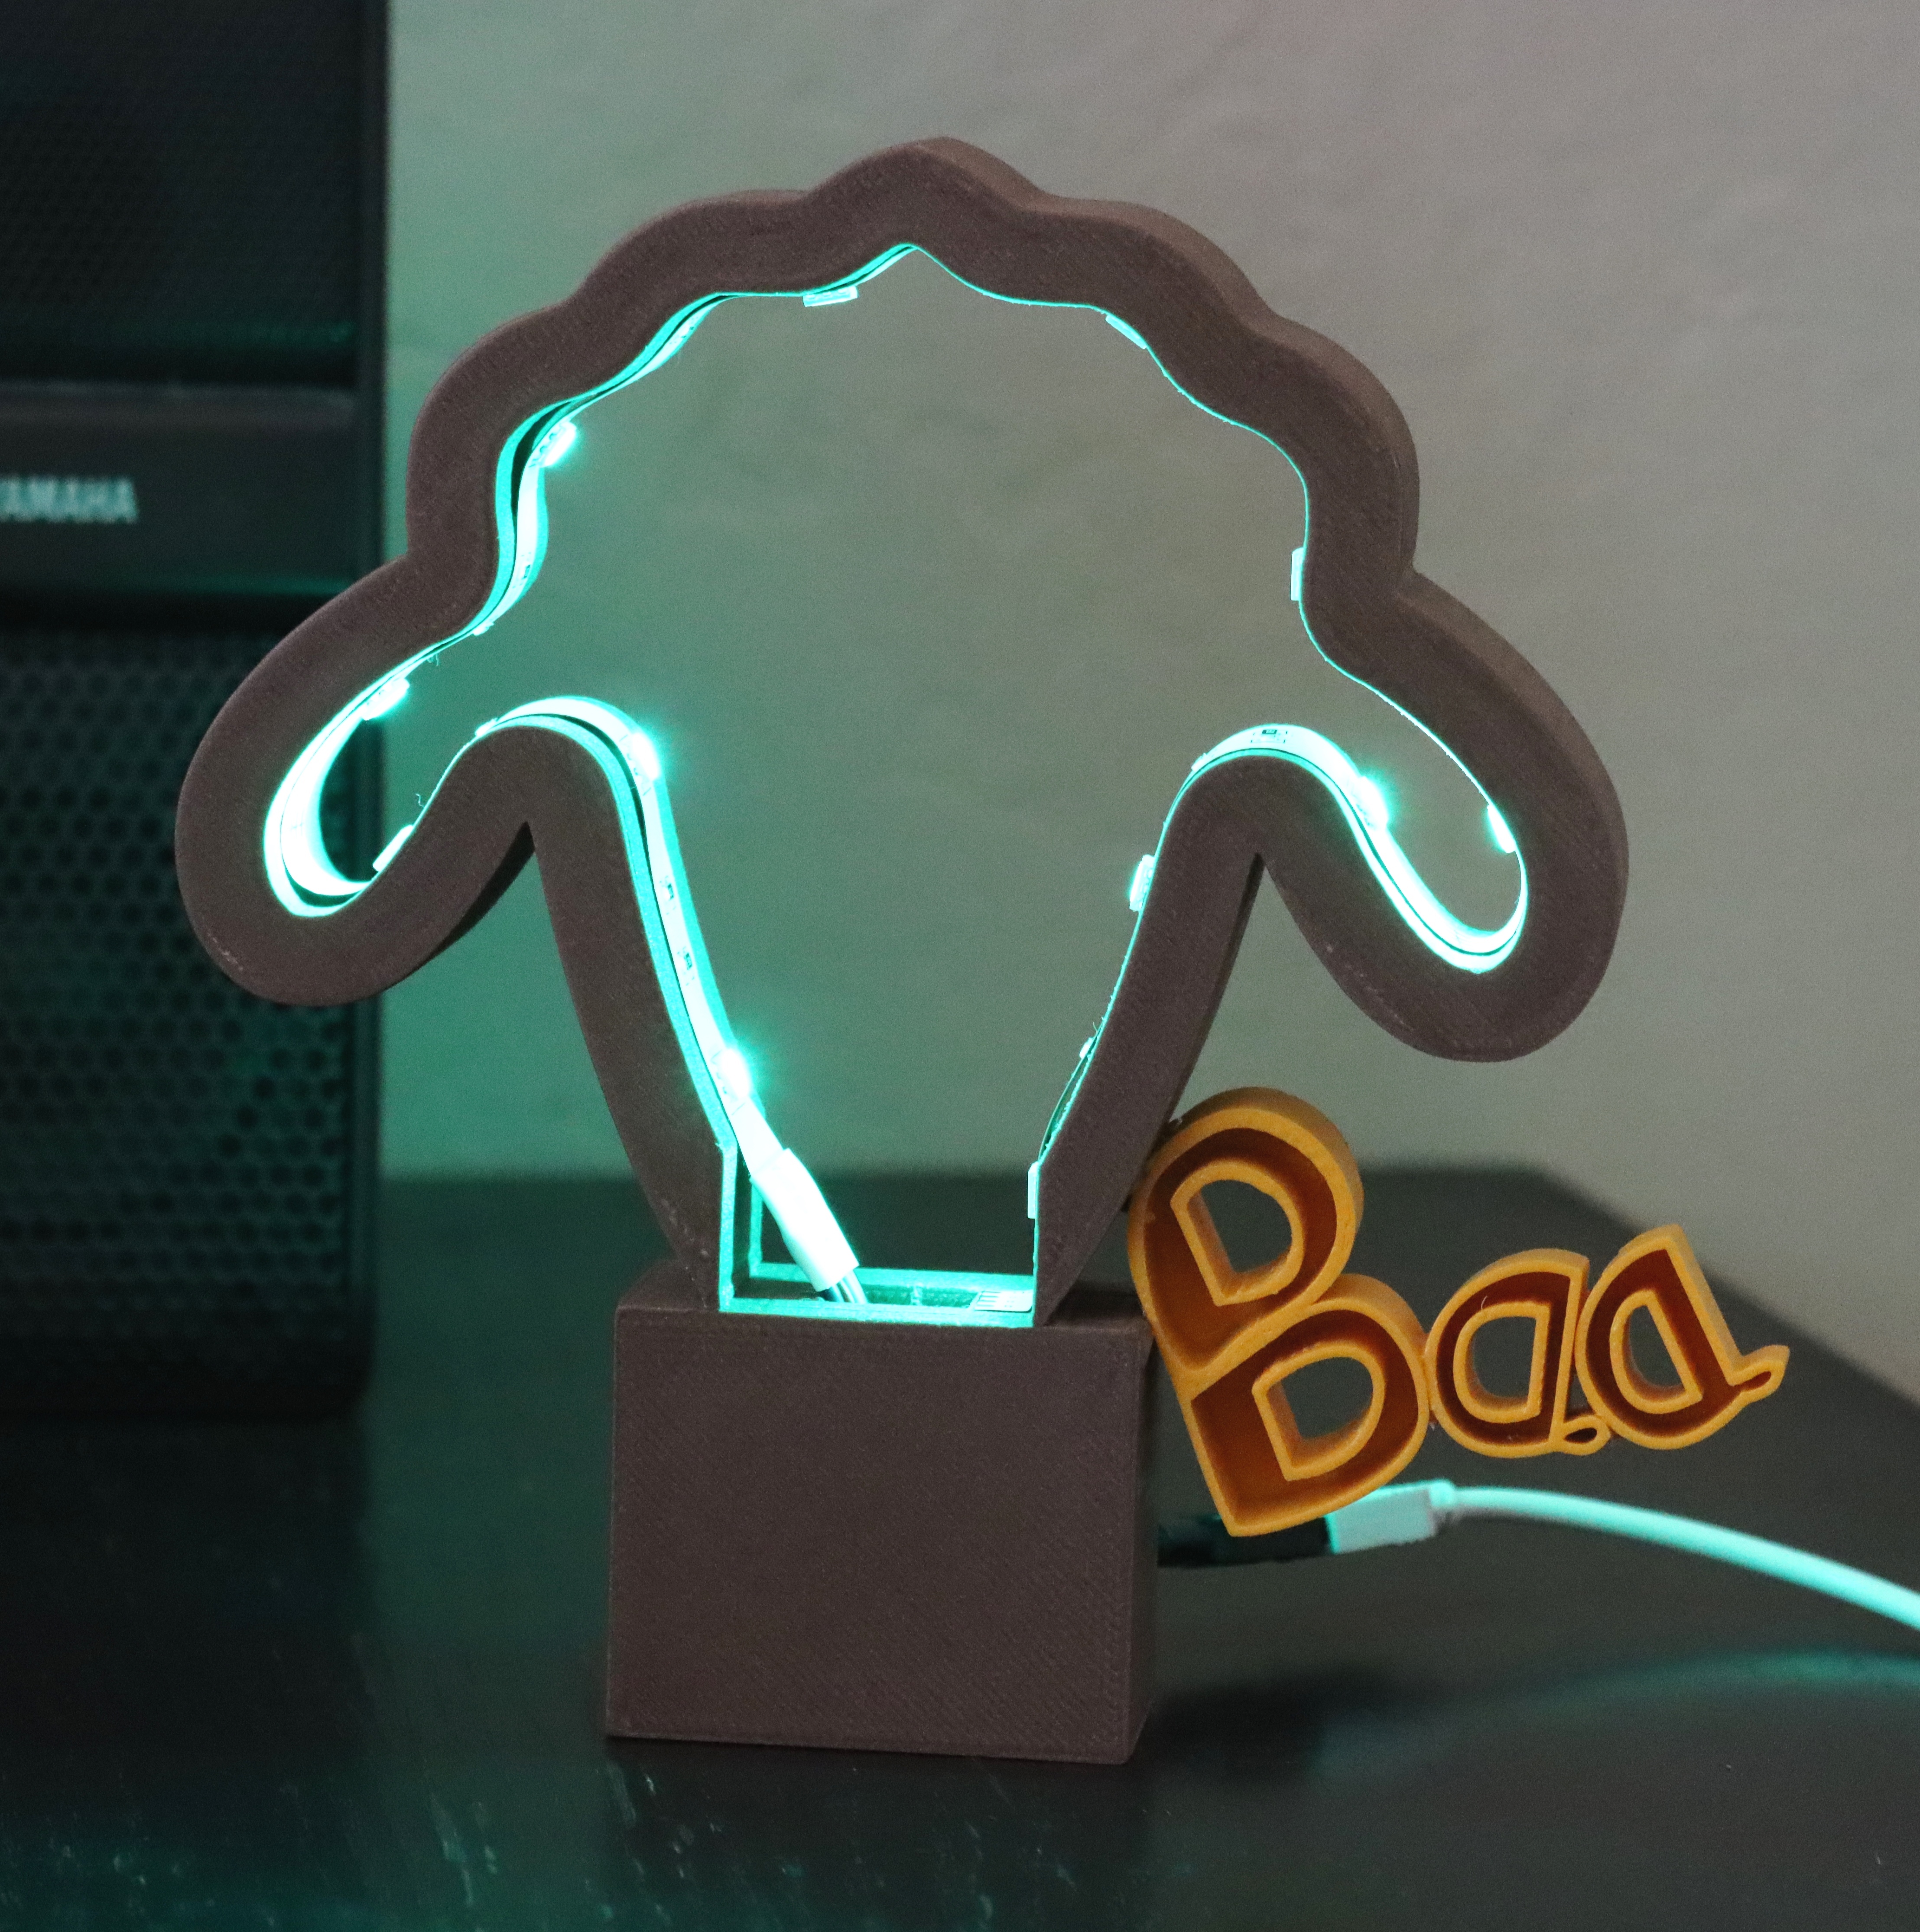
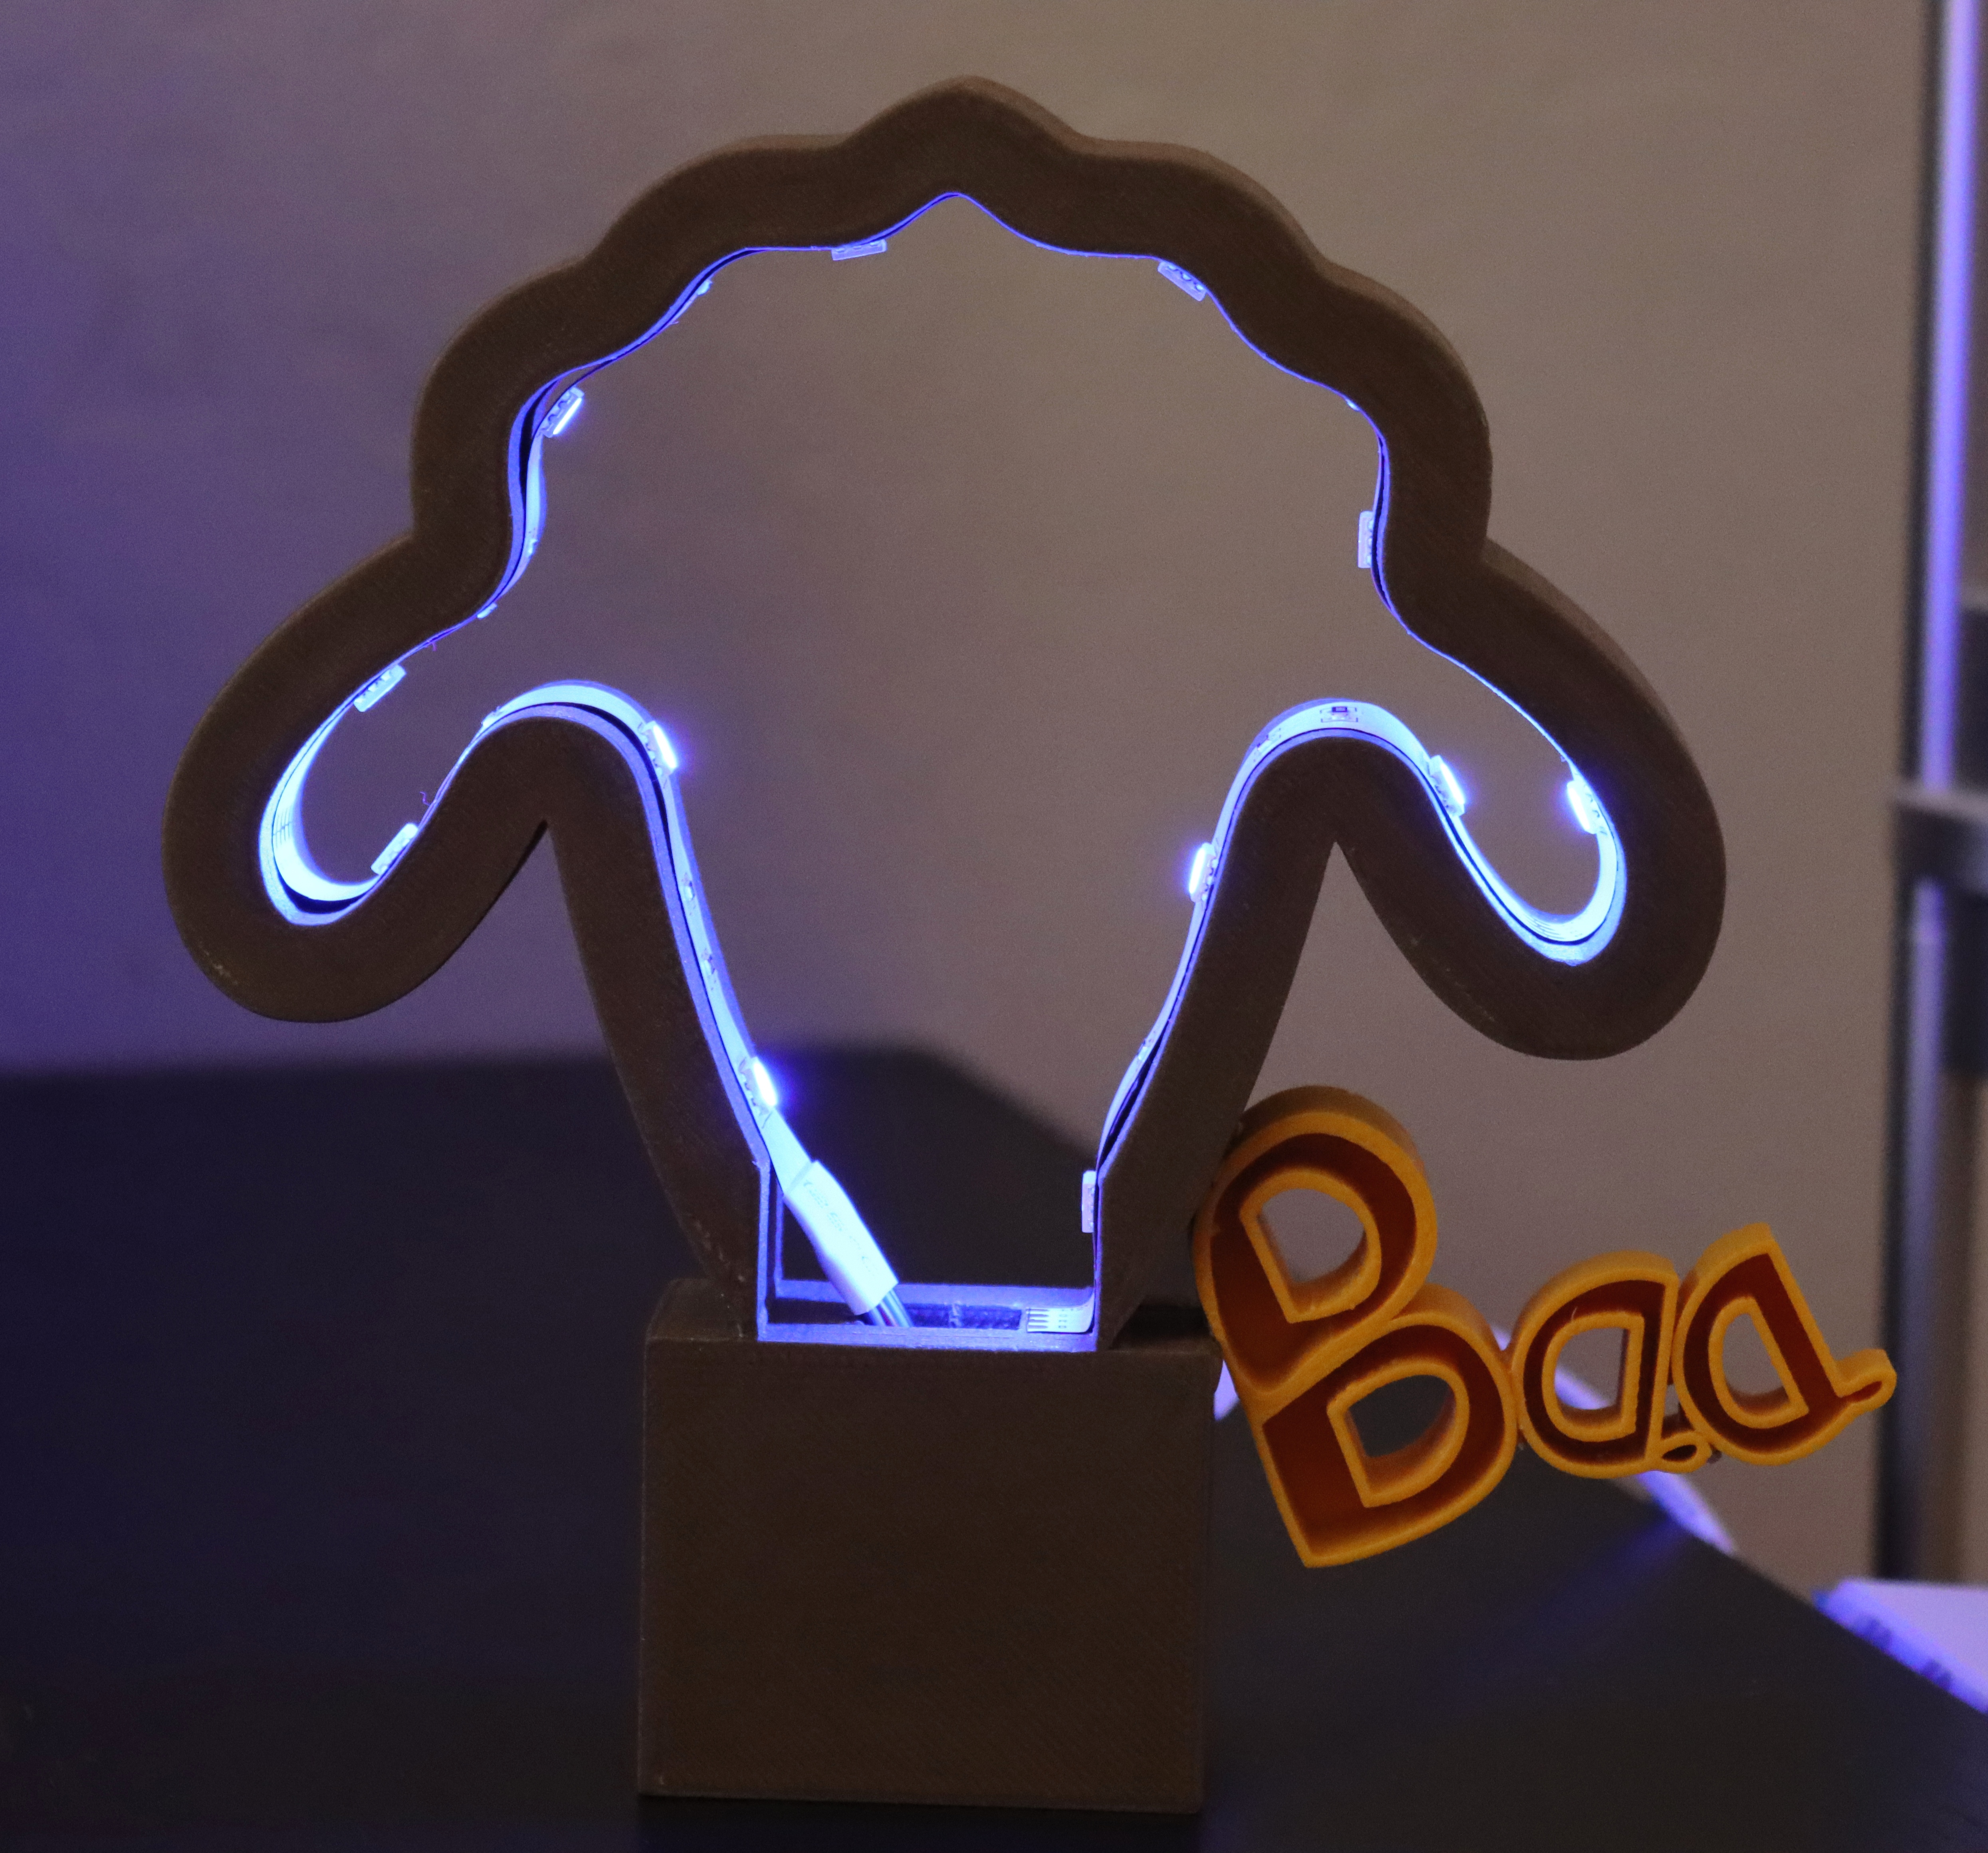
After finishing install the LED strip, connect it with adapter and plug it to the electricity outlet. You can choose and press the button of your favorite color. You are finish!
Testing
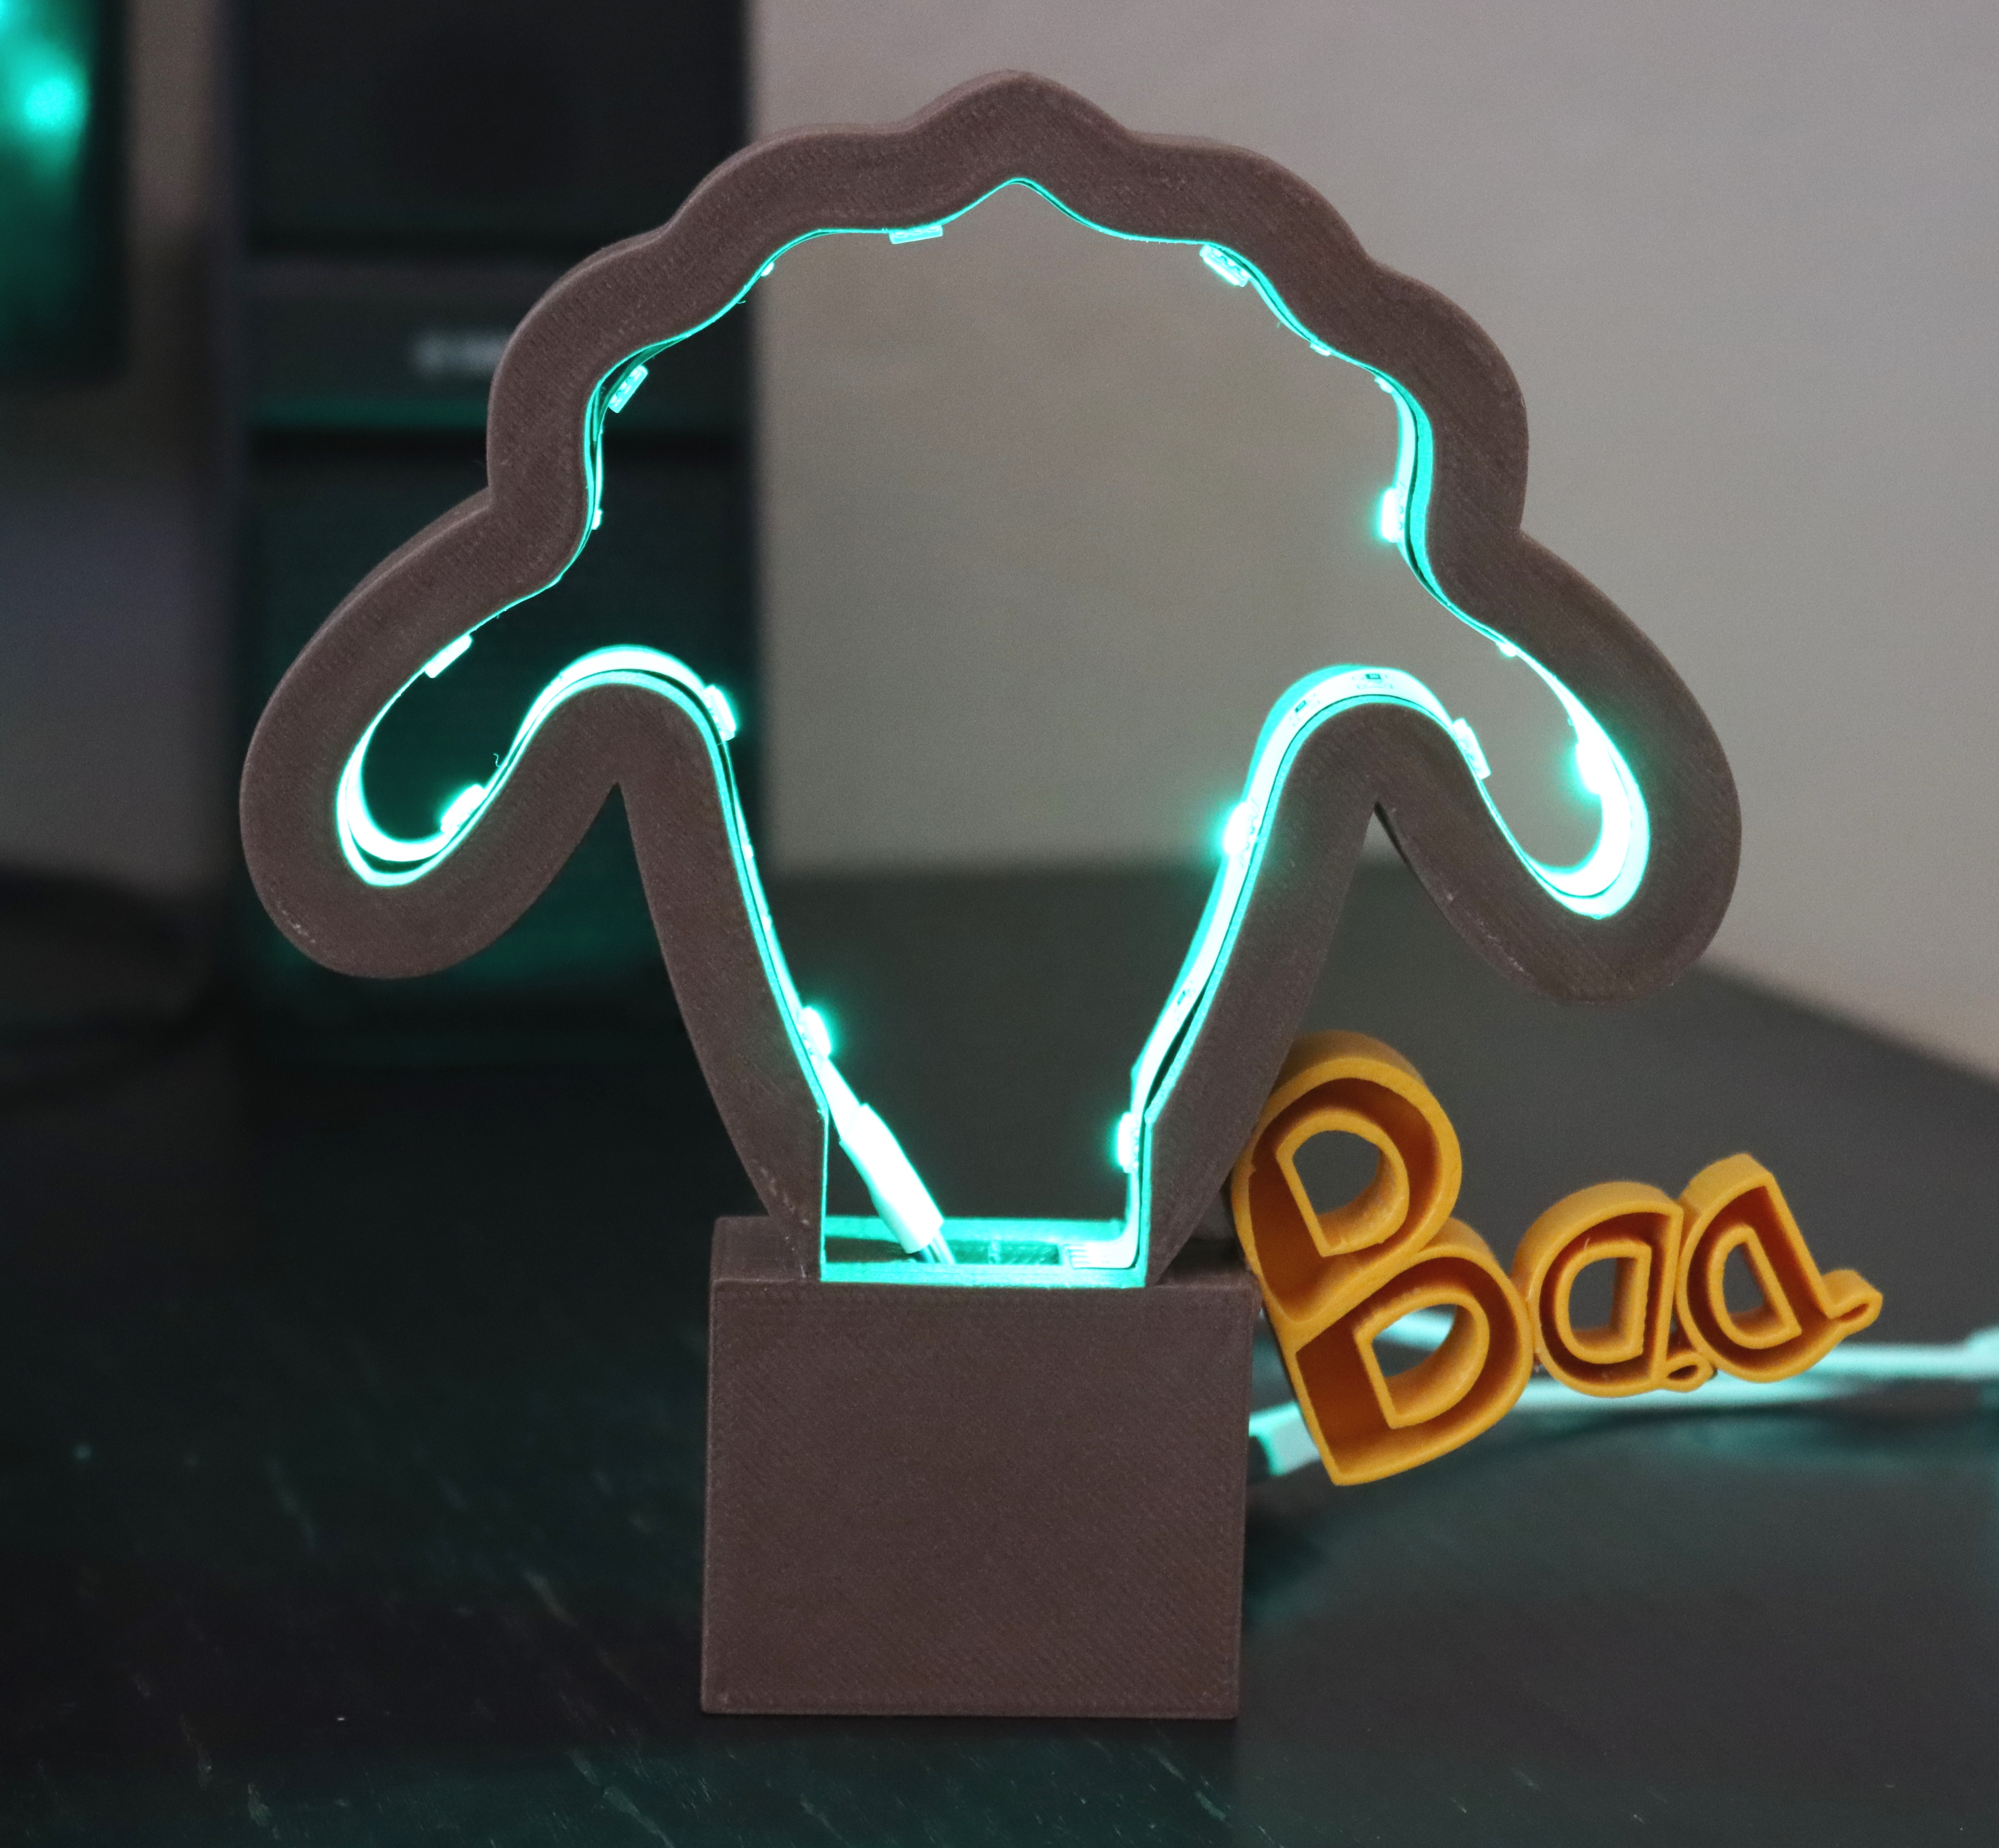
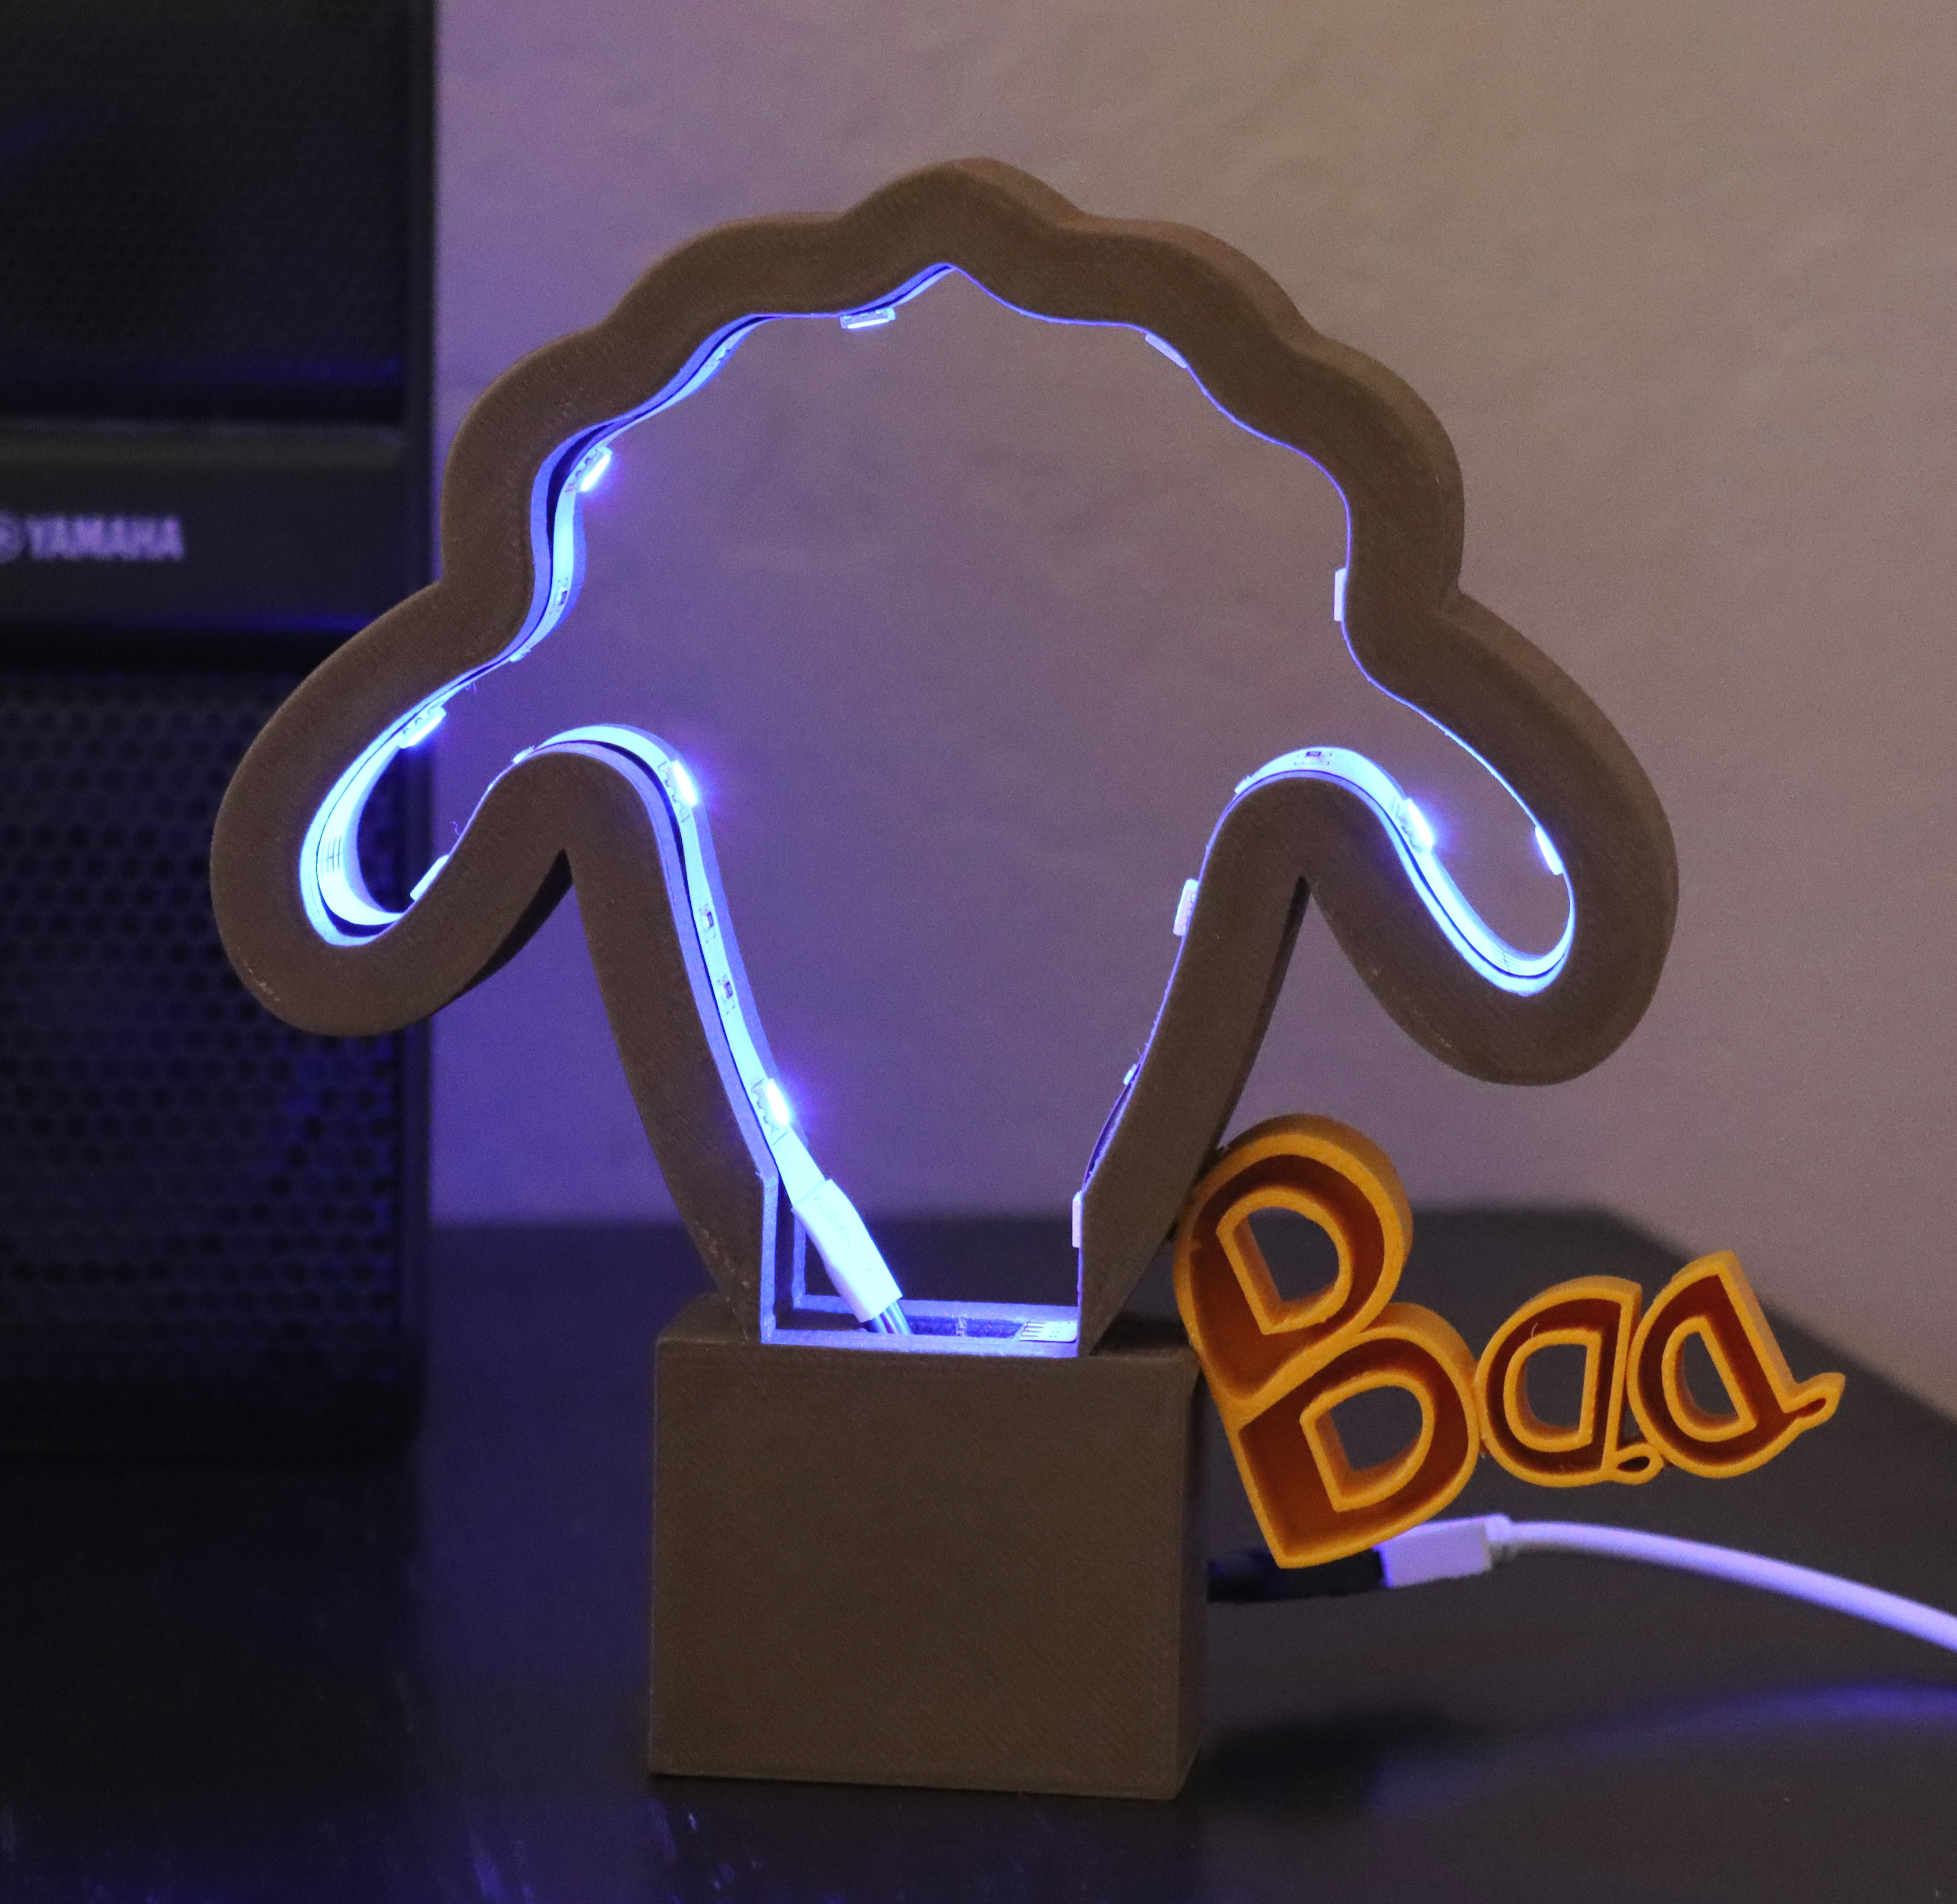
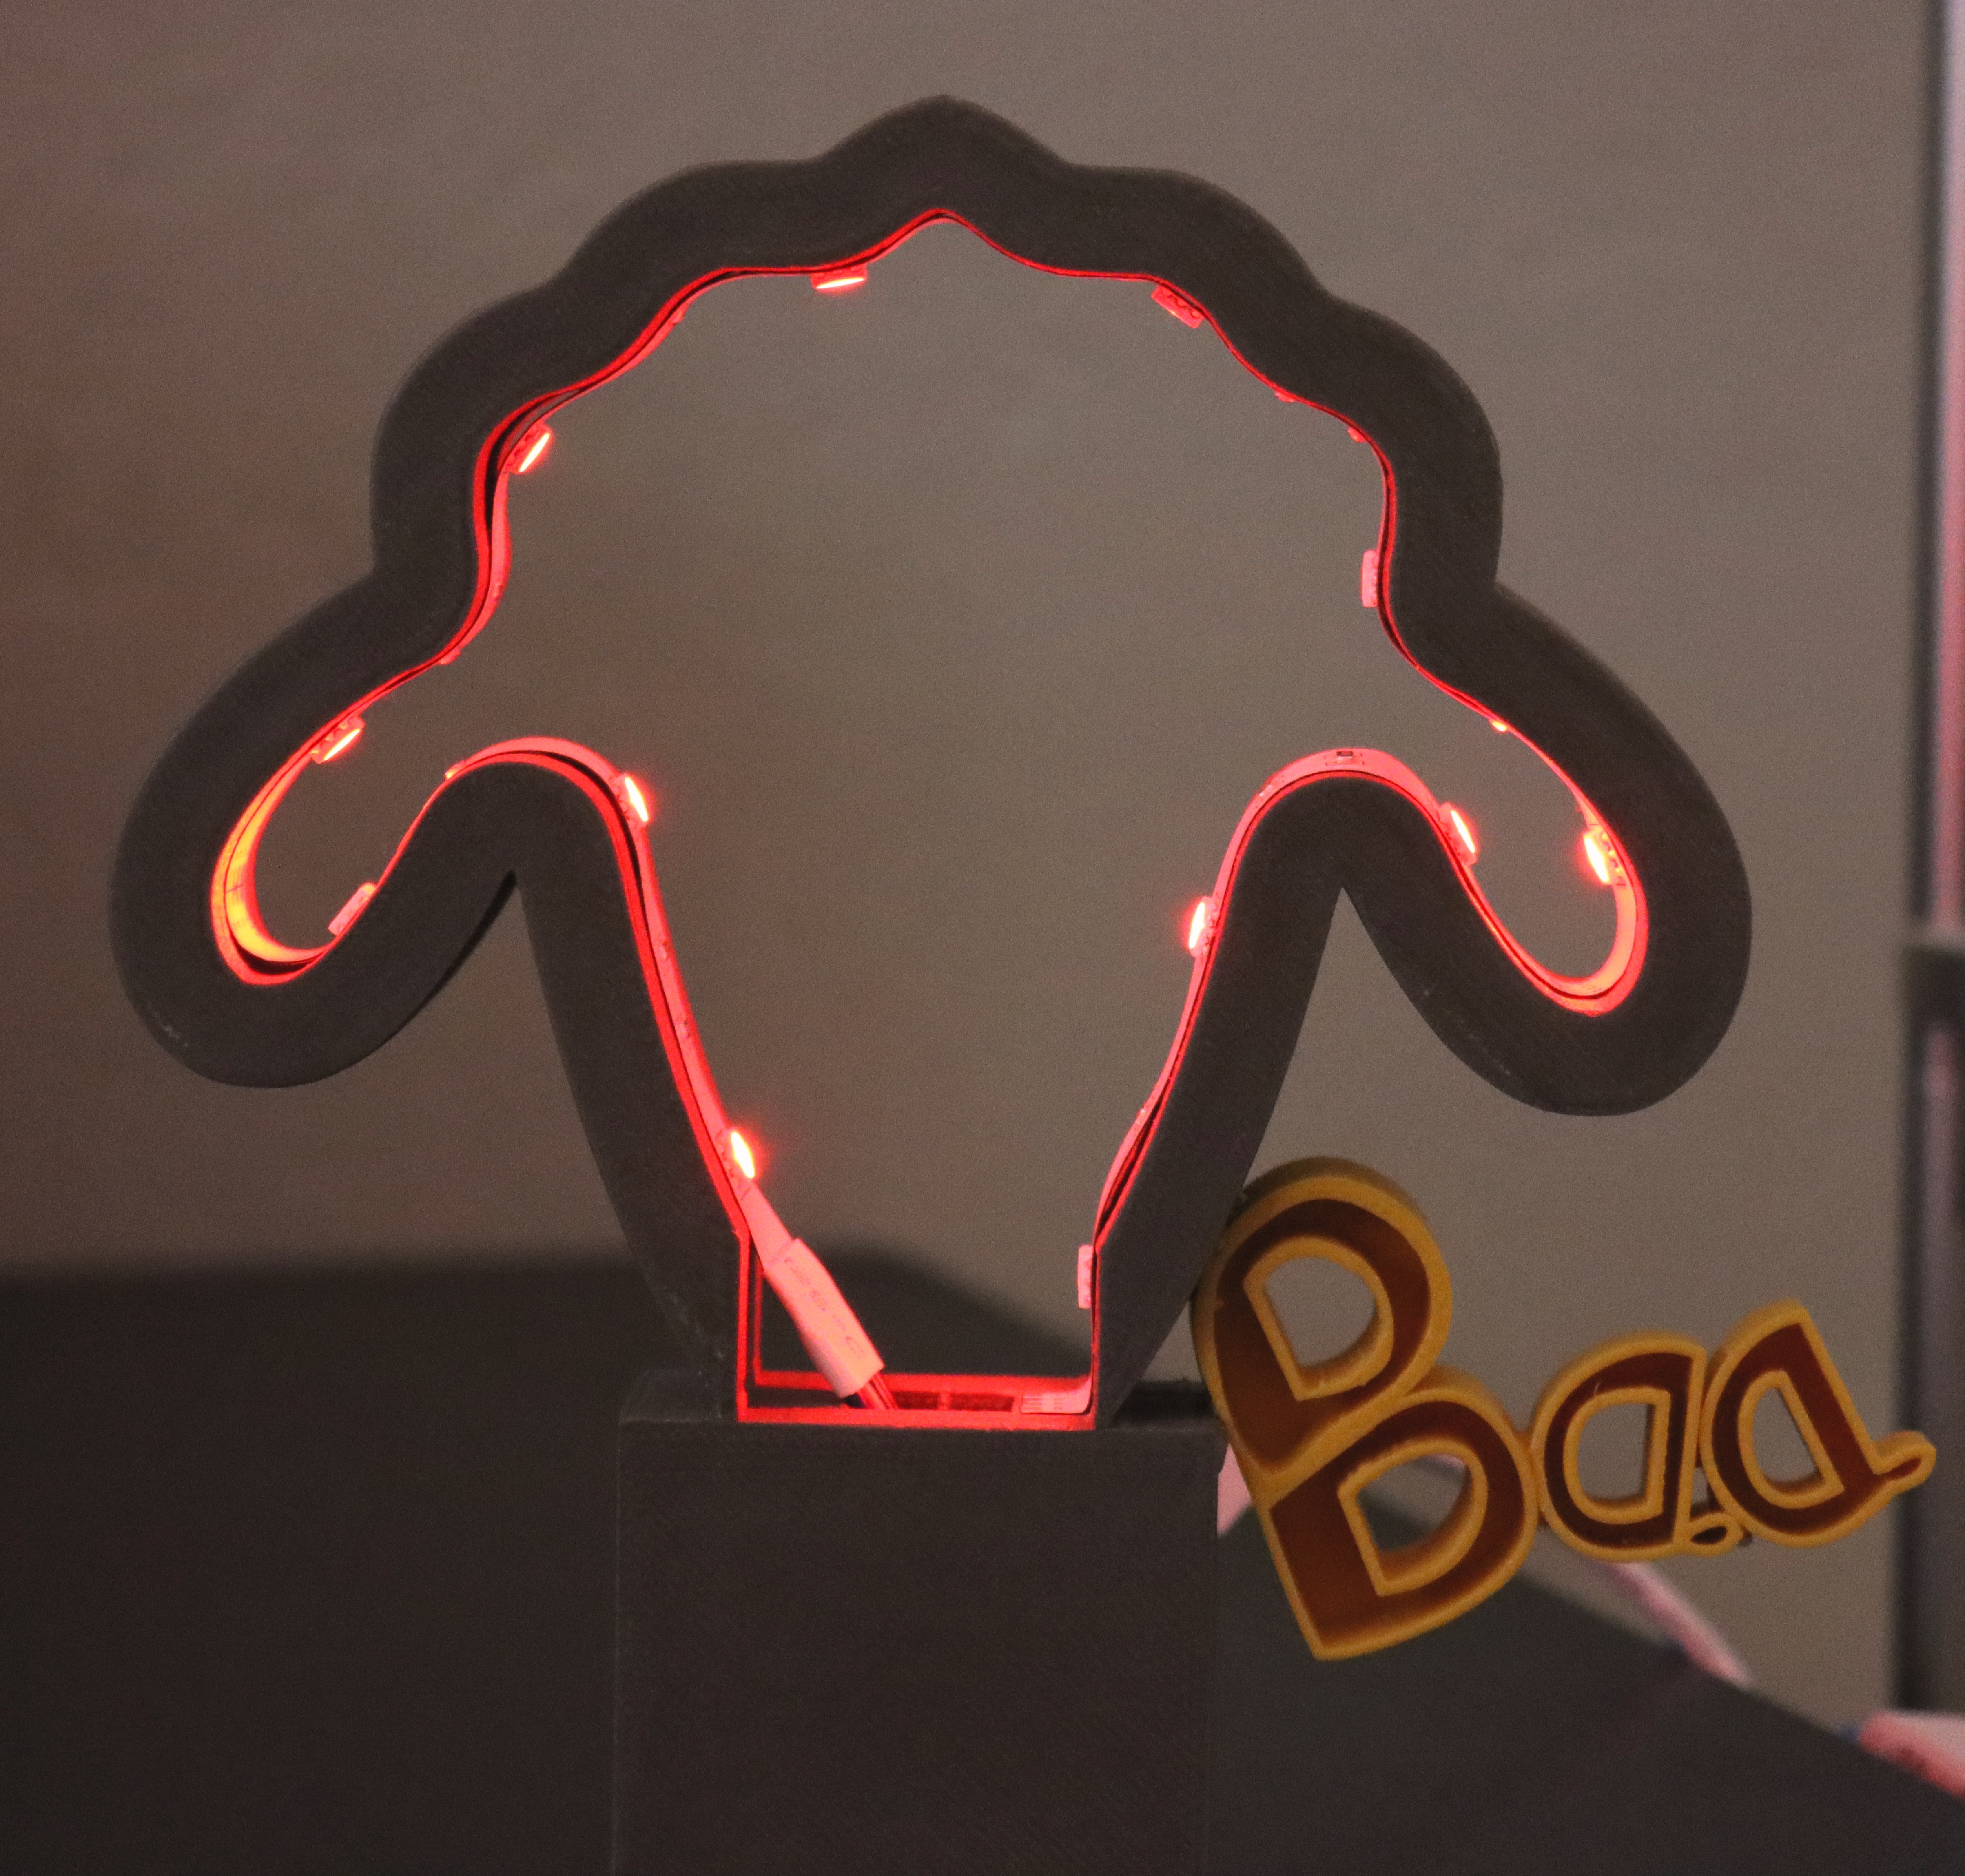
It depends on your LED strip that you bought. Mine has remote to control the LED strip. Just play around with the lighting option that is provided in the LED strip.
Enjoy your Sheep lighting. I hope you like my instructables and see you in other creations.
For more project ideas, click: 3dPrintingCenter