LED Myo Gestures #VT22
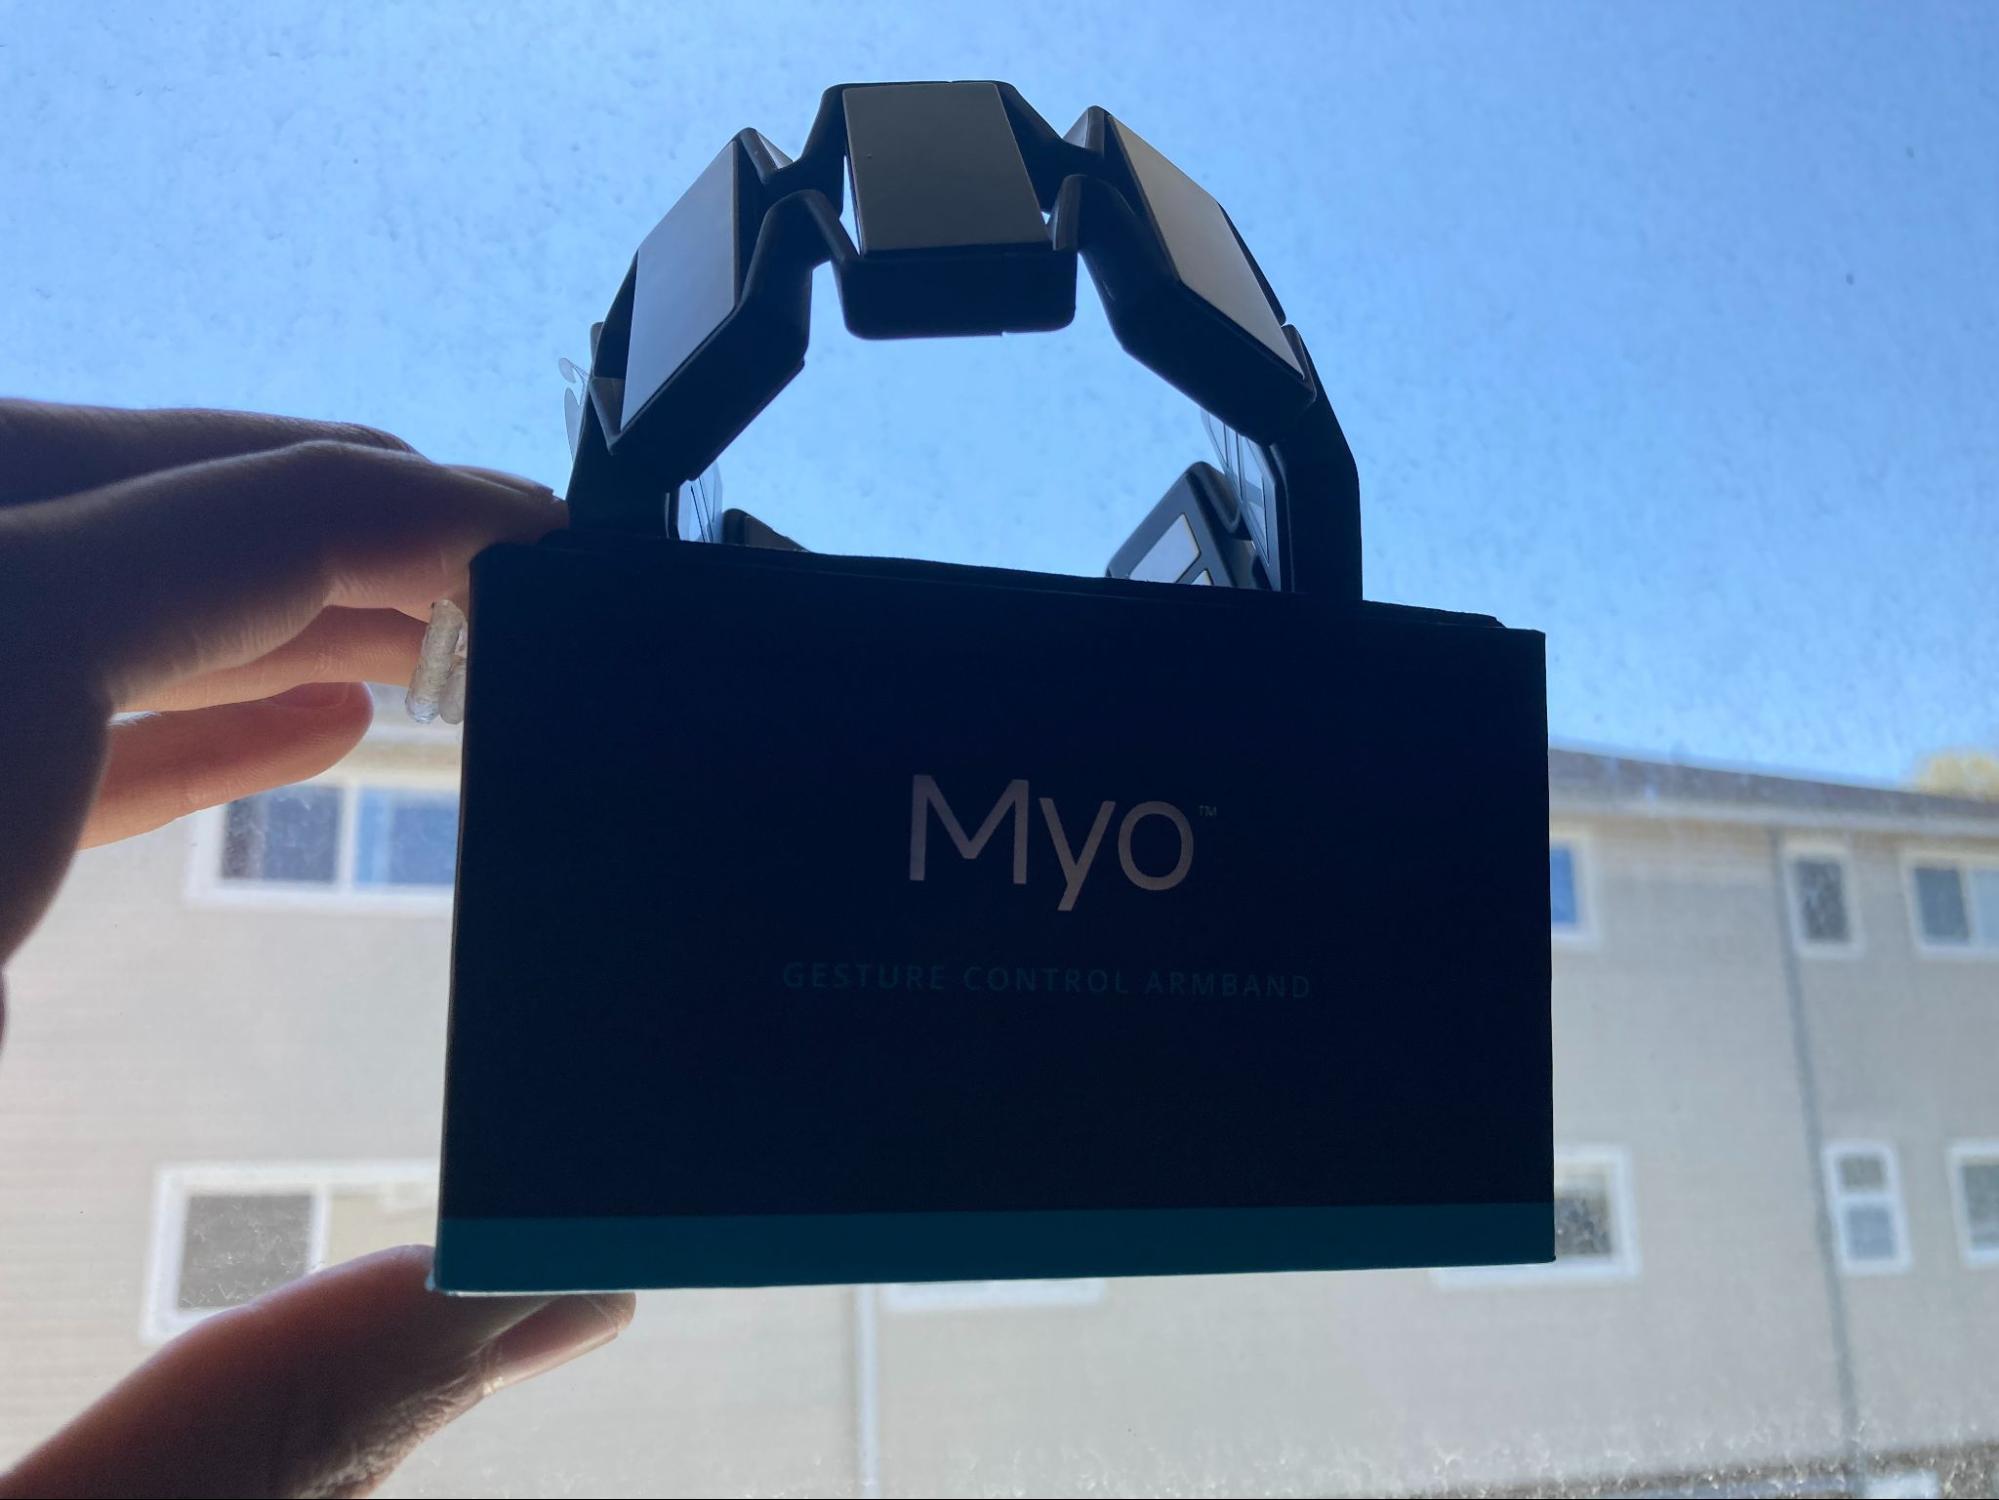
Controlling a sign of your choice with simple changes in arm movements using the Myo arm-band. With an idea of circuit building and arduino software, we will teach you how to display LED lights and control their function using the Myo.
Required Materials
In order to complete this project, the following material are needed:
- A Myo Arm-Band
- An Arduino Uno
- The Arduino Sketch software
- Windows PC computer
- 4x LED lights for desired display
- A standard breadboard
- 4x resistors greater than 330 ohm
- 14 Jumper Wires
- MyoDuino project downloaded
Import Sample Library
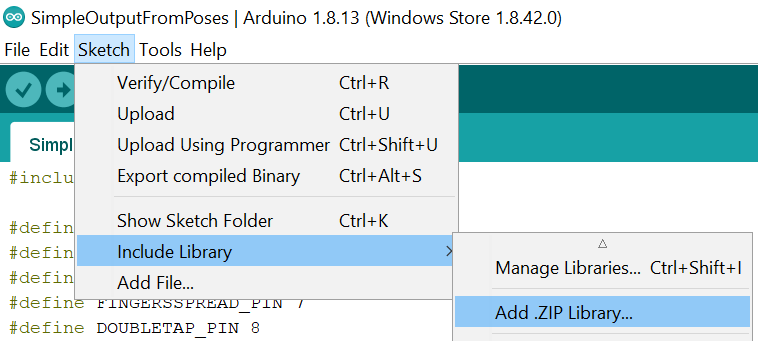
This step in the process requires the user to have extracted the MyoDuino project files which allow the bluetooth signal of the classified hand gesture to be read by the Arduino.
- Open up the Arduino software
- Save the “MyoControl” folder within MyoDuino as a .zip file
- Go to Sketch, Include Library…, Add .ZIP Library…
- Add the MyoDuino/Arduino/MyoController folder as a library
Opening a Project
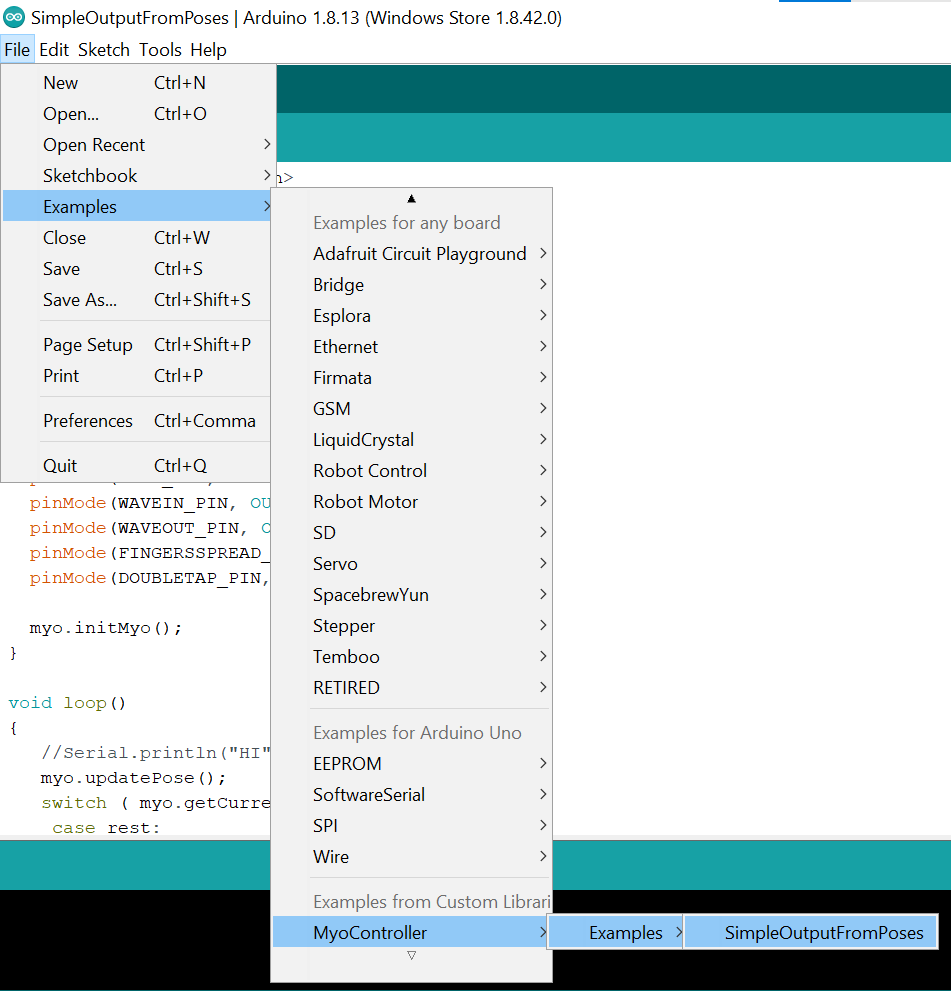
Use this library to import sample projects that you can edit by clicking:
- File, Examples, MyoController, Examples, SimpleOutputFromPoses
Circuit Design
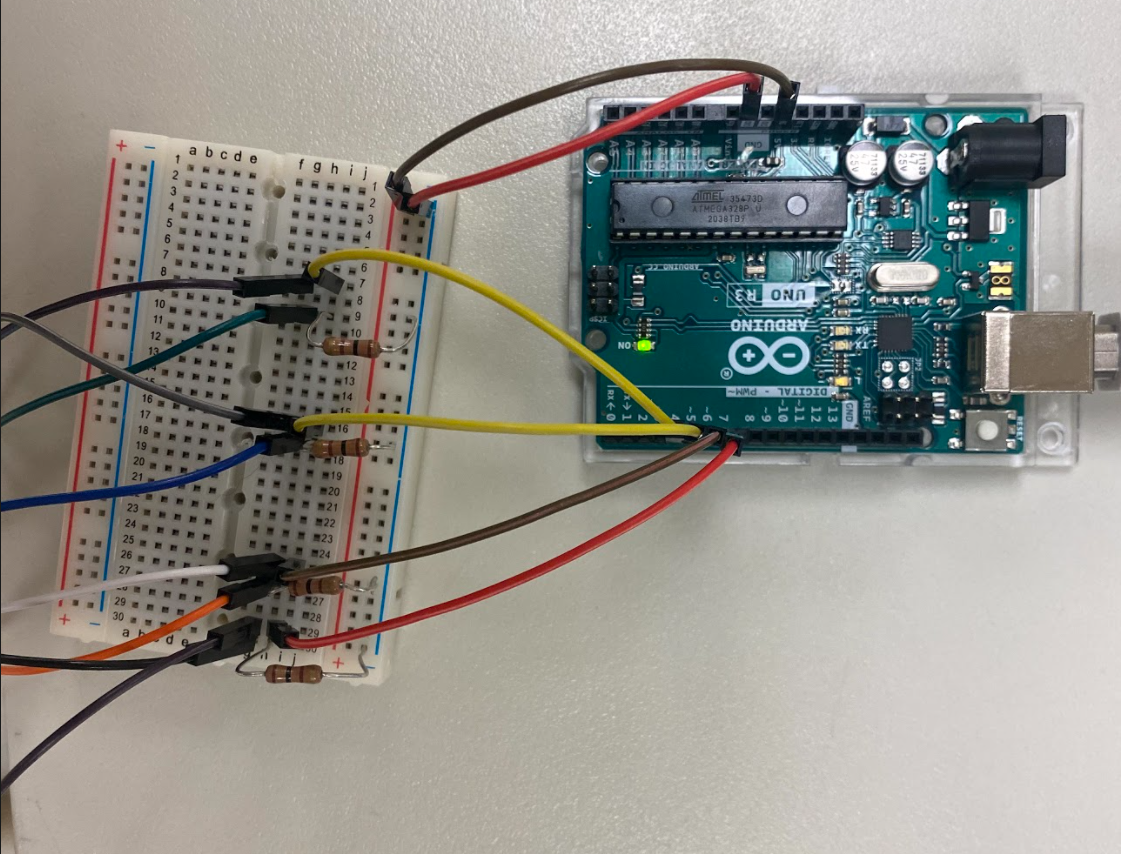
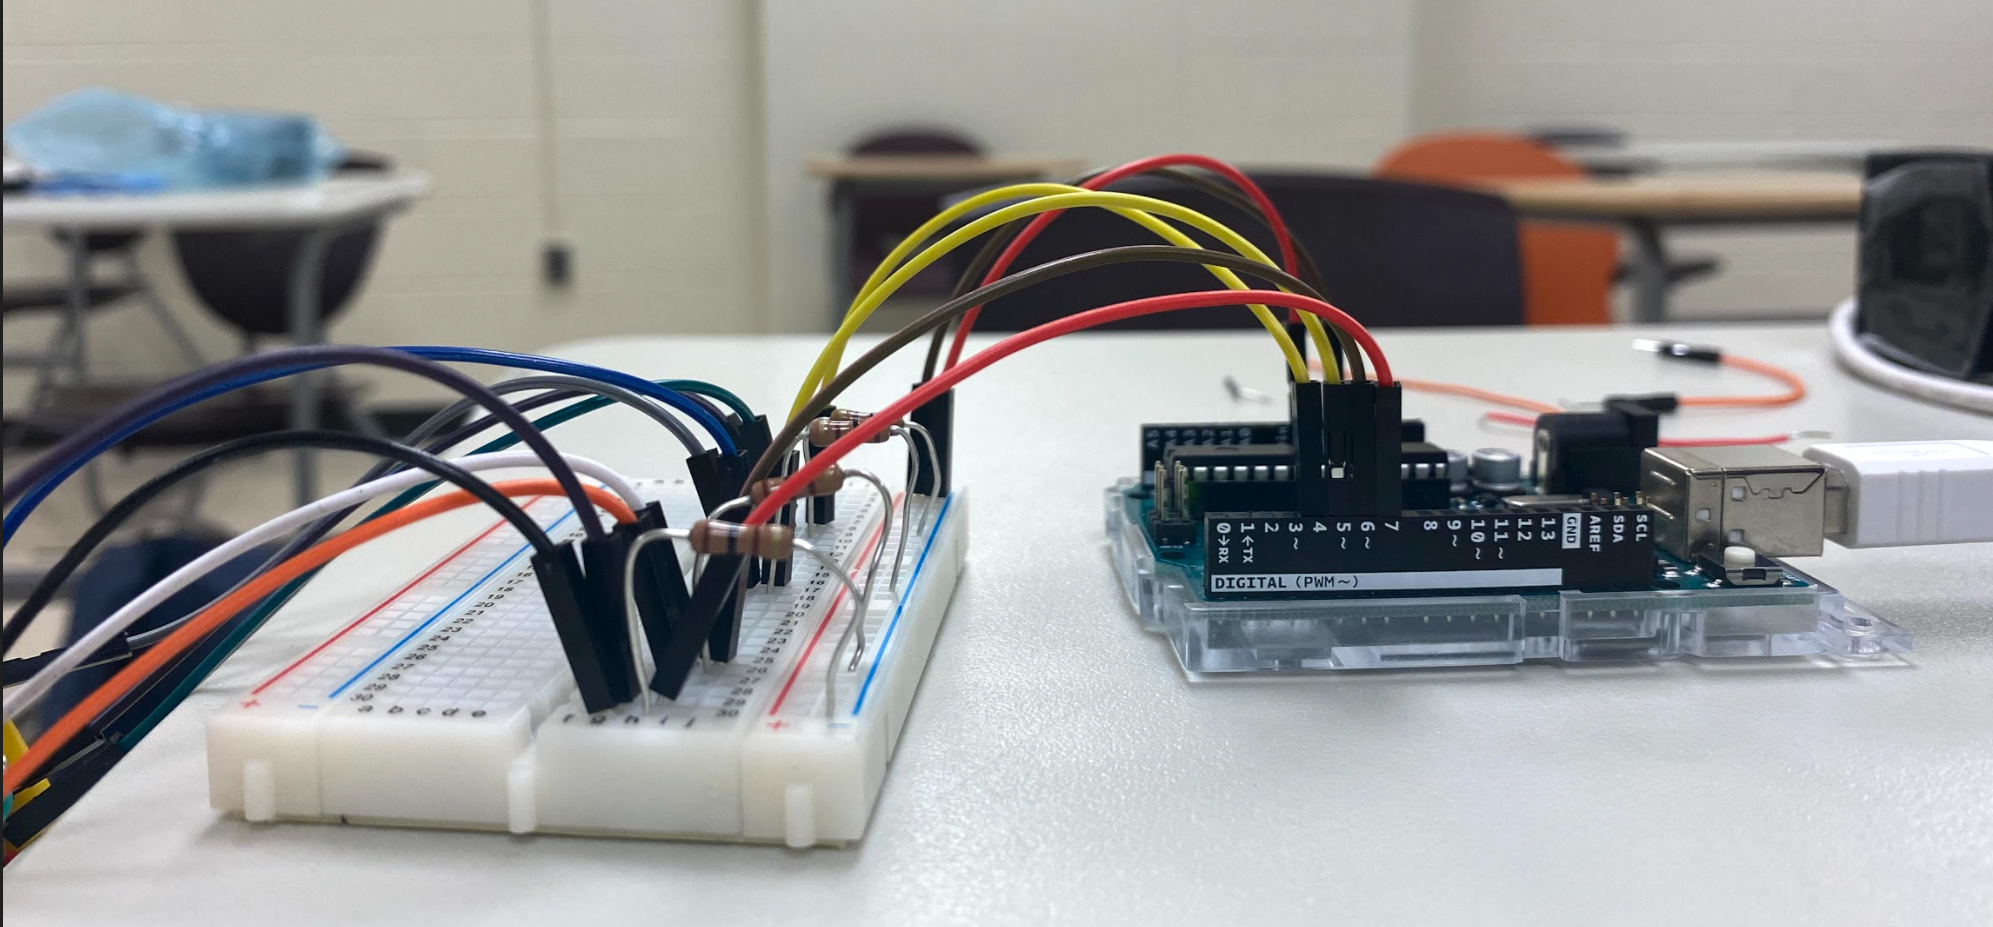
The circuit construction is crucial to this project design. Pins 4-8 correspond to each hand pose as directed in the Arduino code (fist, wave in, wave out, fingers spread, and double tap).
- Use a jumper wire to connect the 5V power output on the arduino to the positive section of the breadboard
- Use another jumper wire to connect the ground output to into the negative section of the breadboard
- Place the first resistor from the negative section of the breadboard horizontally on the main section
- Attach the ground cable from the LED light to a horizontal pin on the breadboard next to the resistor. The ground cable determines the color your LED light will show. The insulation color corresponds to the light color.
- Attach the input voltage cable from the LED light to a pin vertical from the last step
- Attach the last jumper wire from a pin horizontally to the last step to a pin 4-8 on the arduino.
- Repeat step 3-6 for your desired amount of LED lights. Please refer to Figure 1 below for circuit setup.
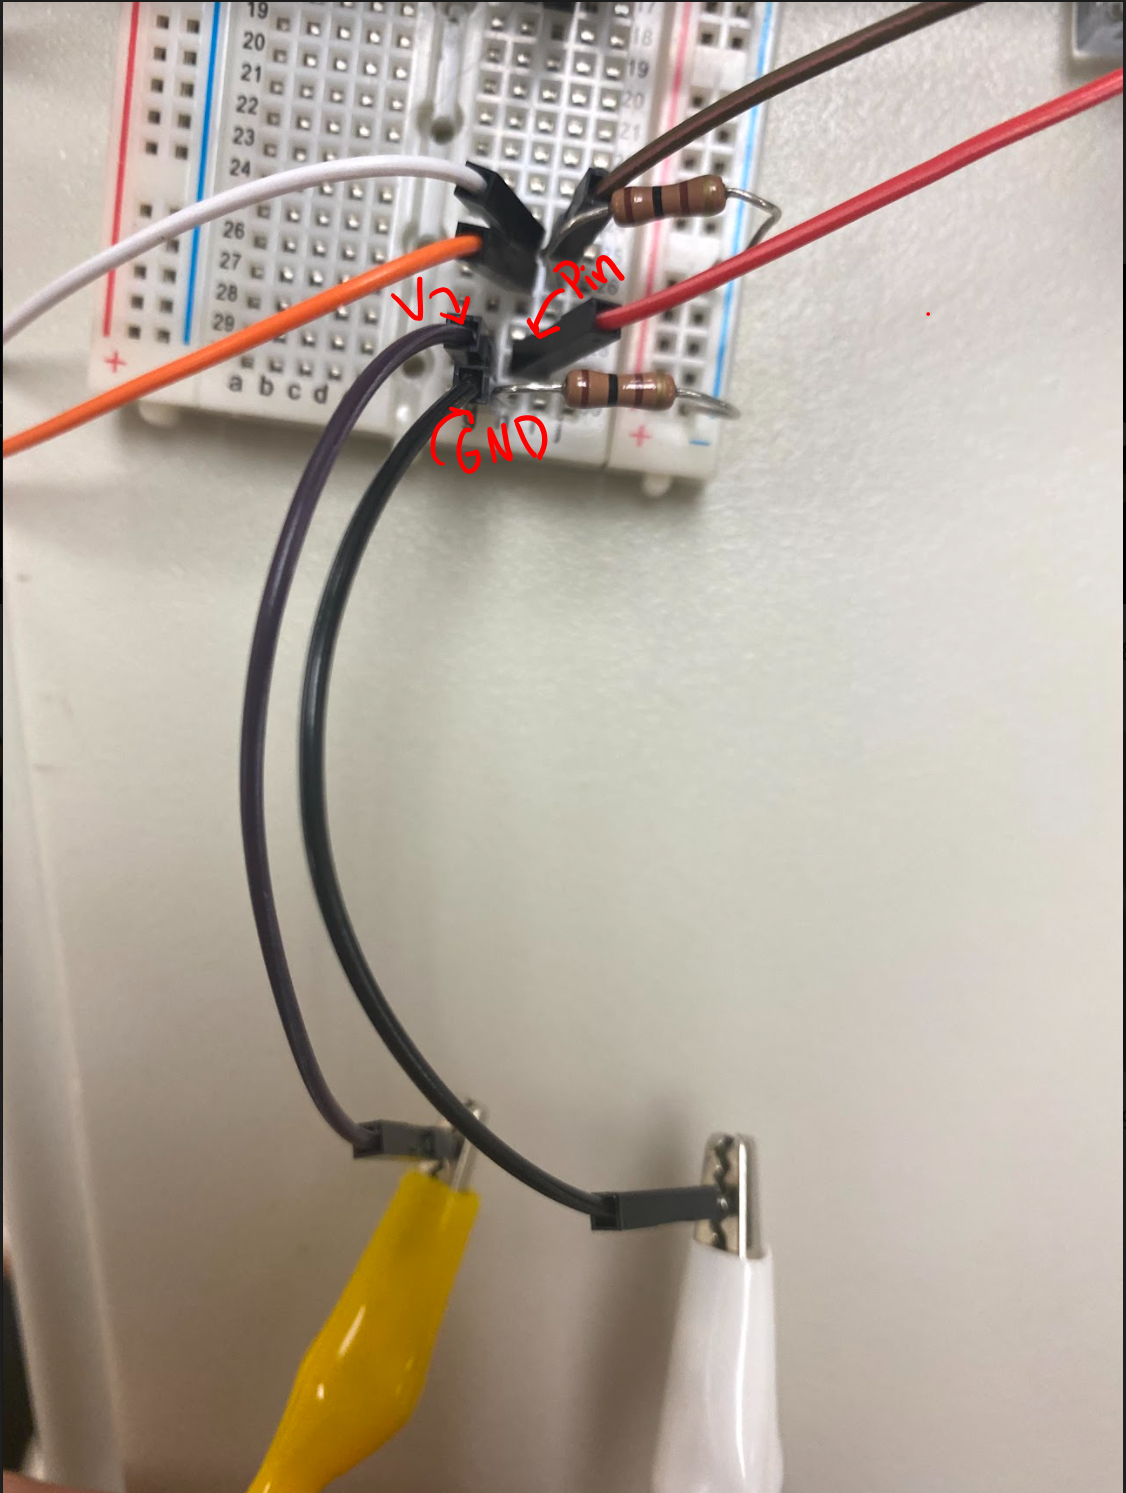
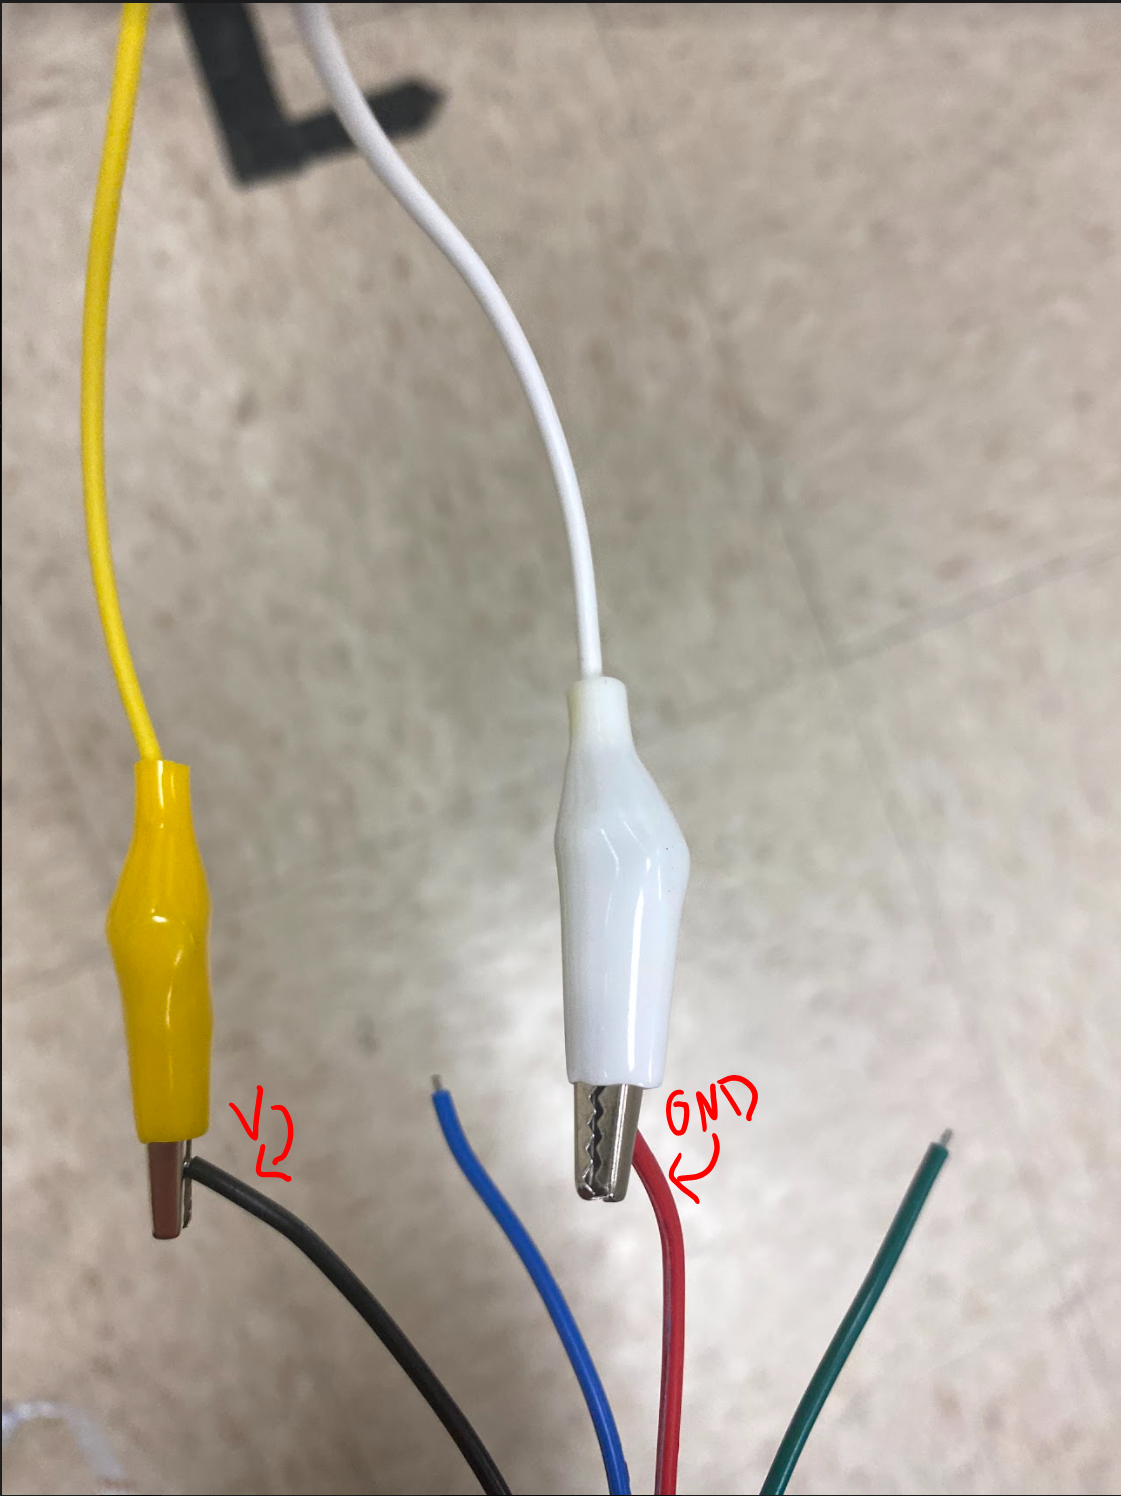
- The LED strip lights are connected to the breadboard using alligator clips. Refer to Figure 2 for an example of the connection.
- Plug in the Arduino Uno to a PC
Connect & Upload Arduino
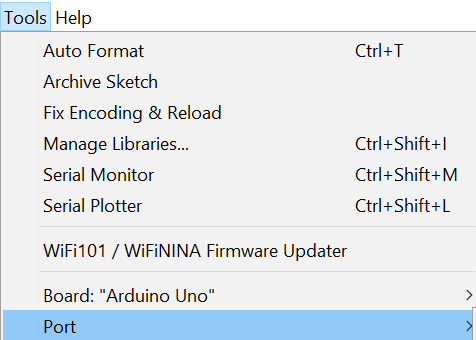
- Plug the arduino into your computer and navigate to Tools.., Port in the Arduino software to select the port associated with the Arduino (Likely COM3)
- Verify and Upload your code
MyoDuino
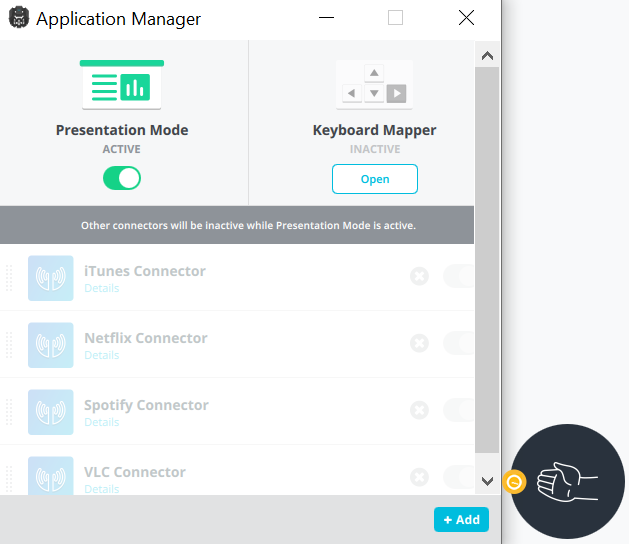
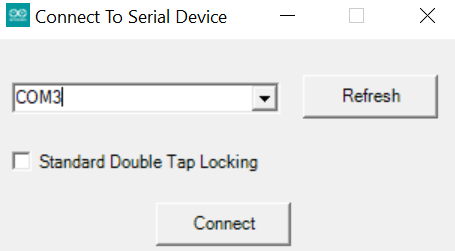

Setting up the Myo armband
-
Connected your M PC via bluetooth using the provided USB Bluetooth Adapter
-
Launch MyoDuino.exe
-
Calibrate the Myo and turn on “Presentation Mode” to be able to see what gesture it is identifying
-
While wearing the Myo go to MyoDuino/bin/
-
Set COM port to the one your Arduino is on
-
To find this go to Tools>Port in Arduino sketch software
-
Turn off locking by unchecking the box
-
If done correctly, the window will recognize what gesture you are completing and what hand the Myo is on
Project Display
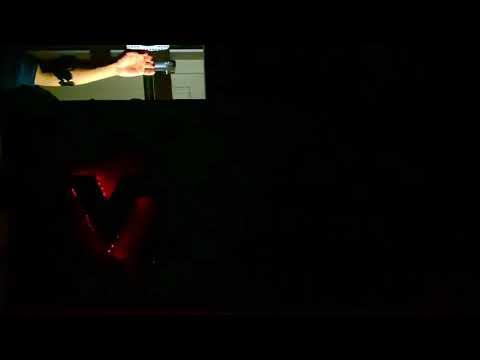
You have reached the fun part! Display your LEDs as desired and start making hand gestures. For this project, we are lighting up parts of a VT22 sign depending on the gesture made. Our final display is shown in the video above!