LED Felt Creature Plushie
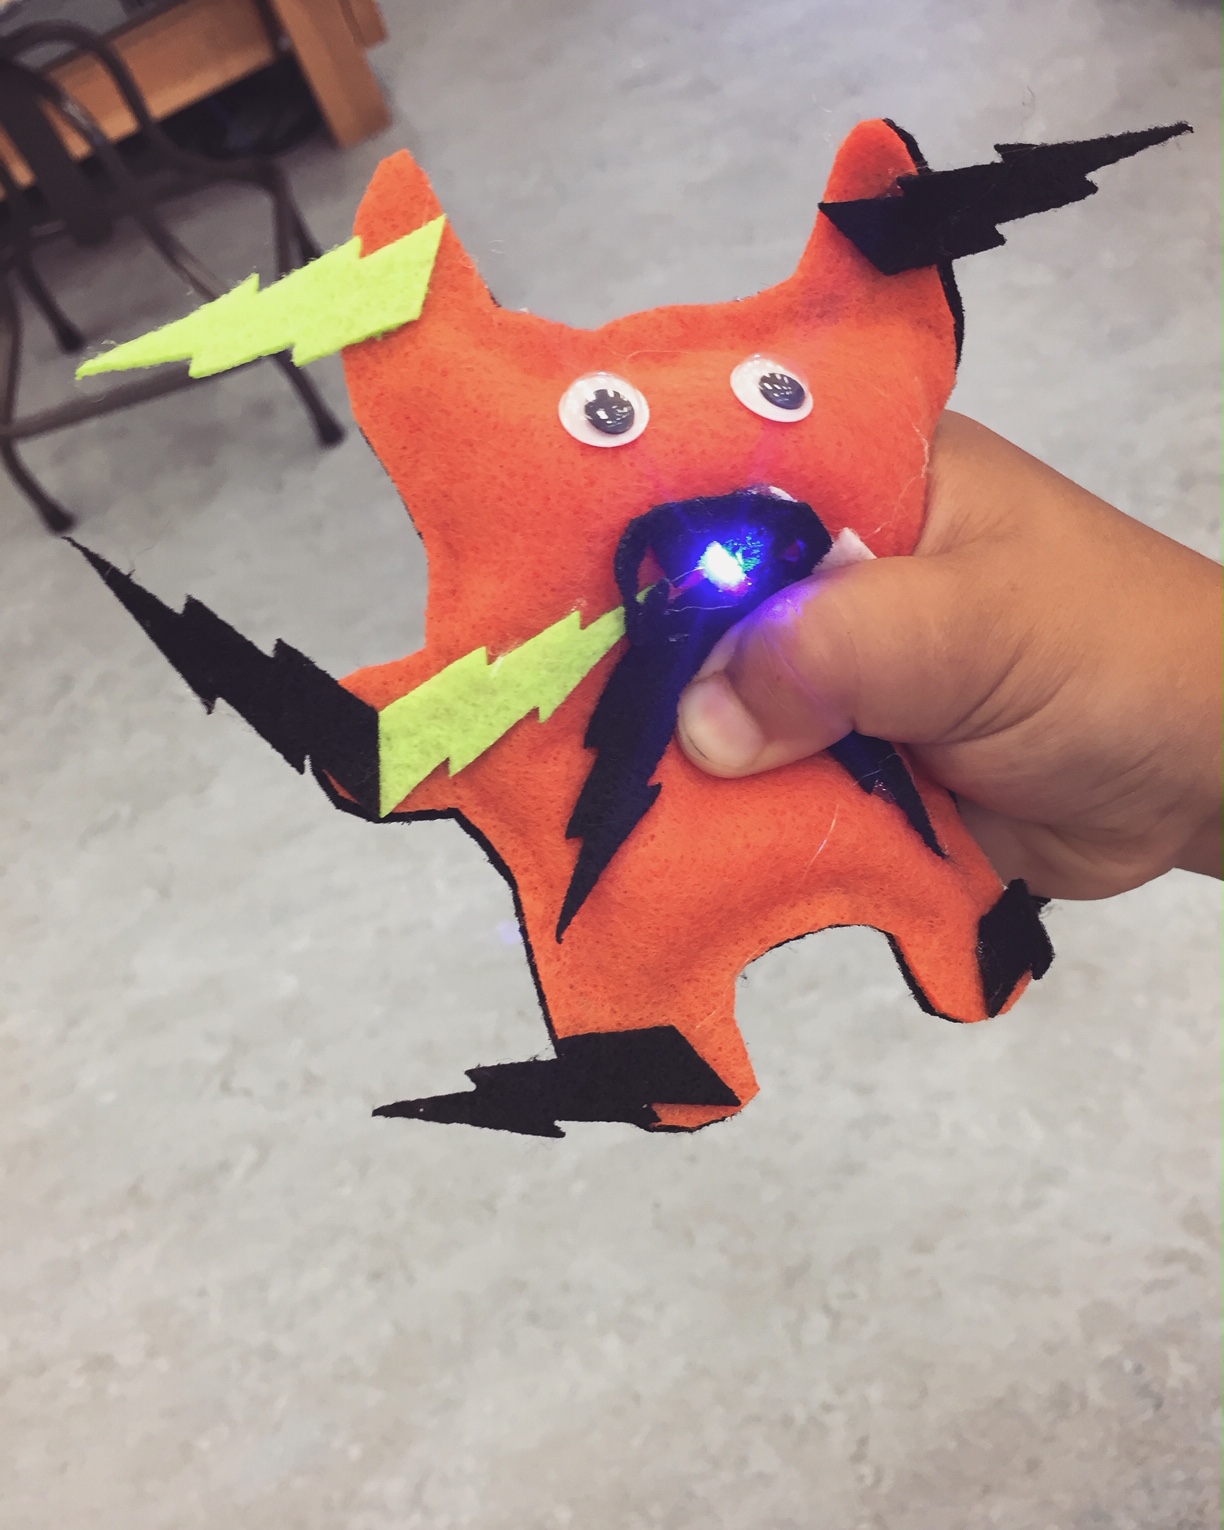
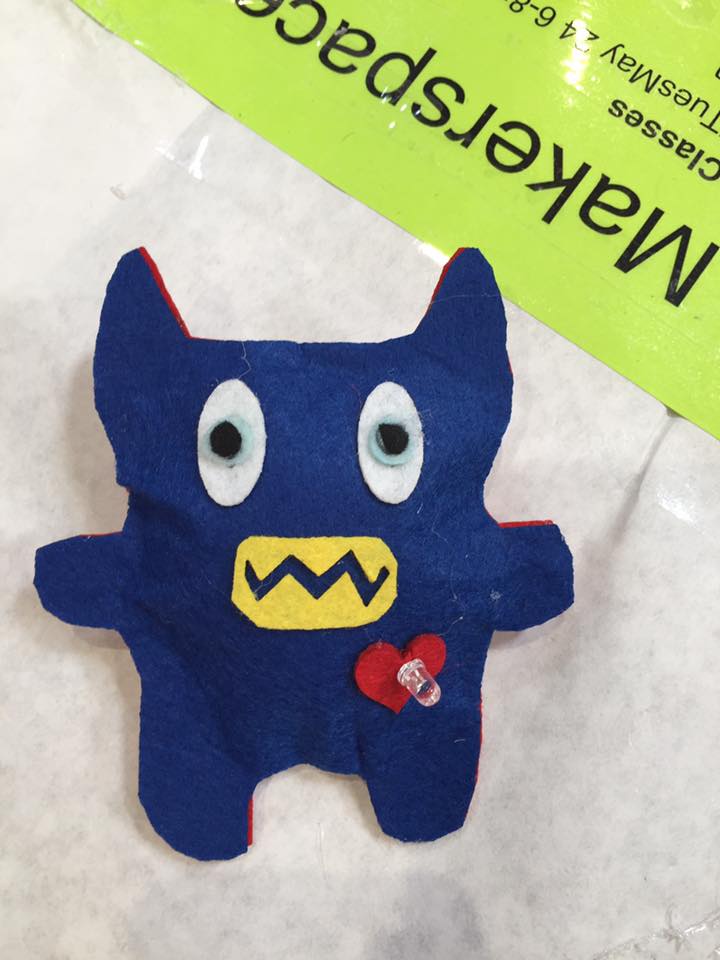
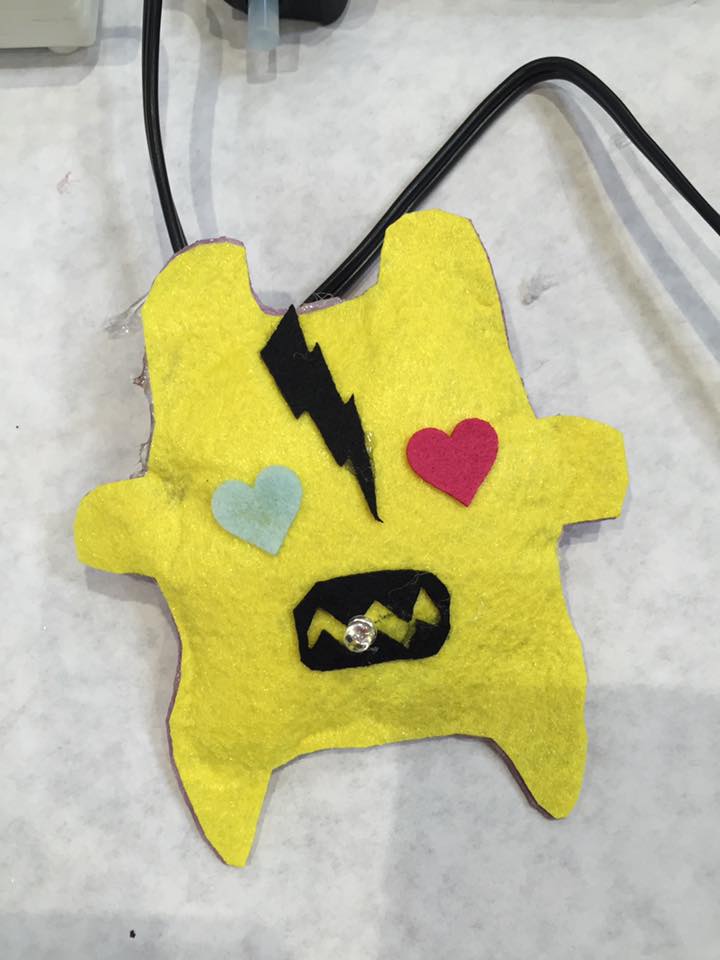
These little soft stuffies are super easy to make and were created back in 2016. Since then, they have evolved a lot and have been used in workshops to teach biodiversity, simple circuits & switches, and even sewing. The construction possibilities are endless and fun for all ages.
Materials
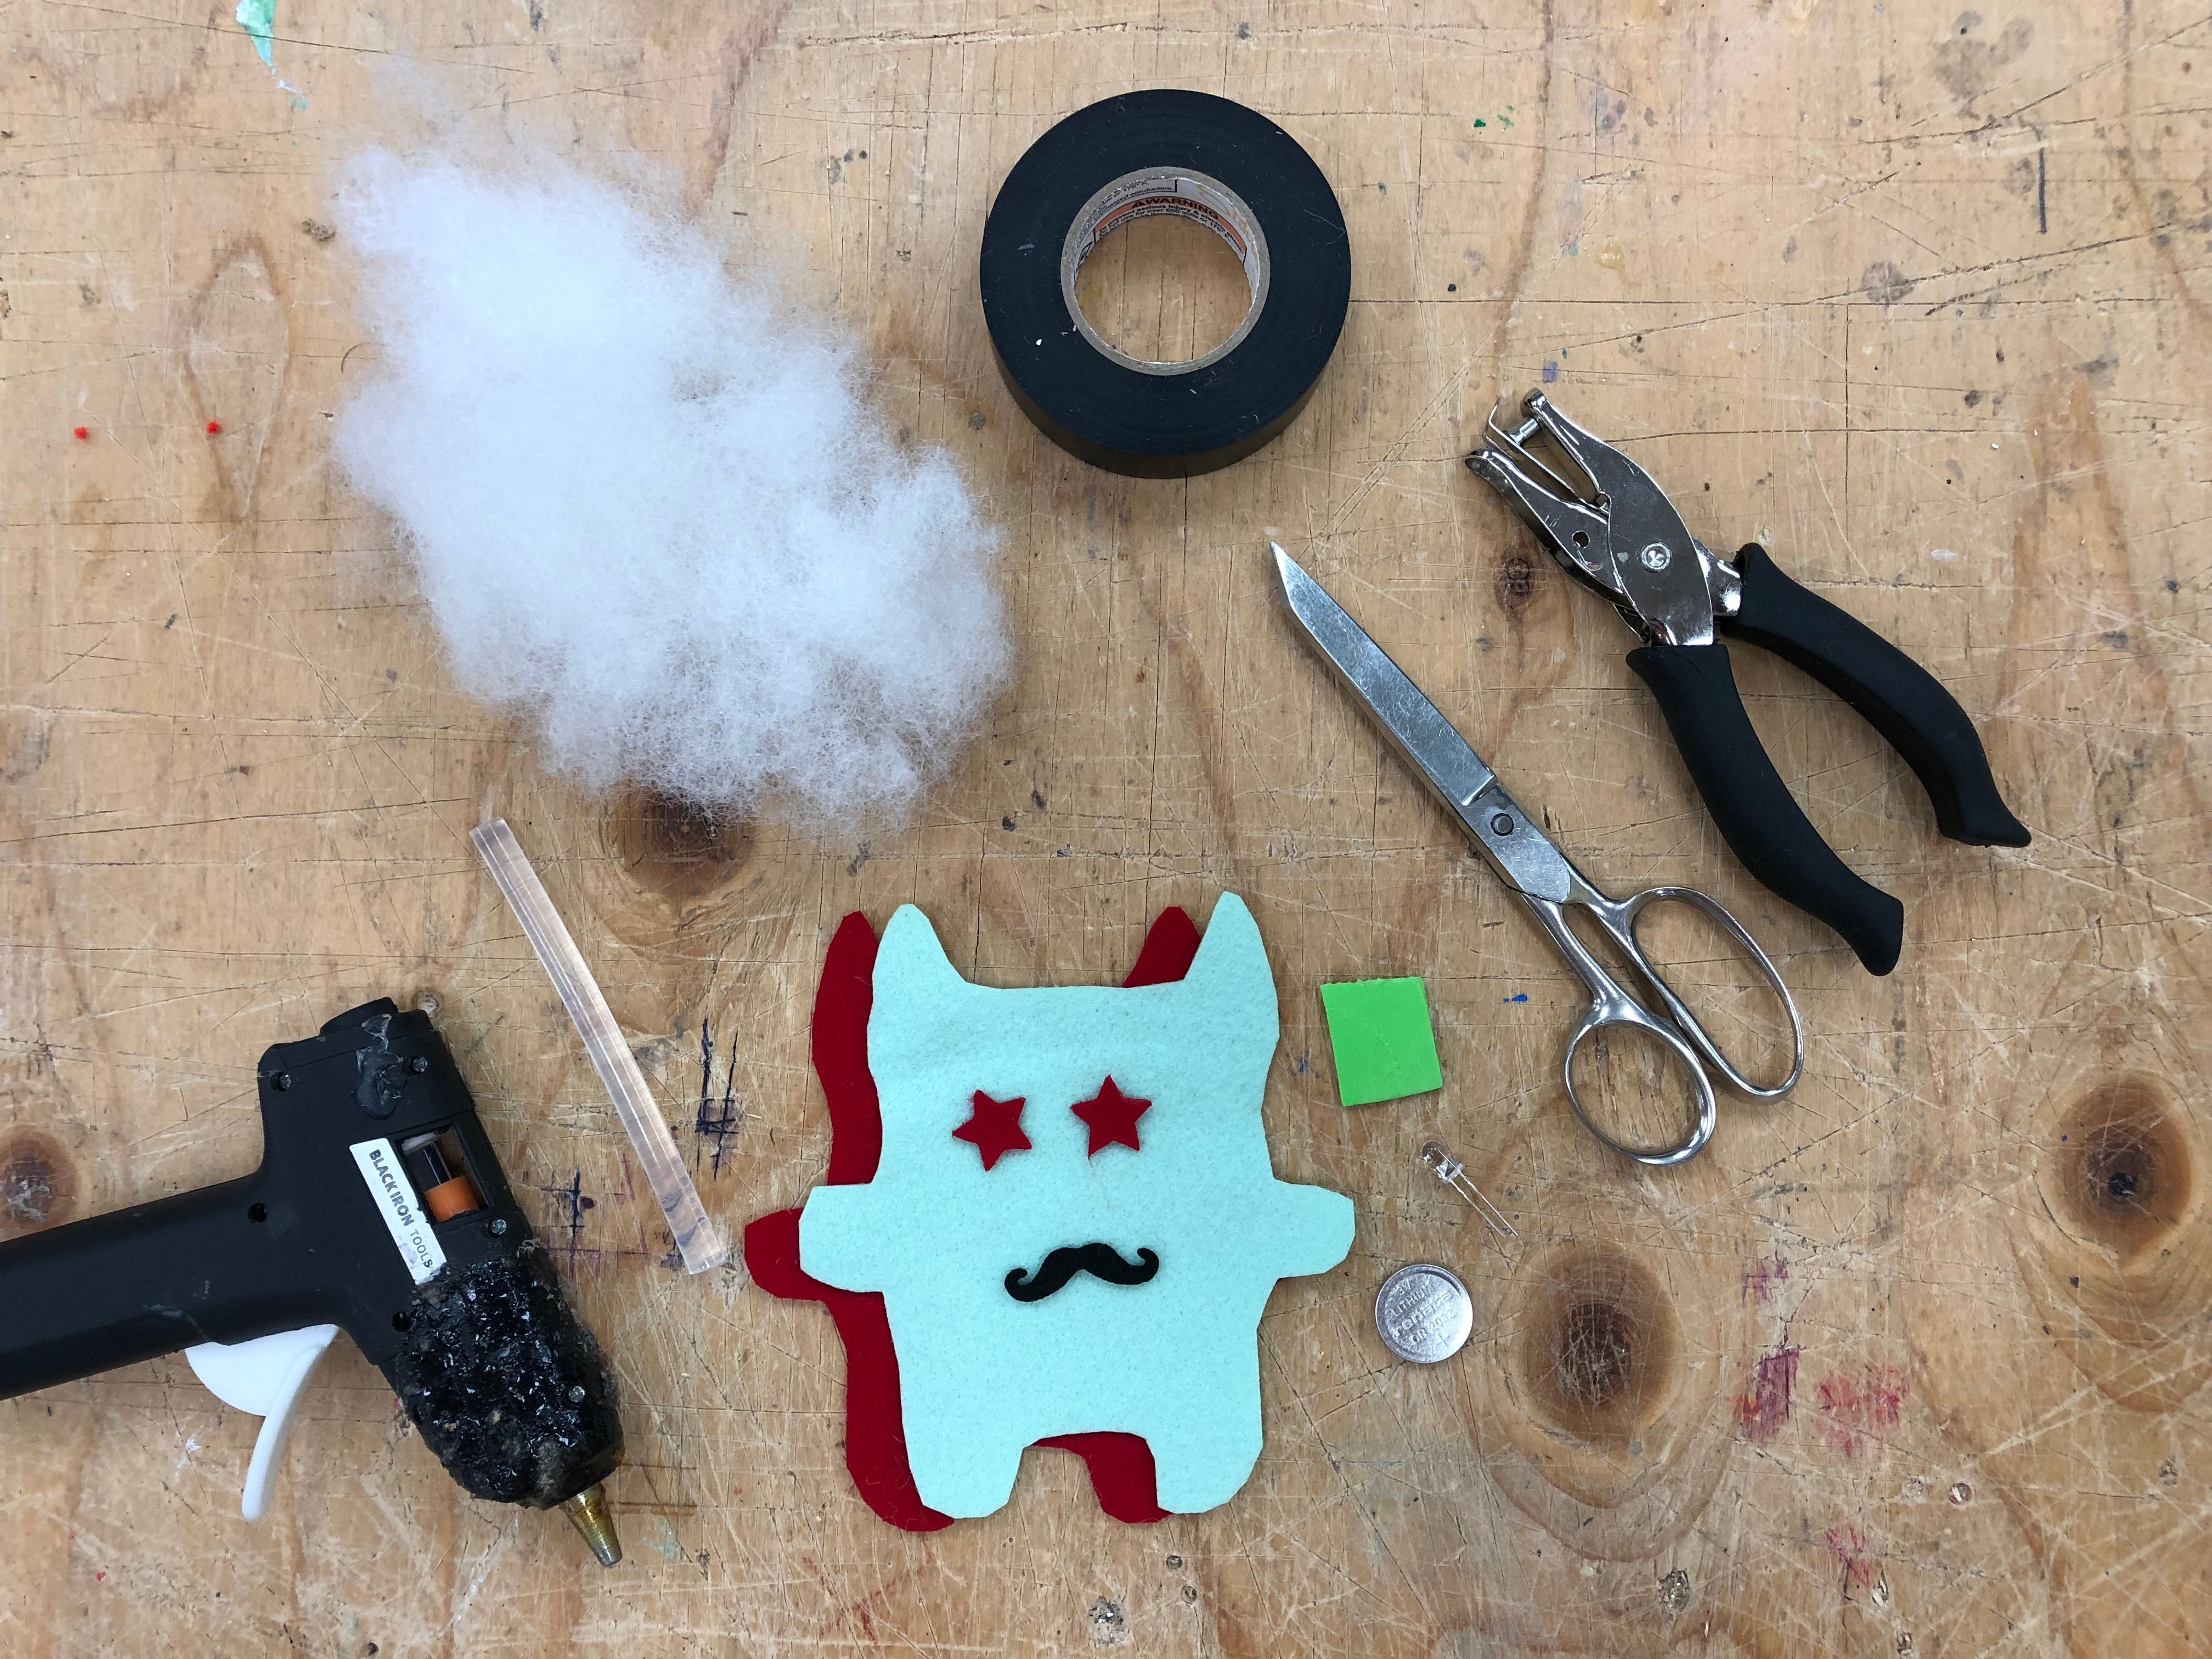
Felt (I use this felt)
self-adhesive felt (optional, works great for creature accessories)
LED (there are many out there, I like these)
scissors/x-acto knive
hole puncher
electrical tape
hot glue
needle & embroidery thread (optional)
creature template (optional, attached in next step)
Cut Creature Body & Accessories
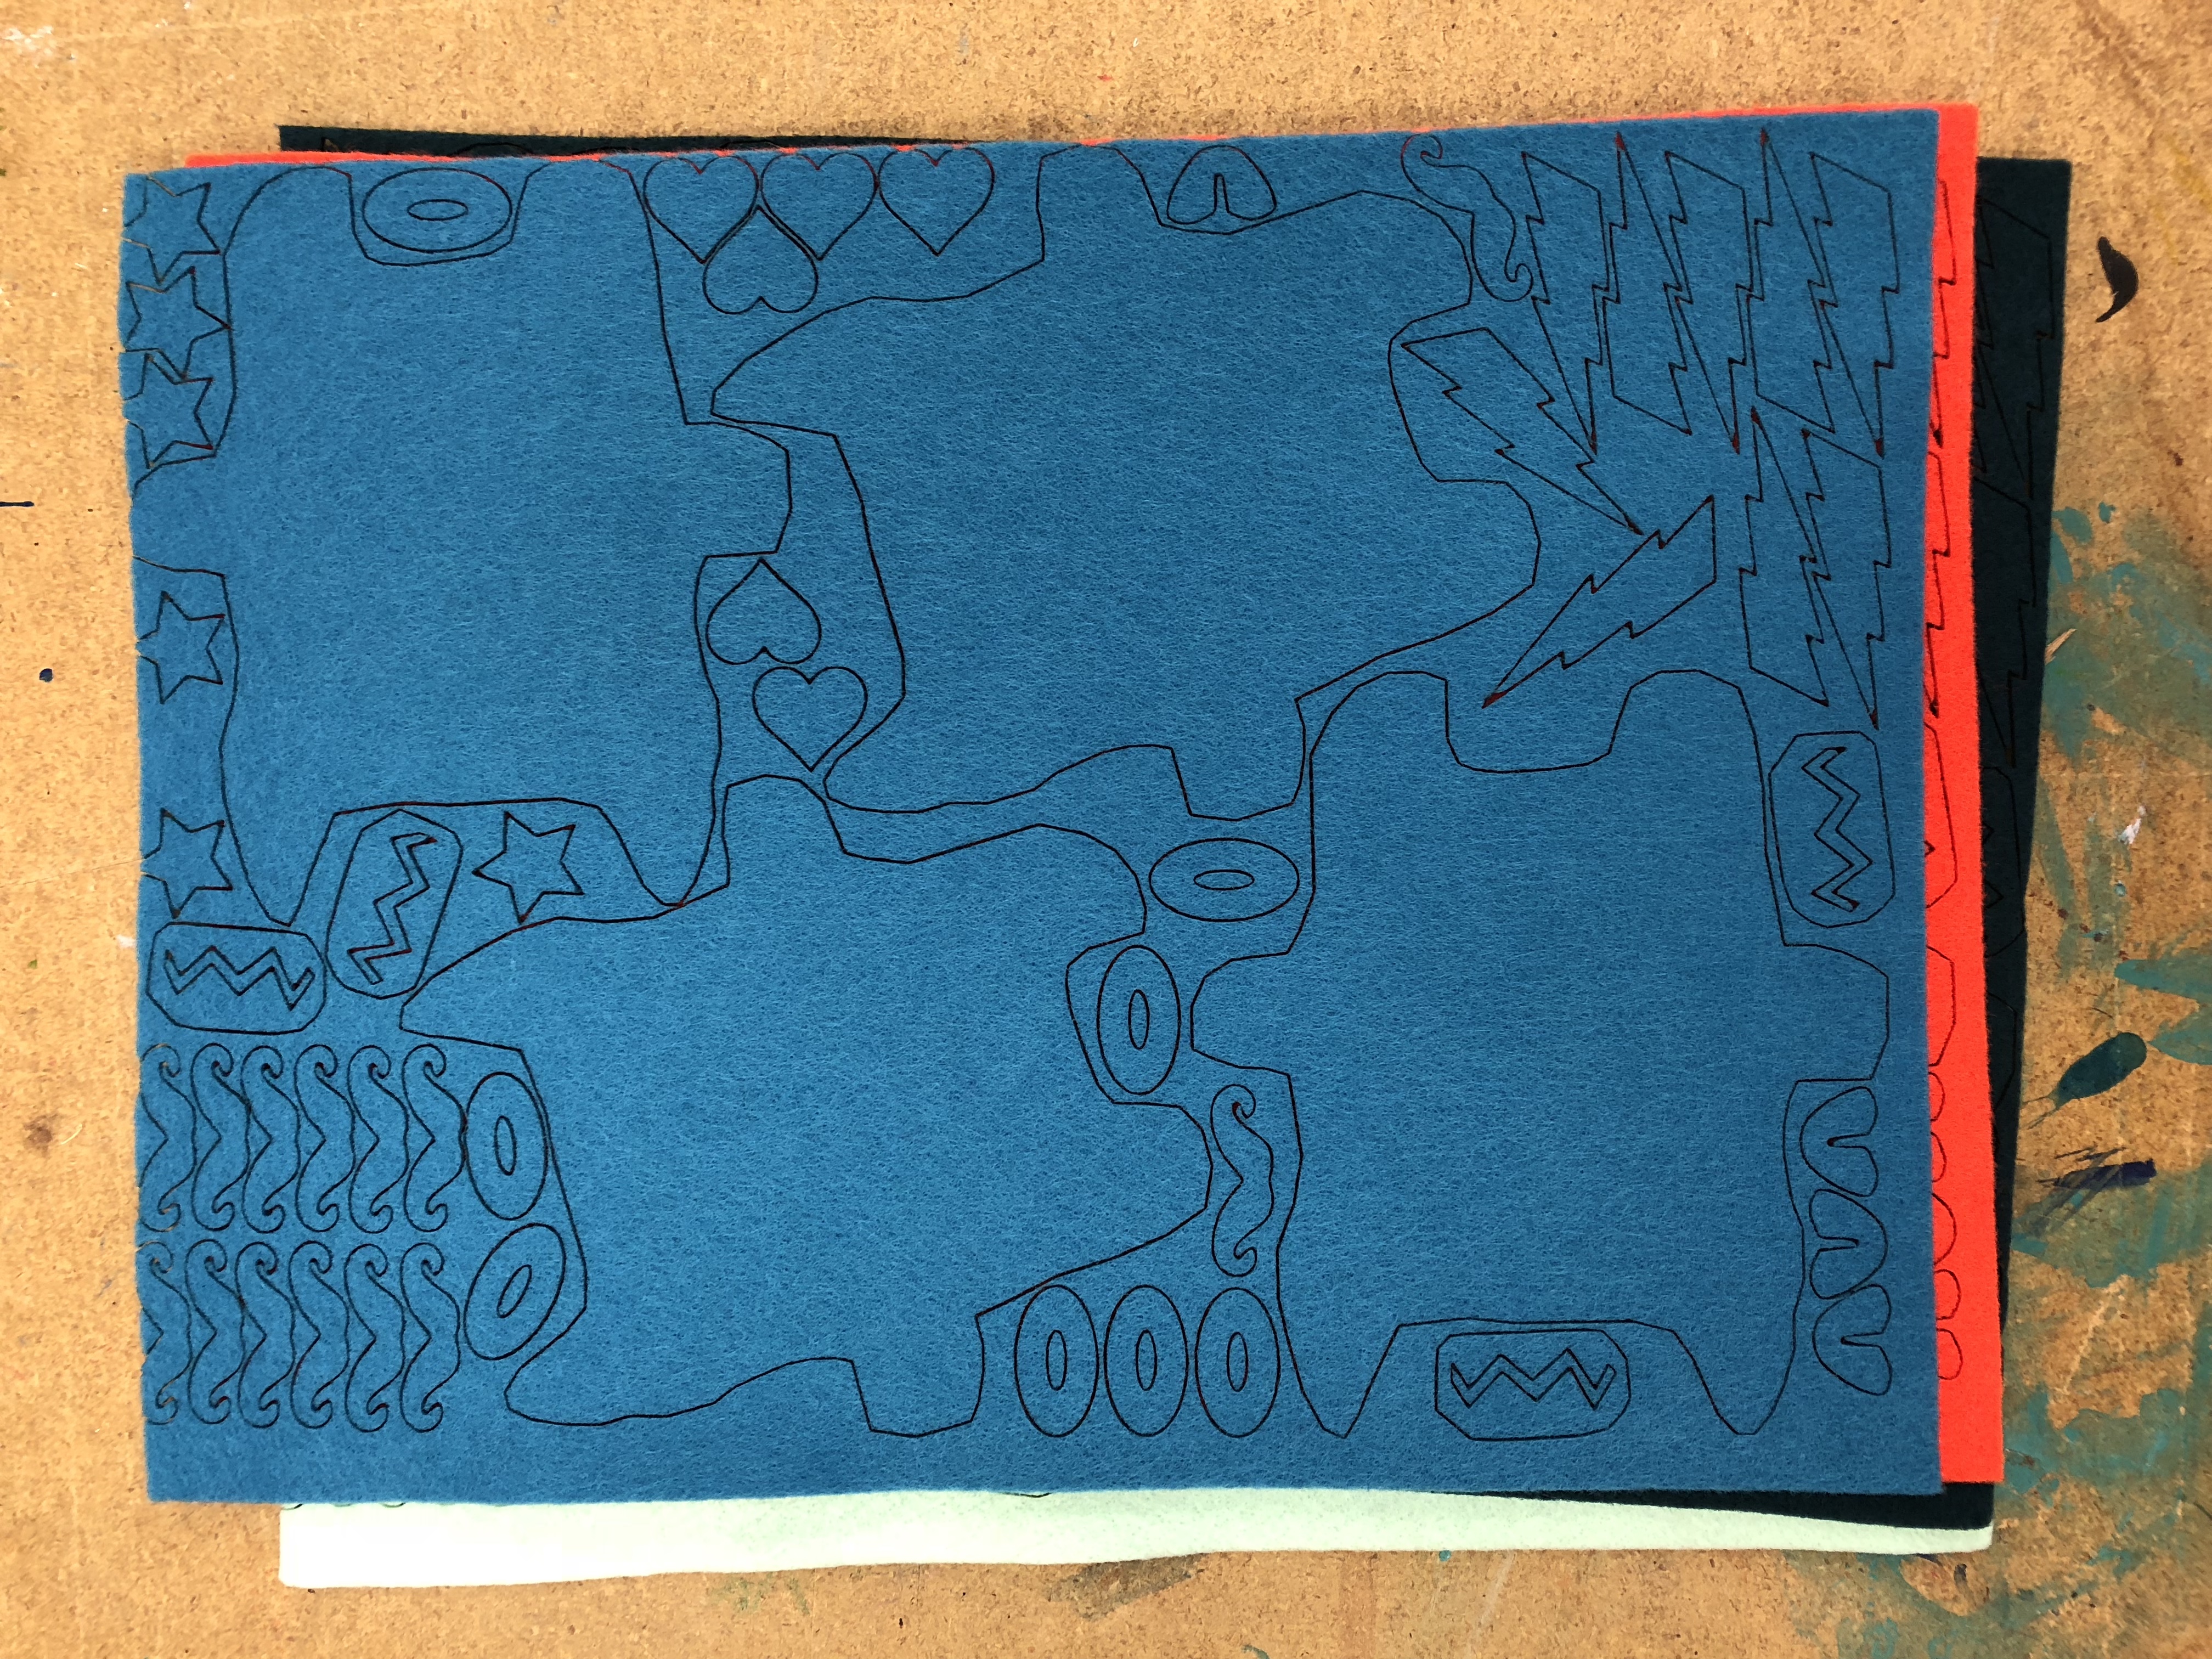
I cut my felt using a laser cutter, but scissors or an x-acto knive will work just as well. I've included my laser cut template, fits 8.5in x 11in sheet so can be printed and cut out for tracing, or used on your laser cutter. Feel free to modify and add your own accessories and creature body shapes.
Accessorize Your Creature (front & Back)
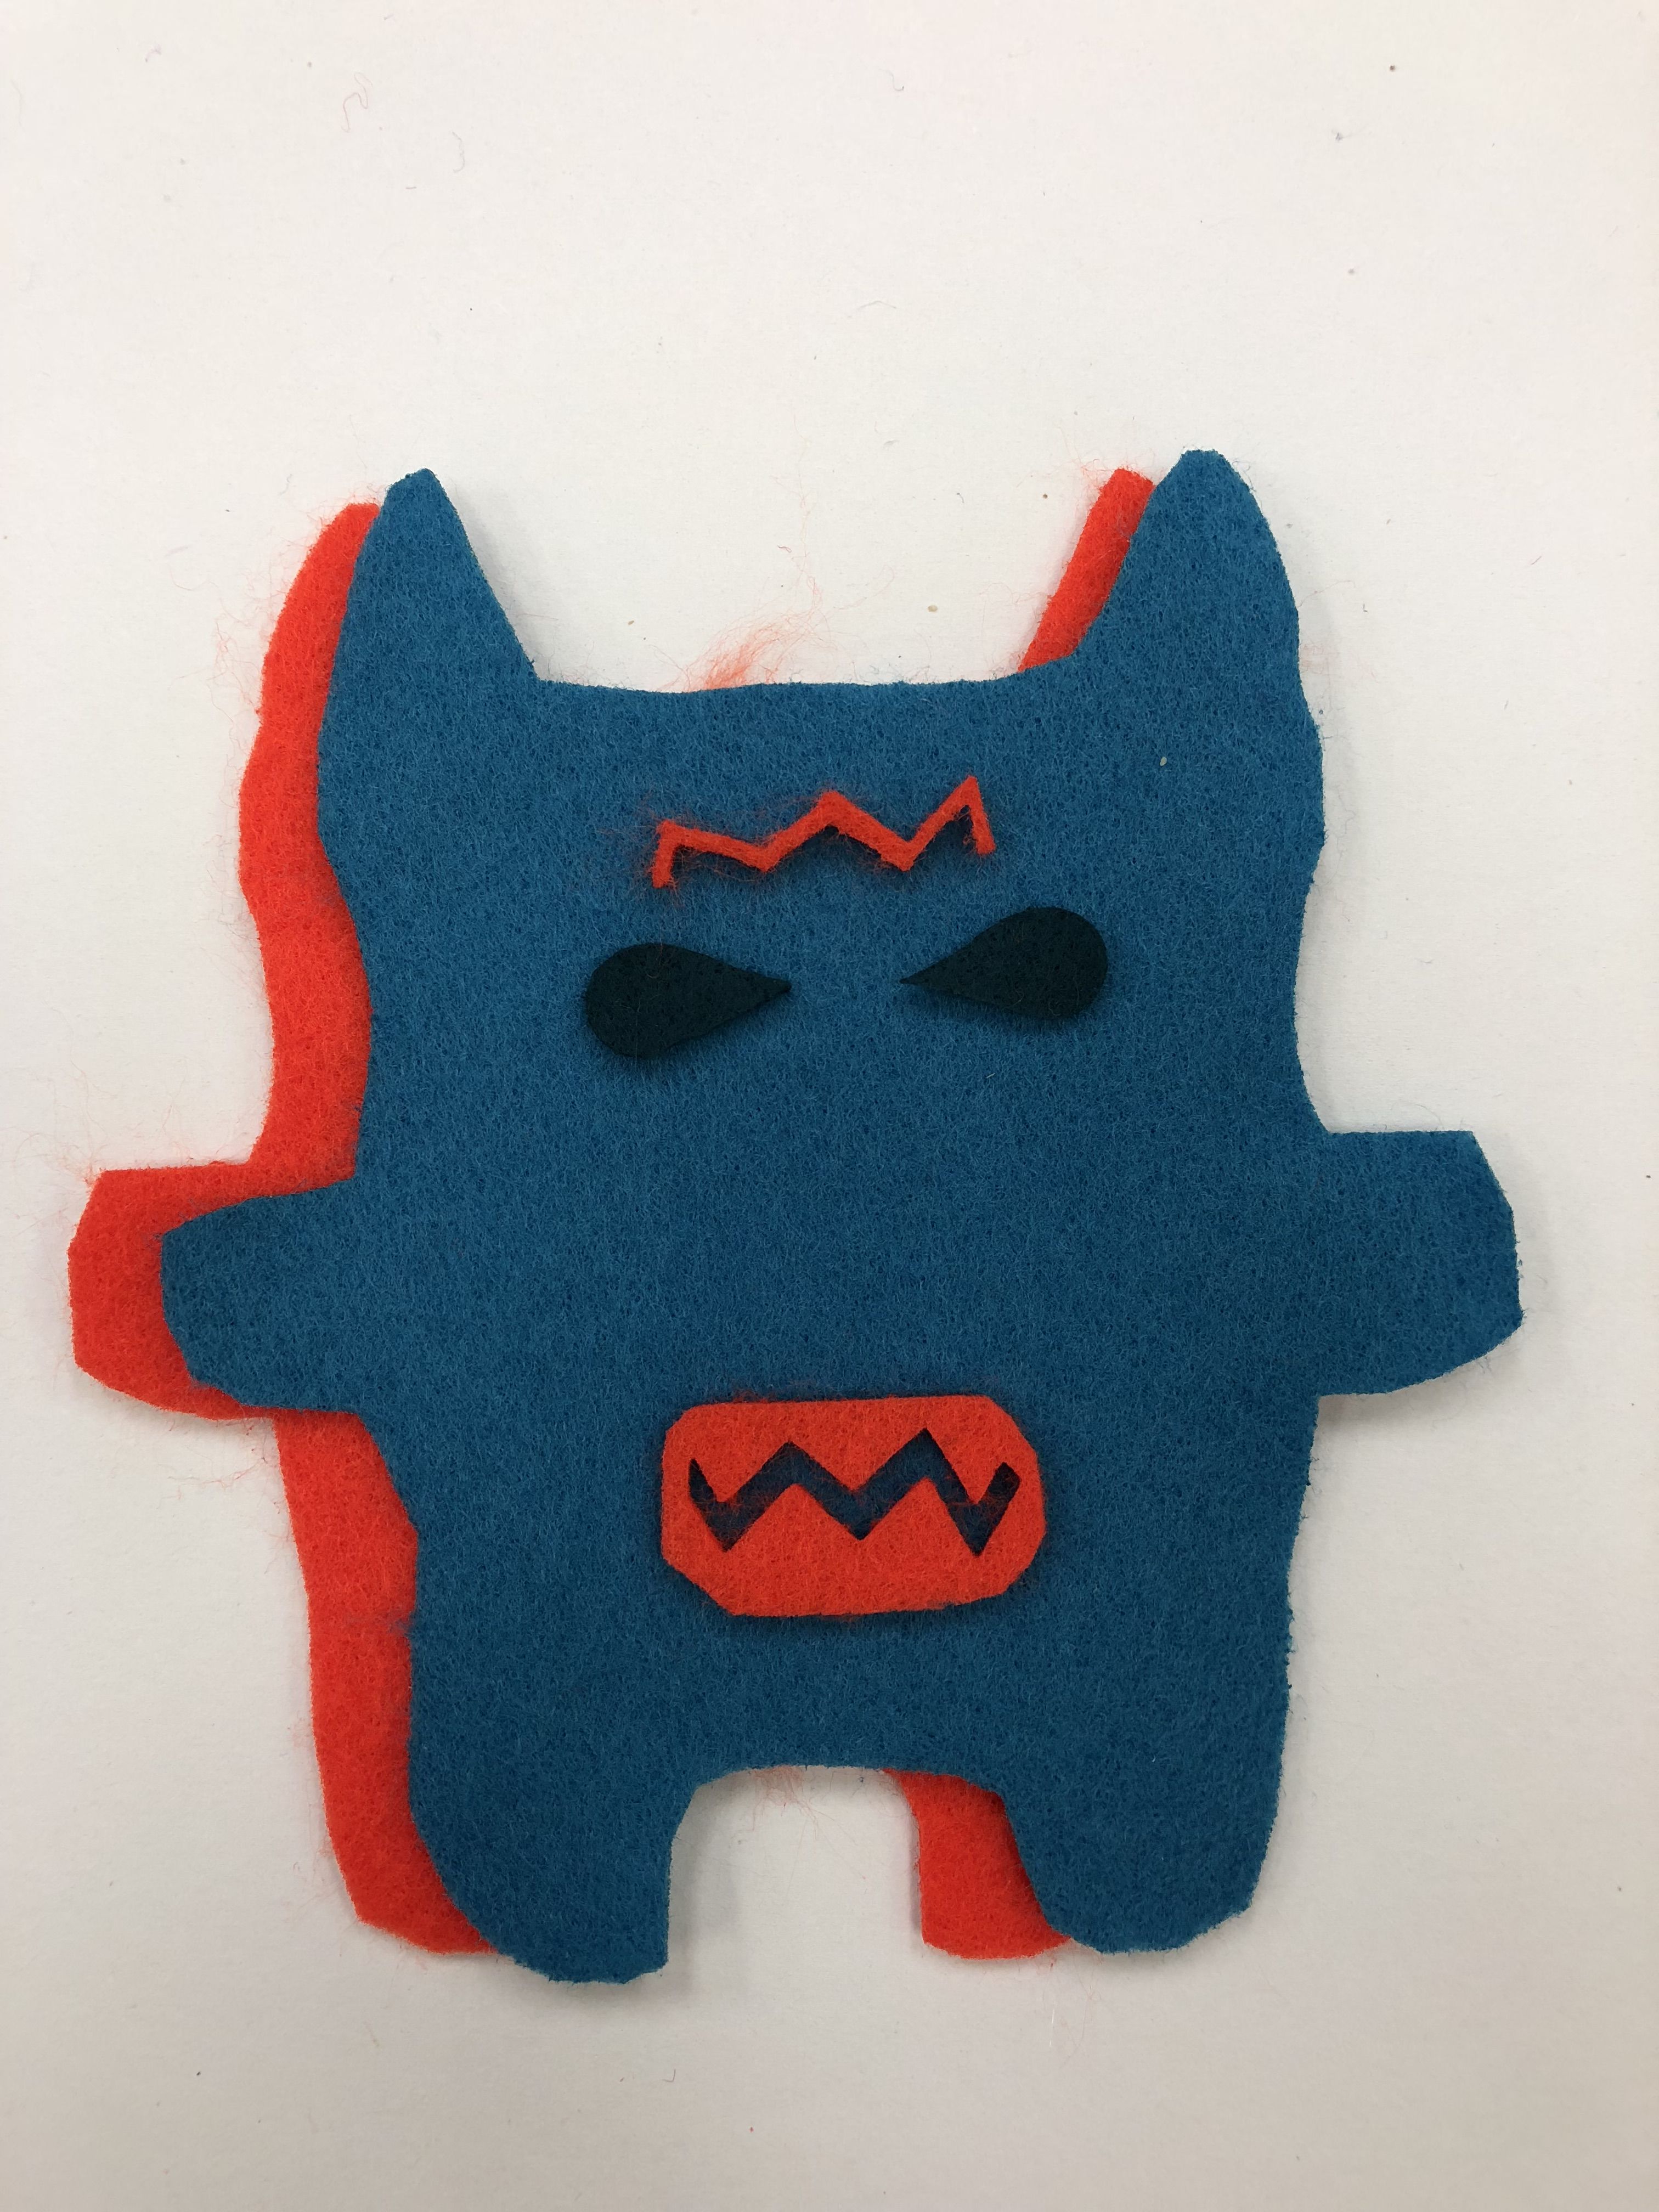
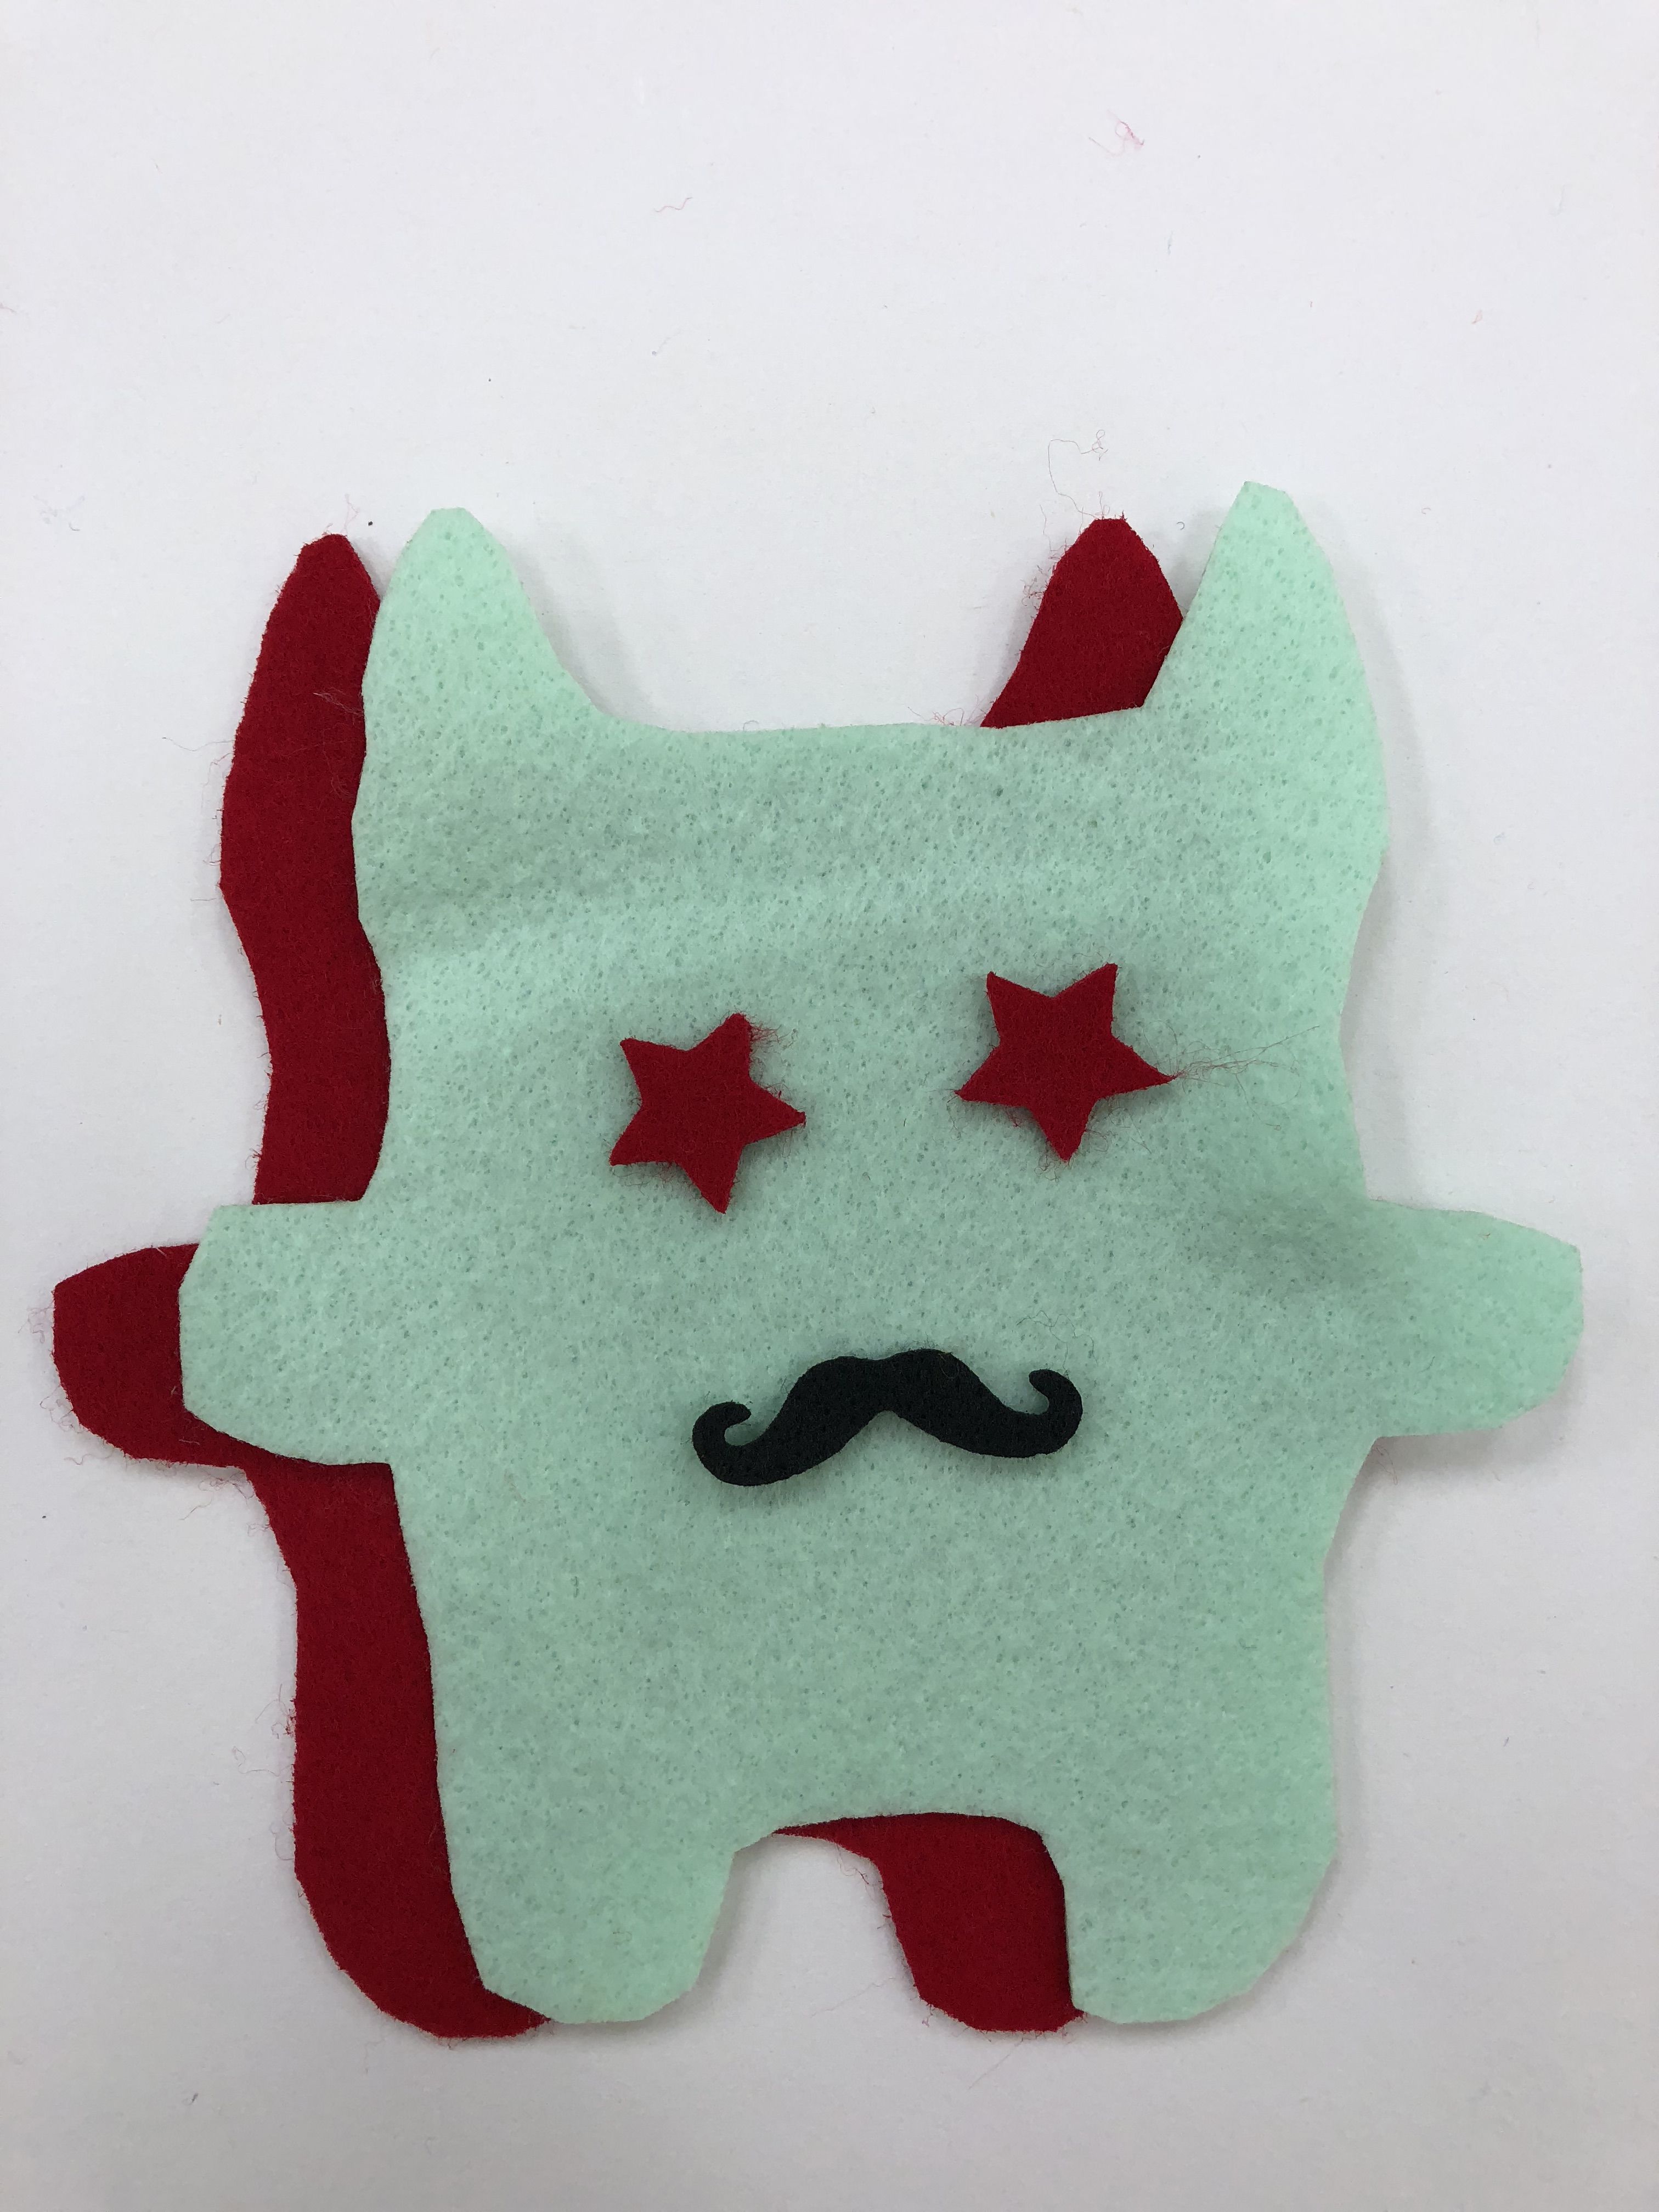
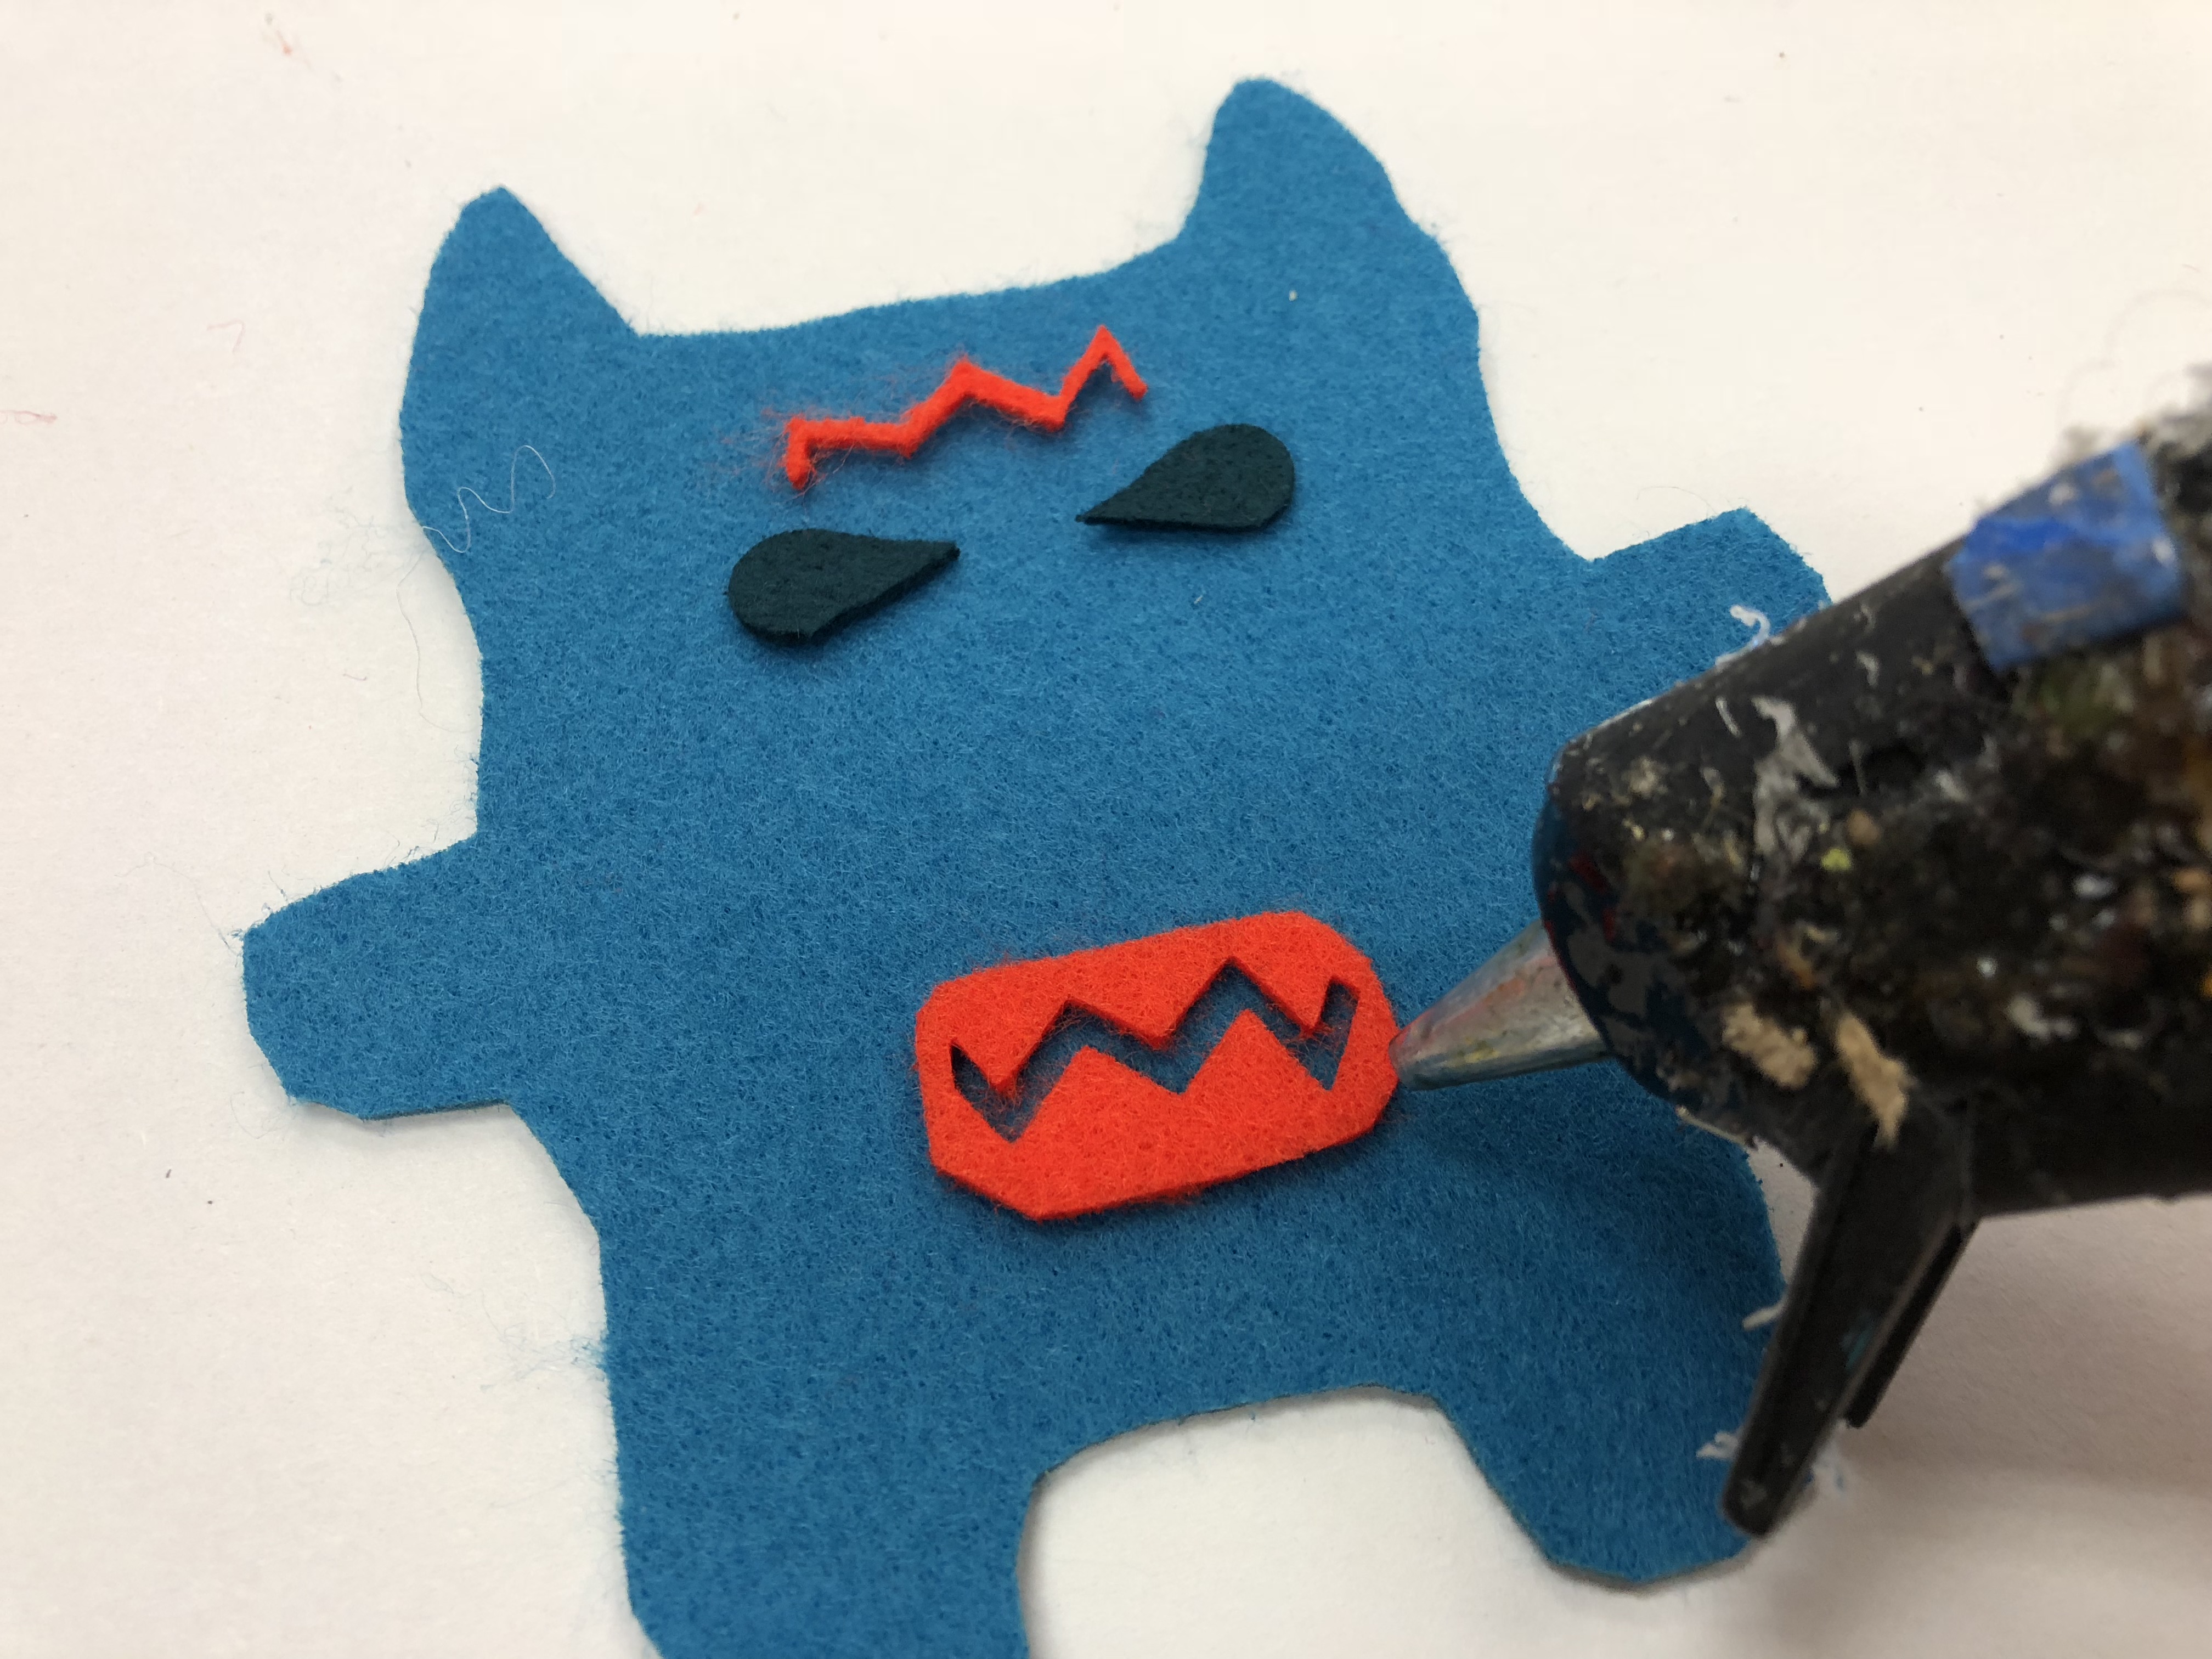
Let the fun begin! Choose whatever colors you'd like for body and accessories and have fun experimenting. I suggest planning out and arranging your accessories on the front and back of your creature first. Once you've decided upon a look, begin to secure the accessories with either hot glue (as shown in my photos) or with needle & thread.
NOTE: if using the self-adhesive felt for your accessories, simply peel off backing and give a firm press to adhere them to your creature's body.
Assemble Your Creature's Eye (a.k.a LED With Foam Switch)
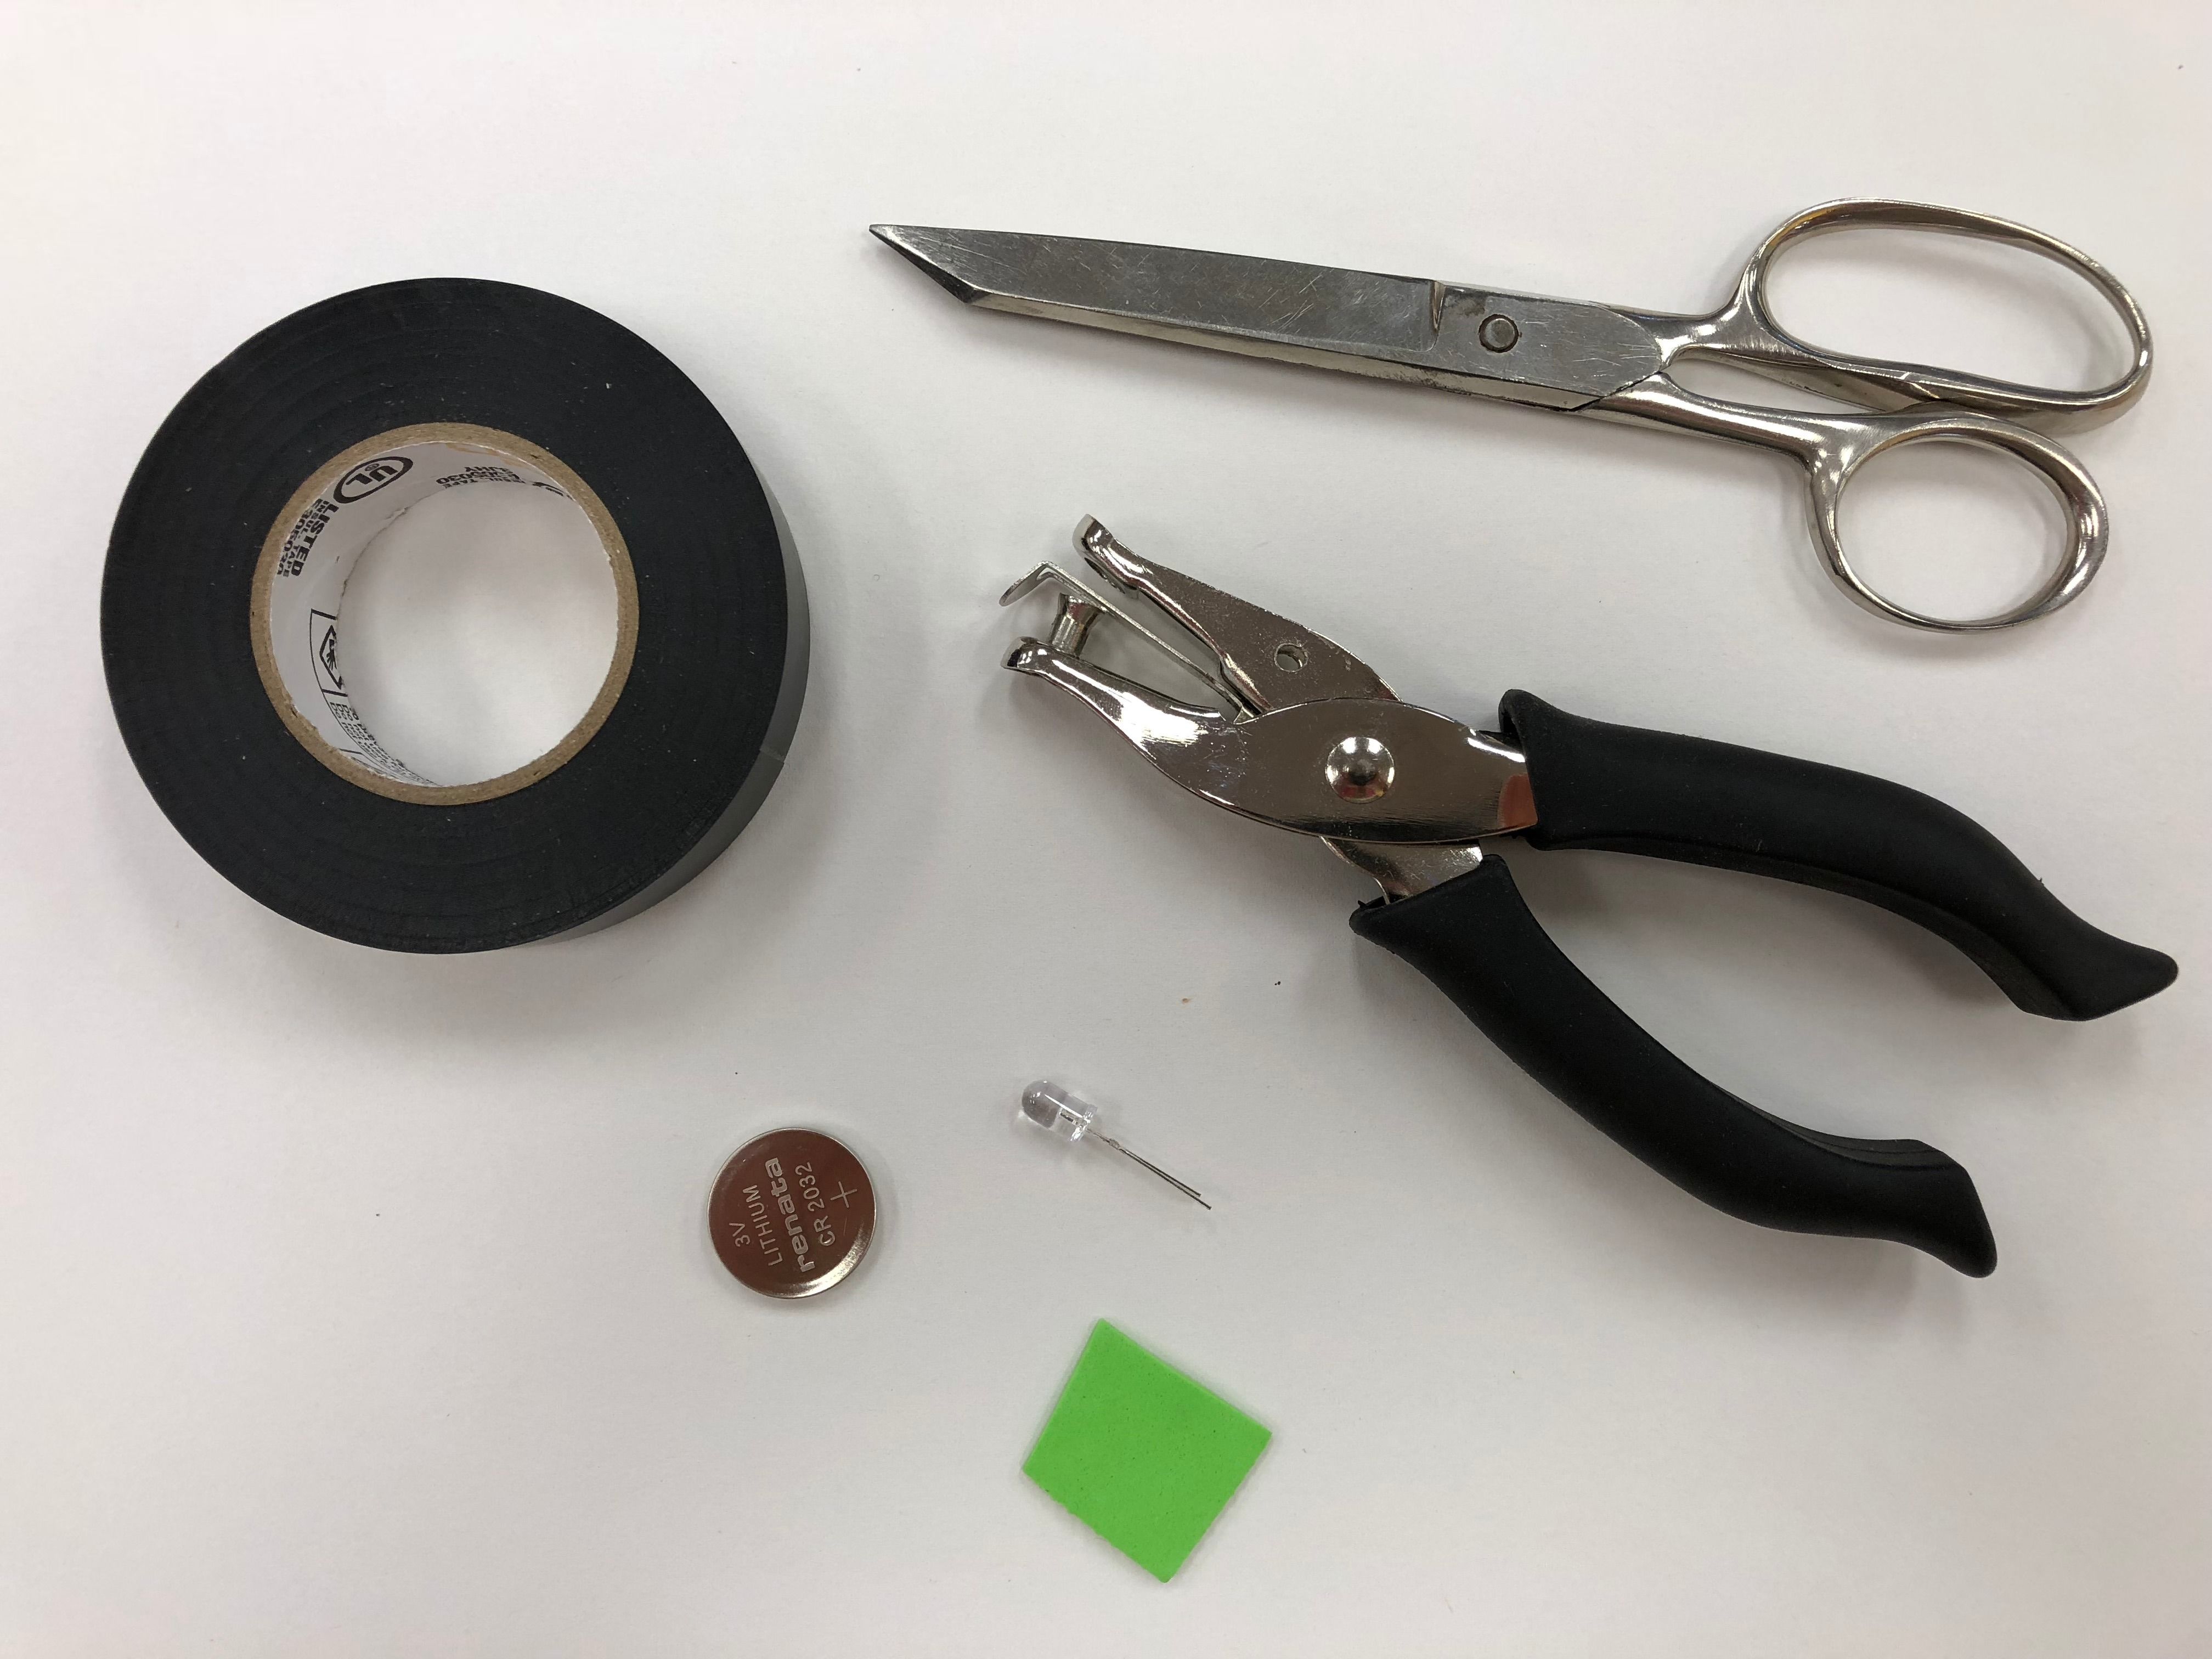
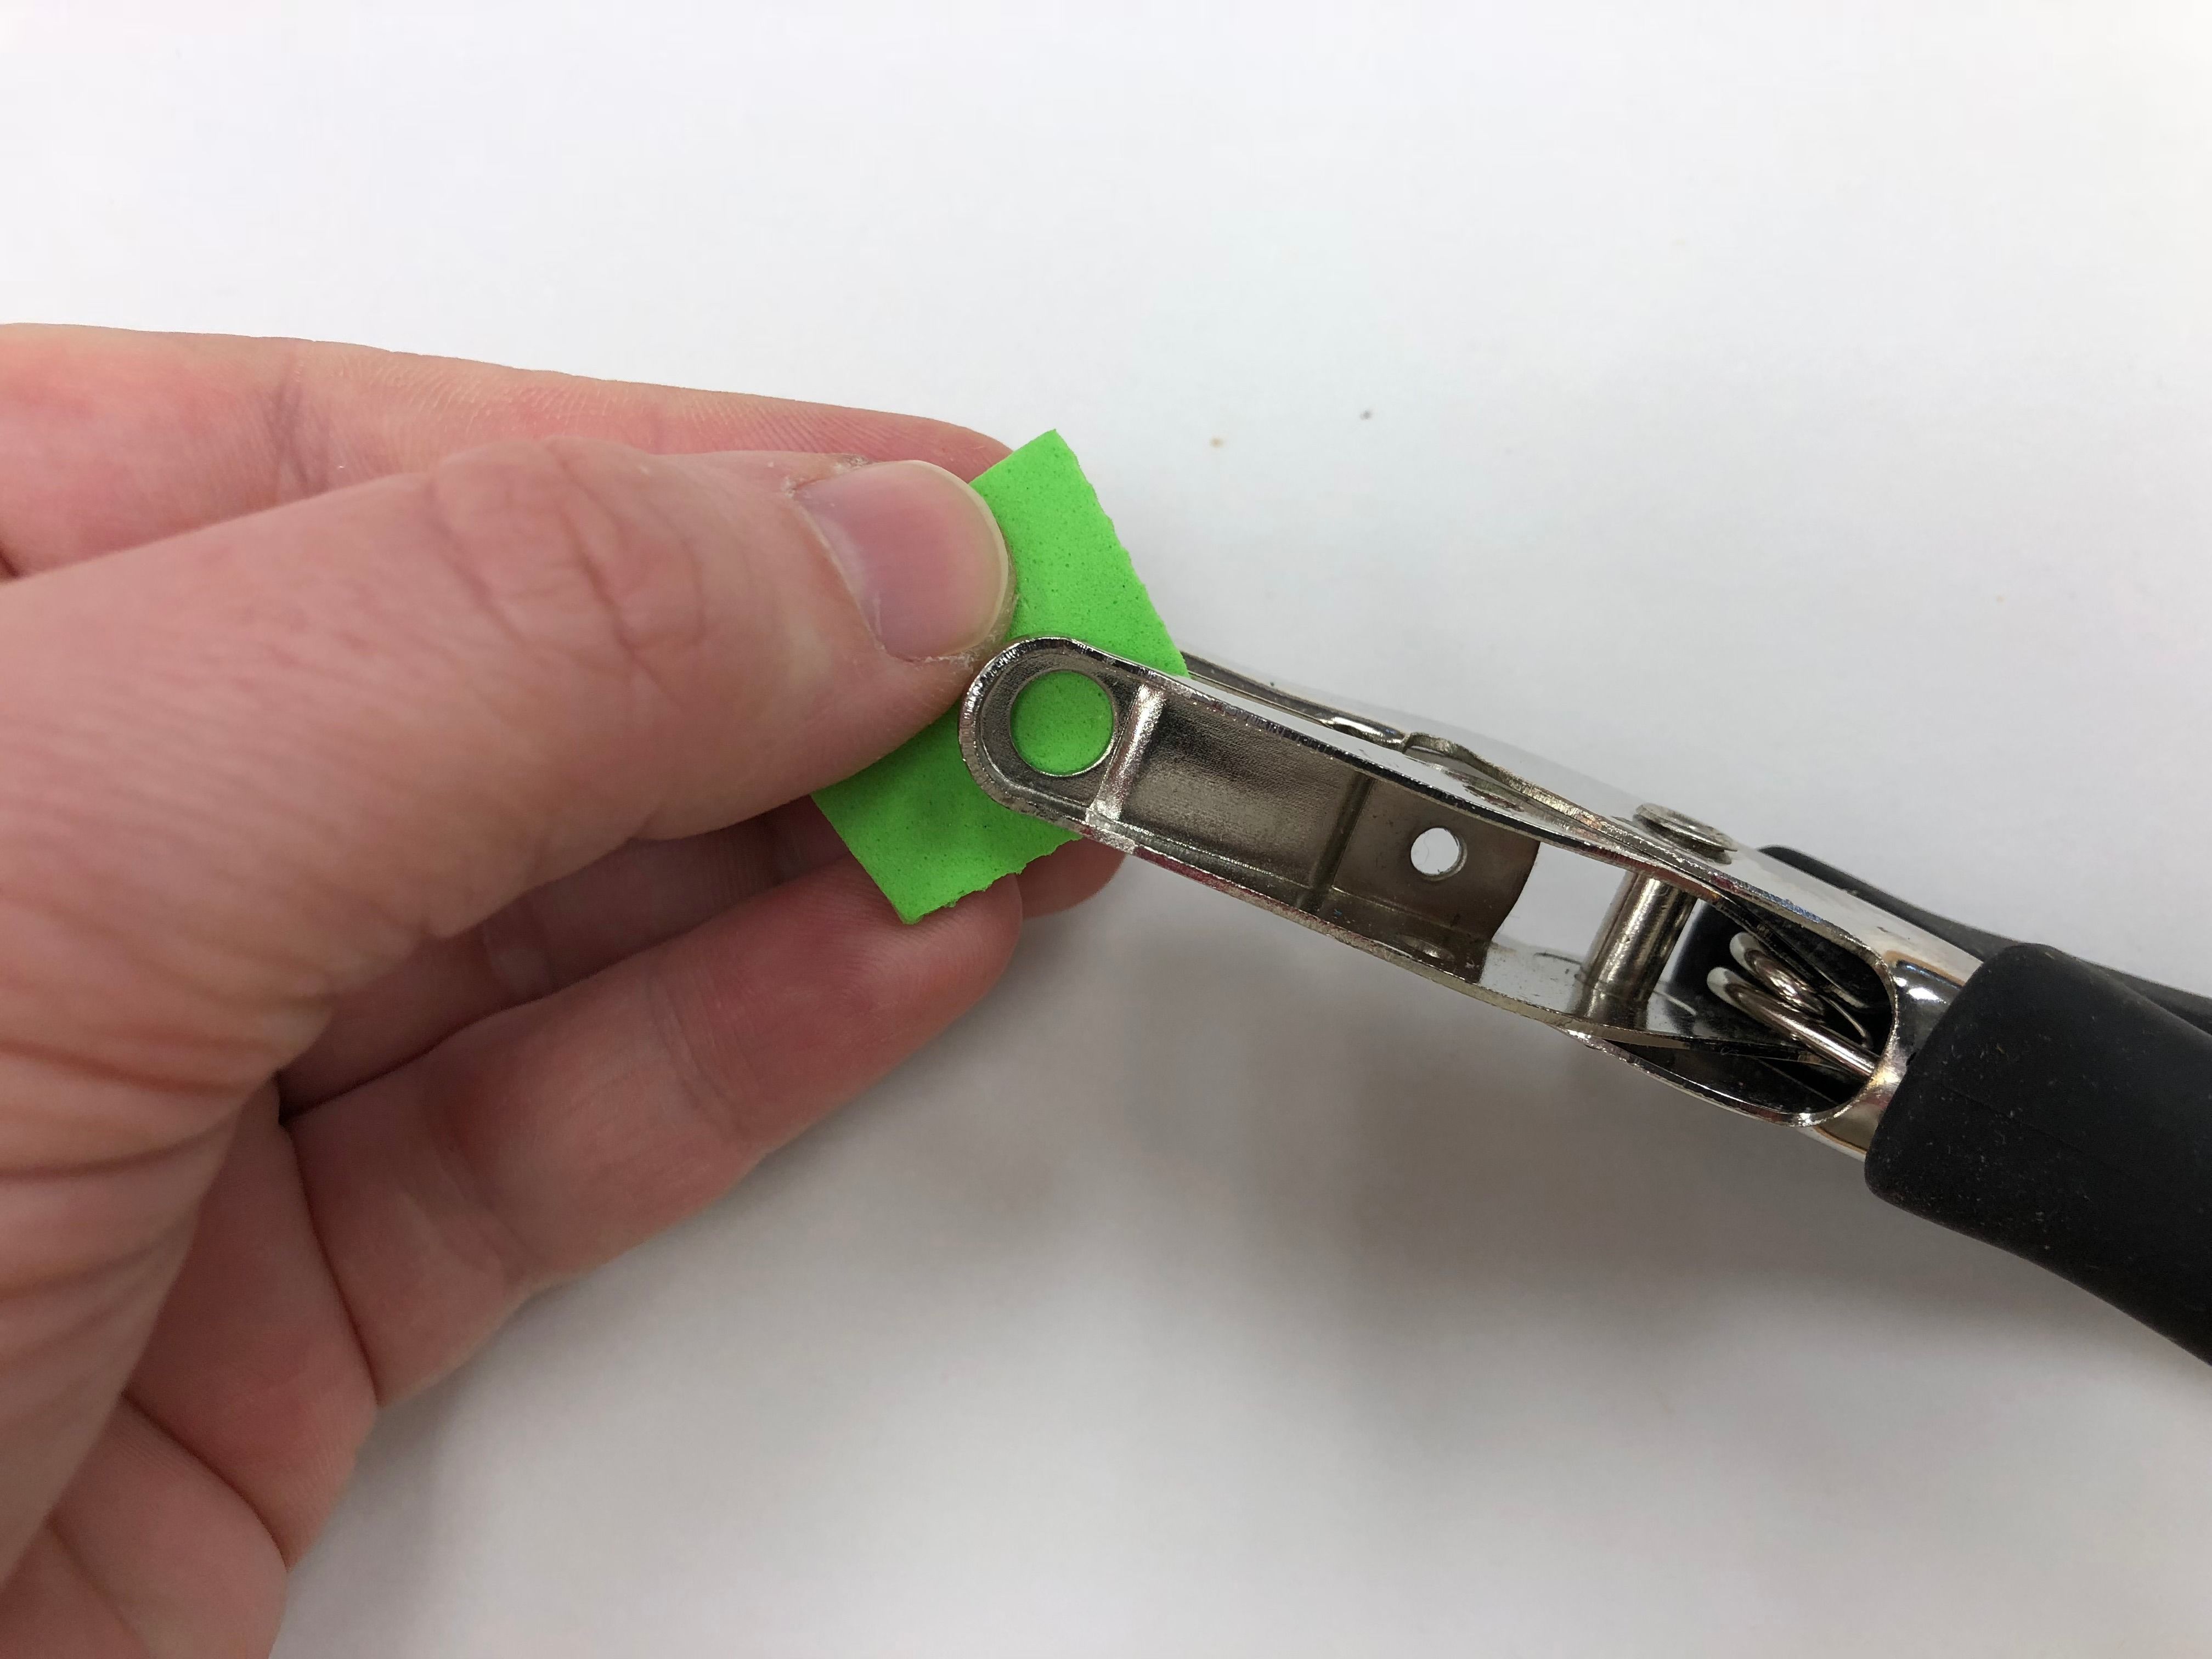
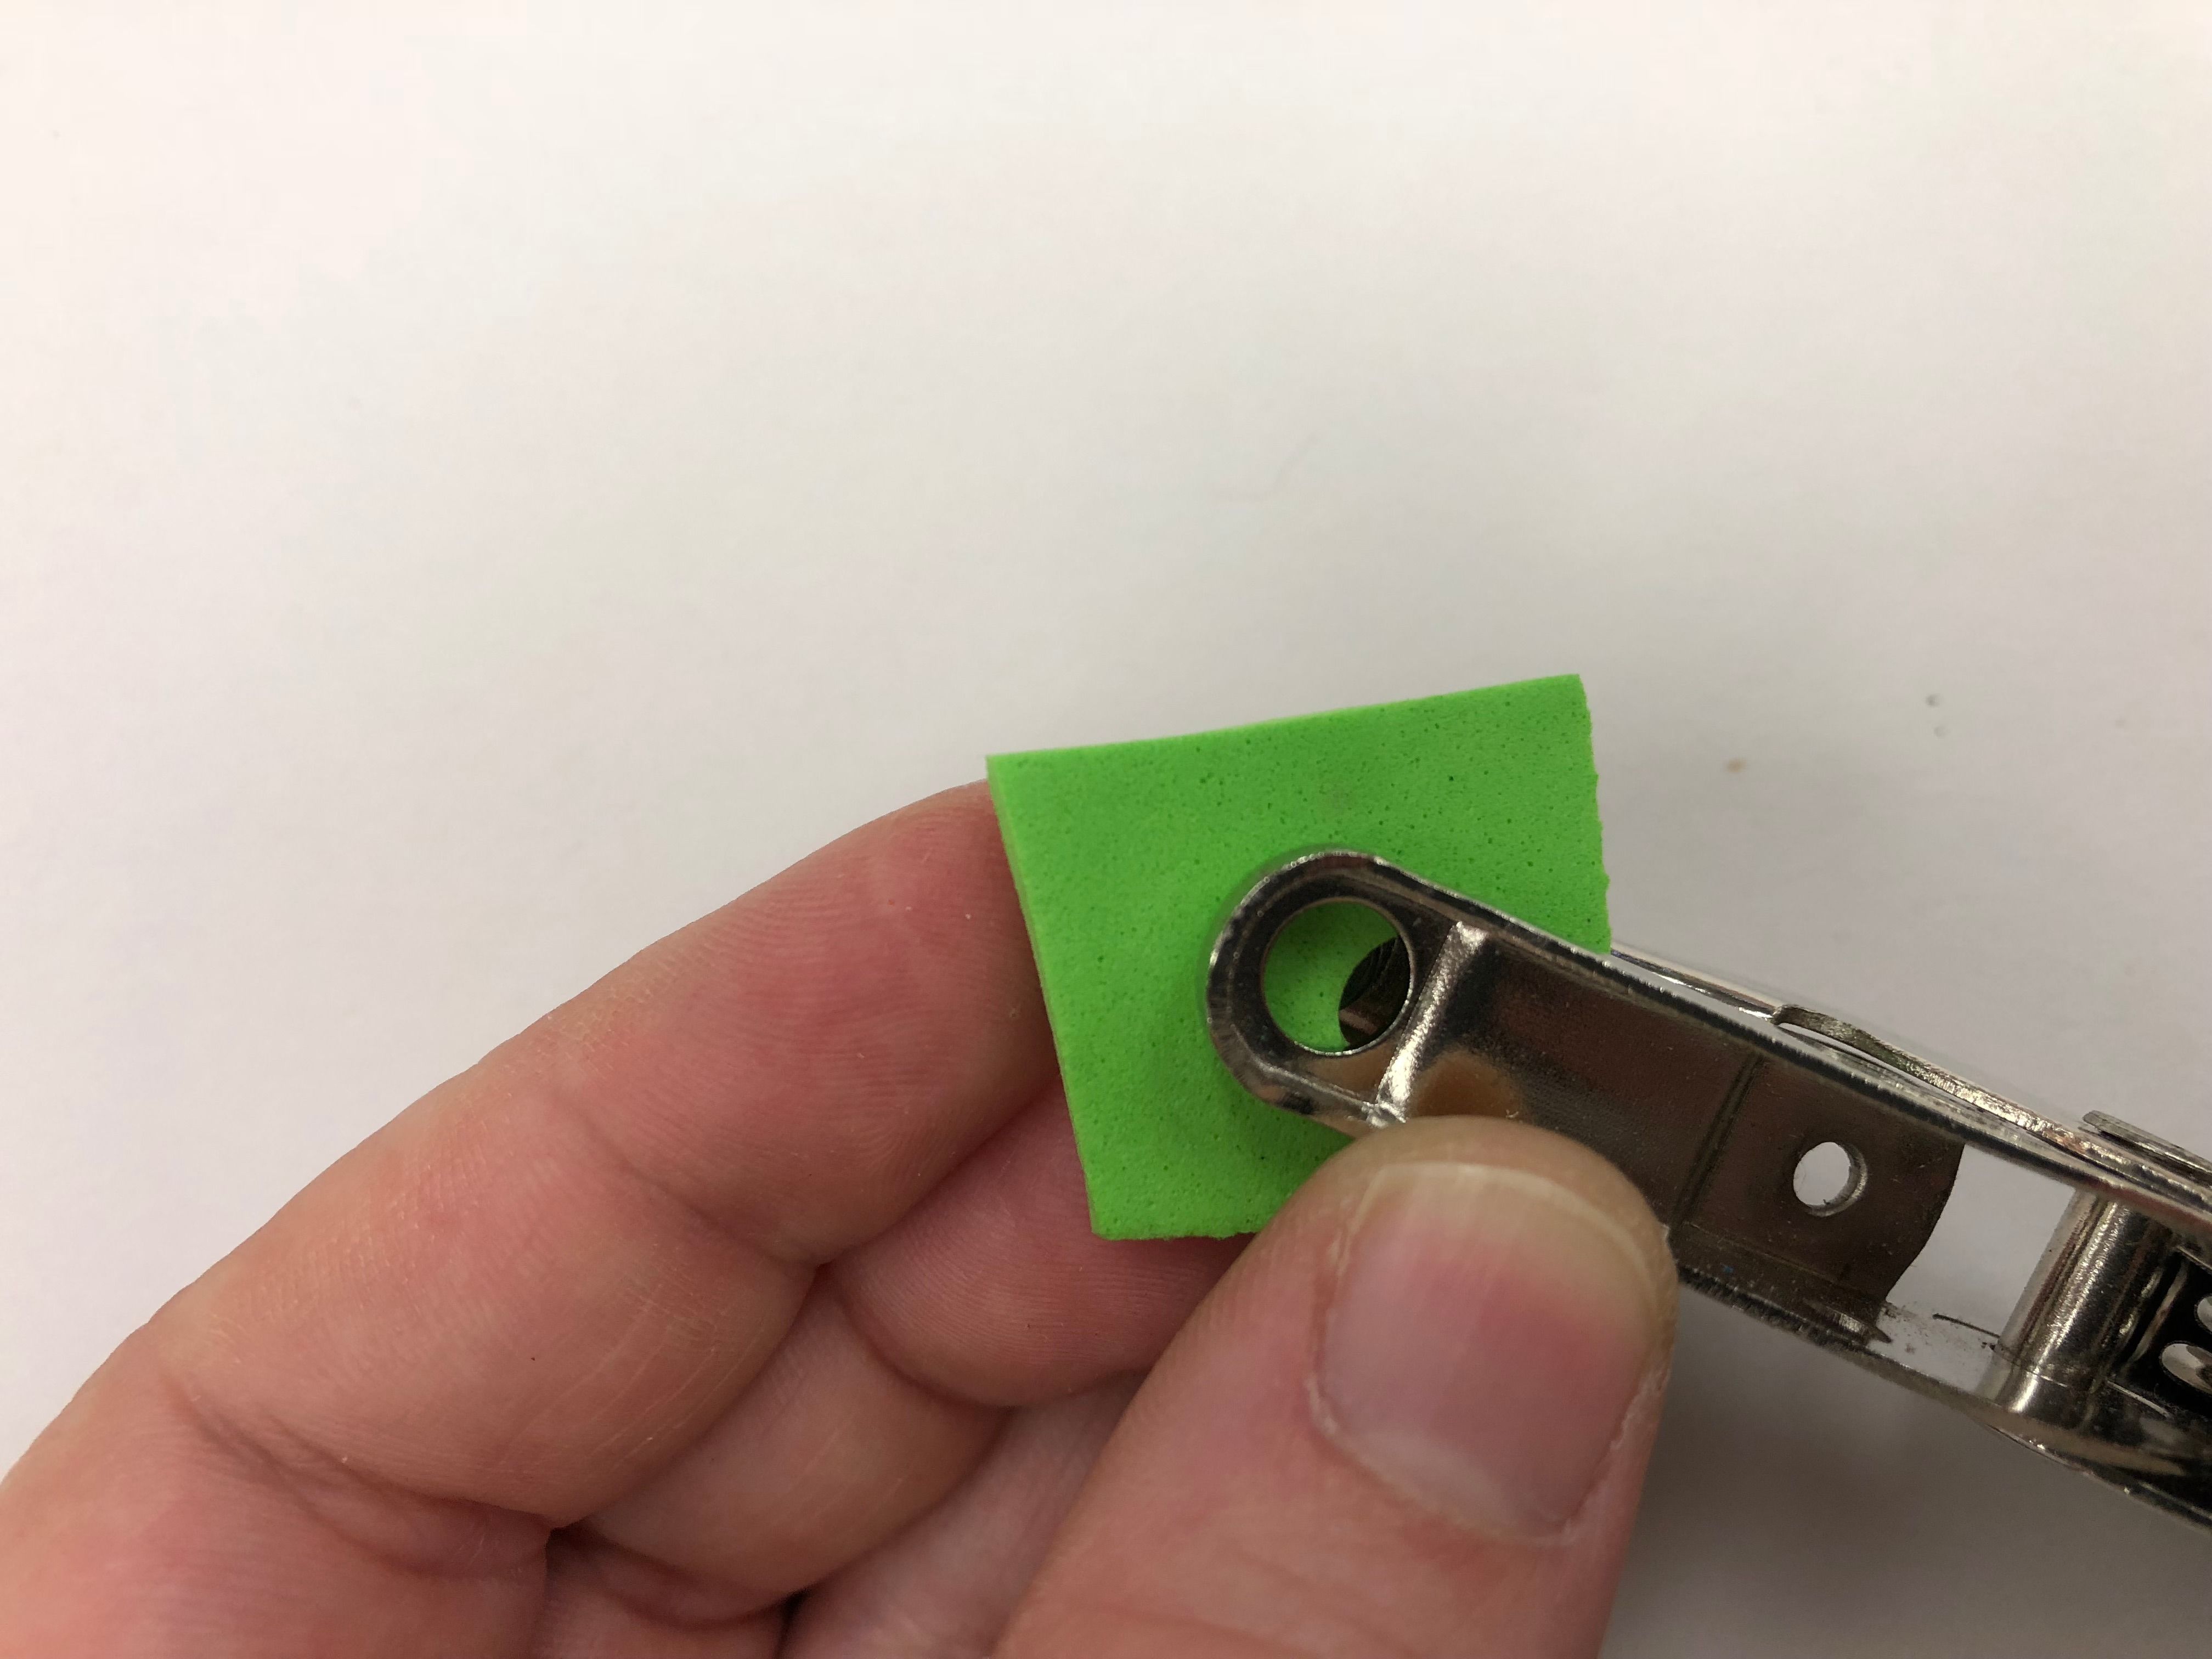
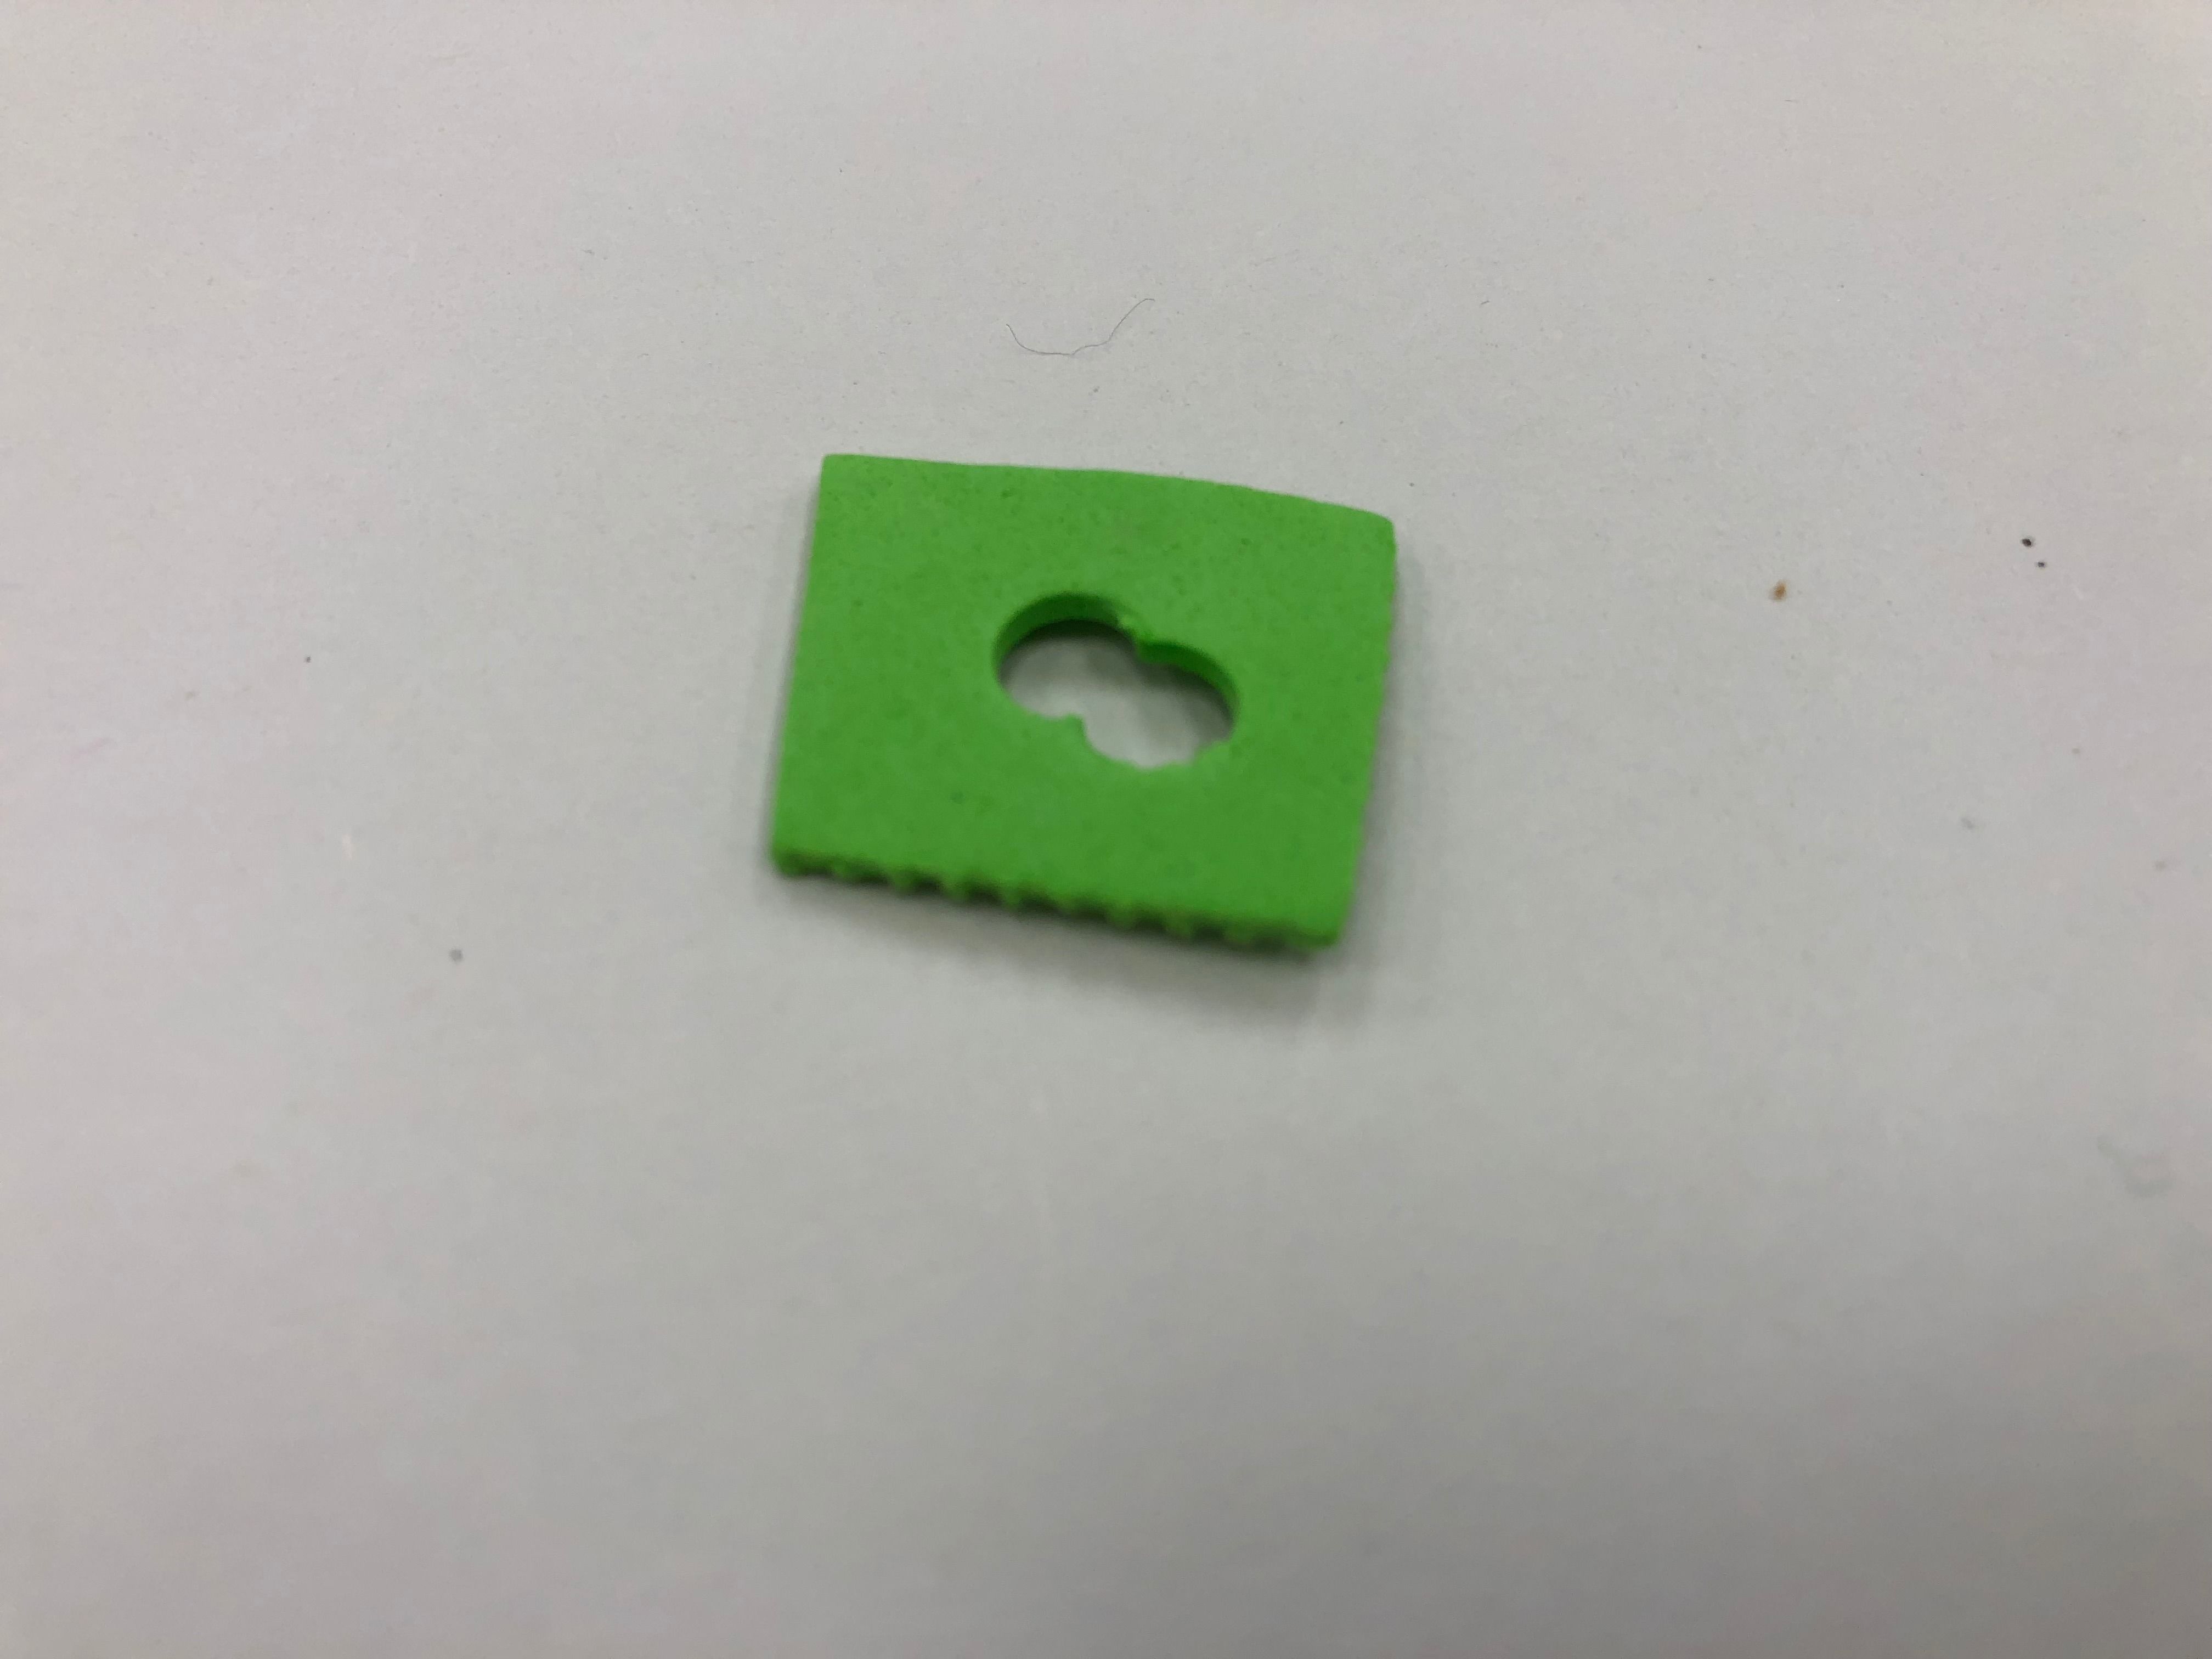
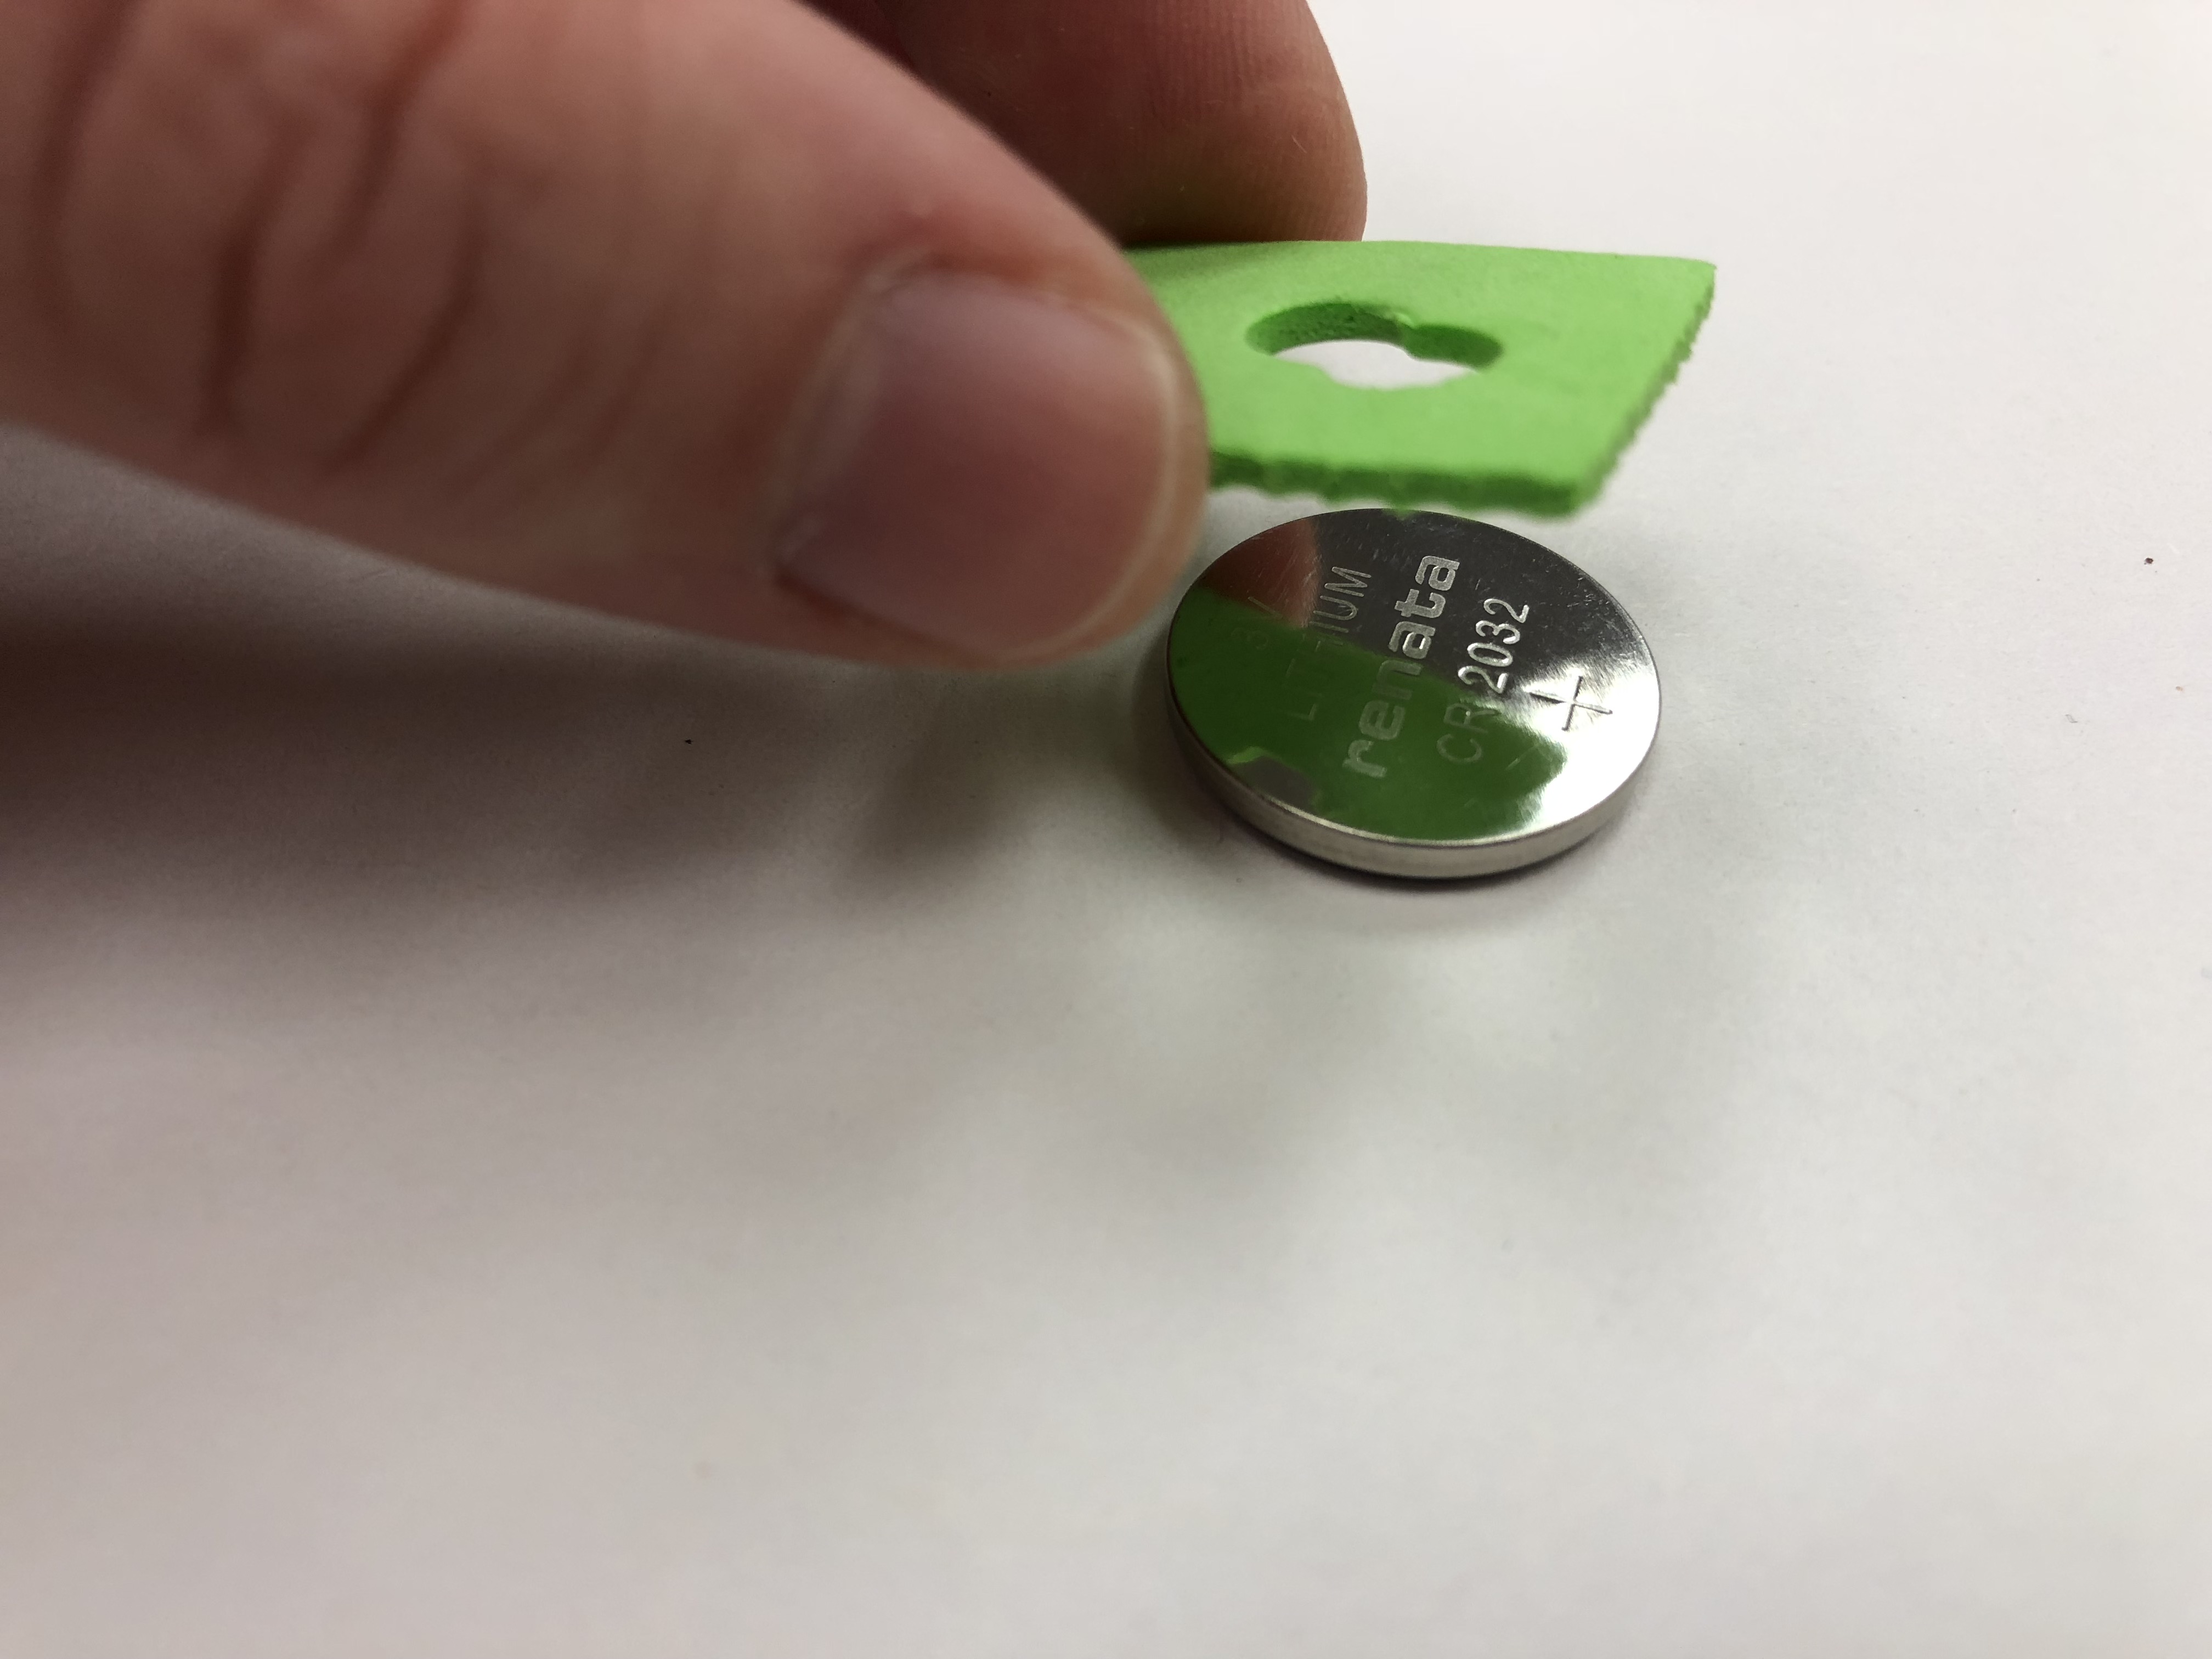
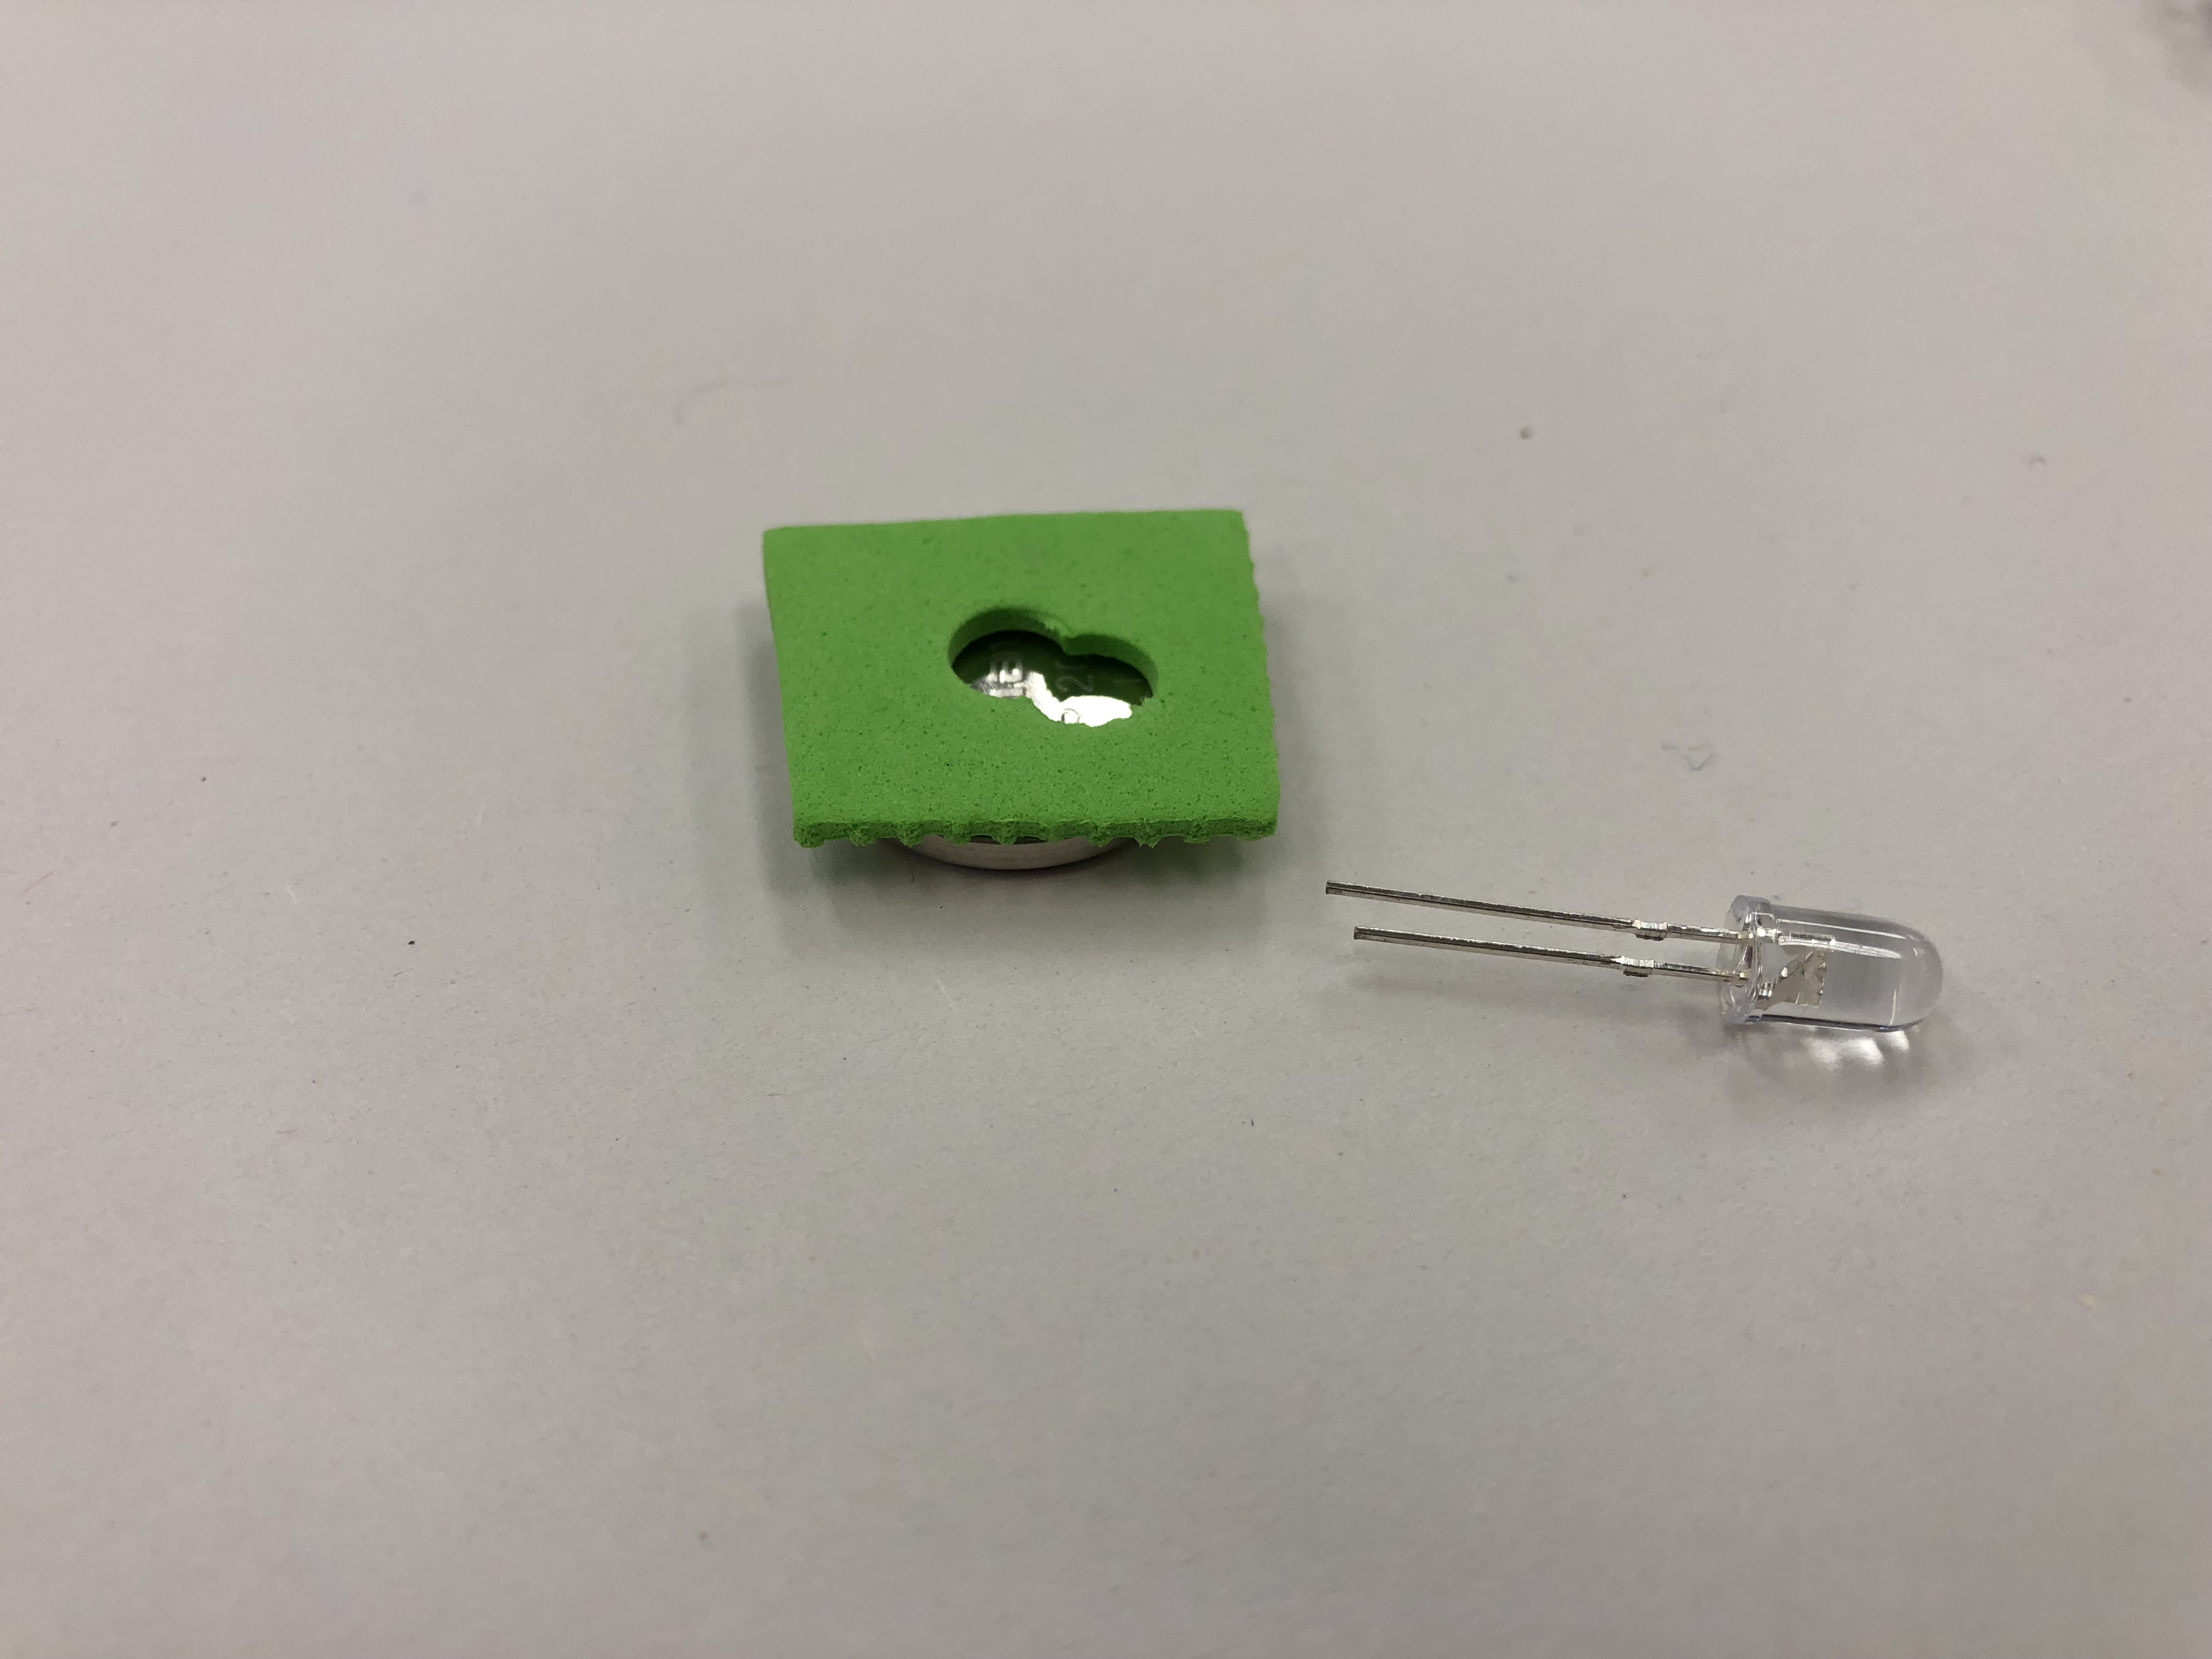
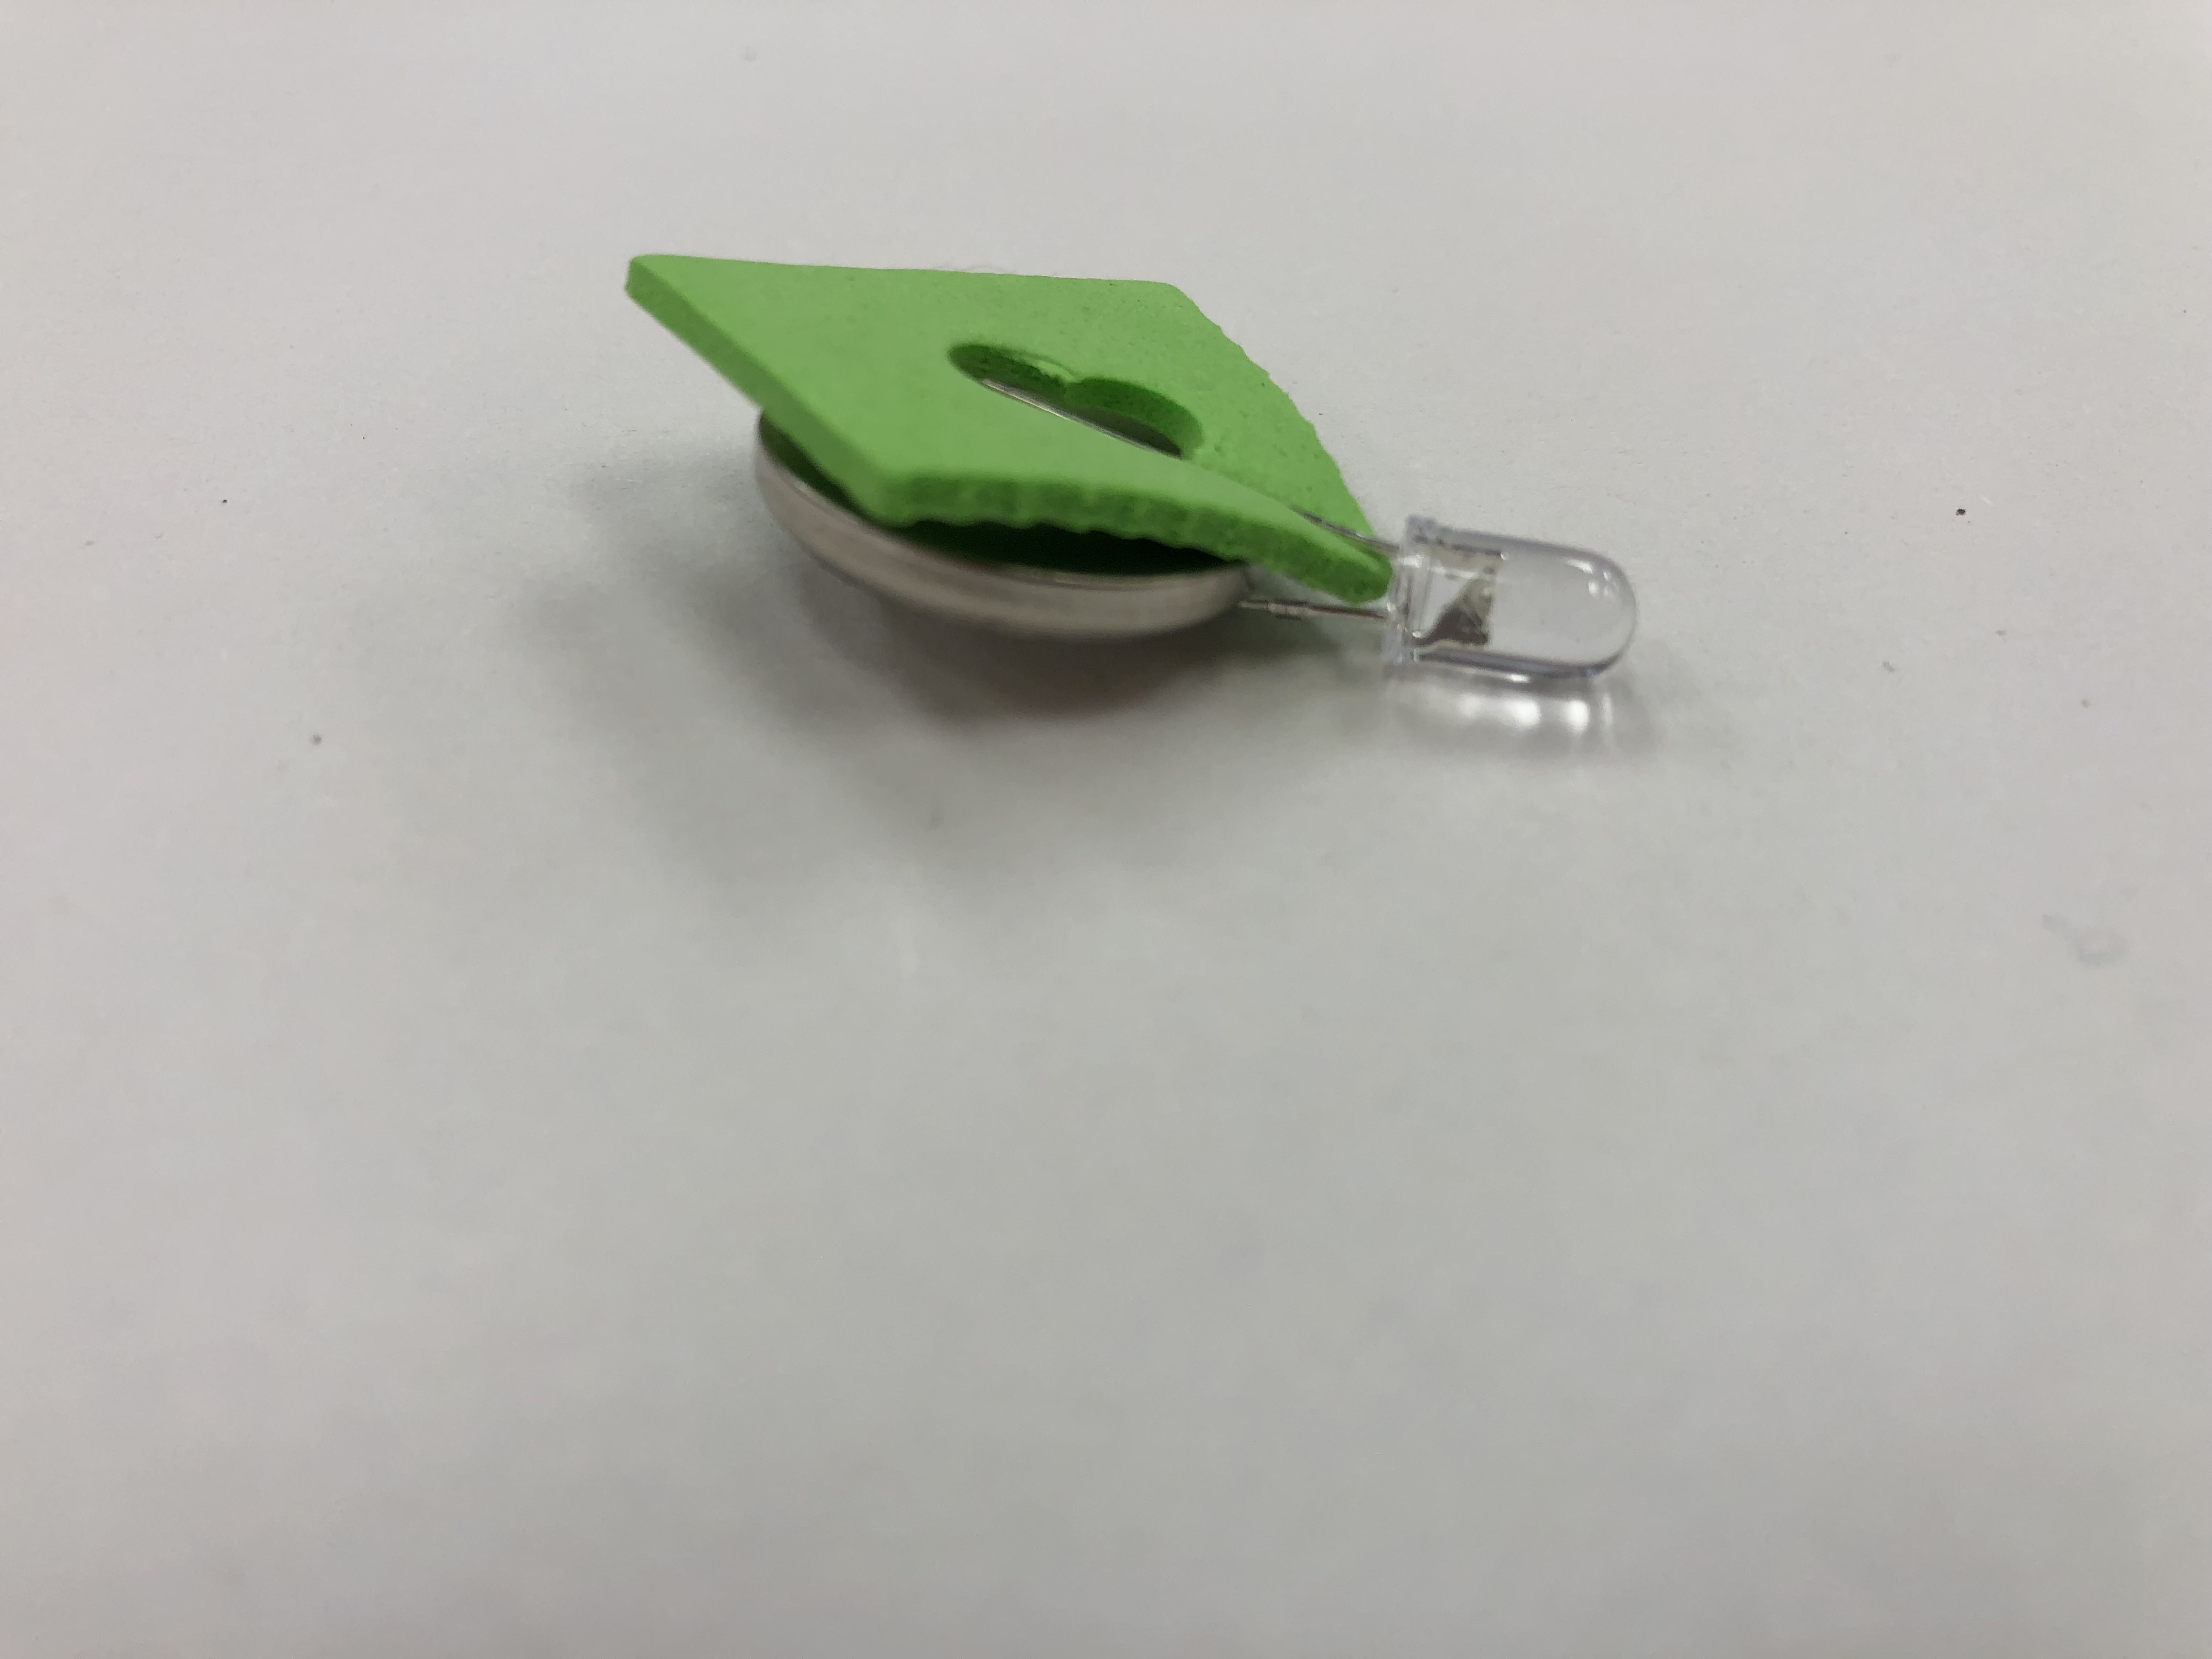
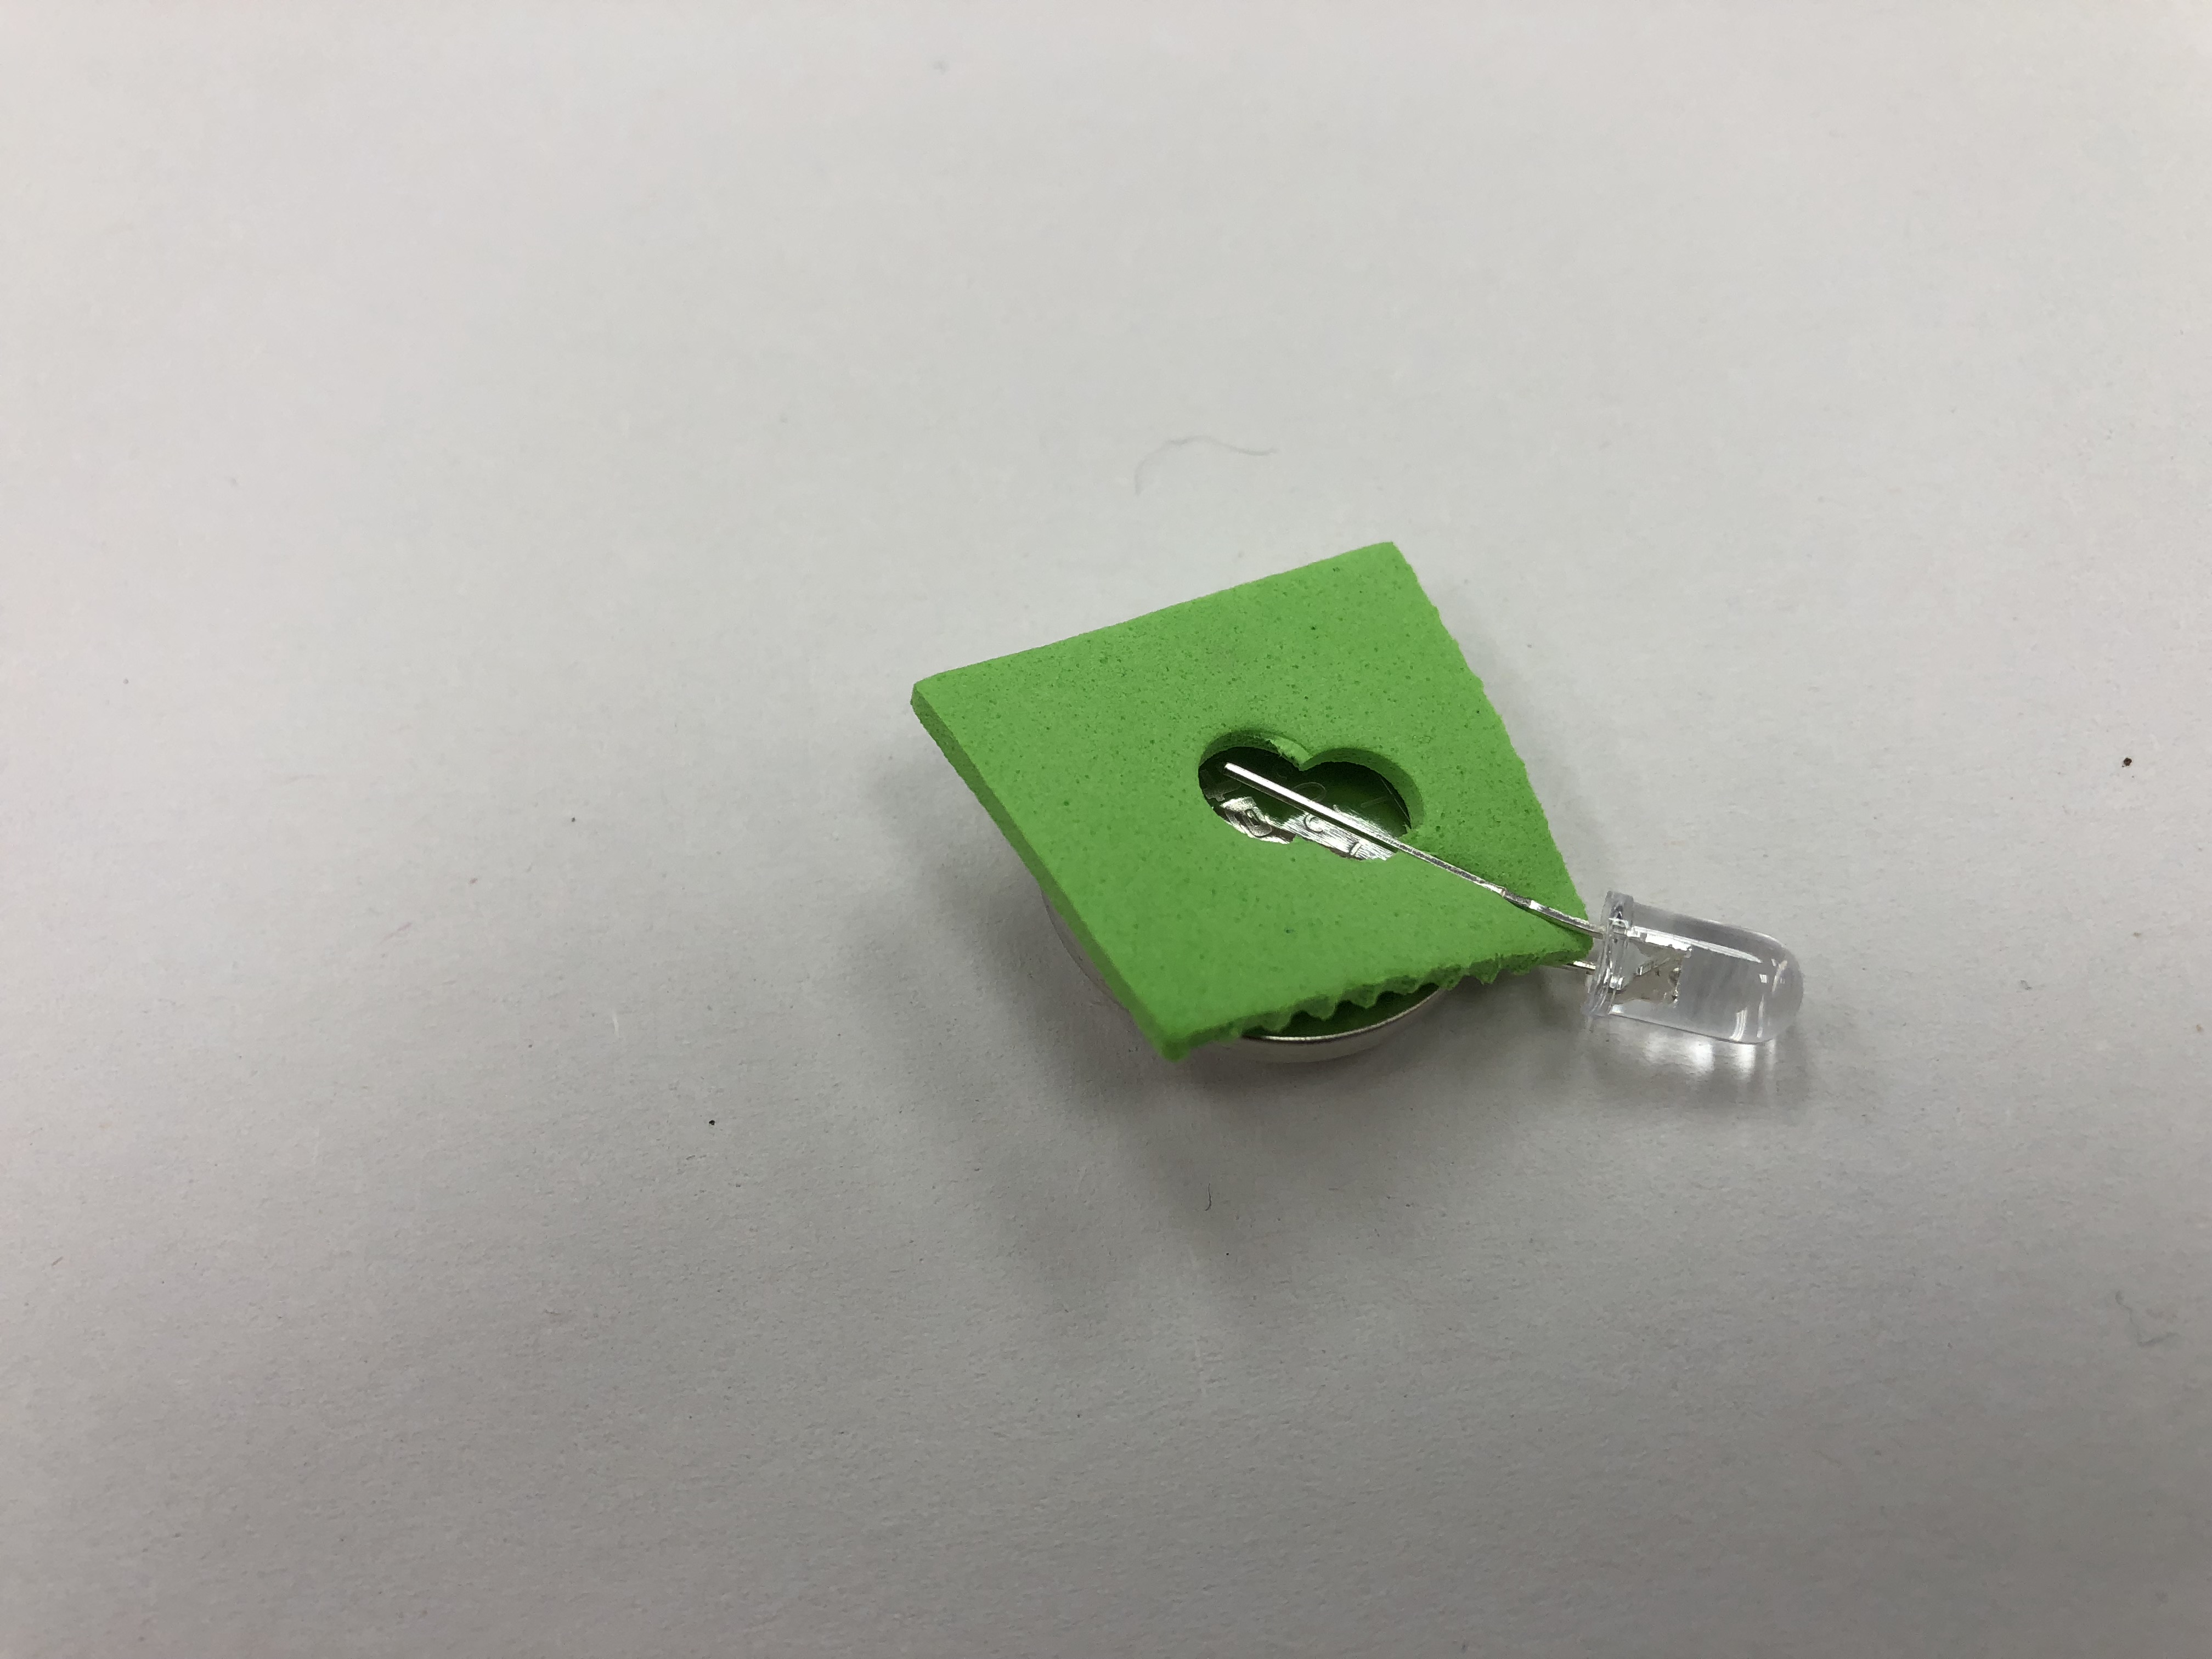
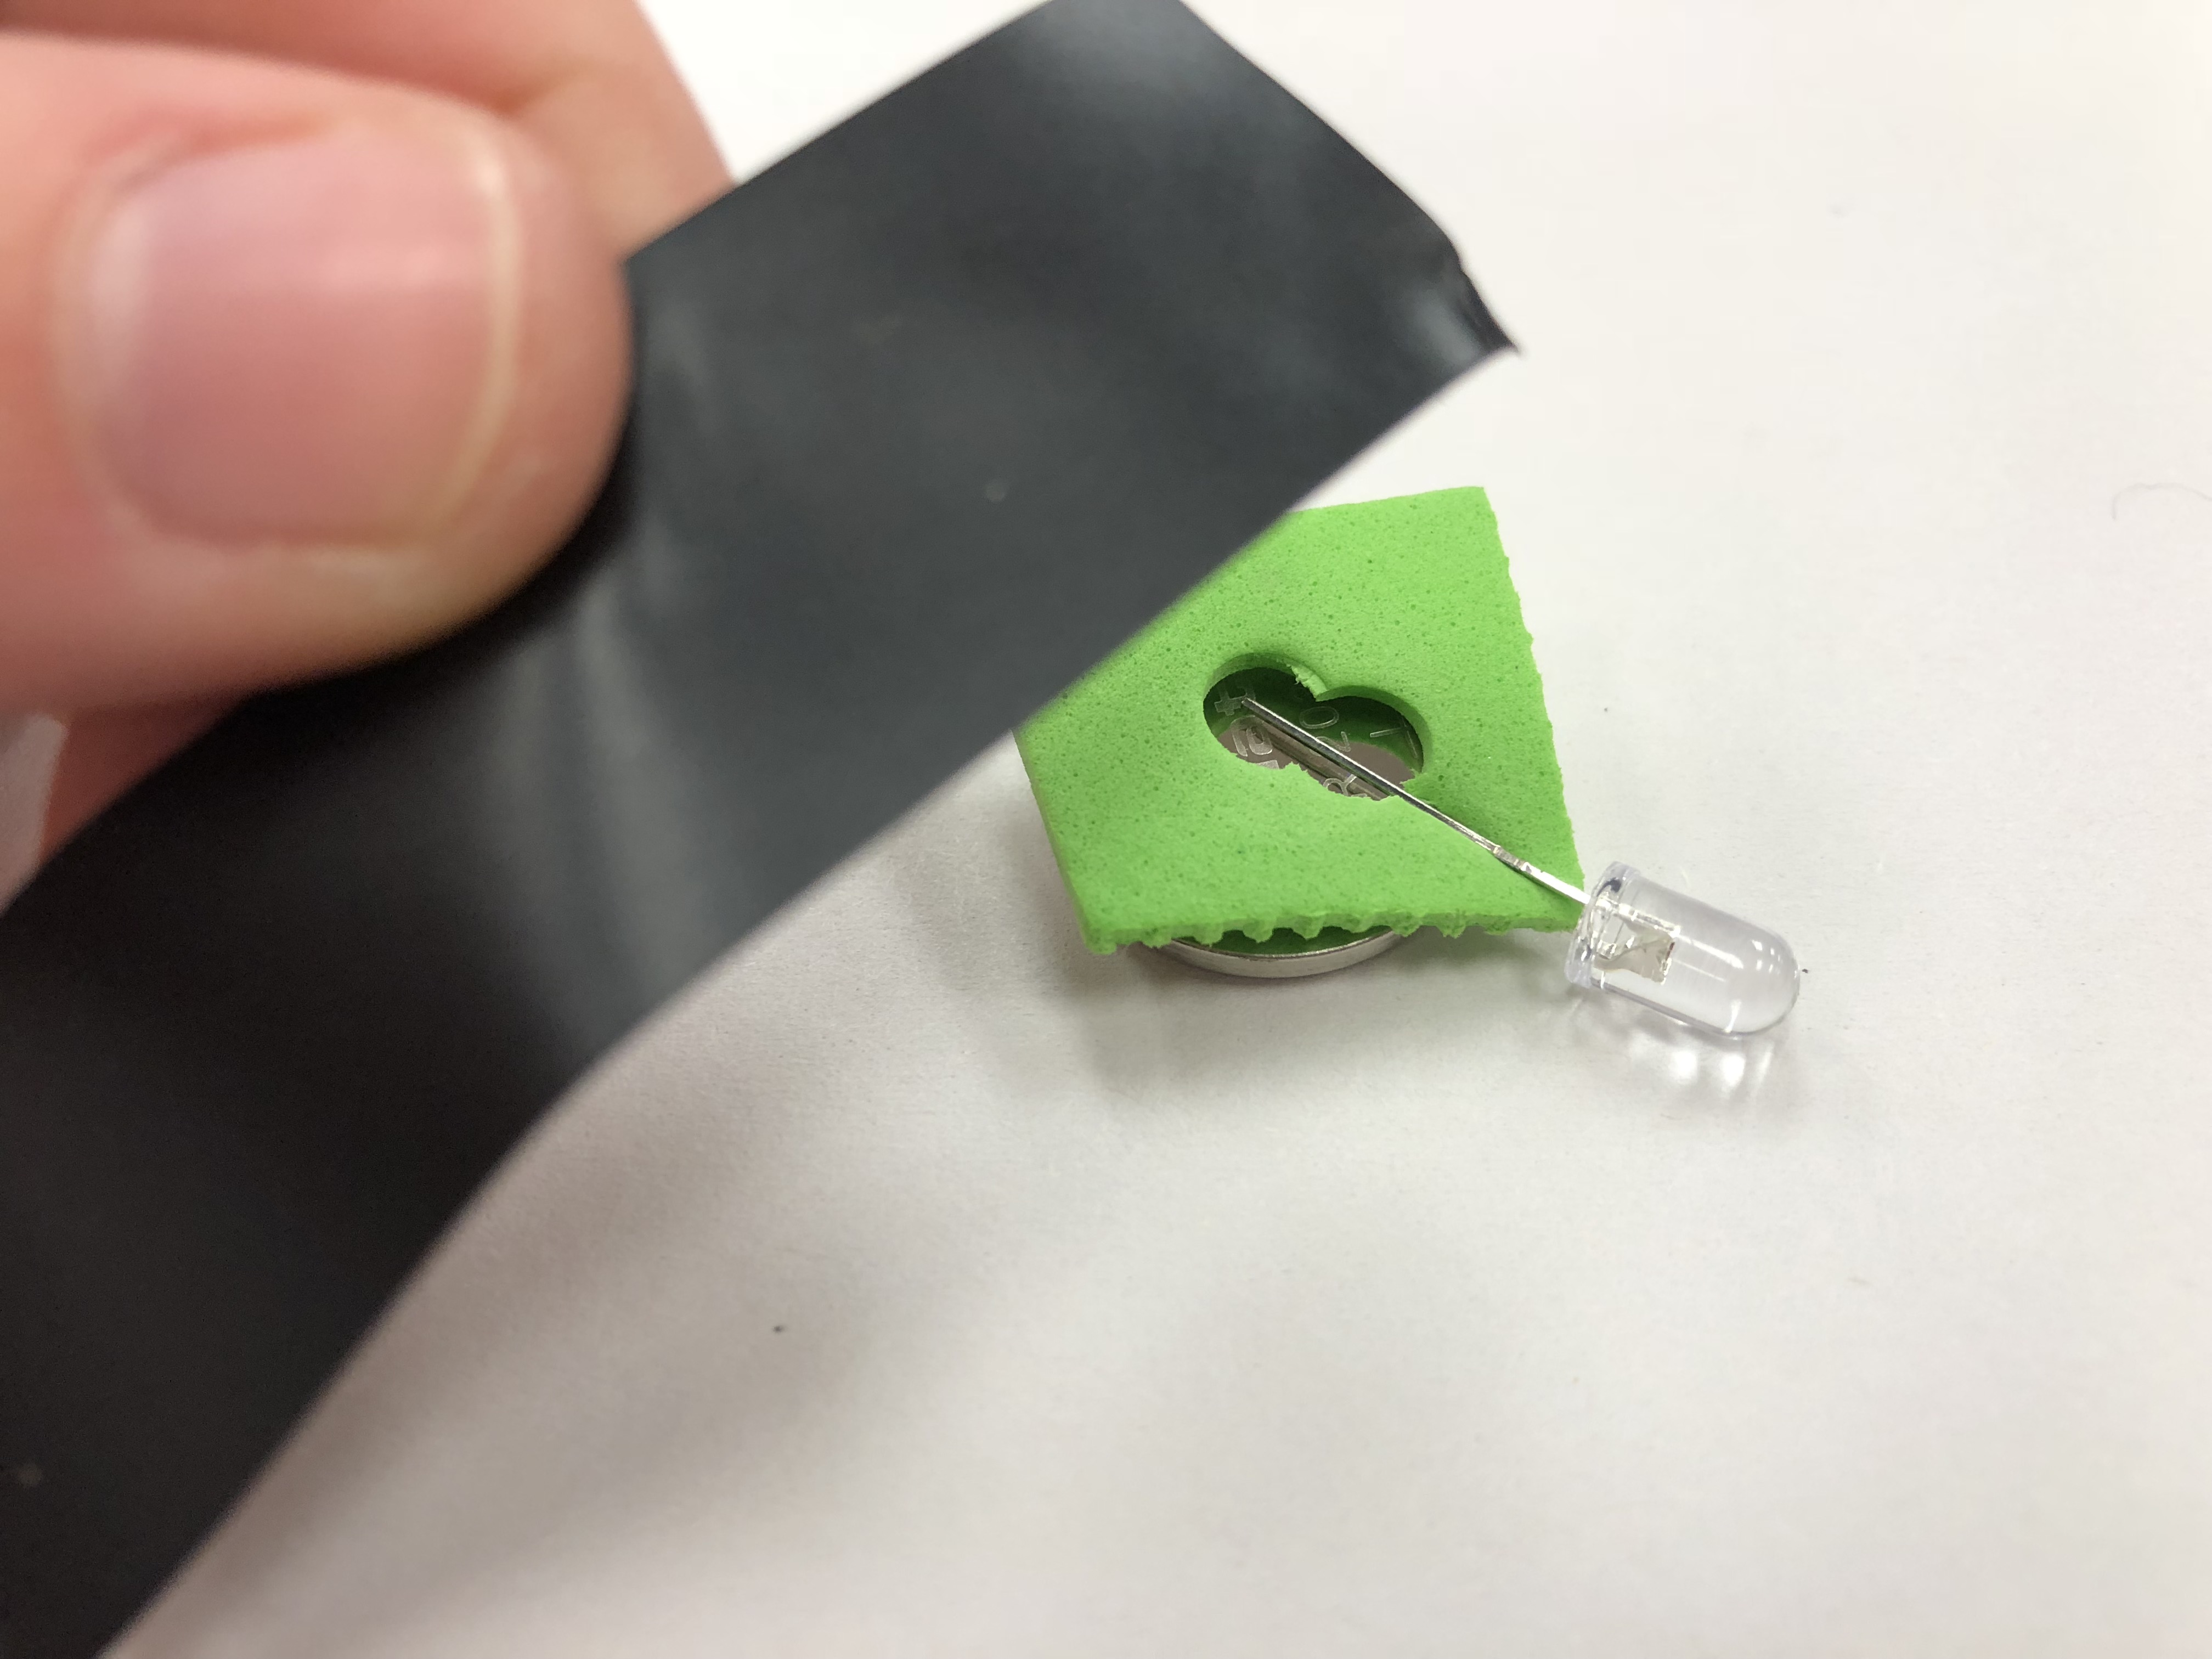
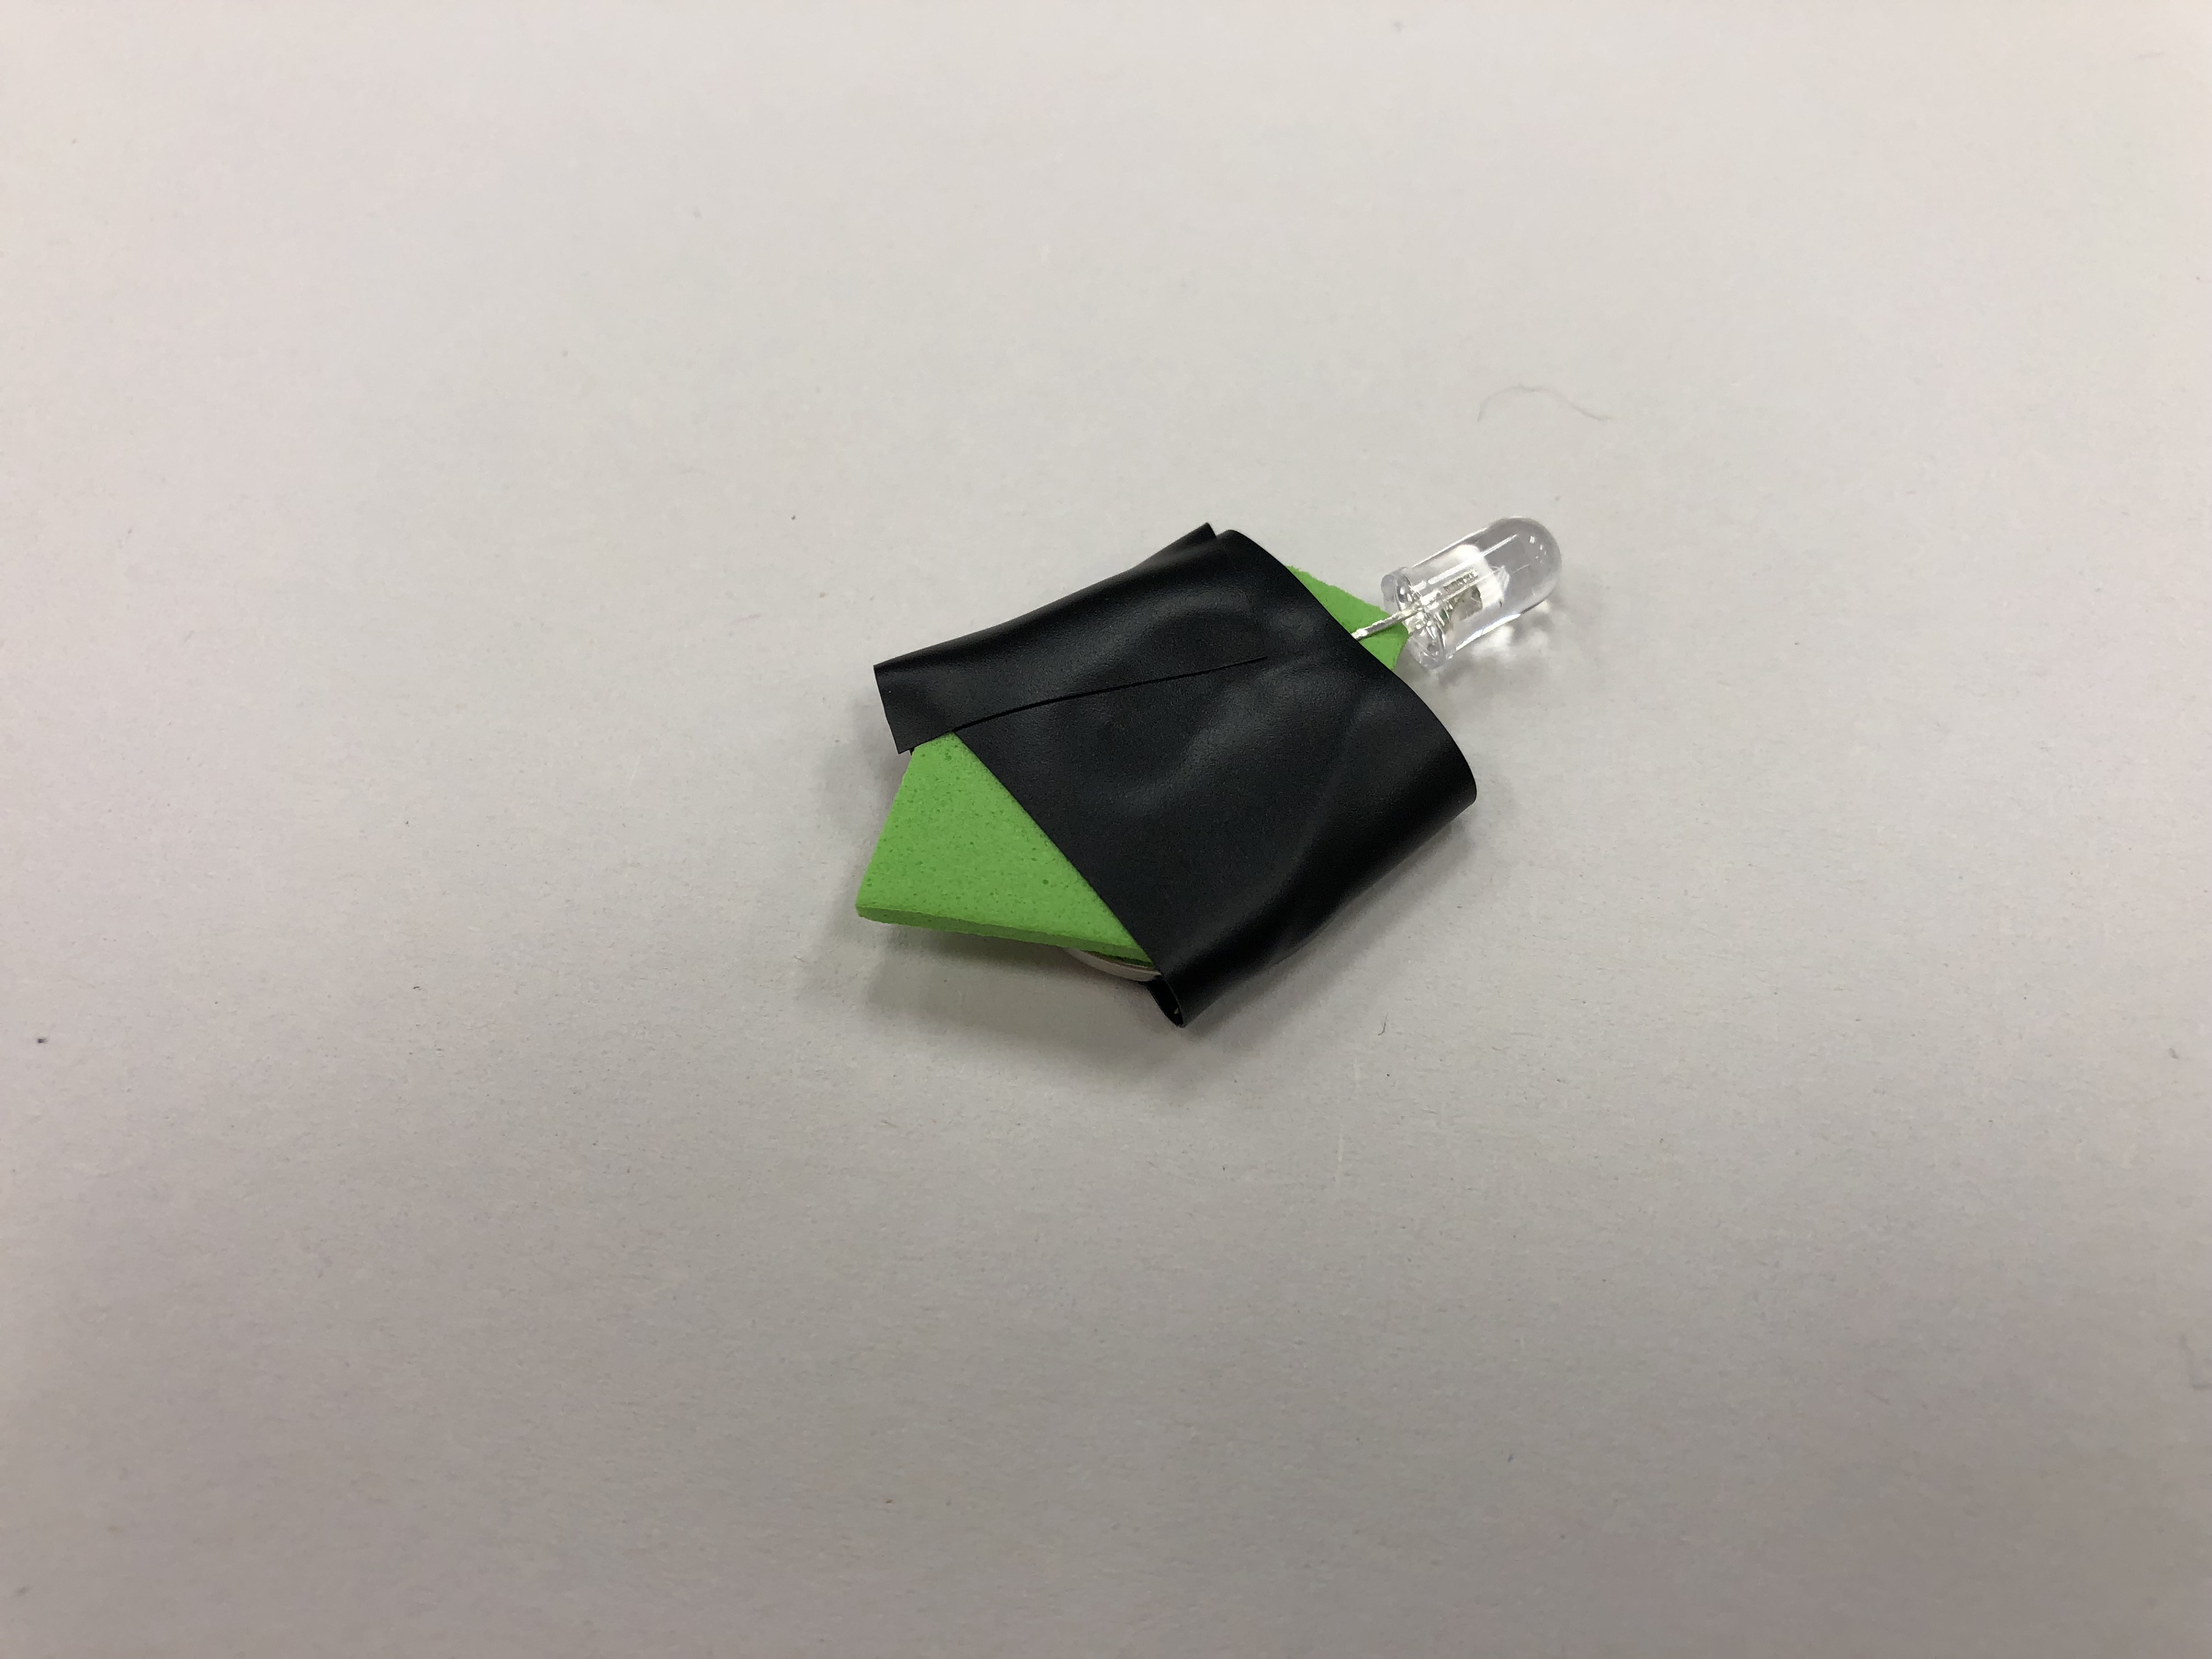
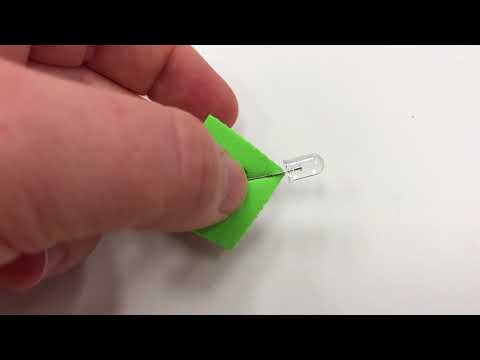
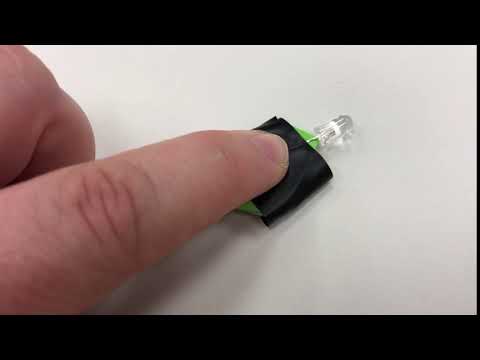
No matter what this LED with foam switch actually becomes as you begin to build your creature's story, we all like things that light up. This is a simple way to create an "on-when-pressed switch" that can live inside your creature. Step-by-Step Picture Assembly hand-out attached.
For this part of the project, you'll need the following materials:
- scissors
- hole punch
- electrical tape
- CR2032 Battery (3V)
- LED
- craft foam, cut to the width & height of the battery
Pro Tip: When attaching the LED, attach from the corner of the foam, this gives the LED a bit more support.
Give Your Creature Light
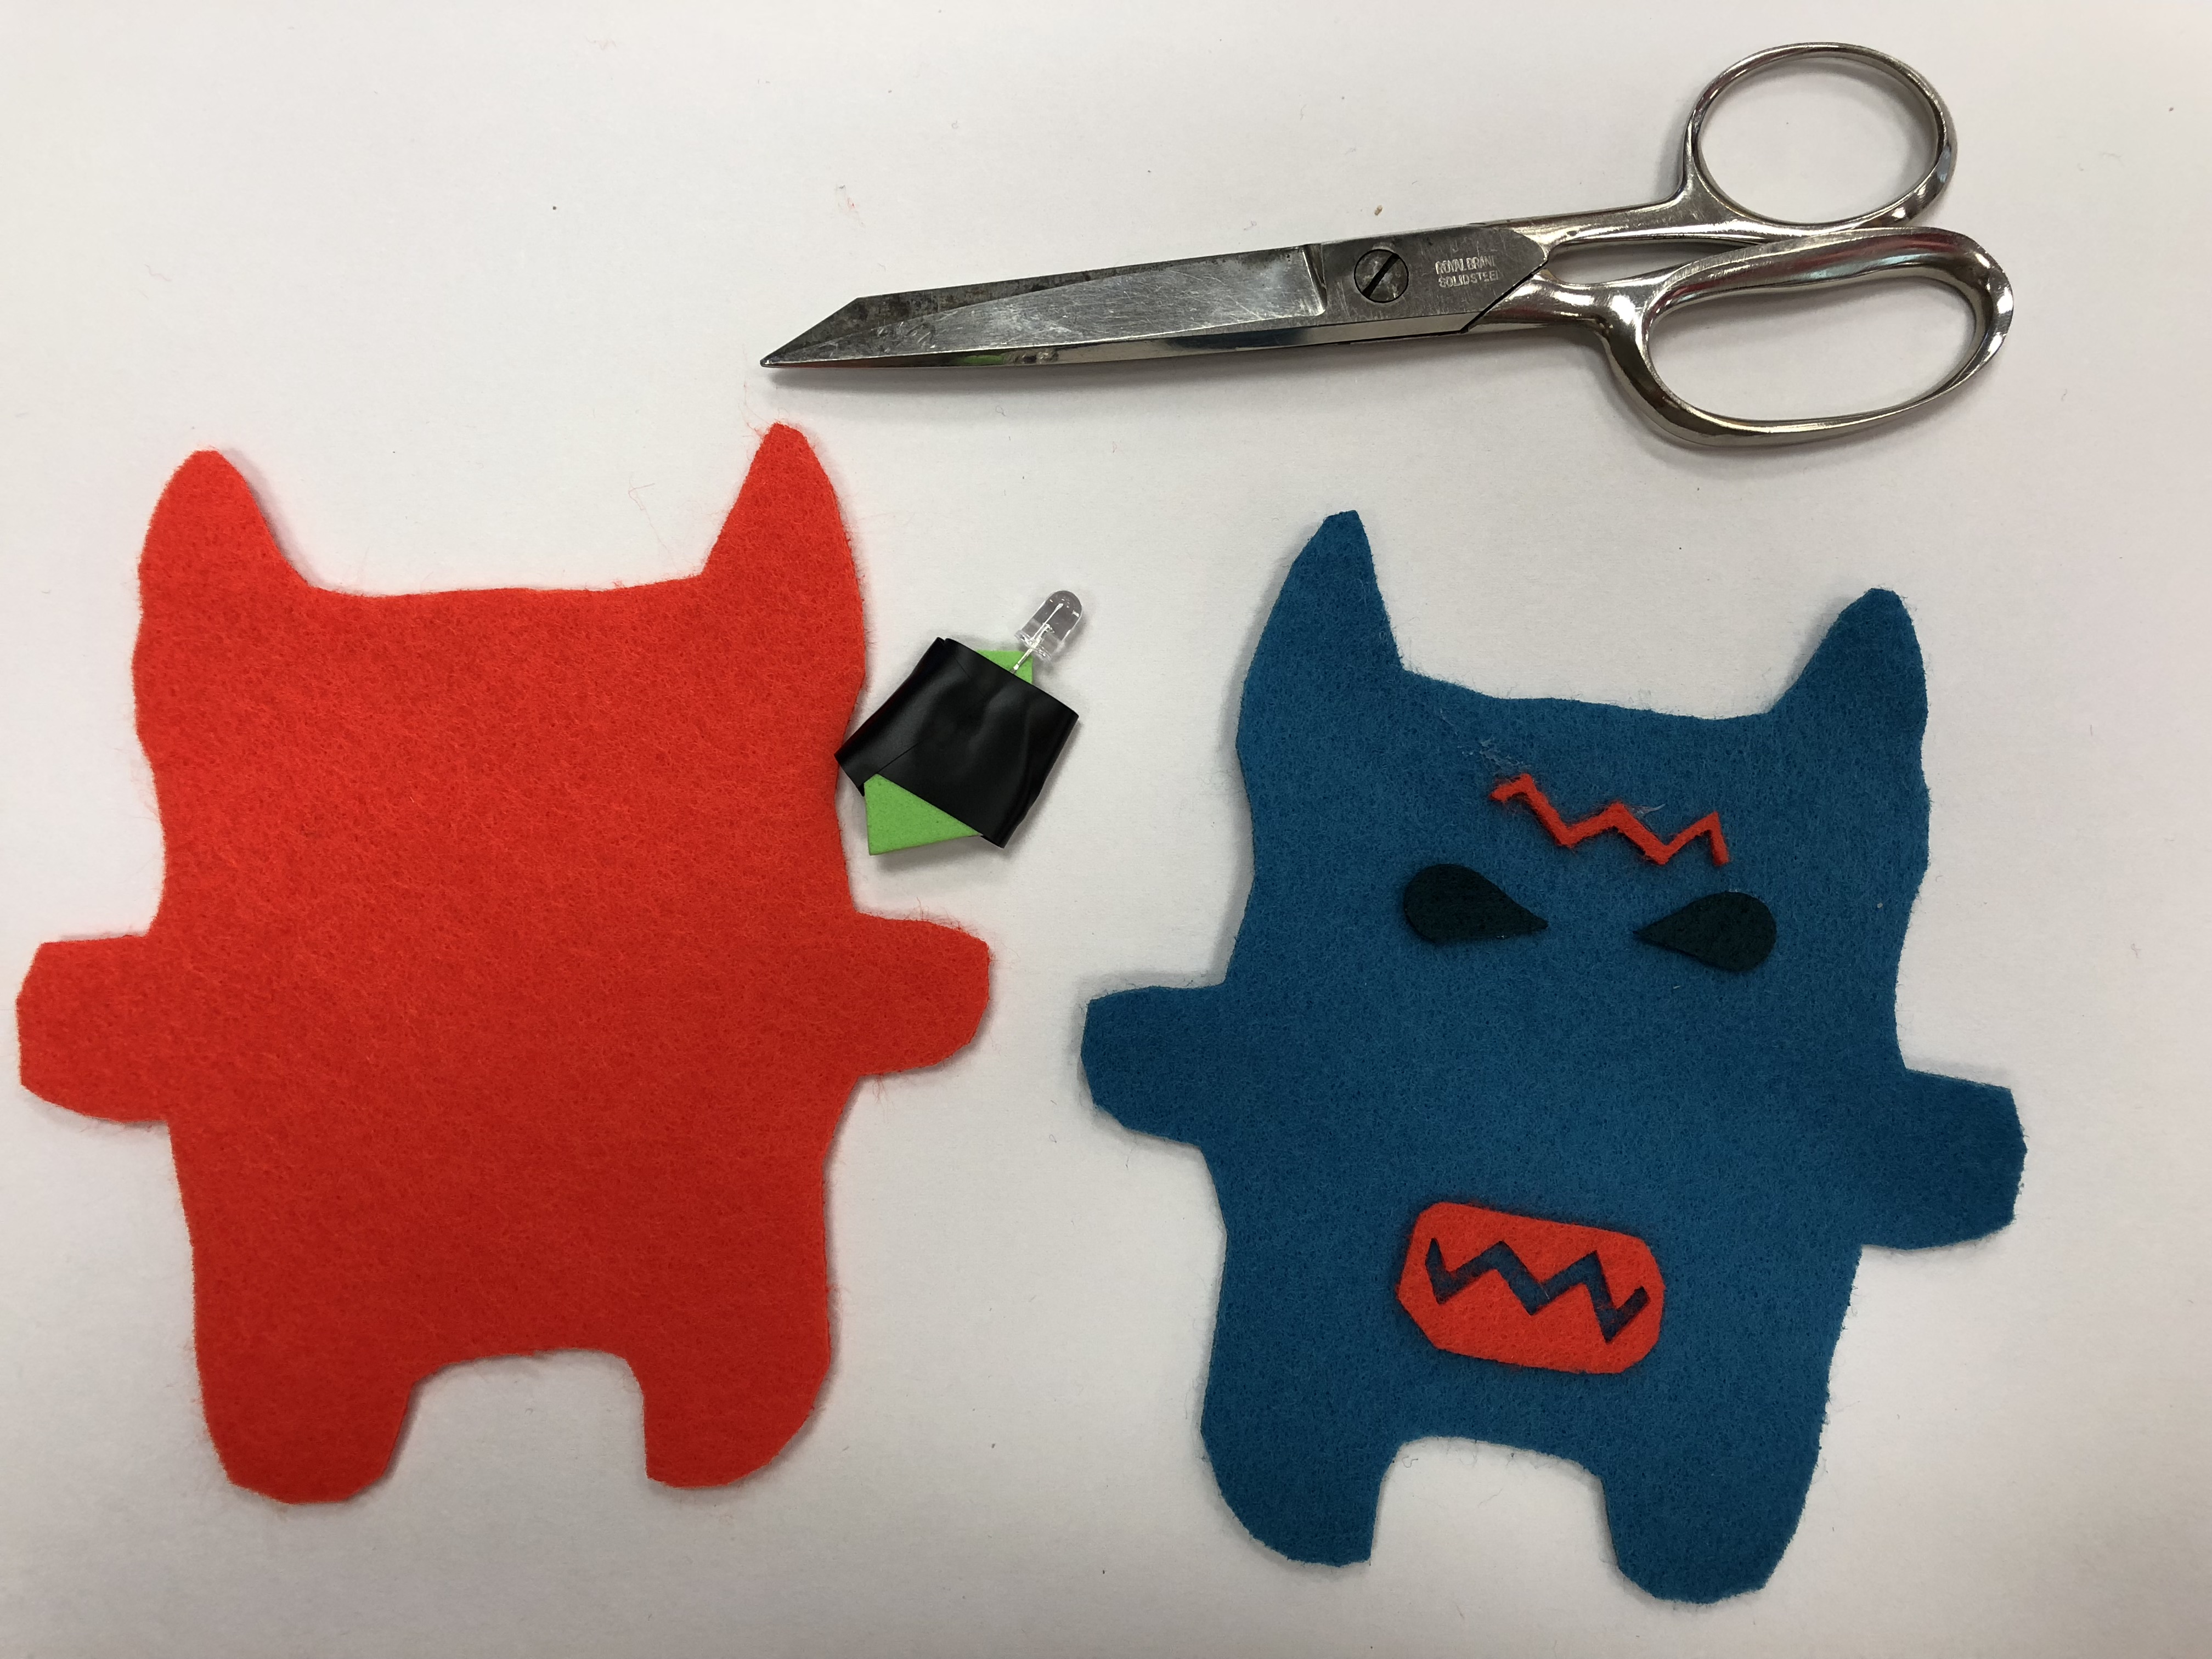
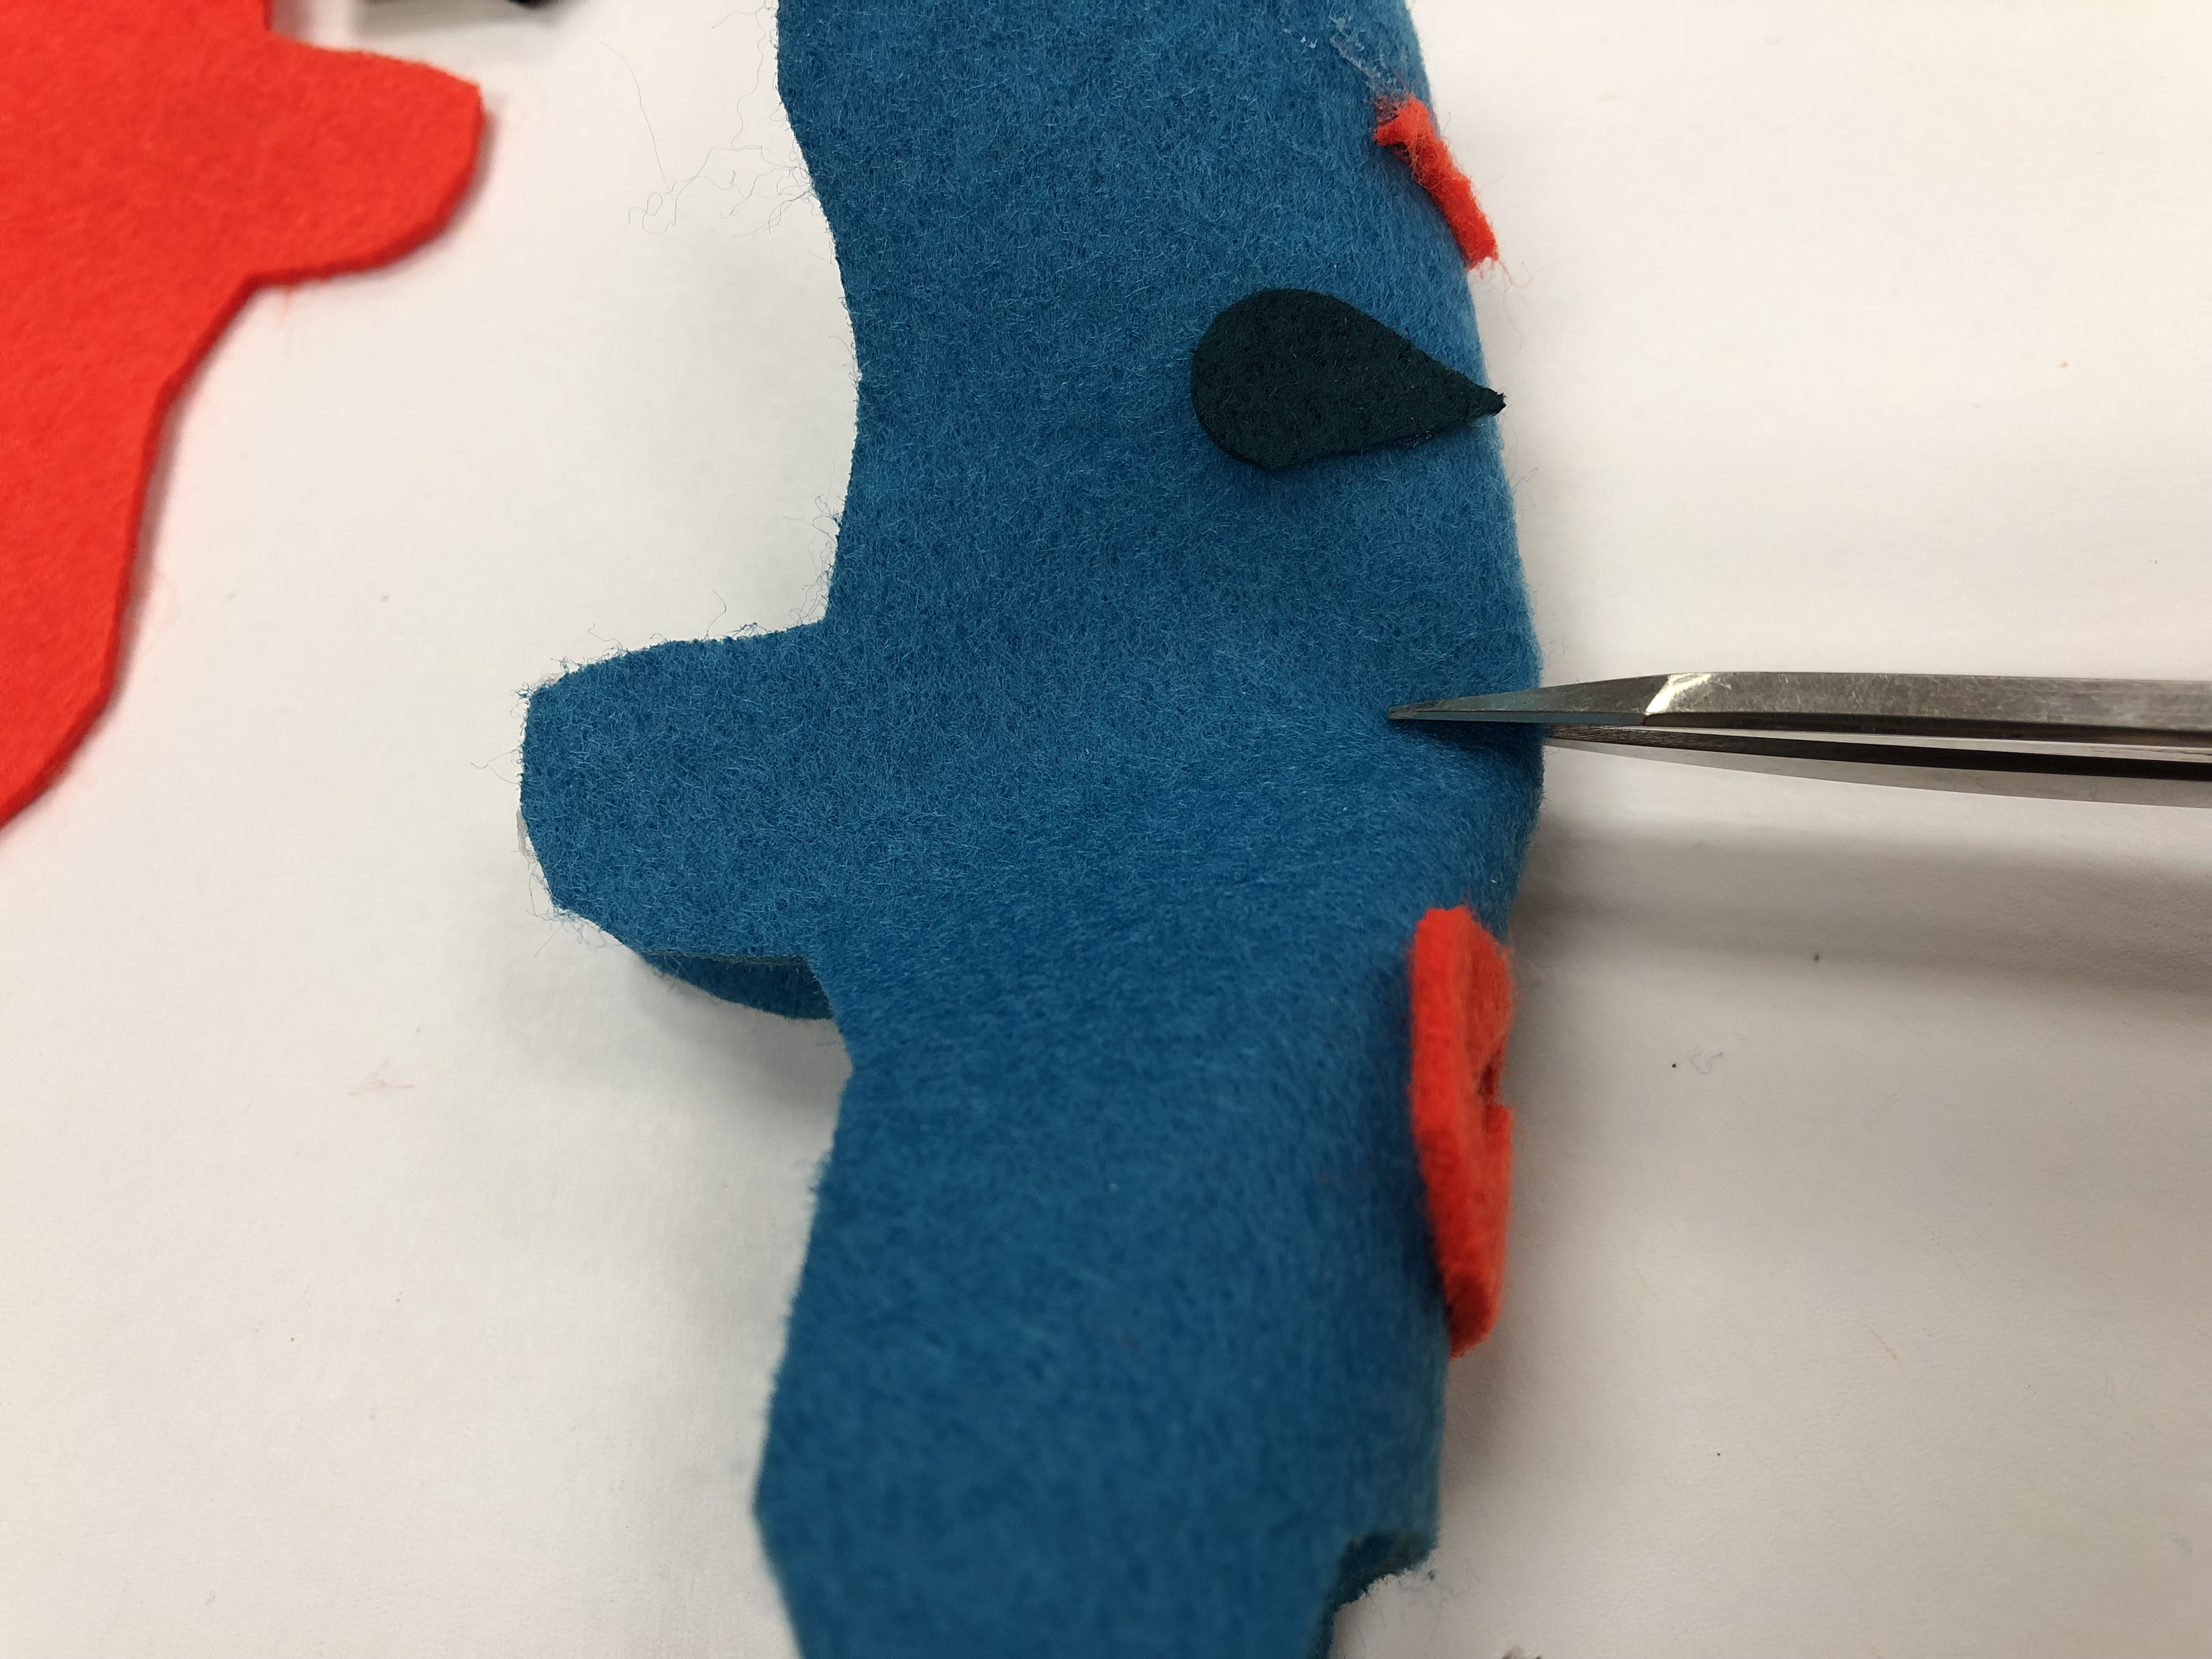
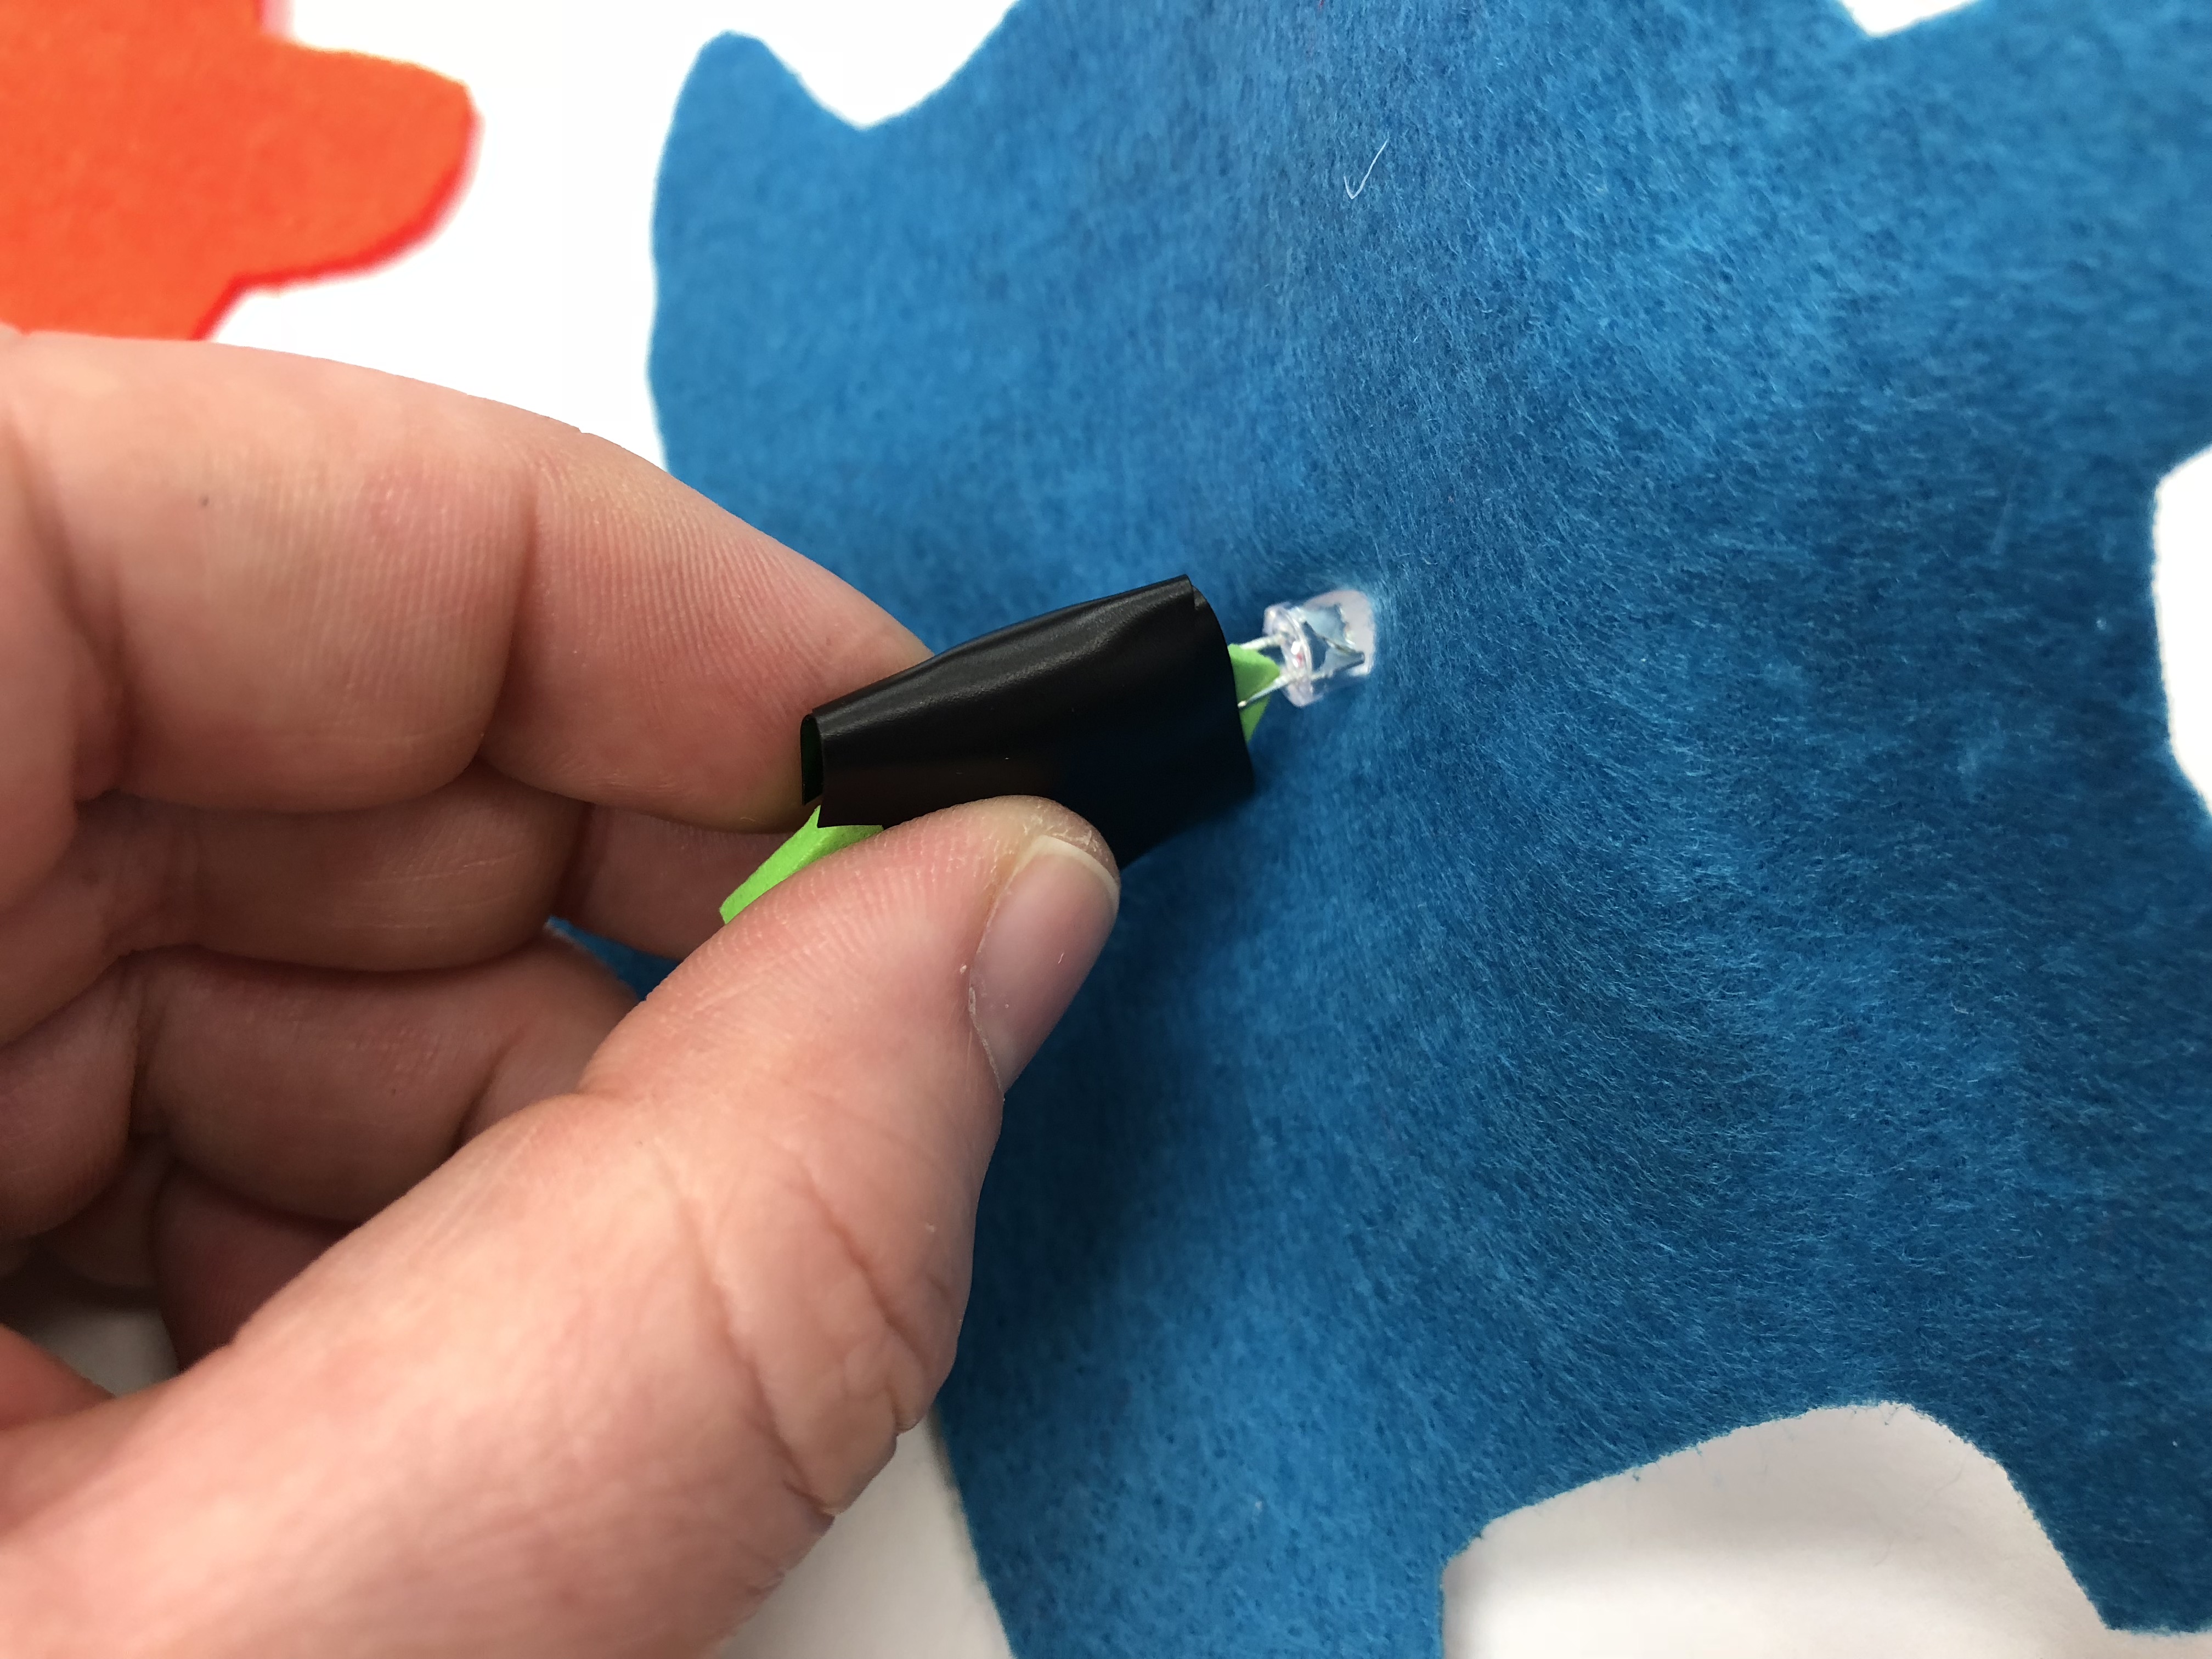
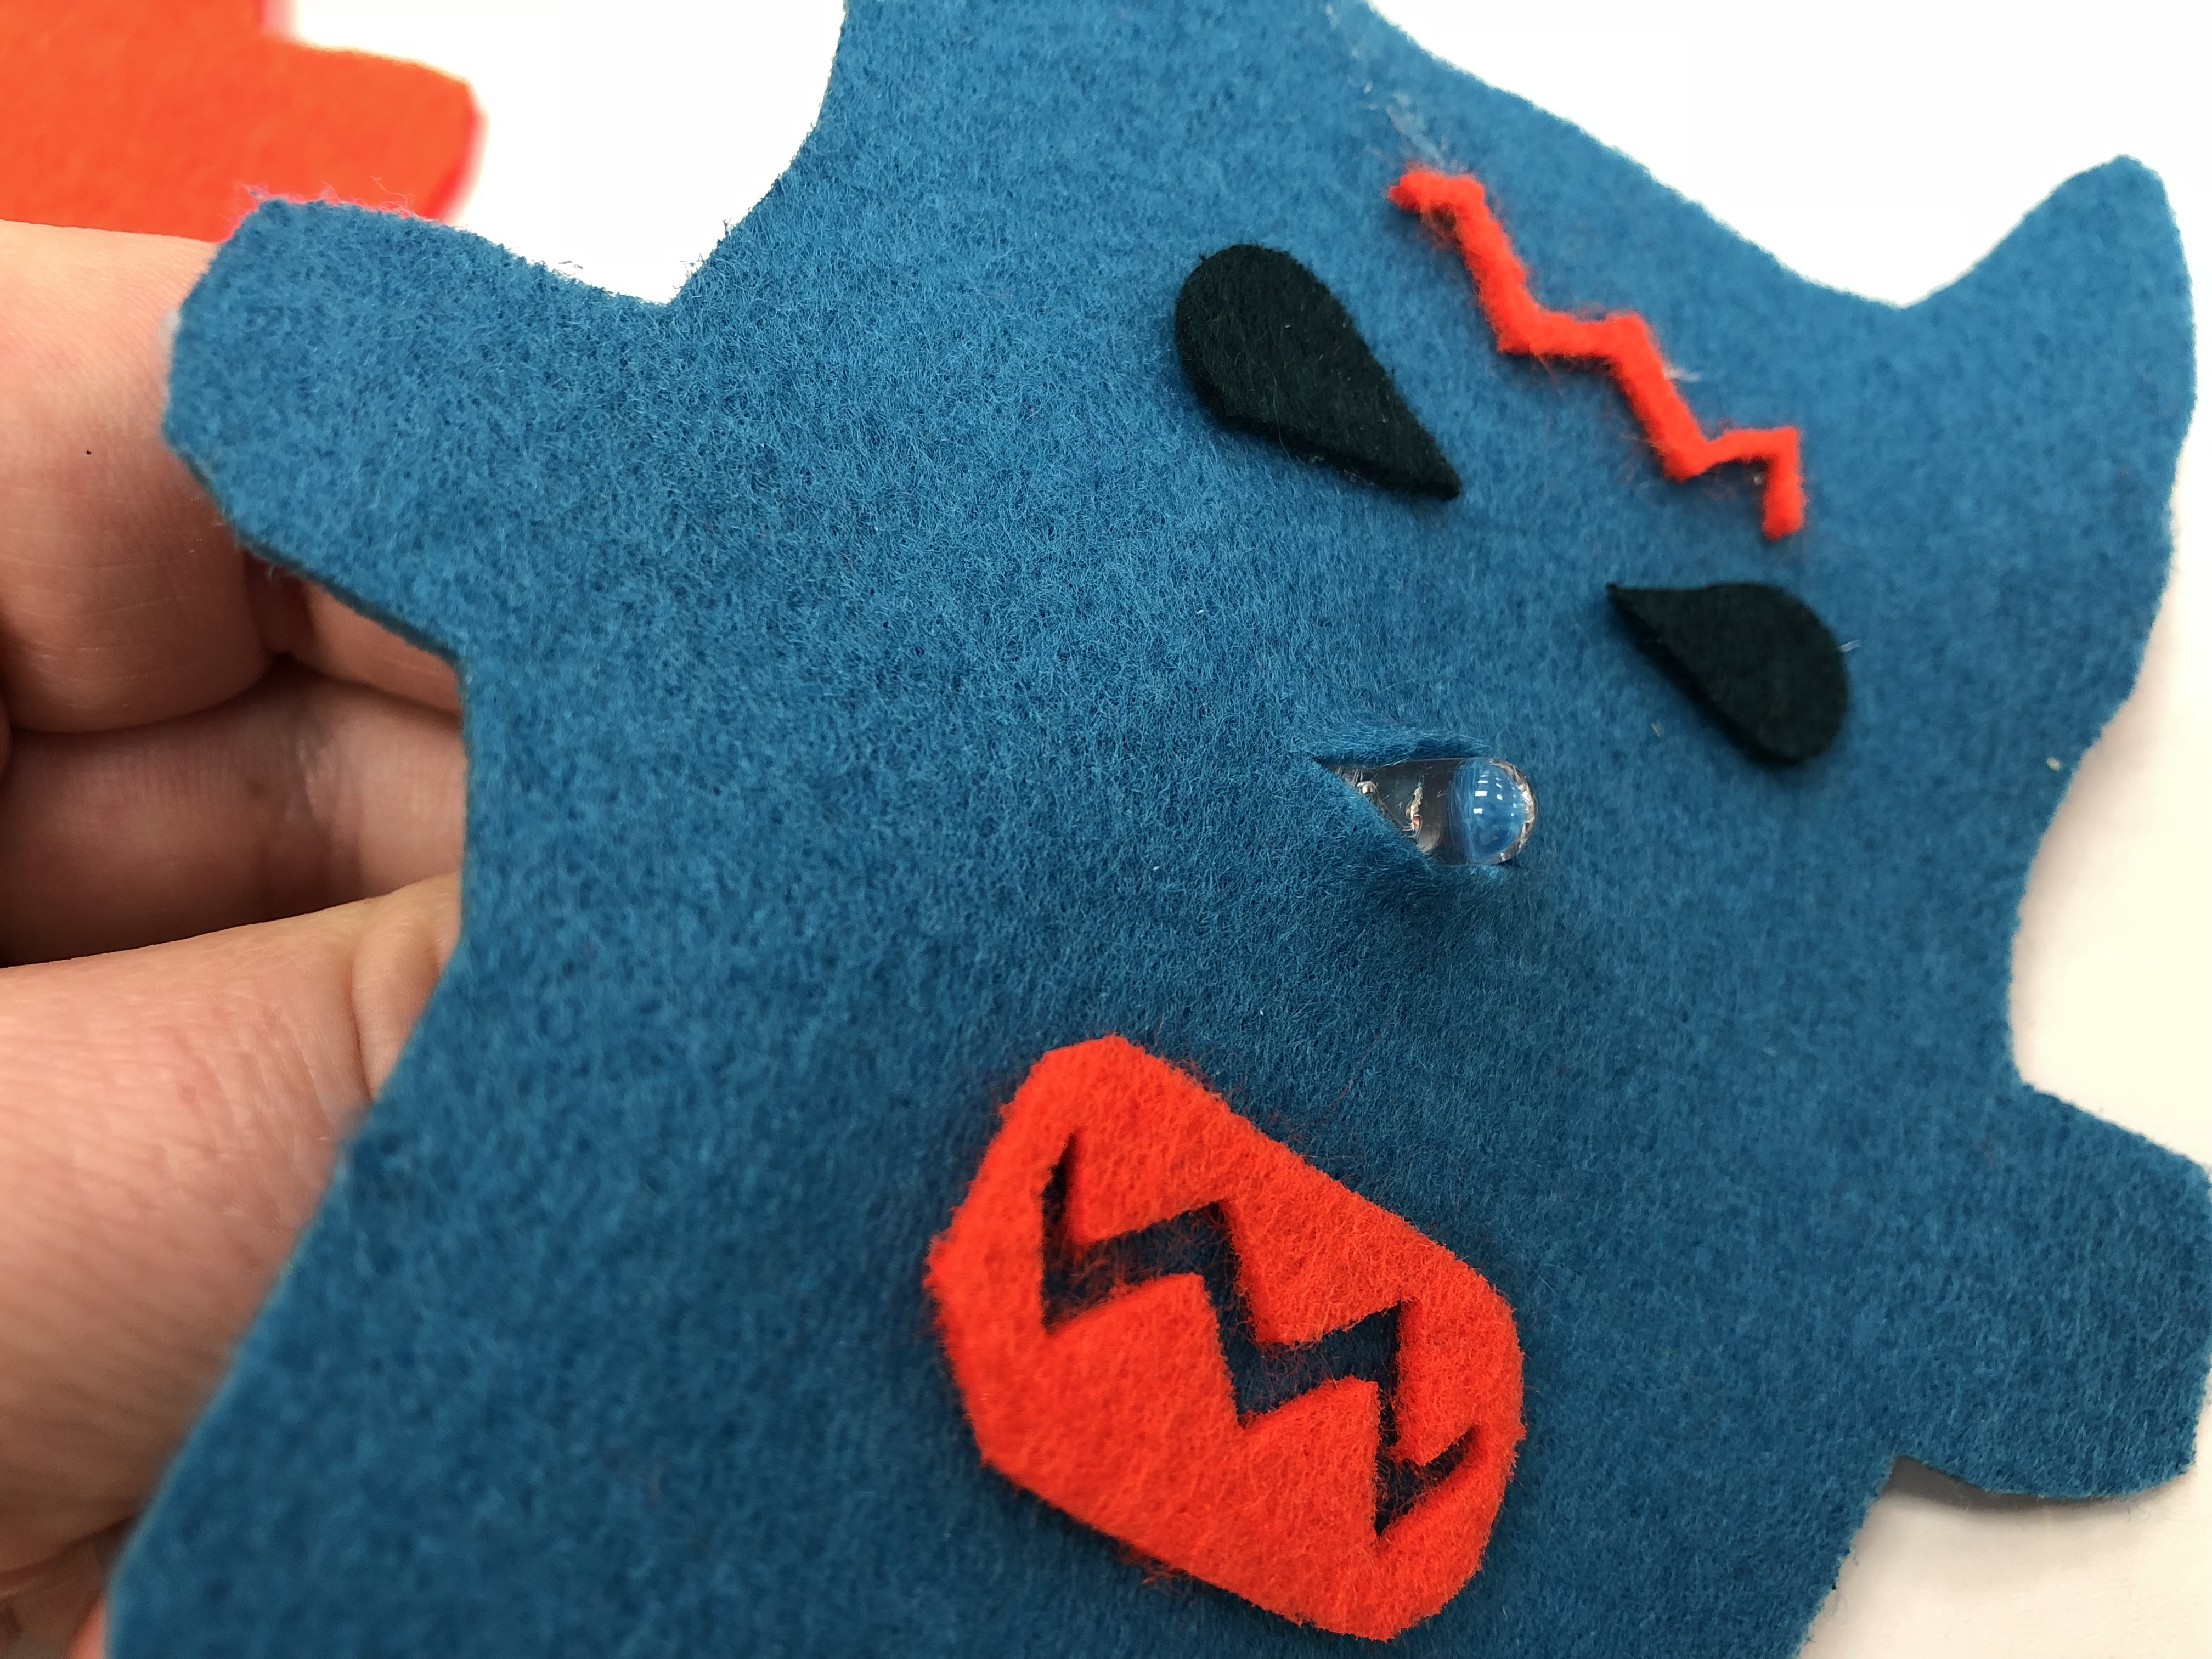
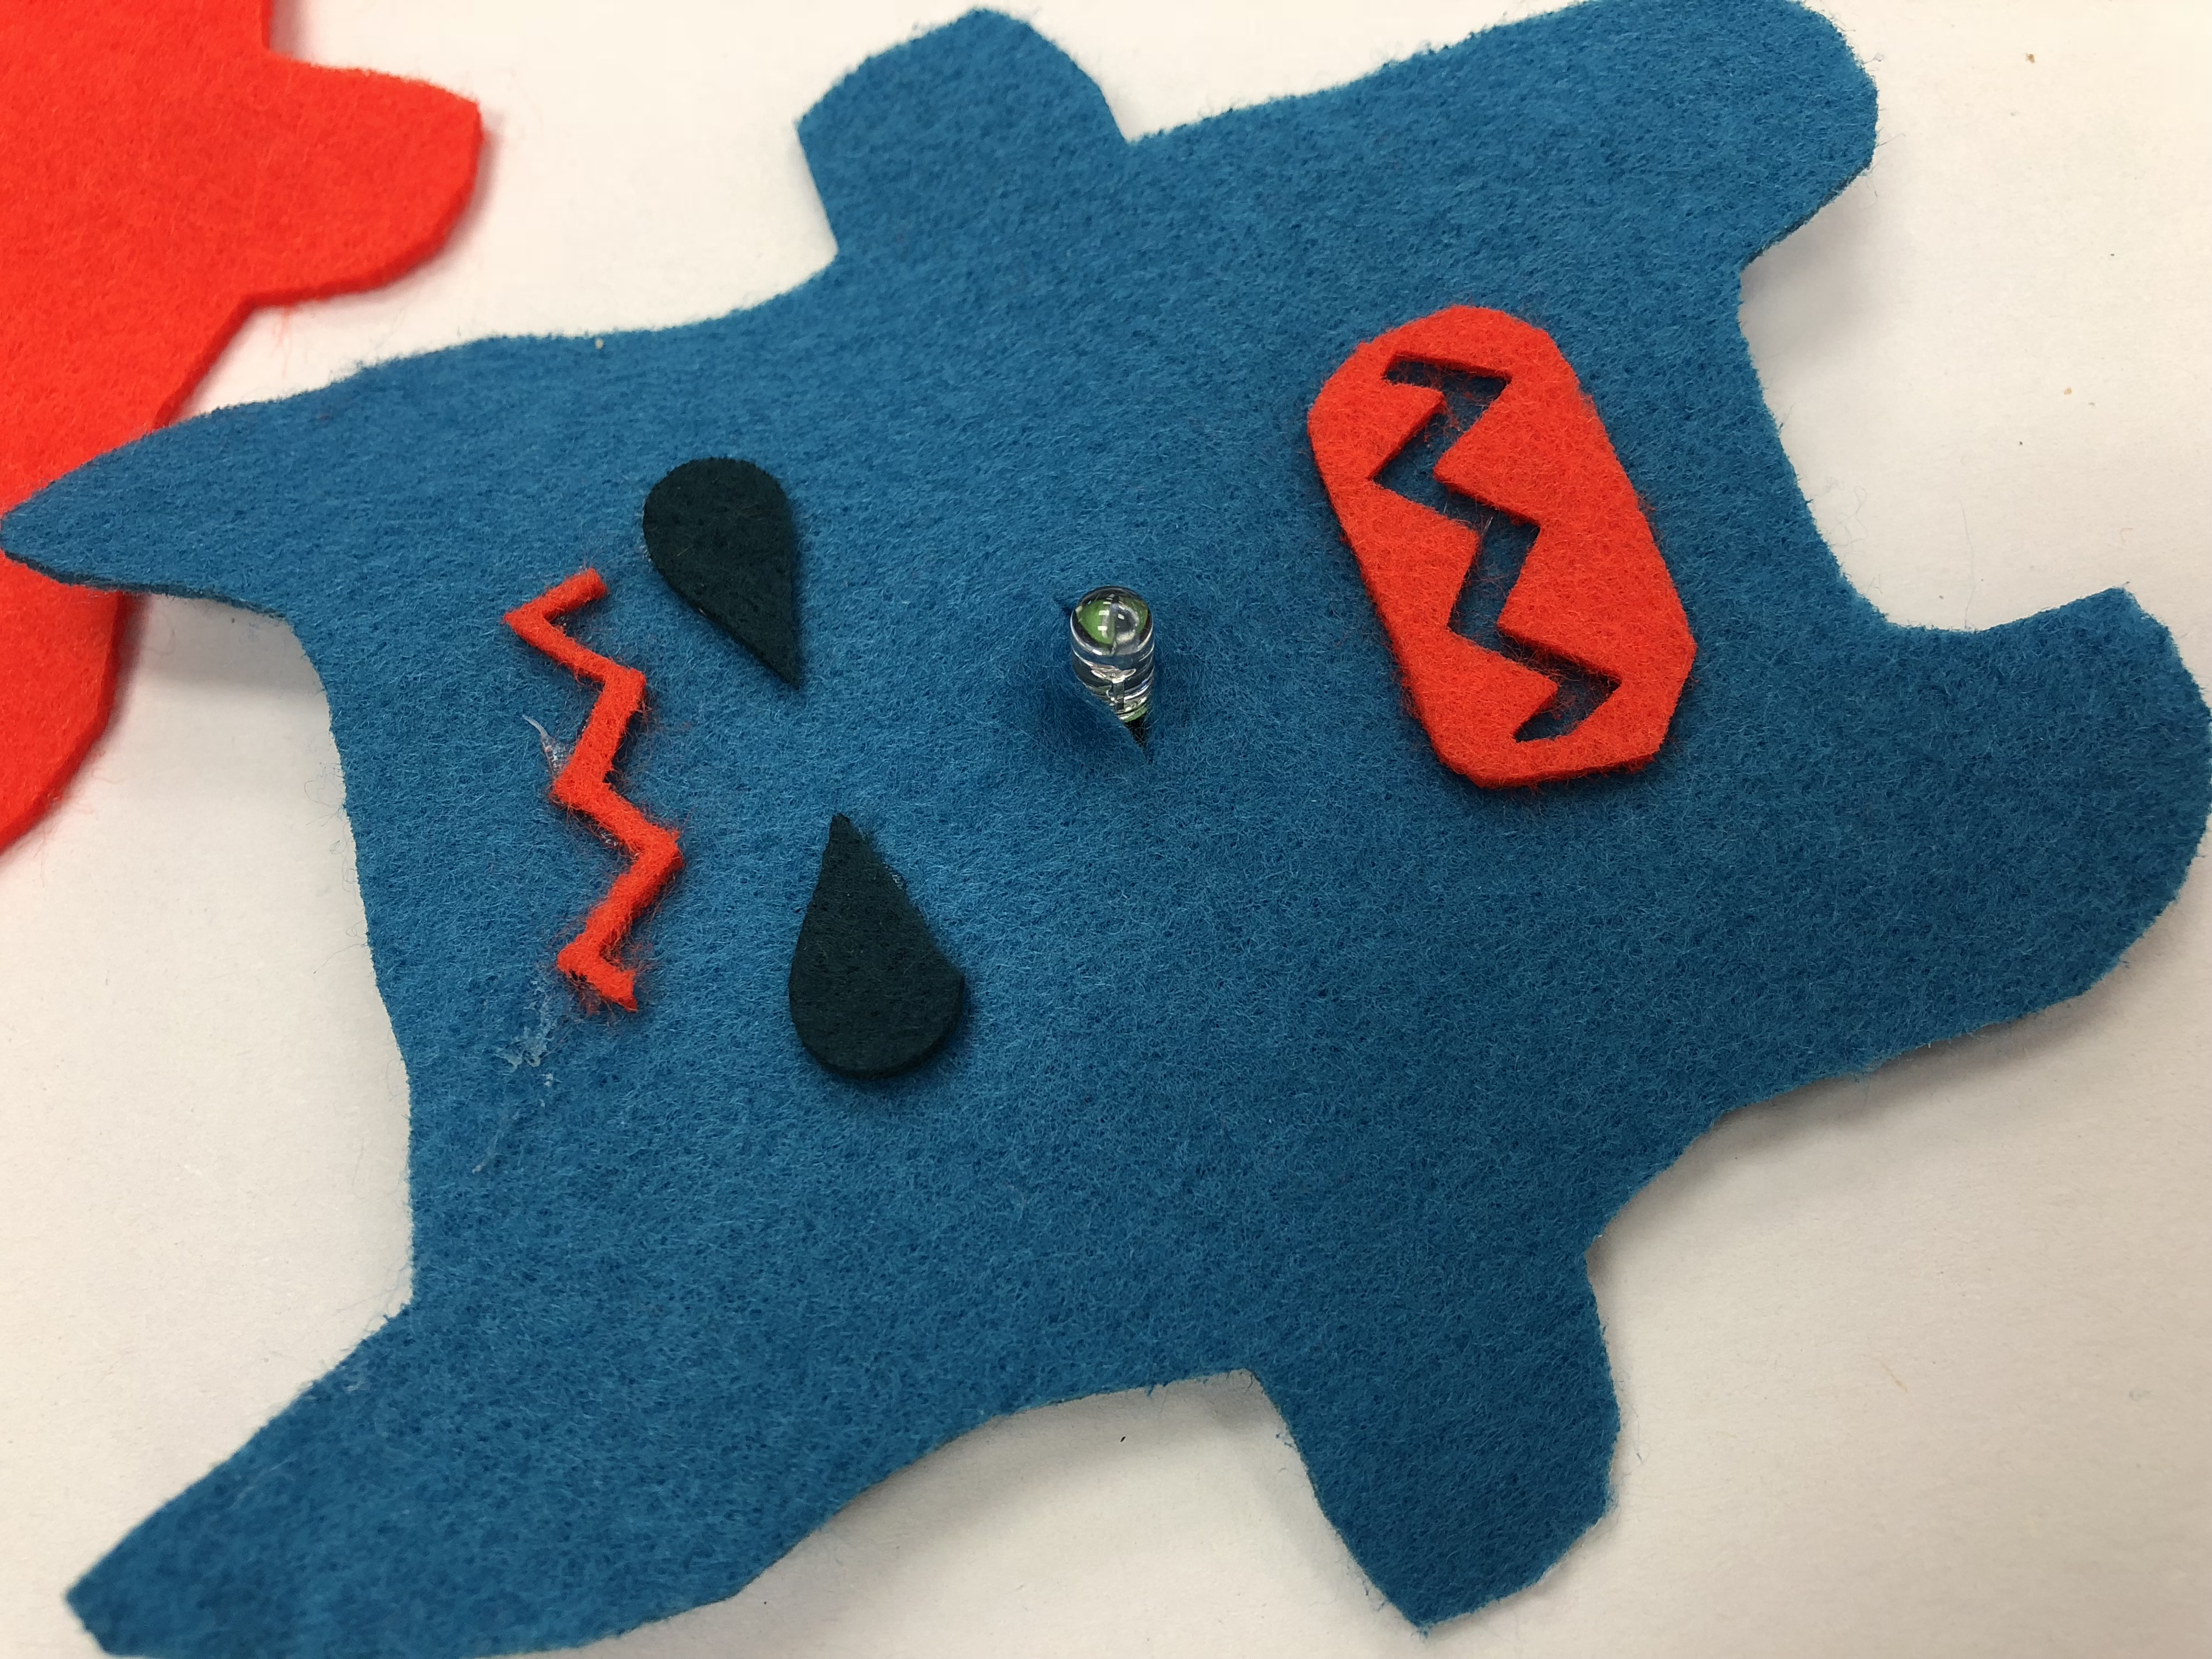
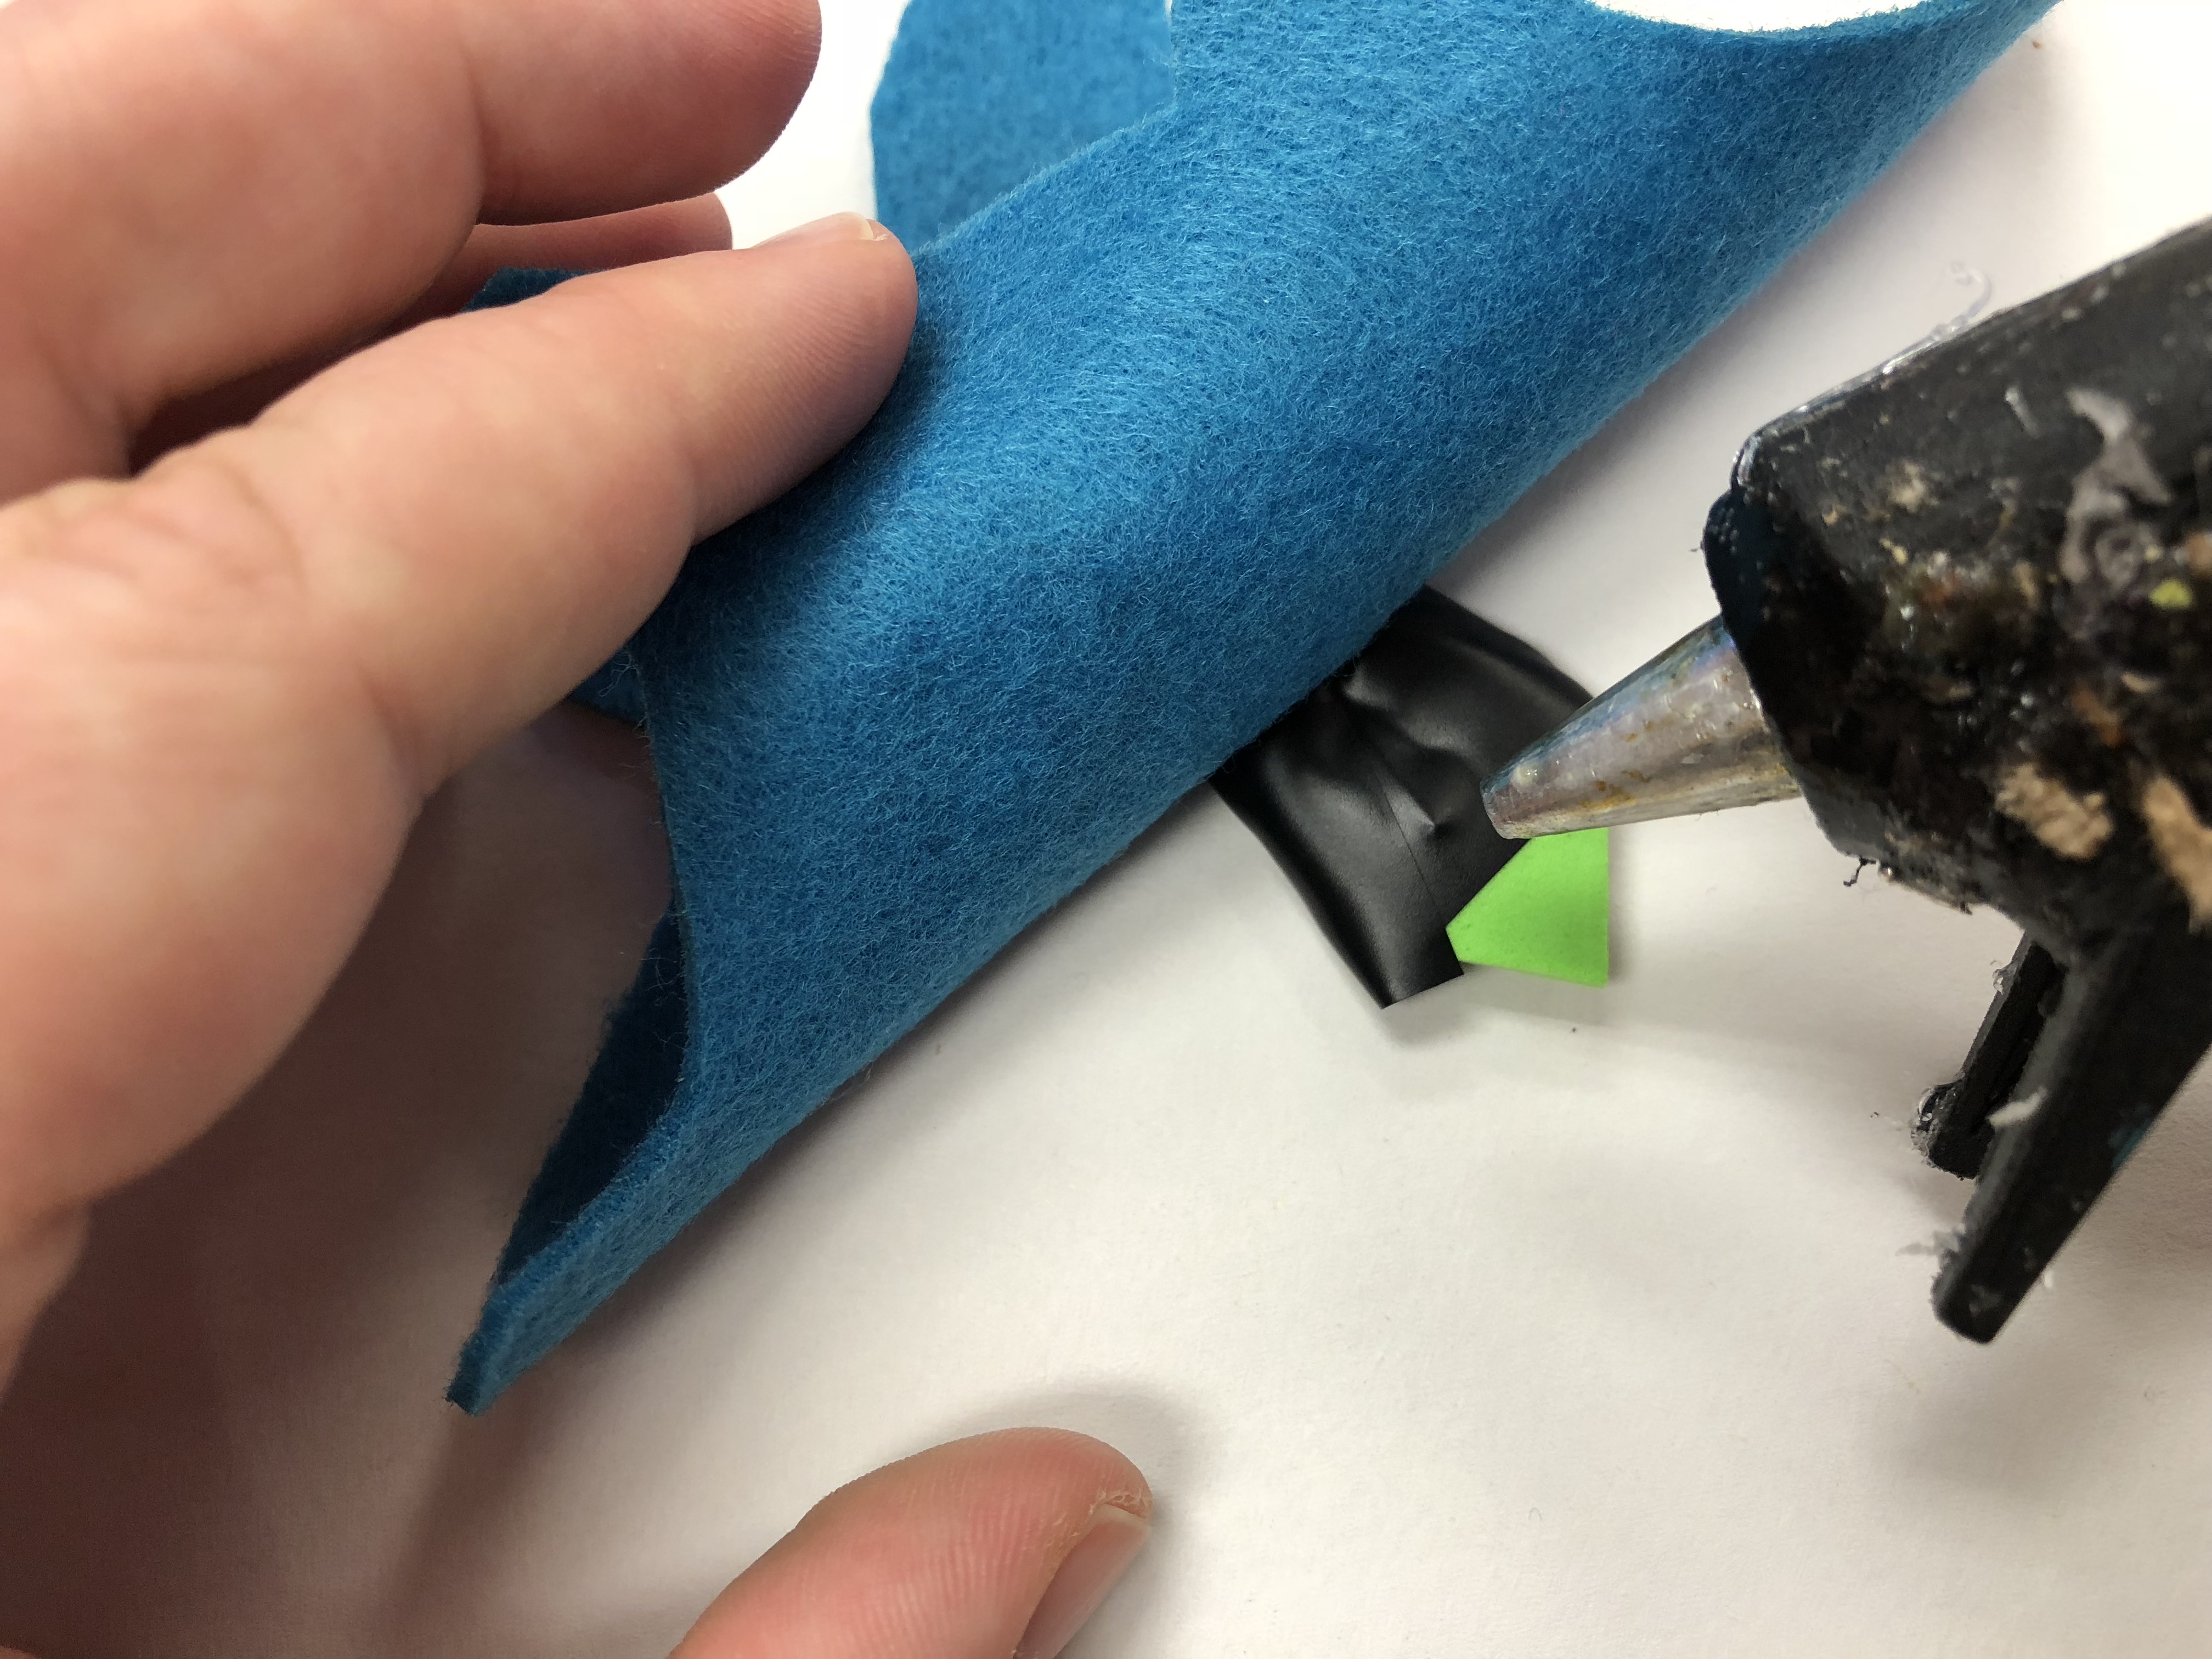
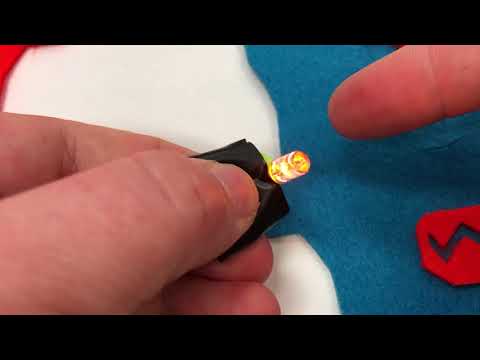
Add the LED to your creature's body. Decide where you would like your light to be.
If coming out of the creature's FRONT or BACK, then you'll need to make a small slit in the felt where the light comes out. You'll also need to bend the LED at a right angle so the light sticks out of the creature but you can still press the switch flat (video attached showing this).
If coming out of the creatures SIDE, then simply make sure you have enough felt to cover the switch. For example, if trying to place the light so it comes out of the creature's hand, the hand may not be big enough to conceal the switch. But everyone has different tastes and maybe you don't mind seeing the switch a little. That's OK too.
Once you've decided on a location, I suggest you use a little hot glue to secure the switch to the inside of your creature, that way it won't move around on you. Secure the switch, foam side UP, this allows the switch to work with less pressure.
Attach & Stuff Your Creature...then Play!
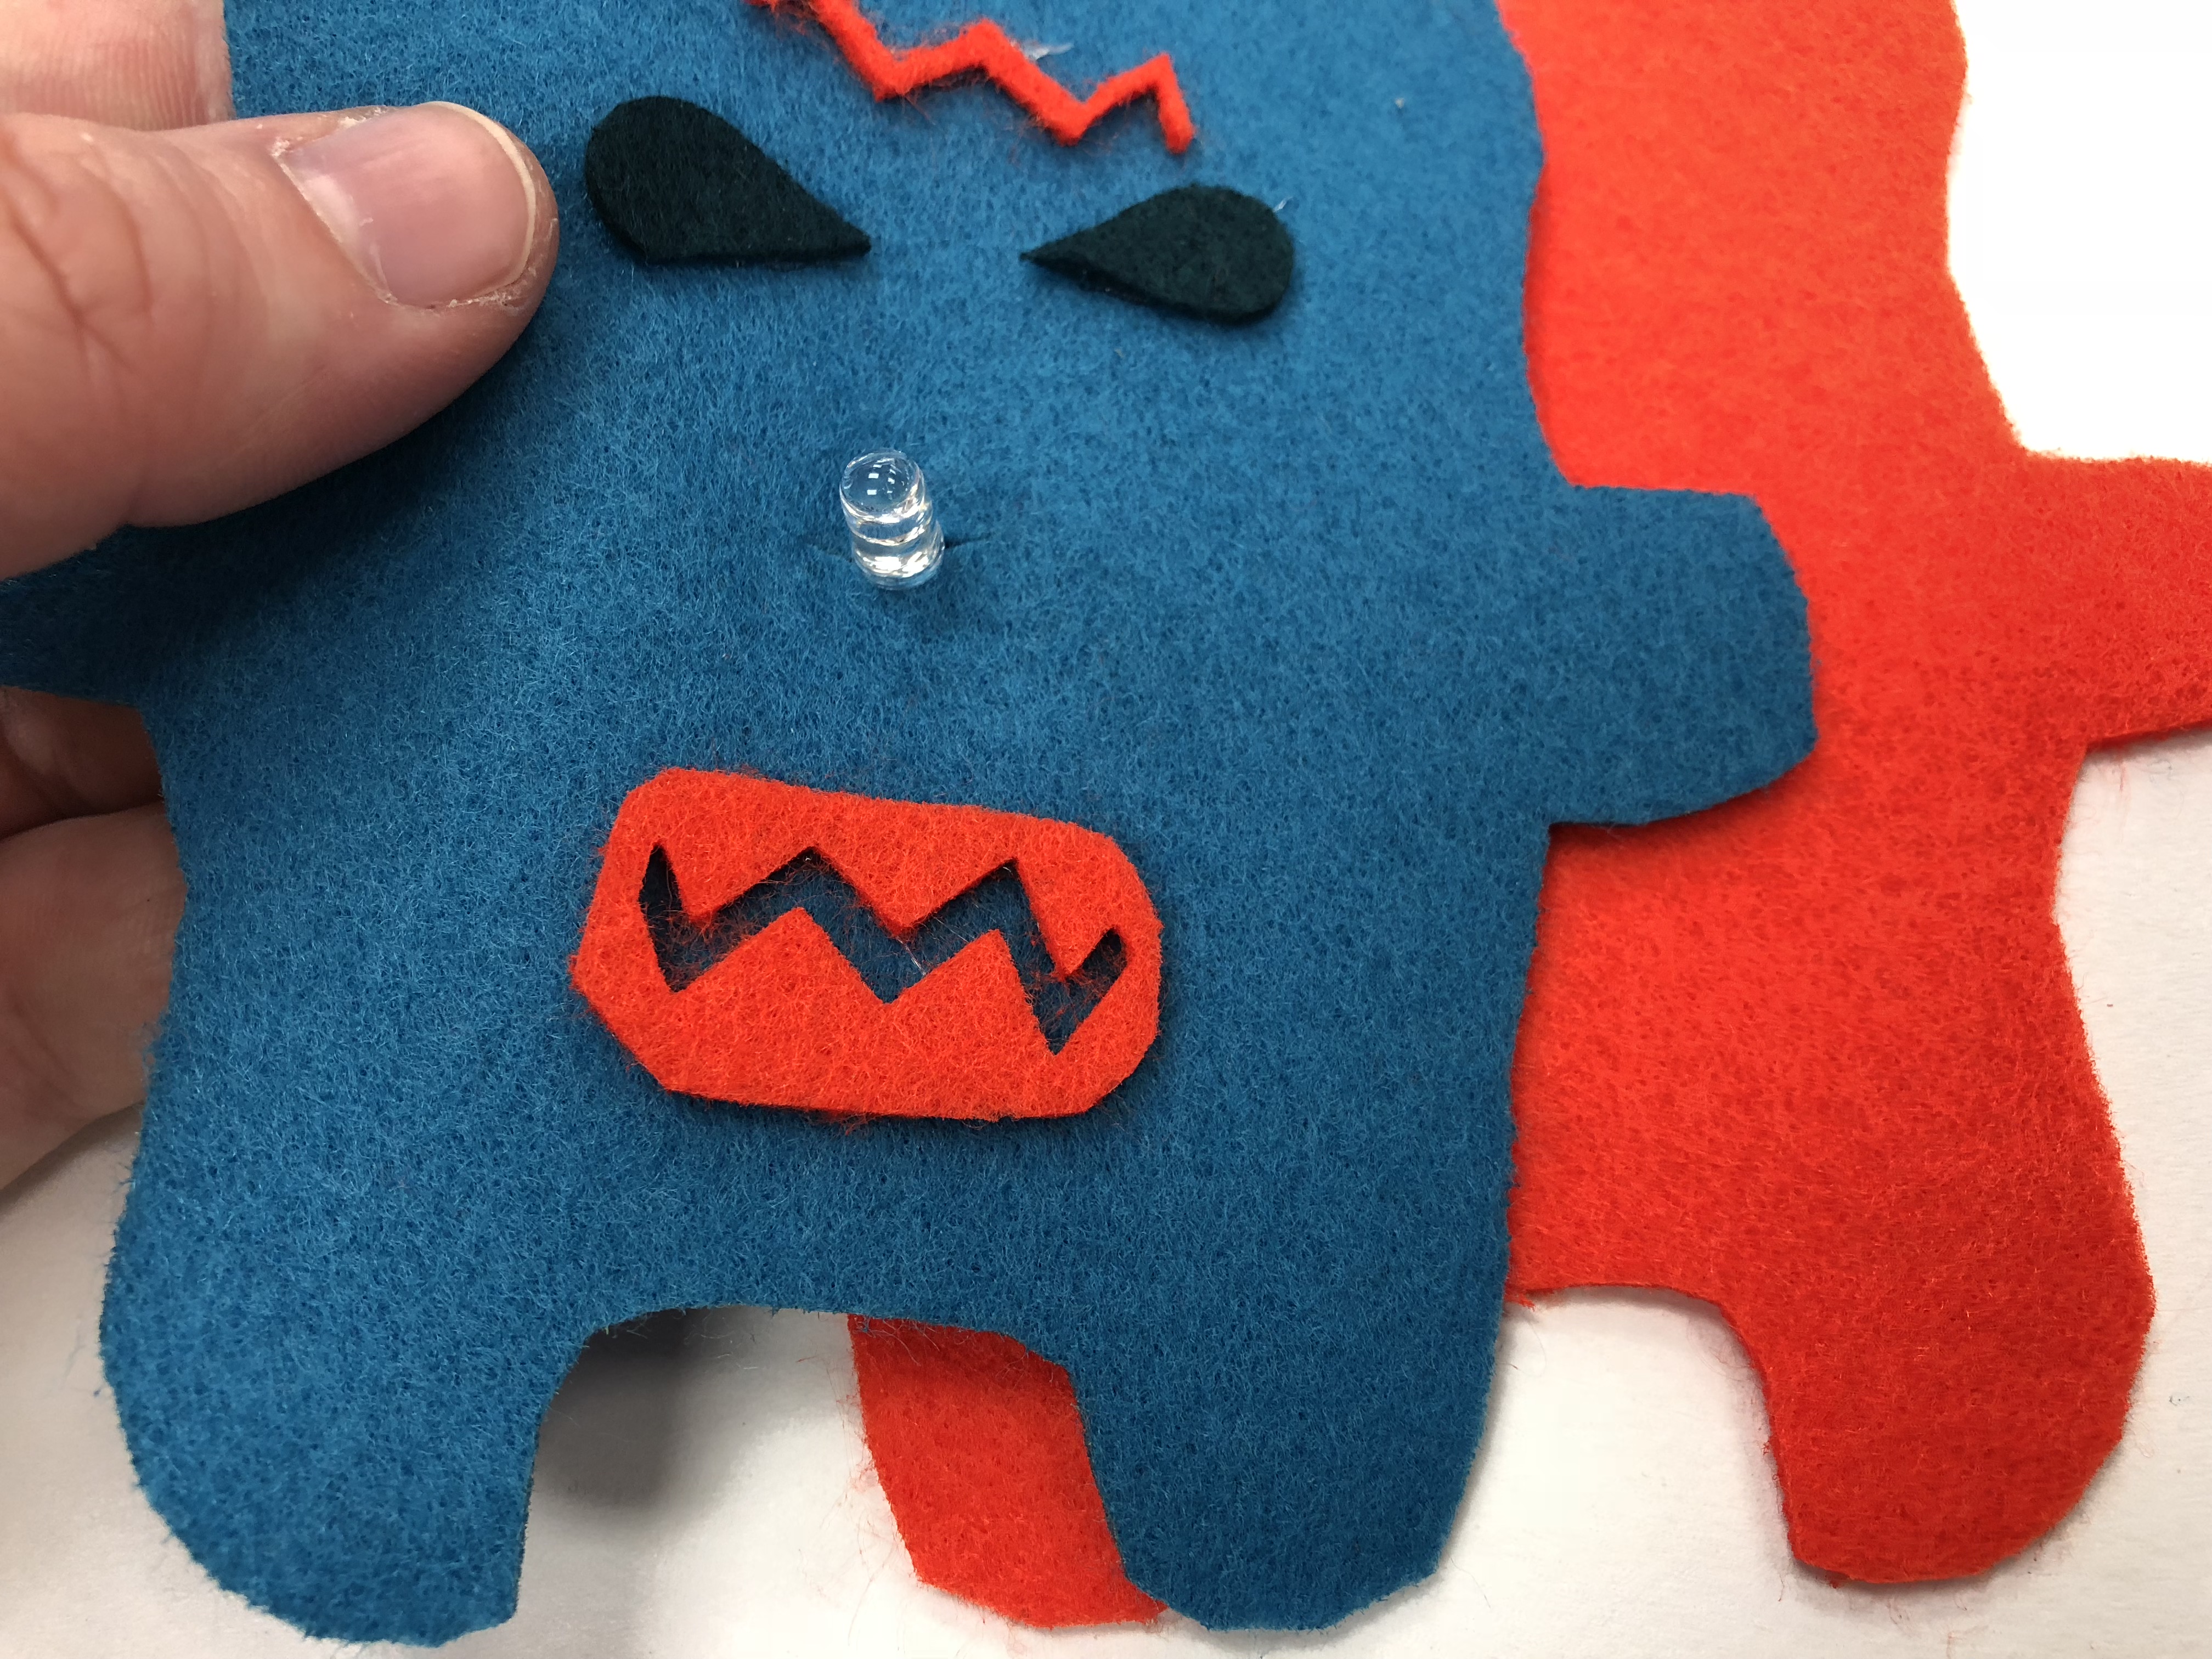
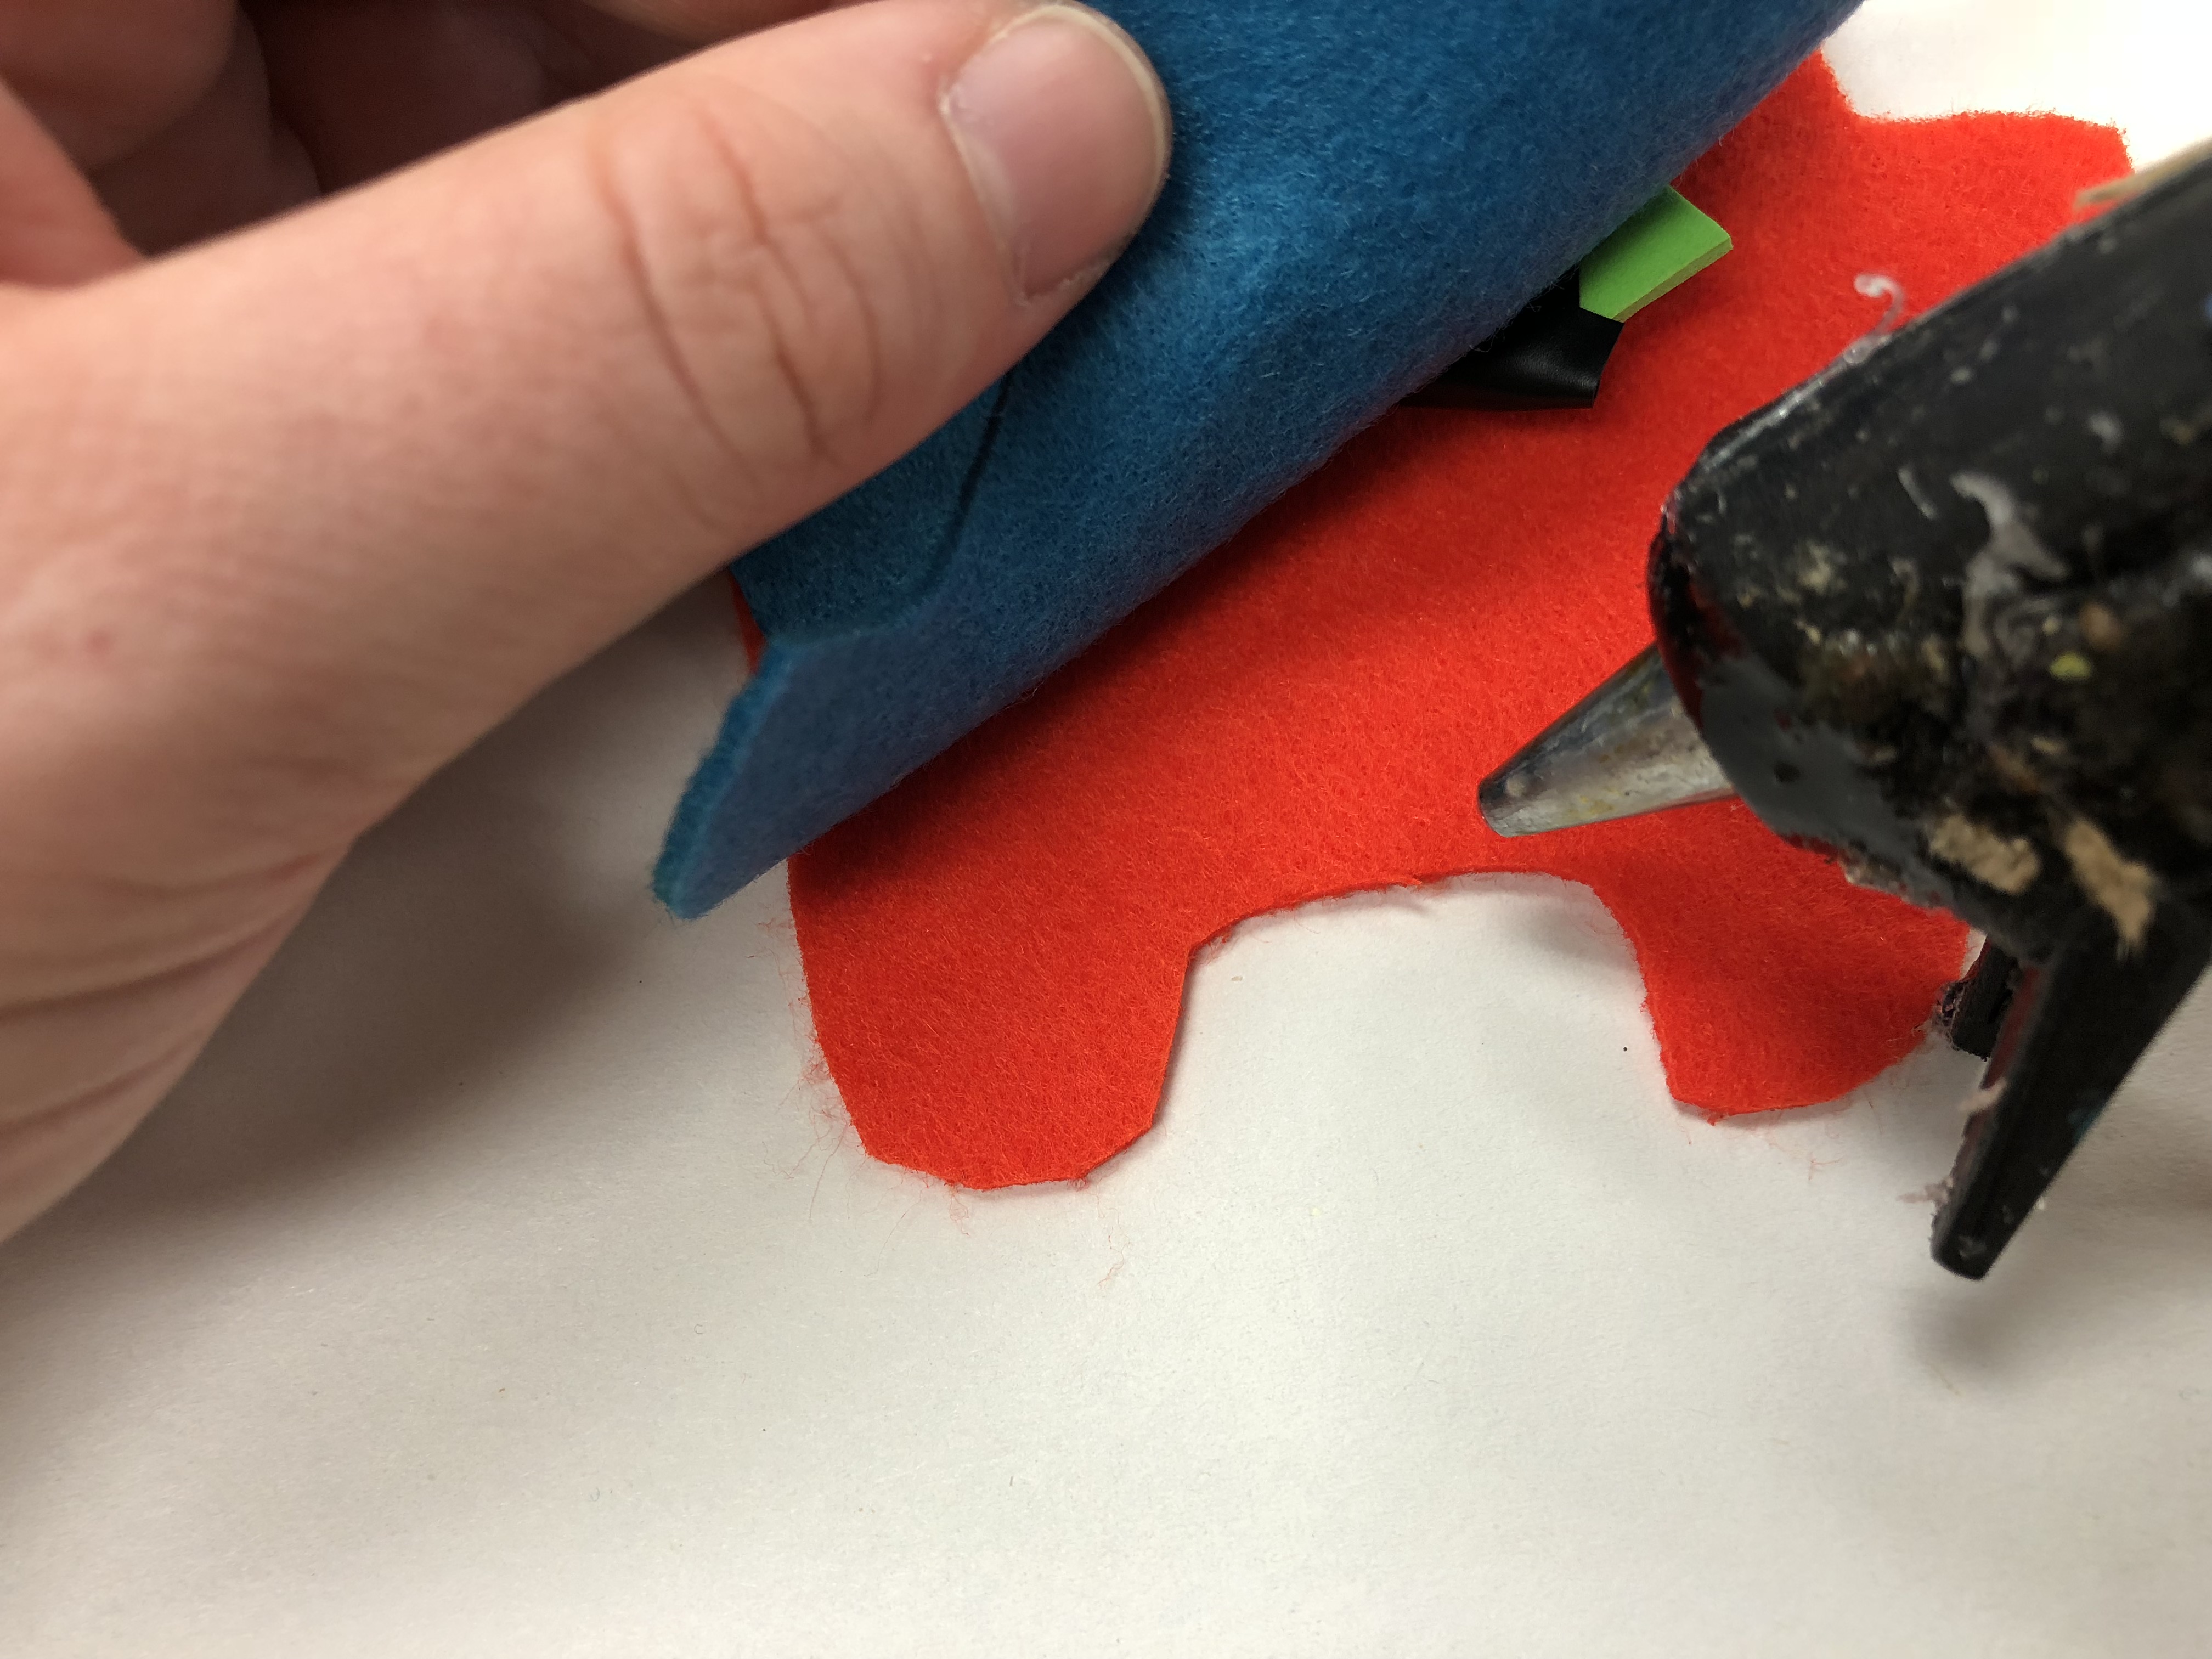
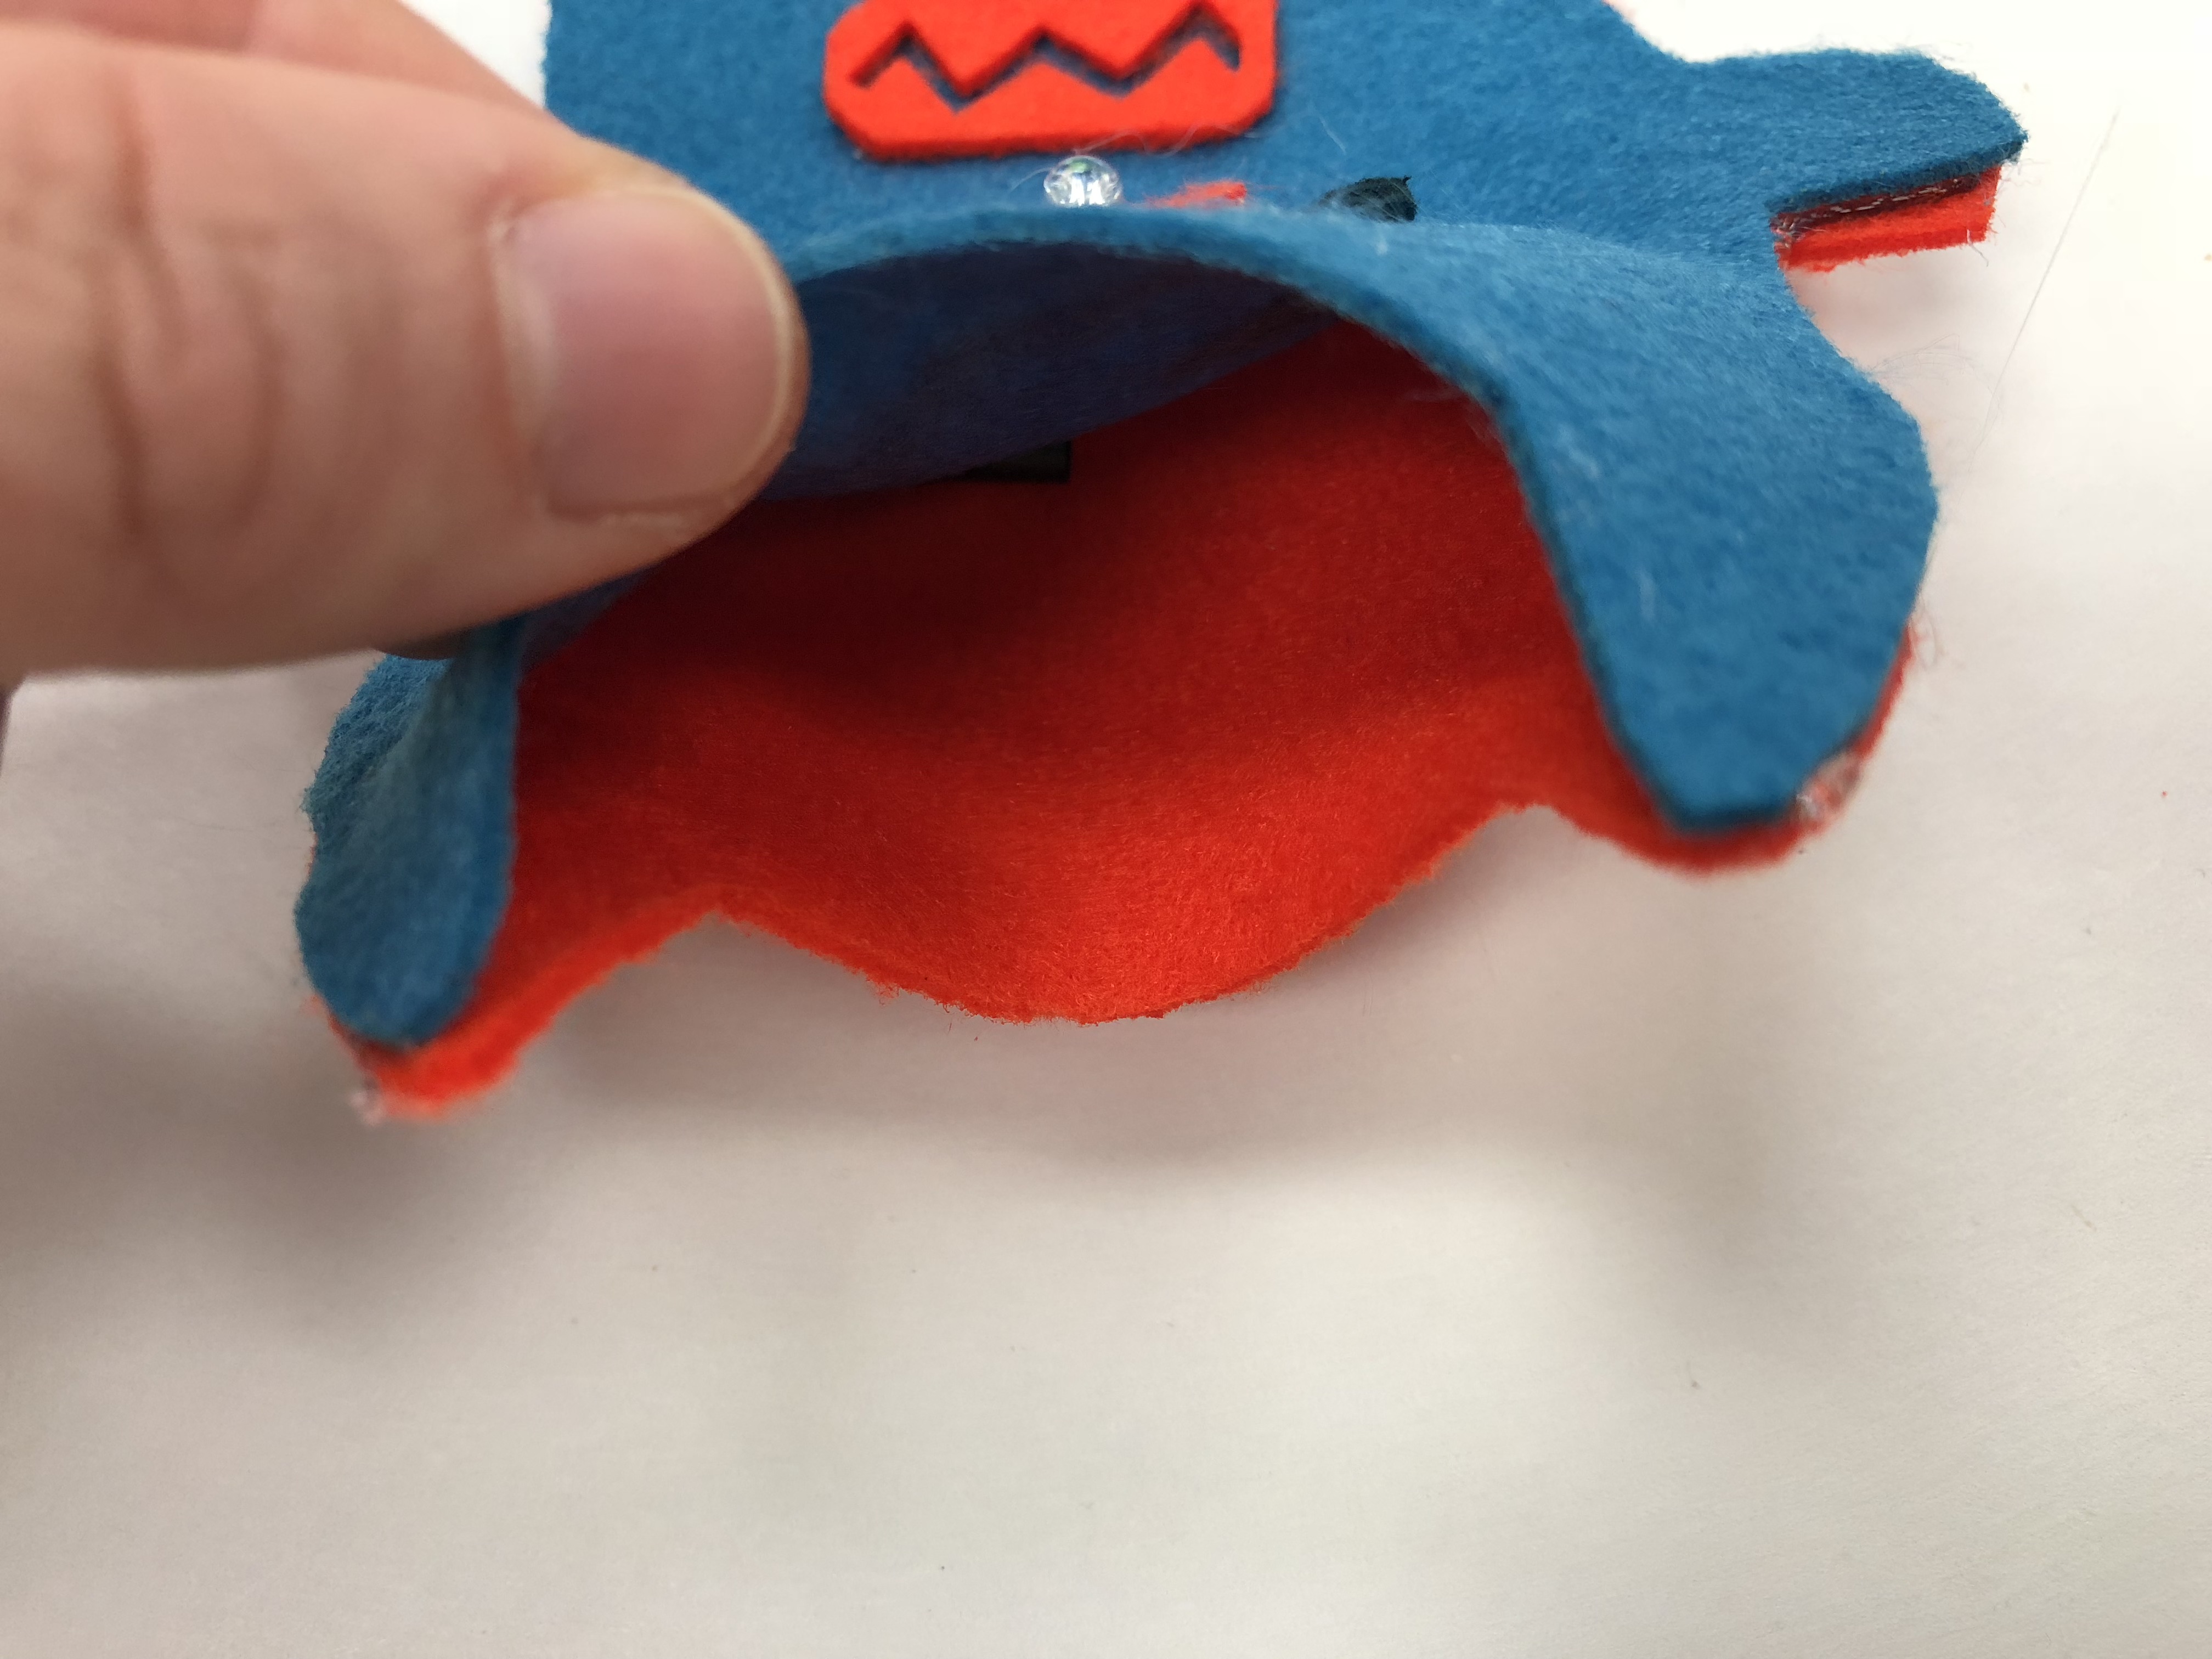
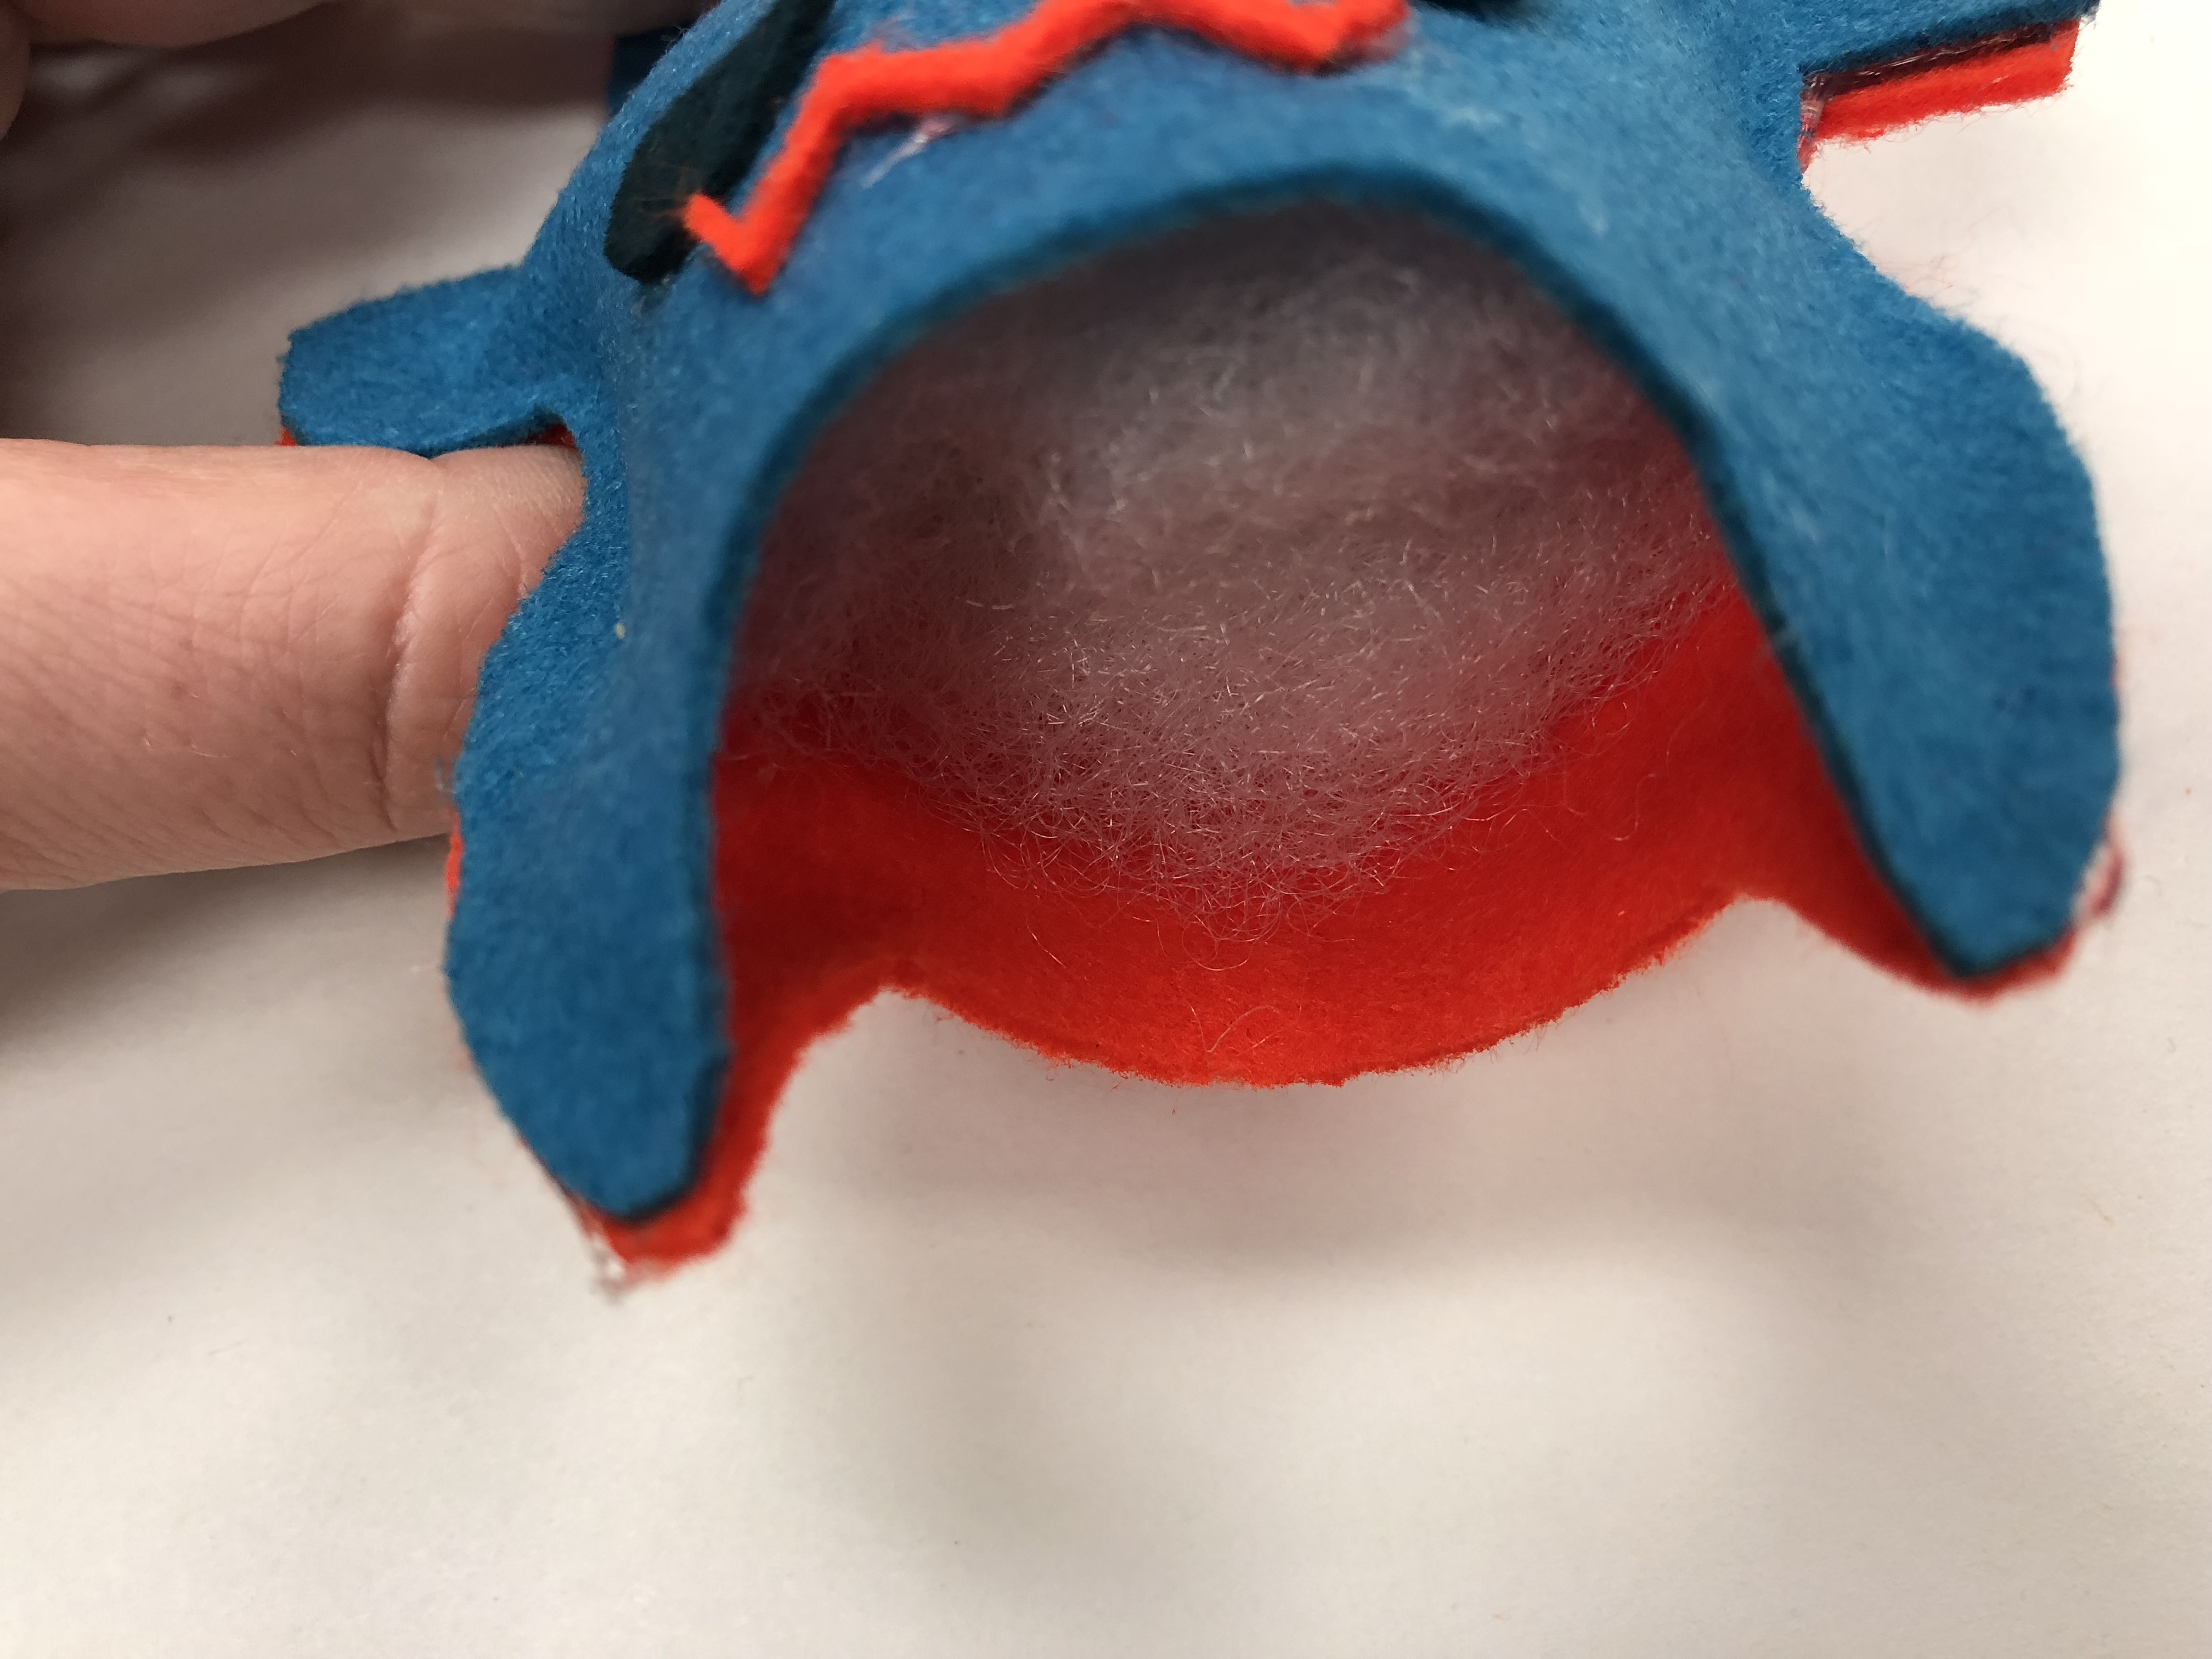
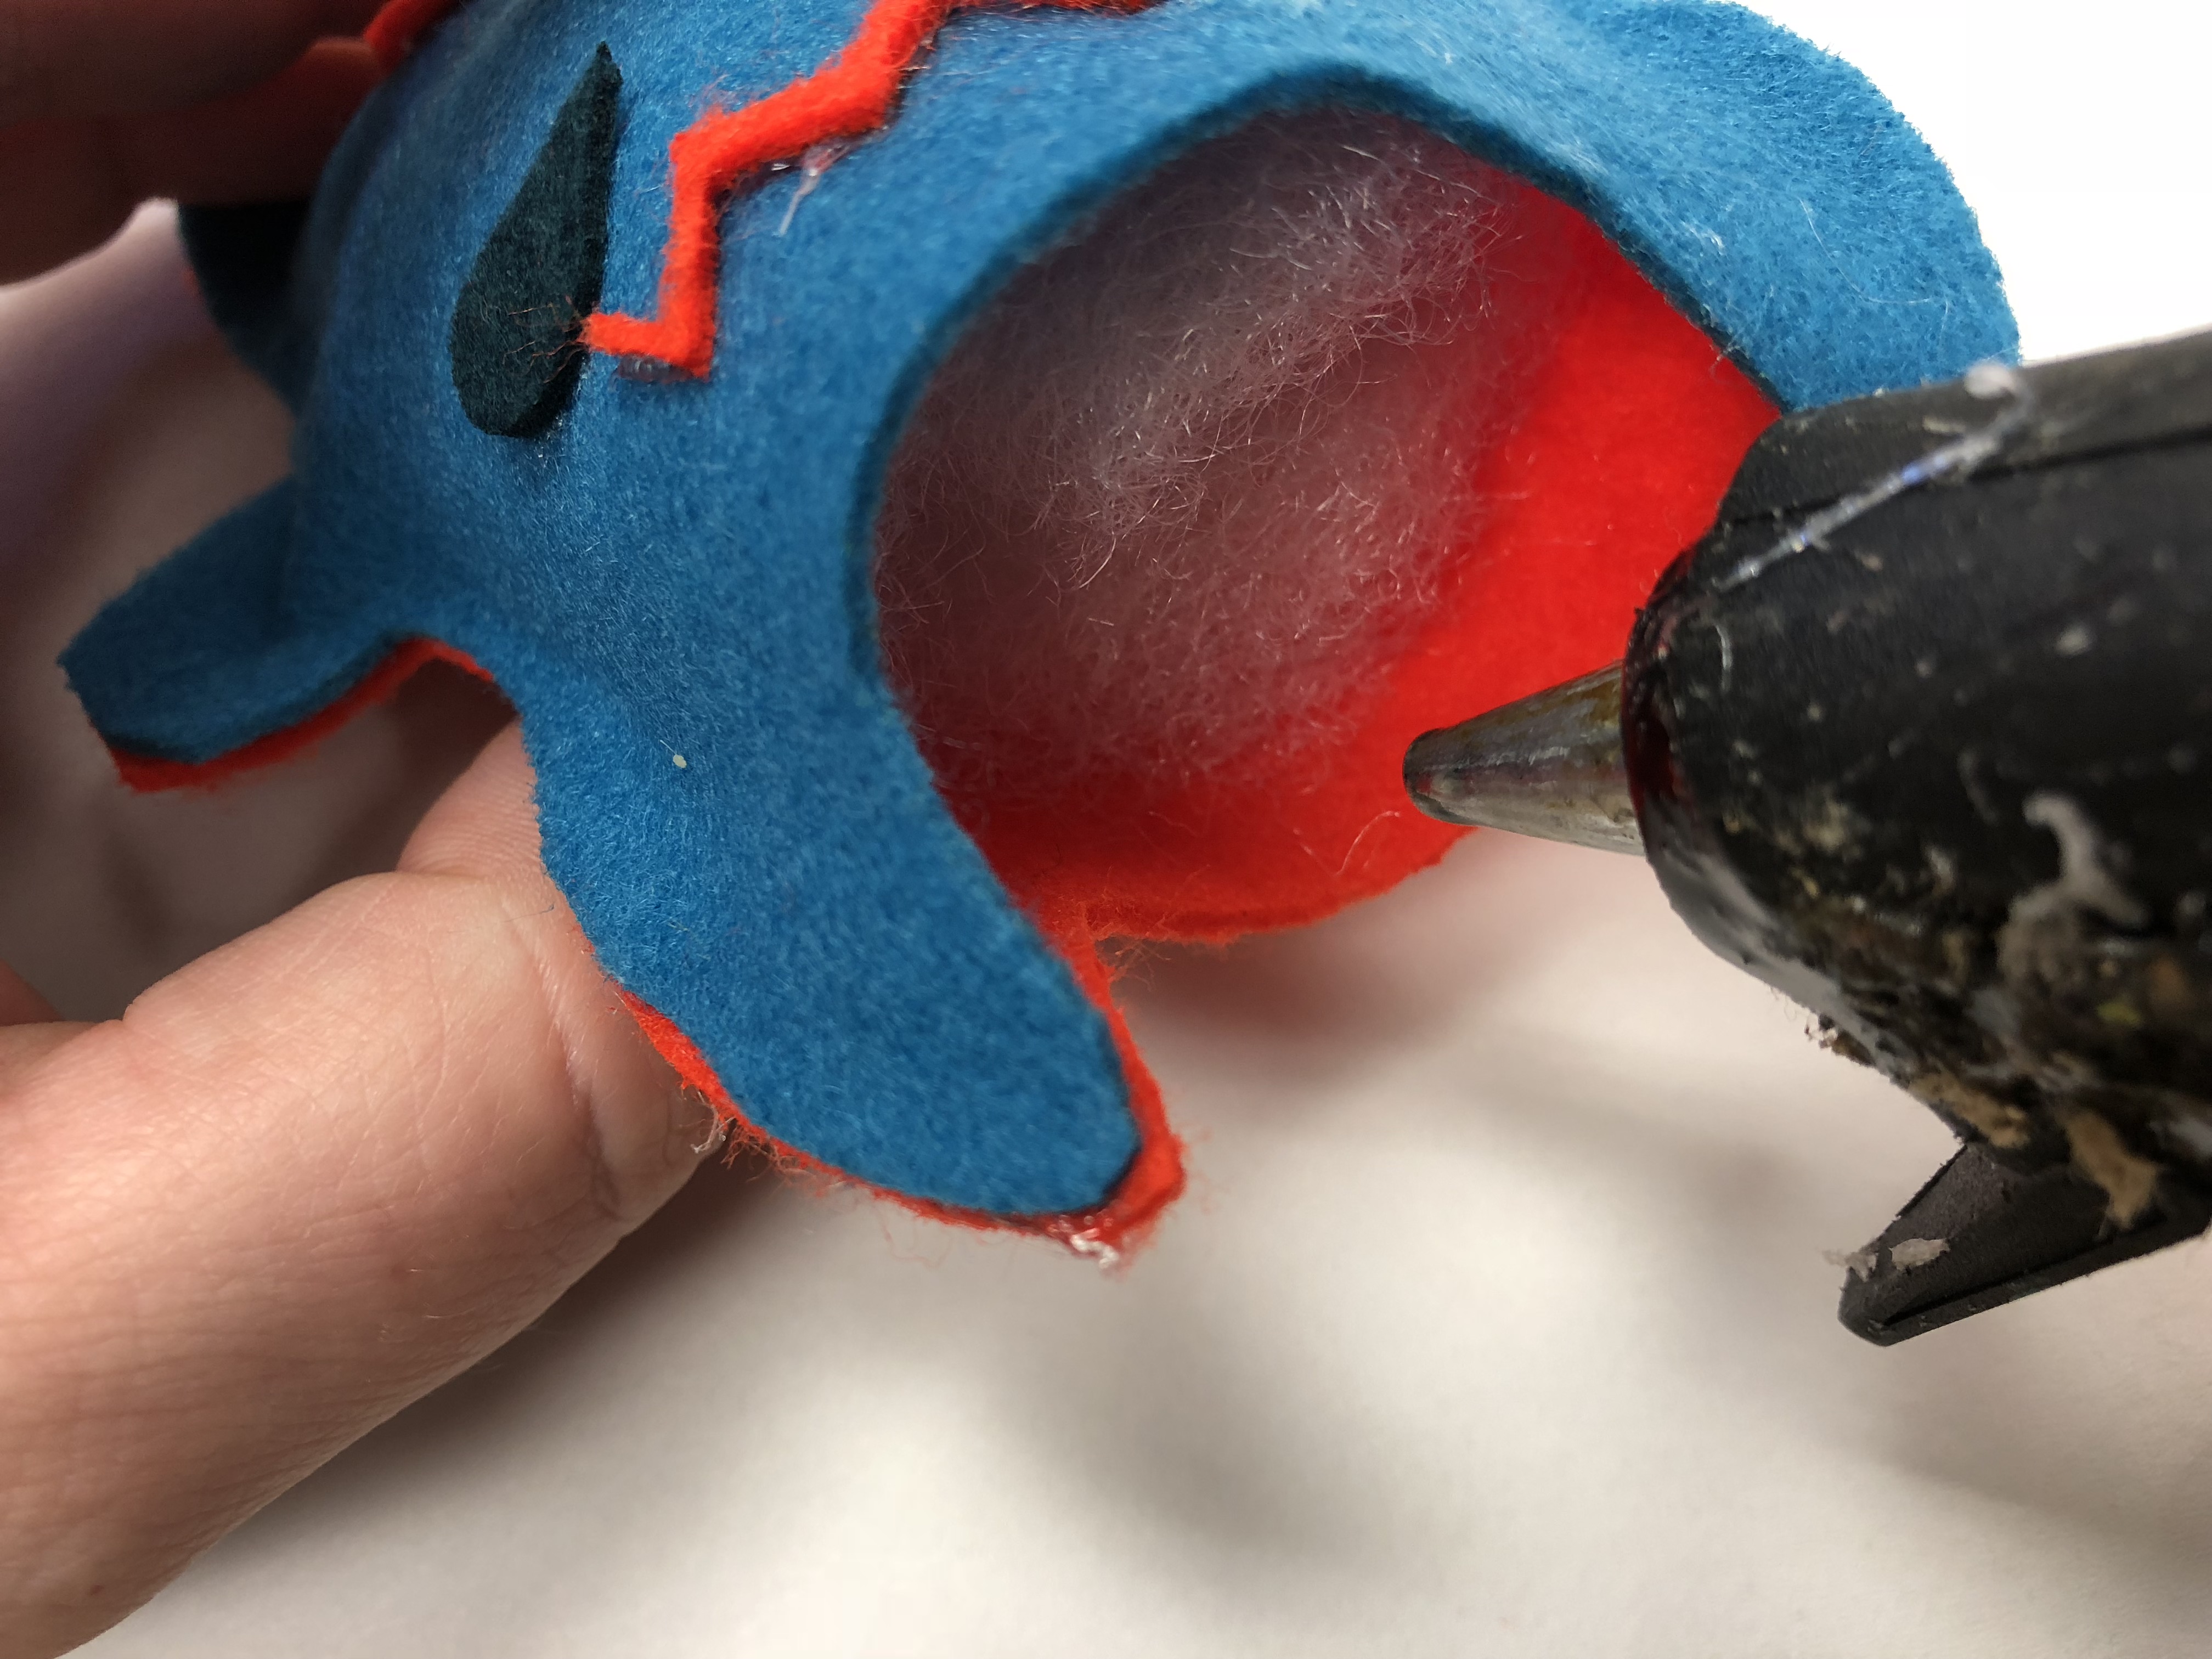
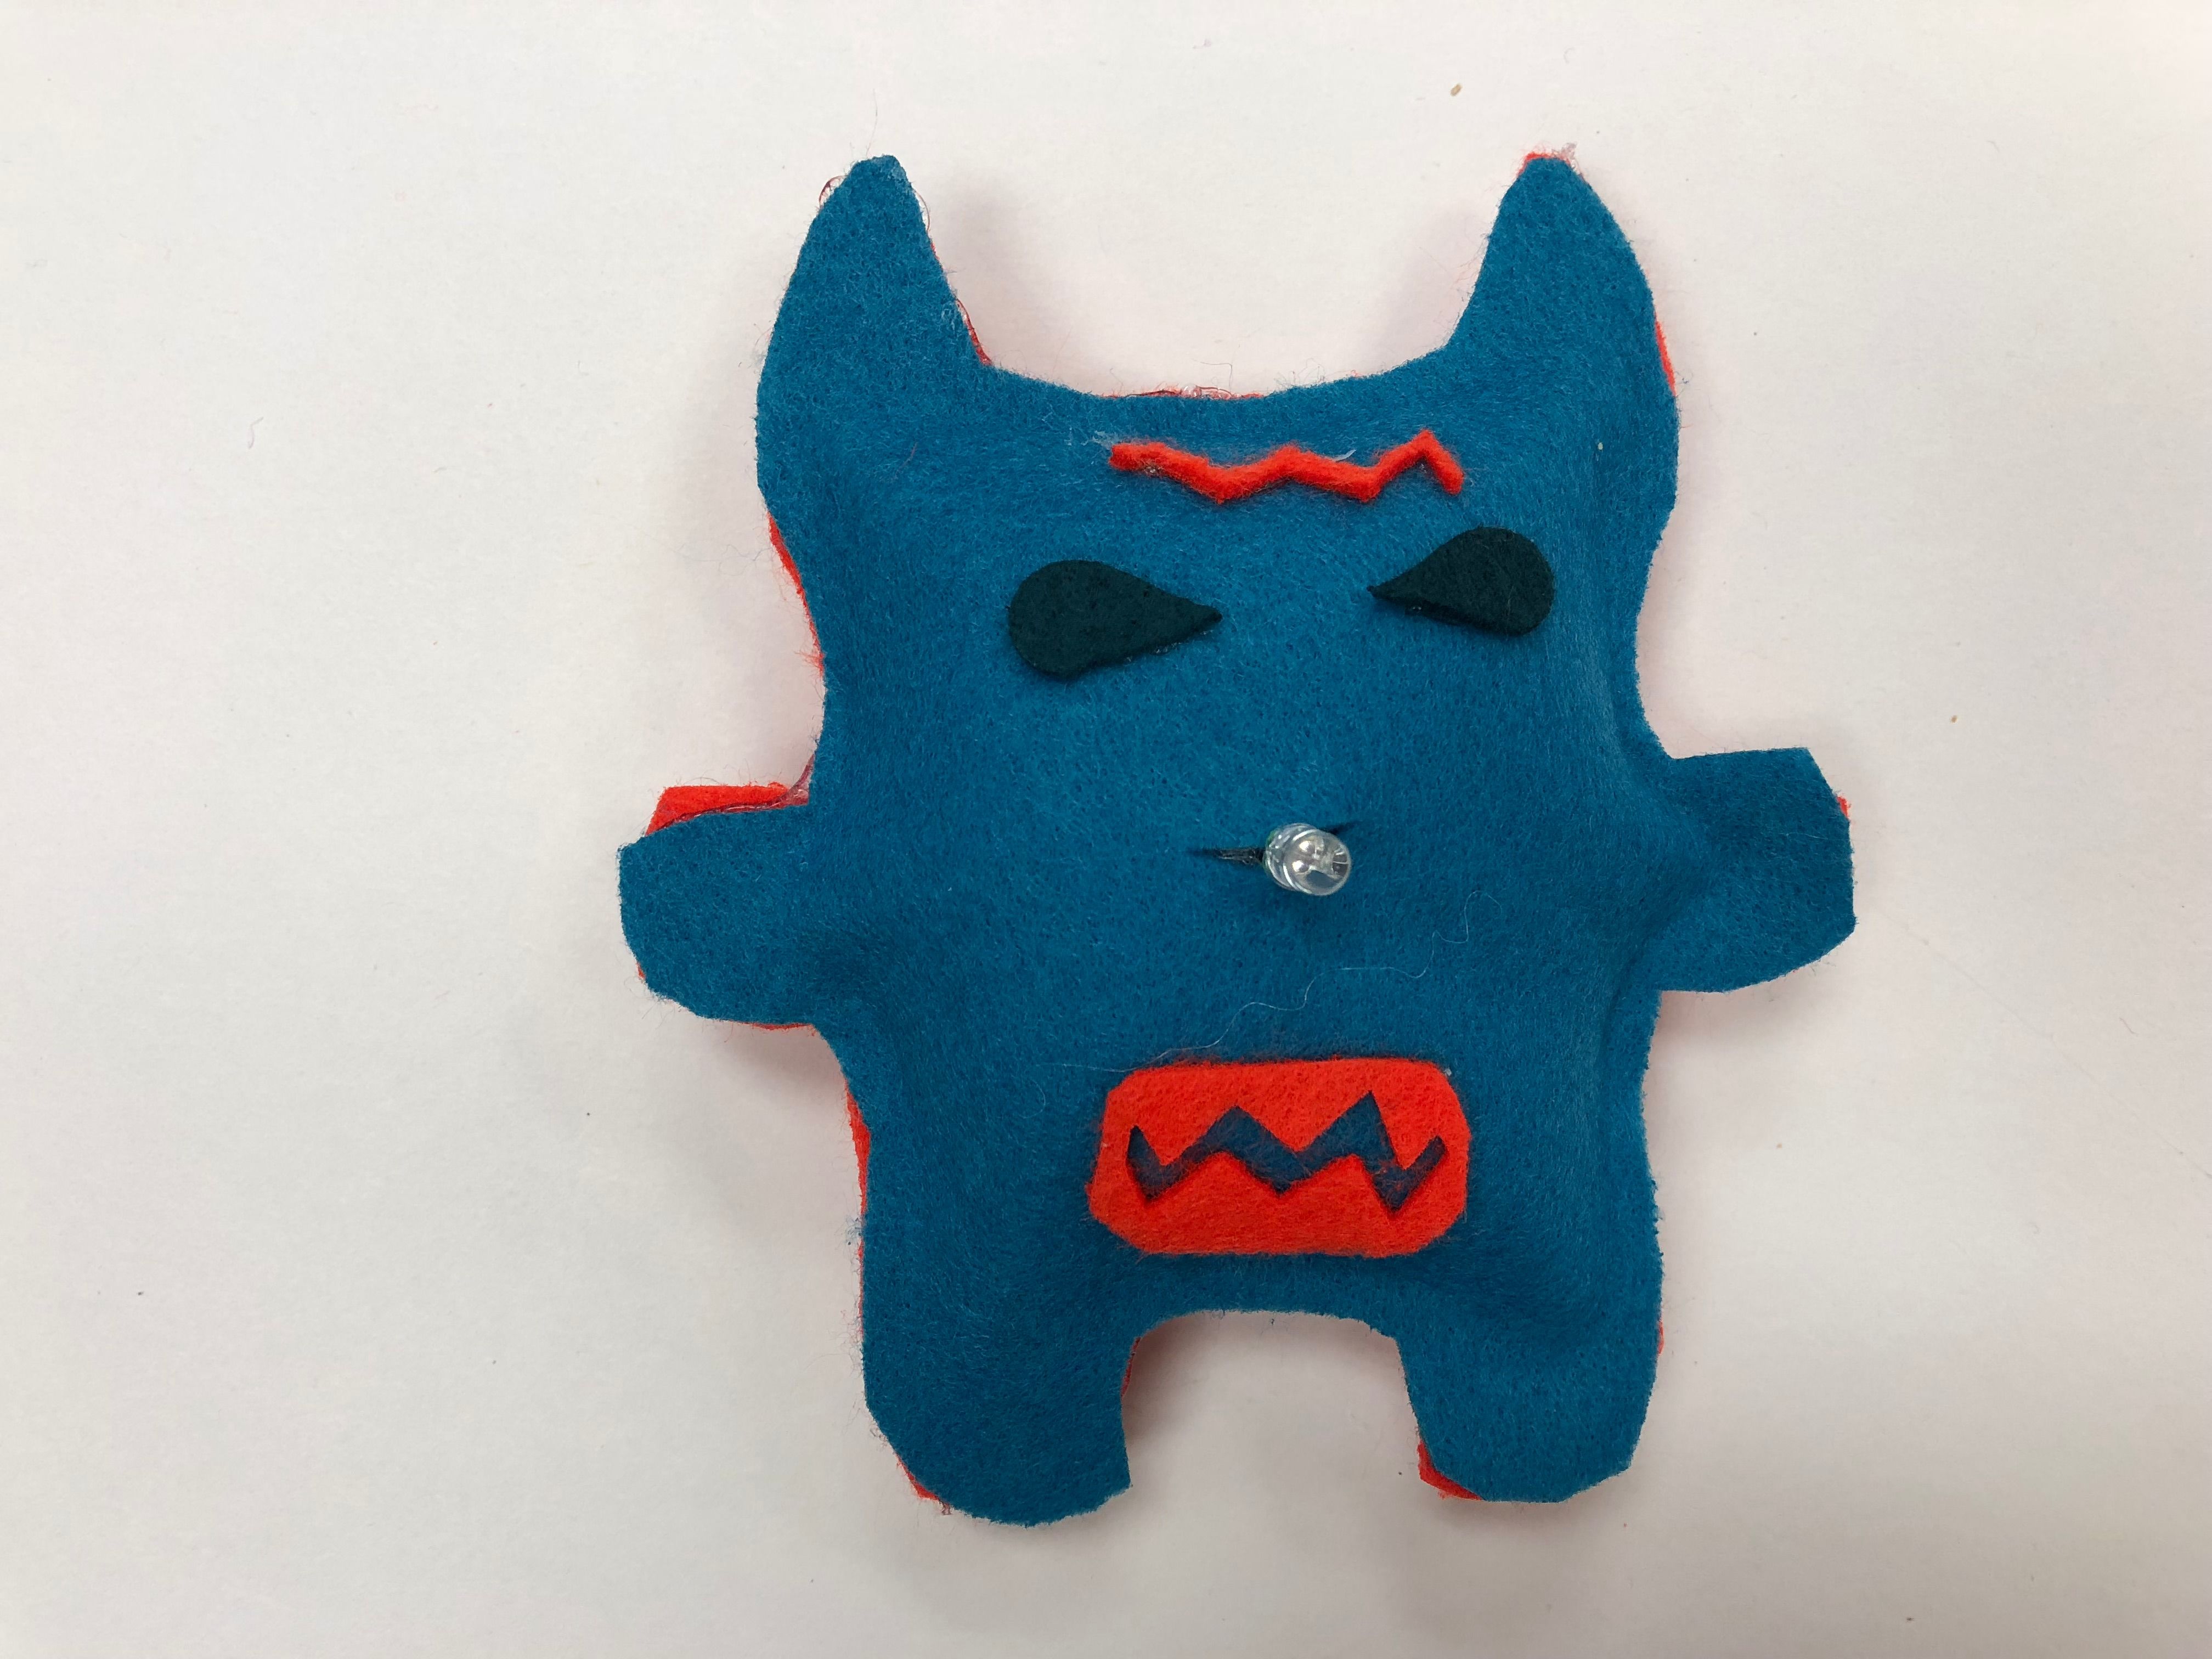
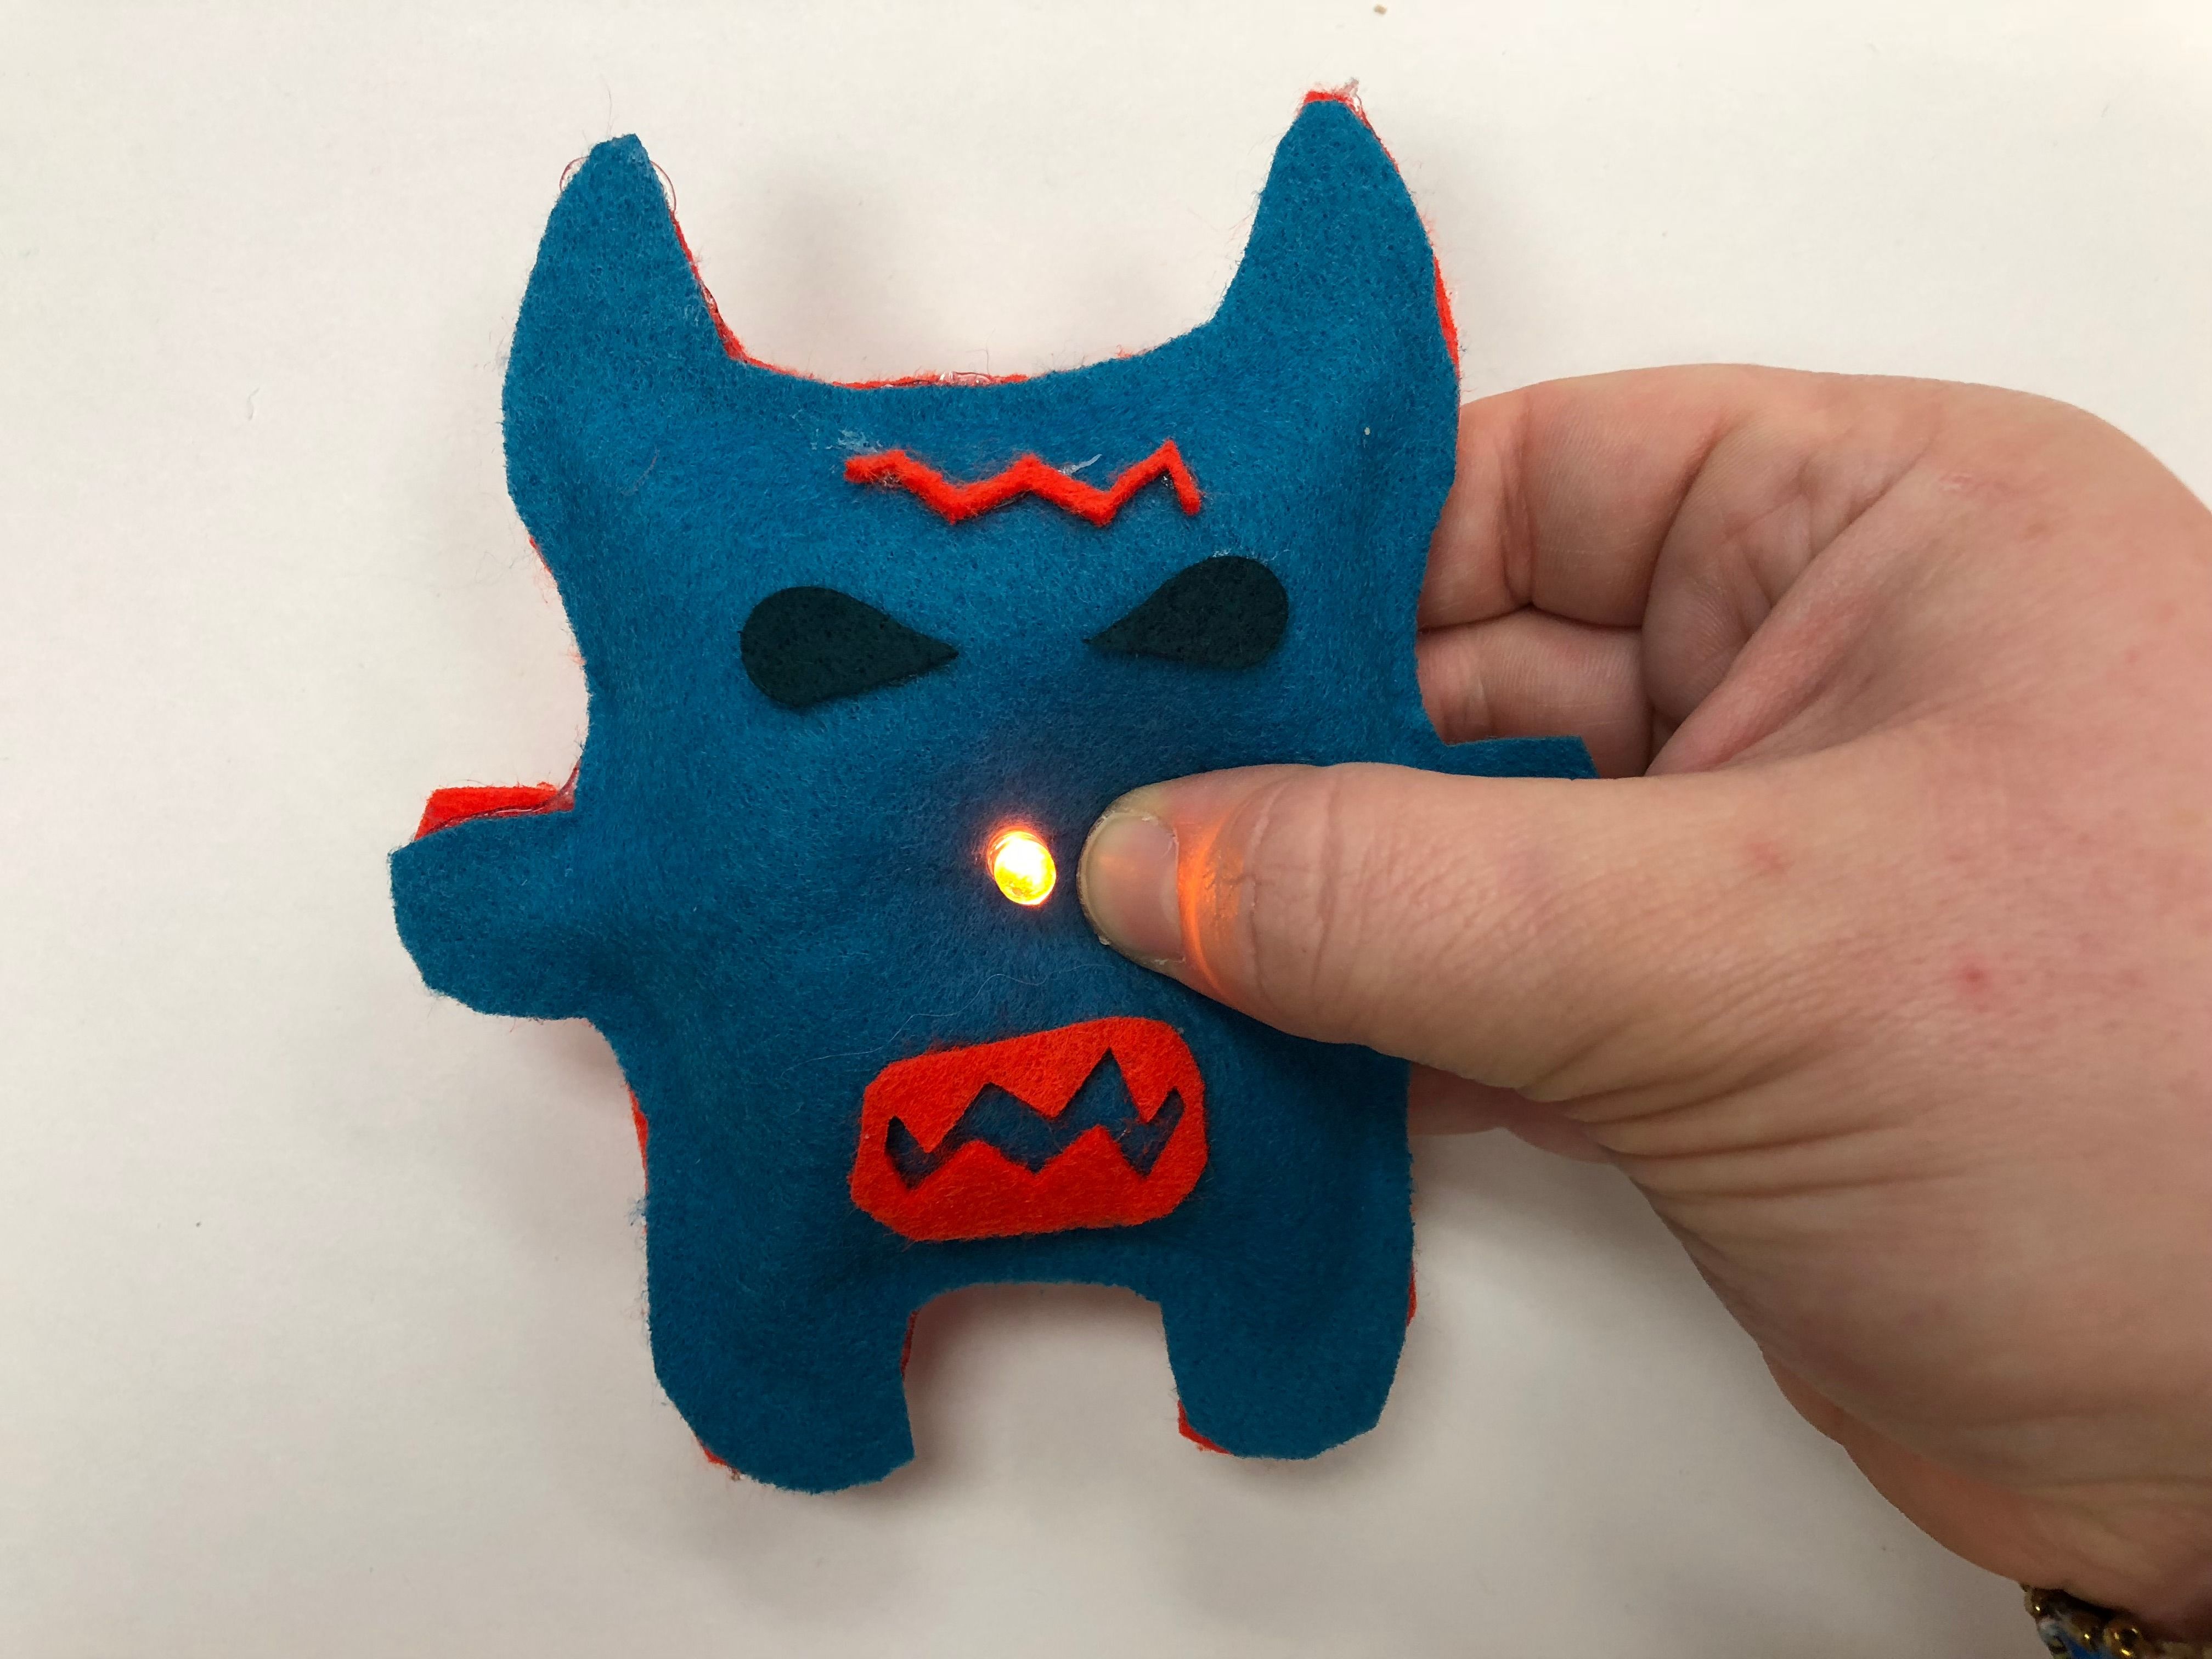
Once you've attached your accessories and LED switch, the last step is to attach the front and back of your creature and stuff it.
If gluing, I recommend applying a think even line around the edge and work in small sections.
If sewing, I recommend the Whip Stitch to give it that special homemade look.
Remember to leave a small section open so you can stuff it. If using my creature template, I recommend leaving the ears open to stuff.
Enjoy!