LED Chaser With Five Effect and a Button to Control
by claire_fang_ in Circuits > Arduino
738 Views, 1 Favorites, 0 Comments
LED Chaser With Five Effect and a Button to Control
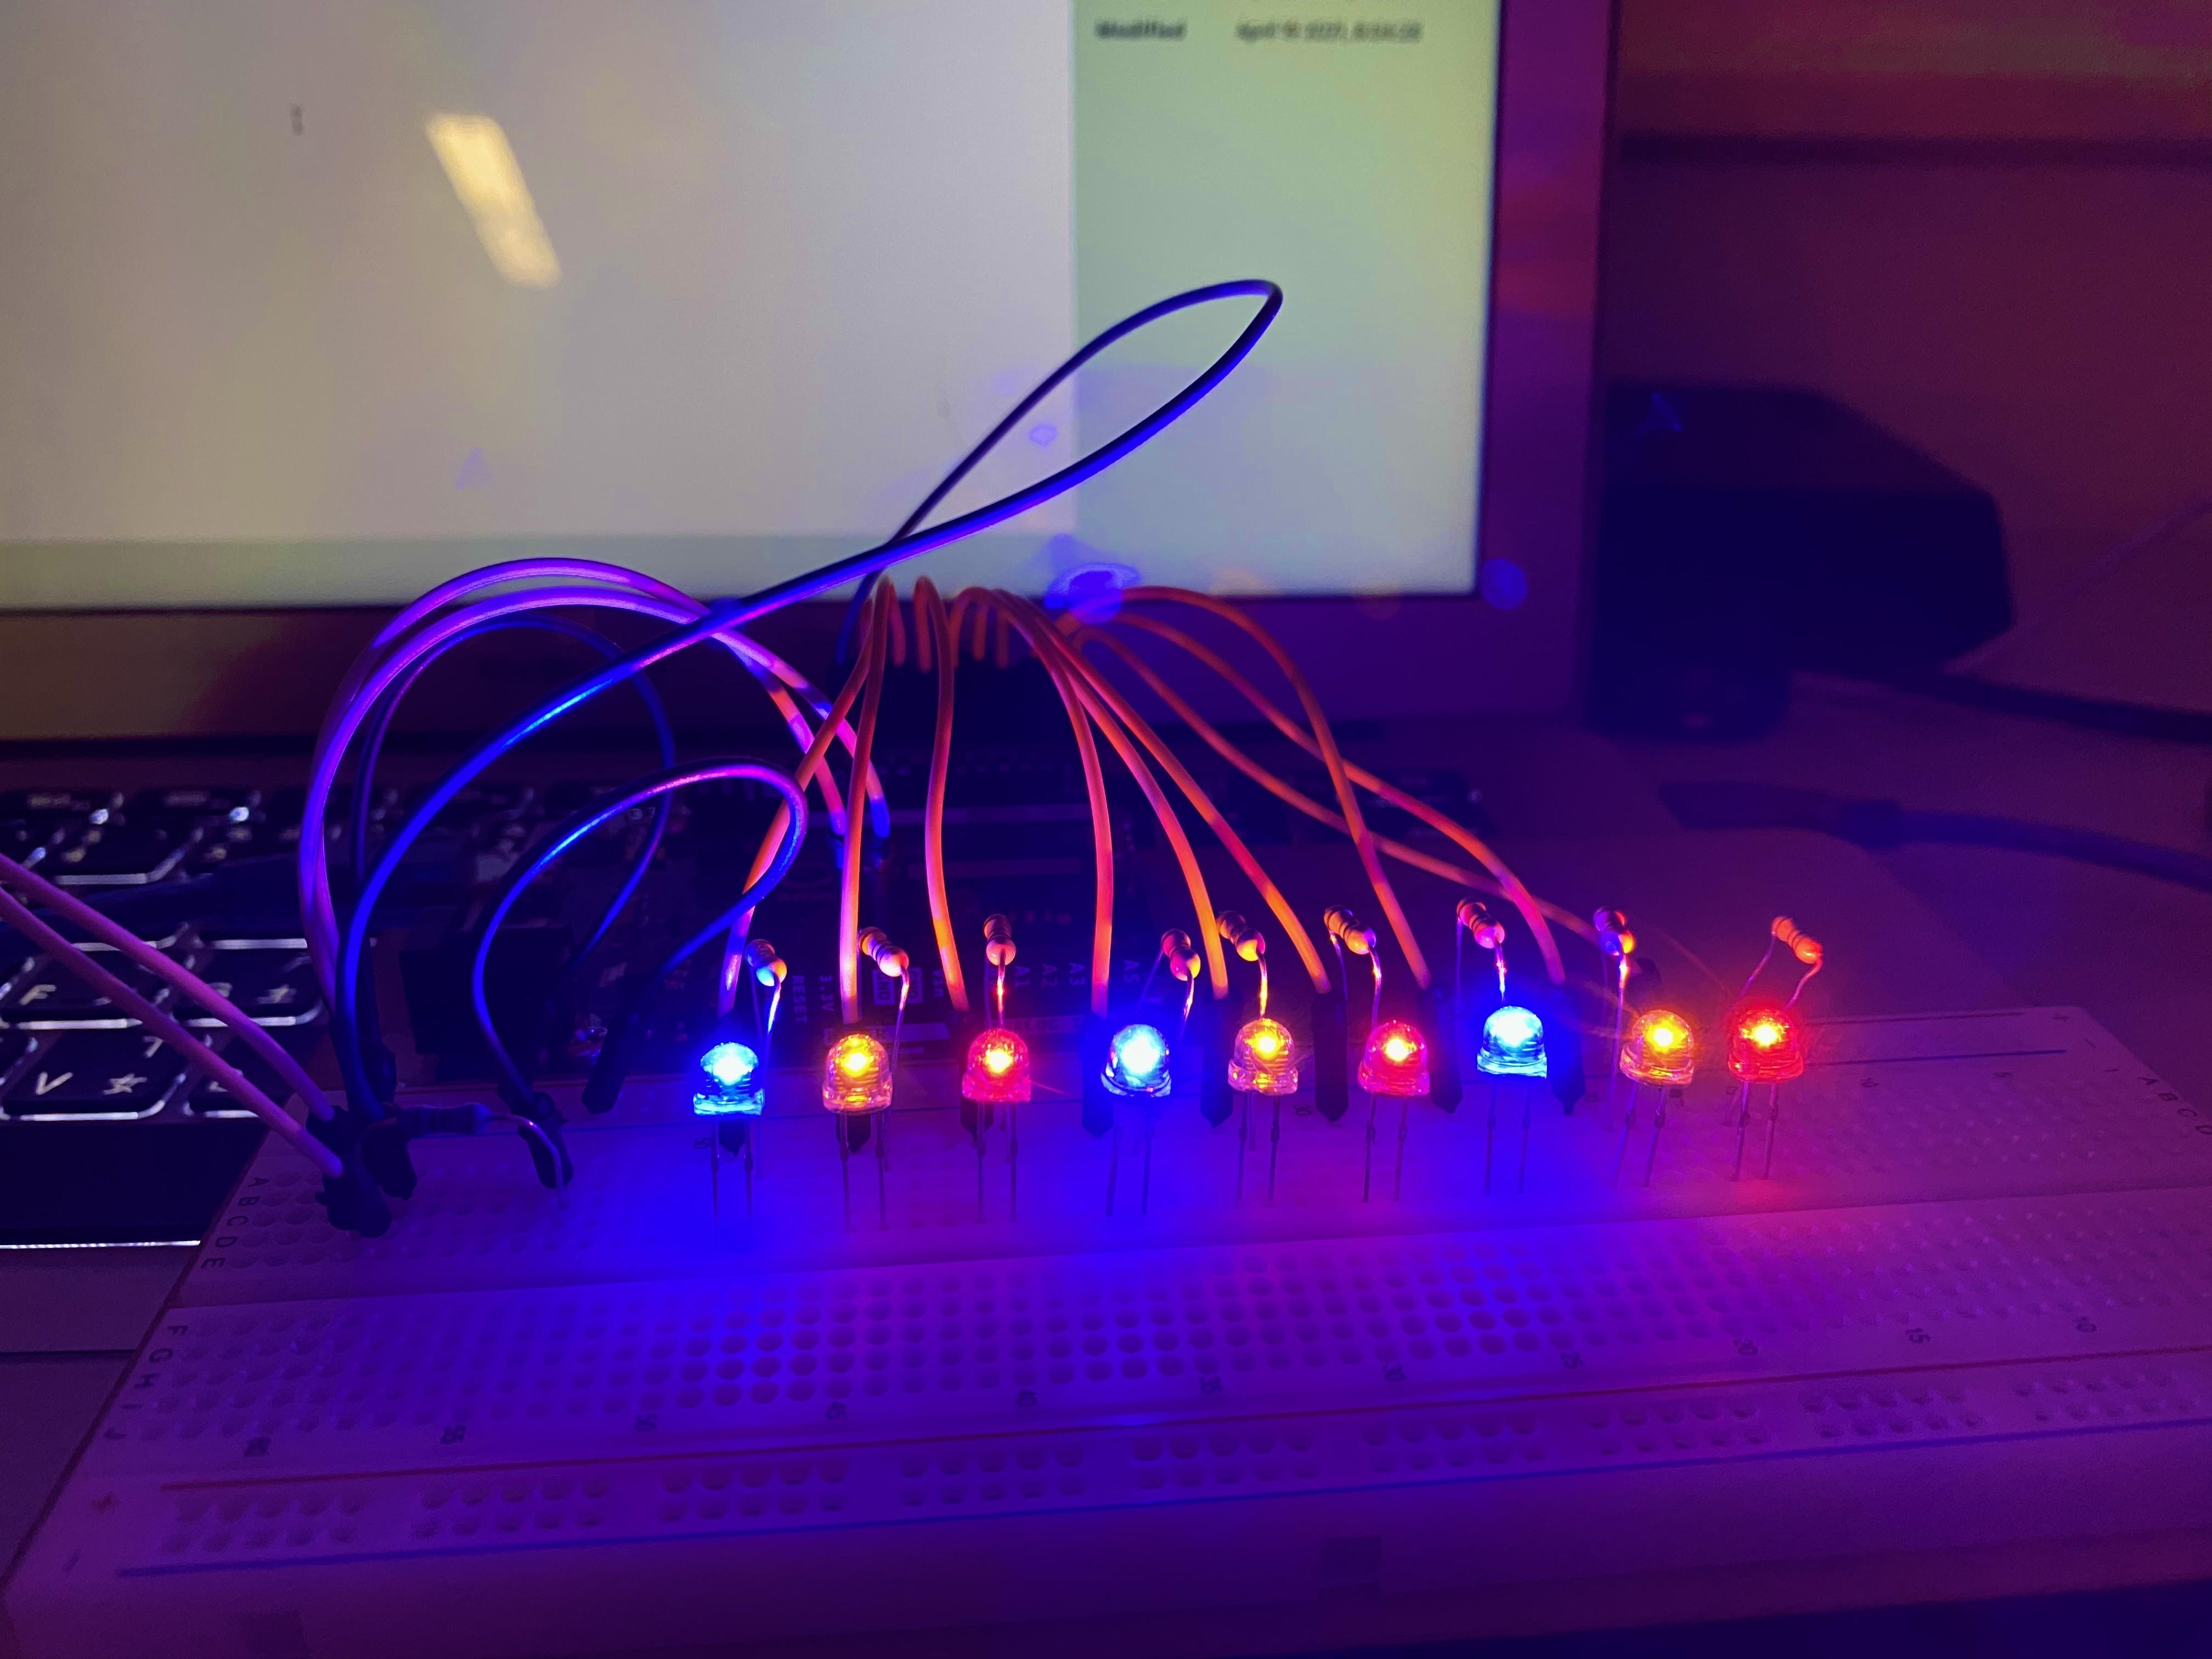
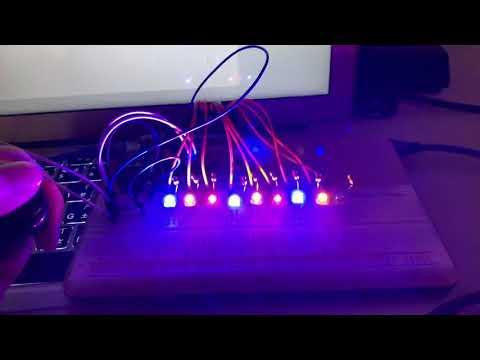
This is equipment built with the LED chaser, there are five different patterns and effects in the machine, you can rather use this for the little night light or the decoration of any kinds of things or items that you wanted to decorate, follow these steps so you can easily make am Arduino LED chaser.
Source of reference transformation: https://www.instructables.com/Arduino-LED-Chaser-W...
I make some changes to the original product from the Shoeb ALI's original example, I add a button on the circuit, the button is to control the pattern and effect of the LED chaser, if you press the button, then it will switch to the next effect, you can decide any pattern you want at any consequences! You can cover the breadboard with a pretty case or box, dig some holes so the LED light bulb will appear, then you can use it at many places, for example, on the Christmas tree, on the back of your car to warn the driving people not to stay too close, or cover with a transparent lampshade and put it beside your bed, it can be used at many functions when needed, you can add the LED light bulb or lessen them, in addition, change the color of the led light bulb as you want.
Supplies
- Leonardo Arduino board *1
- Breadboard *1
- Button *1
- Wires*16
- LED red light *3
- LED yellow light *3
- Led blue light *3
- Resistor * 10
- Jumper cables
Prepare All the Supplies
Supplies
- Leonardo Arduino board *1
- Breadboard *1
- Button *1
- Wires*16
- LED red light *3
- LED yellow light *3
- Led blue light *3
- Resistor * 10
- Jumper cables
Circuit Connection
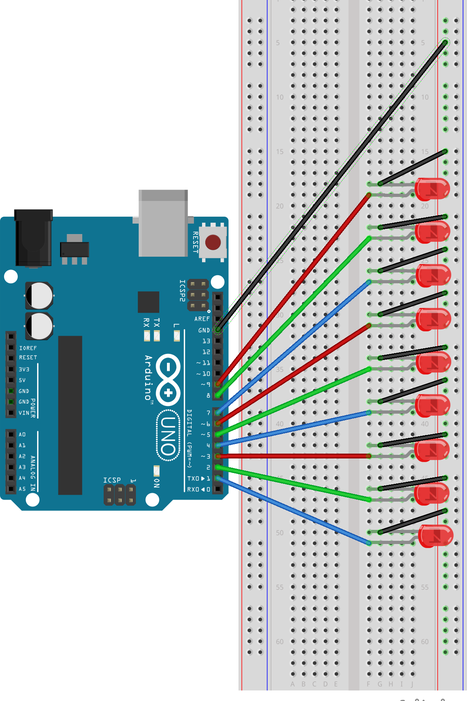
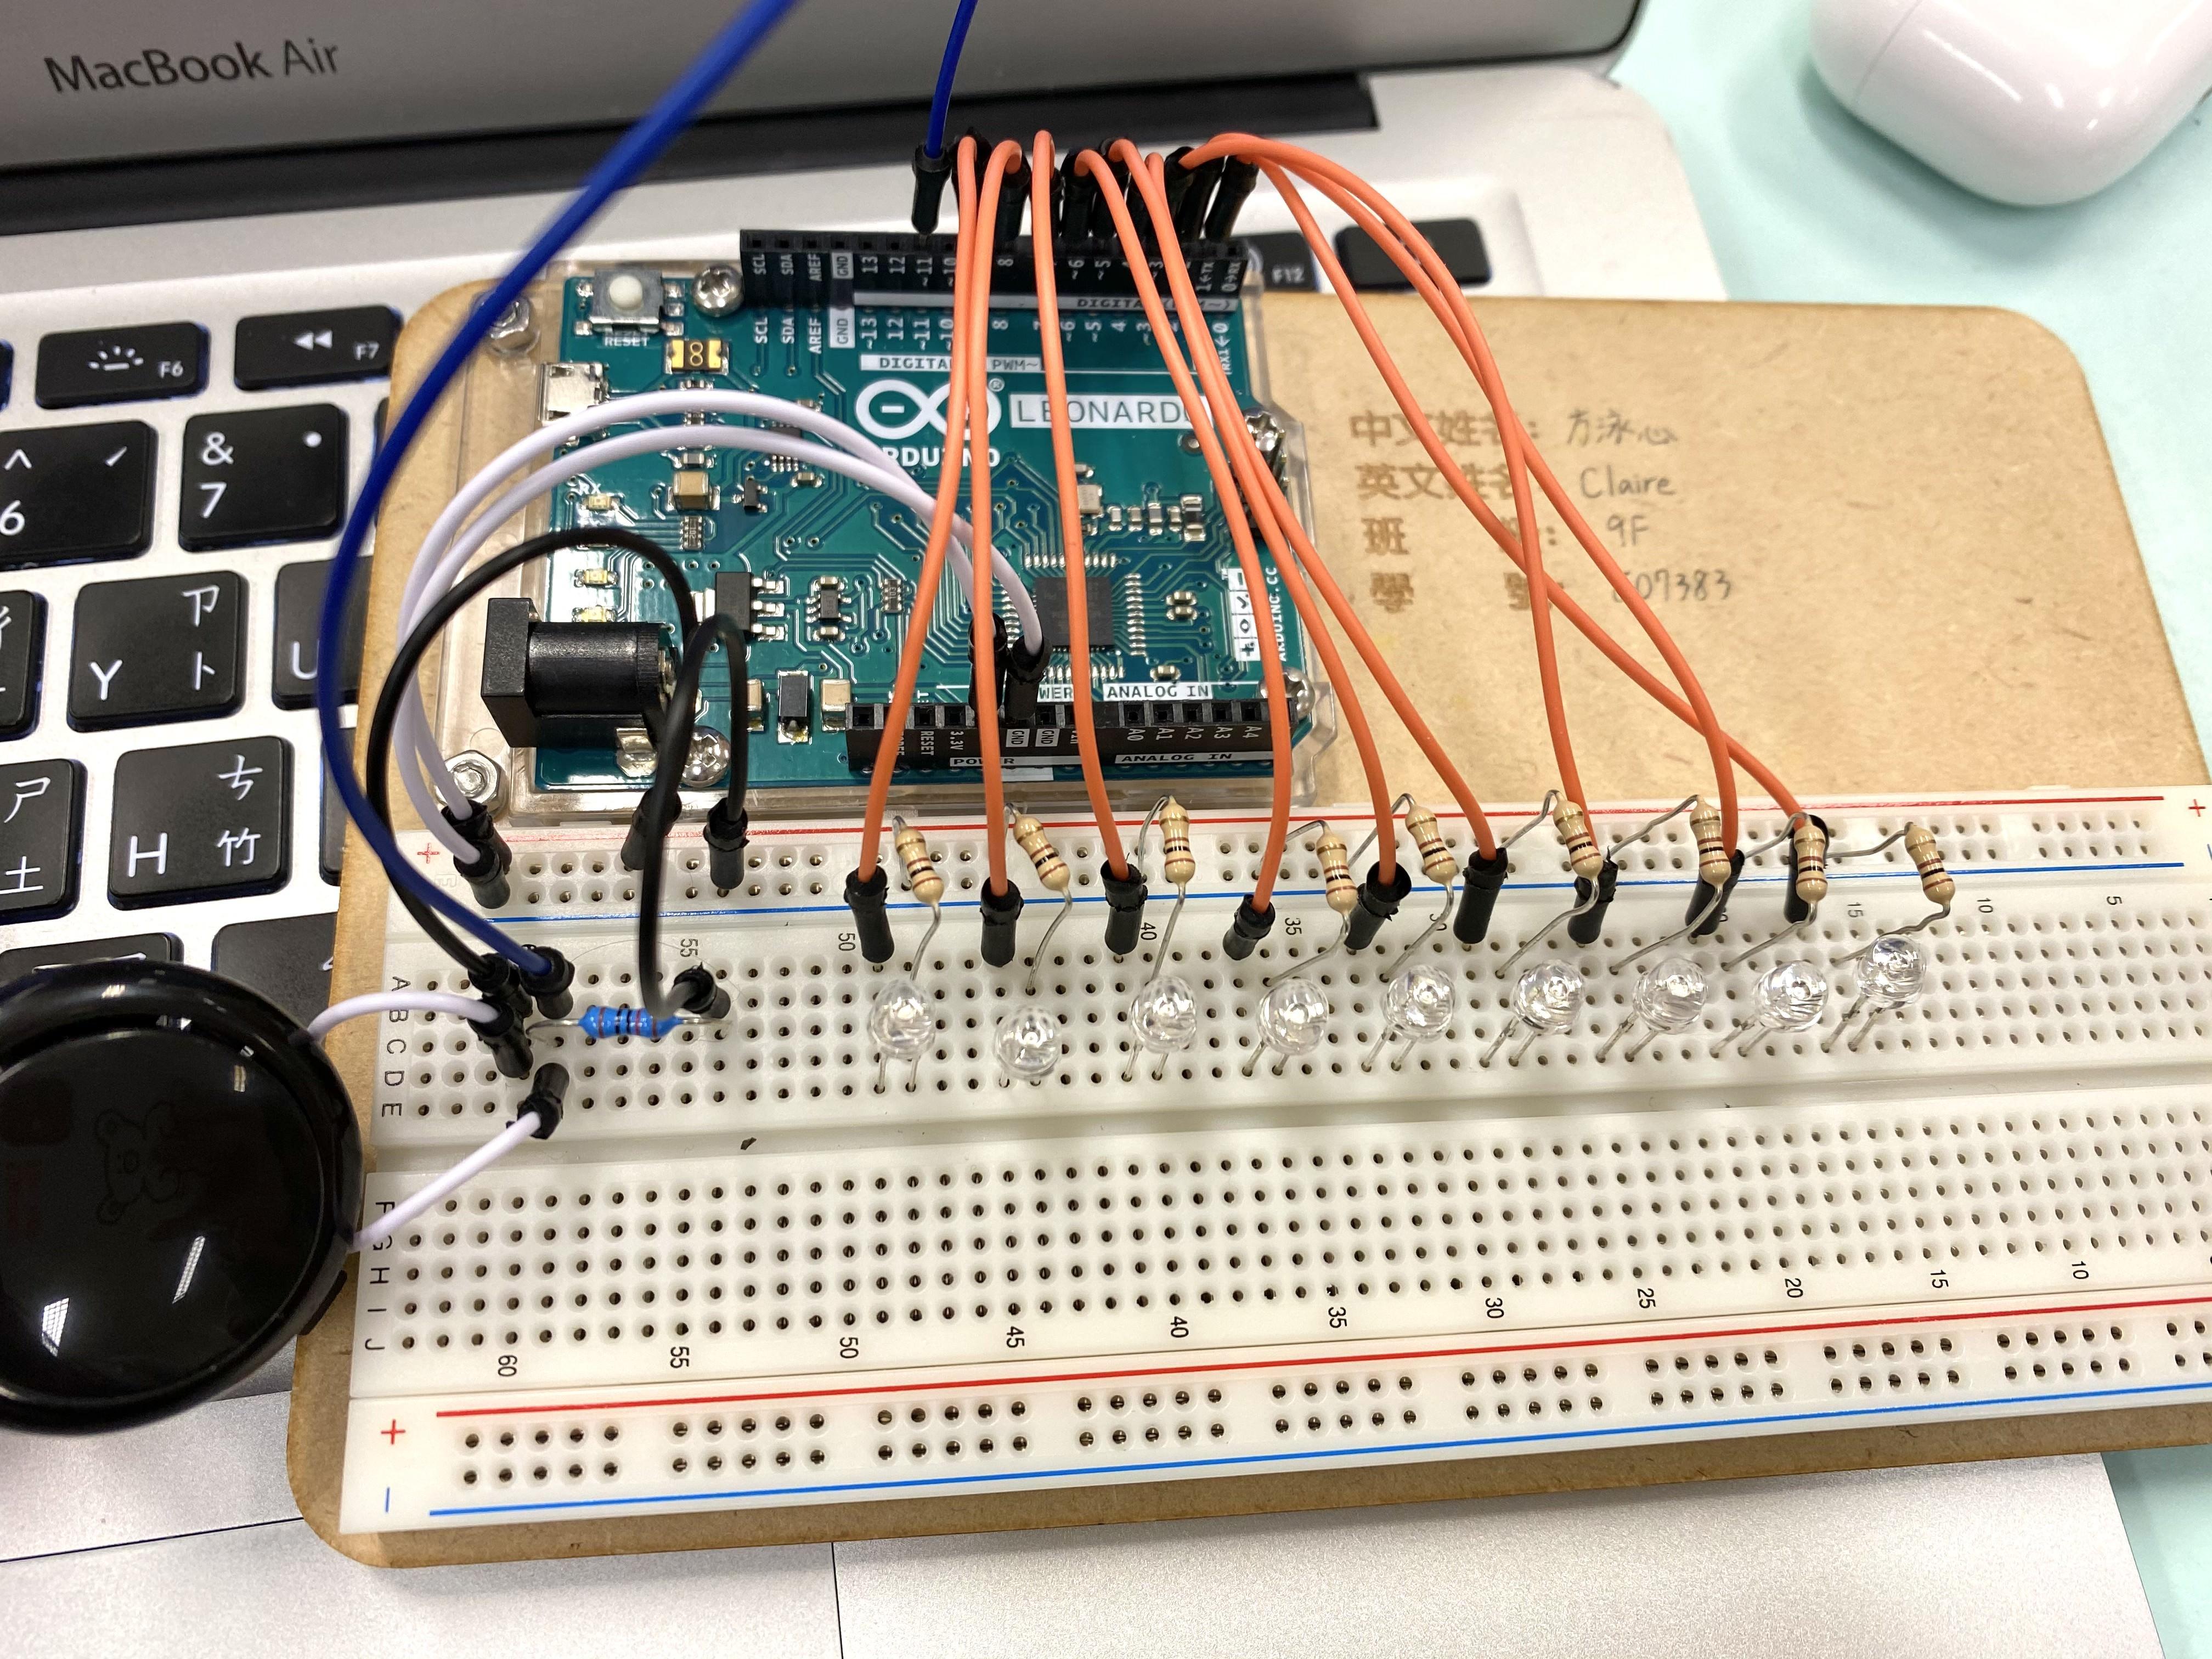
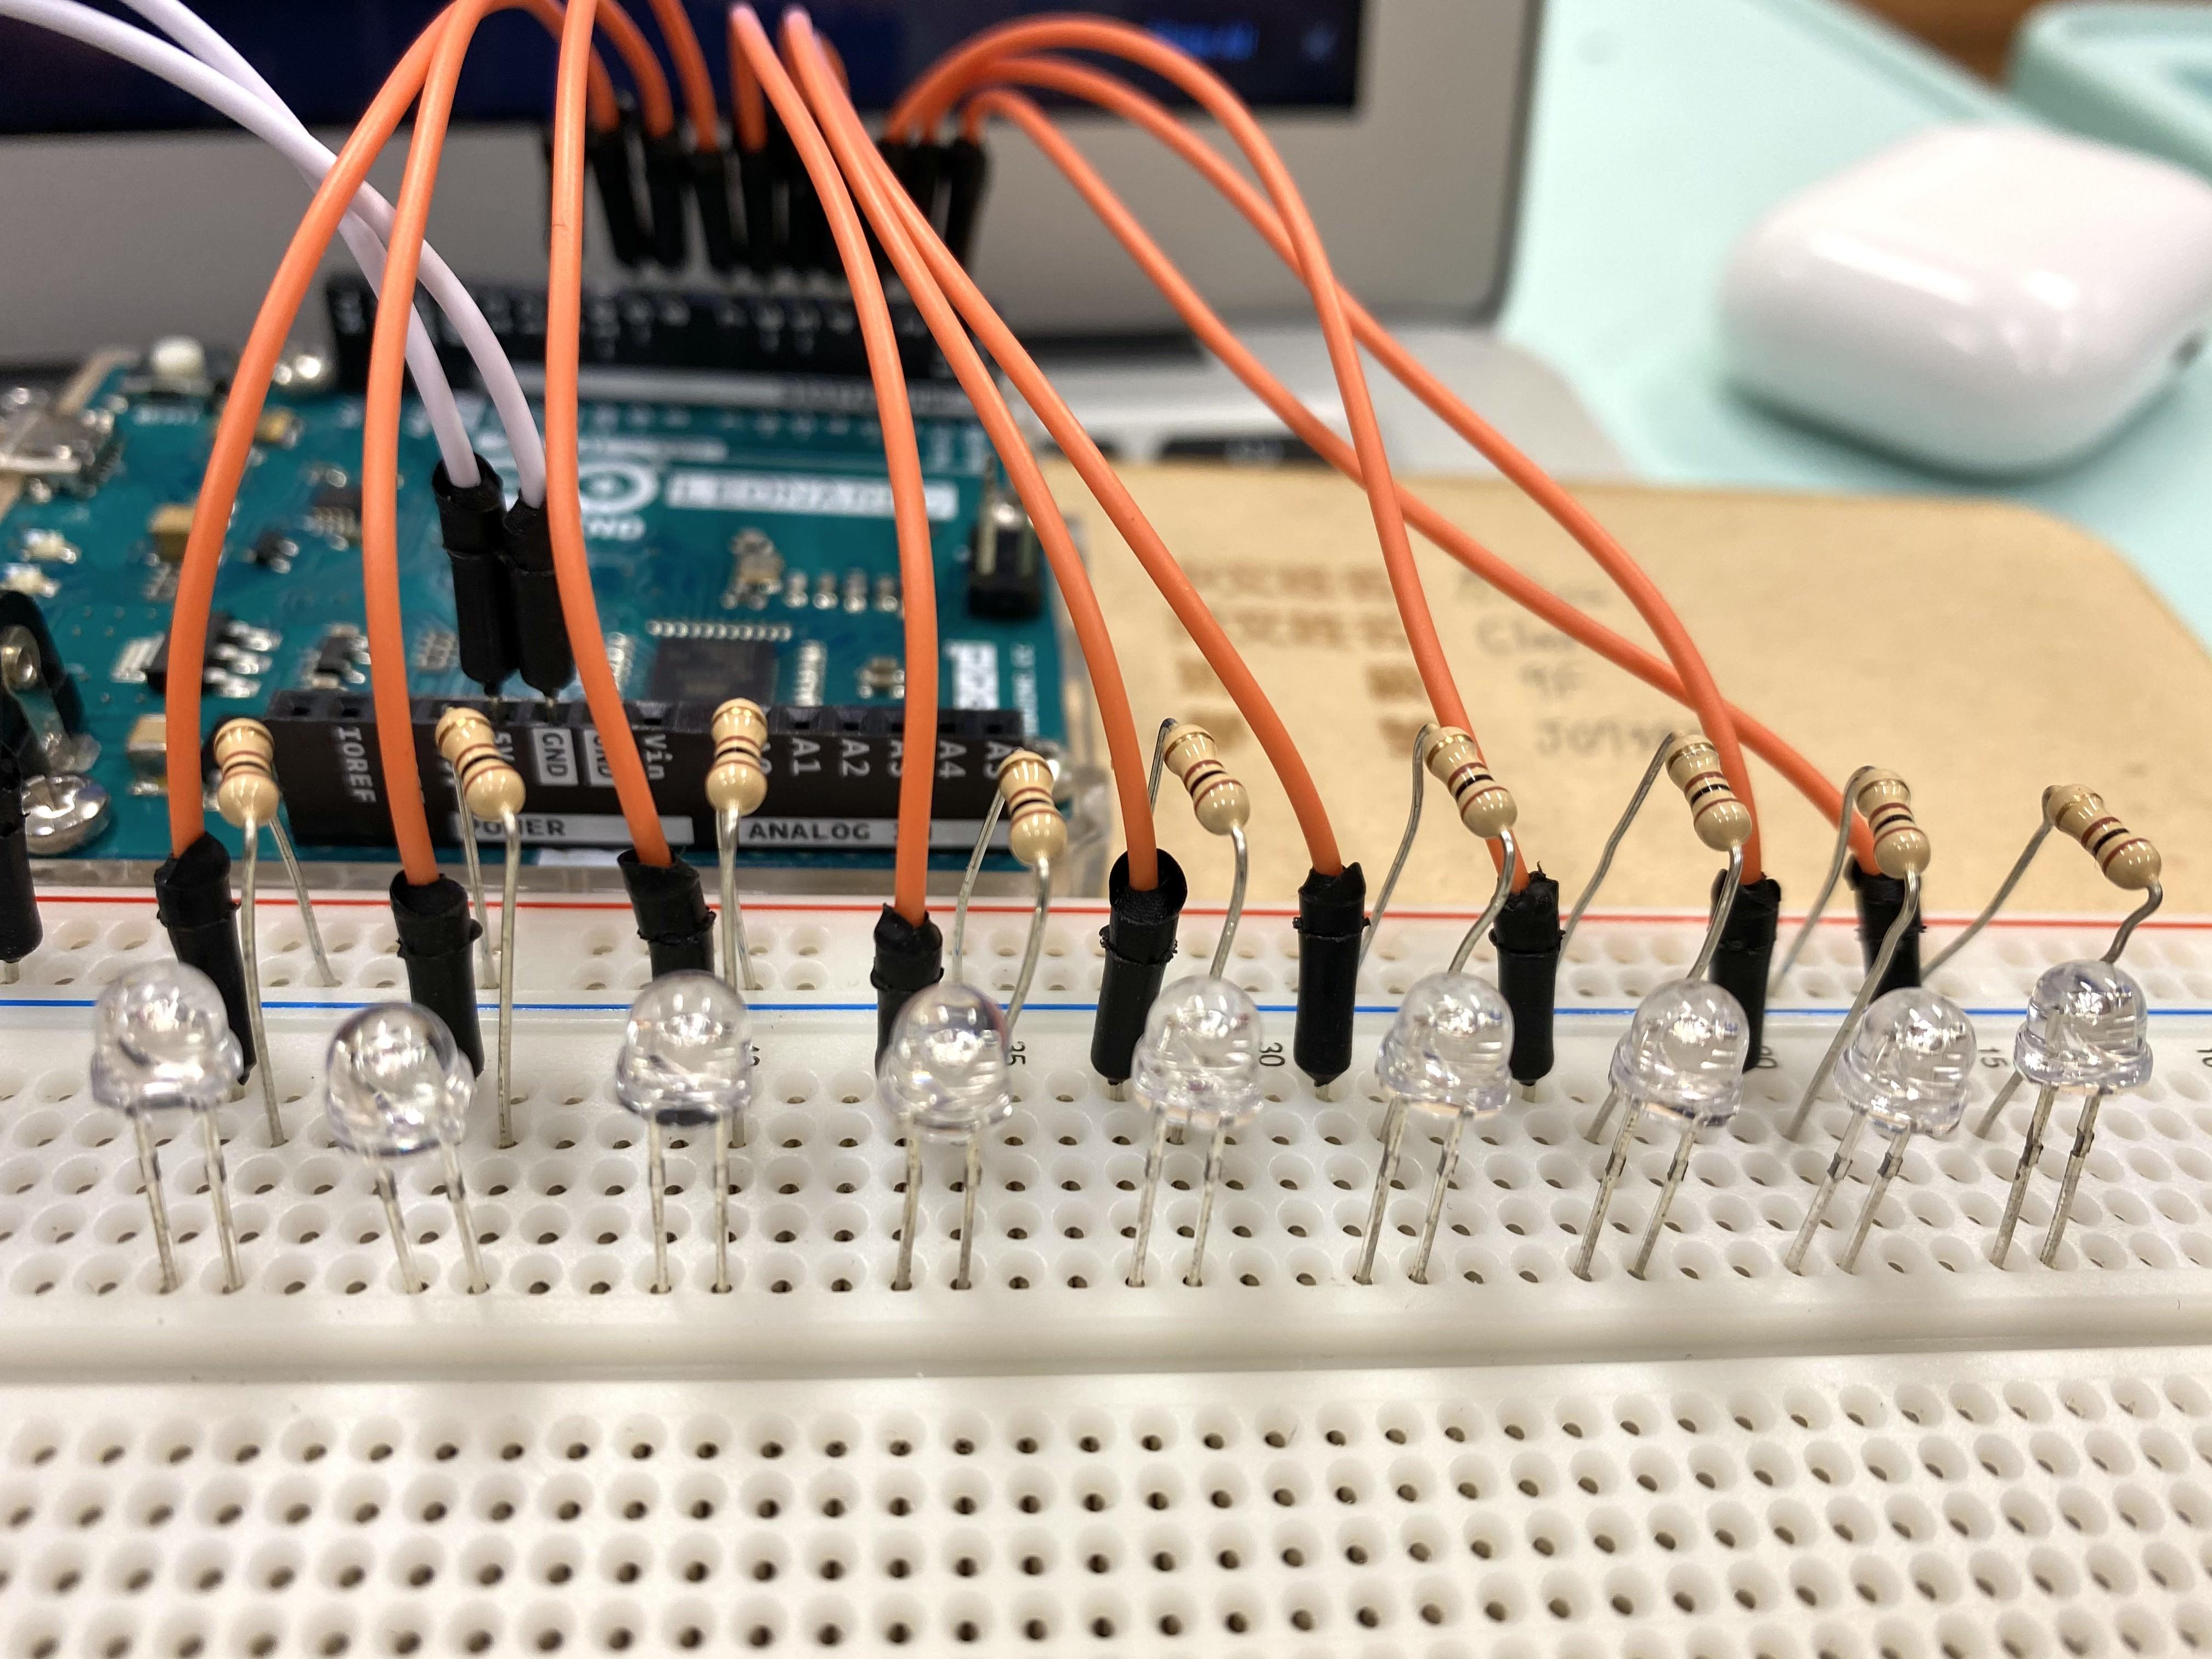
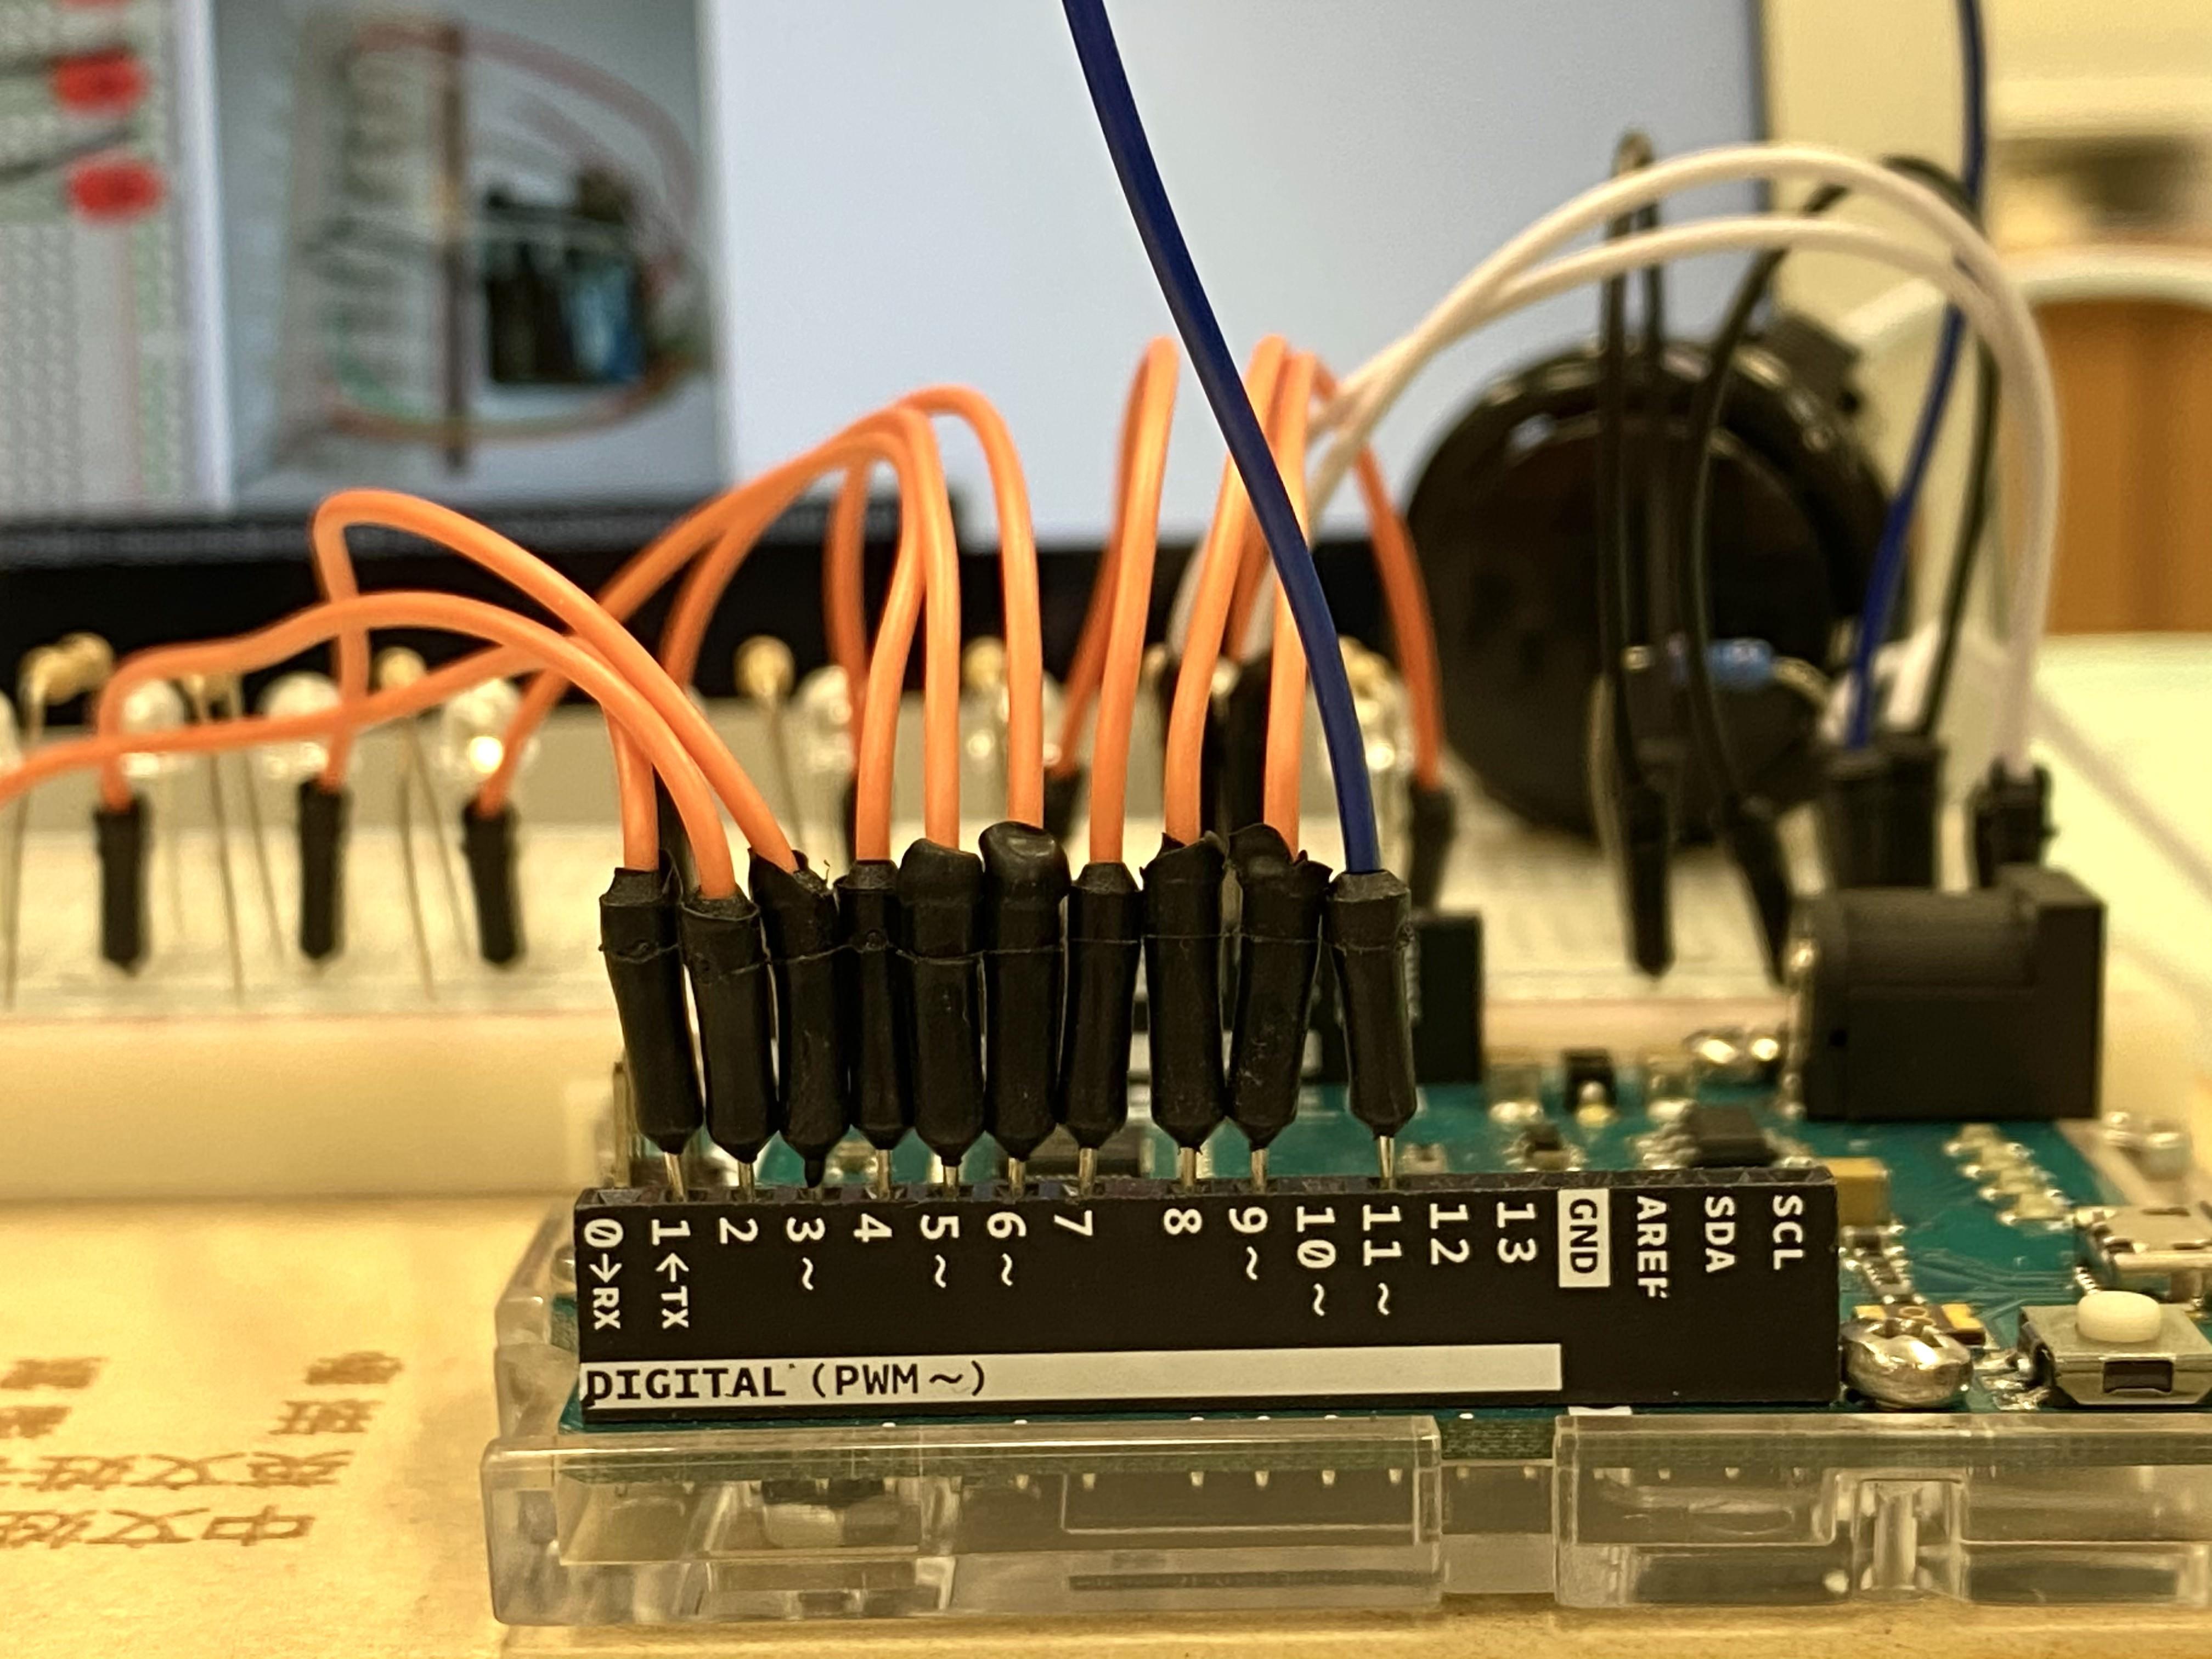
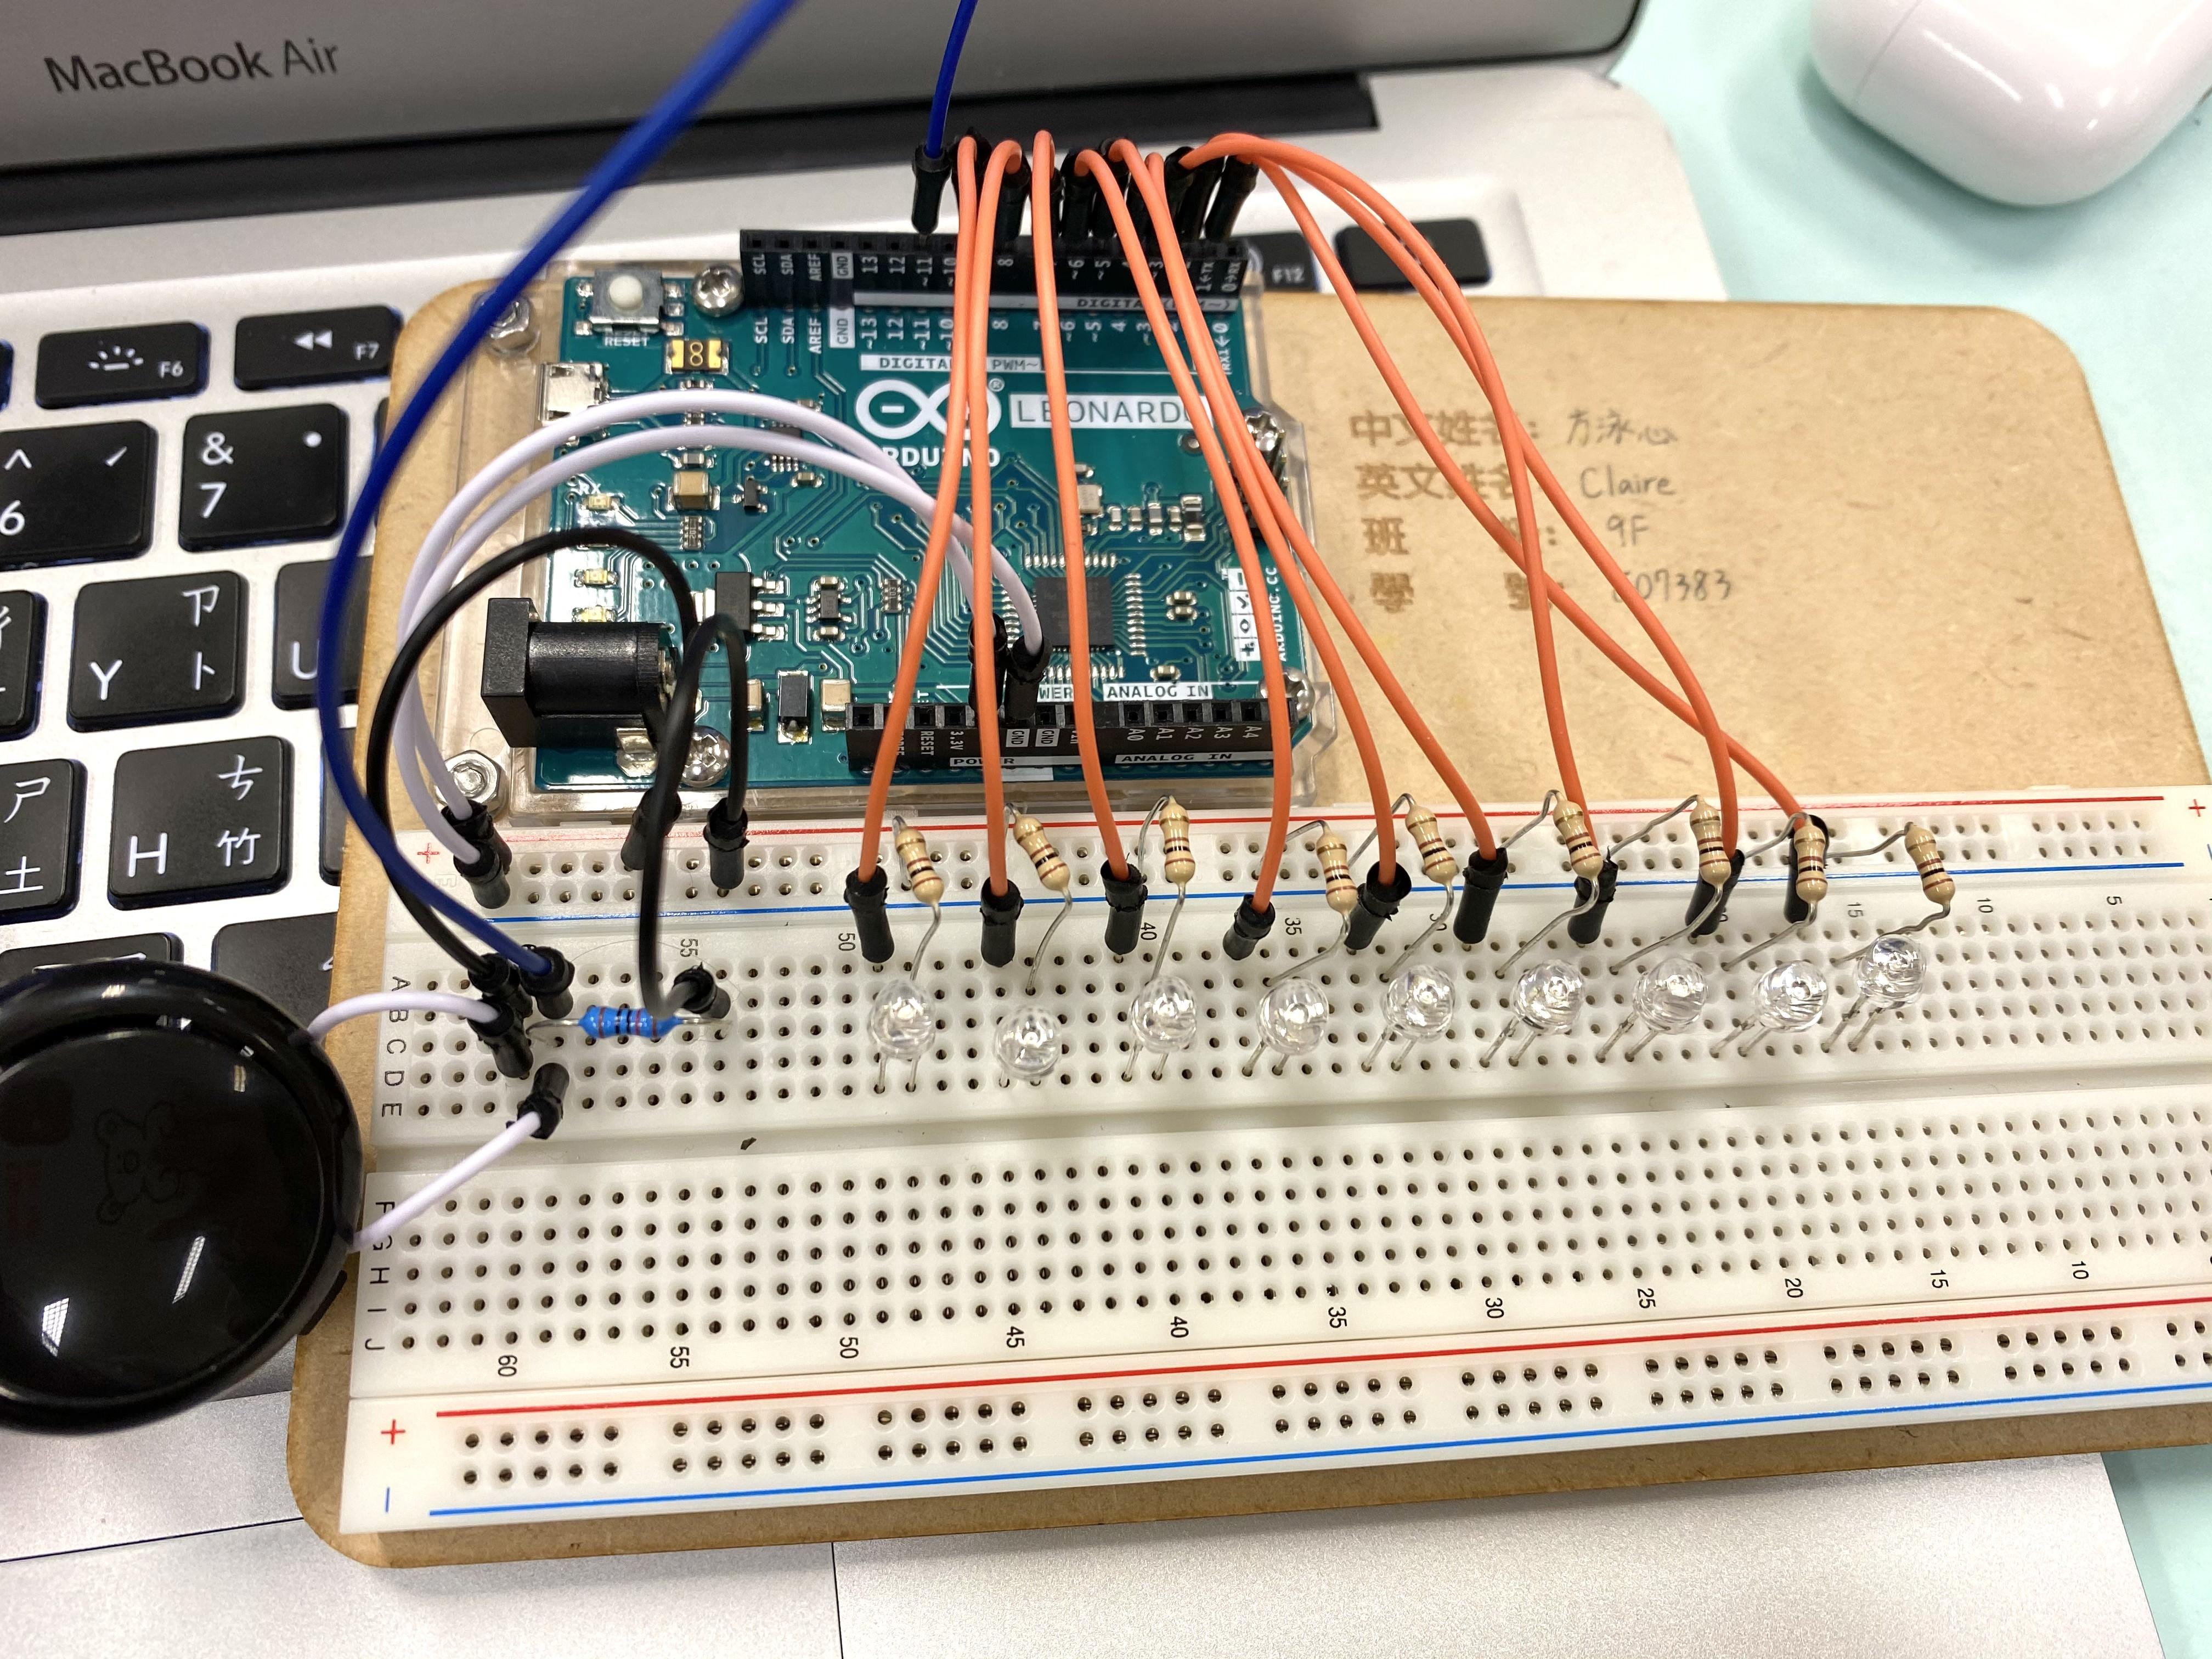
- Add LED's on breadboard according to circuitdiagram connect all LED negative terminal onnegative port of breadboard
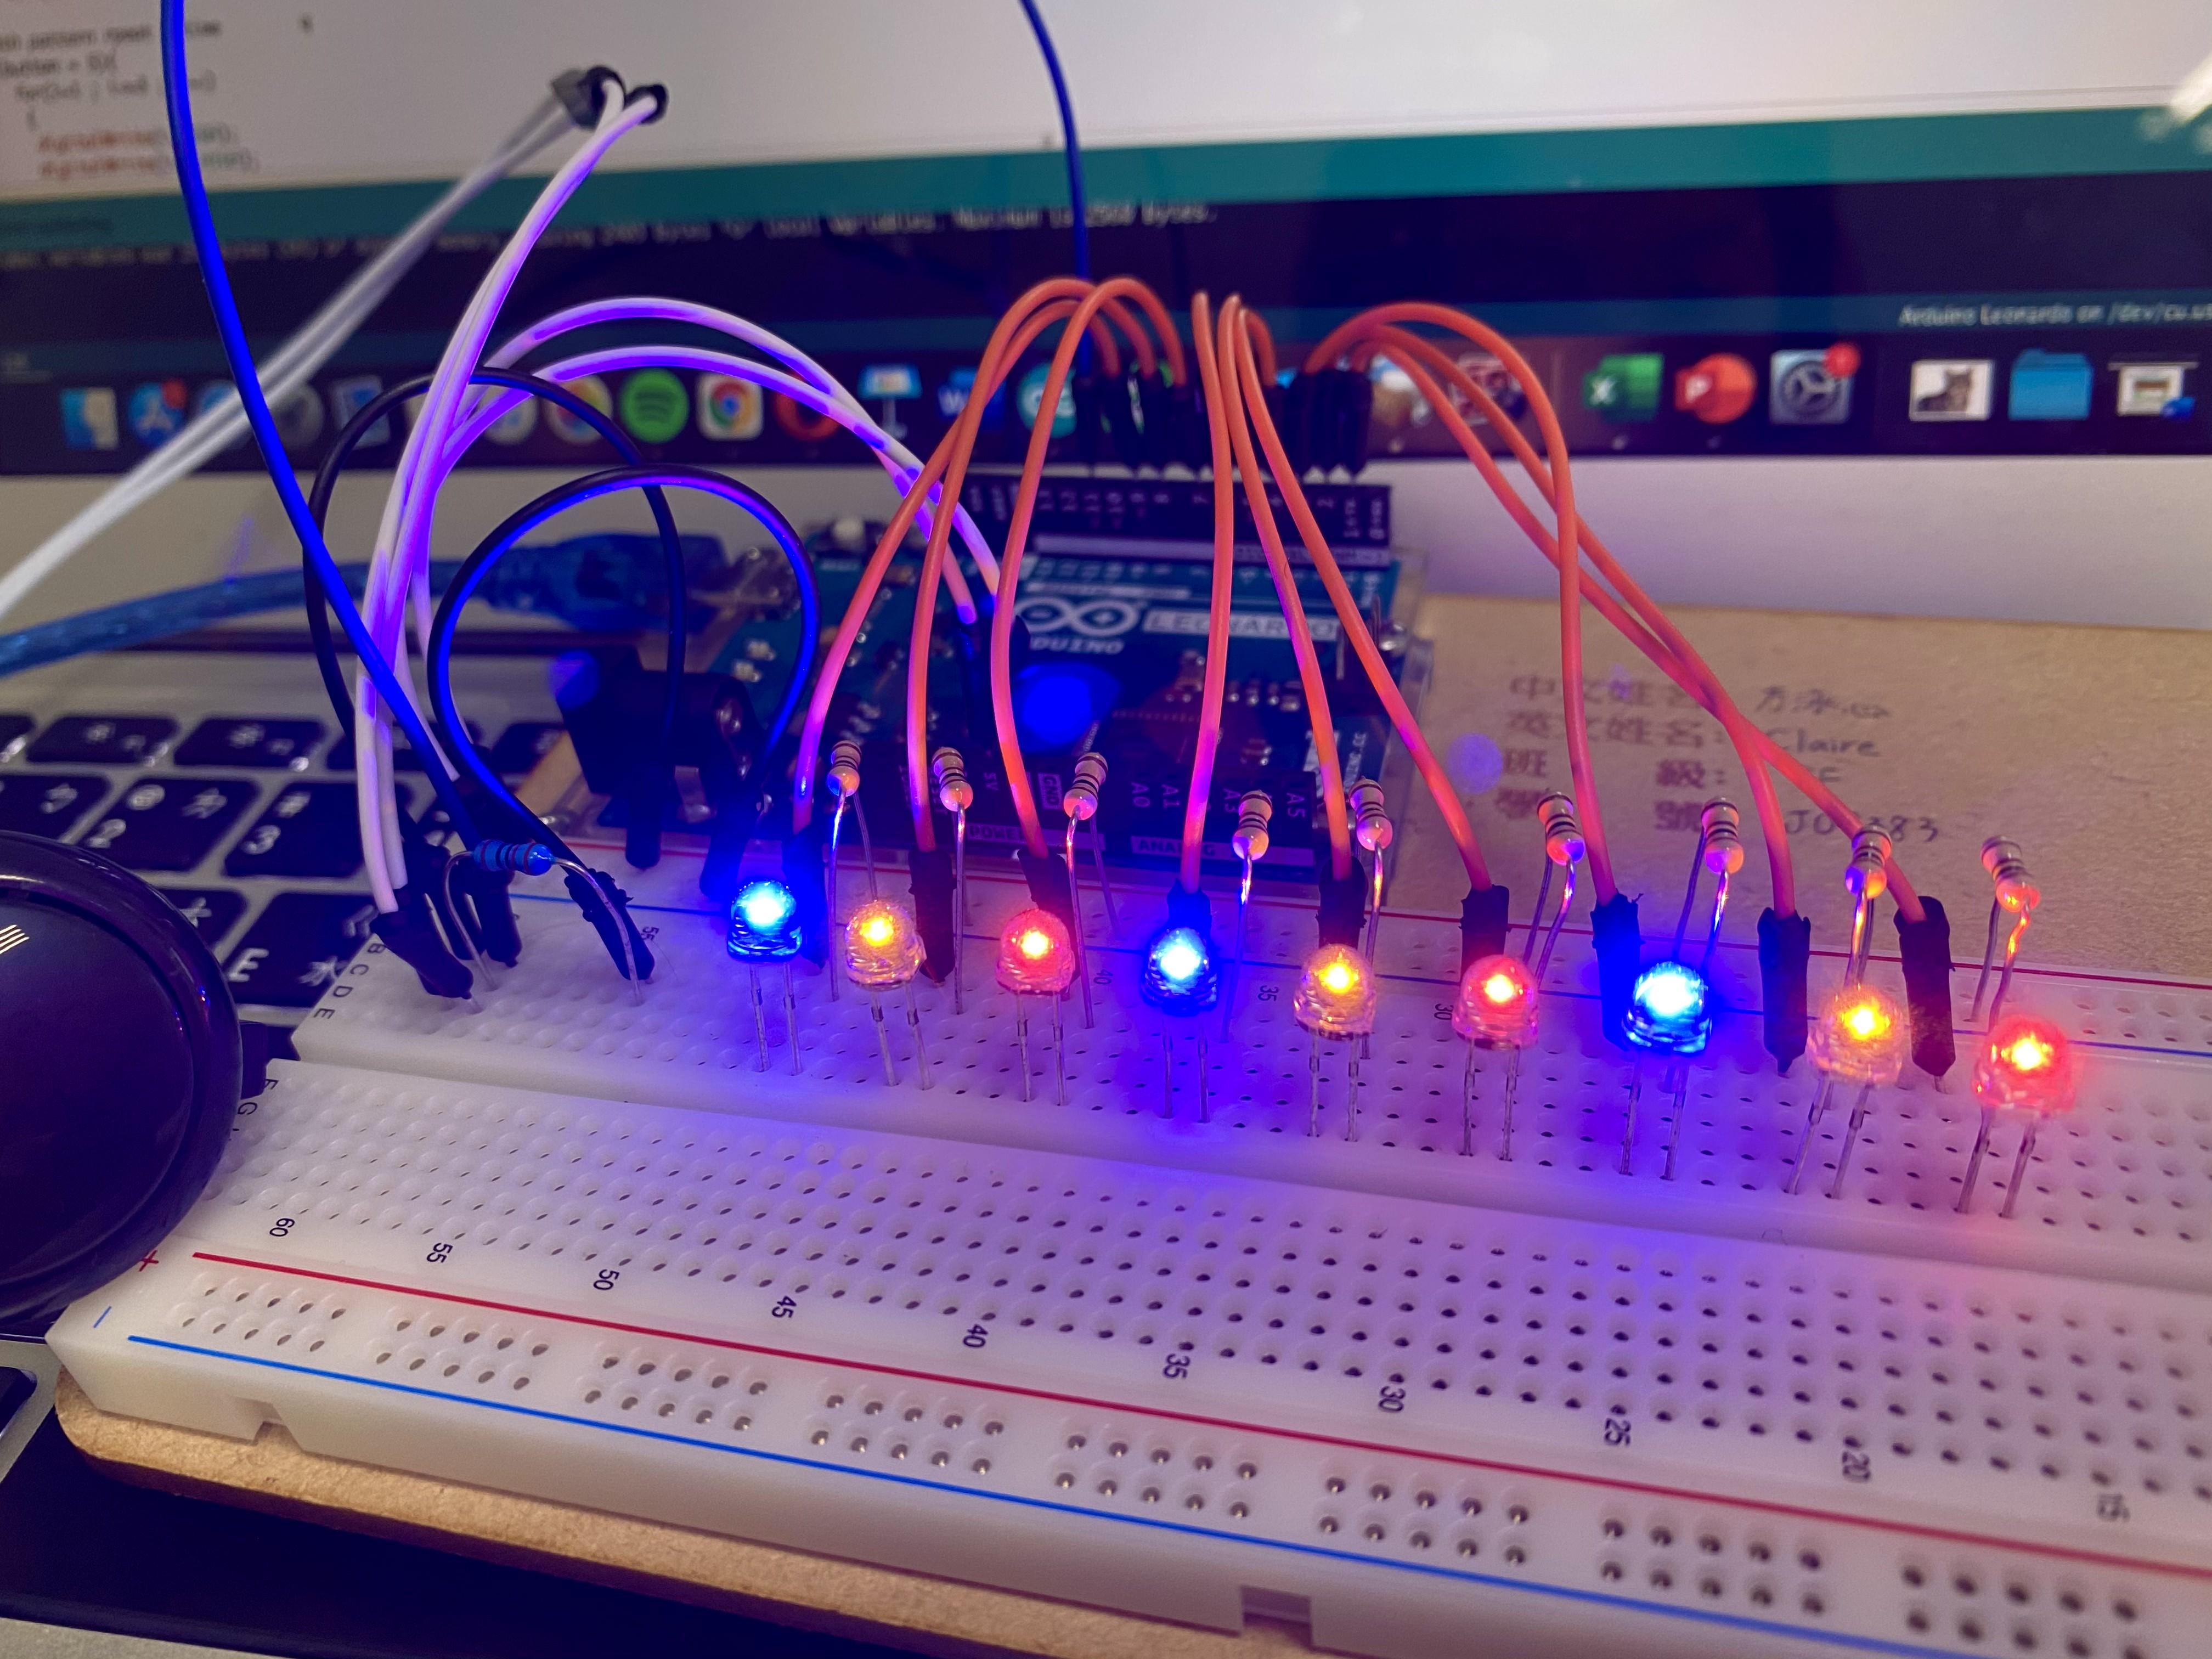
I add LED in this pattern: R(red) Y(yellow) B(blue) R Y B R Y B, but you can add LED according to your choice.
Connect resistors on the positive side of each LED's
Connect the resistors with digital pins 1 to 9 of Arduino by jumper cables
Connect ground pin of arduino with the negative side of all LED.
Connect the button with digital pin 10 of Arduino
Your circuit connection is completed !
Programming
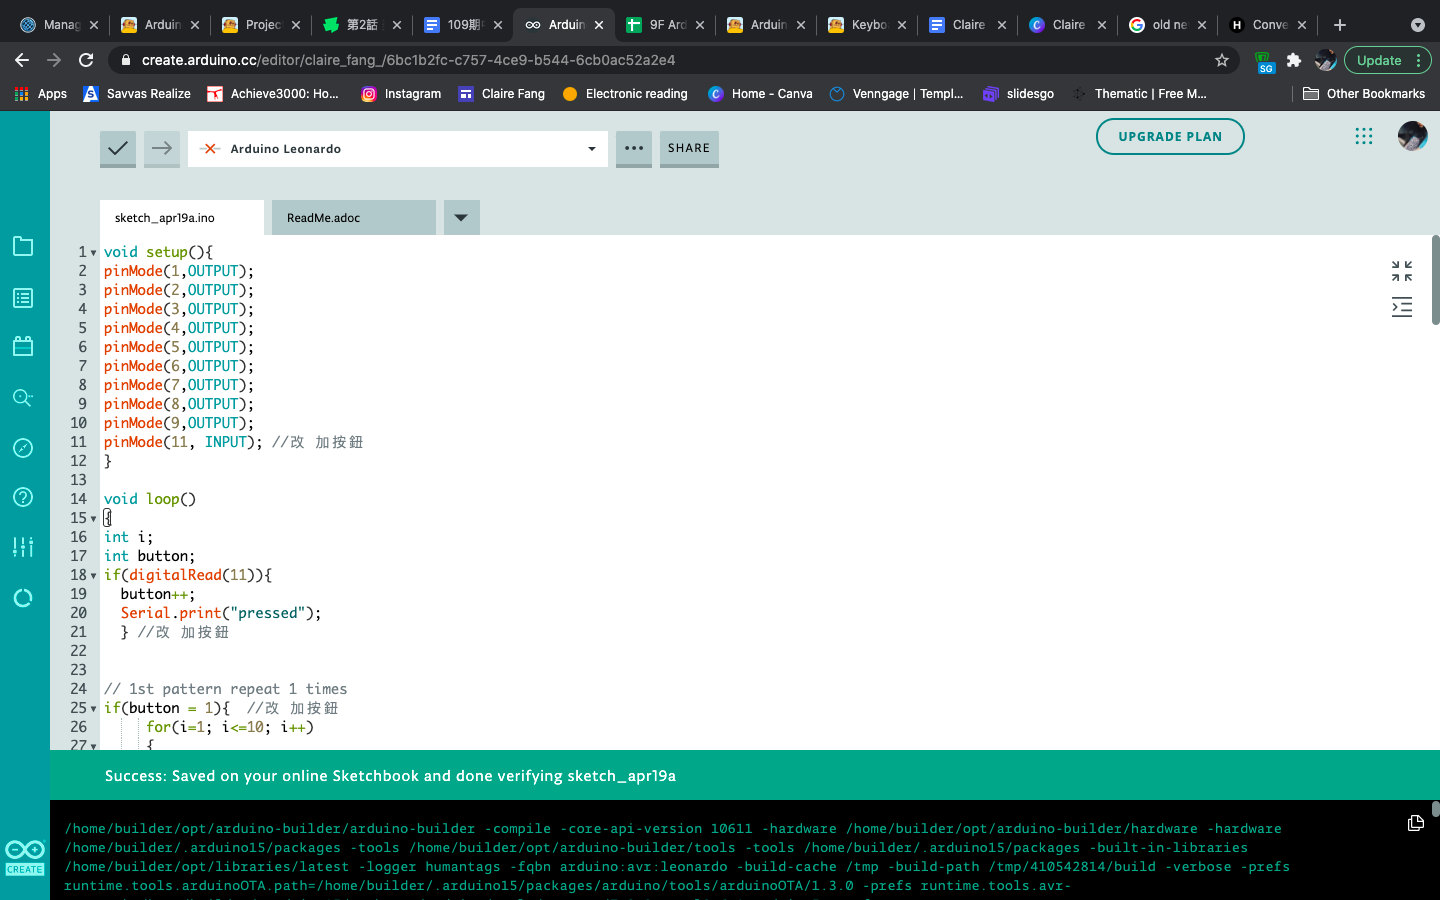
Copy and paste the code onto Arduino and upload the code to Arduino Leonard Board.
https://create.arduino.cc/editor/claire_fang_/abb7...
I make some changes to the code since I am adding a button in the product, so it is not the same as the original example.
Finally, It's Done !
